Materials:
- Oak plywood 19 mm;
- Oak planks for decoration;
- Pine beam 50 x 70 mm .;
- Standard glue for wood;
- Brush made of natural bristles;
- Adhesive fabric;
- Varnish;
- Sandpaper;
- nails;
- Self-tapping screws;
- a beard;
Instruments:
- hammer;
- A circular saw;
- table saw;
- level;
- screwdriver;
- drill;
- screwdriver;
- Sander;
- Square;
- Router;
- roulette;
- Pencil;
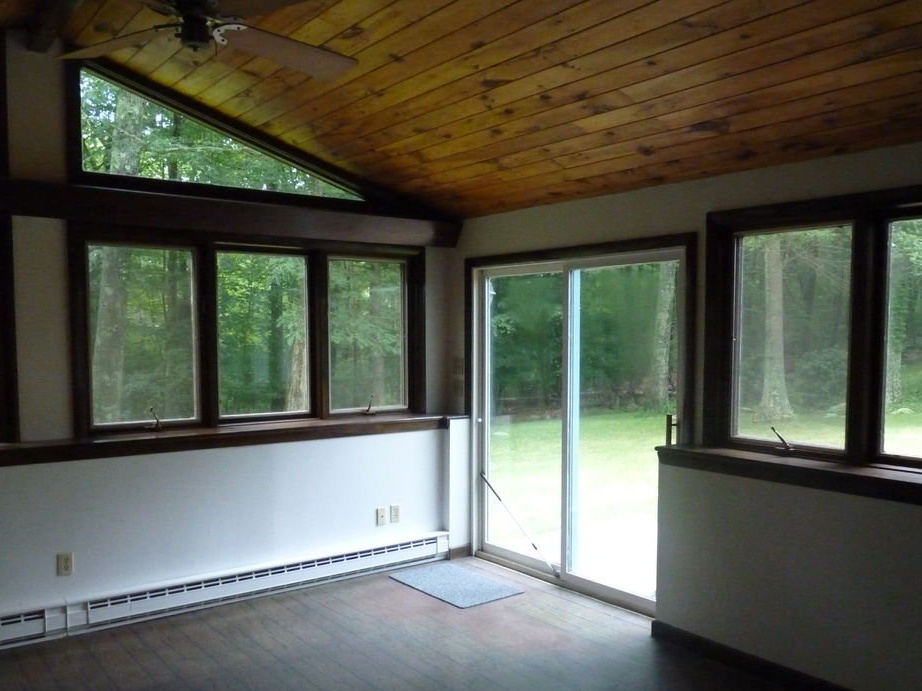
Step One: Plan Your Bar
The master began by drawing lines with chalk on the floor, where he wanted to place his bar. Then he transferred these sizes to paper.
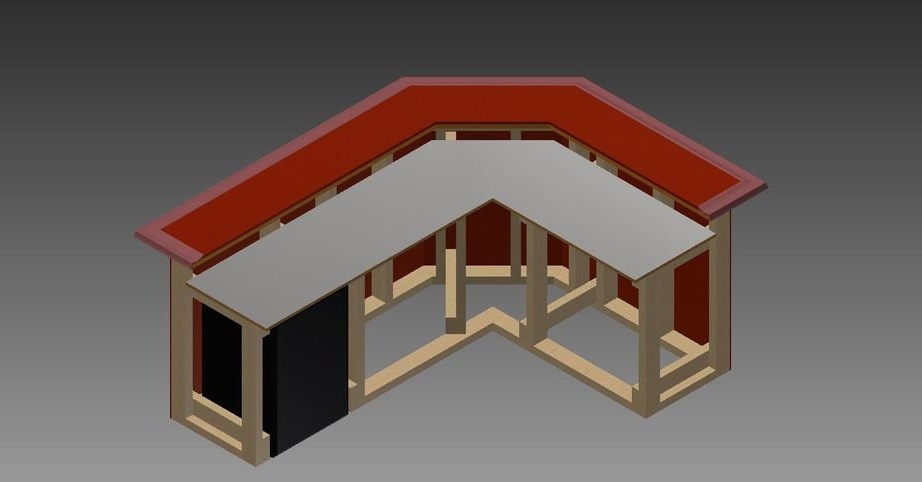
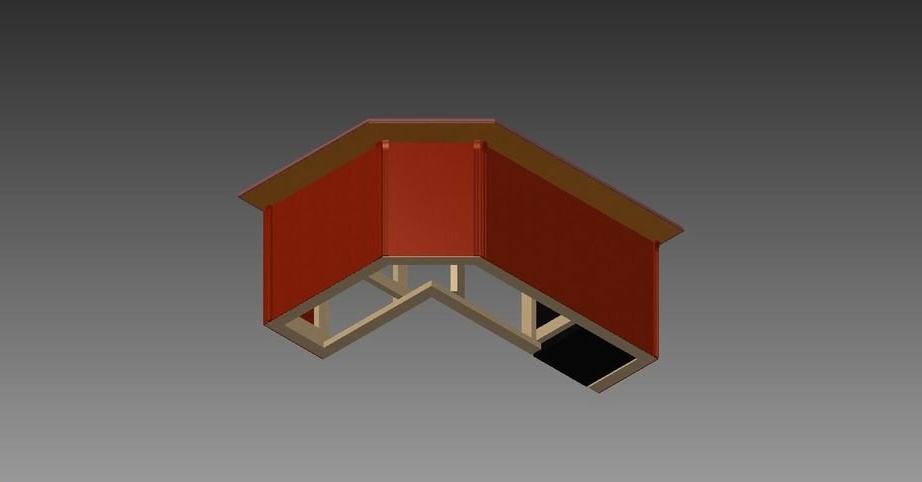
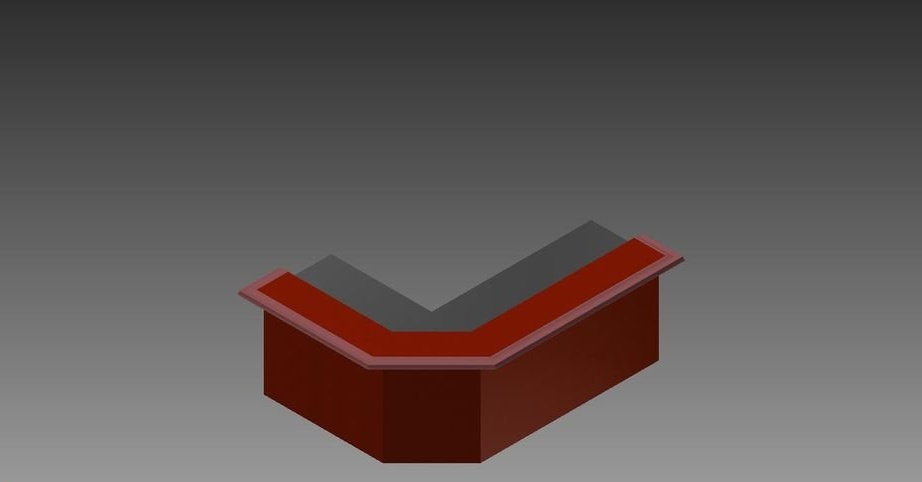
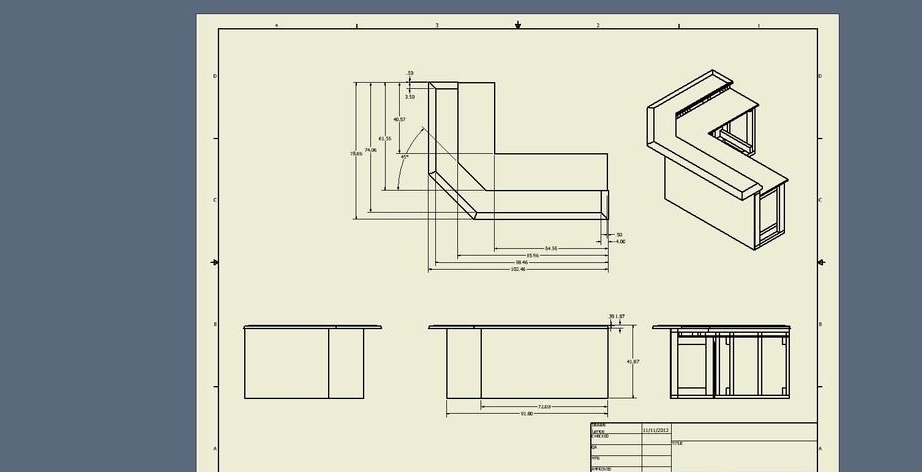
After the dimensions have been determined, the wizard transferred the future design to AUTODESK Inventor. The program is needed to visualize the project and more. The project that he planned to do can be seen in the photographs.
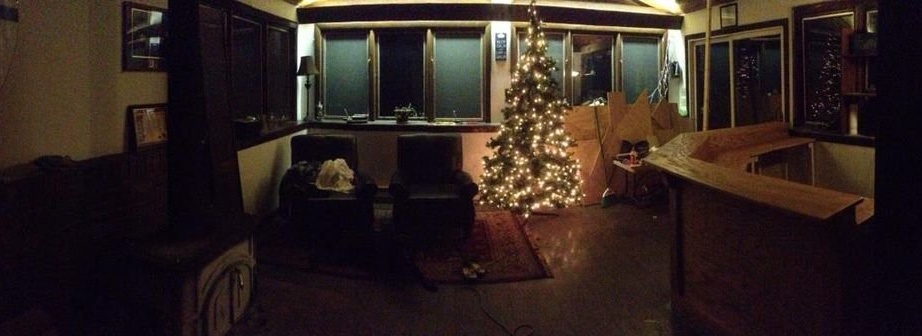
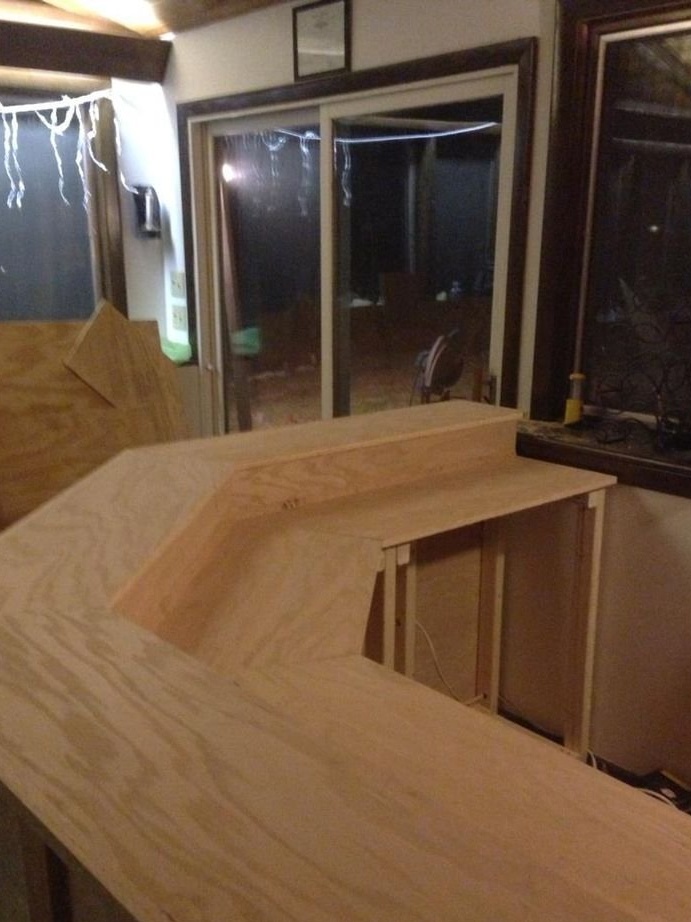
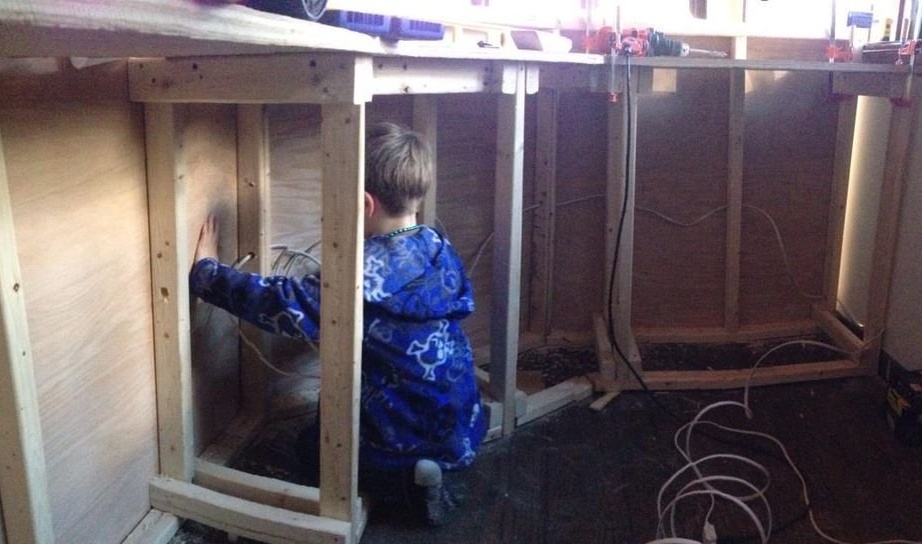
Step Two: Create the wireframe
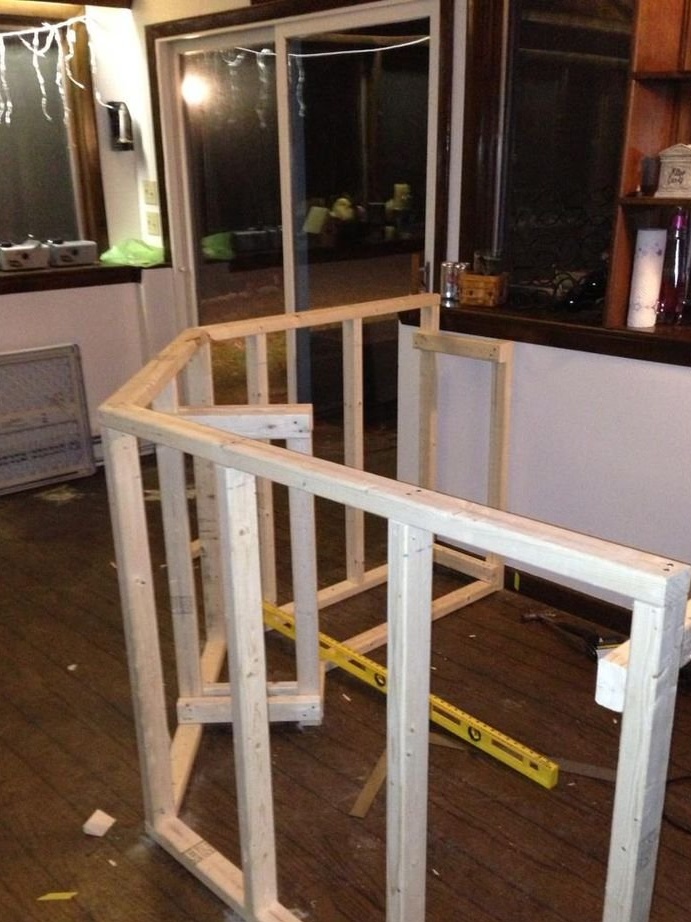
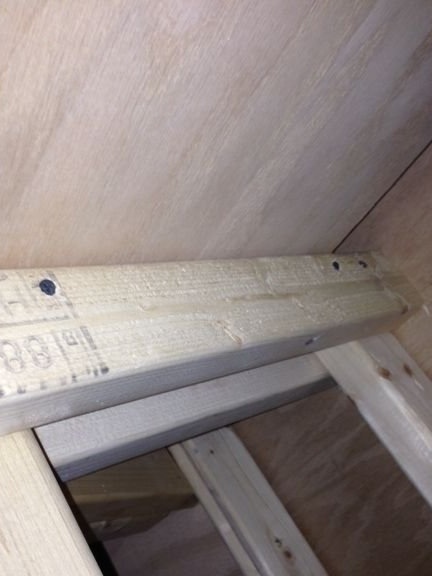
To build the frame, the master used a pine beam 50 x 70 mm in size. The lower beams of the frame master nailed to the floor for stability.
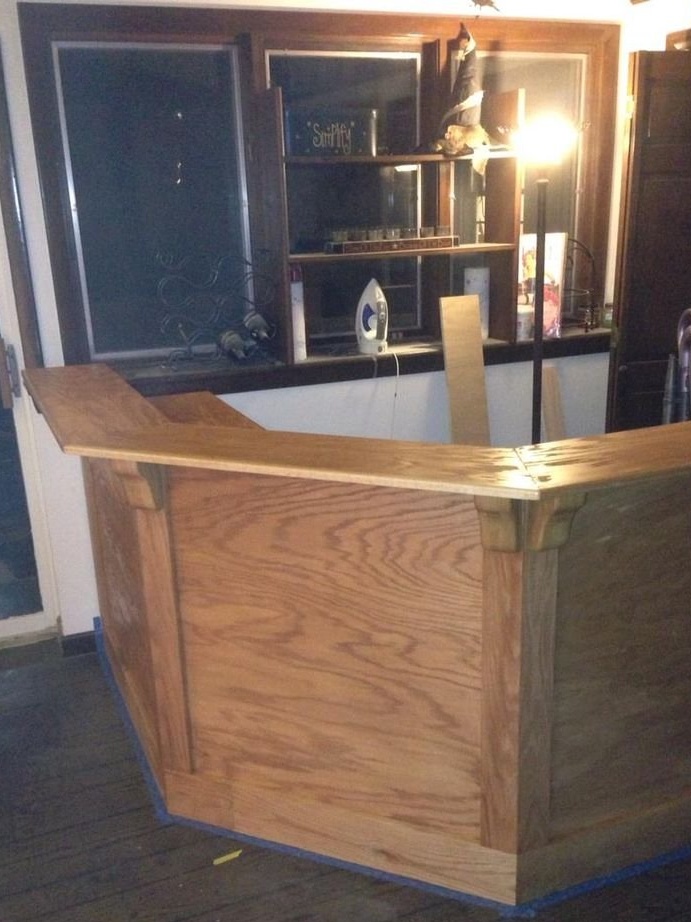
The place where the bar makes a double turn has an angle of 22.5 degrees at each corner. Thus, the total rotation is equal to 45 degrees. (45/2 = 22.5).
The height of the bar from top to bottom is 104 cm.
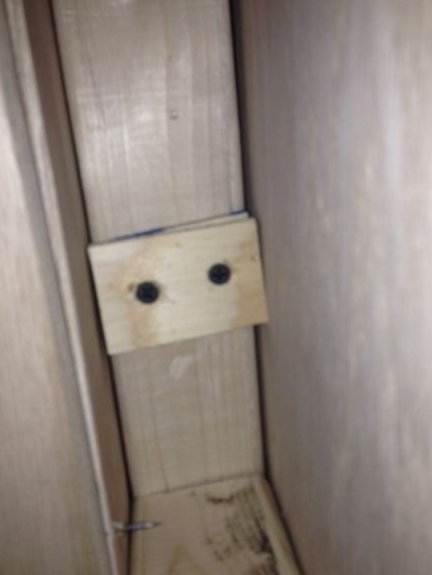
As soon as the three walls were built, the master twisted them in the corners. You should not worry about the stability of the corners, because they will be protected from swaying after installing the top.
Then the master installed the vertical supports of the lower countertop, also from a bar of the same size. It has a height of 91 cm and a width of 39 cm. Then the master nailed the supports to the uprights.
At this stage, it is advisable to permanently attach the bar to the floor, if not already done, as well as to the adjacent wall.
Step Three: Fixing oak plywood to the frame
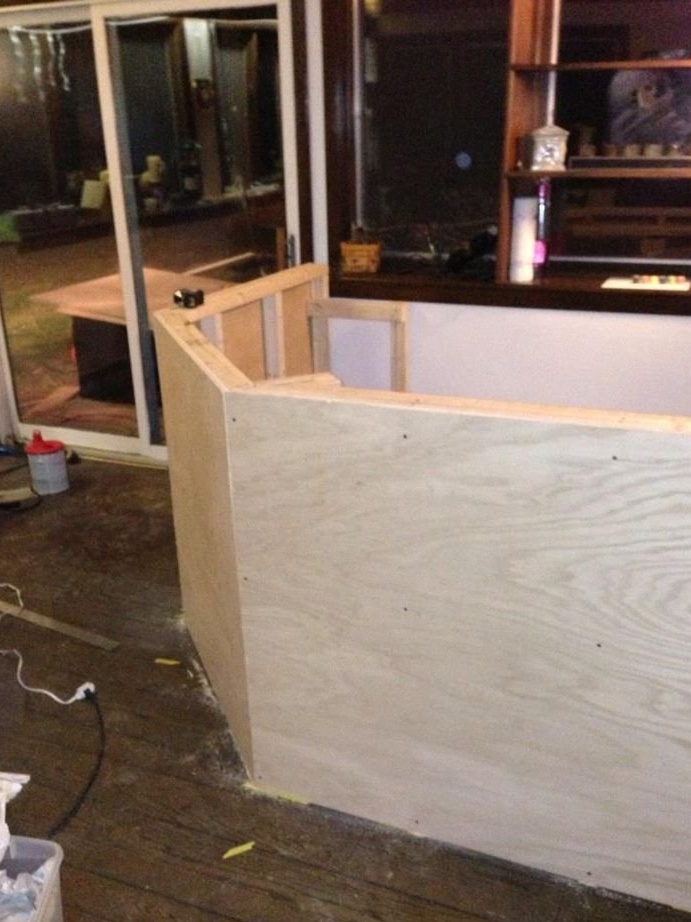
It must be remembered that the edges that join in the inner corners must also be cut to 22.5 degrees to get 45 degrees.
After the plywood is cut to size, you must first drill holes for screws, and then make a countersink.
Step Four: Adding a Dressing Board at the Joints
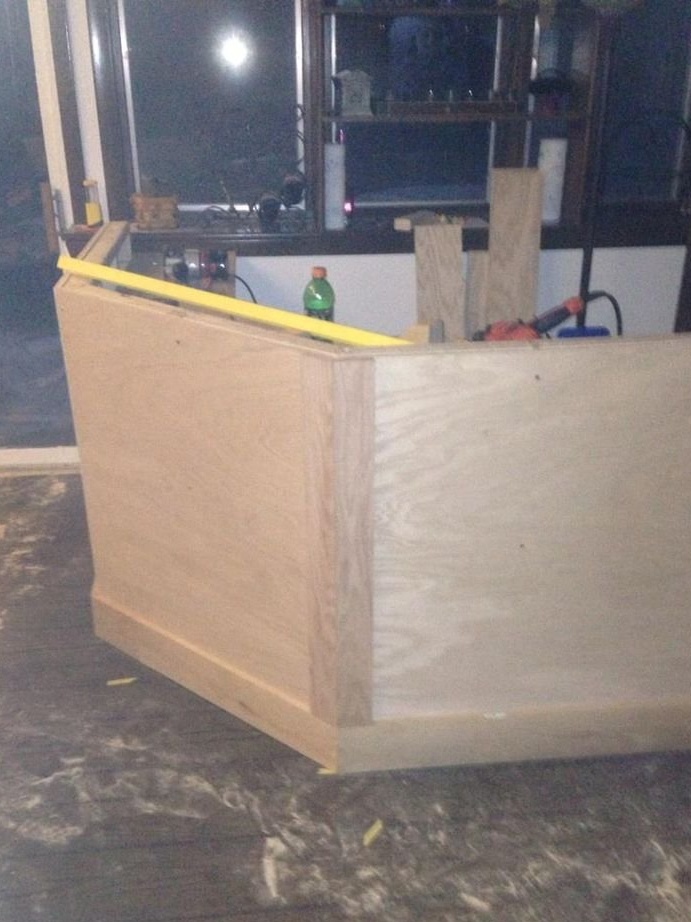
For the vertical finish of the joints, the master used an oak board with a width of 9 cm and a thickness of 19 mm, and for horizontal finishing of a board with a width of 14 cm and a thickness of 19 mm. The lengths of the boards were adjusted according to the plan and in fact on the spot.
The master measured and cut the horizontal stripes. At the same time, he did not forget to take into account the direction of the angles of 22.5 degrees and add an additional 19 mm for the right edge.
The master nailed the oak finishing boards with 5 cm of finishing nails, and with the help of a beard drowned them inside.
Step Five: Install and trim the upper bar and countertops
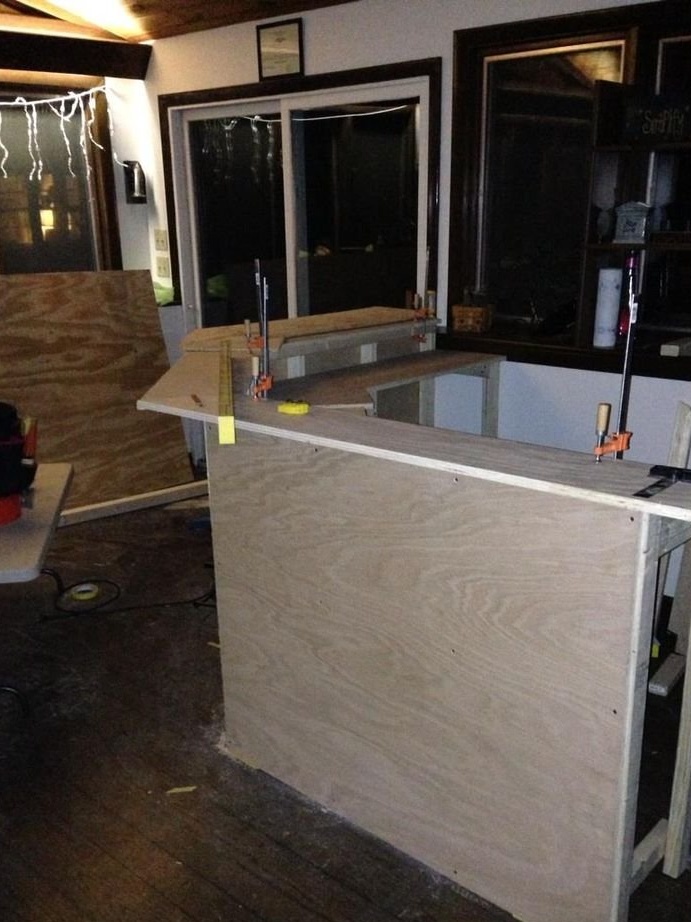
Now, as before, you need to remember about the angle of 22.5 degrees.
Remember to check the orientation of the fibers.
The author sawed the wood and adjusted it in place, but did not yet attach it to the screws.
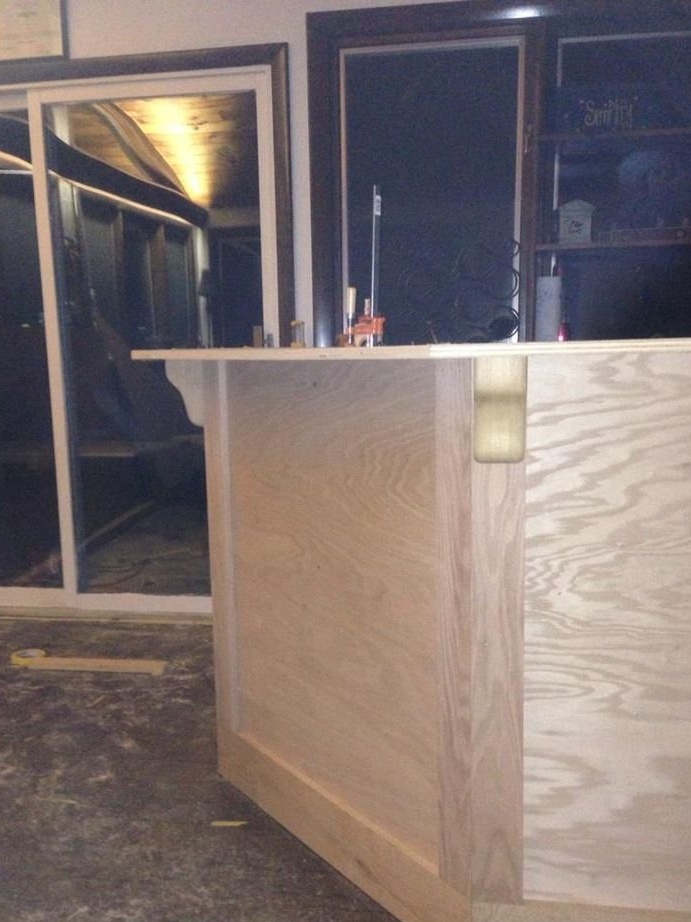
Sixth step: Installing decorative brackets to the vertical trim

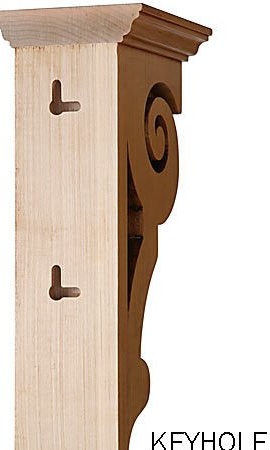
These brackets were bought by a master in a hardware store and look like in the picture. They are fastened with the help of the “keyhole” mount.
The top of the bracket should be flush with the top of the wall.
When attaching, it is necessary to adjust the depth of the screw so that the bracket fits snugly against the vertical casing.
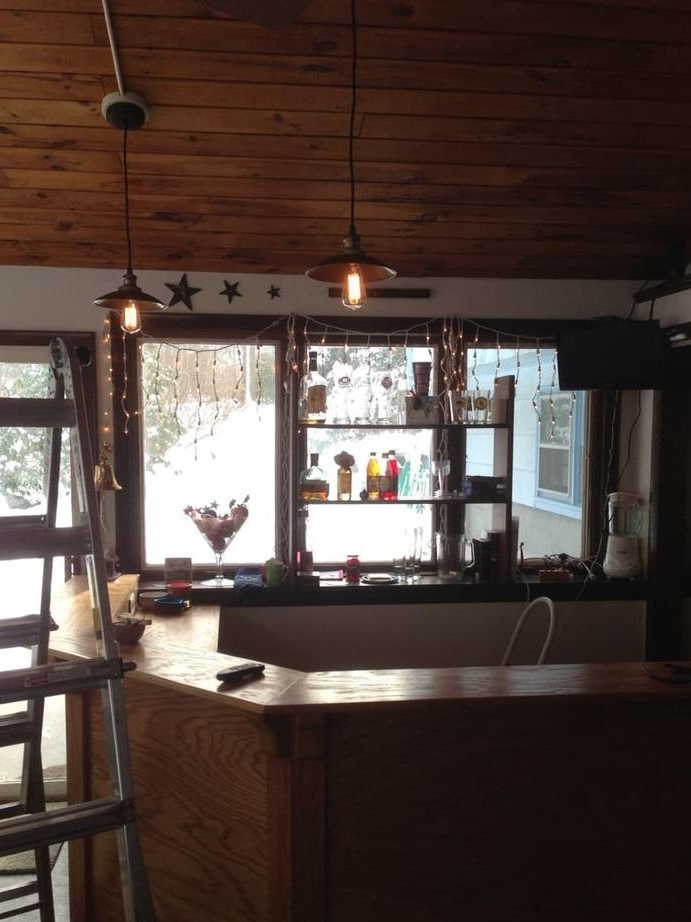
Seventh step: Installing countertops
The installation of countertops the master began with the top panel.
He applied wood glue to the top countertop and the top of the brackets, and then screwed the countertop from bottom to top. Make sure that the screws do not pierce the countertop through.
The master secured the countertop with screws at an angle up.
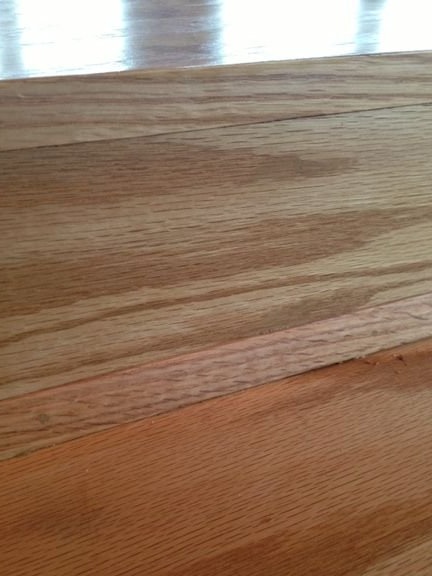
Step Eight: Facing Edge
To clad the upper edge of the timber, the master used finishing nails and 19 mm thick oak wood, the edges of which he then rounded off with a milling cutter.
TIP:
Nail the edge so that it is slightly higher than oak plywood. It is also necessary to observe an angle of 22.5 degrees.
Step Nine: The wall between the countertops

For the small wall between the countertops, the master used oak plywood, which he also sawed at an angle of 22.5 degrees.
During installation, he also pre-drilled and milled holes.
Step Ten: Add Electricity (Optional)
The master decided to connect an electrician to the bar. He simply installed the outlet and, using an extension cord, plugged it into an existing outlet on the wall.
The socket to which the extension cable is connected is protected by GFI.
There is a lot of liquid in the bar, so it is better to protect yourself in advance.
Step Eleven: Puttying the Holes
After all the screws are screwed, it is necessary to putty them.
Be sure to fill the holes with excess putty so that they can then be sanded.
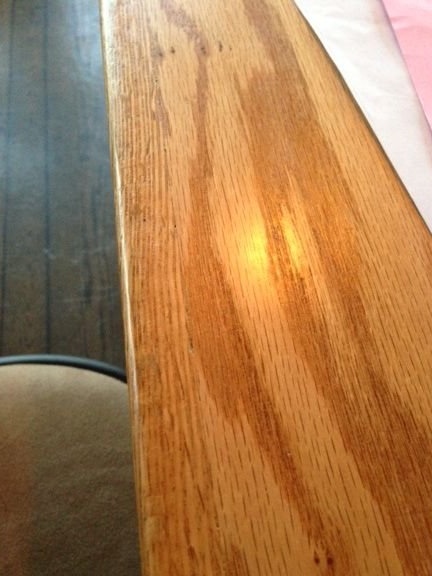
Step Twelve: Grinding
The plywood has a fine finish (already polished), but to be sure, the master ran over it with lightly emery paper with a grain size of 320 units.
TIP: Always grind on fibers, not against.
When using a grinder, try not to press hard on it in one area and try not to stay in one area for long.
Do not save on sandpaper.
The steps that the master took to polish the bar were as follows:
- He smoothed a solid oak edge flush with paper with a grain size of 120 units;
- An oak massif with a grain size of 120 units;
- Solid oak edge with a grit of 220 units;
- And in the end all surfaces with a grain size of 320 units.
Retest in good light.
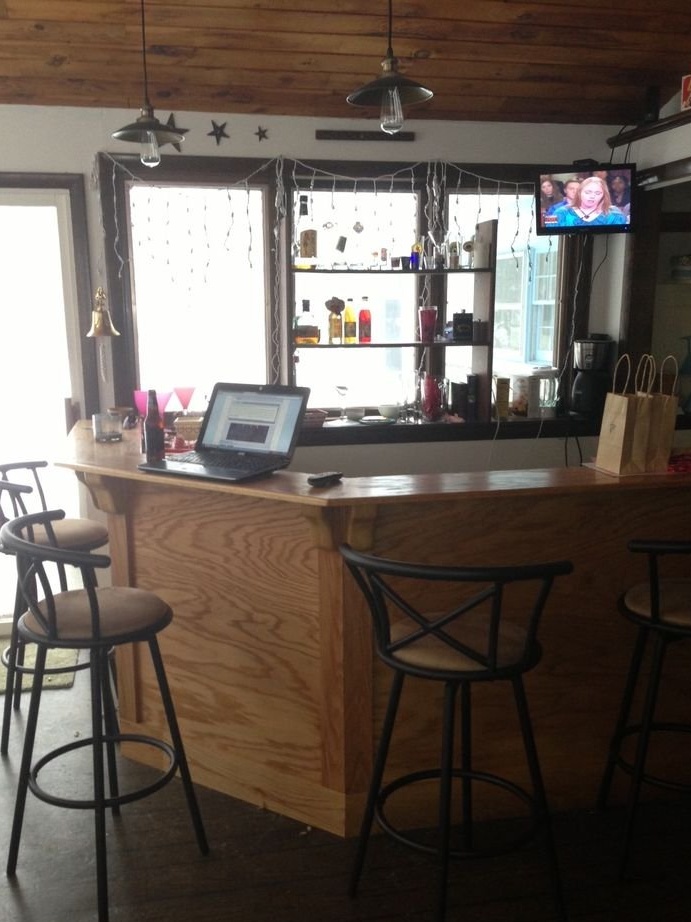
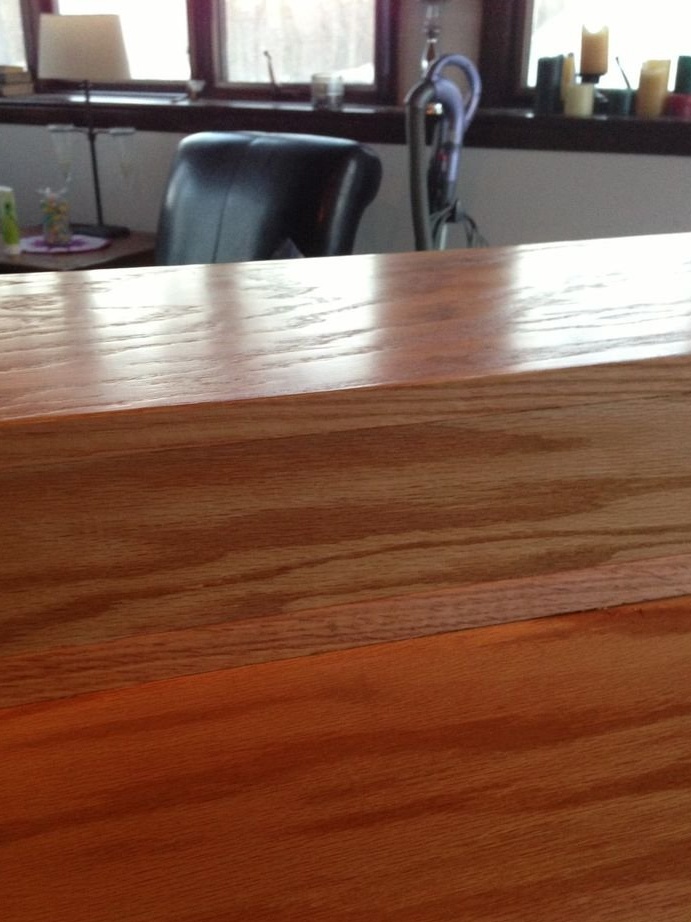
Step Thirteen: Completion
There are many types of finishes. The craftsman chose a finish that is easy to apply, easy to fix, and preserves the natural beauty of the oak plank. His choice fell on polyurethane varnish.
Before applying varnish, all surfaces must be vacuumed.
After 6 hours, the master applied a second coat of varnish.
TIP:
Before coating, apply adhesive tissue over the entire surface.
Apply the first coat with a quality brush.
TIP:
Do not apply too much, because you will get voids.
Allow to dry, then sand with 320 grit sandpaper to even out high points. Then vacuum and glue the cloth.
Repeat as many times as necessary.
TIP:
Work in good light.