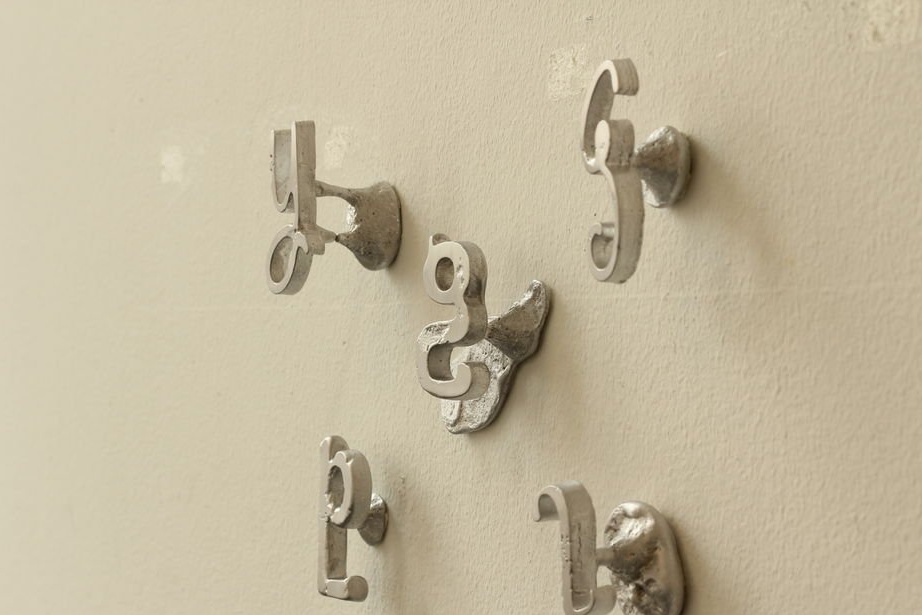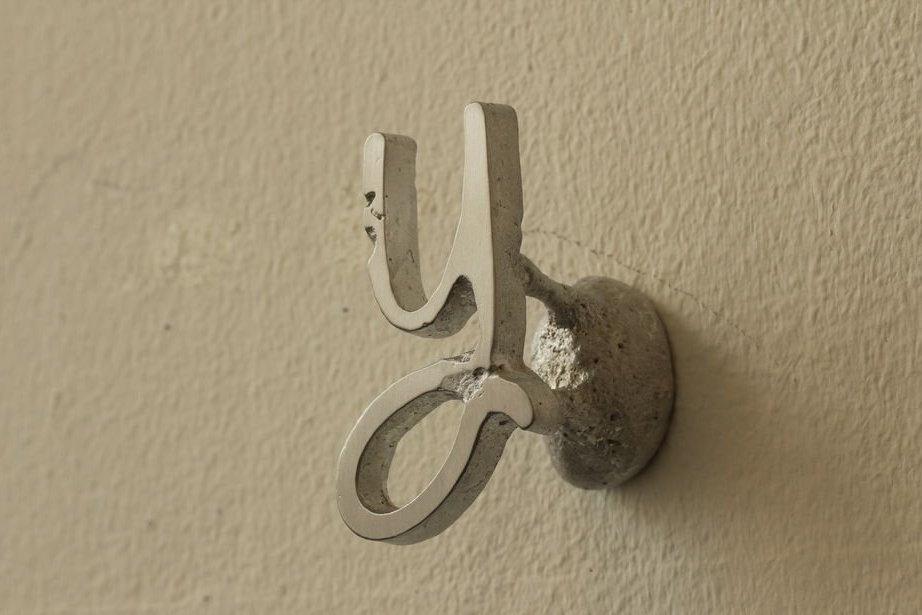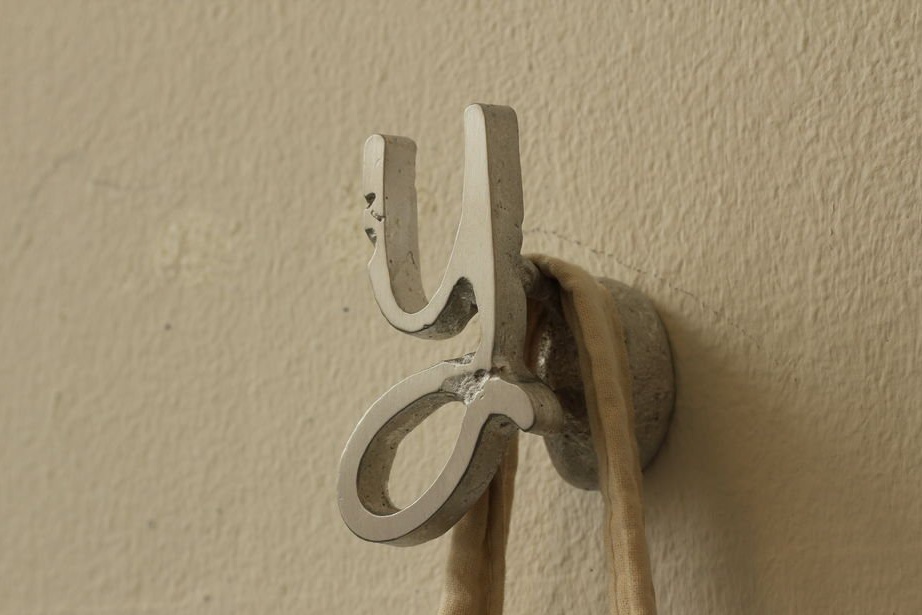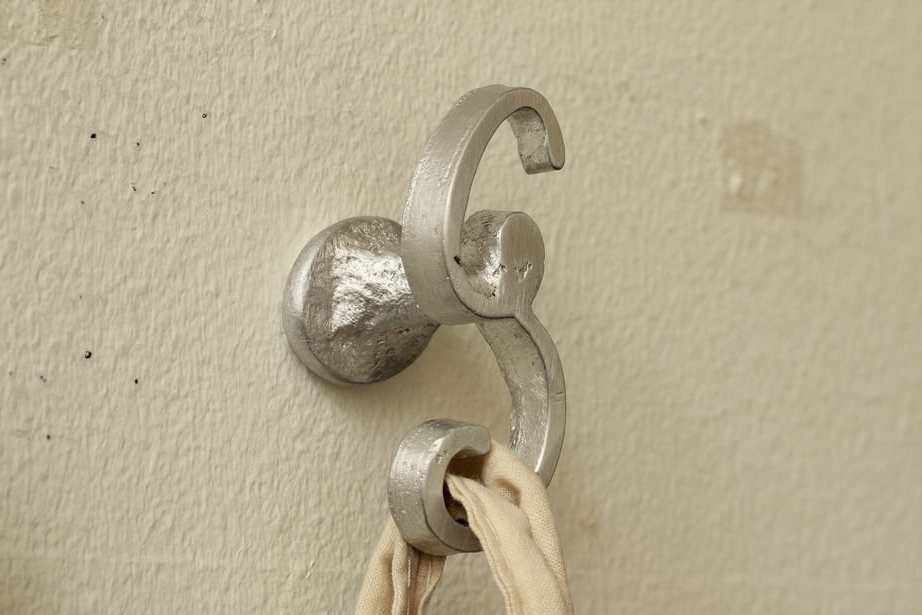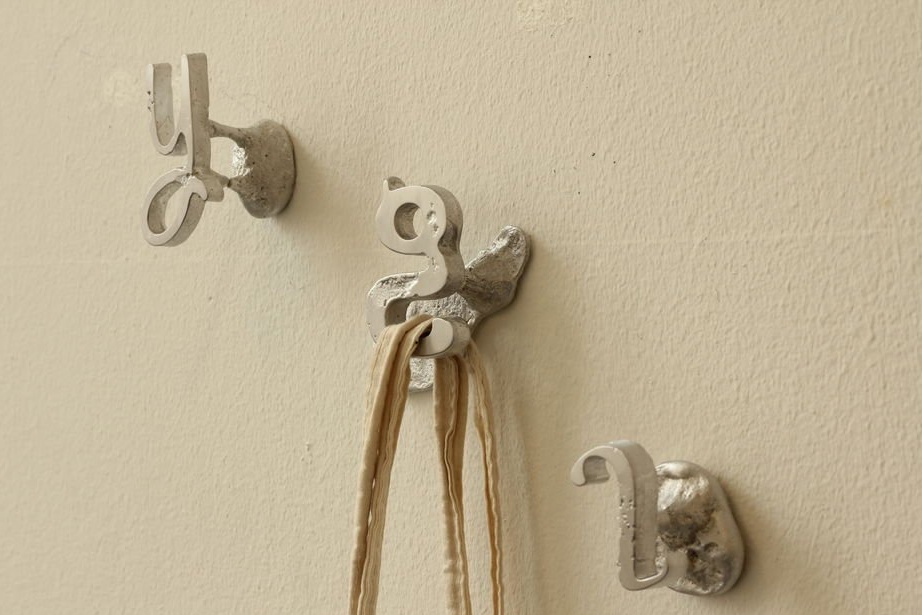
In this article, the Wizard will tell us how to pour aluminum letters. The master uses the letters as a wall hanger, but everyone can find his own application for them, or pour out other figures guided by the article.
Tools and materials:
-Computer with software;
-3D printer;
-Wooden box;
-Sand;
Concrete;
- coal dust;
-Water;
-Screws;
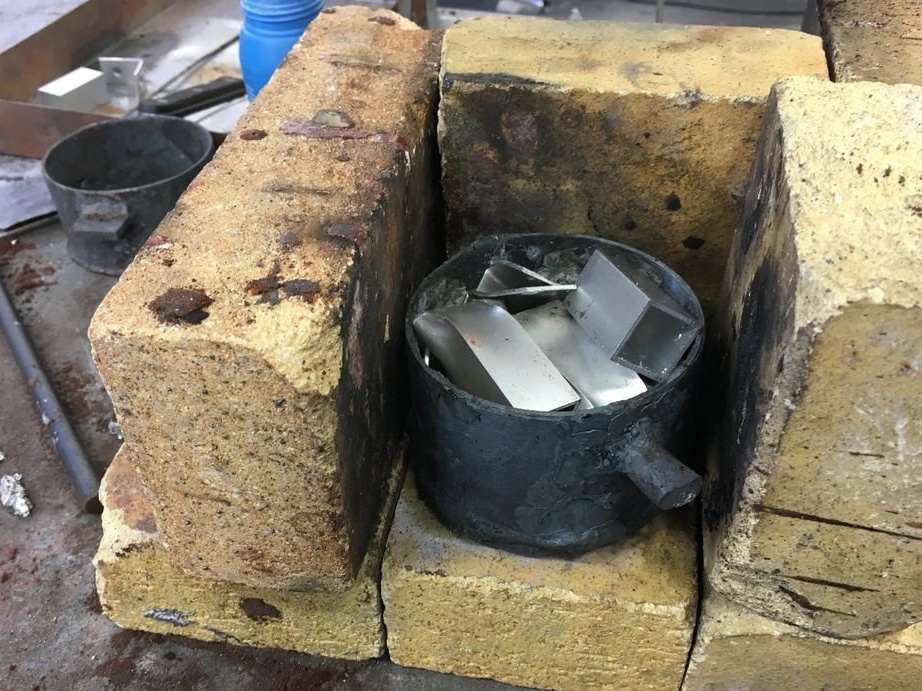
- Scrap aluminum;
-Crucible;
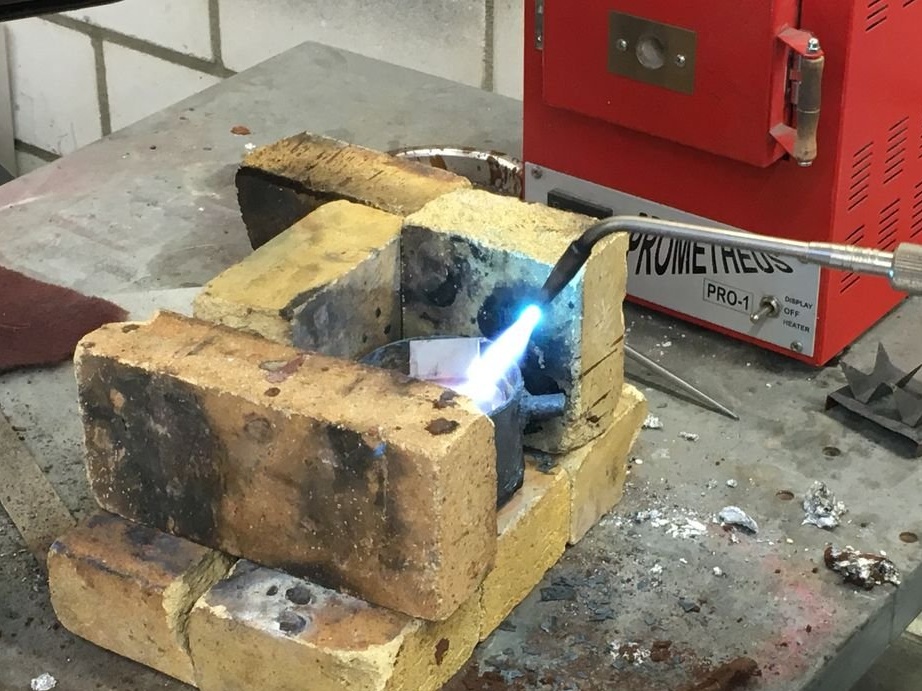
-Burner;
Grinding machine;
-File;
-Double sided tape;
Step One: Preparing to Print
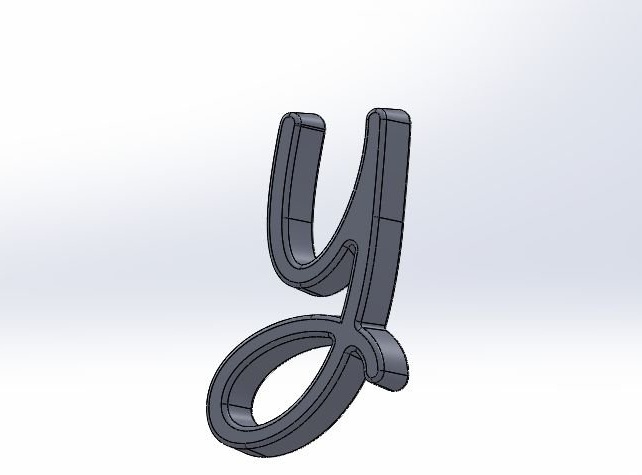
First you need to choose the font and letters for casting. Then load it into Adobe Illustrator, select Text and Create Contours. Then export the letter to a DXF file.
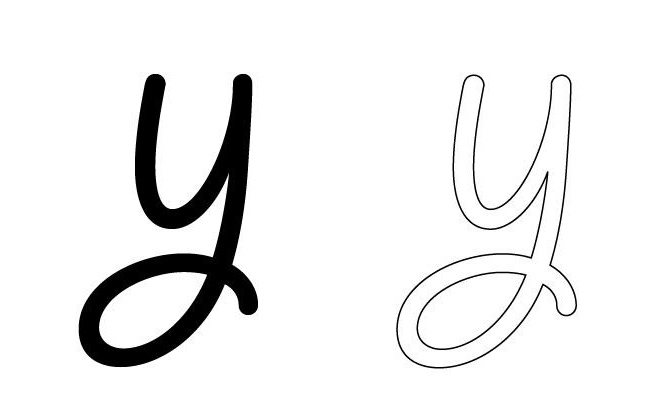
Import the previously created DXF file into any 3D program (Solidworks, Rhino, etc.). Make the outline of the letter the thickness you need. The master recommends at least 1 cm, since later the metal product will be ground.
When setting the contour, use a special function called the “slope angle”. This will greatly facilitate subsequent sand casting: this will help free the mold from sand. The master recommends an angle of at least 5 degrees. Export the letter as an STL file.
Step Two: Print
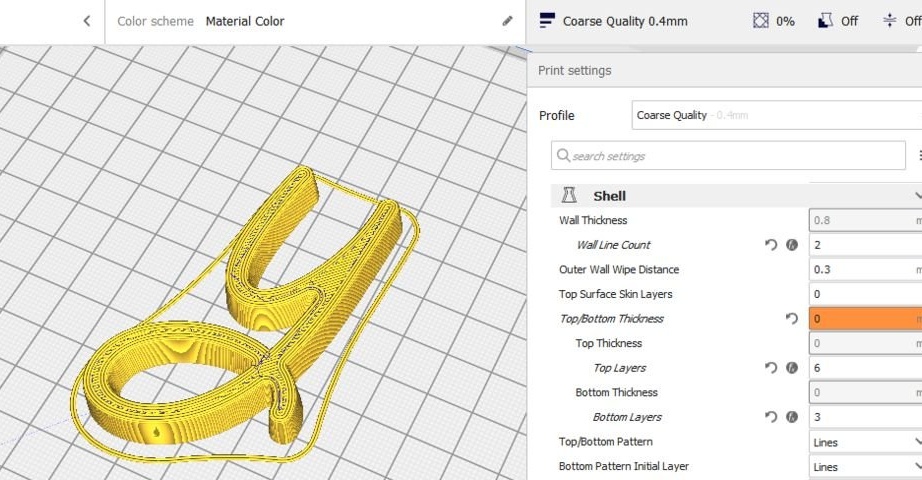
Now you need to import the file into a 3D printing program (Cura or Slic3r) and set the print options. For example, a master printed in PLA using a layer height of 0.4 mm, 6 top layers, 3 bottom layers, 2 wall layers and a 0% fill.
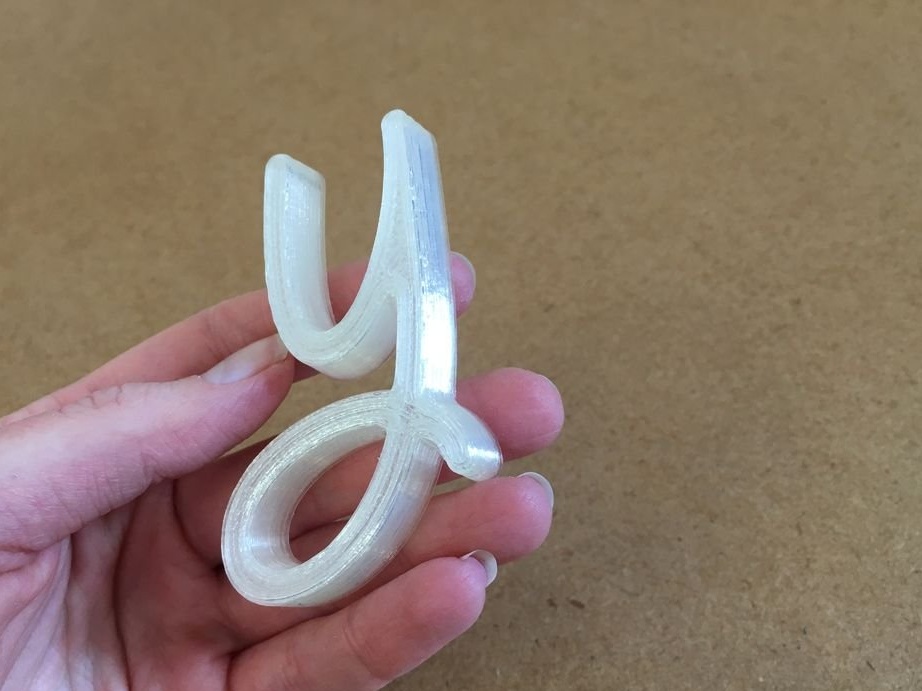
Now you can print the template.
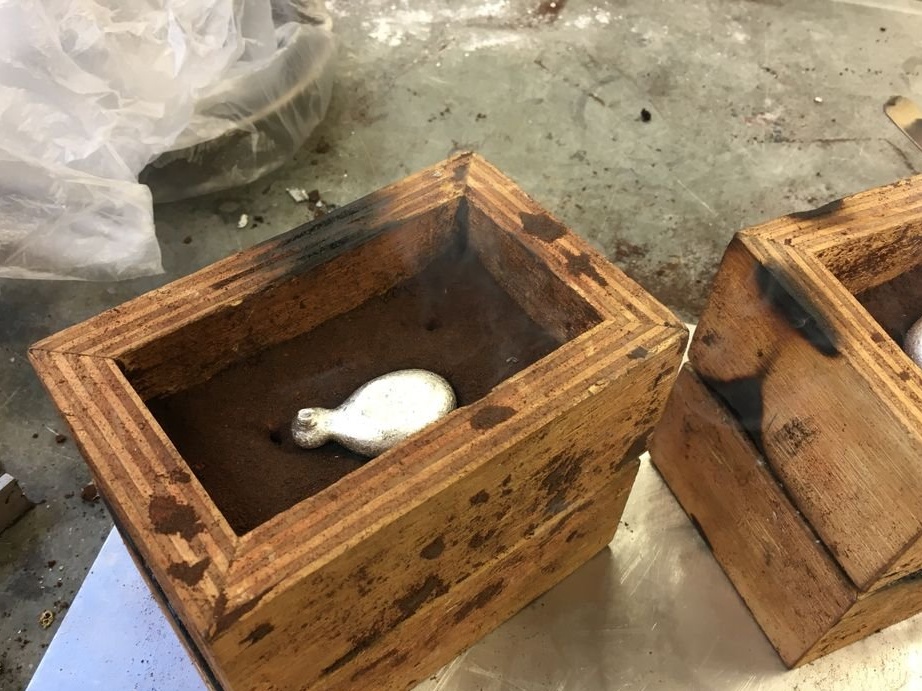
Step Three: Form
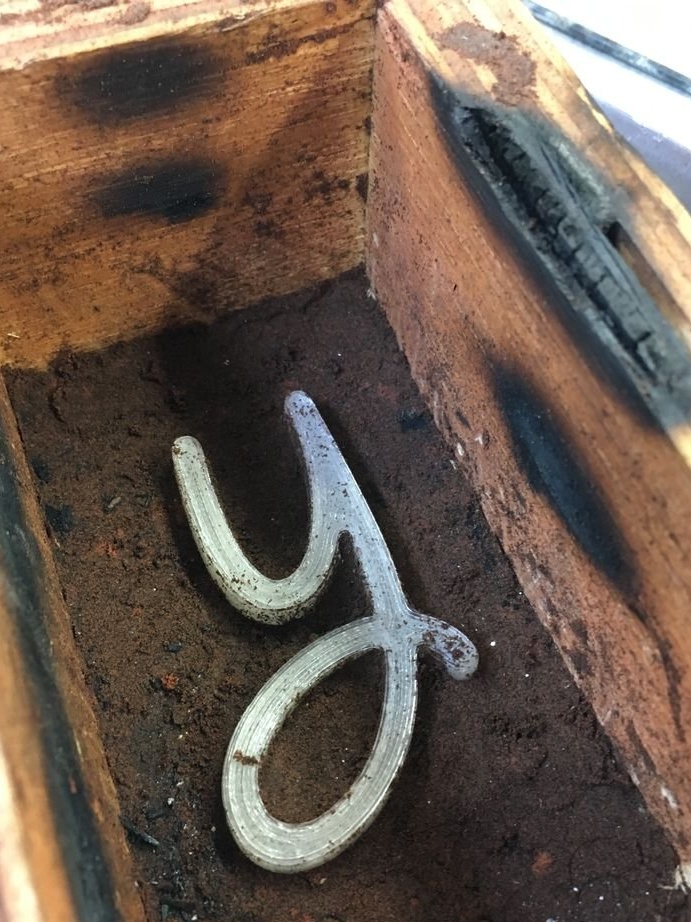
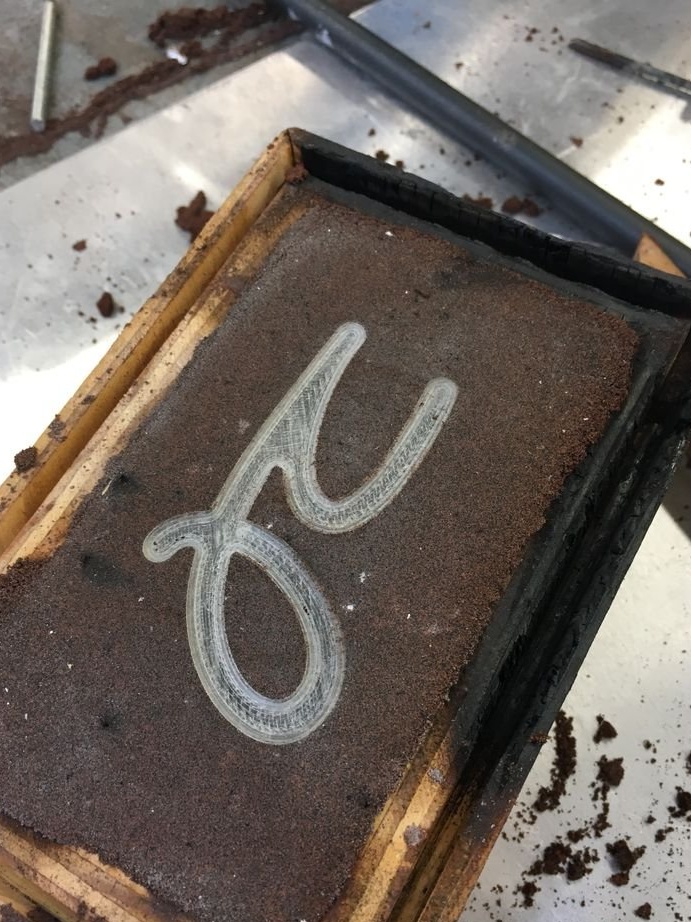
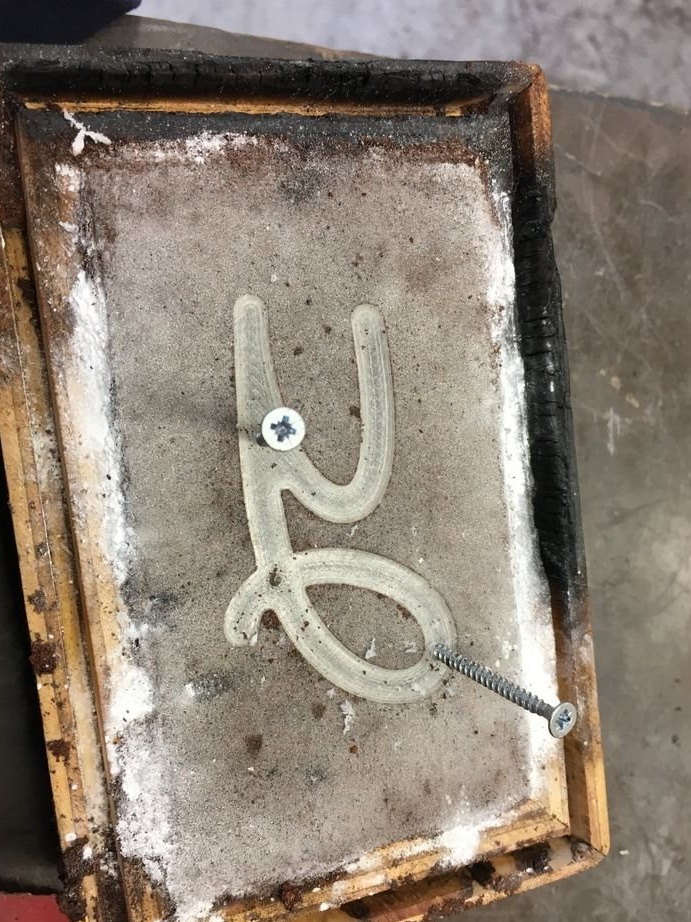
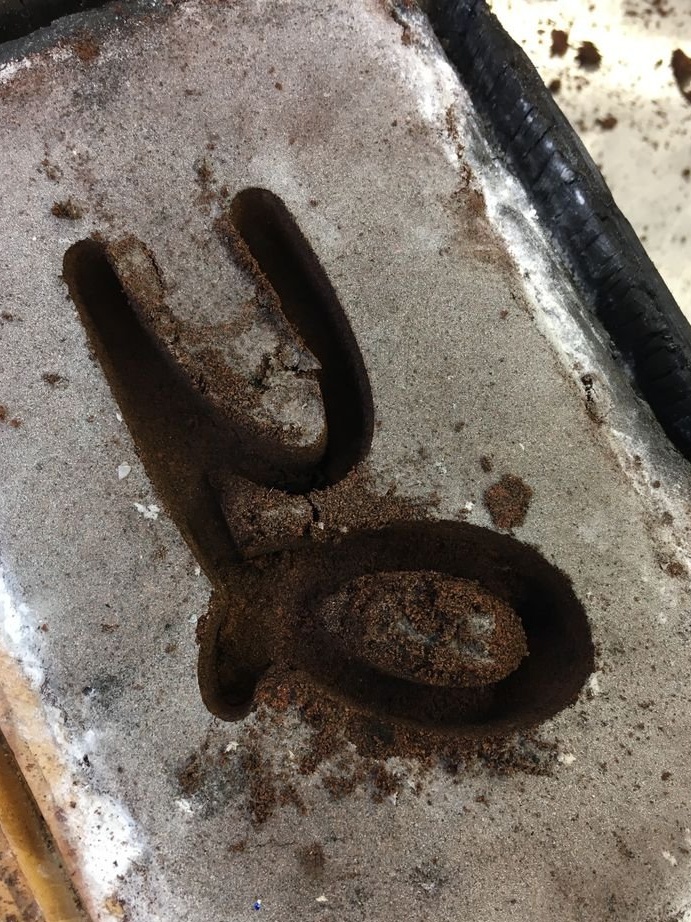
It prepares sand for the mold by mixing sand, concrete, coal dust and moistening a little. Fills the form with a mixture. Presses a letter into the sand. Tamping sand. Sprinkles the surface with talcum powder.
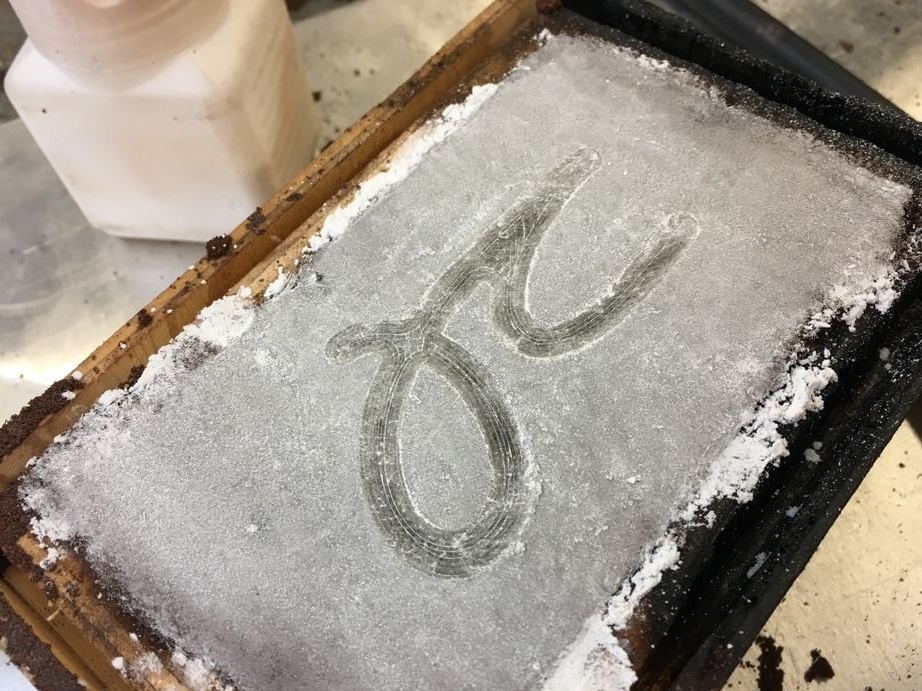
Sets a wooden form on top. Fills with a mixture. Talc will not allow two halves of the form to stick together and at the same time the letter shape will be imprinted on the second half.
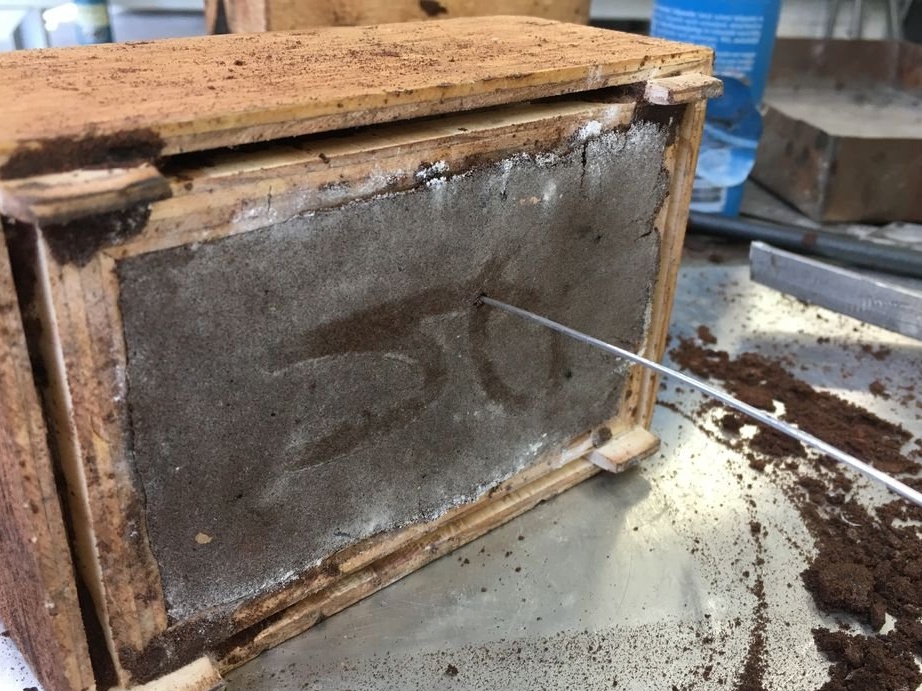
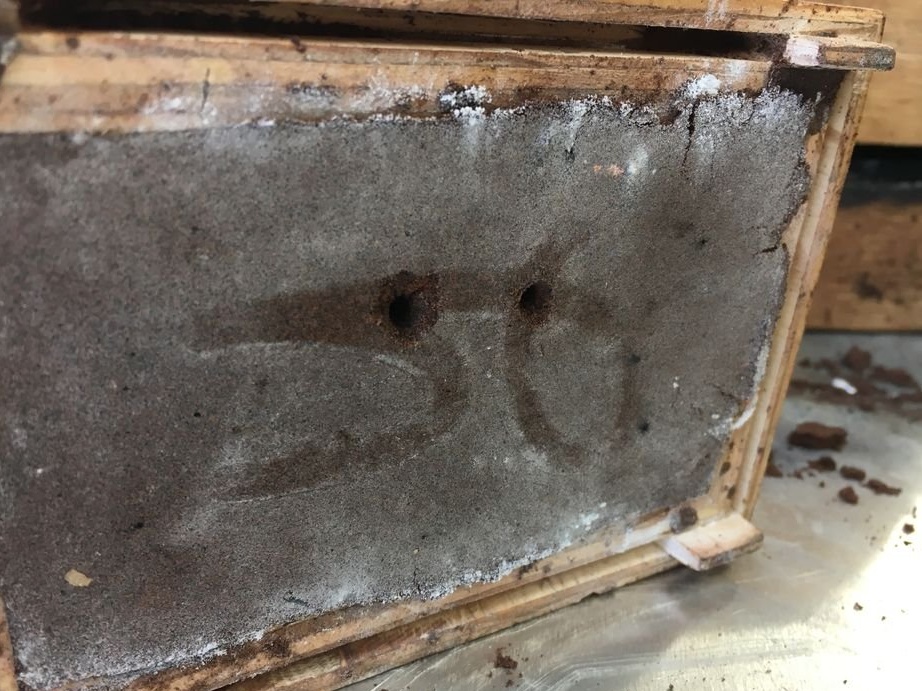
Next, the master in the second form makes a chamber, removing part of the mixture (metal will be poured through it), and two holes at different far ends of the letter (pairs will come out through them).
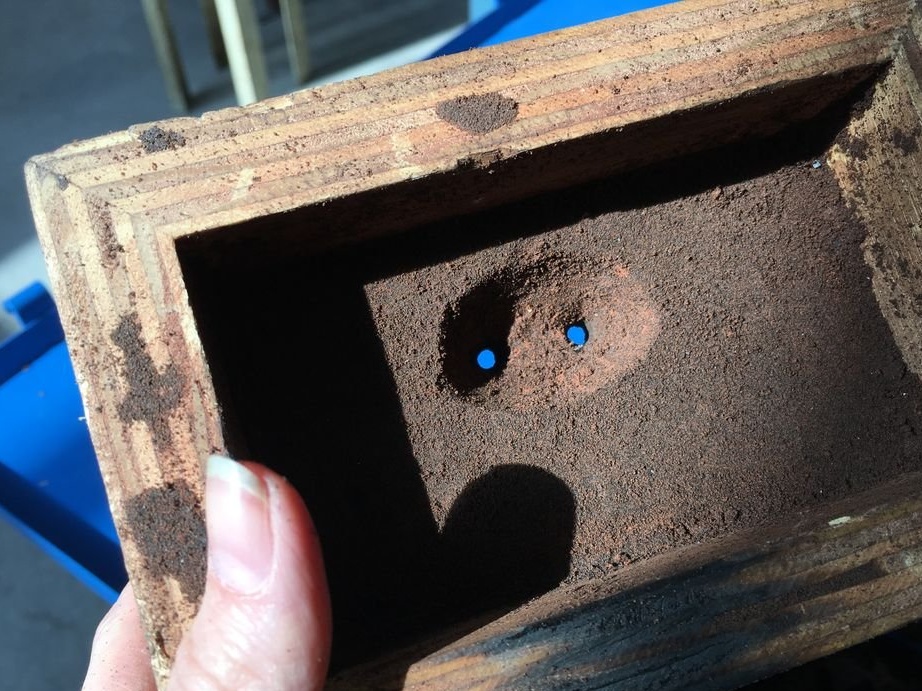
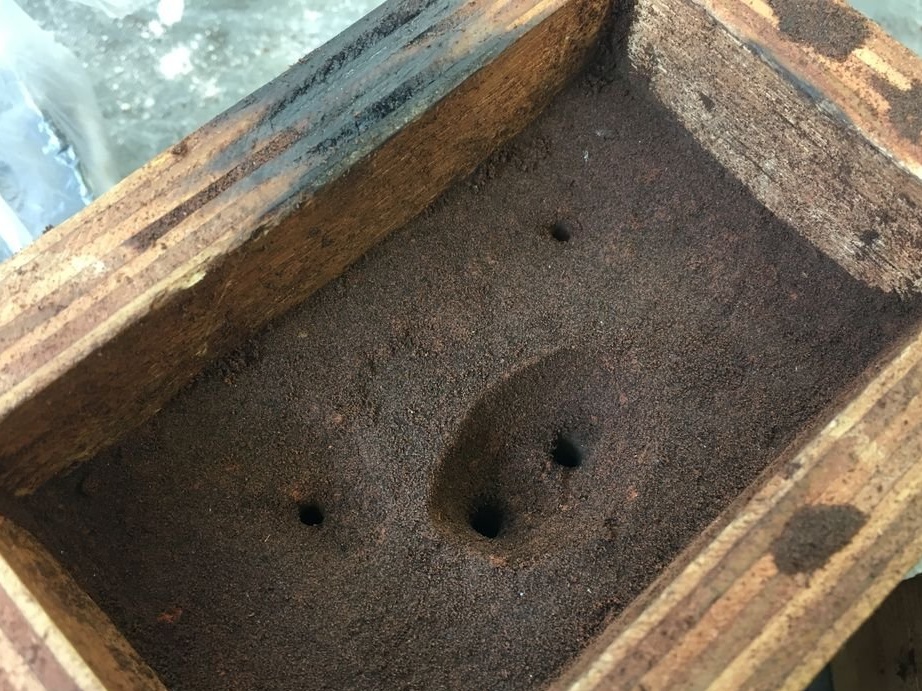
Now you need to remove the letter from the form and cover the form with a lid with a camera.
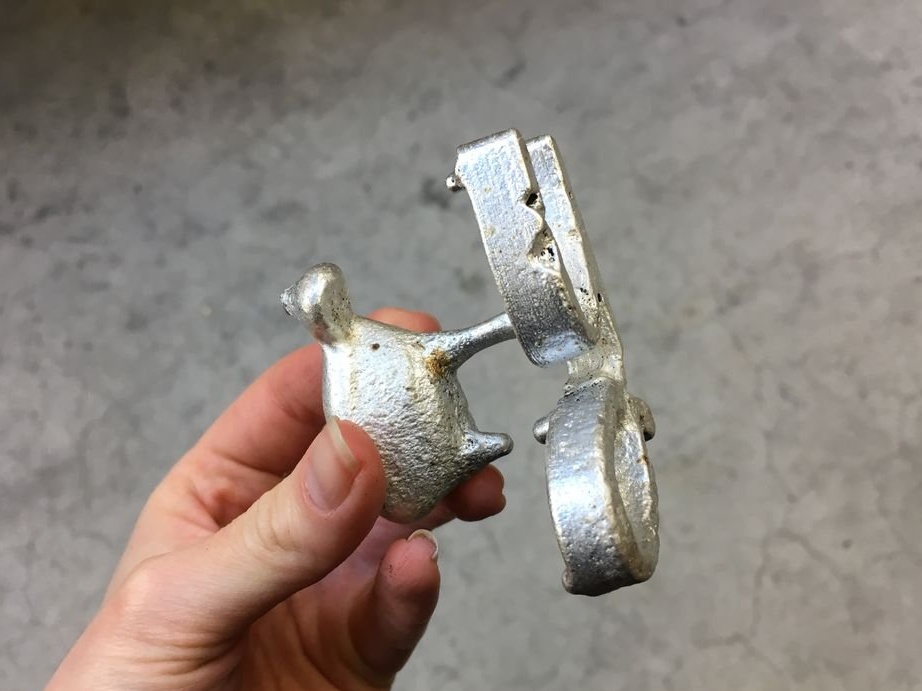
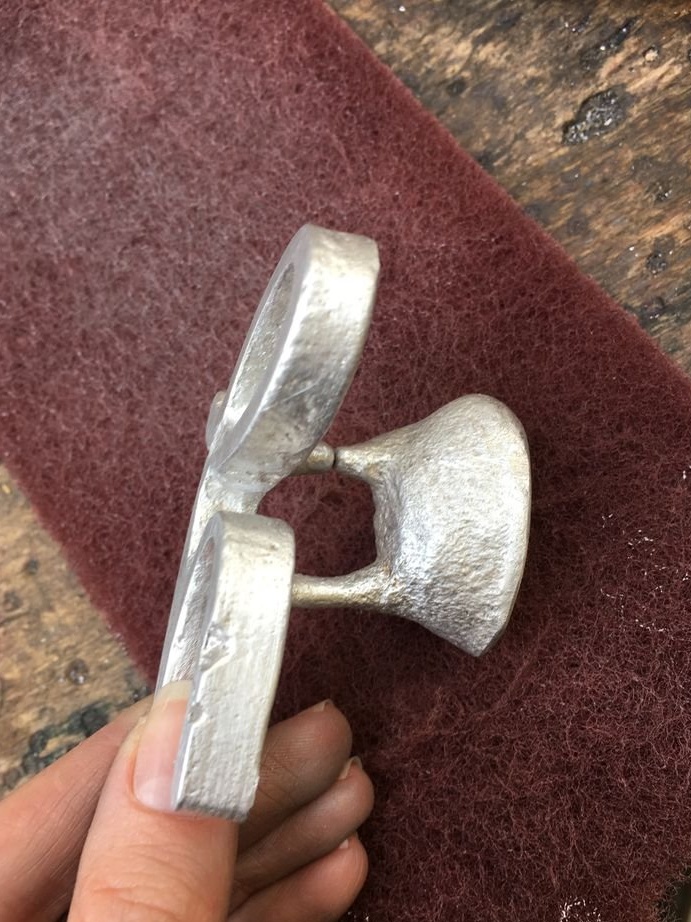
Step Four: Fill
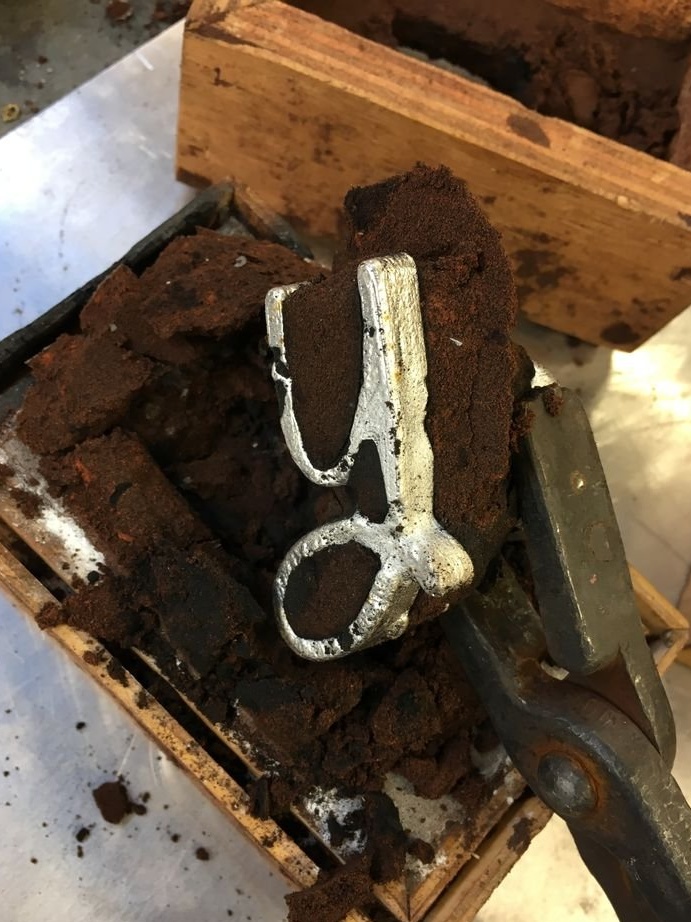
Now you need to melt the scrap of aluminum and pour into the mold.
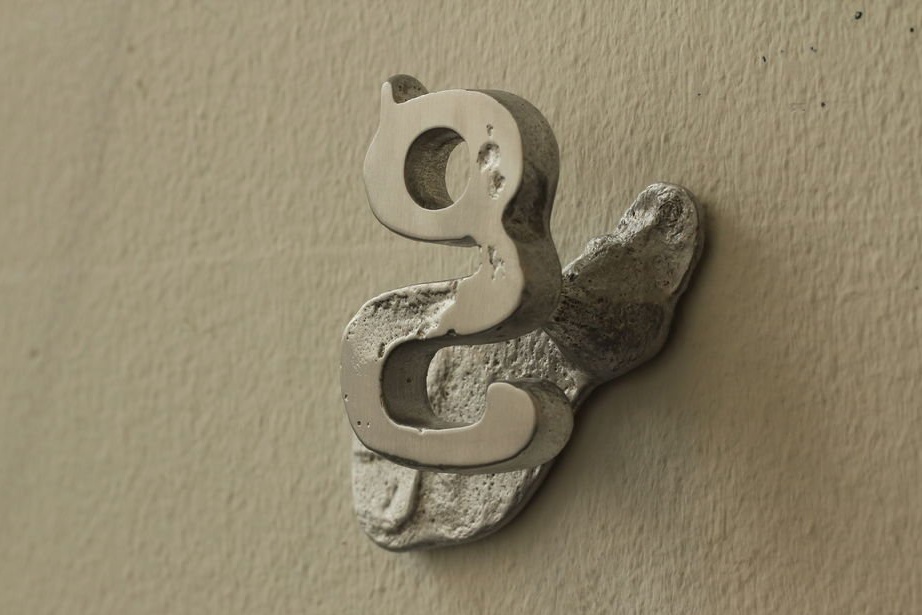
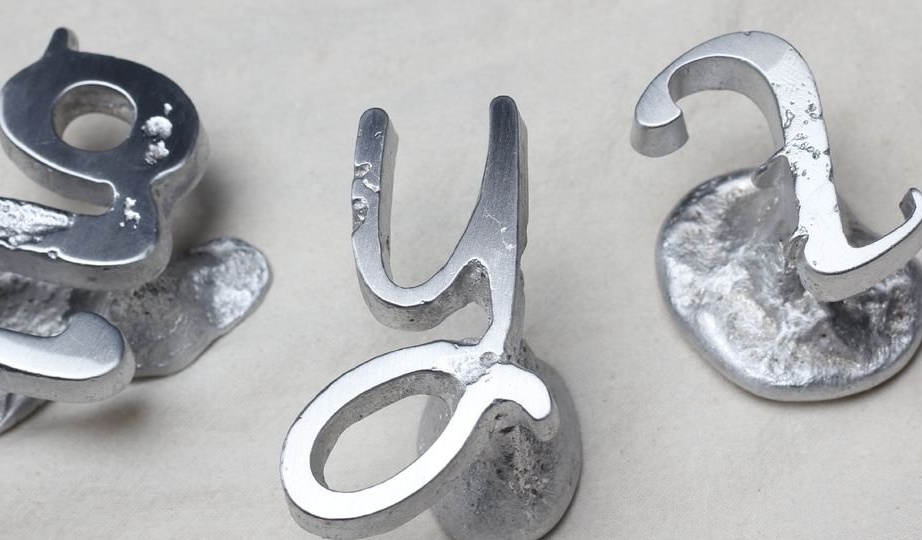
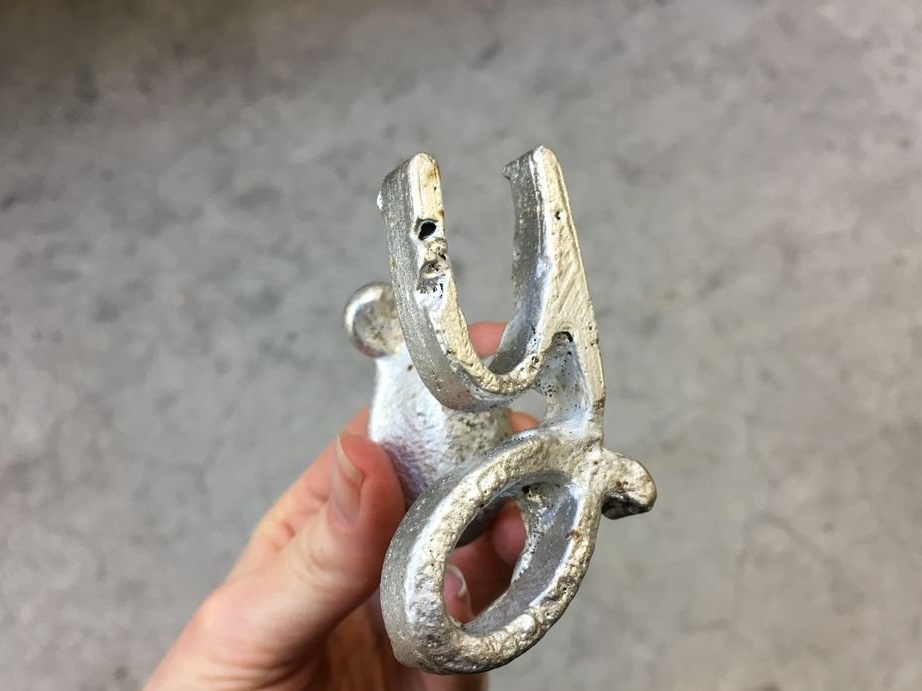
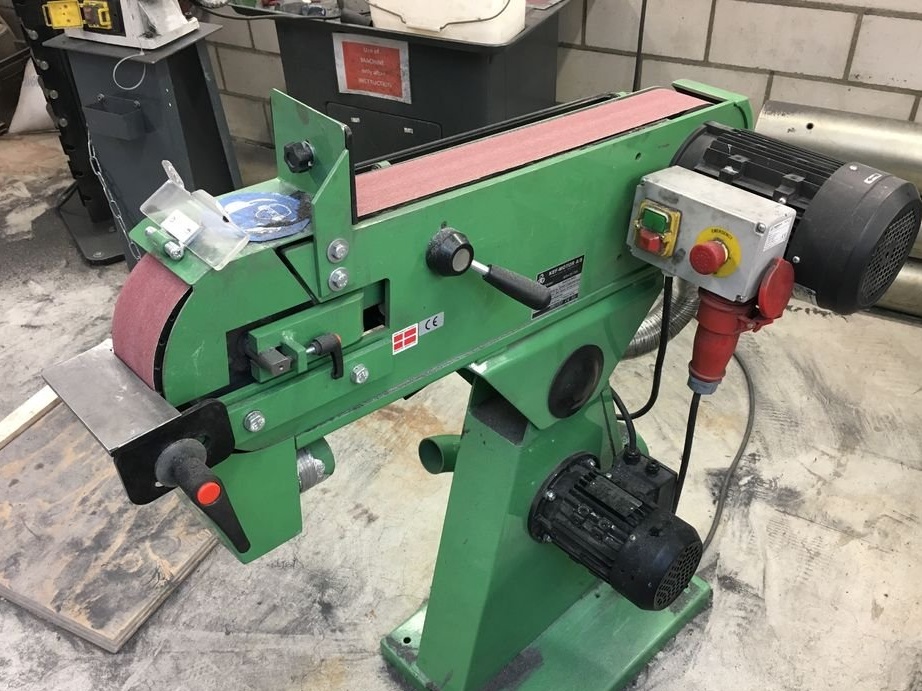
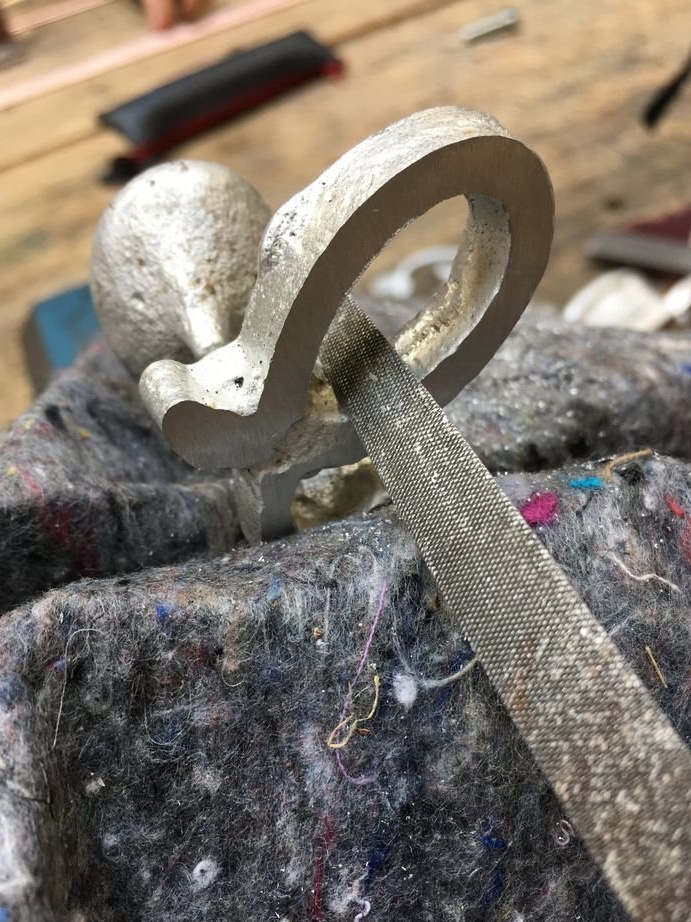
Step Five: Processing
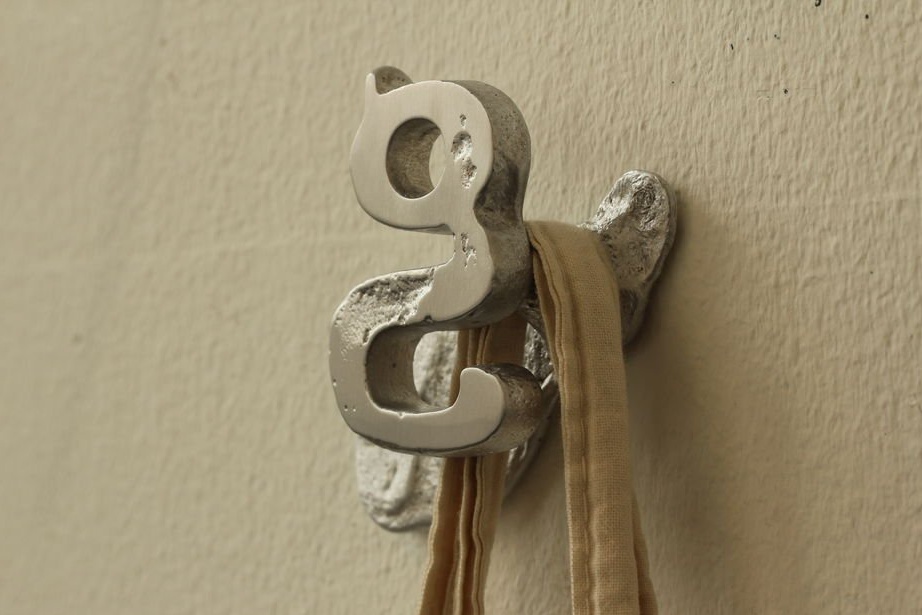
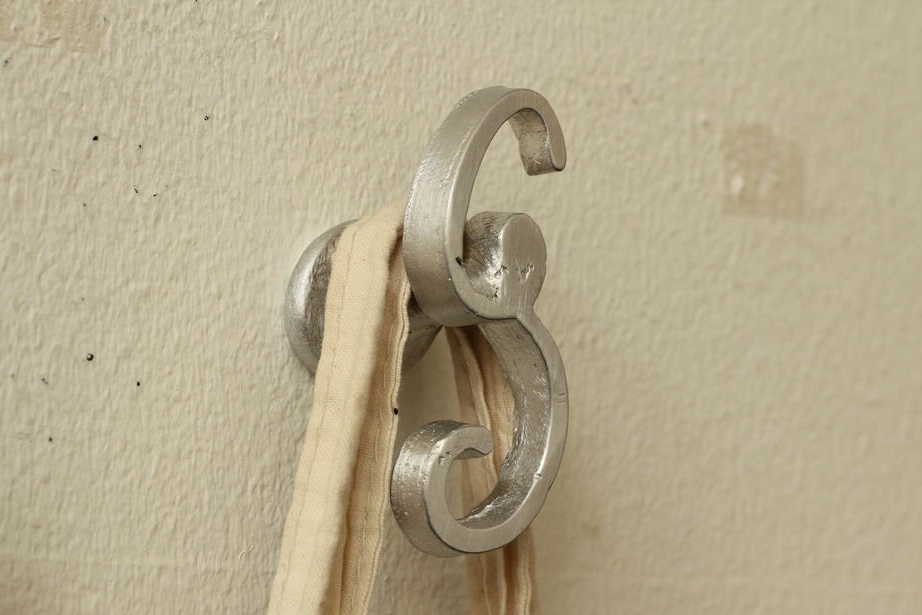
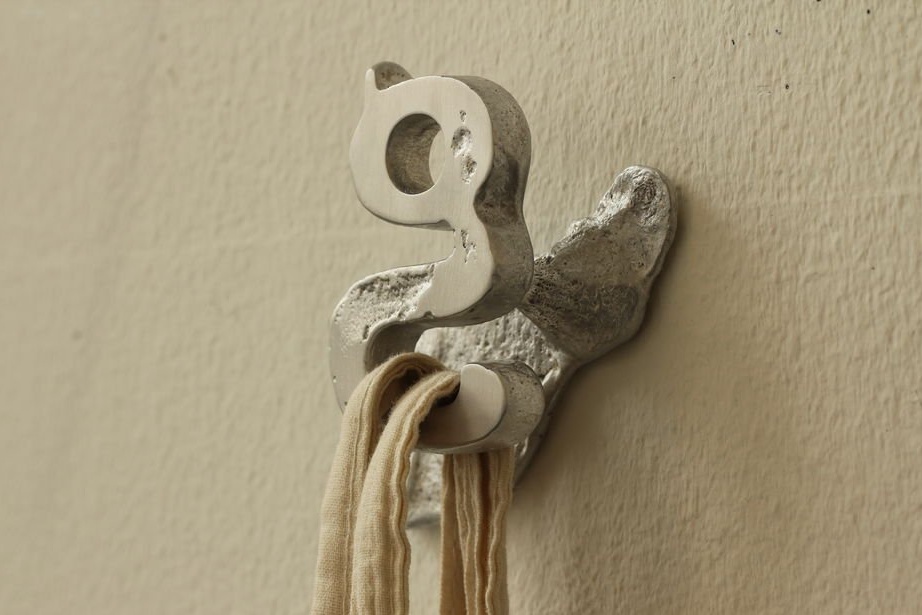
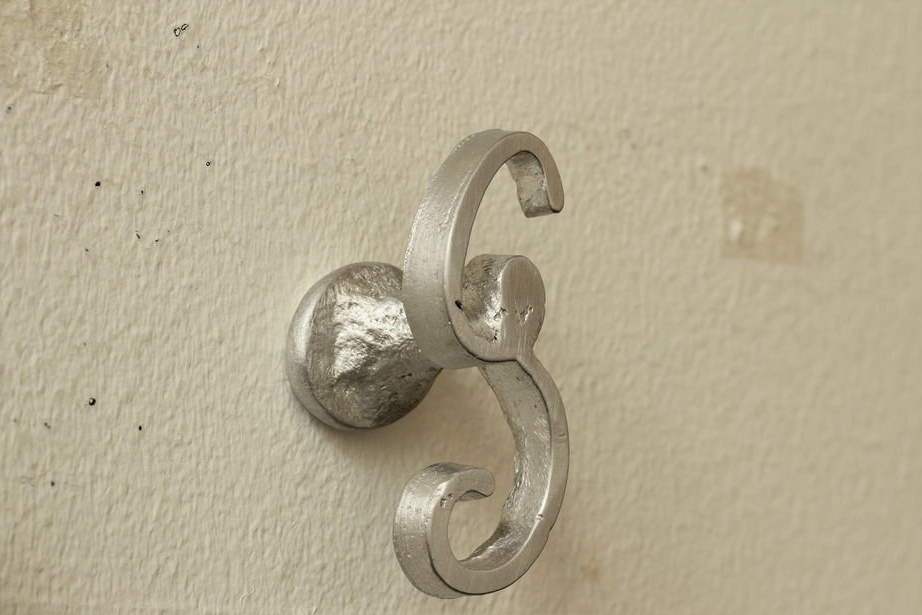
The master processes the resulting product on a grinding machine and manually, with a file.
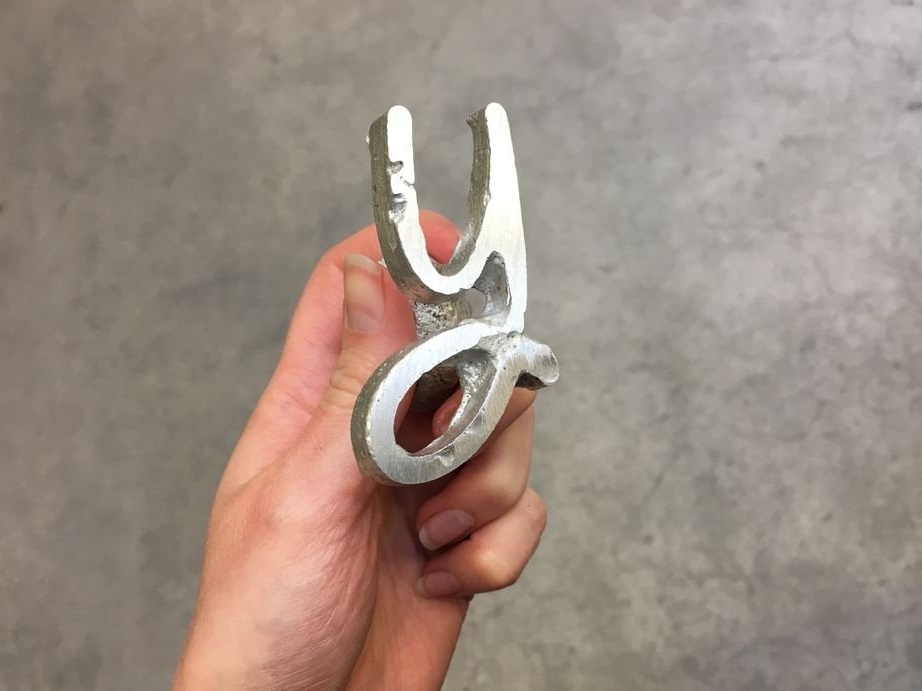
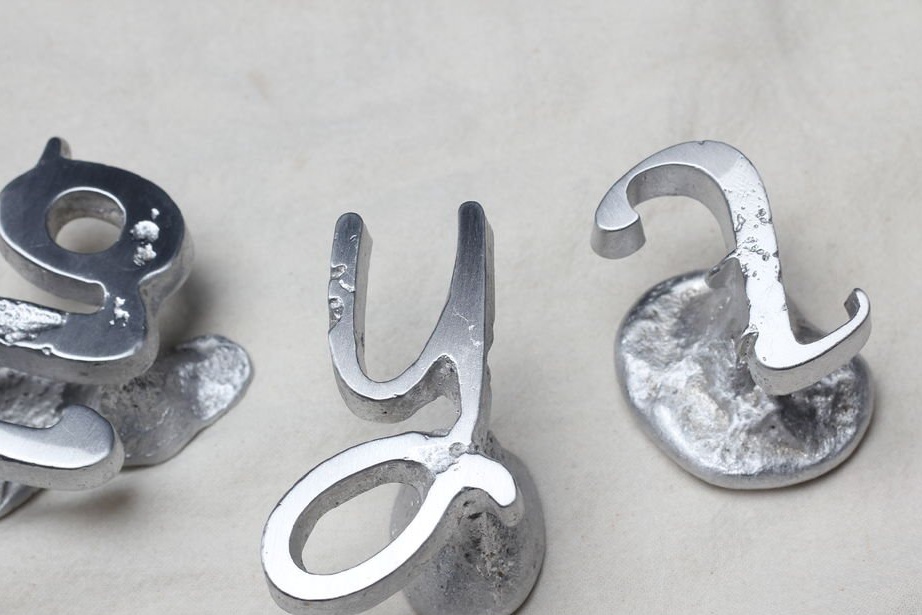
Now it remains to fix the letters on the wall. To do this, you can use double-sided tape, or screws, having previously drilled a hole in the aluminum base.