


This table was designed by the master to meet specific needs - it should have been:
1) Large enough to lay out a textbook, laptop and notebook.
2) Durable, with non-swinging legs and does not bend under weight.
3) A modern, clean, stylish and positive addition to the workspace.
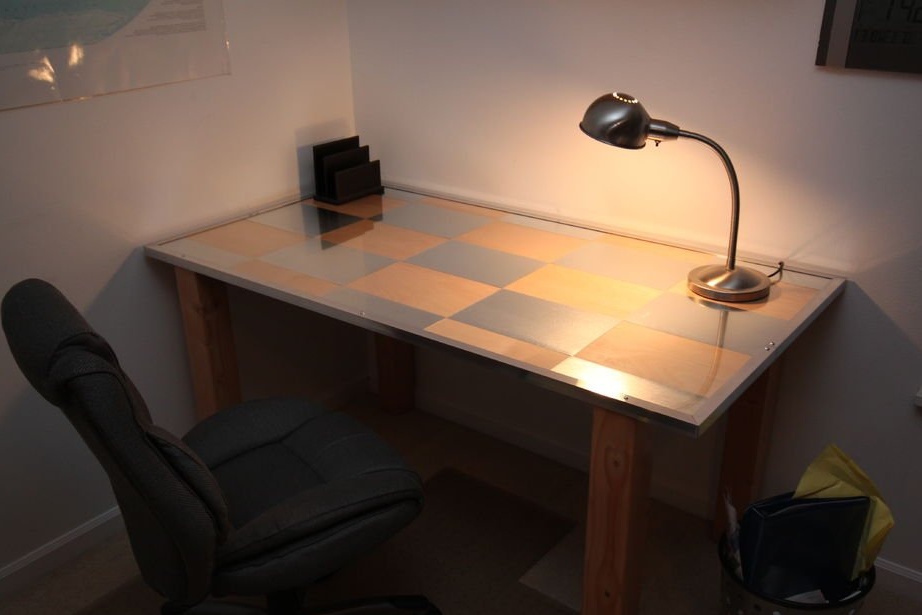
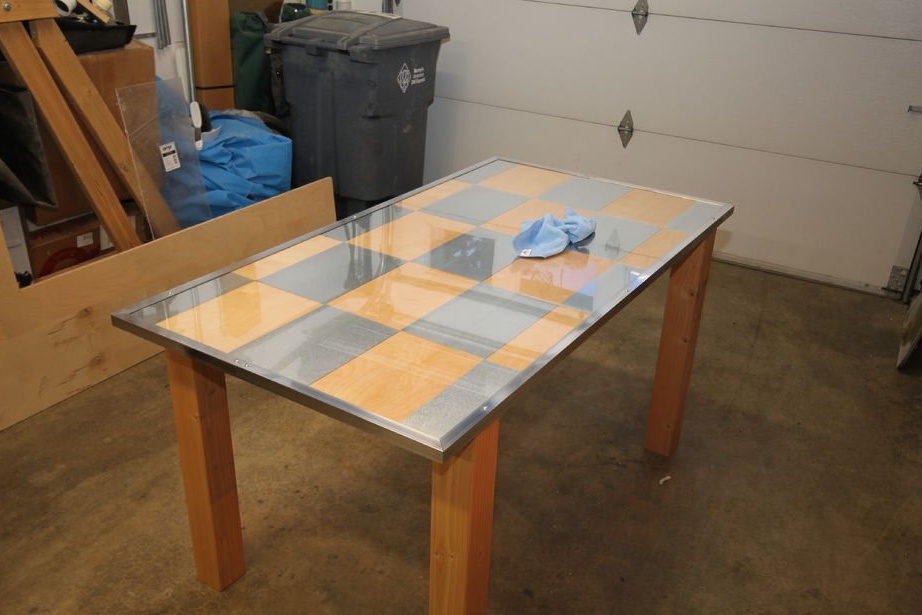
This finished product has spruce legs, a birch countertop with steel panels and an acrylic overlay. The edges are trimmed with an aluminum corner.
So, let's start with the materials:
- Birch plywood 1.2 x 2.4 m in size, 19 mm thick - 1 pc.;
- Acrylic sheet 90 x 180 cm with a thickness of 3 mm - 1 pc.;
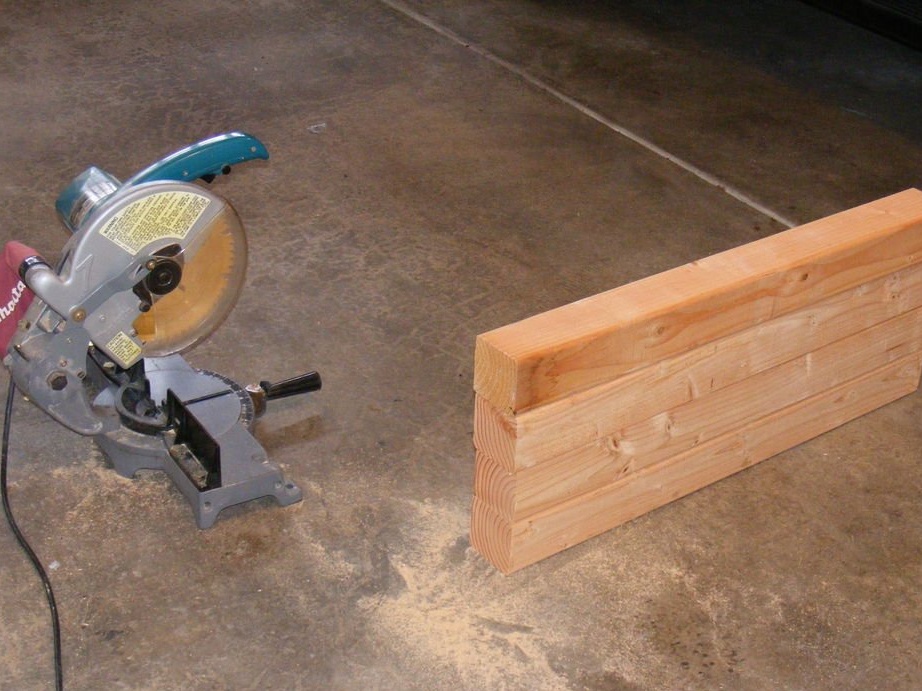
- Spruce beam 365 cm long, 100 x 100 mm in size - 1 pc.;
- Aluminum corner 240 cm long with a shelf of 25 mm - 2 pcs .;
- Galvanized steel in pre-cut sections 20 x 30 cm - 12 pcs .;
- Screws made of stainless steel with a length of 19 mm and a diameter of 8 mm - 10 pcs .;
- Anchor bolt for wood 100 cm long, 9 mm in diameter - 4 pcs .;
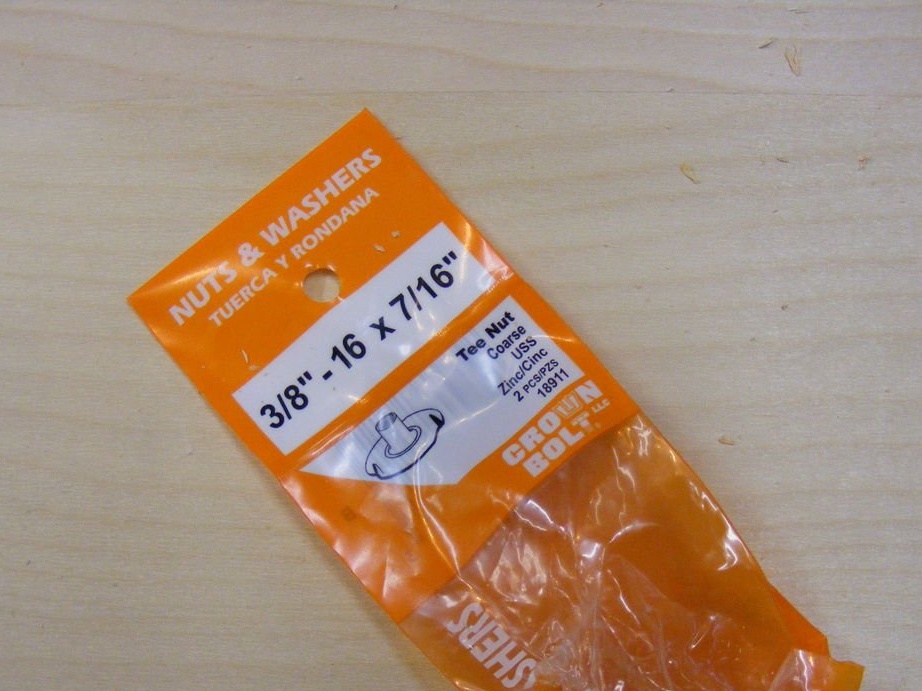
- Nuts - wing nuts with a diameter of 9 mm - 4 pcs .;
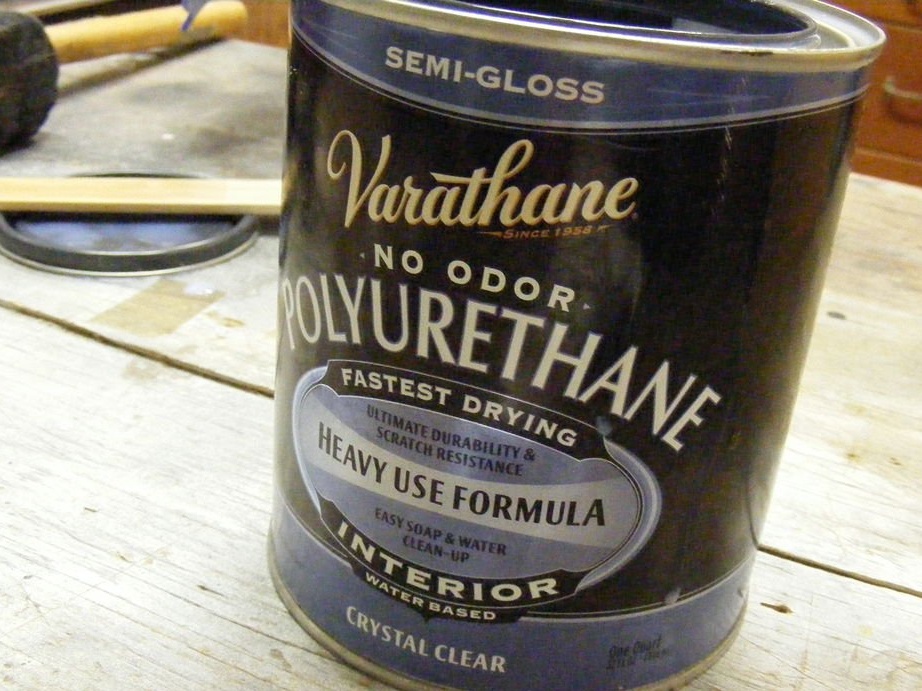
- Polyurethane varnish;
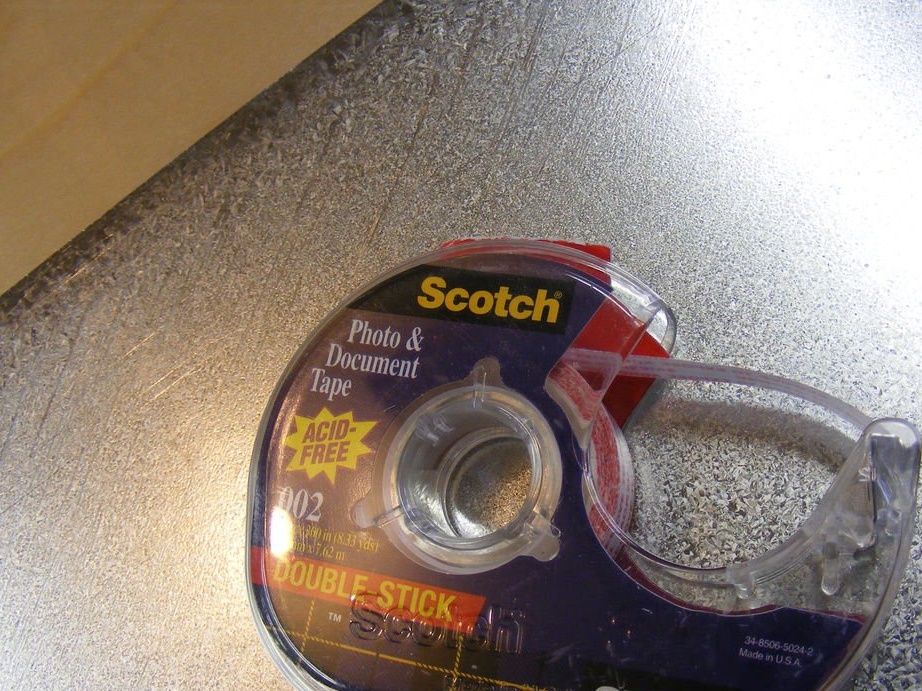
- Double adhesive tape;
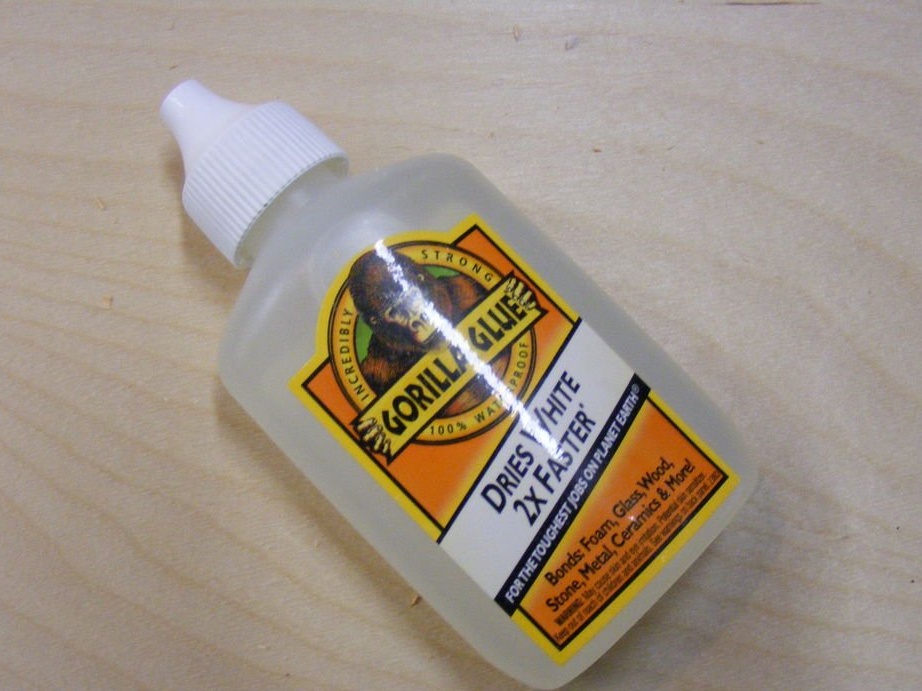
- glue;
- Wide tape;
- Aluminum varnish;
- Car wax;
Instruments:
- A circular saw;
- Square;
- Jigsaw;
- Roulette;
- Drill with various drills and bits;
- Router;
- Scissors for metal;
Step 1: Planning and Trimming Material to Size
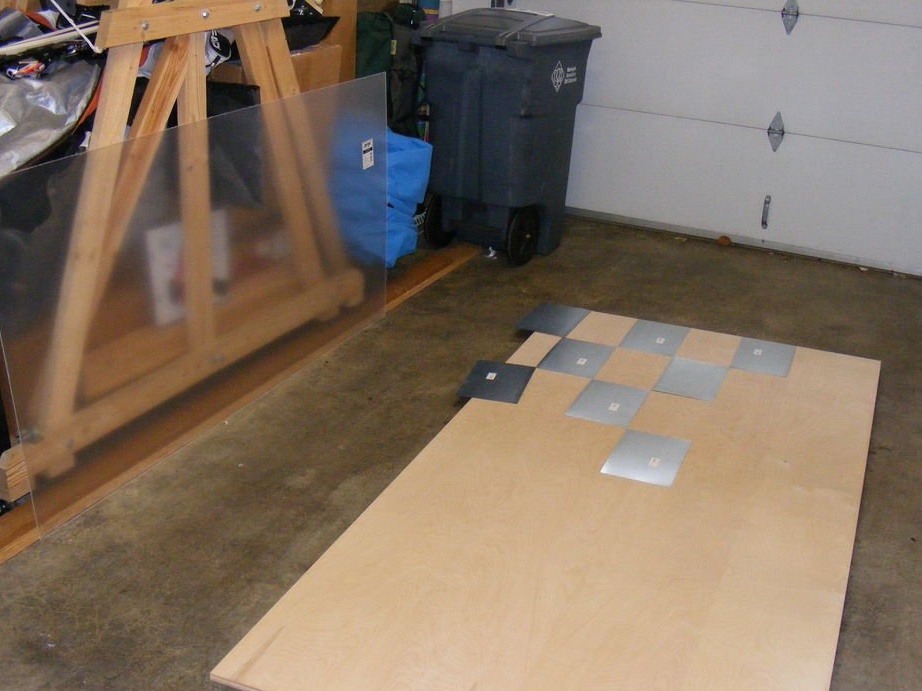
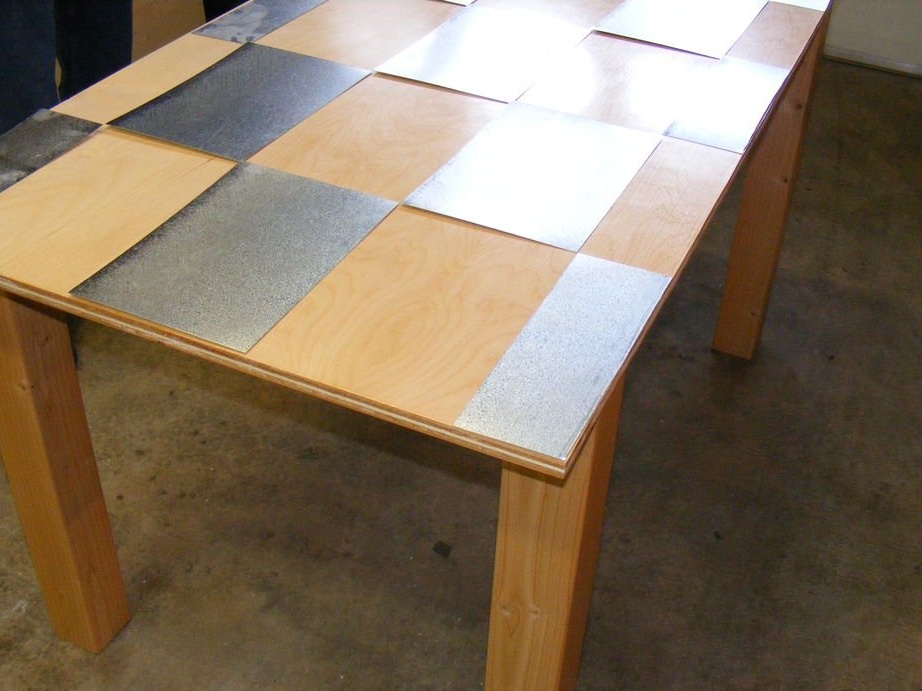
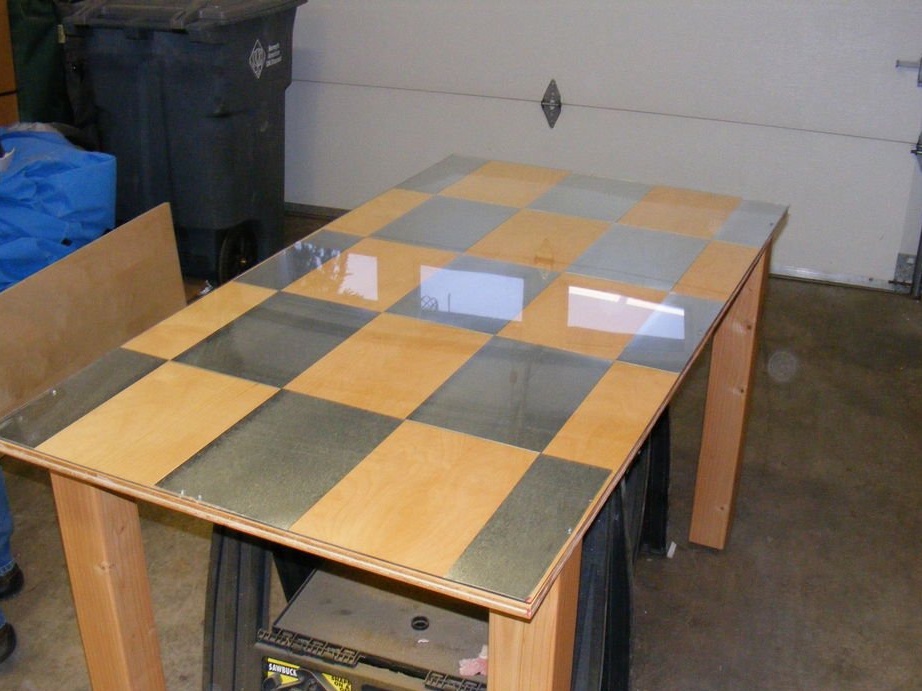
This step is relatively simple, since the steel panels already have a size of 20 x 30 cm and thanks to the layout, the dimensions for the countertop are 81 x 152 cm.
The master laid out the steel panels on the existing plywood and this type of layout turned out best. Under the acrylic coating you can put almost anything. The master considered as an option paintings, lanterns and many other drawings.
The master used a circular saw to cut the plywood. A table or hand saw is also suitable.
Step 2: Cut the legs to the desired length
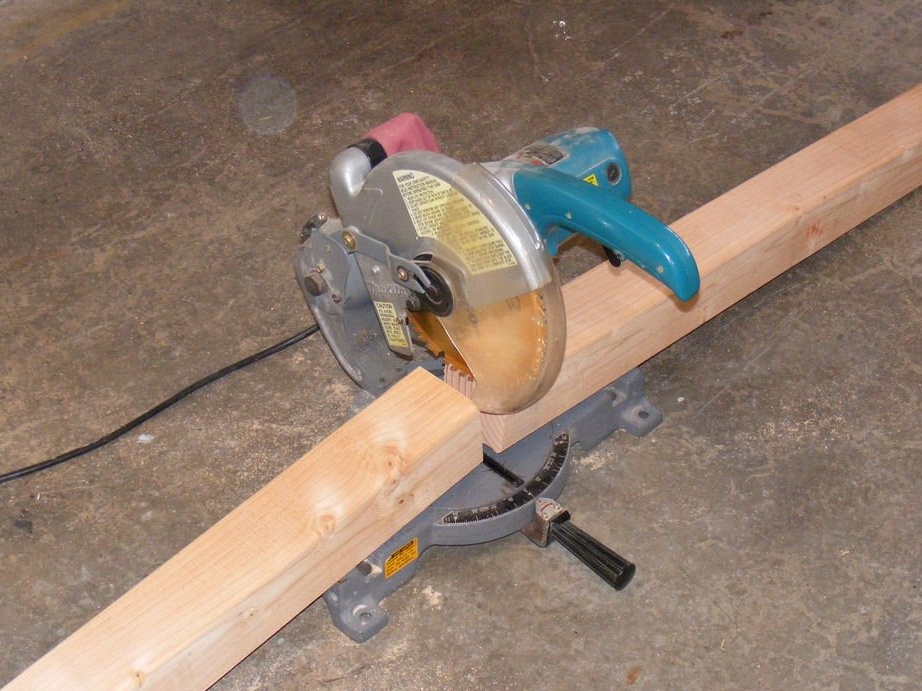
The best advice is to find a table that you like in height and copy the length of its legs. The master cut the legs of the future table to a length of 73 cm and they turned out to be too long. But the master is a tall guy and using an adjustable chair is very convenient - in any case, a higher table makes him sit with better posture.
When working with timber, the master decided to cut it into four parts, and then reduce it to the desired size. Loss of material is inevitable yes, but it is easier to control and hold the beam.
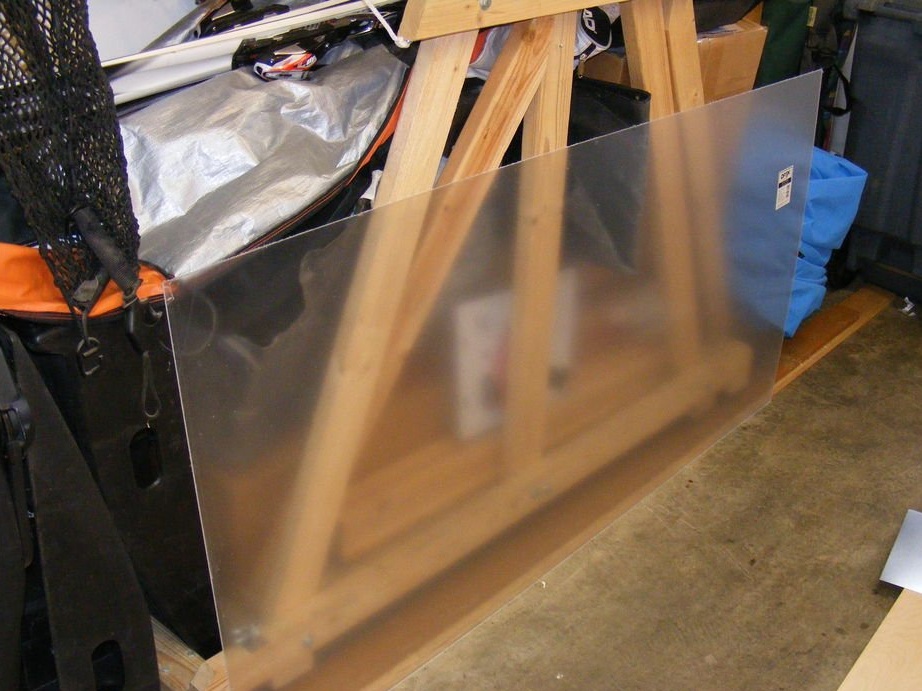
Step 3: Cut the acrylic sheet to fit the size of the countertop
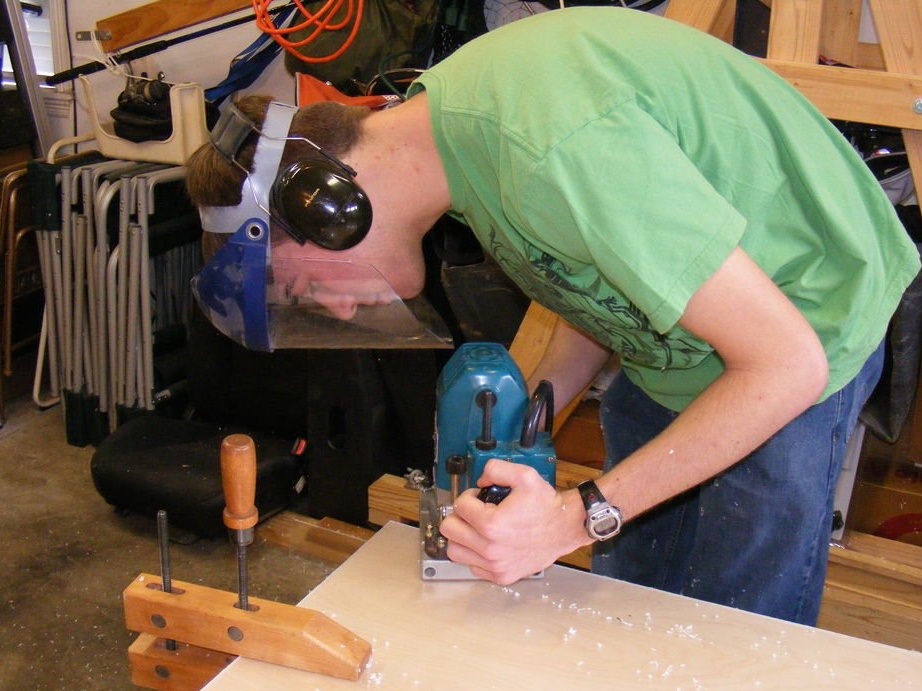
It is advisable to keep acrylic plastic in the packaging film until the very end of the work - so it remains clean and shiny. Put acrylic on top of the plywood. Then use the cutter to fit the acrylic over the plywood.
If you do not have a router, then a circular or table saw is suitable.
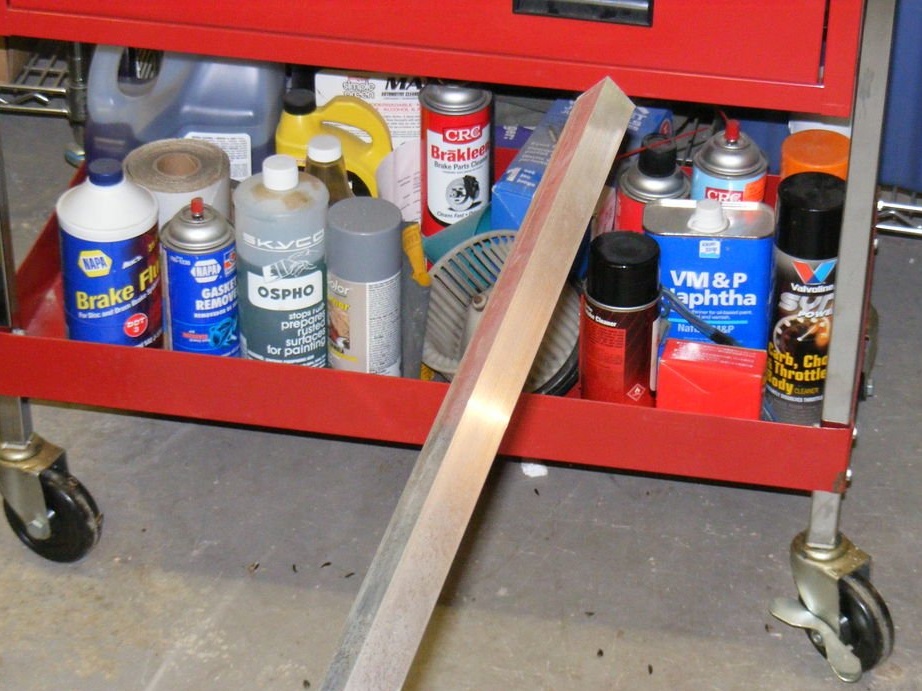
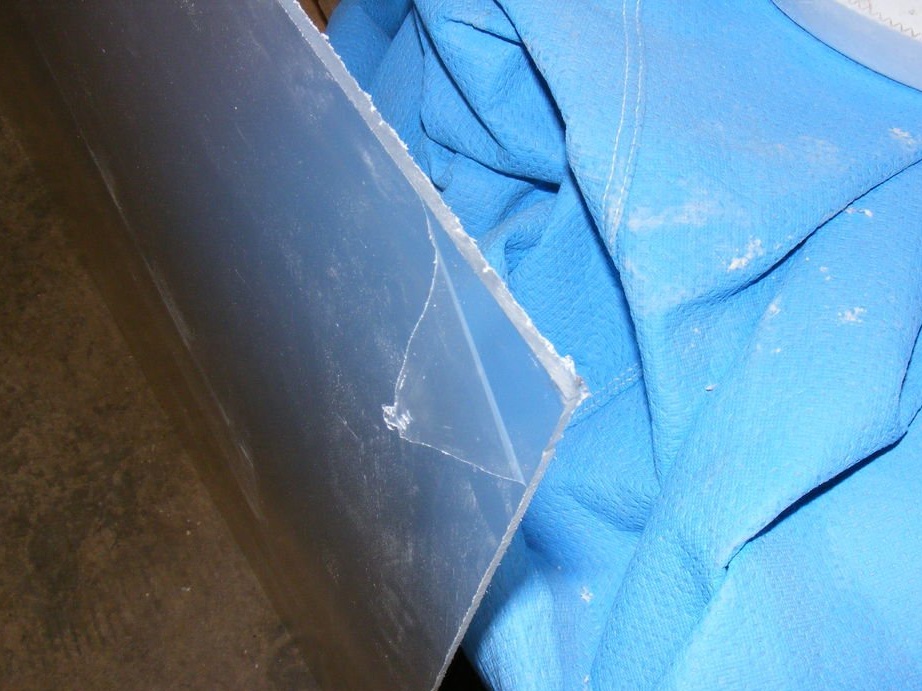
Step 4: Cutting and Bending the Aluminum Corner
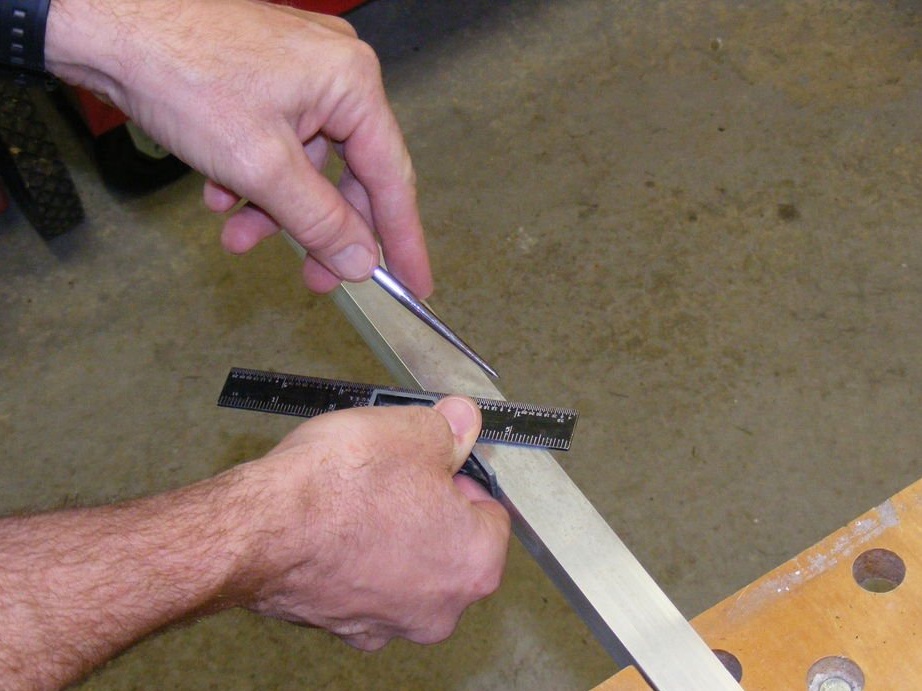
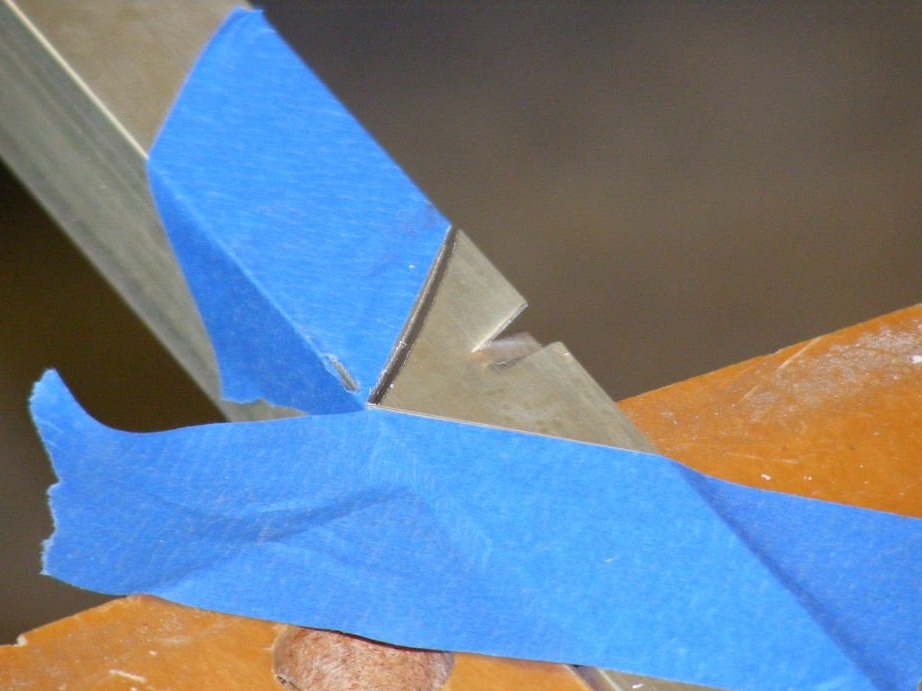
Now you need to trim the aluminum corner to fit the size of the plywood. After measuring the lengths of the sides of the countertop, the master decided to cut and bend an aluminum corner in size 40 - 152 - 40 cm. One corner was just enough for such a length without complete cutting. True, it turned out to be not very convenient to do, since the material began to rest on the elbows during operation.
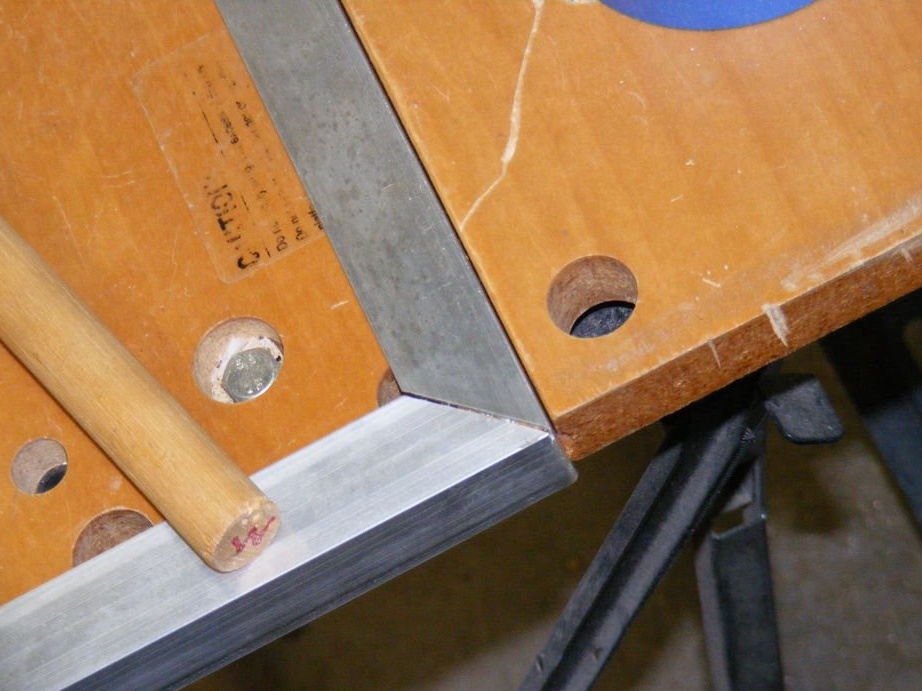
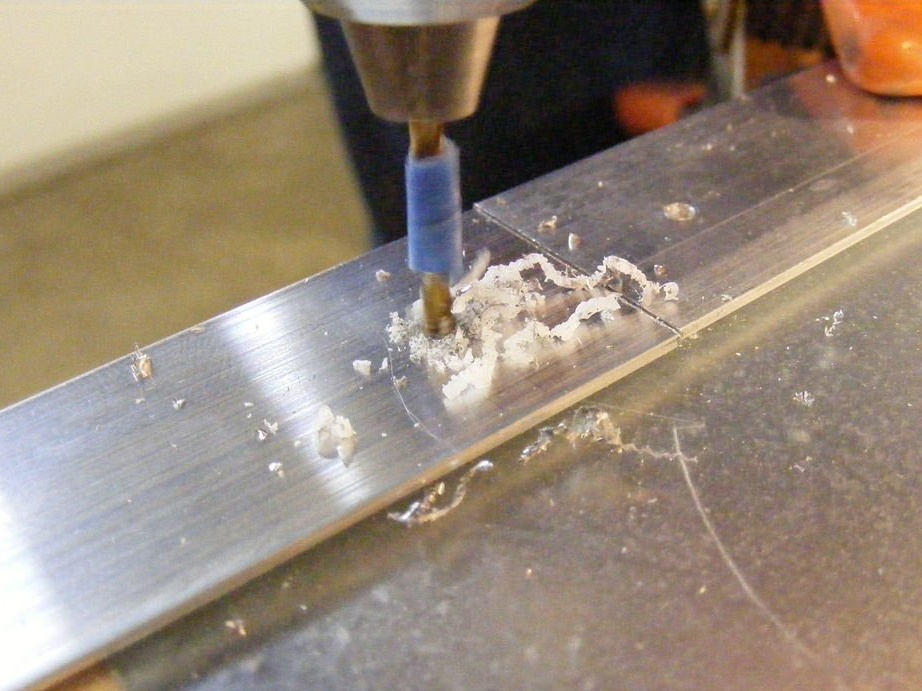
To cut aluminum, measure an angle of 90 degrees, and then set aside an angle of 45 degrees on either side of it. Then cut the resulting angle of 90 degrees with a jigsaw. Then fix the aluminum at a right angle and bend it gently to 90 degrees. The cut line should converge.
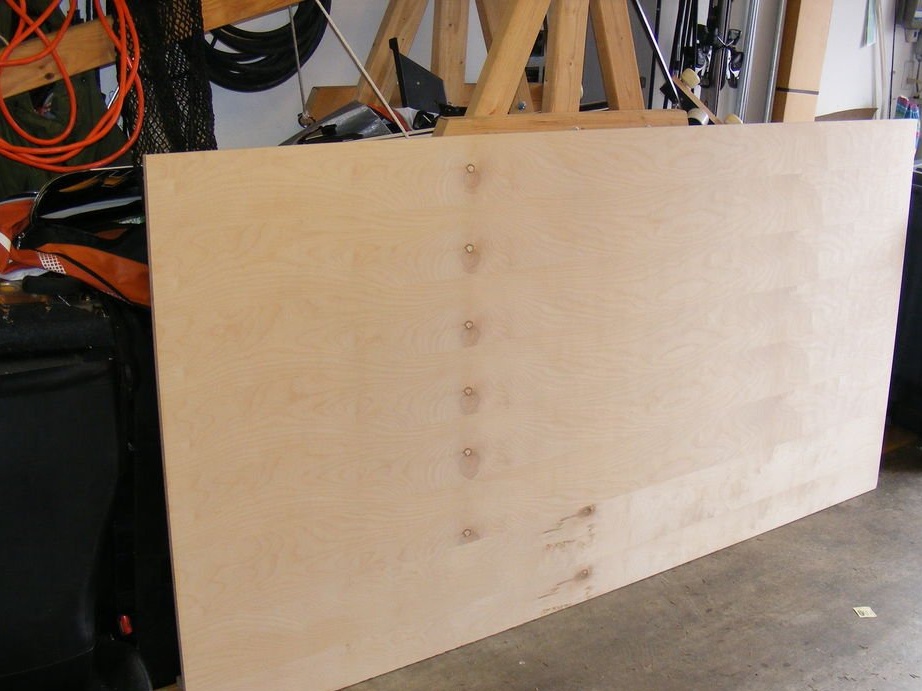
Step 5: Drilling Leg Holes
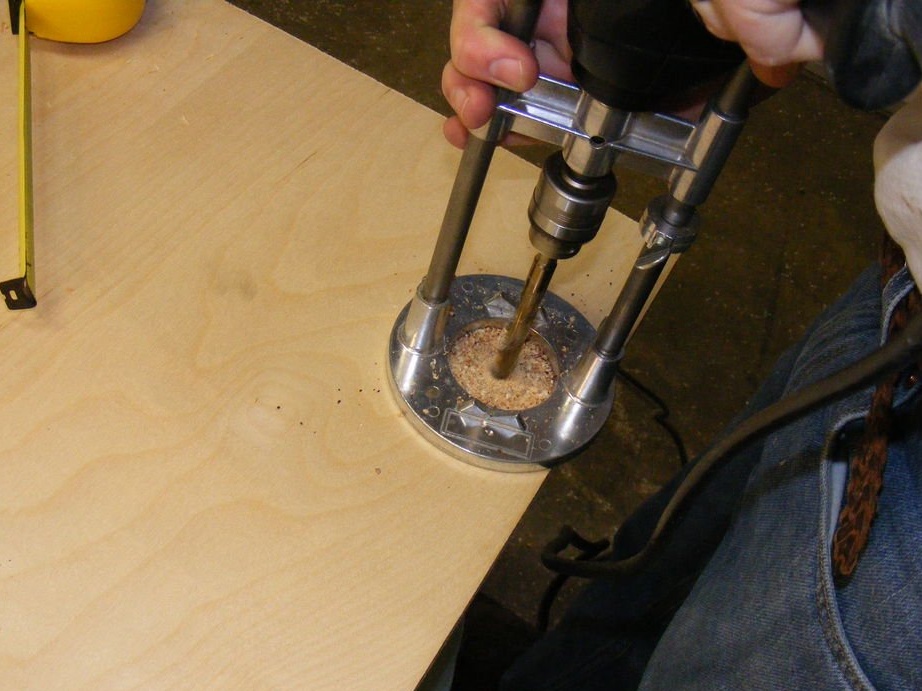
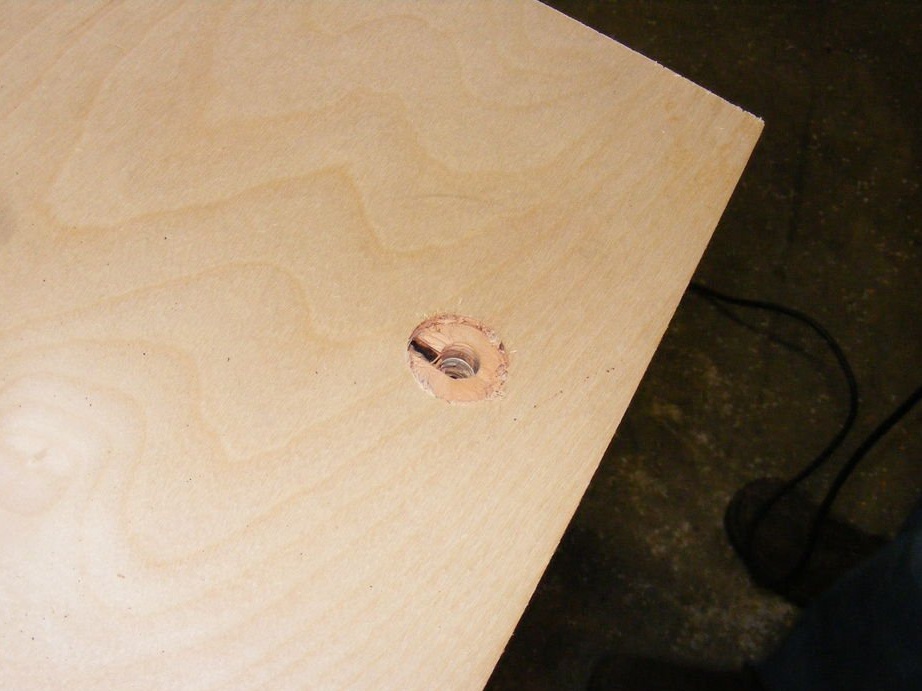
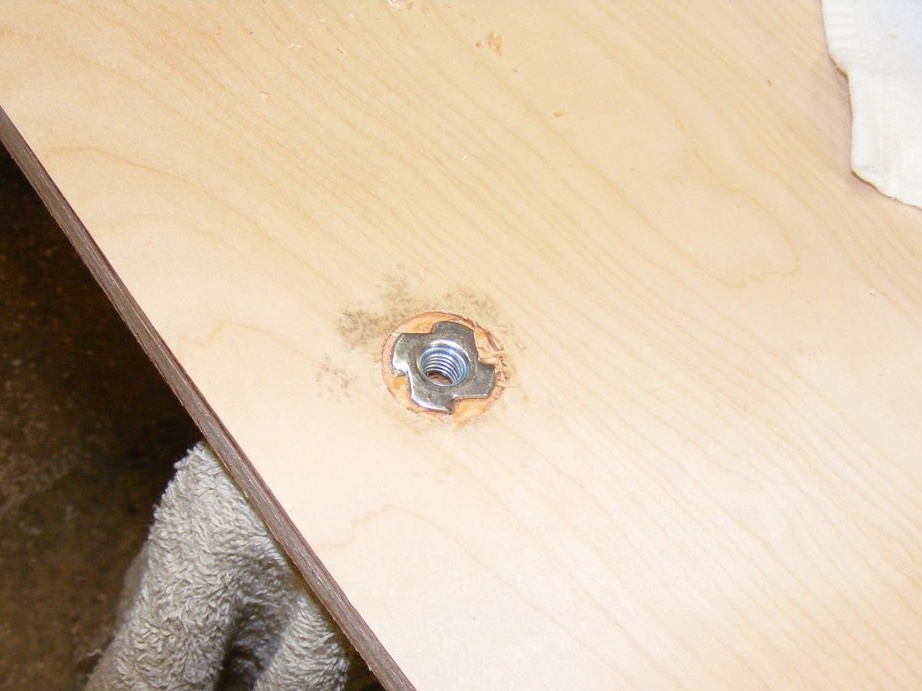
Next, drill four holes in the plywood. They should be slightly larger than 9 mm to accommodate the nuts. They should be recessed approximately 1 mm. The master noted the location of the legs, retreating fifteen centimeters on the sides and five centimeters from the front and rear sides.
The best option would still be to retreat a few centimeters further from the front and back, so that the legs could be rotated and removed without removing the aluminum corner.
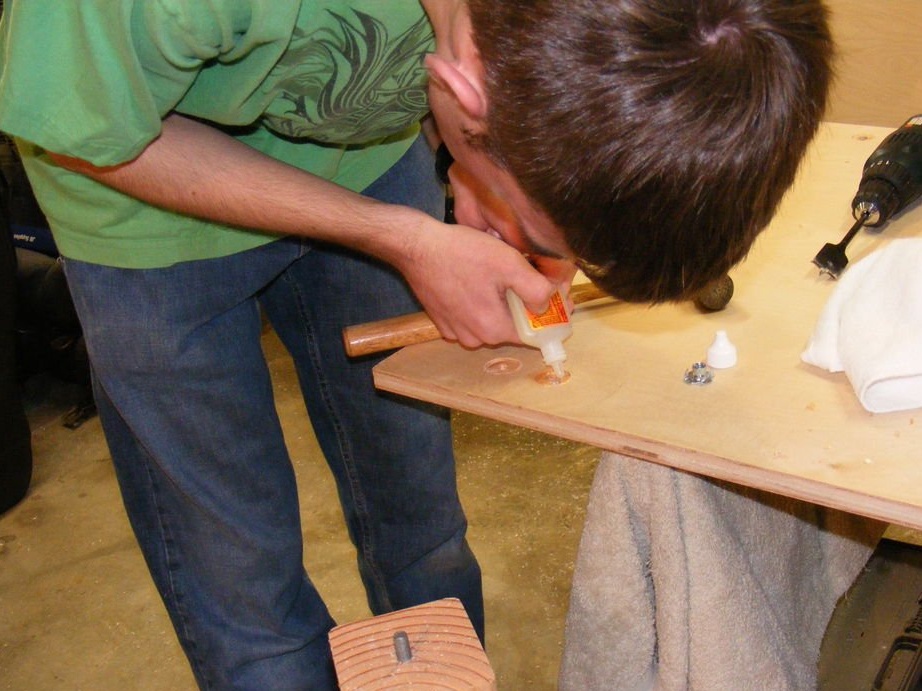
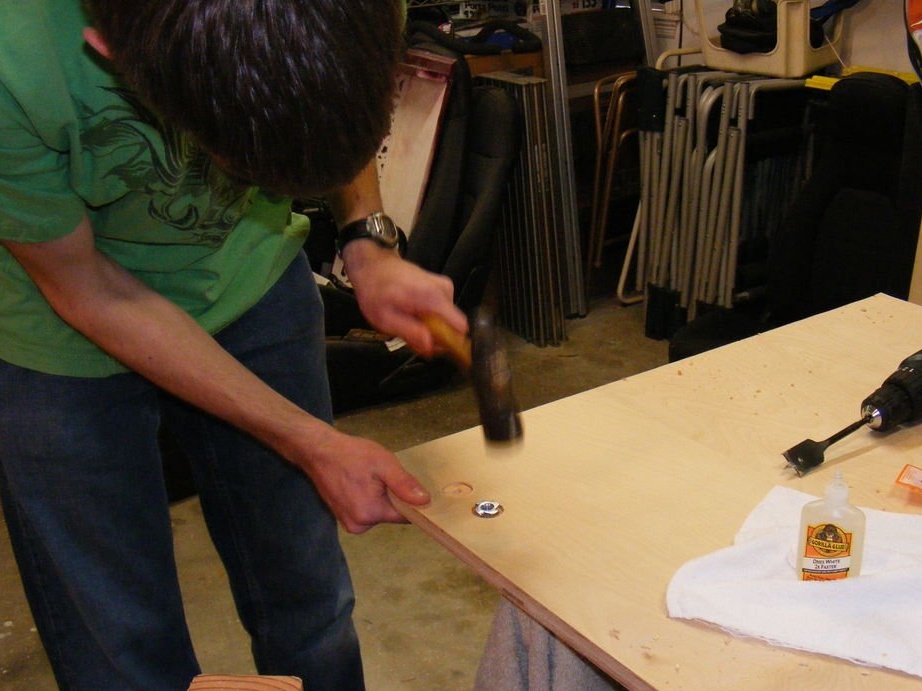
After the master drilled the holes, he applied a small amount of glue around the hole and gently made nuts.
Step 6: Drilling Leg Holes
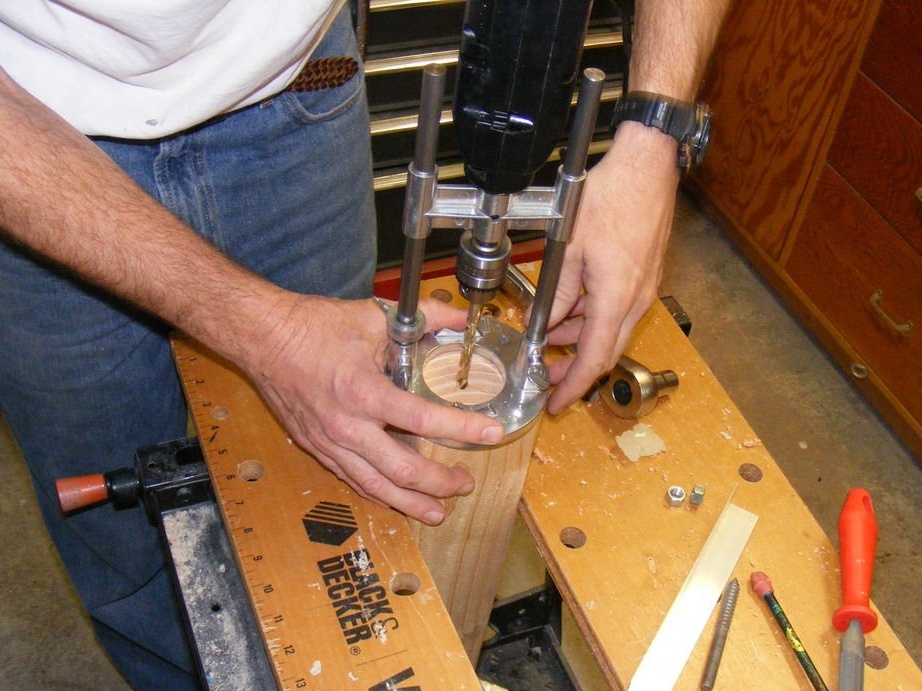
Here you need to drill holes a little less than 9 mm for the bolts that will be installed in the legs. The master drilled all four legs in their centers.
Screw the anchor bolts into the wood, having previously tightened the two nuts on the threaded part of the bolts so that they act as locknuts. Then use an allen or hex key to screw them into the desired depth.
Step 7: Finishing the Wood
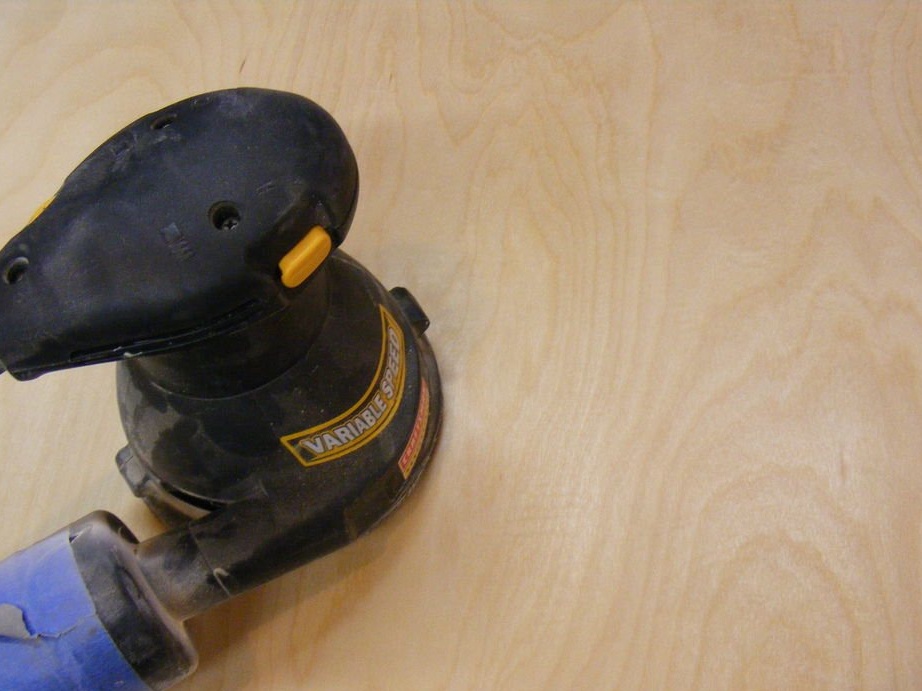
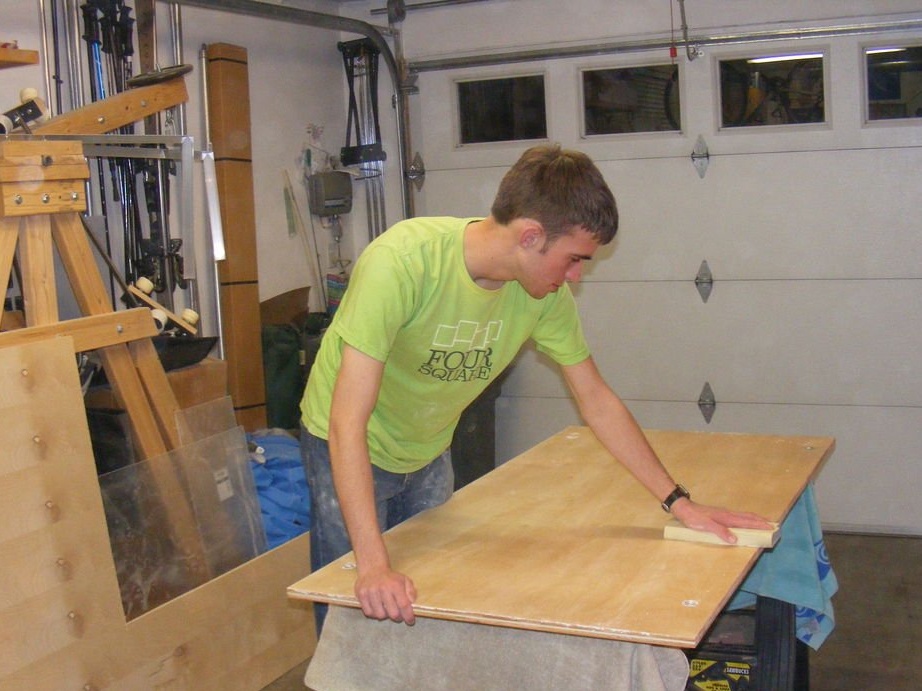
Then it is necessary to polish all the wooden parts of the table, starting with about 100 grit units, to remove traces of machining, then up to 220 units and finally the last layer of 320 finishing units. Brush off the dust and wipe with a sticky cloth to prepare the surface.
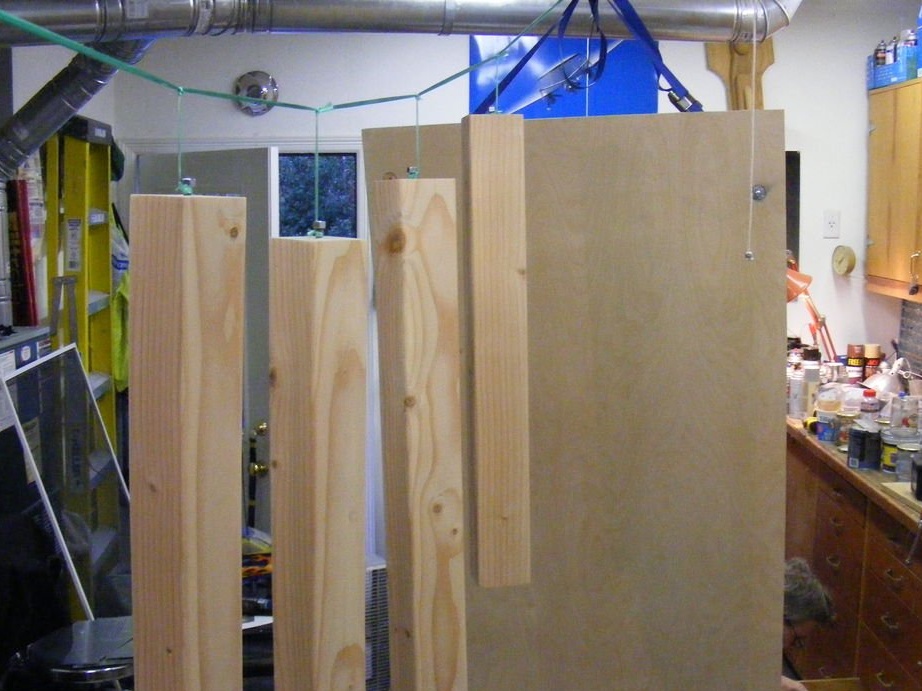
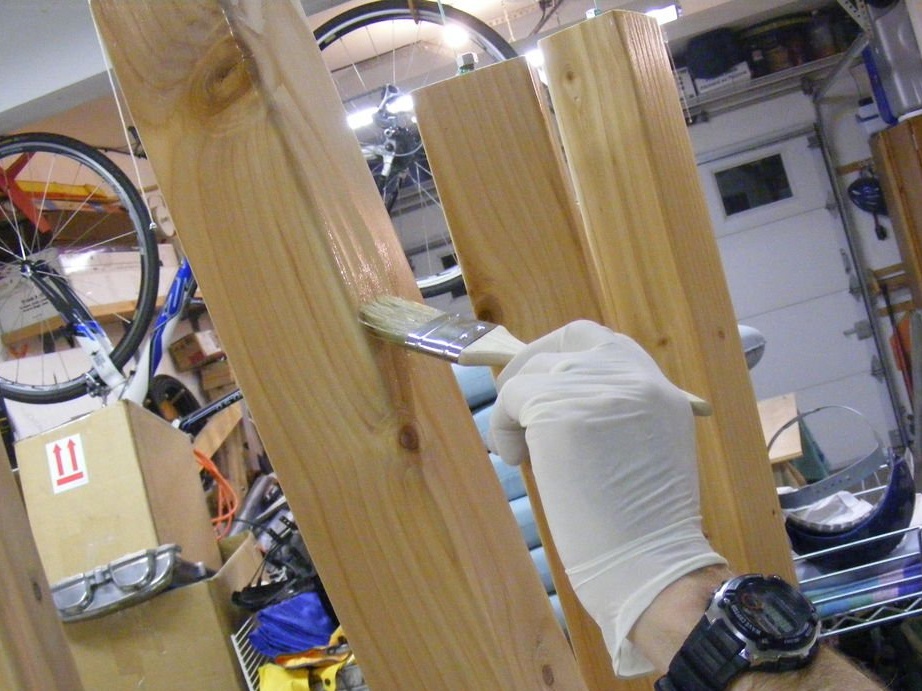
Suspend all the constituent parts of the finishing table and apply the selected finish with a roller or brush. Be sure to mix the selected varnish well.
After drying, sand the parts with an emery grain of 320 units, remove dust and apply a second coat. Apply as many coats as needed. The master applies four coats because the polyurethane after grinding becomes a little thinner.
Step 8: Attaching Feet and Metal Panels

(The master does not have these photos, but we just believe him that the legs are screwed into the inserted nuts)).
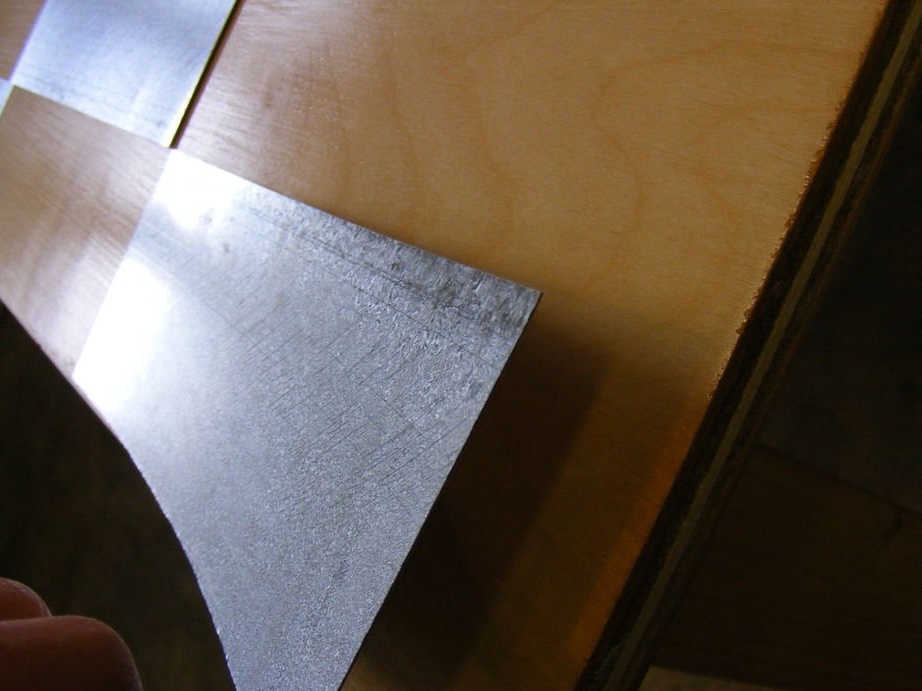
Press them and align them on the sides of the table.
Arrange the steel panels in the desired order, then glue them with adhesive tape. You can glue it, but the tape will allow you to remove or rearrange them if you suddenly need to.
Step 9: Drilling holes for the aluminum corner
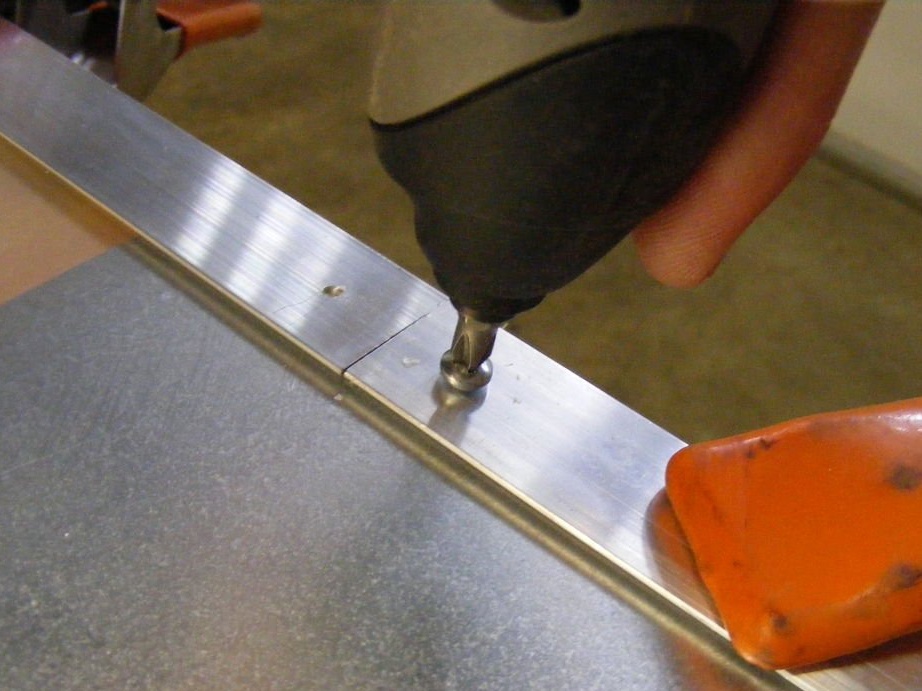
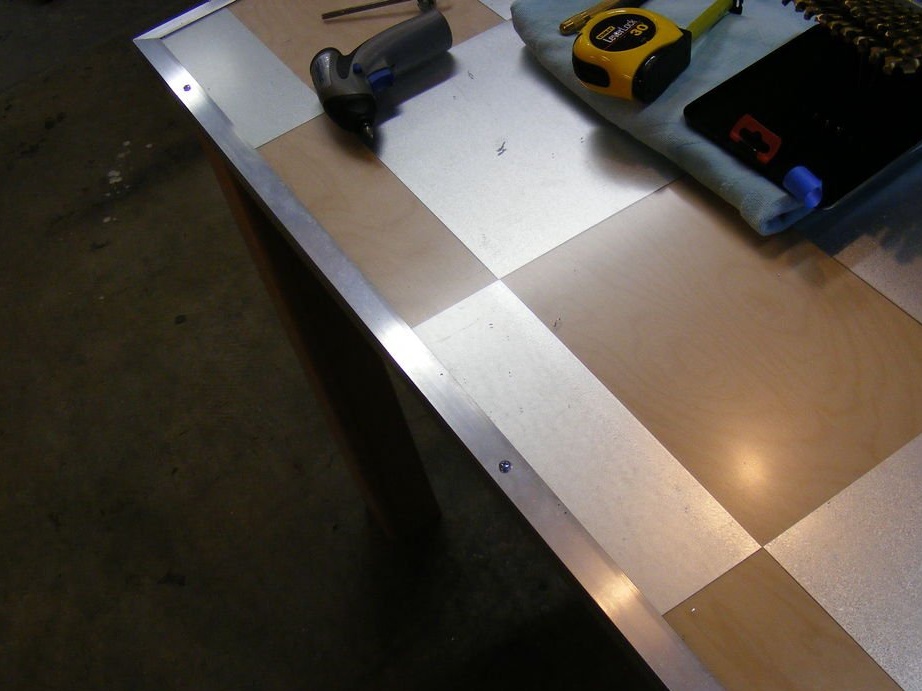
At the end of the work, you should arrange the aluminum edging and choose the places where to place the screws.
The master decided to install all the screws on the upper part of the aluminum corner to provide the most rigid fixation. The master placed three corner parts: one in front, then one on each side of the countertop. The missing part was added from the second corner.
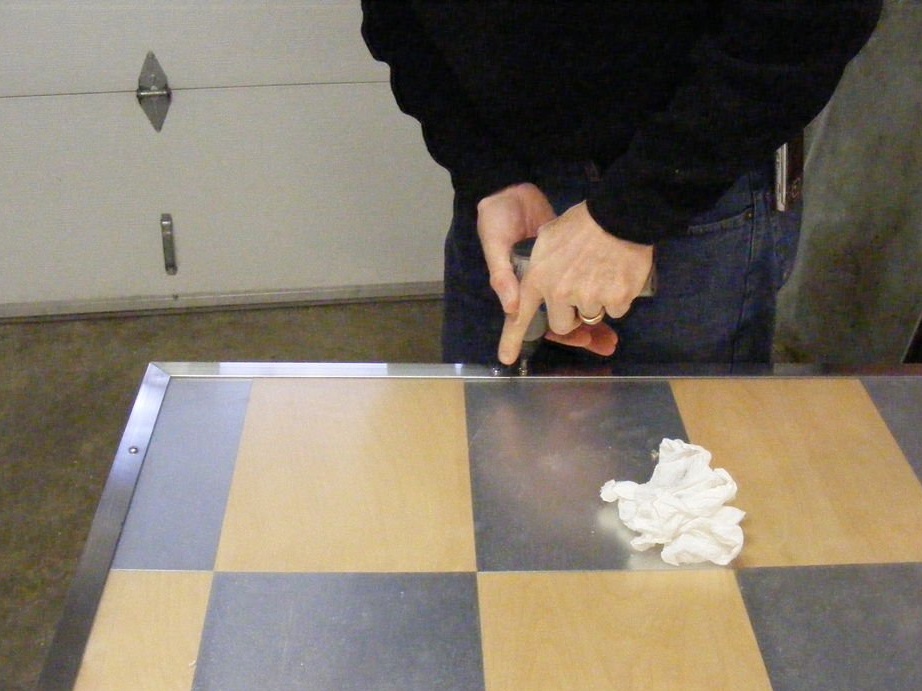
Drill a test hole first to avoid cracking the acrylic, then finish with a large hole so that the screw does not pass through the aluminum and acrylic. It should be small enough so that the screw can fix on plywood.
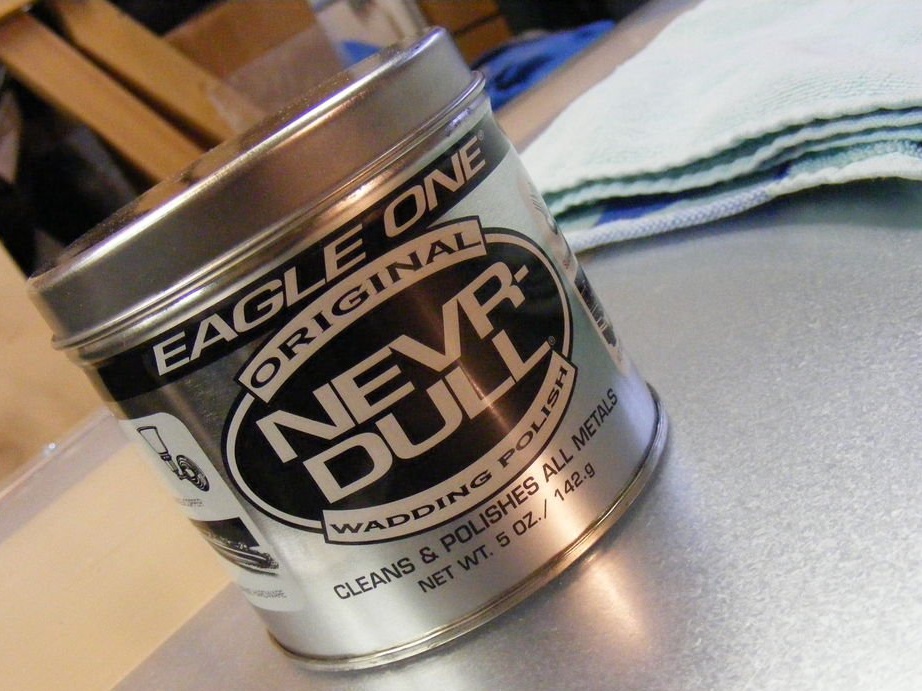
Insert all screws to check fit, then polish with metal polish. Finish polishing with car wax so that aluminum does not oxidize.
Step 10: Cleaning the surface and installing acrylic plastic

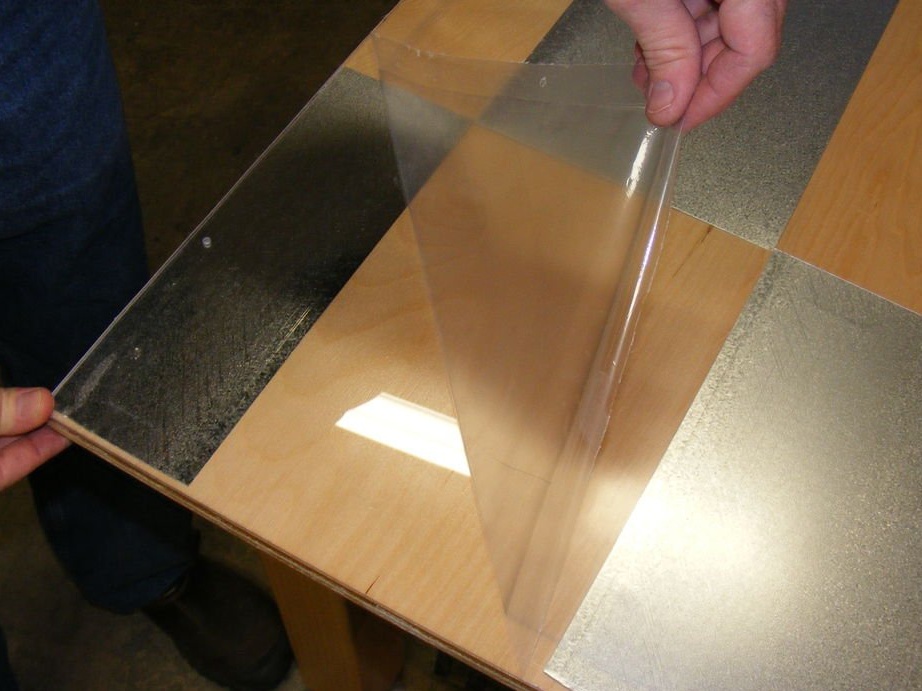
First remove the polished aluminum corner. Clean the surface and remove dirt from the steel panels. Peel off the acrylic film and lay it on the table. Remove the top film - this moment is unforgettable! Suddenly the table began to sparkle.
Twist the edge, and the job is done.
Step 11: finished product
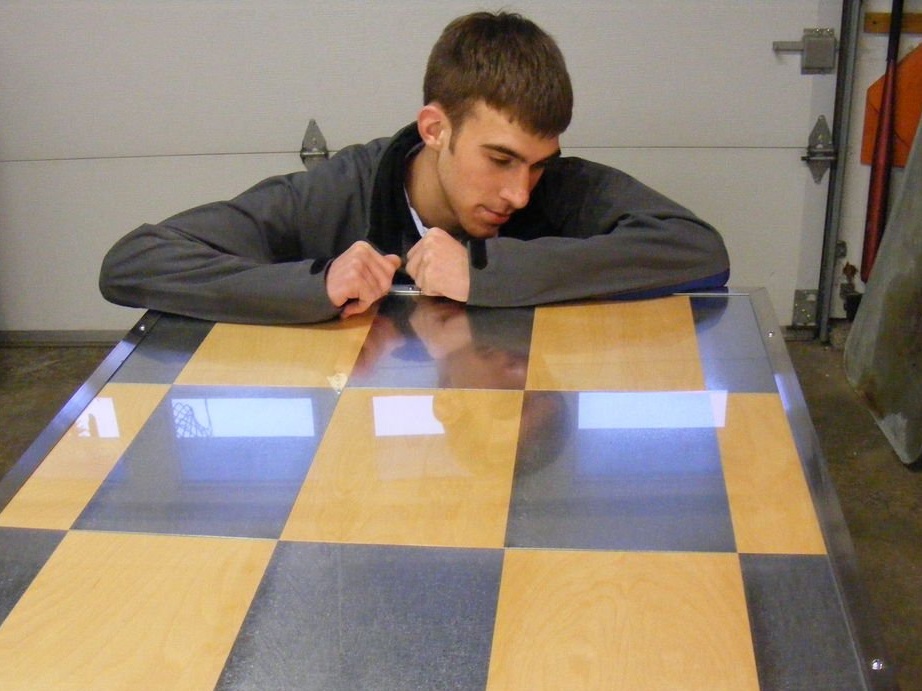
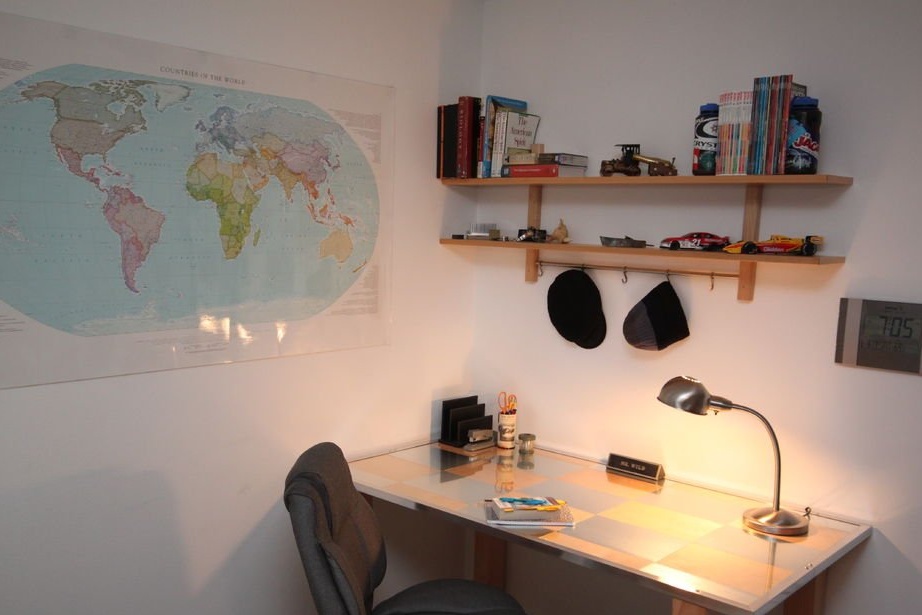
Polish the countertop to a shine, and then it remains only to set the table in your workplace!