Often when marking up various objects and objects, we simply cannot move them to transfer their outline to another object. This happens, for example, when marking linoleum, tile, and other materials.
In this article, Be Creative’s YouTube author will tell you how he made a simple markup. devicewhich will cope with such tasks.
This homemade product is made from improvised trash, and does not require much time.
Materials
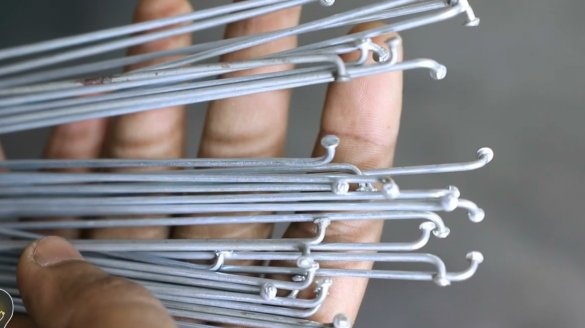
- Bicycle knitting needles
- Wooden beam
- Two M6 bolts, washers and wing nuts
Instruments, used by the author.
-
- Hacksaw, wire cutters, knife, tape measure, square
- V-shaped 90 degree mill
-
-
- Vise, marker.
Manufacturing process.
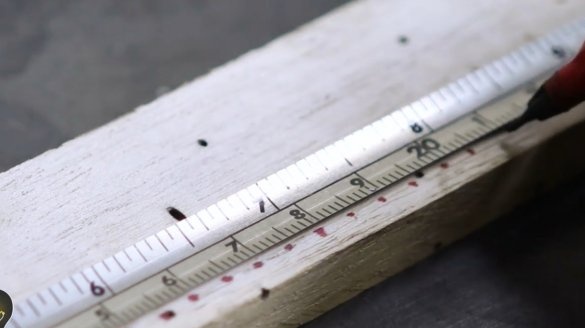
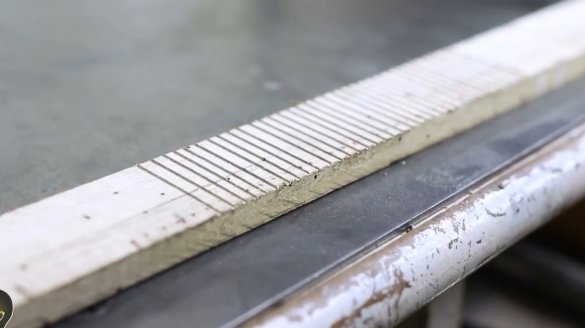
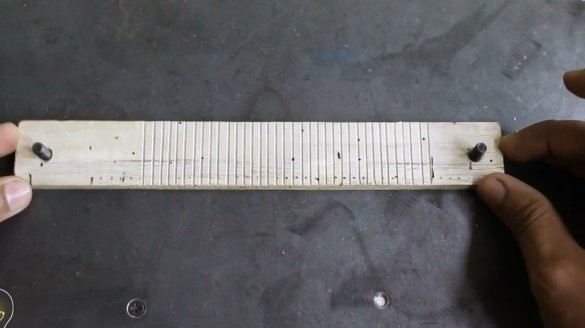
So, the first thing the author puts on a small piece of markup with a step of 5 mm.
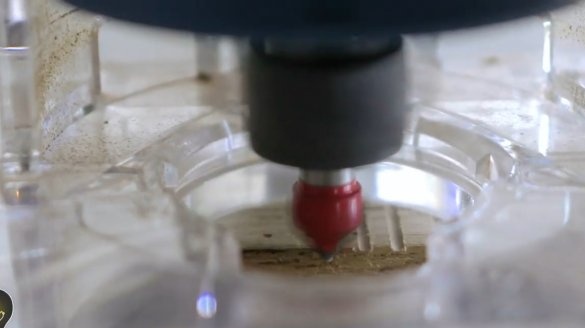
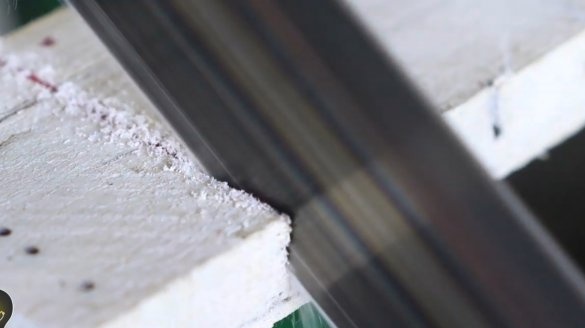
Then it sets the V-shaped mill, and resting the mill on the square cuts shallow grooves according to the marking.
It could, of course, turn out more evenly.
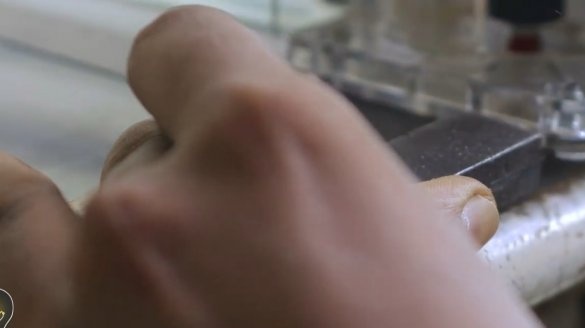
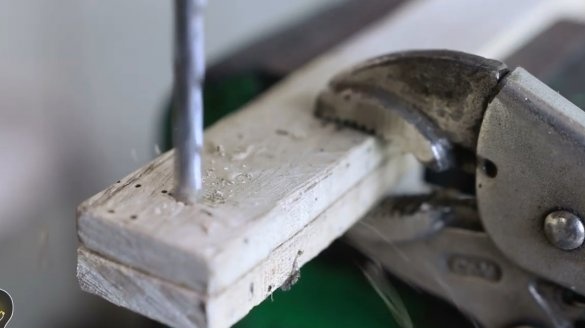
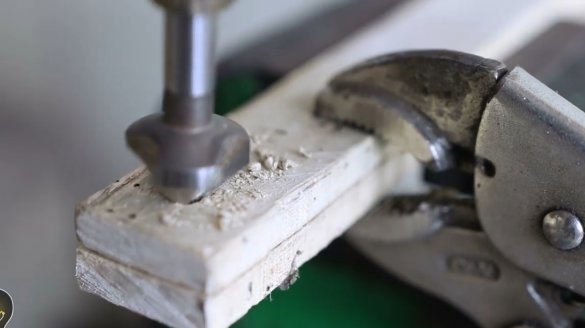
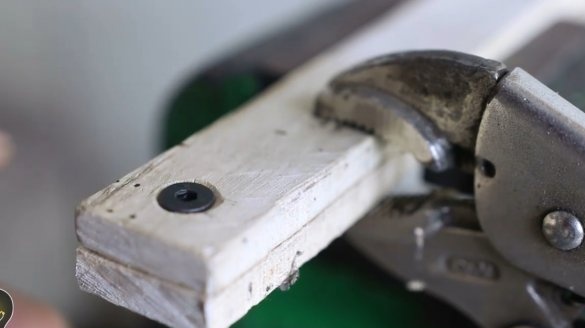
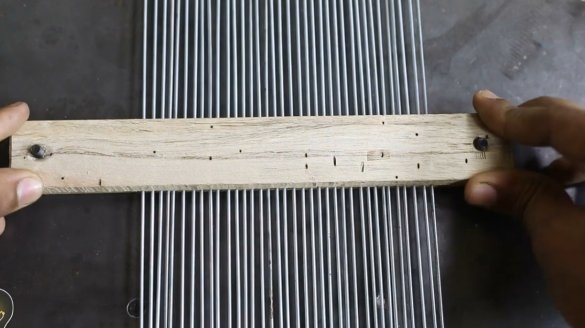
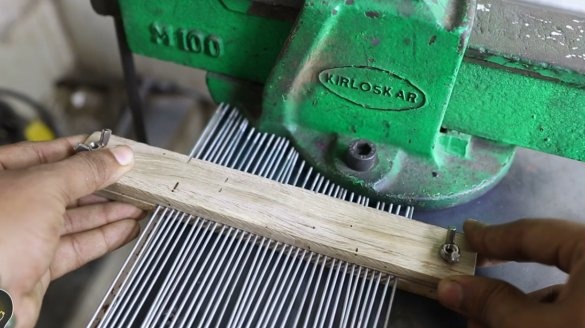
She cuts a board of the same length as the first workpiece, fixes them with a geyser grip, and drills through holes at the edges. Then countersink them, and try on the bolts.
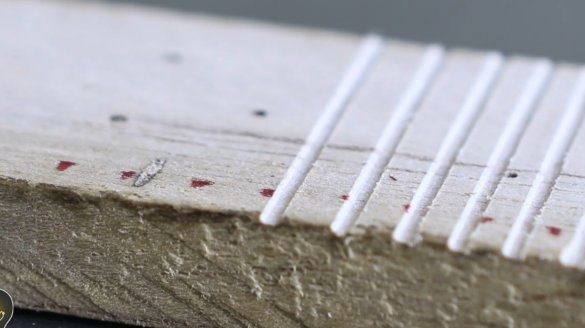
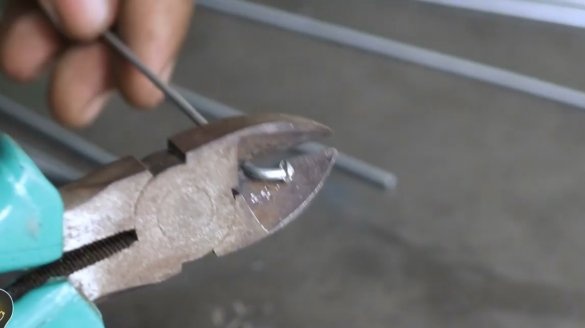
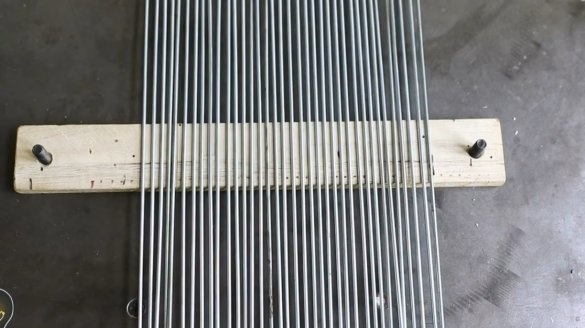
Now, from bicycle spokes cuts the rods. For these purposes, old electrodes, from which you need to remove the coating, or bamboo skewers for barbecue, are also perfect. In general, any long and thin rods.
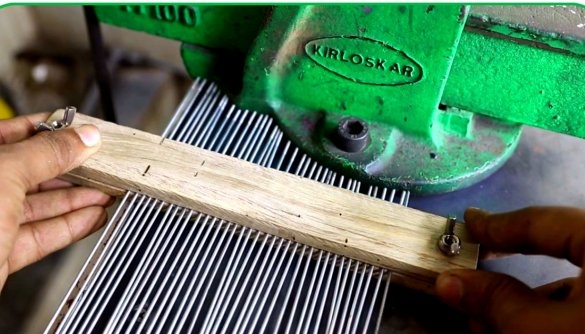
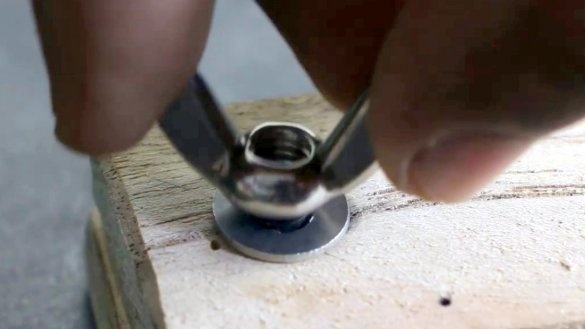
It remains to put the rods in the grooves, press the second plank, and make the wing nuts.
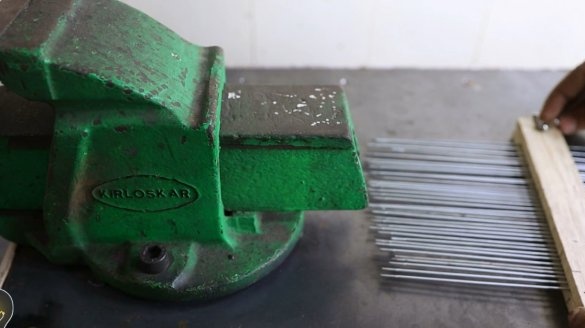
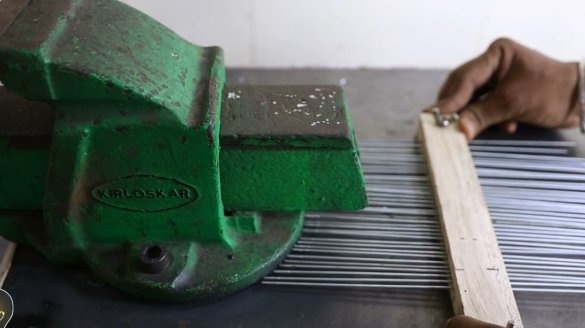
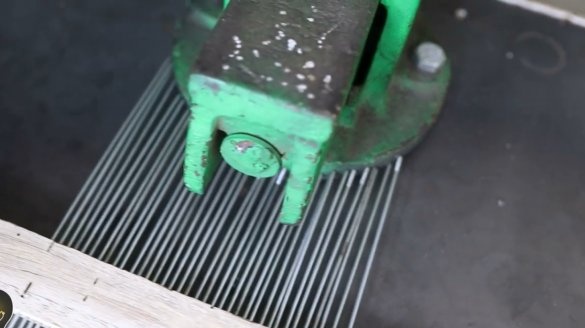
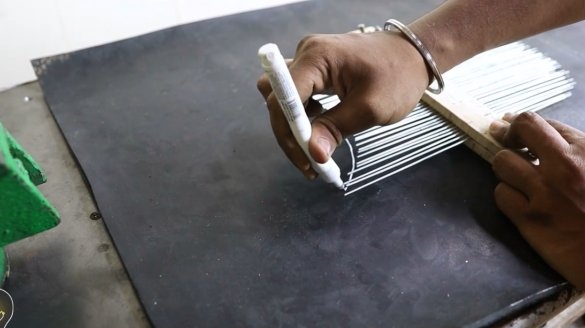
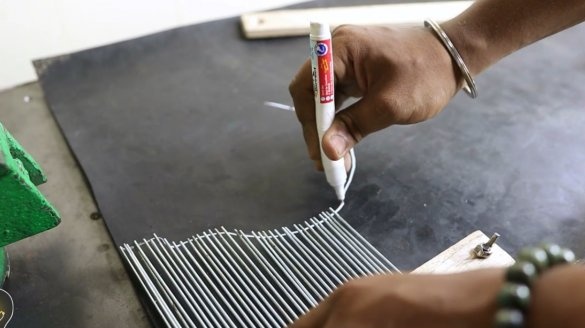
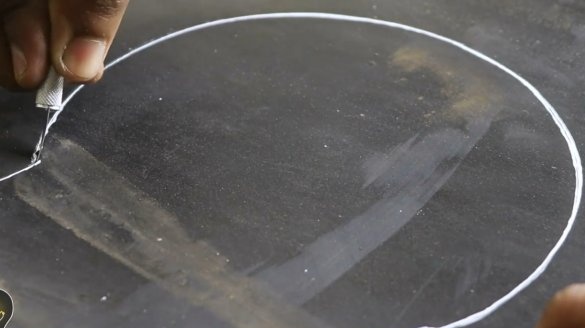
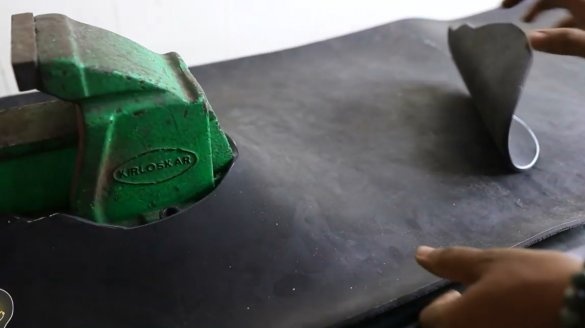
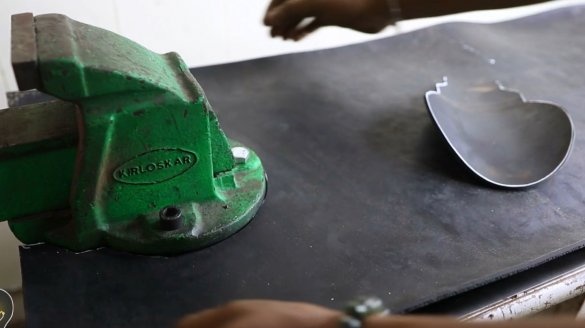
The author will demonstrate the use of this tool on the example of a vise. He wants to replace the rubber cover of the table, and in order to transfer the markup, he would need to remove the vise.
Transferring the contours of a vice to rubber, it remains only to cut with a knife according to the marking, and lay the sheet in its place.
The smaller the step between the grooves, the higher the accuracy of the resulting marking. And the dimensions of the device itself can be changed to fit your tasks.
Thanks to the author for a simple but useful marking device for the home and workshop!
All good mood, good luck, and interesting ideas!
Author video can be found here.

