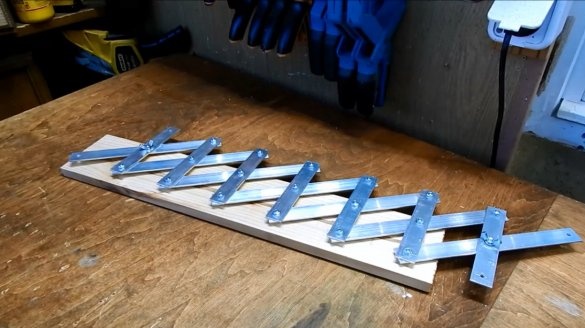
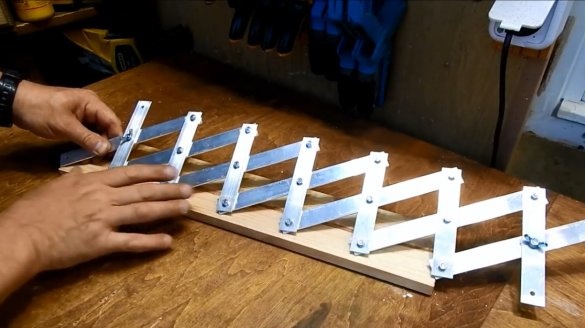
In carpentry and carpentry, it is often necessary to divide the workpiece into several sections of the same size. This can be done using a tape measure and a calculator, but it is long enough.
In this article, Andrey, the author of the YouTube channel of the same name "Andrey Yarmolkevich", will tell you how he made the divider line exactly for such tasks.
Materials
- Aluminum strip 20X2 mm
- Bolts, washers, nuts M4
- M4 wing nuts.
Instruments, used by the author.
- Drilling machine
- Miter saw
- Kern, hammer, vernier caliper.
Manufacturing process.
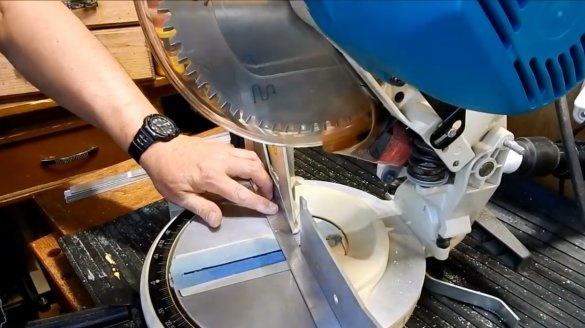
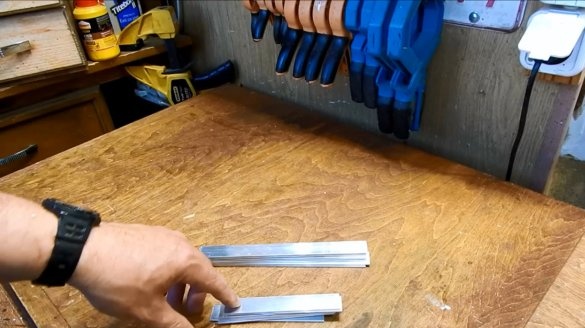
So, the author cuts the blanks from an aluminum strip on a miter saw. It should turn out seven blanks 120X20 and 200X20 mm.
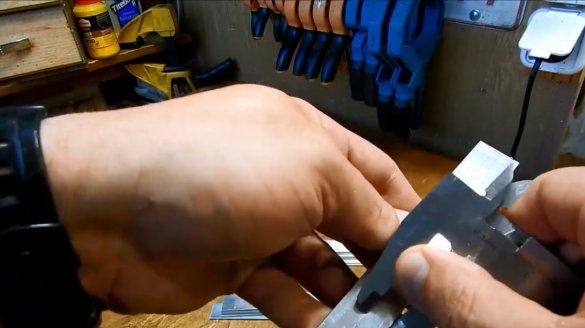
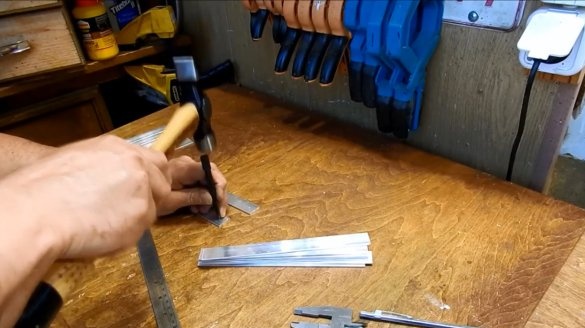
Next, the master marks the middle line of the workpieces, and the centers of the three holes, two of them with the edge, one in the center.
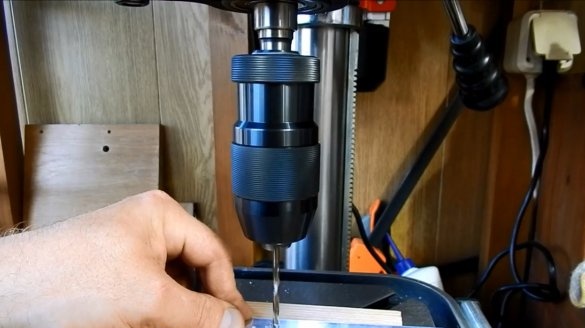
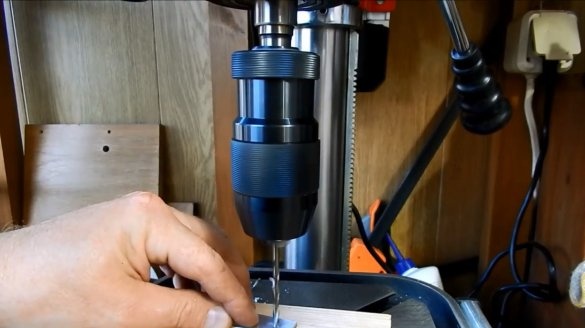
Now drill holes with a 4 mm drill. At this stage, especially when using a drilling machine, it was possible to drill all the workpieces at once, collecting them in a package. In this case, the drilling accuracy will be much higher.
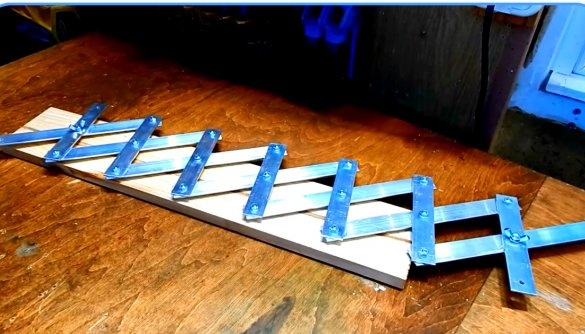
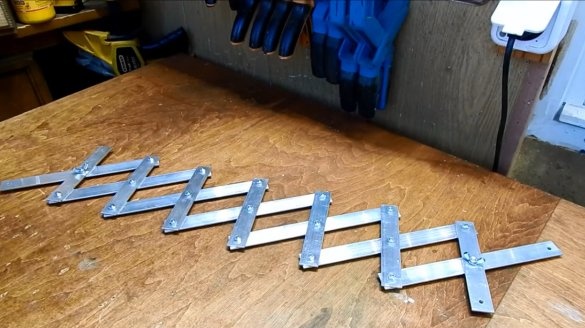
Andrei worked the edges with sandpaper and assembled such a construction. At the same time, only screws with wing nuts are tightly clamped, the rest should be fairly loose, but without play. To do this, you can use plastic washers.
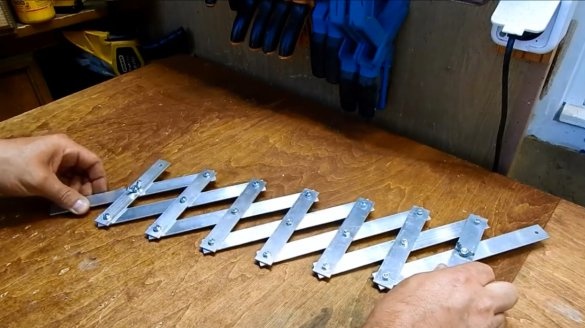
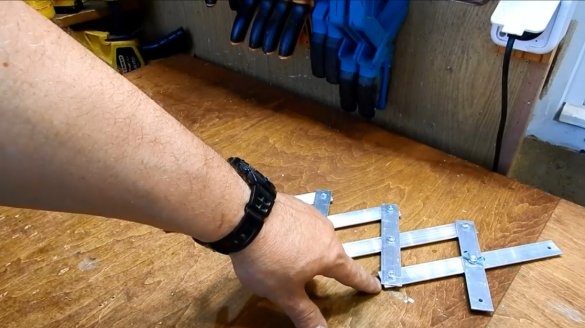
In fact, this is how this dividing line develops.
And for marking these corners are used.
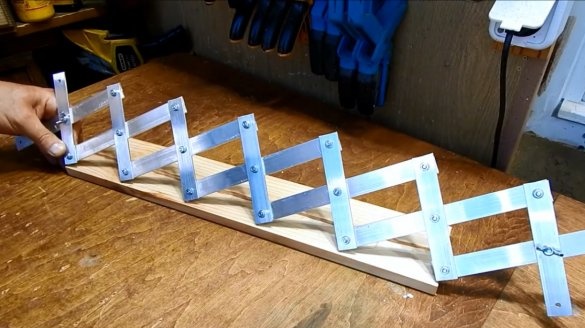
This is how you can quickly divide the workpiece into five parts.
And this is a way of dividing into two, three, or six parts. The maximum length of the marked workpiece is 820 mm. If desired, you can increase the number of sections, and their sizes.
Thanks to the author for a simple but useful measurement device for home and workshop!
All good mood, good luck, and interesting ideas!
Author video can be found here.

