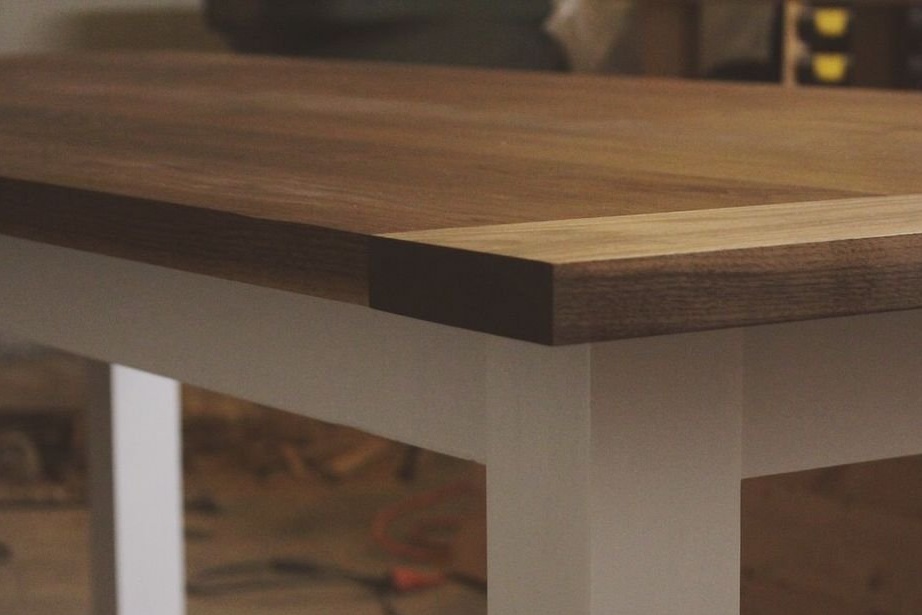
The manufacture of this table is based on a rather interesting solution. It consists in the fact that the master used the edging of the ends of his table, which is not so common. In this case, the edging is not rigidly fixed. This allows the wood to breathe depending on the surrounding humidity.
Materials:
- walnut board - 7 pcs;
- alder board
Instruments:
- jointer;
- planing machine;
- table saw;
- glue for Titebond II wood;
- clamps;
- metal corner;
- flooring;
- milling cutter;
- corner;
- Miter saw;
- 4 bolts, 4 washers, 4 nuts;
- epoxy resin;
- Pure Rubio Monocoat oil;
- track saw;
Step 1: Prepare Lumber
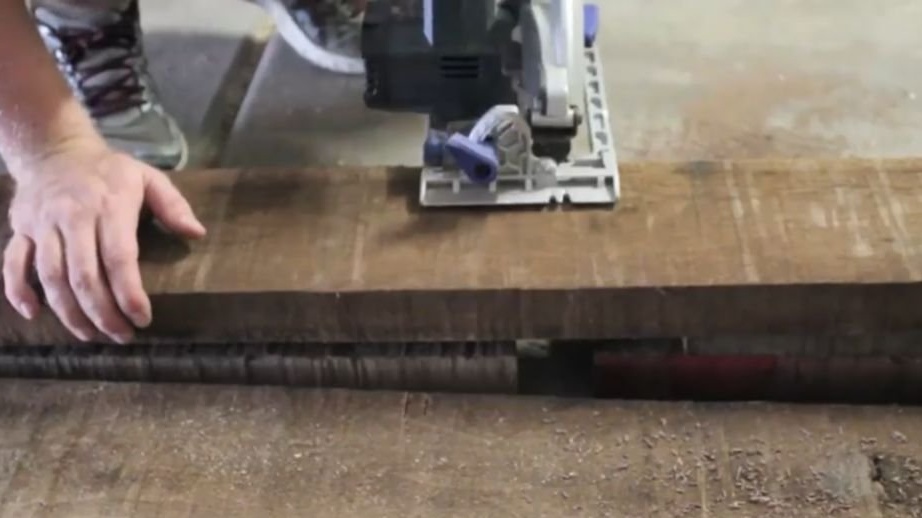
The master began preparing materials by cutting 7 walnut boards up to about 2 meters in length with a circular saw.
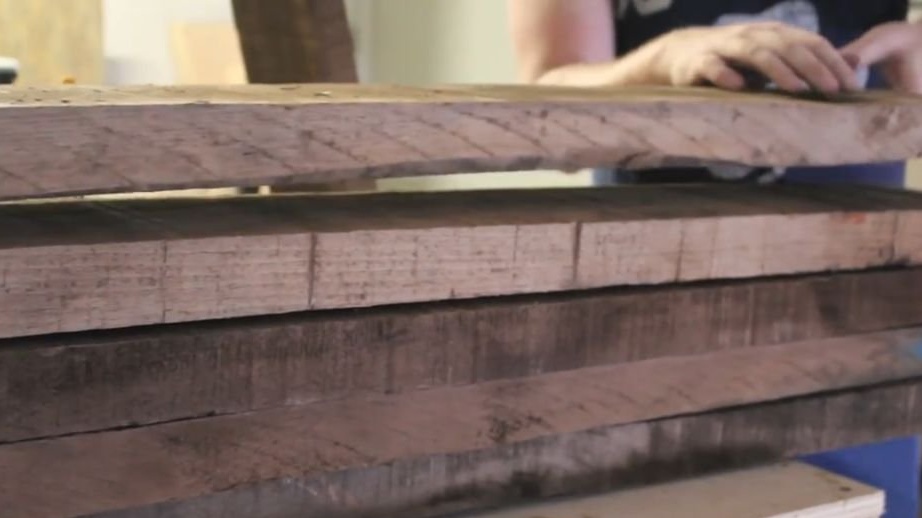
These walnut boards have a thickness of 38 mm.
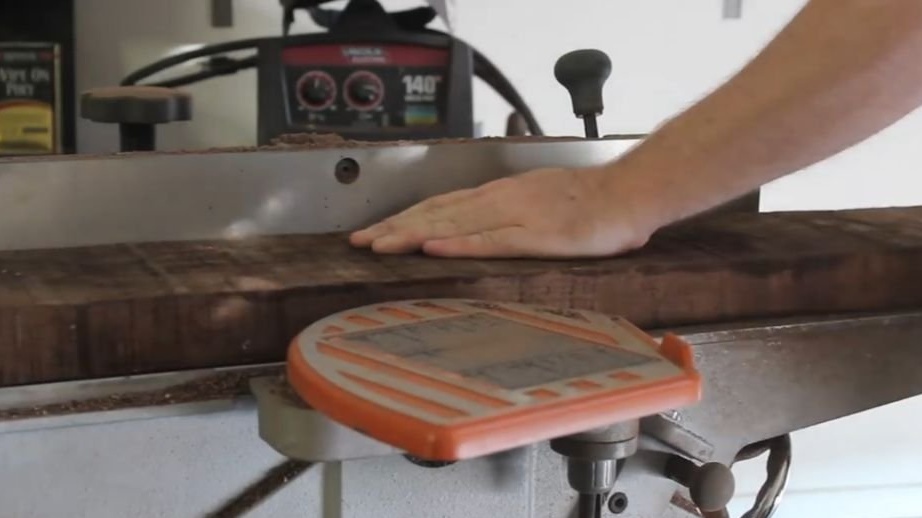
First, the craftsman planed one side of each board on the jointer. He continued to chase it away until the board became smooth and completely flat.
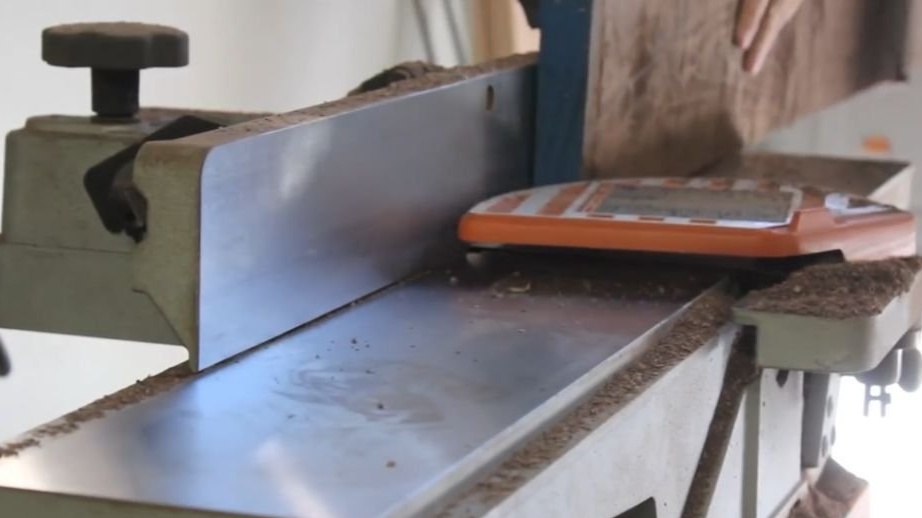
Then, using the planed side as a guideline for guarding the jointer, the craftsman planed one edge of each board. Again, he simply continued to drive away the board, removing approximately 1 mm., Until it became completely smooth.
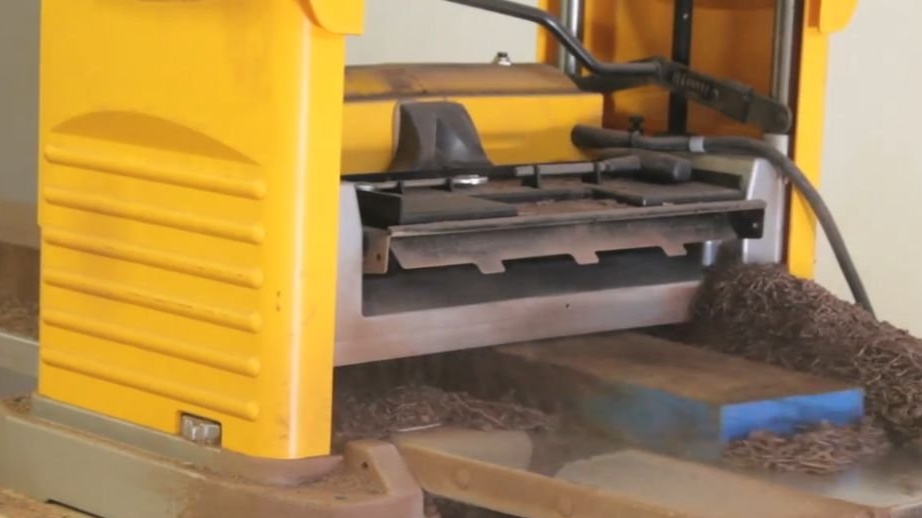
Then the craftsman paved the opposite side of each board, passing it through the planer.
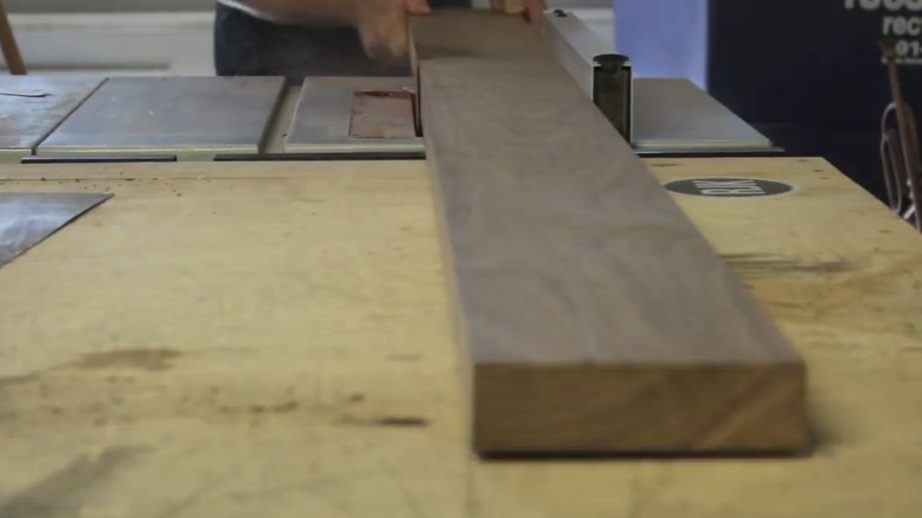
Then the master aligned the remaining edge of each board on the table with a saw. Now all boards have 4 flat sides, angles of 90 degrees and a constant thickness. The boards were a little less than 15 cm thick.
Step 2: Grooves in the boards for the set of countertops
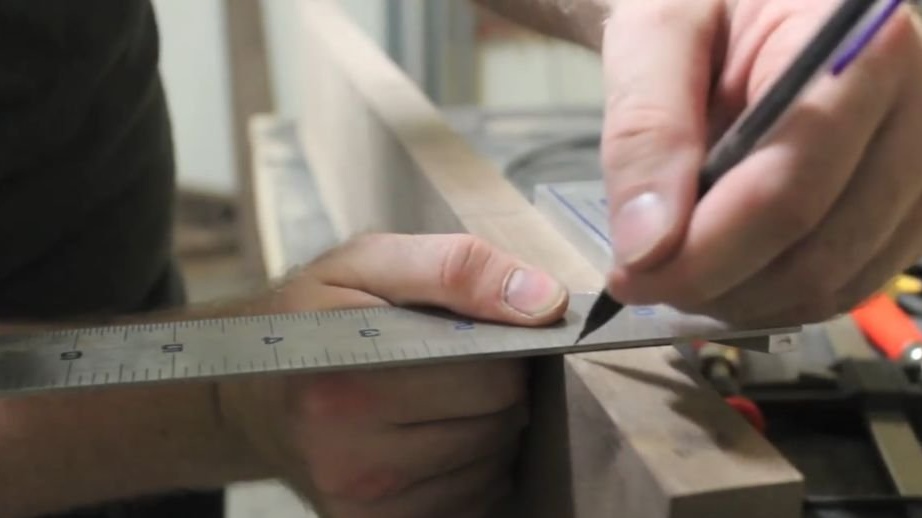
The master cut out grooves for pins in each board. This is optional, but makes bonding much easier. He simply marked the places on each board, and then aligned the mark on all the boards.
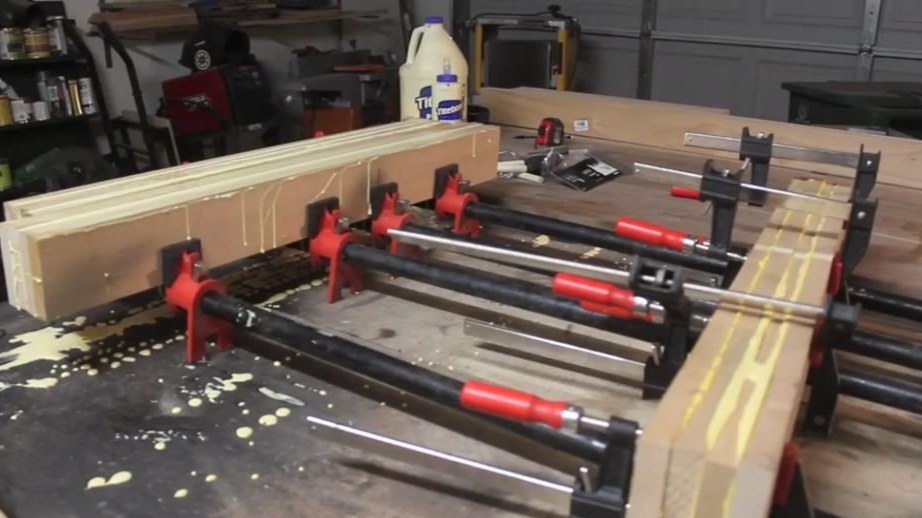
Step 3: gluing countertops
To ease his task, he first glued 3 of 7 boards, then the remaining 4, and then glued these two “halves”. The master used Titebond II wood glue.
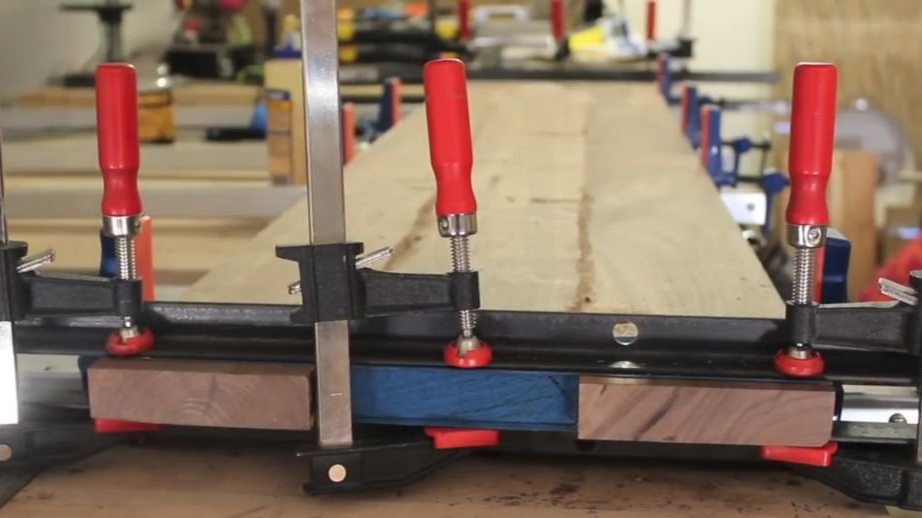
The master used several iron corners as temporary shelters to keep each section even. It's not obligatory.
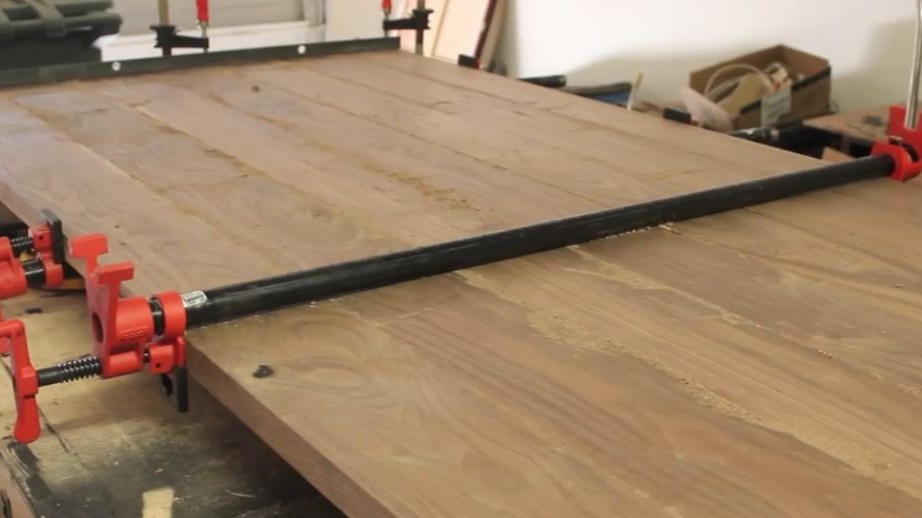
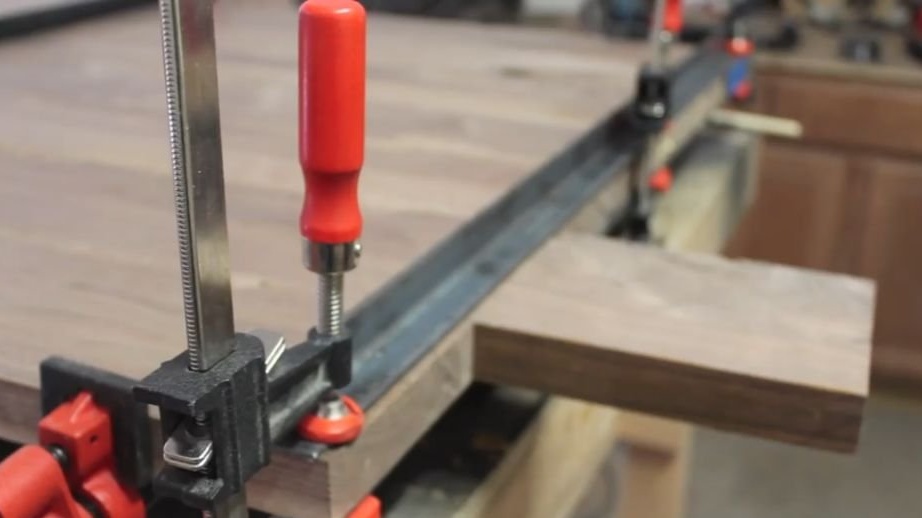
For final bonding, he used 19 mm pipe clamps.
The master also used iron corners for final bonding. Again, this is optional, but helps prevent planks from falling out due to clamp pressure.
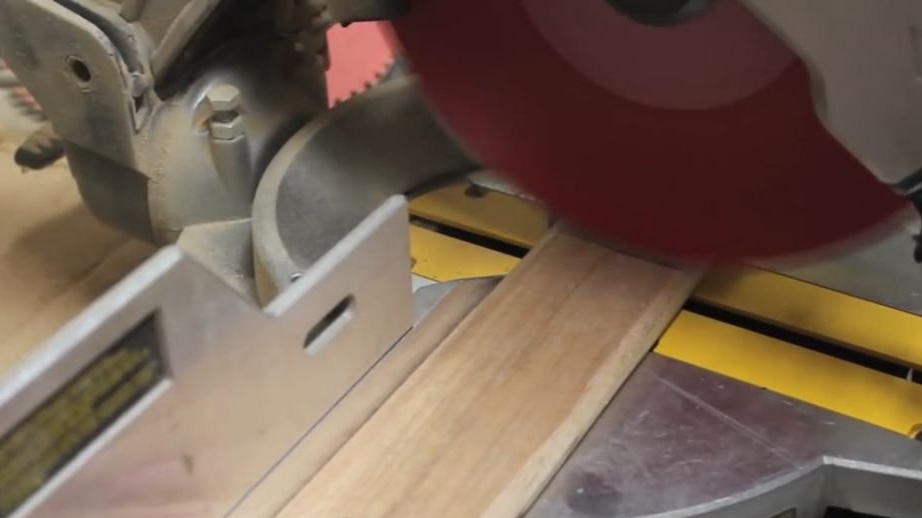
Step 4: Cutting the ends
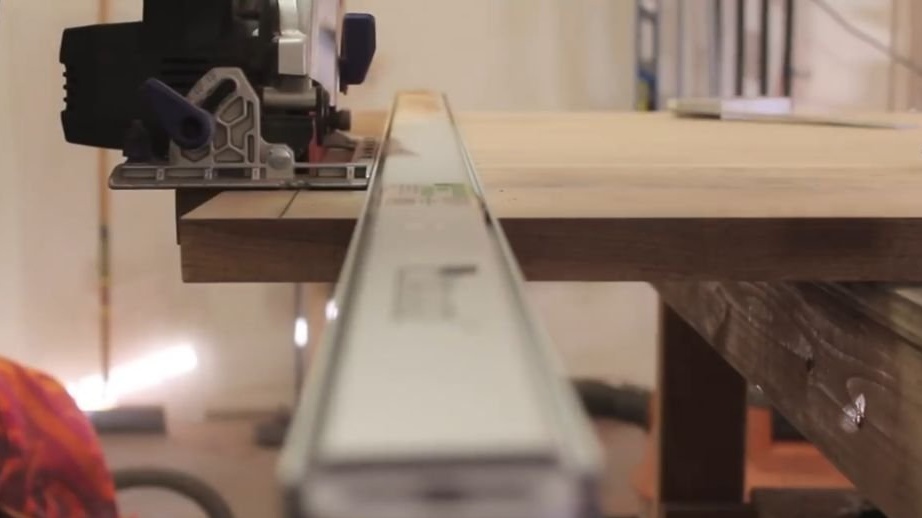
At that moment, the master did not have a track saw, so he used a guide and a circular saw for smooth processing of the ends. He simply clamped the straight guide and directed the circular saw rail on it. After this step, the table became a little less than 2 meters in length.
Step 5: Creating a Tabletop Framing
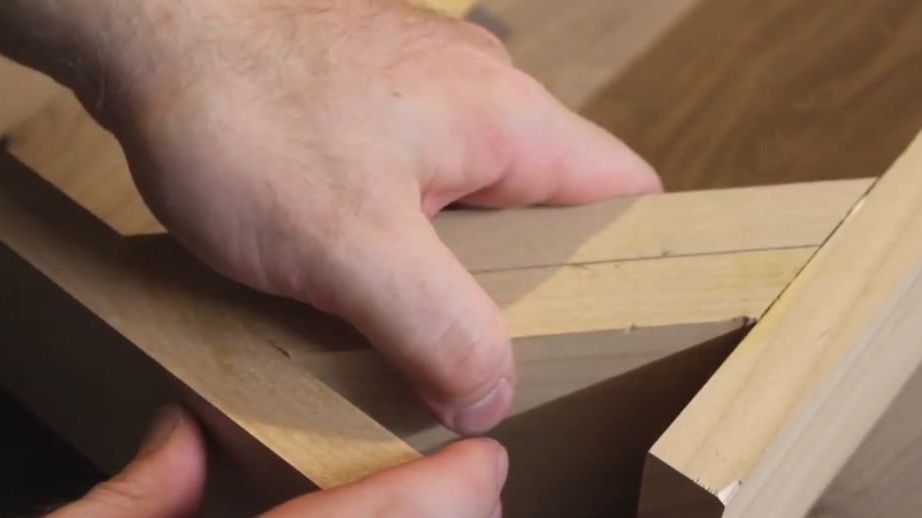
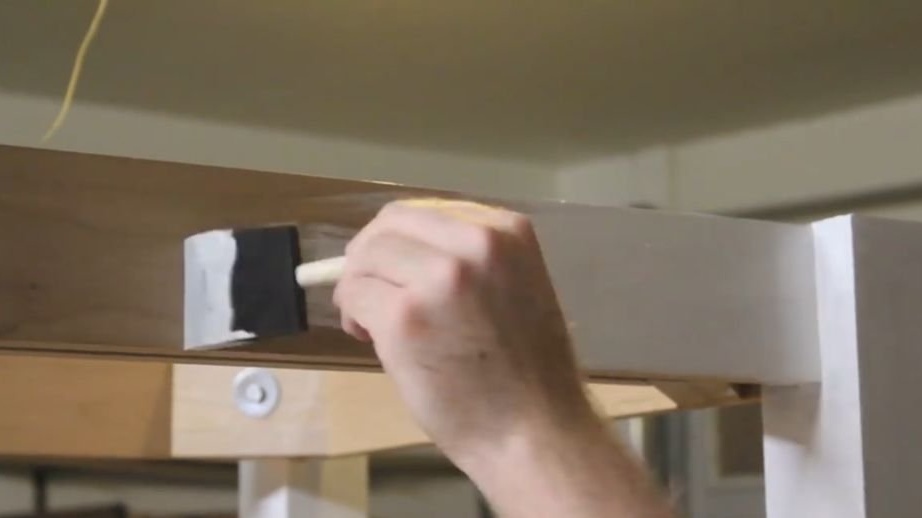
The master cut and then milled a couple of boards to a little over 90 cm. They will be the edging of the countertop. The edging helps keep the table level over time, while allowing the expansion / contraction of the wood due to changes in humidity.
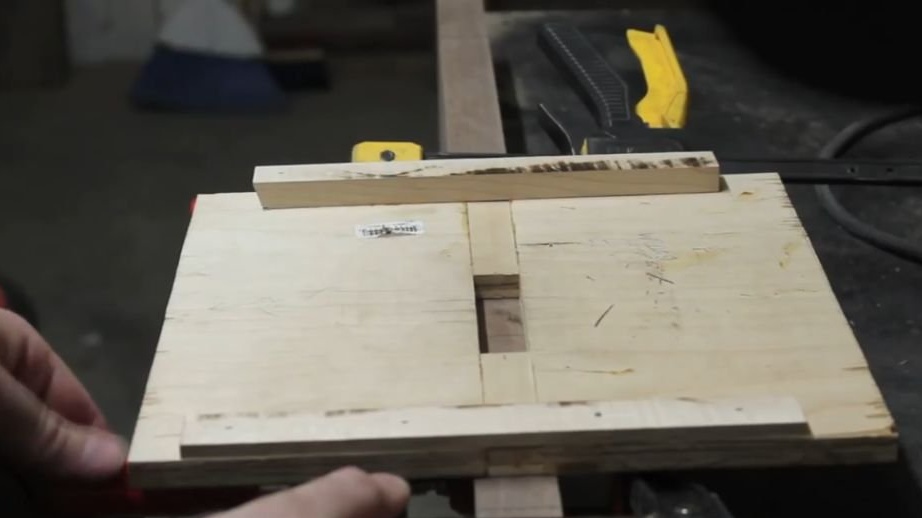
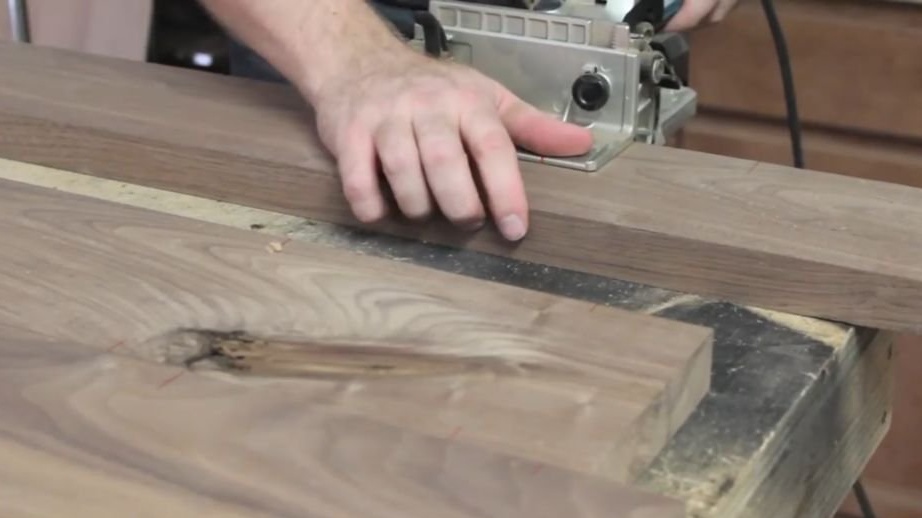
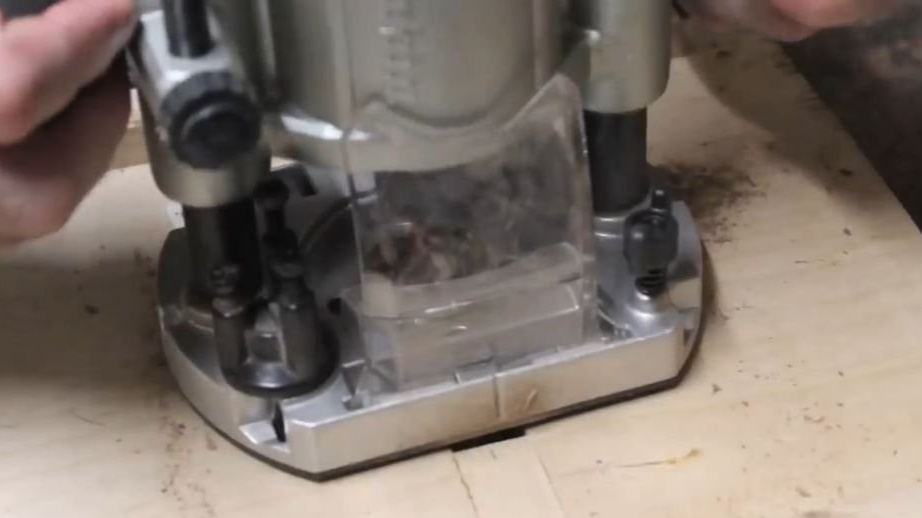
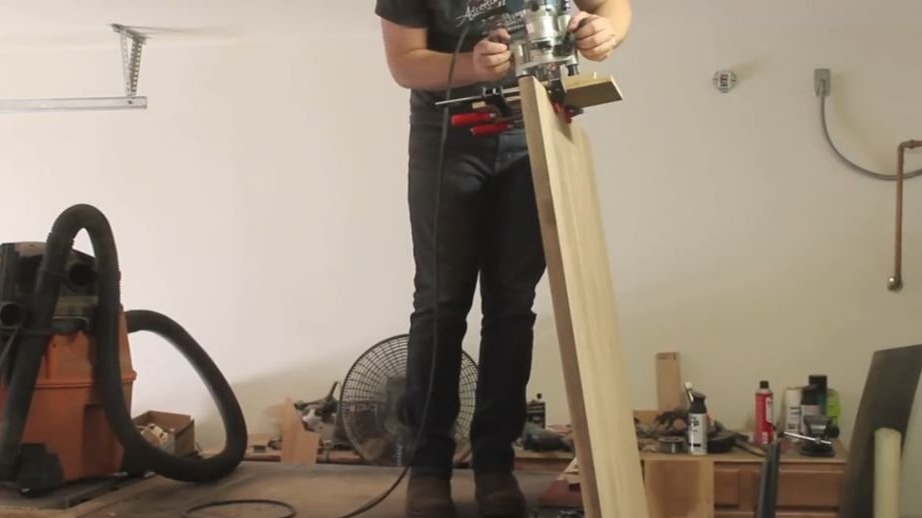
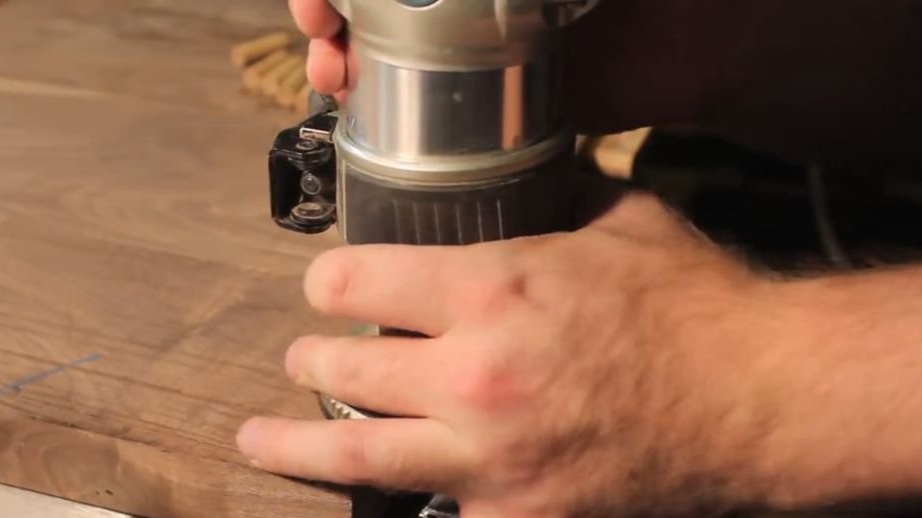
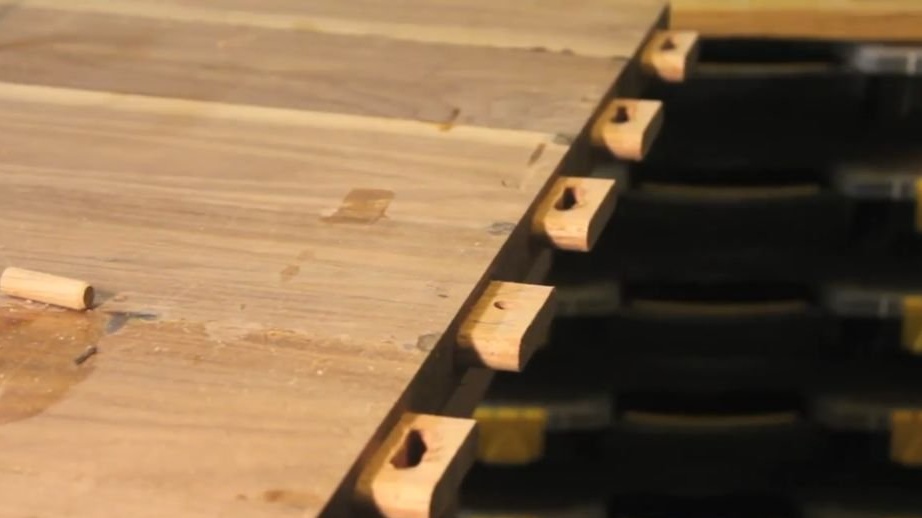
The master used this conductor, which he made for the mortise router, to cut the grooves. It can be done in different ways, but basically all you need is a rectangle that you can attach to the end of the board. The “bearing pattern” in the submersible router is then used to lay the area under the rectangle.
This groove in the middle board is a “tight” groove. In other words, a floating spike will not have room for maneuver.
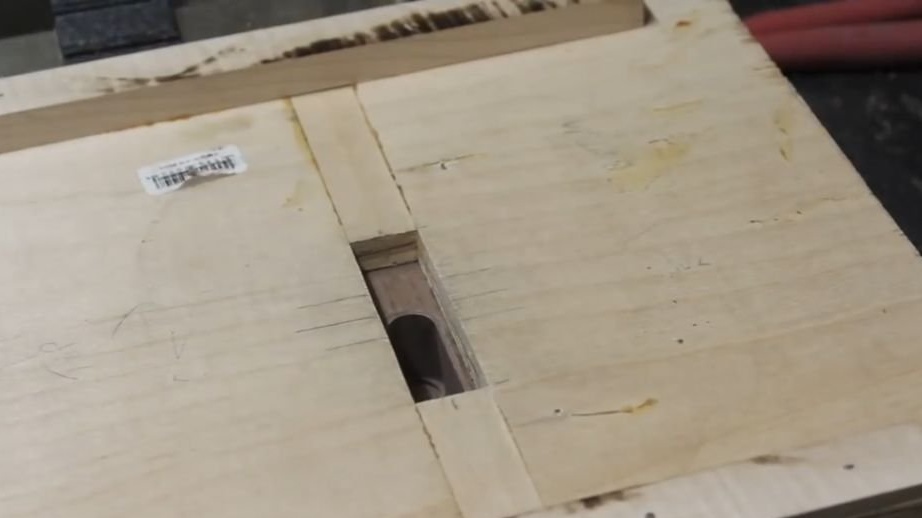
The remaining 6 are mortise, in each board there will be "free" spikes. In other words, there will be about 1 mm. backlash in each direction so that the spike moves left and right, as the table expands (higher humidity) and narrows (drier air) over time. On the conductor you can see three marks on the template. For tight cuts, the master simply aligned his mark with the center. For loose slots, aligned its mark with the left, and then with the right, which led to a wider slot.
Here you can see that the middle spike fits snugly.
And here (in the slot on the layout, which is not the middle inset), you can see the gap, which gives some room for maneuver for the spike.
All tie-ins in the countertop itself are tight tie-ins. This is done at each end of the table on all 7 boards.
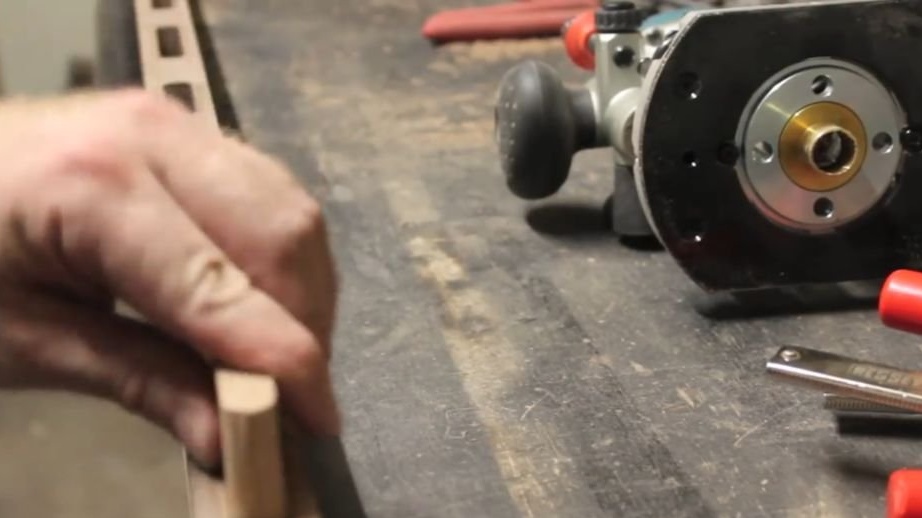
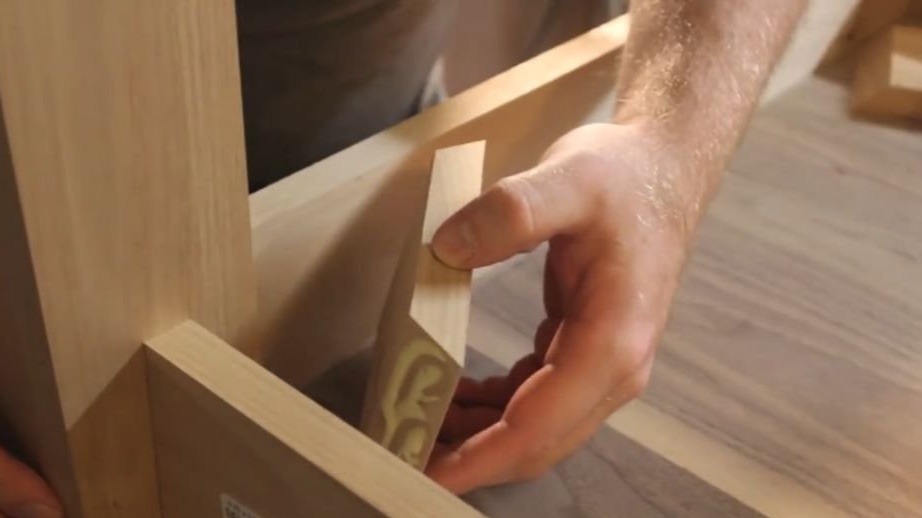
The master cut the mahogany board to the desired width and thickness, rounded it at the corners with the help of a rounded bit of the milling cutter to fit the size in the grooves, and cut them to the desired height on the miter saw. You can also round the corners with a grinder.
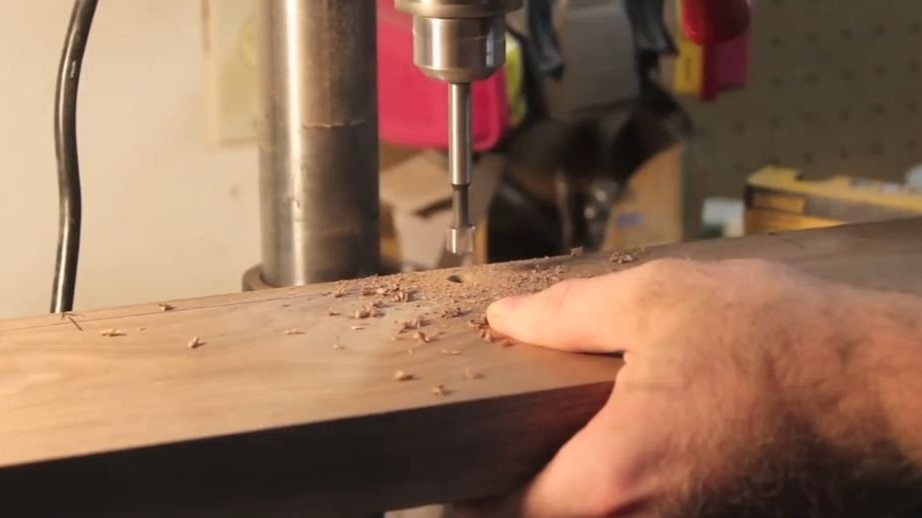
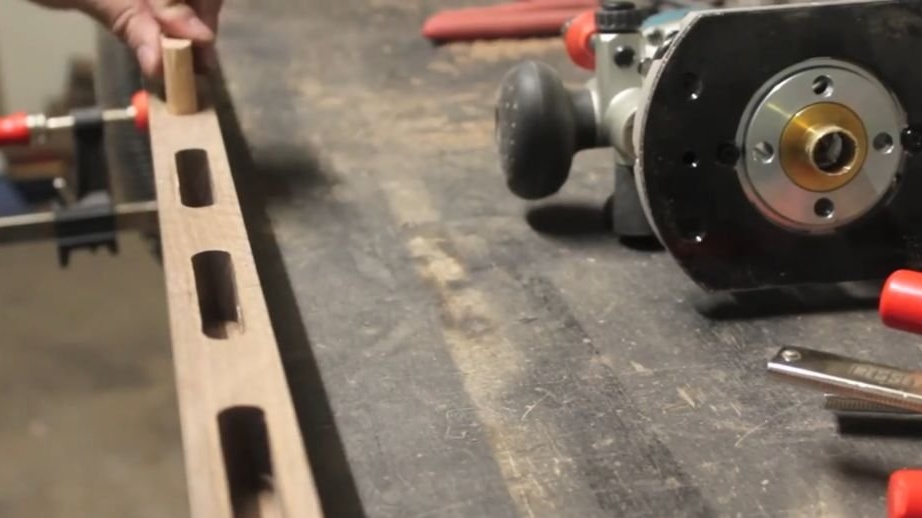
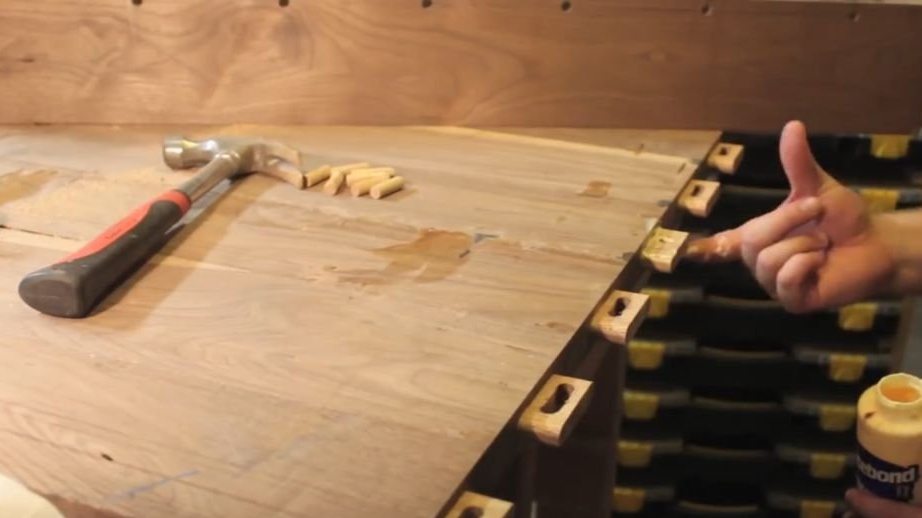
The master drilled 9 mm. holes in the edging board to push the pins to hold the board in place.
It uses 9 mm. drill for transferring marks on each spike.
The master drilled the spikes by about 0.8 mm. closer to the table than the mark ....
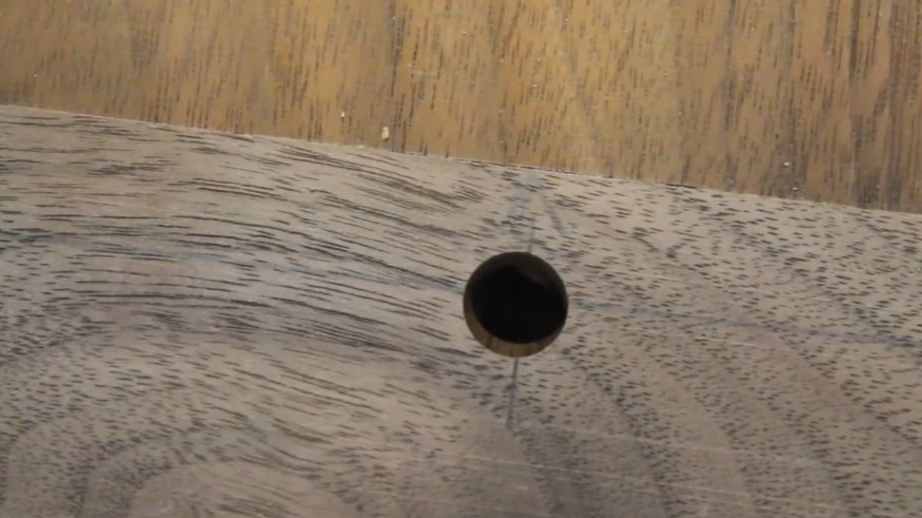
... this causes an offset that will cause the pins to pull
the edging board fits snugly on the table, forming a very strong joint.
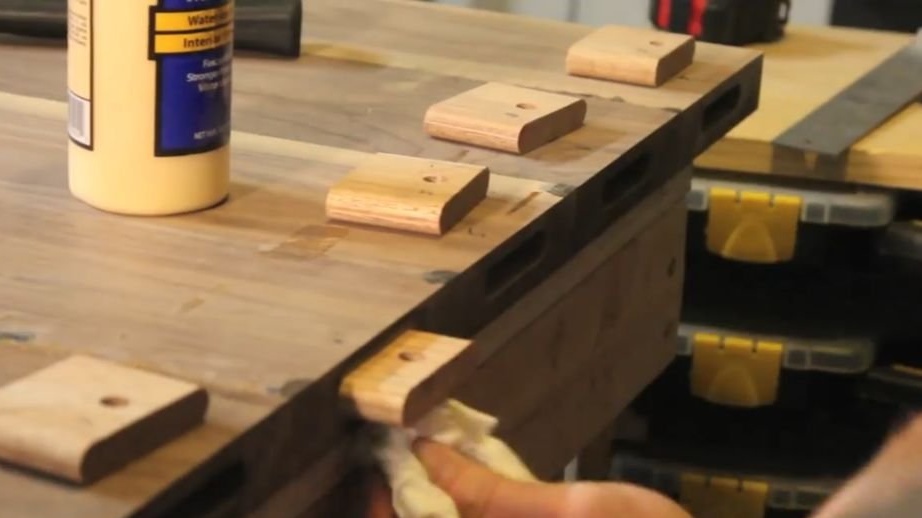
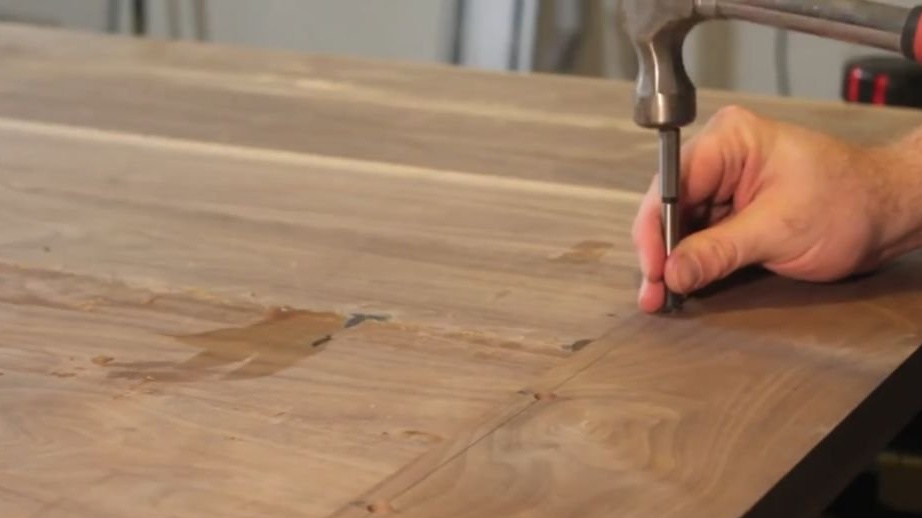
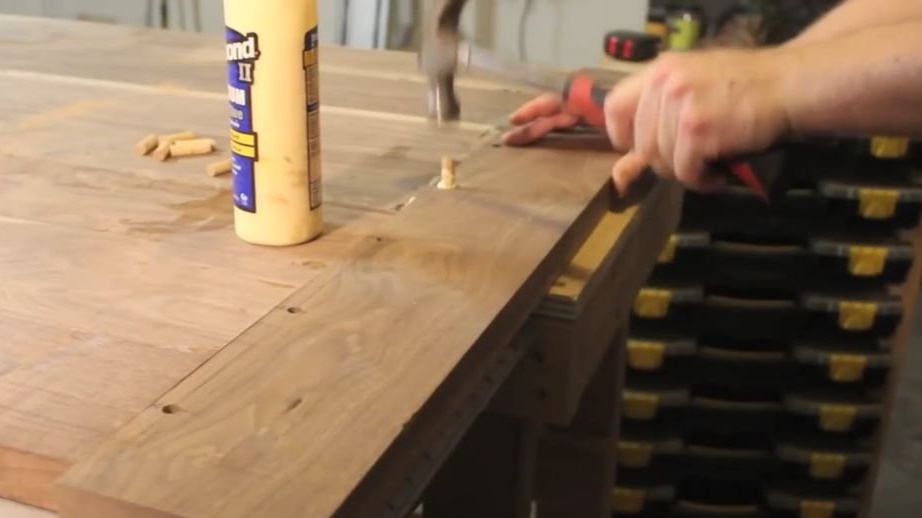
The master glued each tenon into the table grooves, carefully removing all excess glue so that it would not dry out and affect the landing of the layout.
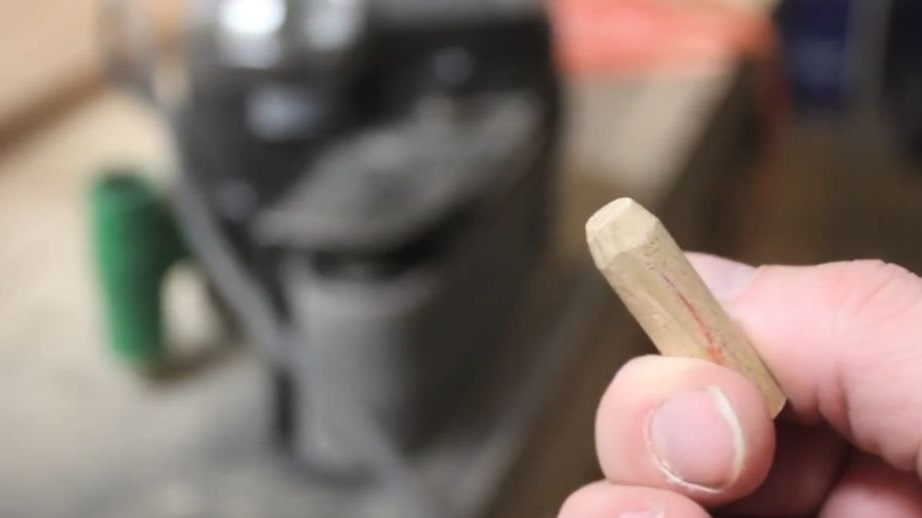
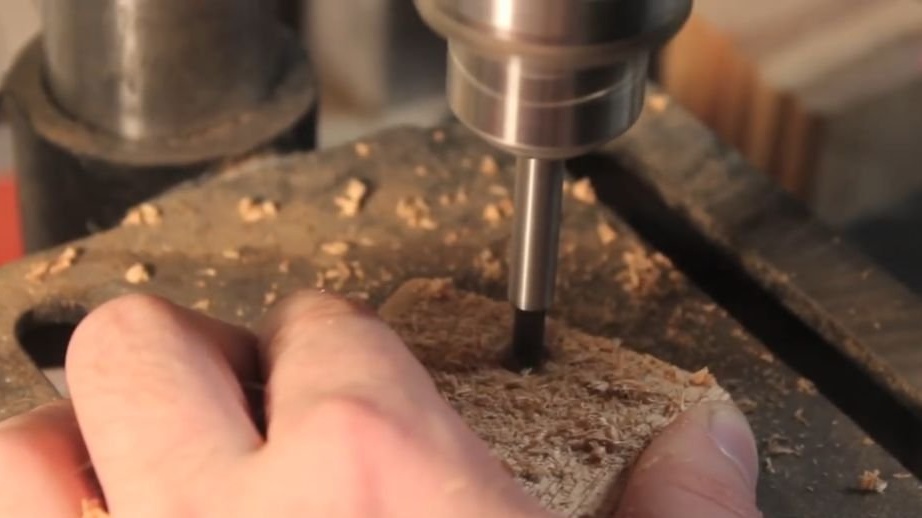
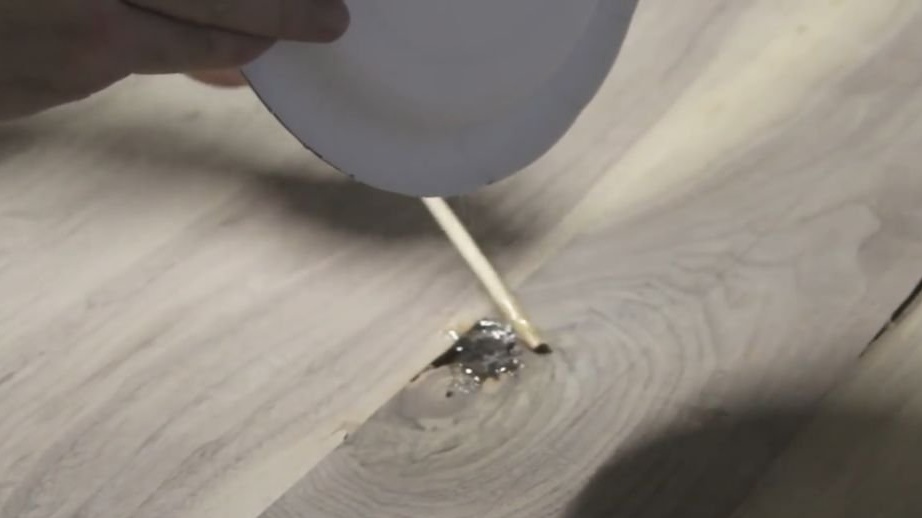
The master carved dowels from oak 9 mm. rod and rounded ends on a belt sander. The length of the pins does not really matter ... You can make them longer than necessary, and then trim them evenly after gluing.
The wizard used a router with a guide along the edges to expand the pin holes in the spikes on the left and right. This will allow the pins to move left and right as the table expands / contracts. This procedure is not done in the middle spike because the table will expand / contract from the middle to the outside.
Here you can see that the hole in the middle spike is not elongated; the remaining 6 are elongated. This is repeated at the opposite end of the table.
Glue is applied only to the middle tenon. The edging board is not glued anywhere, because then it will not allow the countertop to expand / contract.
The middle dowel is glued completely through the spike and breadboard.
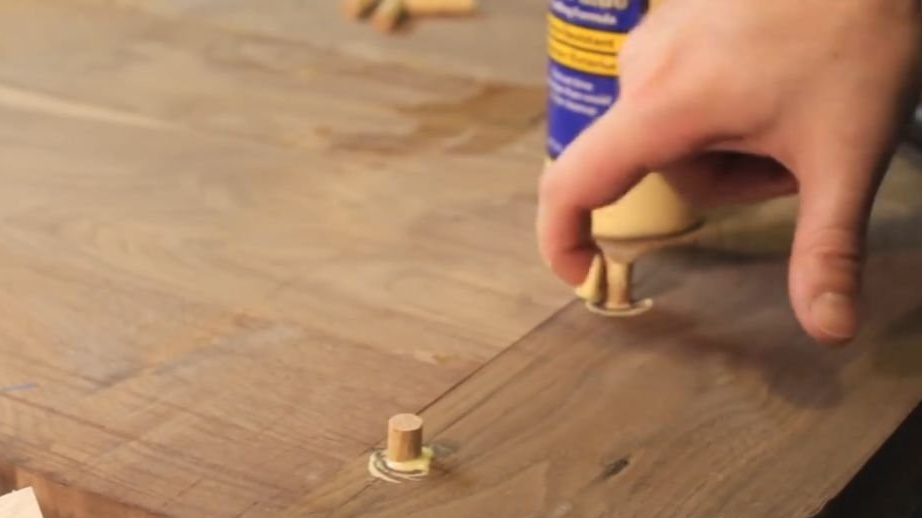
The remaining dowels should be able to move back and forth in the spike, so they are glued to the edging board. Glue is applied only where they will be in contact with the edging. This will prevent them from popping up over time.
Step 6: Trimming Long Ends
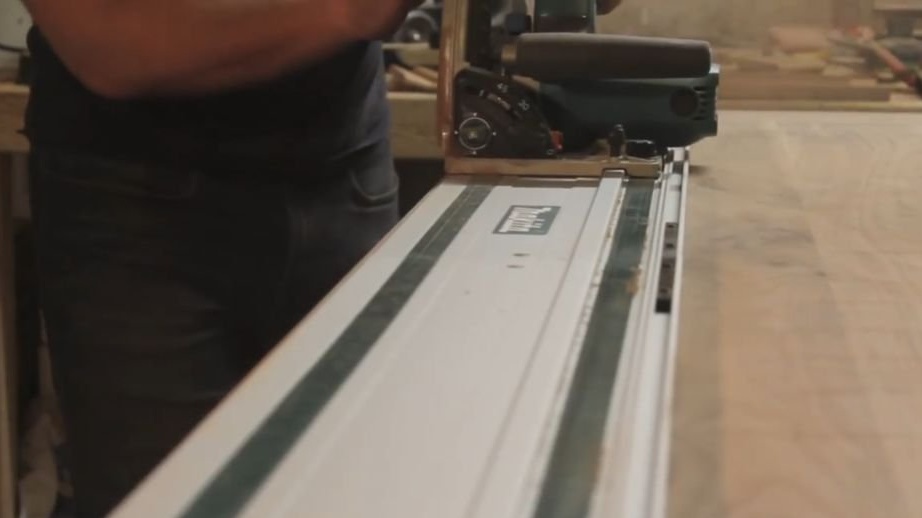
The master cut the long edges of the table with a newly acquired track saw. Use a square to make sure that the angle corresponds to 90 degrees to the adjacent end.
Step 7: Making Legs
To make the legs, the master glued alder boards 12 cm thick together. After the glue had dried, he drove them away on a jointer and planer.
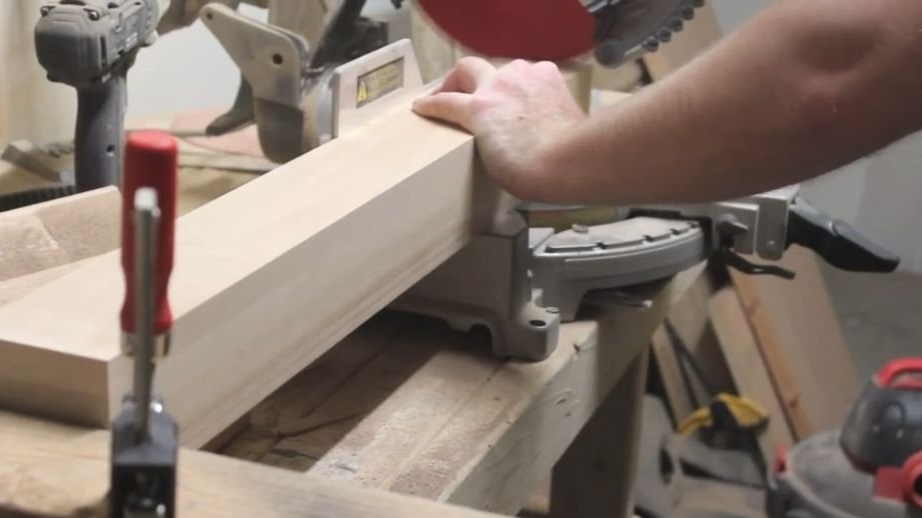
After the glue has dried, the master cut them to 73 cm using a locking block and a miter saw. The total height of the table should be about 76 cm.
Step 8: create an apron
Having spread his legs where the master wanted to see them, he measured and cut off the jumpers for the apron. Then glued them at an angle of 45 degrees for support.
The master decided to double the jumpers. Just mark each piece in the place where it will be located.
The master continued to measure, cut and glue the lintels in order to bond and strengthen everything, clamping for 24 hours until the glue dries.
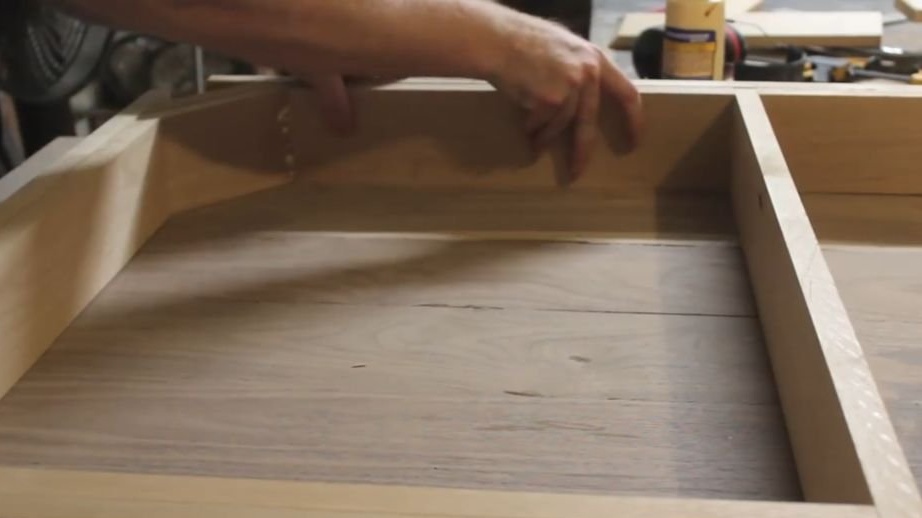
It’s a little difficult to see here, but the master used a router and a pin to cut out the slots inside the base. They will be used to attach the tabletop to the base with metal mirror brackets. For the same reason that tolerance is made for the movement of wood at the ends of the edging, the master does not want to simply screw the base to the countertop, because this will not allow the expansion and contraction of the wood. These grooves need not be specific ... they will still be hidden.
Step 9: Attaching the Feet to the Base
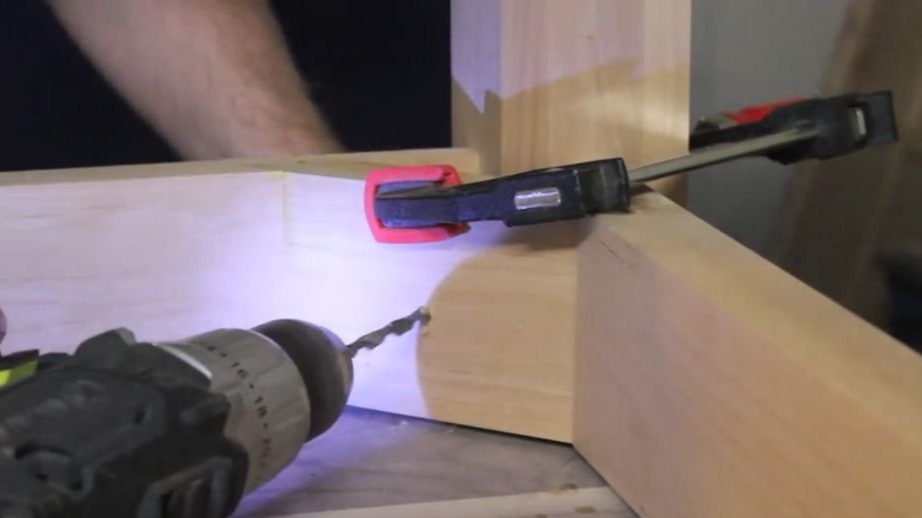
The master clamped the legs in place to drill holes in the transverse brackets and in each leg.

He then used a 10 cm bolt and washer in each leg to attach it. You can use 2 bolts or one very strong.
Step 10: Completing the Foundation
The master dismantled the apron knots, sanded with 220 grit sandpaper and applied 3 layers of white latex paint, sanding lightly between the layers.
Step 11: Finish the countertops
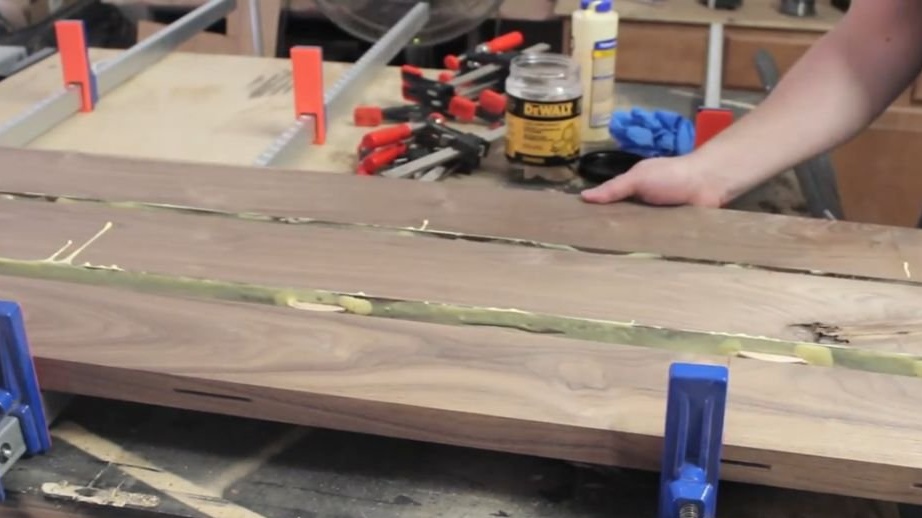
The master used epoxy to fill in any knots or imperfections in the walnut countertop. It should be applied in excess to overfill the holes, and then sand all flush when grinding the countertops.
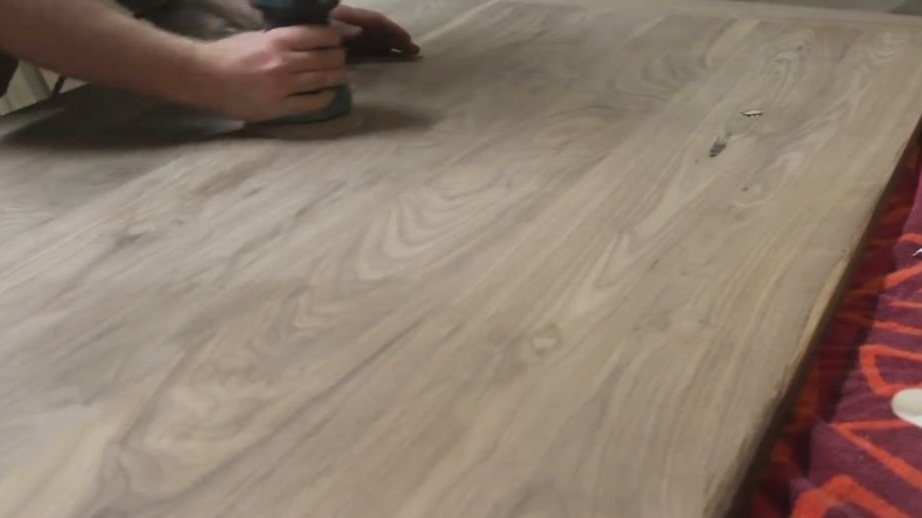
Sanding the table with sandpaper using an orbital sander with a grain size of 80, 150 and 220 units.
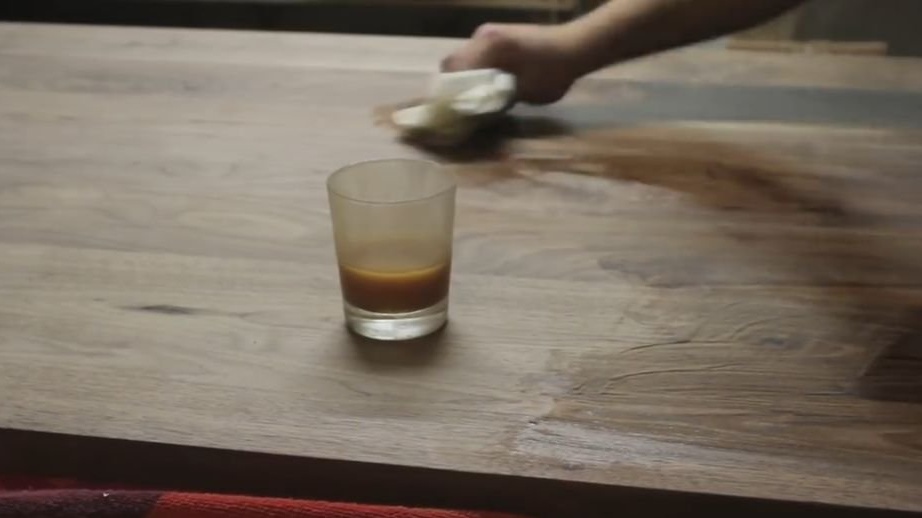
At the very end, the master used Pure Rubio Monocoat oil for the countertop, according to the attached instructions. Just wipe it, let it stand for 15 minutes, then wipe off the excess. This is a very easy to use product.
Step 12: Attaching the Countertop to the Base
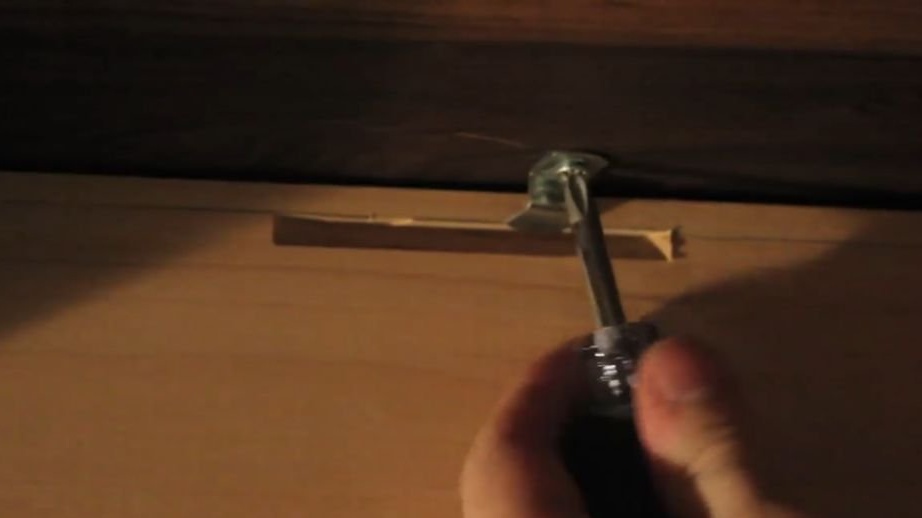
Finally, the master applied metal mirror brackets to attach the base to the countertop. Just screw the tabs so that they catch the slots that were previously knocked out. He carved six grooves.
Step 13: finished product