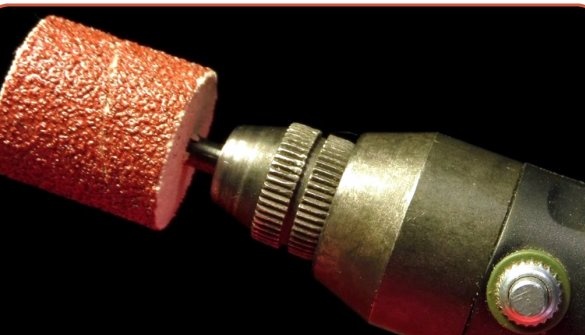
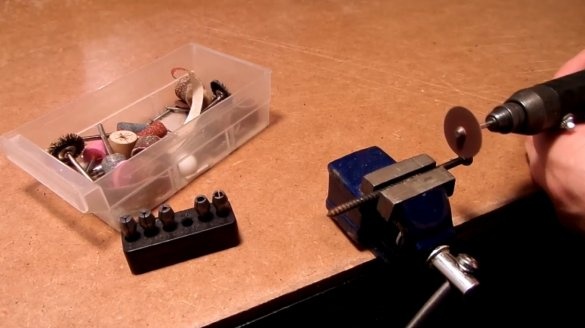
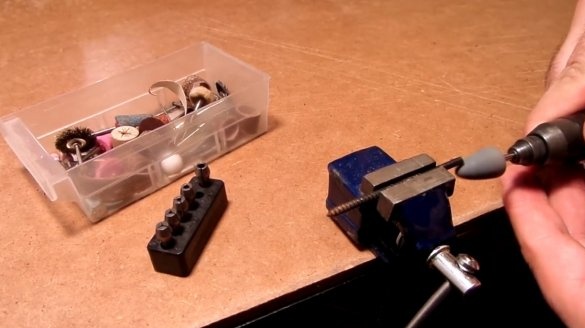
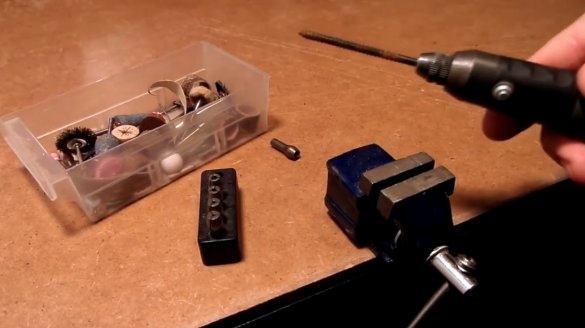
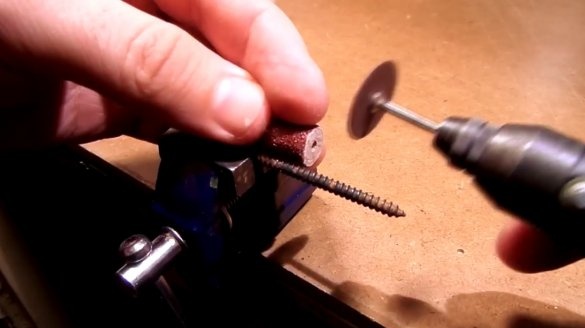
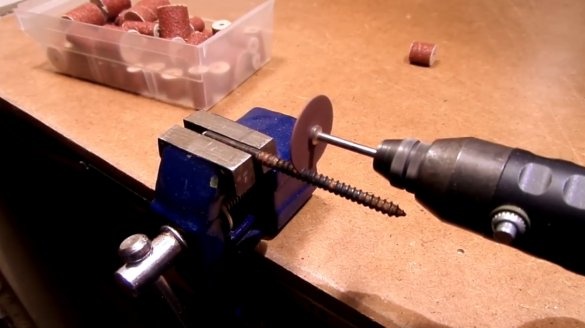
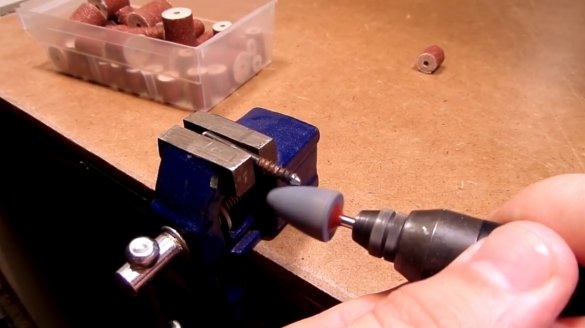
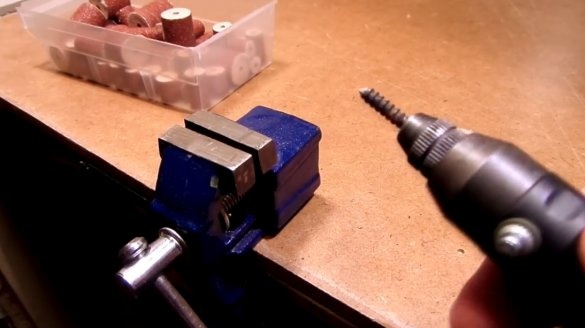
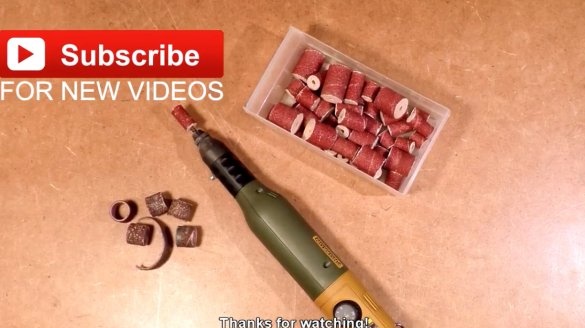
Many craftsmen have an engraver in their toolbox. But this tool must be provided with grinding attachments, and the kit often stands as a good circular saw blade.
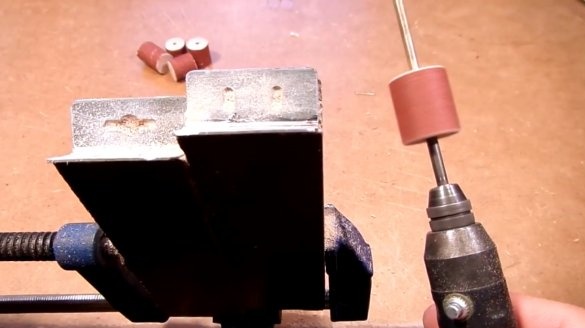
In this article, the author of the YouTube channel “The Small Workshop” will tell you how to make drum grinding nozzles yourself, spending a minimum of money on this.
Materials
- Sandpaper
- Wooden round timber of small diameters
- PVA glue
- Chipboard chip
- Steel corner
- Kapron thread.
Instruments, used by the author.
-
-
-
- A circular saw
- Miter box, hacksaw, knife, ruler, pencil.
Manufacturing process.
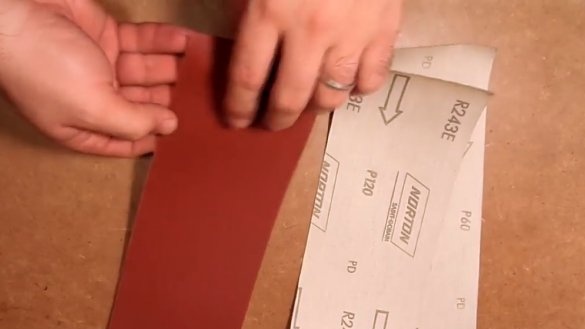
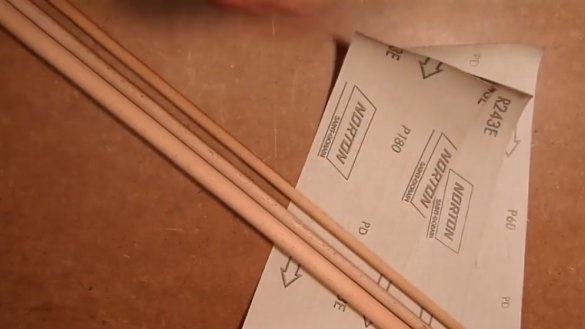
So, the author prepared several sheets of sandpaper of the 60th 120th and 180th grit. You will also need a wooden round timber of various diameters.
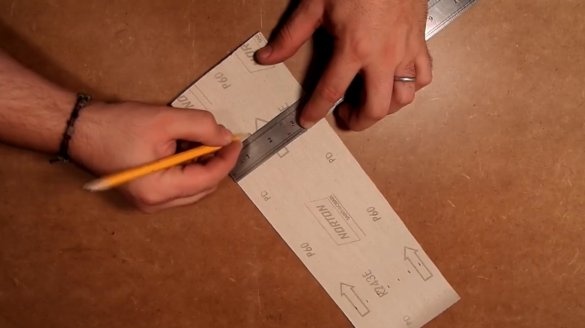
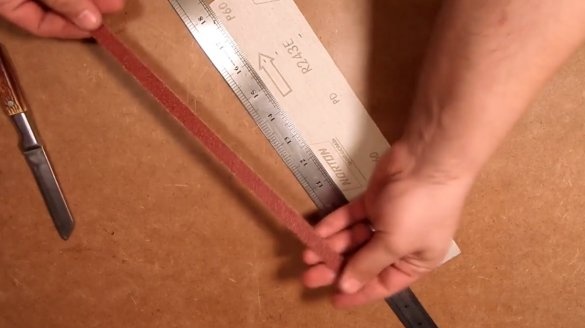
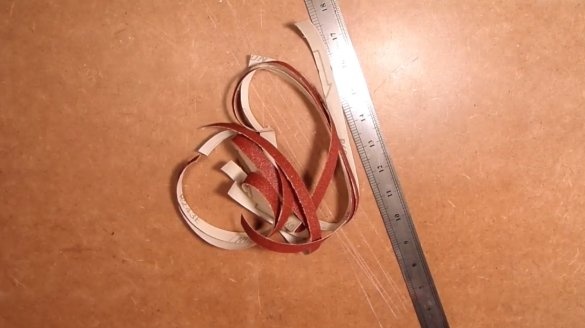
Then, on the back of the sandpaper, marks in increments of 15 mm. By applying a ruler, it cuts even stripes.
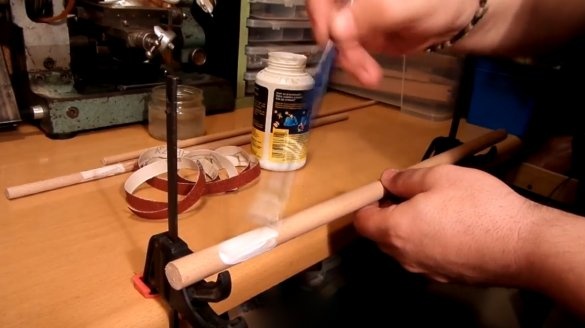
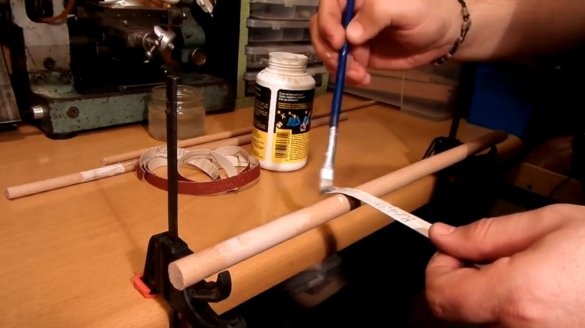
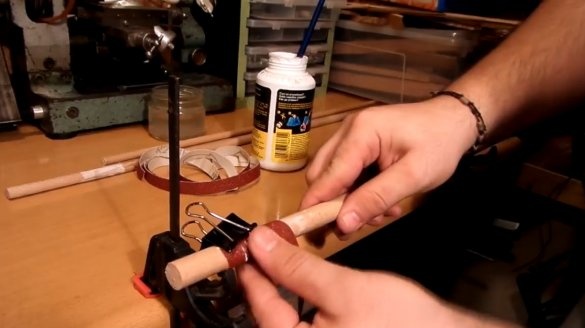
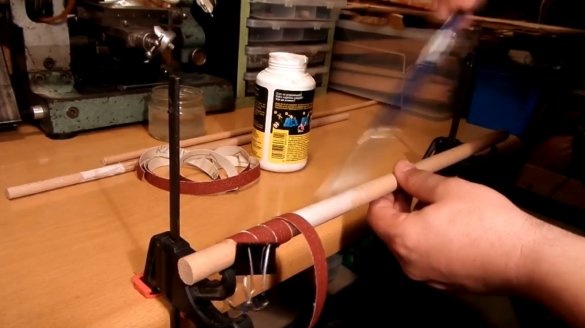
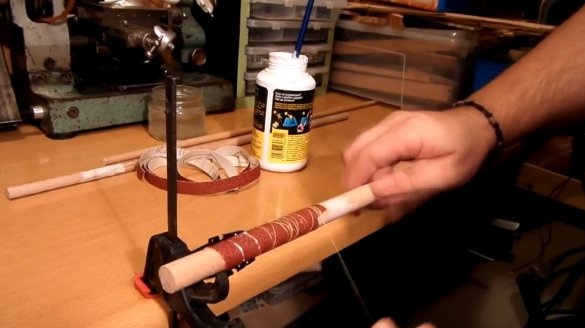
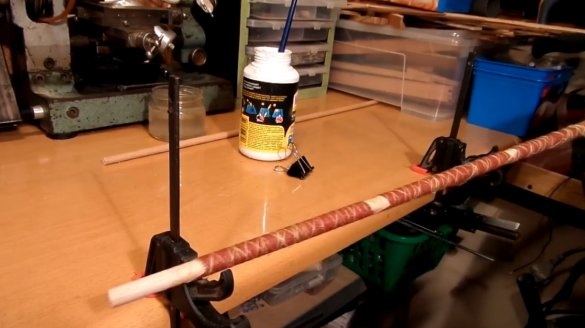
Using a pair of clamps as a stand, he places a round on them. Apply glue to it and to the back of sandpaper strips. Having made the first turn of the spiral, fixes it with a clerical clip, and winds the strip in a spiral.
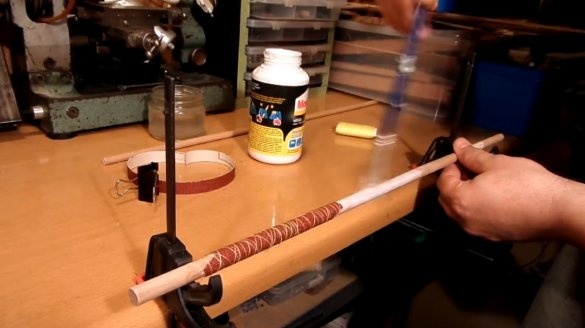
When the first strip is ready, tightly wraps it with kapron thread. It also forms the following blanks.
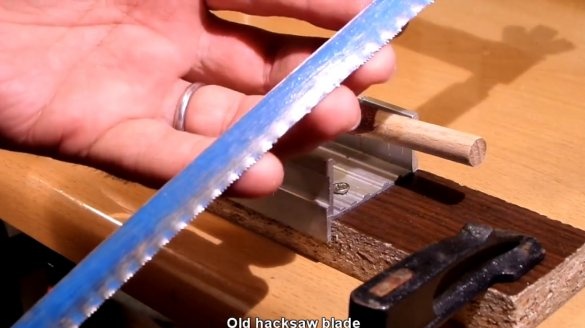
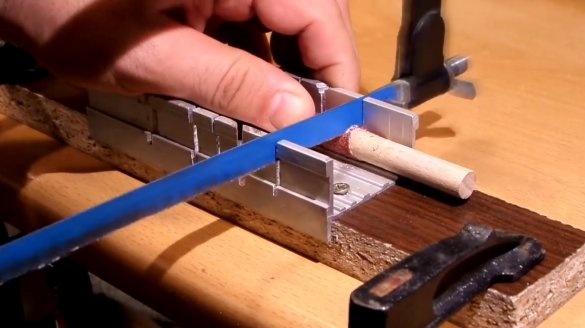
The glue is dry. Now you need a hacksaw and an old canvas. New about sandpaper just messes up. First, he cuts off the unwanted part of the workpiece.
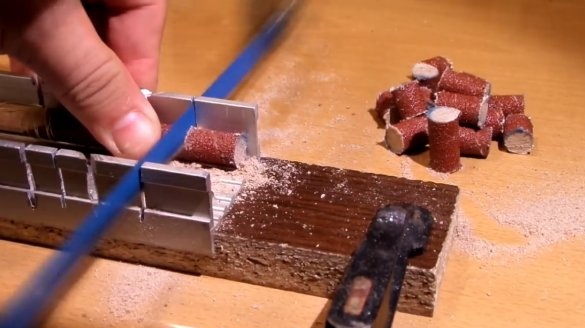
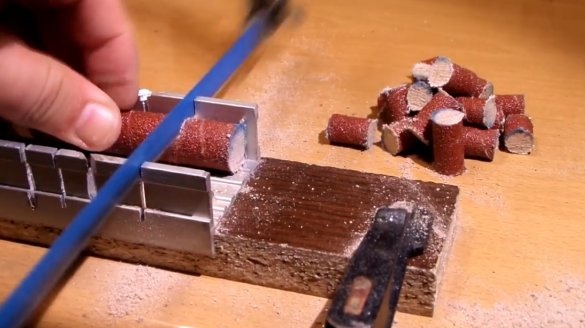
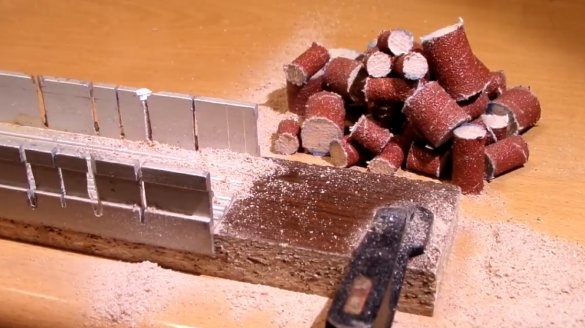
Then, using a miter box, he cuts the cylinders.
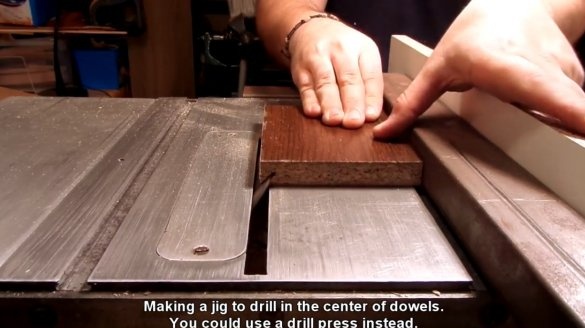
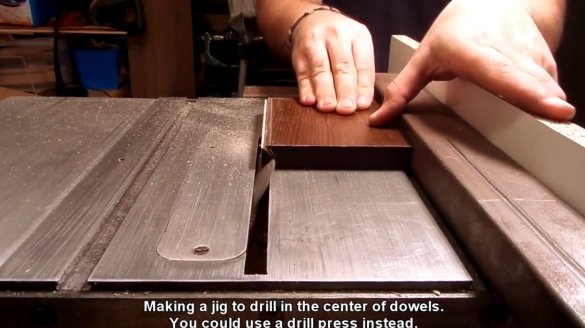
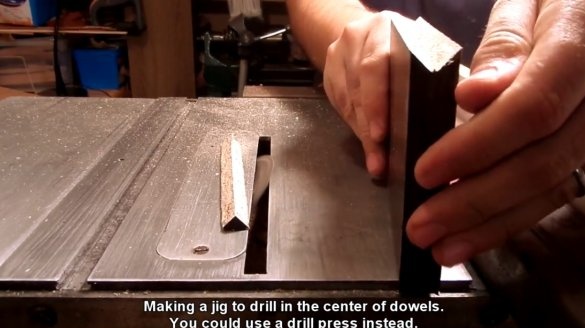
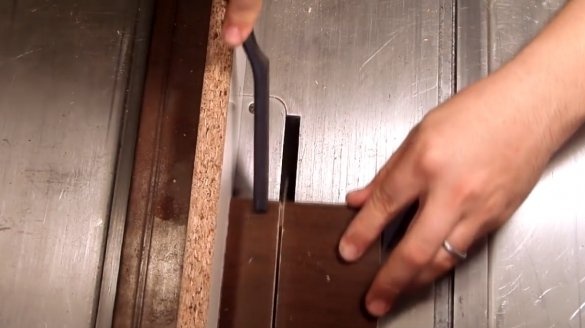
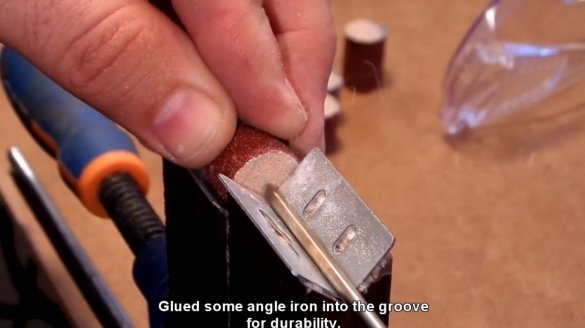
In order to evenly drill a hole in the workpieces, a special device. At the end, the chipboard trimmer makes two cuts at an angle of 45 degrees, getting a V-shaped groove.
It cuts the workpiece into two identical parts so that the groove is on the narrow side.
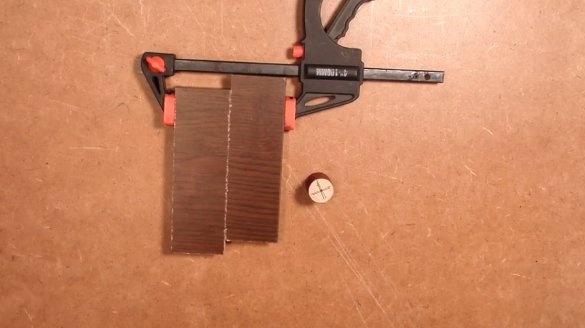
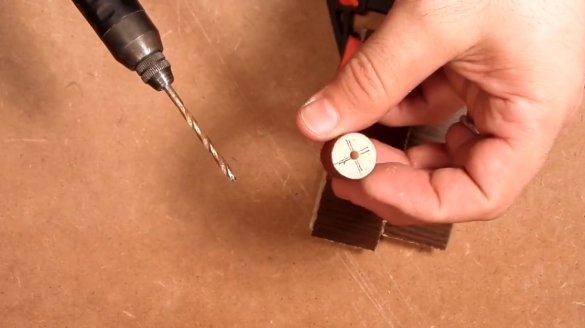
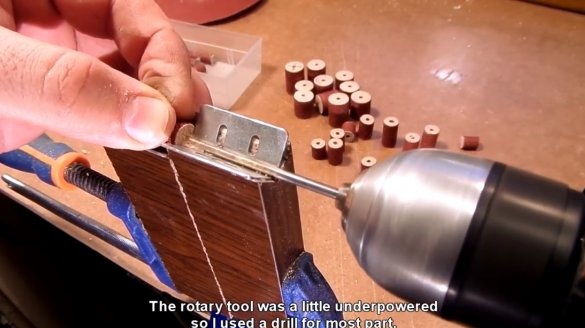
Having marked the center of the cylinder, the master fixes two planks with each other, moving them. It turns out a kind of conductor. And it checks how accurately it will turn out to drill a central hole.
The balancing was just perfect, no beats.
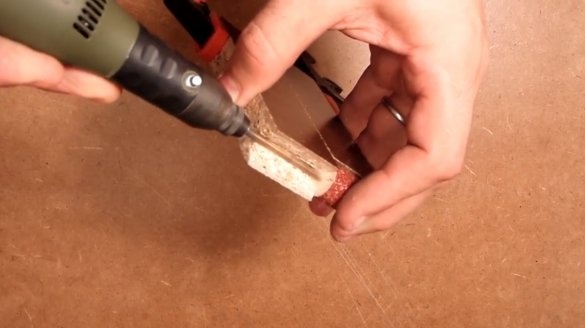
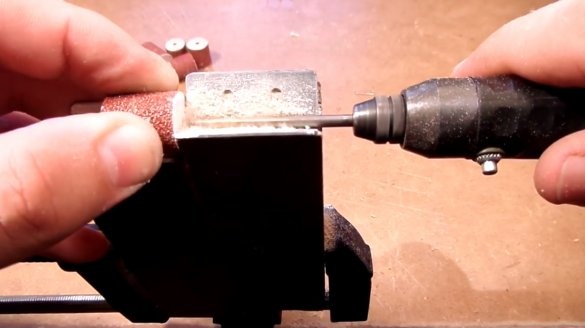
Since he will have to drill a lot of workpieces, he glues a steel corner to protect the jig from the drill. It remains to drill all the workpieces, checking the balancing. For smaller diameters, it is enough to move the stitches relative to each other. Also, the author had to replace the drill with a screwdriver, its speed for drilling is too high.
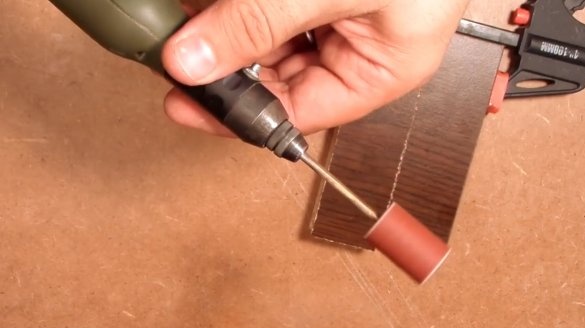
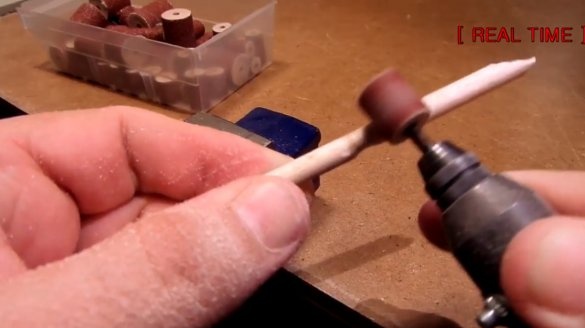
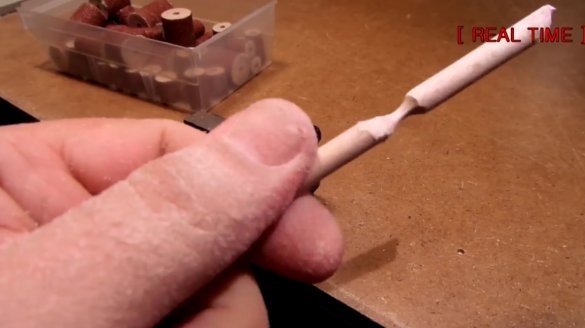
Now you need to make a shaft on which the barrels will be installed. He cuts off the cap from the dowel and grinds the shank.
Next, cuts the length of the barrels.
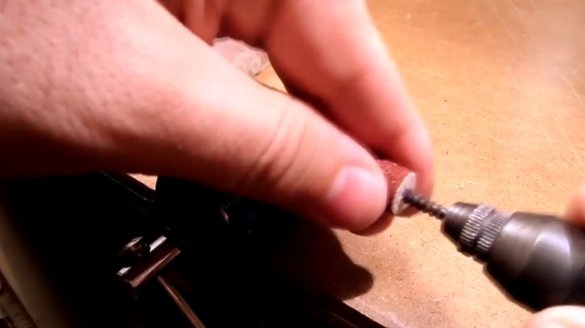
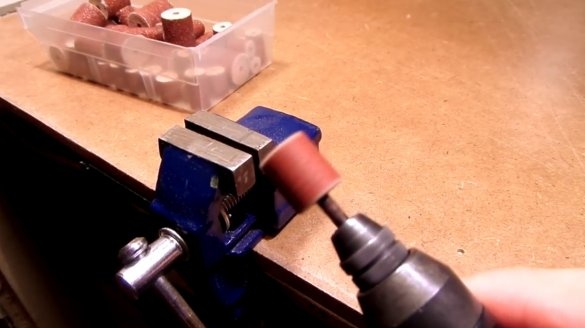
And sharpen the tip slightly. Now you can wind the cylinders.
The balancing turned out great, no beats, or no vibrations.
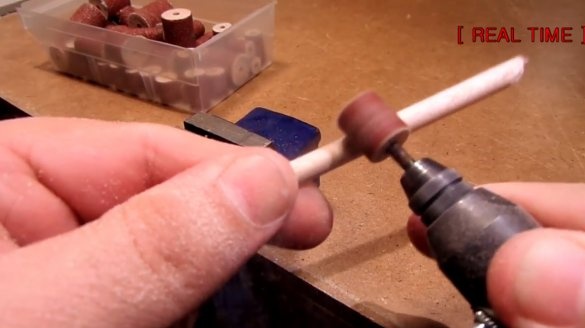
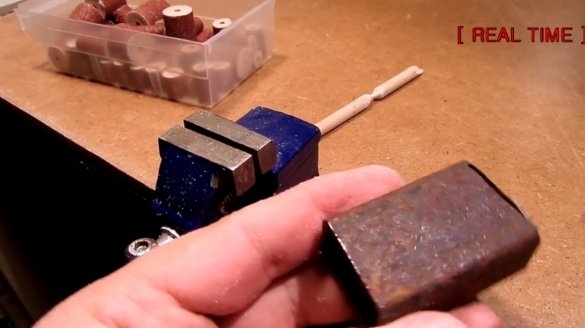
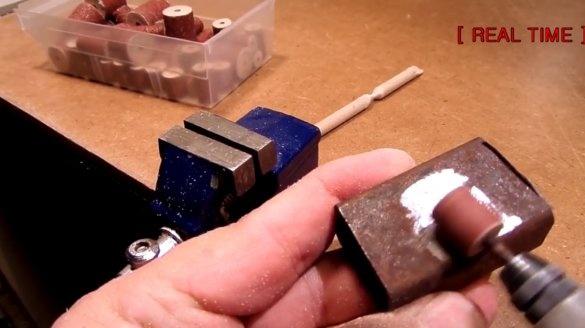
At first he tried wood processing.
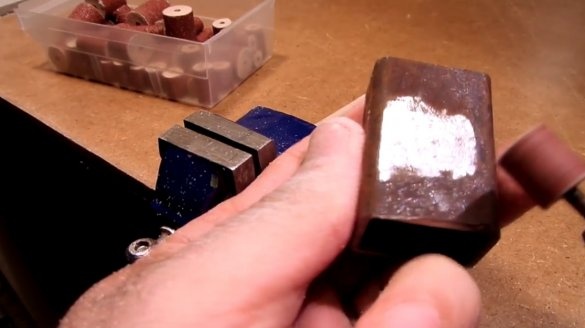
Then he slightly cleaned the rusty profile pipe. Everything is very fast and high quality.
Thanks to the author for an easy way to make engraving drum tips!
All good mood, good luck, and interesting ideas!
Author video can be found here.

