
This article will discuss how to independently do it yourself to assemble one of the module connection circuits, of which, if you want, in the future you can easily make a home-made and pretty good portable Bluetooth speaker in terms of performance. This instruction was taken from the Radio-Lab YouTube channel.
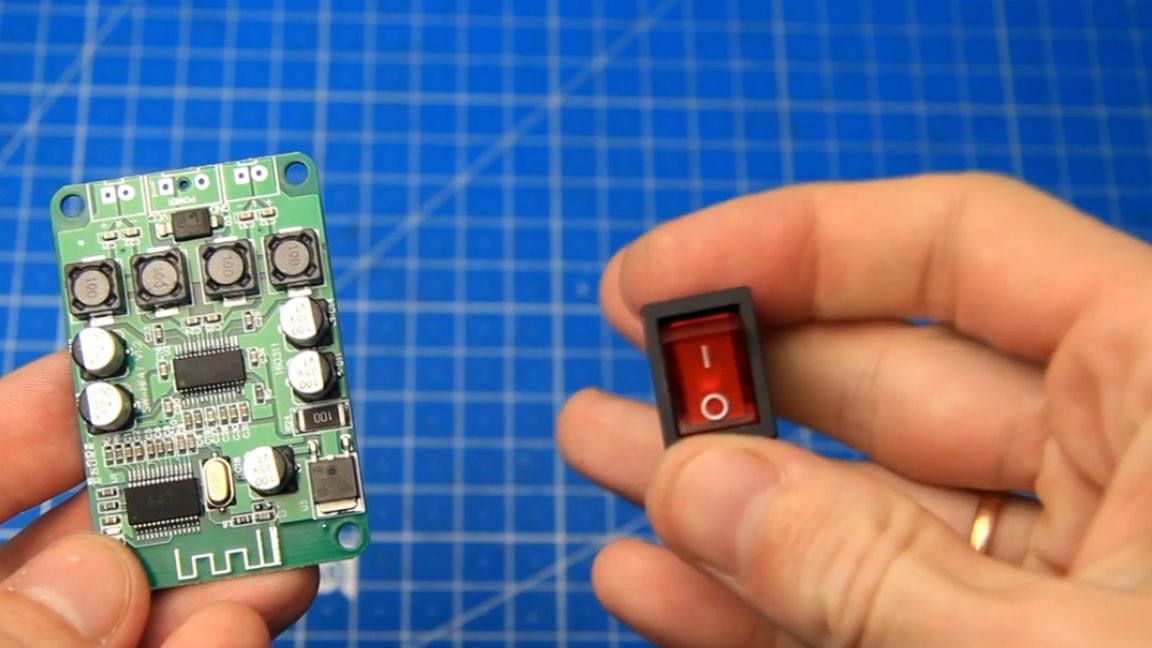
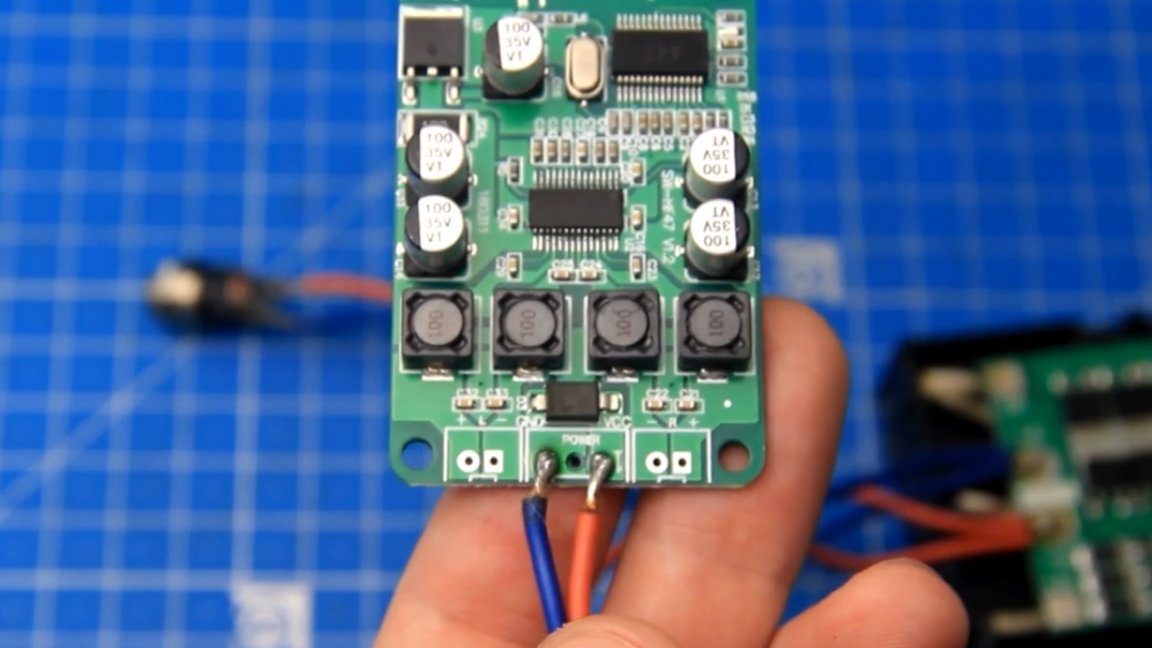
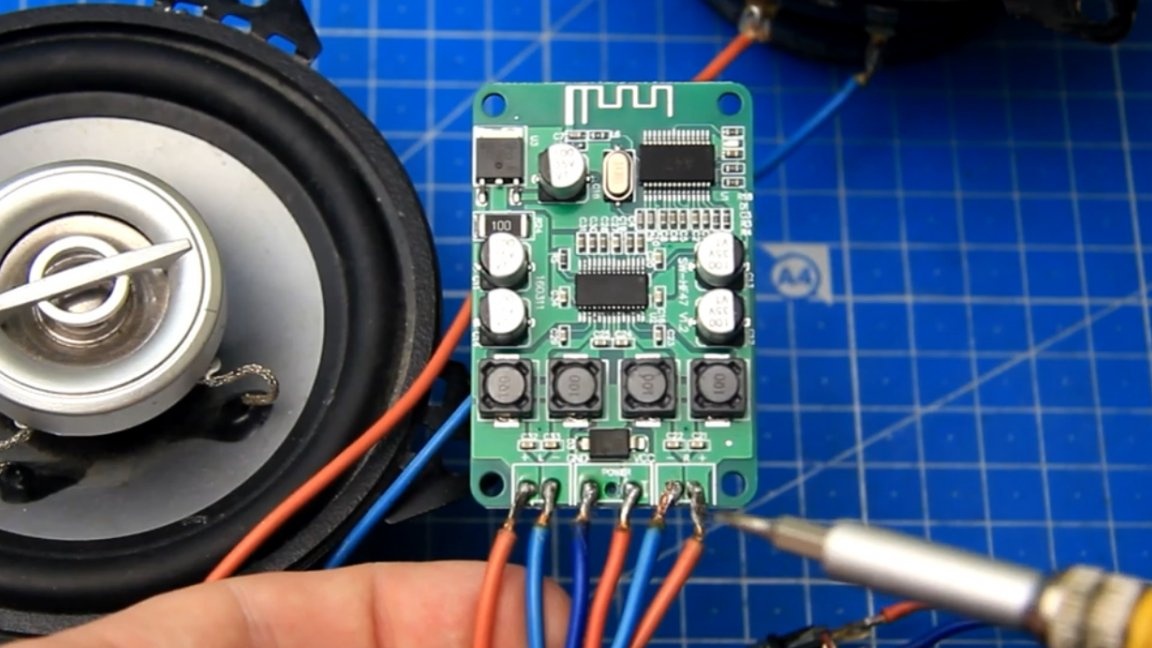
As a sound amplifier, the author plans to use such a board with a bluetooth module on board.
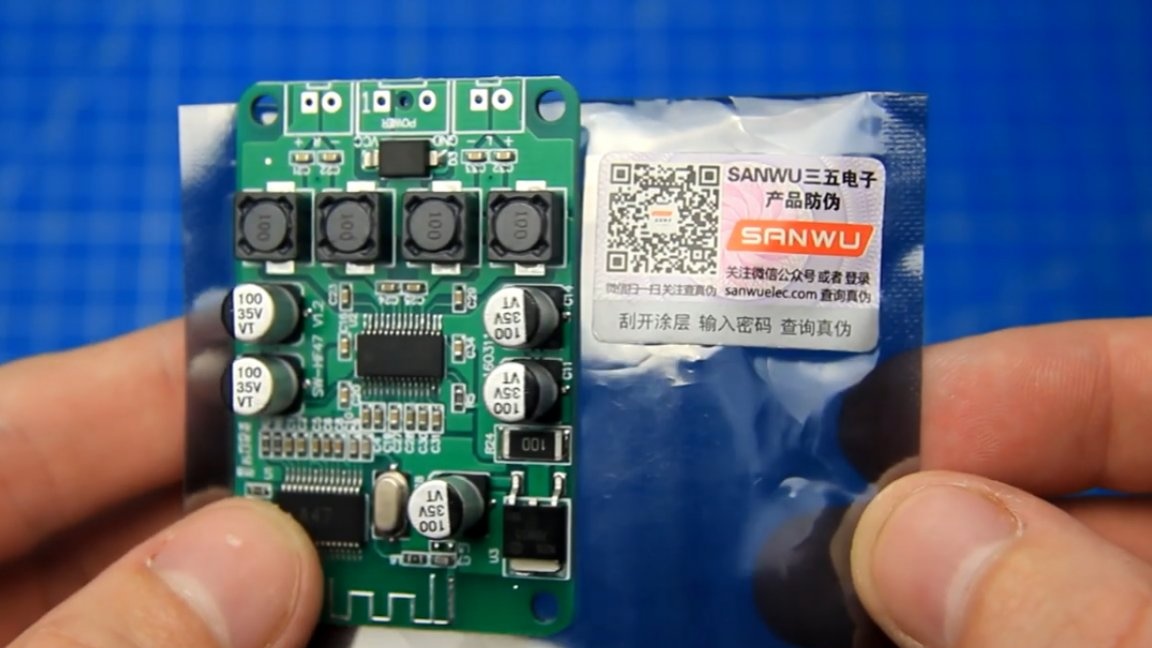
The amplifier in this board is based on the TPA3110D2 chip. This is a D-class amplifier, it has a fairly high efficiency, decent sound and is perfect for making a portable speaker yourself. The board is made pretty well, everything seems to be of high quality, there is nothing to complain about.
The size of the amplifier board is quite compact and is approximately 6 by 4 cm, which is an additional plus when assembling a home-made portable speaker system, since such a board can easily fit in almost any case.
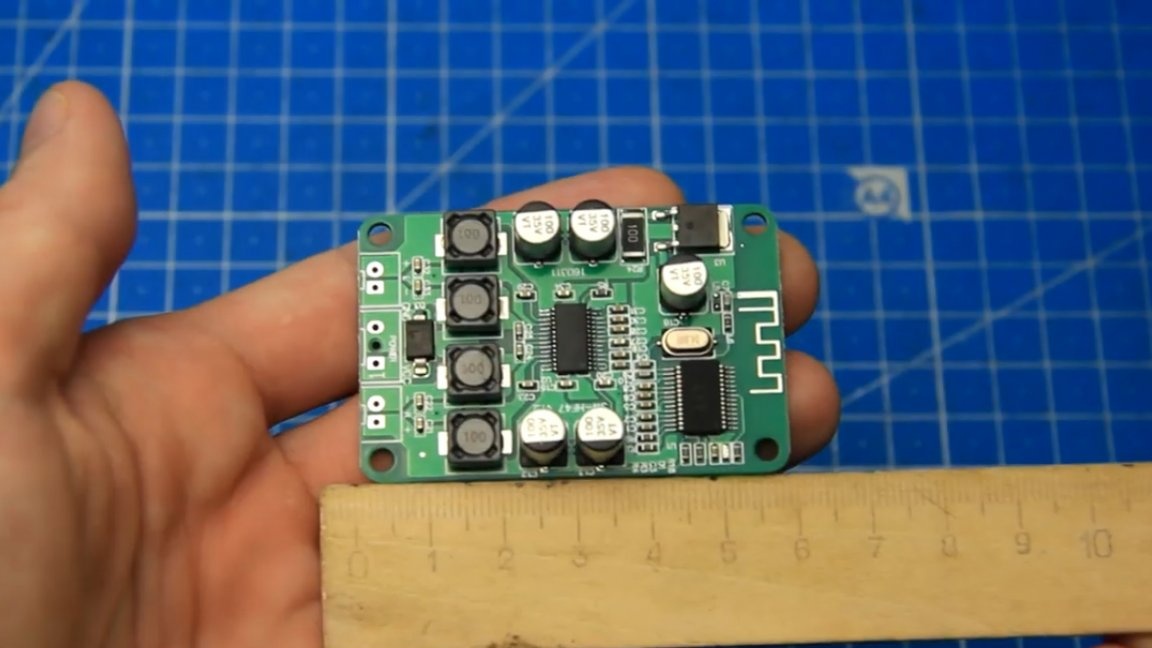
There are 2 main blocks on the board. On the left are the details of the bluetooth module, and on the right are the details of the sound amplifier.
The TPA3110D2 sound amplifier microcircuit does not heat up significantly during operation and does not need a radiator, in fact, it doesn’t exist here.
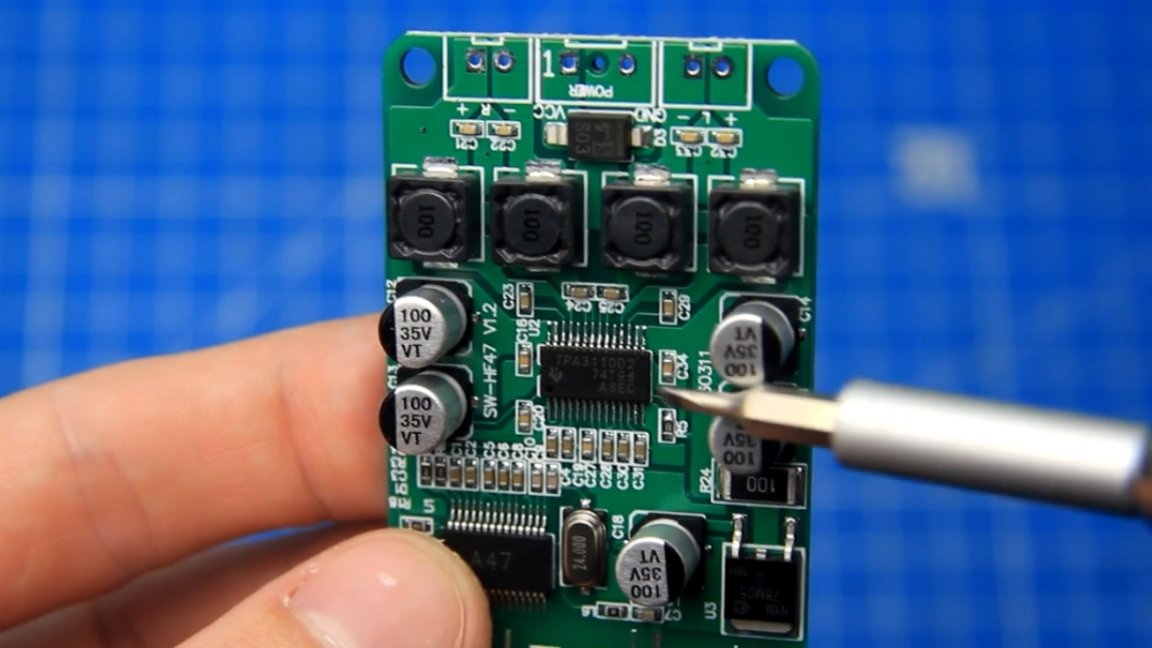
Near the chokes there are contacts for connecting the plus (+) and minus (-) power, and next to them is a protective diode, which in case of a polarity reversal will not allow the board to fail.
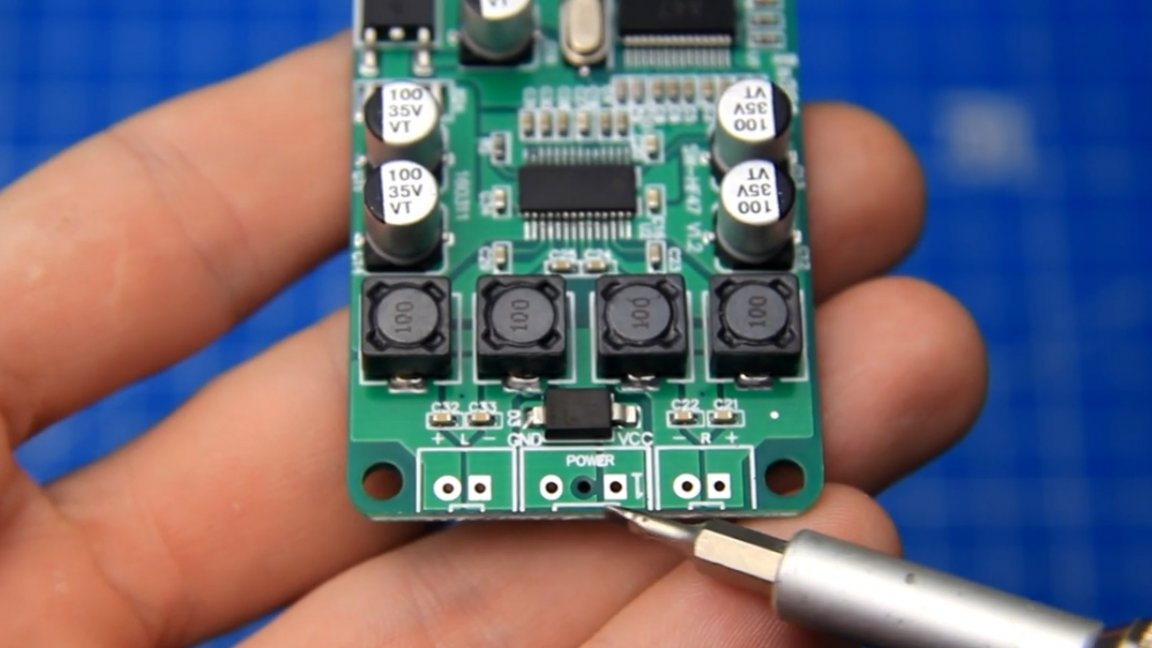
On the sides are the contacts of the left and right outputs of the amplifier for connecting speakers.
Below are presented Main characteristics this sound amplifier:
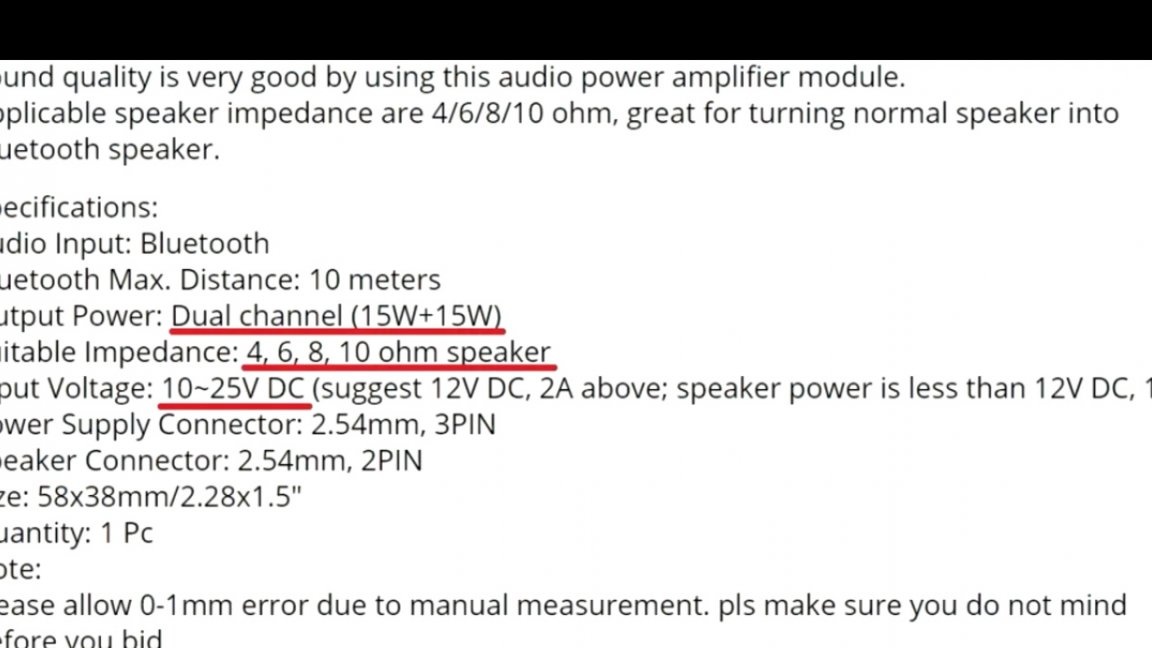
- The supply voltage of this amplifier is from 10V to 25V;
- Maximum output power up to 15V per channel.
To power this sound amplifier, the author will use an assembly of 3 consecutively connected lithium-ion batteries of the widely used 18650 format. The total voltage of these three elements gives us the opportunity to power the sound amplifier.
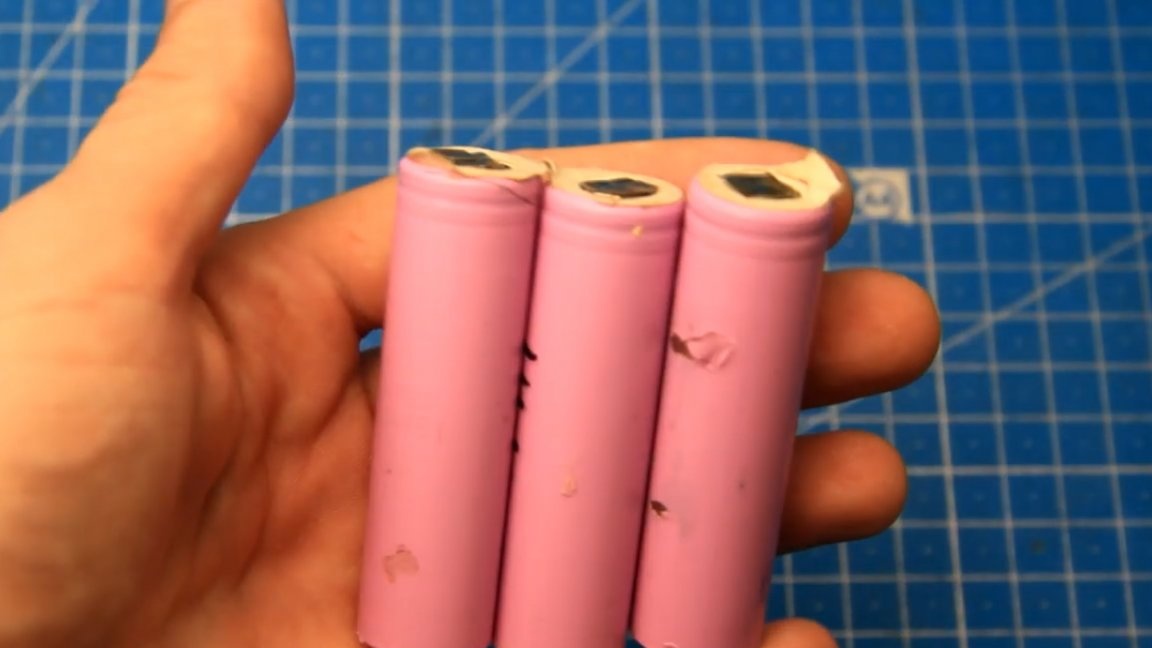
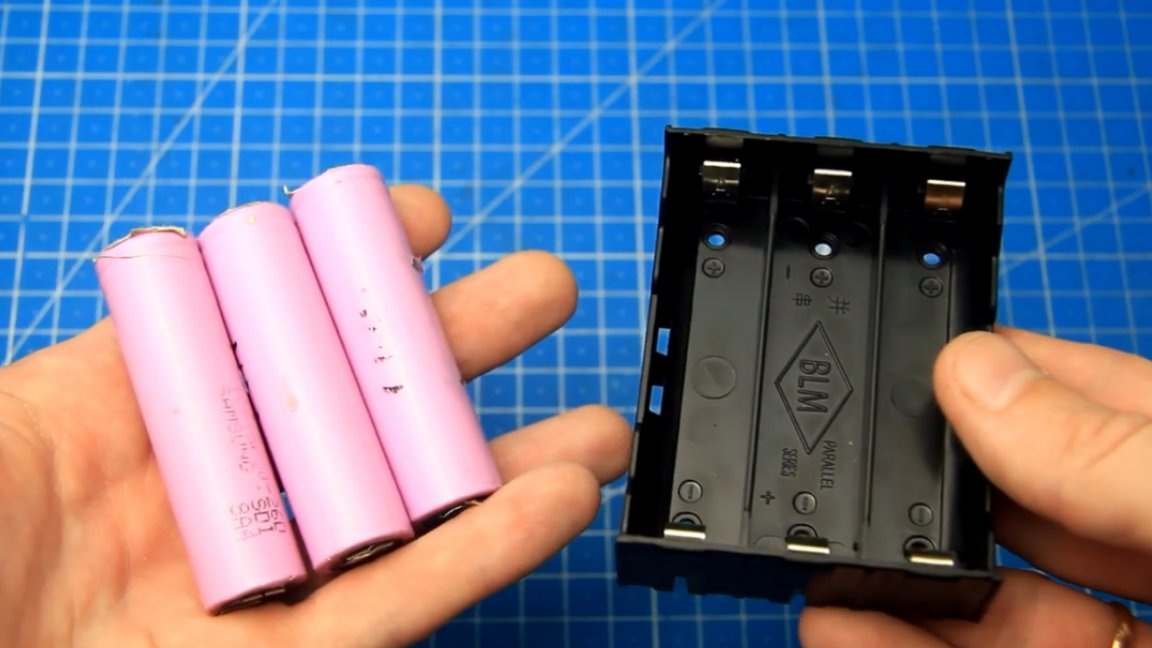
In this example, the author uses second-hand batteries (used) from disassembling laptop batteries.In order not to solder the batteries and thereby not harm them, as well as for more convenient replacement in case of failure of one or more elements, a holder for three standard 18650 batteries was purchased here.
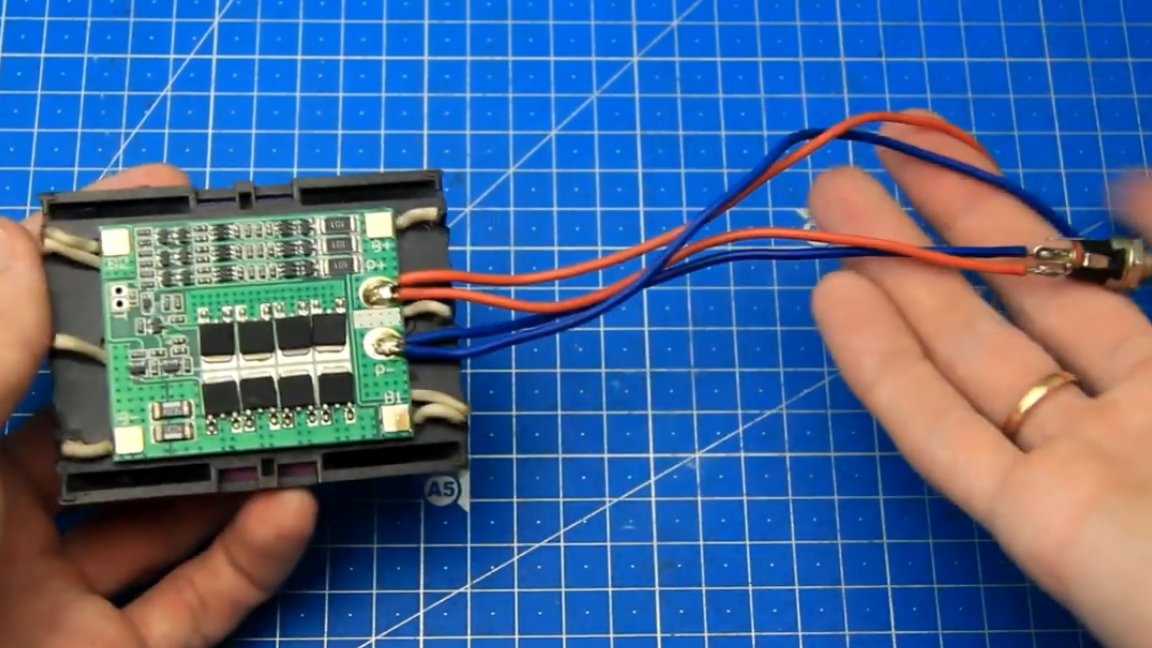
As you know, lithium-ion batteries are afraid of overdischarge, overcharge and overload, therefore, to protect them, we will use such a BMS board for 3 banks with a current of up to 25A.
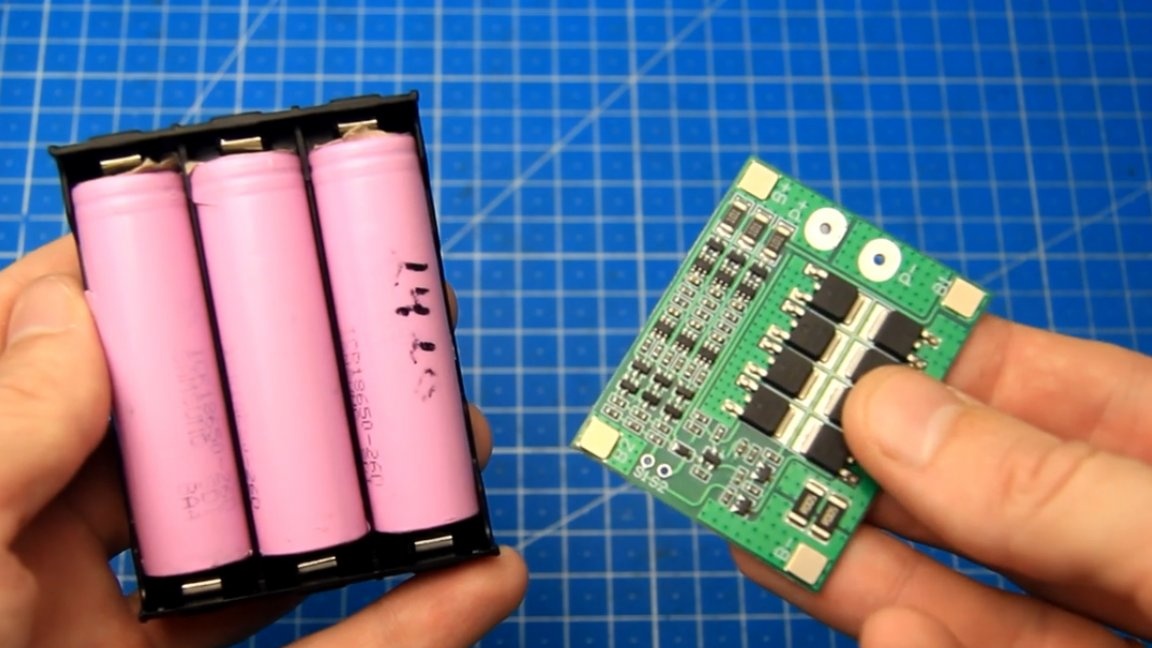
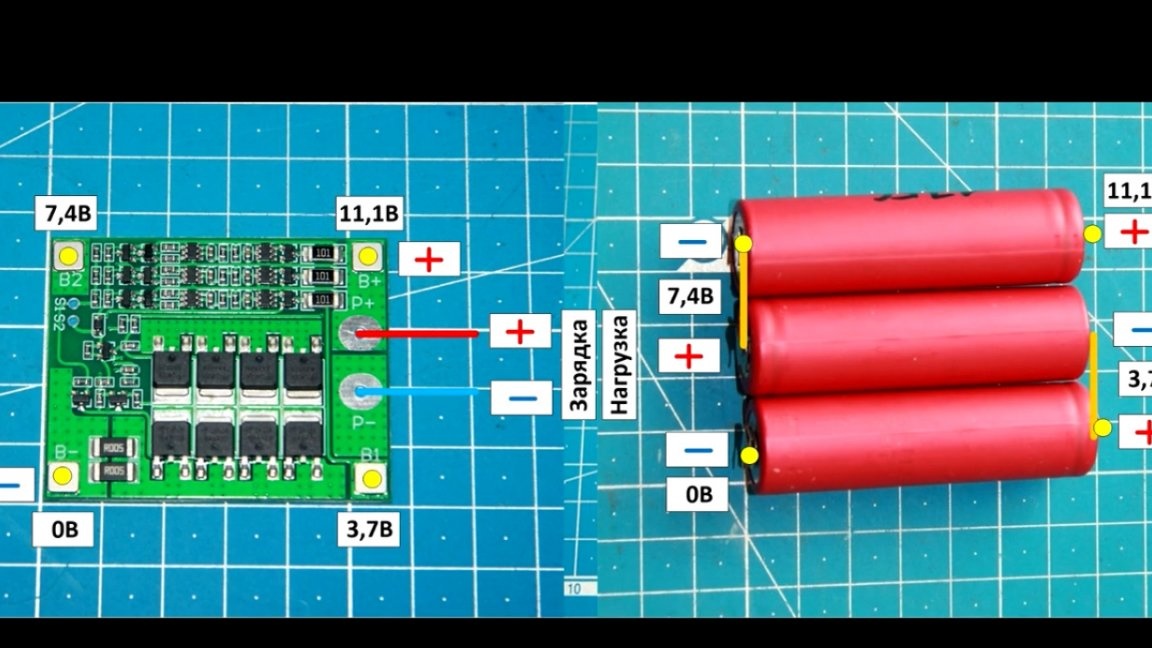
This board also has a built-in balancer, for recharging more discharged cans. This is how the connection diagram of the BMS board with the battery holder looks like:

But the diagram is if you do not use the holder, but connect the batteries using a soldering iron or welding:
Now you need to solder 2 wires to the P + and P- contacts, red is the plus (+), and blue is the minus (-). Through one pair of wires with a connector, the battery will be charged, and through another pair discharged and power the sound amplifier. In the center of the connector is a plus, and on the edge there is a minus contact. As a result, we got such a holder with protection.
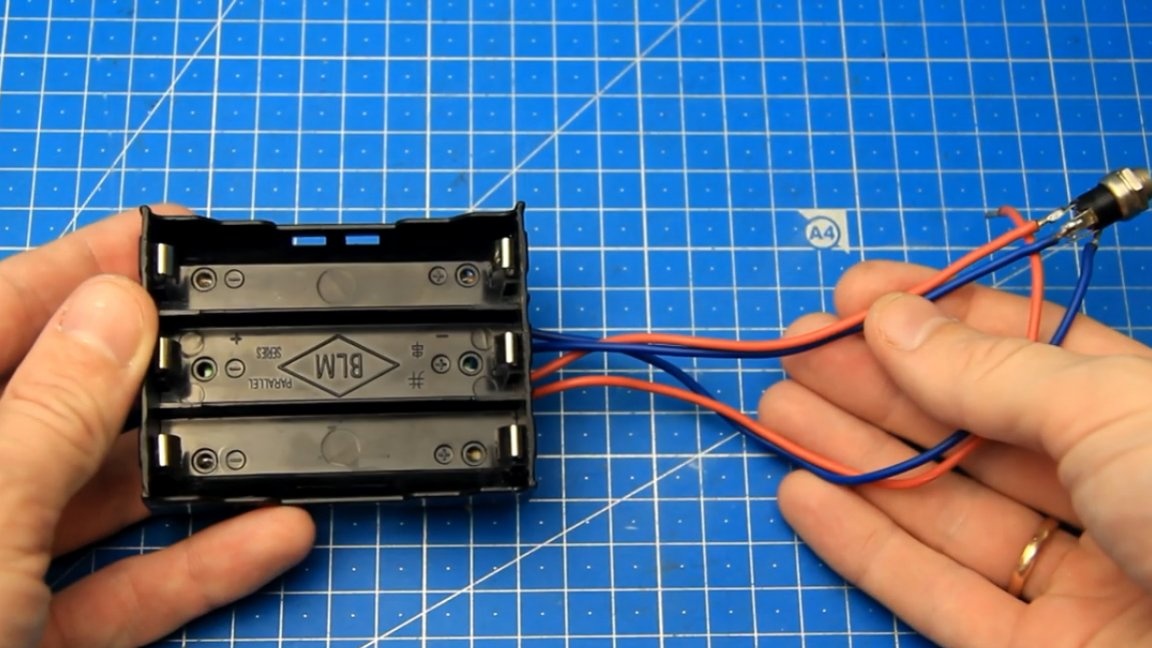
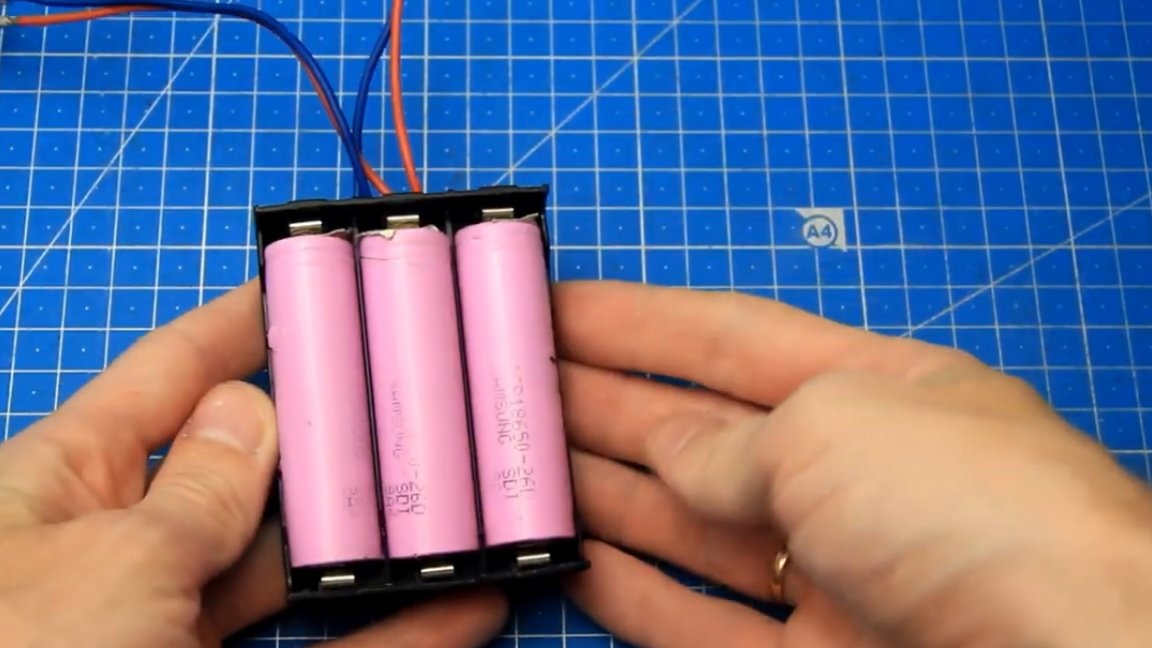
Now, observing the polarity, it is possible to install our batteries in it. If everything is assembled correctly, but nothing is heated and does not burn out. The result is such a battery for 3 banks with protections.
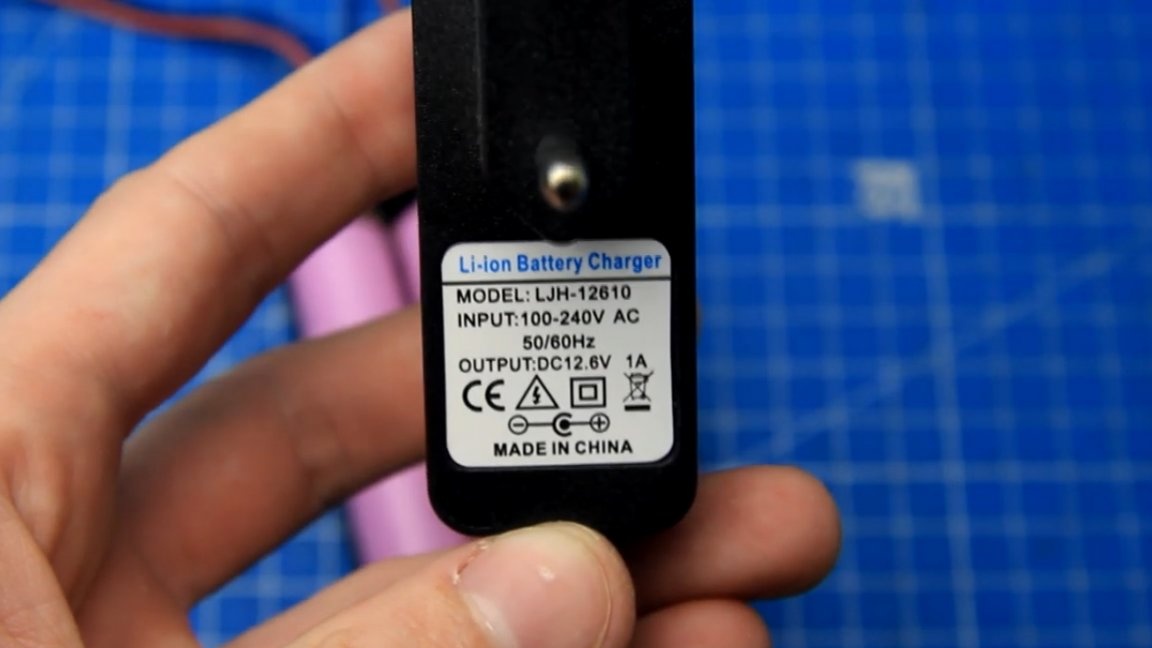
To charge such a battery, you need to purchase a special charger for a 3-bank lithium-ion battery. I repeat, we need not a simple power supply, namely a charger with CC-CV charging algorithm, for Li-ion. A conventional power supply for charging in this case will not work. The BMS board does not know how to control voltage and charging current, but simply protects the batteries. In a pair, such a charge and such a protection board work fine. The characteristics of the author’s charger are as follows: the output voltage is 12.6V, the charge current is 1A.
The charger connector is 5.5x2.1mm, in the middle is plus, and minus on the edge. Use a suitable connector to connect.
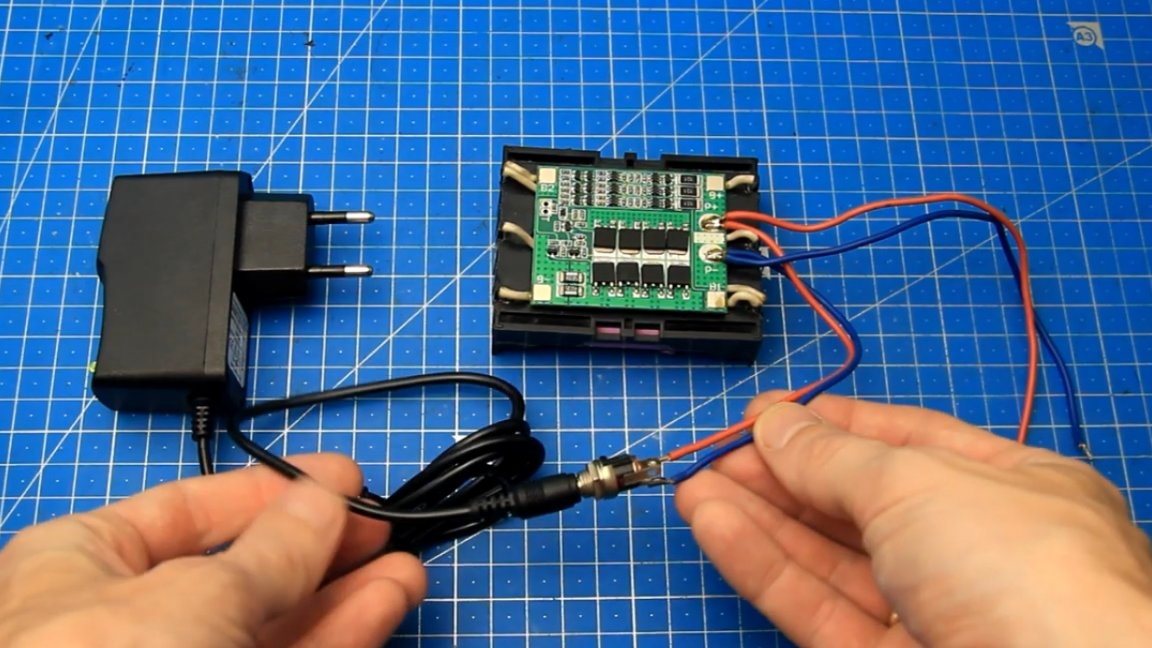
We check the polarity and, if you haven’t messed up anything, you can try to charge the battery. To do this, we turn on the charger in a network with an alternating voltage of 220V and connect the charger wire to the battery wire.
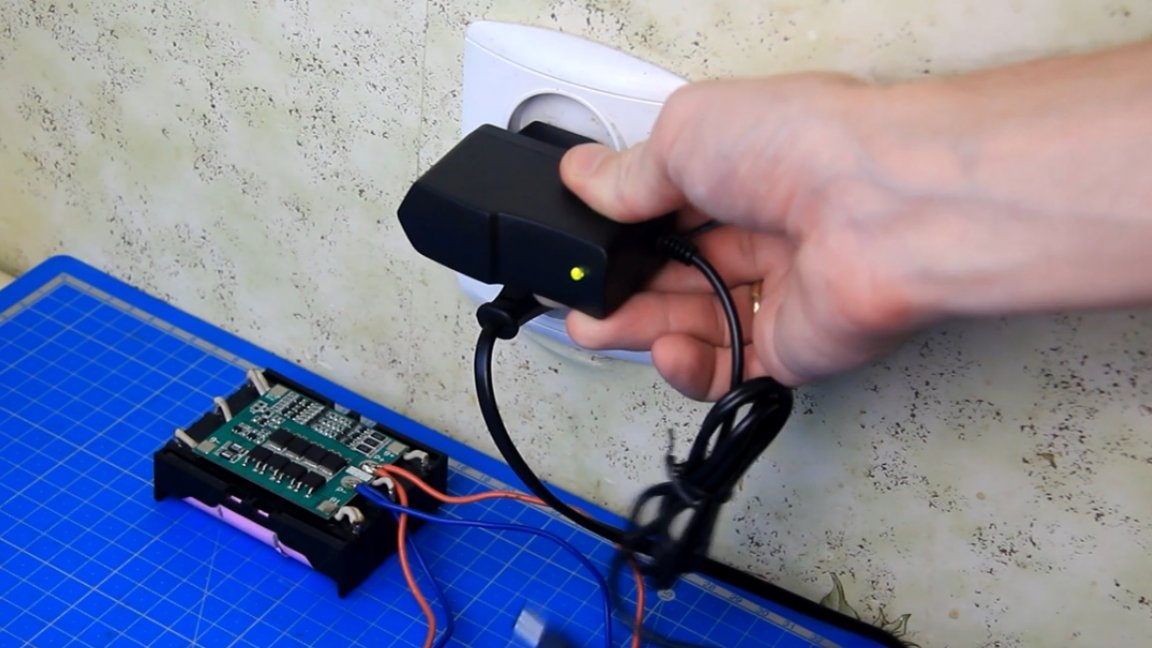
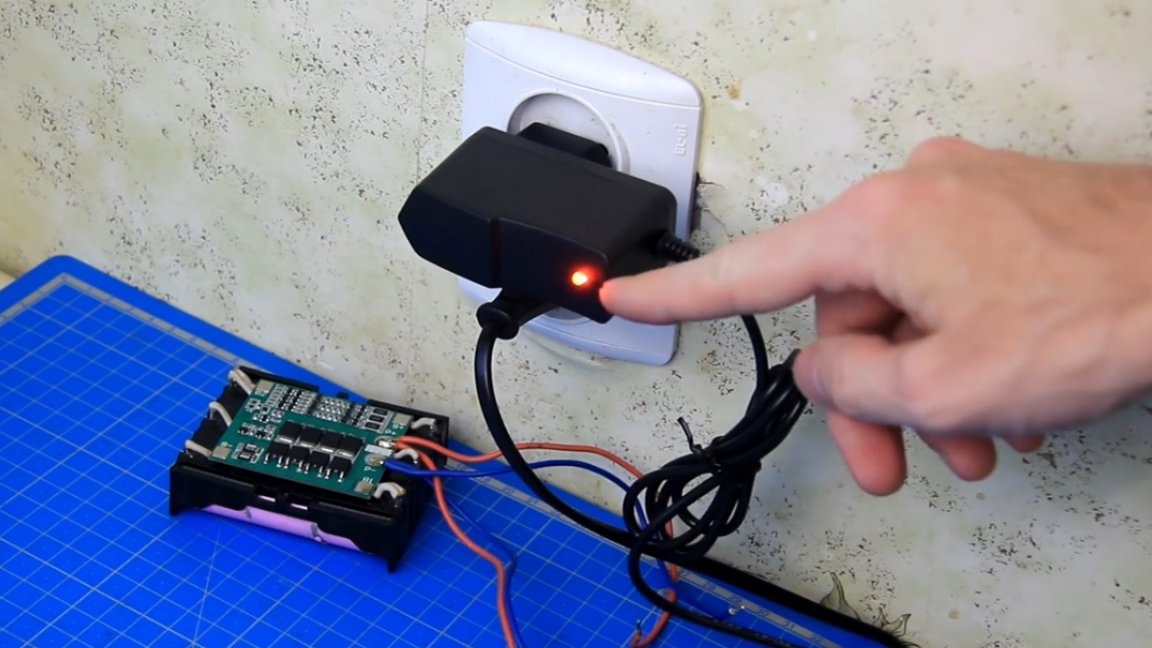
As you can see, the indicator on the charger changed color from green to red, which means that the process of charging the battery just assembled by our own hands has begun.
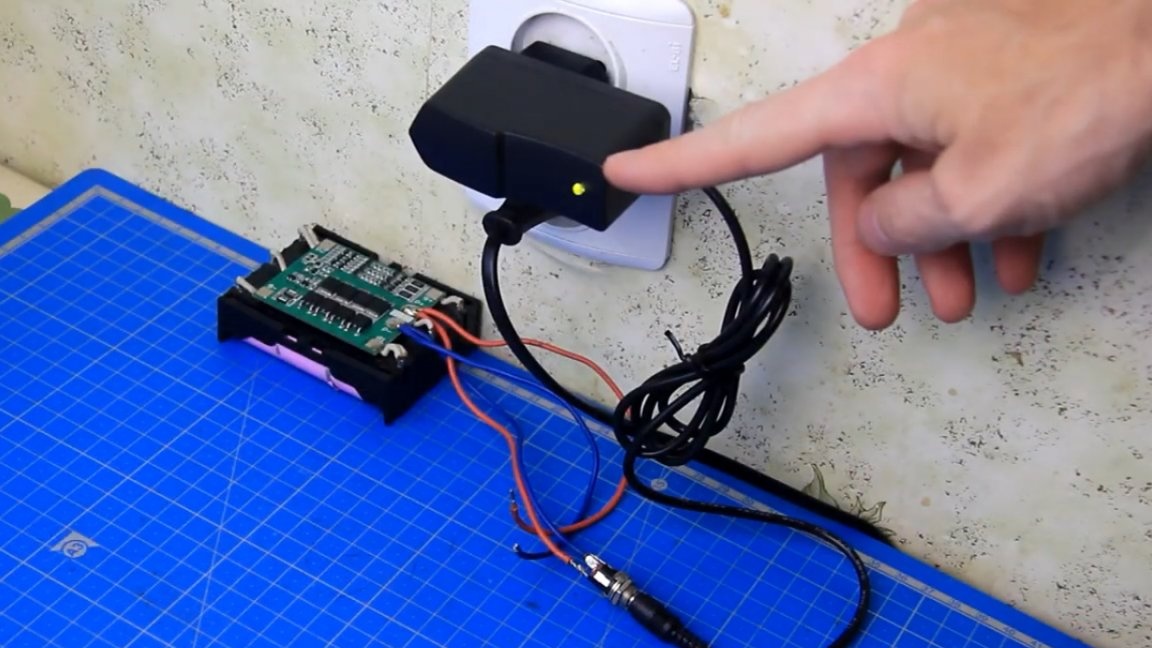
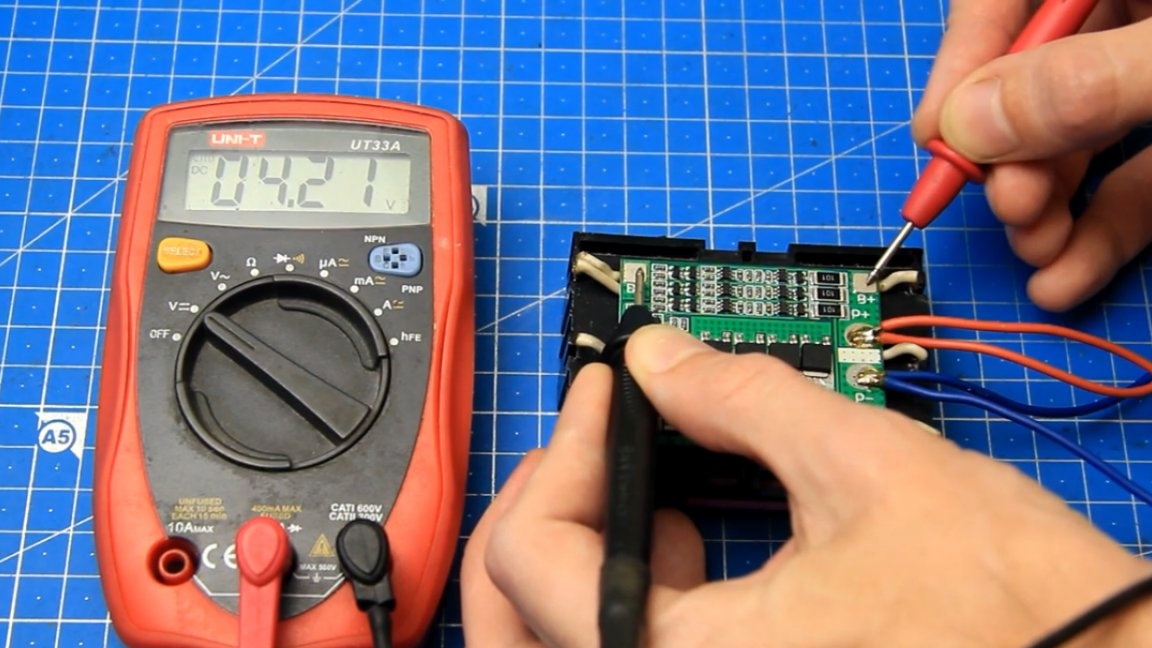
When the green indicator lights up, this means that the charging process is completed, but we need to wait a little longer for the battery balancing process to go through and only after that we can disconnect the charger from the 220V mains. During balancing, 3 large resistors marked 101 begin to heat up.
The voltage on each bank is approximately 4.2V, which means that the batteries are fully charged.
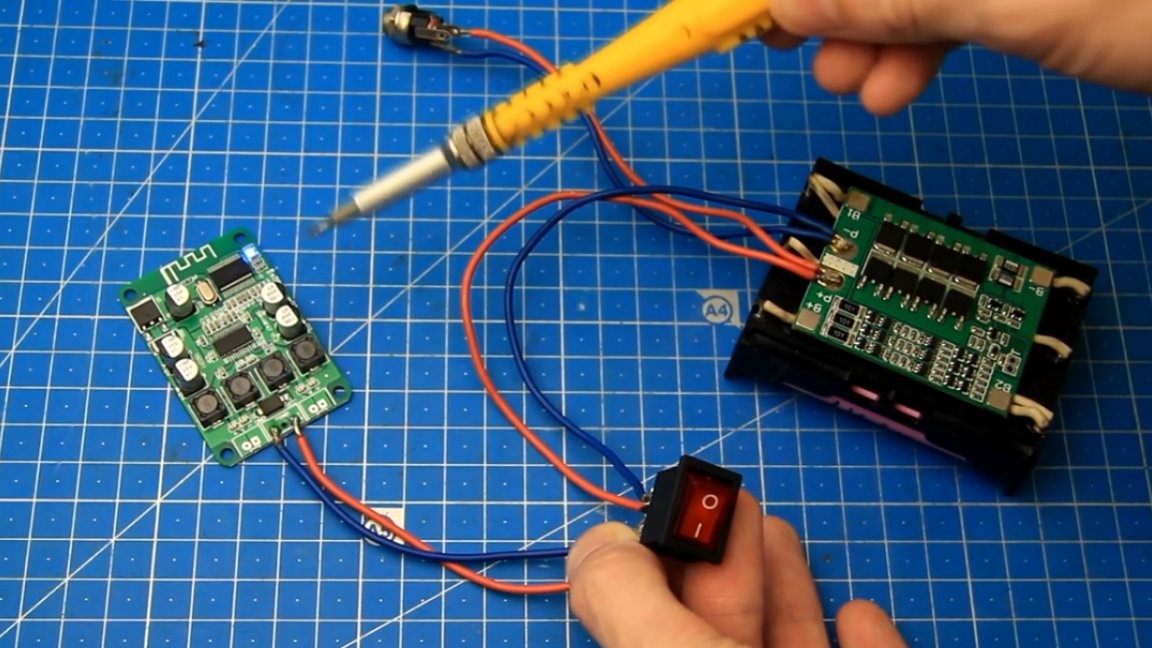
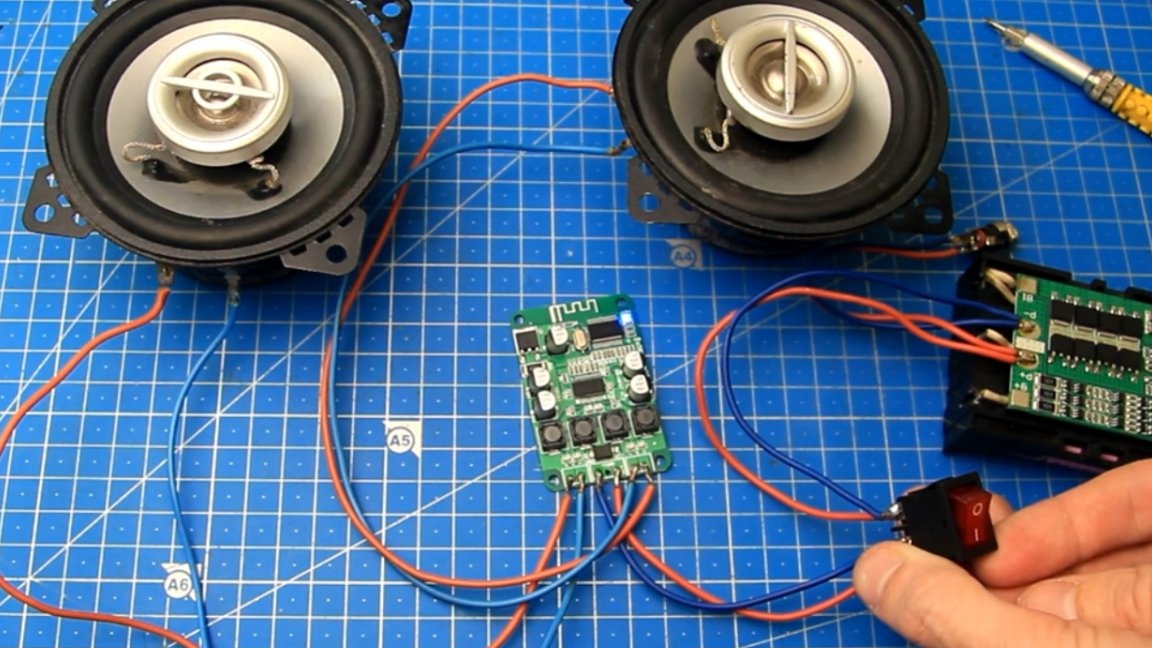
After the process of charging the battery, the charger must be disconnected from the battery, otherwise the charger will gradually discharge the battery. Now try to connect the amplifier to the battery. To be able to turn off the power of the amplifier, we will use this switch.
This switch must be soldered into the gap of the power supply wires of the amplifier and, observing the polarity, soldered plus (+) and minus (-) from the switch to the contacts of the amplifier. This is how it looks, as you see, there is nothing complicated about it.
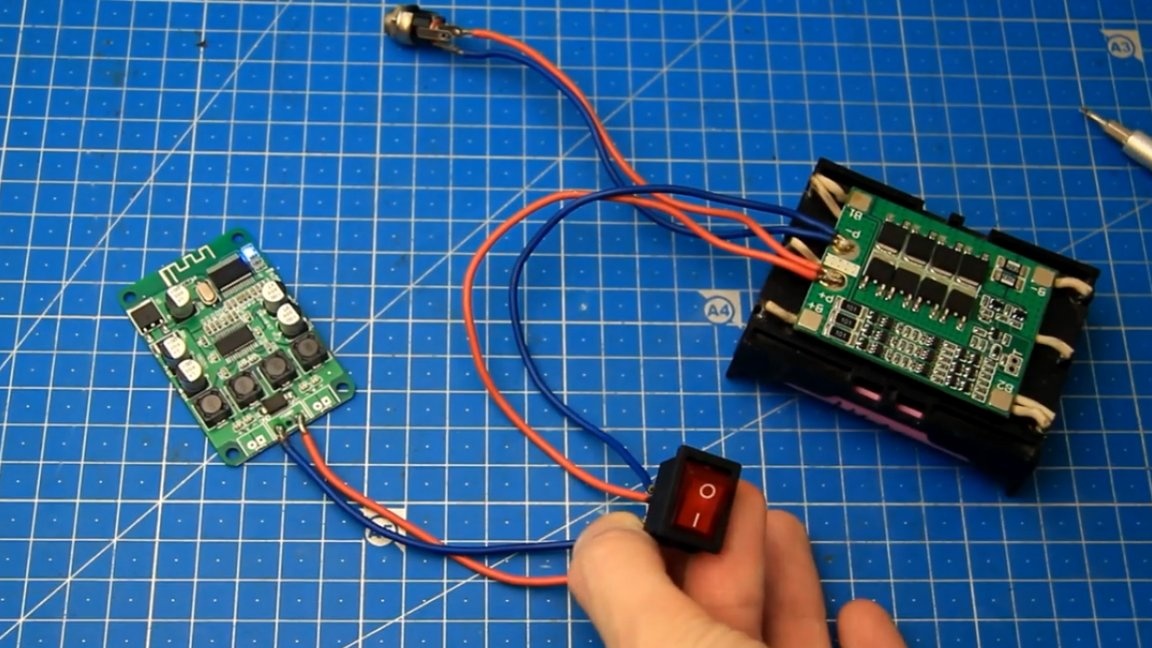
We check again (it will not be superfluous) and turn the switch to the ON position. The indicator on the amplifier lights up, therefore, there is power.
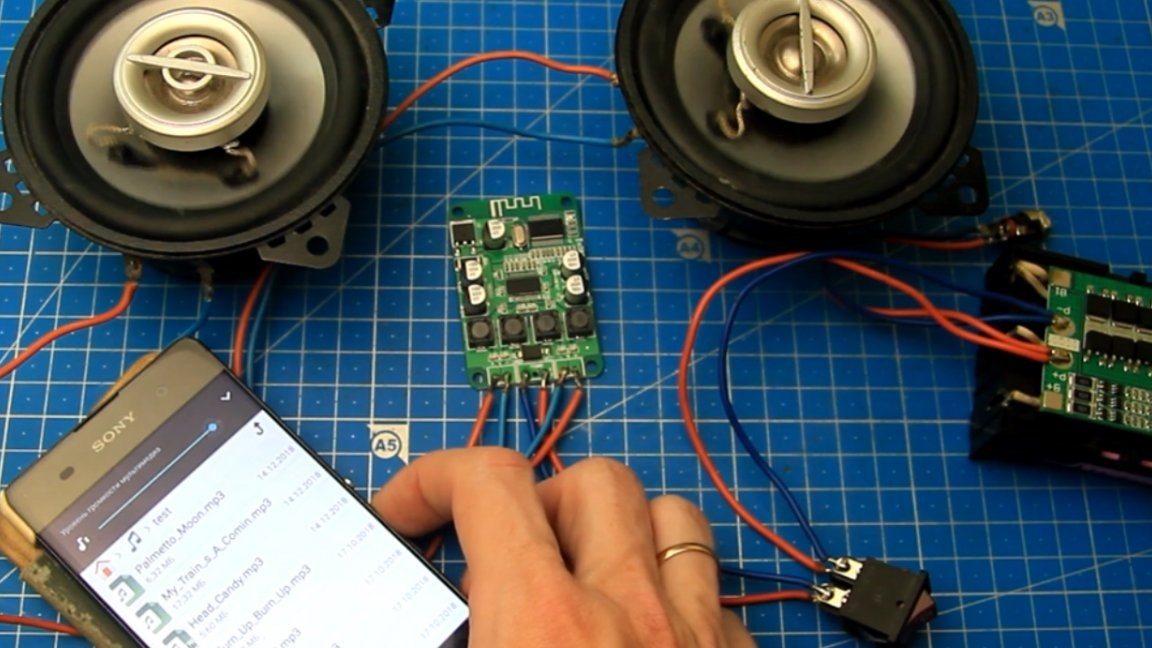
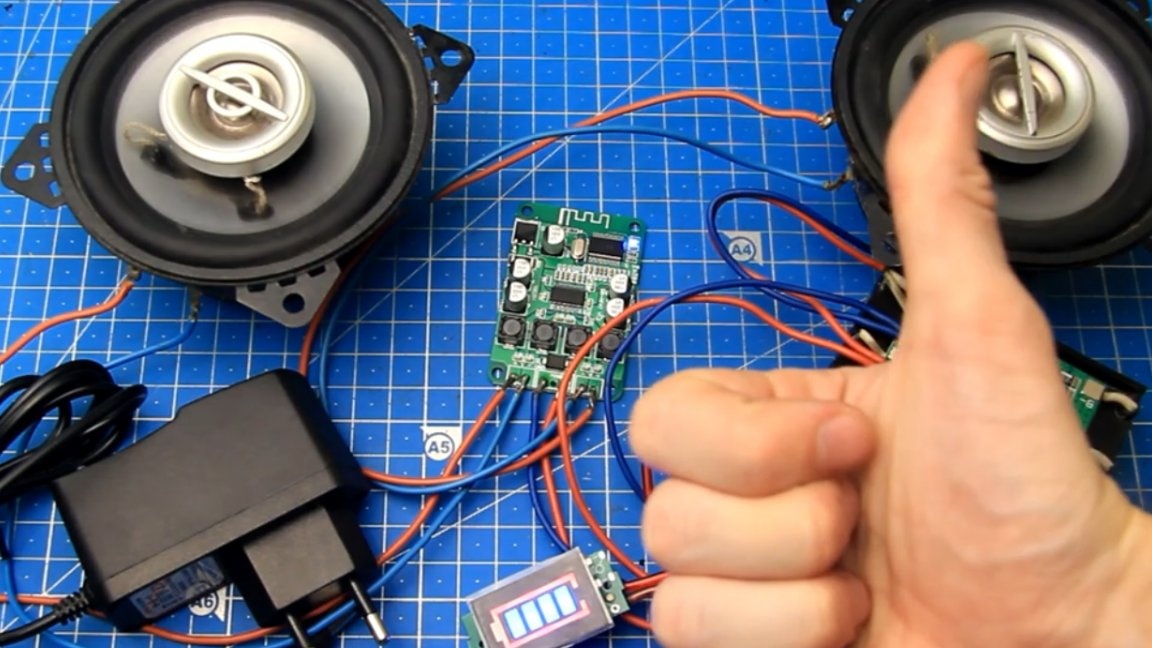
As an example of test acoustics, the author took these two speakers with a resistance of 4 Ohms each.
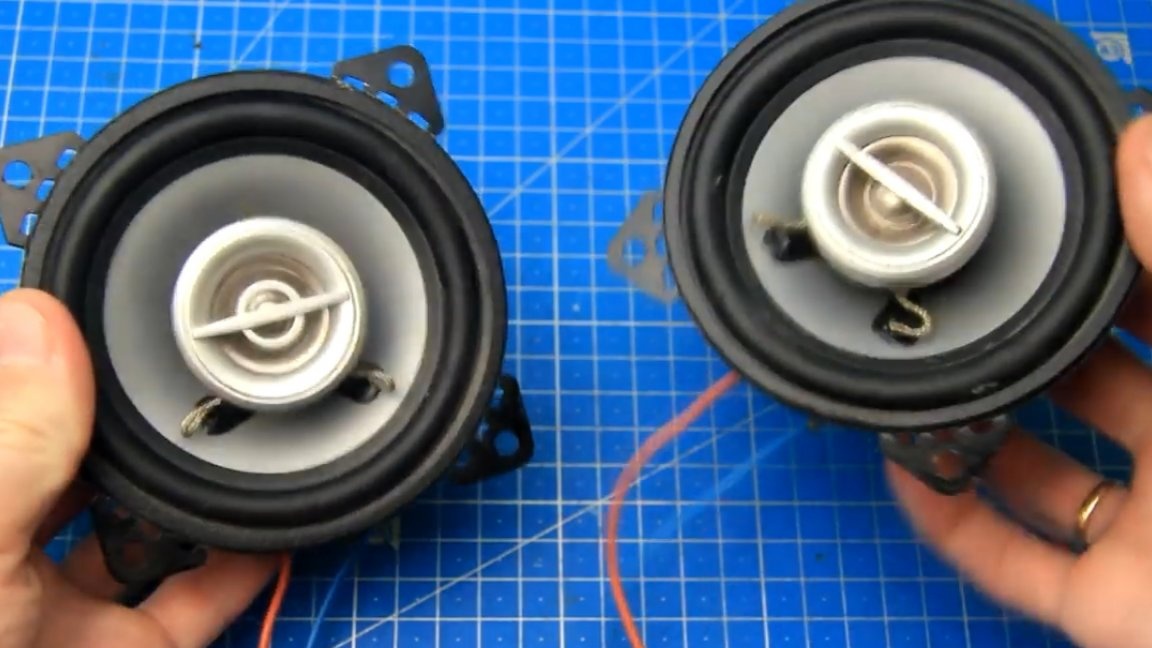

They are soldered to the contacts next to the power contacts, while it is advisable to observe the polarity.
So, the speakers are connected to the amplifier. The next step is to power the amplifier. The speakers sounded ready to connect via Bluetooth wireless technology, which is good.
There is no extraneous hum, whistle and other noises. To control the battery charge level, you can additionally add here such a charge level indicator for 3 banks in the form of a battery.
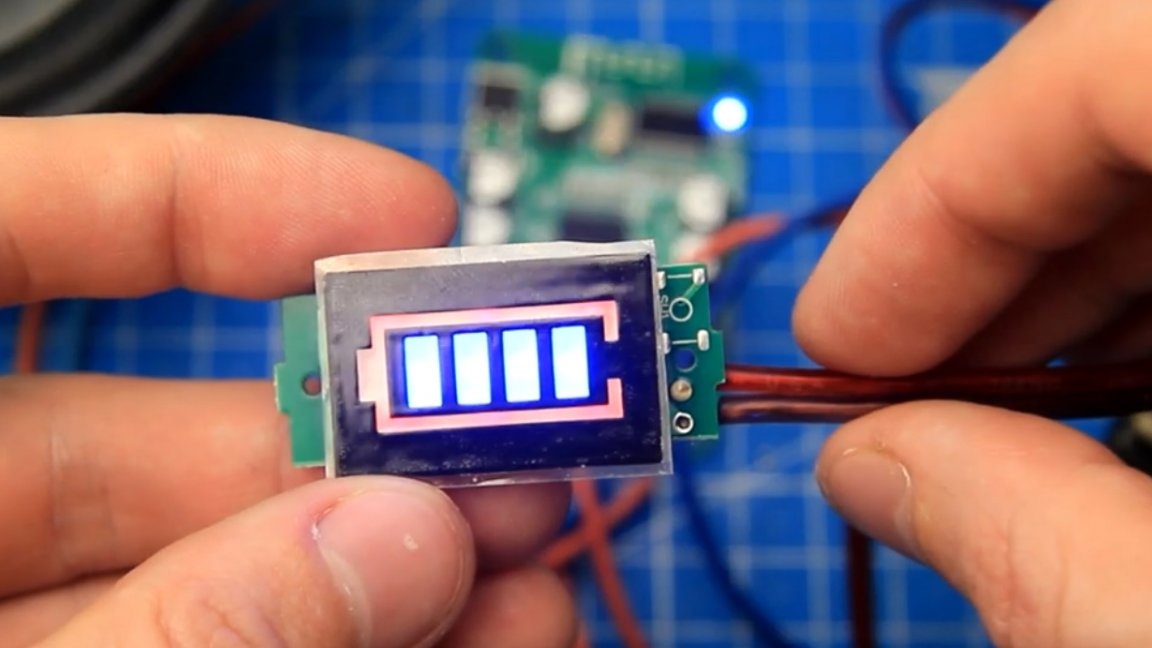
The author connected this indicator to the switch on the amplifier side. When connecting, be sure to observe the polarity. Yes, with this inclusion, the indicator of the charge level of the lithium-ion battery will contribute to a faster discharge of our battery, but there will be constant monitoring of the battery charge level, well, or you can add another switch separately to the charge level and turn on the indicator if necessary.
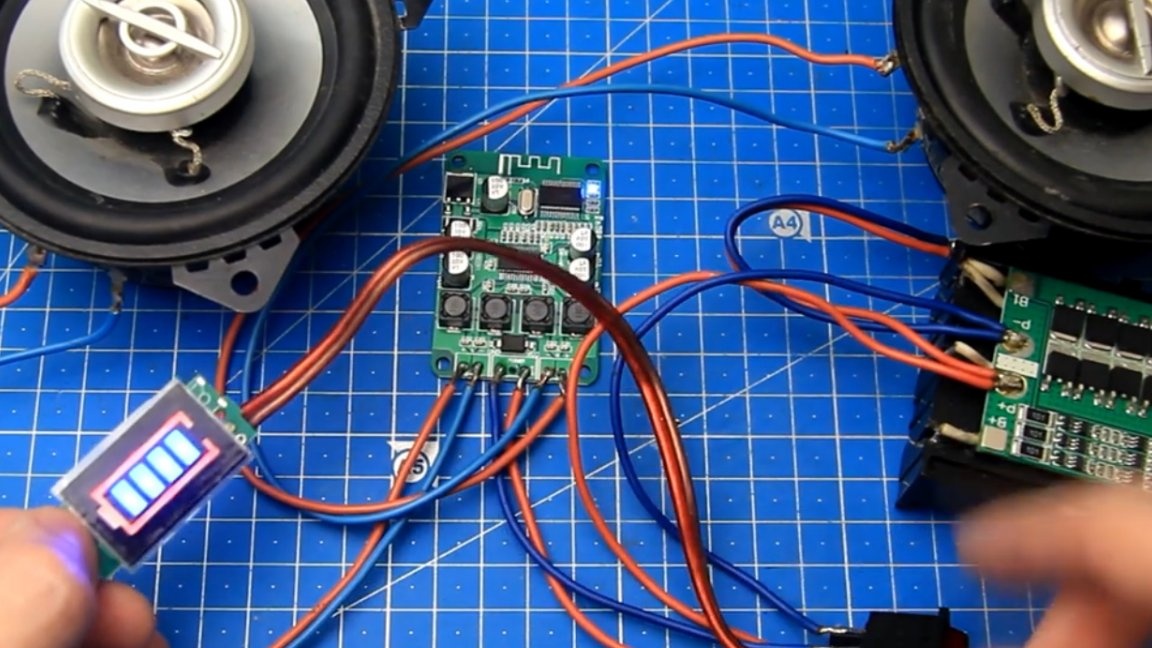
Bluetooth connection is standard, everything connects simply without problems.
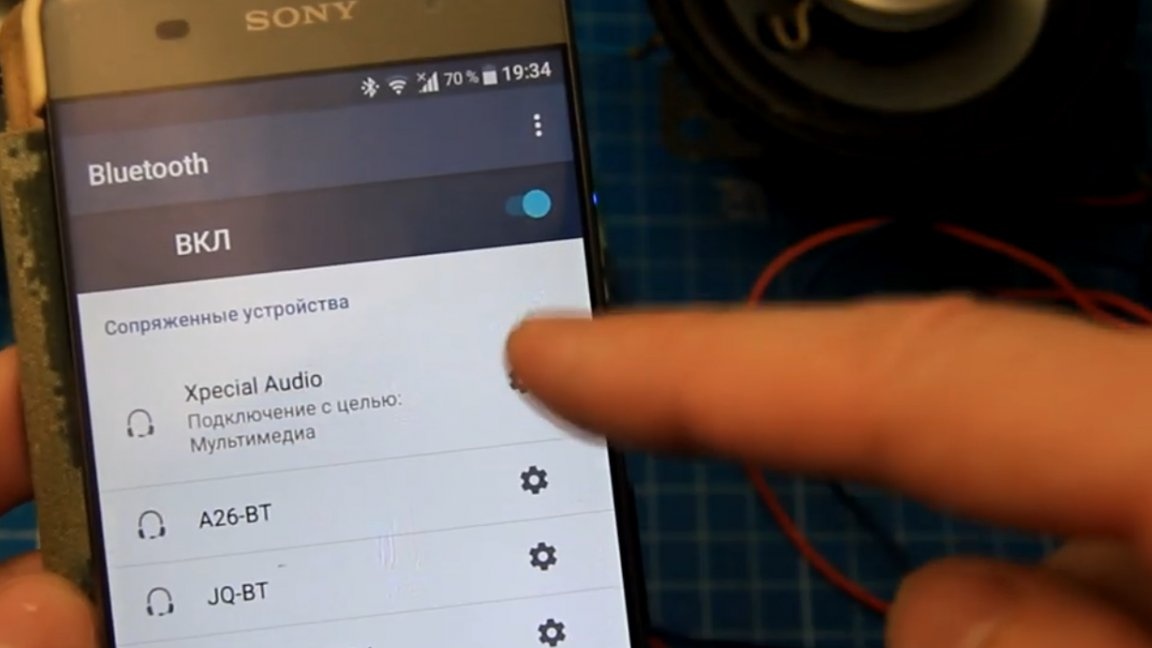
And finally, a test with music ...
More details in the author’s video:
When you turn the power off and on, the Bluetooth connection is automatic. As you can see, if everything is assembled correctly, then everything works fine. It plays quite loudly and there are big distortions in the microphone when shooting the process of testing the amplifier.
The operating time of this assembly from such a three-jar lithium-ion battery with a capacity of 2500 mAh at an average volume can last about 3 hours. Operating time is highly dependent on the volume of the music; the louder the music, the faster the battery will drain.
There is a slight minus in this assembly. It is not recommended to listen to the amplifier while charging, or to listen, but at a low volume. It is advisable to first charge the battery, turn off charging, and then enjoy your favorite songs. Well, so, it remains to choose / assemble a suitable case, place all the parts and components inside the case and at the output we get a normal portable speaker with reasonably good power for the right price.
Try, repeat and collect. Links to all necessary components can be found in the description under the author’s video (link SOURCE). Well, that’s all. Thank you for attention. See you soon!