

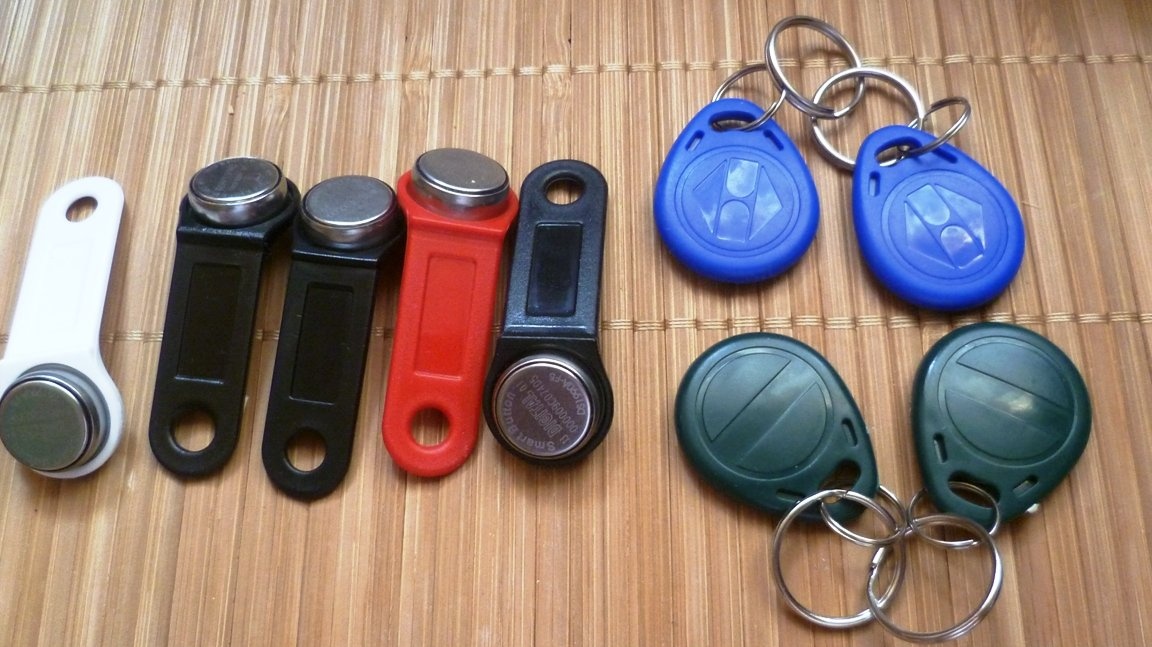
From time to time you have to make a copy of the intercom key. That key is lost or out of order and the like. Then you can make a copy of the key in special workshops for 150-200 rubles. You can make copies of intercom keys on your own. You can purchase a ready-made duplicator of keys, for example, on Aliexpress, but you can do it yourself. Moreover, it will be possible for beginner hams. Now basically two types of keys to the intercom are used - the contact type (iButton, Touch memory (TM) for a simple "tablet"), and the non-contact type RFID in the form of key chains, plastic cards.
To copy the doorphone key, you need to get the original key code, then write it to the copy key. The intercom will determine the duplicate key as its own and open the front door.
Using the Arduino module, the onewire interface allows reading and recording of intercom keys.
Enumeration of tools and materials.
- fee Arduino Nano-1pc;
- tuning multiturn resistor for 10Kom -1pcs;
- connecting wires;
- breadboard -1pcs;
- RFID key disc T5577 (T5557);
- Ibutton key disc RW1990;
- RGB LED-1pc;
- button-1pc;
- 1pcs power switch;
- active buzzer 5V -1pcs;
- contact reader-1pc;
- PEV wire 0.2-0.4mm;
- capacitors and resistors according to the circuit;
- plastic case (distribution box);
- soldering iron;
- tester.
Step one. Wiring diagrams.
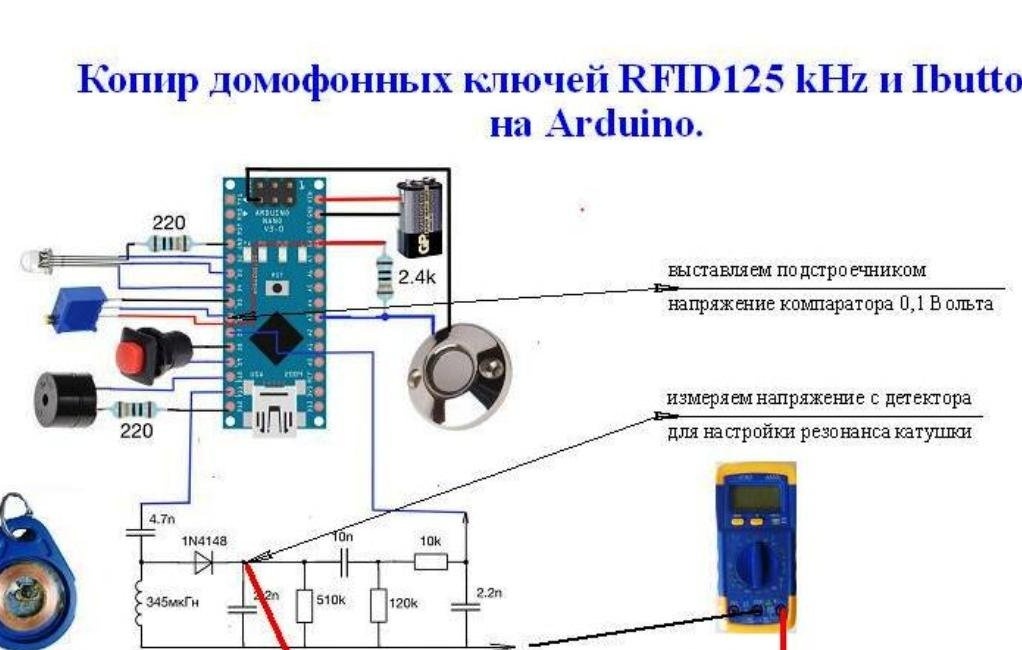
The circuit consists of an Arduino Nano board with connected contact key reader and a proximity key reader board. RGB LED is used to indicate operating modes - standby, key reading, key recording. Trimmer multi-turn resistor to adjust the comparator. The button is designed to switch the duplicator operation modes. Buzzer - for sound control of the copier.
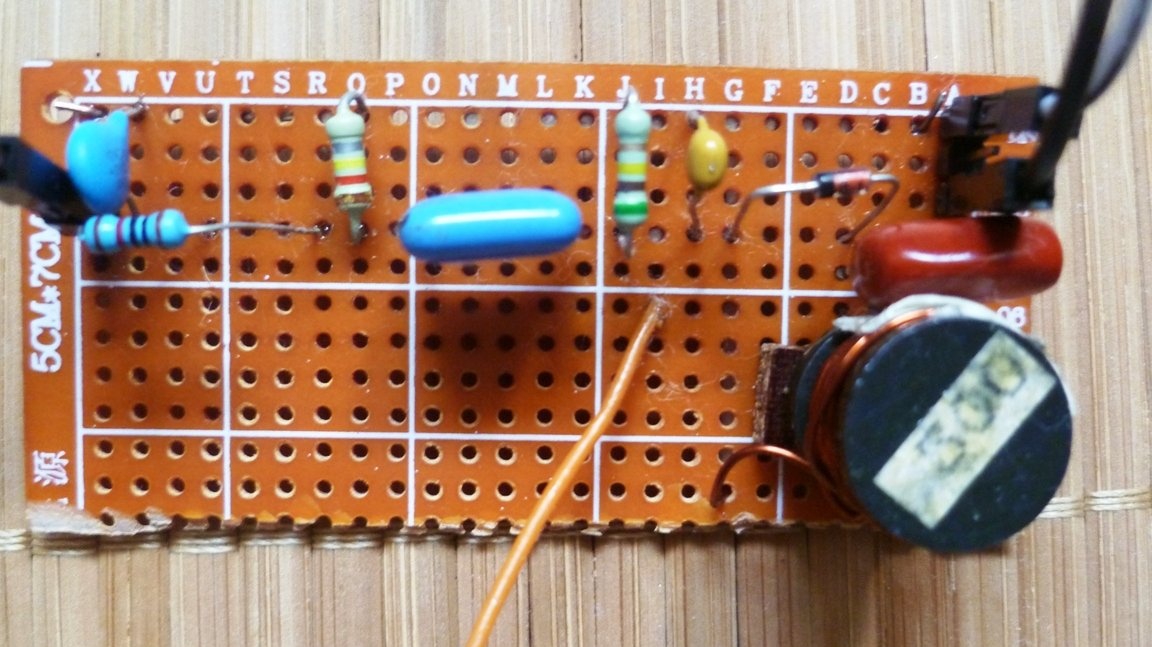
The main work lies in the manufacture and configuration of the signal reception board with RFID keys. We solder capacitors and resistors on a piece of the circuit board.Capacitors are preferably high voltage ones as they work better at high frequencies.
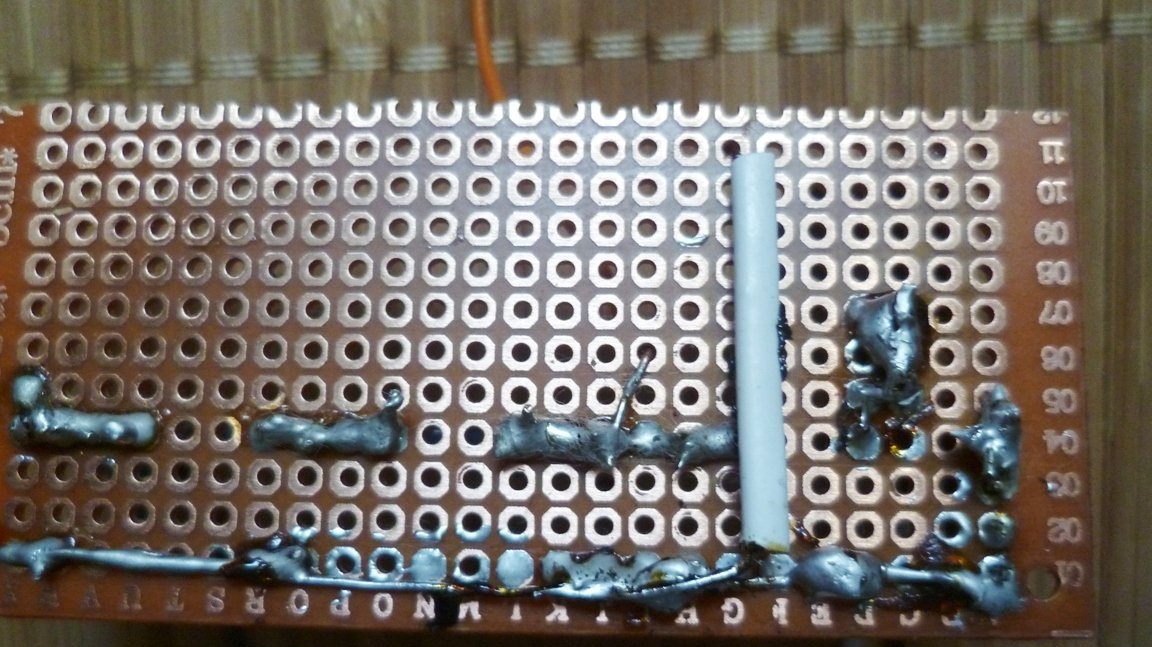
The oscillation circuit consists of a 4700 pF capacitor and an inductor.
The calculation of the coil of the oscillatory circuit can be done on the calculator
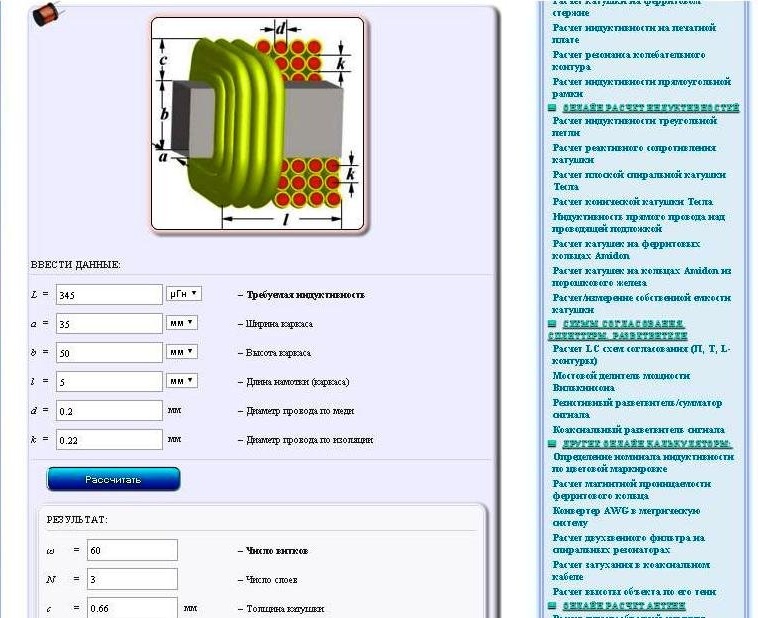
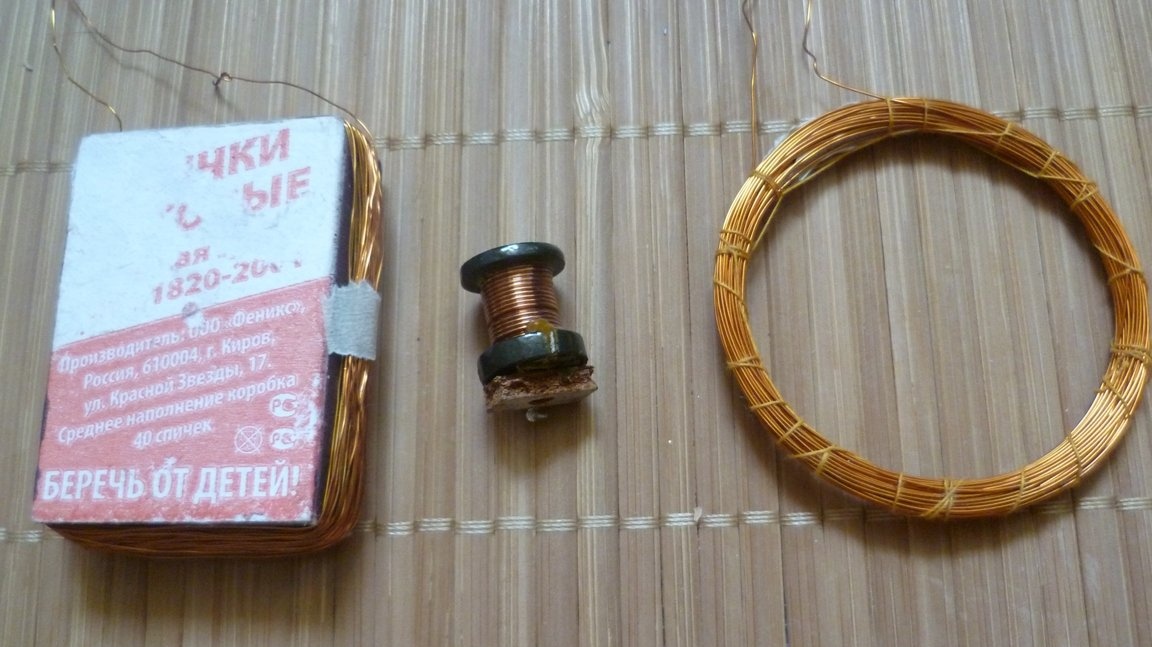
The coil can be wound on a frame of both round and rectangular shape (on a match box), calculated accordingly. I used a ready-made choke 300 µkH as an inductor (dropped out from some device), winding it in several turns, which significantly reduced the dimensions of the coil and, naturally, the time for its manufacture.
Coil and choke options.
Step Two Setting up and checking the work.
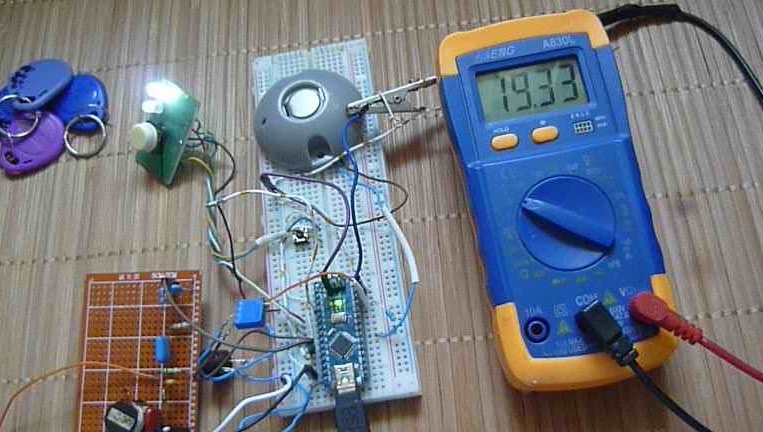
Putting the whole circuit to configure on the breadboard. Loading sketch. Arduino IDE version must be at least 1.8.9
From the Arduino Nano board, contact D11 gives a signal of 125 kHz, which goes to the oscillating circuit of the coil and capacitor. But because capacitors vary in capacitance from 5 to 30%, the oscillatory circuit must be precisely tuned to a frequency of 125 kHz. To do this, we wind the coil with a margin of 10-15 turns, then we wind it until the voltage on the tester increases to the maximum. We connect the tester to the amplitude detector (at the point - diode, capacitor). The voltage should be between 16-22 Volts. After the trimmer resistor, set the voltage to 0.1 Volts (tester on the output of D6 and GND).
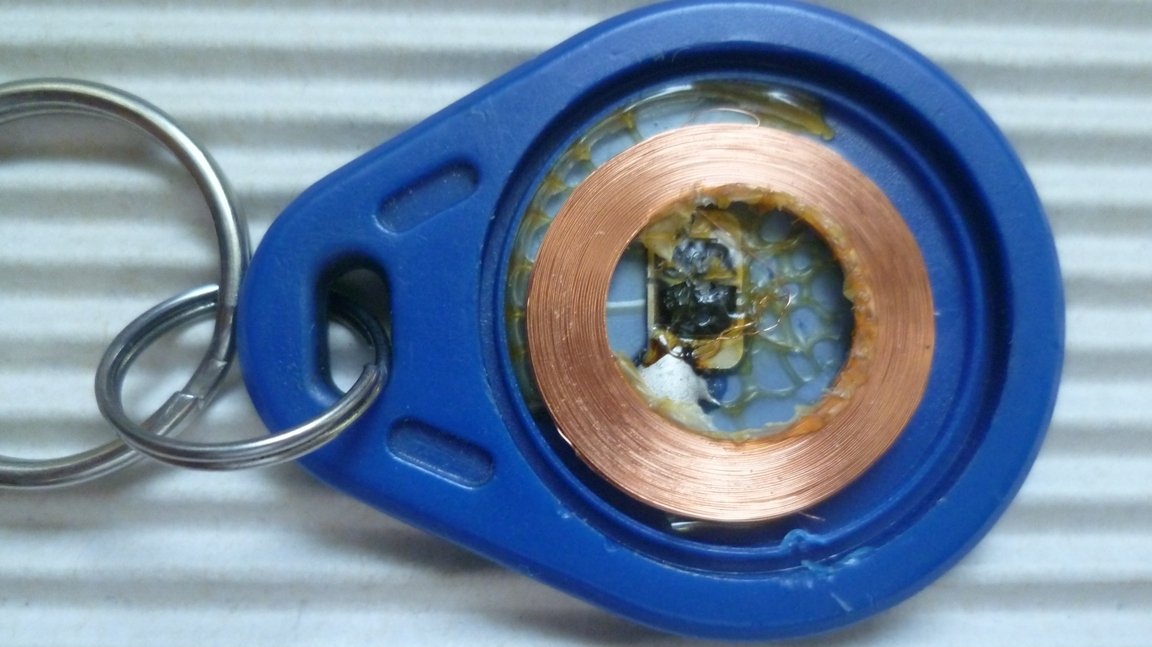
If the circuit is assembled and configured correctly, then it immediately starts working. We bring the RFID key to the coil, the code is read, an audio signal passes.
The key is a coil with a chip.
To record, press the button (the LED changes color to red), bring the RFID key to the T5577 blank and write the desired code into it.
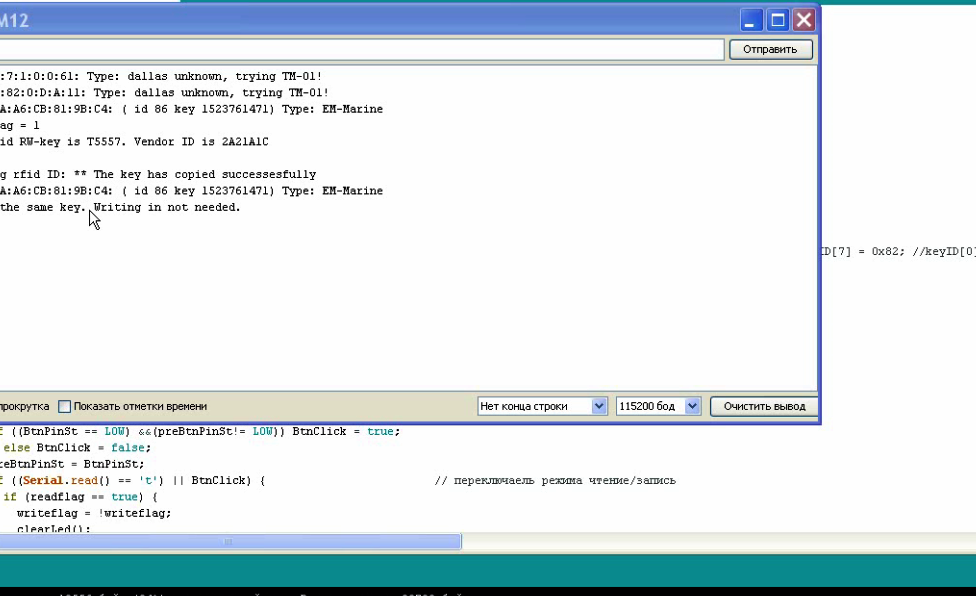
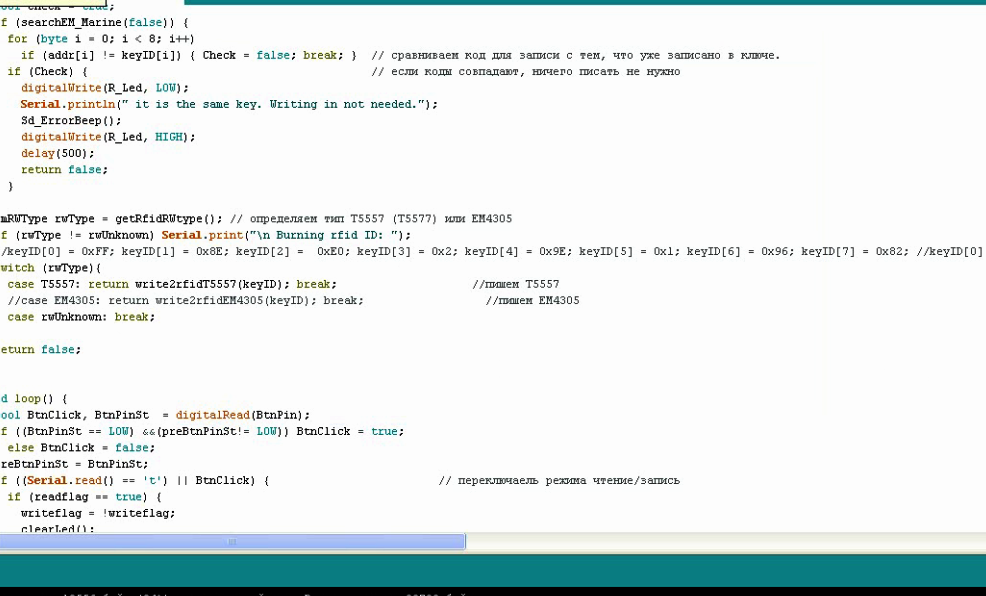
On the port monitor we see all the information on our actions.
Similarly, you can read and write keys on Ibutton. If you need to write some of your code manually in the RFID key, you can uncomment line 532 and load the sketch. For contact keys, copy it and paste after 216 lines.
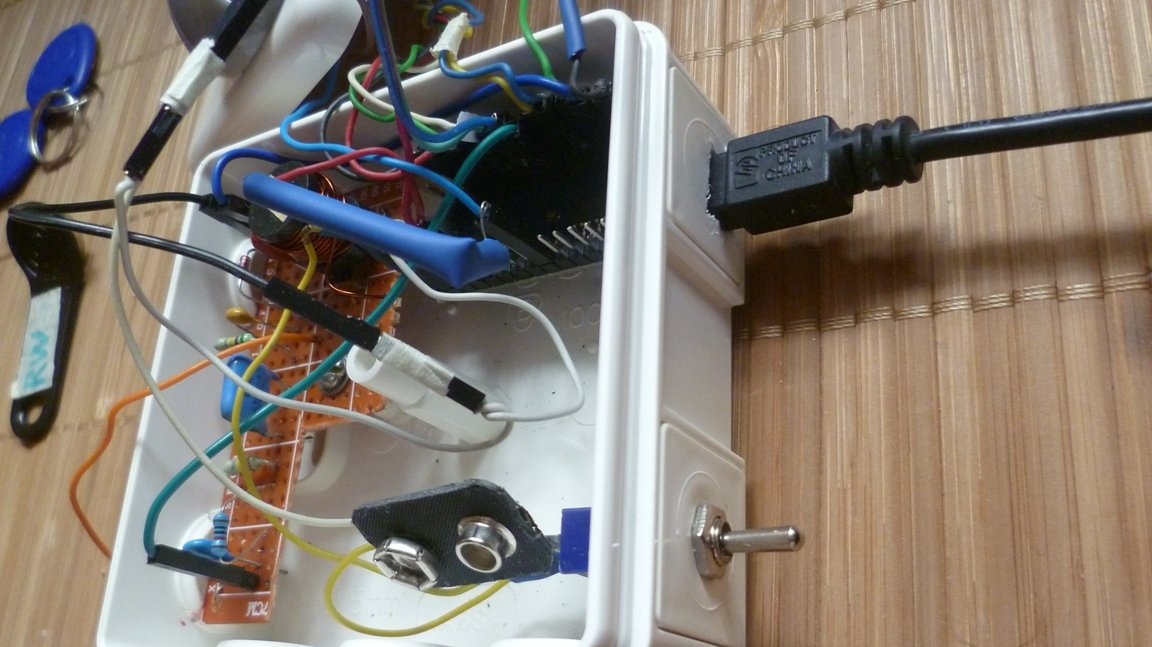
Step Two Final assembly.
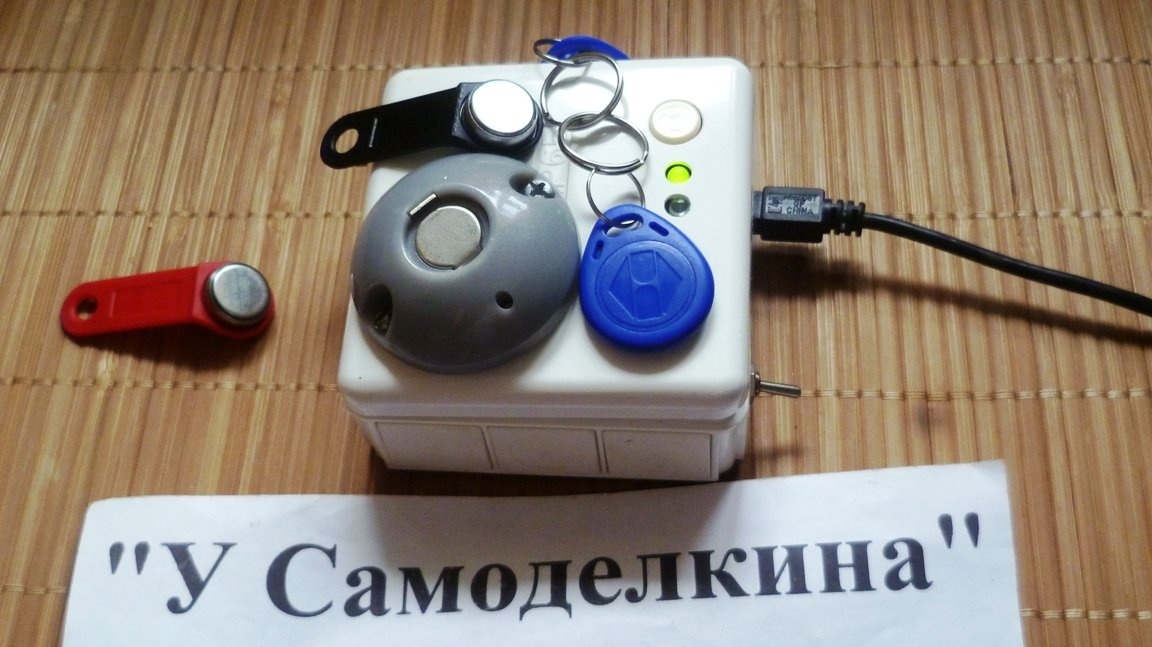
At the last stage, he assembled the entire structure into a housing from a distribution box. You can power the circuit from "Krona" or for example from a pair of finger batteries with a boost board up to 5-9 volts.
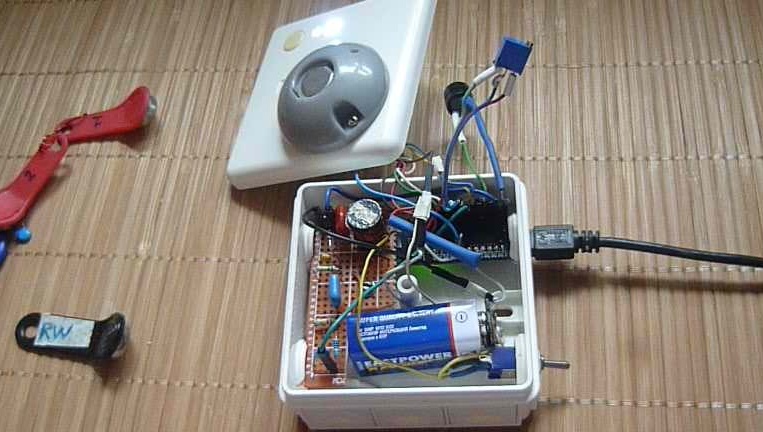
It turned out an interesting and useful device. Of course this is not a panacea, but some of the problems can be solved using this homemade made do it yourself.
The manufacturing process and settings can be seen in the video
I wish you all health and interesting homemade products!