
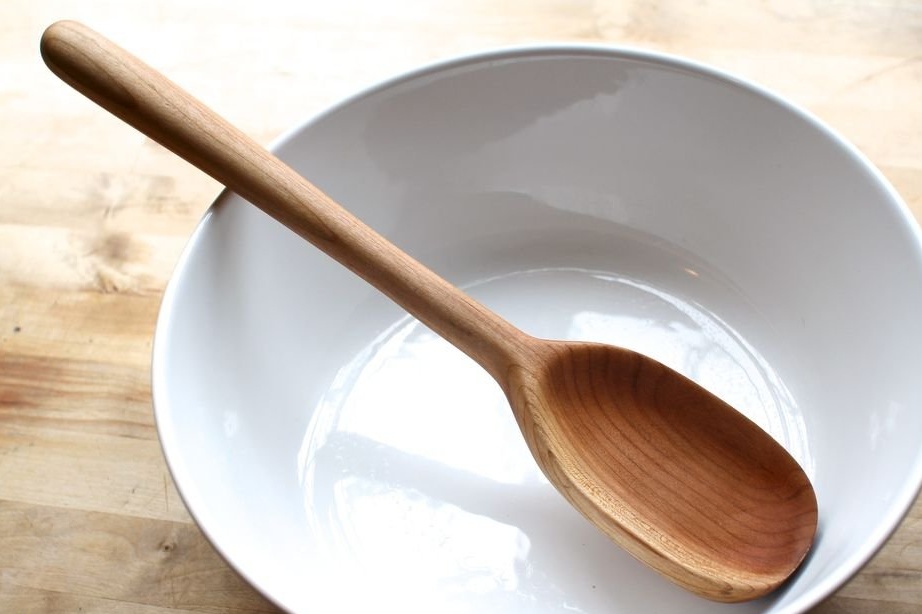
Everyone can and should carve a wooden spoon, the author believes.
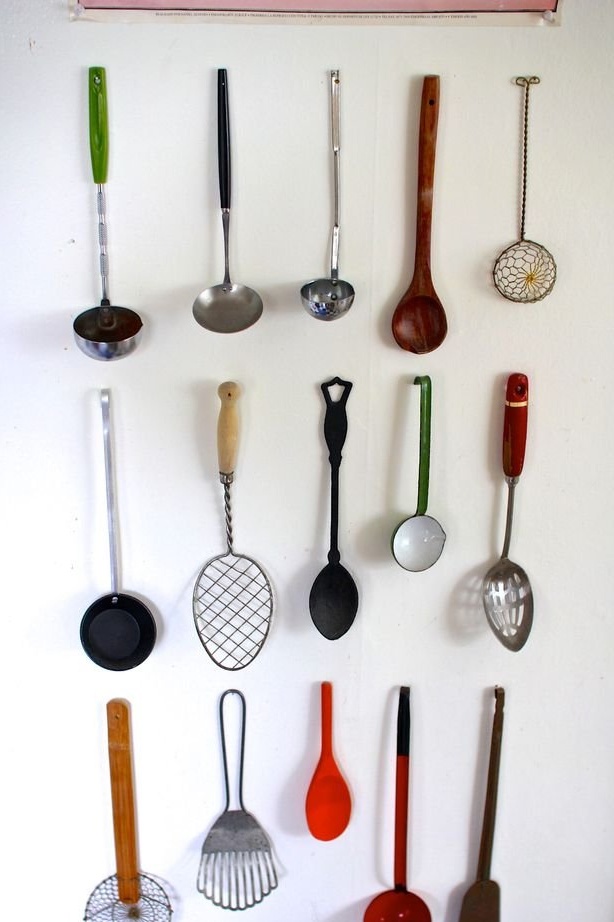
For some time he collected spoons from around the world (see the second photo) and was always interested in strange spoons.
At one point, he eventually started making his own spoons.
Making a spoon using woodcarving is a lengthy task, but there is still room for creativity. This material is intended for beginner carvers.
Next, the author will share his process of cutting a spoon.
Step 1: Tools and Materials
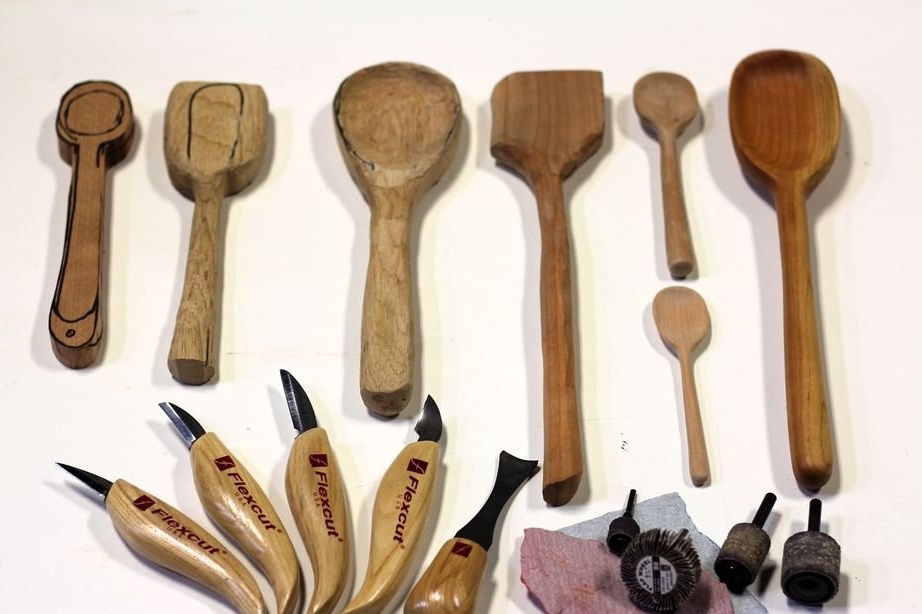
Tools and materials:
- sharp cutting knives, including at least a medium straight knife and a rounded or arrow-shaped knife;
- a piece of soft wood, slightly larger than the size of a spoon;
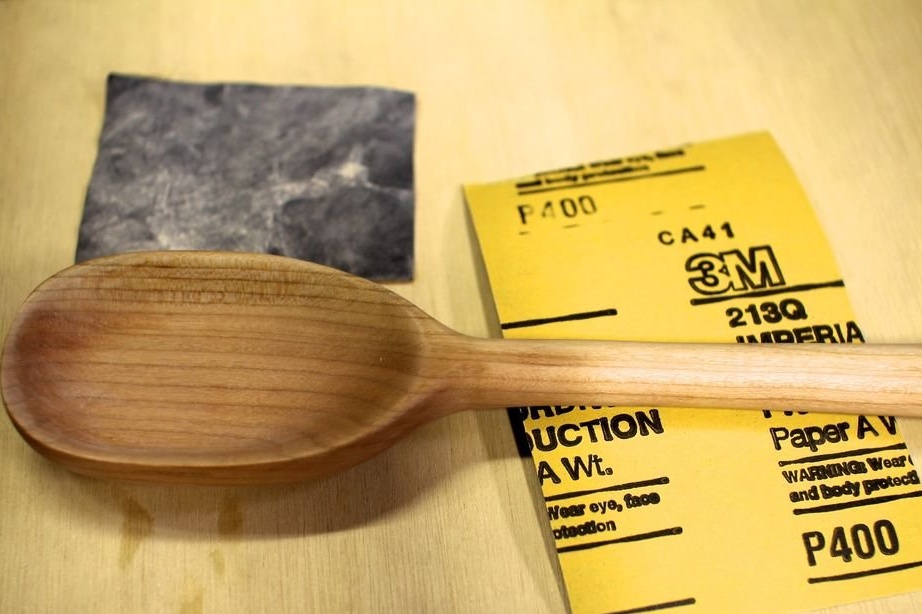
- Sandpaper with grit size of 80, 120, 220 and 400 units;
- grinding drum of small diameter (2.5 - 5 cm);
- pen or marker;
- Food-safe wood finish (e.g. wax or mineral oil);
Additional power tools:
- Grinding machine;
- dremel;
- jigsaw;
- table saw;
(The whole process can be done manually. The author used power tools to create a workpiece to speed up the process.)
Step 2: Wood
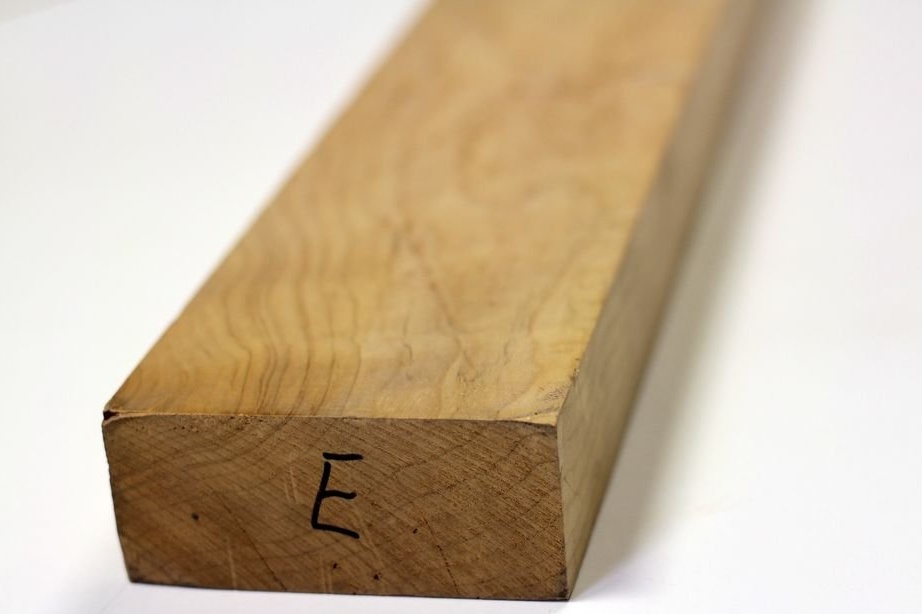
The most important thing to consider when cutting a spoon is the type of tree you are going to use. Despite the fact that with the right tools and methods you can cut the product from almost any type of wood, some types are easier to process than others. Since this is a spoon carving for beginners, we will try to make everything as simple as possible.
The easiest types of wood to process are softwoods, eg:
- Linden
- Pine
- cedar
- Red tree
- fir
The author really enjoyed working with softer hardwoods, especially cherries.
Hard rocks that are harder to process are:
- oak
- maple
- Walnut
- pink tree
- exotic breeds
- Tick
Follow these general points when choosing a tree:
Cut a piece of wood and see what kind of wood.
Look for narrow rather than wide fiber — the wide fiber crumbles into large pieces.
For a beginner, the easiest way to try woodcarving is linden, so it's best to start with it.
Finally, it should be noted that wood, like many of the substances we live with, can be a potential allergen for certain people. Some wood species, such as cocobolo, have a skin and respiratory effect. Other varieties, such as cherries, are known to be generally safe and inert. Wood dust from virtually any tree species can have a harmful effect on the respiratory tract for a sufficiently long period of time.
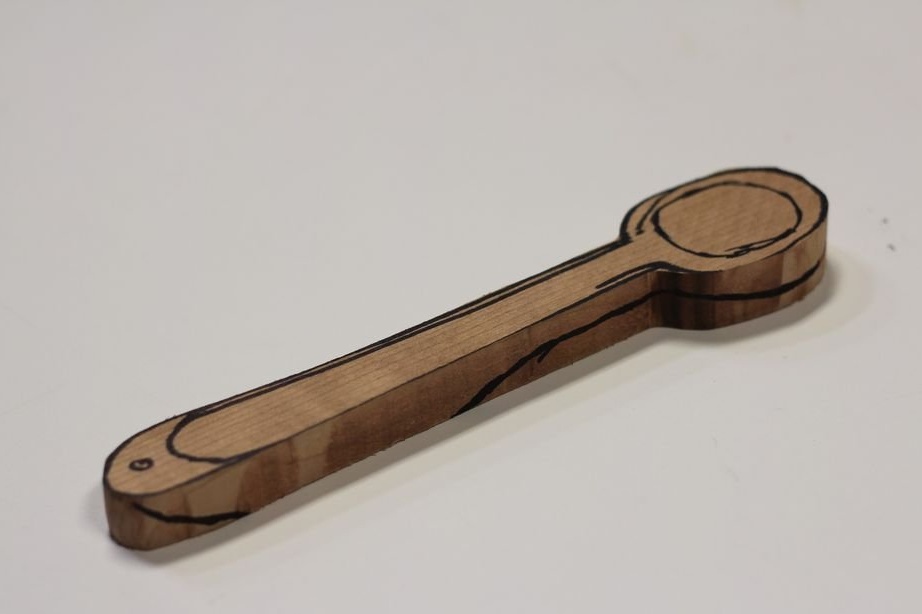
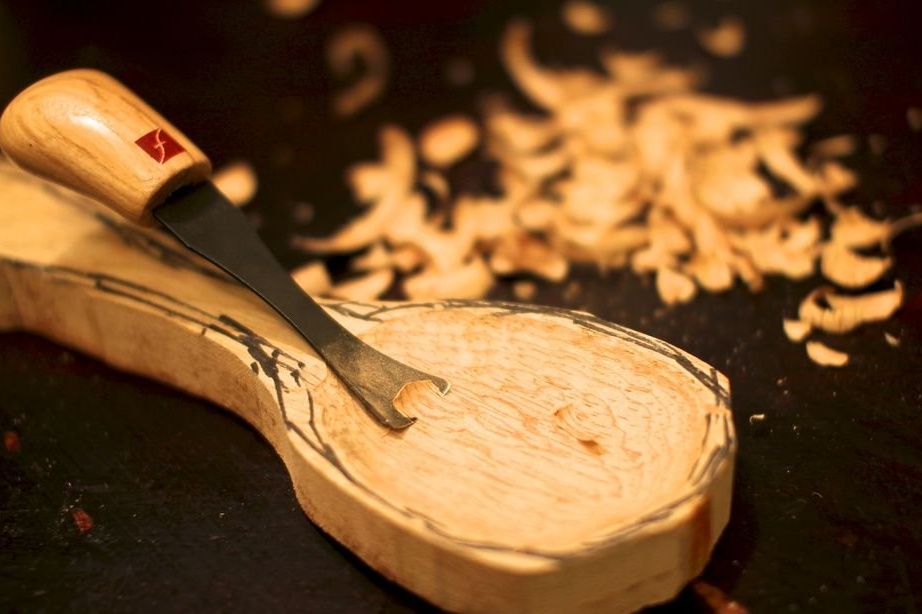
Step 3: Spoon Drawing

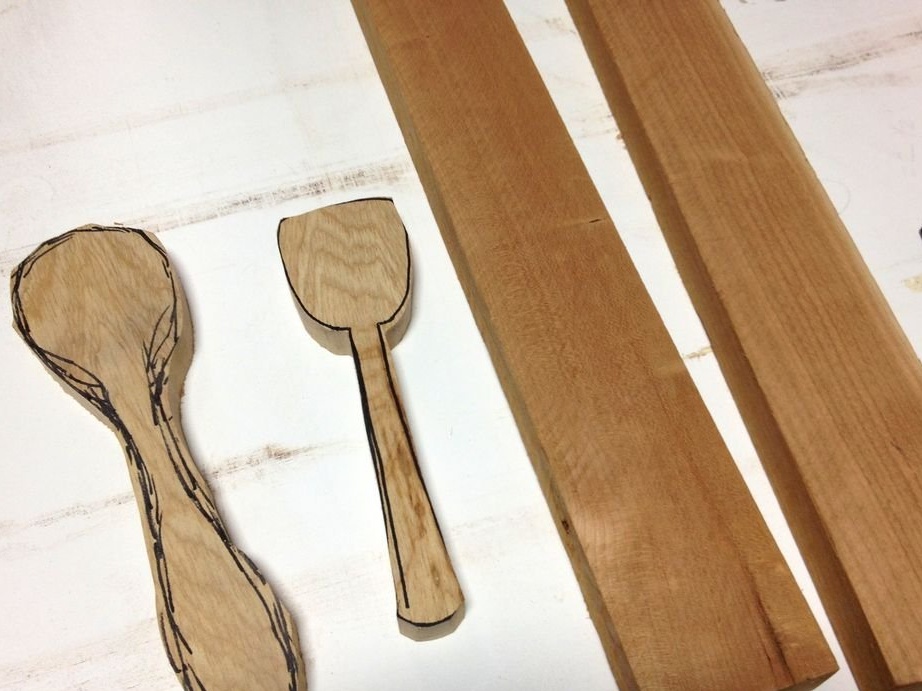
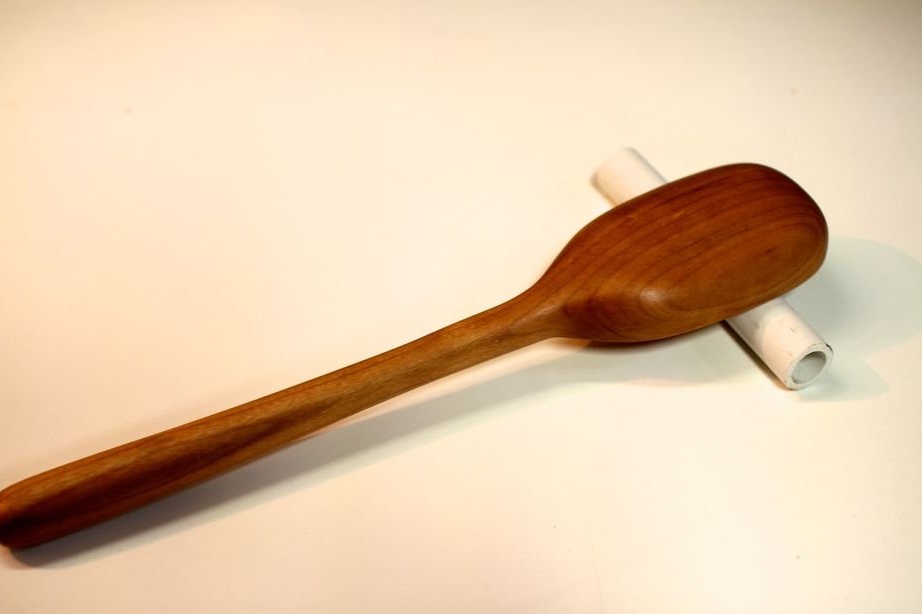
Once you have chosen a wooden blank (the author uses cherries in the example below), draw a very rough outline of the spoon that you want to cut. This does not have to be a detailed drawing, as this scheme will only be used to create a spoon form. Drawing a spoon profile is desirable, but not necessary.
Some things that the author takes into account when designing his spoons:
- spoon size
- type of spoon head
- should it fit in the mouth as a whole?
- depth of the concave part
- thickness and height
- purpose - salad, soup, etc.
Step 4: create the form
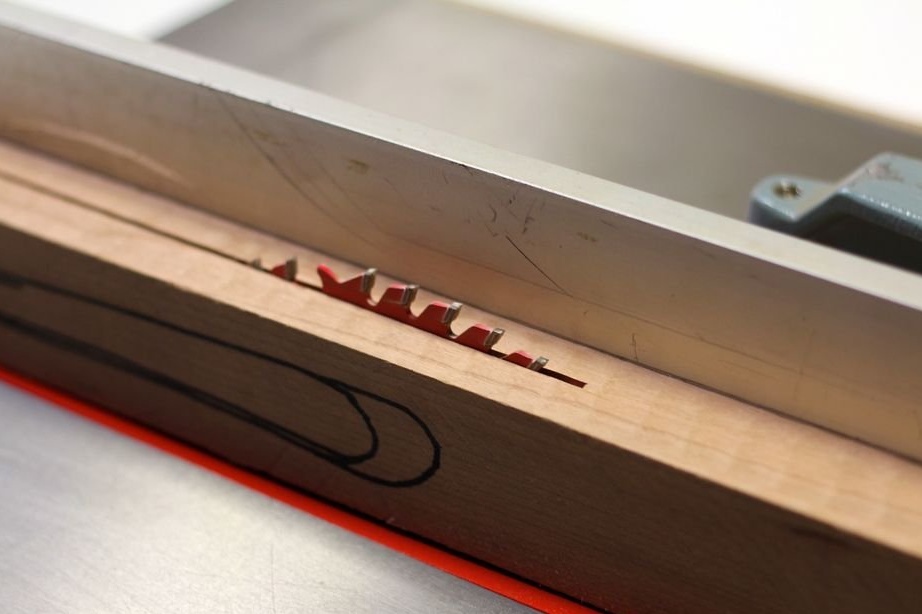
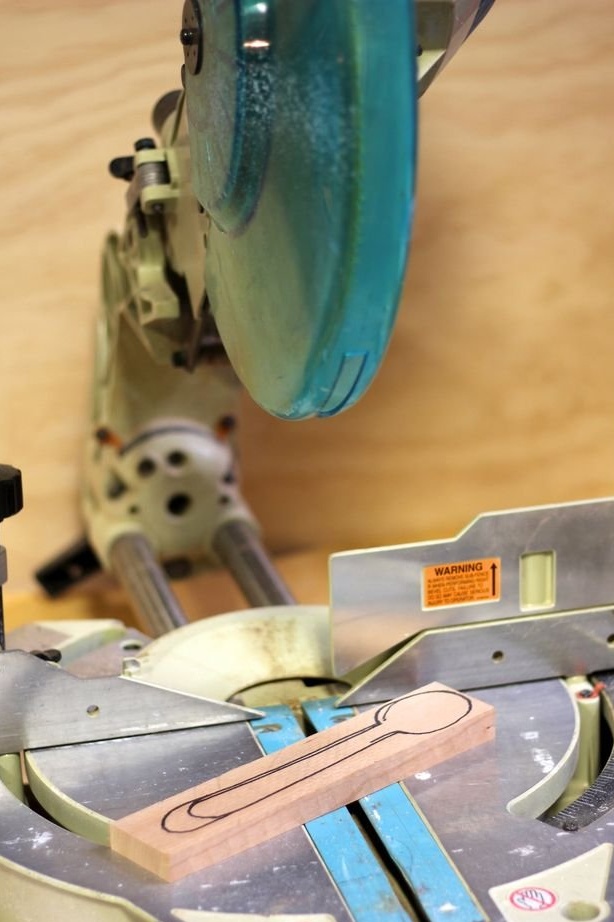
If the spoon you want to cut is smaller than the wooden workpiece you have selected, use a table saw to cut the workpiece into a thinner one so that you have to remove less material manually when cutting.
Then use a miter saw to cut lengths of wood at the ends of the outline of your spoon.
This is called form creation.
Step 5: Cutting Parts
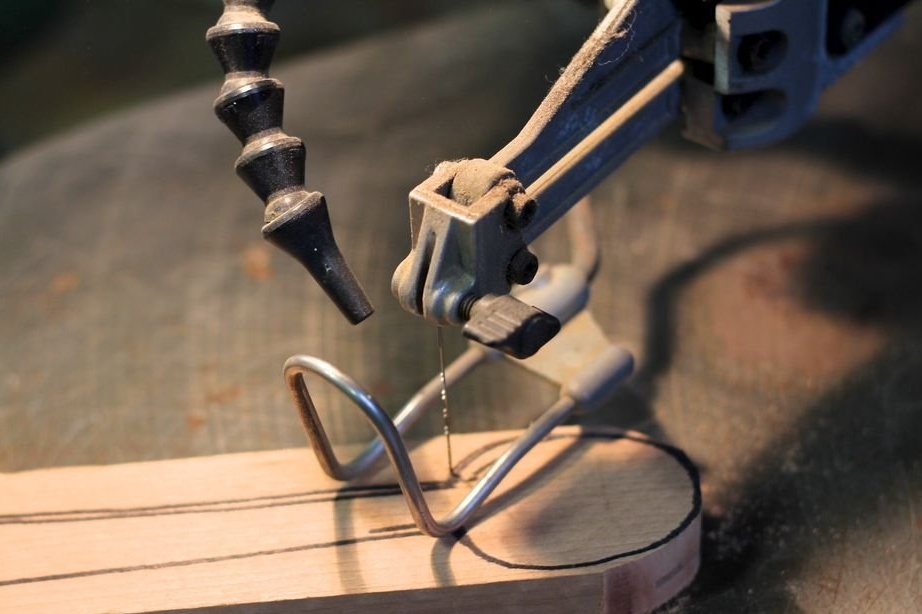
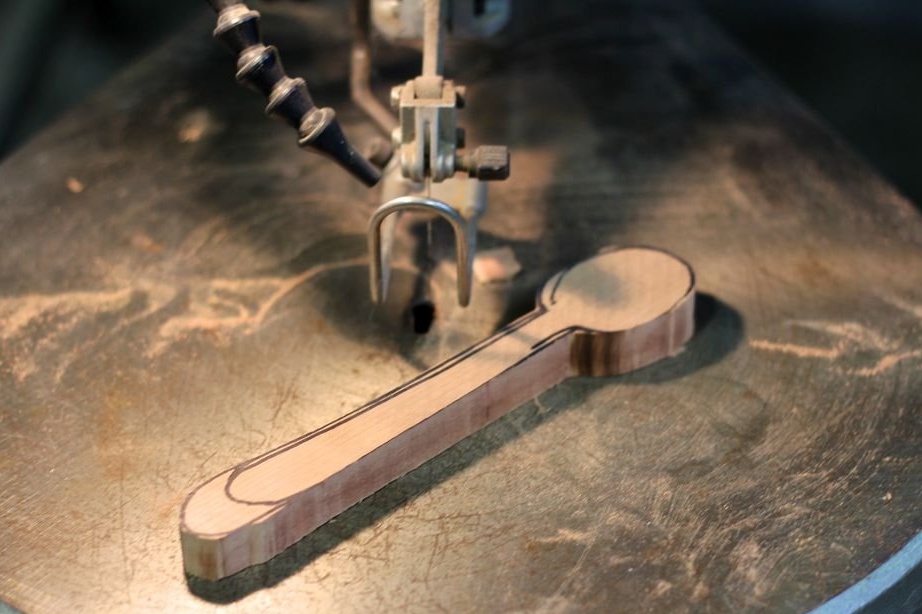
Use a jigsaw to cut the spoon along the outline. It is advisable to cut as close as possible to the sketch of your spoon.
By making the workpiece a little larger and thicker than the intended finished spoon, you can always remove the material later.
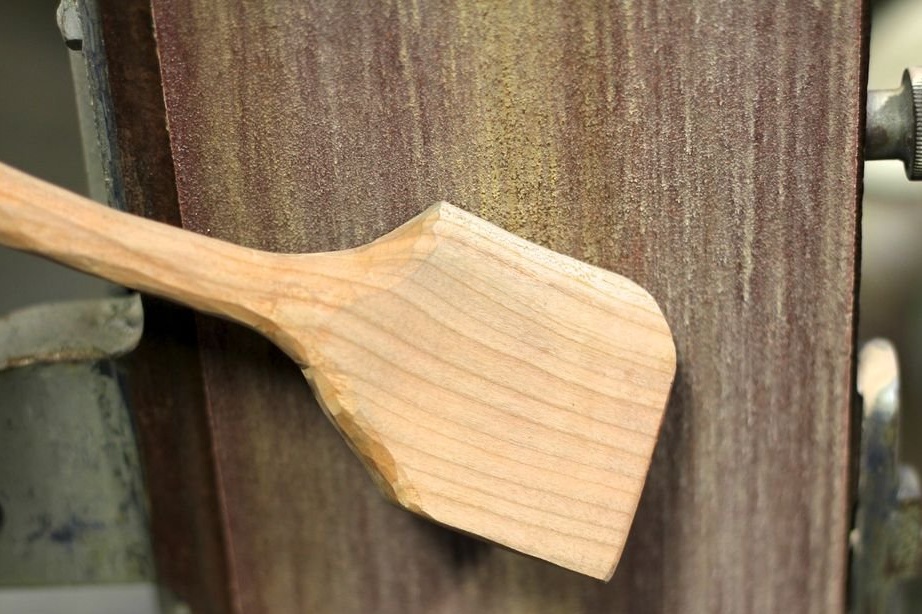
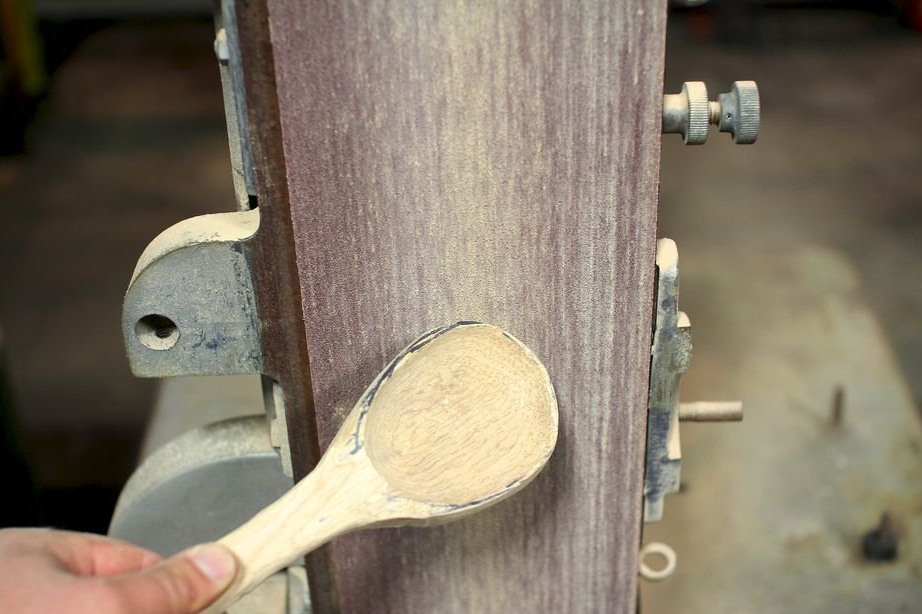
Step 6: Coarse Grinding
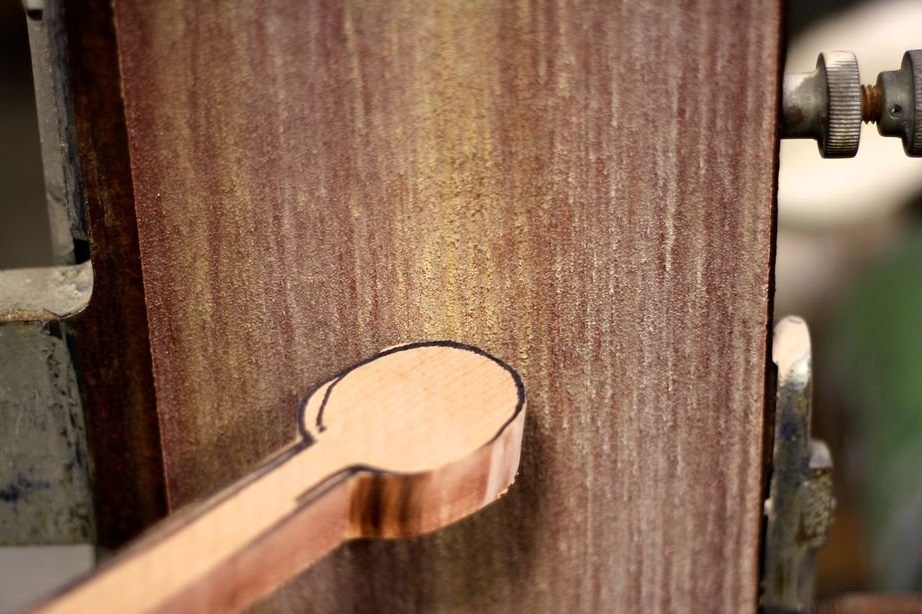
This step is completely optional, but the author has completed it. He used a belt grinder to quickly round the edges and grind to the contour of a spoon. Everything that is done with the help of a power tool eliminates the need to do it manually at the upcoming thread step.
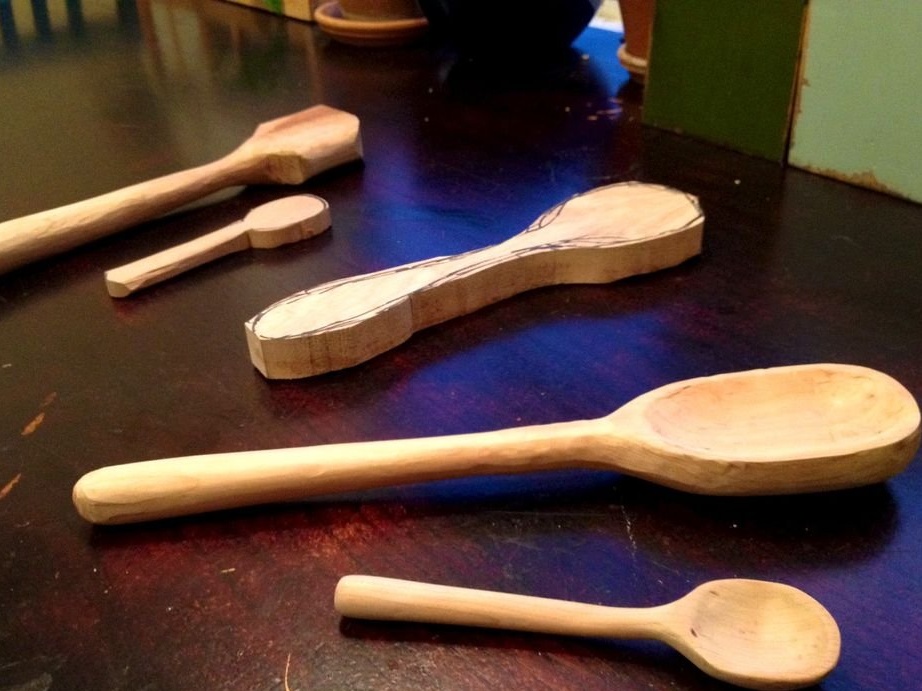
Step 7: Go to the Thread
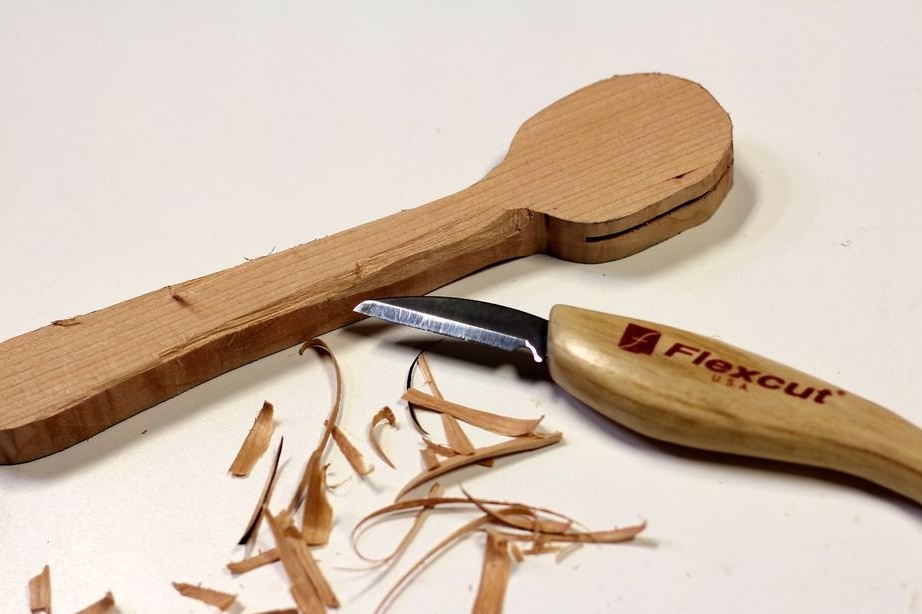
Carving along the handle of a spoon is the easiest place to practice. Start with small particles by removing a small amount of material, carving from yourself.
Start removing small pieces of material from the tops of the curved lines. Cutting down in the recess is more difficult.
Dipping a knife downward usually results in a split off of a larger piece of material than intended.
Turning a square block blank into a smooth spoon takes time — for example, several hours. So don't expect the spoon to take shape instantly. Just slowly move towards the goal.
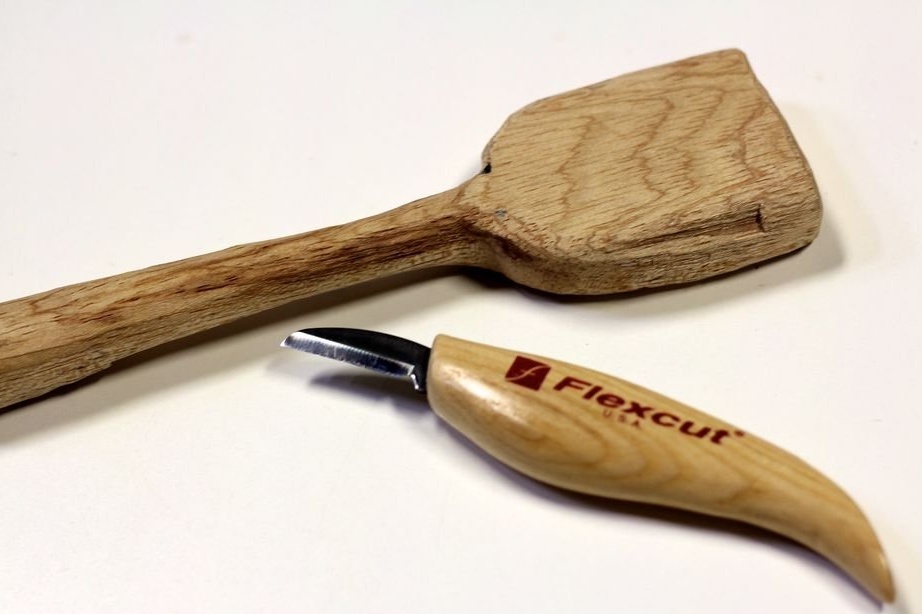
Step 8: Add More Detail
When the spoon begins to take shape and you begin to round some of the straight lines in the workpiece, you need to make decisions regarding:
- handle thickness
- how the handle should narrow and fit to the hand
- how long should the handle be
- how wide the spoon should be
- whether the spoon will have a curved or flat leading edge
- spoon head thickness
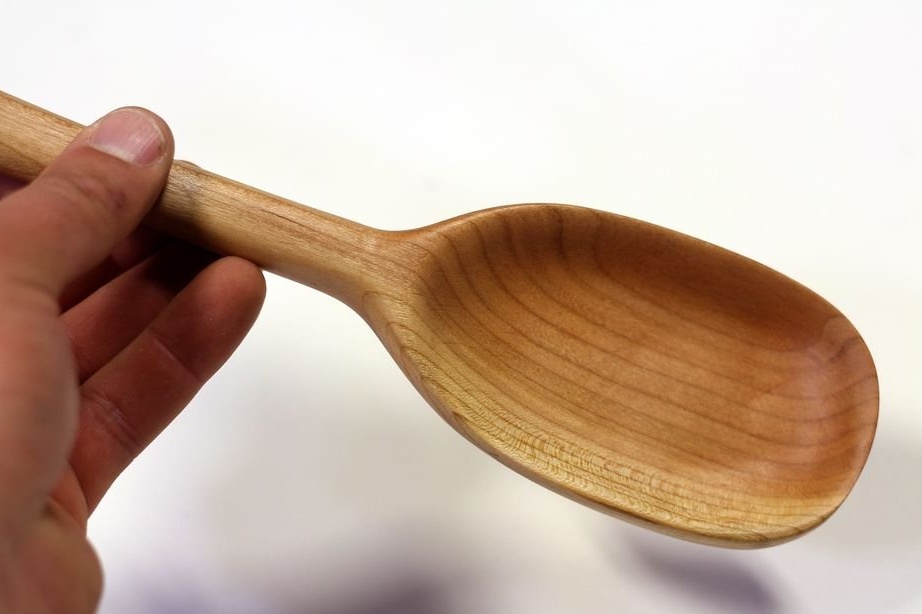
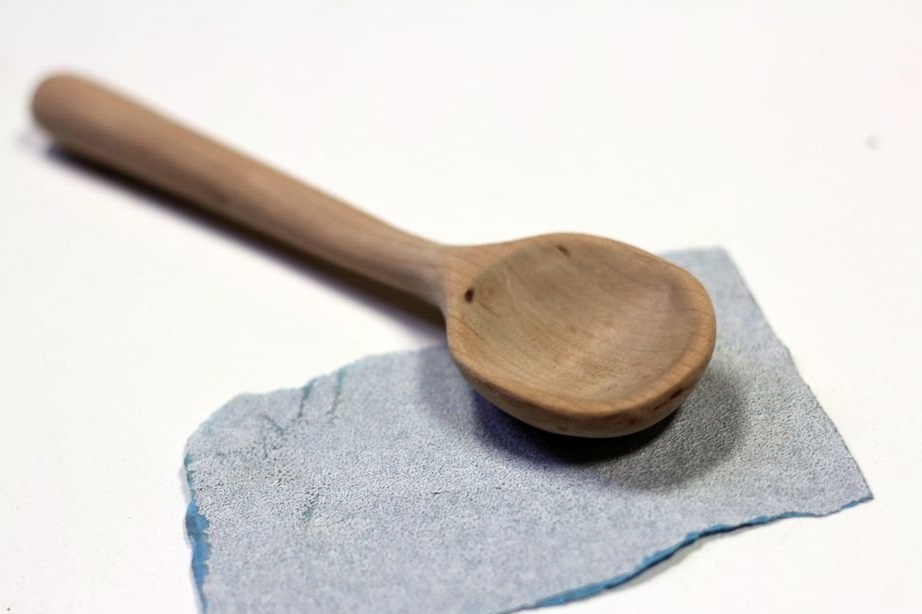
The spoon shown below has a blunt, straight head, more like a spatula, which is good for cleaning the bottom of the pan ... of course, this is not a good soup spoon.
Step 9: The back of the spoon head
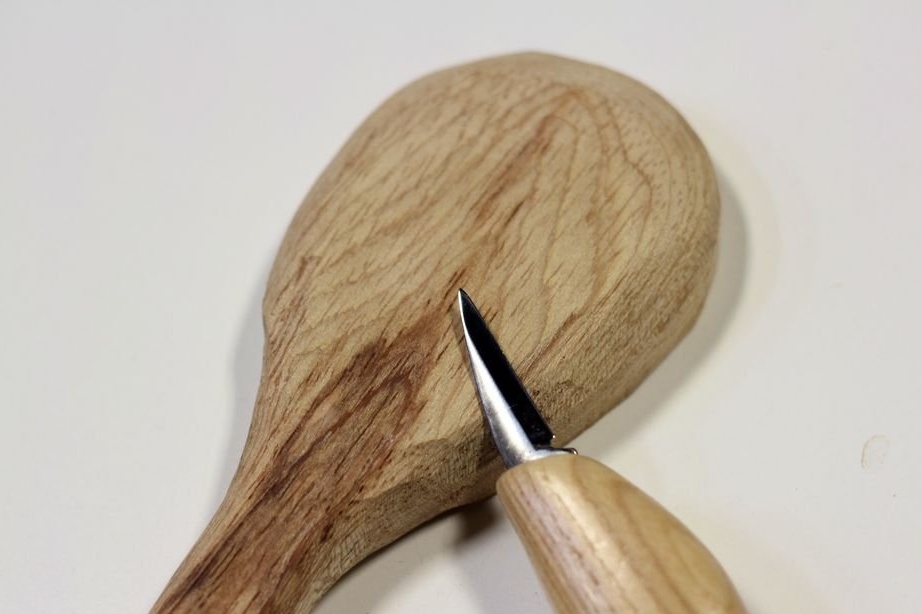
As soon as the handle of the spoon is turned, it's time to start working on the head. It is easier to start with the convex back of the spoon, rather than the concave side.
Start removing material at the edges of the workpiece and round the head of the spoon to make a smooth transition from the back of the spoon to the rim.
Continue to round the back of the spoon and create an even, continuous slope.
Step 10: Front of the spoon
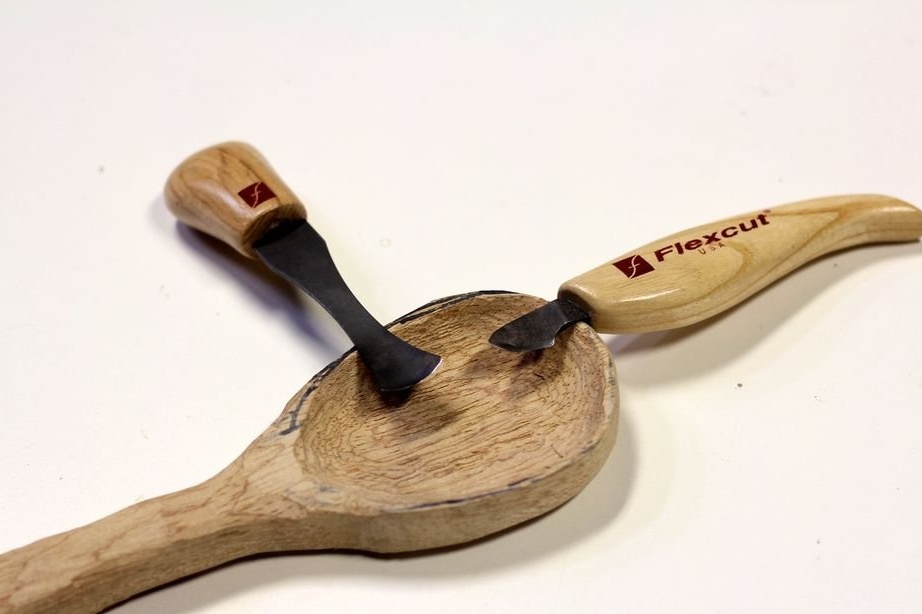
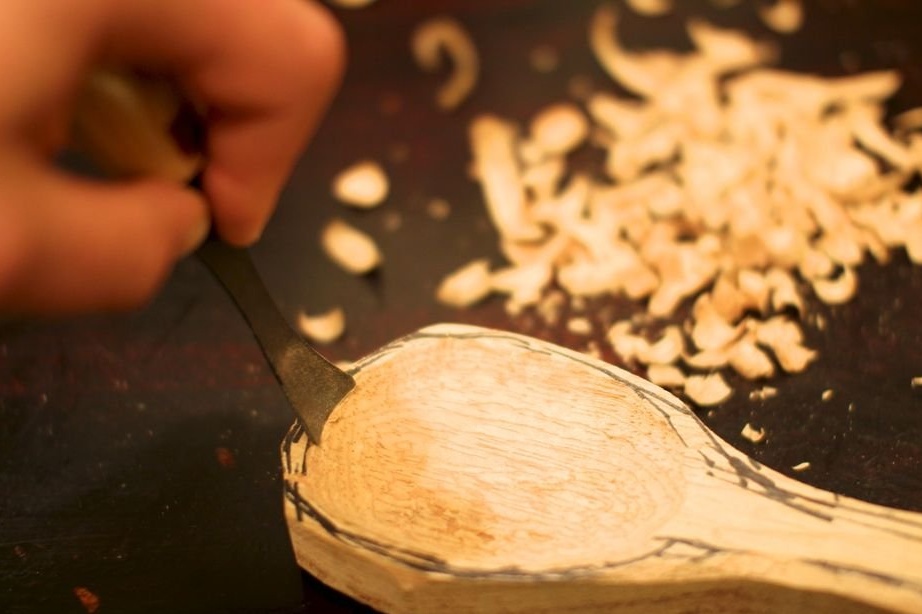
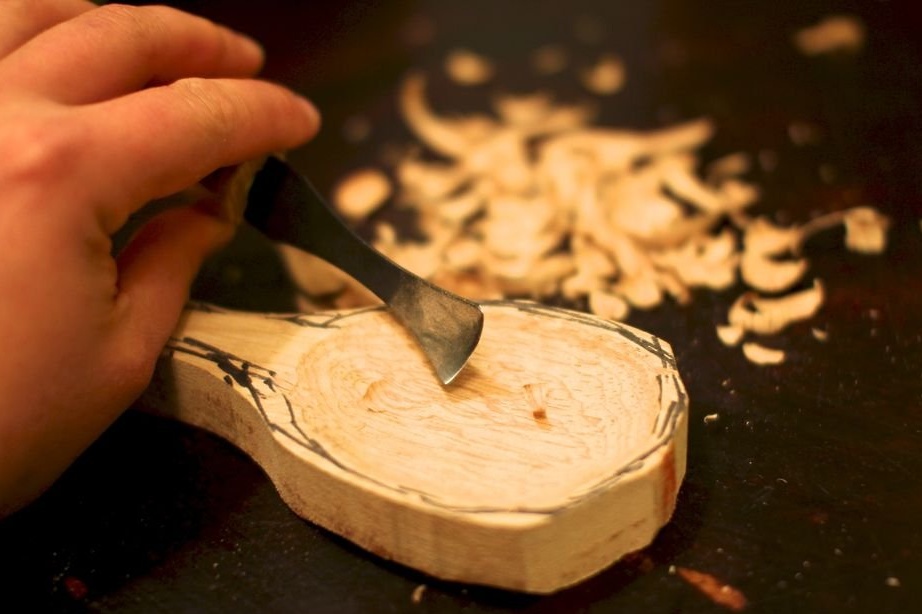
On the concave side of the spoon - use a rounded arrow-shaped knife or hook to begin removing material from the surface of the spoon.
Remove small pieces of wood until a small indentation begins to form. Continue to remove material, picking wood closer and closer to the outer wall of your spoon.
The author alternated between gouging from the center of the spoon to the wall and holding the tool down the wall of the spoon to the center.
A hook knife is useful for shallow material sampling, but does not work very well in depth. This is where the arrow-shaped knife comes in handy.
Step 11: Grinding Finishing
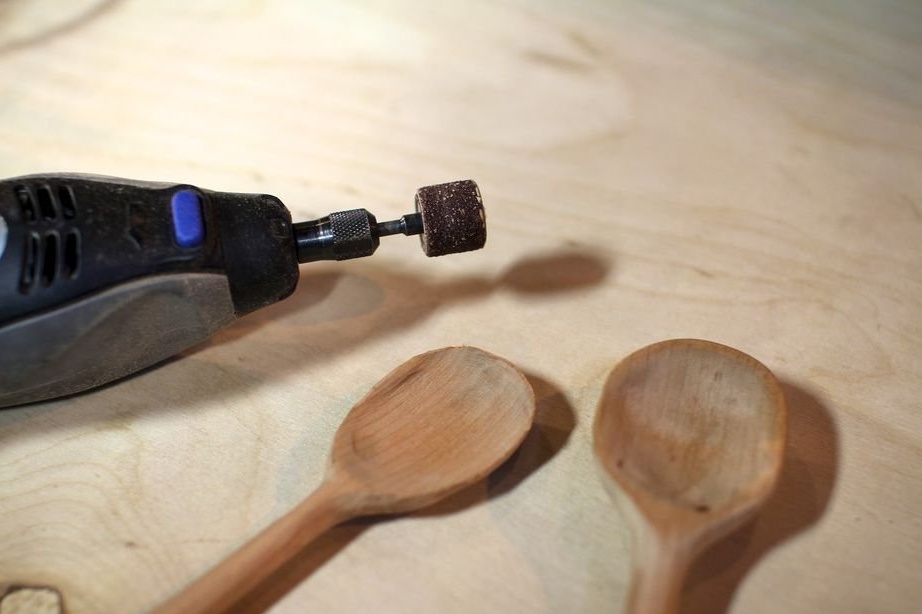
After hand-carving, it's time to smooth out the bumps by grinding.
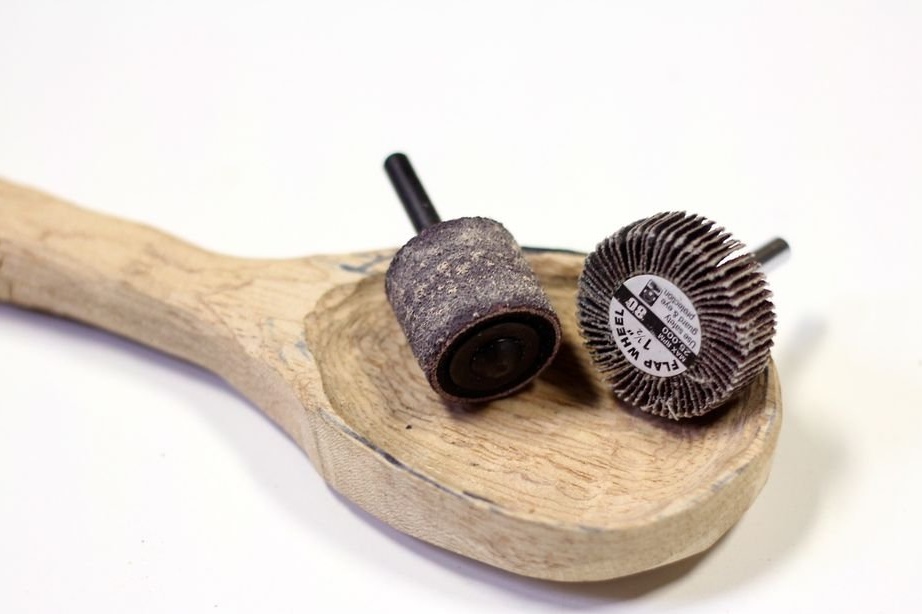
The author used a small grinding head for a rotating tool - a grinding wheel with a diameter of 80 mm and small grinding heads for dremel to sand the inner concave surface of the spoon.
Step 12: Detailing by Hand Grinding
After mechanical grinding, the time has come for manual grinding.
Starting with sandpaper with a grain size of 120 units and gradually reducing the grain to 220 units, the author polished the handle and the head of the spoon, smoothing out all remaining traces of the electric tool and making all surfaces pleasant to the touch without leaving chips.
Step 13: Protective Coating
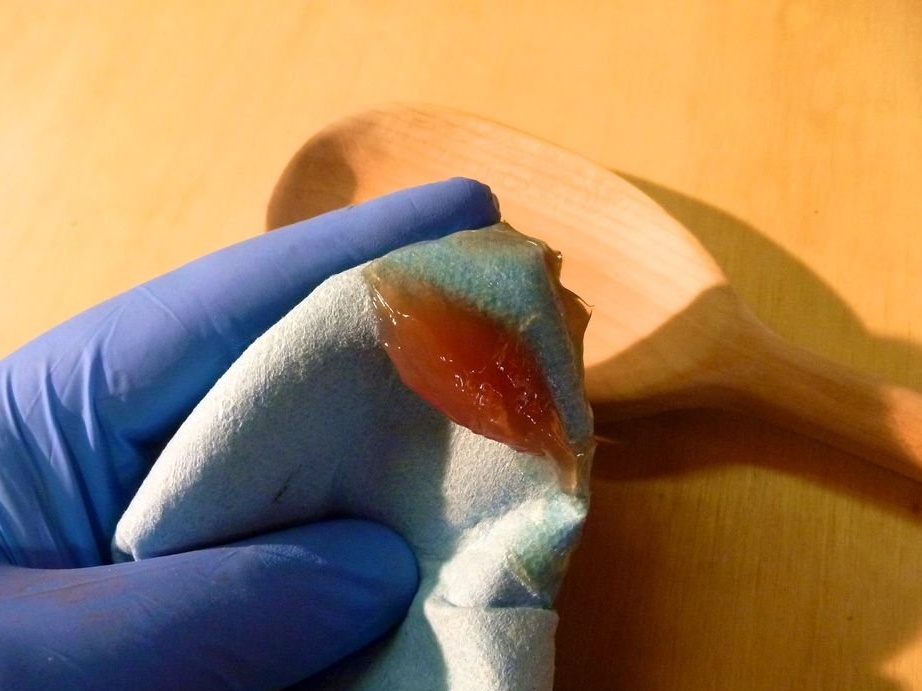
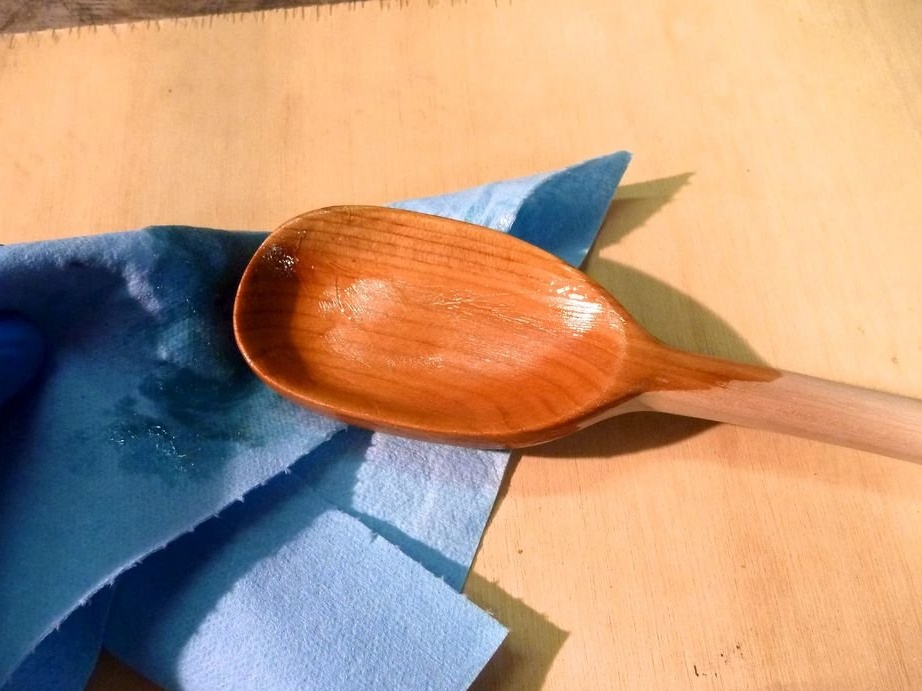
As a final step, apply a protective coating that is safe for ingestion to a smoothly ground spoon.
The author used mineral oil, which is a perfectly acceptable protective coating. A beeswax coating is also suitable.