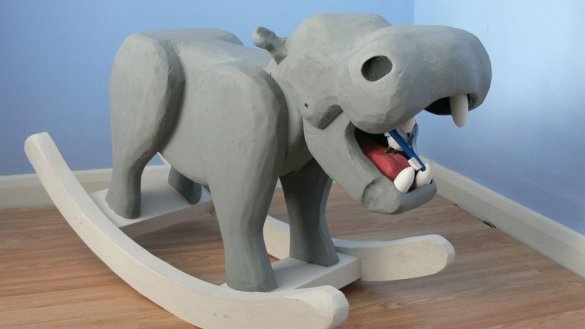
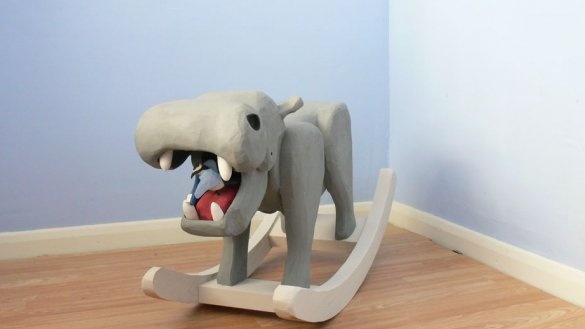
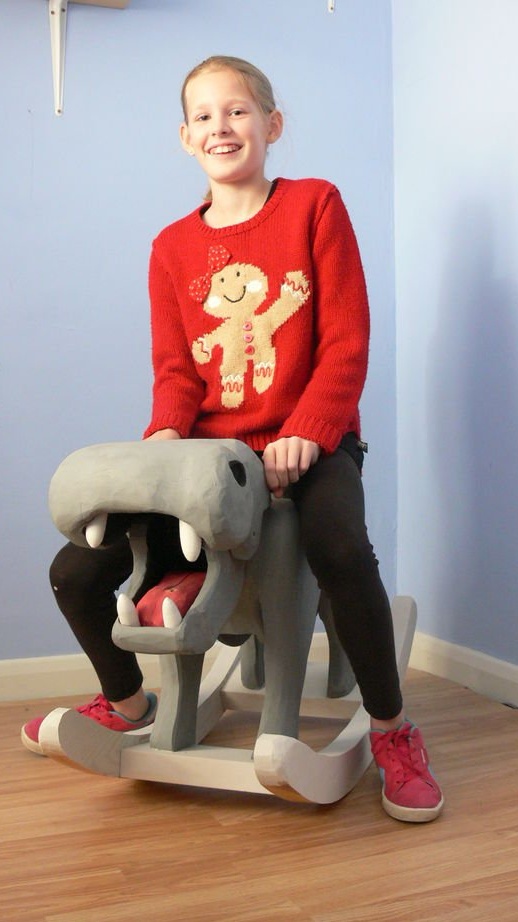
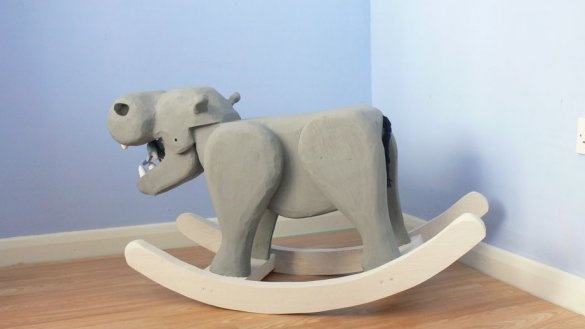
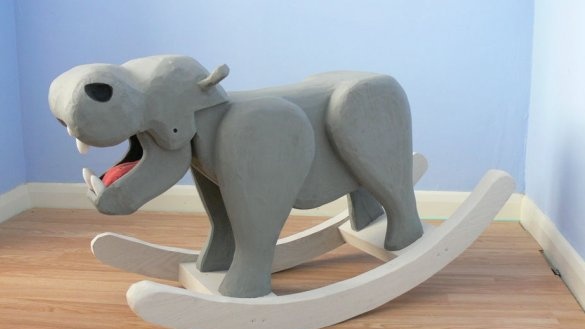
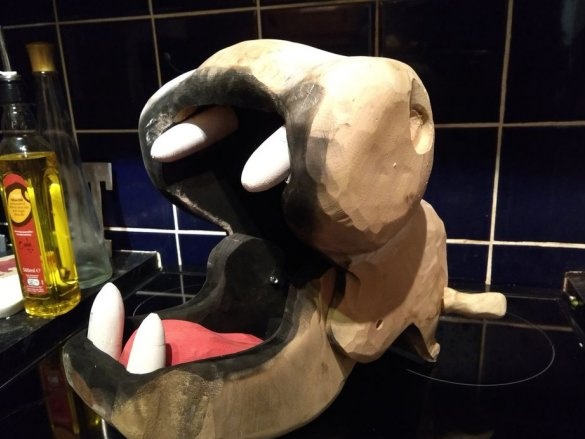
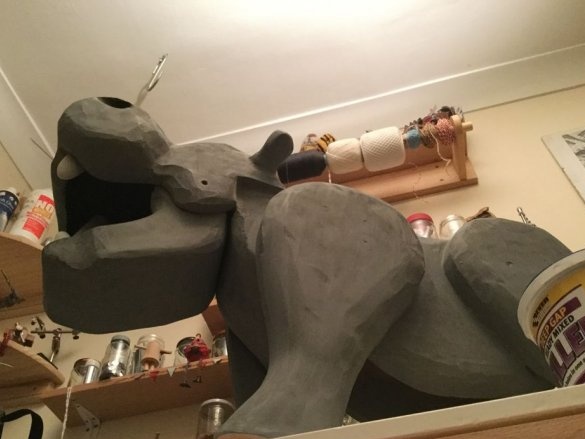
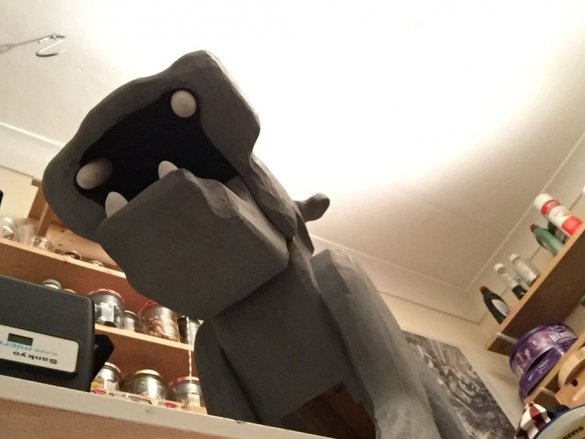
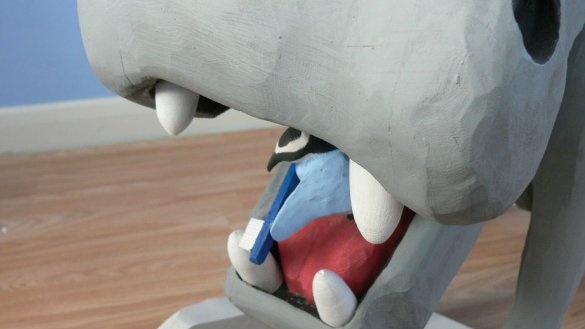
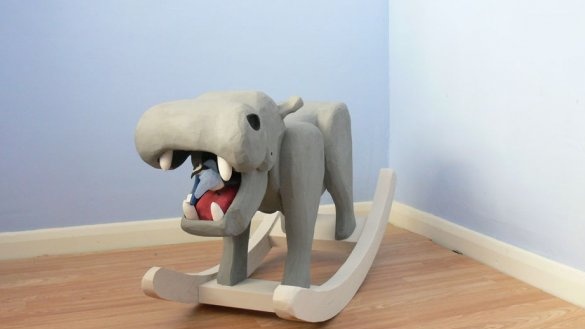
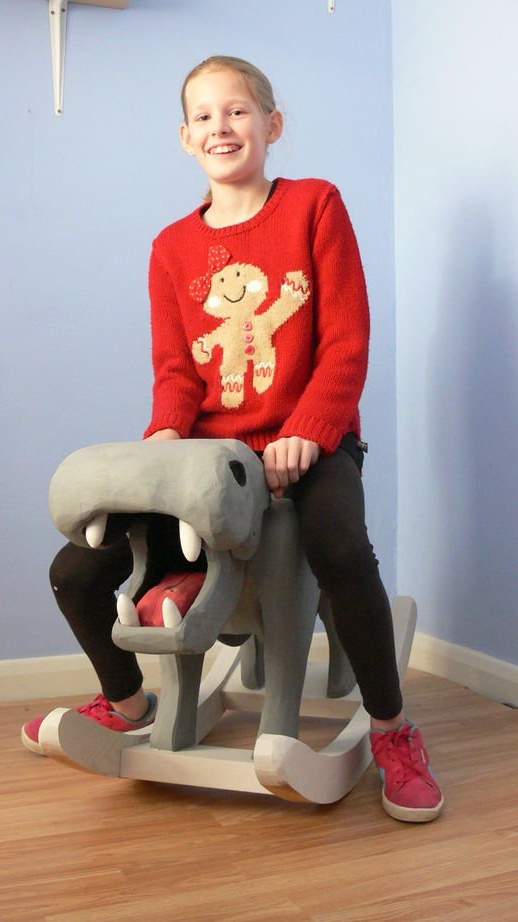
In this article, we will look at how the Master made a toy for children, a hippo-rocking chair named Henry. In Henry, in addition to a rocking chair, a moving lower jaw in which a bird with a toothbrush is placed.
Let's watch a demo video.
So, to make a hippo, the master used the following
Materials and tools:
- Band saw with a cutting depth of at least 20 cm;
-Angle grinder;
-Lathe;
-Hammer;
-Cutters;
- Forstner drill;
-Dremmel;
-Pencil;
- Clamps;
- Contour pattern;
- Joiner's plow;
-Grinder;
-Countersink;
-Glue gun;
-PVA glue;
-Gray paint;
-Wood;
-Fasteners;
- Putty;
-Black rope;
- dowels;
- Plasticine for modeling;
-3 sticks for ice cream;
-Boiler sticks;
Step One: Templates
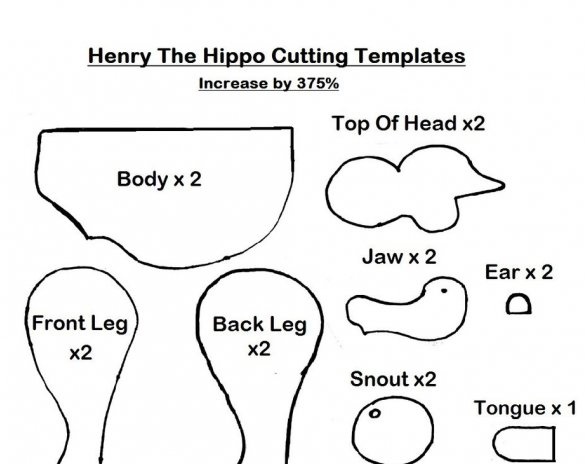
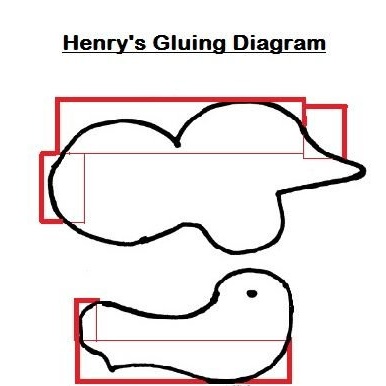
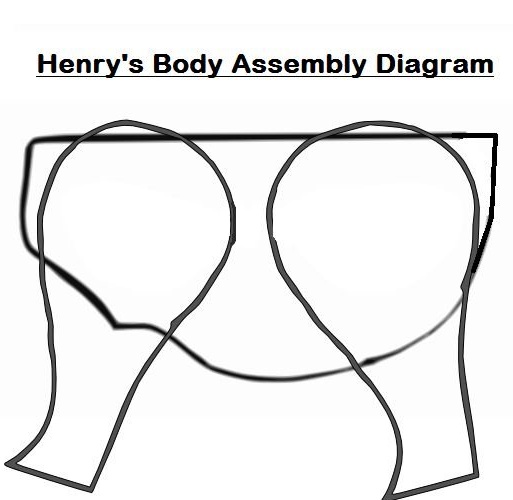
The master gives templates of parts for making a hippo and a rocking chair. When repeating a project, templates need to be increased by 375%.
Step Two: The Body
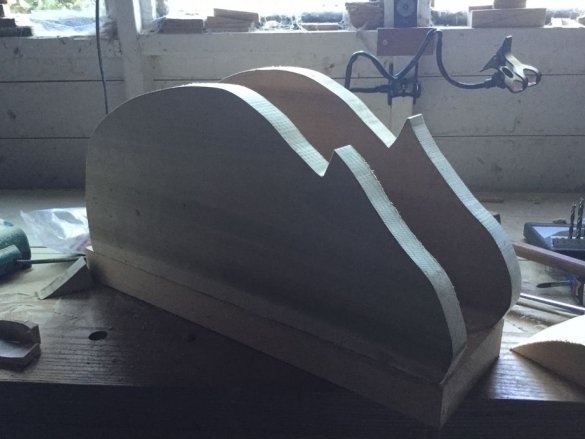
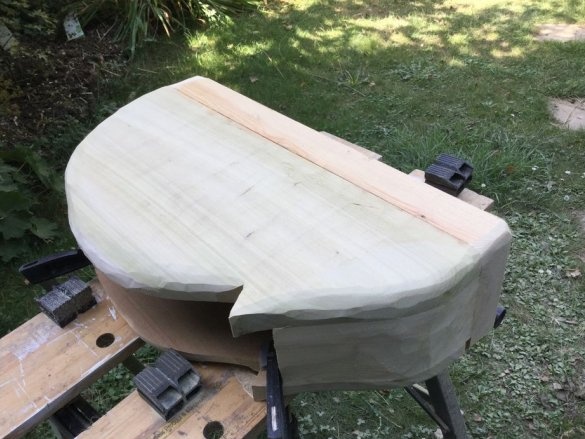
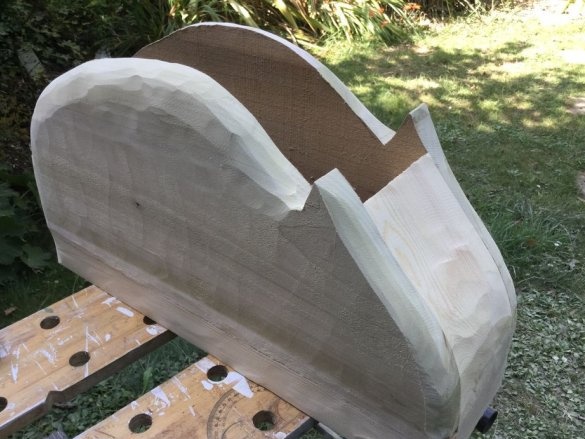
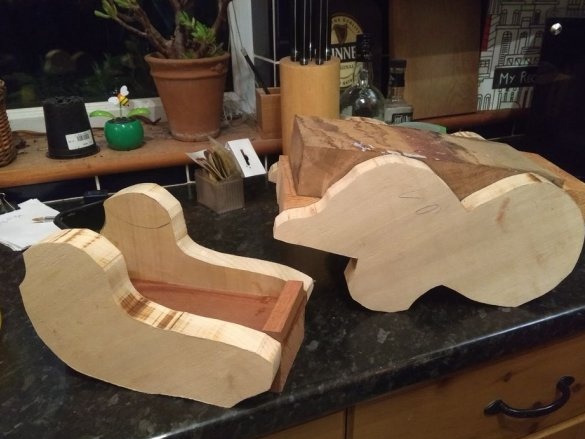
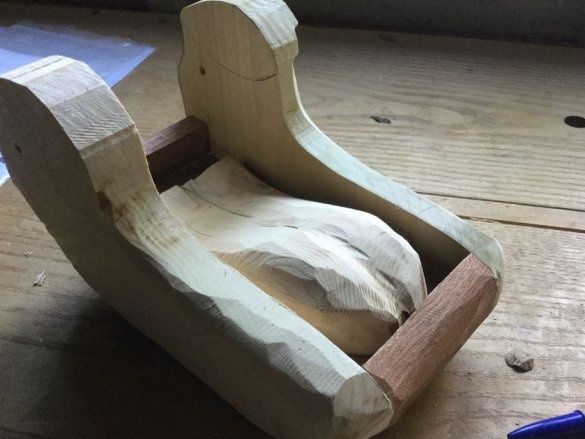
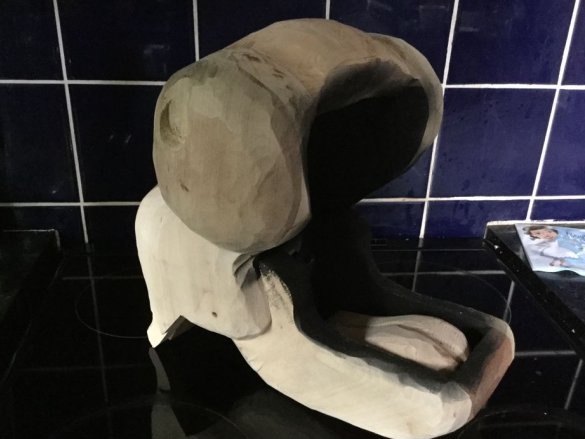
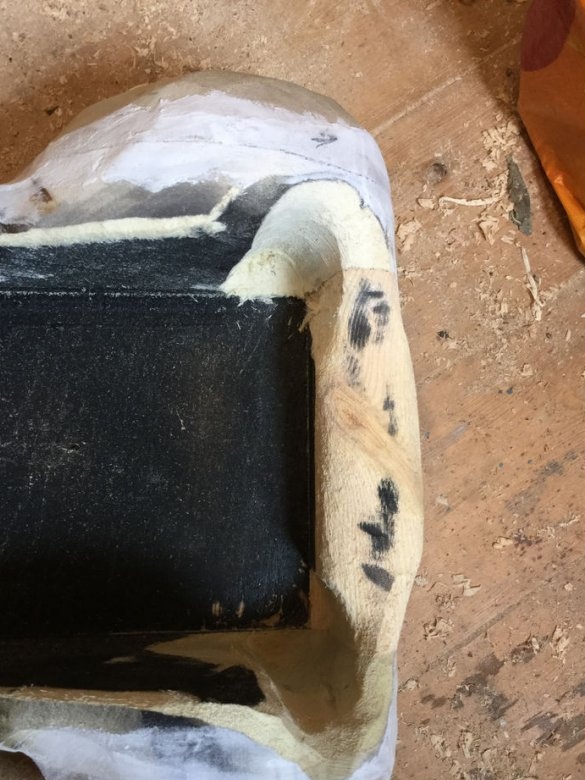
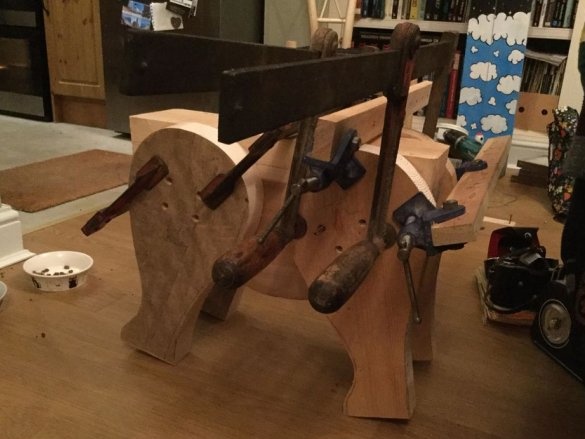
The body is basically built like a hollow box. The lower body remains open.
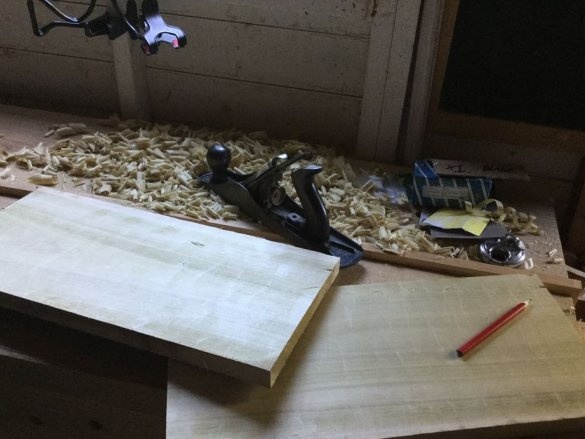
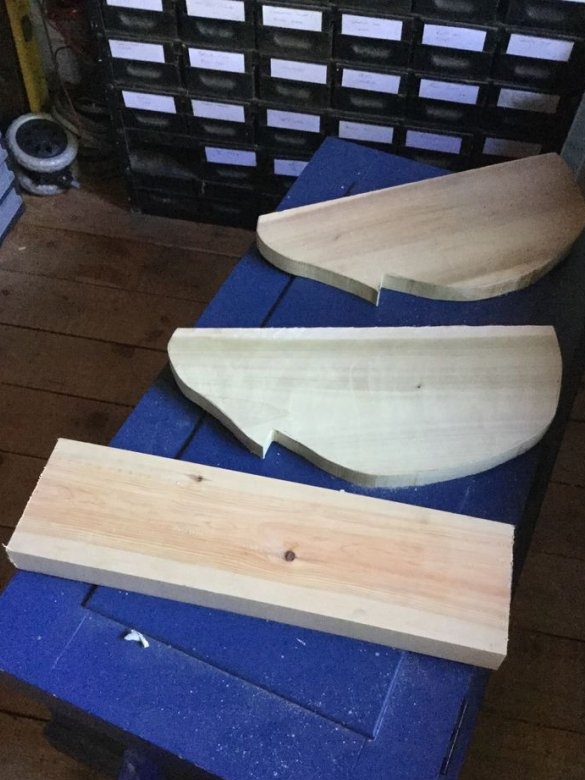
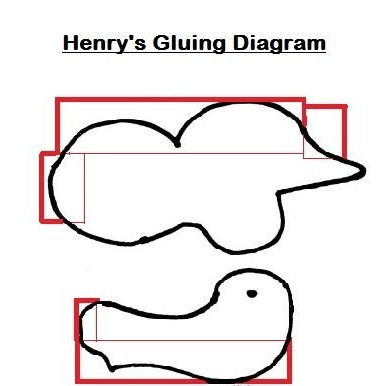
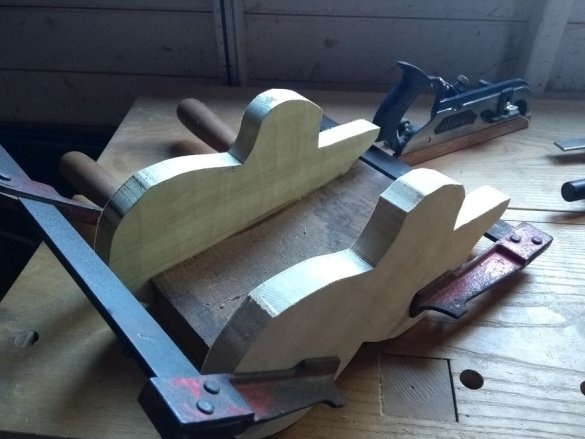
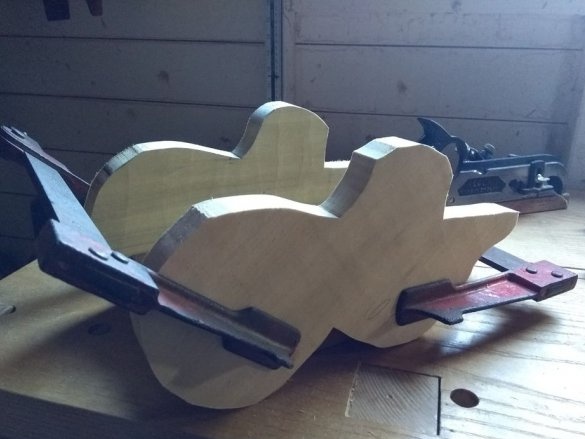
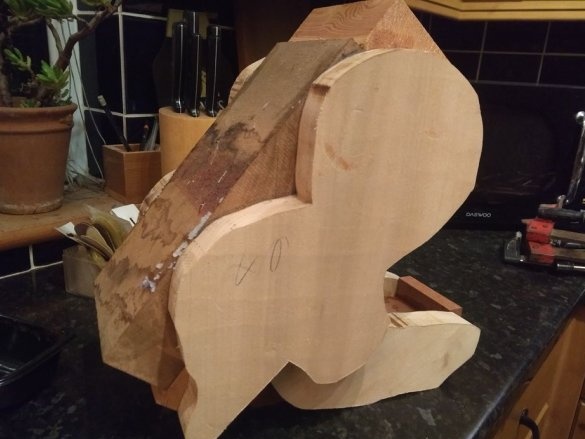
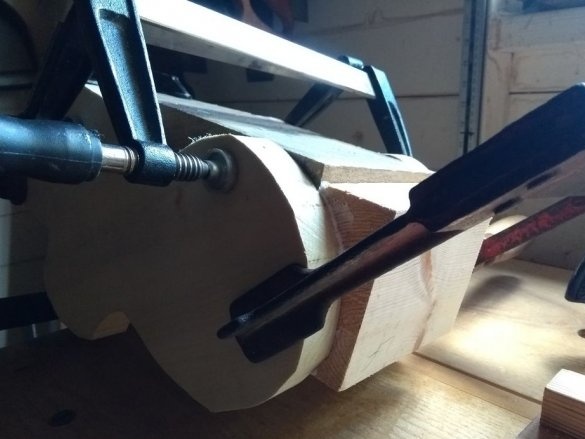
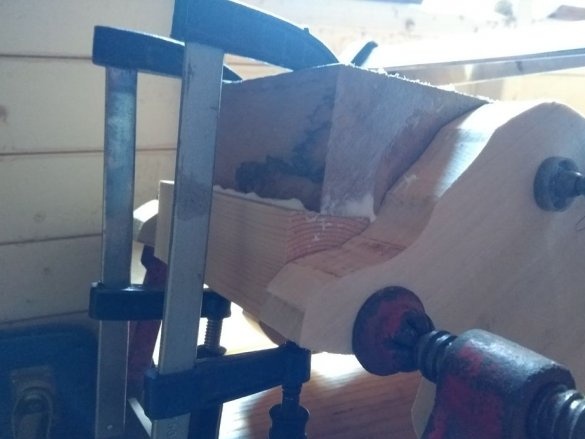
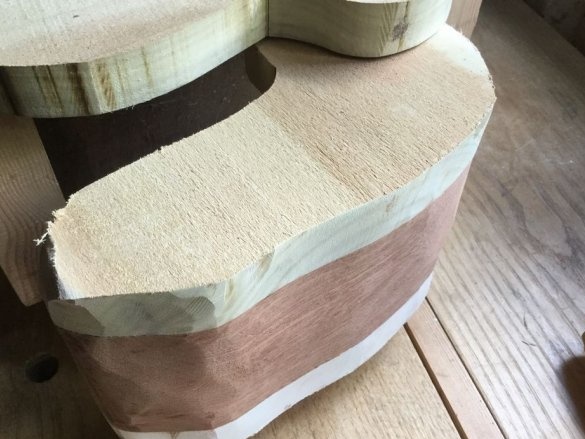
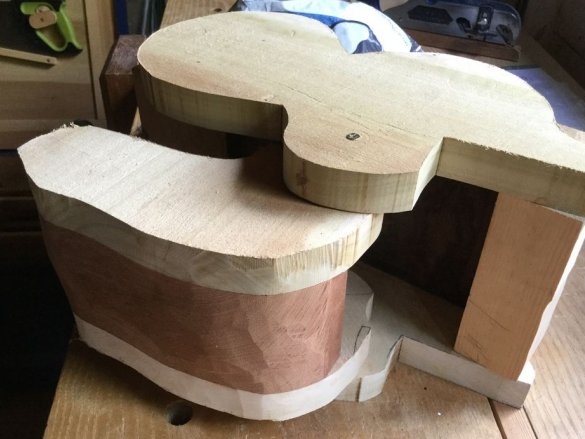
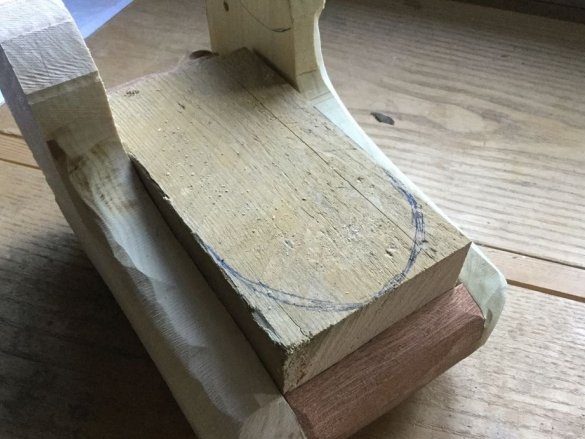
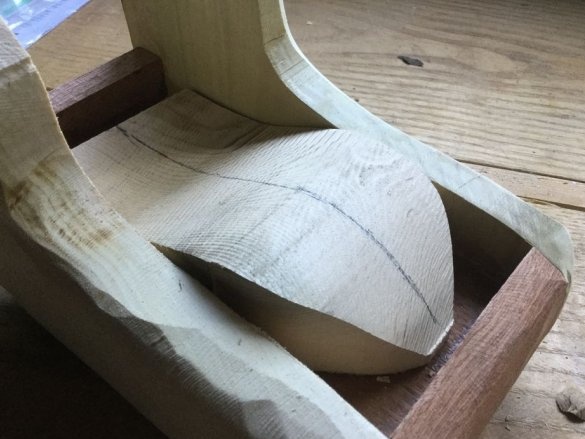
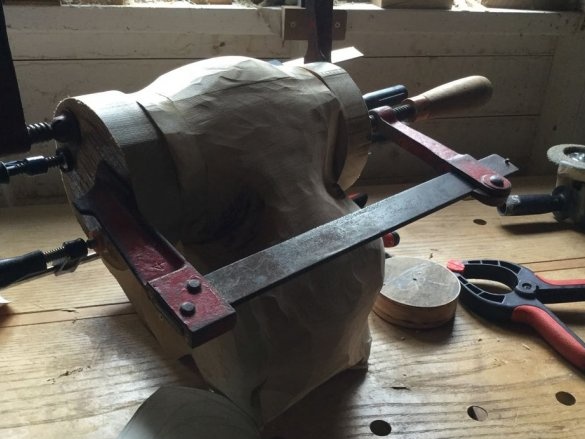
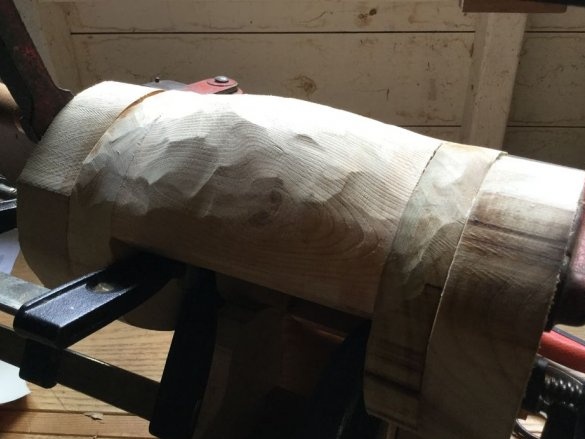
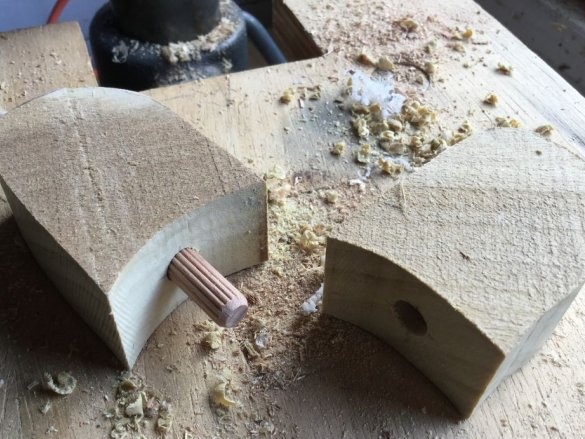
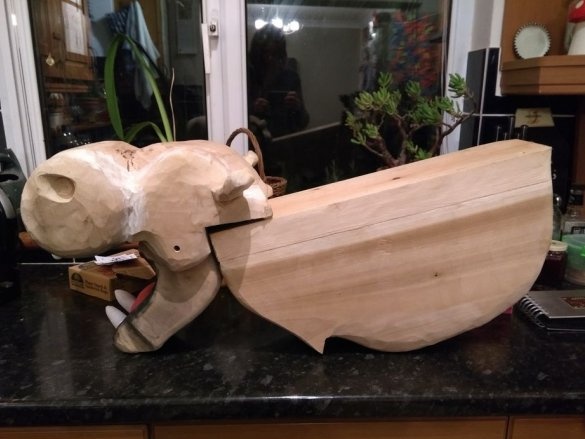
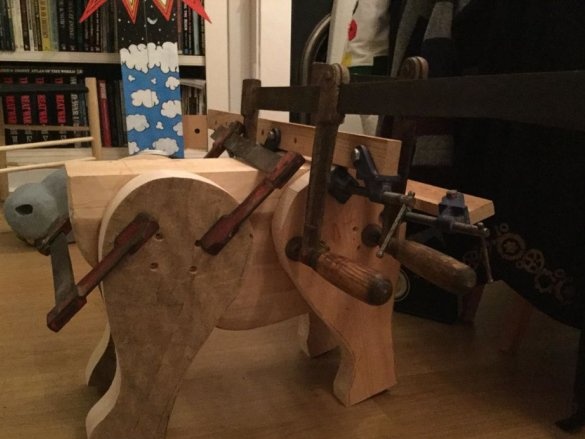
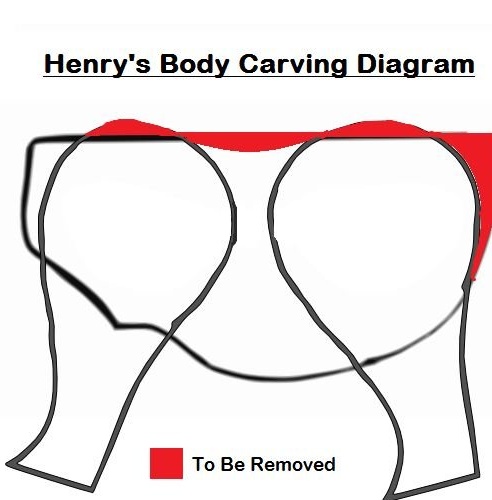
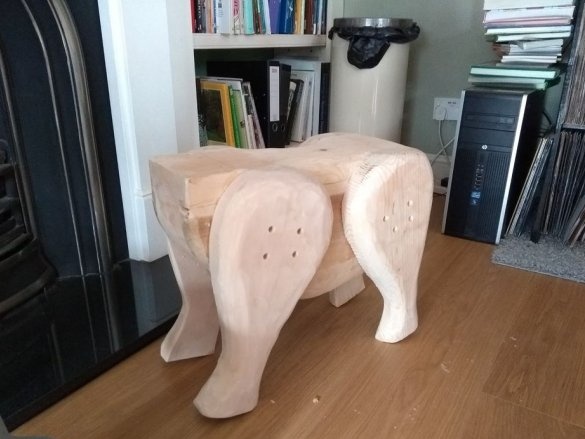
First you need to cut the workpiece. Need two side parts for the body. The upper body should be flat, as it is in contact with the back (as seen in the second photo). The master made these blanks from the wood of a tulip tree, but you can certainly use any wood.
The back is made of mahogany.
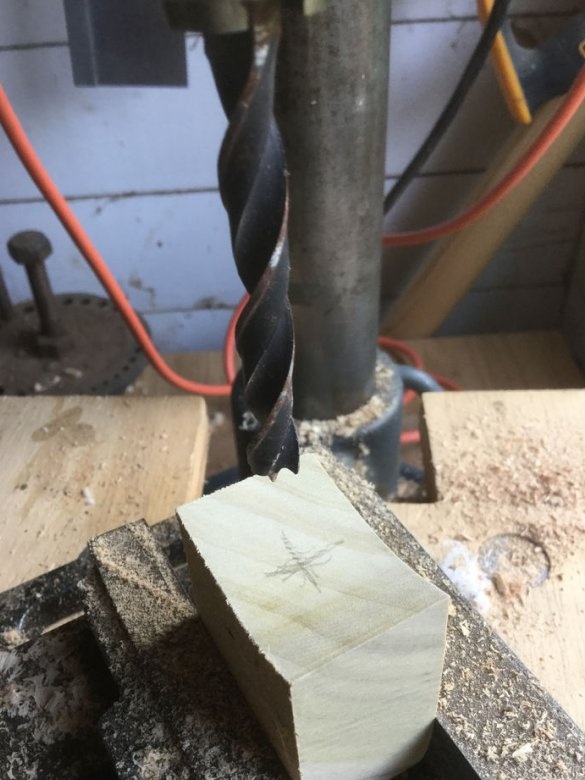
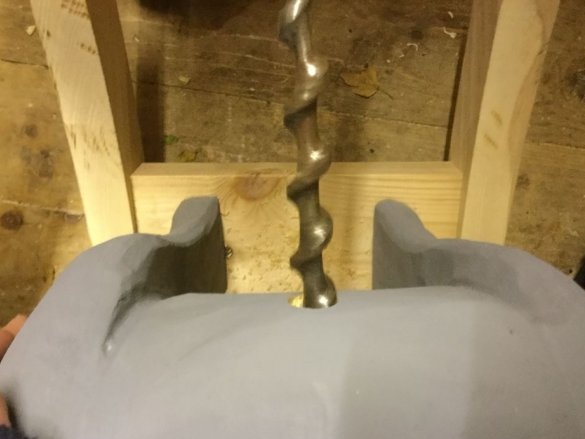
The back should have 4 mounting holes drilled in the upper back on each side.
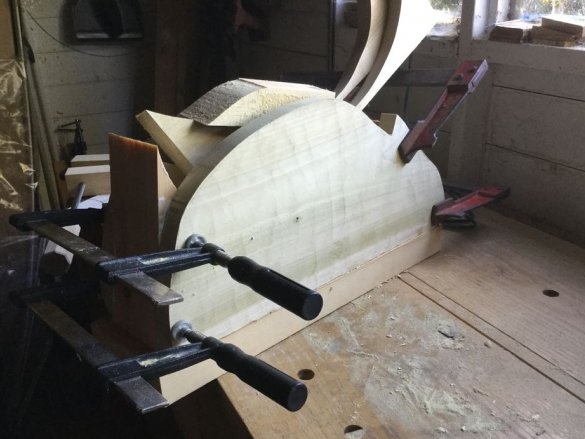
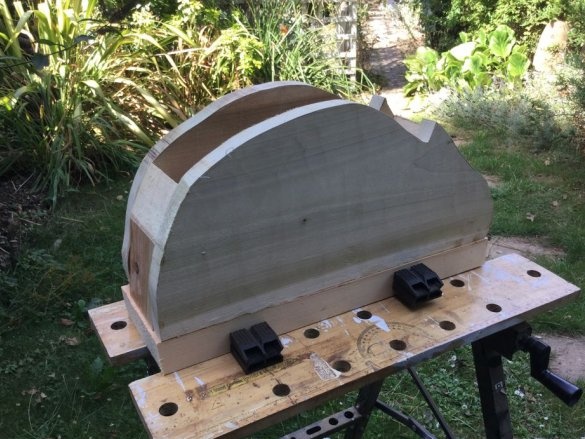
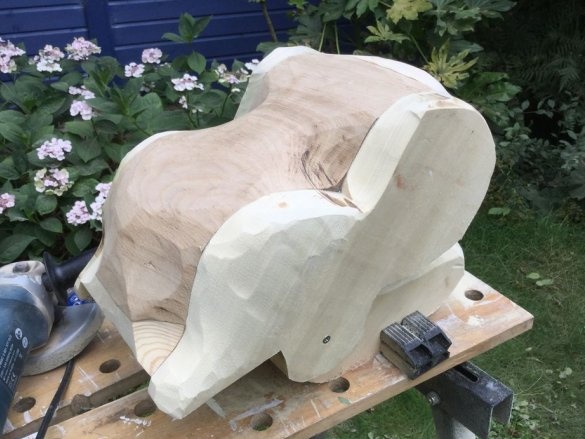
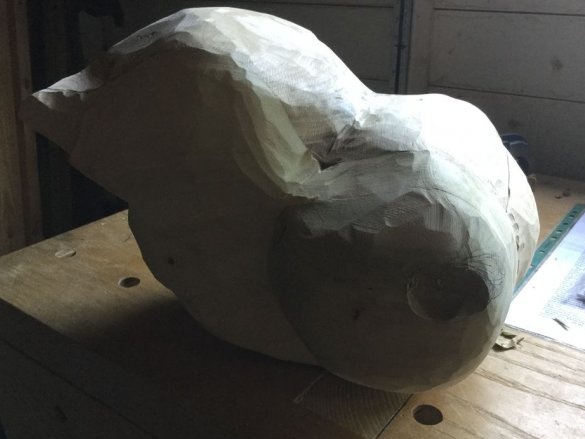
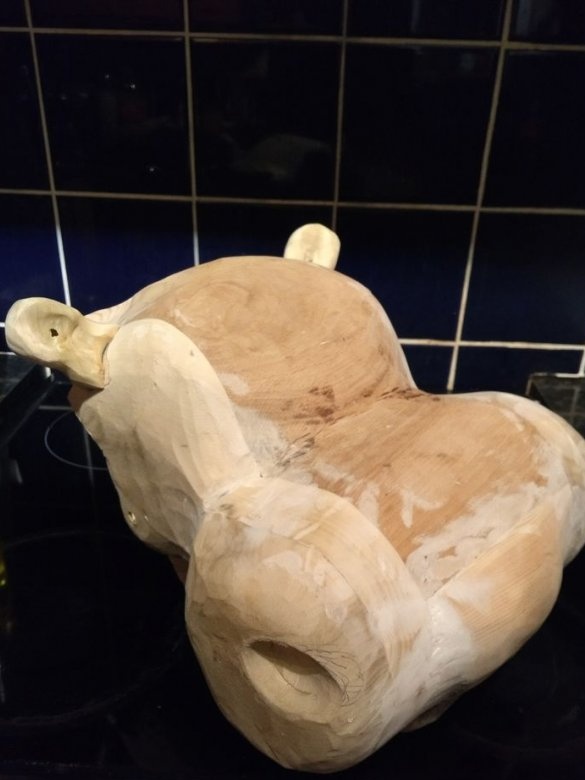
The master glues the details and leaves for the night. The next day, with the help of a band saw and a grinder, gives the body the desired shape.
Step Three: Head
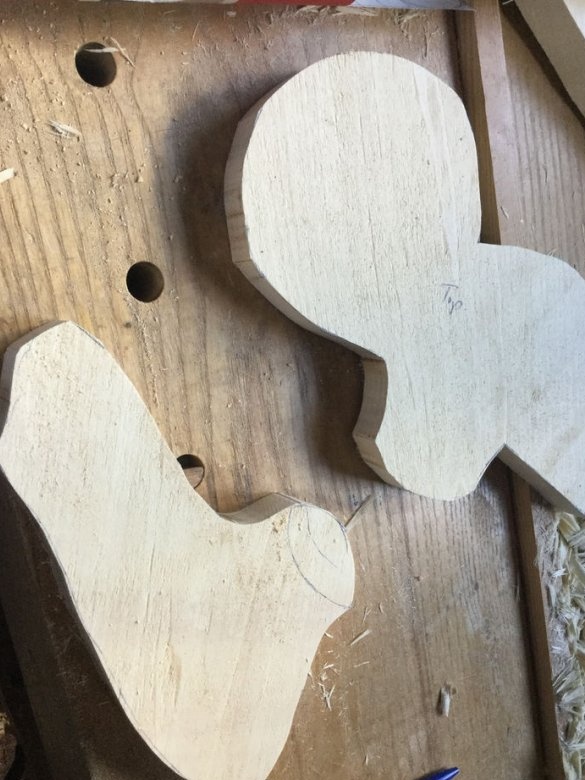
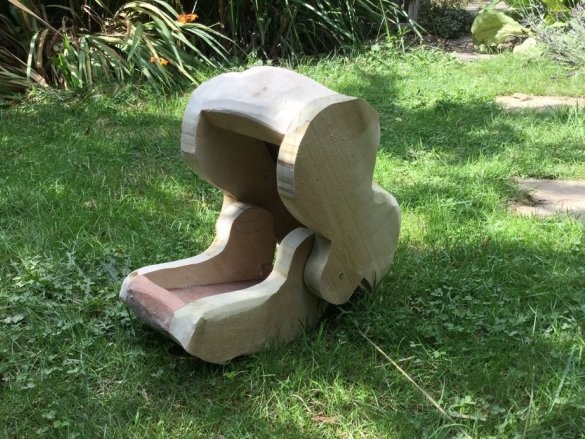
The head consists of several parts. First you need to make a box, two side walls and, at the bottom of the crossbar.
An oak insert is installed inside the box.
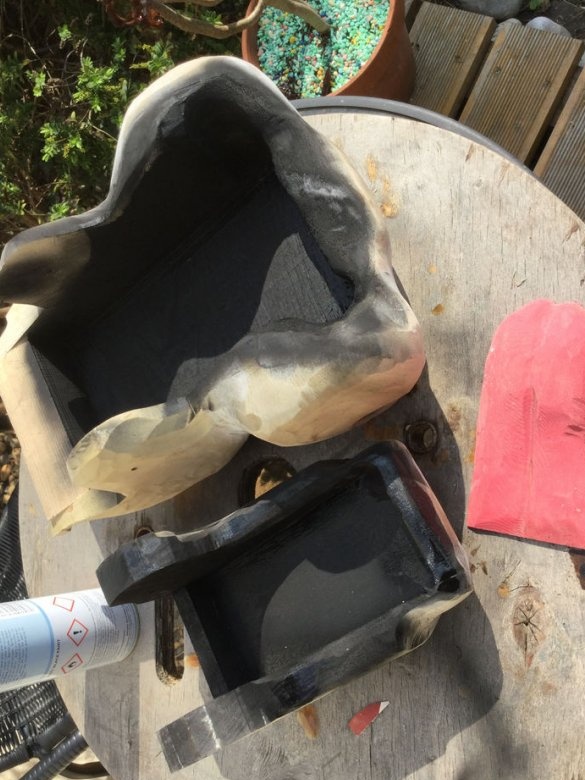
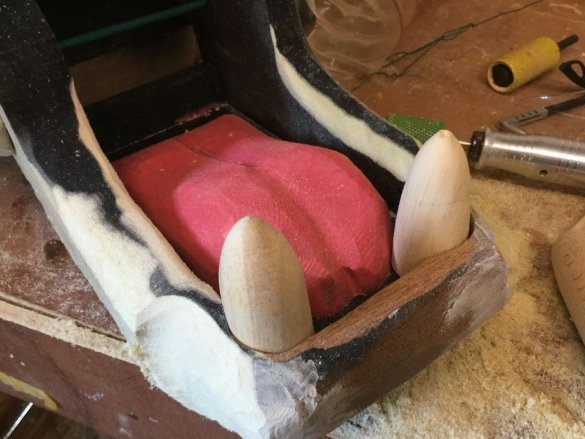
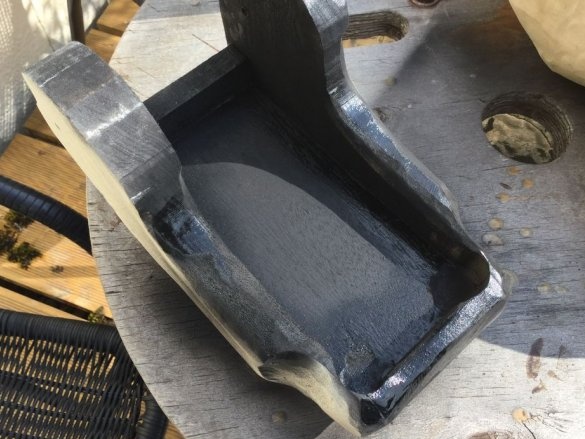
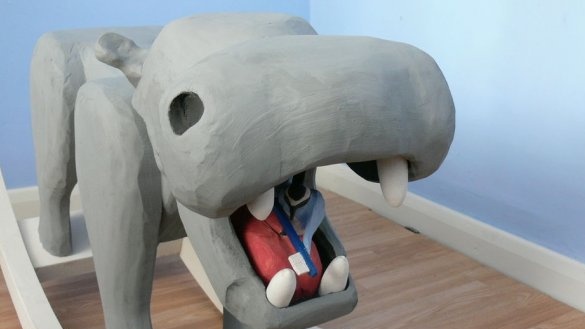
The hippo's lower jaw is movable, and is also made of two side blanks and an insert inside.
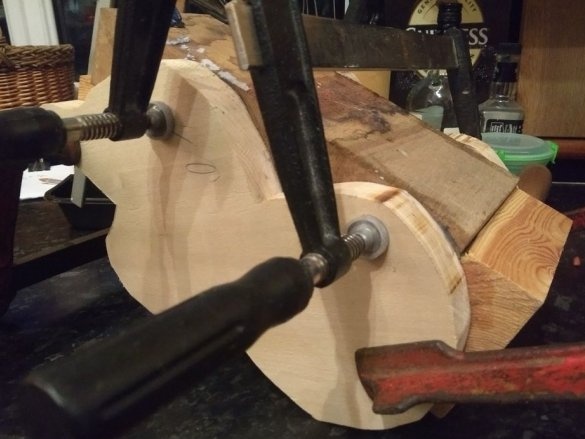
After gluing the parts of the head and lower jaw, the master polishes them. Then it adjusts in size (the lower jaw should go inside the head box). Drills a hole and installs bolts on both sides. The bolt heads must be recessed.
Step Four: Language
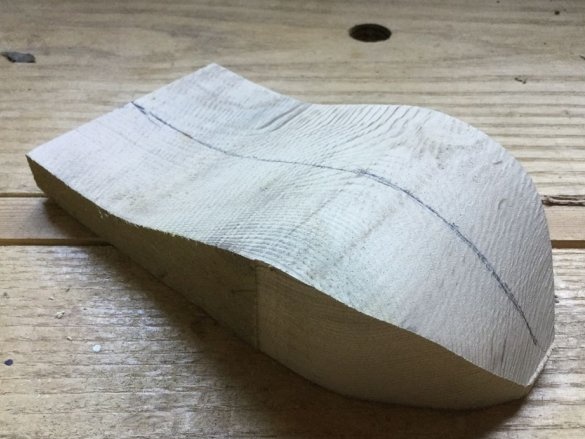
After fitting and installation, the lower jaw is removed. From the board, the master makes the language. Marks board. It cuts on a band saw, then with the help of a grinder, a hammer and cutters, gives the desired shape.
Step Five: Muzzle Formation
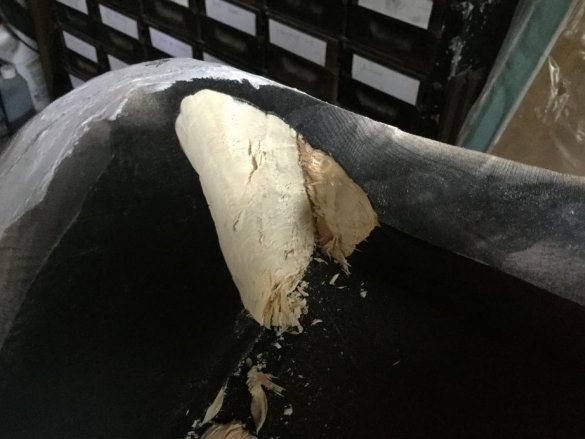
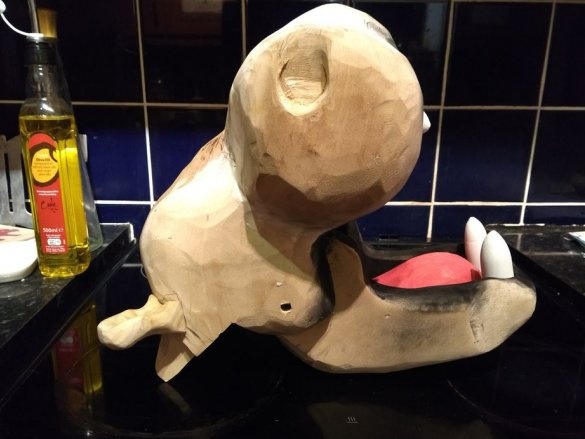
Hippos are known for their long snouts and large nostrils. The master cuts the pads and sticks them to the head.
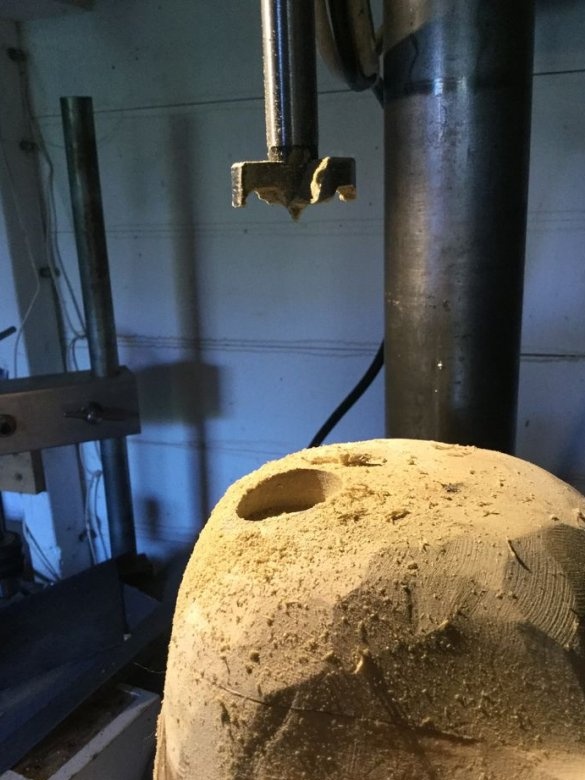
Then drills the nostrils.
Step Six: Teeth
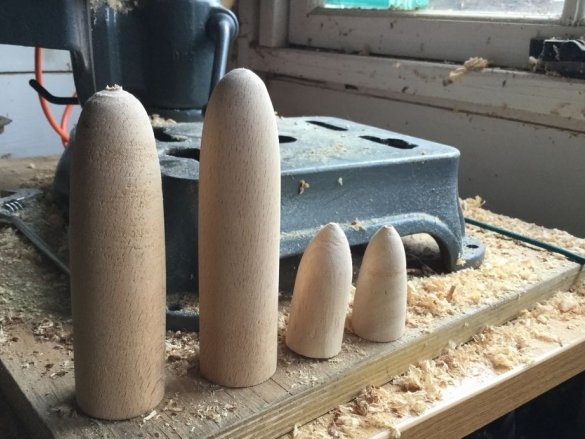
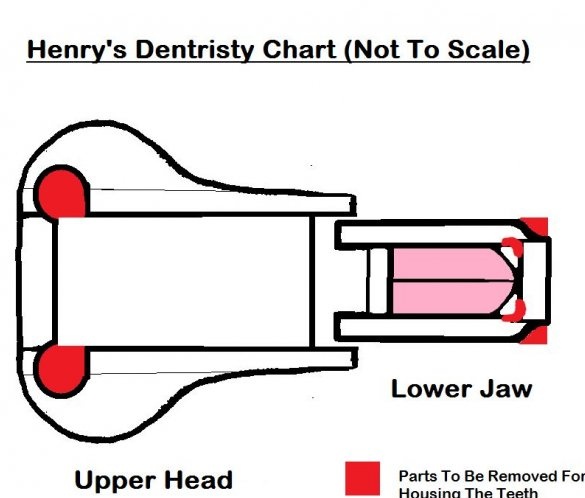
On a lathe, the master grinds four teeth, two for the top and two for the bottom. Glue them with PVA in place.
Step seven: ears
Cuts hippo ears. They are installed with dowels and wood glue.
Step Eight: Legs and Assembly
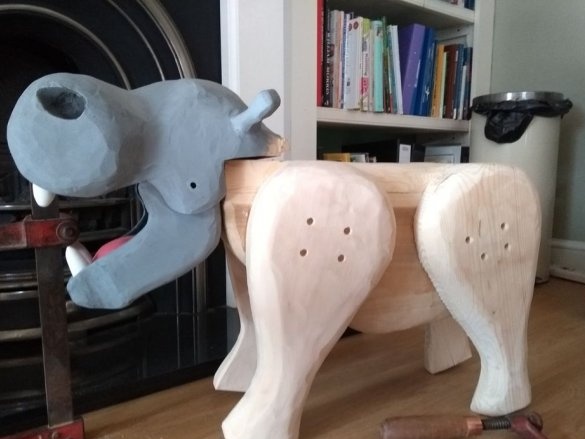
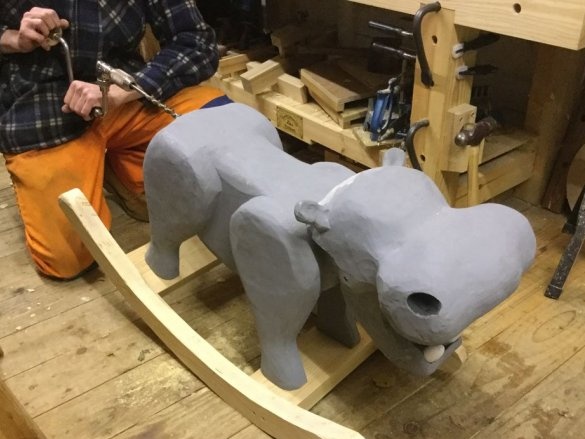
Cuts legs. The legs are attached to the body with four bolts. The head is attached with two bolts.
Step Nine: Painting
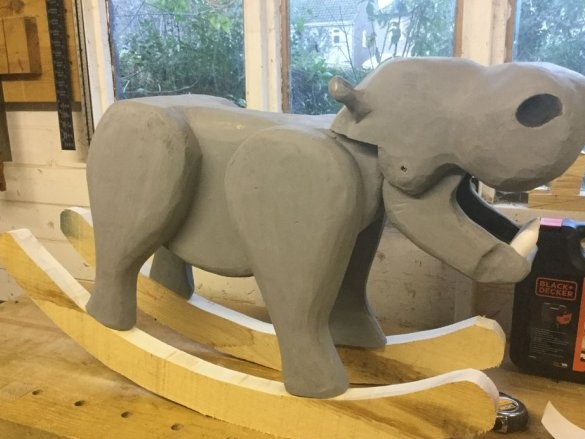
The hippopotamus is almost ready, you just need to color it and install rocking chairs. The hippo itself is painted in gray. The tongue of the master was painted in red, the teeth in white.
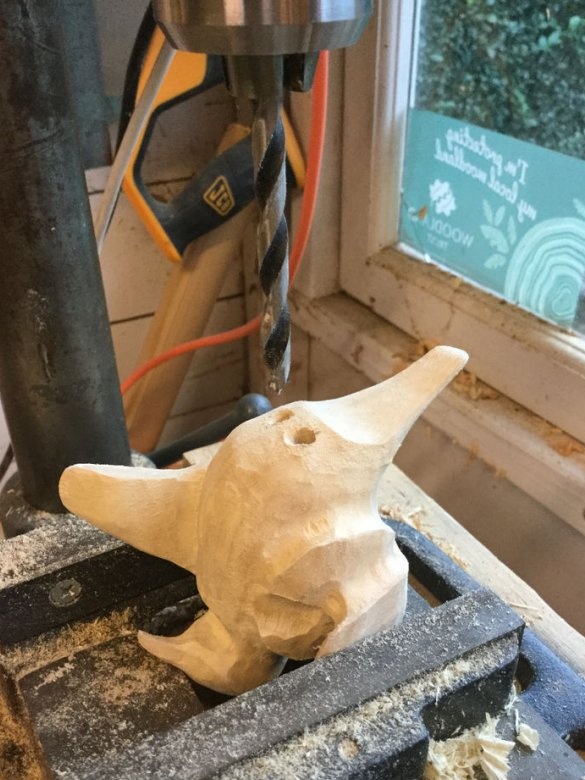
Step ten: a bird with a toothbrush
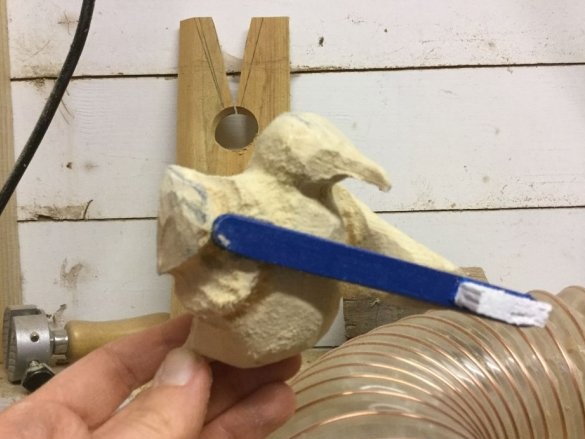
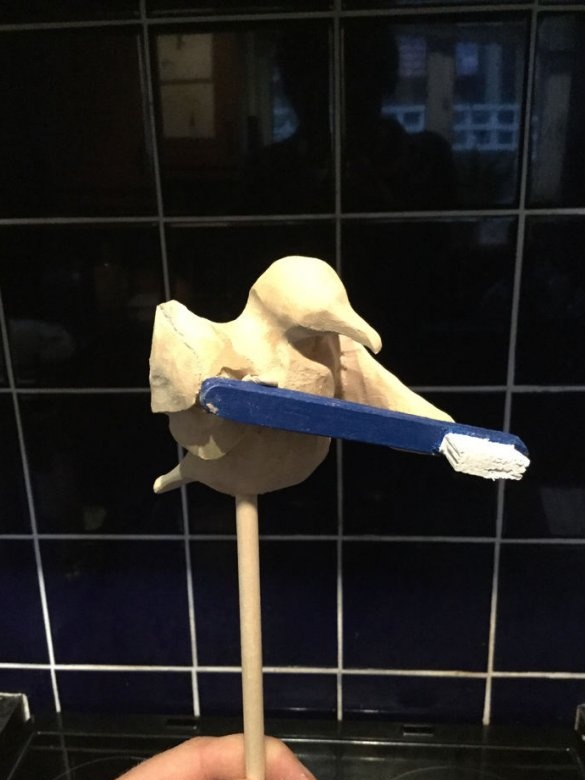
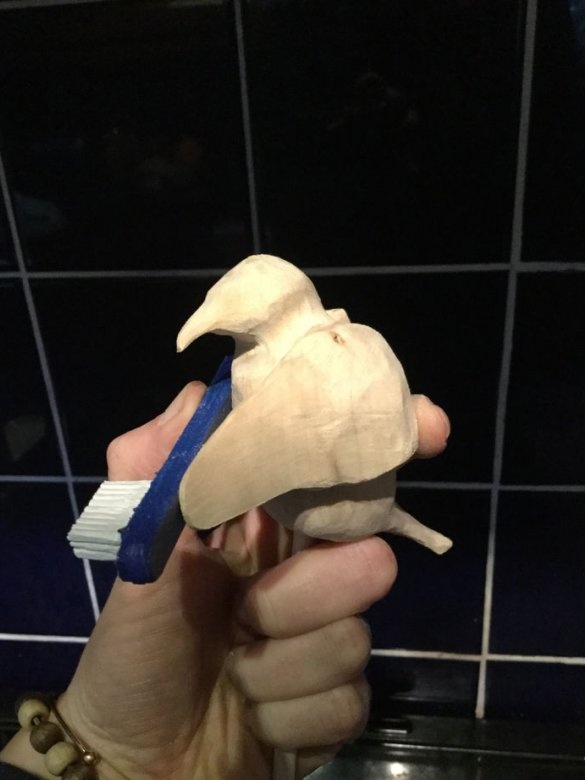
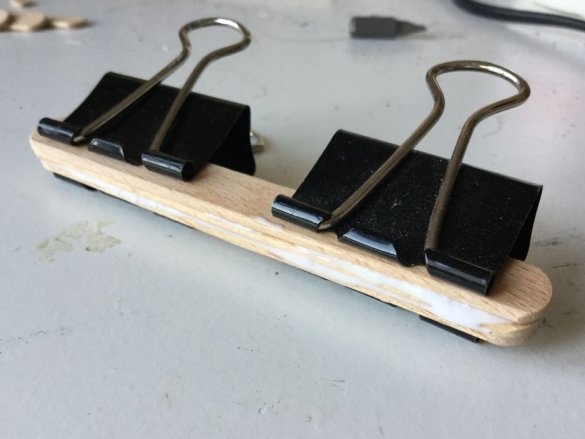
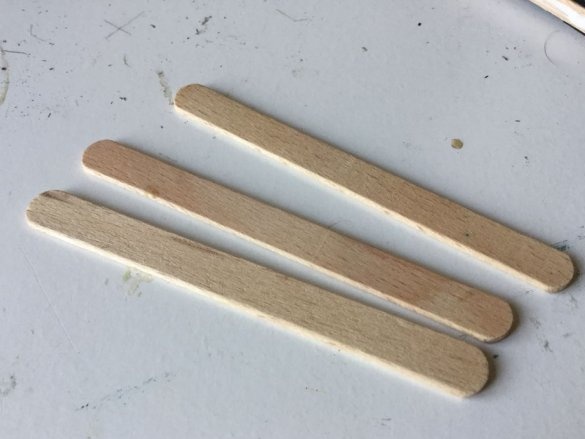
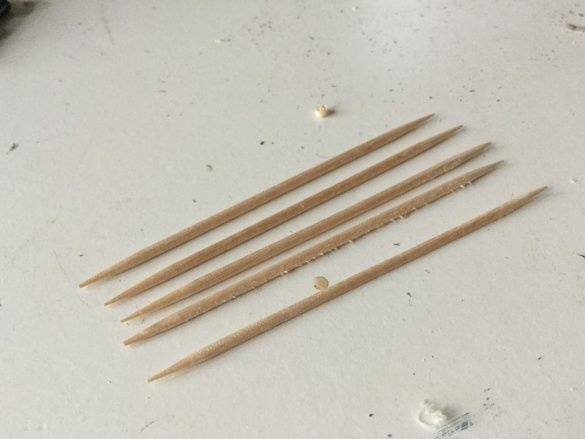
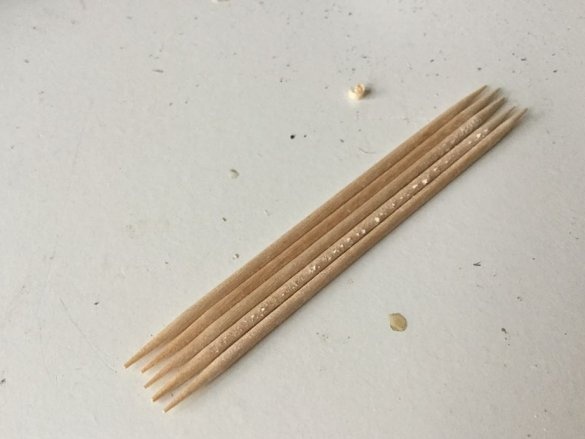
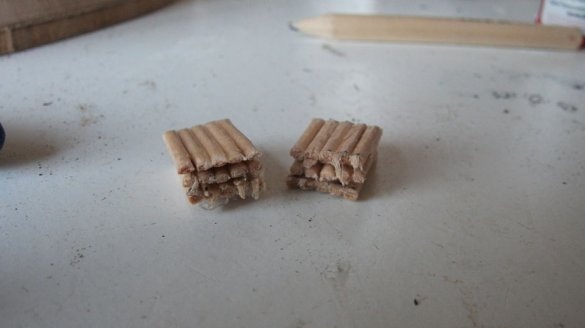
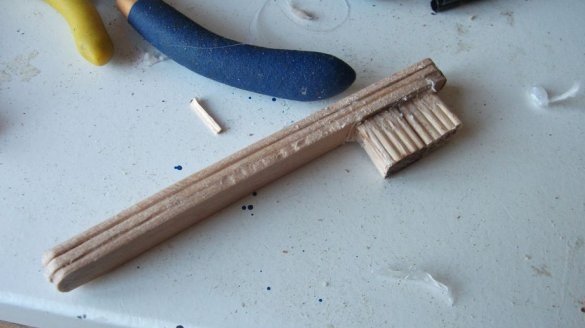
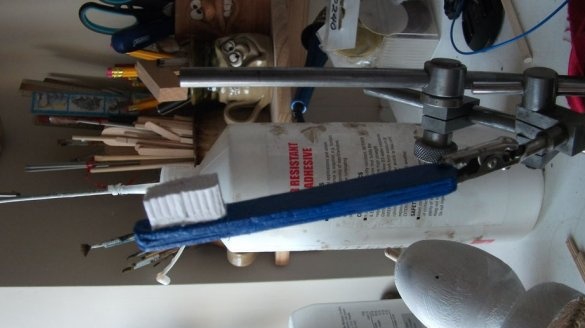
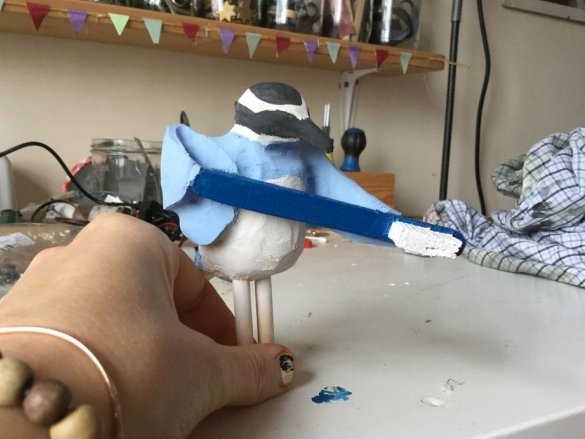
According to the design, a bird should be placed inside the hippo’s mouth, brushing his teeth. First the master did model from plasticine. Then makes a bird. The master cuts out a bird from a linden preparation. It makes a toothbrush from ice cream sticks, and bristles from cut and glued dowels. After manufacturing, it paints the bird figure and toothbrush and sticks the latter to the bird.
Step Eleven: Rocking
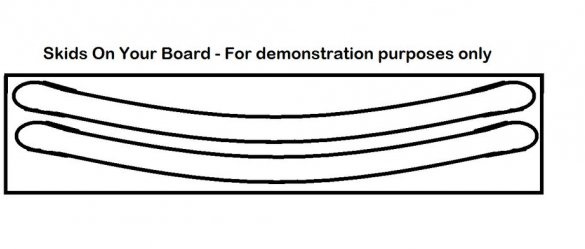
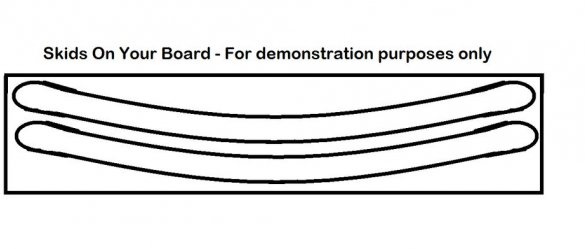
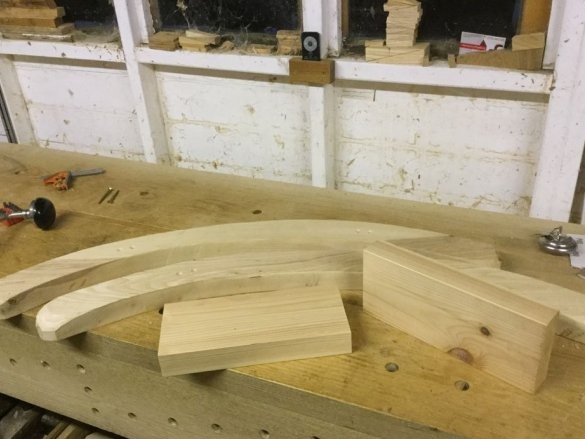
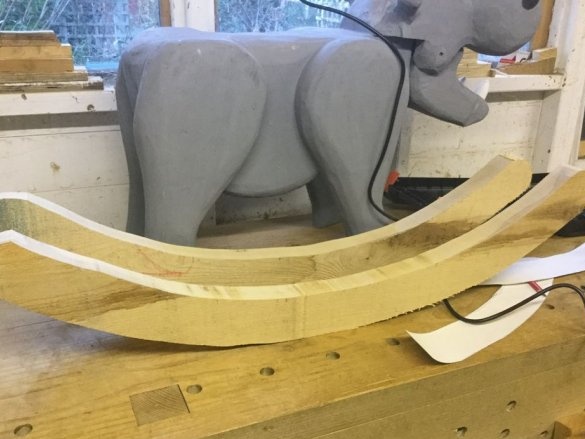
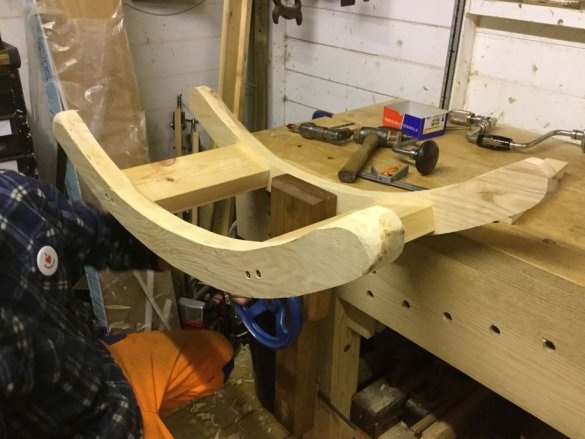
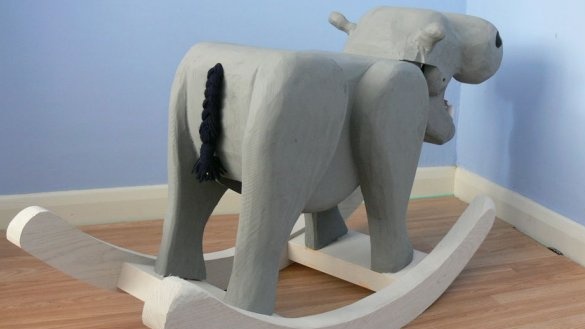
Makes a pattern. Moves the template onto the board and cuts the slide. Grinds. Between the runners secures the cross members. Marks and drills mounting holes. Screws a rocking chair to the legs of a hippopotamus.
Step Twelve: The Tail
The tail master twisted from a rope. I drilled a hole in the back of the hippo and glued the tail.
Everything is ready, a hippo, to the delight of children, is ready.

