
Step One: Materials and Tools
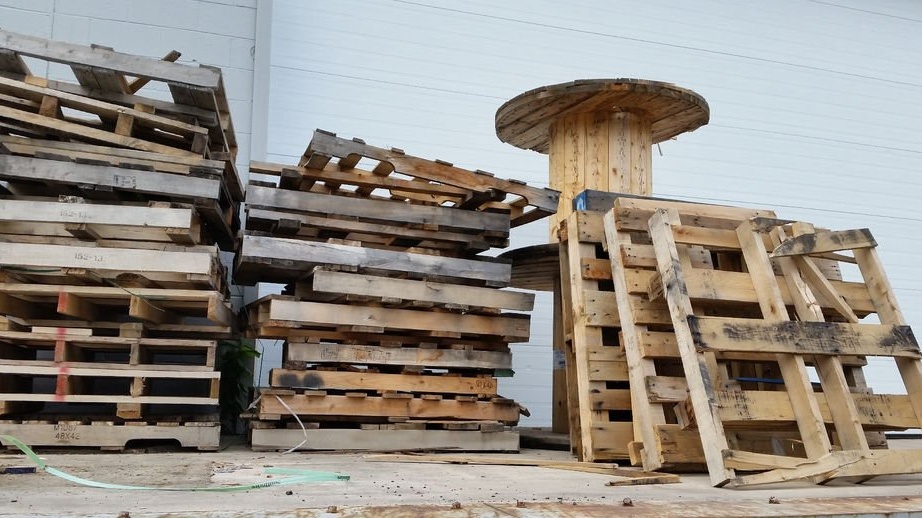
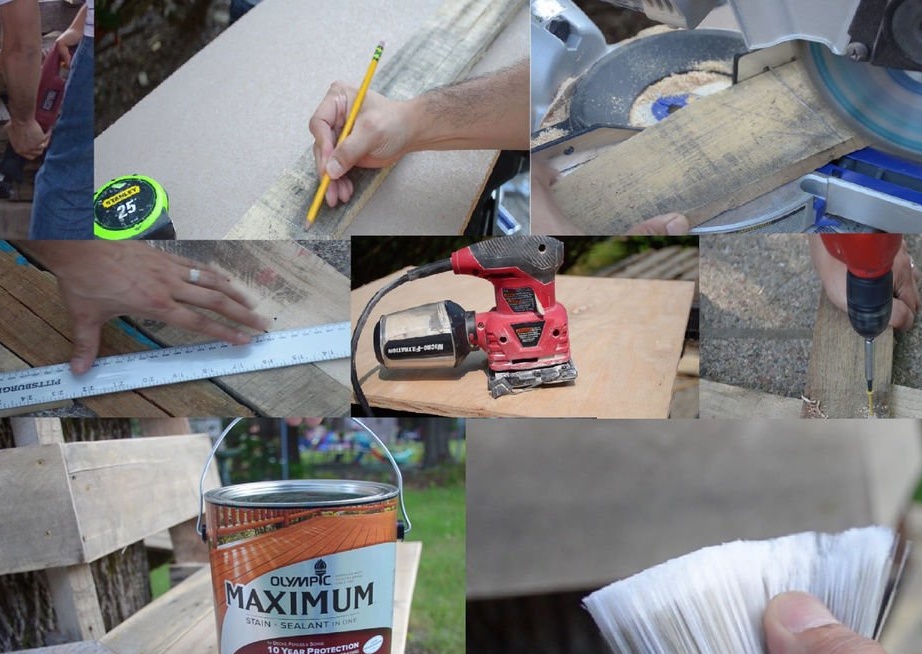
Materials:
- about 4-6 pallets (depending on how many viable boards can be reused from the pallet);
- 38 mm screws;
Instruments:
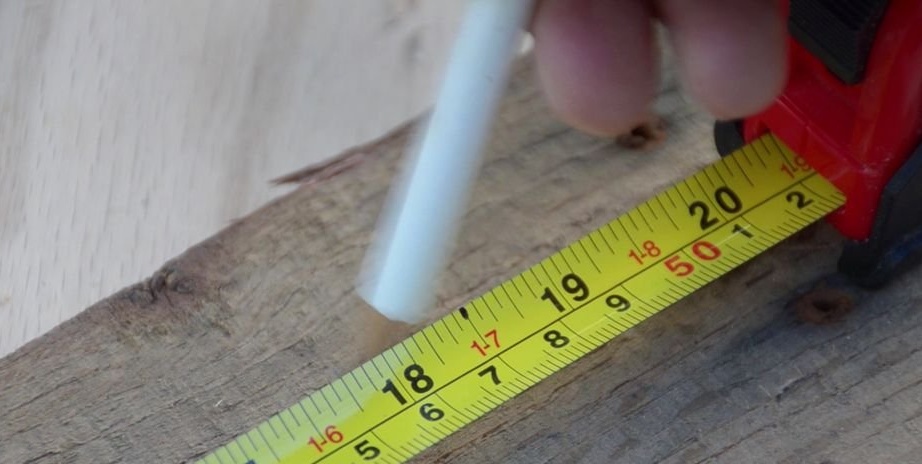
- Ruler;
- Roulette;
- Pencil;
- Miter saw;
- paint;
- brush;
- Sandpaper;
- Grinder;
- Hammer;
- Mounting;
Step Two: Sizing
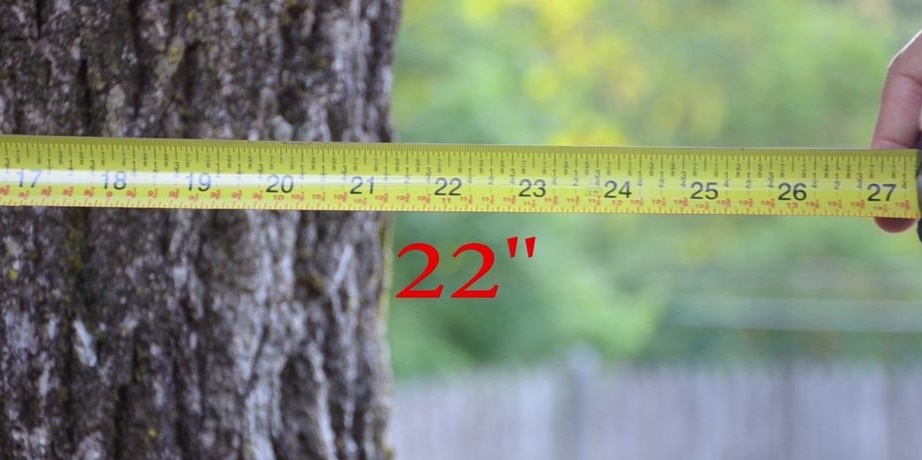

The master took a tape measure and roughly estimated the diameter of the tree in his backyard. After he calculated the sizes, he did not use the obtained values, but instead increased them by several centimeters.
It's because:
1) the tree is still growing
2) The master wanted to have enough space for a corner back.
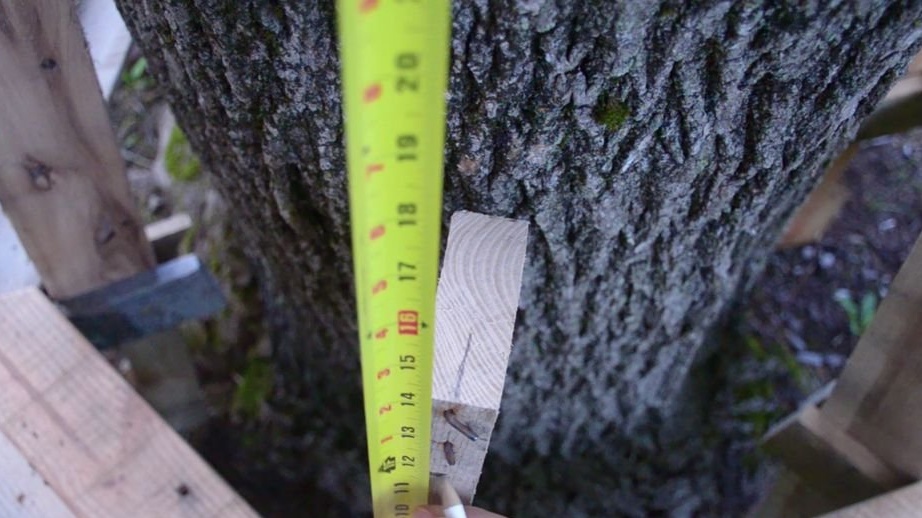
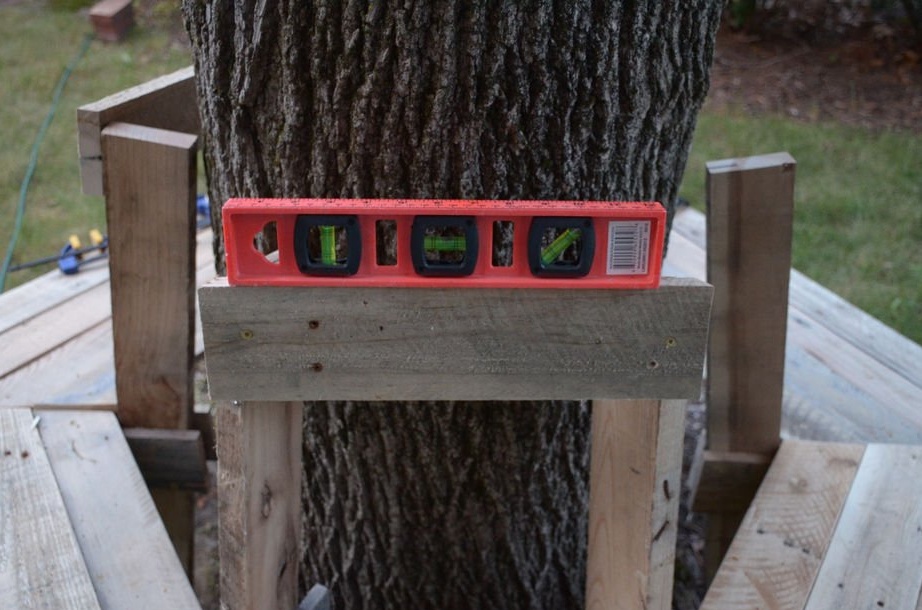
The diameter of the hexagon of the master turned out to be 55 cm. In order to find out how long the side of the bench will be, you should use the formula. For these needs, the master found a site with a similar calculator. He calculated that the inside of the hexagon should be at least 33 cm, but for the reasons mentioned above, he increased the length of the side to 40 cm.
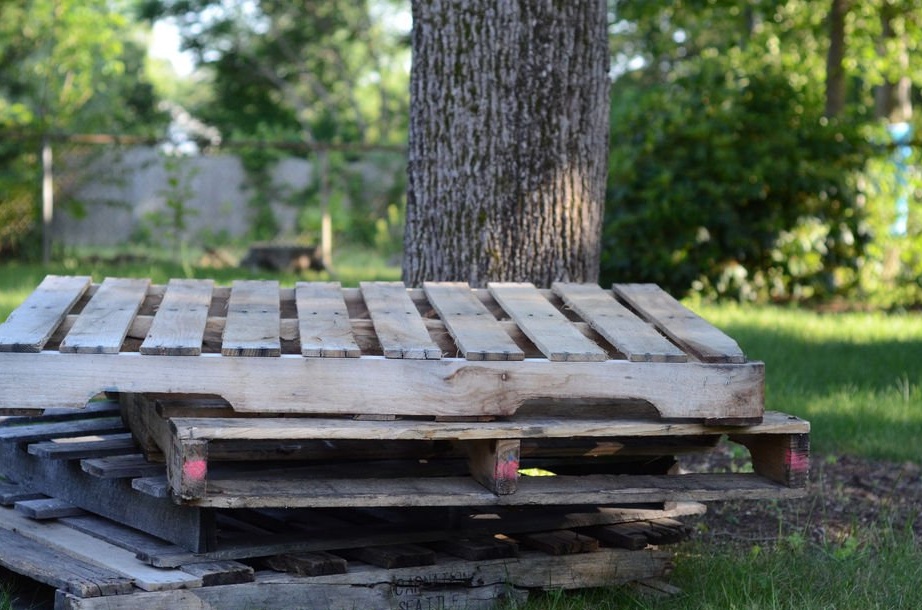
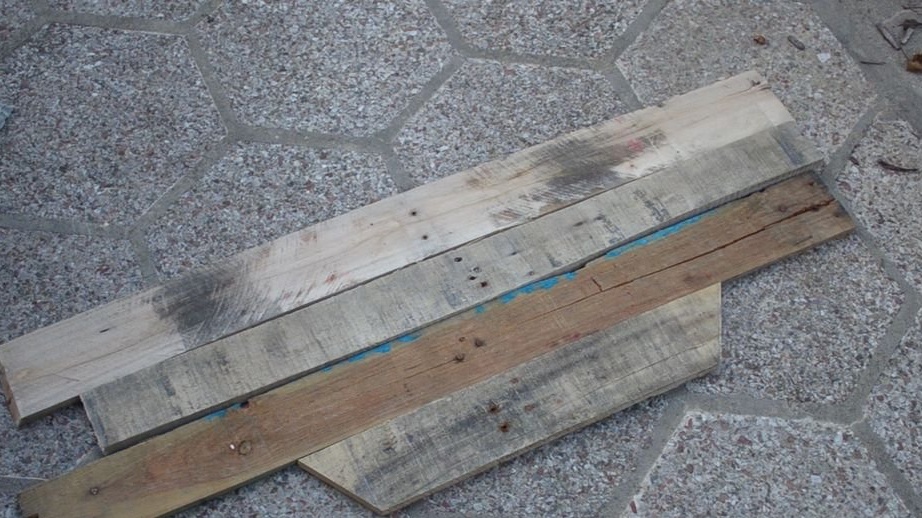
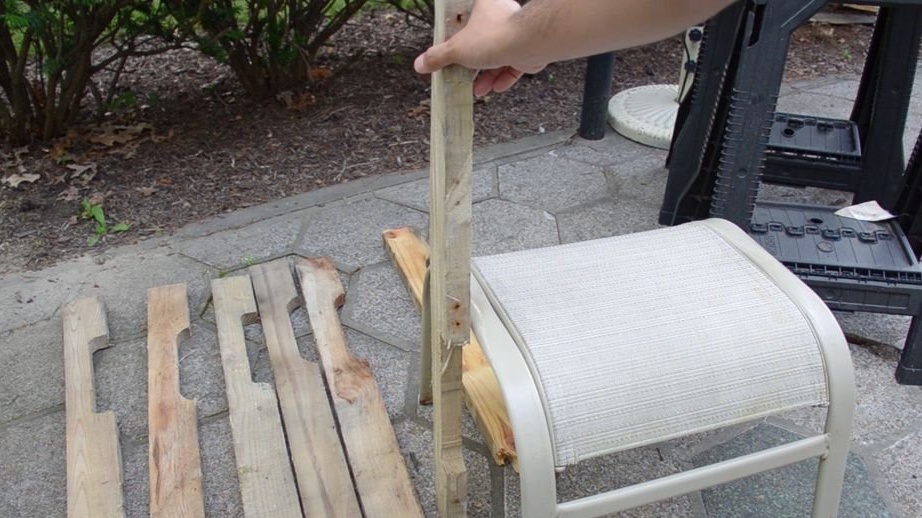
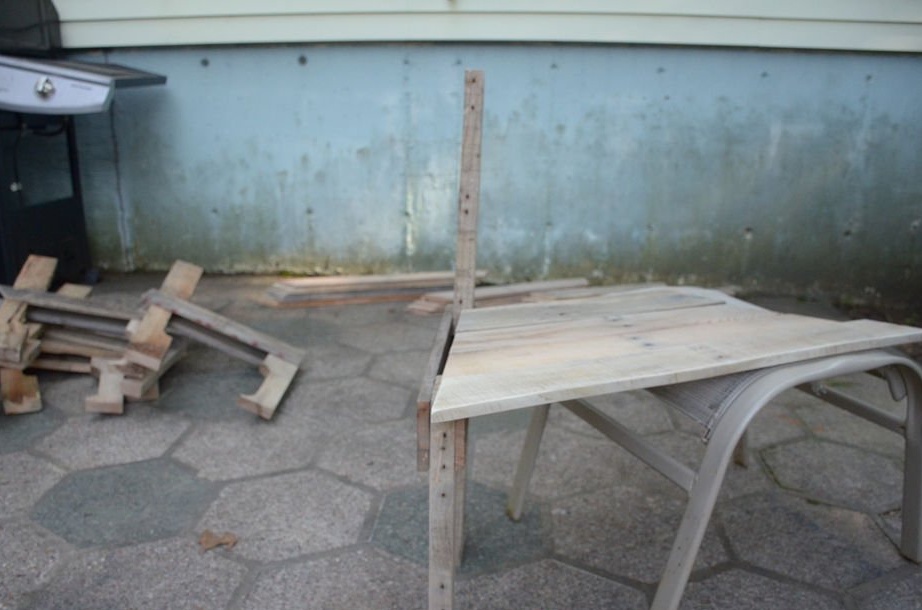
Step Three: Dismantling the Pallets

For disassembly, the master used a saw, a hammer and a mount. Be sure to remove all nails from the boards before assembling the bench.
Step Four: Billets for the lower half of the bench (seat and legs)
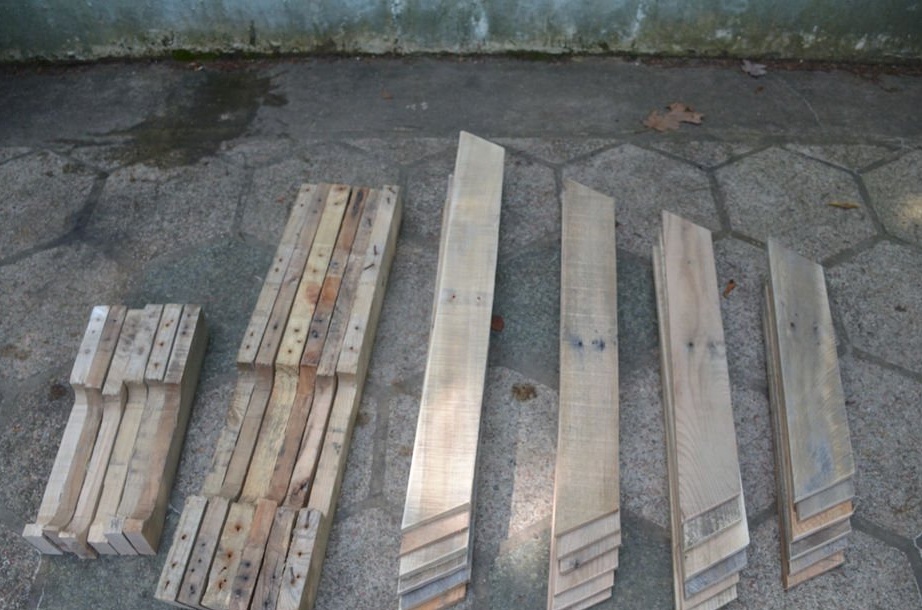
Boards for seats
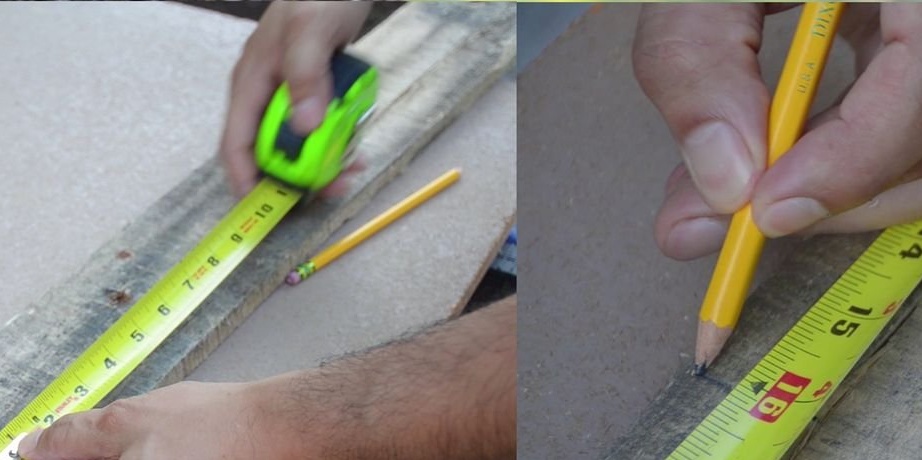
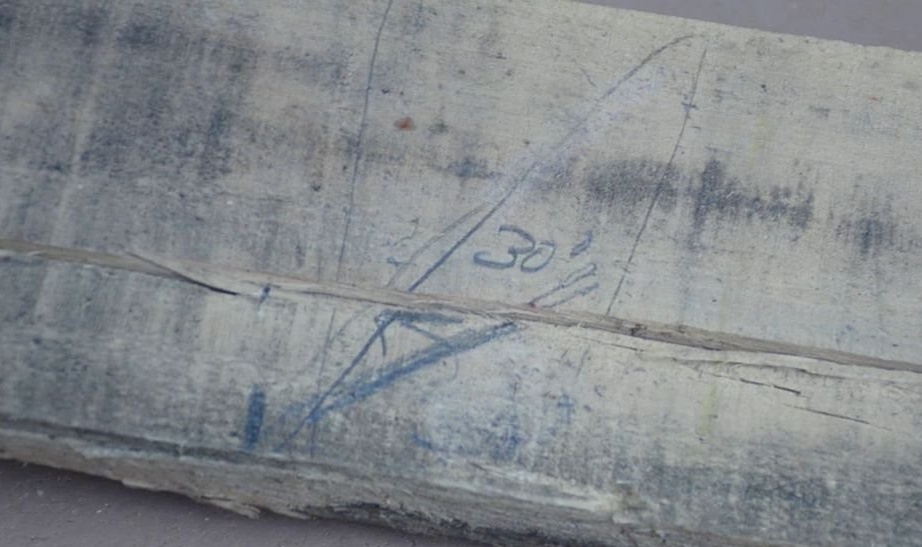
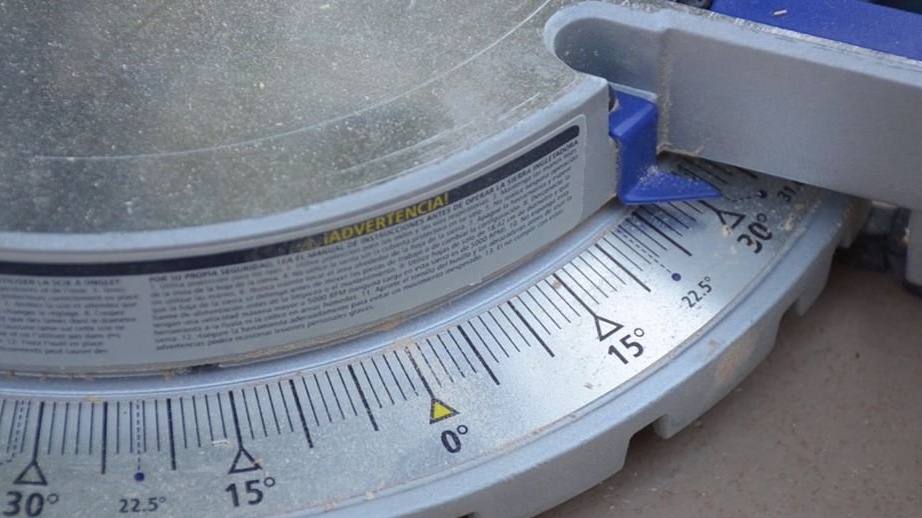
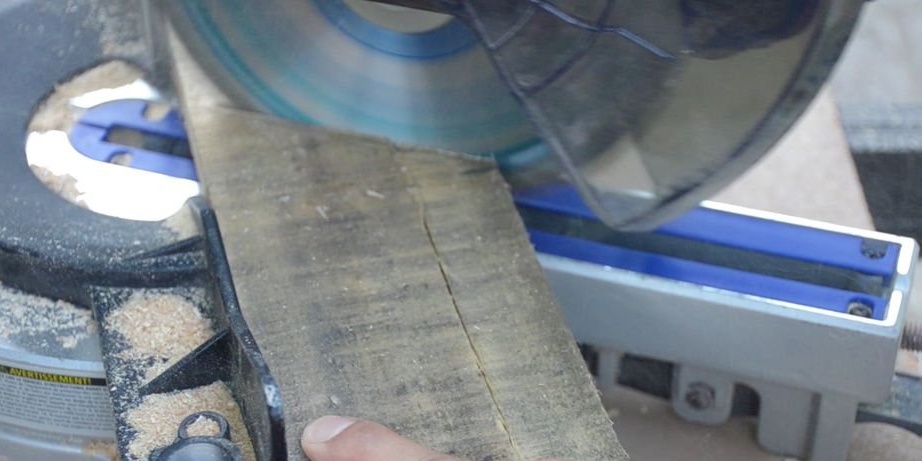
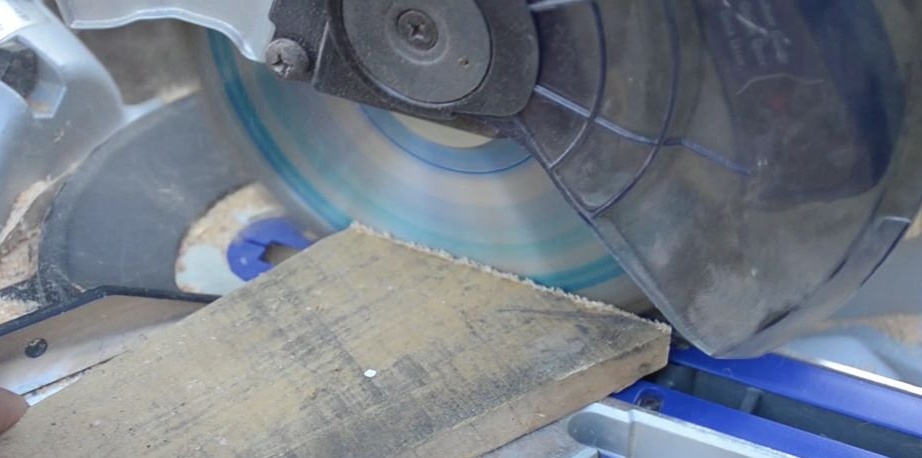
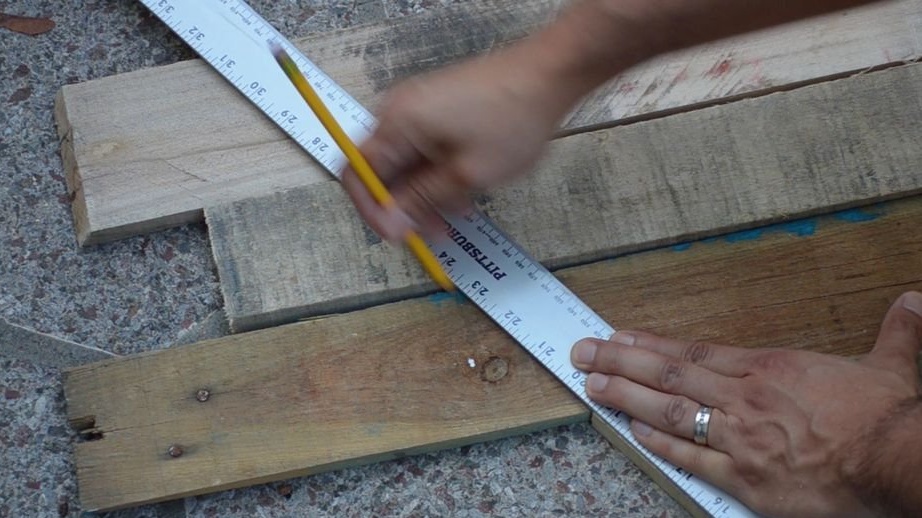
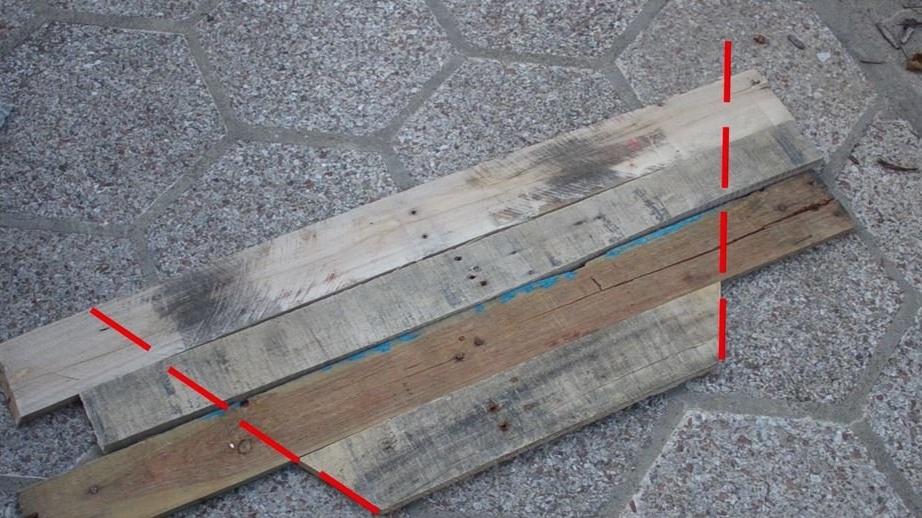
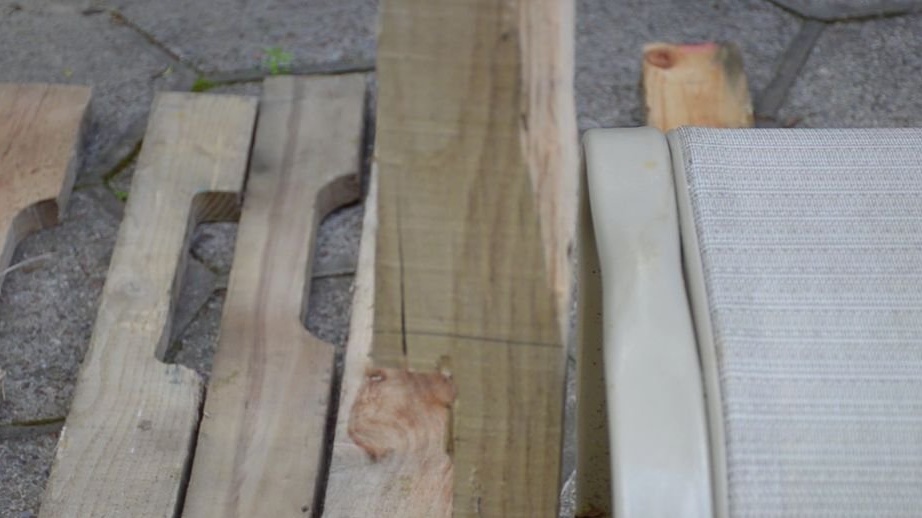
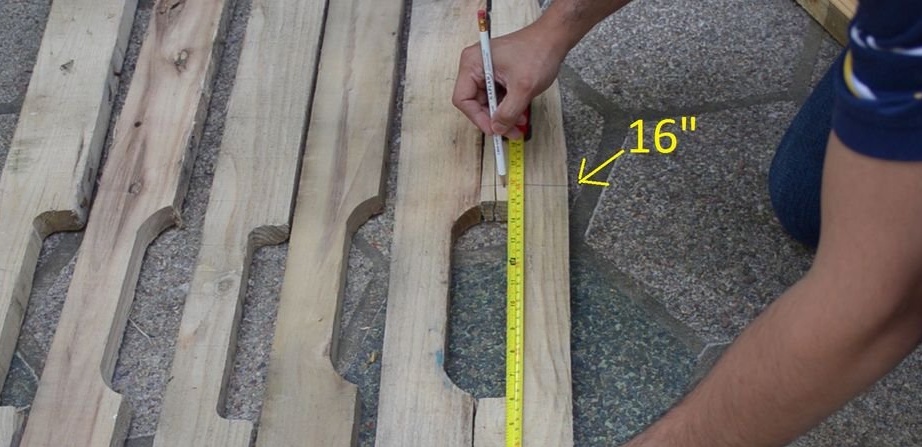
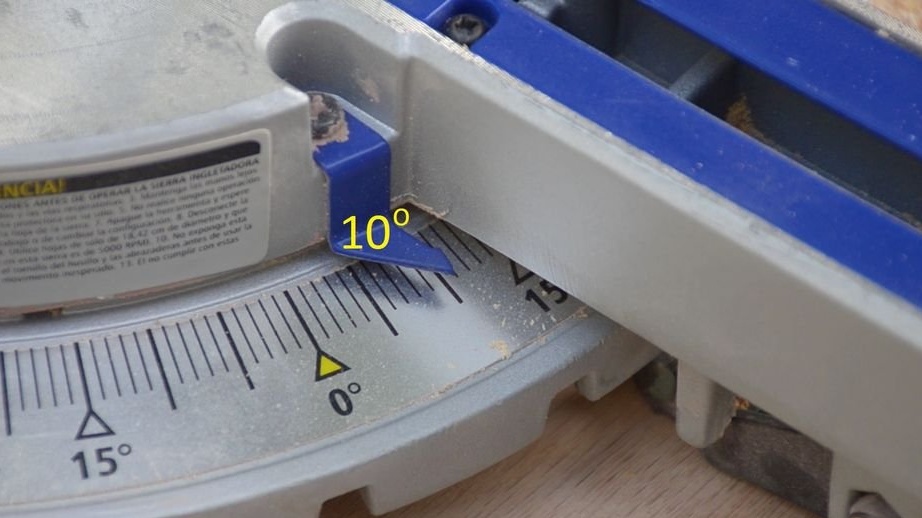
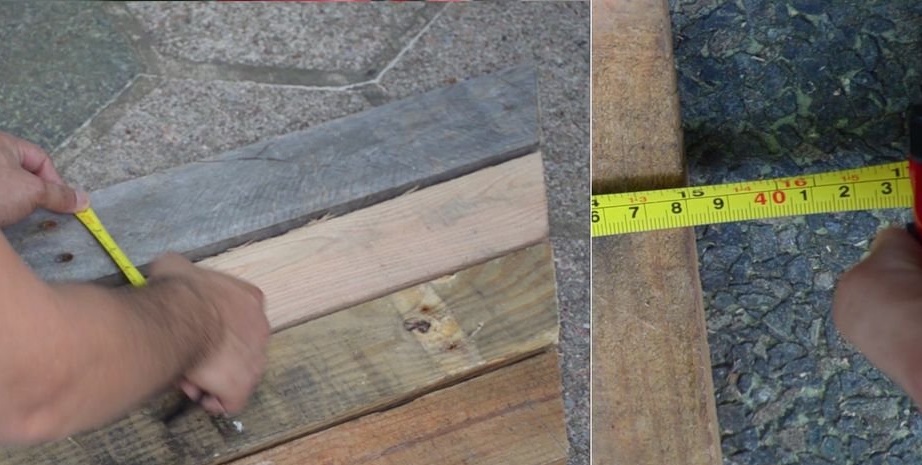
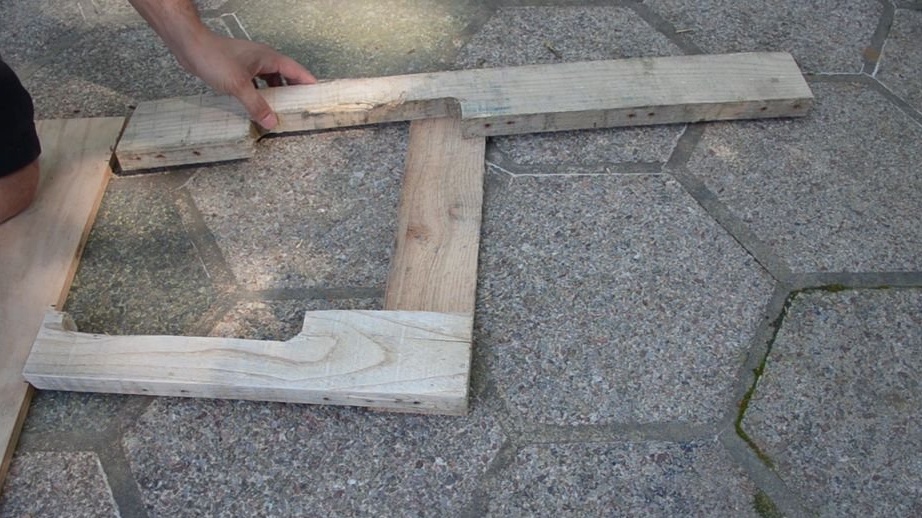
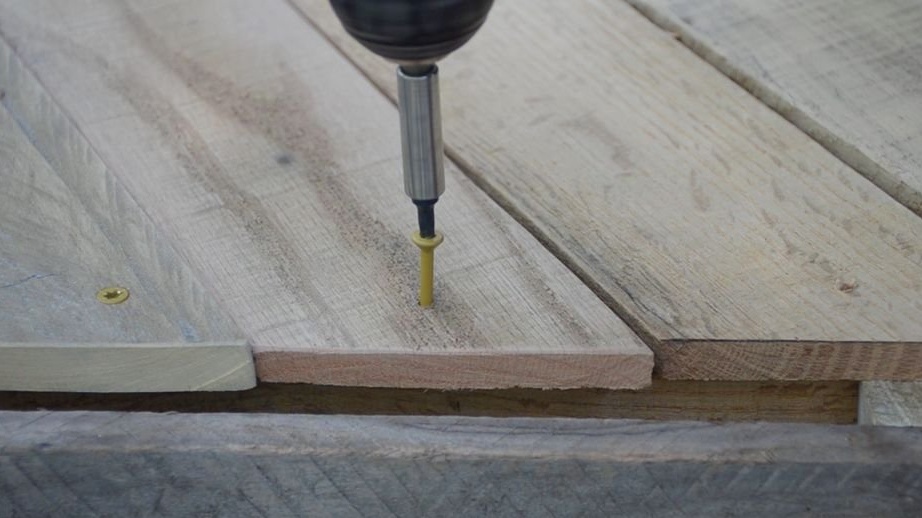
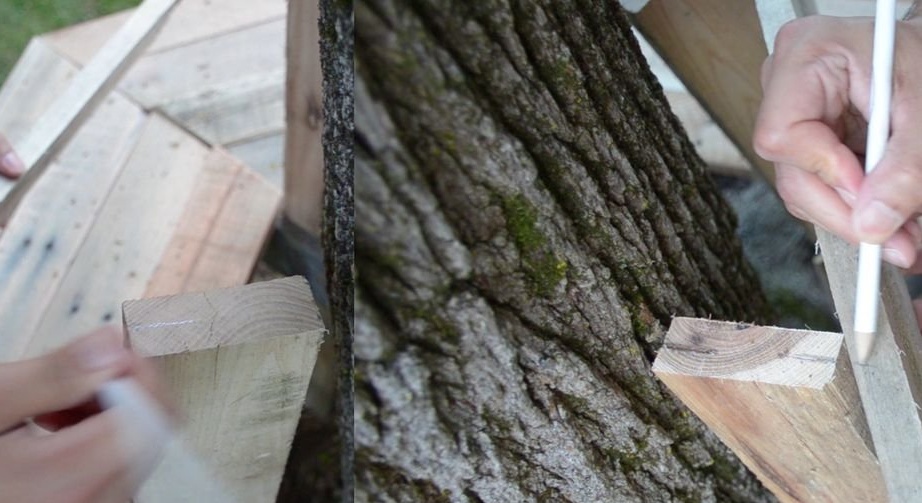
After disassembling the pallets, the master used a value of 40 cm to obtain individual boards. He made a cut 30 degrees on both sides of the board to essentially make a trapezoid (with a short side of 40 cm). Then he aligned three more boards next to the first board he had just cut. With a ruler and a pencil, he continued the line, where he made a 30-degree incision. This was done on both sides. These four boards will make one of the six bench seats.
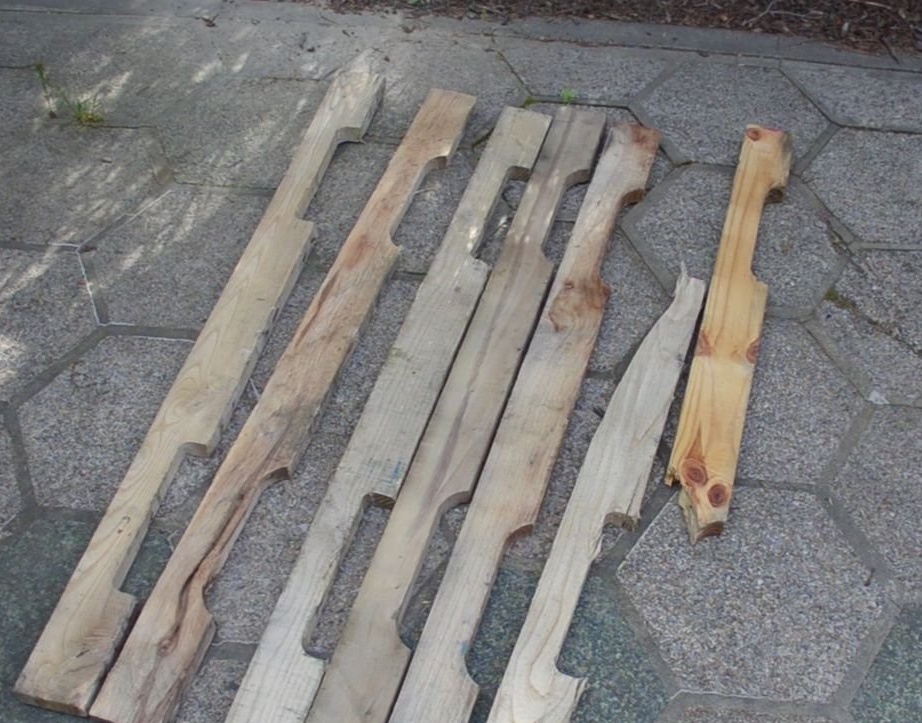
Legs
It will take six transverse support boards from the pallets to make six sets of legs, including the front and rear. To make two legs from one base board, measure 40 cm from the edge. A smaller part will be used for the front leg, and a longer part will be used for the back leg and back.
Step Five: Surface Grinding (Part One)
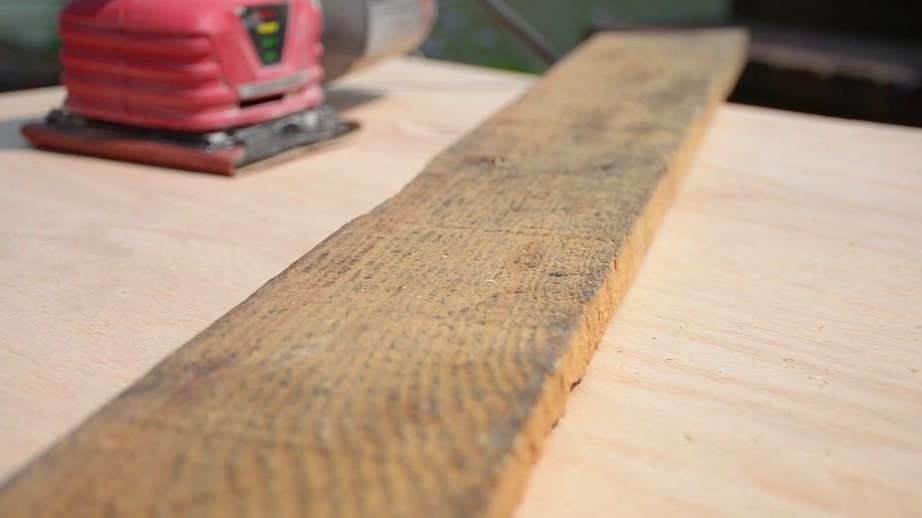
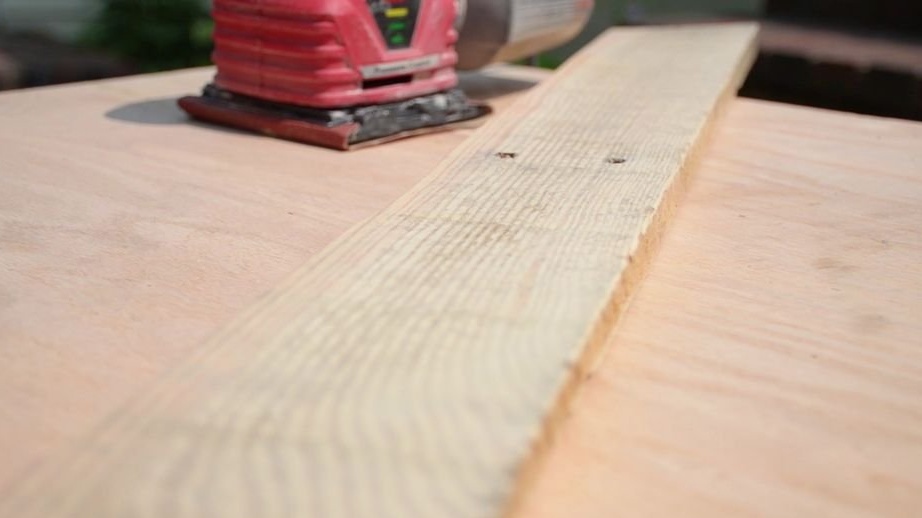
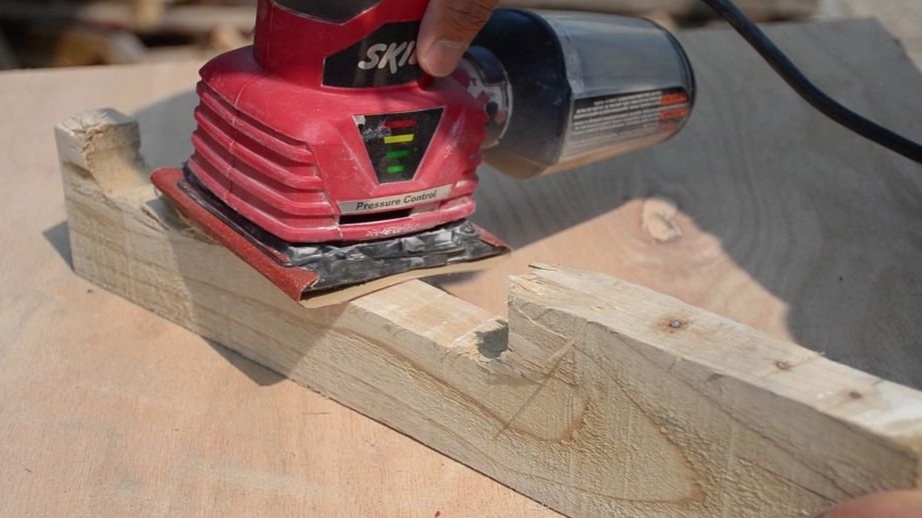
For grinding surfaces, the master used sandpaper with a grain size of 80 units.
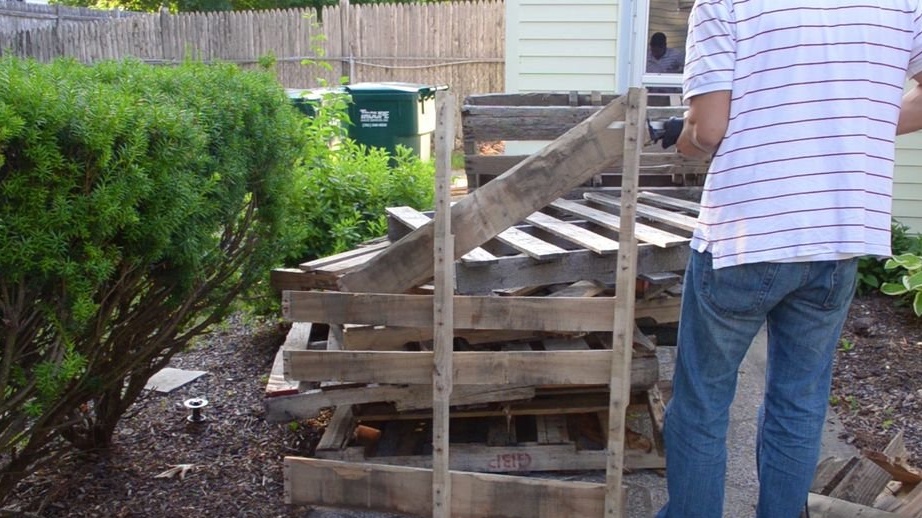
Step Six: Assembling the Lower Half

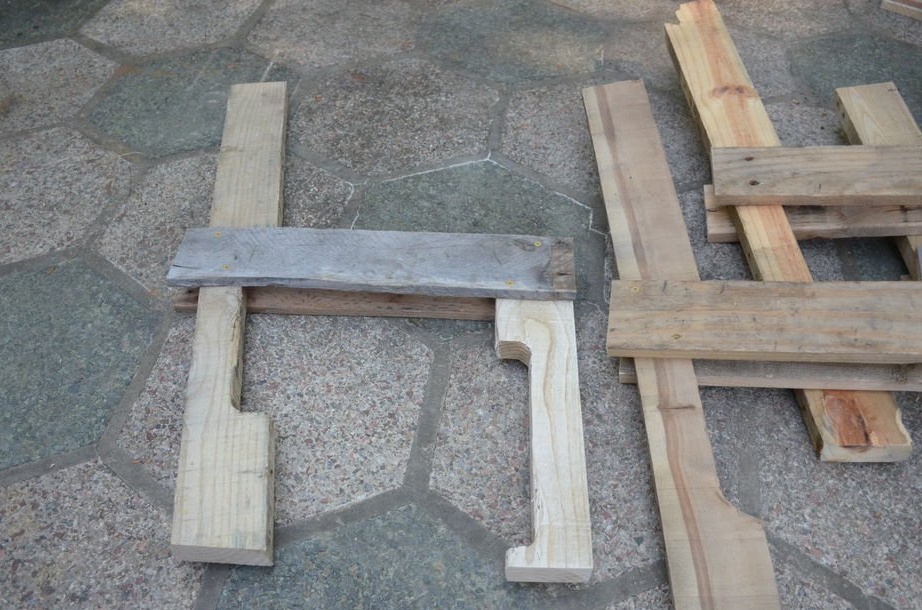
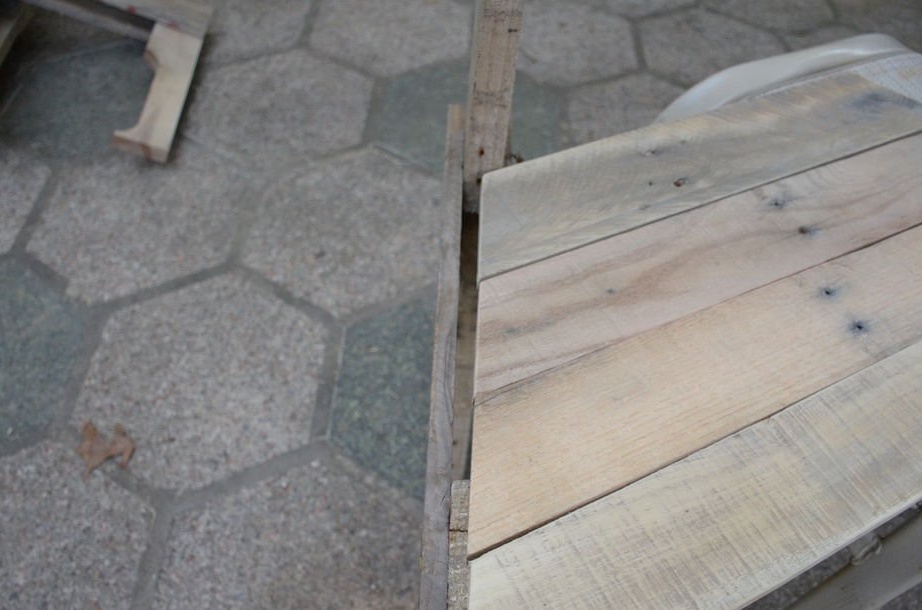
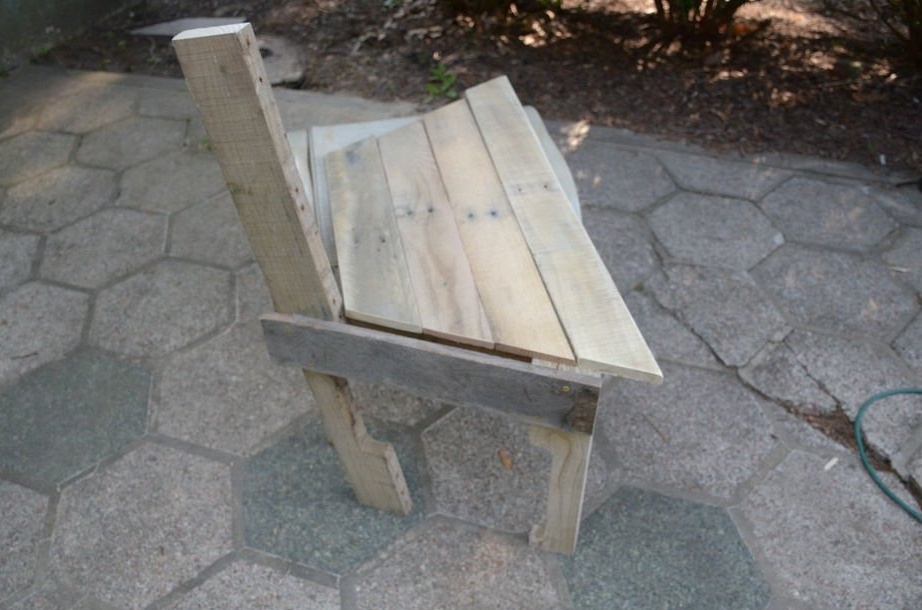
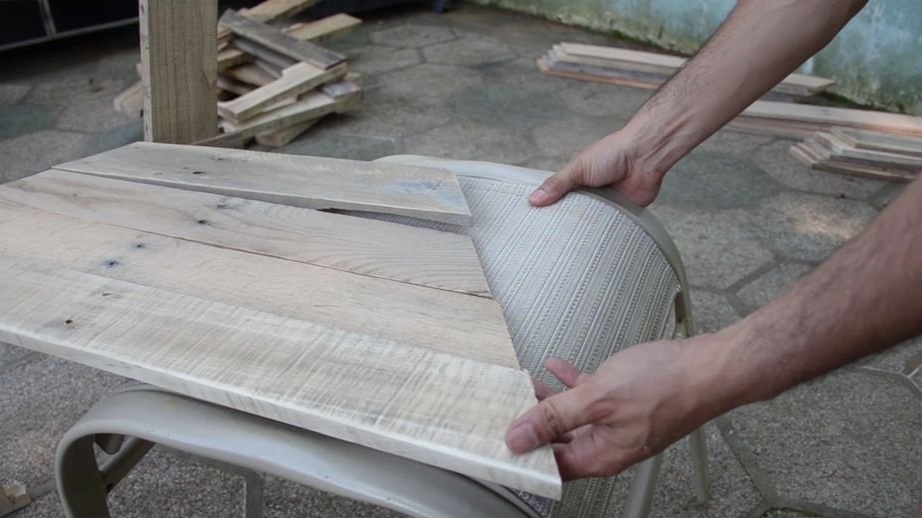
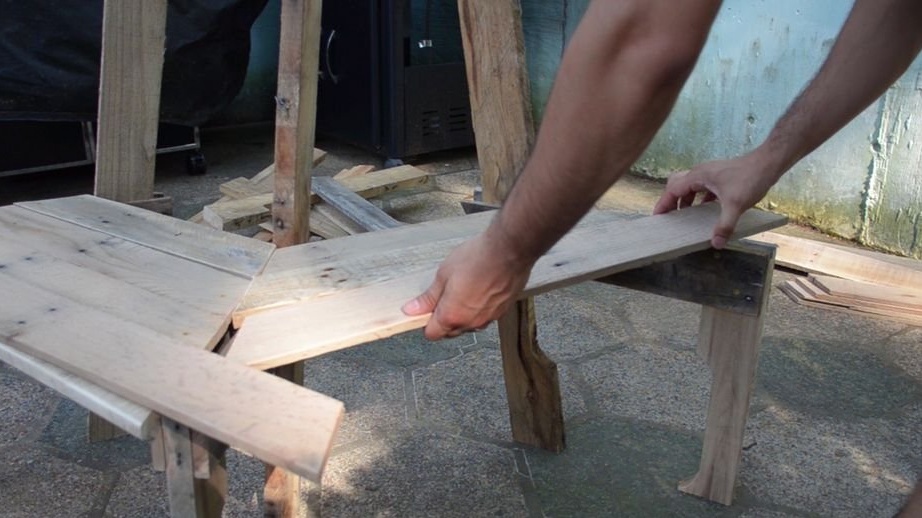
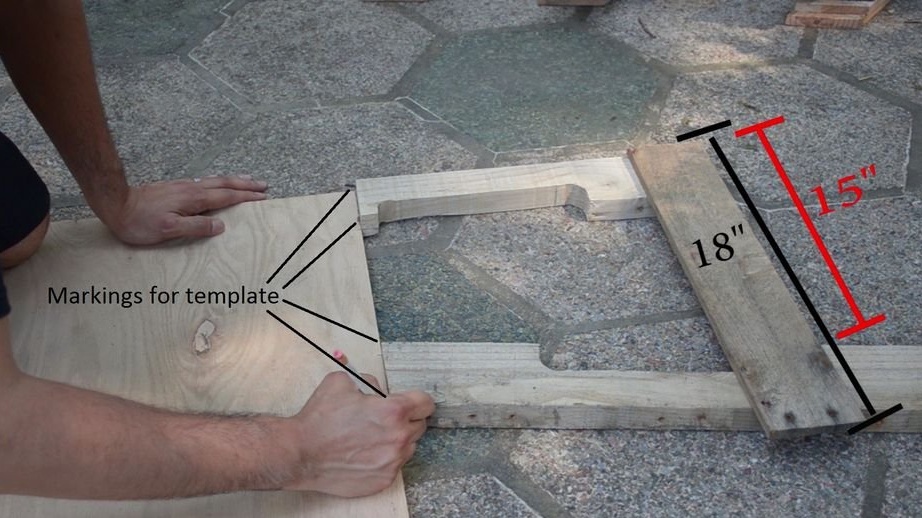
Having cut the seat boards, the master laid them on the ground to make sure that they all fit snugly together, and then began to assemble the seat supports.
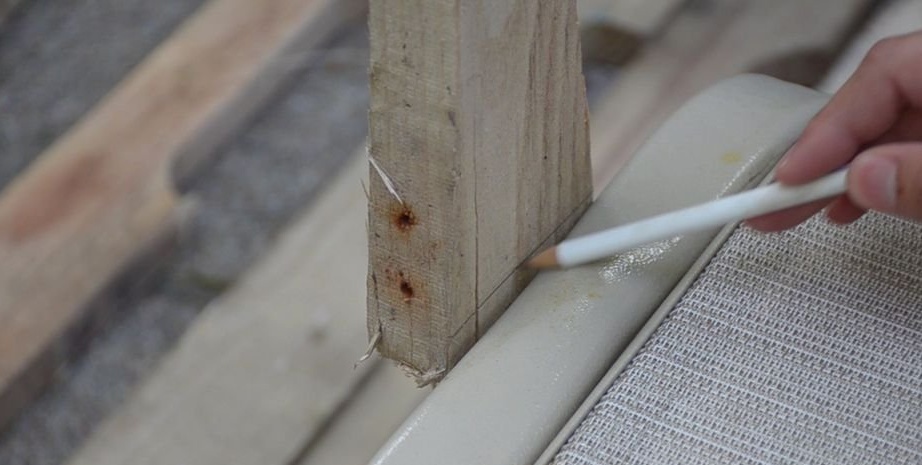
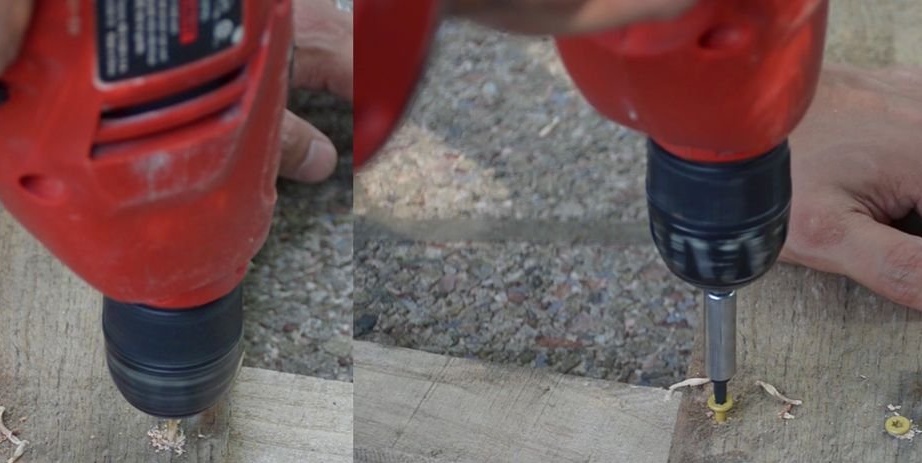
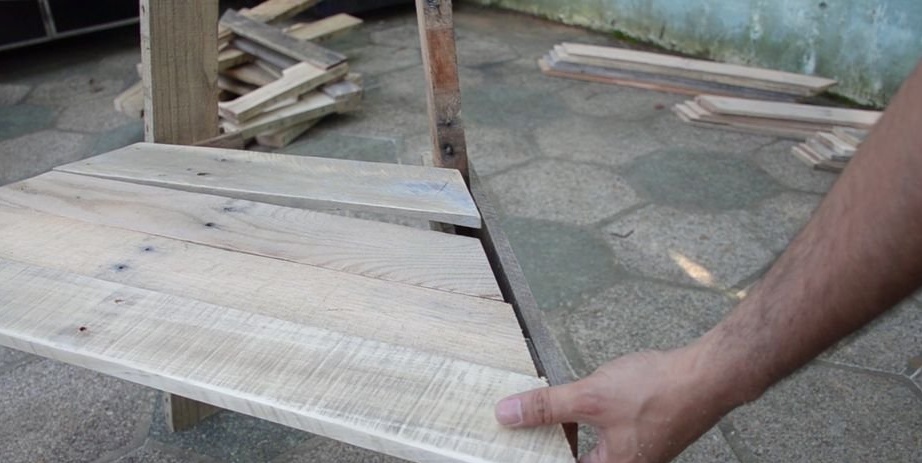
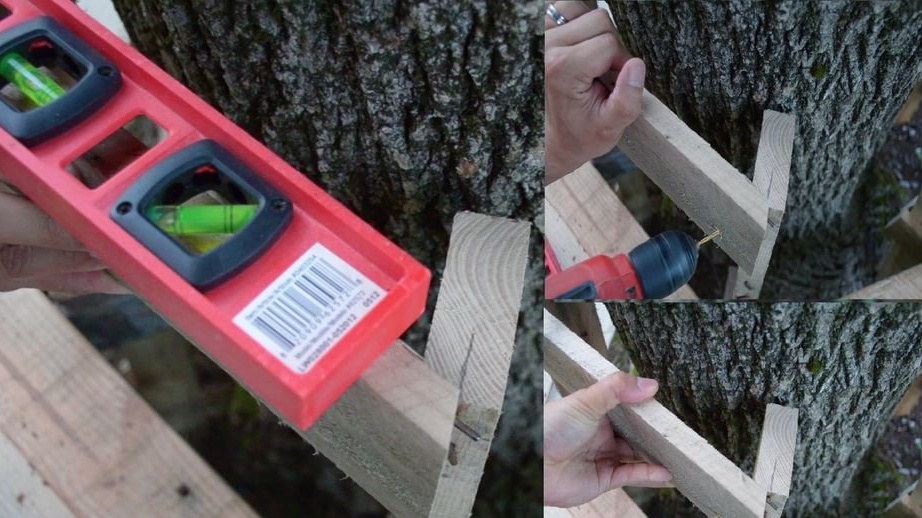
As can be seen from the drawings, the master used a template to determine the same distance between the front and rear legs by 22 cm, and also used waste boards 45 cm long to hold them together. These cross members will also be used to secure the seats. The master used two boards 45 cm long (one on each side) for each set of legs. He drilled two holes on the cross members and screwed them to the legs. A total of six sets of legs, so you need twelve 45 cm of boards.
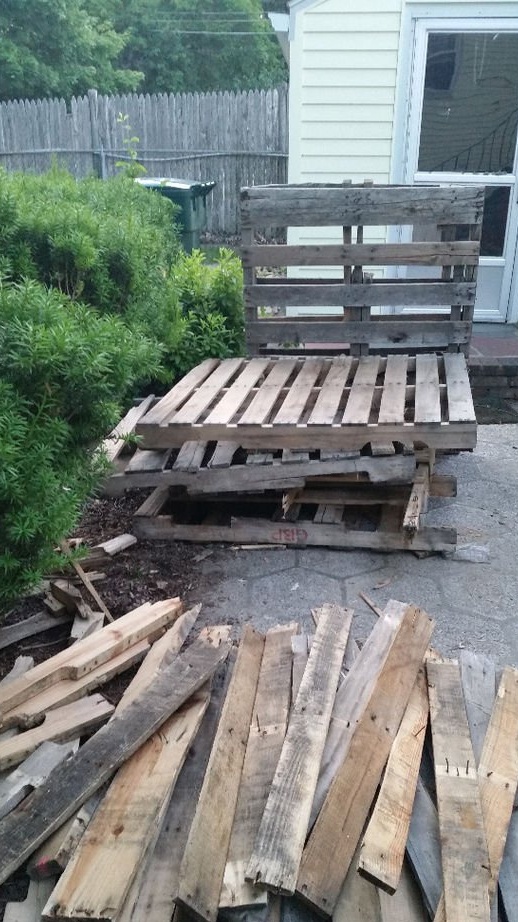
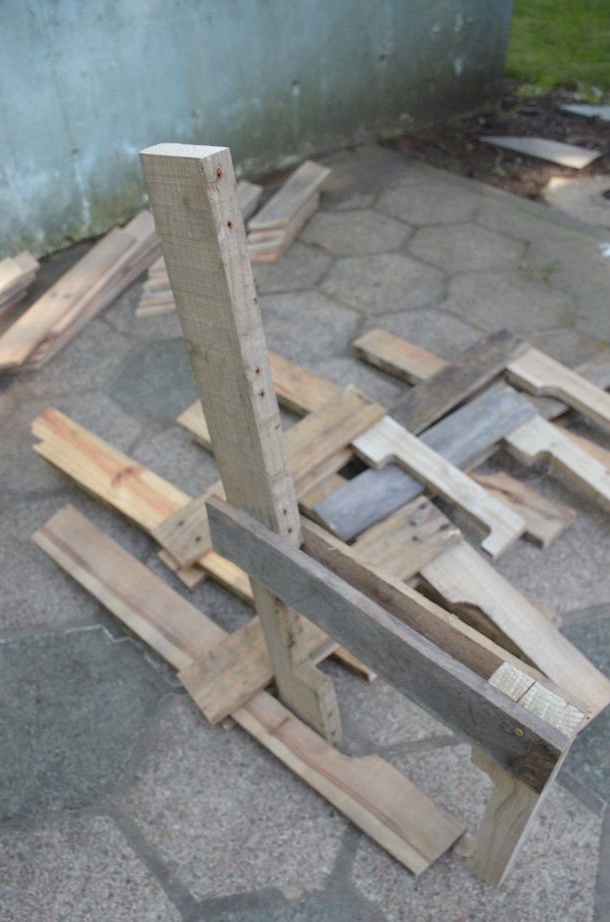
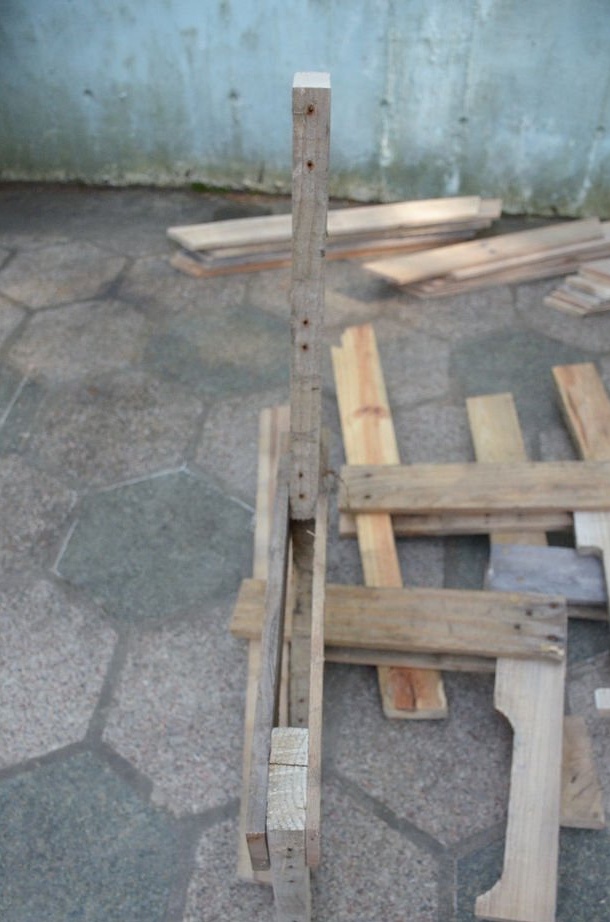
After making the legs, take one set of legs and something else stable about the same height. To determine the height of the legs, the master used a ottoman. Lock one leg and place four seating boards on it (one of each size) so that one end aligns with the center of the leg and the other end rests on a stable object that you decide to use.
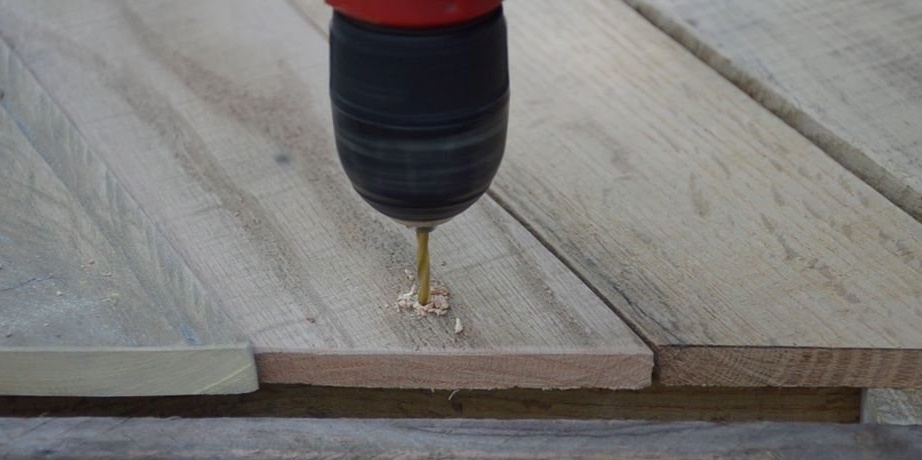
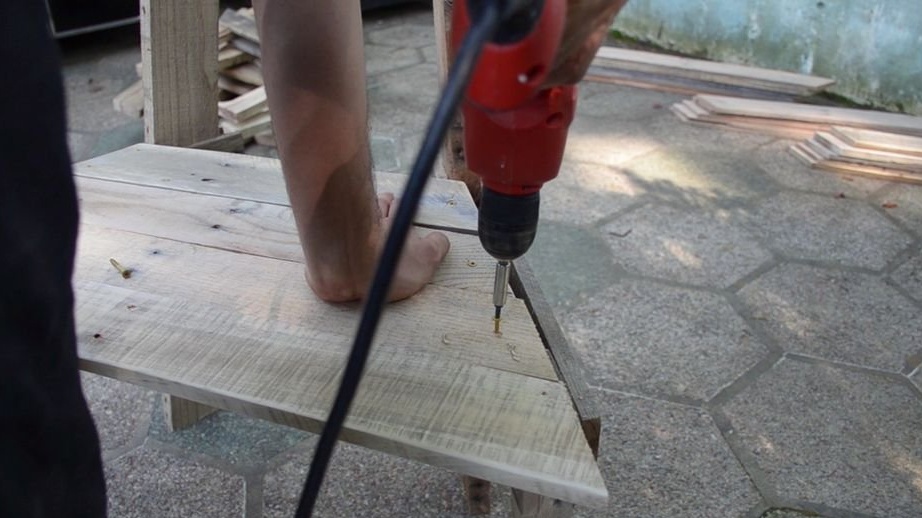
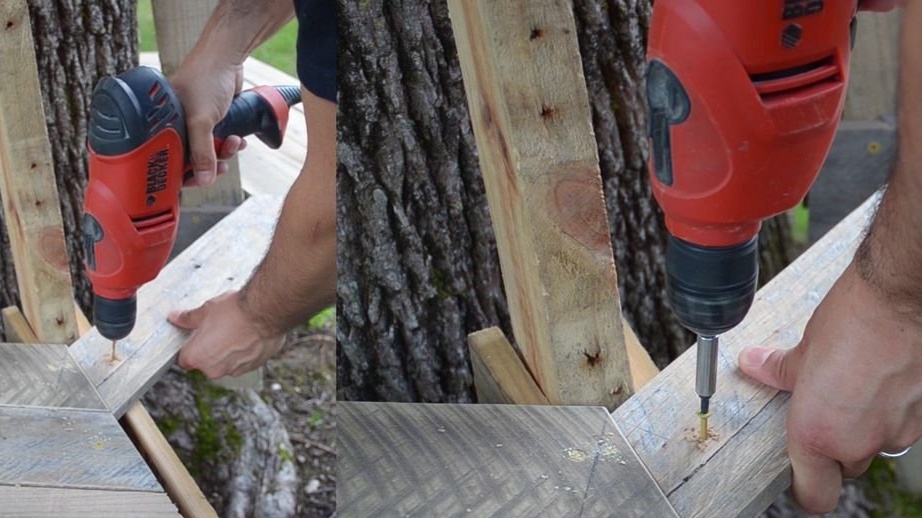
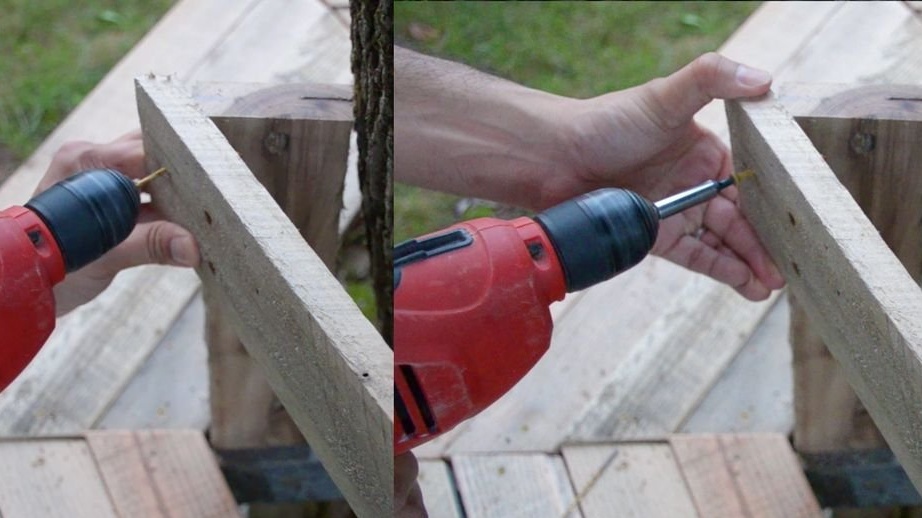
The master pre-drilled one hole at each end, and then screwed the self-tapping screw through the seat board and into a 45 cm board that holds the legs together. Once the first four ends are fixed, grab another set of legs and secure the rest of the ends of the boards.
When you finish fastening four boards on two legs, the seat will be able to stand on its own. Then grab another leg and secure it from the edge, also using four seat boards. More legs should not be added.
Then the master made another set of two seats.
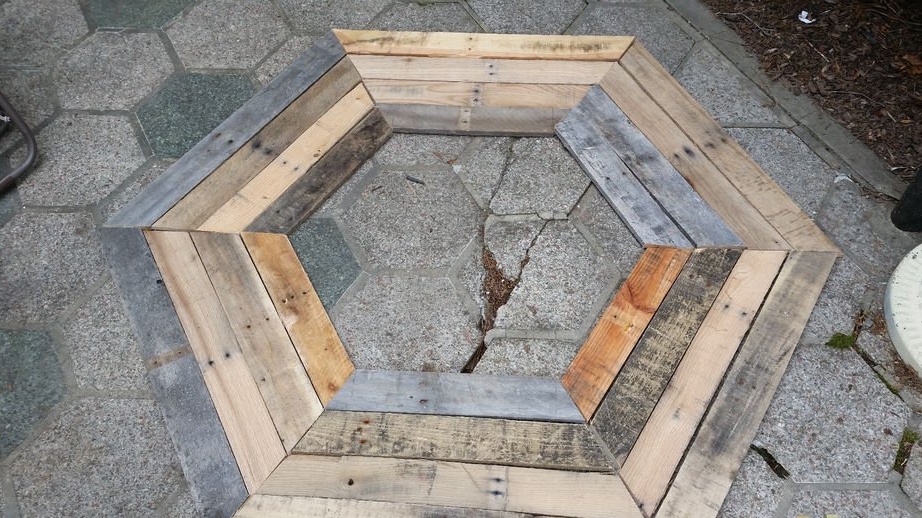
As a result, the master turned out to be two parts of the bench, which consist of three sets of legs and eight boards for seats in each.
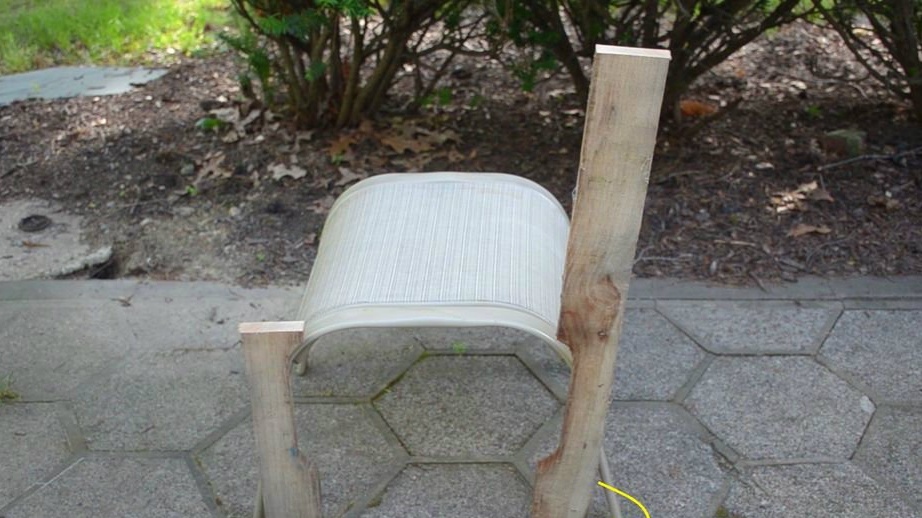
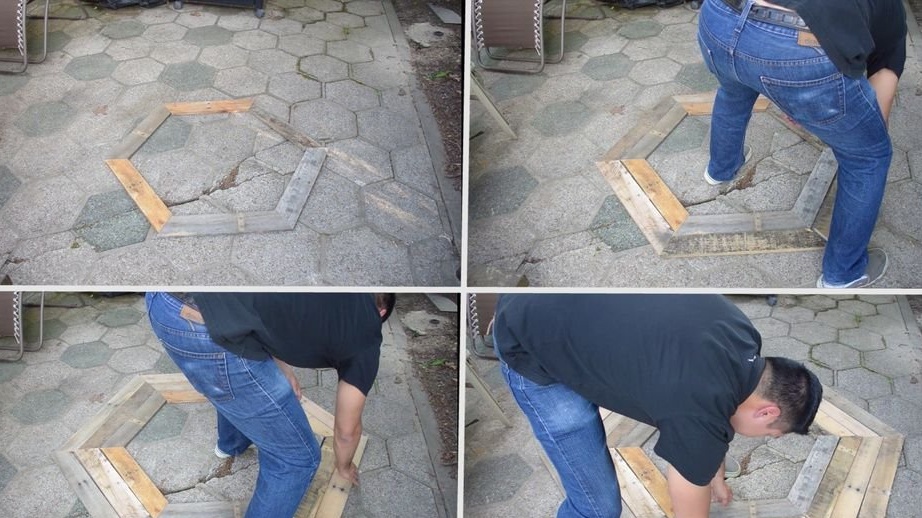
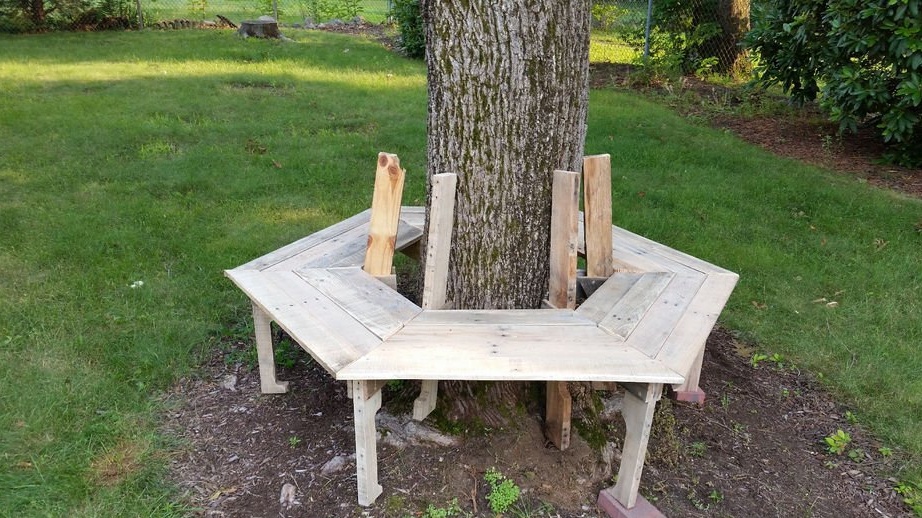
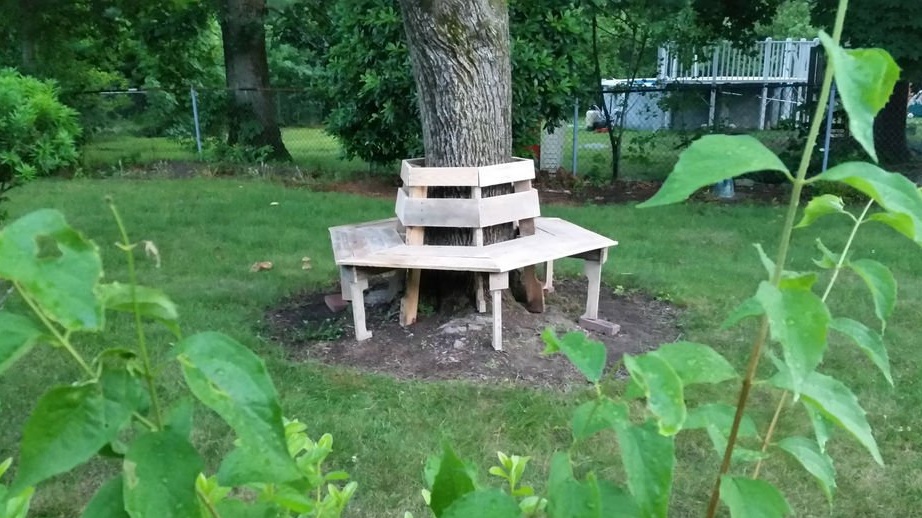
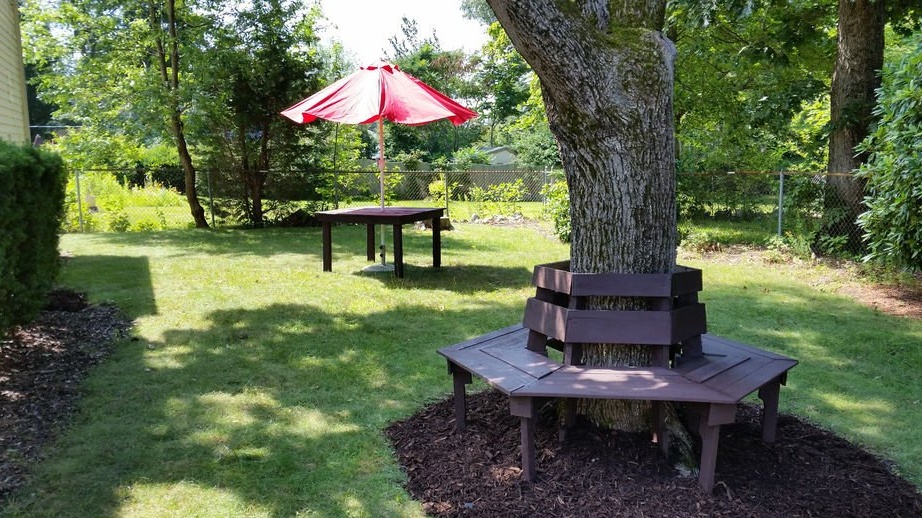
Step Seven: Assembling a Bench Around a Tree
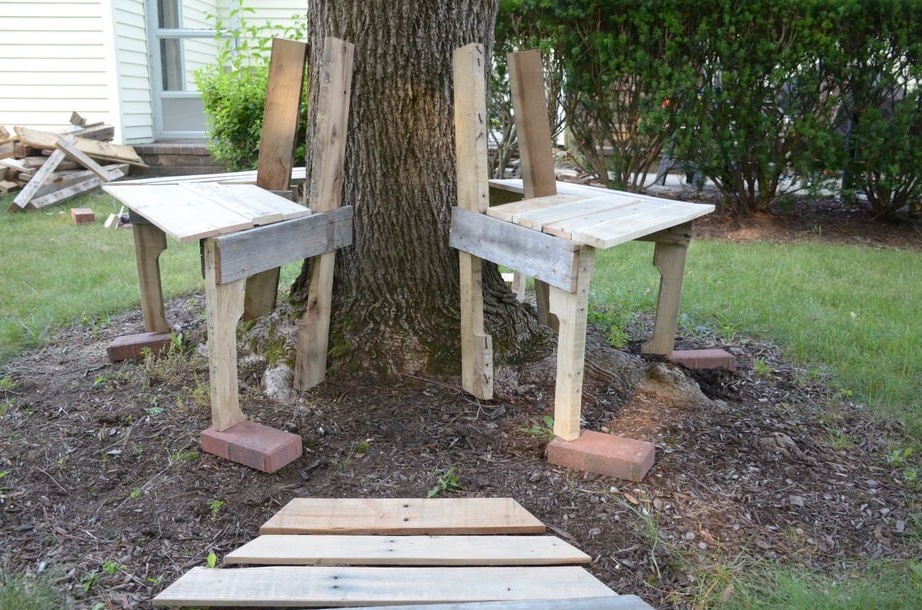
It remains to use the last eight boards for the seats.
Take the two parts of the bench that have just been built and place them on the opposite sides of the tree.
Note:
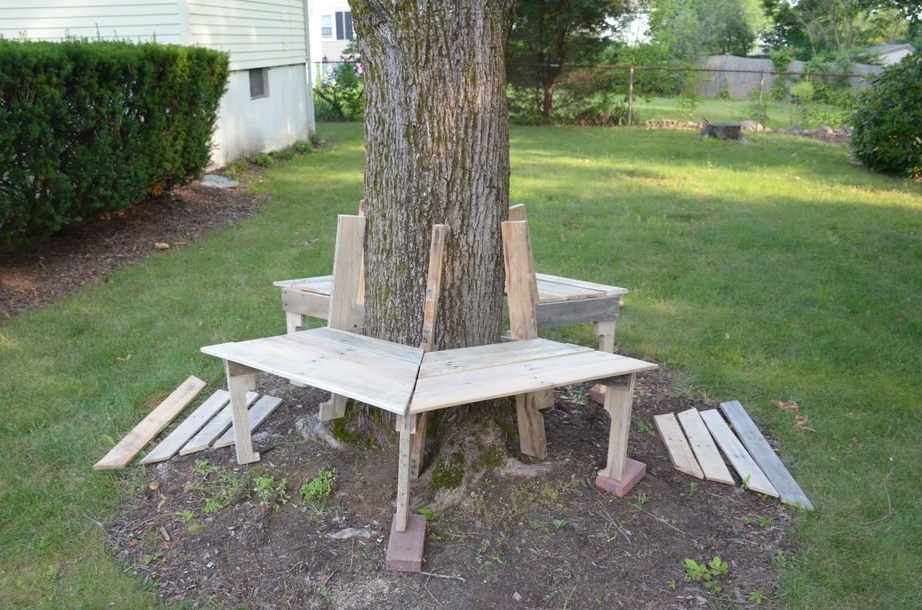
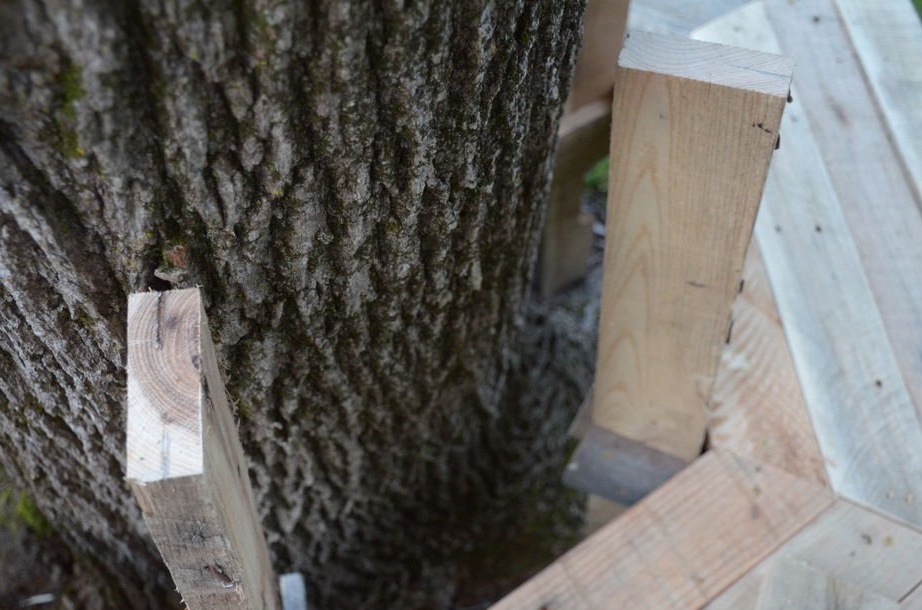
If the tree has open roots or uneven ground, then you may need to adjust the position of the legs or even cut a few centimeters so that they correspond to the desired height.
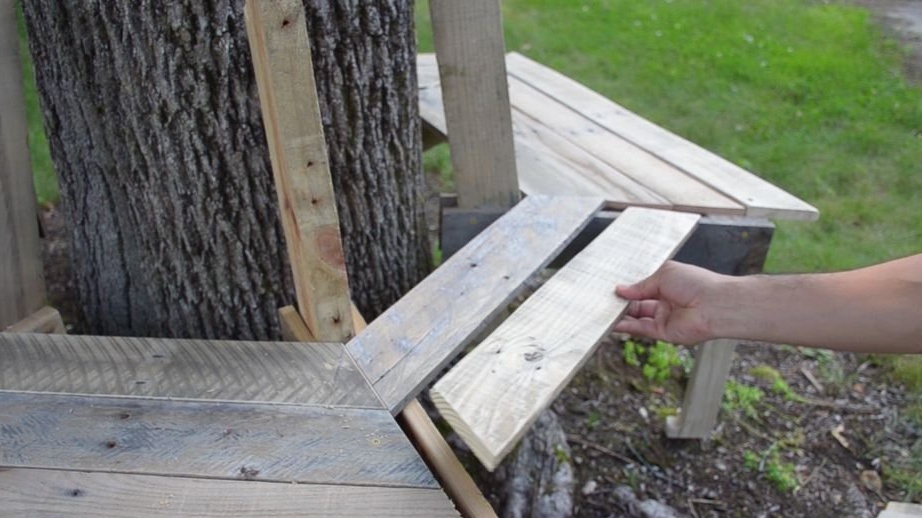
Take the two smallest seat boards and place them between the two parts on opposite sides. Fix them with each other by screwing all four boards. Repeat from the opposite side.
After that, the lower half of the bench around the tree should be completed.
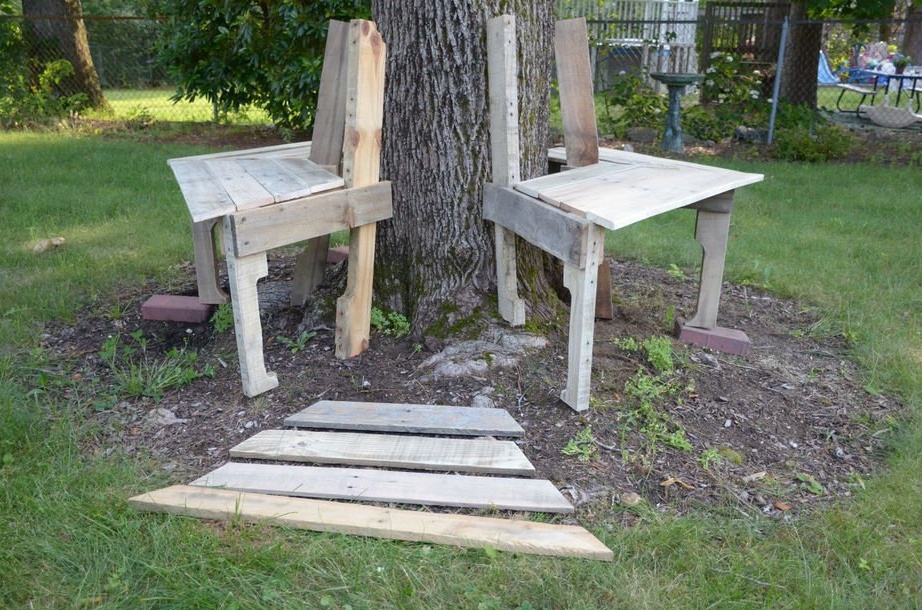
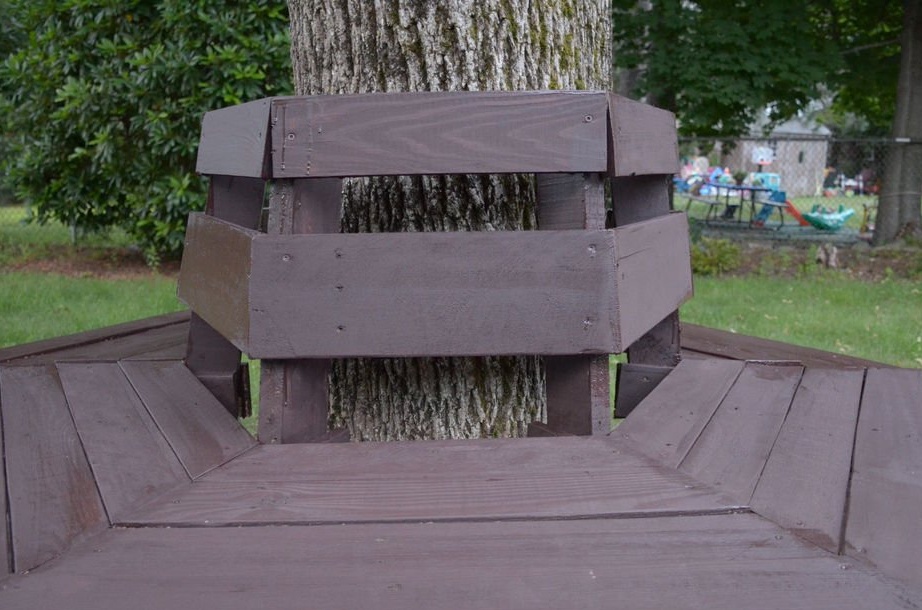
Step Eight: Backboards
The master used only two boards. One was thin and the other wider.
A thin board is placed on top, and a wider board under it with a small gap between them.
With a pencil, the master made a mark in the center of each leg support. This will be a guideline for cutting backboards.
Before adding boards, the master made a 30-degree cut from one edge. He aligned this edge with the mark and made a mark on the left side. Then he also made a 30-degree cut. The master repeated this process with the rest of the boards.
Step Nine: Grinding (Part Two)
As with other workpieces for the bench, the master used sandpaper with a grain size of 80 units and a grinder to get rid of roughness on the boards.
Step Ten: Assembling the Backs

At a height of 30 cm, the master placed the upper thin board of the back.
Then set aside 10 cm from the bottom and mark the line. This is where the bottom wide board will fit.
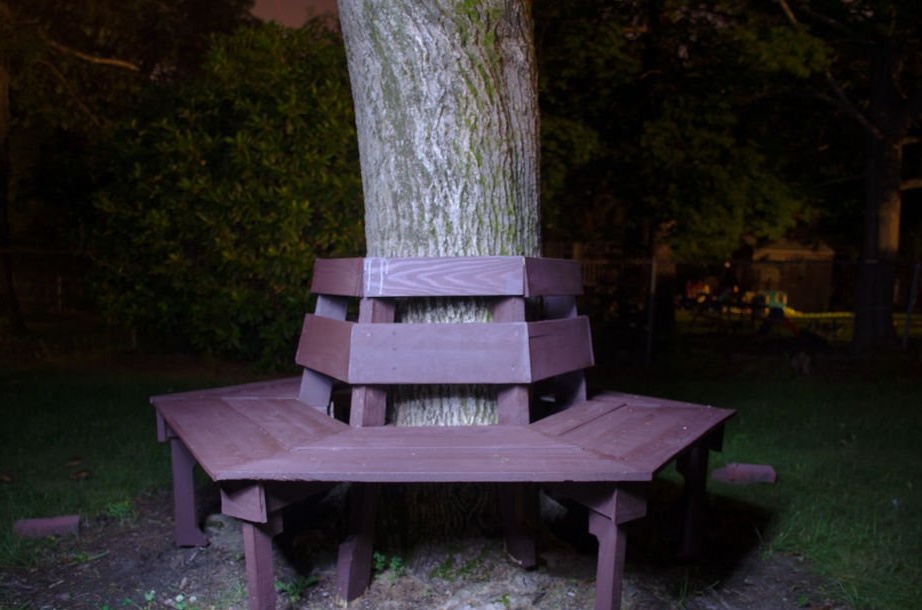
Step Eleven: Finishing the Bench
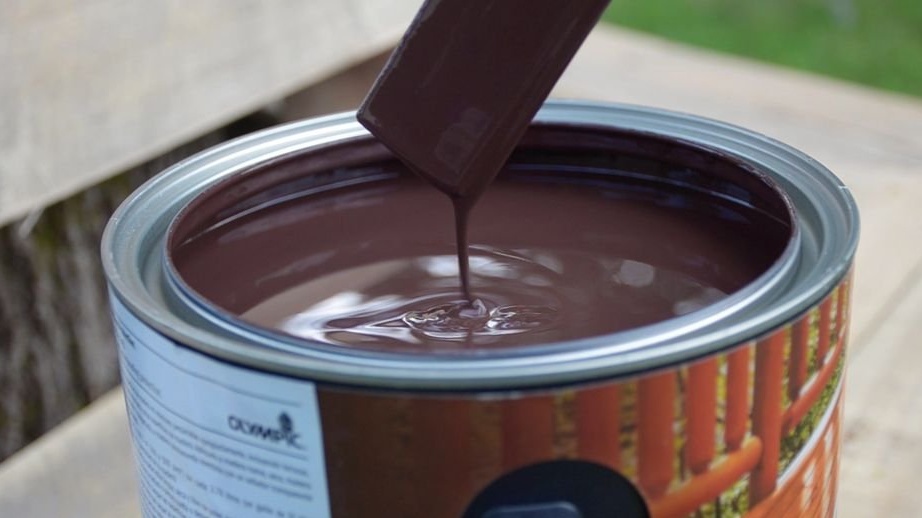
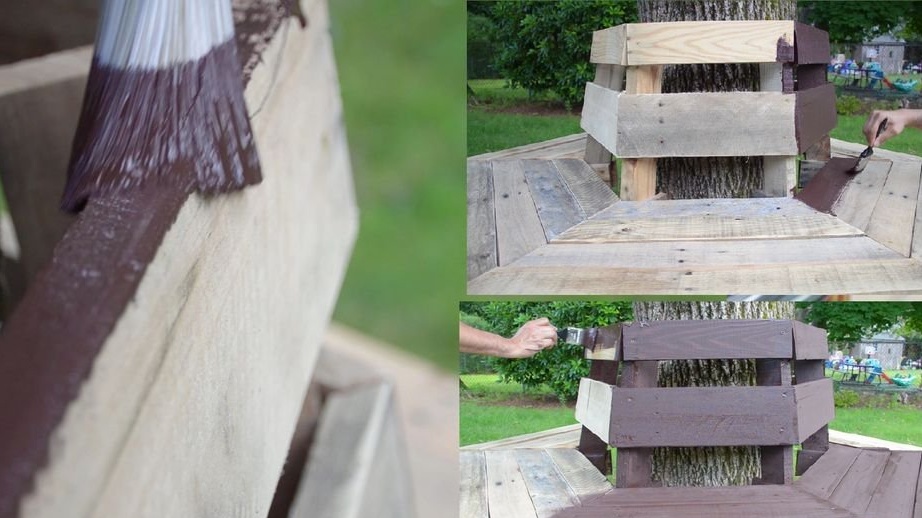
Having finished assembling the bench, you can leave it unpainted or cover it with transparent varnish or paint. The master chose mahogany color paint, as he had a table of pallets and wanted them to match each other.
You can also watch a video from this homemade: