Hello!
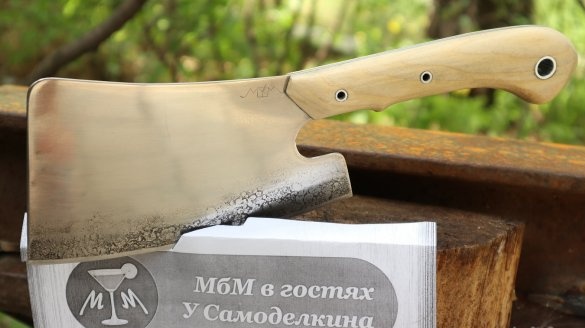
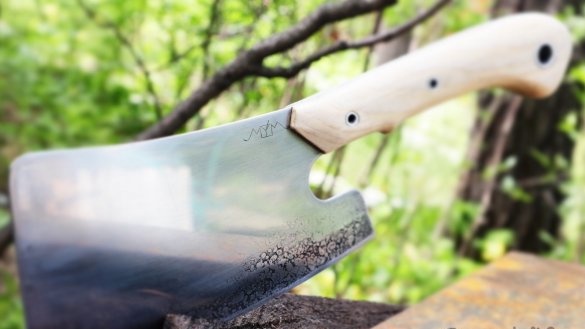
Today we will make such an hatchet:
Today we will make such an hatchet:
Best watch video:
We will need:
Anvil
Horn
Old grandfather file
Handle wood
Of the tools were used:
Bulgarian
Hammer drill
Welding
Vise
Floor polisher
Screwdrivers, files, hammers, saws
Aluminum tubes
Epoxy
Power saw
Vacuum cleaner
Step One - Anvil.
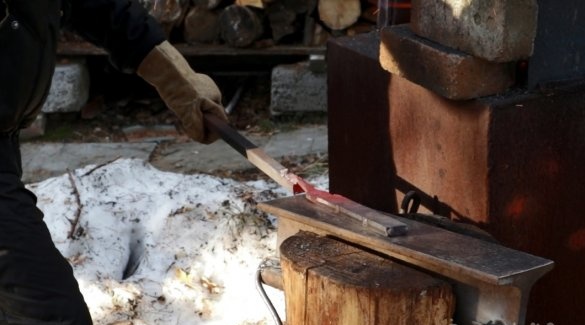
Nothing complicated. We take a piece of rails, a log and staples. We make a cut under the rail:
Chisels in a log hollow out a niche:
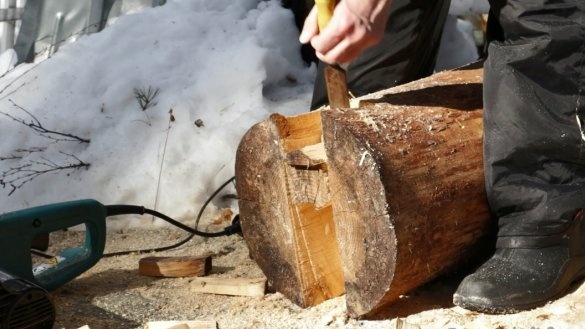
We weld the brackets to the rail, and stick the ends sticking into the log. Grind the anvil and you're done!
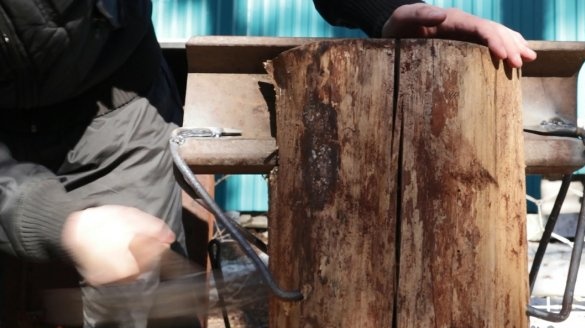
Nothing complicated. We take a piece of rails, a log and staples. We make a cut under the rail:

Chisels in a log hollow out a niche:

We weld the brackets to the rail, and stick the ends sticking into the log. Grind the anvil and you're done!

Next, make a fork for the horn. It is needed to supply air to the coals:
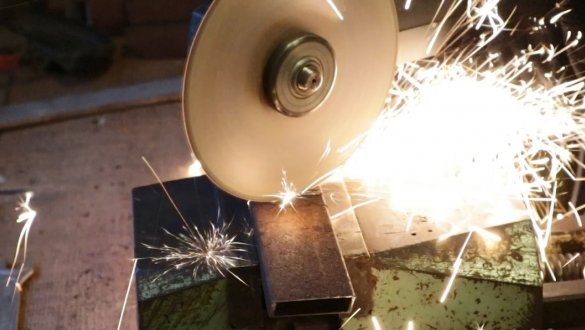
We cut, drill holes (more details in the video) and weld the parts together:
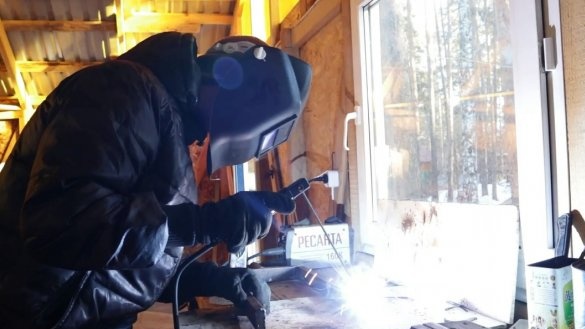
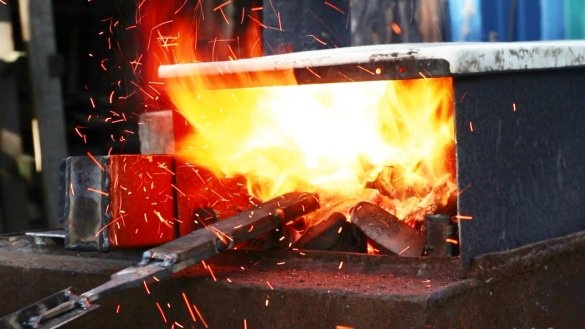
We grab the forge by welding to the old, sauna stove and install the plug:
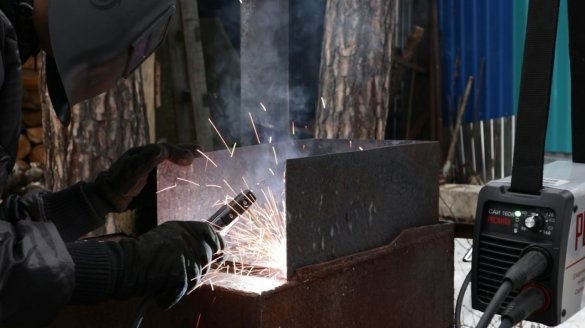
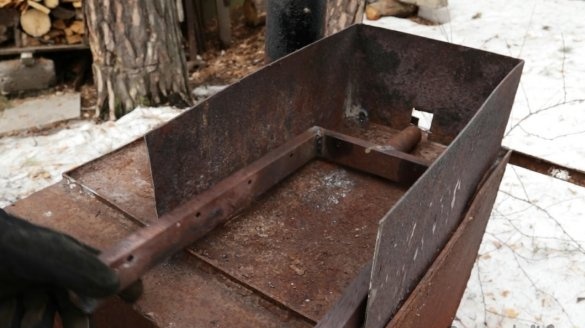
We cut, drill holes (more details in the video) and weld the parts together:


We grab the forge by welding to the old, sauna stove and install the plug:


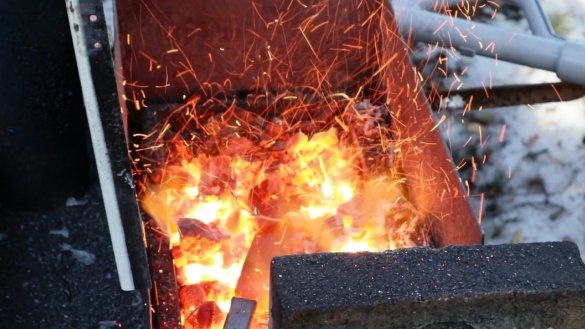
There is a pipe on the back of the plug. A hose from the exhaust of a vacuum cleaner is brought to it.
About the plug, I want to say 2 things. Firstly, the vacuum cleaner really gives out more than enough air pressure! However (secondly) the plug is not the best configuration for airflow direction. I do not recommend doing the same. It was an experiment and cannot be considered successful. There was a lot of torment ... In the future, I’ll put the plug in the barbecue, and for the horn I’ll remake the pallet so that the air supply goes from below.
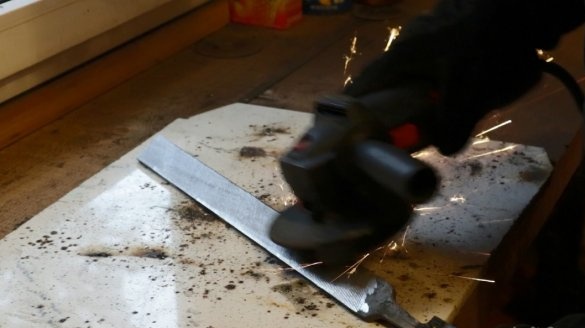
The hatchet was made from a file. The serrations were sharpened, the file was cut in half and welded:

An ax contour was fixed over the finished plate with masking tape.
Before starting work, about 7 designs of hatchets were drawn.
Tip - be sure to scan / copy the final version of the picture.
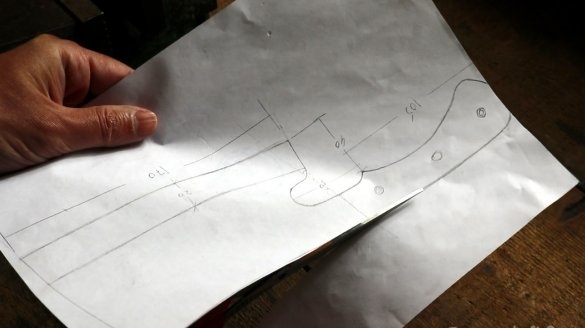
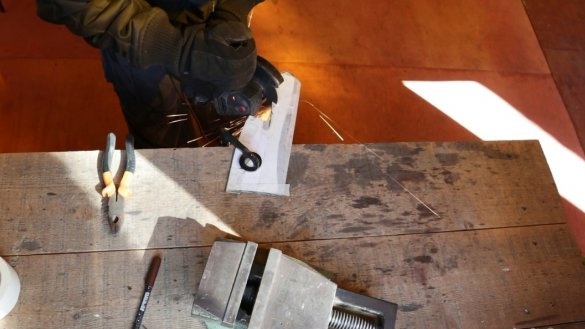
Cut the contour:
Before starting work, about 7 designs of hatchets were drawn.
Tip - be sure to scan / copy the final version of the picture.

Cut the contour:

We attach the finished features to the knife with a file and a grinder (again, the whole process is better to watch in the video):
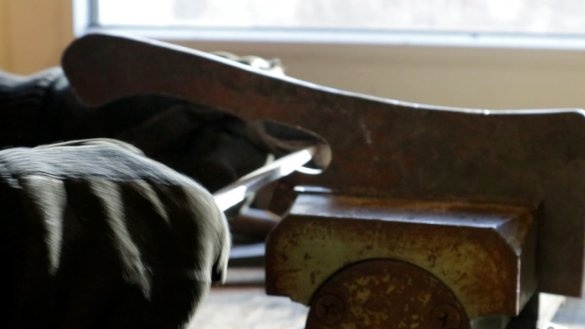
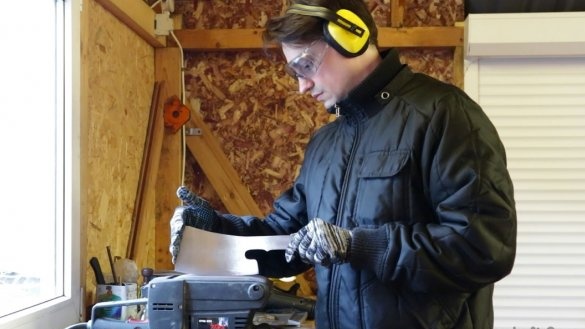


We do the descent of the blade with the help of a simple device - another file attached to a tube that passes through a ring fixed at a certain elevation (I think about 20 degrees - everything was done by eye). The knife itself is fixed with screws. Tip - always circle the outline of the knife with a marker so you don’t have to look for how it was fixed. Also, when the knife is flipped to the other side, this helps to find the center:
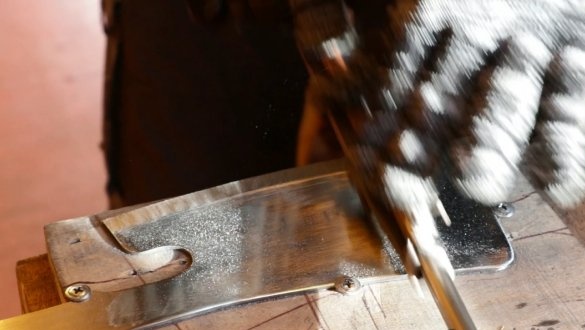

It is necessary to leave about 1 mm of metal at the slopes so that it does not burn out during hardening.
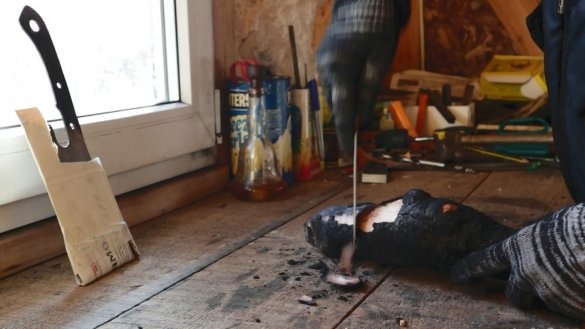
Hardening process:
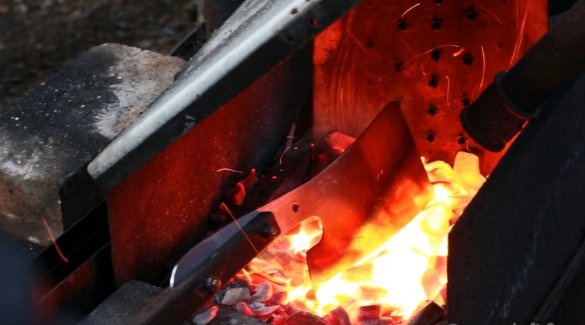
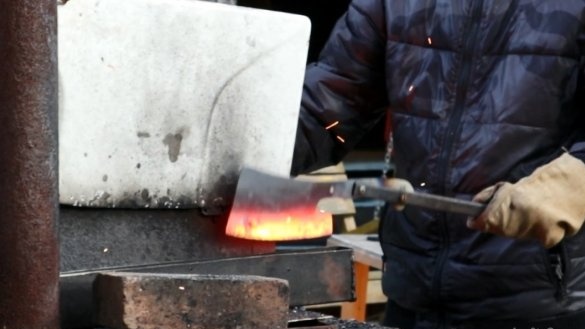
Hardening process:


Sharpening the remaining 1mm with the same file will no longer work - after hardening, the knife already takes nothing. Therefore, there are many hours of sharpening ahead with a small, diamond file.
Well, I don’t have a grinder. With a grinder, anyone can ....
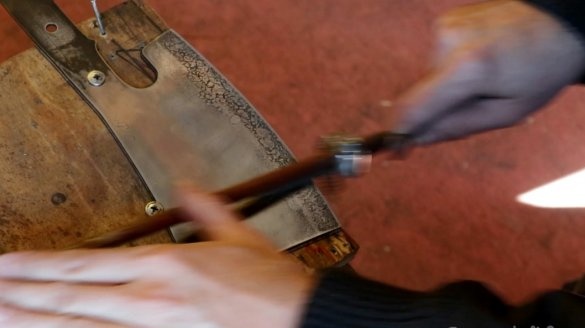
Well, I don’t have a grinder. With a grinder, anyone can ....

We sharpen the ax on a stone to a razor state and go into the woods for wood for a hilt.
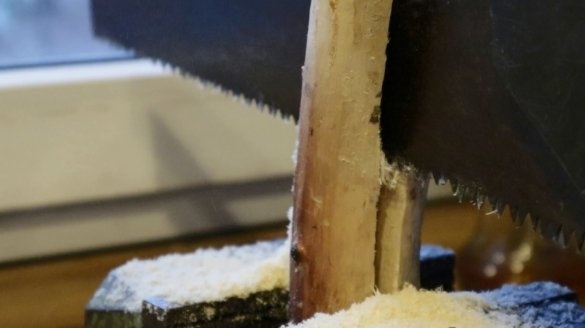
Those. behind the birch. A birch of 8 centimeters in diameter cut the hatchet for 1.5 minutes. Himself prigel!
Sharpening did not suffer from the word at all:
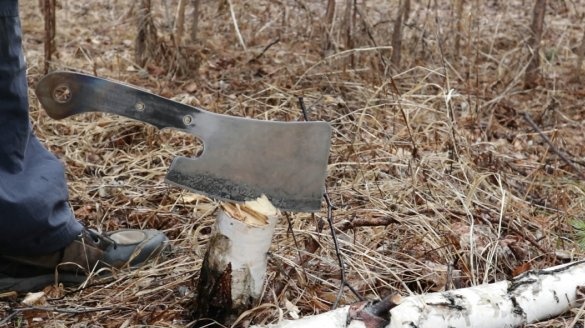
Those. behind the birch. A birch of 8 centimeters in diameter cut the hatchet for 1.5 minutes. Himself prigel!
Sharpening did not suffer from the word at all:

Since the tree is fresh, it must be properly and very quickly dried.
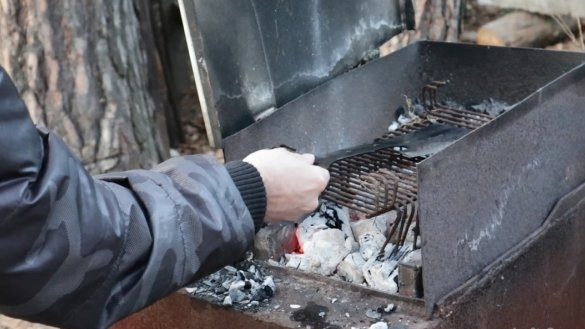
Without stripping the bark, we burn the trunk at the stake. Cool periodically in water. The tree should not burn.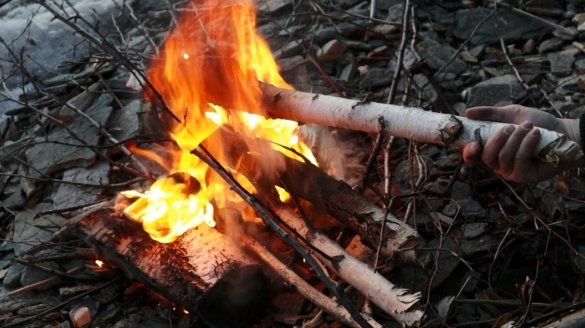


Without stripping the bark, we burn the trunk at the stake. Cool periodically in water. The tree should not burn.


For the rivets went aluminum tubes with a diameter of 6 mm in the front of the knife and 12 mm in the back, where there is more iron.
Usually, a hole “under the cloves” is made on the upper front corner of the canvas, but after washing, we will drain water under and under the handle. Therefore, this classic hole in the knife is not. The hole for the hanger is made in the handle - so the water will drain down the knife:
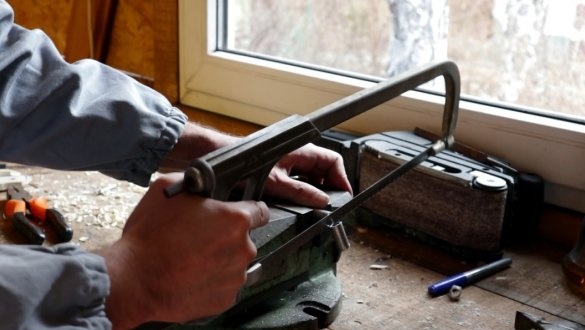
Usually, a hole “under the cloves” is made on the upper front corner of the canvas, but after washing, we will drain water under and under the handle. Therefore, this classic hole in the knife is not. The hole for the hanger is made in the handle - so the water will drain down the knife:

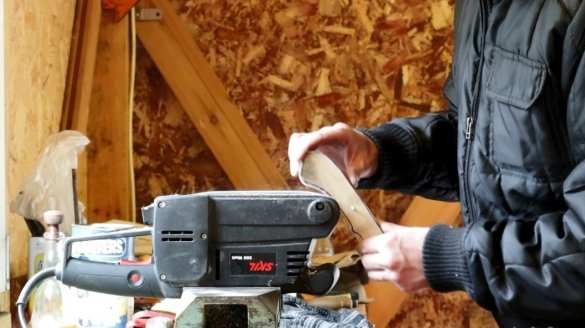
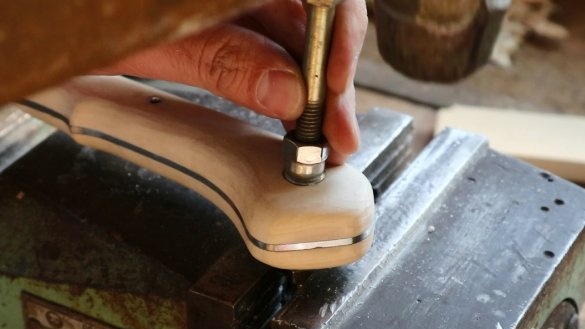
After the glue has dried, bring the handle to its final shape, grind and slightly spread the rivets:
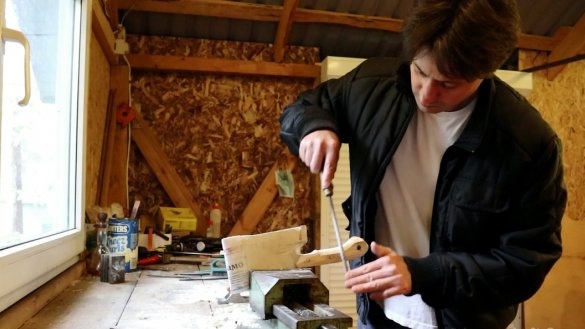
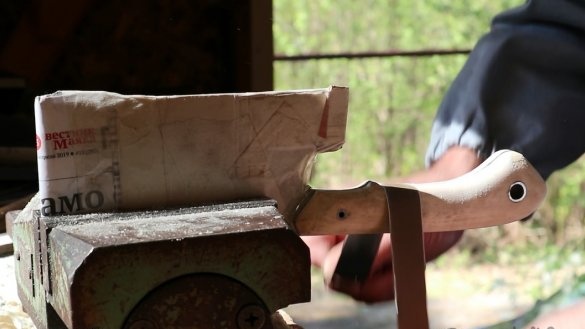


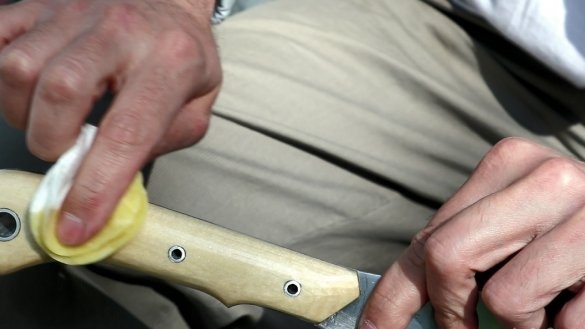
We cover with oil (in this case, linseed) on several layers at intervals of 12 hours (minimum) between each layer:

Pros and cons of a knife:
The biggest plus is of course that the knife was made initially for a specific person and his needs. Therefore, the cutout above the blade and the long handle and the expansion of the blade from the handle to its front part. The result is a very good balance and comfortable grip.
Cons, if not strange, in the metal. He is rusting! At what, for example, from onion begins to rust instantly. Therefore, if you are doing something from files, keep this in mind. It was necessary to make rivets 4 - it would be prettier. I went too far with the removal of metal, one could leave it thicker.
I hope you enjoyed the review! Like, don’t forget to watch the video. Because the creation of video is a separate kind of creativity and a separate homemade :)
MBM


