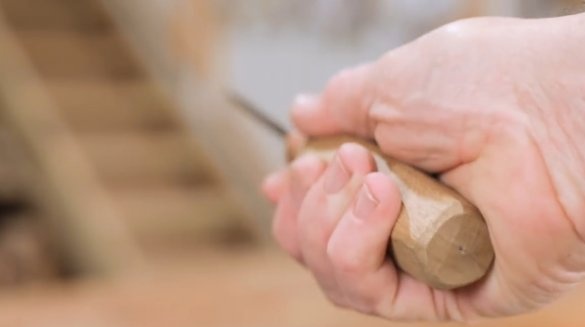
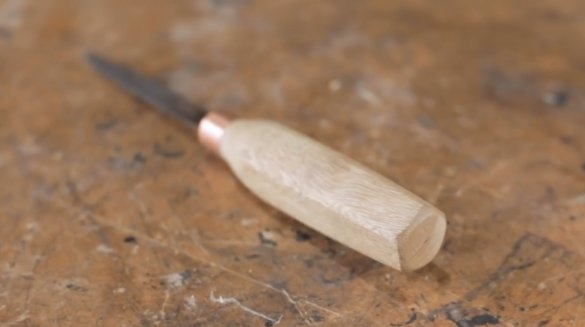
Every hand tool needs a handle, but the cylindrical shape is not always convenient.
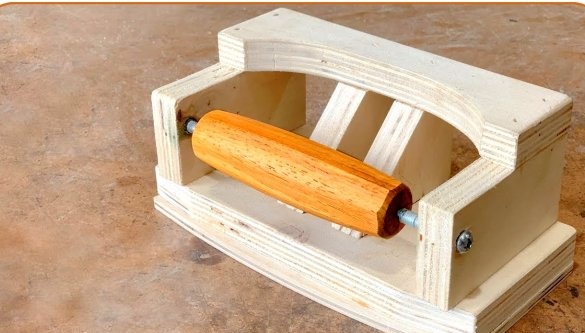
Neil, the author of YouTube channel Pask Makes, intends to devote this article to manufacturing fixtures for cutting multifaceted handles.
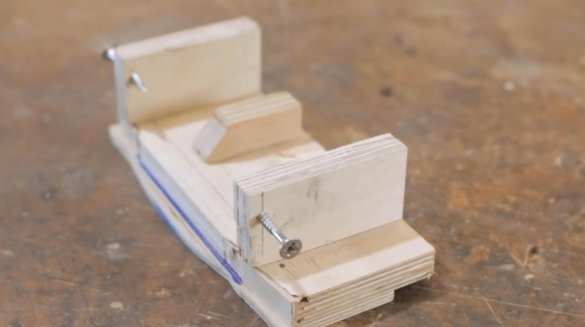
In the original version, Neil joined all the elements of the device using hot glue. This time he decides to improve a little model and makes a number of modifications to it.
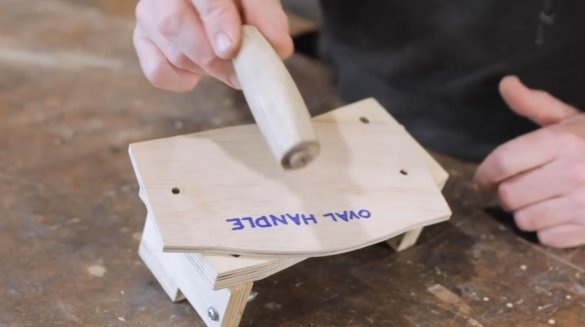
With this device, you can easily embed handles and handles for all kinds of hand tools, such as files, chisels, screwdrivers and others. Templates will be placed under the base of the device. For this, the author will apply carved furniture inserts.
Materials
- sheet plywood
- PVA glue
- Wooden beam
- Sandpaper.
Instruments, used by the author.
-
- A circular saw
-
-
- Neiler
- Grinding machine
- Awl, ruler, square, pencil.
Manufacturing process.
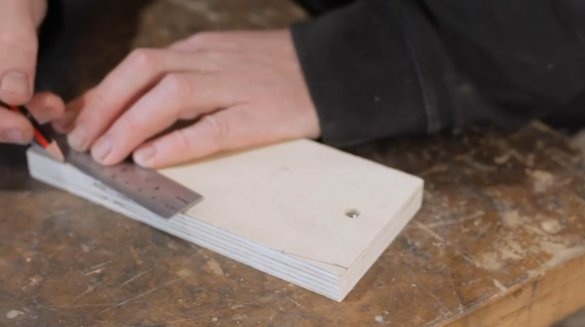
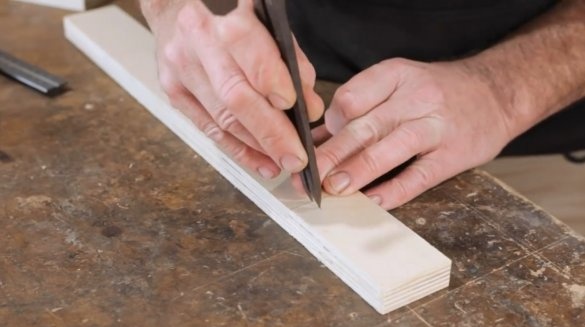
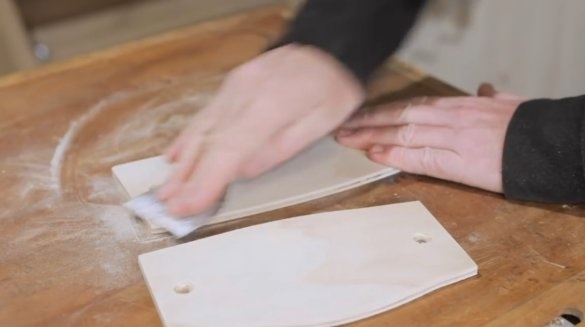
First of all, the author prepares the base of the conductor.
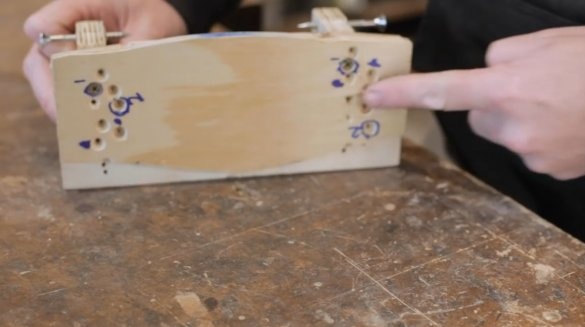
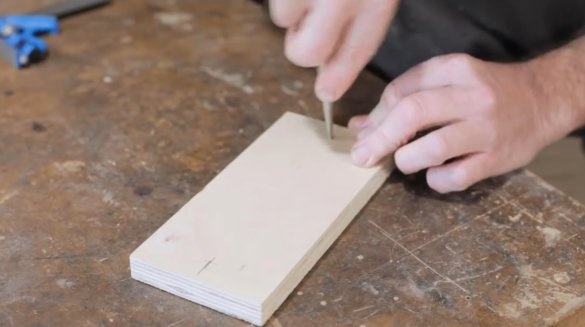
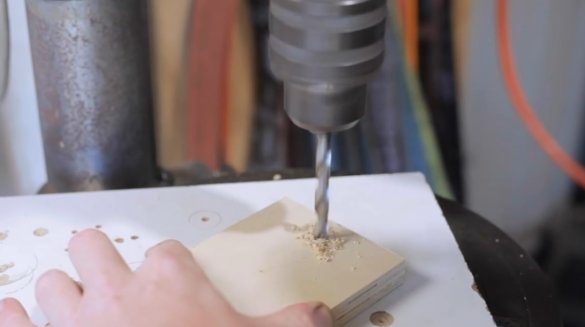
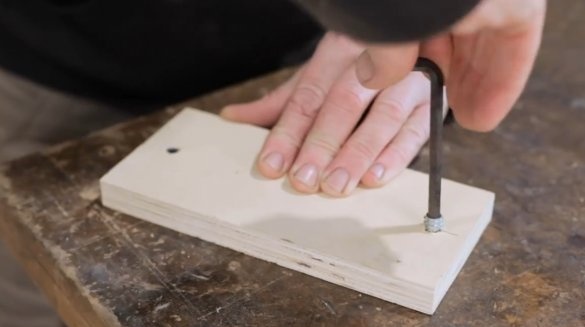
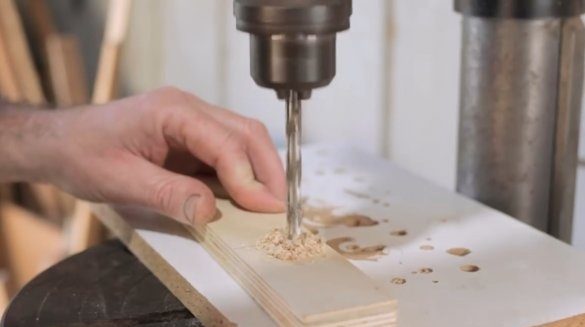
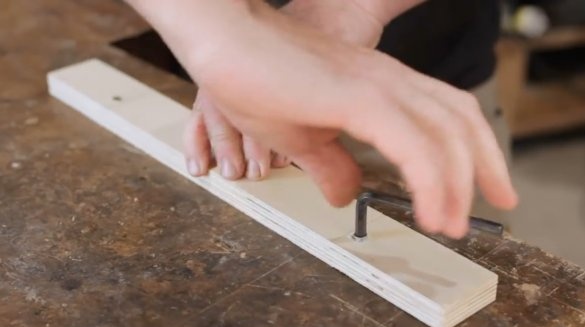
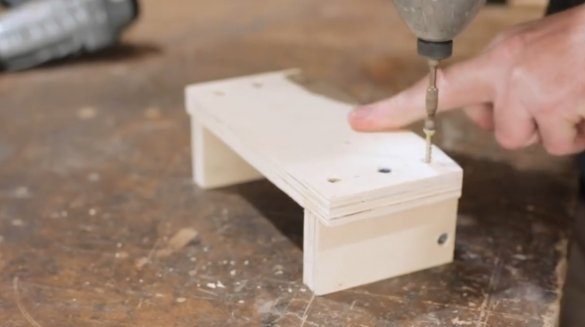
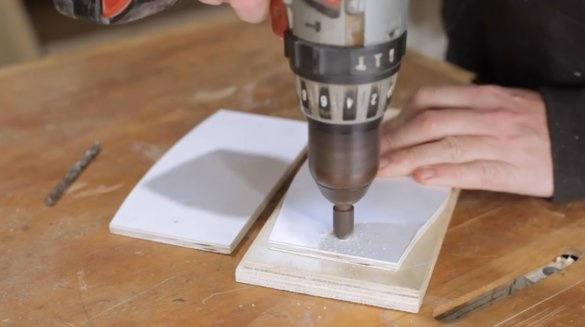
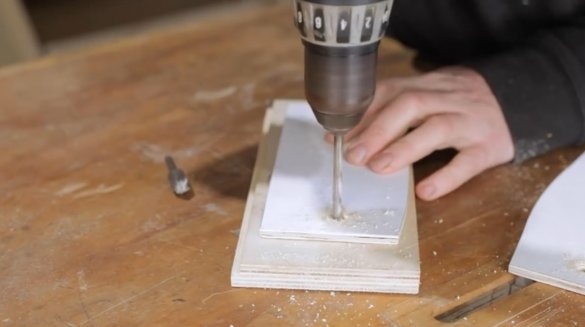
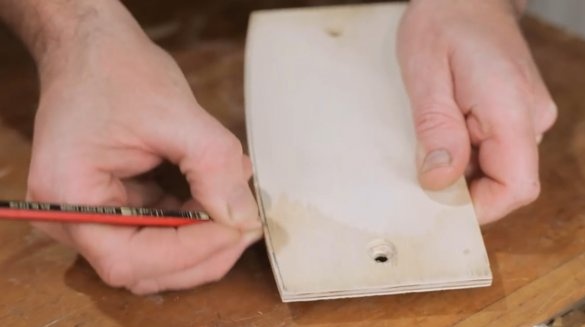
Drills holes at the edges, and screw bushings into them.
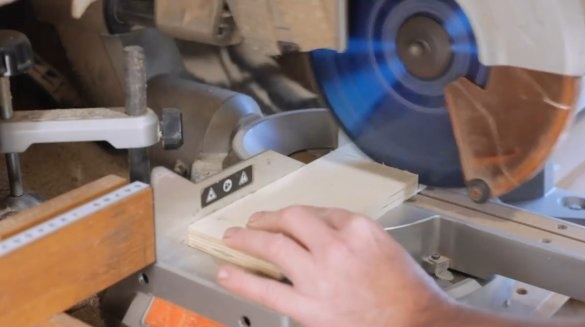
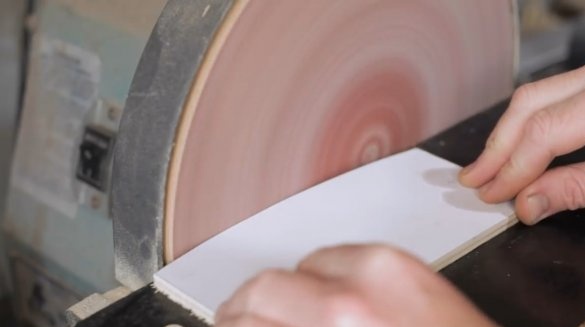
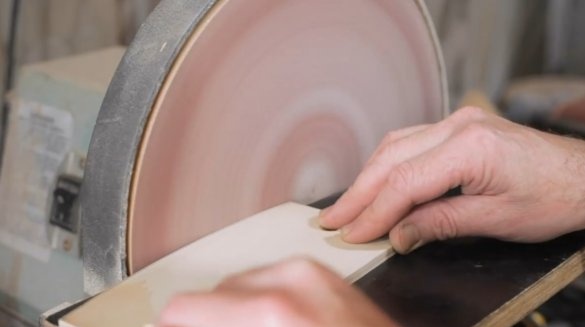
The author removes a small amount of material from two angles to form a certain bevel.
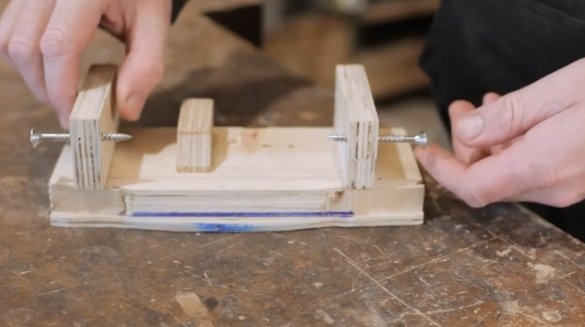
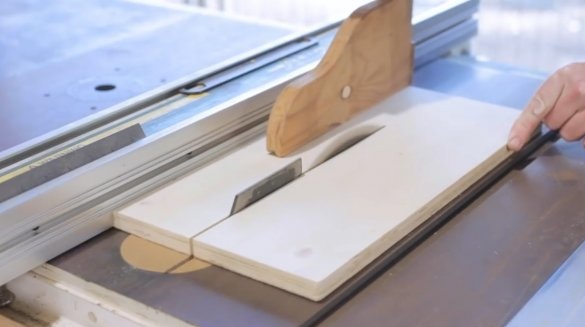
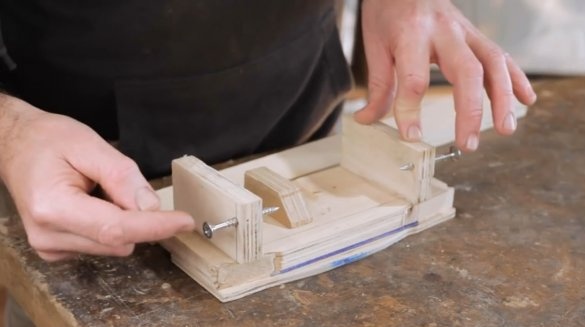
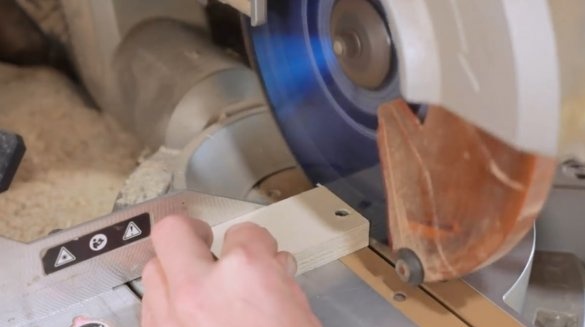
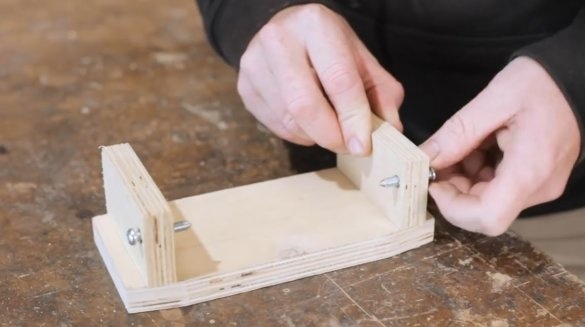
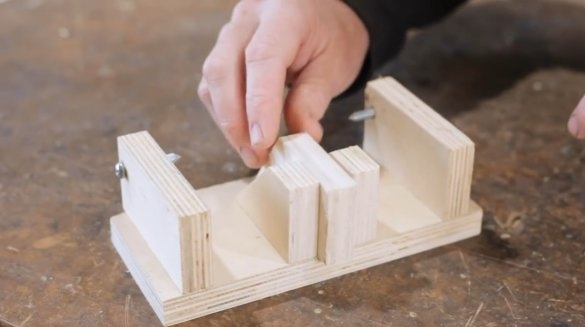
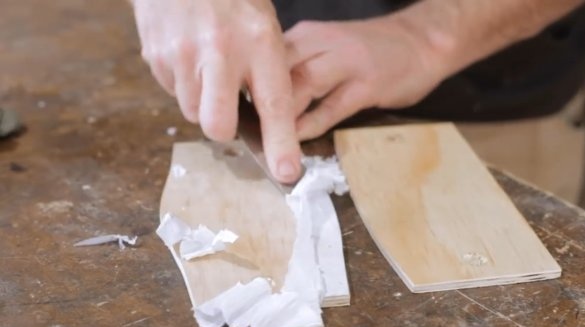
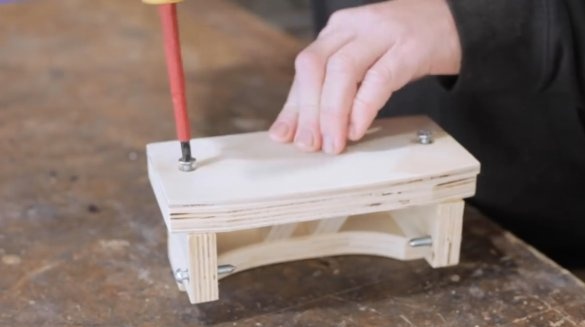
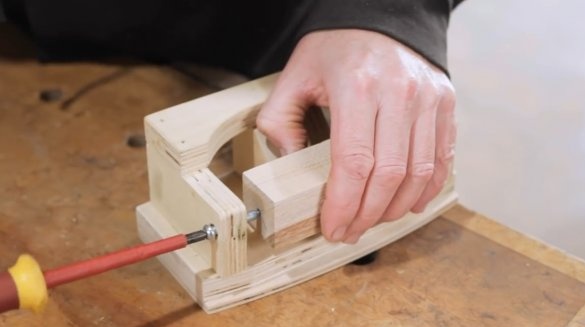
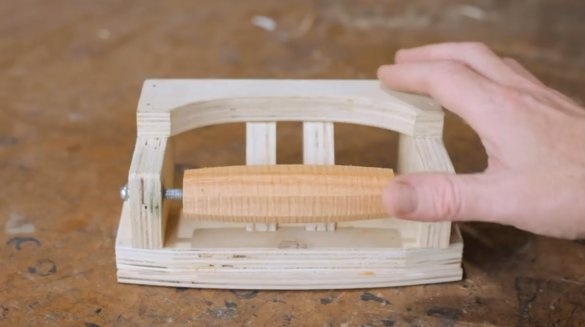
Then he cuts out two side walls in which supporting self-tapping screws will be held. Neil will use ordinary screws that are screwed directly into plywood. Here he also makes some improvements by screwing threaded couplings into the holes. The problem here is that the holes should come very close to the edge of the bar. If you try to drill holes and screw the couplings directly on the finished part, thin walls are likely to break. Therefore, Neil decides to act differently: he first makes holes with inserts, and only then cuts the bars along the length.
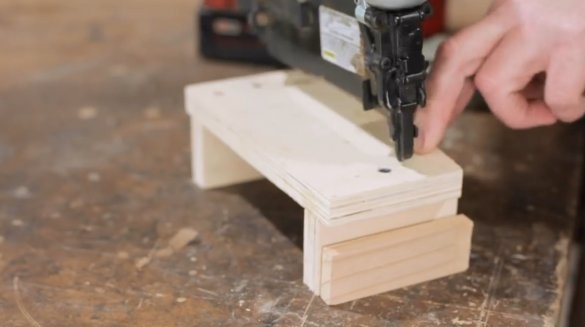
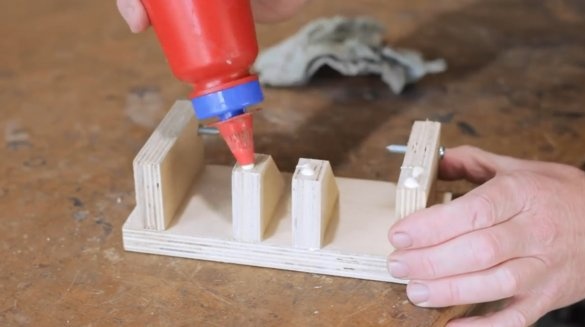
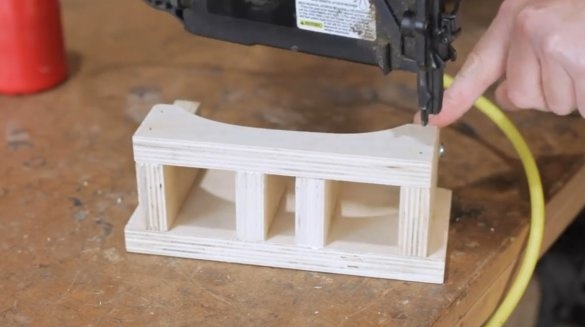
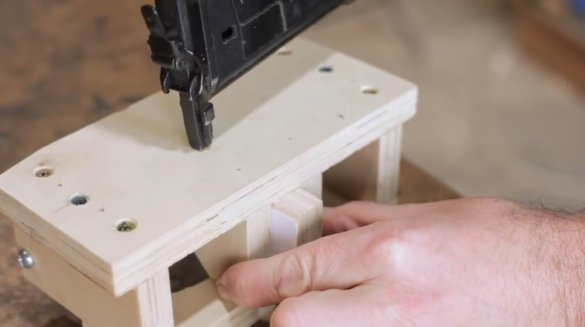
Then it collects the structure, additionally fixed with a neiler.
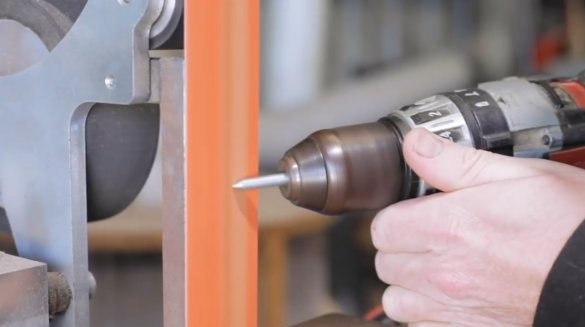
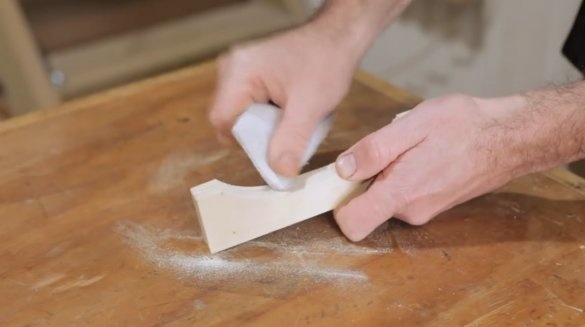
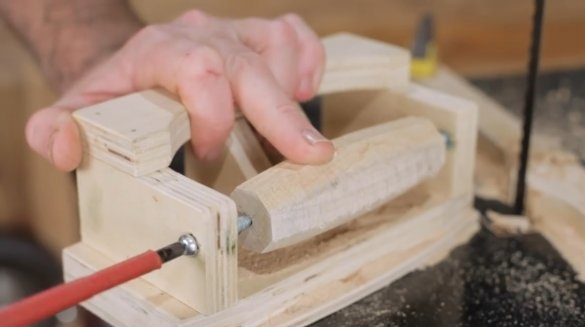
Clamping a self-tapping screw in the chuck of a screwdriver, and grinds it.
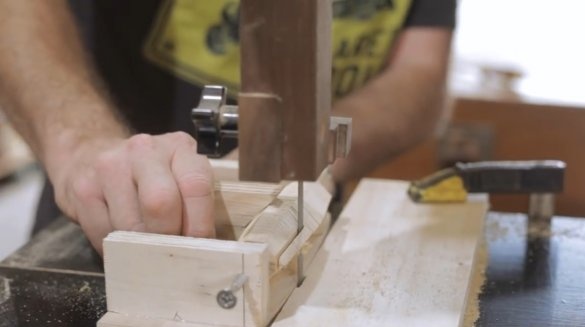
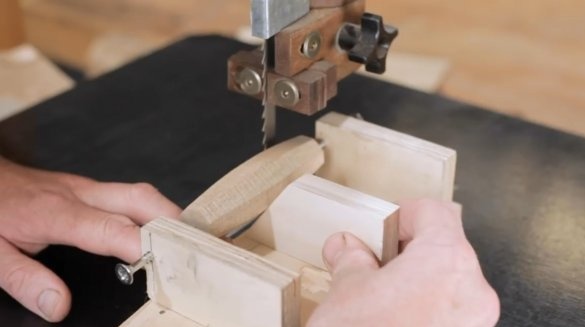
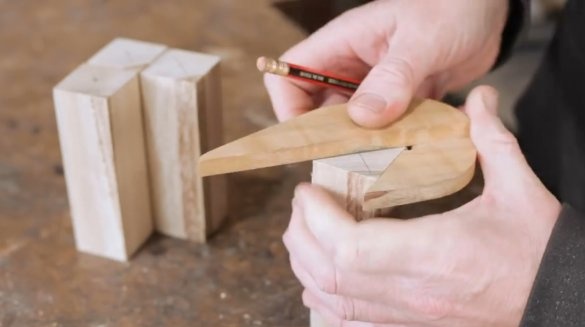
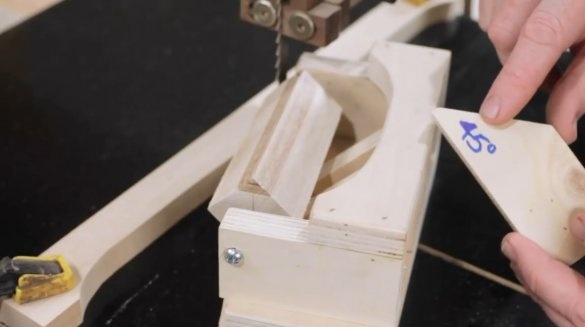
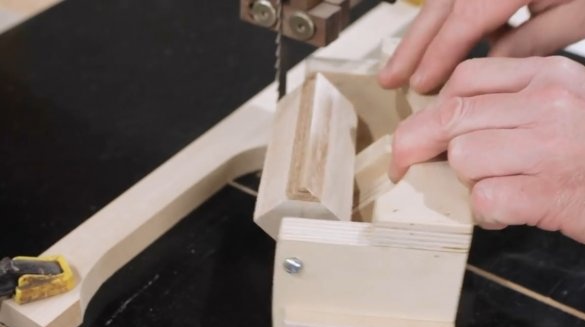
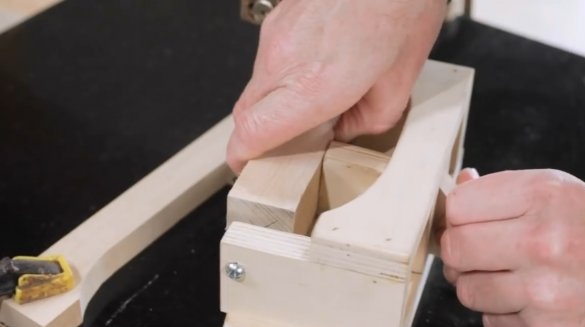
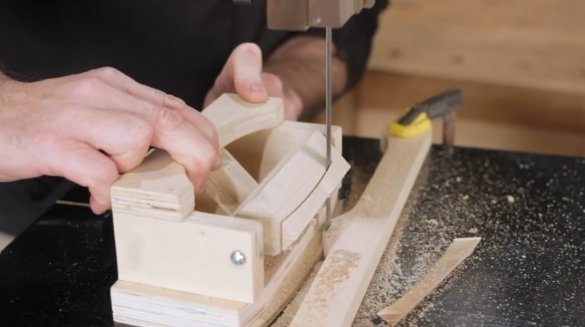
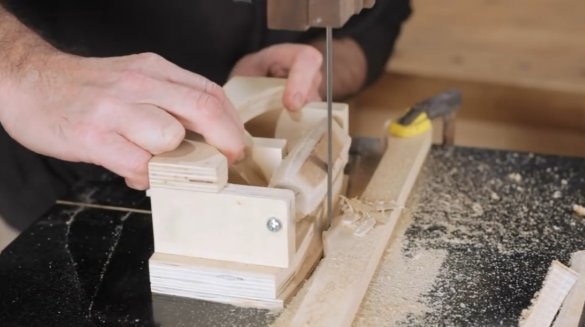
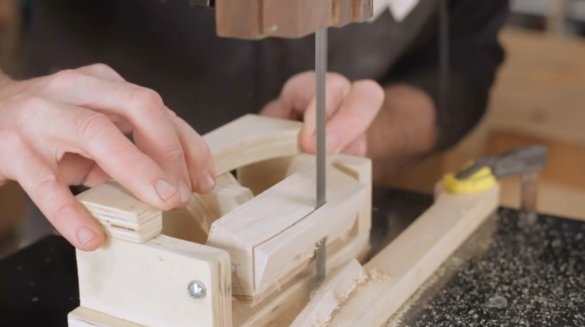
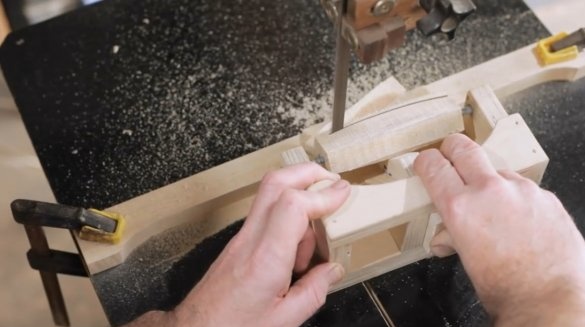
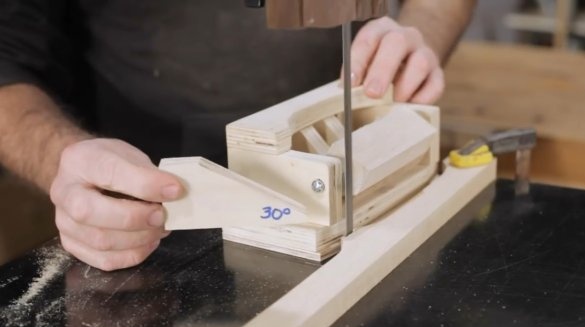
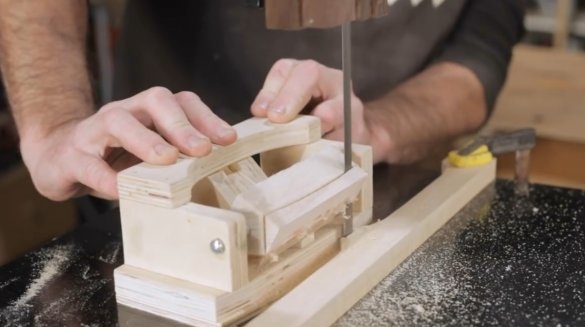
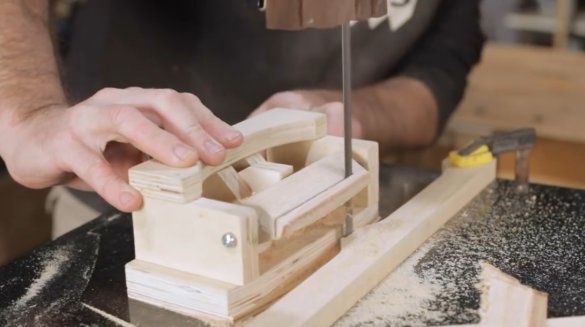
To cut the handle, the author uses a piece of plywood cut at the right angle. An angle of 45 degrees is needed for this particular octagonal grip. He pushes the plywood close to one of the faces of the workpiece, makes a cut, and then rotates the workpiece and makes the next cut.What is really important in this process is to press this part firmly against the end clamp and at the same time apply pressure in this direction to prevent the workpiece from turning. Whereas the saw blade will, on the contrary, strive to crank the future handle, exerting pressure from top to bottom.
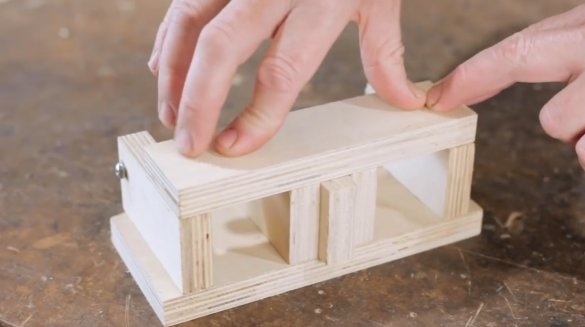
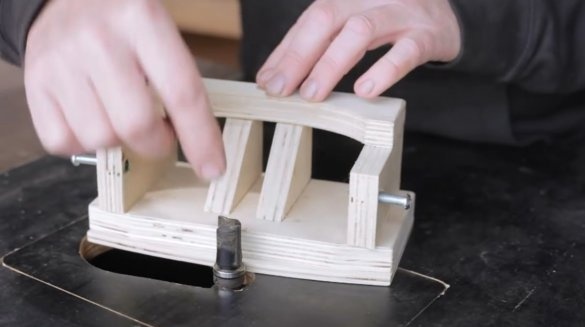
To improve the design, Neil decides to place a plywood clip on the bar between the other two, and he places another plywood board on top for greater structural stability. All drawings for the manufacture of fixtures can be found by following the link .
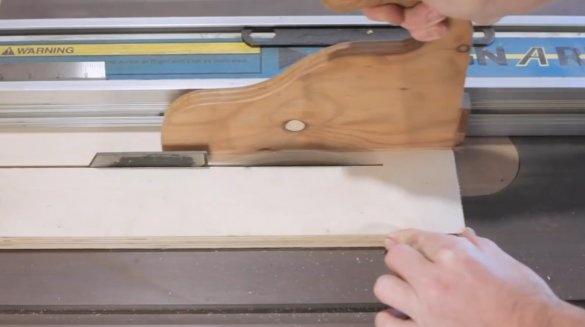
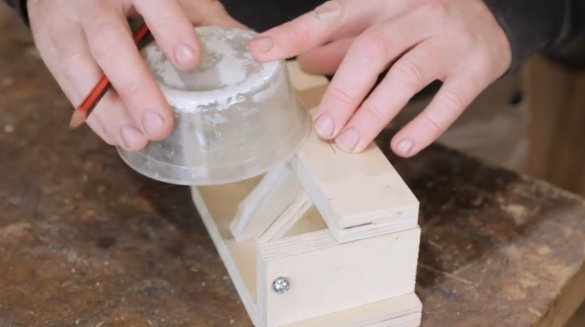
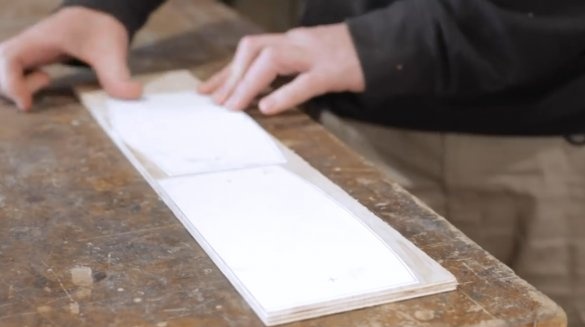
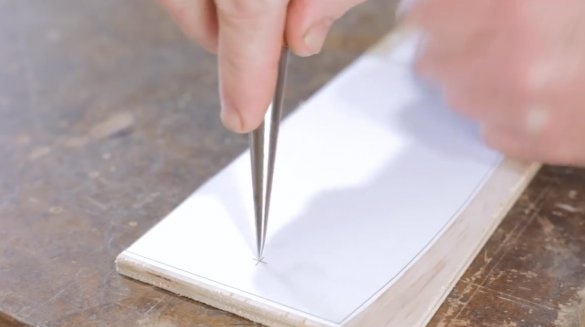
The next step is making templates.
Now just screw the replacement template to the bottom of the conductor.
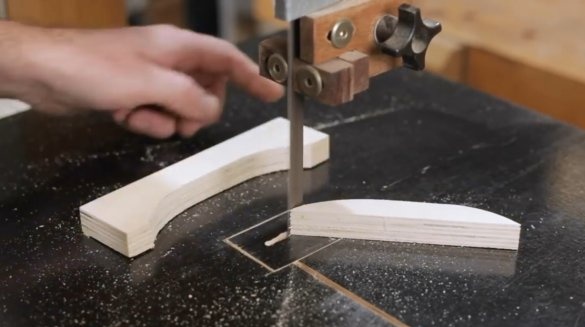
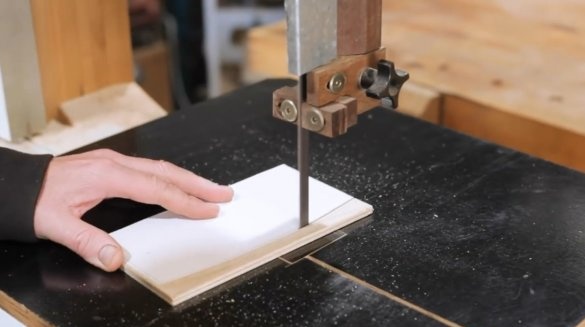
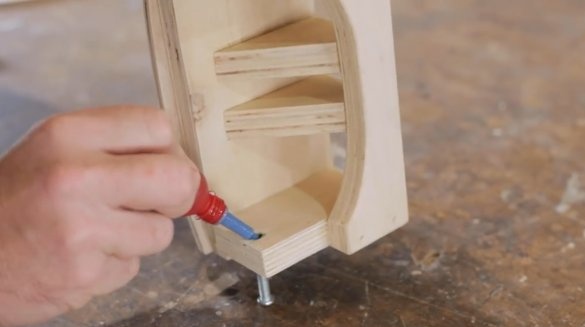
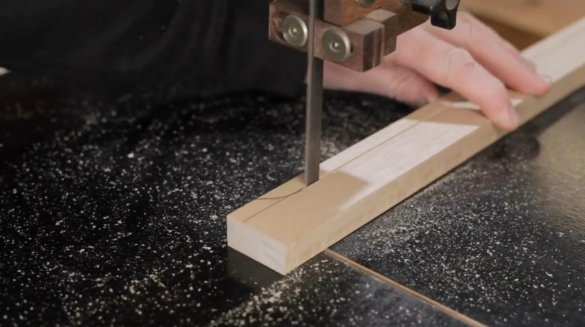
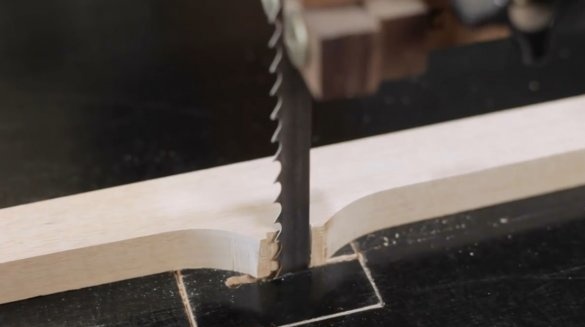
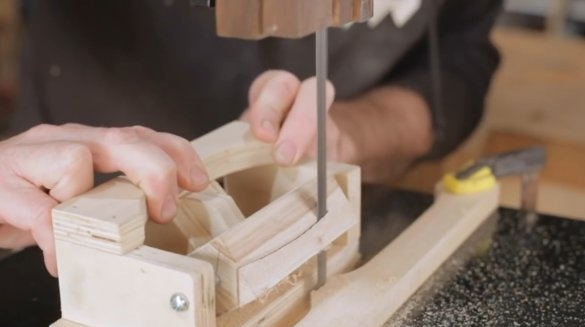
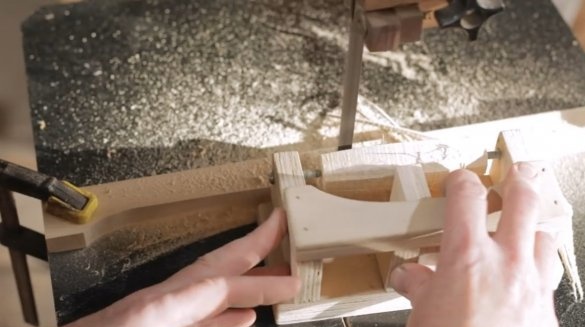
The author adds a drop of glue to these areas to fix the thread so that the bolts do not twist in the opposite direction while using the device. Neil processes the workpieces on a band saw, but with the same success it would be possible to carry out processing on a milling table using the appropriate nozzles. The drill must be at least 2 inches in this case. Then it would probably be necessary to reduce the thickness of the base of the machine tool or even use aluminum in the structure. But the master is more impressed with working with a band saw.
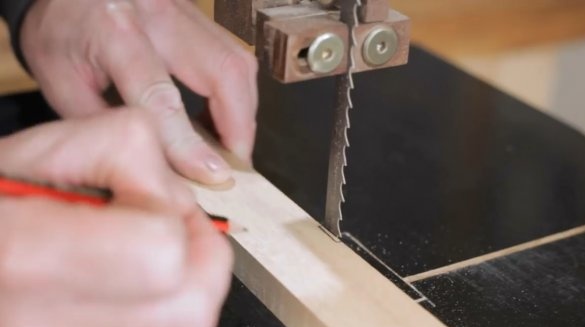
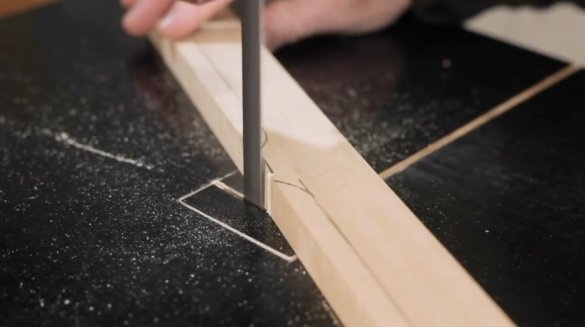
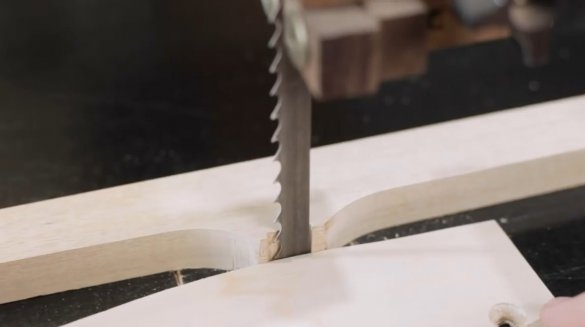
Next, Neil makes a special emphasis on the patterns that will be pressed against him. It is better if it is made of hardwood to prevent its rapid wear. Here a small recess is made under the saw blade. And then he cuts some material on each side to provide clearance for the blade.
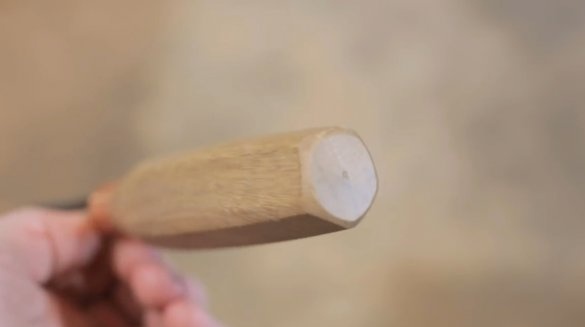
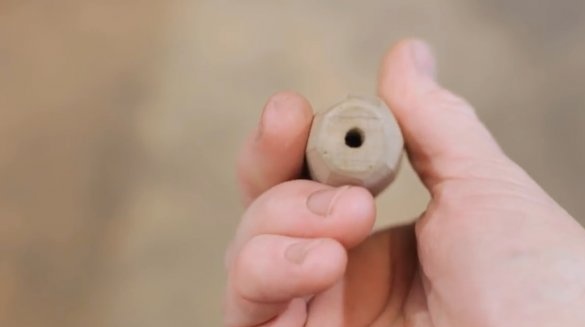
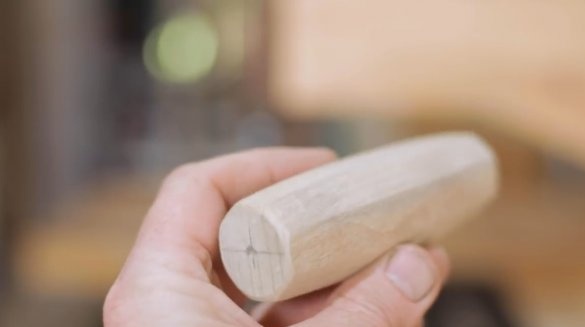
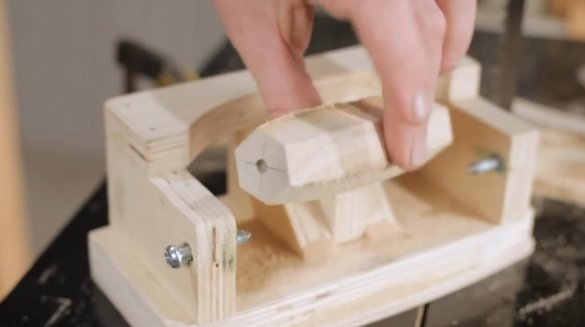
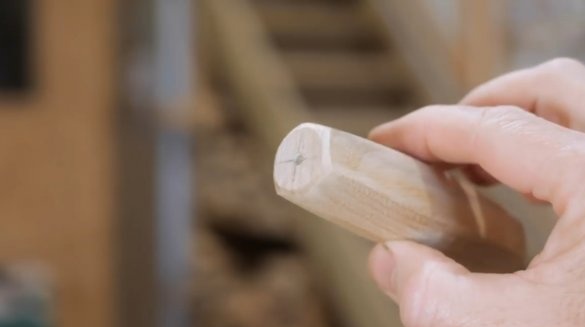
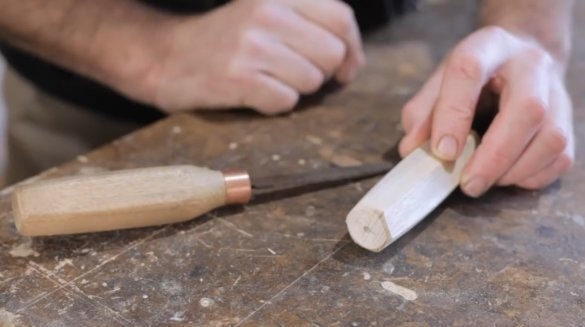
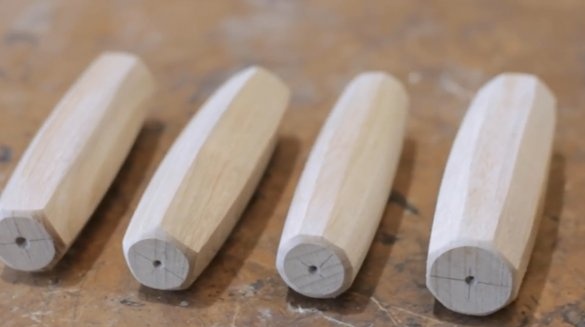
And now the first test is an octagonal handle and a 45 degree hold. When the first cropping circle is completed, the master will turn the clamp on the reverse side, where the angle is 90 degrees, and the second processing circle will pass.
The pens turned out to be a little wider than expected, but this can be easily fixed if you sharpen the template a little, or make another one.
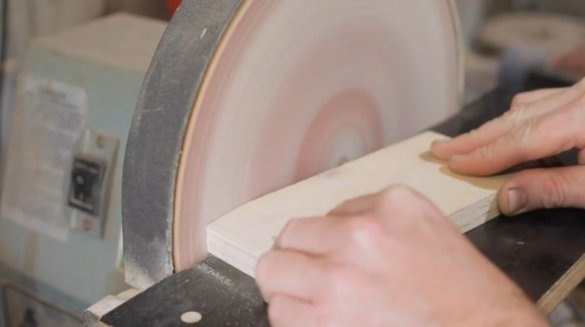
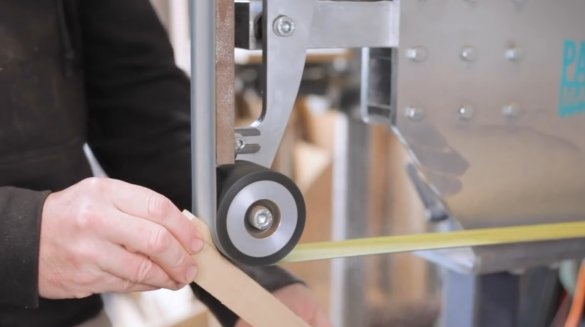
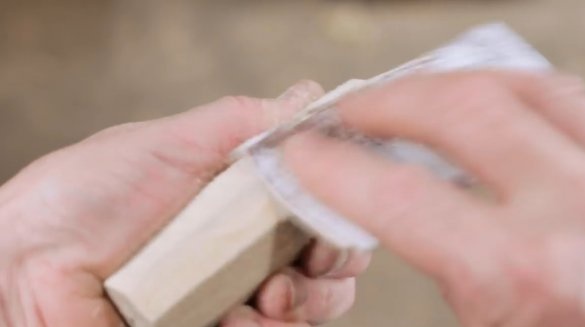
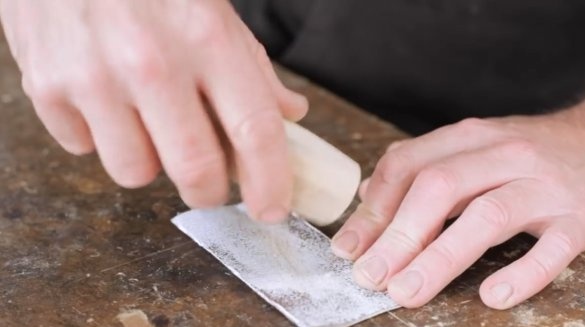
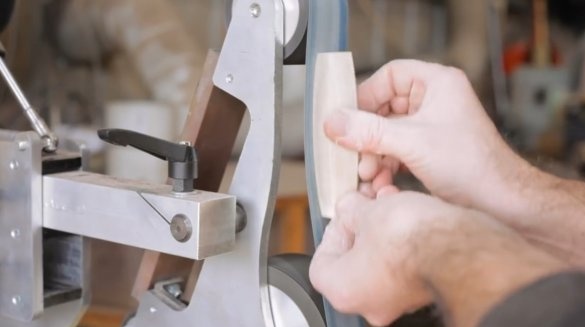
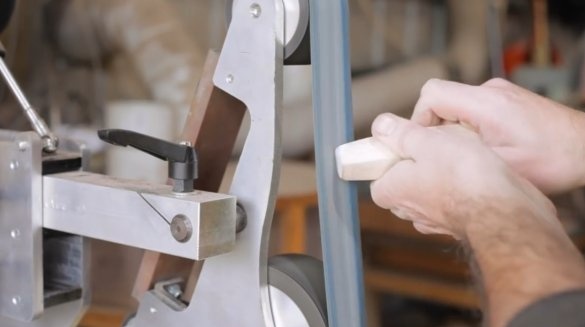
Now classic grinding on the machine. But it can be done manually.
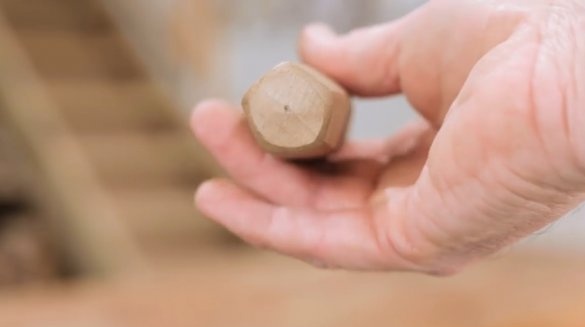
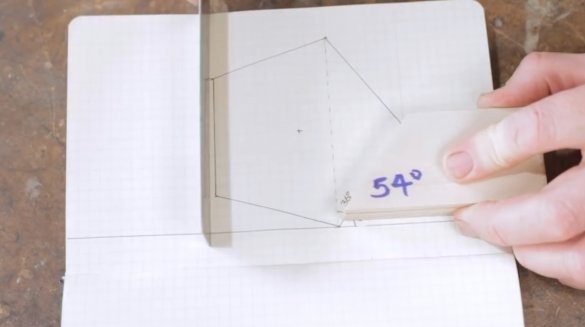
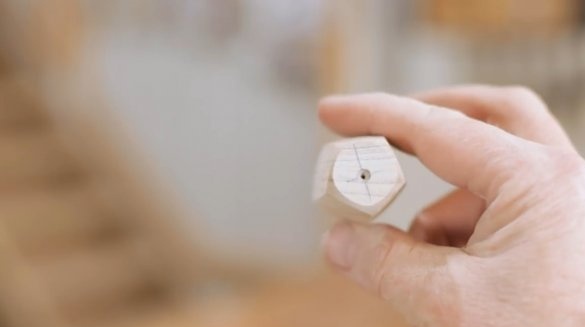
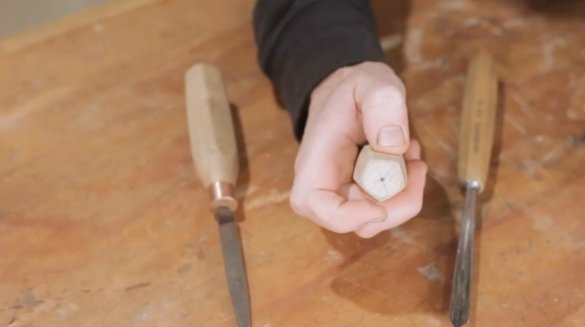
The next pen will be pentahedral. The device is easily transformed under this model. Only a modified clamp at 54 degrees is needed.
Now another version of the handle.
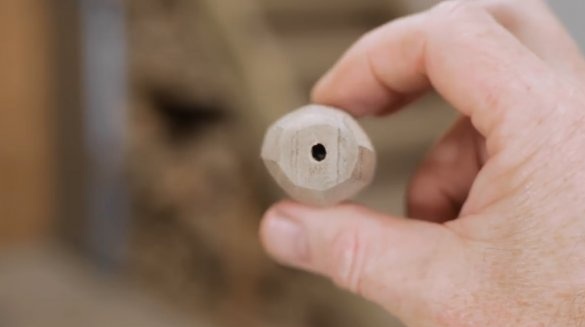
Replacing the clamp with a 30 degree one results in a hexagonal handle.
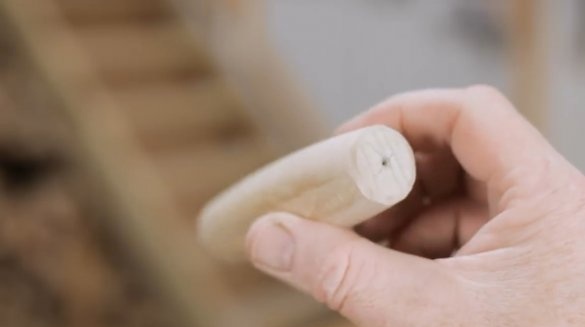
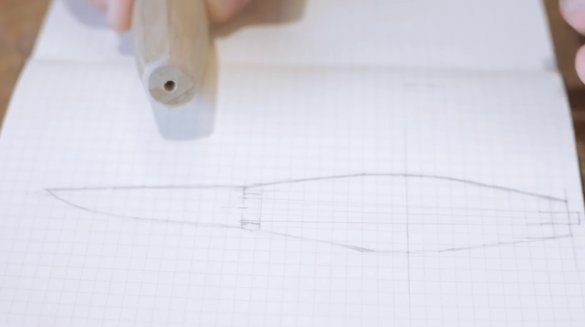
Now Neil replaced the template, and made a handle of a different shape.
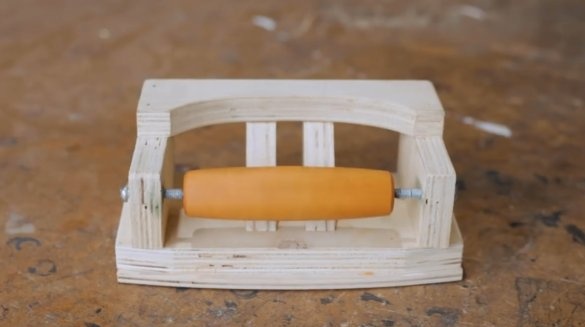
Such a variety of handles can be obtained using such a conductor.
Thanks to the author for the idea of a simple but useful tool for a band saw!
All good mood, good luck, and interesting ideas!
Author video can be found here.

