Many of you like unusual decorative solutions for the interior.
In this article, YouTube author "R Humphrey" will tell you how he made the dish with epoxy inlays.
Materials
- An array of cherries
- Two-component epoxy resin
- Dyes
- Sandpaper
-, wax.
Instruments, used by the author.
-
-
- Chisels, compasses
- Reysmus, lathe.
Manufacturing process.
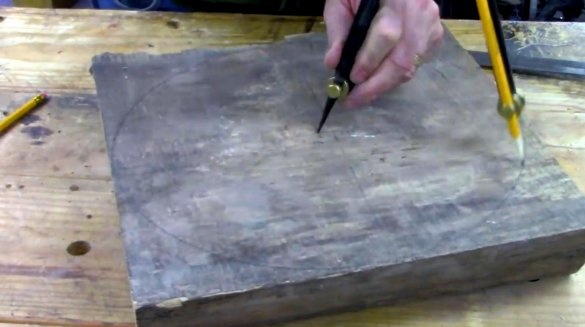
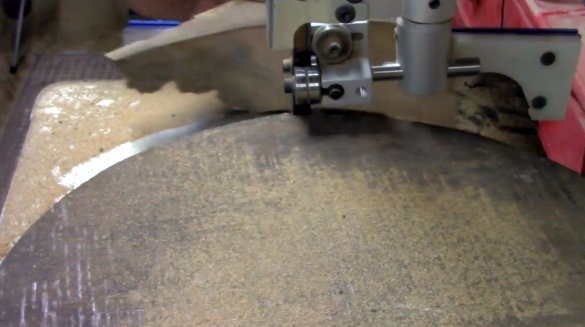
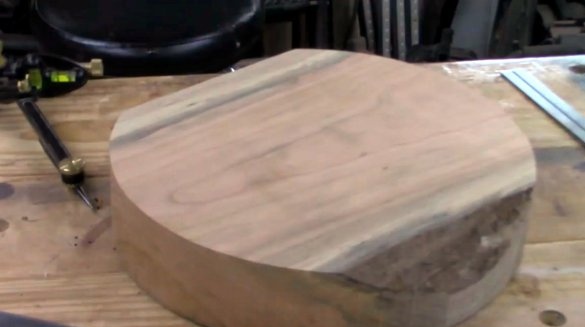
Here is a slab of sweet cherry. It was previously in use. The author cuts the damaged edges. Then marks a circle on the slab, approximately 350 mm in diameter, and cuts the circle with a band saw.
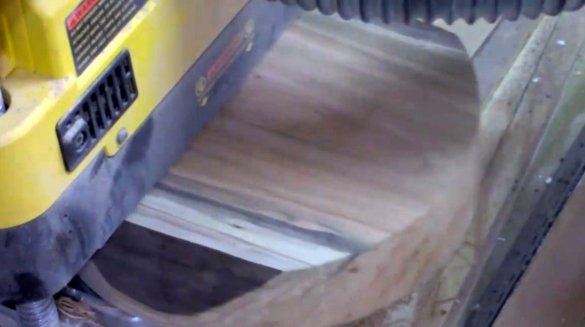
Then, using a surface gage, the master levels the surface of the array.
This wood is old, well-seasoned and dried, with rich colors and an interesting pattern of wood fibers.
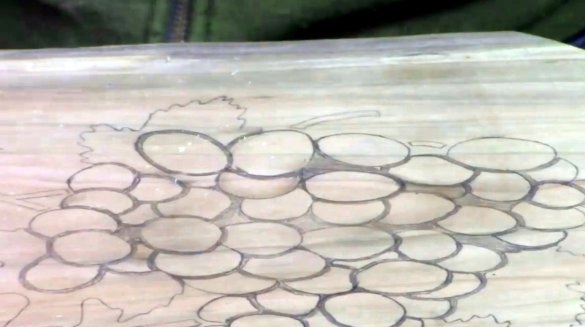
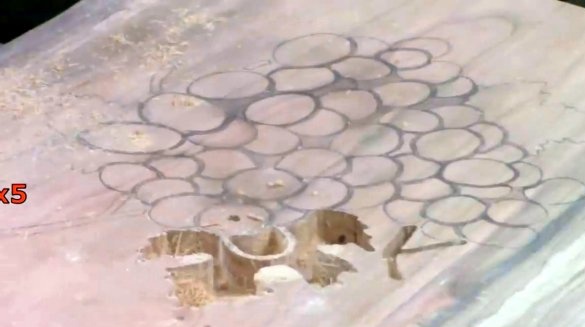
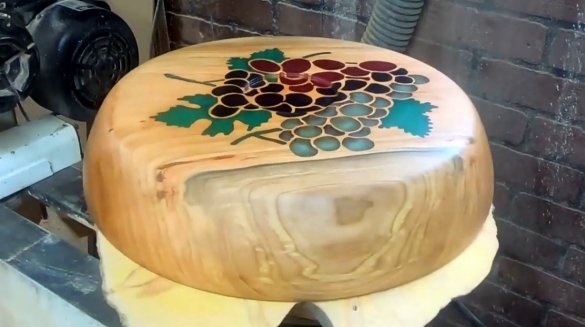
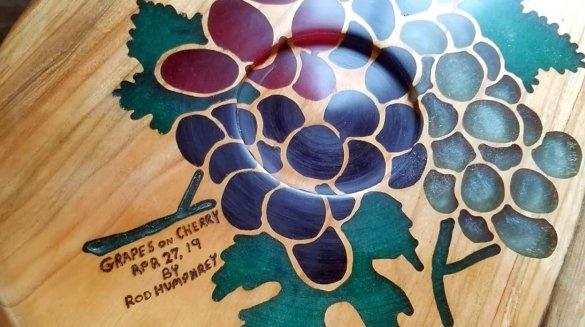
On the side that will be the bottom, the author draws a contour with leaves and grapes of various shapes.
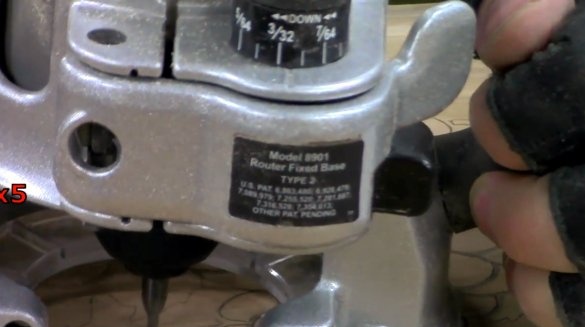
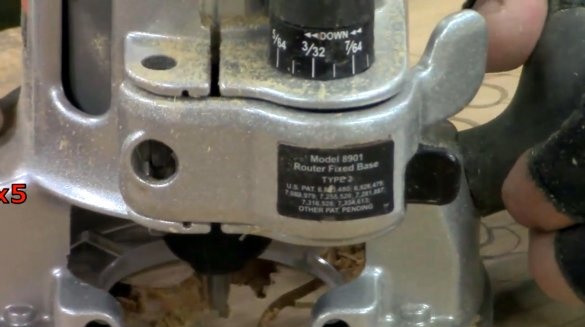
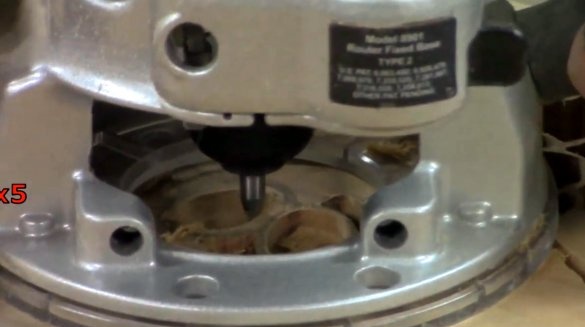
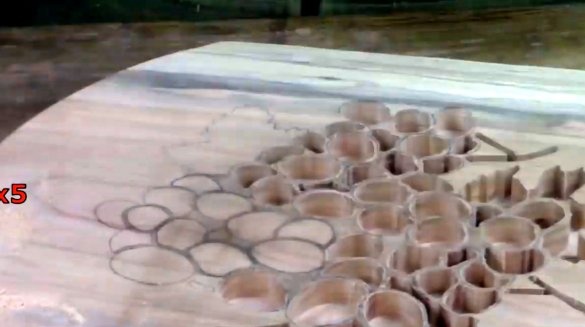
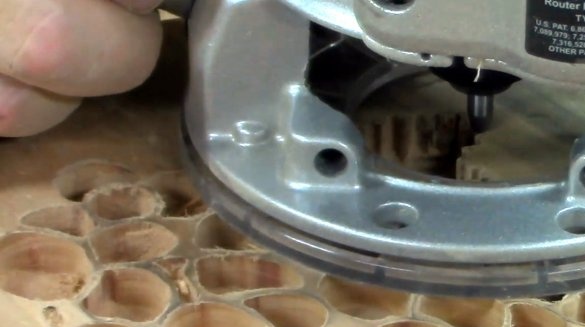
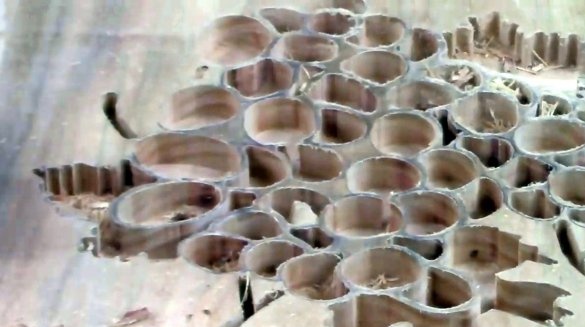
Then, with a milling cutter, he painstakingly cuts the figure along the contour. It took the master several hours of work, but, in his own words, this is incomparable pleasure.
Of course, you say, why not use CNC services! It is many times faster and no less accurate. But do not forget, CNC is an expensive pleasure and not everyone has in the workshop, in addition, for the master it is a matter of honor, proof of his skill and experience of self-improvement. And, however, you decide!
This type of milling cutter allows you to leave thin gaps between the furrows that outline the outline of each grape. This forms walls that create dividing lines for the epoxy. The last author is going to fill the depressions of the relief.
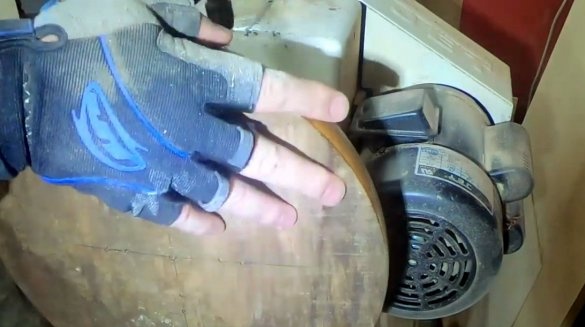
Pay attention to the movement of the hands of the master: the hands themselves are still on the table, I work only with my fingers. So the author achieves maximum control over the device. At the end of this painstaking work, the master once again walks along the bottom of each of the formed cells, hatching all the remaining material from there.
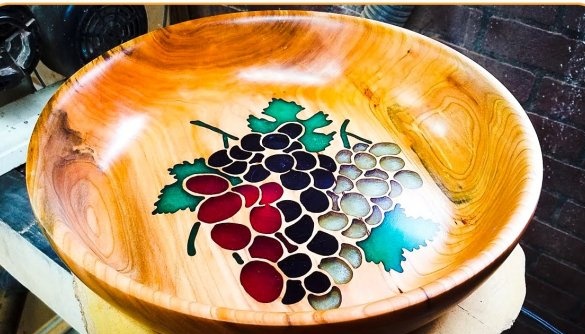
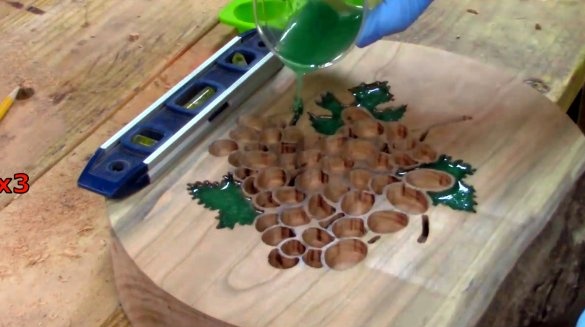
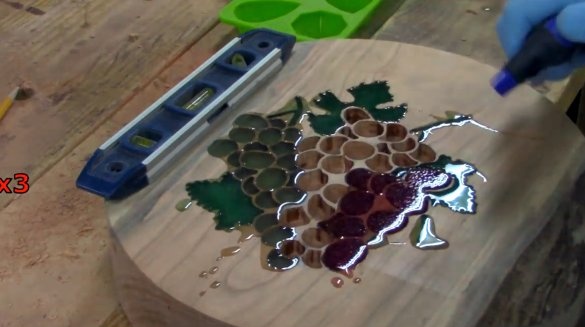
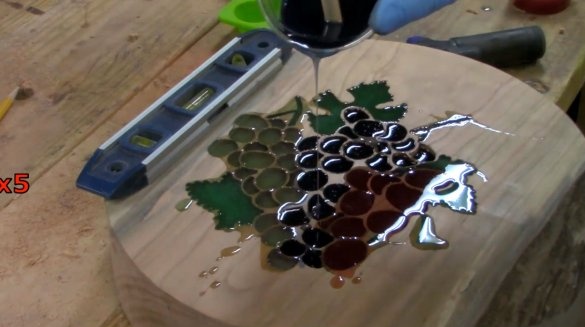
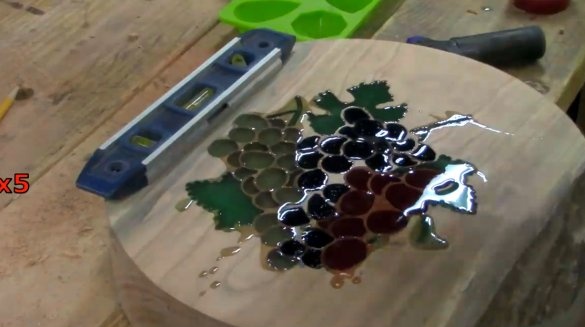
The master is going to use artistic luminescent epoxy in his project. This is a slowly setting mixture in a 1: 1 ratio. Working with her is pretty easy. It takes about 24 hours to freeze. It successively fills first the cells under the vine leaves, then the cells of the berries themselves.
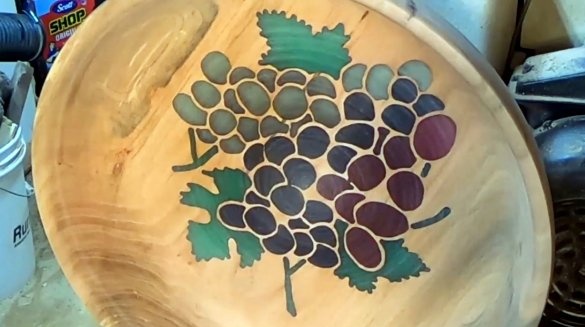
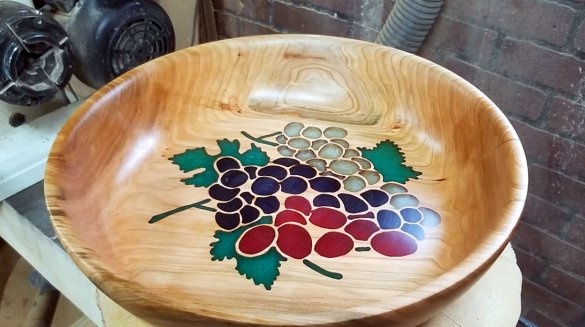
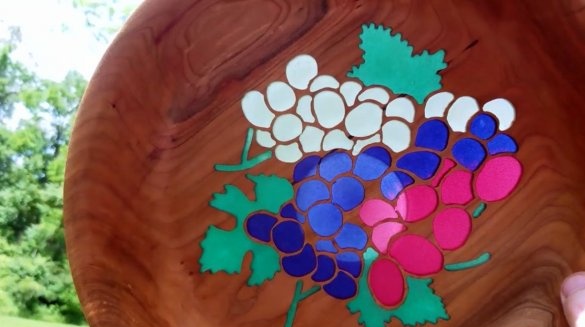
Grapes are most often of three colors.It is these shades that the author chooses: greenish-amber, red and purple.
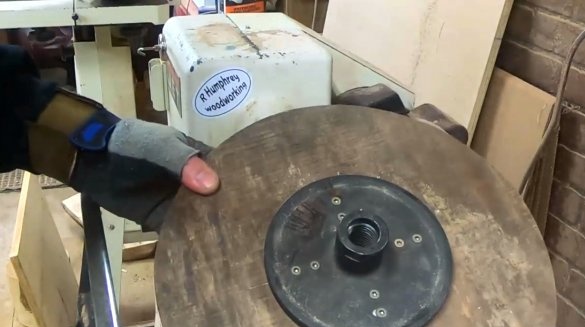
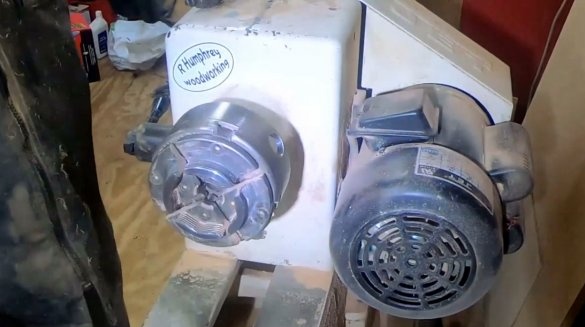
Next, the master screws the workpiece with eight self-tapping screws to the adapter flange, and fixes it in the lathe chuck.
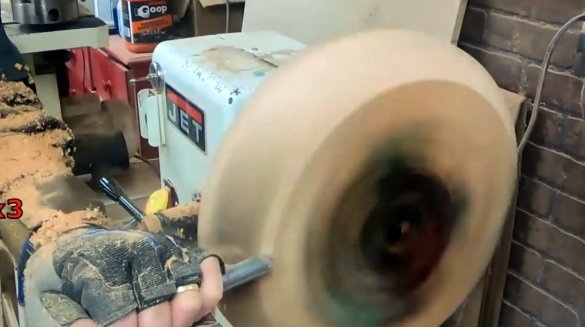
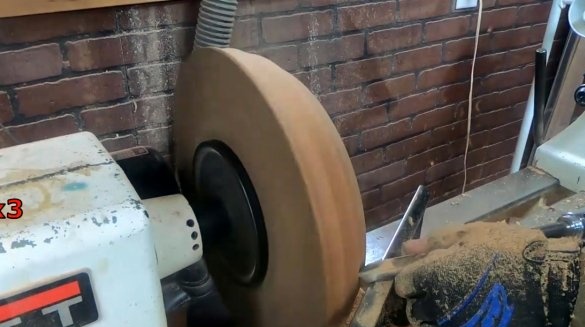
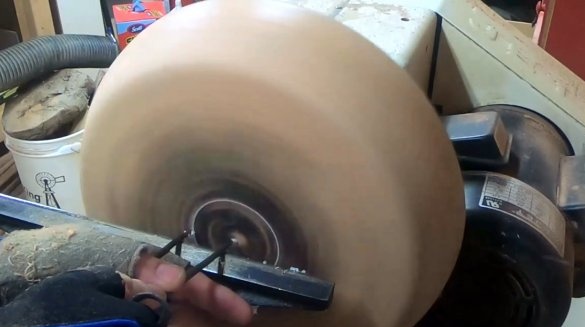
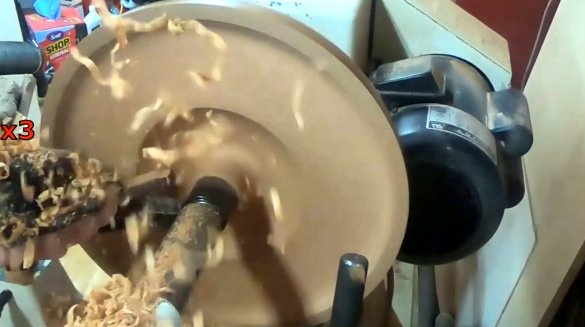
Turning, as expected, he begins by giving the workpiece a regular round shape.
After he forms the bottom of the future dish.
Now he needs to form a recess for the lathe chuck in the center of the bottom, and polish it.
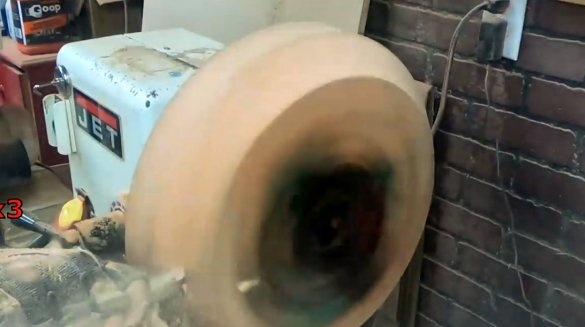
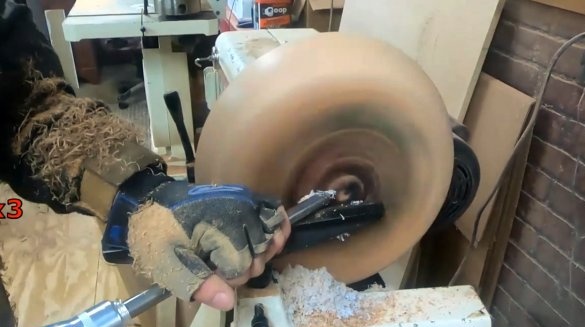
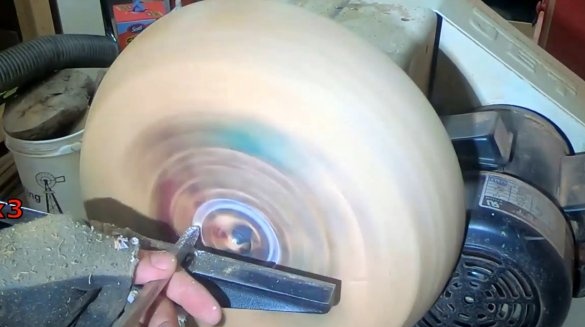
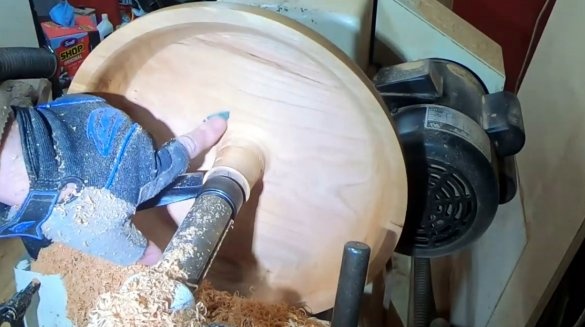
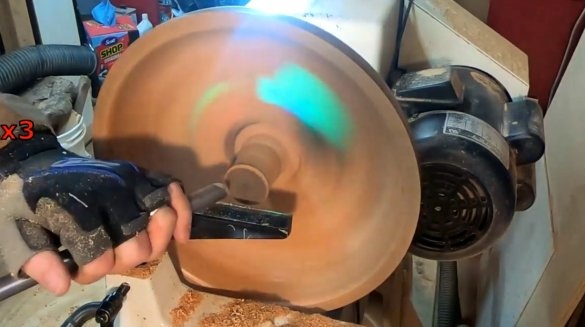
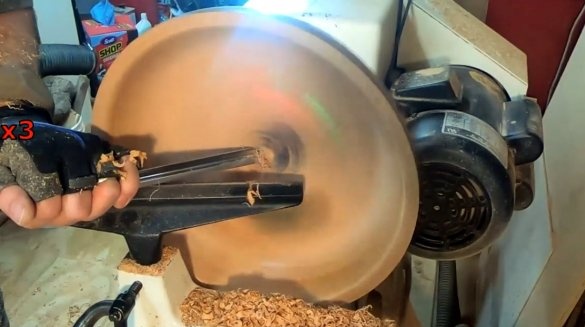
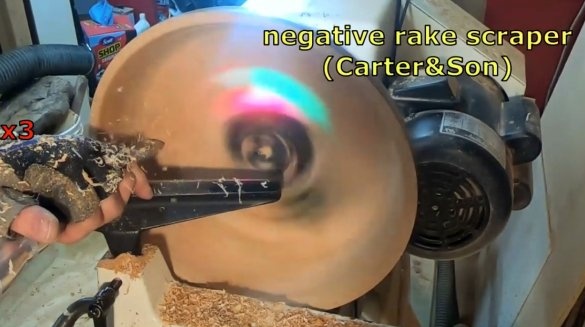
And then proceeds to processing the inside of the dish.
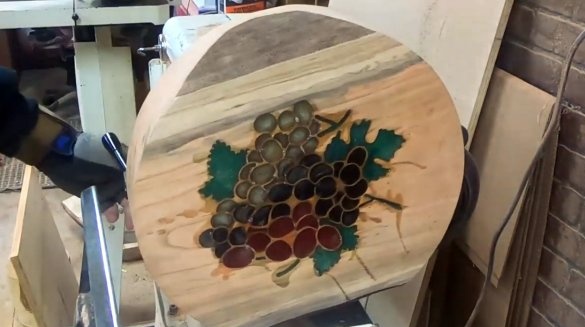
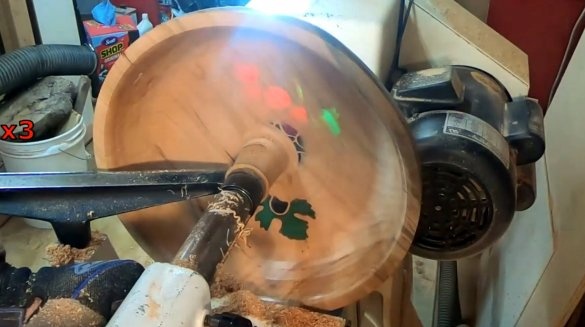
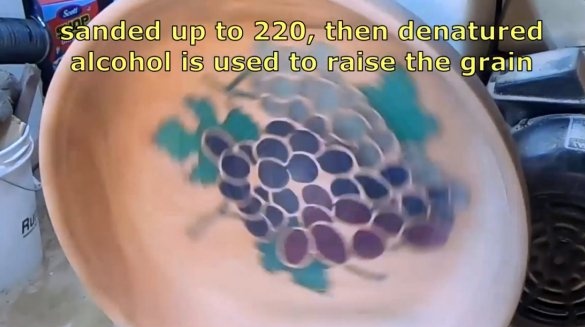
This is every time an amazing moment when the colors first begin to appear through the massif. The author slowly, gradually releases the picture, and by the time it is fully manifested, he already knows exactly what the thickness of the tree is left at the bottom of the dish. This is about 6-7 mm in the middle and about 10 mm near its edges.
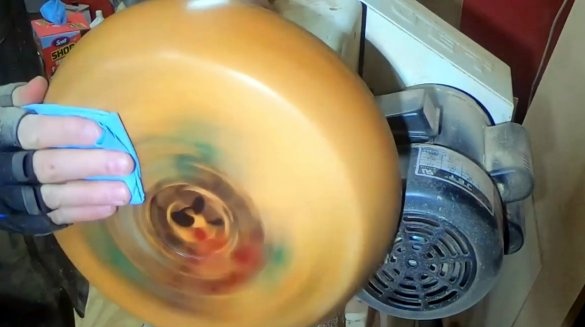
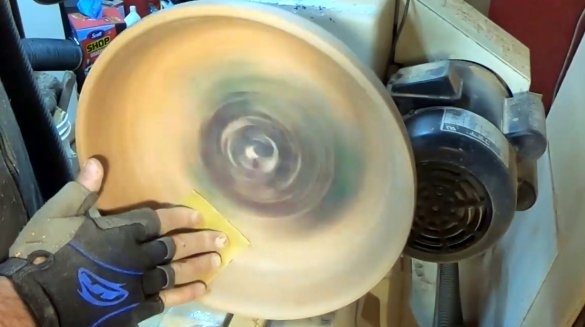
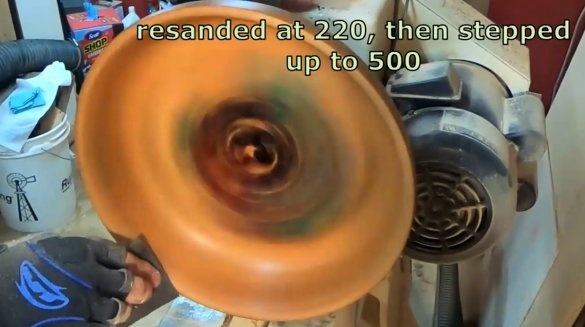
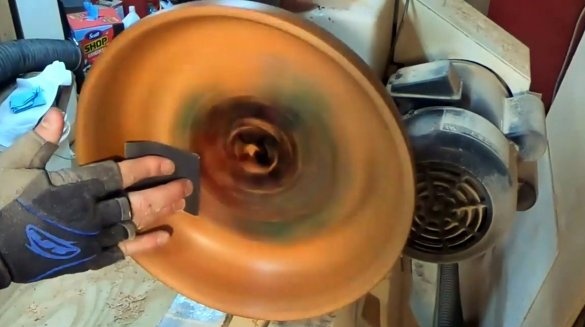
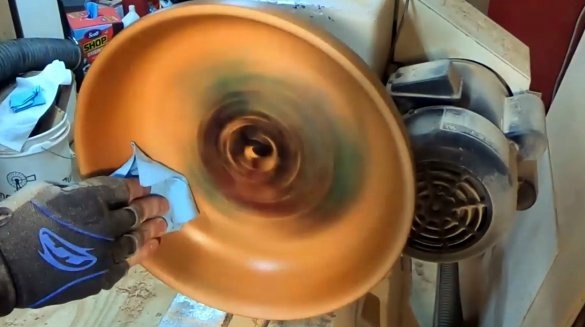
After the tree is completely cleaned, the master proceeds to polish. First, it is 150 grit sandpaper, and then 220 grit. After which, the author uses denatured alcohol to raise the pile and show shades of resin.
When everything dries up, the author will again walk through the 220th sanding paper and smoothly bring it to 500 grit.
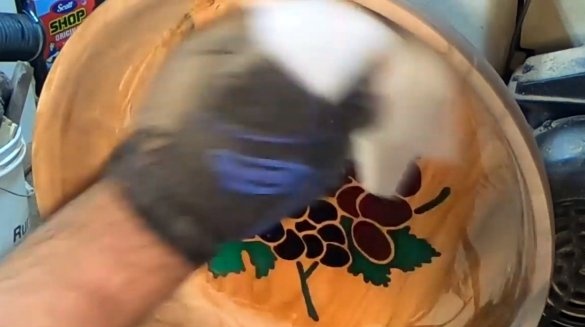
At the end, he will process the product with three layers of topcoat. It uses linseed oil and natural wax.
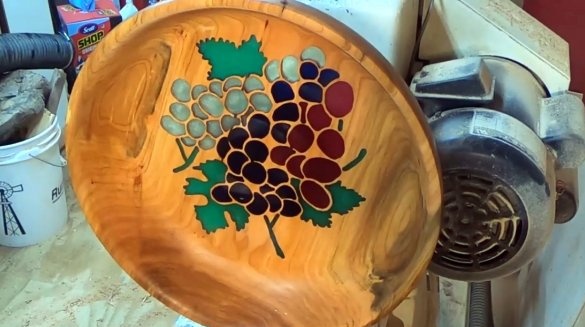
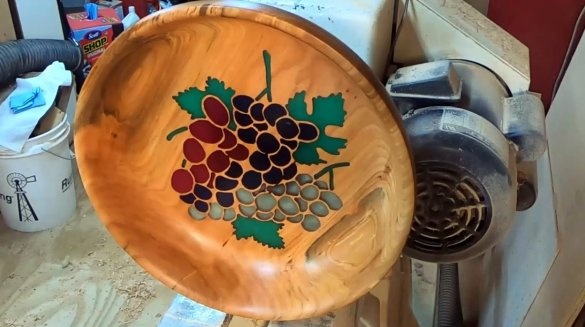
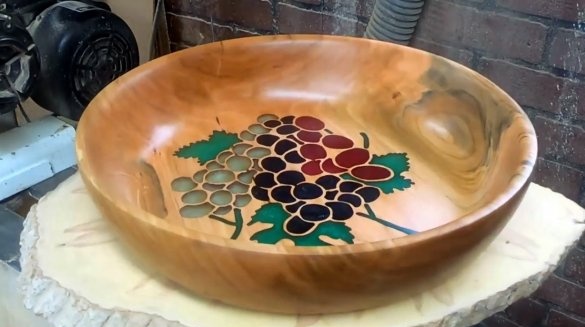
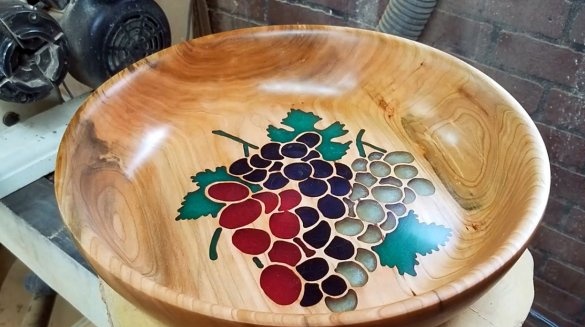
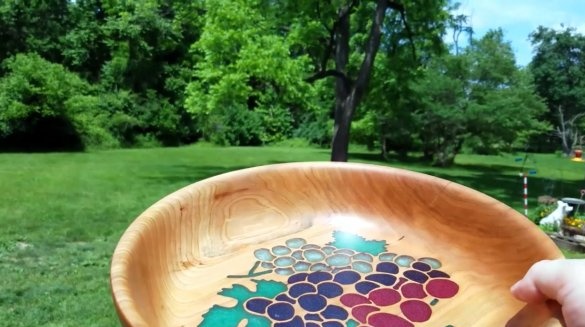
And here is a work of art in front of you! Is not it so?
And in the sunlight, like a stained-glass window, the dish plays with flowers in the light, which gives the product a highlight and emphasizes the uniqueness.
Thanks to the author for an interesting technology for making original kitchen utensils!
All good mood, good luck, and interesting ideas!
Author video can be found here.

