Summer has come, and many of you prefer to relax in the fresh air in the country, or near your home. I noticed that the topic of various design decisions is quite interesting.
In this article, the author of YouTube channel “1000 DIY’s and Advice”, will tell you about a simple way to make original lamps for the garden and home.
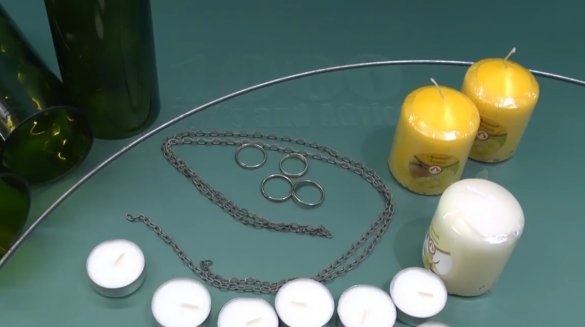
Materials
- Glass bottles
- Gypsum, primer CT17
- Dyes for acrylic paint
- candles
- Steel wire chain
- Sheet stainless steel
- Thin copper wire
- Scotch, sandpaper
- Foiled penoizol 10 mm thick.
Instruments, used by the author.
- Bottle cutter
-, cleaning disc
—
- Scissors for metal, pliers, knife, ruler, scissors, nippers
- Vise
—
- Grinder.
Manufacturing process.
So, the main tool that the author will use is a bottle cutter. You can make a simple version of it yourself by reading this article. “The simplest bottle cutter for glass containers”. Its machine version is presented here. DIY Glass Bottle Cutting Machine.
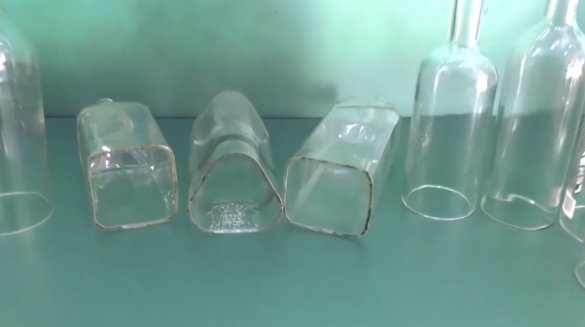
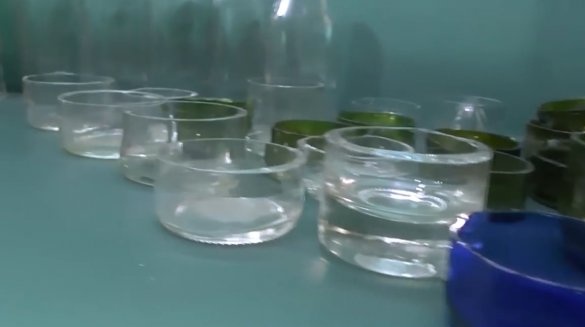
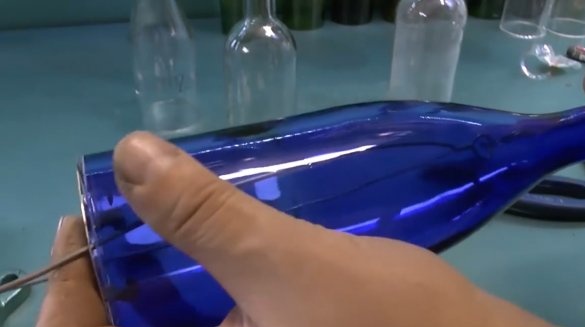
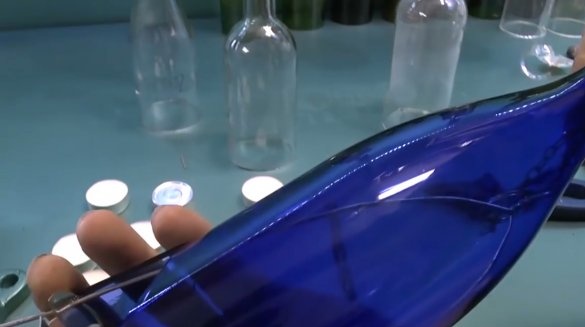
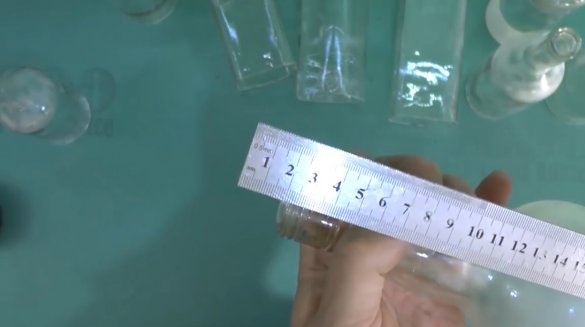
The author cut the required number of glass bottles.
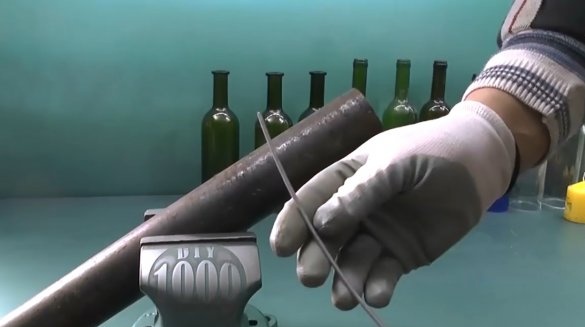
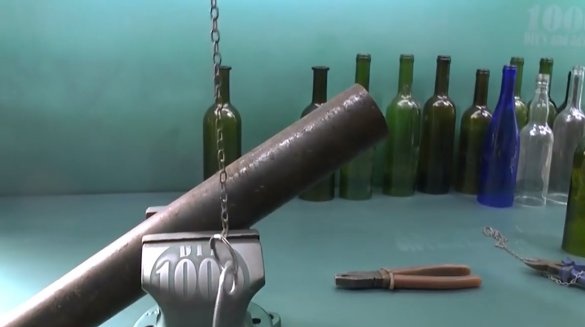
Now he will manufacture the first version of the lamp. It will be suspended, and for a large candle. In order to fix it, you need to choose a template. In the form of a suitable template, he found a steel pipe.
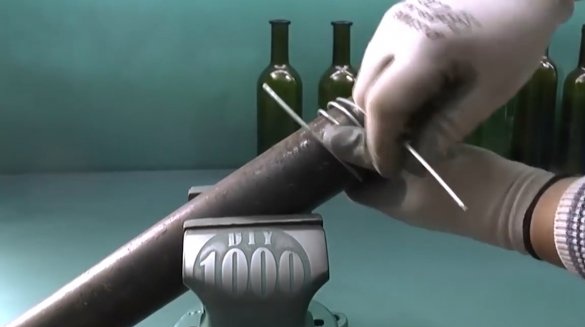
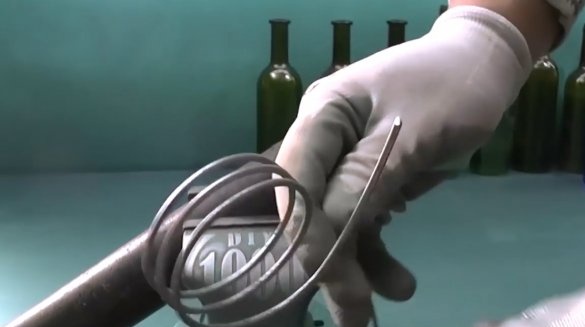
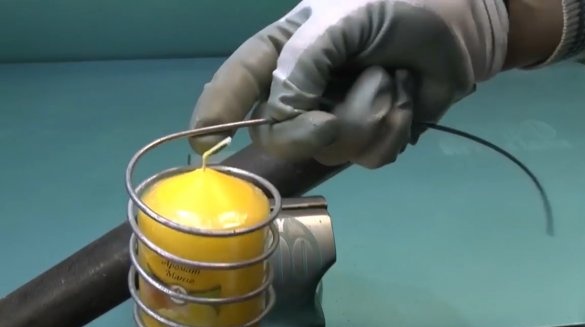
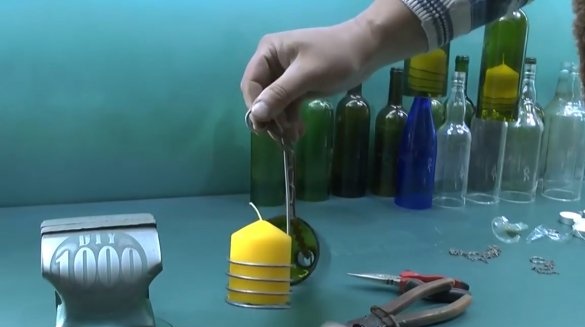
Having fixed the pipe in a vice, wraps several turns of steel wire on it. And a candle is perfectly fixed in it.
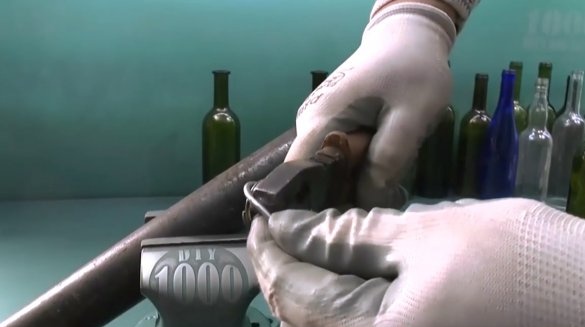
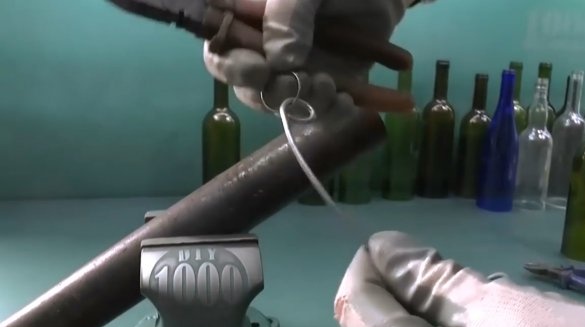
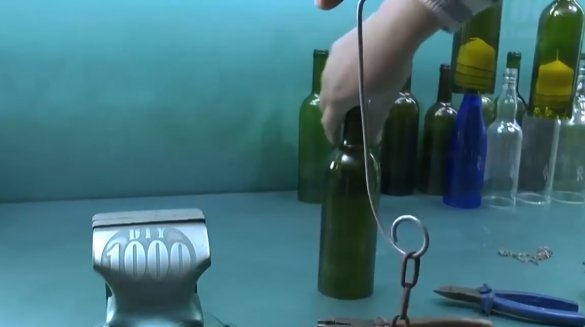
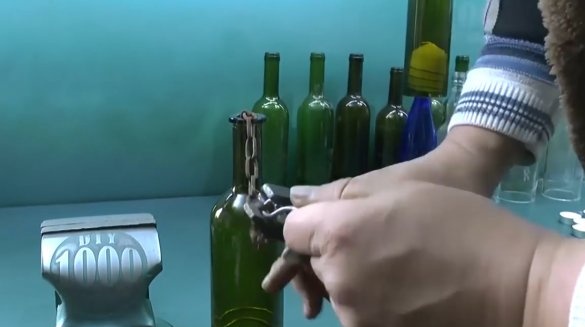
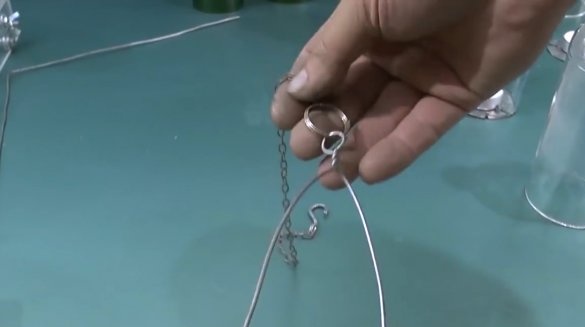
Now bends the edge of the wire, and attaches a key ring to it.
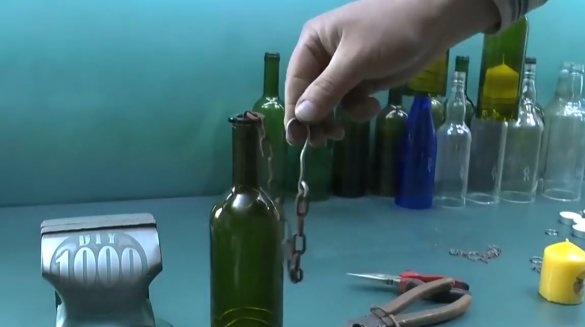
A thicker chain immediately fixes on the wire, it is suitable for heavy pendants.
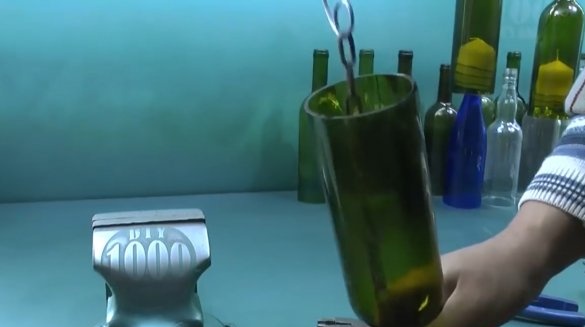
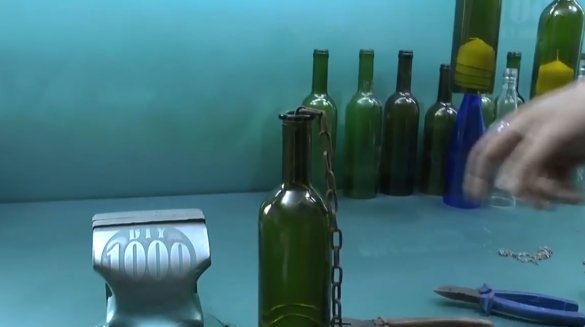
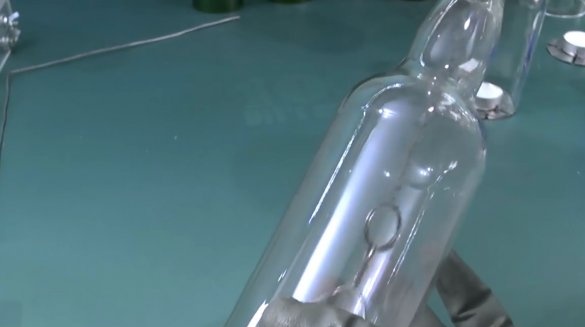
Next, just pass the end of the chain through the neck of the bottle.
Attaches a hook to the edge of the chain.
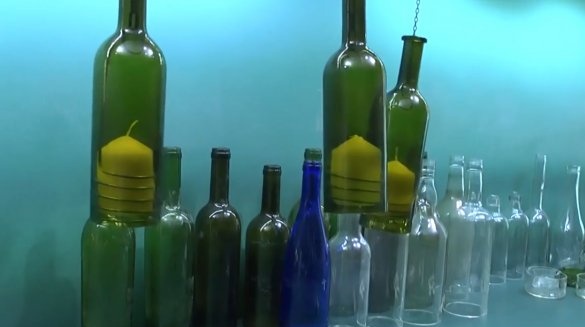
That's all, you can hang on a suitable branch, or mount.
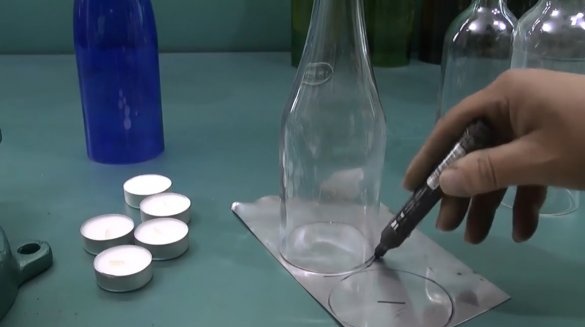
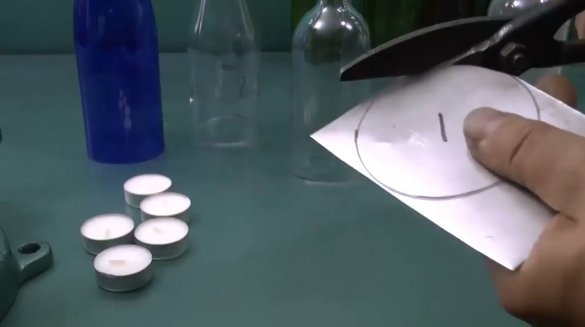
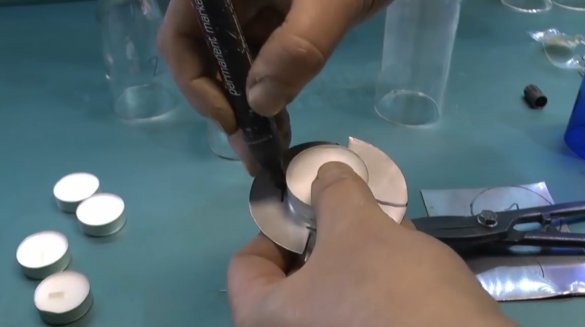
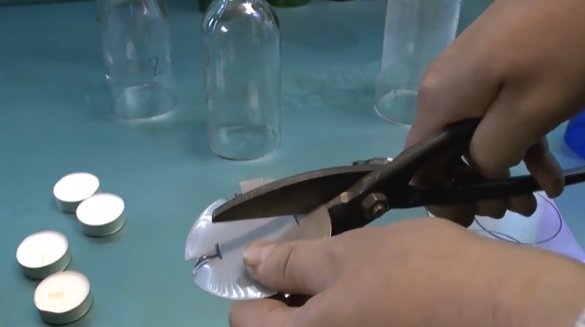
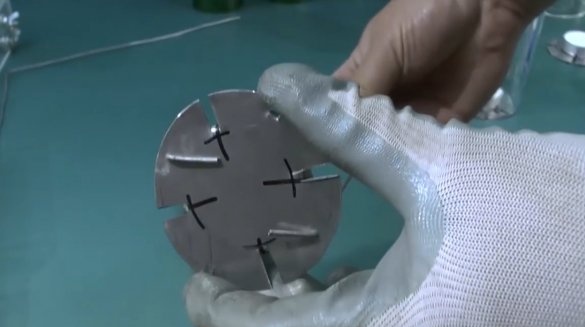
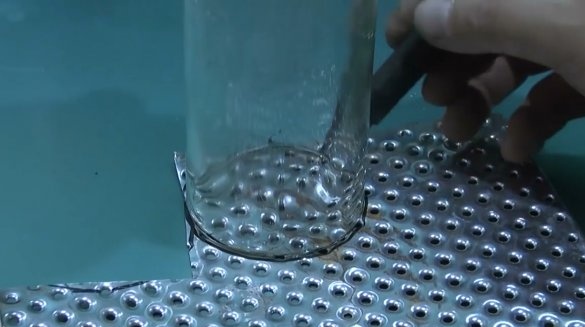
Now the master will make a pendant for small candles. As the bottom, he will use sheet stainless steel. Cut a circle out of it on the outer diameter of the bottle.
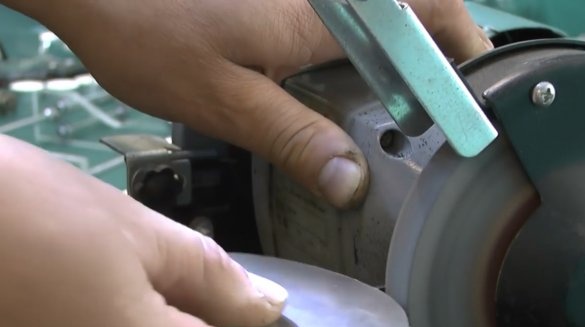
Burrs and sharp edges need to be processed on a grinder, or a file.
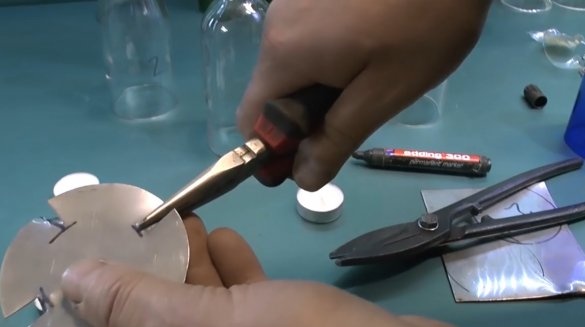
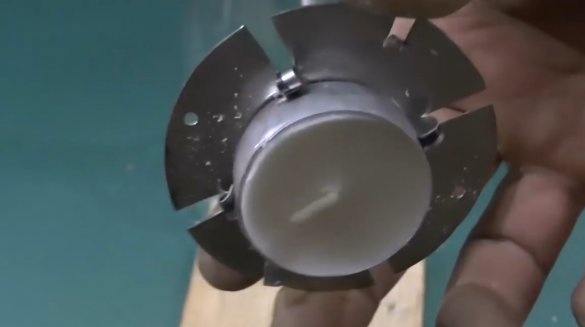
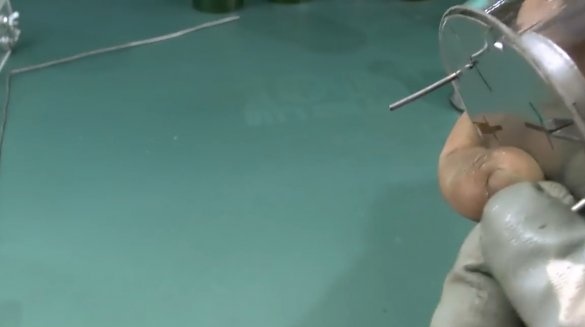
Marks four lines for pressing and cuts so that small strips of 3-4 mm wide are obtained.
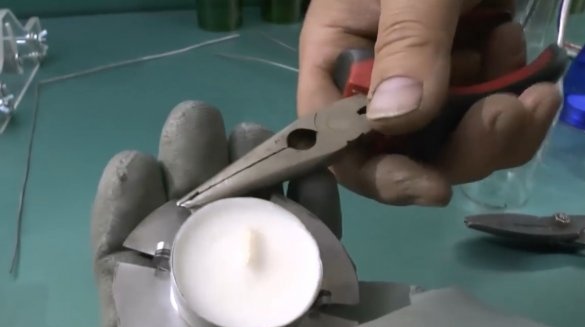
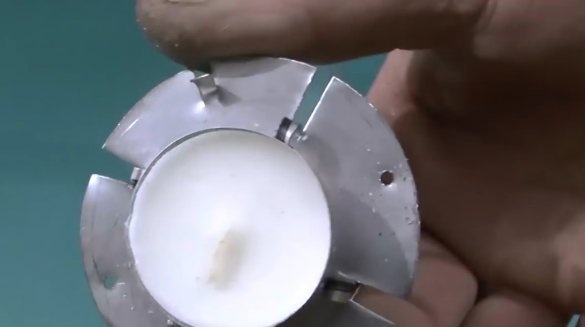
Bends them inward in the form of small rings.He also makes two cuts for the bottle stops, bends them inward in the form of a strip.
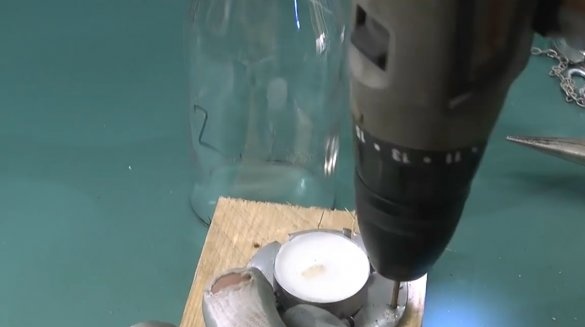
Also drills two holes along the diameter of the steel wire. It turns out here is such a simple bottom.
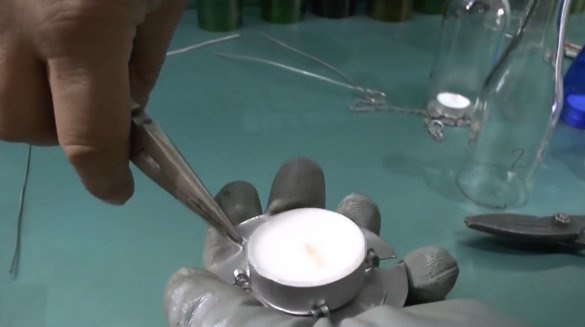
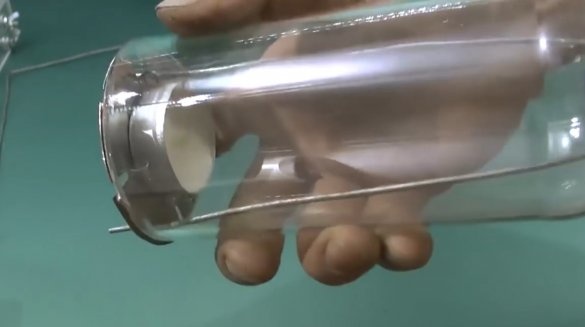
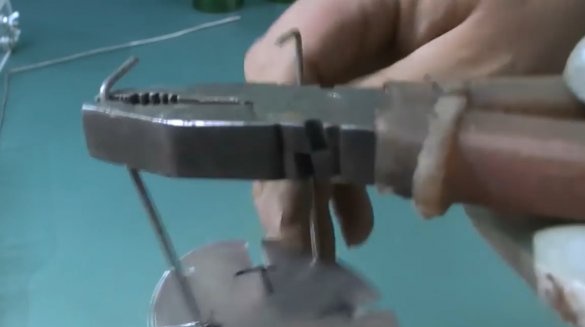
Having bent the steel wire in the middle, twists it into a ringlet, attaches a chain with a hook to it.
Threads the edges of the wire through the holes in the bottom, and bends them. Extra length can be cut.
The author draws attention to the moment that the holes should be slightly removed from the edges of the bottle, otherwise it bursts when dressing.
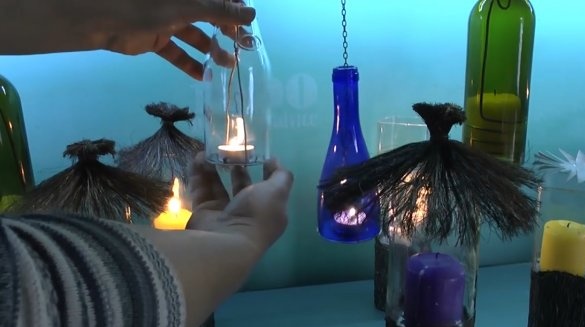
That's all, you can light a candle, and close it with a cap from a bottle. An important point, when the candle is burning, the upper part of the bottle is heated quite strongly, while the middle and lower parts remain barely warm.
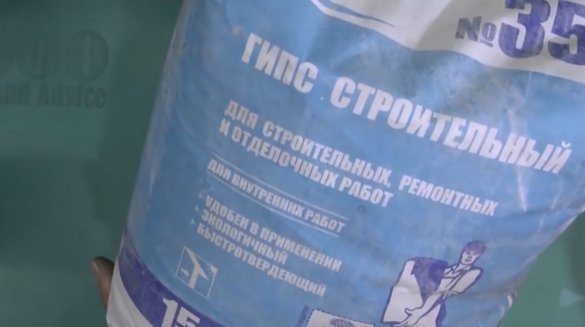
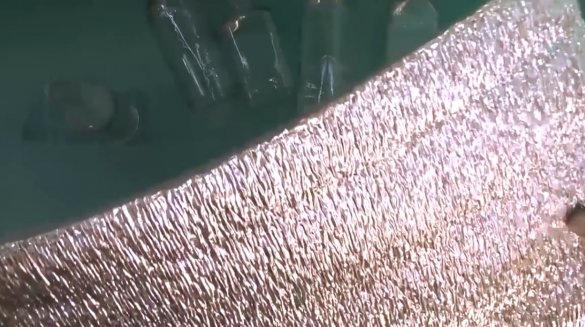
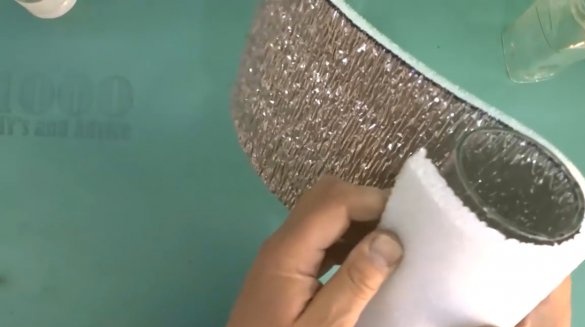
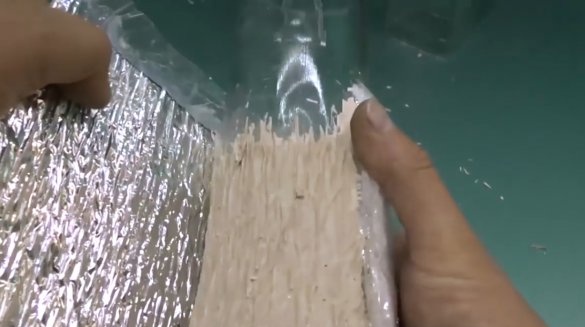
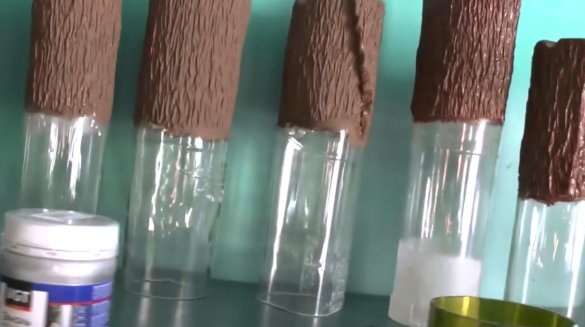
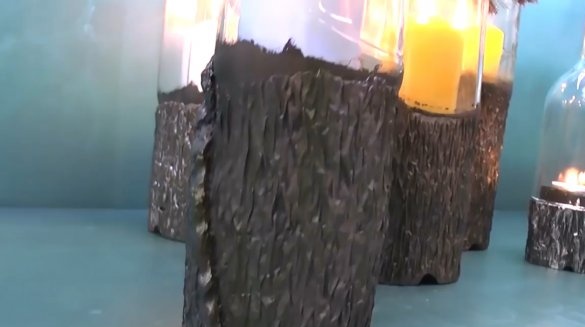
Now the master will produce a second type of fixtures, which is placed on a flat surface. To do this, you need ordinary gypsum, and foil insulation 10 mm thick. Its surface when folded inward is very similar to the texture of wood bark.
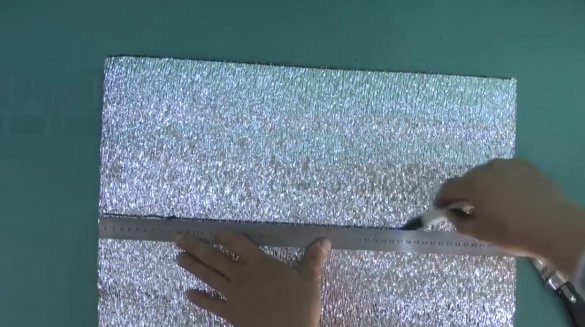
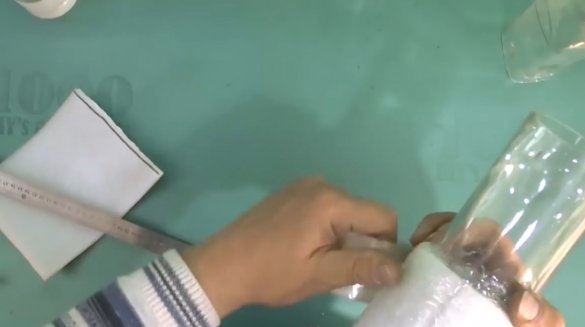
It cuts off a strip of insulation so that the width of the strip reaches the main part of the bottle, and there is an additional margin of 2-3 cm. Usually it is 16-18 cm.
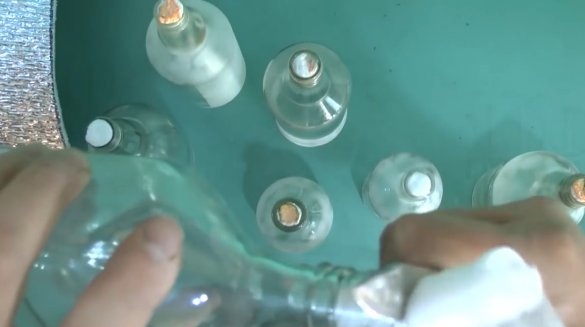
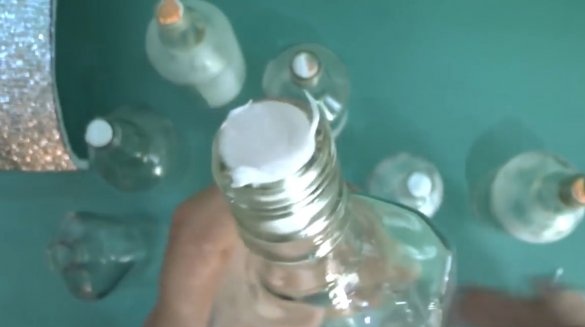
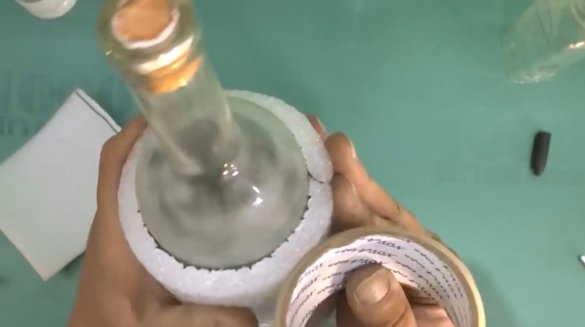
The neck of the bottle must be tightly plugged with newspaper, or scraps of insulation. You can just stick tape.
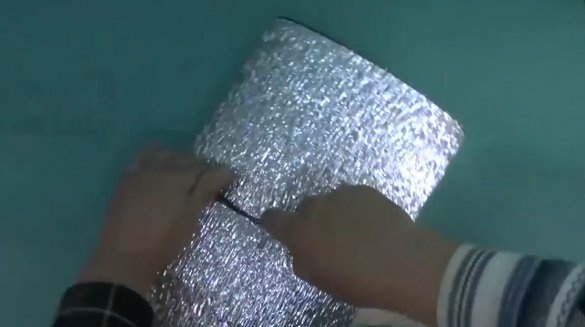
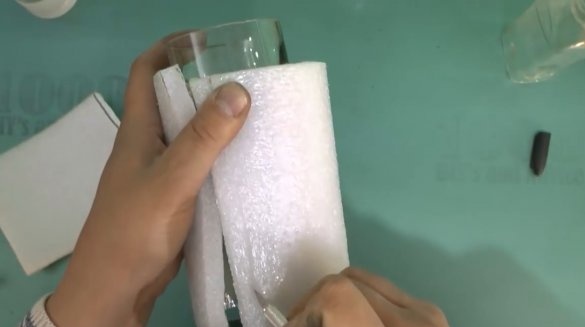
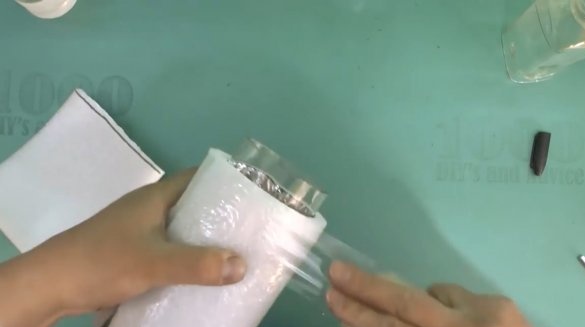
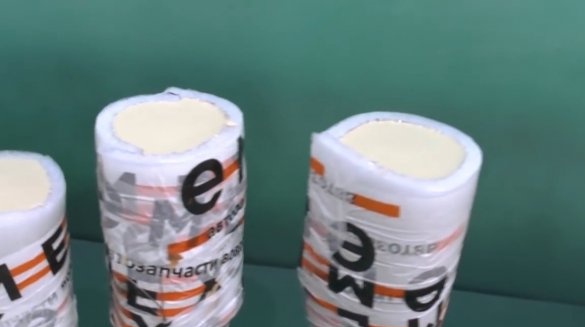
He wraps insulation around the body of the bottle, and cuts it back to back.
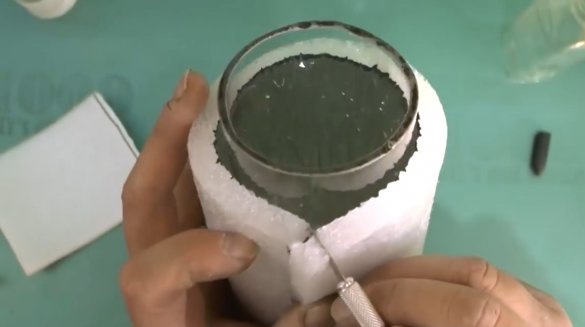
Then tightly wraps with tape. This is best done together.
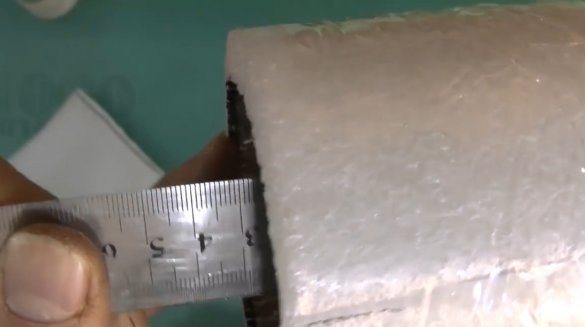
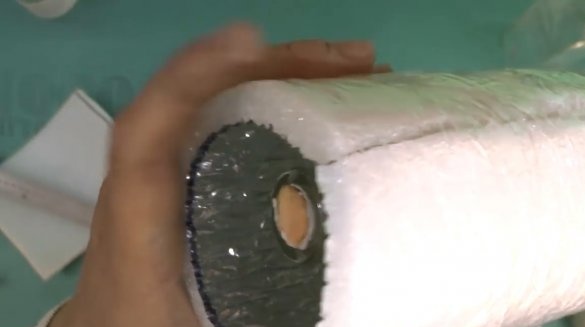
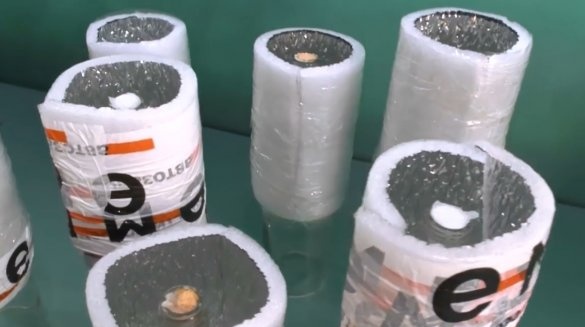
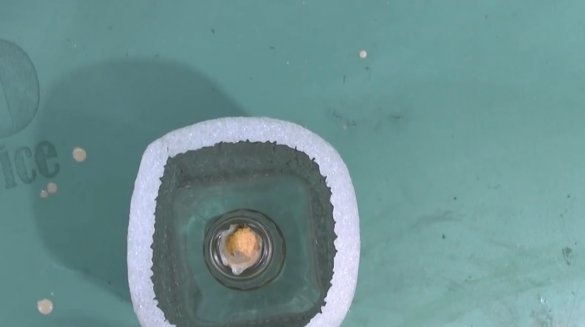
Now the resulting cylinder from the insulation is shifted towards the neck so that it is recessed by 3-4 cm. The joint of the insulation and the bottle is tightly sealed with tape.
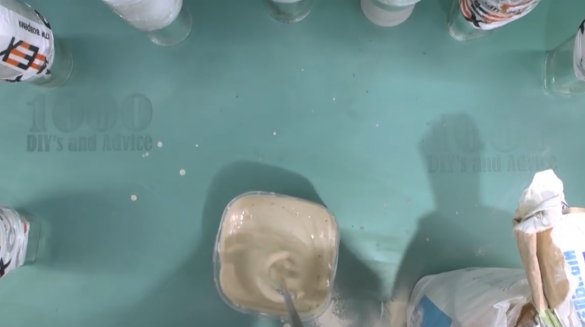
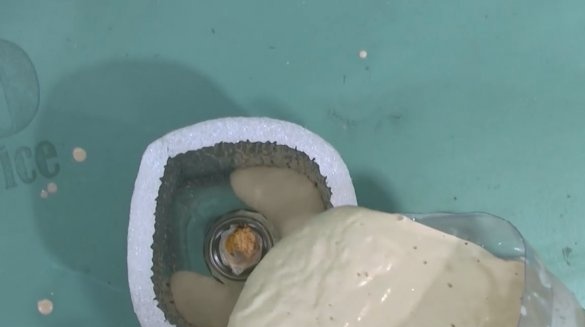
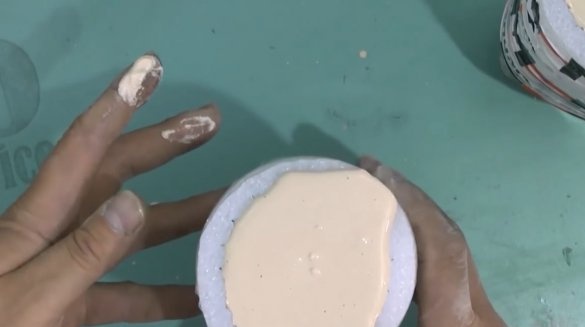
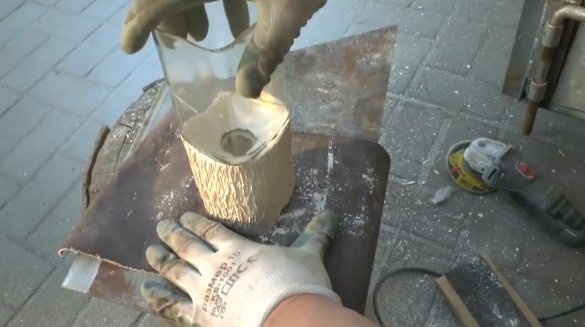
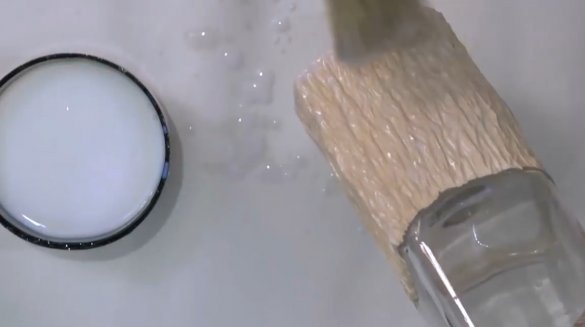
The next step is the fill. The master applies a gypsum solution, which is mixed in a ratio of 50:50. Due to the quick setting of the solution, it is necessary to carry out the pouring quickly enough.
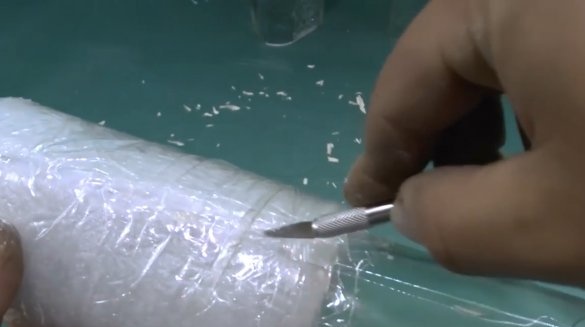
After twelve hours, you can remove the insulation. Moreover, it can be used repeatedly.
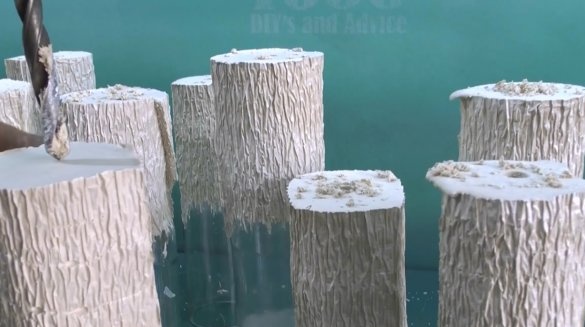
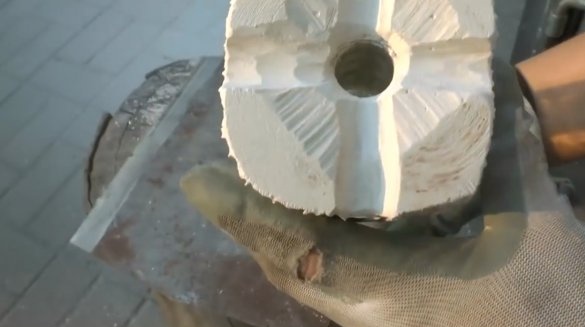
While the gypsum is still raw, you need to drill a hole for ventilation. You need to try to get into the neck of the bottle with a drill. While the gypsum is raw, this is easy enough to make and feel the moment you touch the glass. Then the workpieces are left to dry for three days.
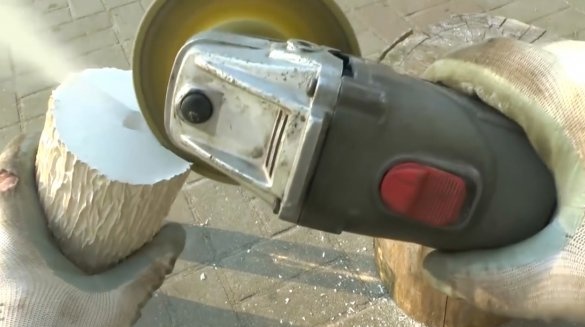
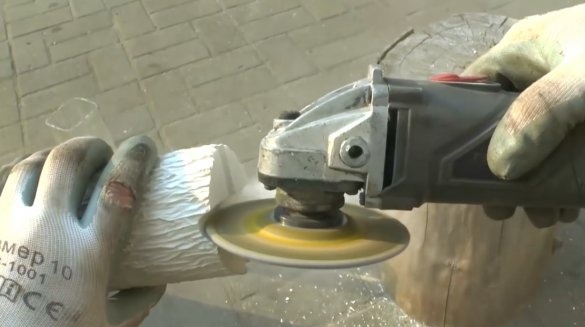
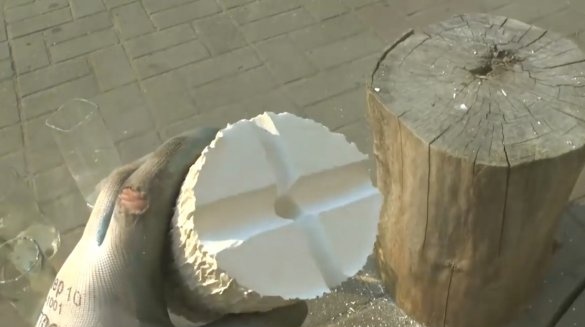
Now in the bottom you need to cut through the channels for ventilation. The master does this with the help of a grinder, and since a lot of dust is obtained, it is better to do this on the street.
Using 80 grit sandpaper, the master levels the bottom surface.
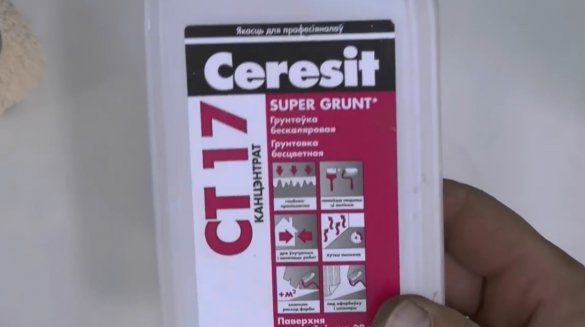
To fix the surface, it covers all gypsum surfaces with CT17 primer. It dries quickly enough, 1-2 hours.
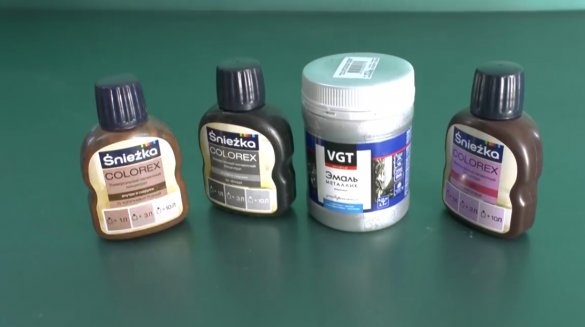
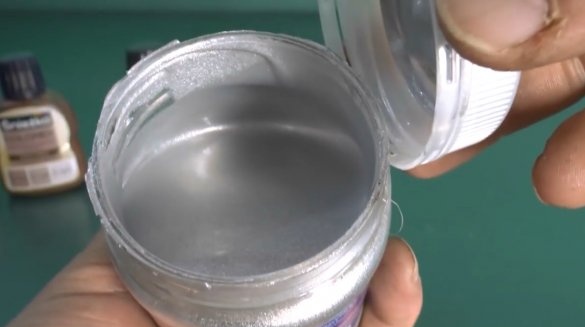
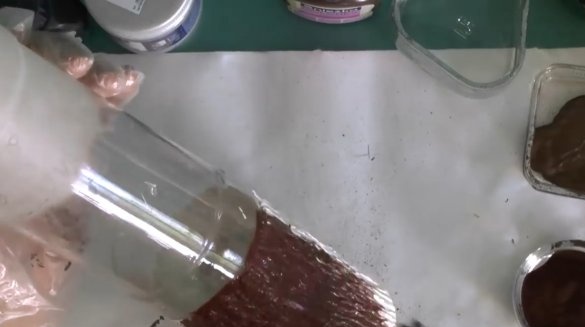
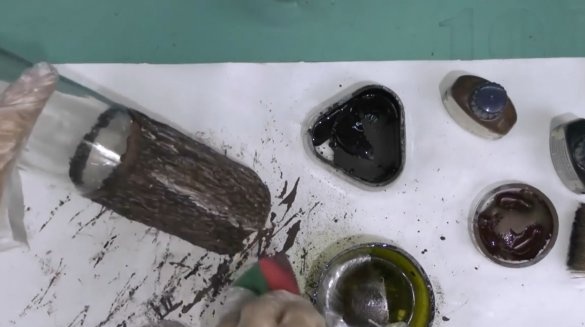
He will use dyes for acrylic paint as a topcoat. He has a lot of them, and he decided not to even dilute them with paint.
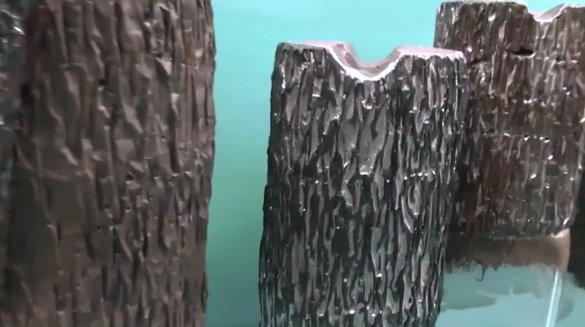
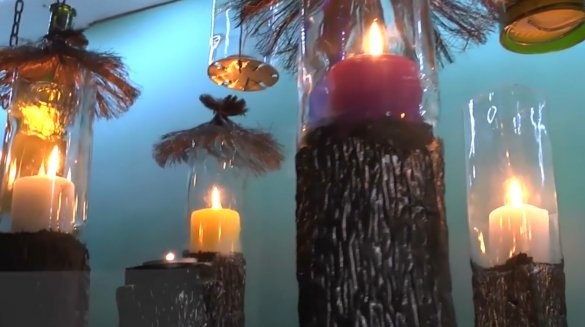
Having experimented with various dyes and methods of painting, such "logs" are obtained.
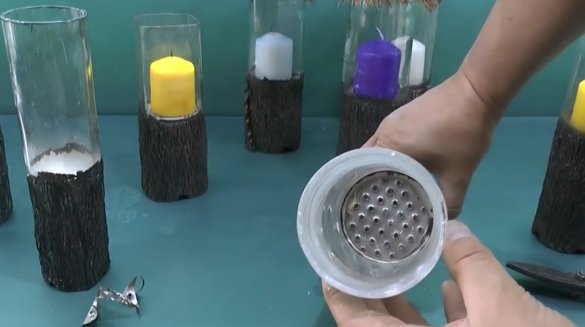
From the perforated steel sheet, I cut out mugs along the inner diameter of the bottles, and inserted them into the bottom. You can use steel mesh.
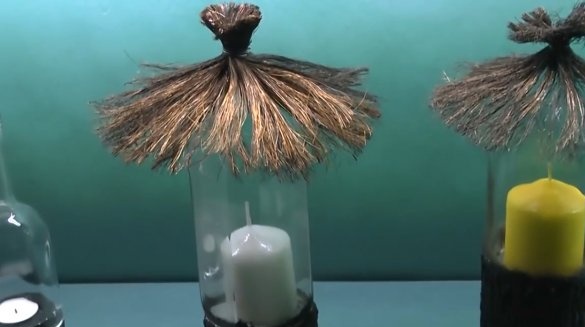
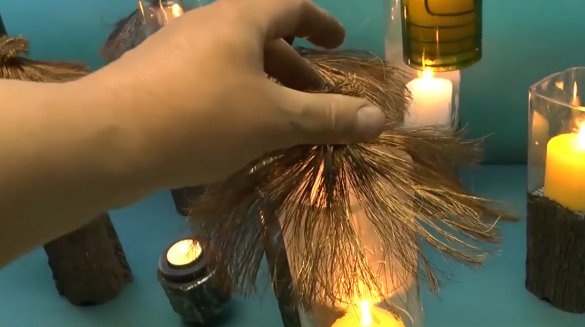
There remains the last detail, the thatched roof.
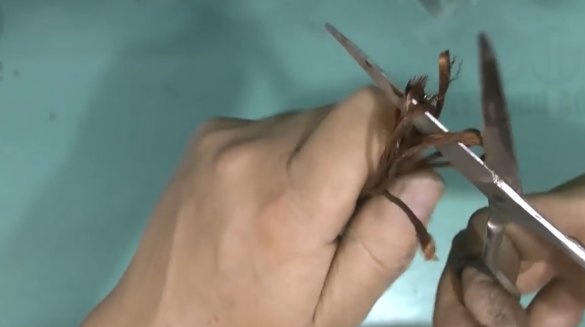
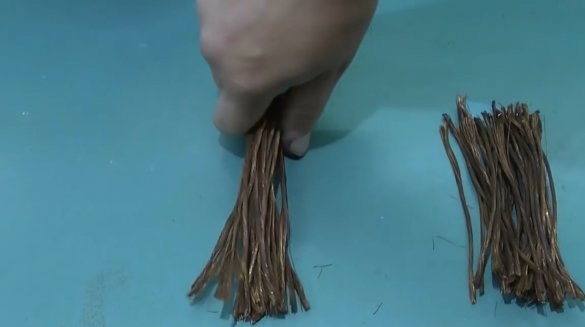
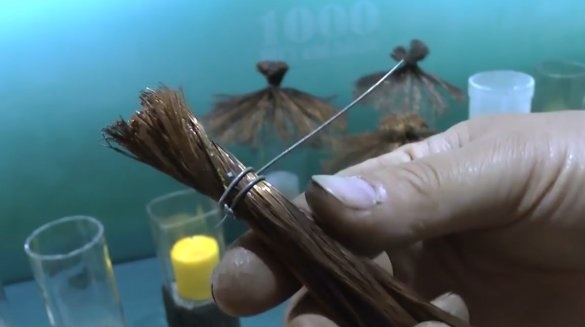
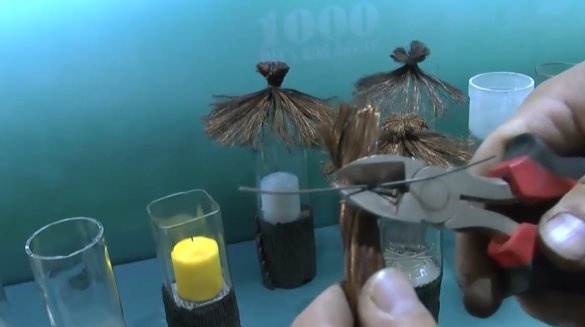
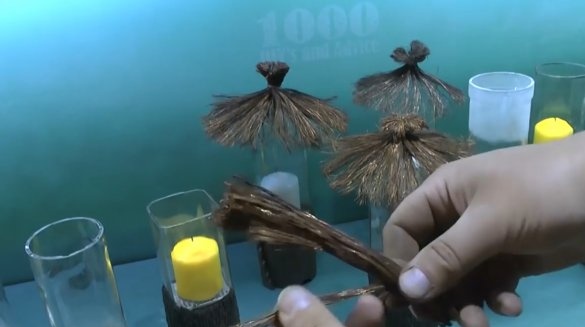
For its manufacture, the master cleaned the stranded copper wire from insulation, and cut it into pieces of the same length.
In the future, the upper part pulled the bundles with steel wire in two turns, and bit off the excess.
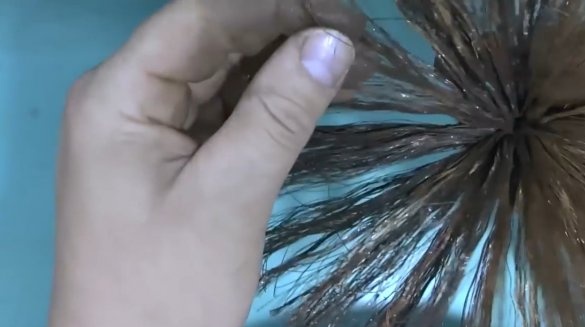
It remains only to fluff all the fibers, and make a semblance of a cone.
Most importantly, such a “thatched” roof almost does not heat up, it can be lifted even with a bare hand.
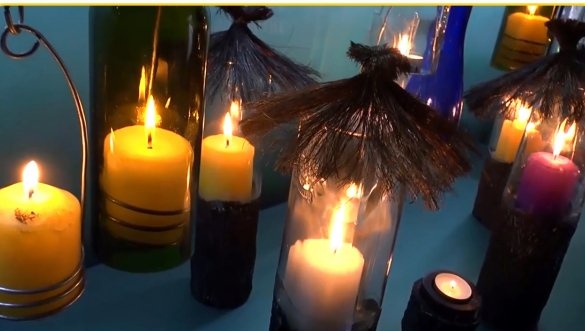
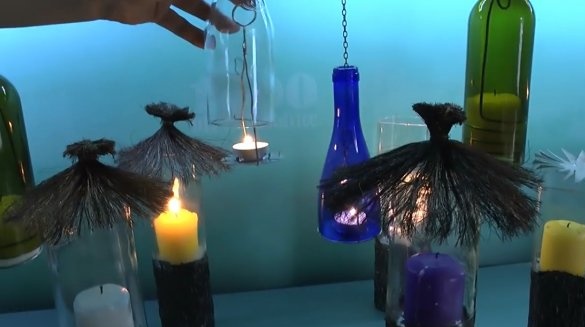
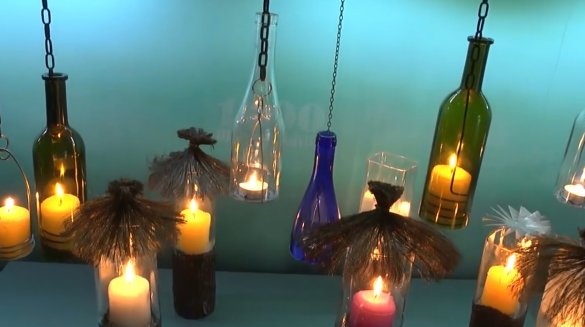
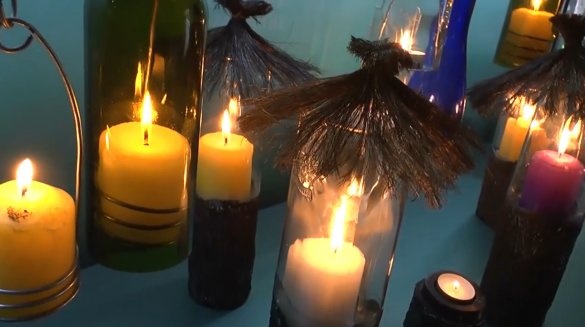
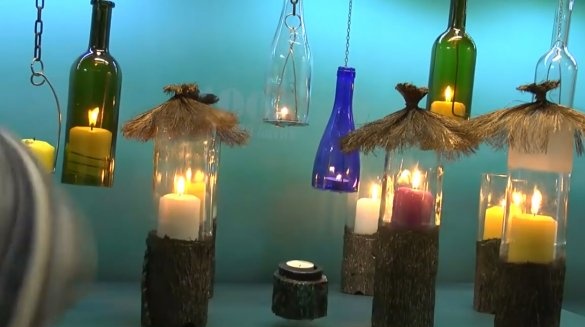
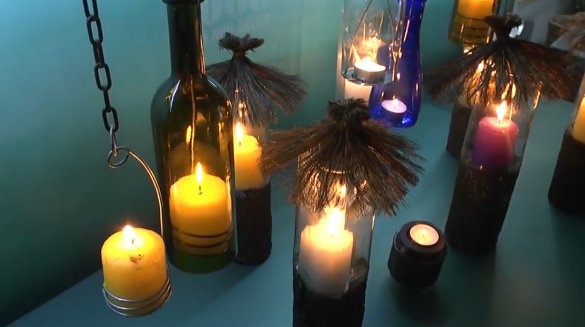
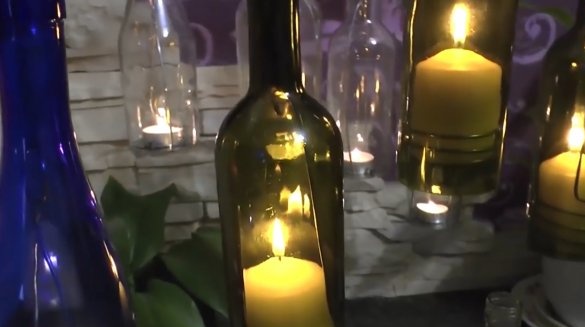
Here is such a great result from the author.
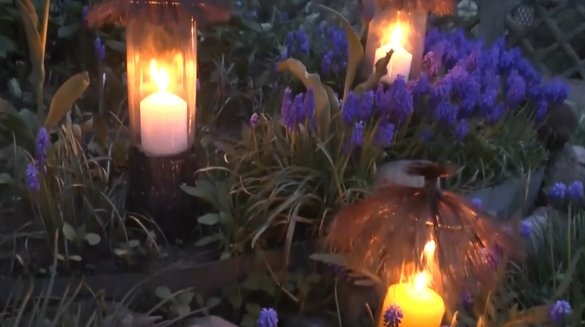
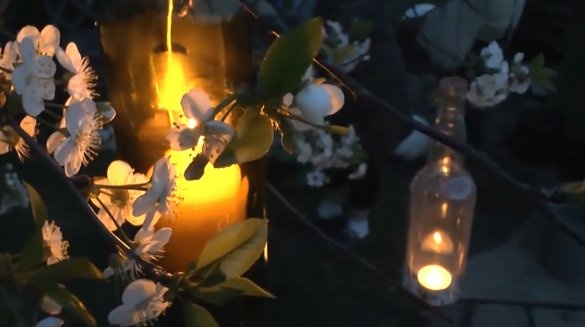
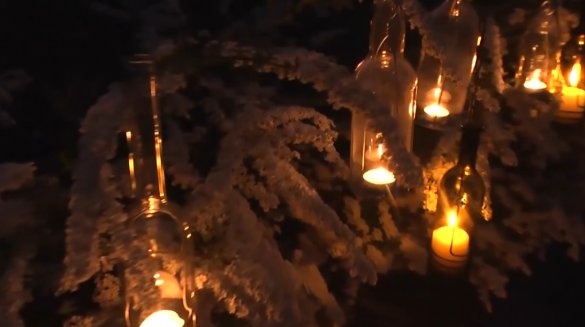
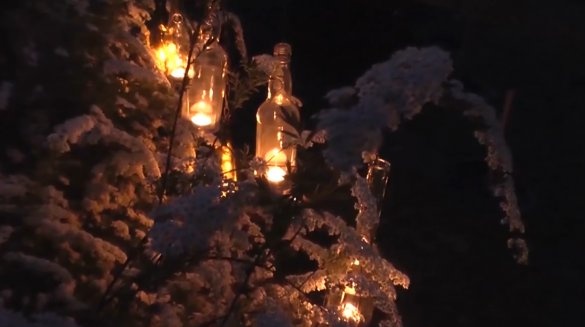
And so beautifully these lamps look in the blossoming garden.
Thanks to the author for a simple but interesting design solution for the manufacture of fixtures!
All good mood, good luck, and interesting ideas!
Author video can be found here.

