
Today will be an unusual project for connoisseurs to brainwash. The author of the channel "DreadCraftStation" will show how he do it yourself made unusual chess from epoxy.
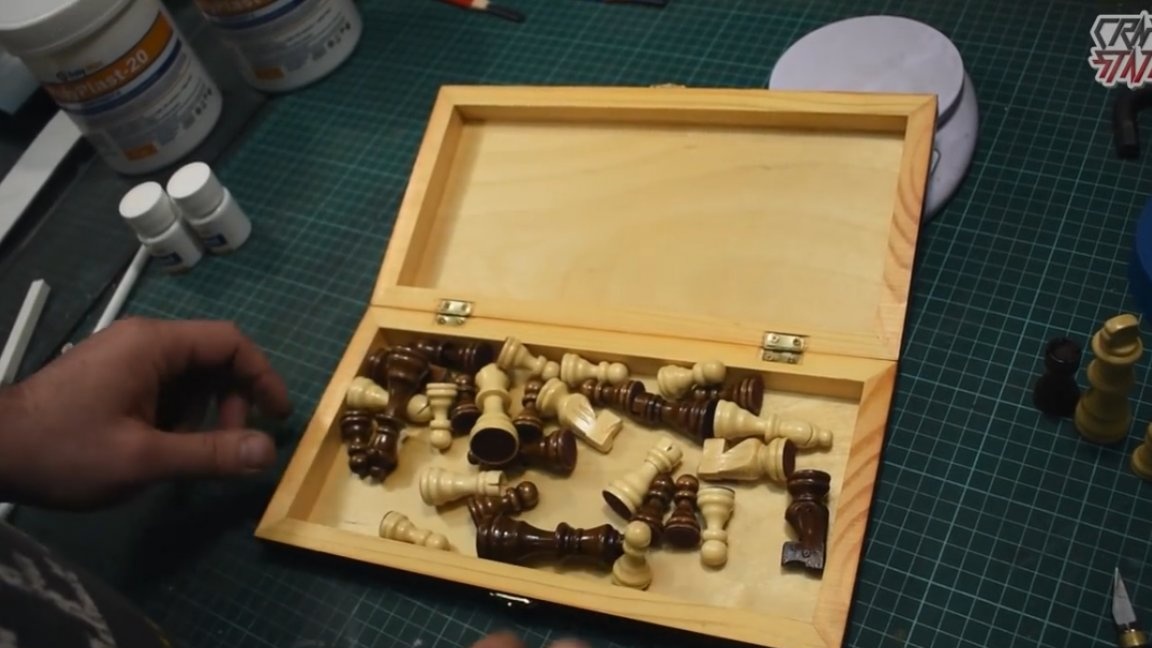
First you need to do the casting of the chess pieces themselves. To do this, we need such a set of the most ordinary chess.
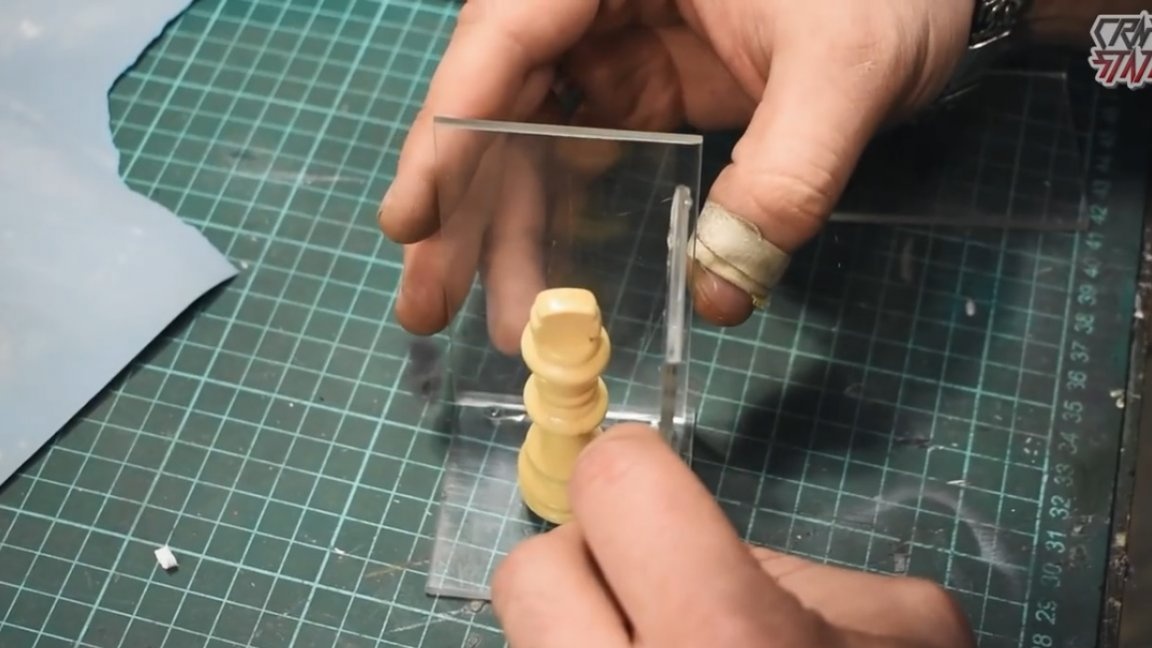
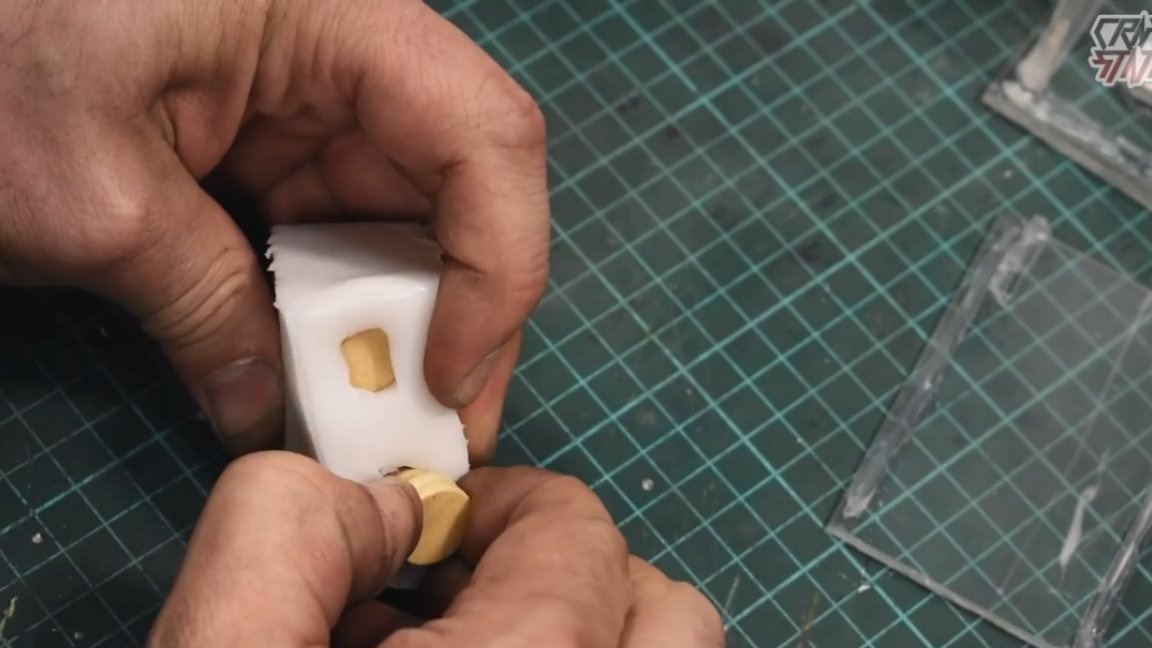
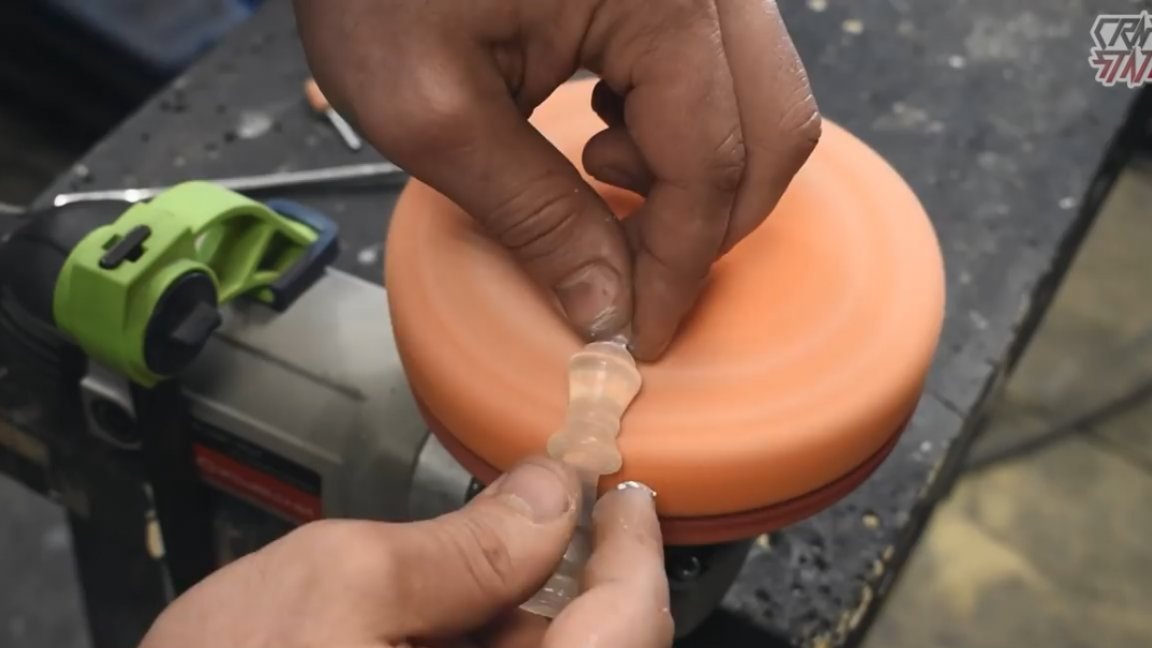
From the figures from which we will take casts, it is necessary to remove the felt glued to the bottom. Instead, you need to glue with a hot glue a small square of PVC plastic.
Further, from acrylic (or any other plastic), it is necessary to make a formwork for each figure. To do this, cut acrylic into small rectangles and squares, it all depends on the shape, and glue the whole thing with hot-melt adhesive into something similar to boxes.
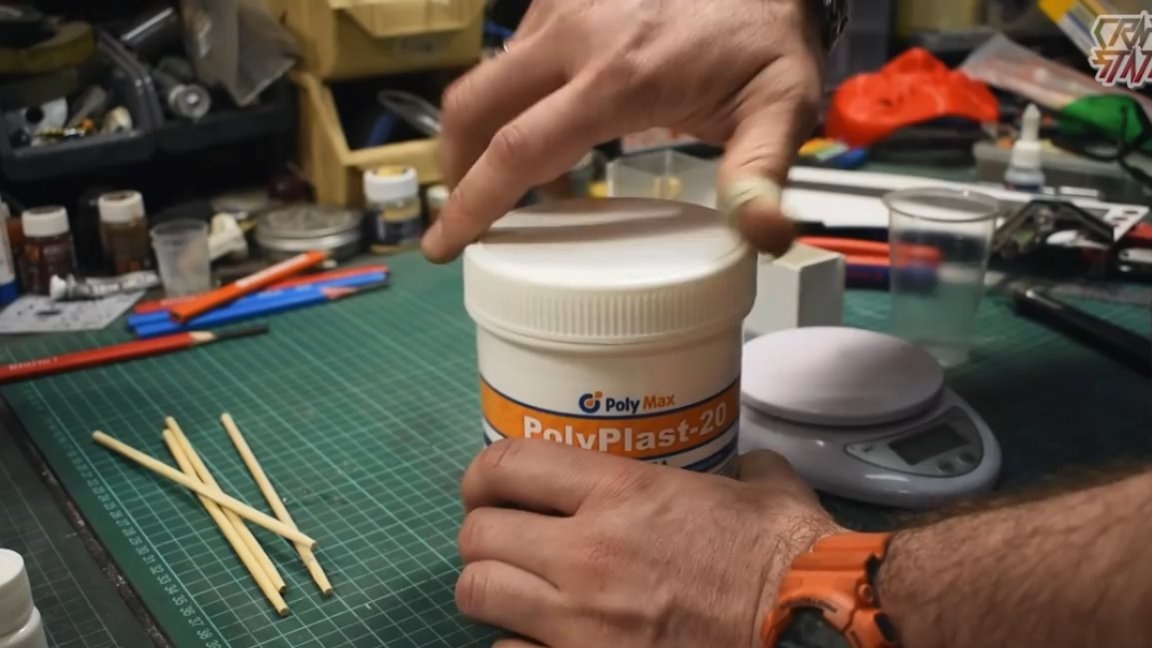
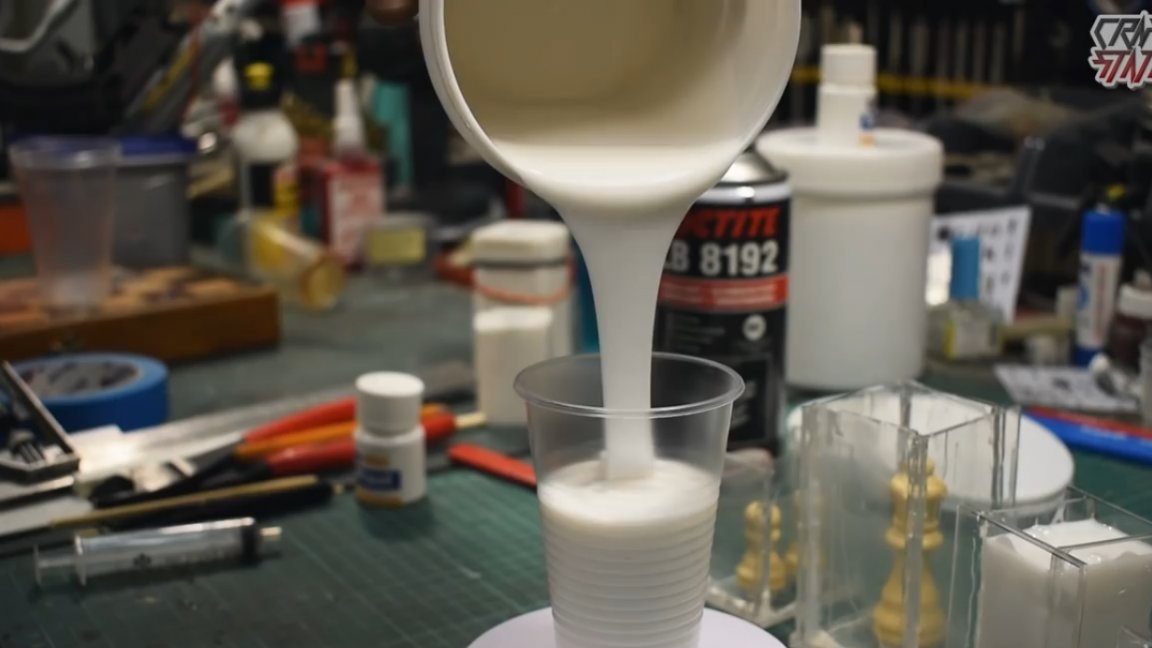
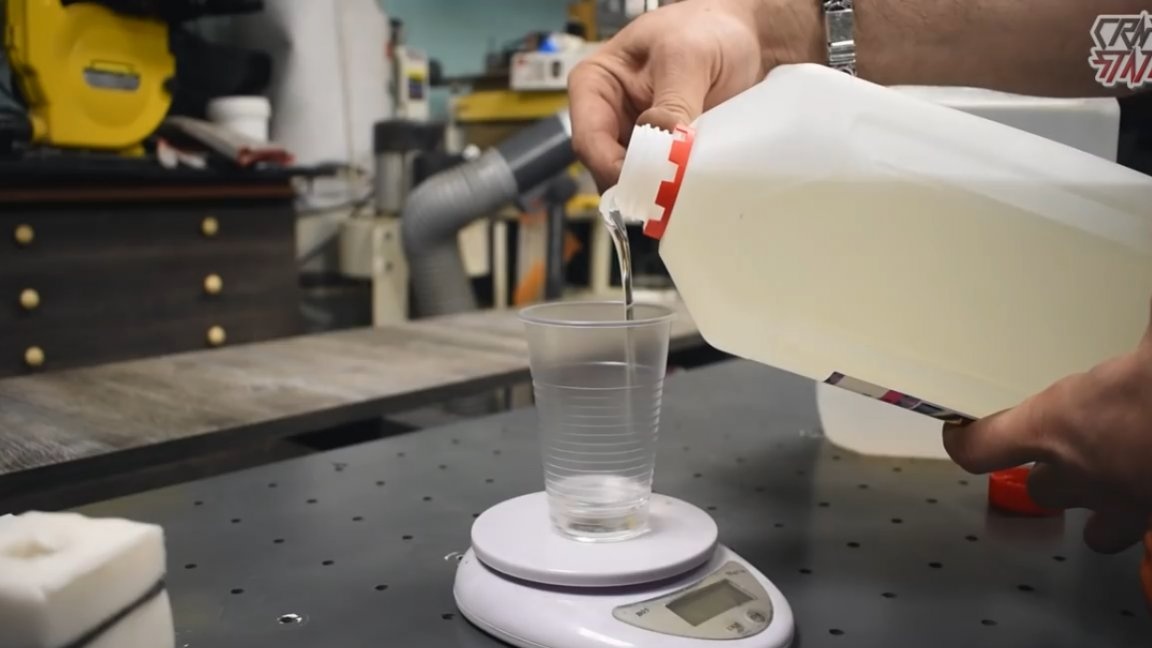
The first stage is completed, now you can start pouring silicone. But first, before pouring the silicone, it is advisable to spray with a wax separator, since Teflon leaves white spots. Then we dilute the silicone in a ratio of 100: 2 and fill the mold.
Eight hours later, silicone completely hardened and can now be removed from the formwork. Well, in order to pull out the figure itself from silicone, you will have to cut the silicone mold, it is better to zigzag, because when pouring the epoxy into the mold it will be more difficult for it to leak out of any small cracks.
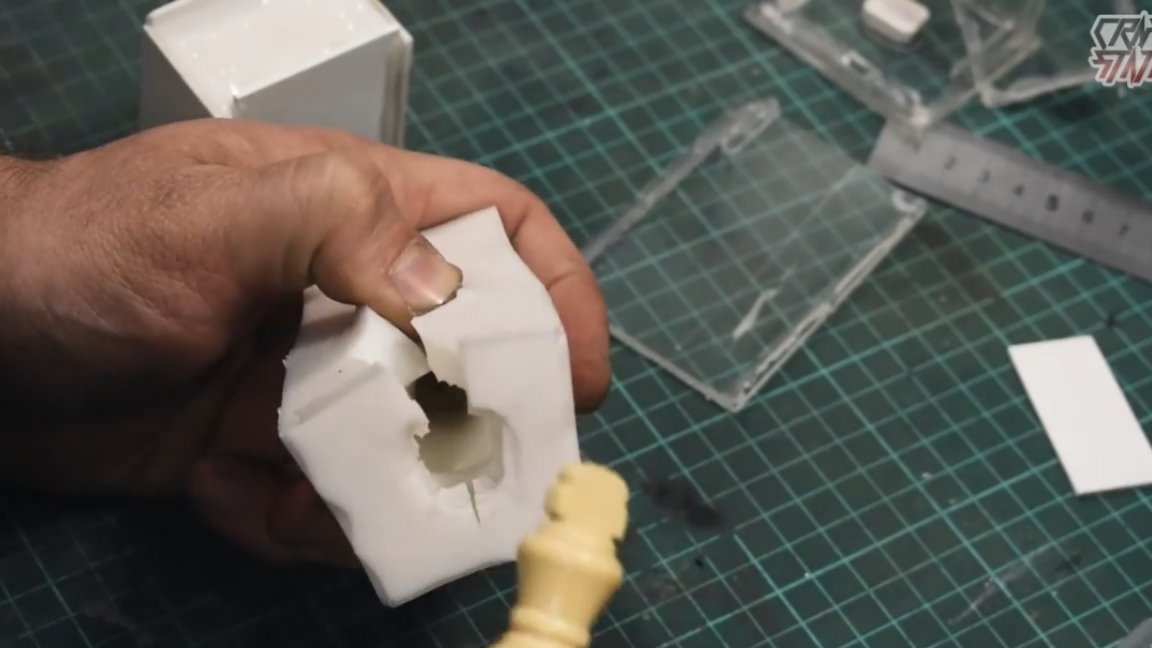
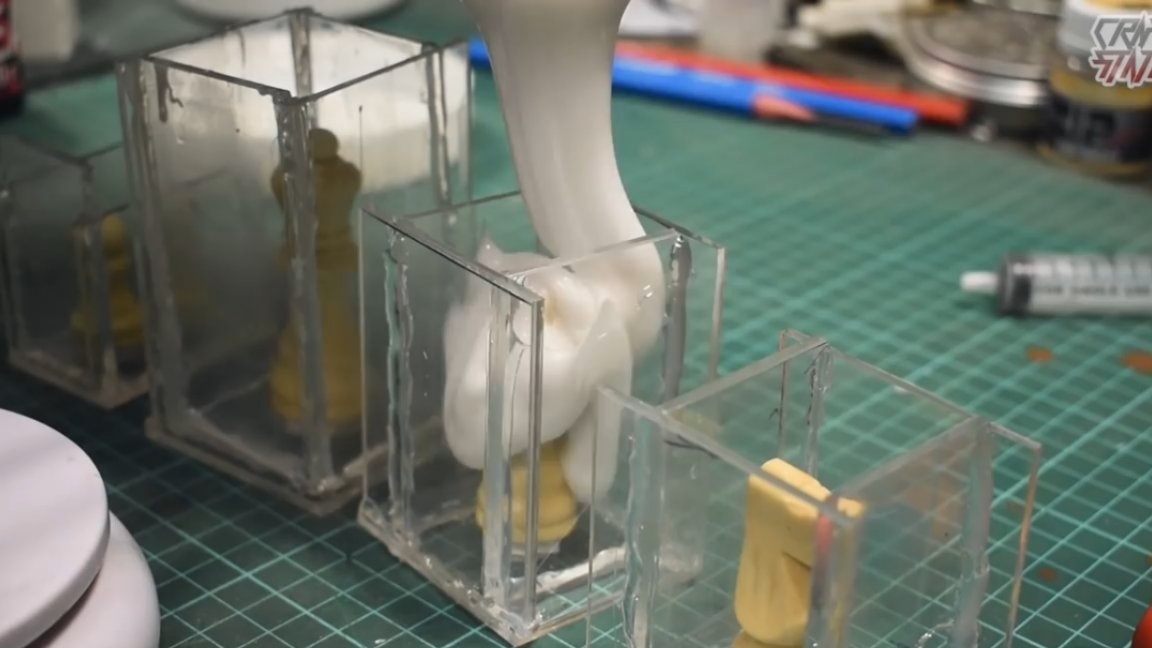
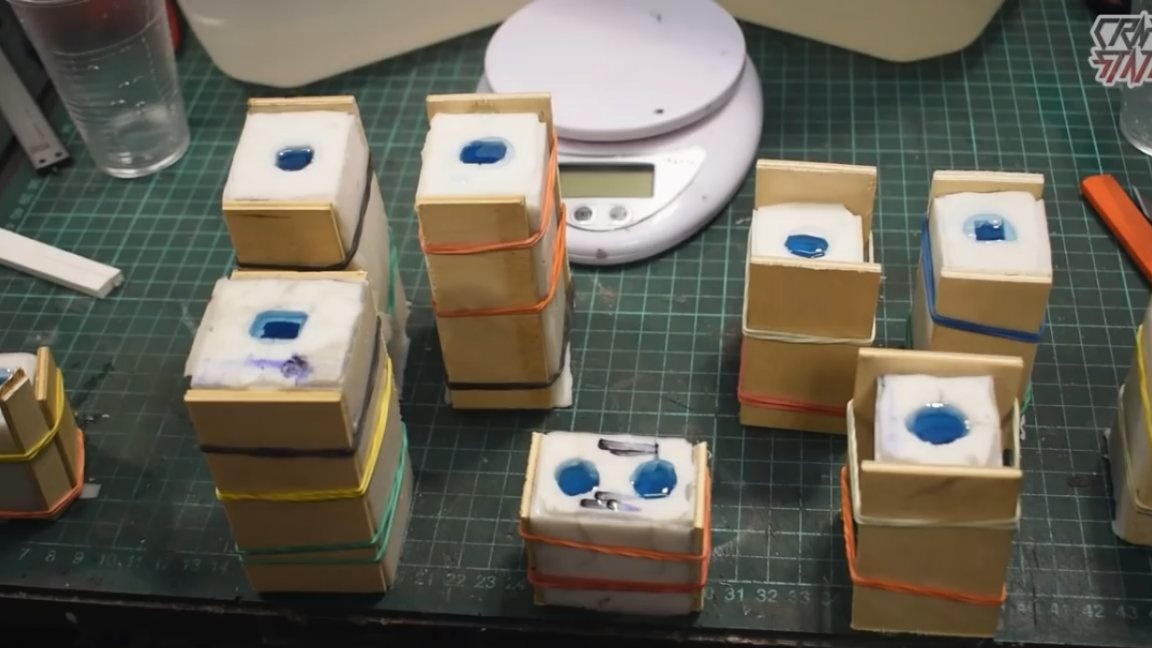
Now you can start pouring our shapes. To reduce the consumption of silicone to a minimum, the author made forms only one piece for each figure. Only pawns became an exception, for them the author made 2 forms, since there are a lot of pawns - 16 pieces.
The curing time for this epoxy is 72 hours. In theory, for the specified time, all air bubbles should come out on their own, but for prevention, you can knock a little on the flooded forms, for example with a screwdriver, so that all the bubbles come out of all the corners and crevices. But the best solution of course is to use a vacuum pump.
On top of the silicone molds, thin plywood formwork will be superfluous so that the silicone holds the mold better and that the previously made zigzag cuts are closed along the entire plane, thereby eliminating the leakage of epoxy. To fix the plywood formwork, the author used ordinary stationery elastic bands.
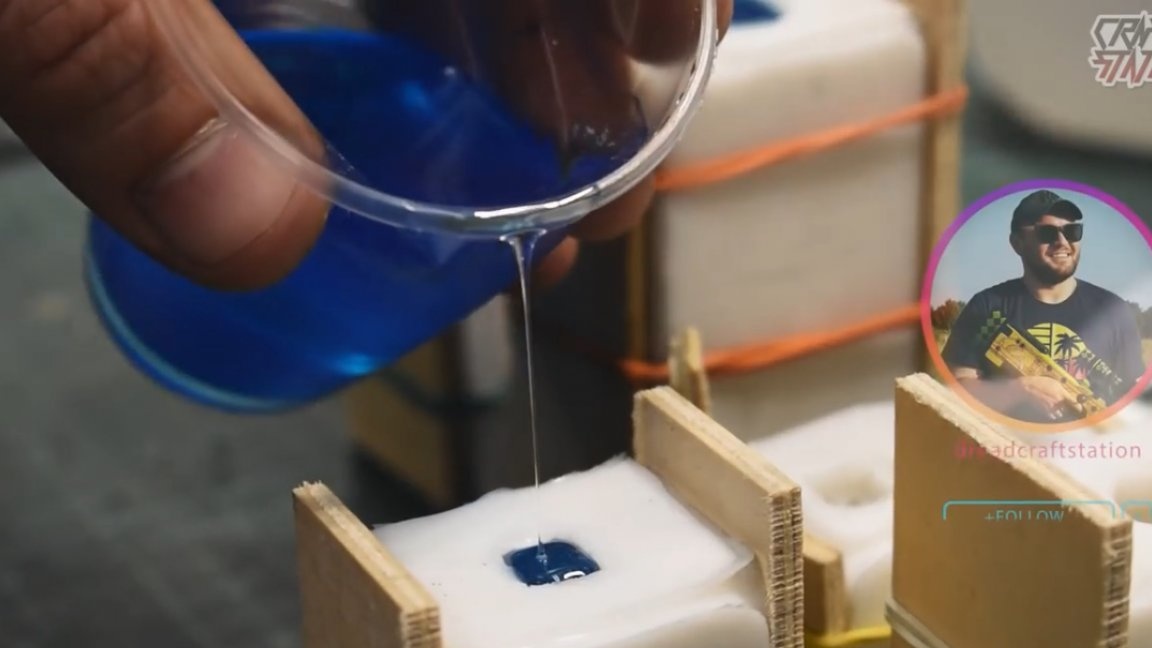
Attention! Before pouring epoxy, it is necessary to process the silicone forms with a wax separator, since the epoxy resin has strong adhesion, due to which it sticks to almost everything.
72 hours behind, it's time to extract the shapes from the shapes. It turned out pretty well.
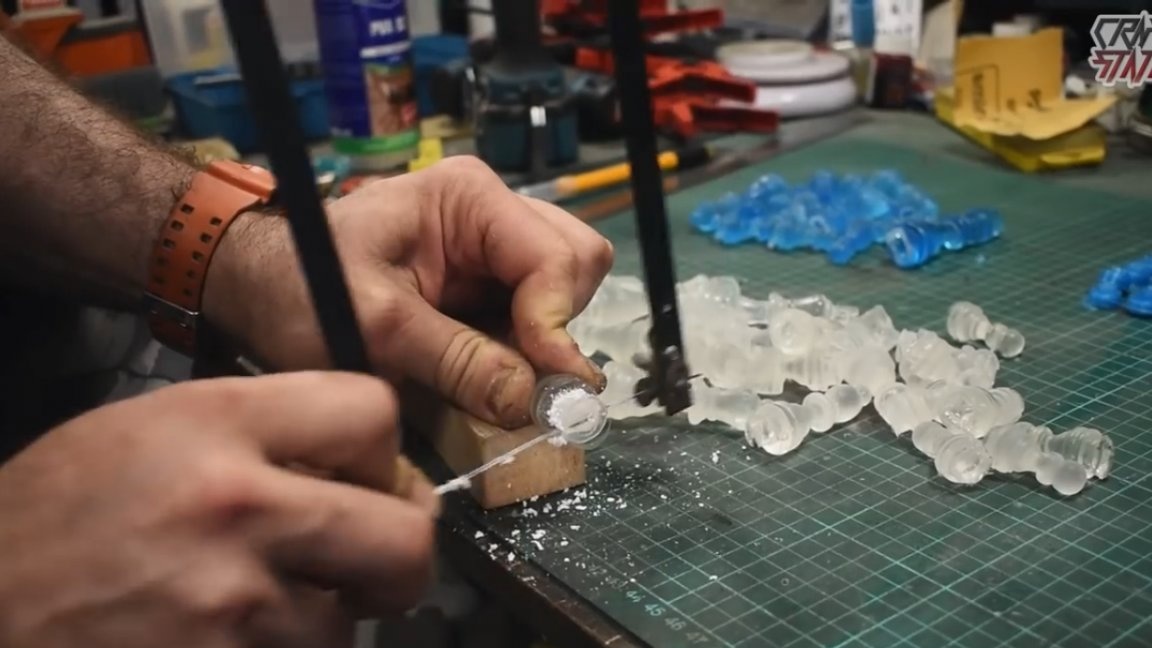
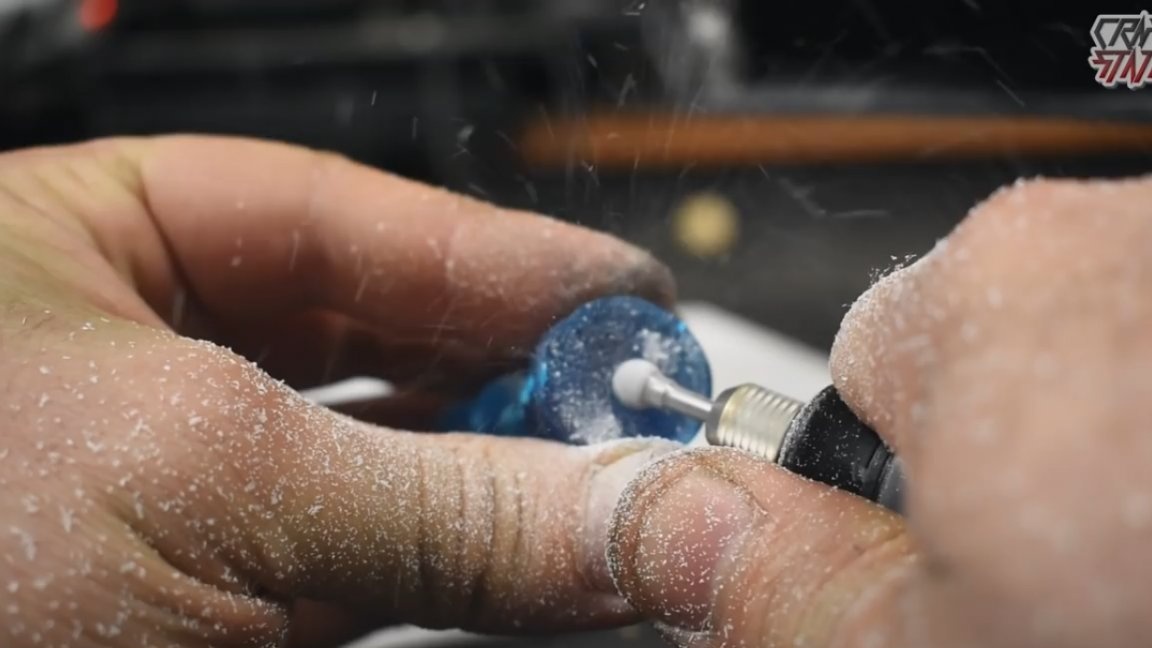
Excess epoxy from each figure can be easily cut off with a jigsaw, and only then sanded to perfect condition with sandpaper.
Such a foam polishing disk of medium hardness and 3M paste are perfect for polishing figures.
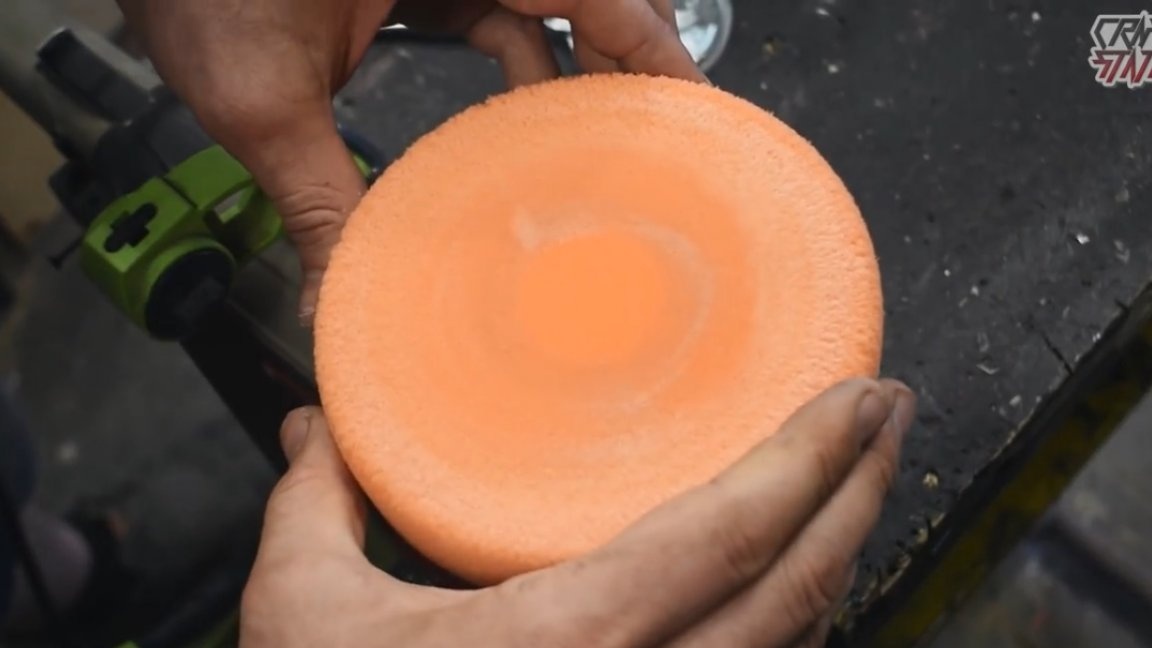
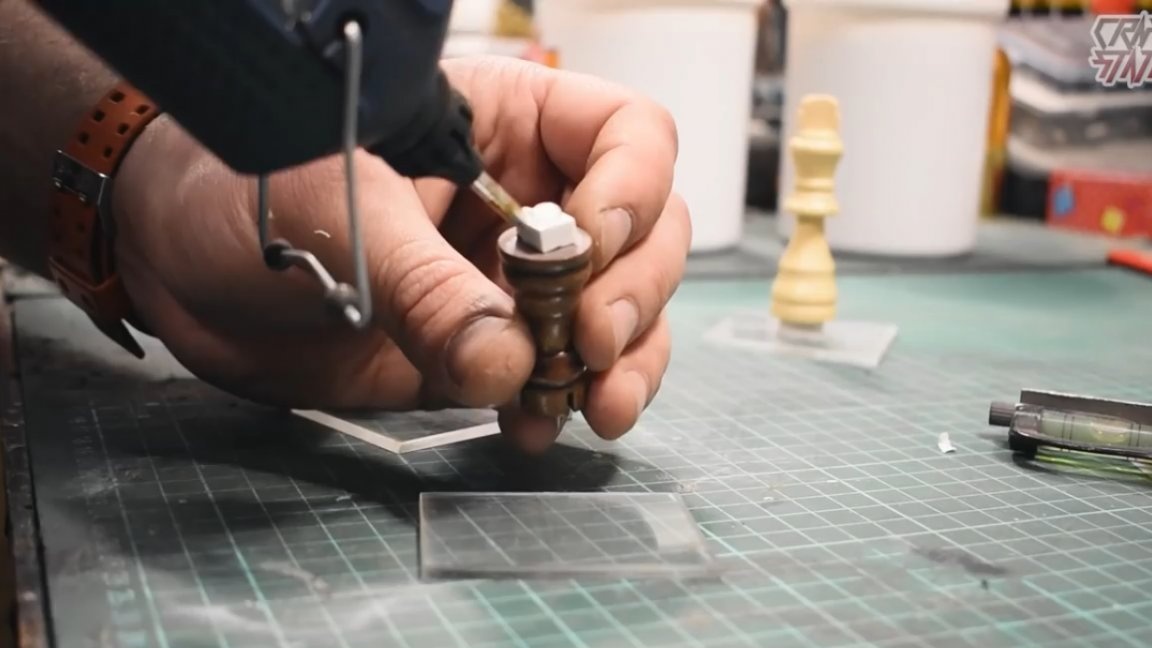
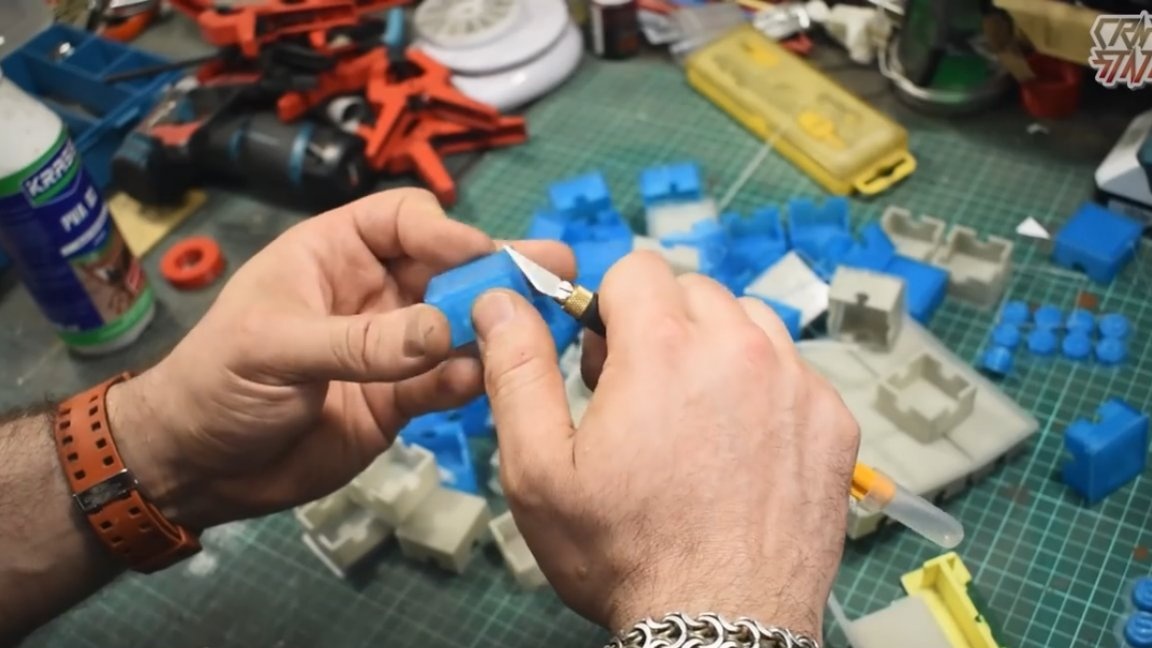
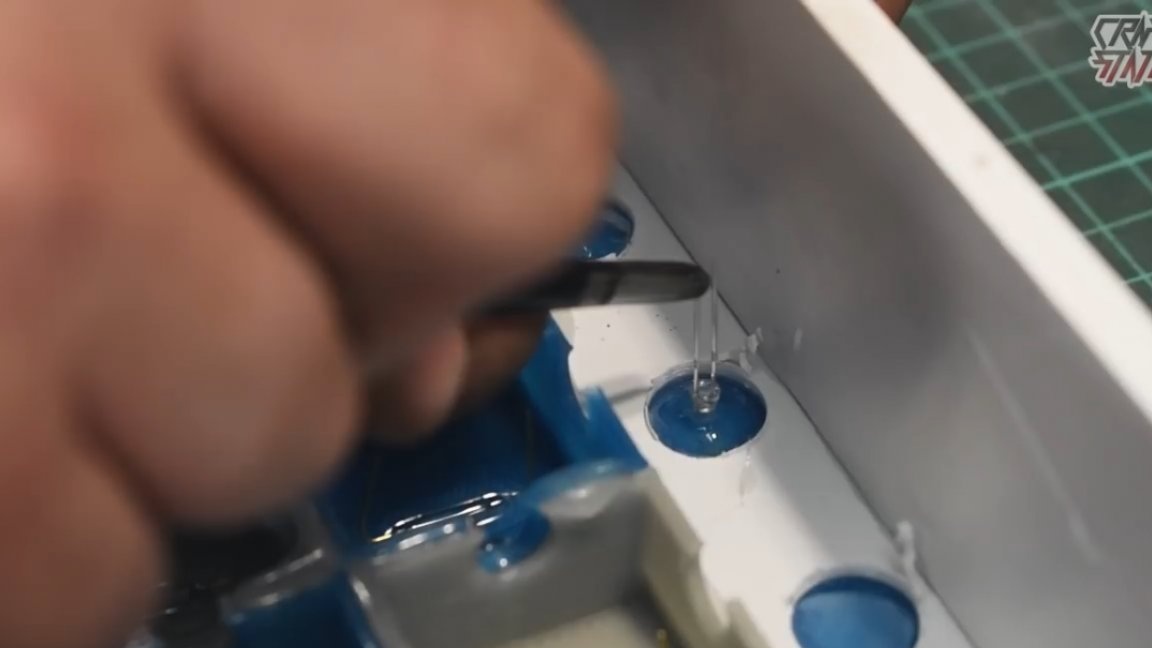
Such a polishing paste can be purchased in almost any car shop. Well, now the most interesting part, it will be necessary to make a small depression in absolutely every figure and glue a small neodymium magnet into this depression. Why do you need this, you will understand a little later.
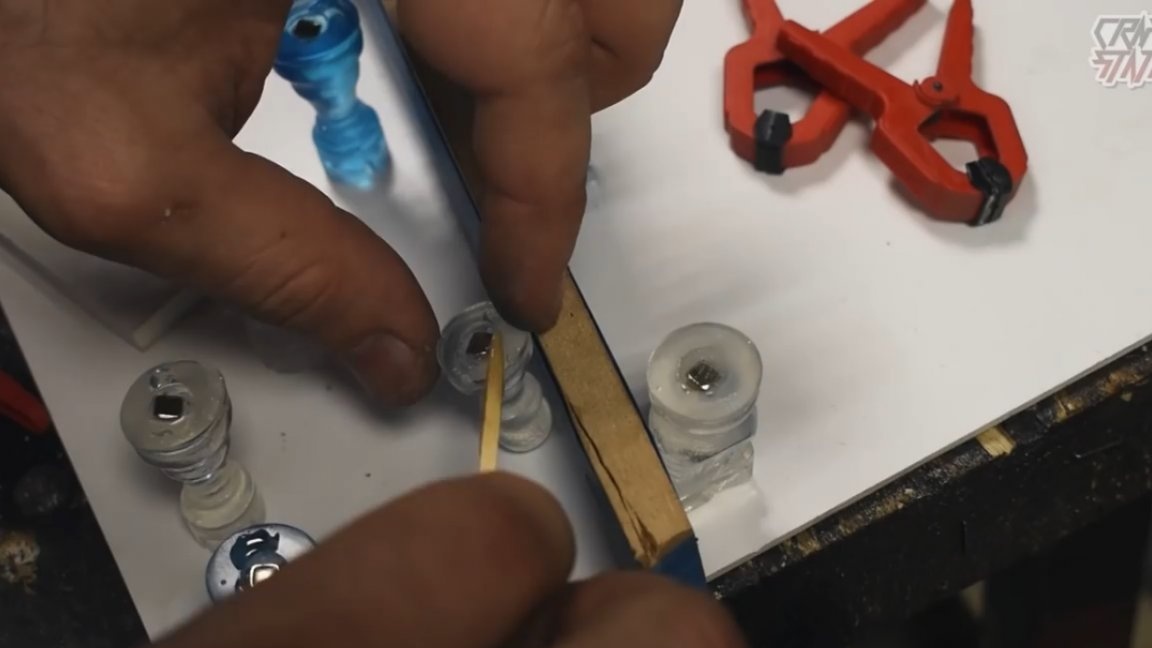
It’s better to glue magnets onto epoxy glue, superglue is not suitable for this purpose, since it leaves matte stains, and on transparent chess pieces it will not look very good.
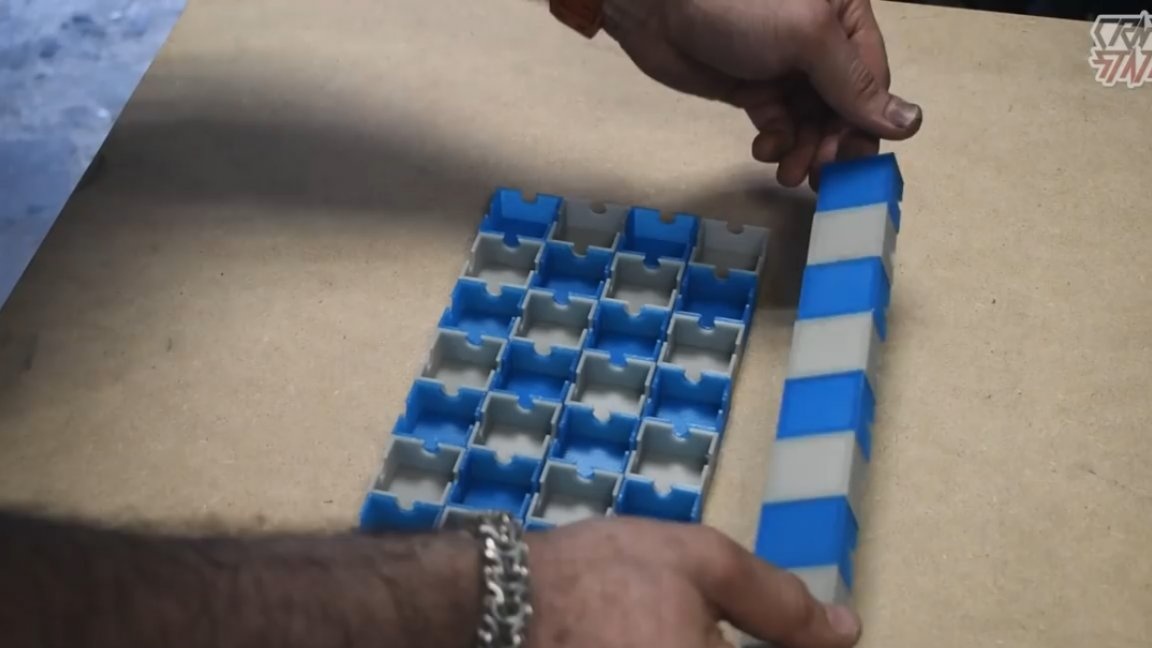
With the figures finished. Now let's make a chessboard. Its author decided to print on a 3d printer, or rather print the cells themselves (or cells). Each cell will be as a separate part, from which we then glue the entire board.
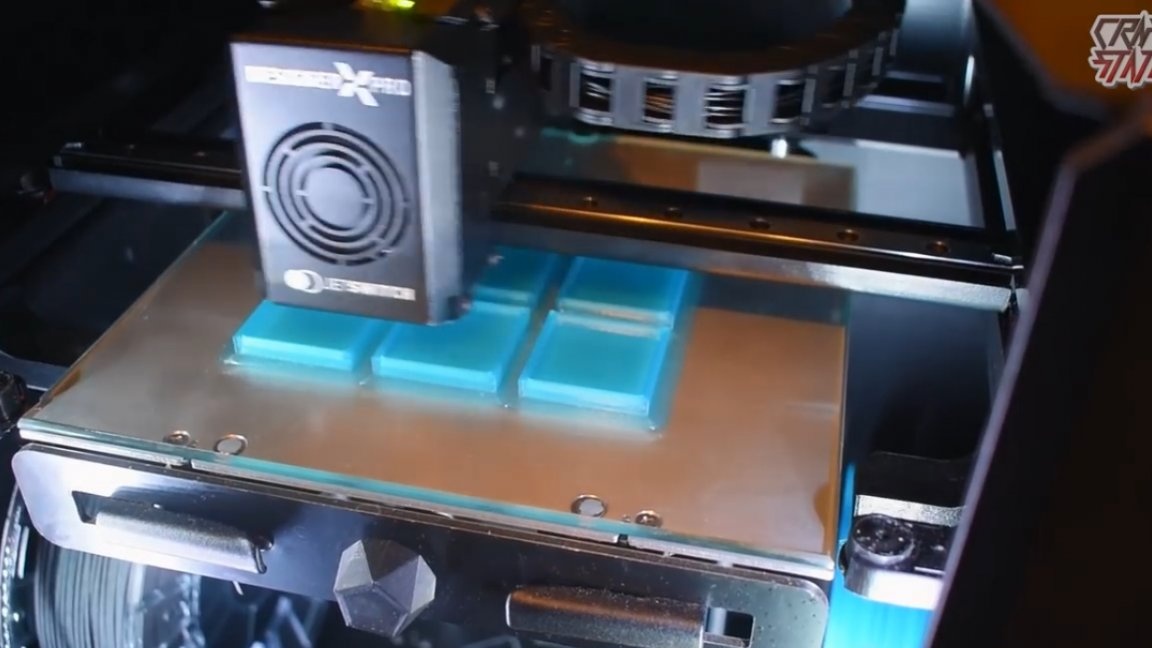
The author printed, by the way, with unusual plastic, but luminescent and fluorescent. White cells are printed with fluorescent plastic that glows in the dark, well, blue cells are printed with fluorescent plastic that glows with ultraviolet light. By the way, letters and numbers are also printed in blue fluorescent plastic. Printing is completed, now it is necessary to cut off everything unnecessary on the cells and assemble everything into one.
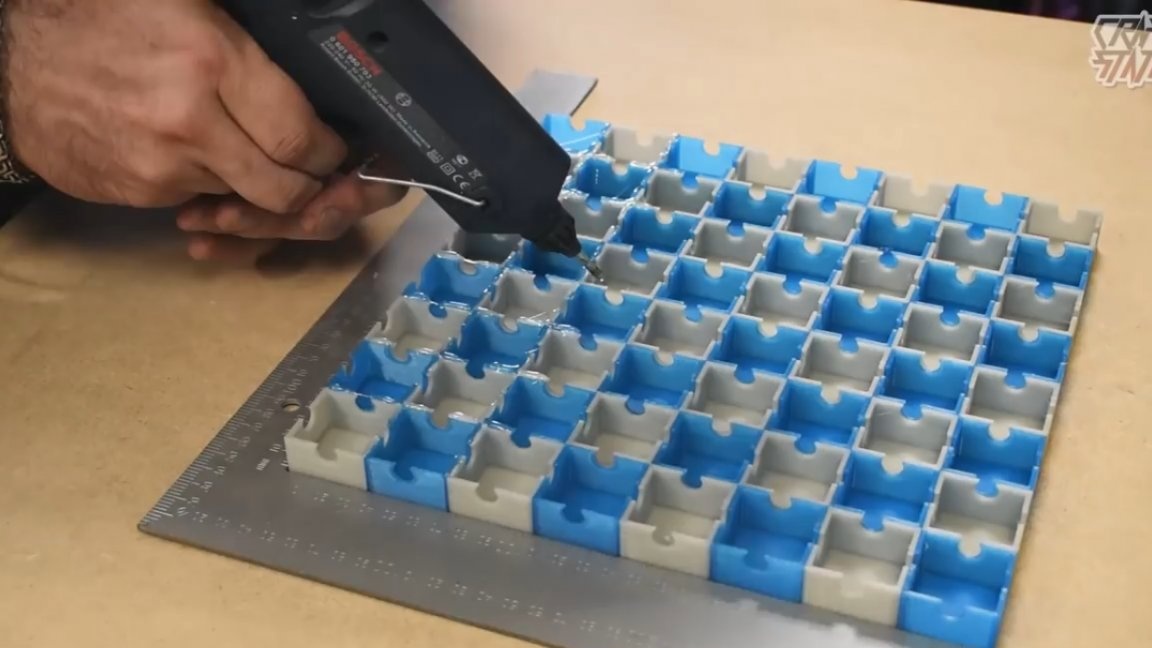
It is necessary to assemble the chessboard on a flat table and also use the angle to check the angles so that the geometry is not disturbed. Then the result will not disappoint, everything will be smooth and beautiful. You can glue cells (cells) with ordinary transparent hot-melt adhesive.
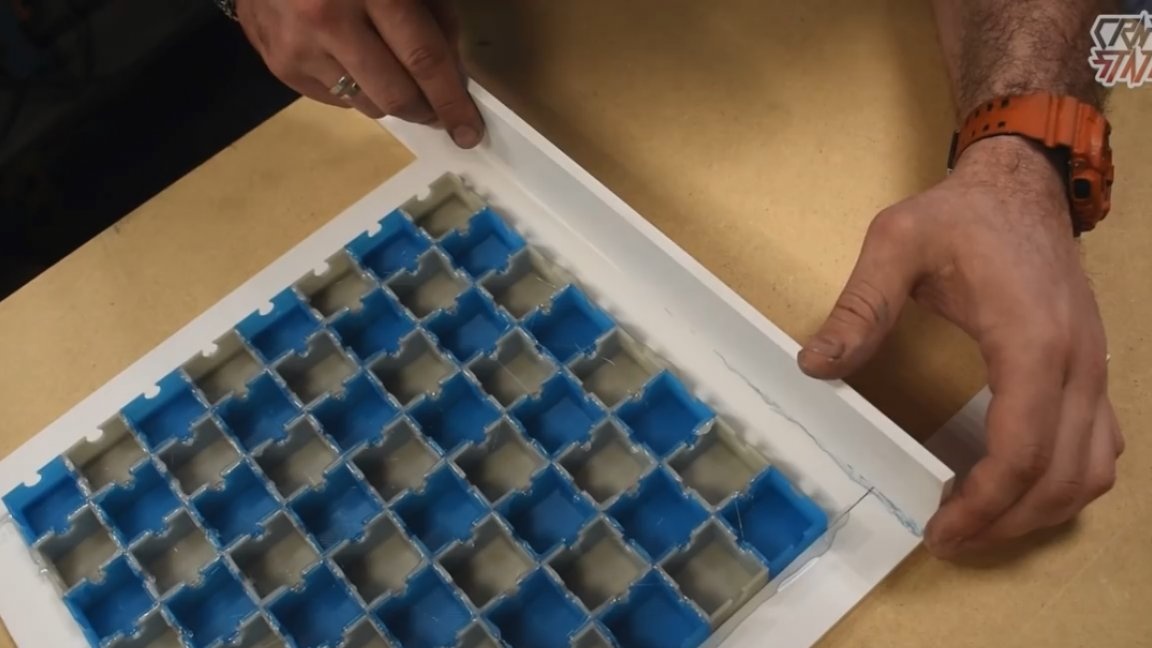
Now we are going to make a box around our chess battlefield, which will later accommodate the whole electronics. The first thing to do is stick these strips:
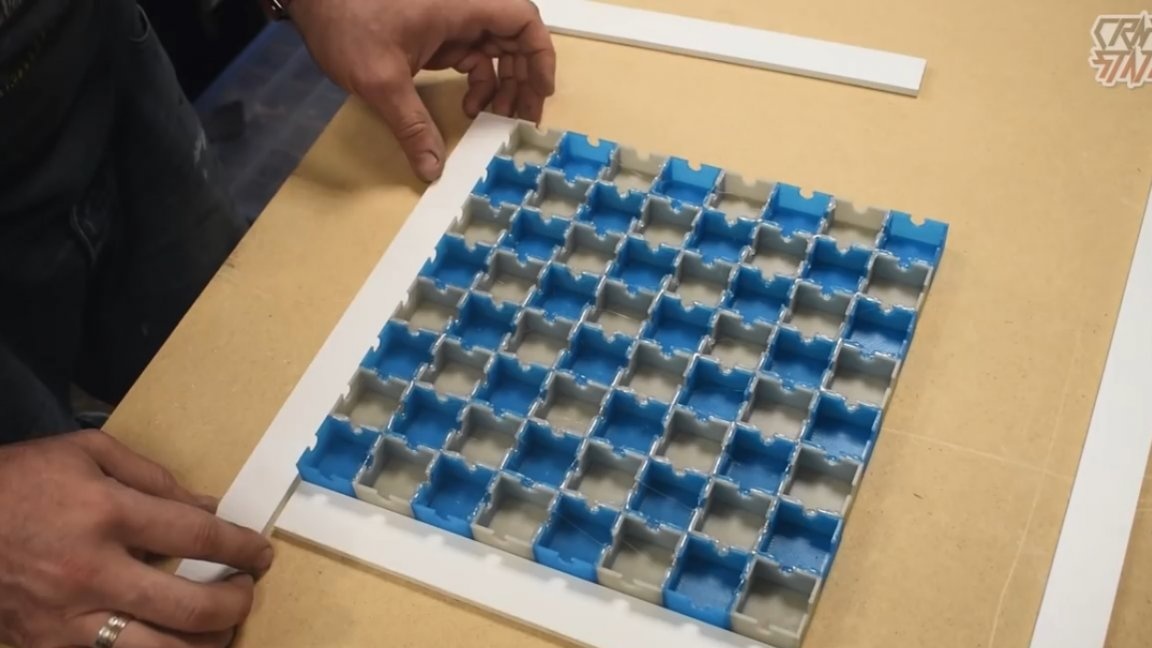
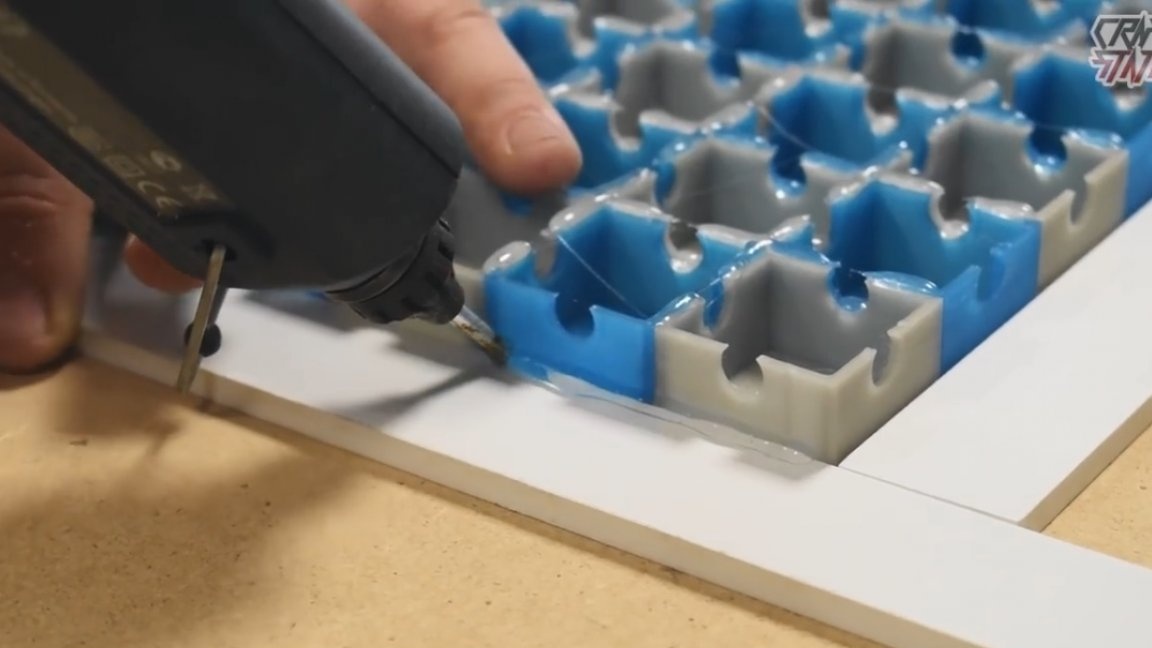
Printed items with letters and numbers will be located in these ports. The strips stick well with ordinary transparent hot melt adhesive. Well, it’s advisable to glue the rest of the details of our box with Cosmofen.
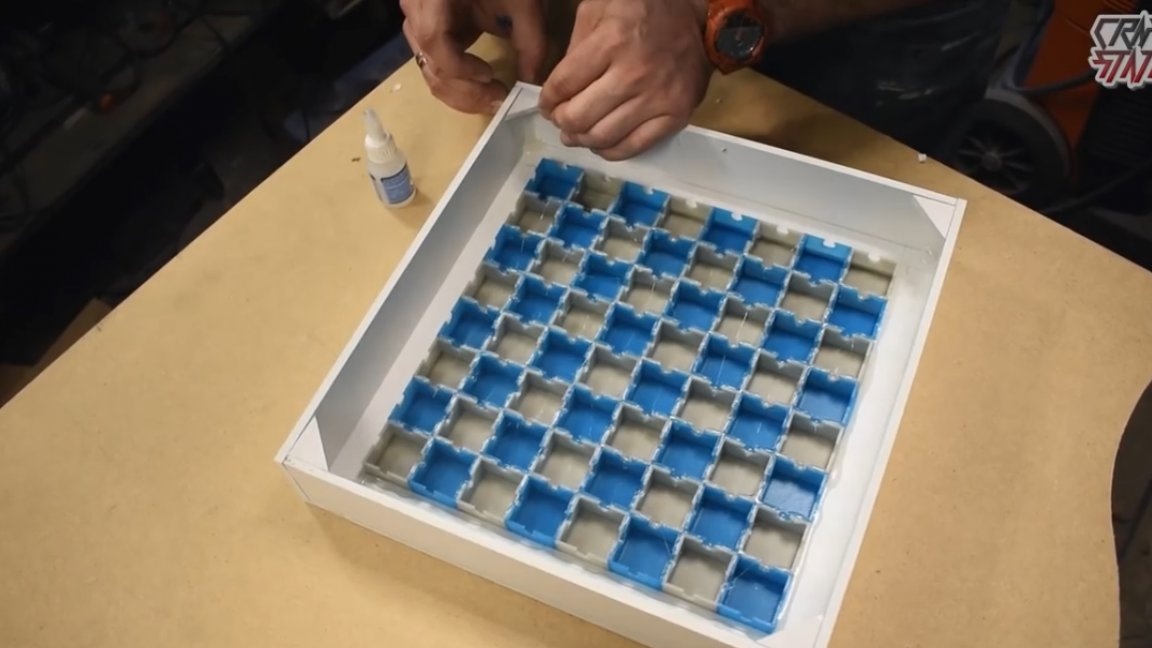
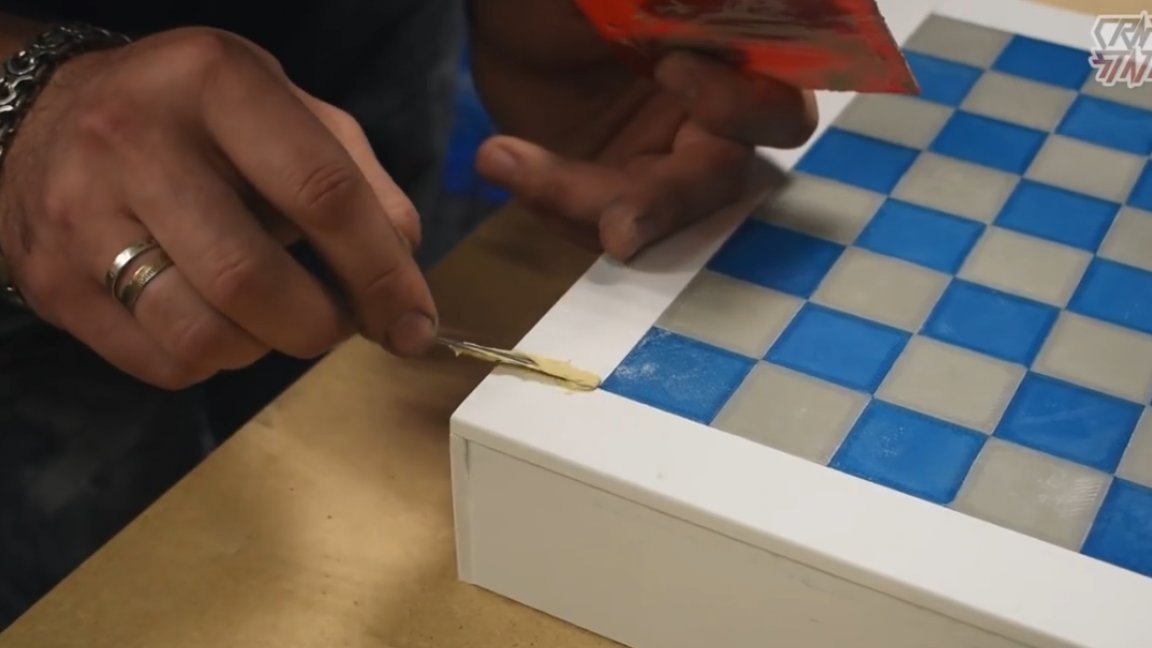
If at the junctions of parts large gaps are obtained, then they must be puttied. This is necessary so that everything is soundly and beautifully after painting.
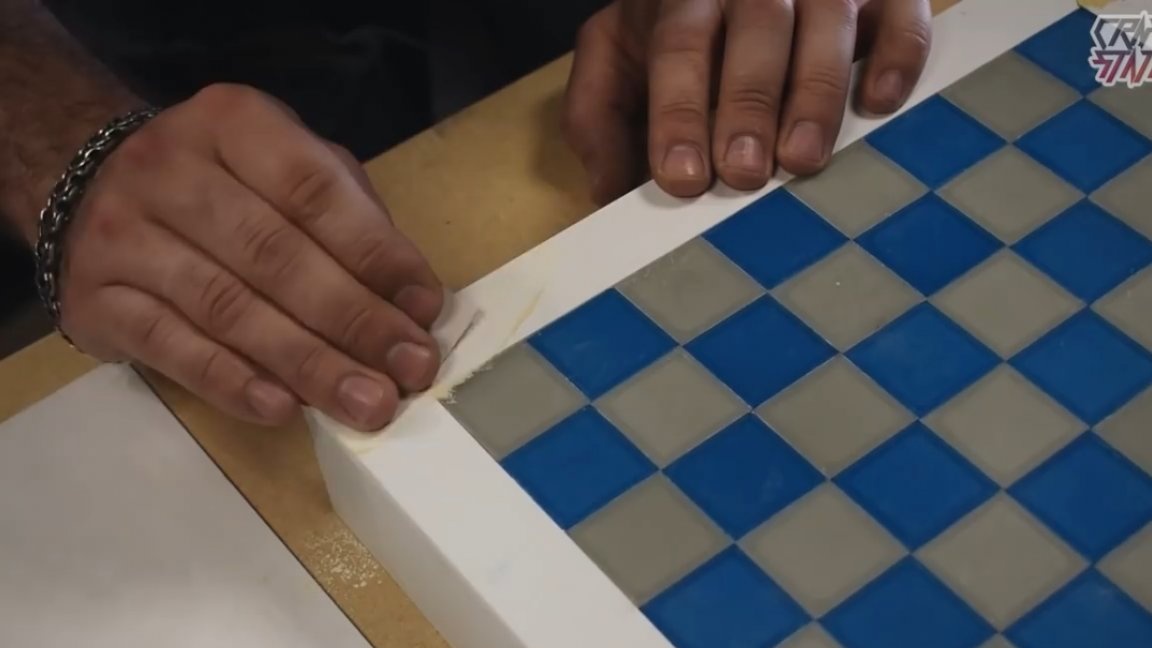
Also, for beauty, the author glued small bulwarks on the sides, with them the box will look more voluminous than without them.

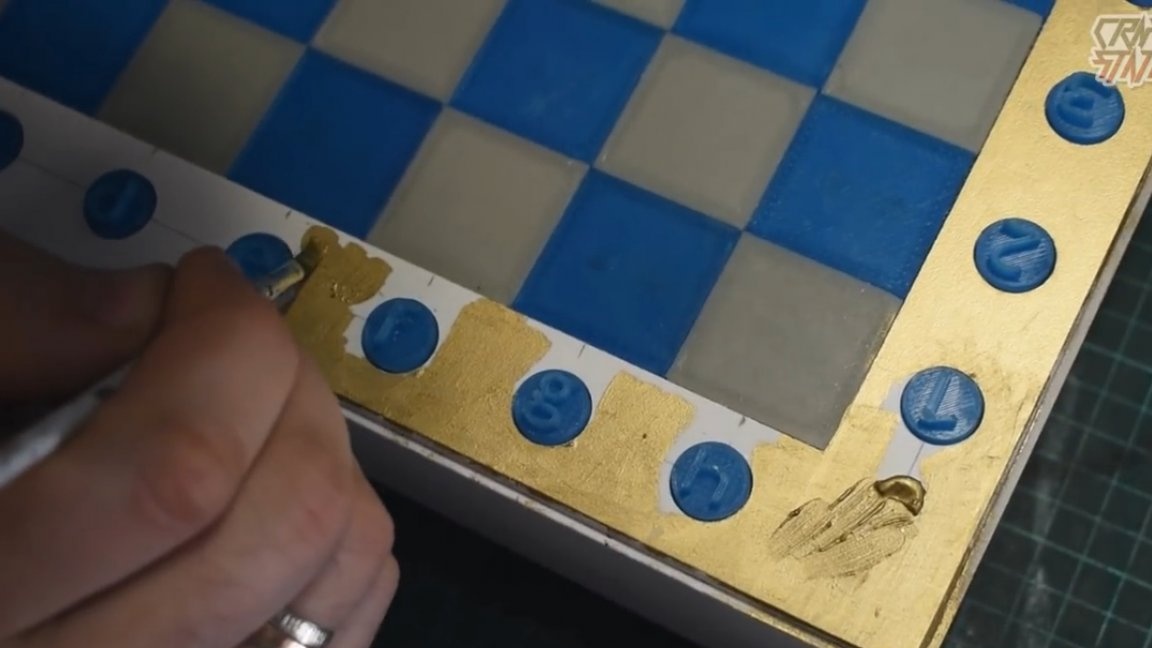
Then, using a ruler and a pencil, we mark up where the elements with letters and numbers will be installed.
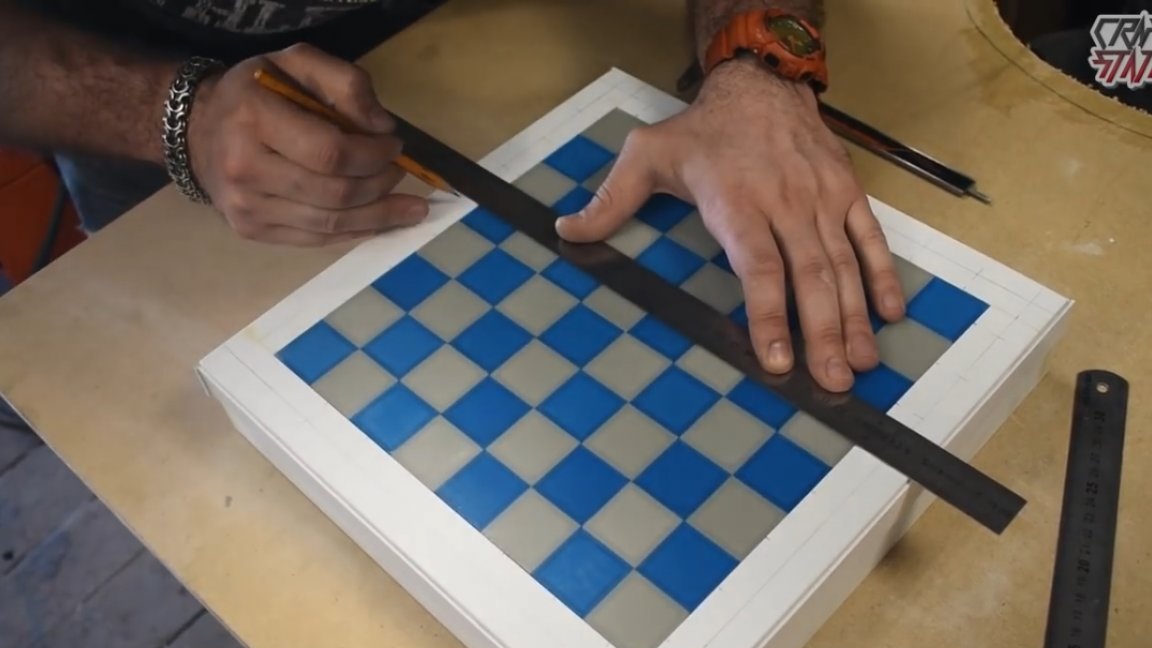
Now we drill the required number of holes (namely 32 pieces).
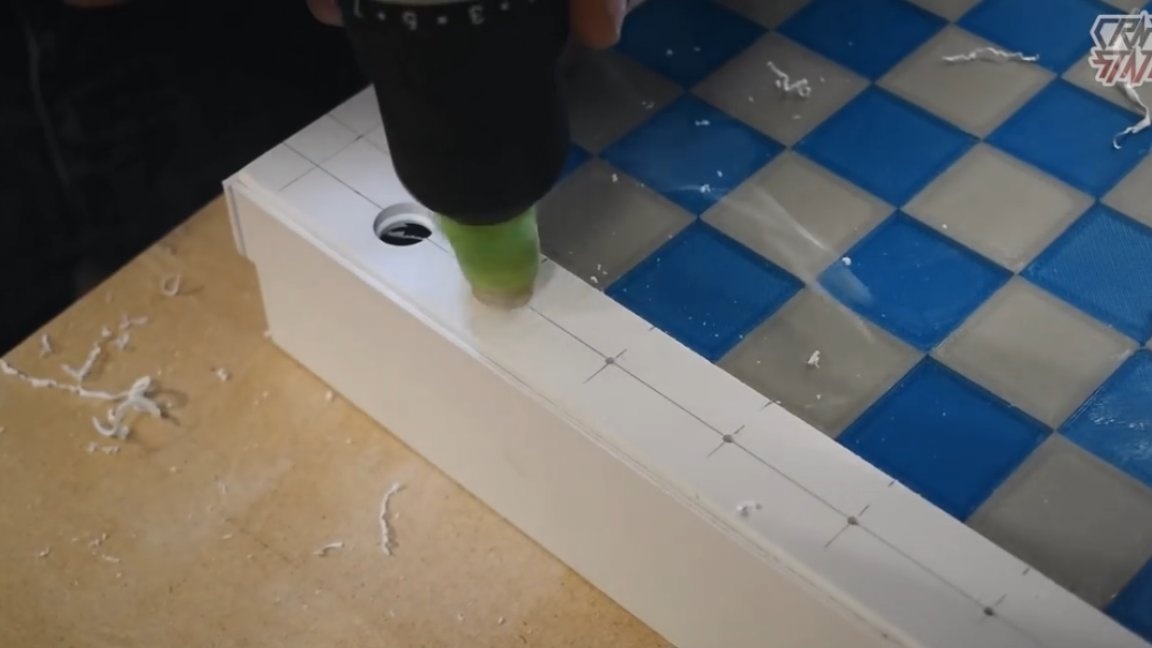
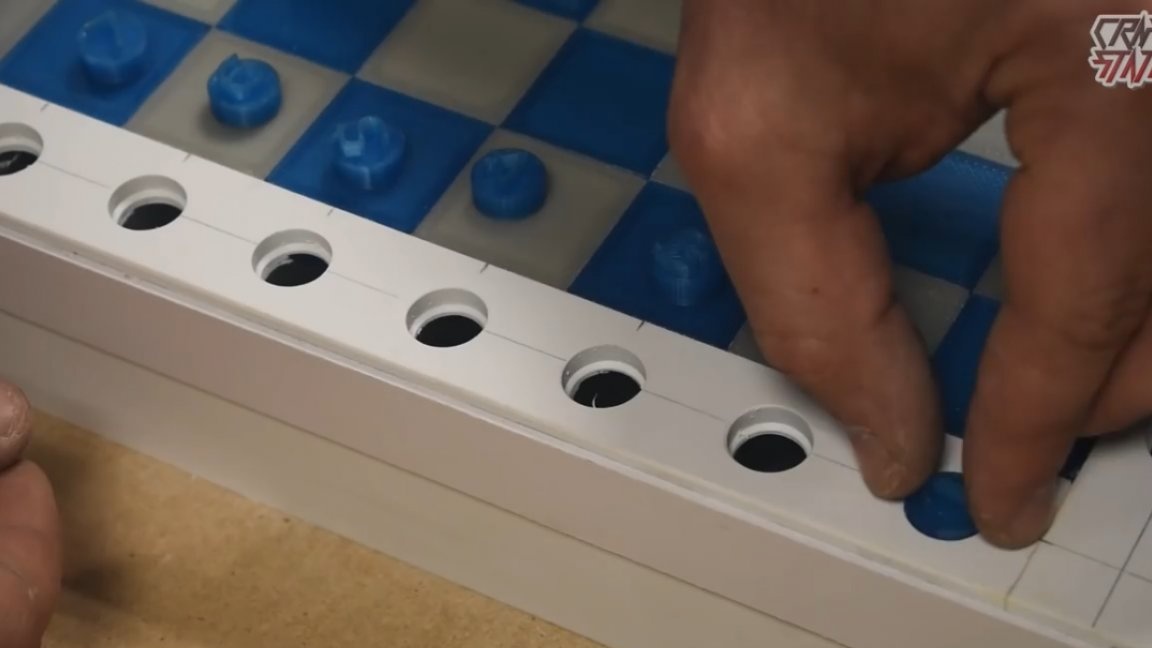
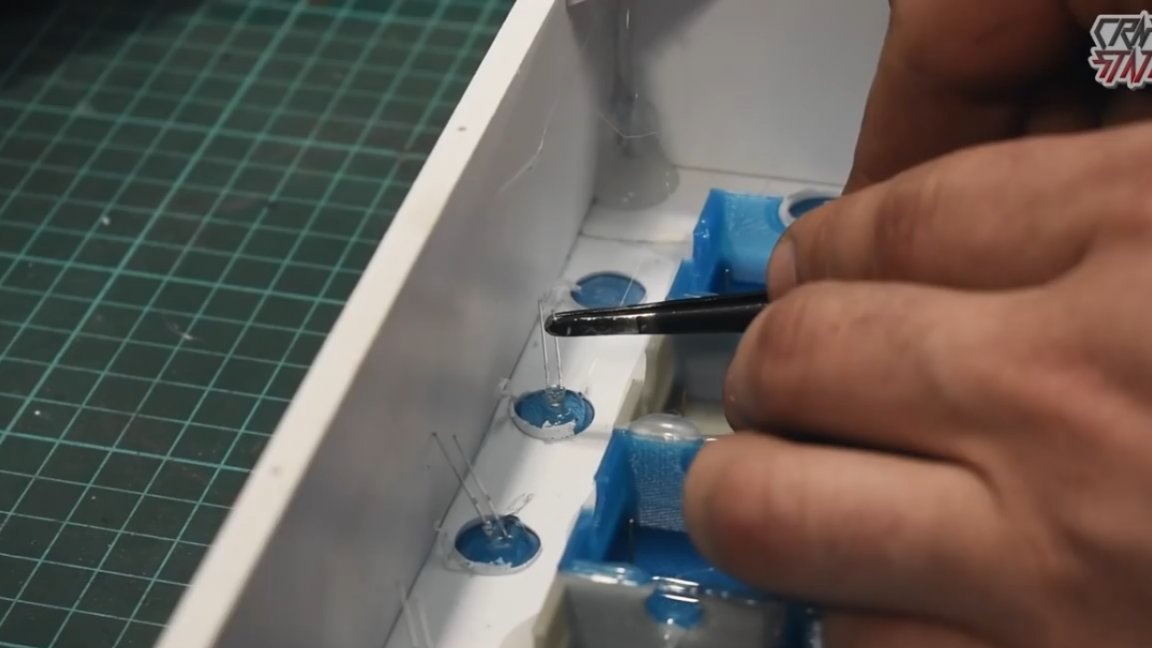
Next, you need to put all the alphanumeric elements into the holes just prepared specifically for them and glue them on the same hot-melt adhesive, be sure to transparent, since these elements will have to conduct light.
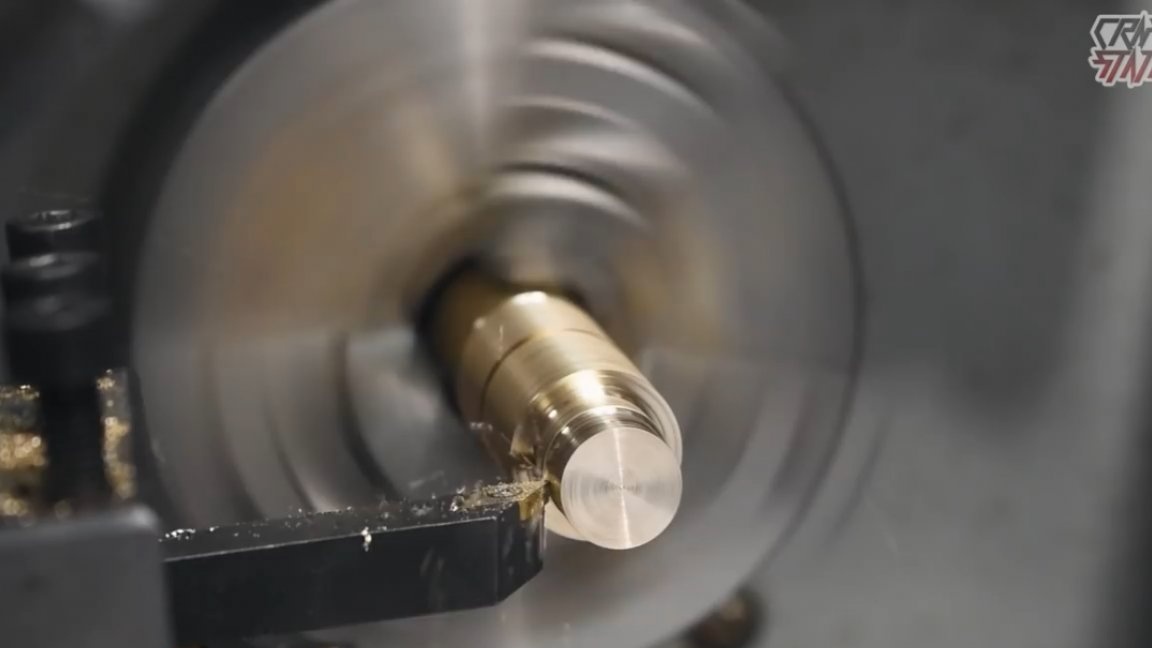
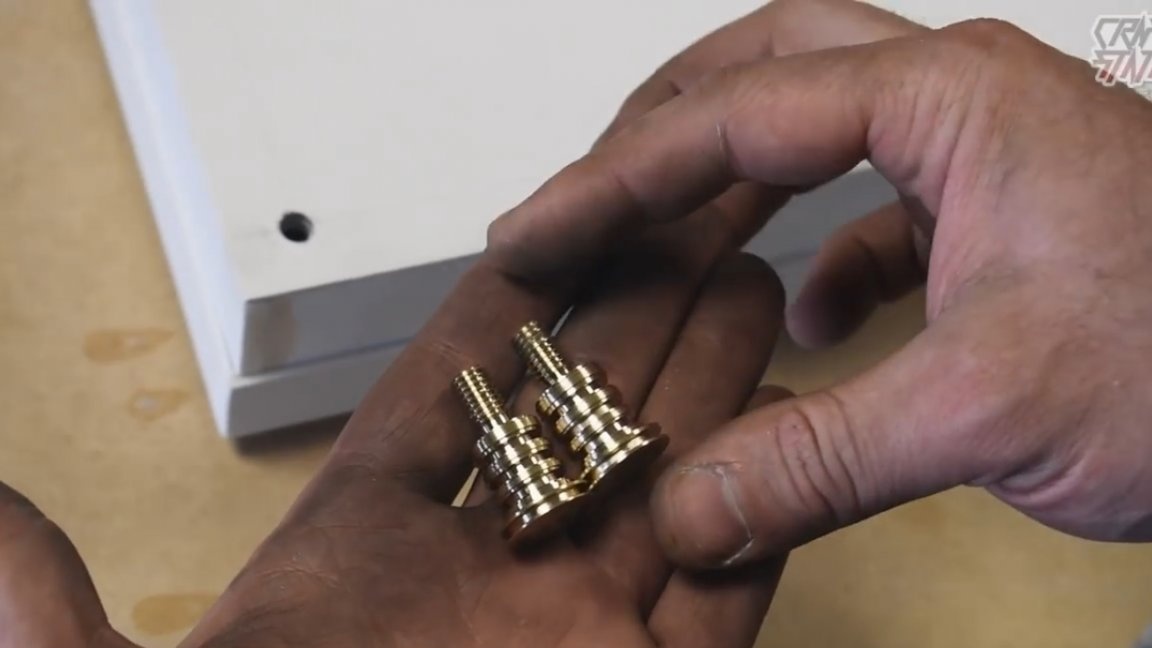
The bottom of the box is made of 2 mm thick PVC plastic and secured with small self-tapping screws and bolt legs, which the author turned on a lathe from brass bars. Thus it turned out to add something unusual and interesting. These are the original legs we got:
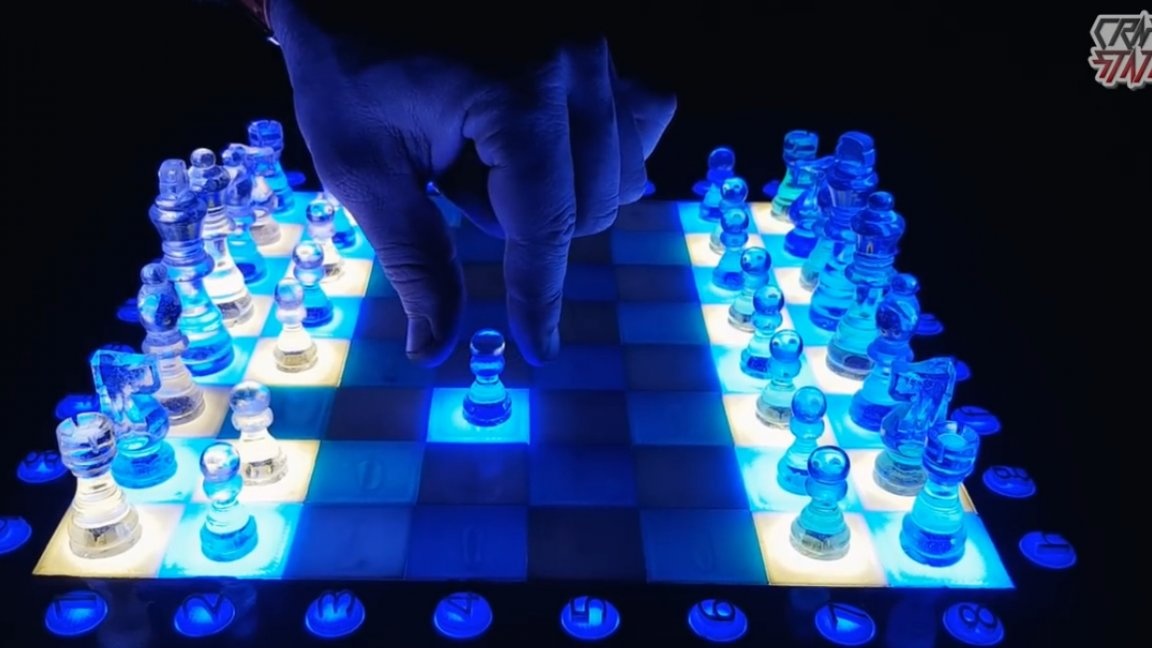
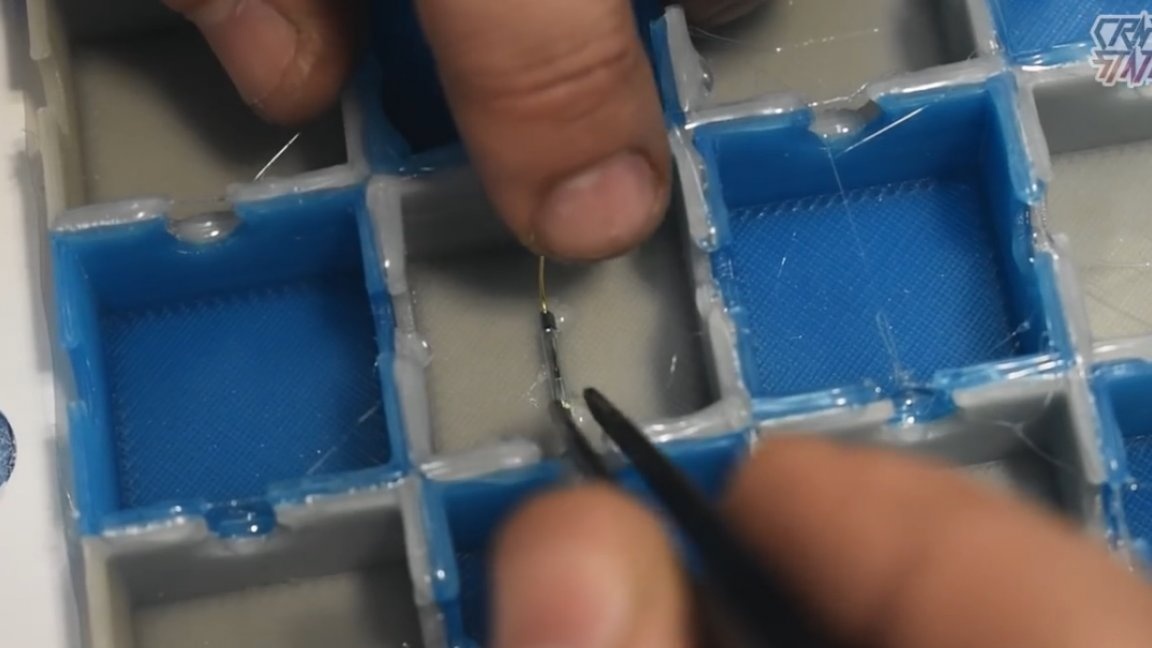
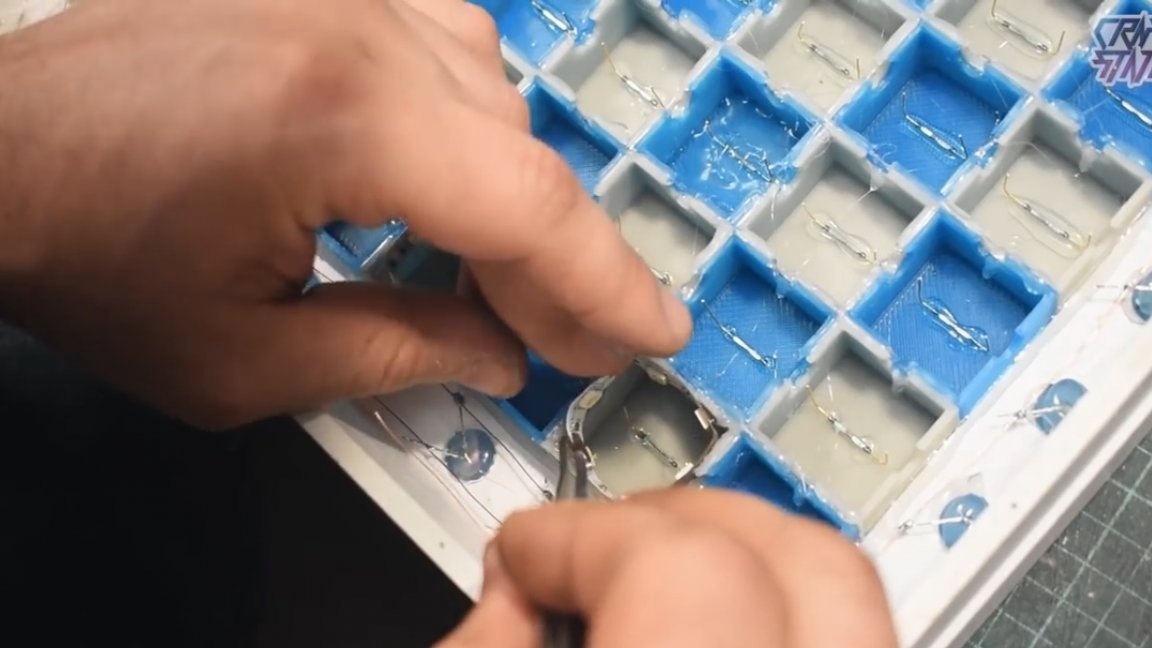
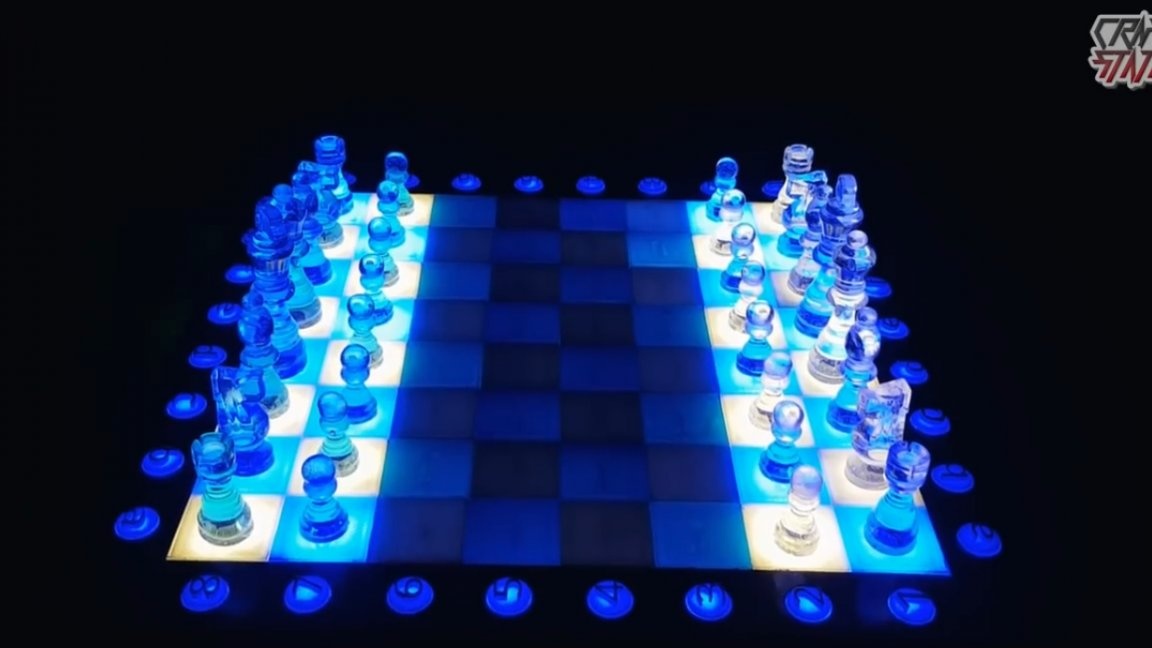
And now the most boring, but at the same time interesting part of the project lies ahead. The idea is this: each cell on the board should light up only when a piece is standing on it, well, or a piece is placed on it. The question is, how to achieve this? Everything is pretty elementary here, you just need to buy 64 reed switches, 3 meters of LED strip, 32 three-millimeter LEDs and magnets in the amount of 32 pieces, one for each figure.It works, you guessed it, everything is quite simple and straightforward. Reed switch is essentially a button that works from a magnetic field. If you bring a magnet to the reed switch, it will close, remove the magnet and the circuit will again be open. We begin the installation by gluing all the reed switches.
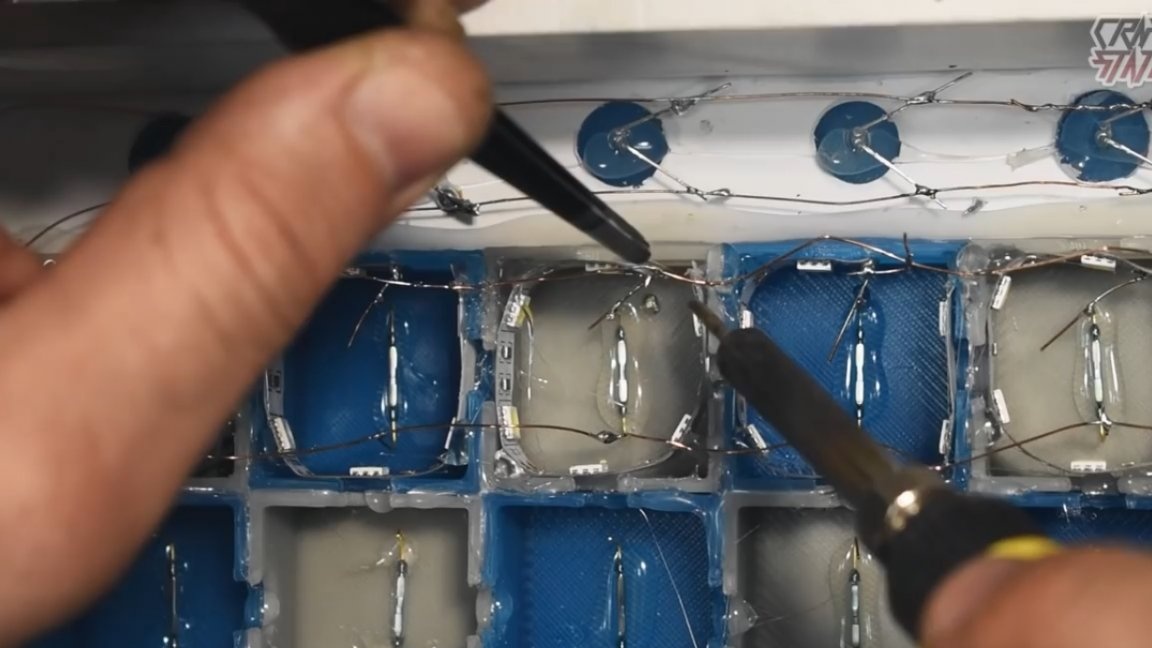
Next, we place the LEDs in their places to highlight the elements with letters and numbers and glue them.
Then we cut the LED strip into equal segments of 10 cm each. Now you need to lay each LED strip in an individual cell (cell) of the chess field.
By gluing pieces of the LED strip in this way, the light of each cell will be more diffused.
LEDs for backlighting numbers and letters are soldered in parallel. These LEDs work from 3V. They need to be powered through a step-down dc-dc converter from 12V to 3V. Why with 12V? Yes, because this LED strip is powered by 12V, and the author planned to use the 12V power supply for this homemade power supply.
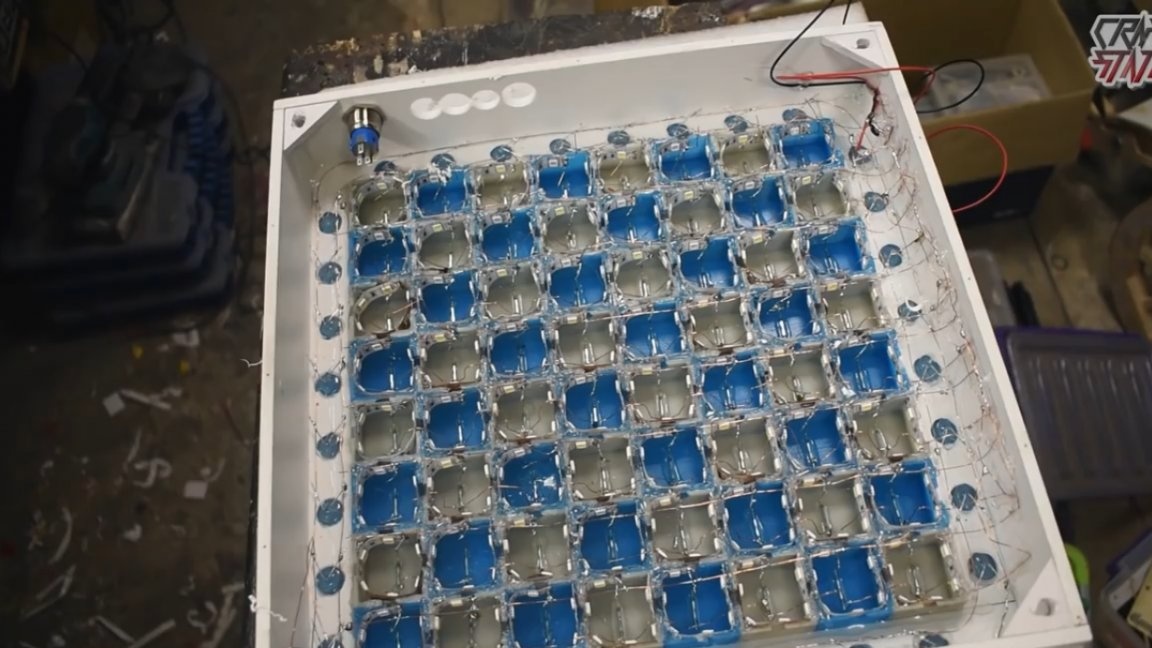
To the bottom of the box, it was decided to stick the RGB backlight in the form of an RGB LED strip with a 12V supply voltage. This will diversify the color palette of our already original chess.
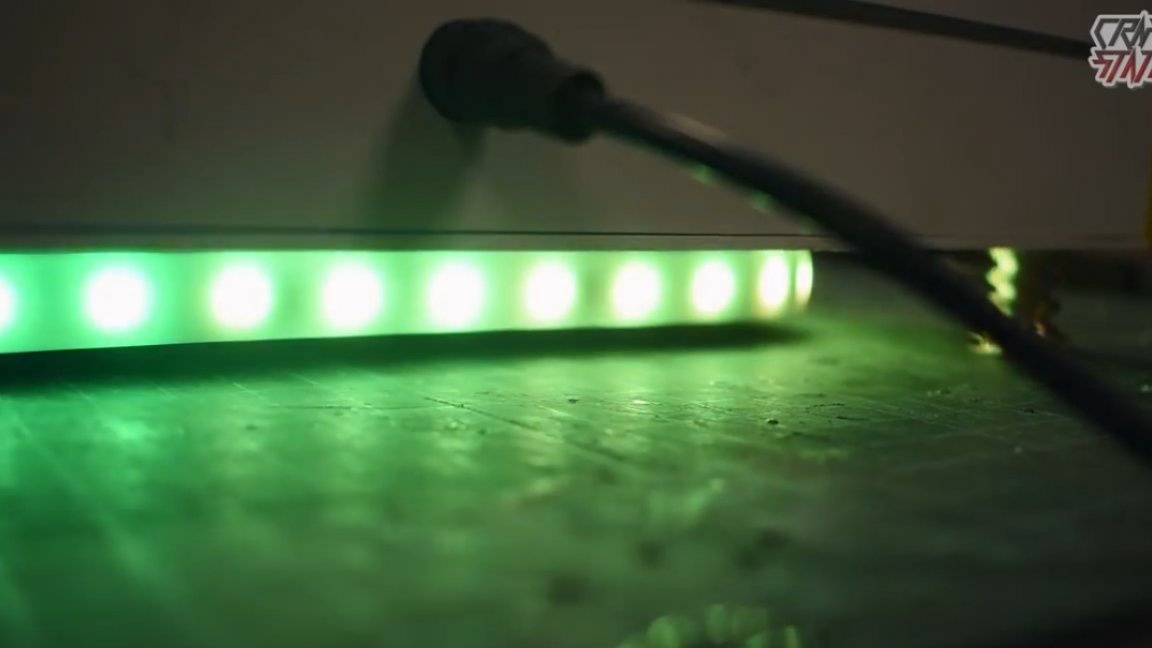
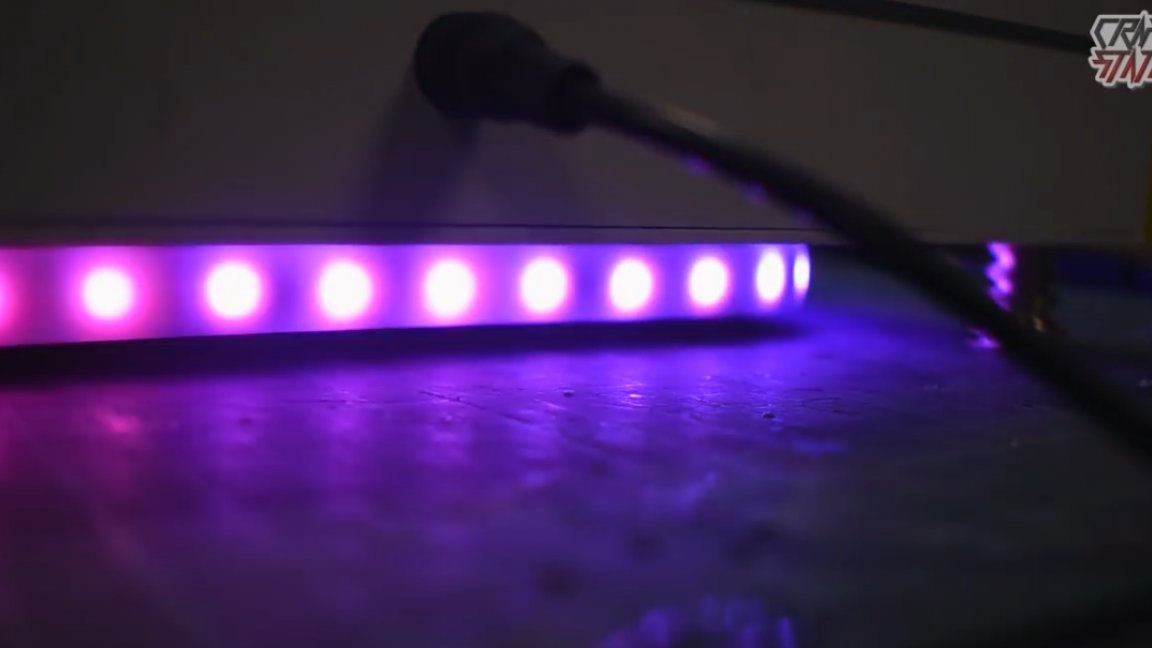
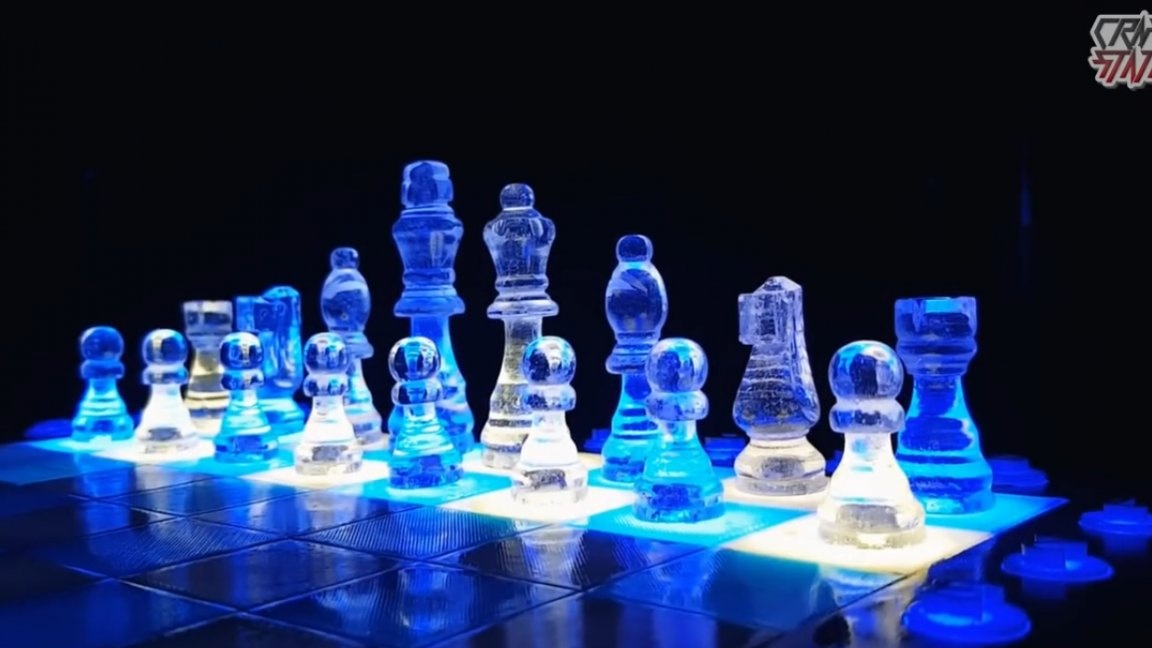
By the way, white cells used white LEDs with a cold glow, but in blue cells bright blue. Well, now we proceed to the final stage, painting, and you can play.
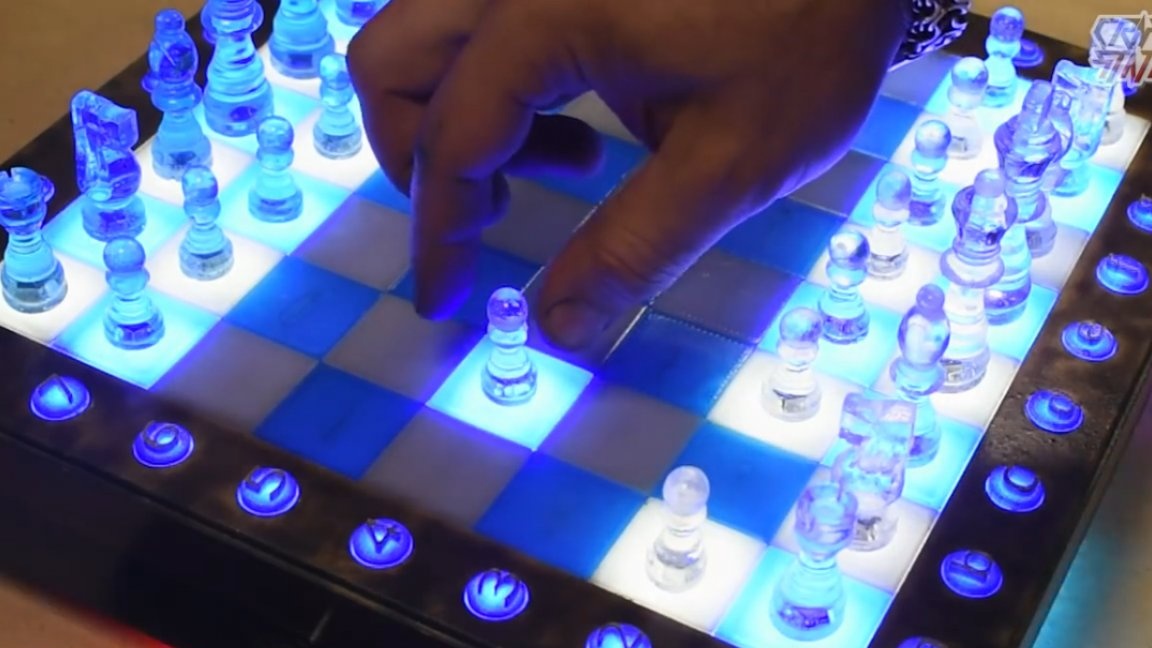
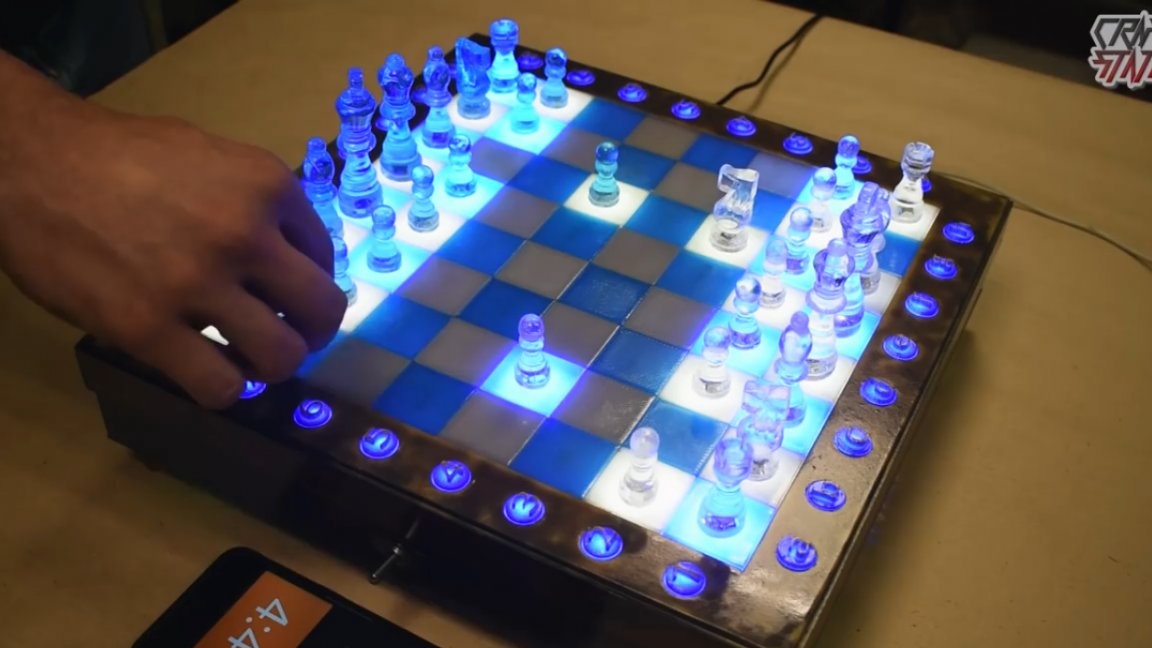
Here we have such unusual chess. That's all. Thank you for attention. See you soon!
Author's video: