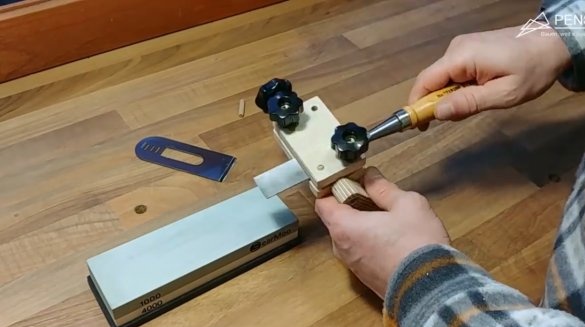
Everyone who uses chisels, planers, and other carpentry tools has a problem of competent and correct sharpening.
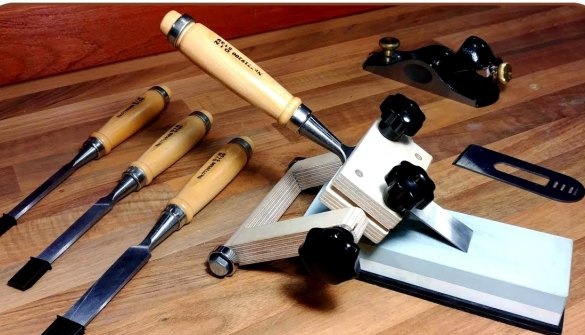
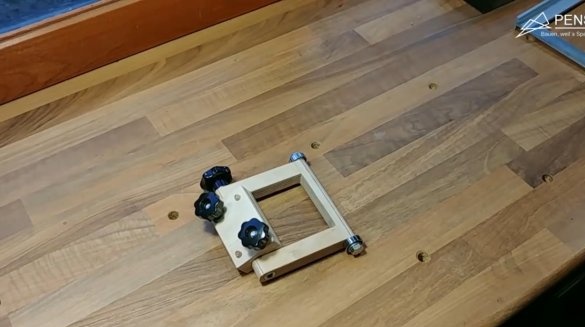
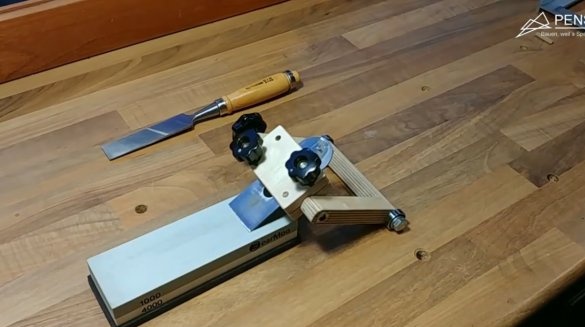
In this article, the author of the YouTube channel “Penser” will tell you how to make device for sharpening tools with an adjustable angle of inclination.
Materials
This homemade product is very simple to manufacture, it can even be done using hand tools.
- 19 mm thick sheet plywood
- Dowels
- Wing nuts M8, M6
- Nuts, washers, bolts M8, M6
- Hairpin M8
- bearings
— .
Instruments, used by the author.
—
- Vise, wrenches, ruler, square, pencil
—
- Grinding machine
—
- Hacksaw for metal.
Manufacturing process.
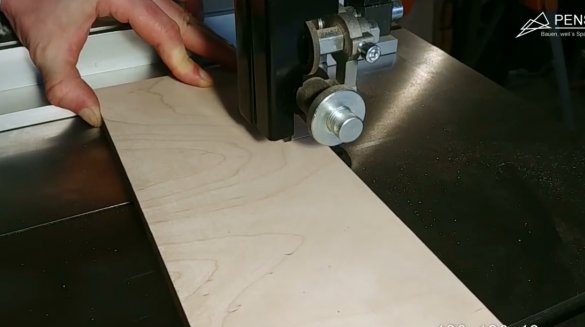
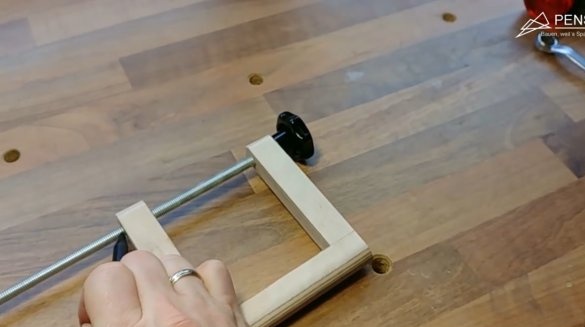
So, the first thing the author begins to manufacture the device frame. To do this, cuts a blank 120X120 mm from 19 mm thick plywood.
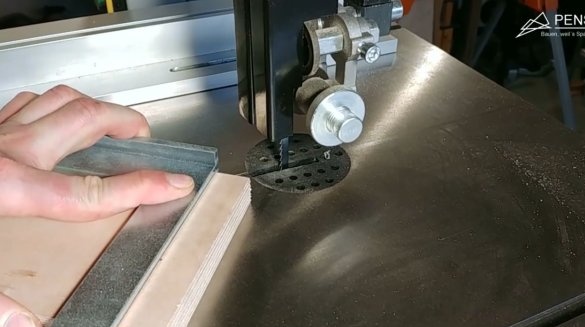
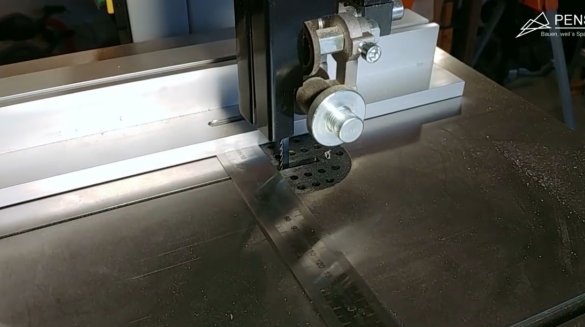
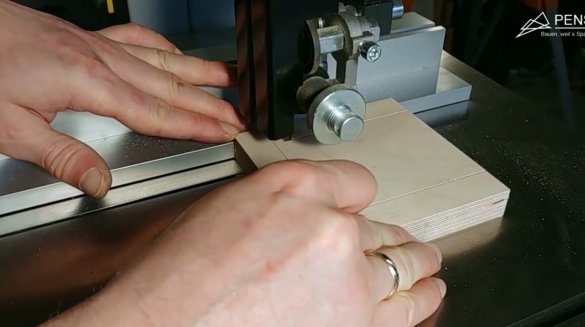
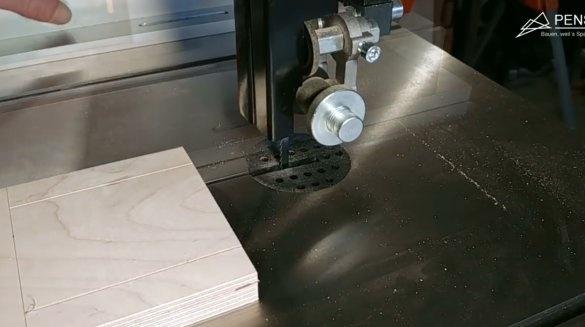
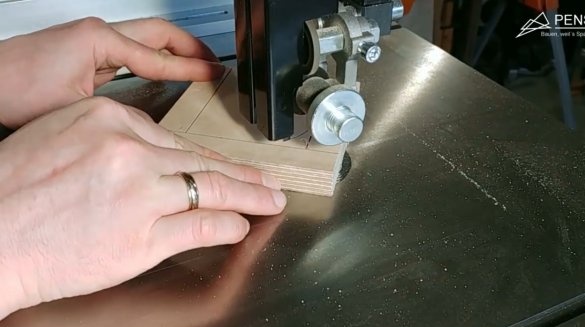
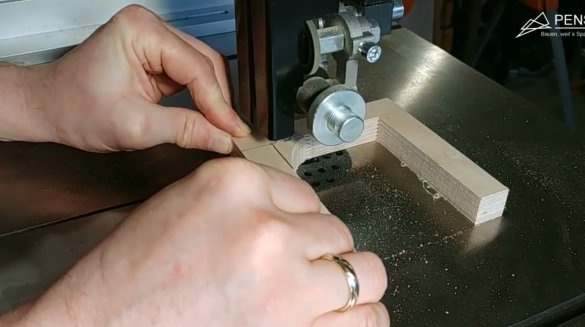
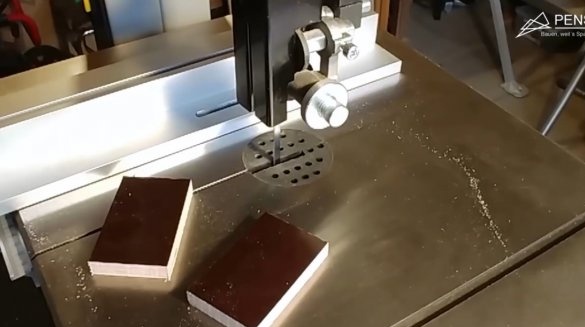
Then it departs from the edge of 20 mm, sets the stop on the band saw at the same distance, and makes two long slots to the mark.
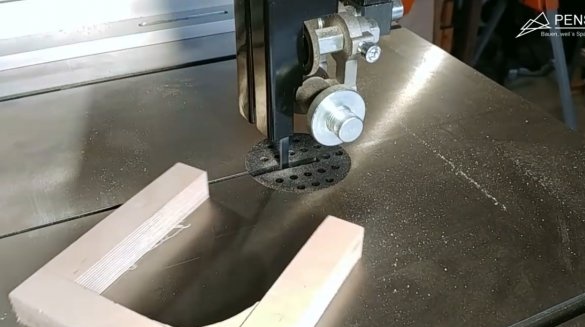
Then, in this way, cuts out the unnecessary middle.
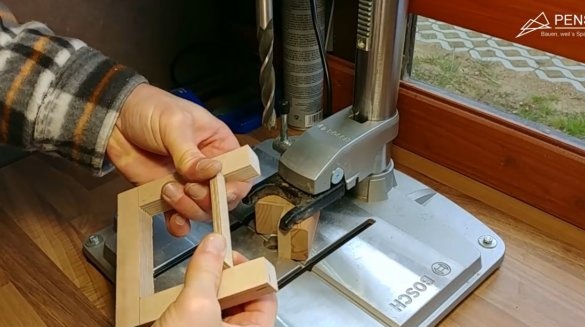
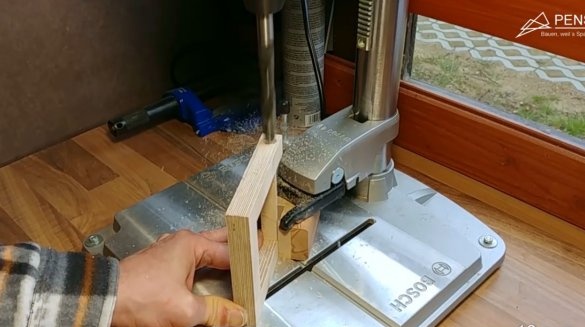
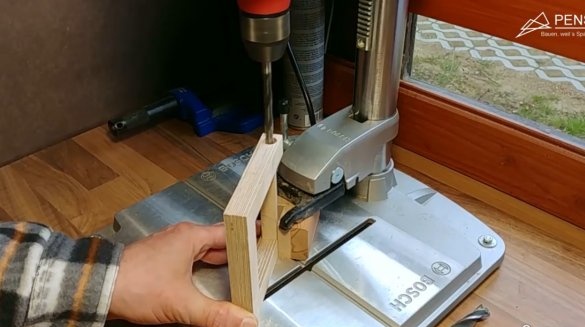
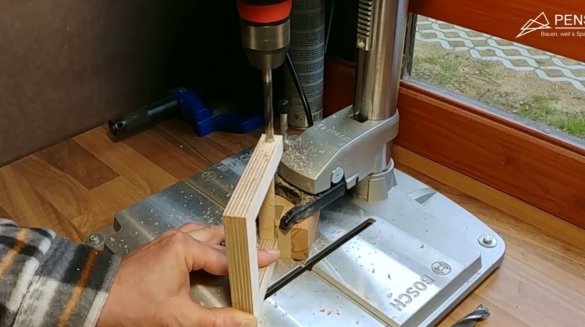
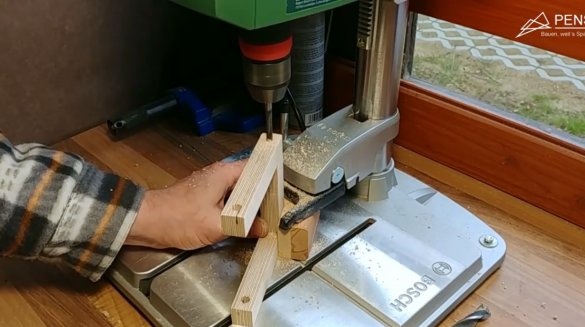
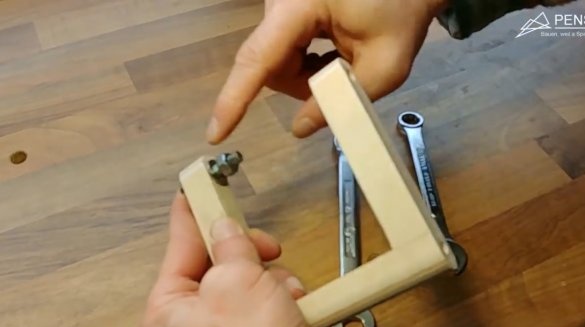
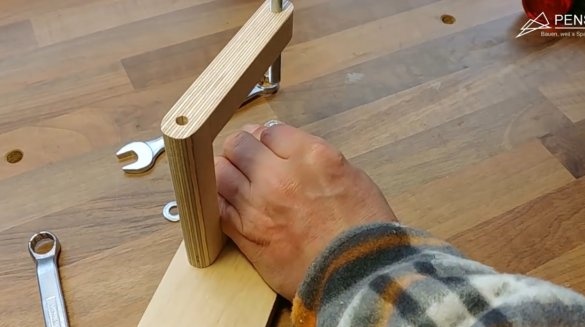
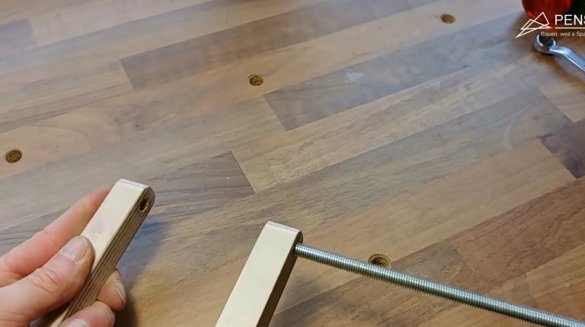
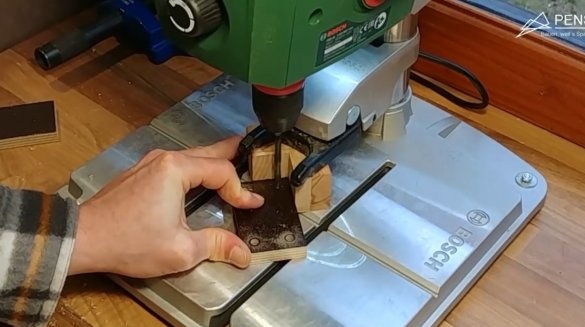
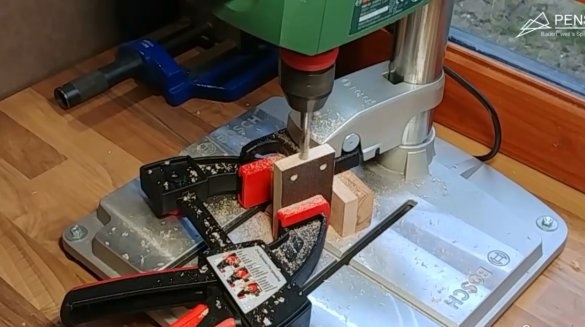
Installs a spacer 80 mm long in the resulting U-shaped blank. And drills a blind hole for the head of the M8 bolt. And then through, with a diameter of 8 mm.
On the other shoulder of the frame makes just a through hole of 8 mm.
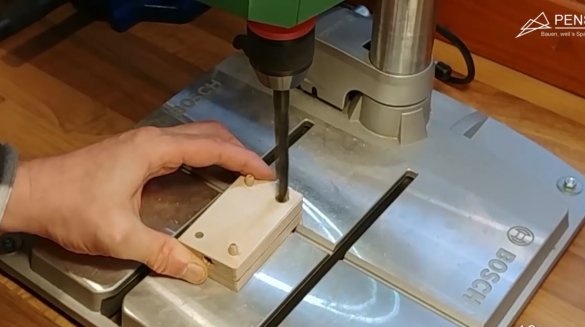
Now, at the base of the frame, it drills a pair of blind holes 6 mm on both sides.
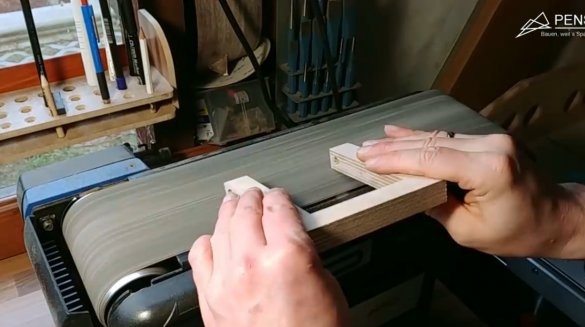
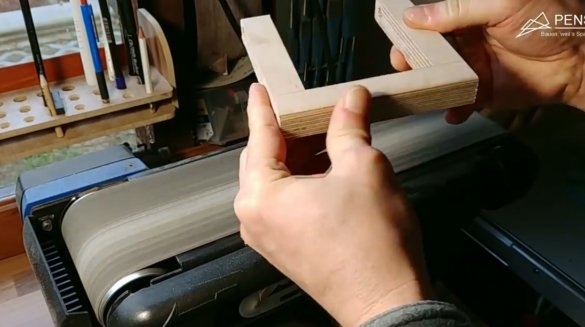
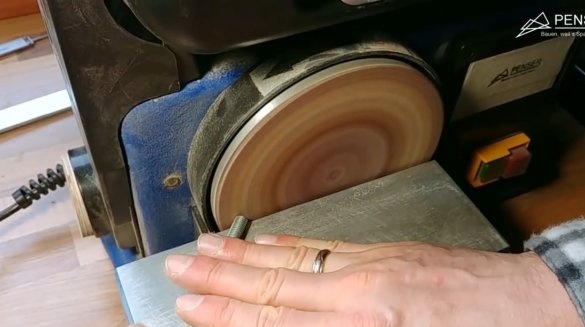
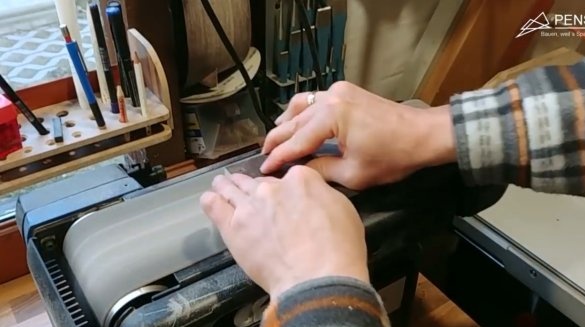
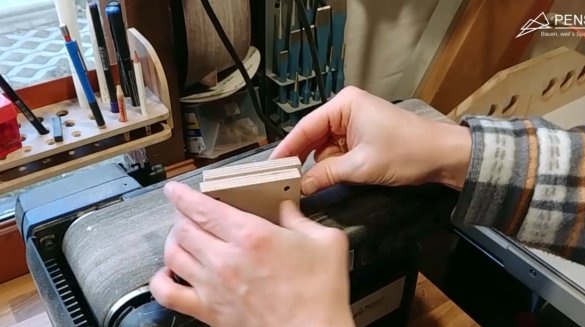
Rounds the front ends of the frame, and its upper part on the grinding machine.
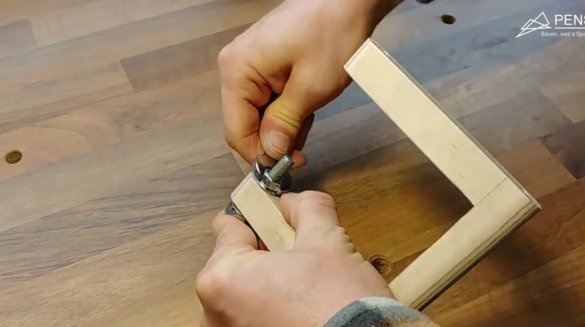
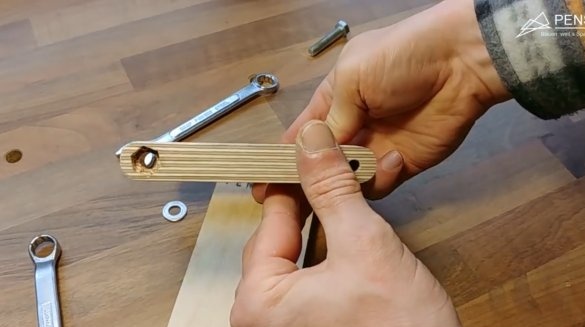
Then, using a bolt with a washer and a nut, presses its head into an array of plywood.
At this point, the M8 nut will be installed, the bolt simply needs to be knocked out.
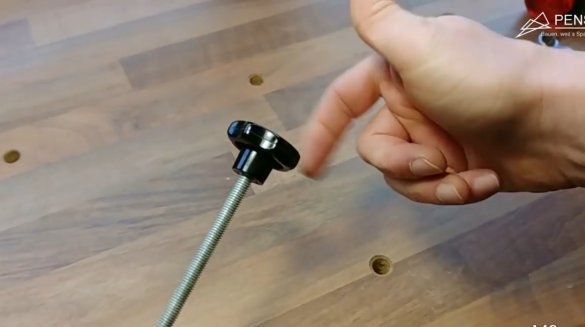
M8 winds a wing nut onto a stud, and notes how long the stud should be left.
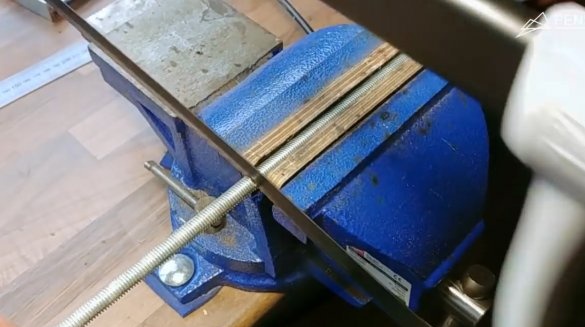
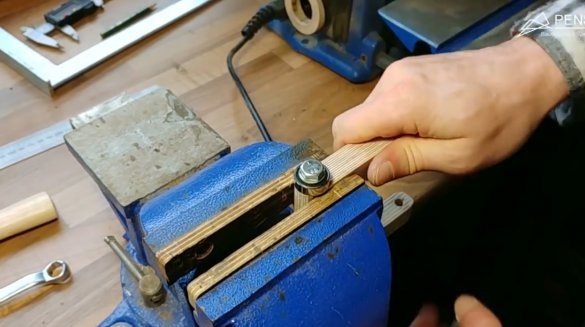
It fixes the hairpin in a vise through wooden sponges, and saws off along the mark with a hacksaw. The cut point is polished.
Since the nut fits very tightly into place, sets the spacer again, and presses it in.
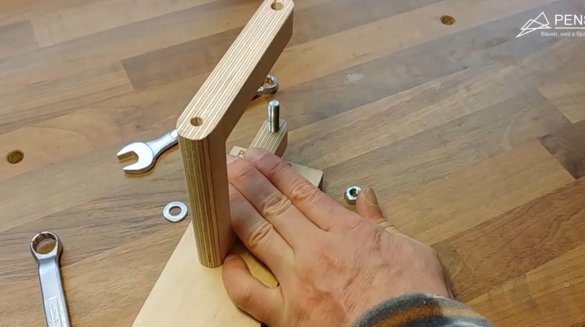
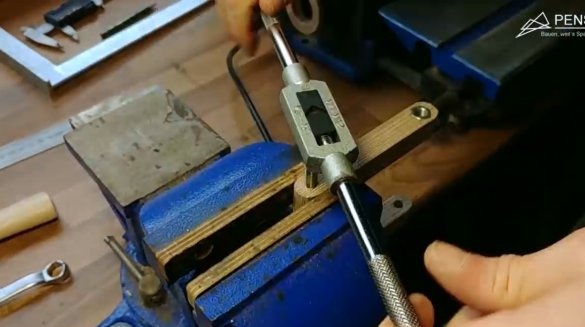
Using a tap, cuts the M8 thread in the holes at the base of the frame. Then bolts the bearings on both sides, laying the washers.
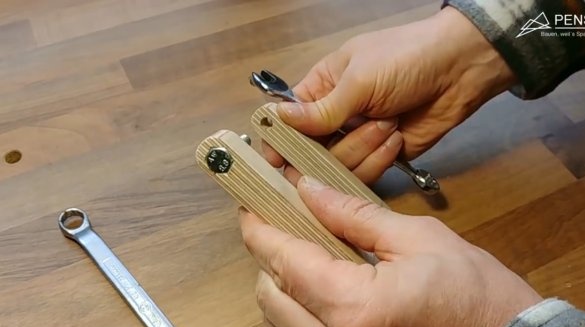
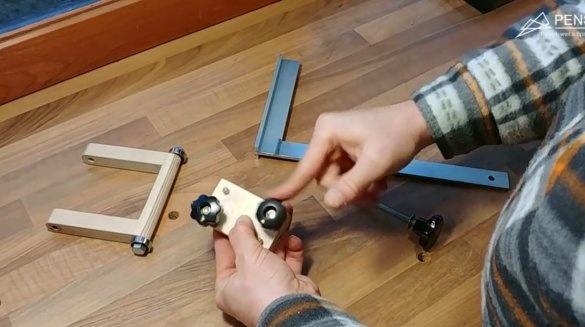
Two identical blanks for the holder are cut from sheet plywood. Their size is 50X80 mm.
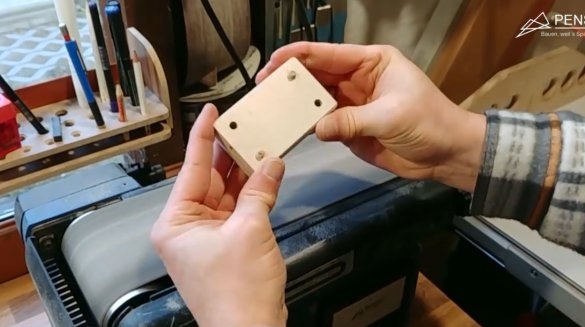
6 mm holes are drilled at the corners of both workpieces.
And in the center of one of them is a hole for the M8 stud.
Grinds the plastic coating from the workpieces.
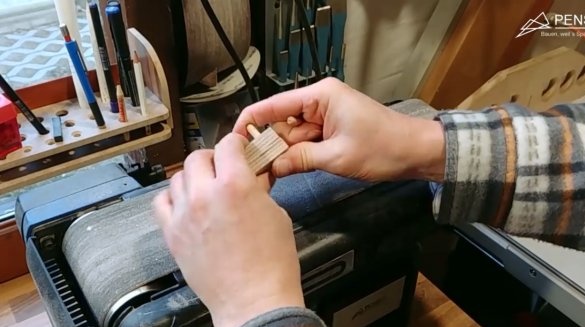
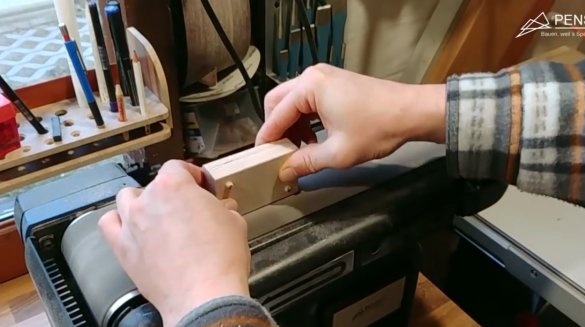
Inserts dowels into a pair of holes located diagonally, processes corners and ends.
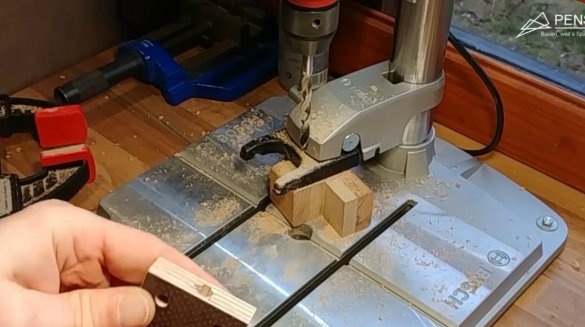
In other holes, in the workpiece through which the stud will pass, drills holes for the heads of M6 bolts, 10 mm in diameter.
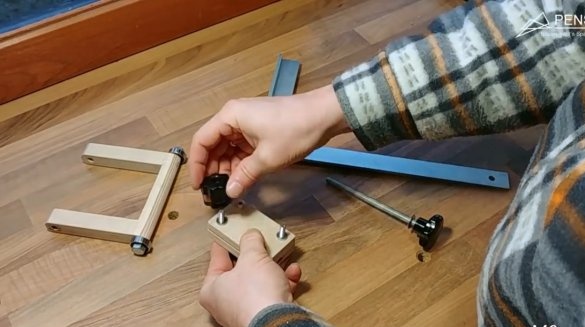
Inserts bolts, puts washers, and tightens the wing nuts, pressing the heads of the bolts.
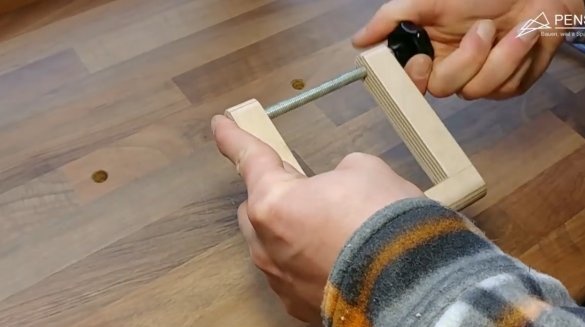
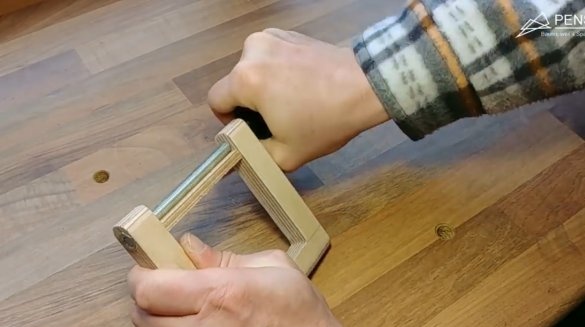
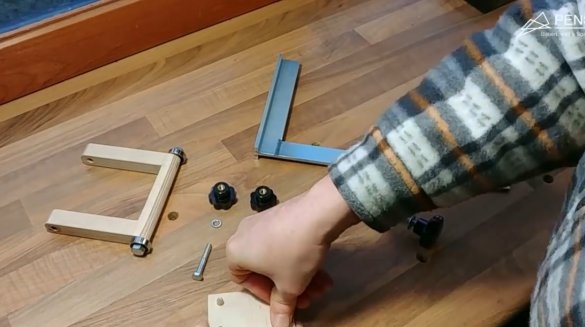
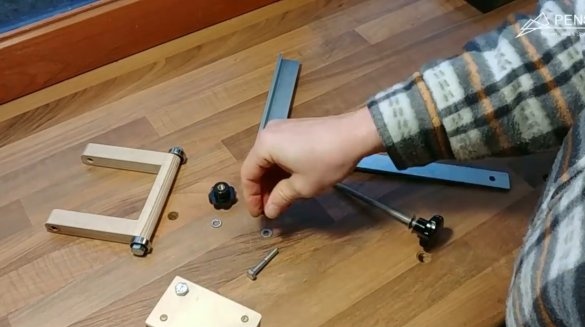
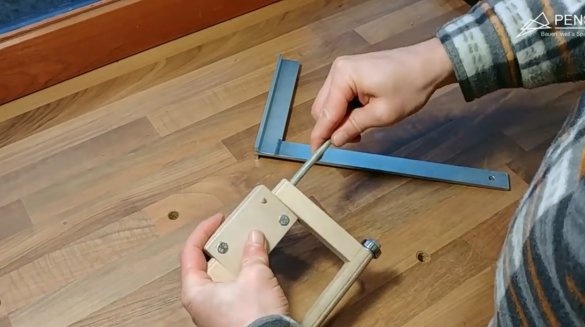
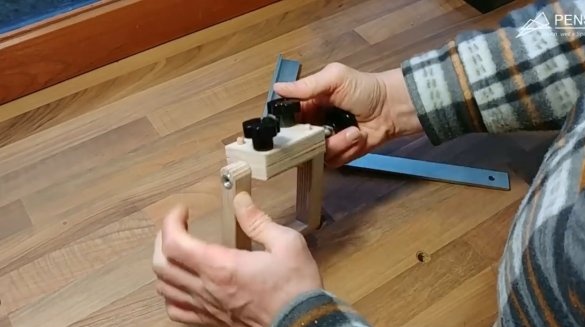
Well, all the parts are ready, you can proceed with the assembly. Sets the clamp, inserts the stud through the frame and him, then tightens the lamb.
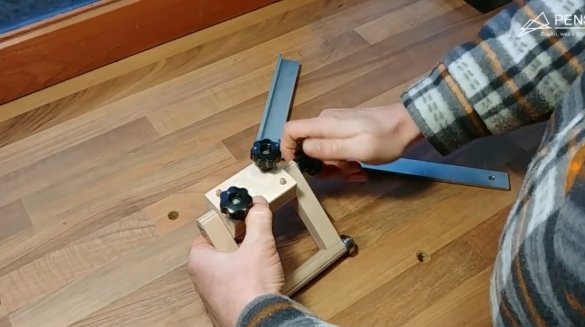
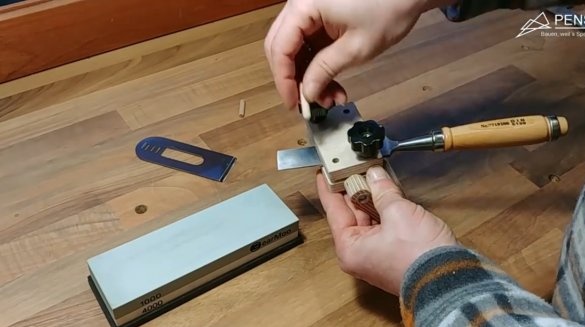
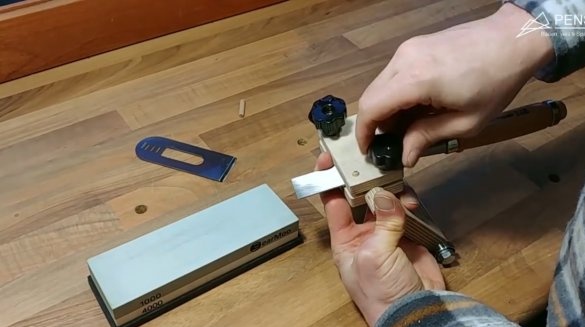
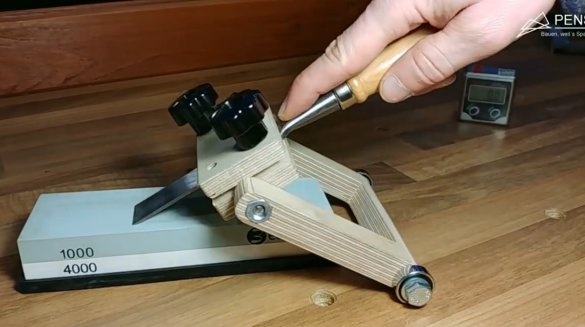
Having released the wing nuts on the clamp, inserts a chisel into it, and installs the dowel. He, and one of the bolts are needed to align the chisels at right angles to the clamp.
Then replaces the chisel with a plane blade. Horizontal is excellent.
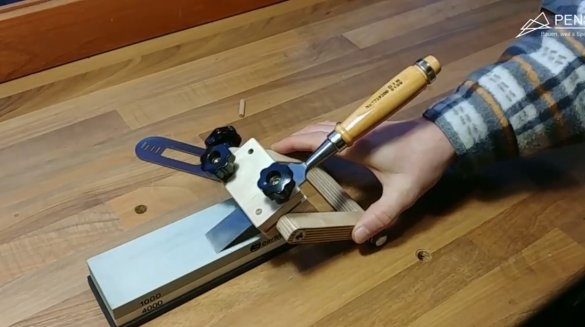
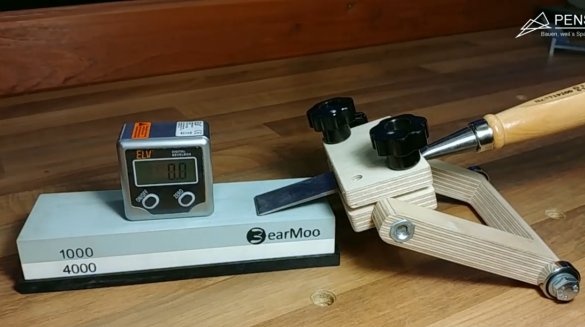
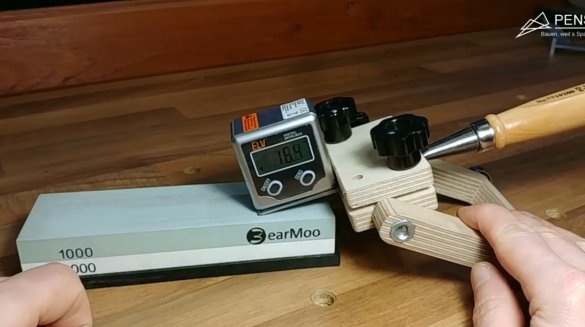
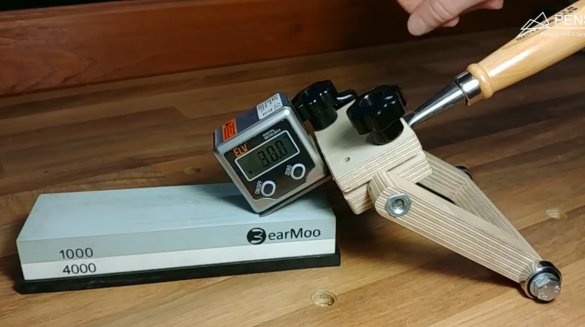
Now exposes zero on a digital goniometer, placing it on the surface of water stones. It remains to set the desired sharpening angle for the chisel (in the author's case, 30 degrees), and tighten the side wing, fixing the angle. Everything is ready for correct and easy sharpening. It is important to use a perfectly flat surface on which the bearings will move. And under the water stones, it is necessary to put a rubber substrate, which usually comes with them.
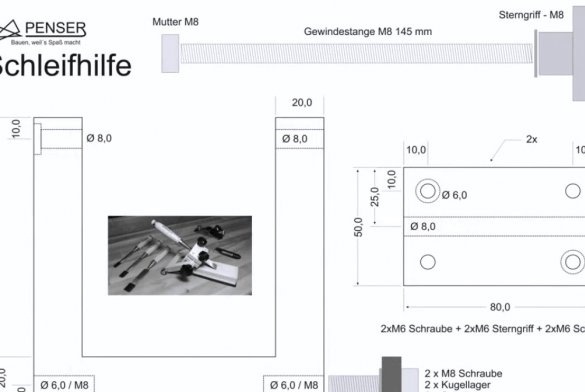
Also, the master kindly shared with you his own drawings of all structural elements.
Thanks to the author for a simple but useful tool for the workshop!
All good mood, good luck, and interesting ideas!
Author video can be found here.

