
In this article, the Master will share his experience in using parts from old household appliances. The master will make a rotary table with speed control + mixer to mix the molding material used for casting. In the future, he plans to supplement the apparatus for use in welding and pottery works. The purpose of his work is the use of used equipment, alteration to fit your needs.
Tools and materials:
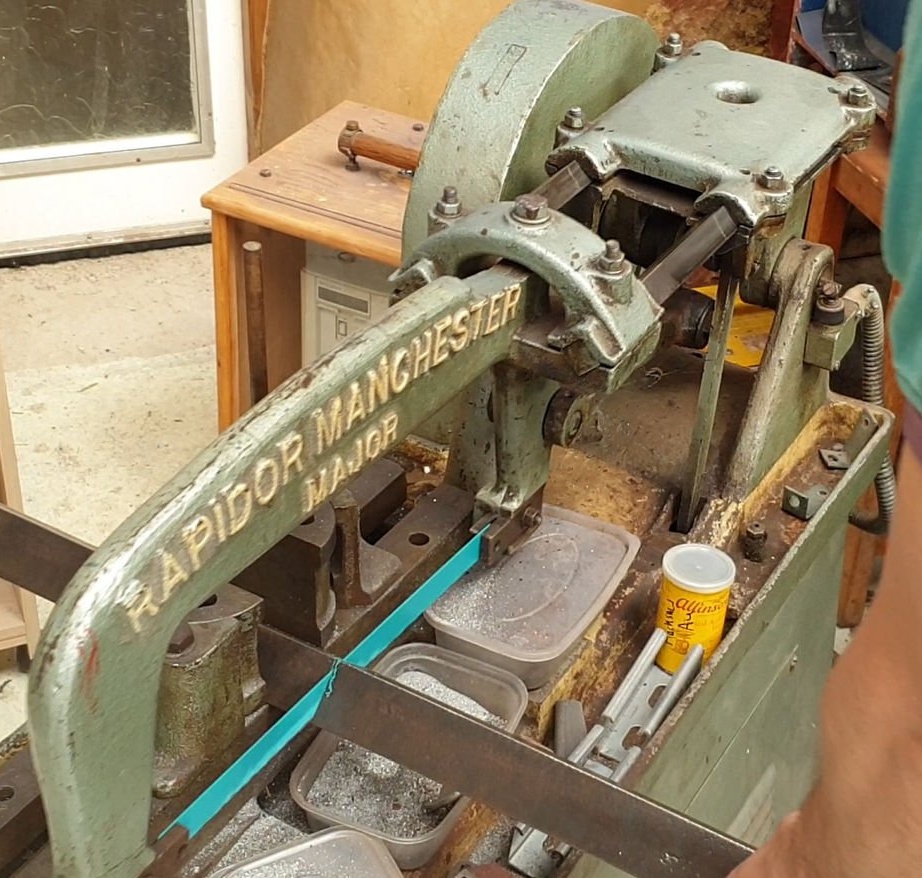
-Old washing machine:
-Old microwave:
-USHM;
- metalwork tool;
-Soldering accessories;
-Paint;
-Board;
-Fasteners;
-Details from an old plow;
-Plywood;
-Sheet metal;
-Roulette;
-Marker;
-Acrylic;
-Knife;
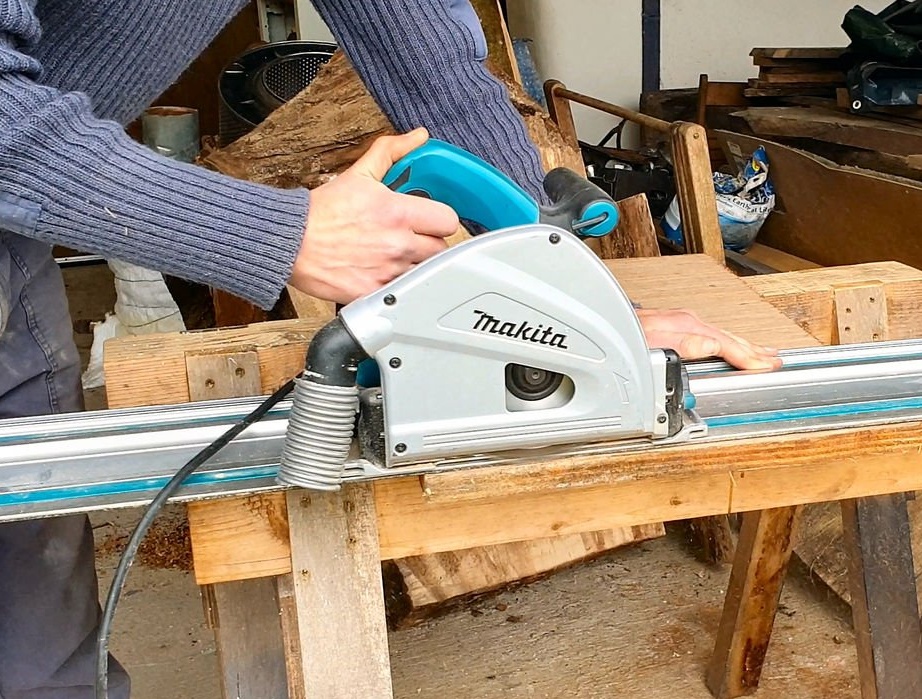
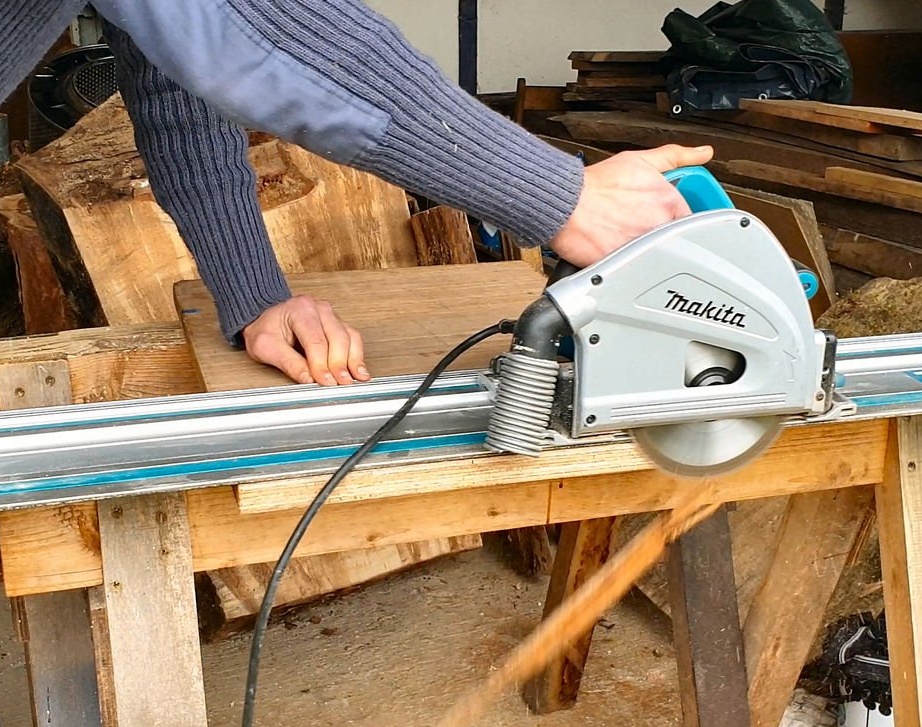
-A circular saw;
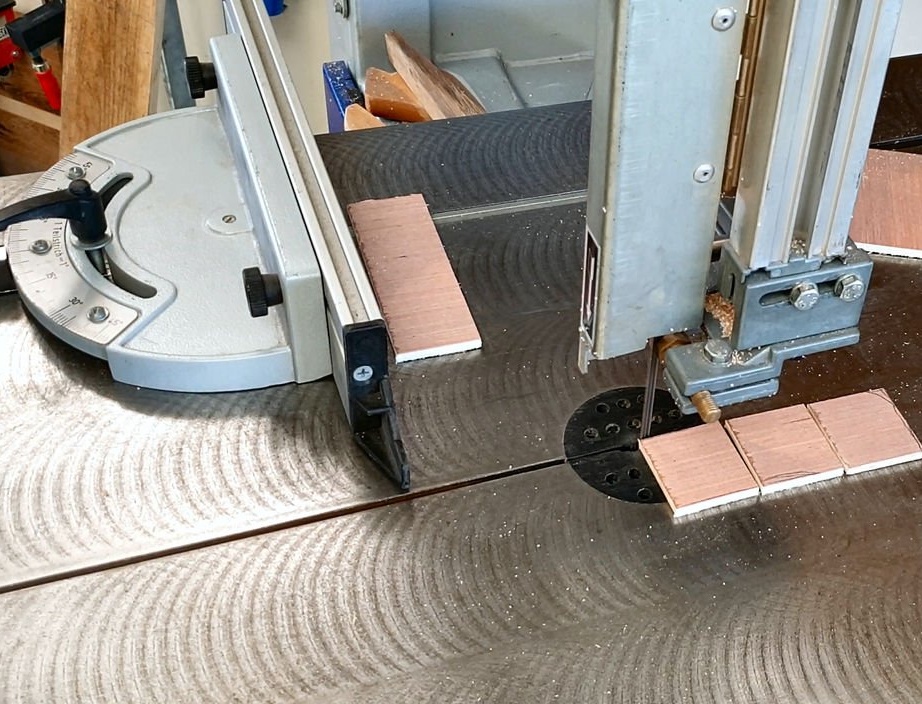
-Bandsaw machine;
-Lathe;
-Drilling machine;
Milling cutter;
- Joiner's glue;
-Hair dryer;
A list of most of the details will be provided as work progresses.
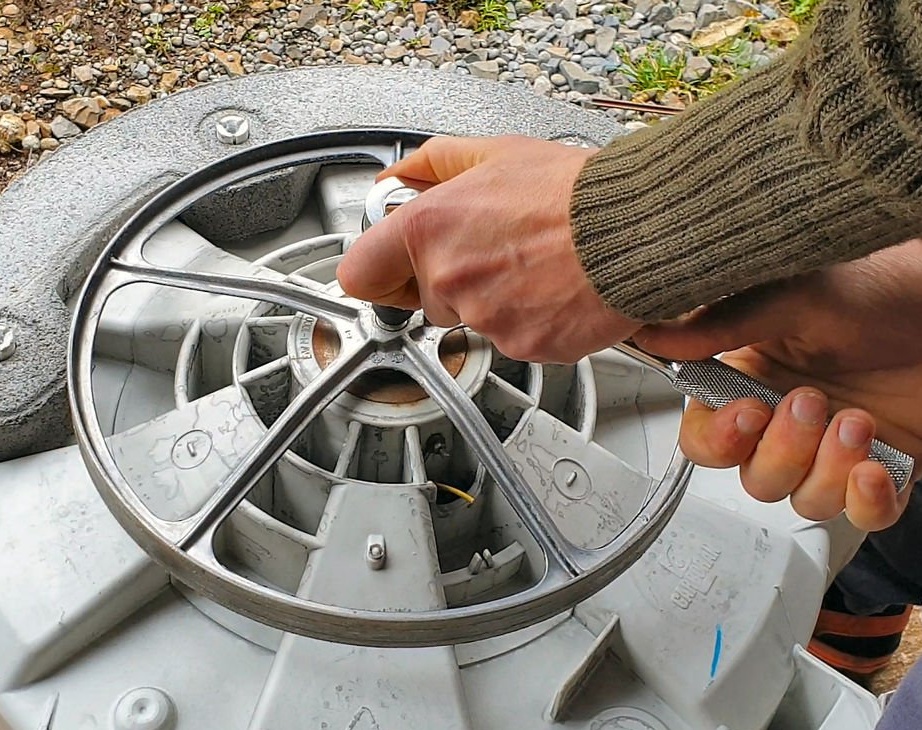
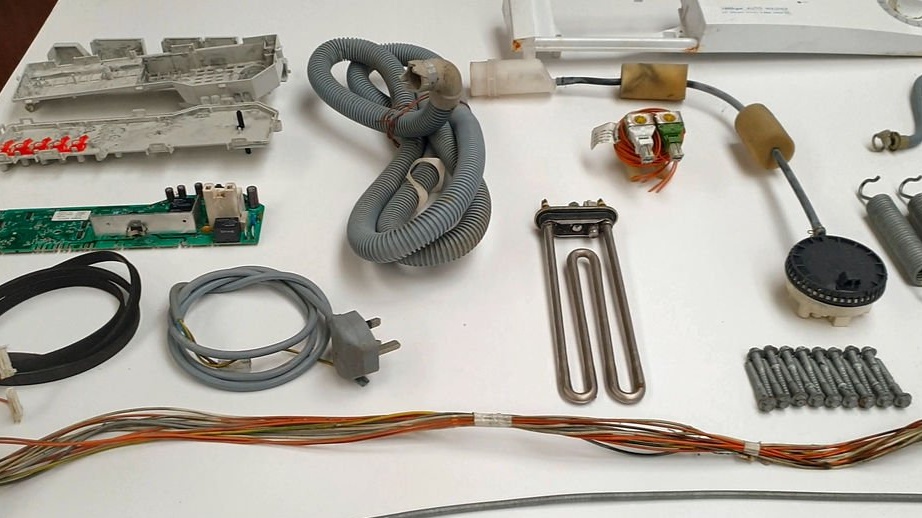
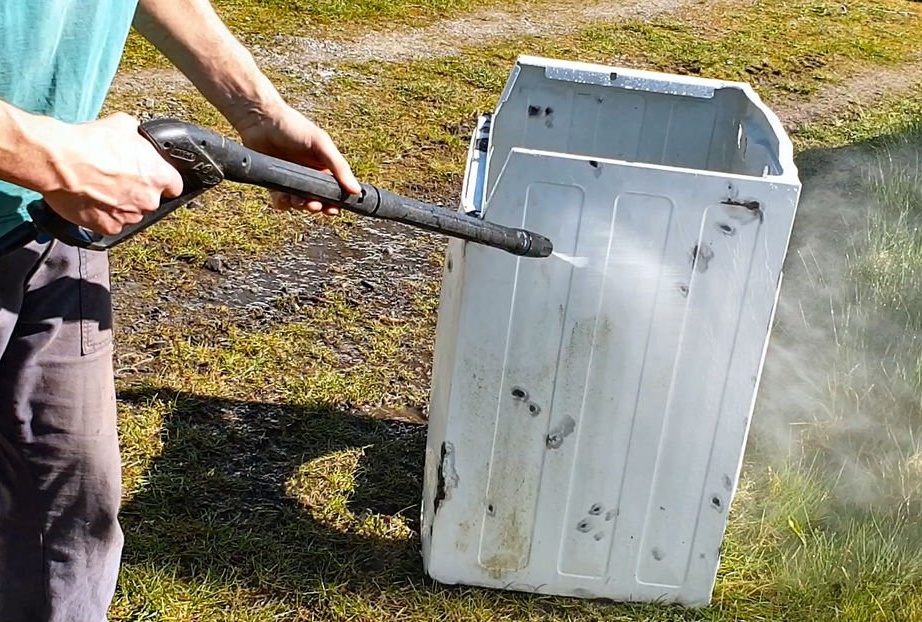
Step One: Disassembly
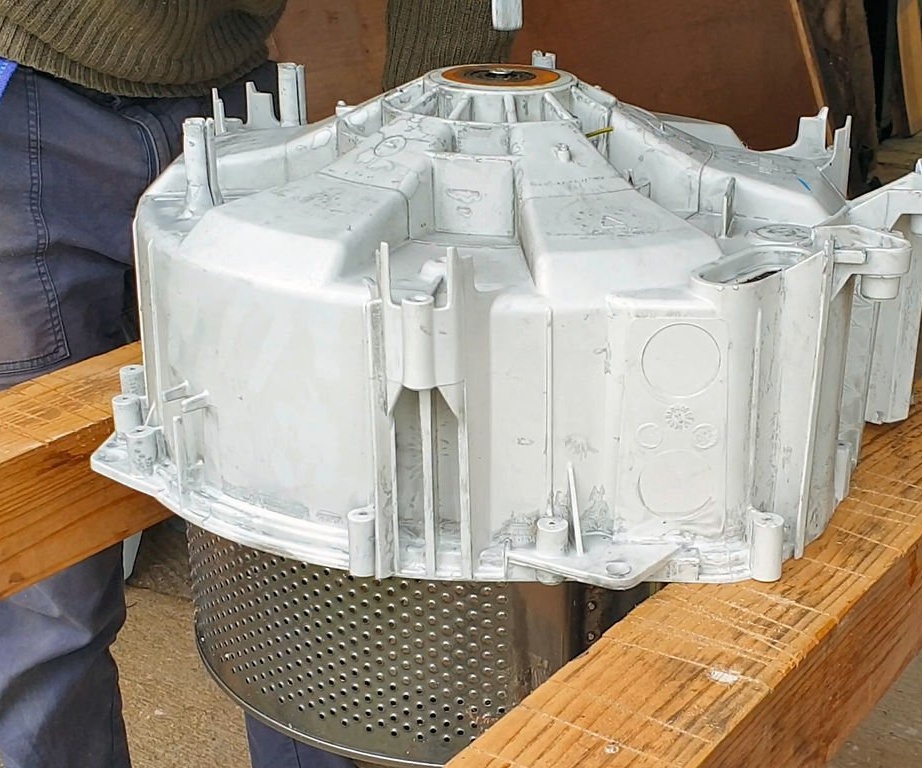
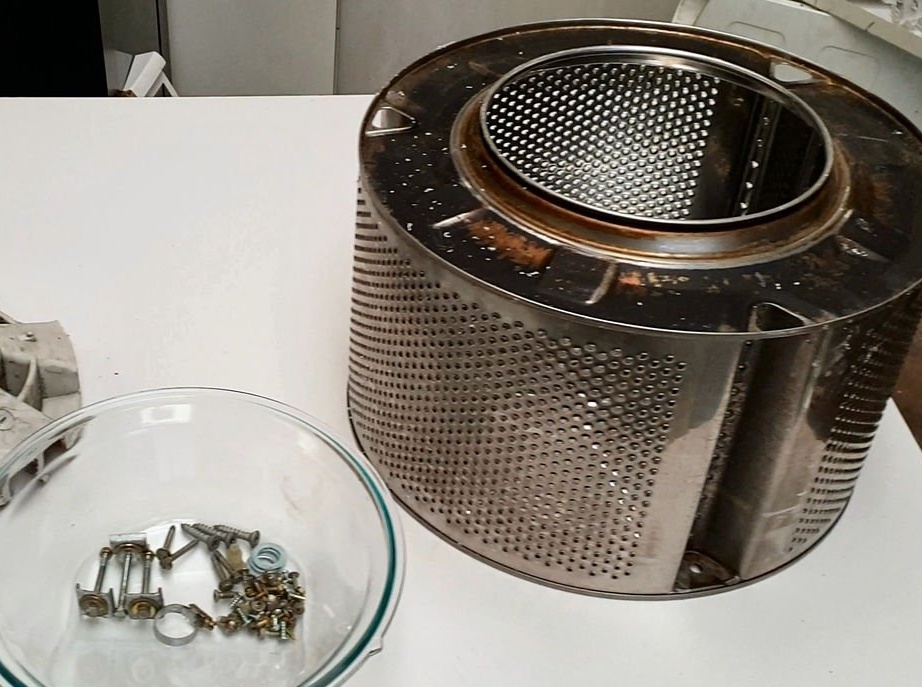
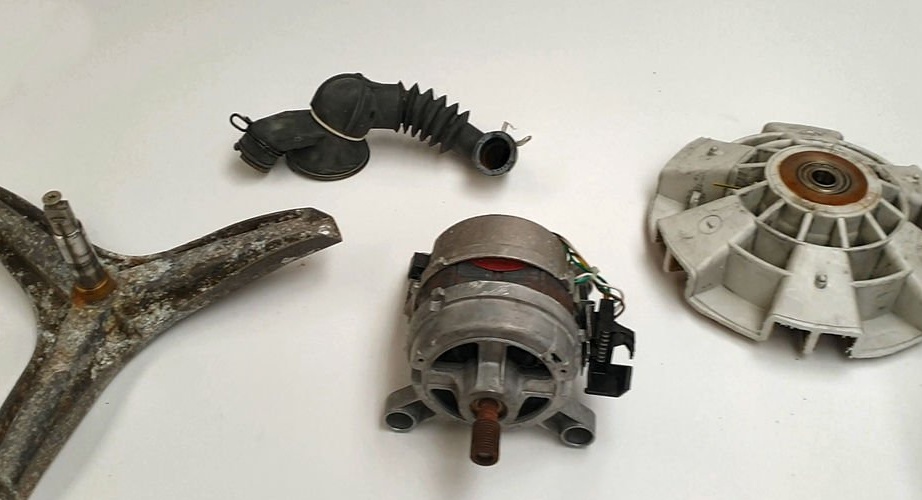
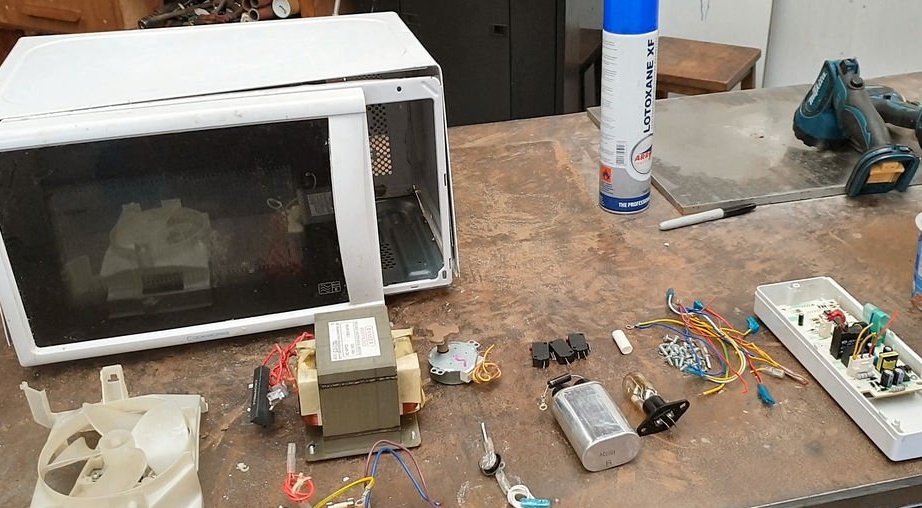
First, the master dismantles the washing machine and microwave. When disassembling, a lot of details are obtained, some of which the master will use in this project, and some will be left for the next work.
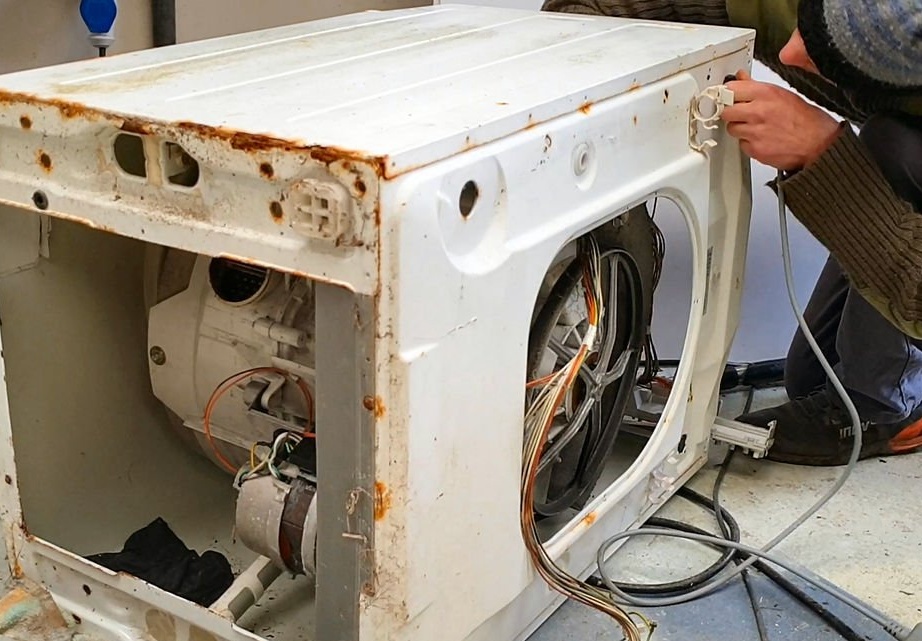

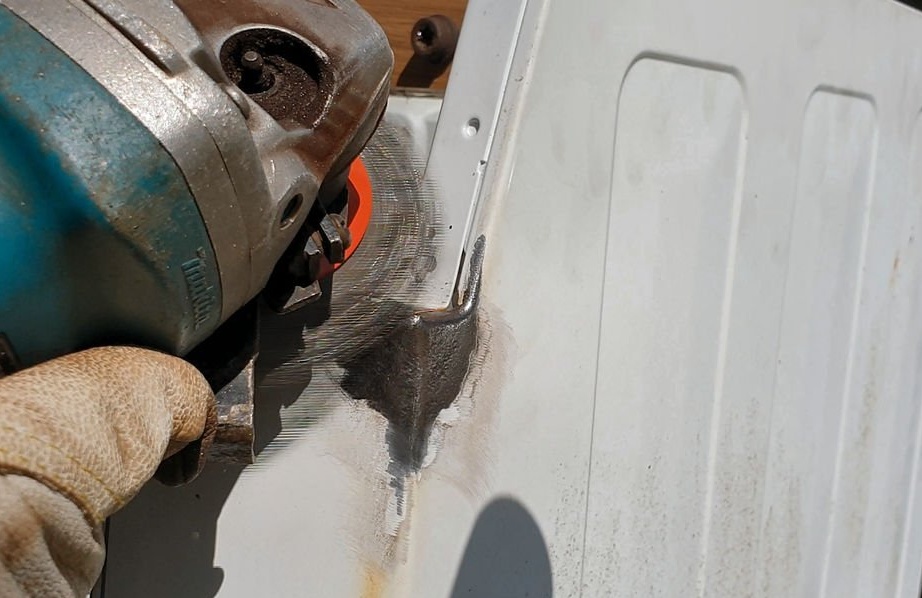
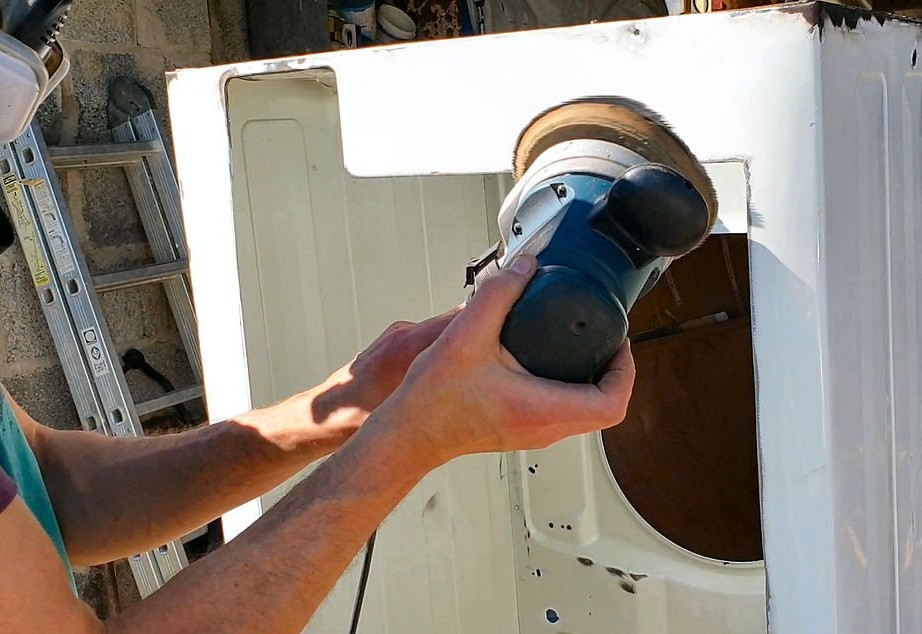
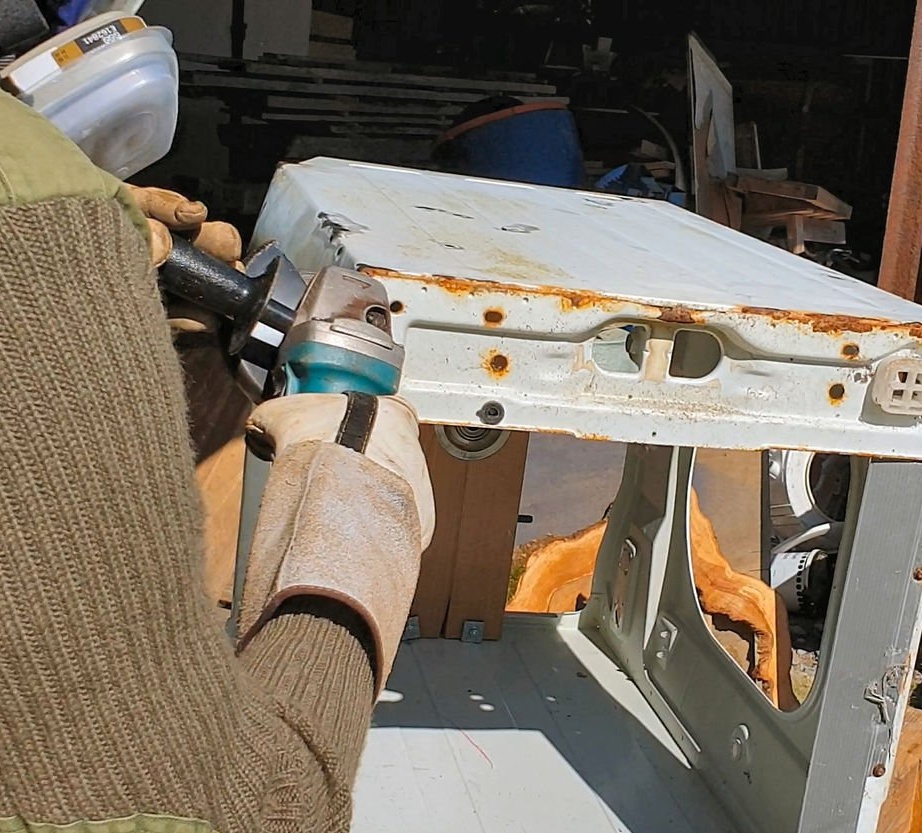
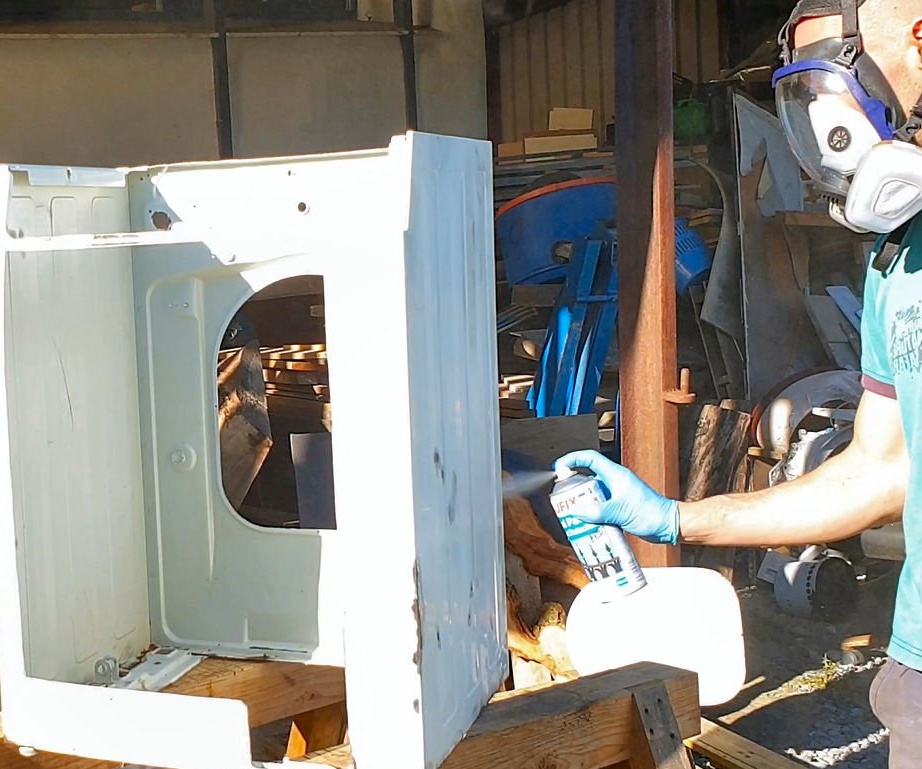
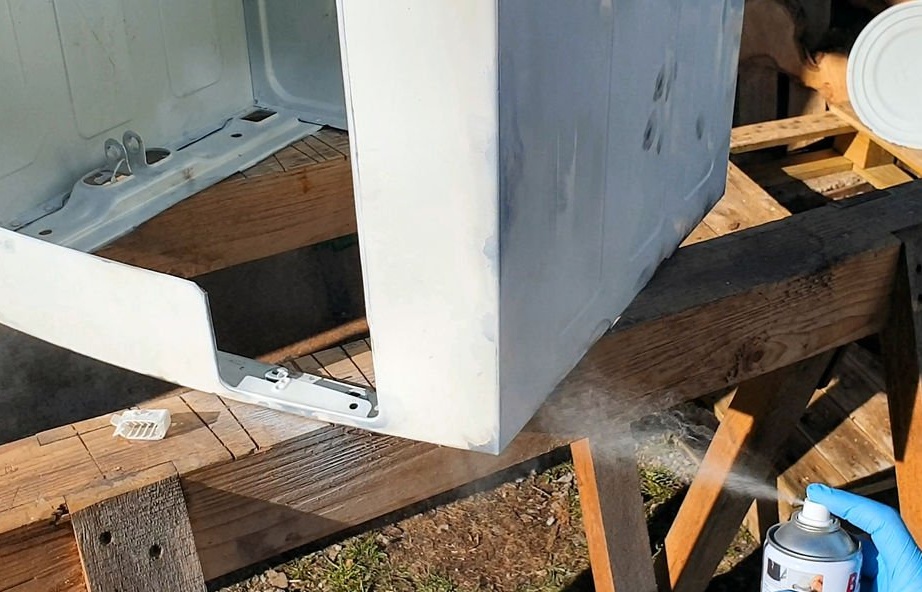
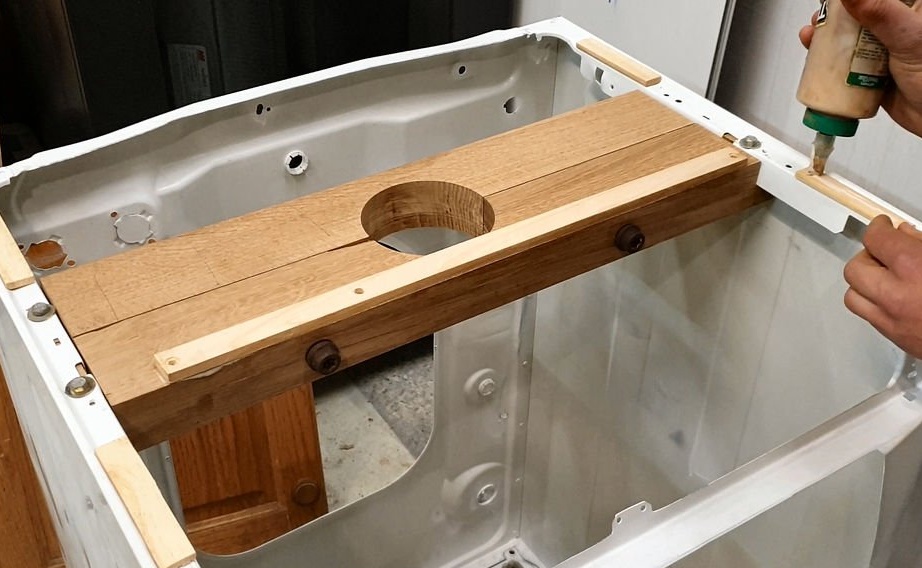
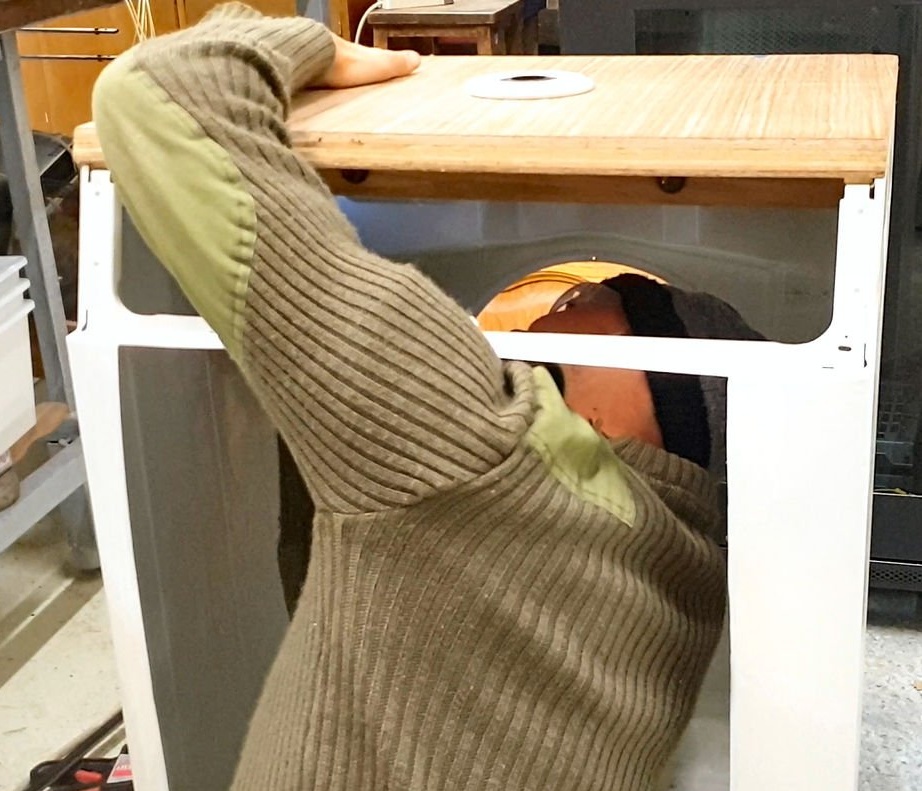
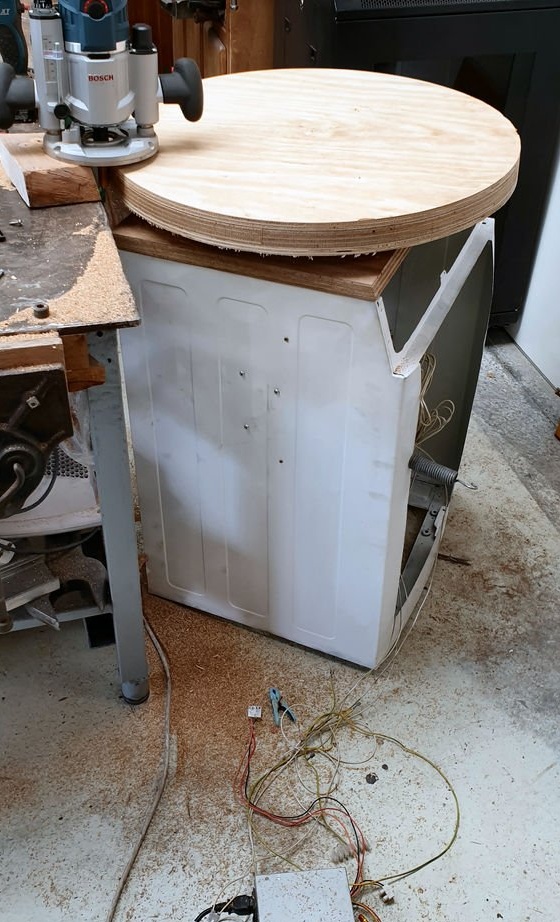
Step Two: Preparing the Case
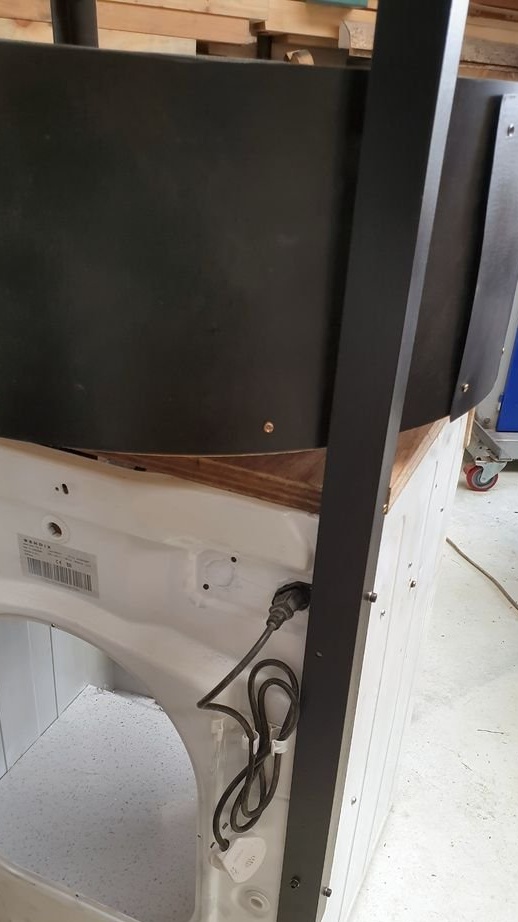
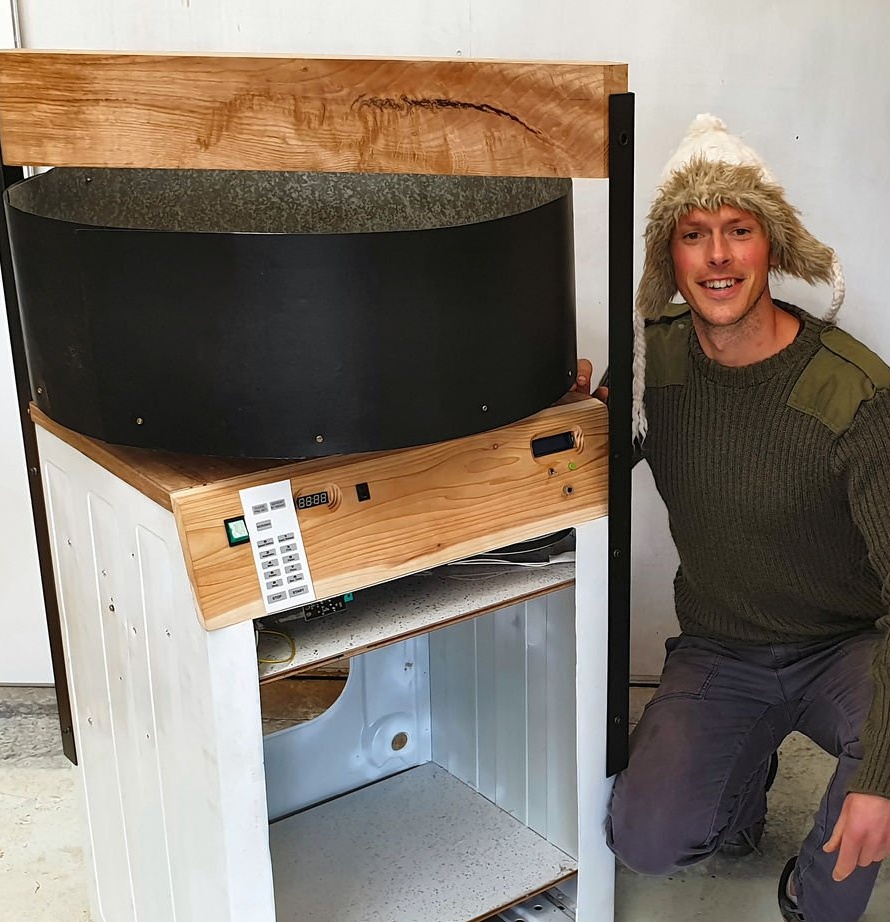
The housing from the washing machine will also serve as the housing of the rotary table. At the bottom of the case, he wants to make a storage compartment. The master cuts out part of the body and paints.
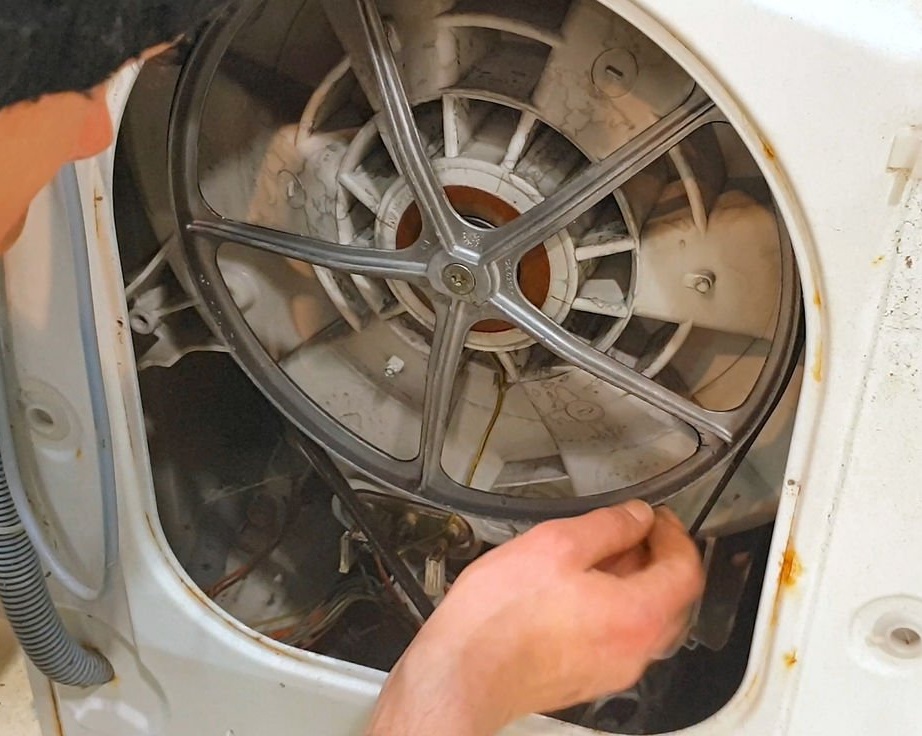
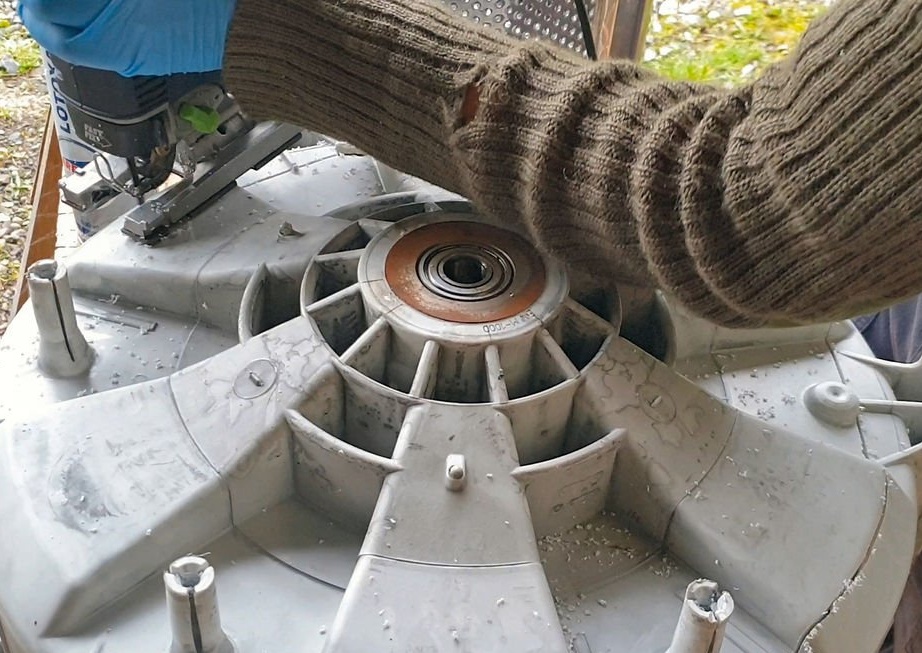
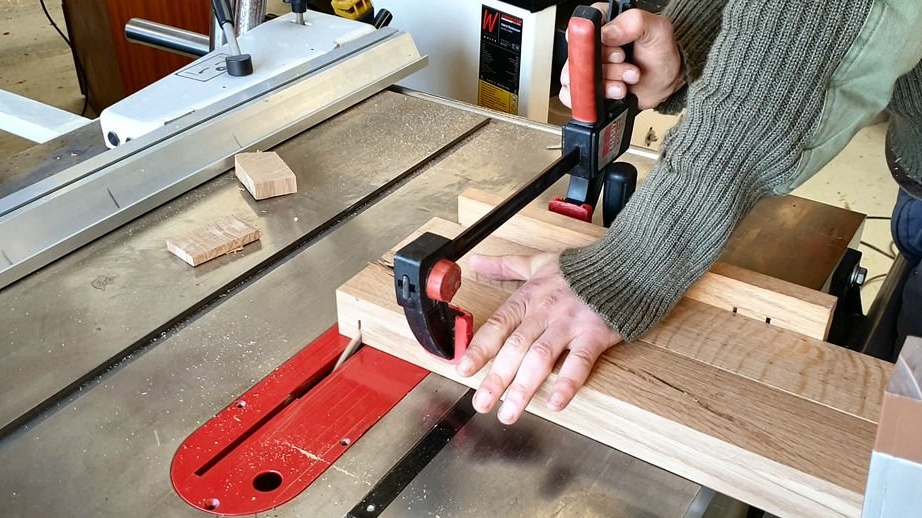
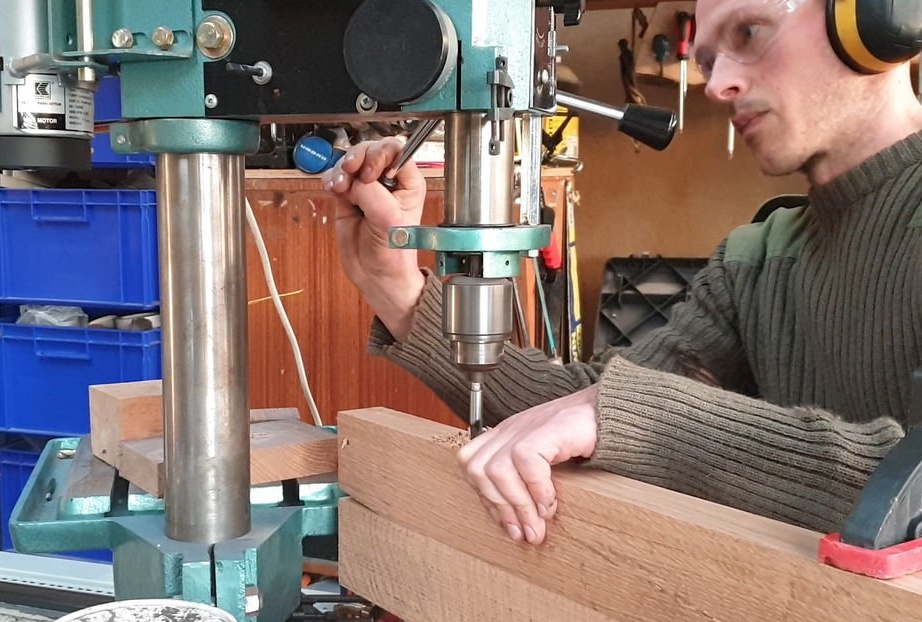
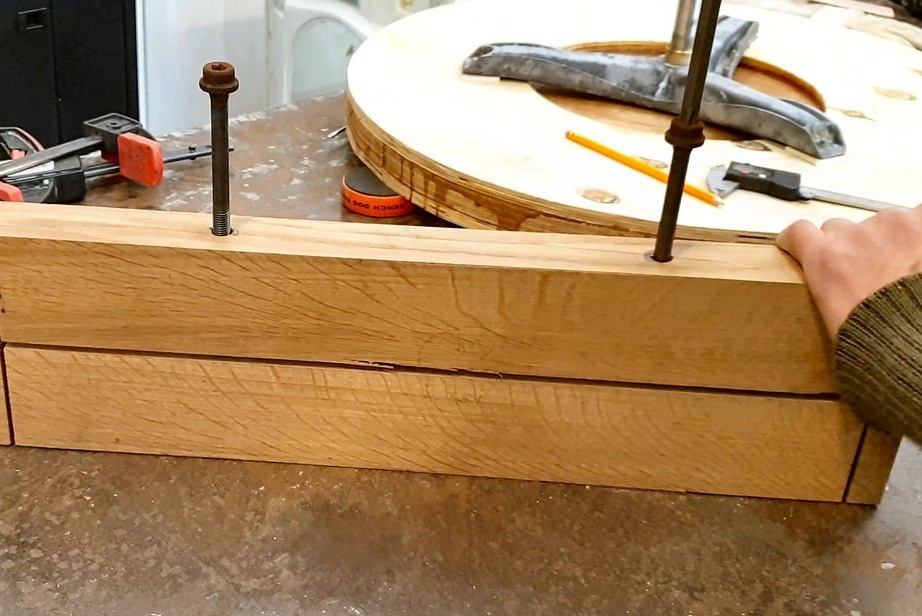
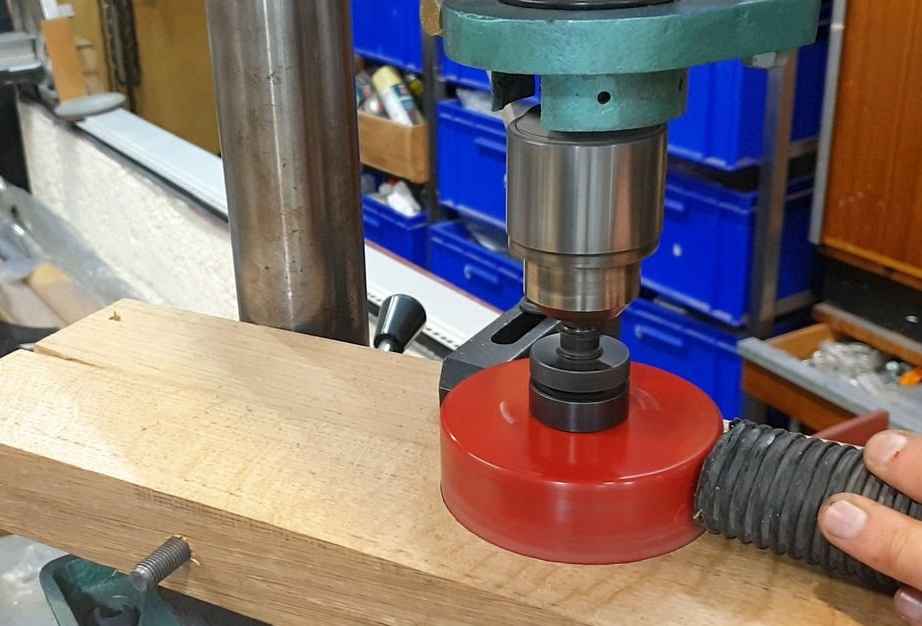
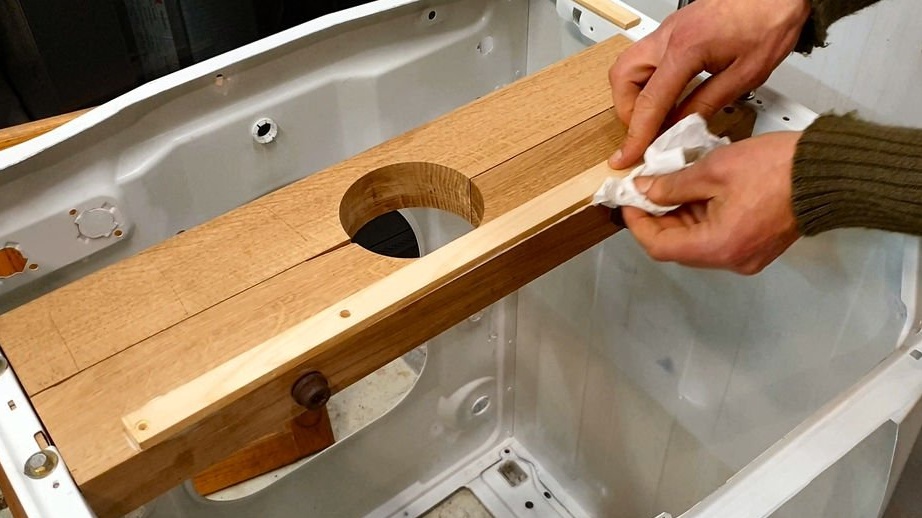
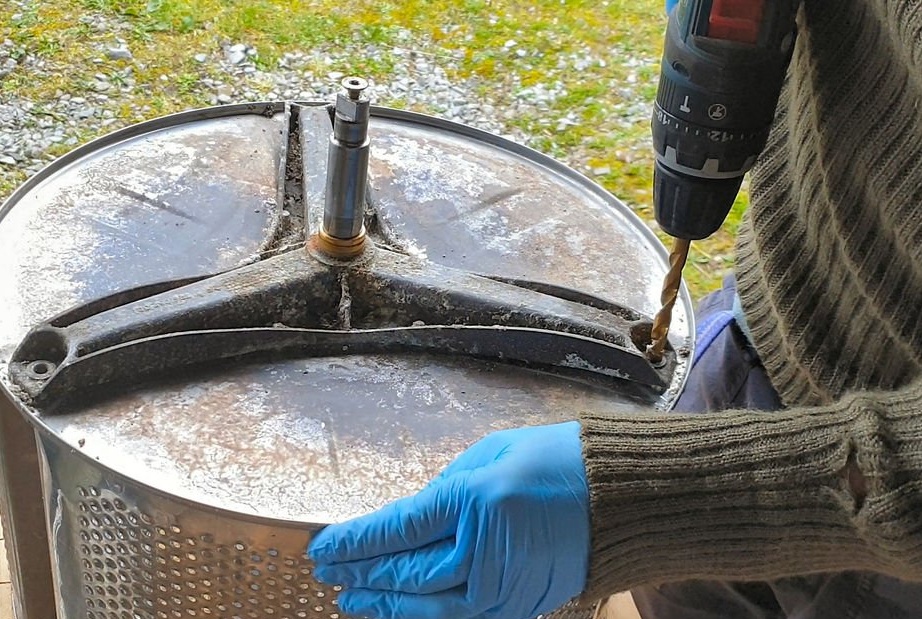
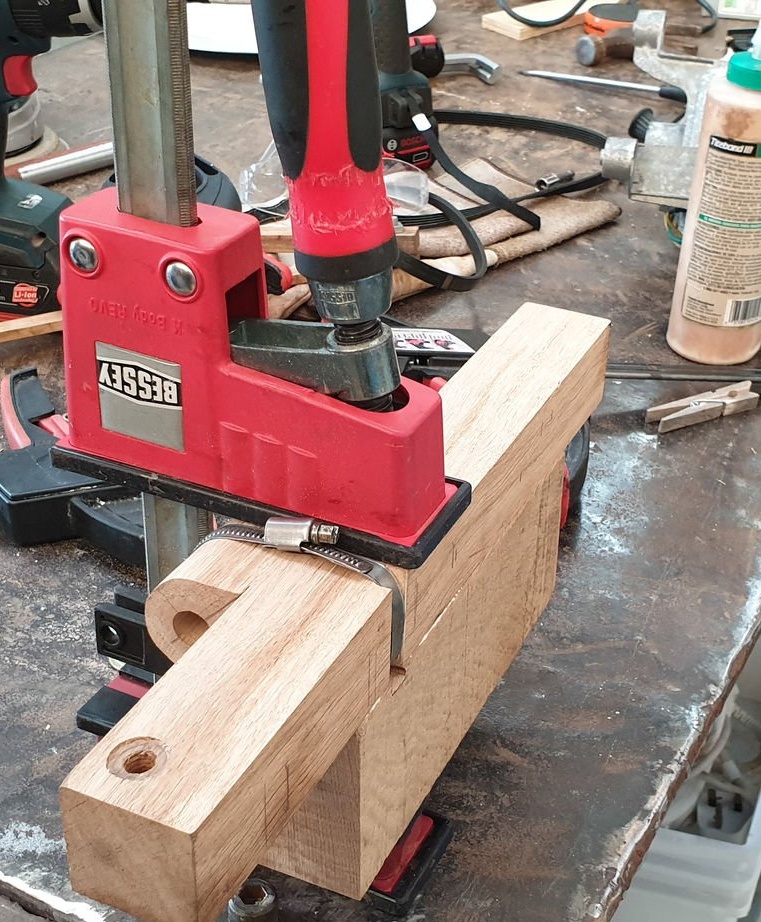
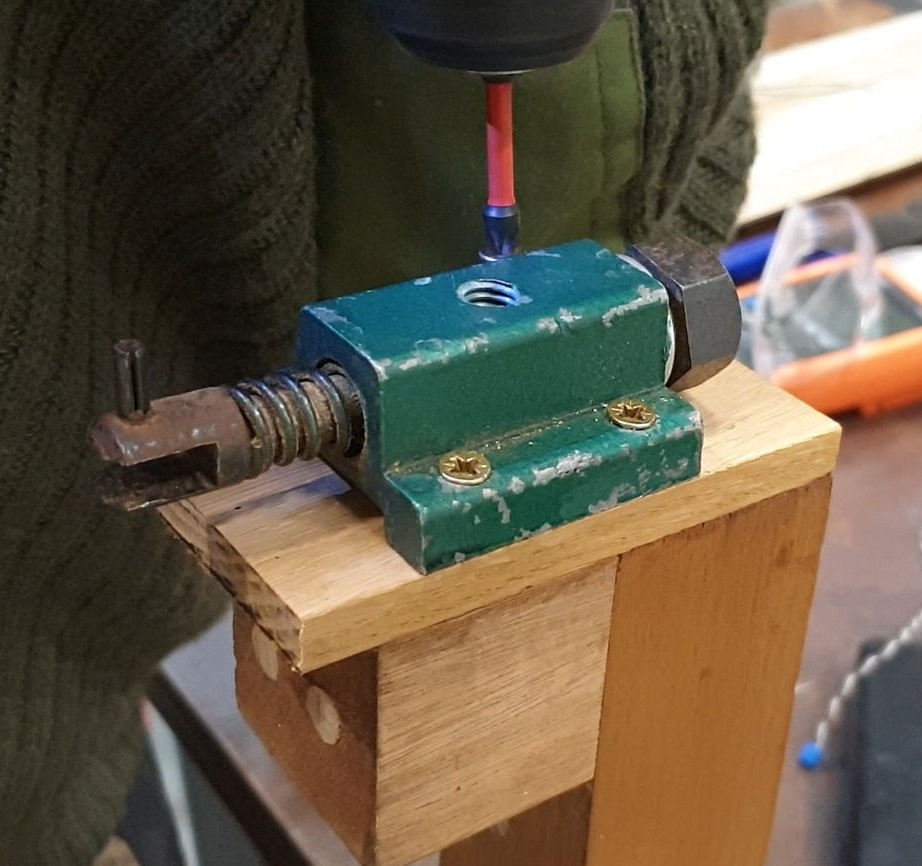
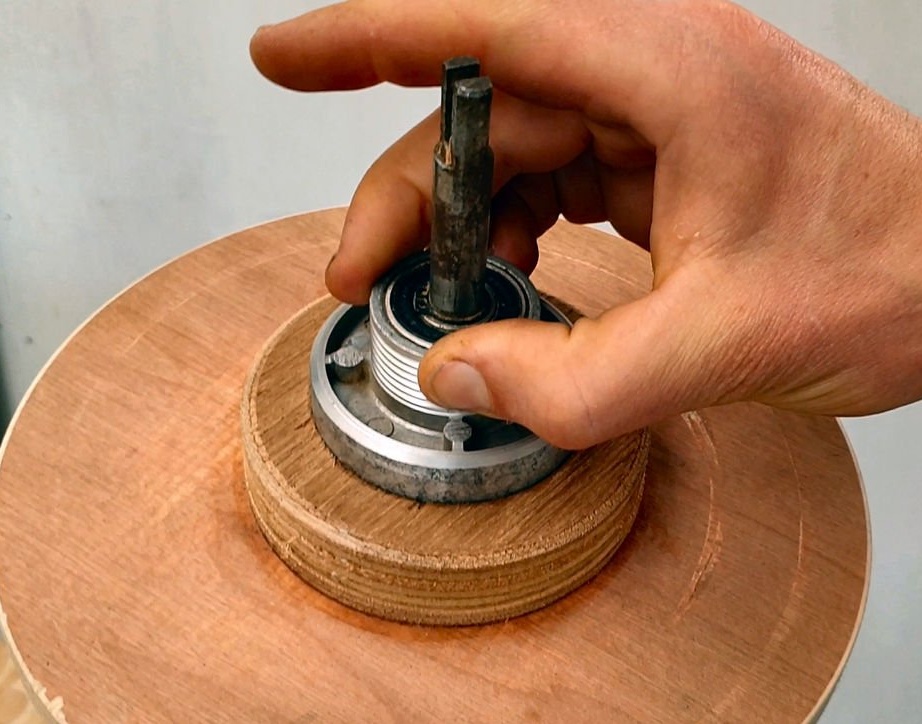
Step Three: Bearings
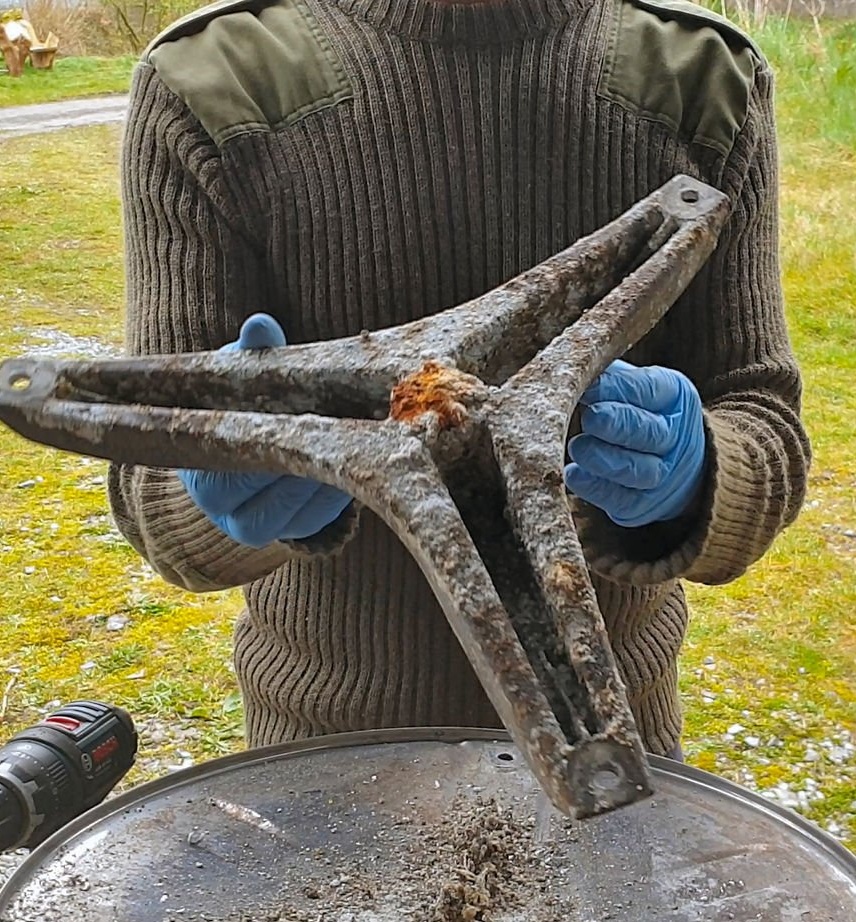
For the turntable, a bearing sleeve will be used, which are mounted on the drum of the washing machine.
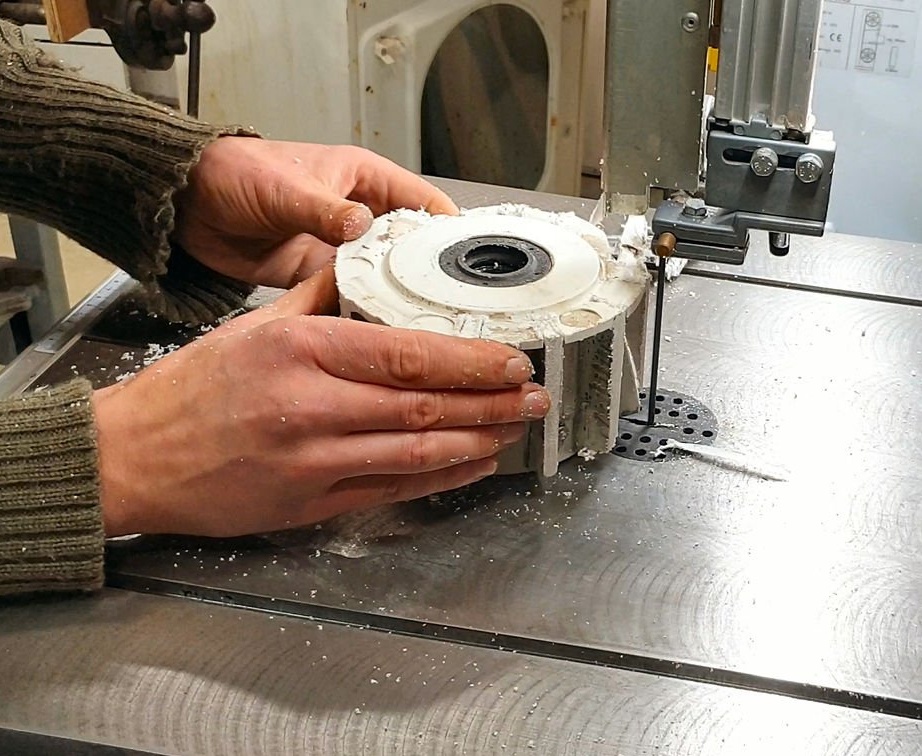
The clip will be installed between two oak boards with a hole. Boards are pulled together by bolts.
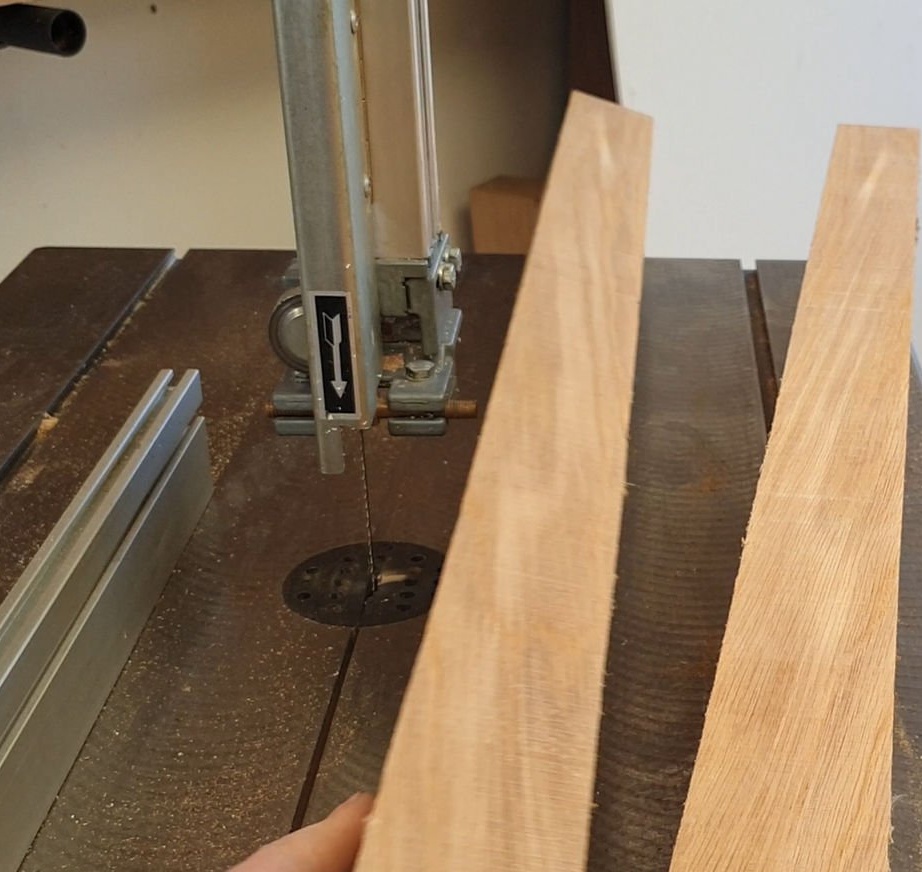
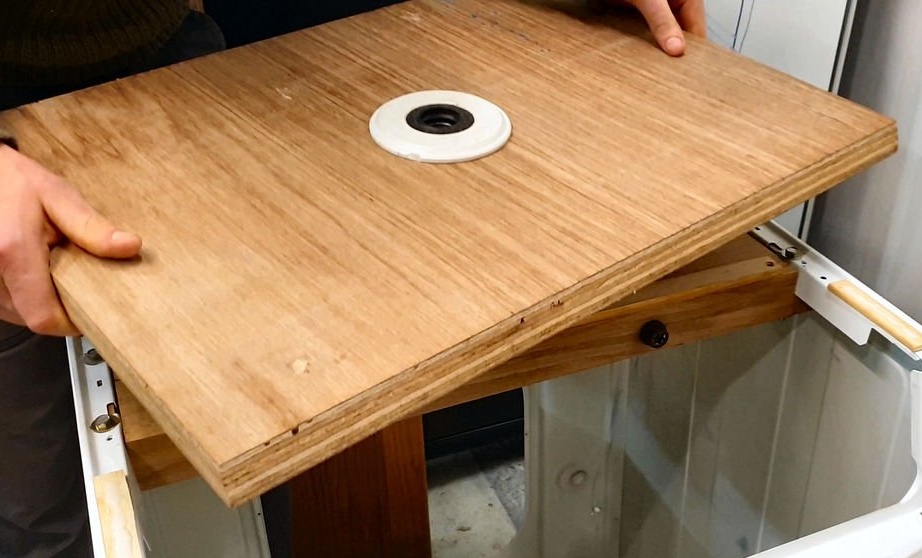
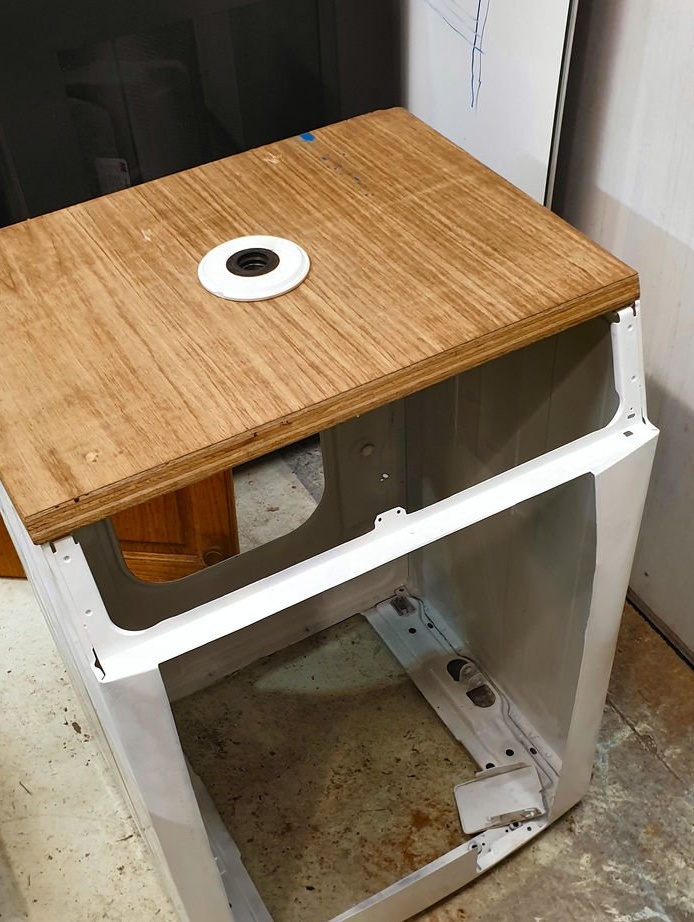
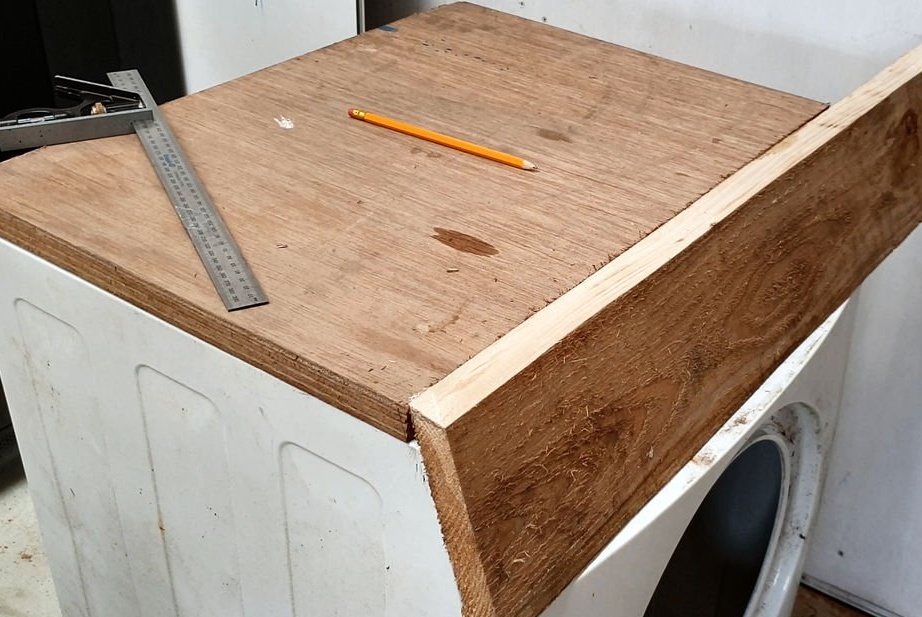
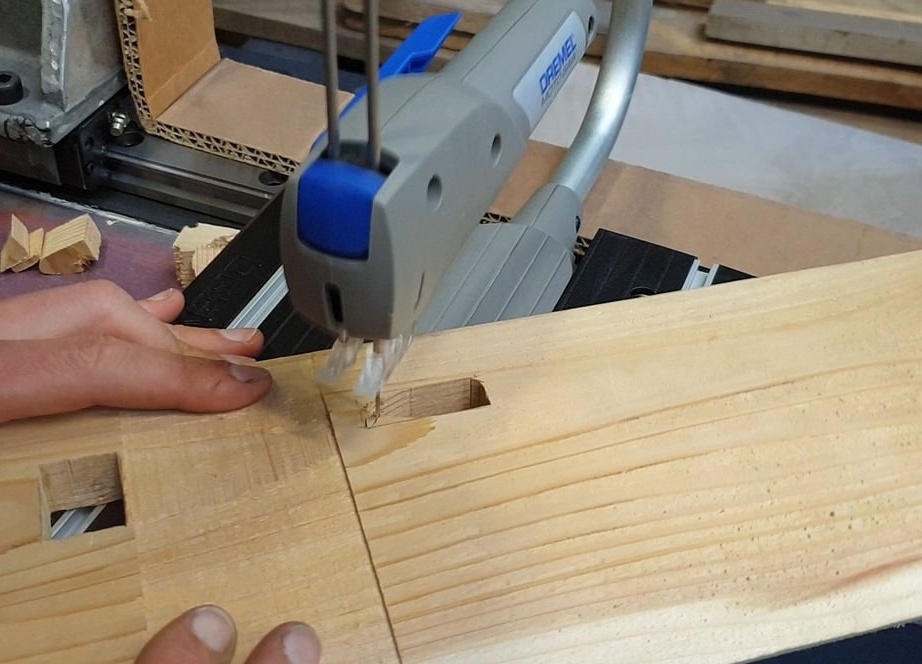
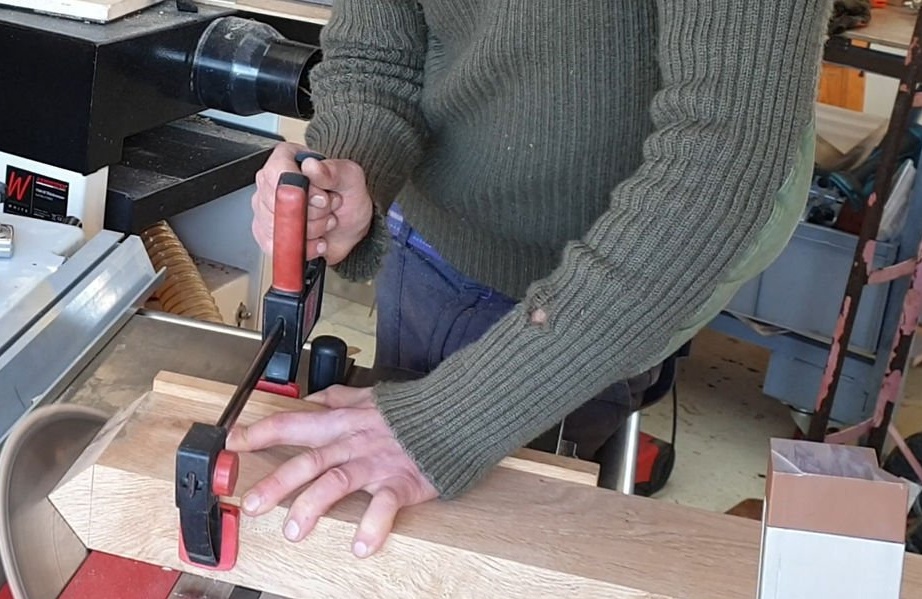
Step Four: Top Cover
The lid of the washing machine was broken, and the master makes a new wooden one.
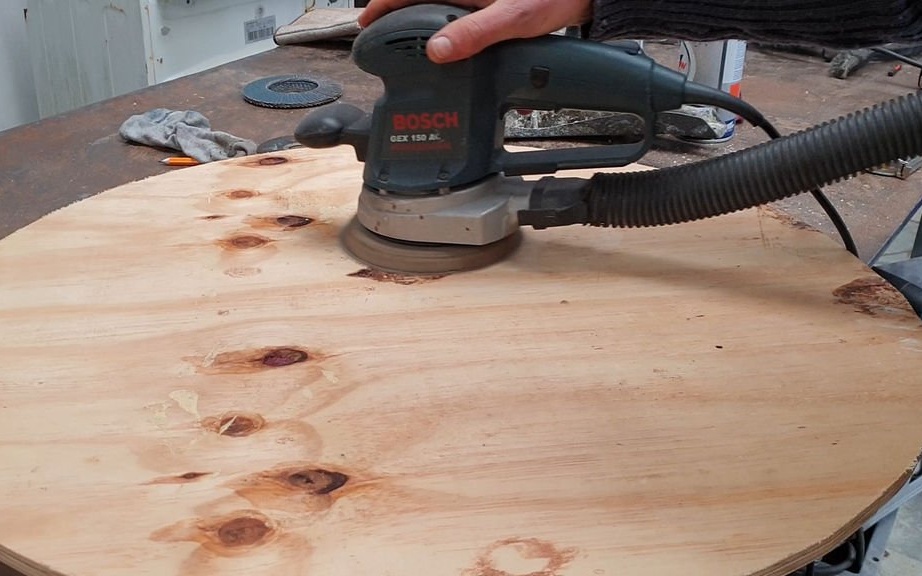
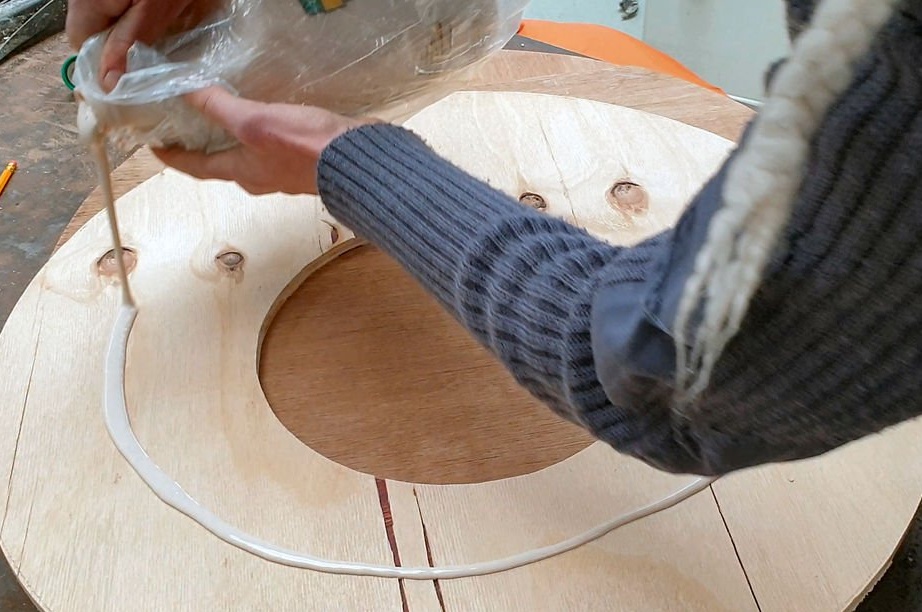
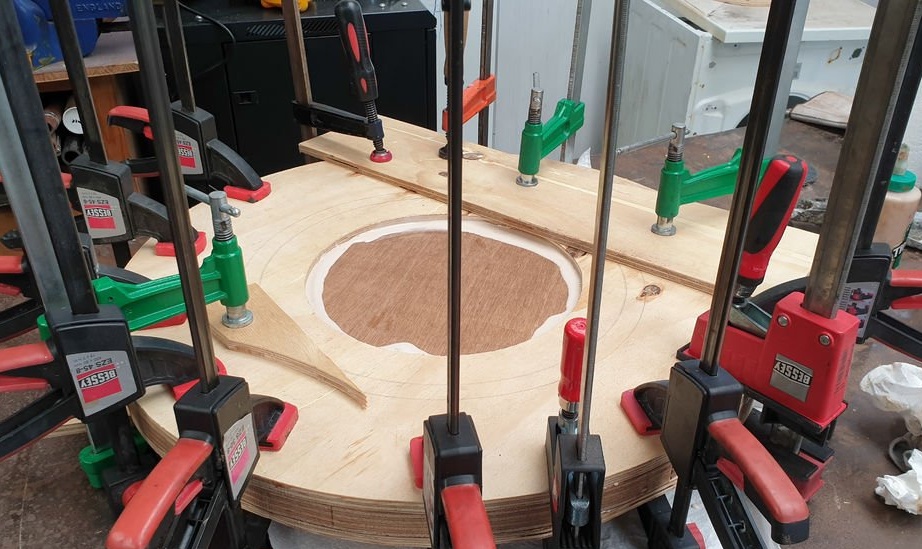
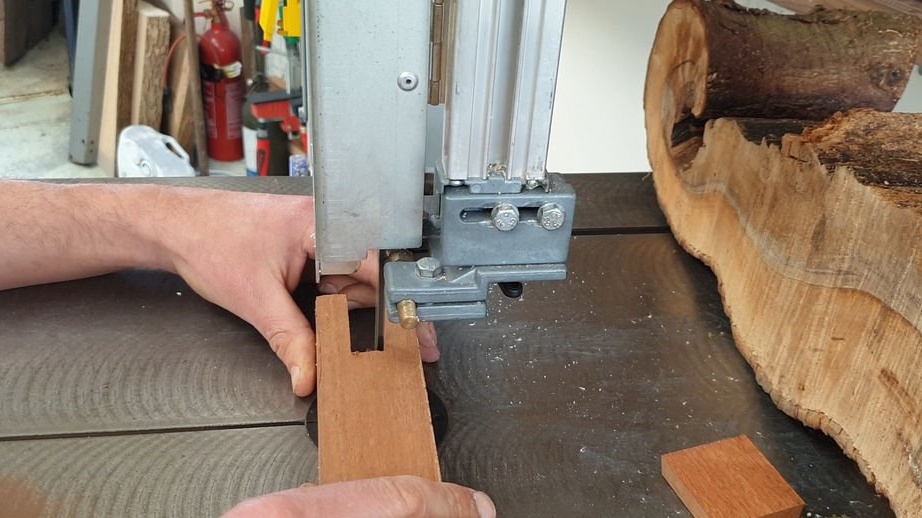
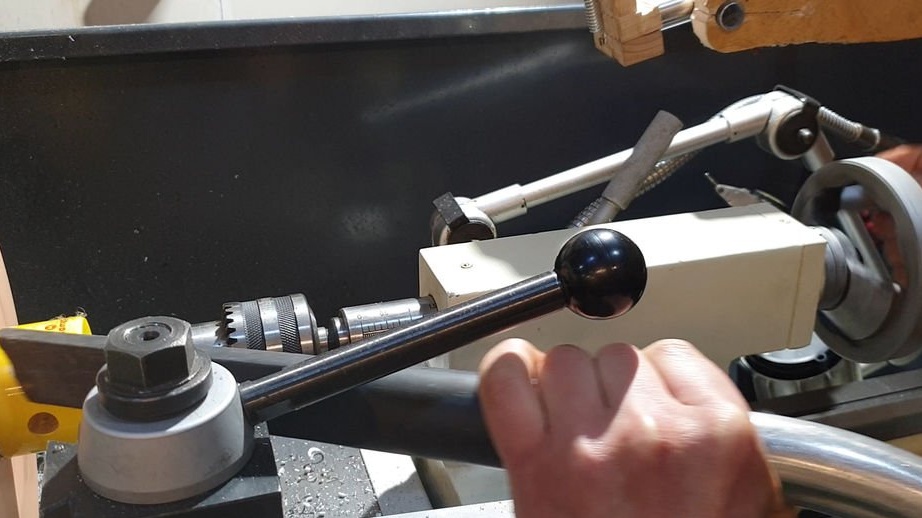
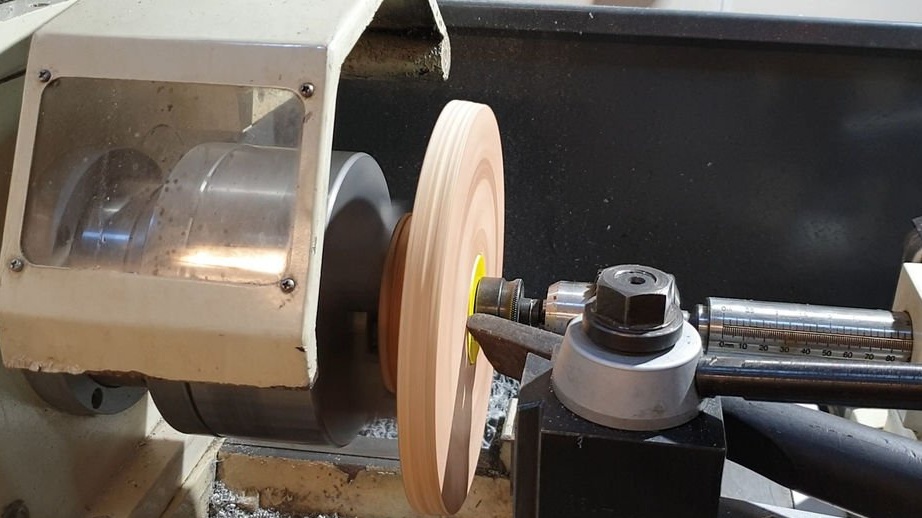
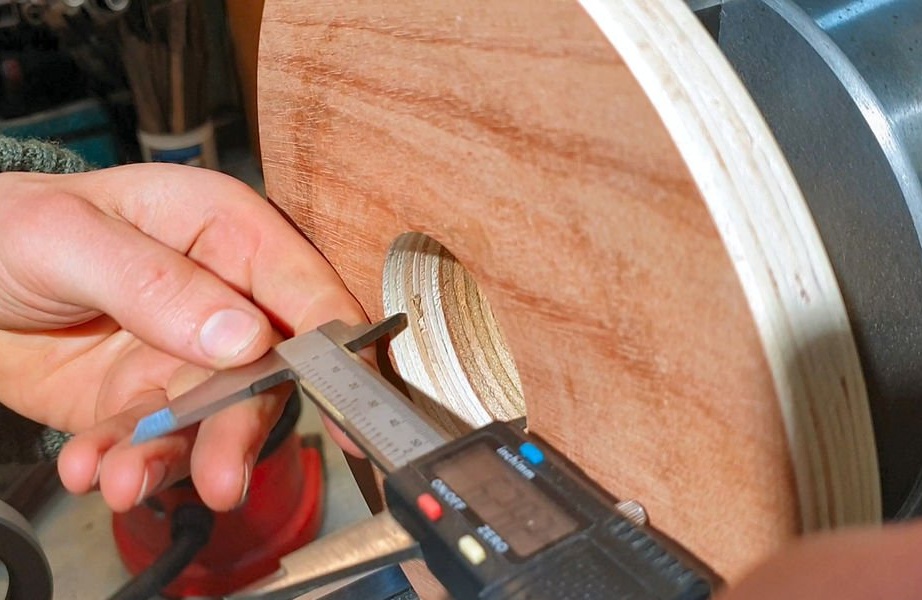
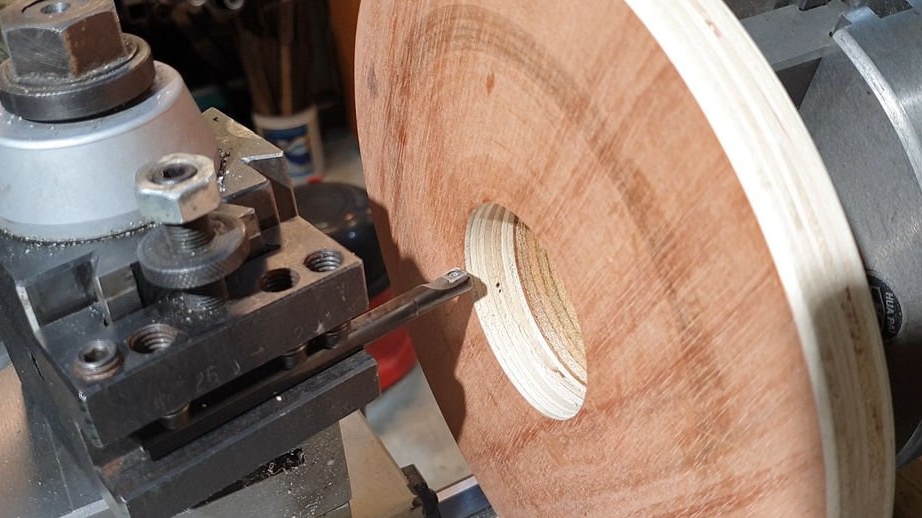
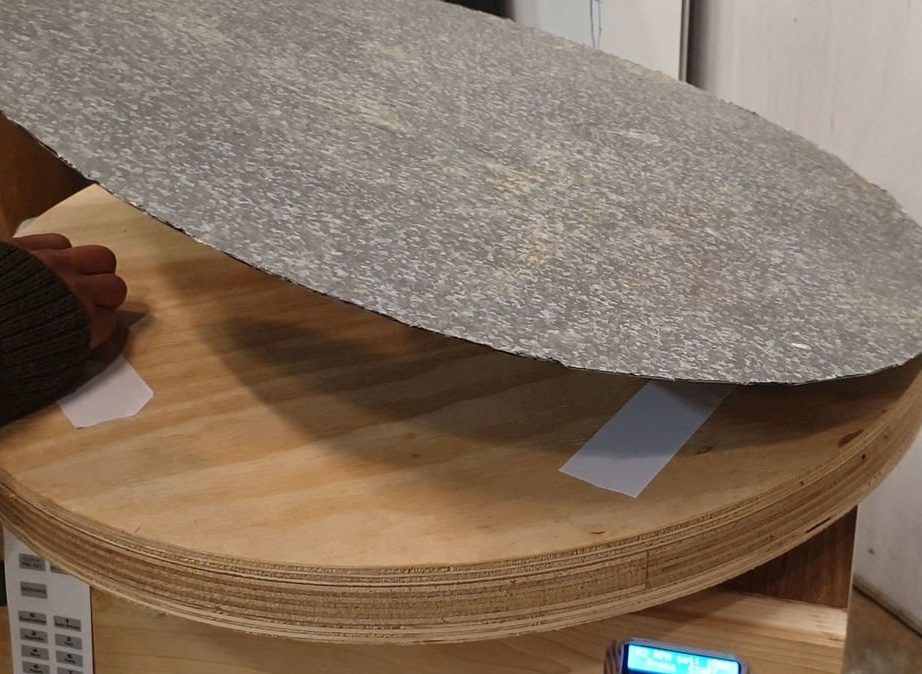
Step Five: the rotating platform
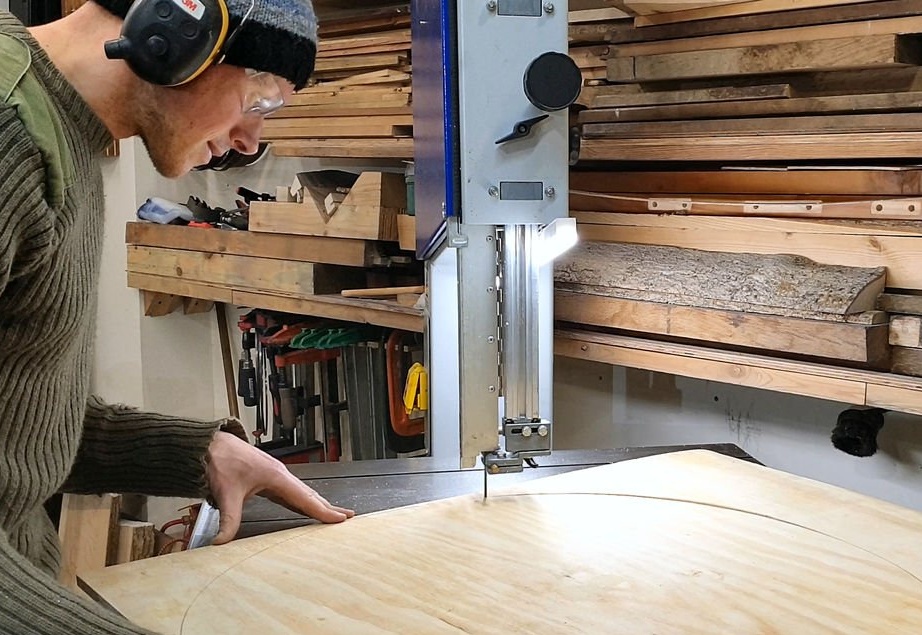
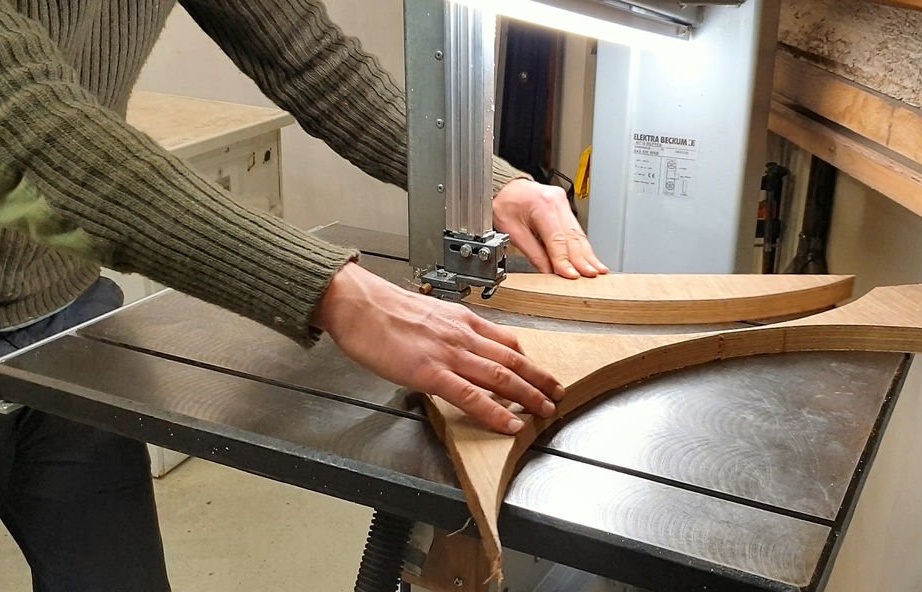
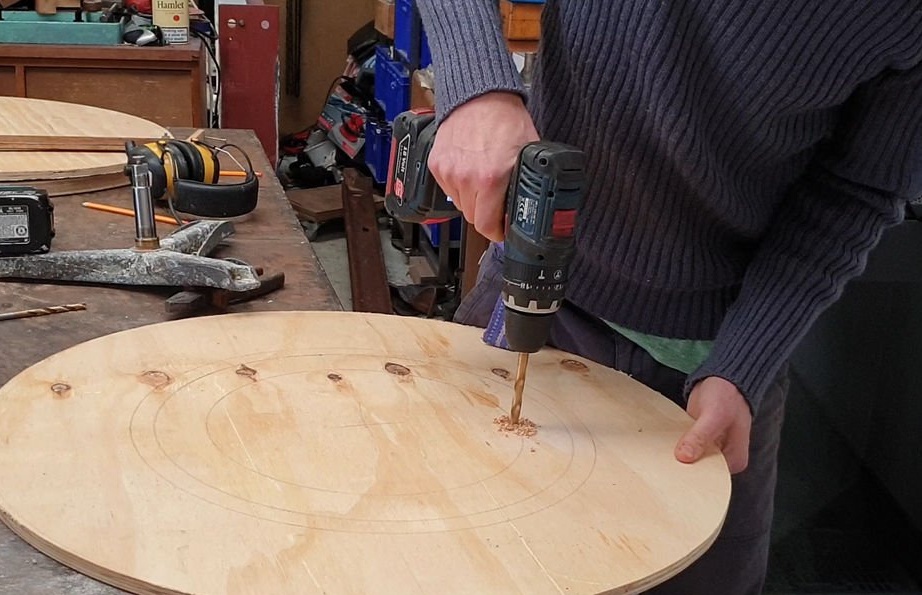
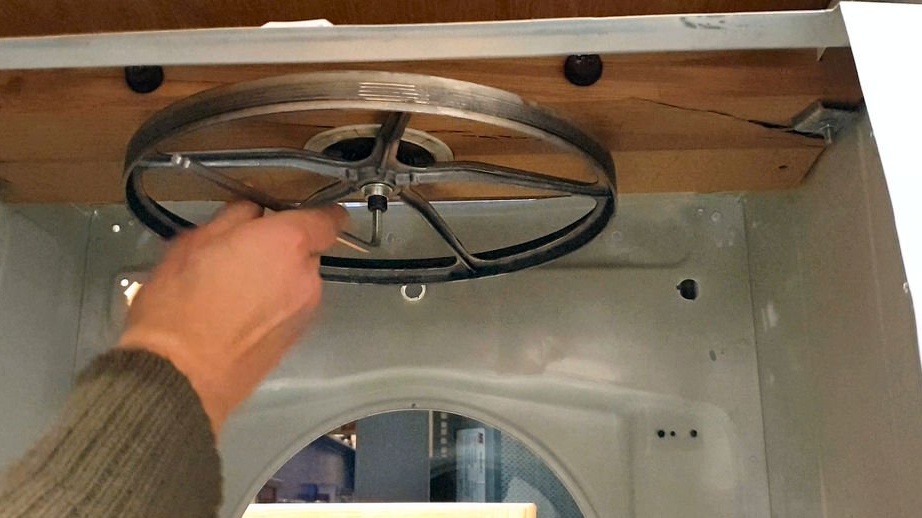
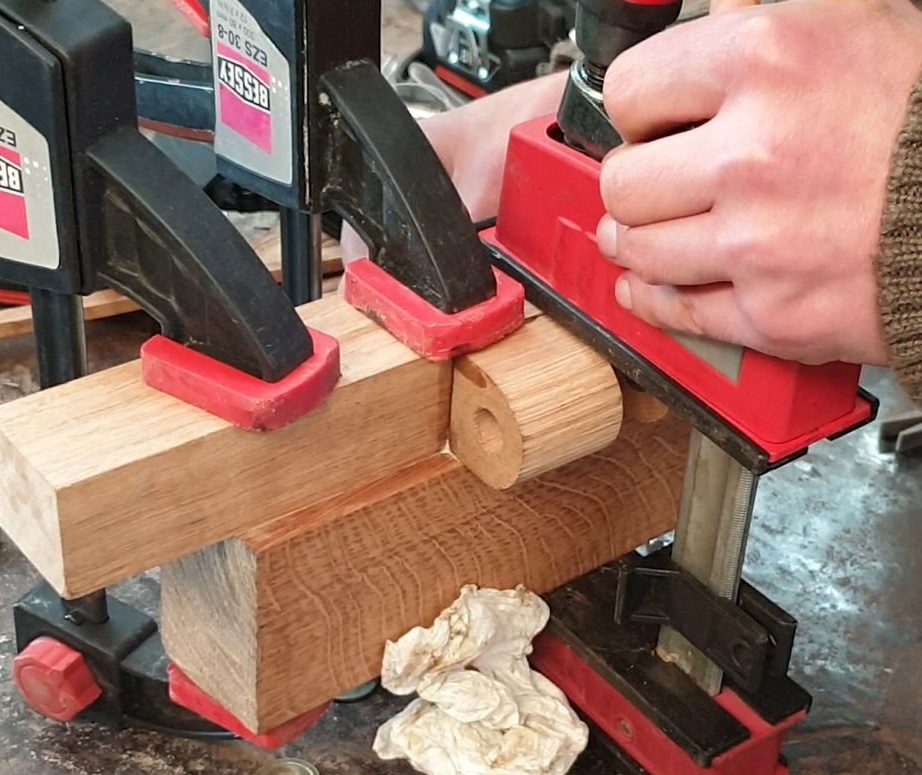
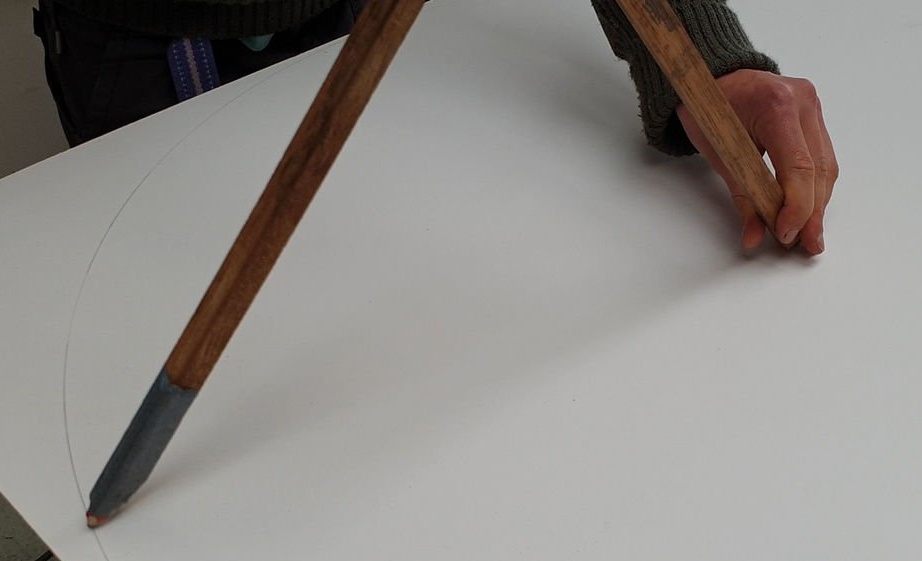
The rotating platform is carved from plywood and glued circles. The platform is attached to the mount removed from the drum.
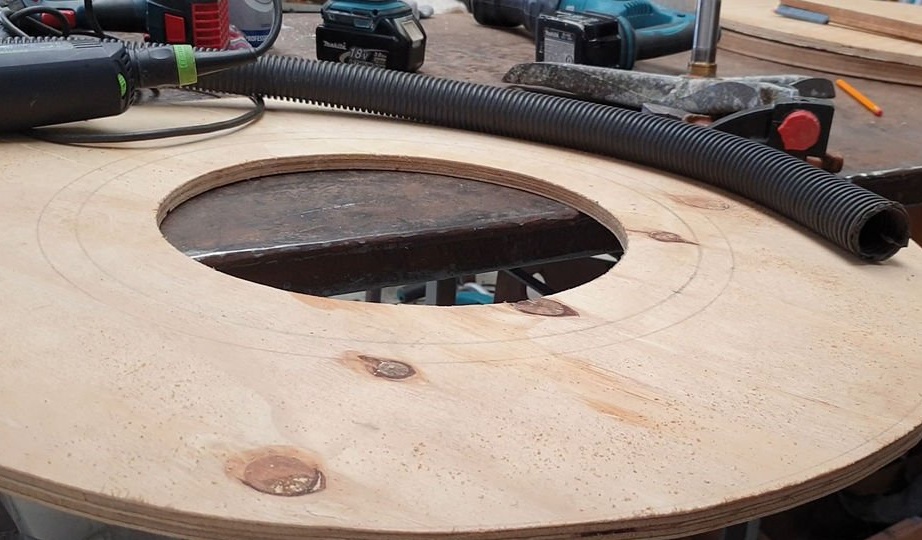
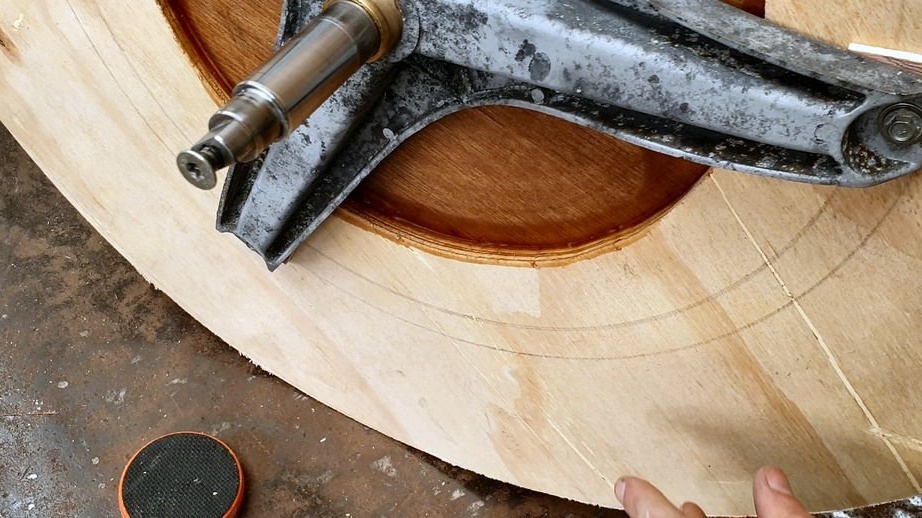
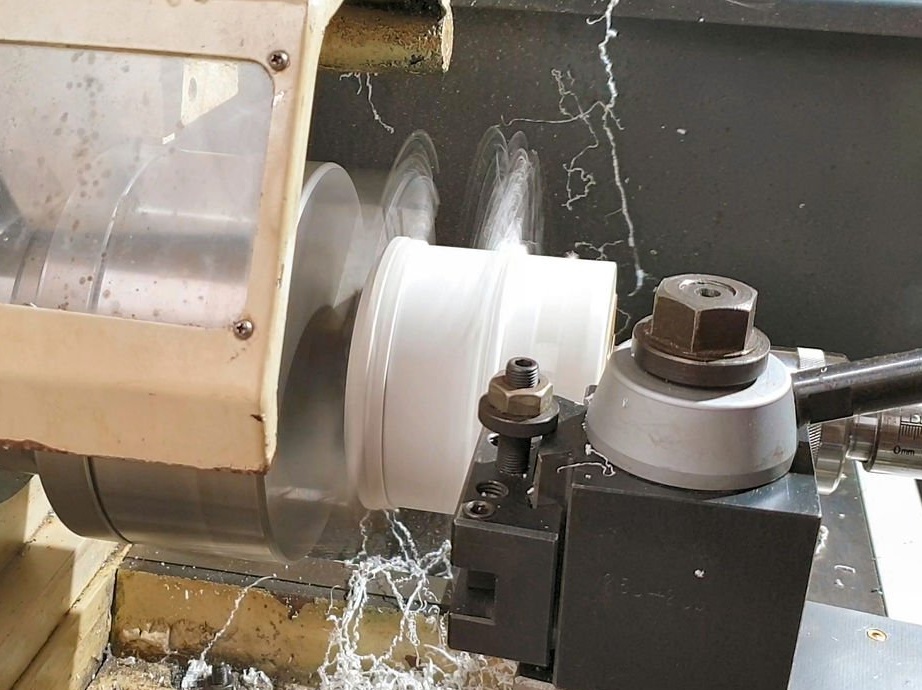
Then the axis of attachment, together with the fixed platform, is installed in the bearing. On the other hand, a wheel is mounted. The wheel has a convex shape and during installation will normally cling to the body. The master cuts a groove on the other side of the wheel, turns it over and sets it on the shaft.
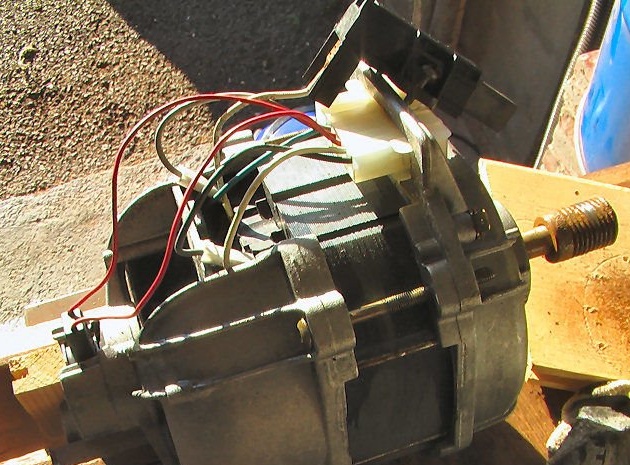
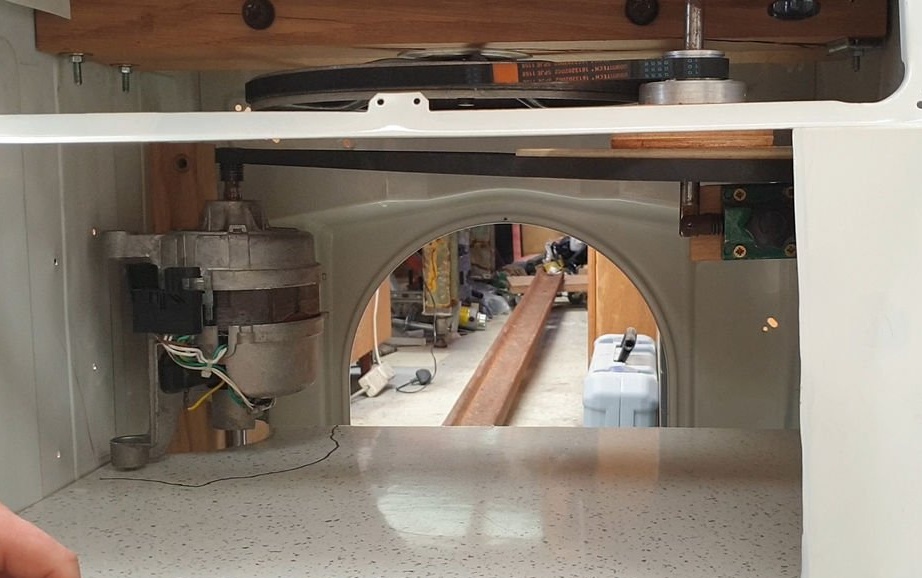
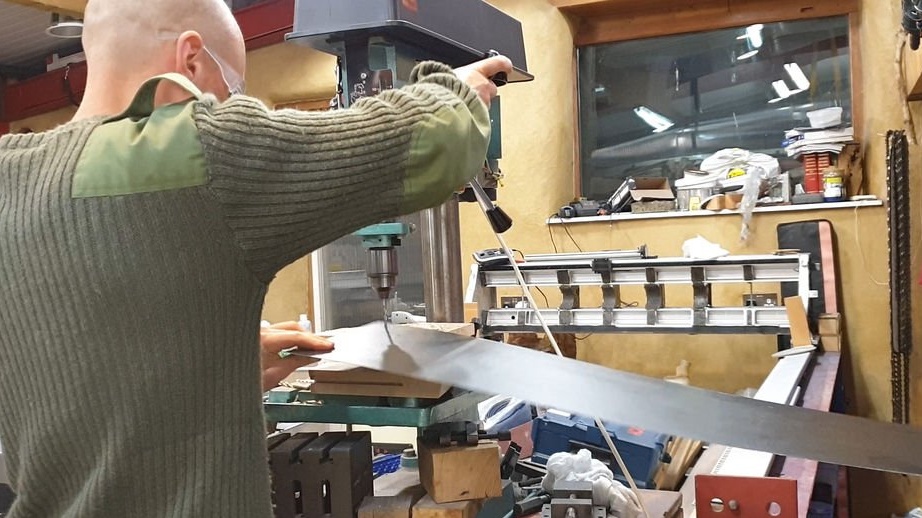
Step Six: Engine
The engine will be used from a washing machine.It is impossible to simply take and connect such an engine without load.

The master gives several schemes for starting such an engine.

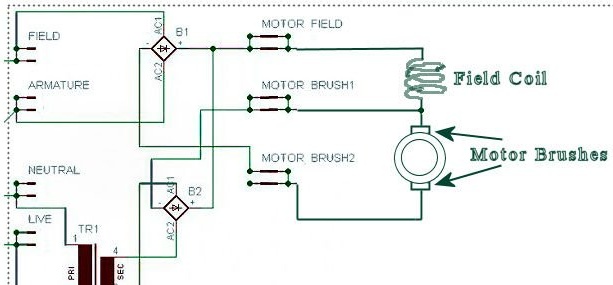
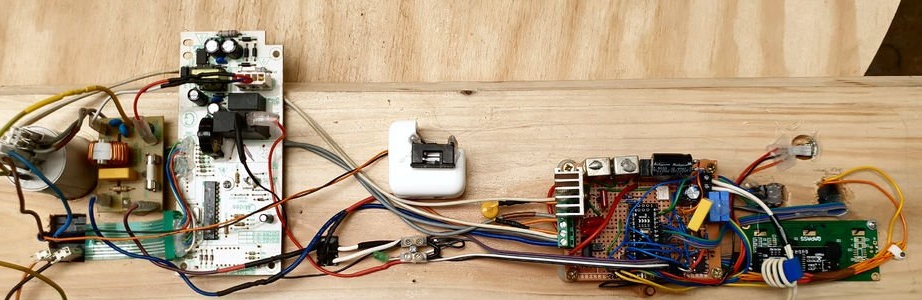
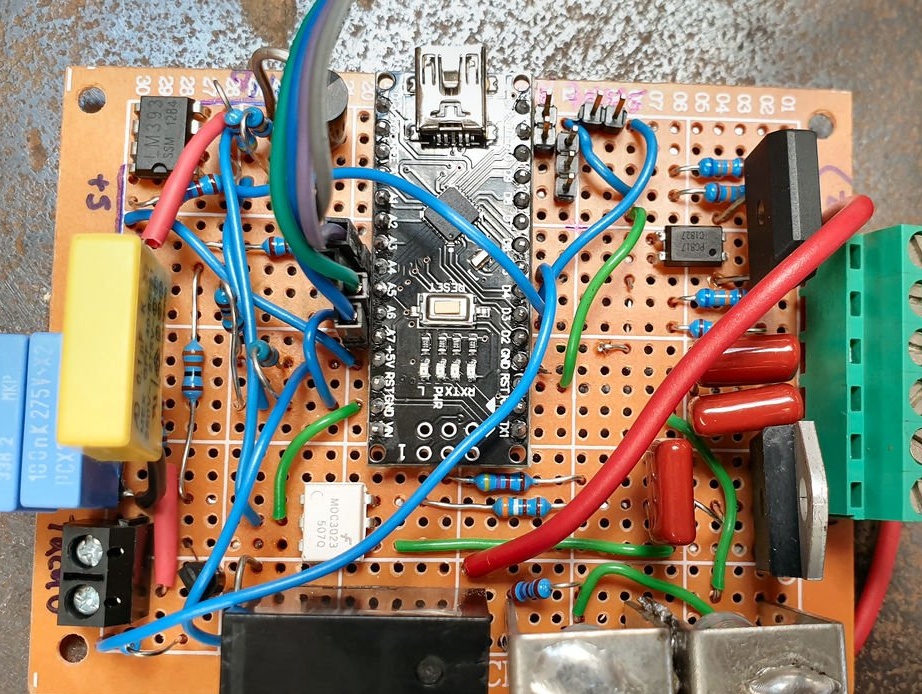
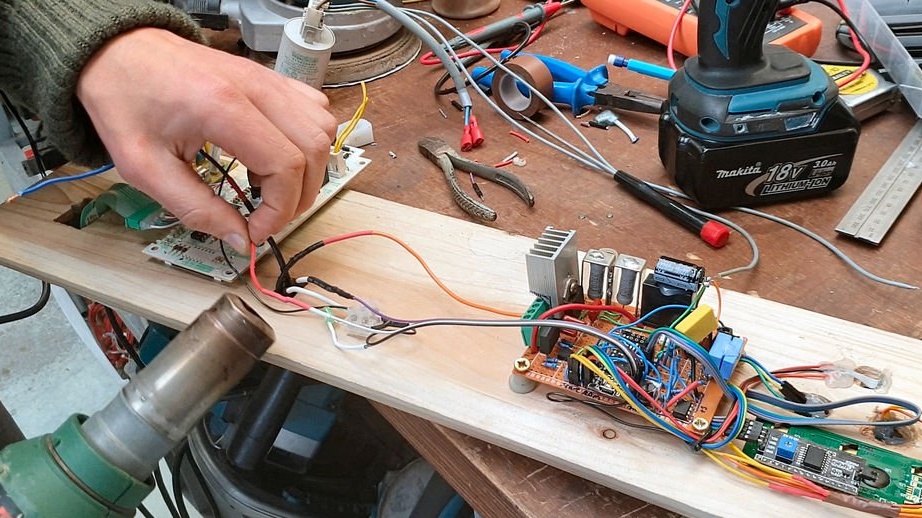
It is for this project that the master uses an engine control circuit using Arduino.
You can get acquainted with the principle of work.
.
Below you can download the file with the schemes.
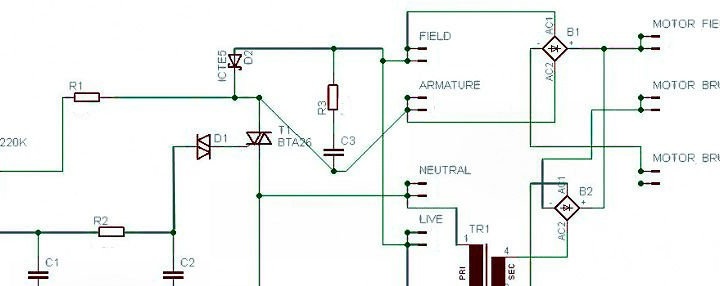
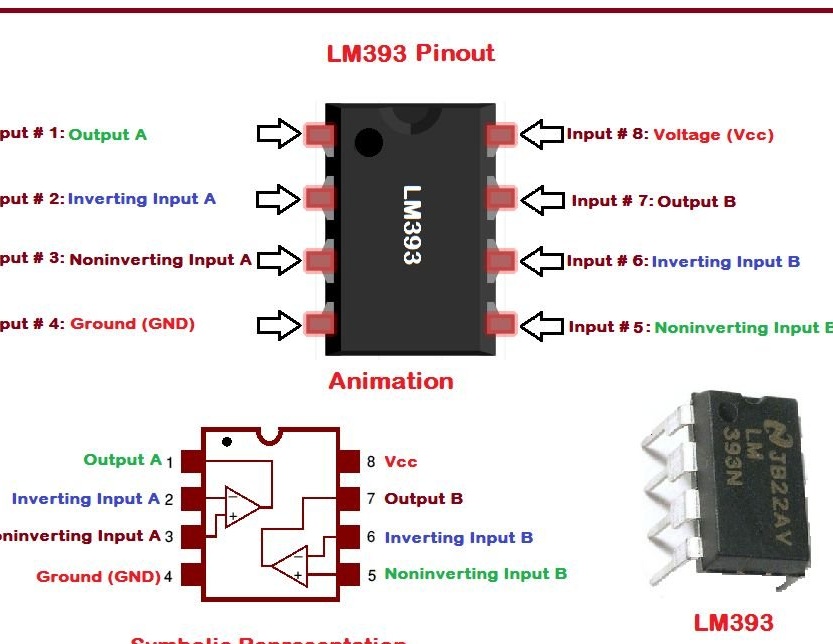
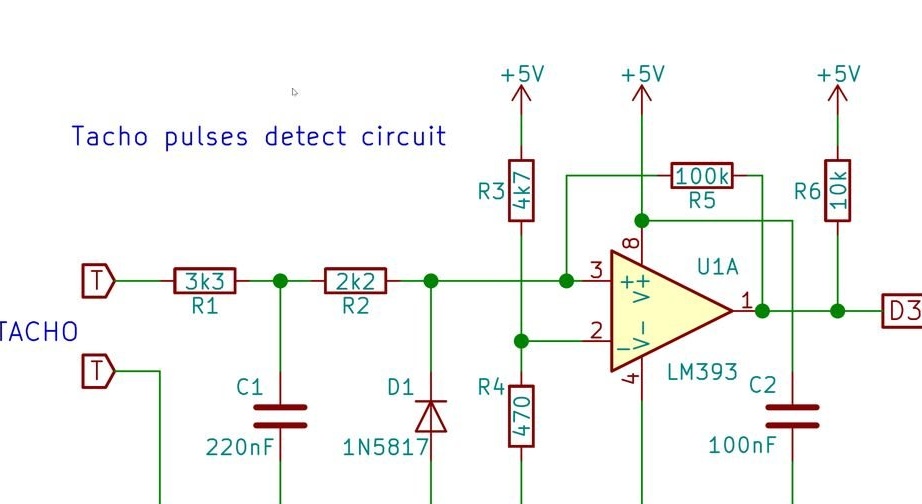
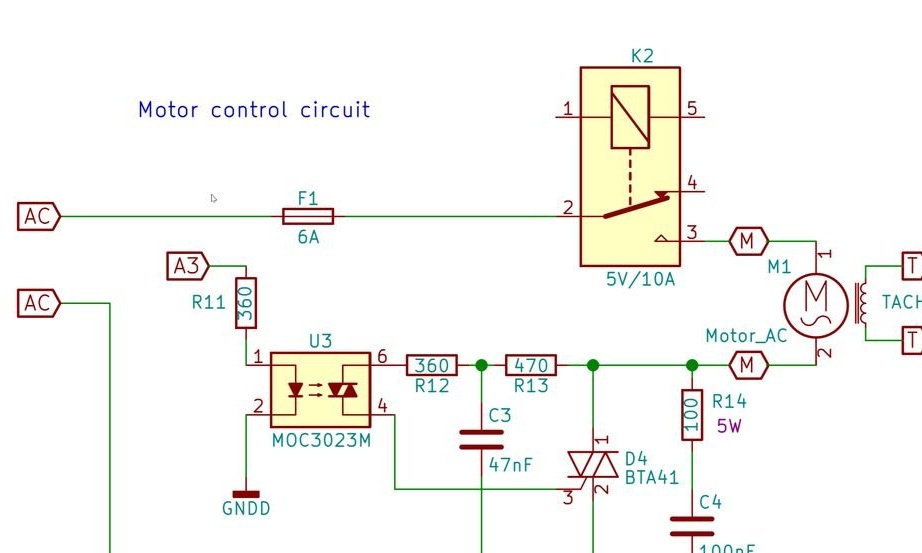
The basic principle of this scheme is that Arduino It receives an AC signal from the engine tachometer to determine the actual engine speed and compare it with the “set speed” (how many rpm do you want the engine to rotate). He then uses the PID algorithm to determine when to send control pulses to the optocoupler triac, which, in turn, activates and passes the mains voltage pulses to the motor.
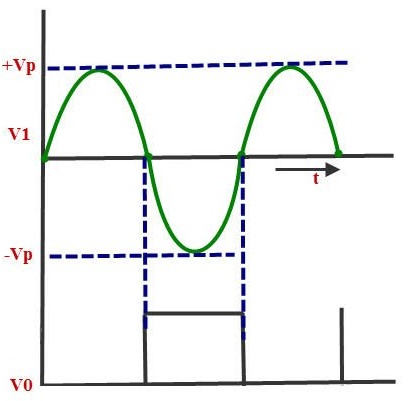
To determine the moment of tripping of the triac by Arduino, the master collects the following diagram.
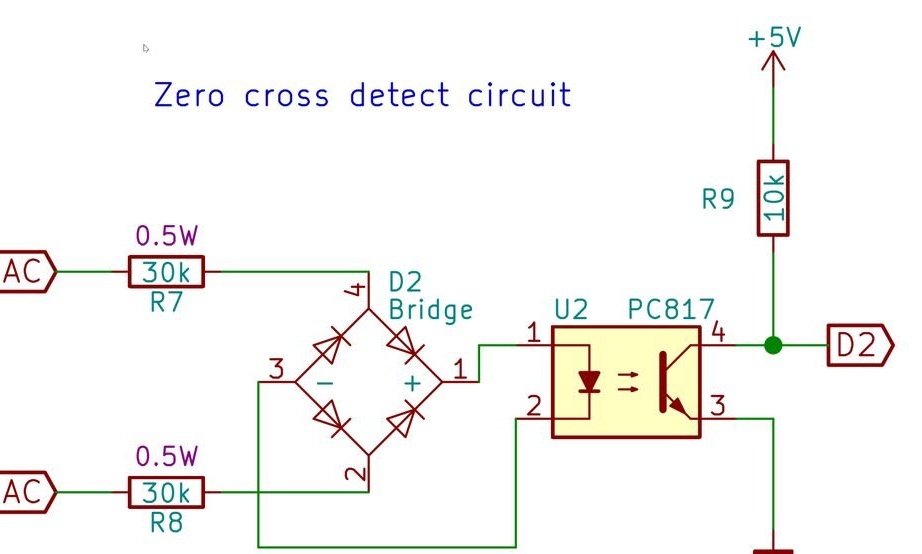
PC816 datasheet.pdf
To protect against power surges, the master uses a resistor R14 and a capacitor C4. He also added a 400V varistor in parallel with R14 and C4 (not shown in the diagram).
M0c3023M datasheet.pdf
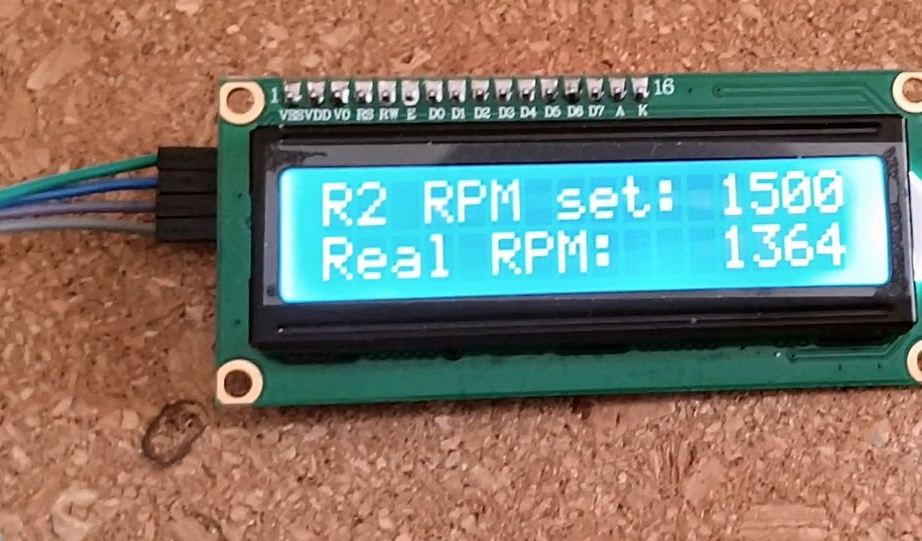
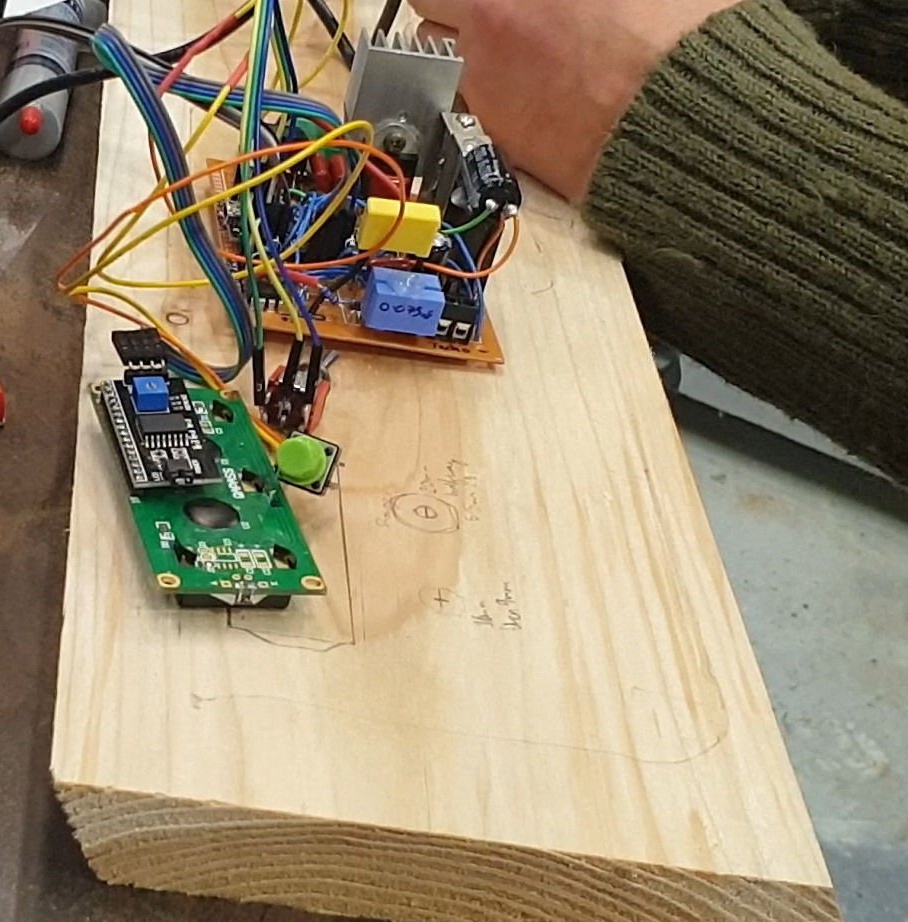
Seventh step: display
The display shows the setpoint rpm and the actual measured rpm. The code is configured to update every 2 seconds. Arduino may experience problems with other PID operations with more frequent updates.
The project uses a 16x2 HD44780 LCD with a serial interface. For the show, the master used a large one, written by F. Malpartida. There are also some helpful notes on the same page on how to determine which I2C module you are using and other troubleshooting methods.

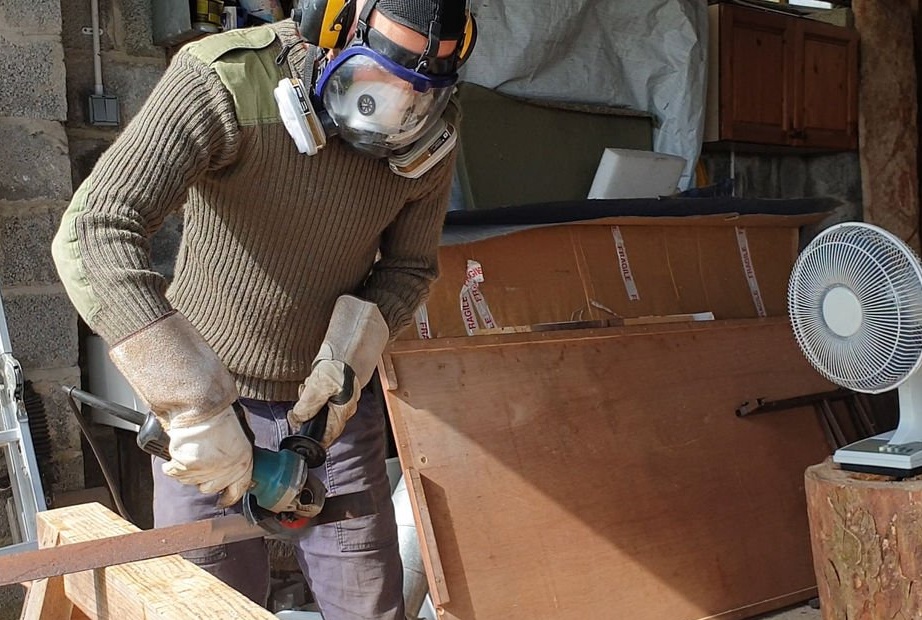
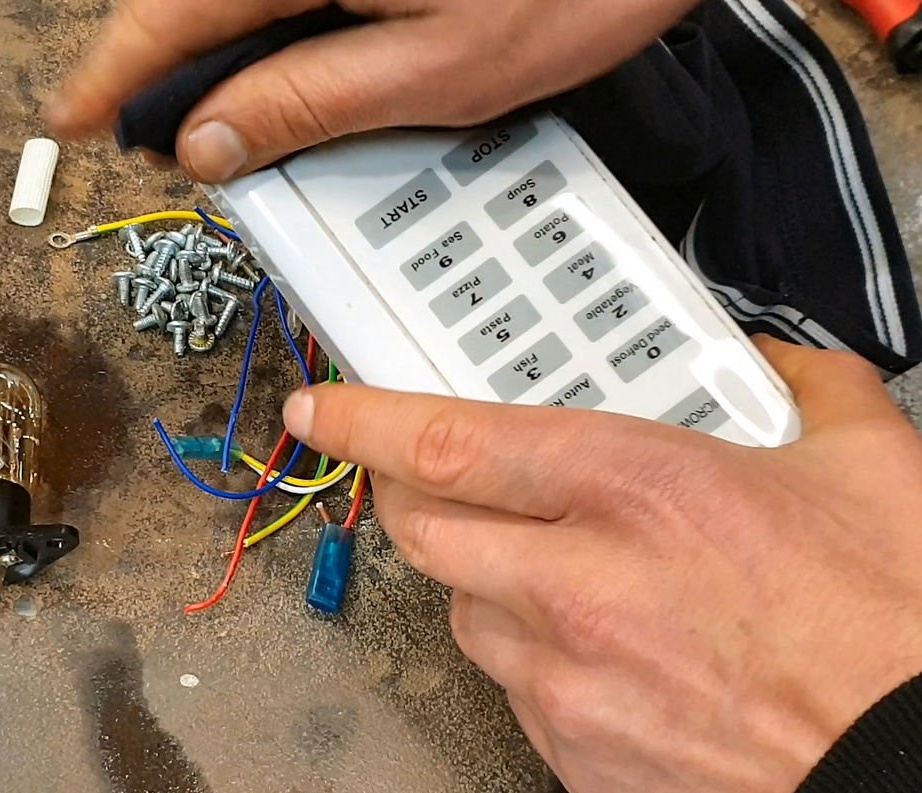
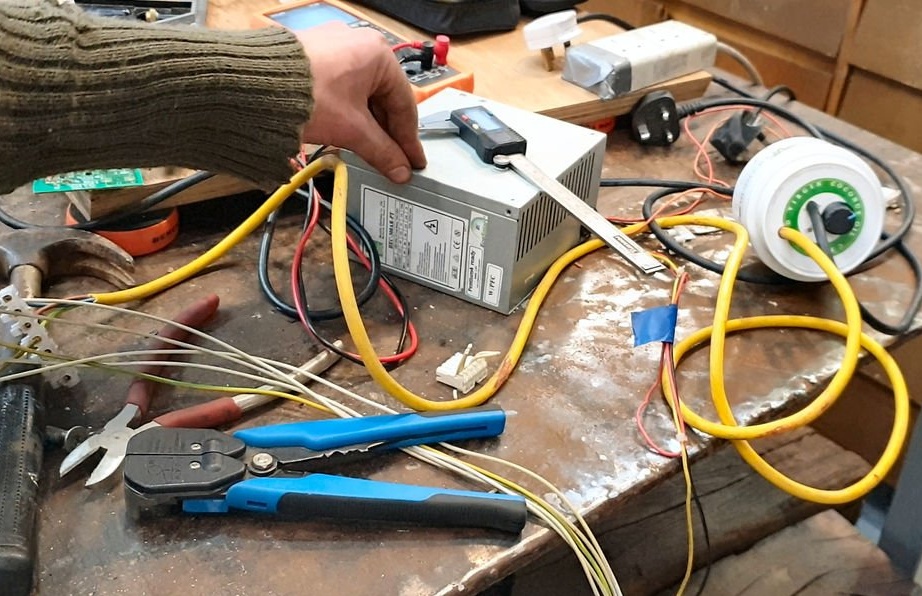
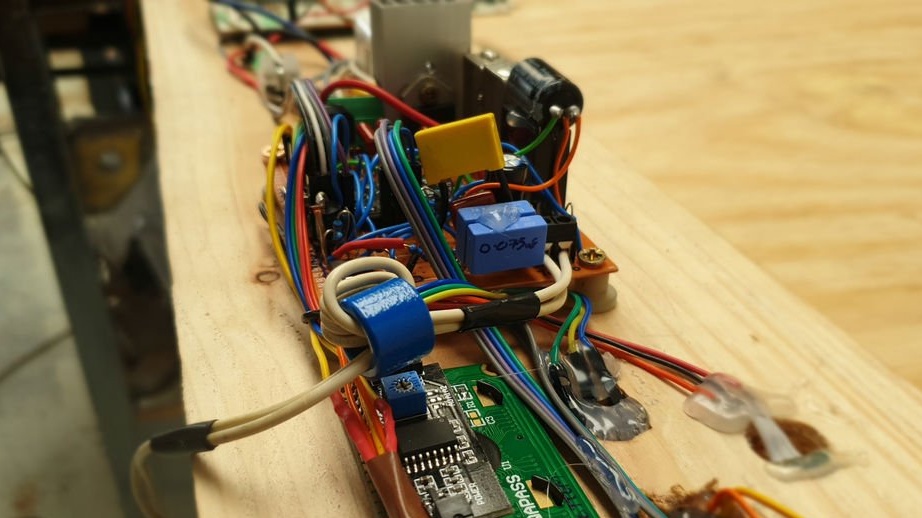
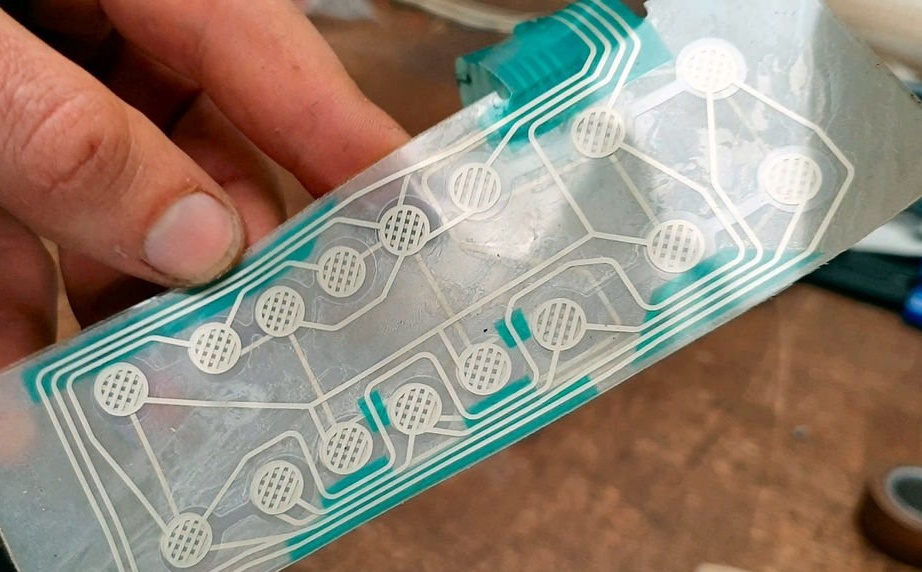
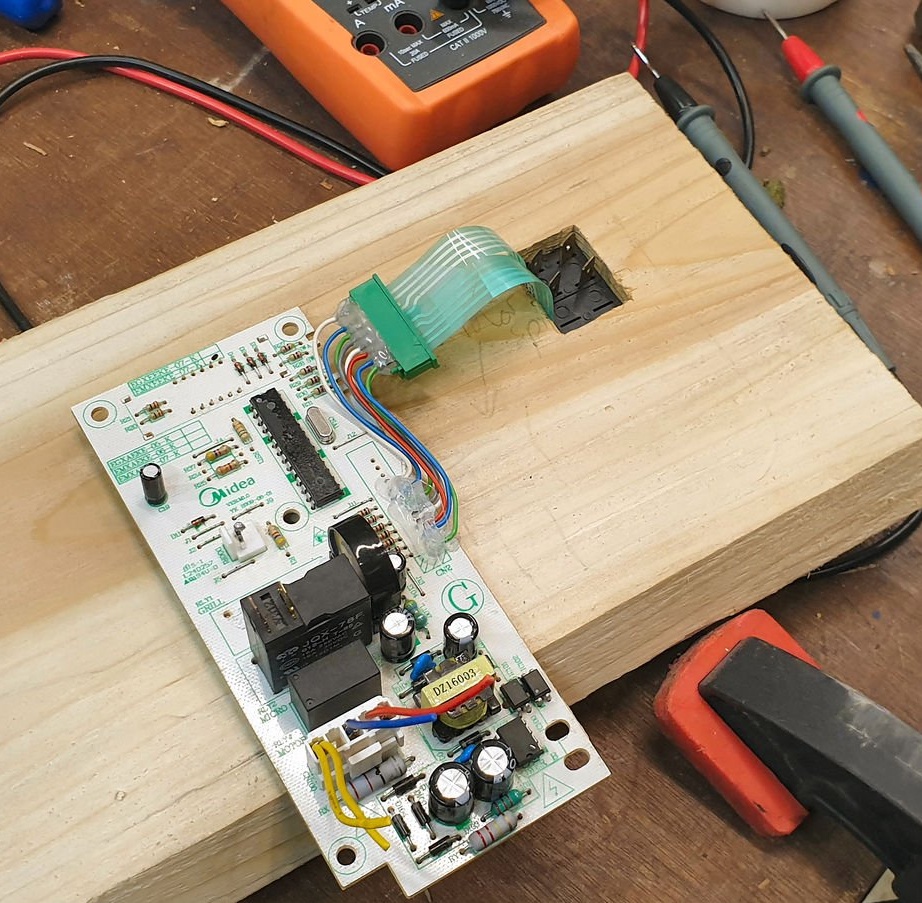
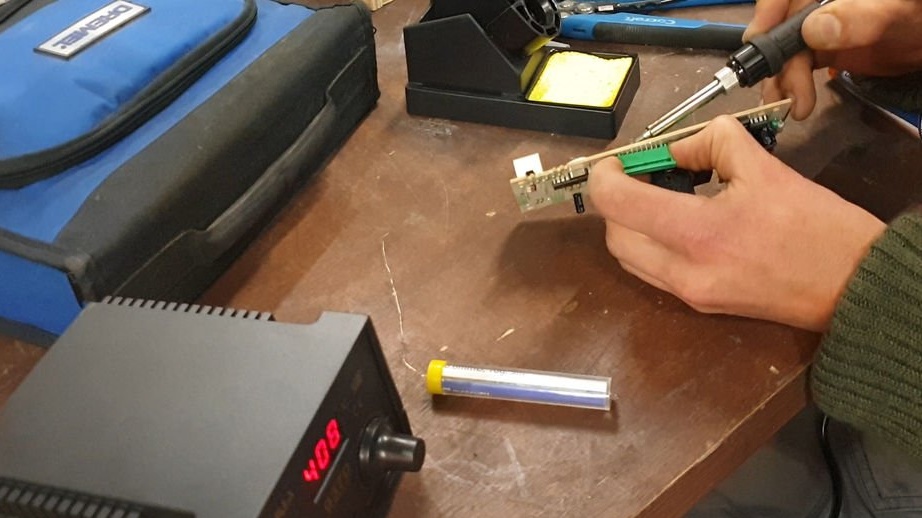
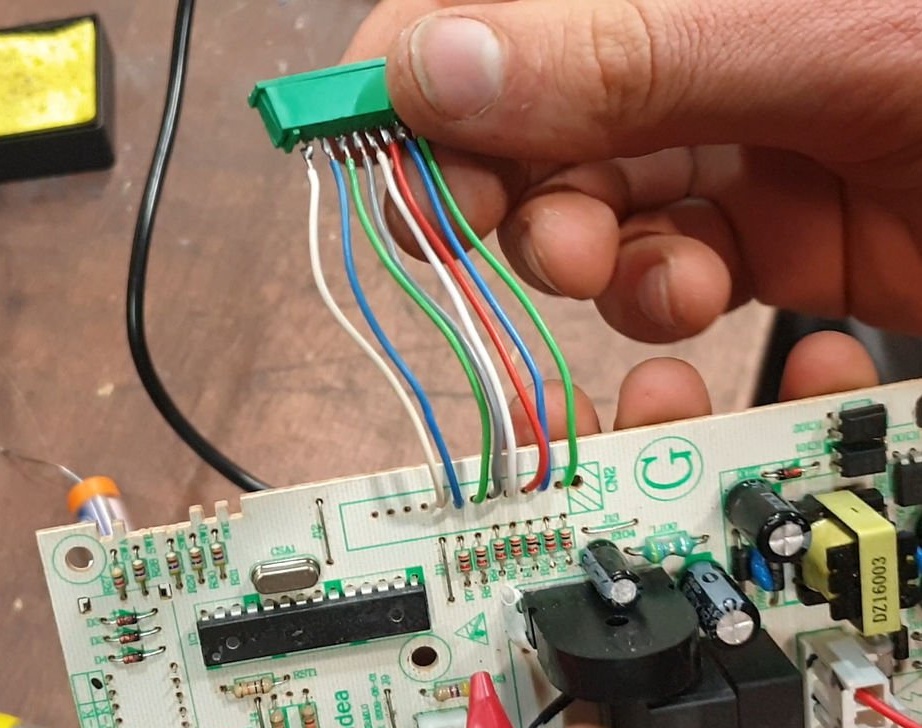
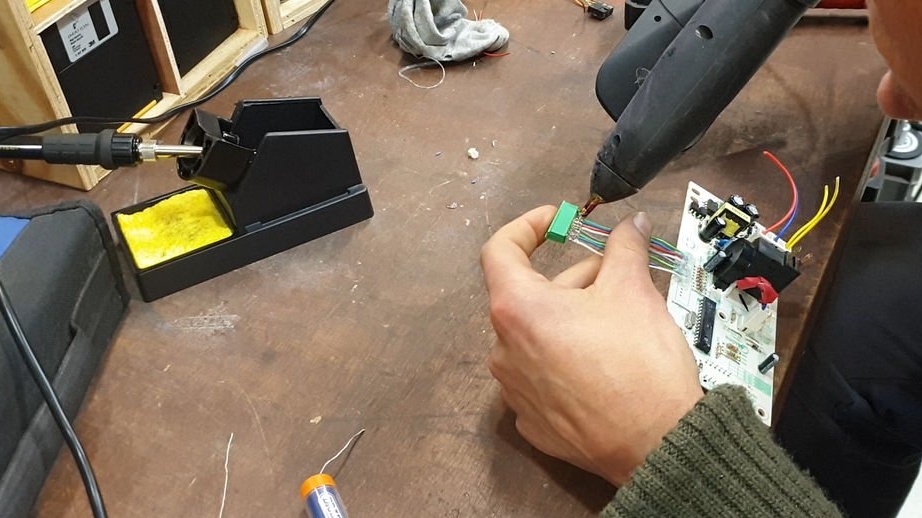
Step Eight: Dismantling Parts
As you have already noticed, the wizard uses secondary parts already used previously.
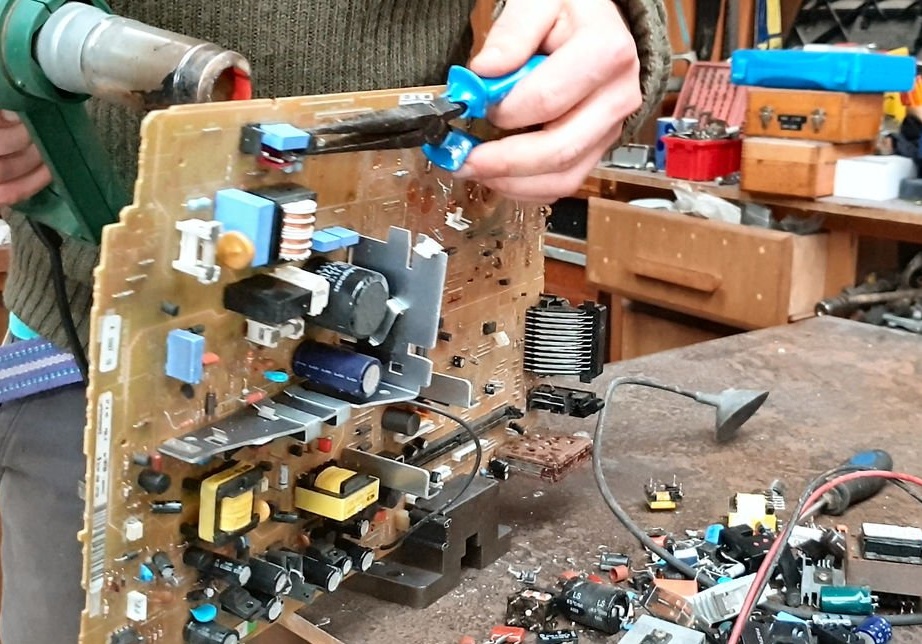
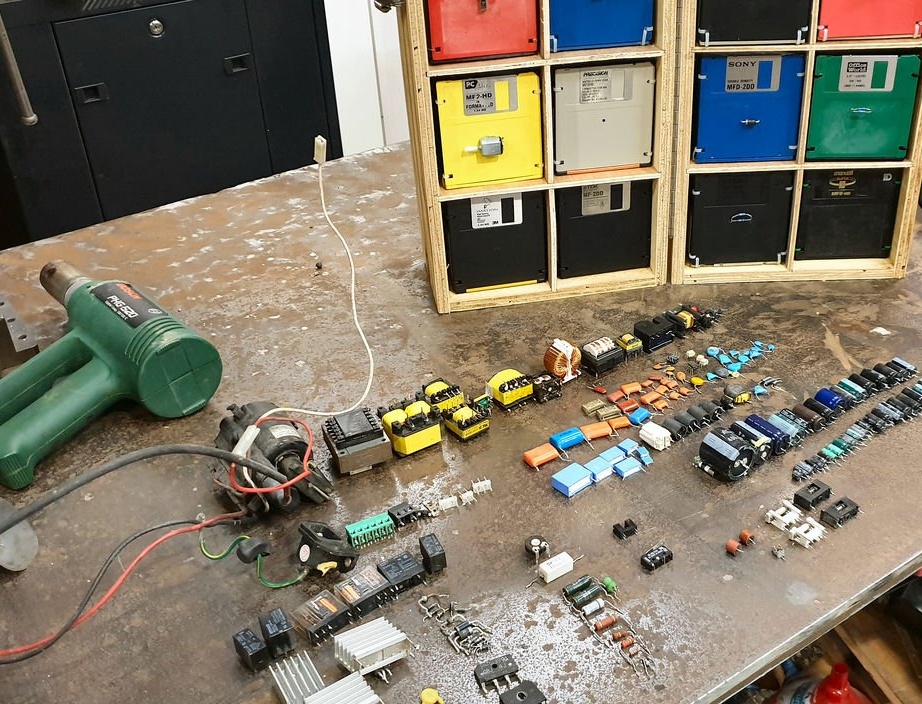
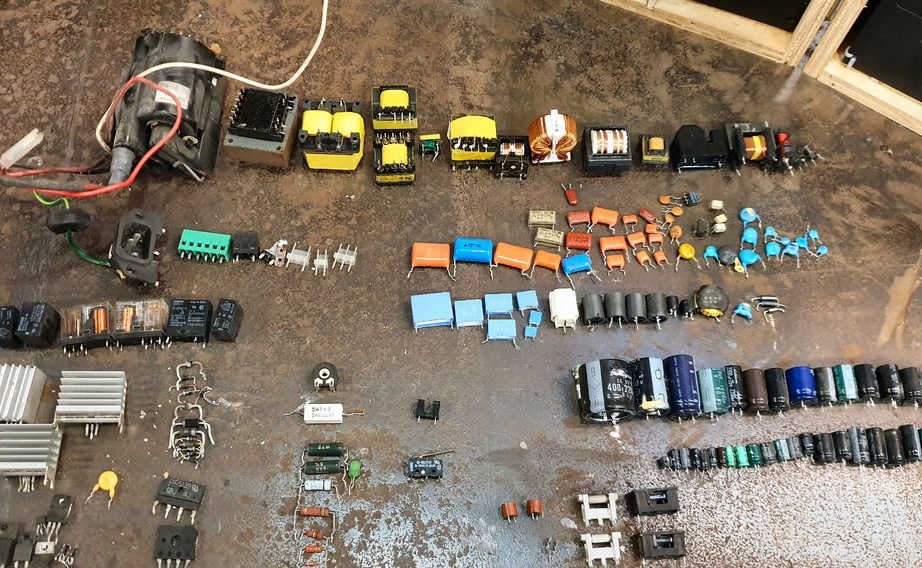

Here are some tips for removing them from old boards and appliances.
To remove solder, the master uses a hairdryer and pliers - this does not always preserve the part, but with large volumes it justifies itself.
To use capacitors, mount them in parallel (just add capacitance together) to get the desired value.
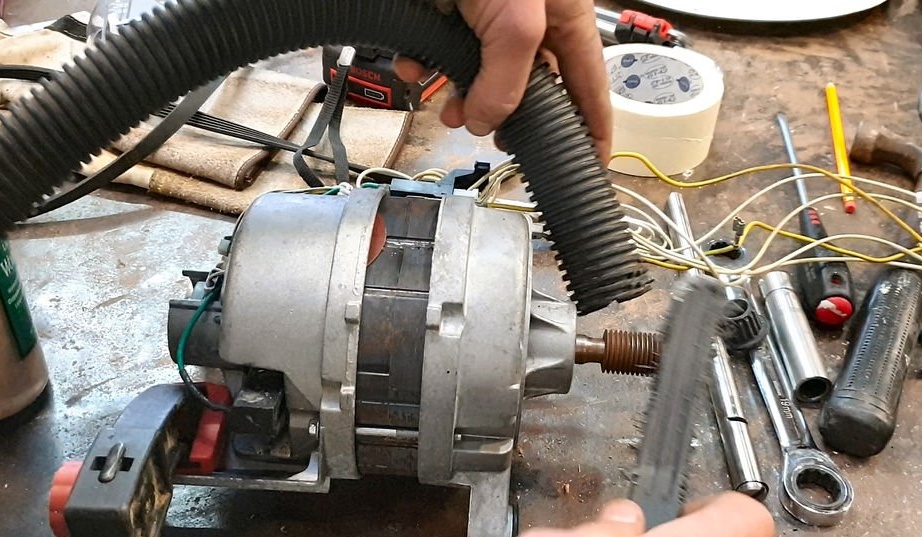
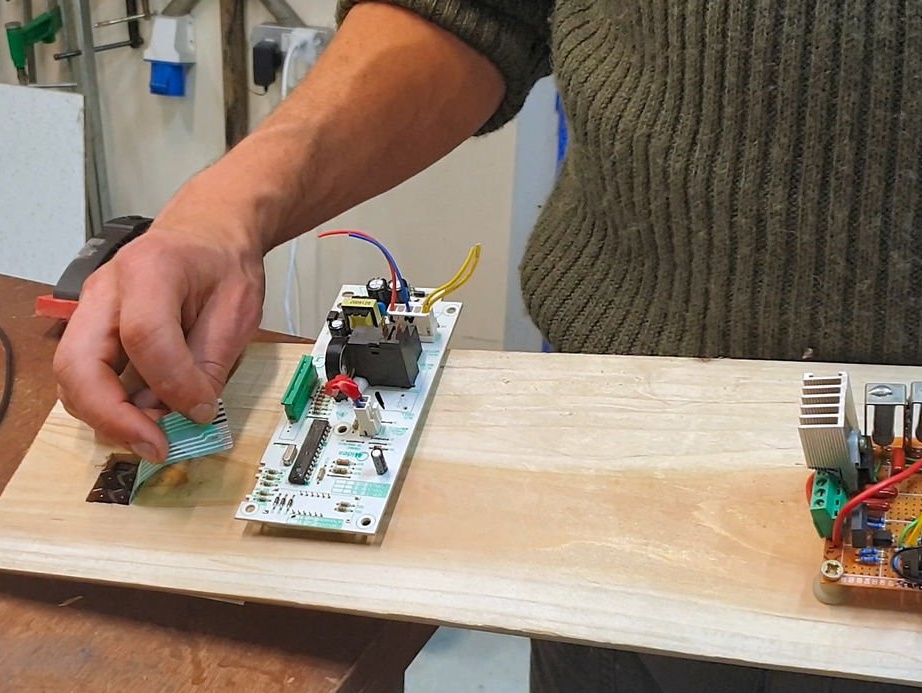
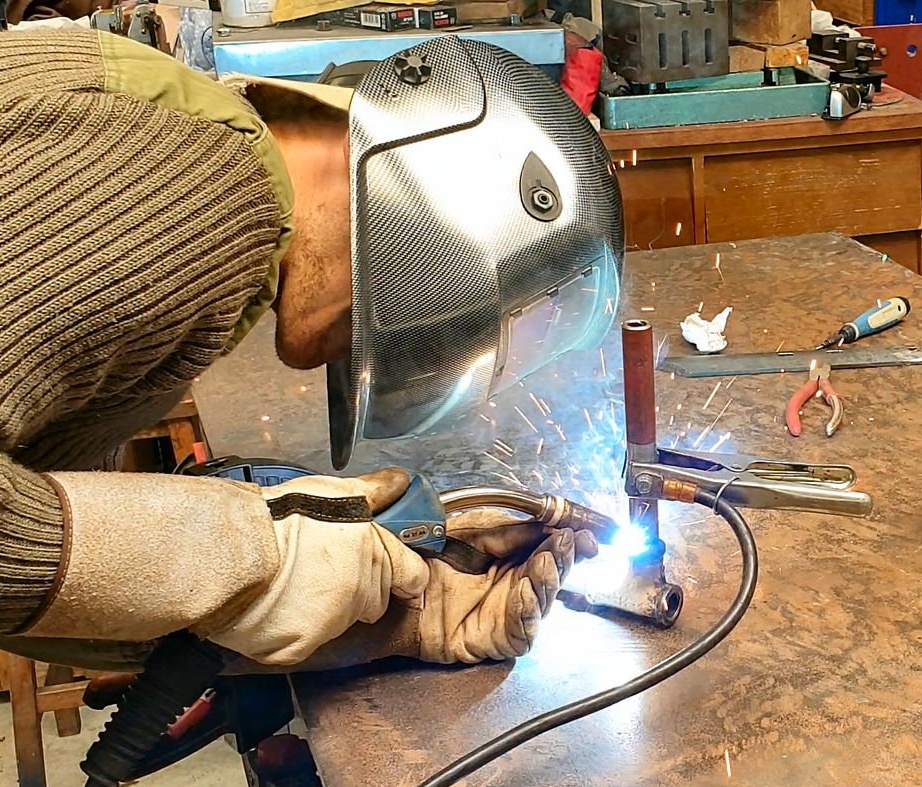
Step Nine: Installing the Motor
From the board, the master makes fastenings and installs the motor. Puts a belt on the motor shaft and wheel.
[center]
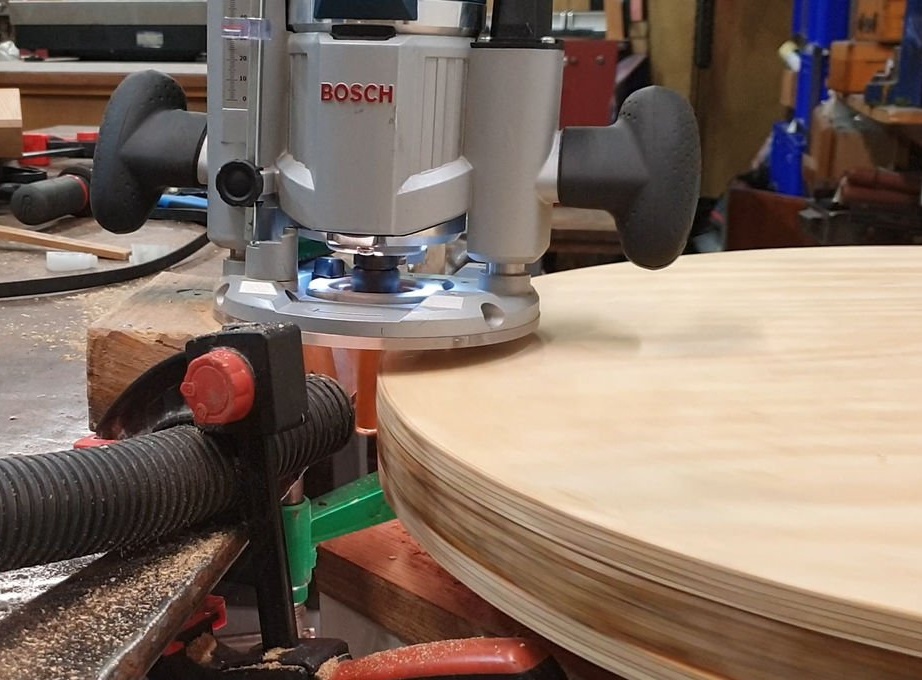
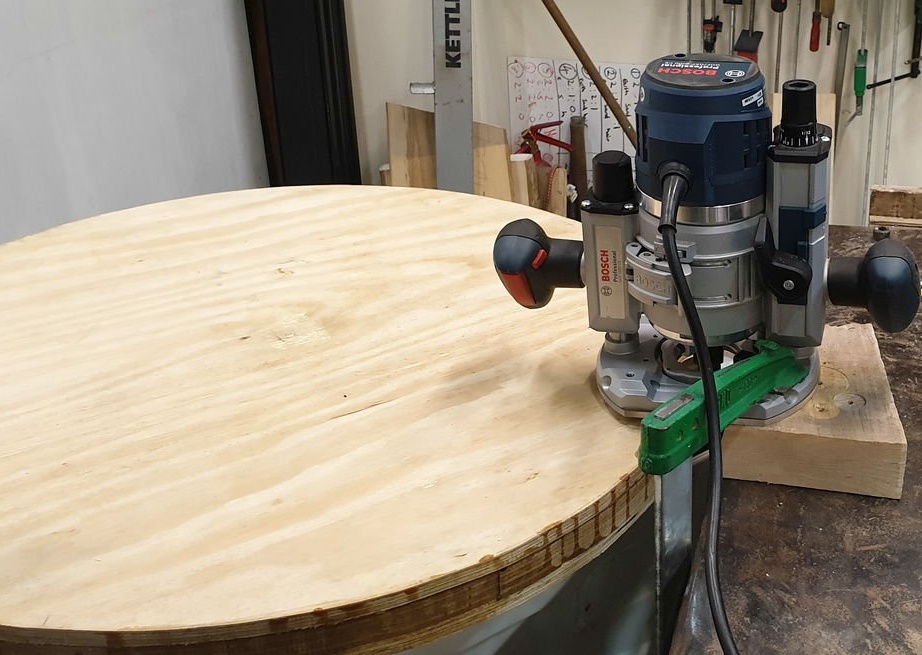
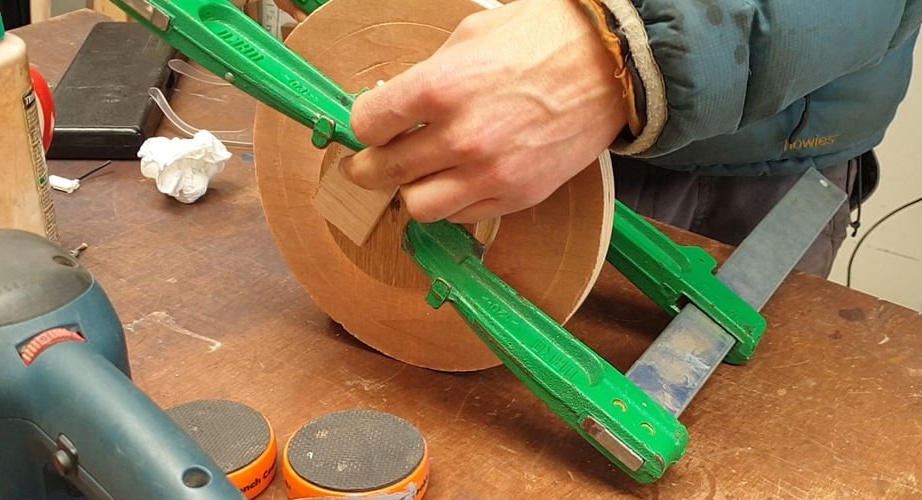
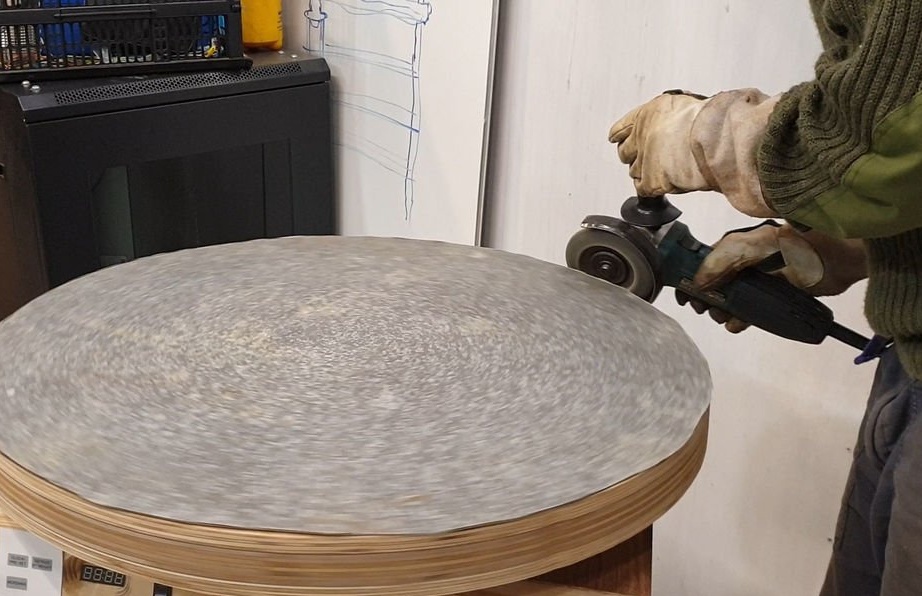
To check, the master sets the cutter on the edge of the platform and starts the table engine. Thus, the master checked the operation of the engine and milled the edge of the platform.
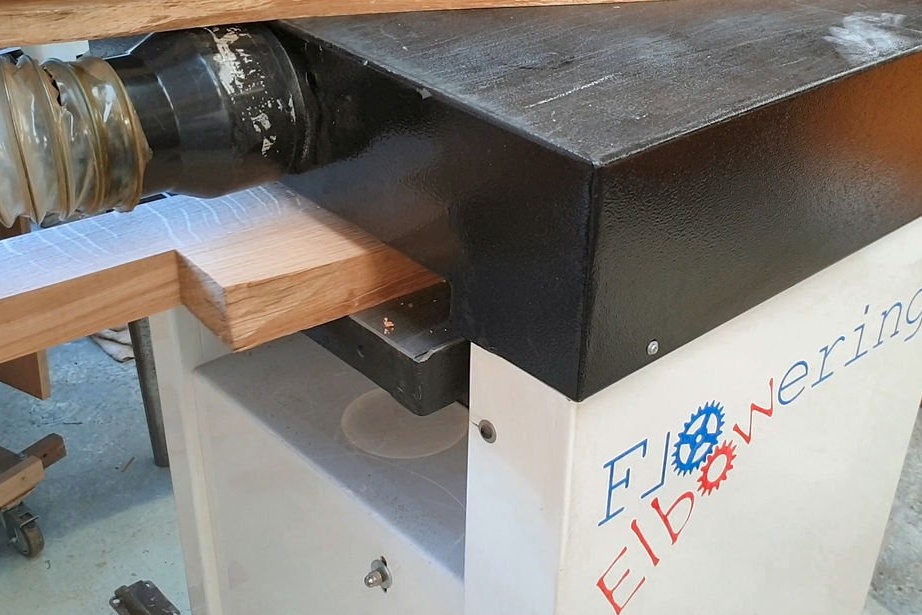
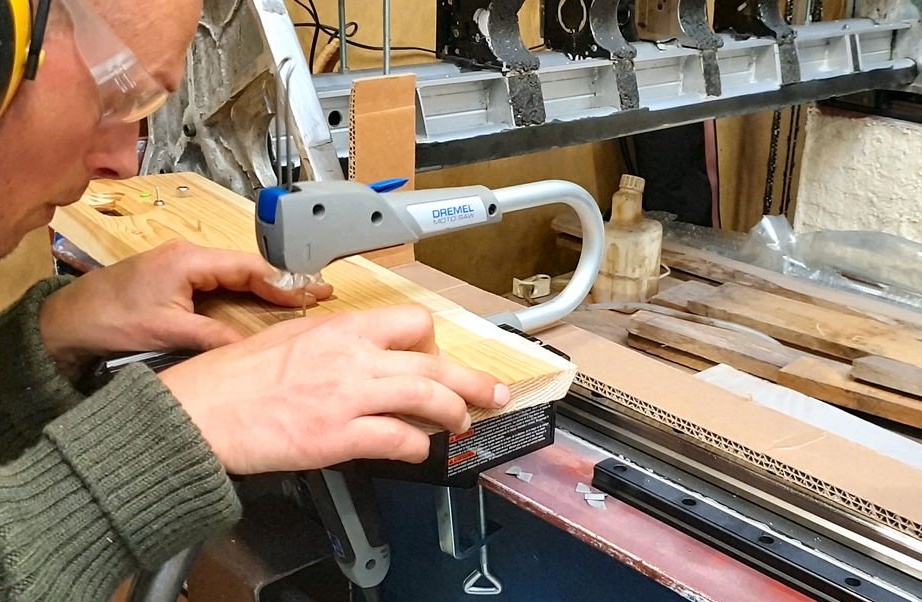
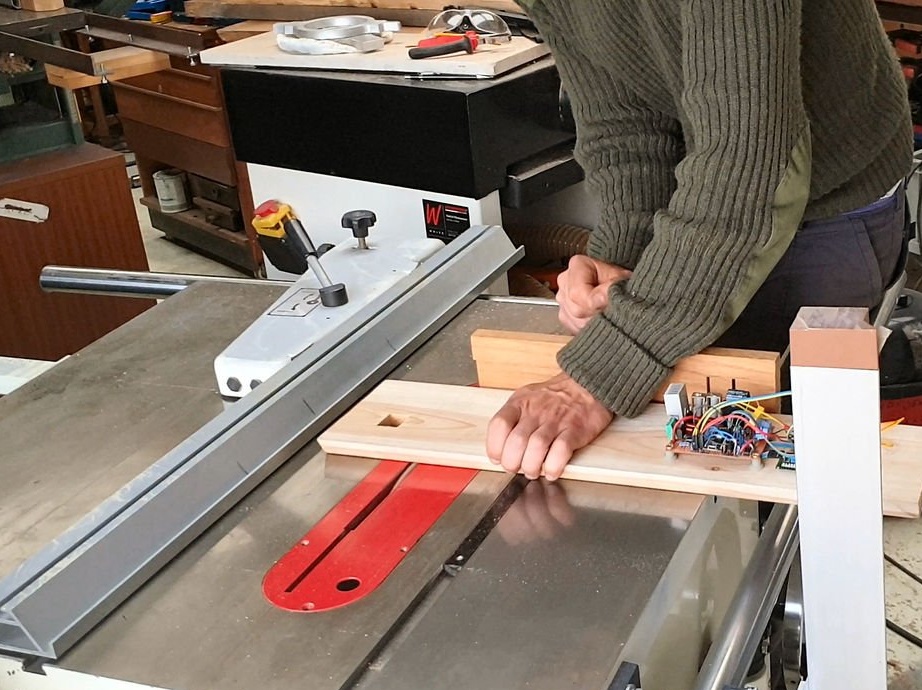
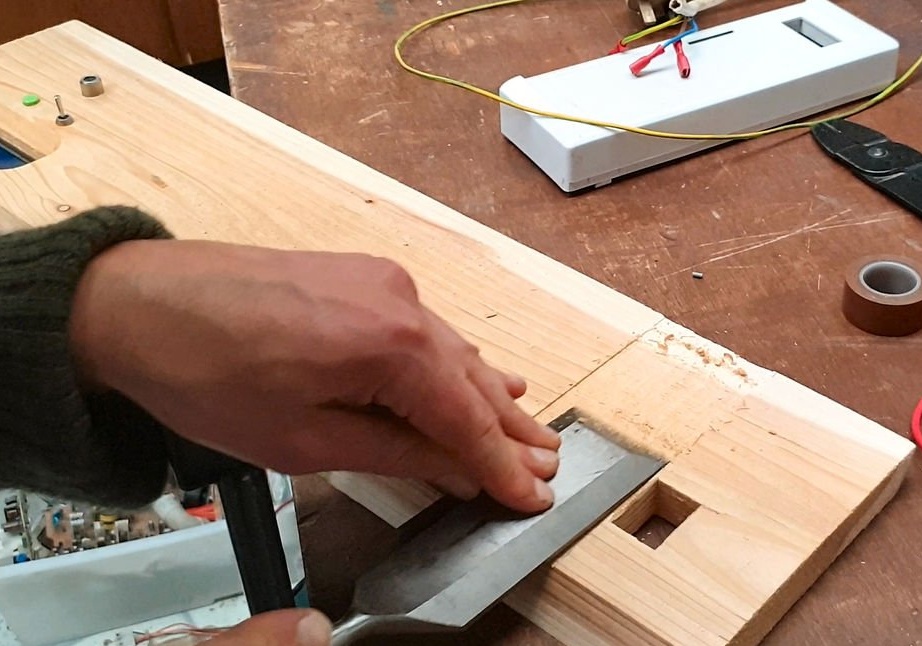
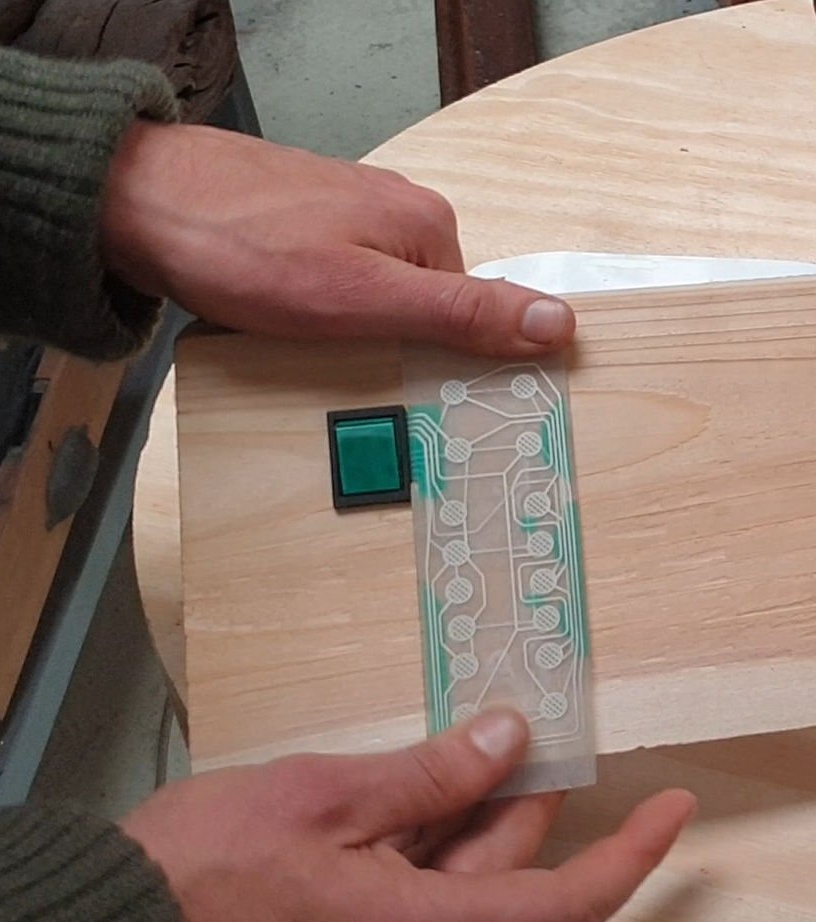
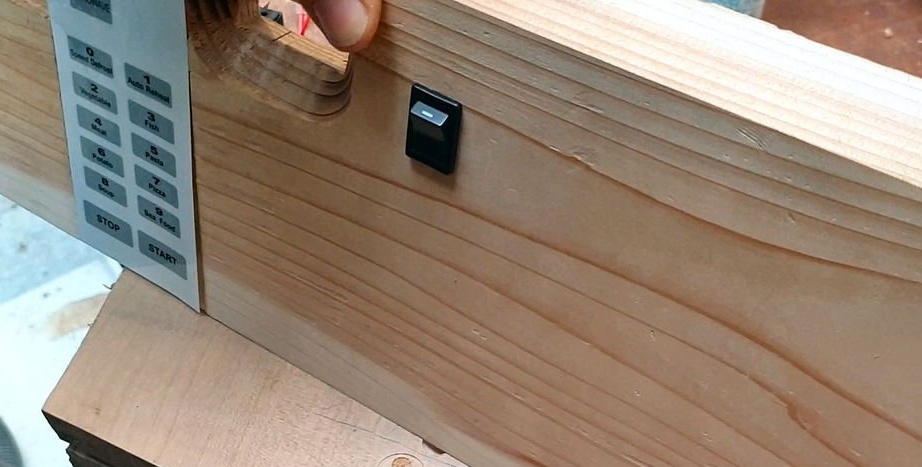
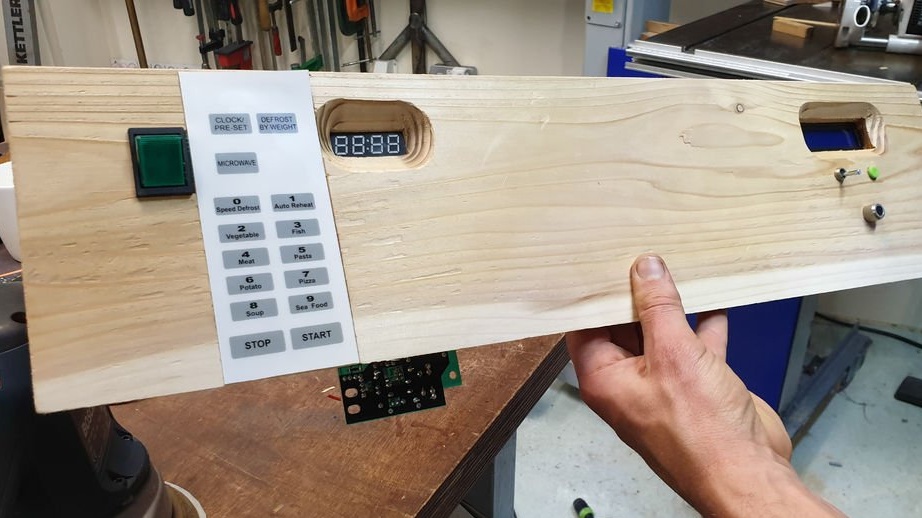
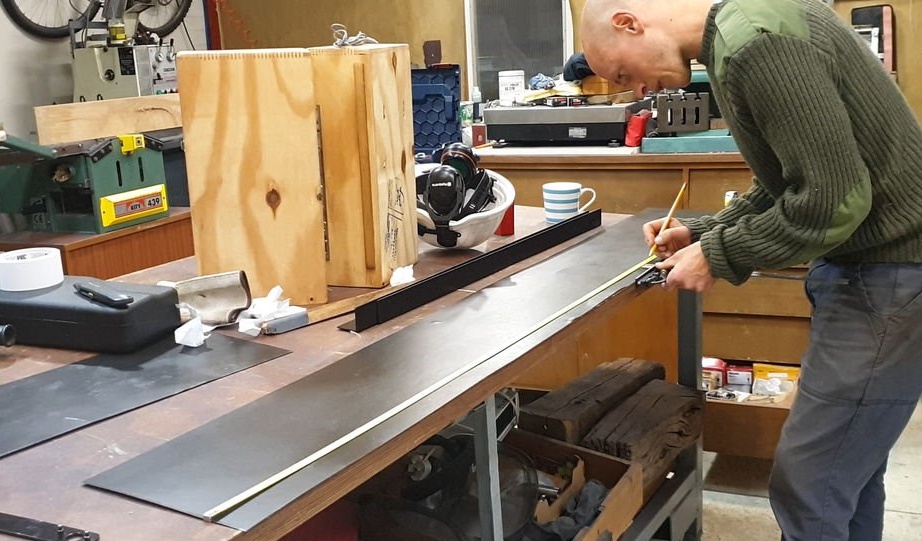
Step Ten: Front Panel
The front panel is made of oak wood. The master cut it in size and cut out the windows for electronic details.


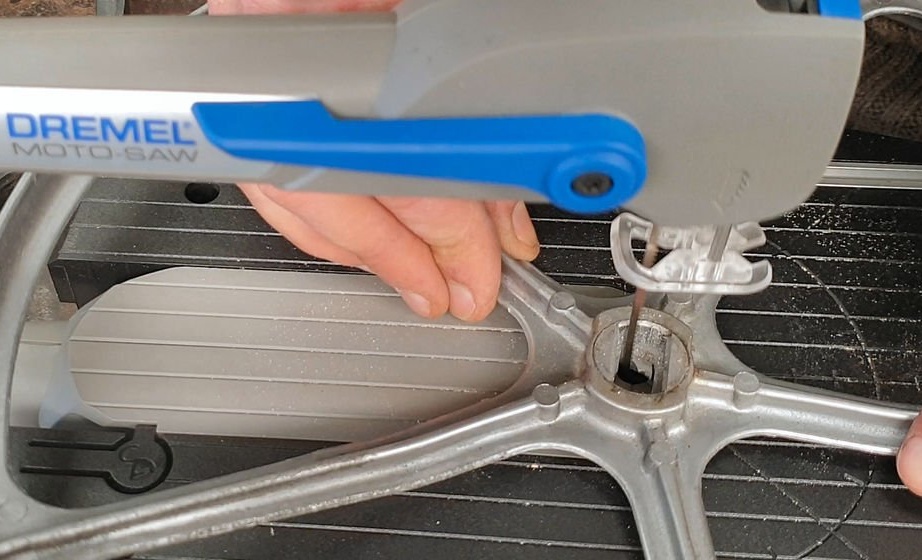
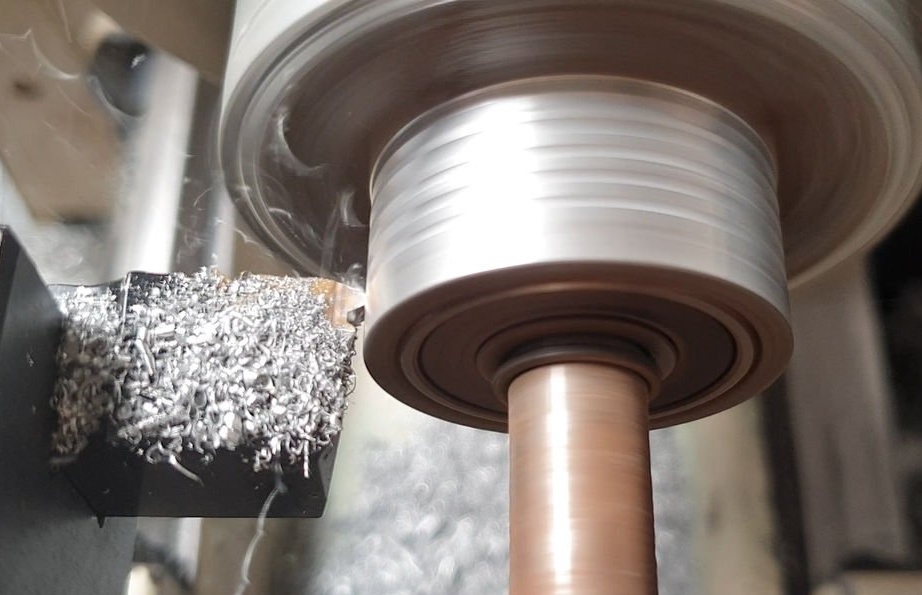
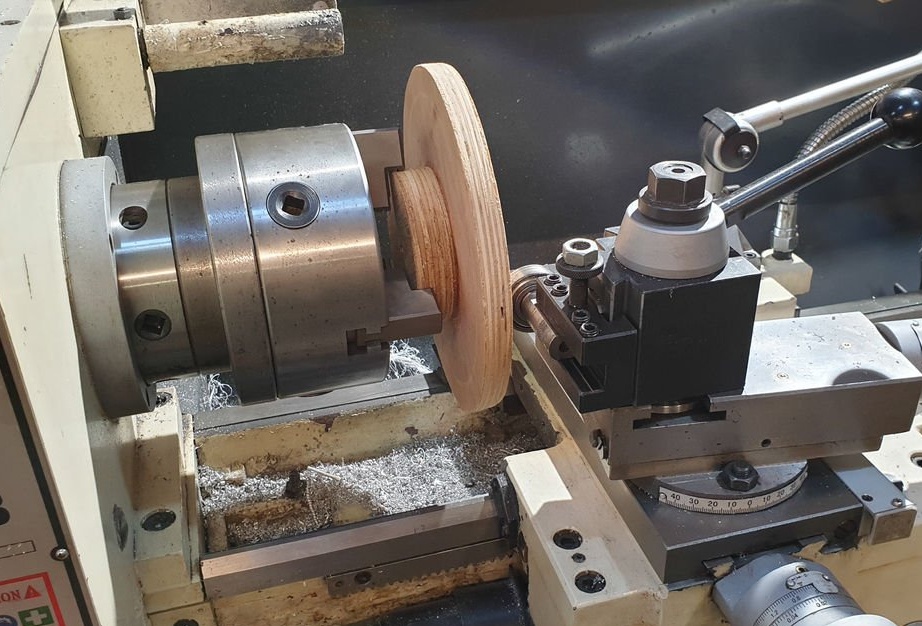
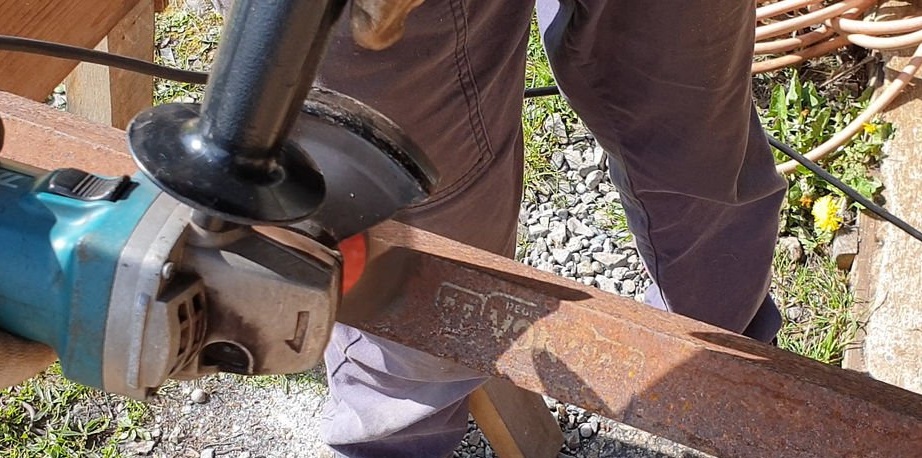
Step Eleven: Extra Pulley
The master decided to add another pulley due to the difficulty of adjusting the revs at 500 rpm. A master grinds a pulley from a part from an old grinder and cuts grooves for a V-ribbed belt on it.
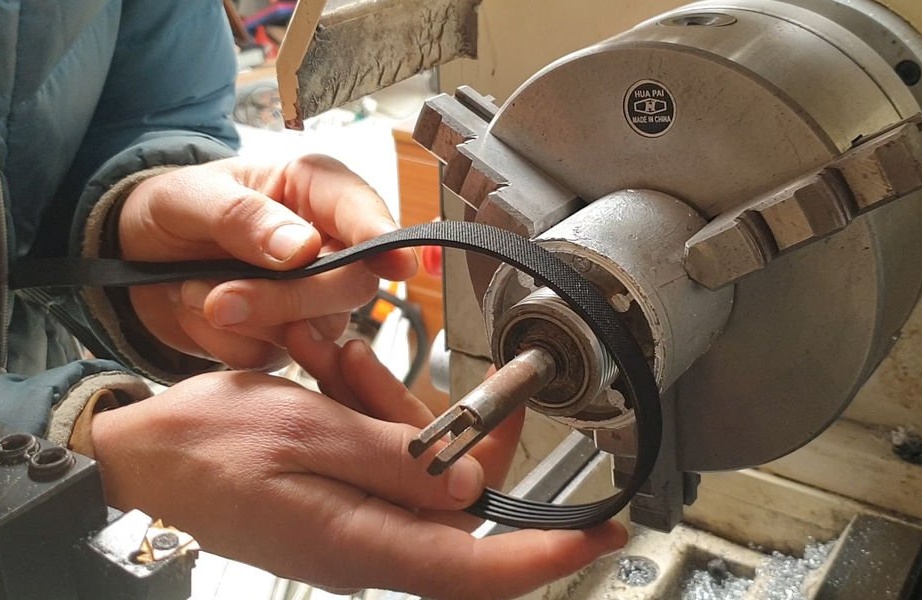
Cuts a pulley from plywood. Attaches a metal pulley to plywood and installs it in the machine body. Puts on belts.

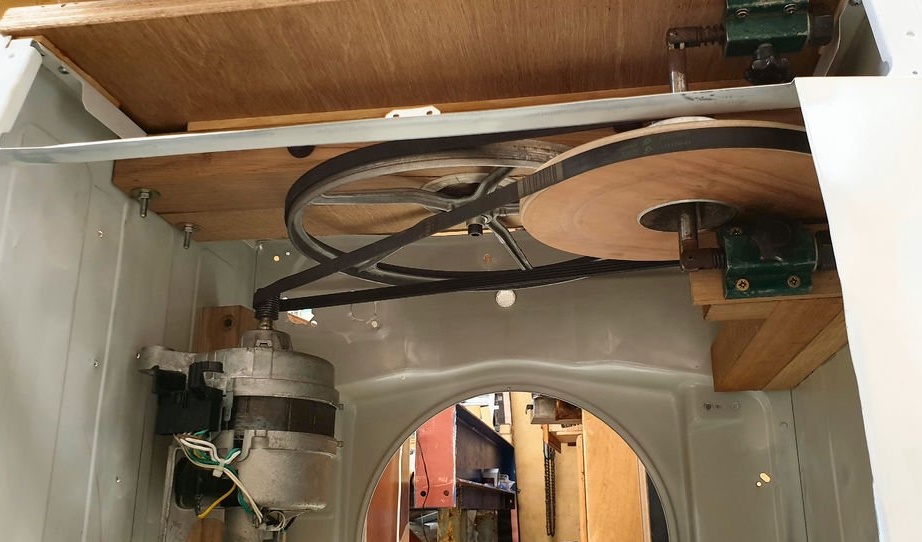
After upgrading the drive, at an engine speed of 3750 rpm, the platform rotates at a speed of 50 rpm.
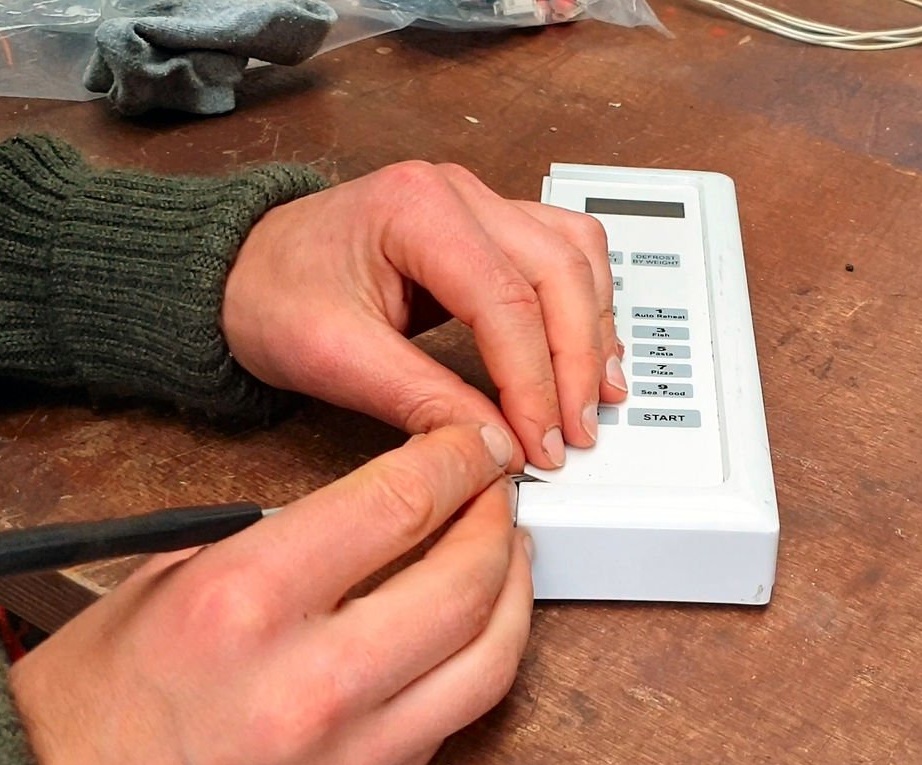
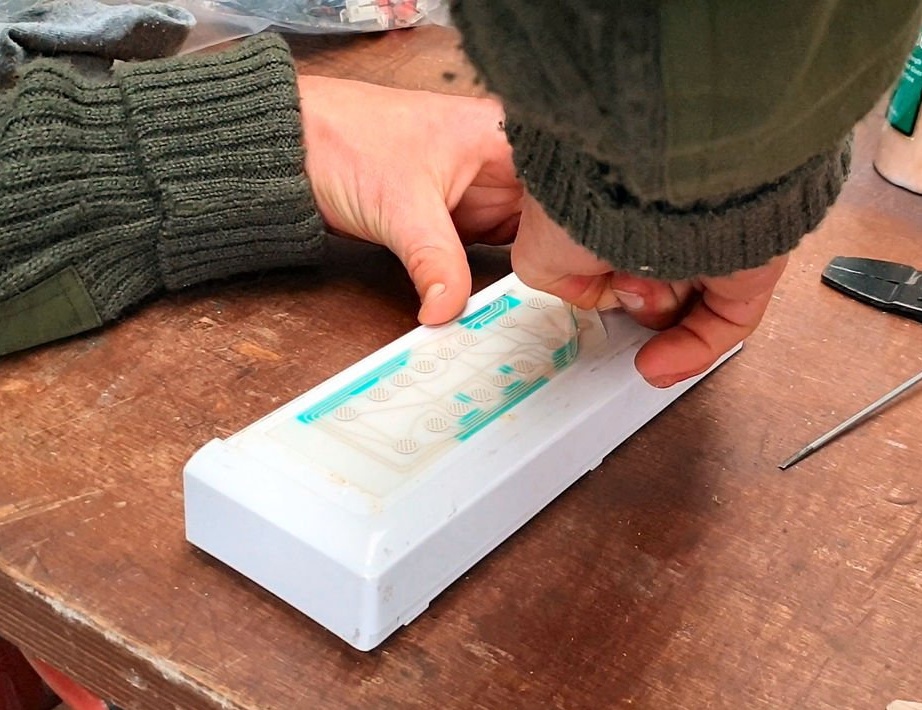
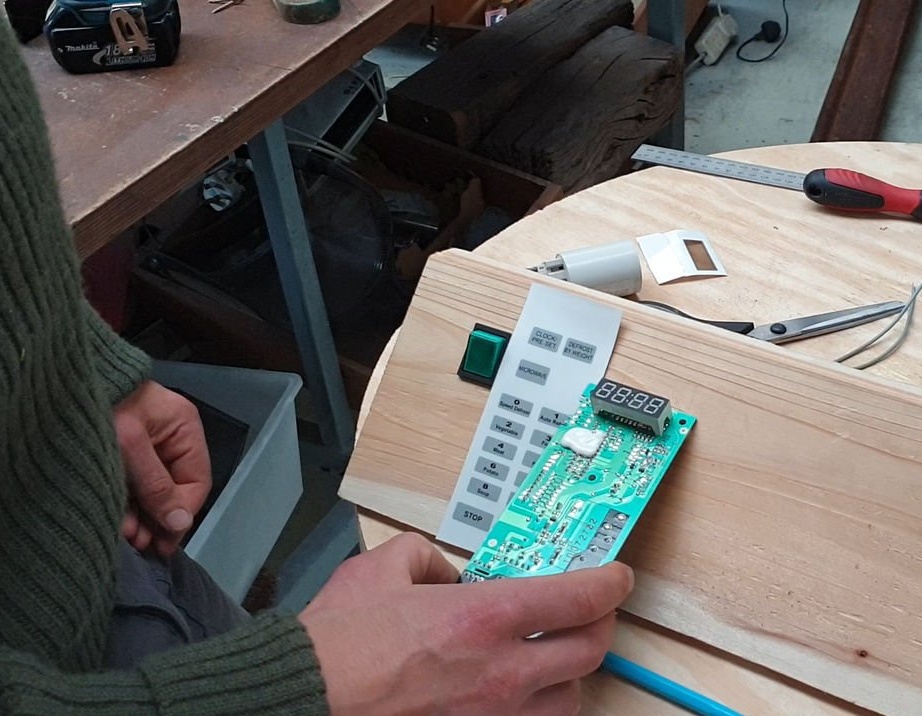
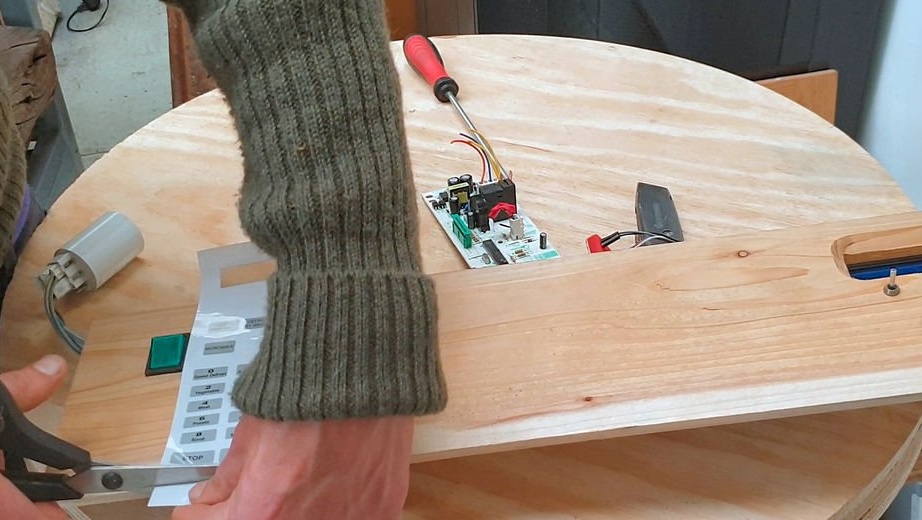
Step Twelve: Timer
It was possible to set the timer completely, but the master wanted him to fit into the design of the device. Then he disassembled it and mounted it in the panel.
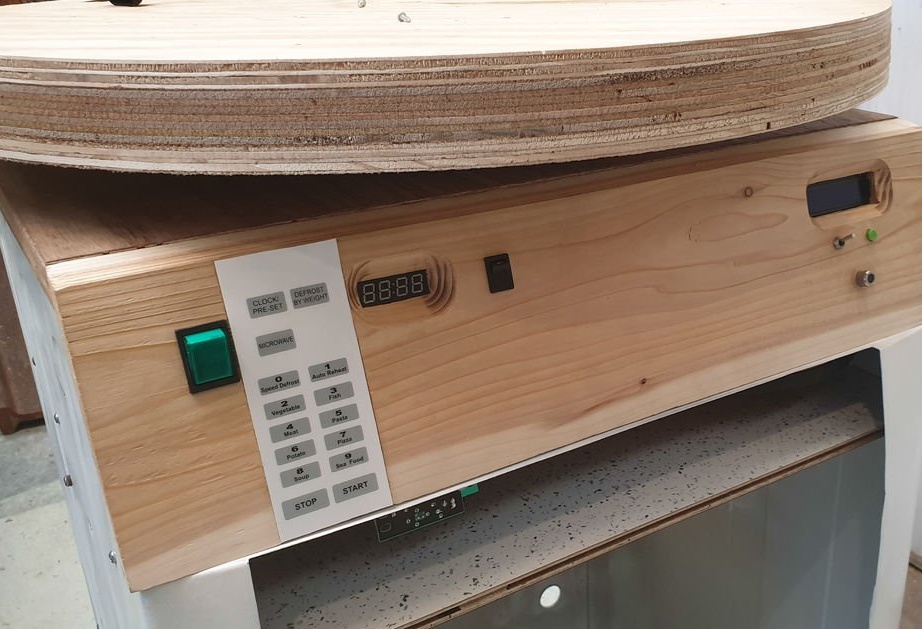
Step Thirteen: Overlay
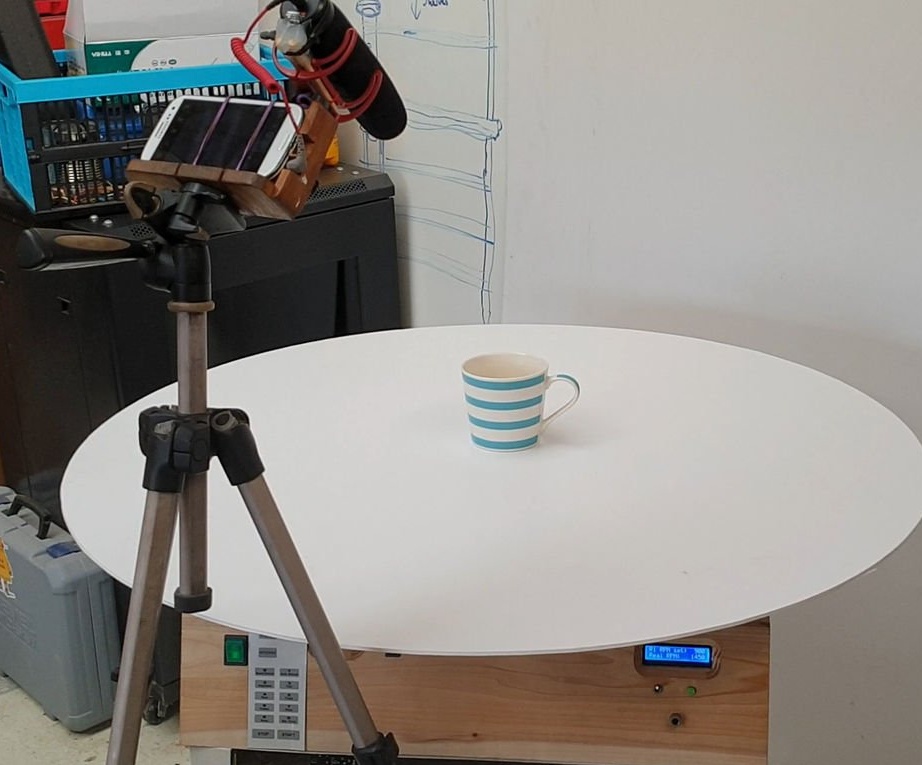
For the production of photography, the master installed an acrylic overlay on the turntable.


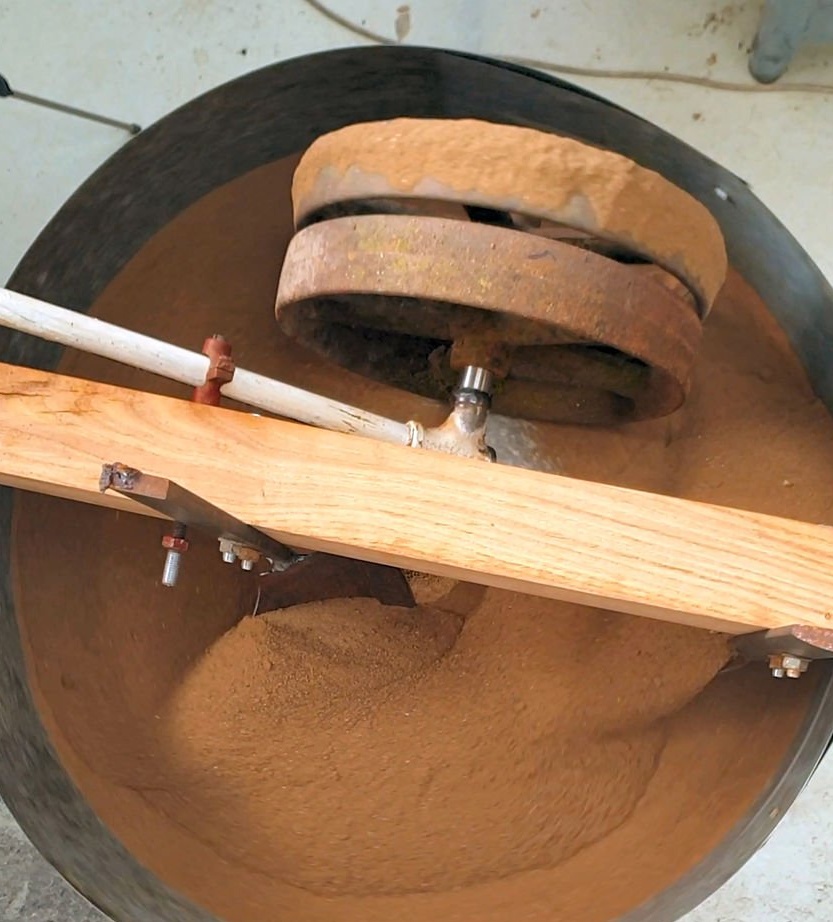
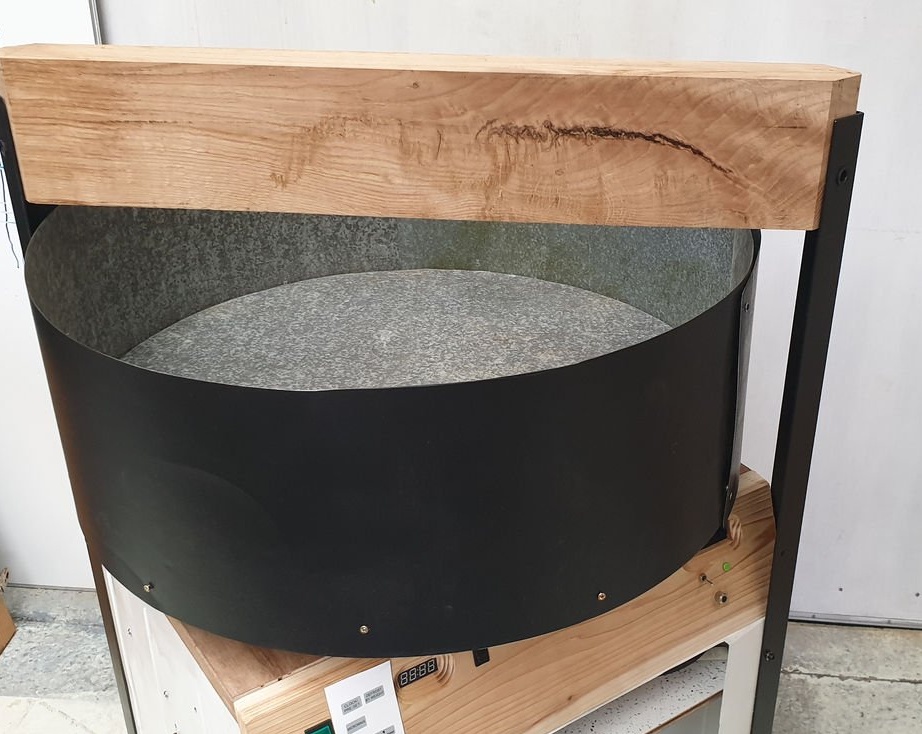
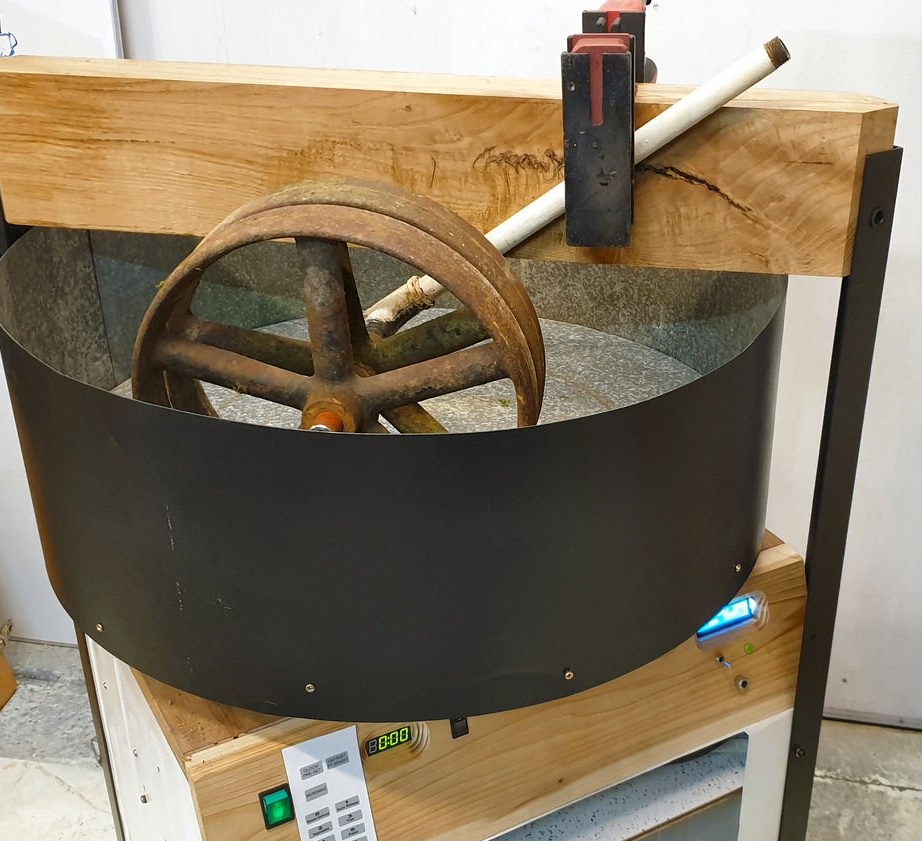
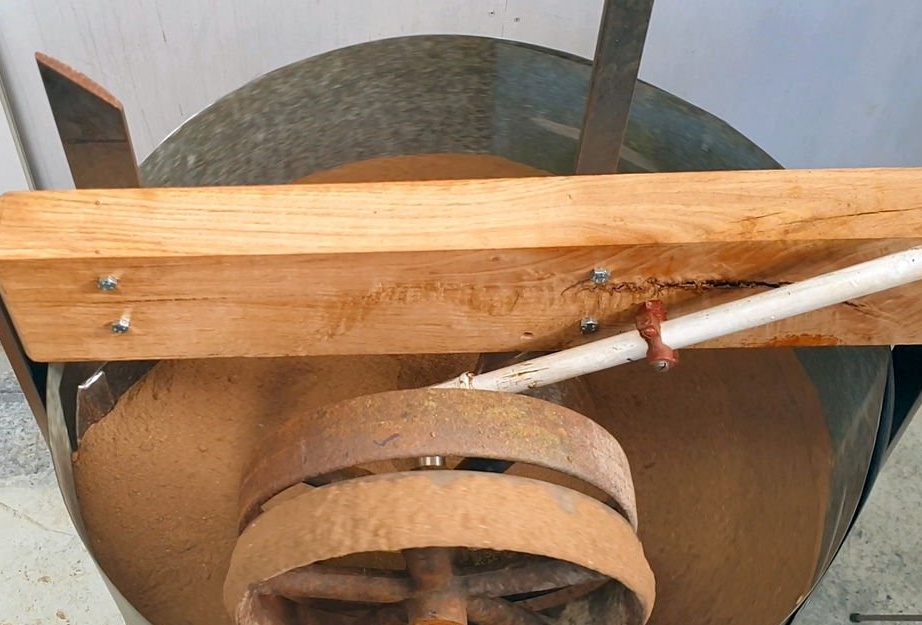
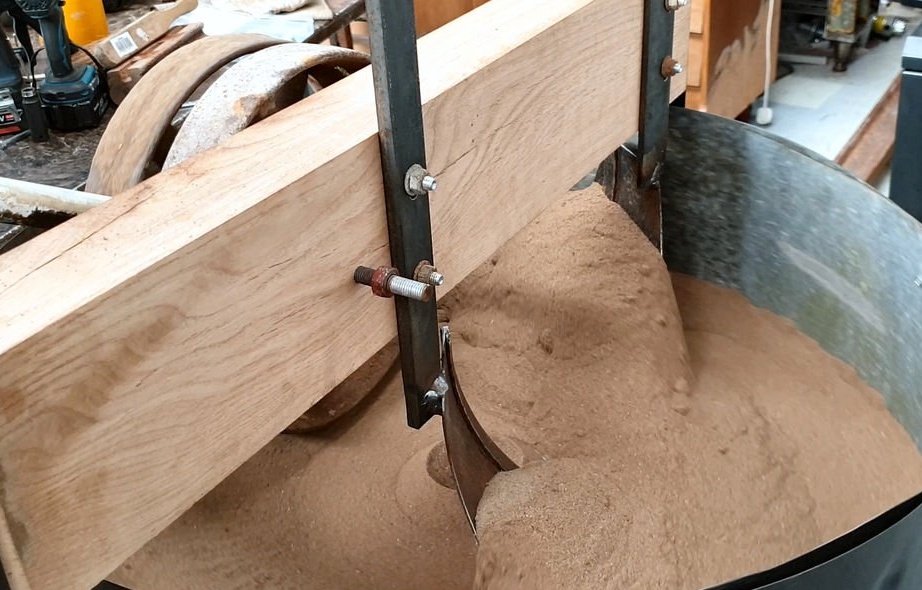
Step Fourteen: Mixer
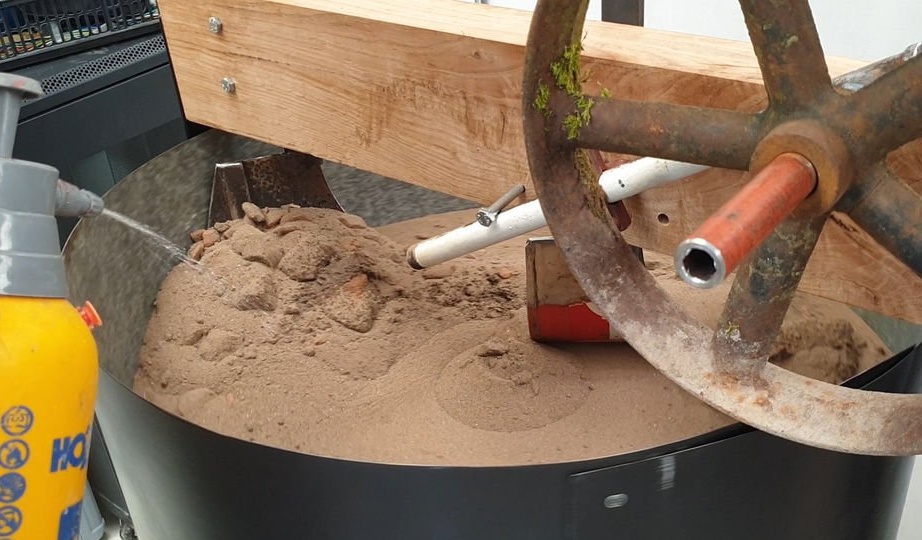
The master is fond of casting metal parts. For the manufacture of molds, he uses the molding mass of his own preparation. The composition of the mixture includes sand, clay, water and some other ingredients. To mix the molding material, the master, on the basis of the turntable, made a mixer or mixer.
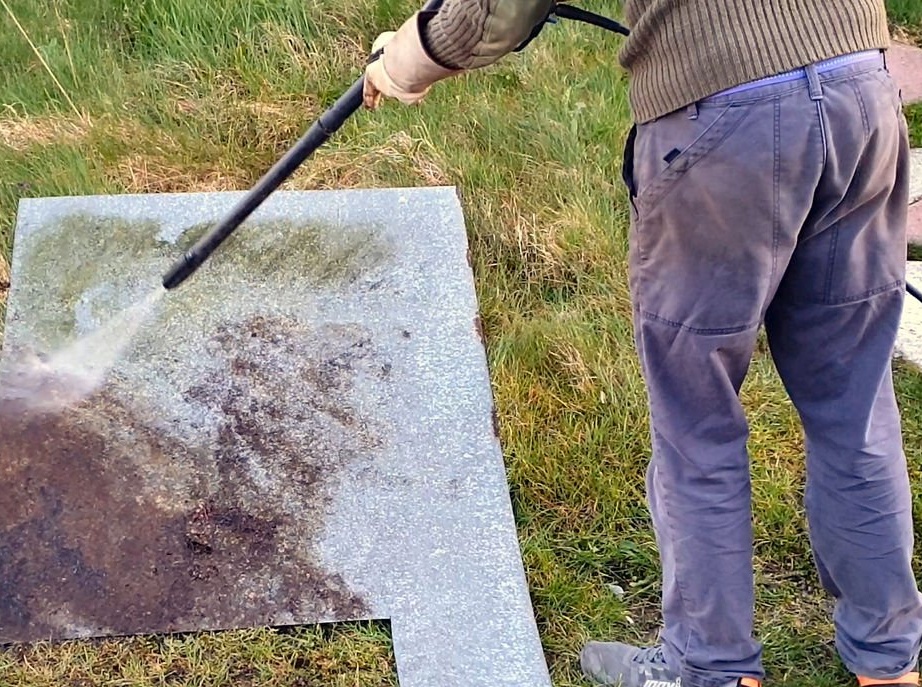
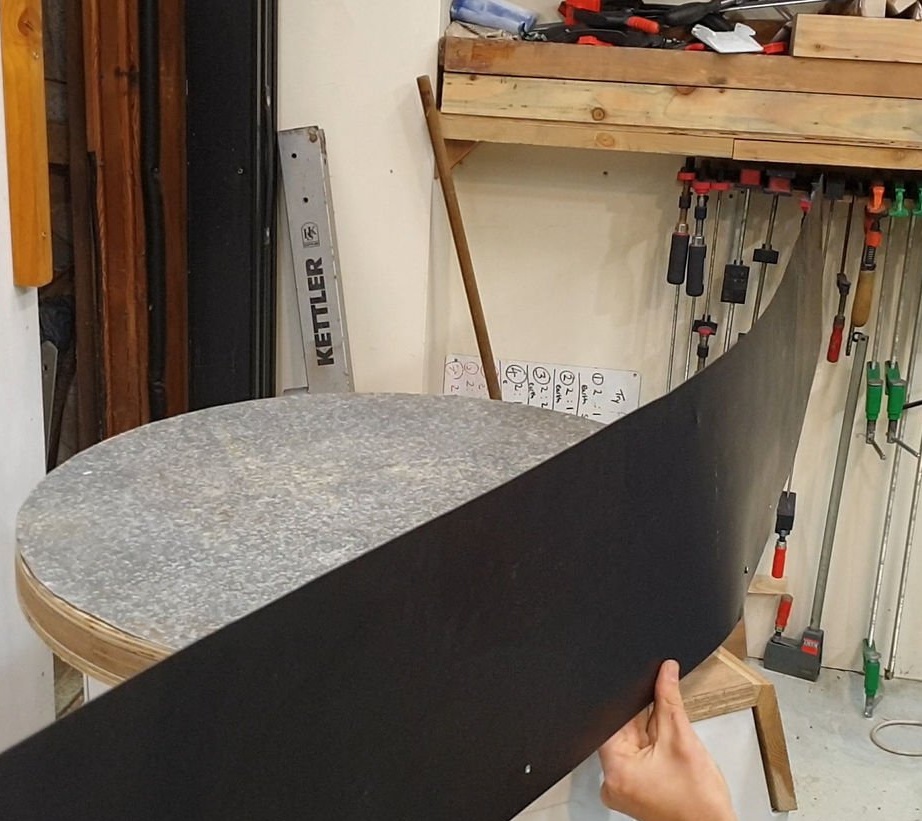
From the old galvanized sheet of metal, the master cuts the bottom of the tank. The diameter of the bottom corresponds to the diameter of the turntable.
Then he cut and fastened the walls.
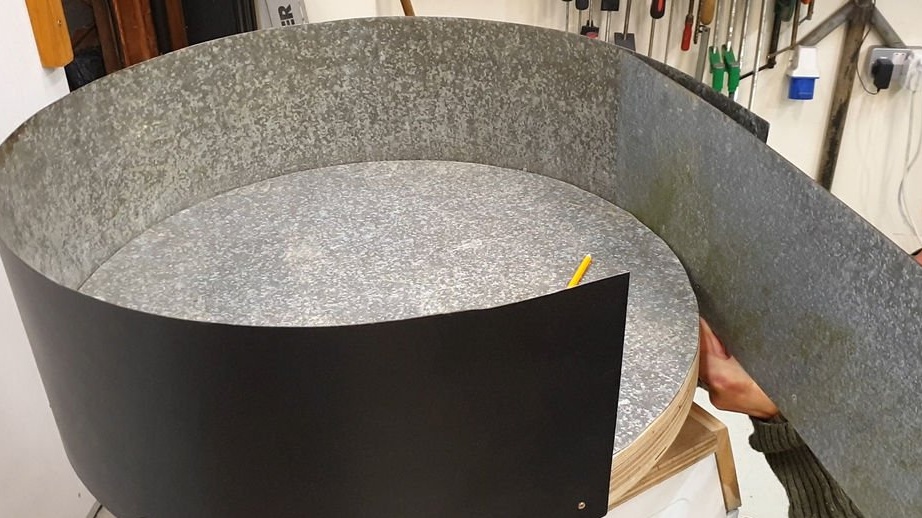
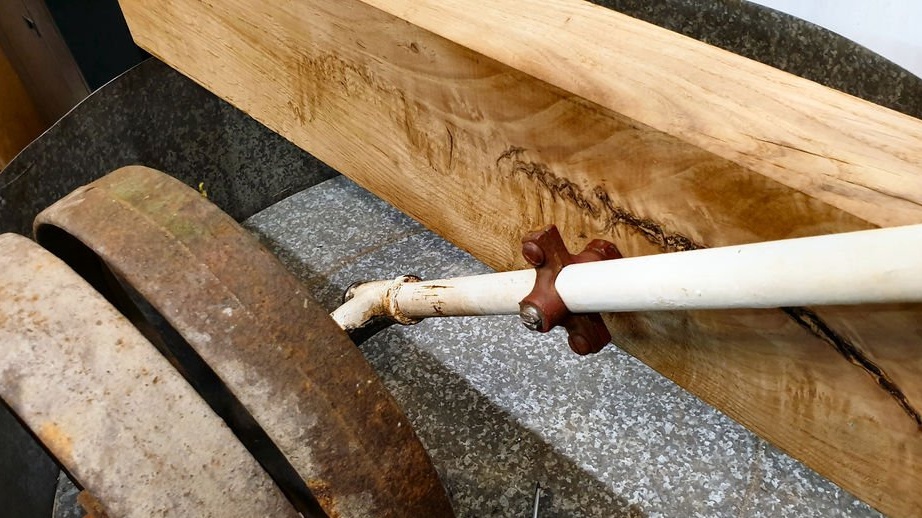
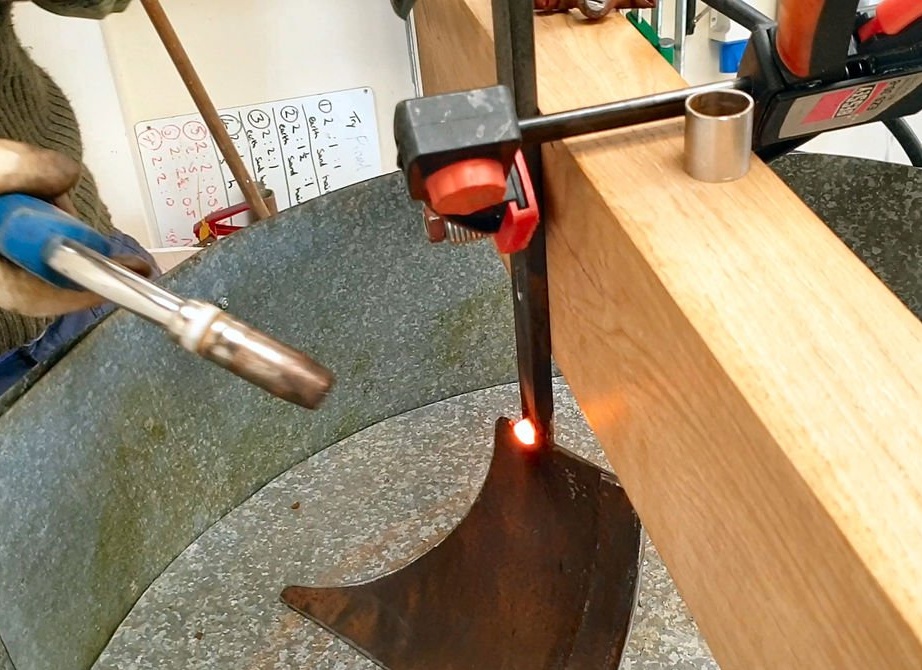
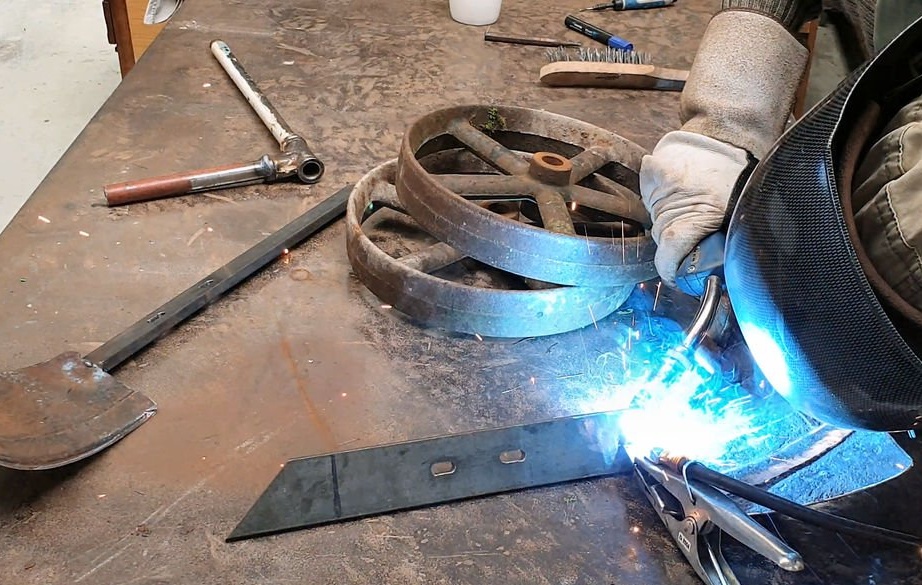
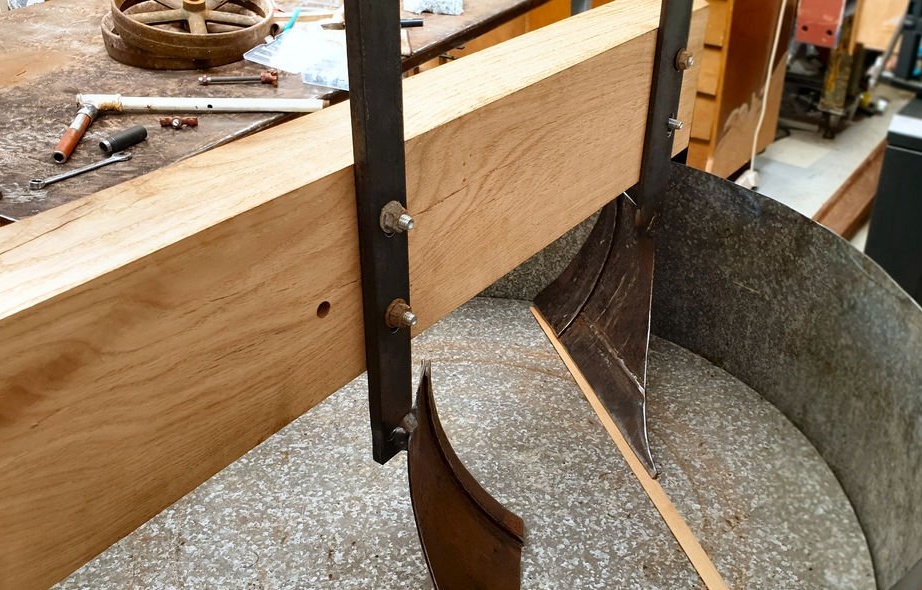
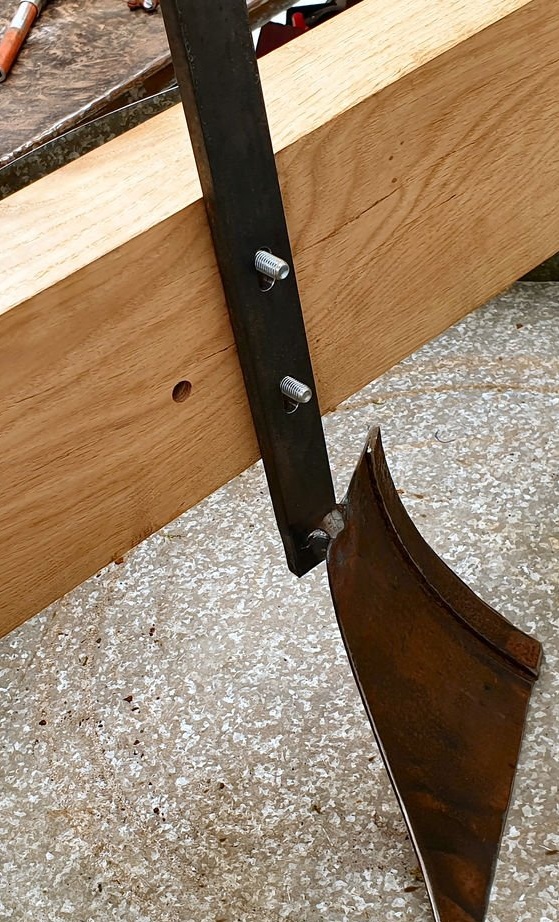
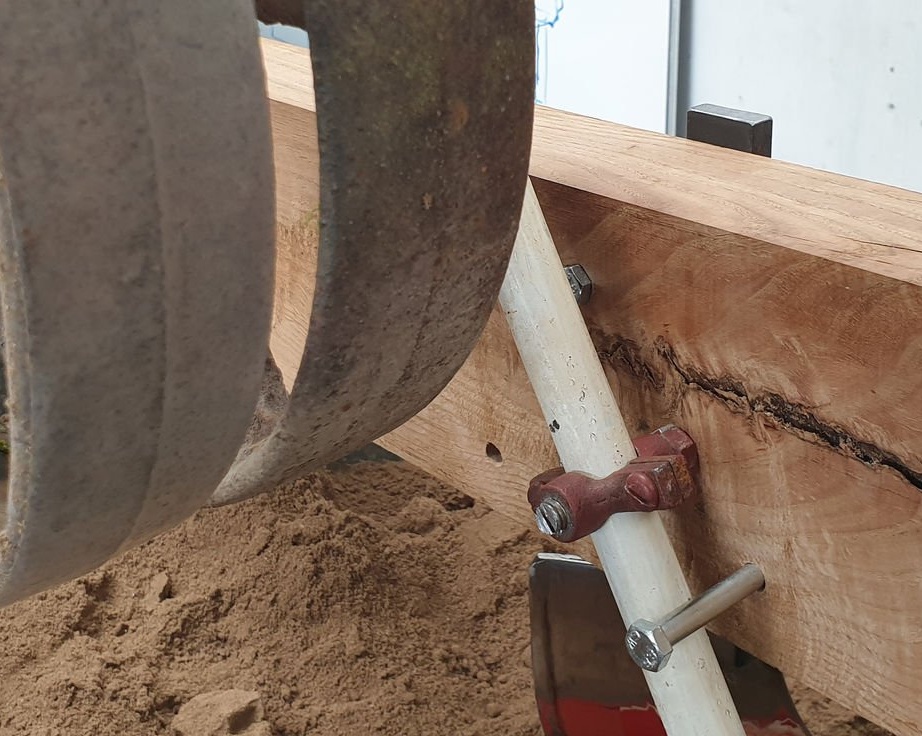
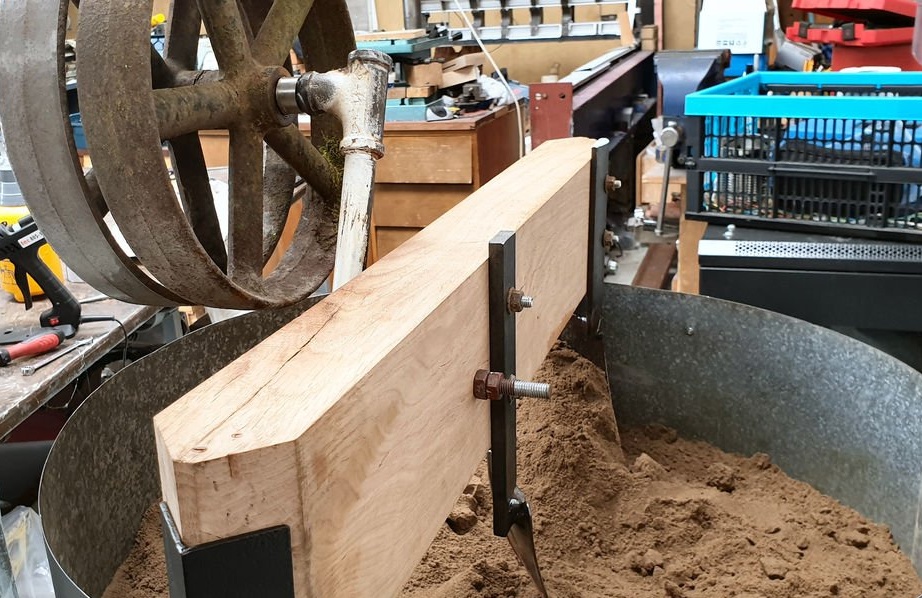
Makes and fixes the frame on which the mechanism for mixing the mass will be mounted.
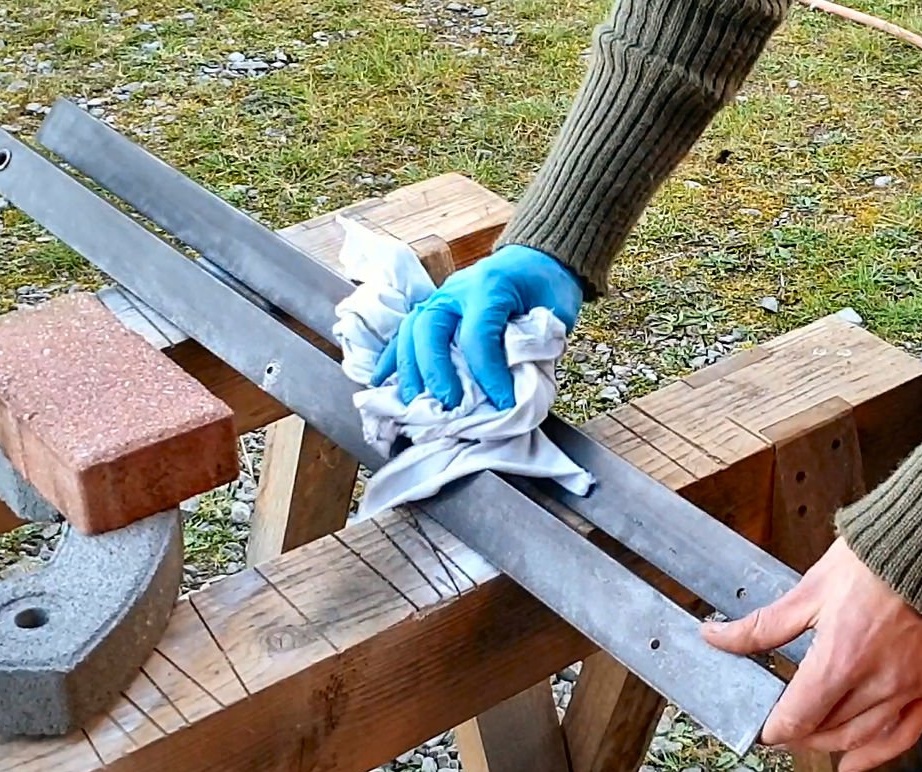
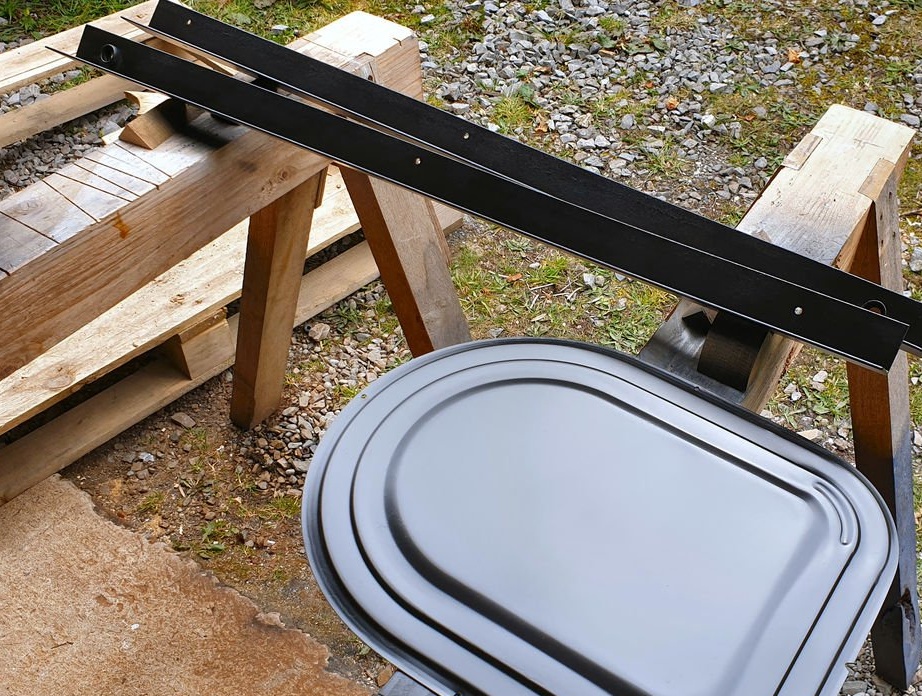
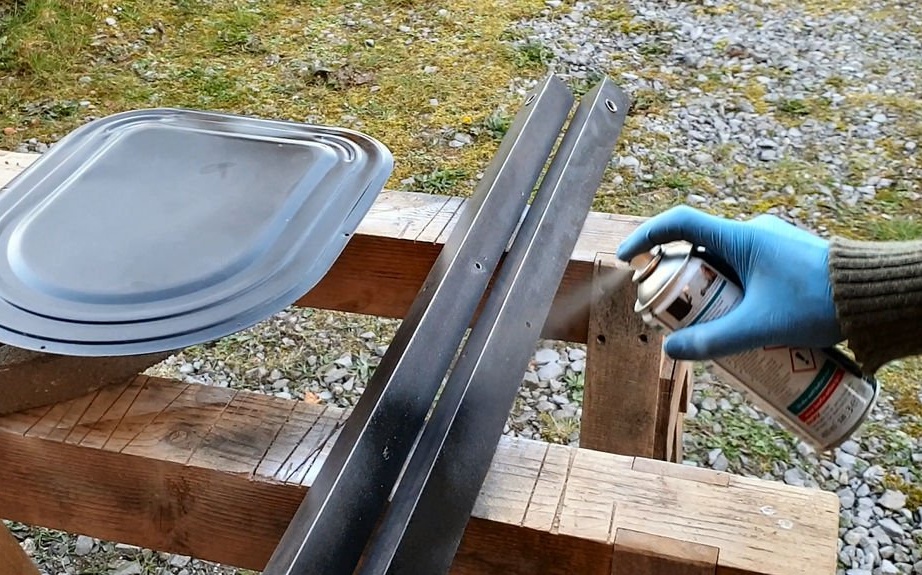
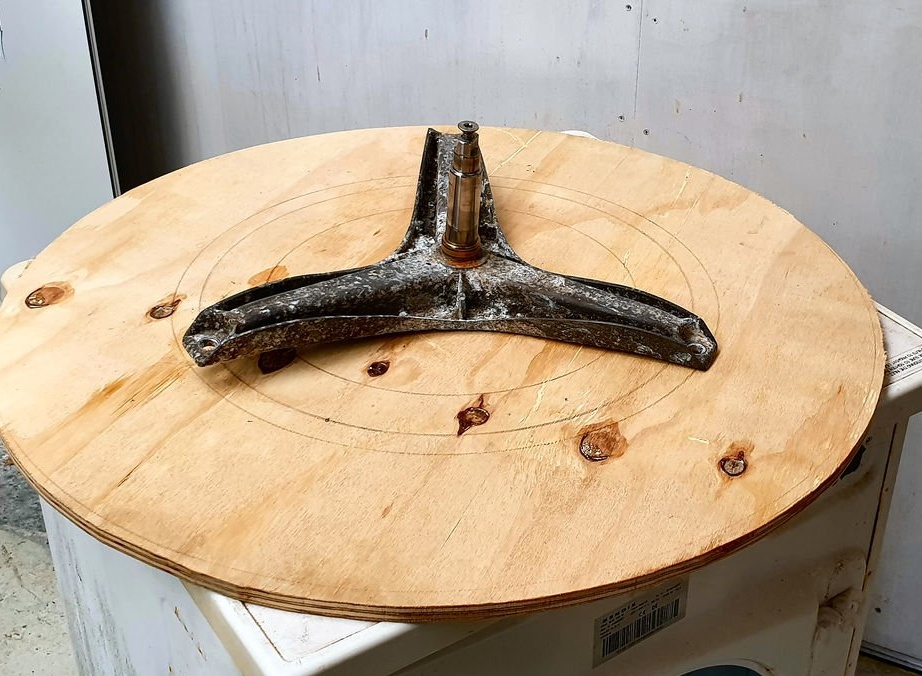
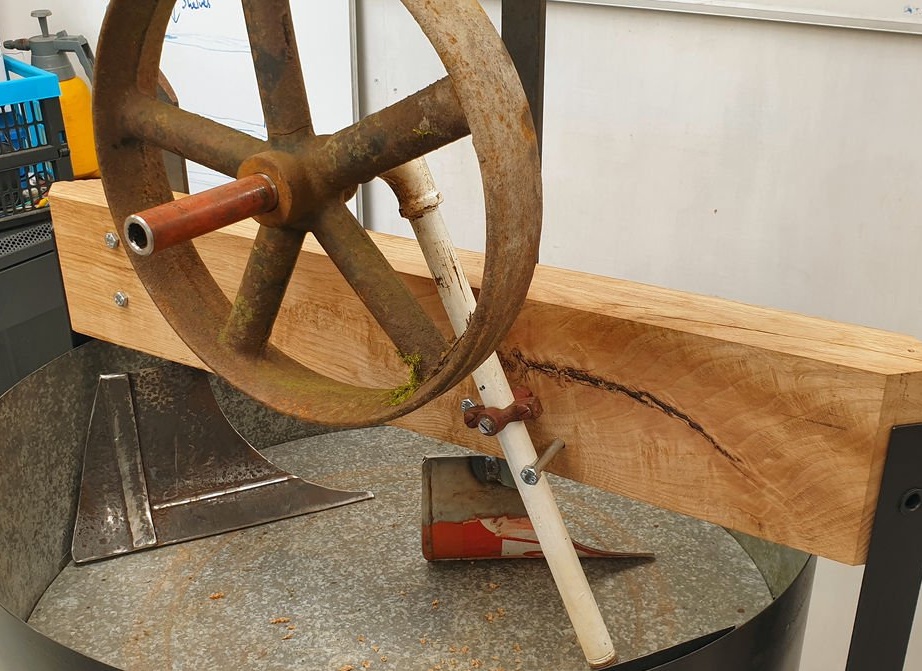
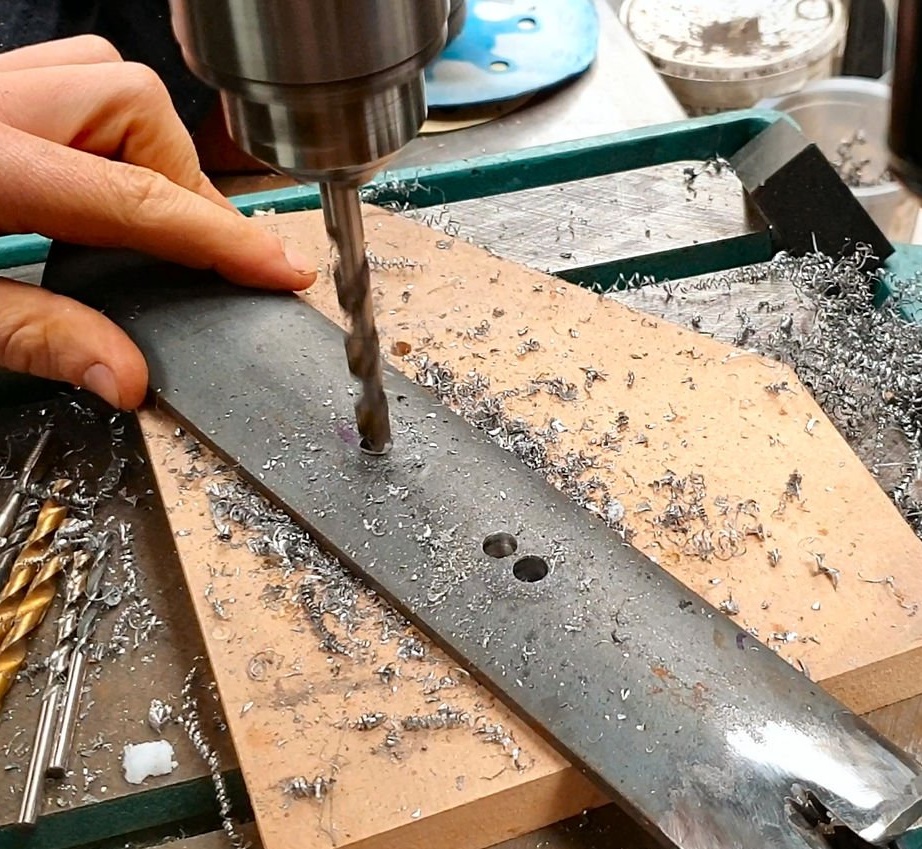
The mixing mechanism is made of two metal wheels and a part in the form of a plow.
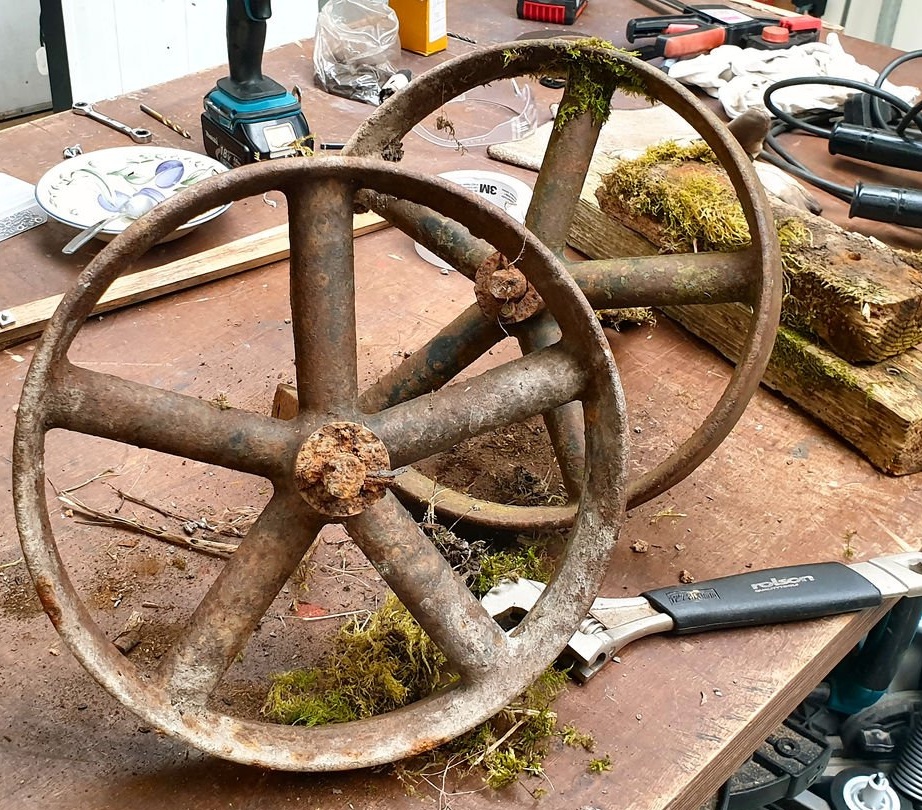
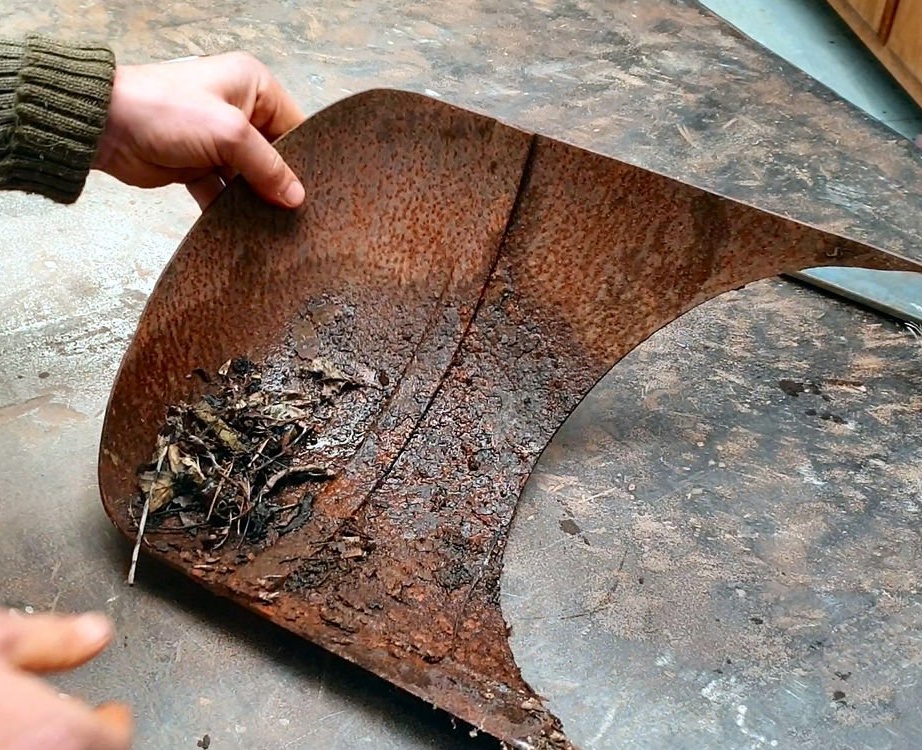
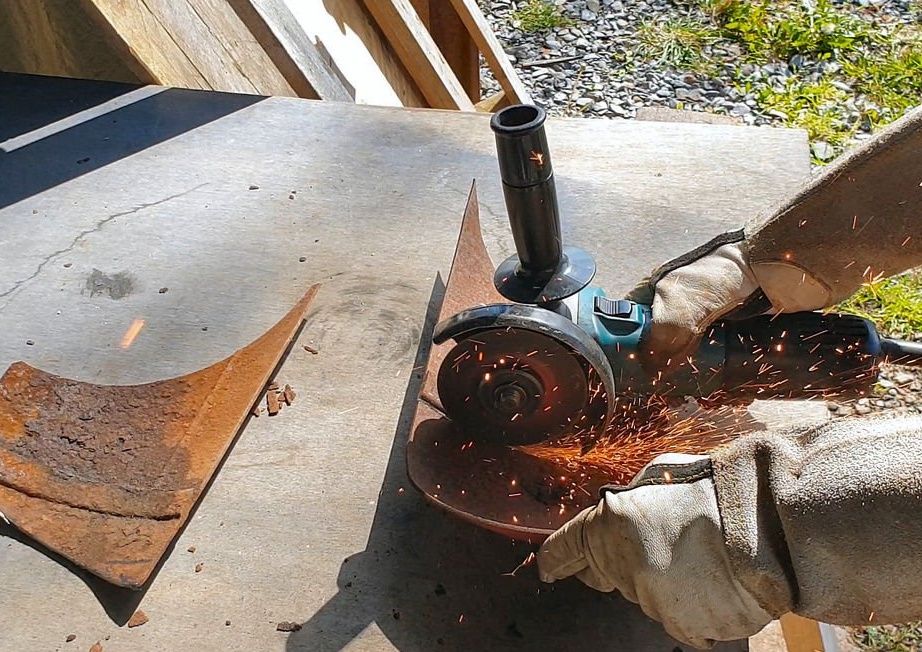


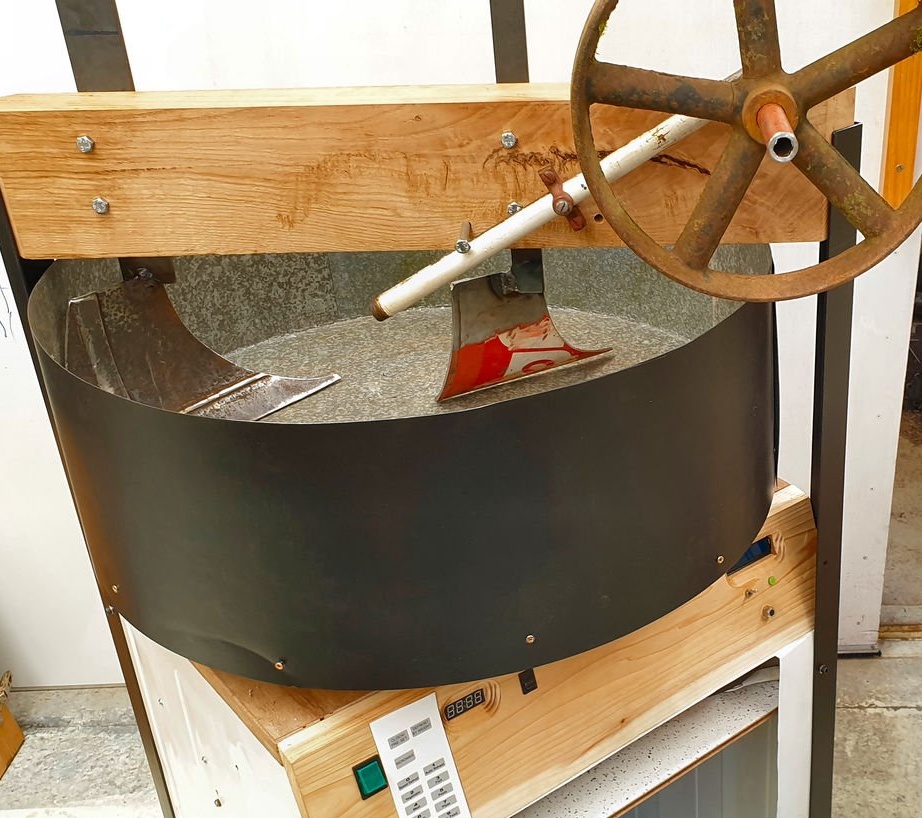
The stirrer does an excellent job.

This kind of device can be made from old household appliances.
The process of manufacturing the mixer can be seen in the video on the video.
You can also watch a detailed video on connecting the engine.