If you are a amateur astronomer who likes to spend time in his backyard with a telescope, one of the easiest ways to increase your observations of the stars is to build an observatory for your telescope. At the observatory, the telescope is fully tuned and calibrated. You can open an observatory and observe the moon for 10 minutes before the children go to bed or spend observations all night.
There are many projects on the Internet how to build an observatory, but the amateur astronomer was limited by building standards and decided to make a small observatory with a minimum of costs.
This observatory was built in just three days.
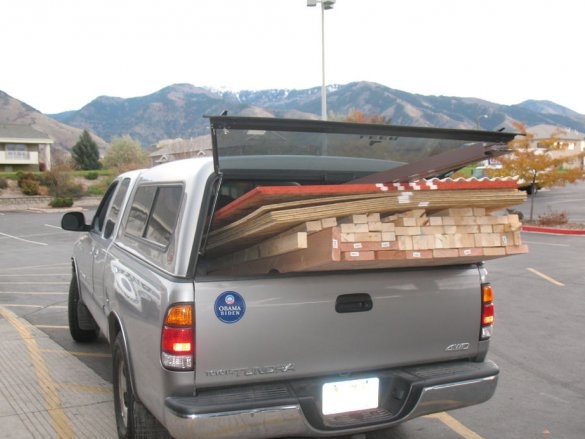
Tools and materials:
-OSB;
-Cinder block;
-Boards;
-Bar;
-Roulette;
-Fasteners;
-Drill;
-Circular Saw;
-Paint;
-Shovel;
-Crushed stone;
-Heater;
-Hammer;
- Loops;
-Wheel drives;
- Belts, elastic bands and hooks;
Step One: Project
The key points in the design and construction of the observatory were the following conditions:
-Compliance with building codes
- Telescope storage fully configured
-Minimum cost
-Ability to dismantle and install elsewhere
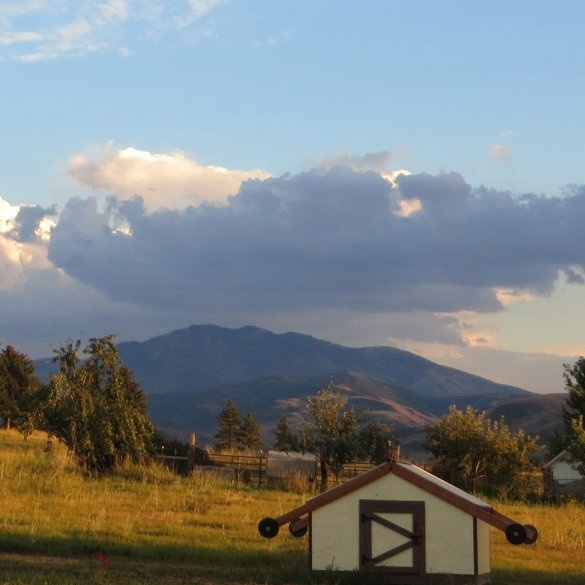
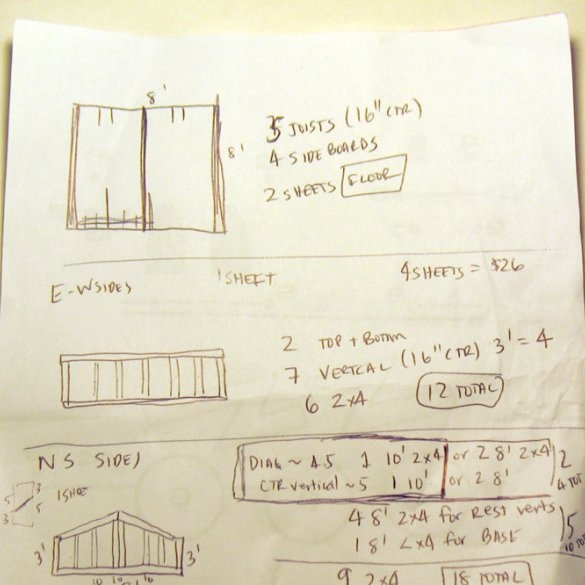
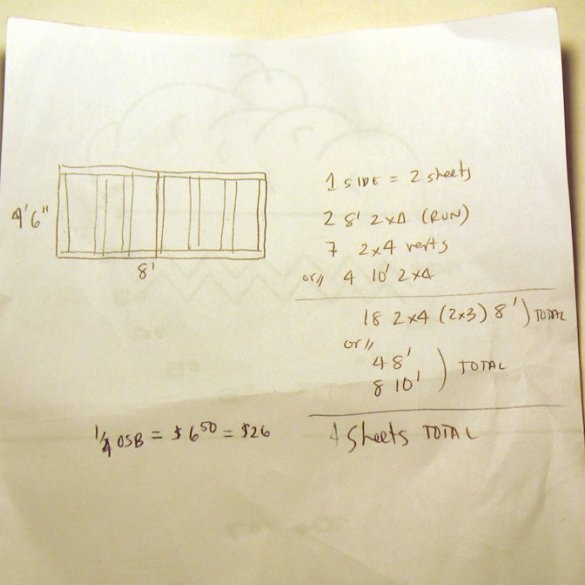
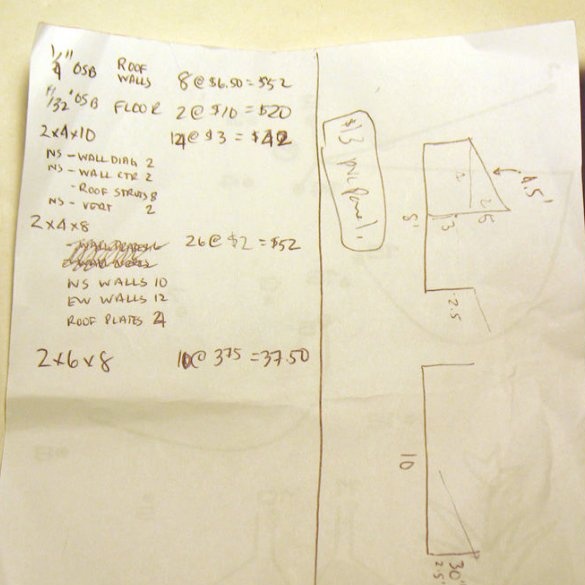
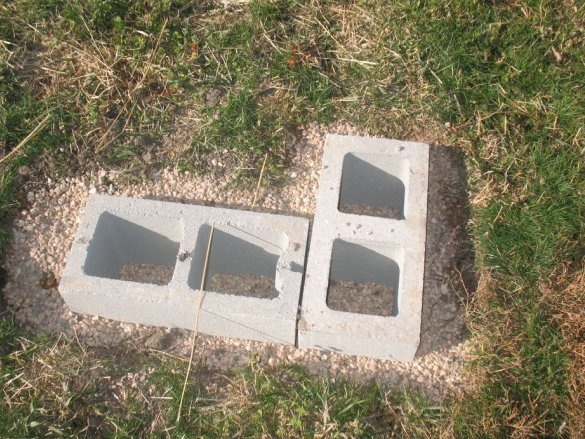
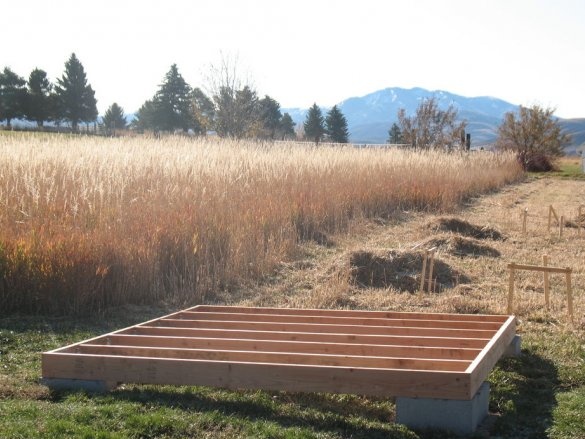
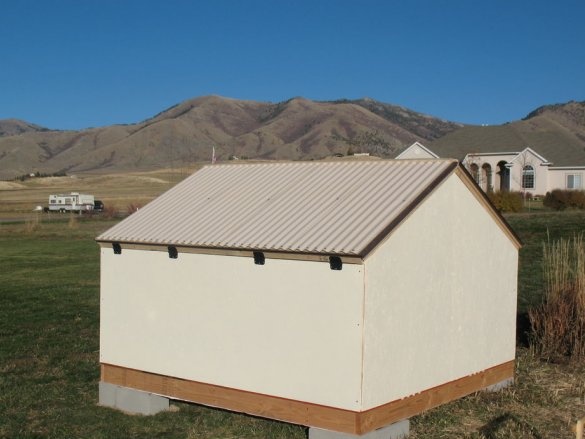
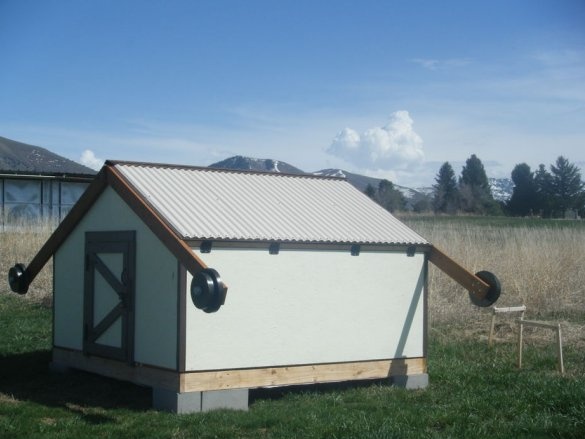
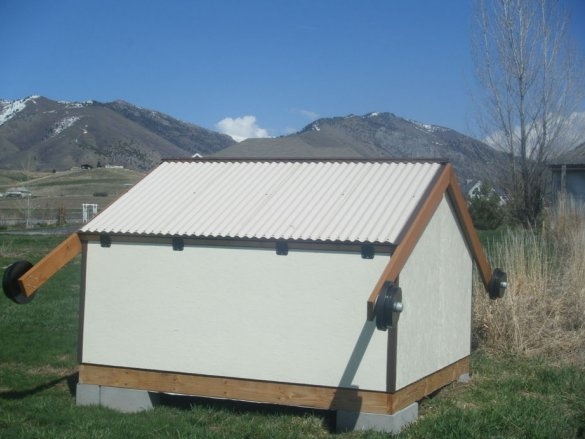
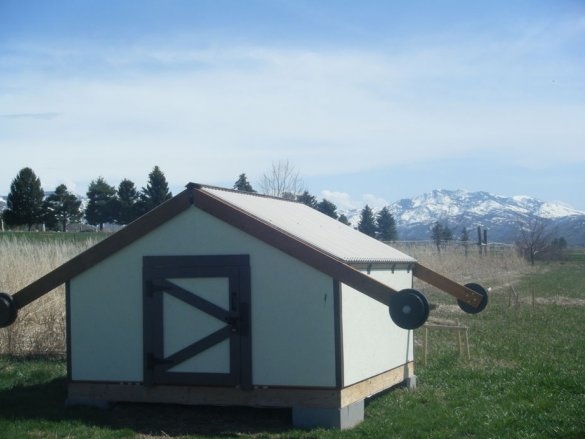
The master sketched a plan. Floor size, according to plan 2.5 x 2.5 meters. The walls are simple frames lined with OSB. Roof panels are frame panels, sheathed with sheets of wood, and then covered with a corrugated plastic roof. There is no rigid foundation — the observatory is installed on cinder blocks laid on crushed stone.
Step Two: Side Walls
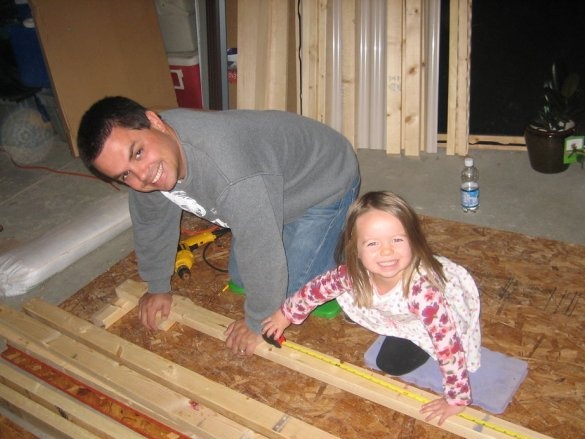
After purchasing the material, the master began assembling the house.
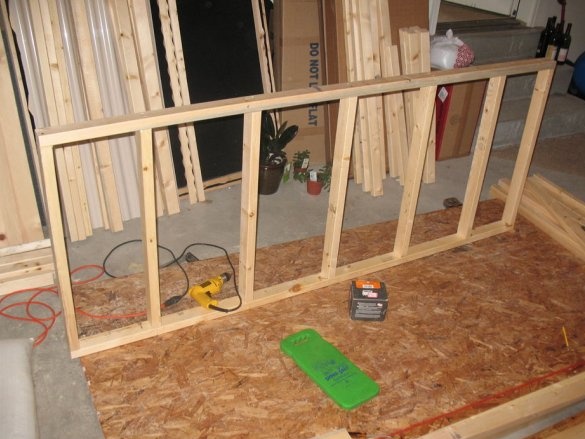
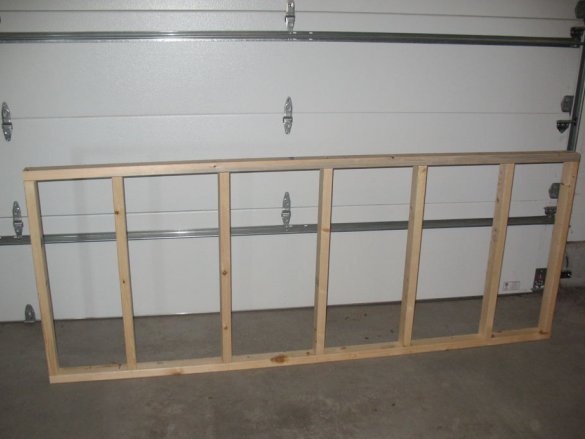
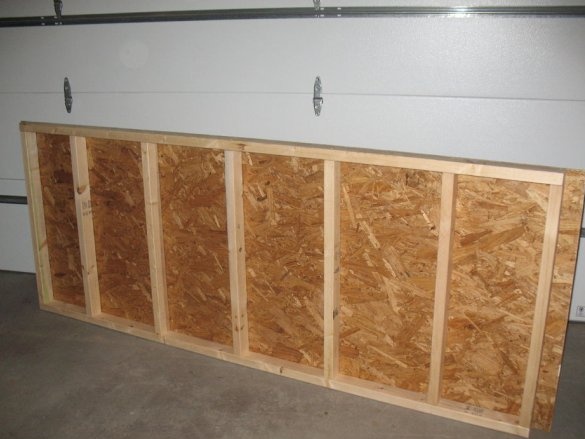
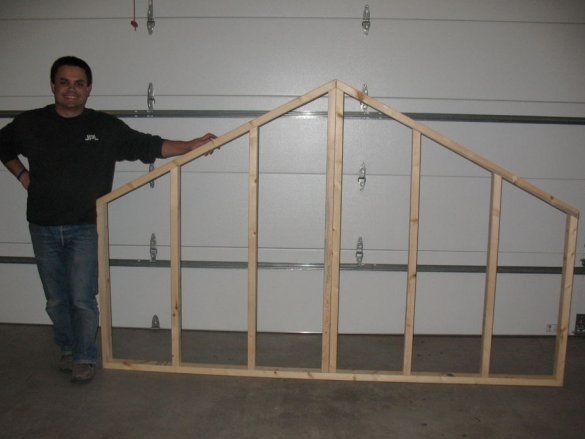
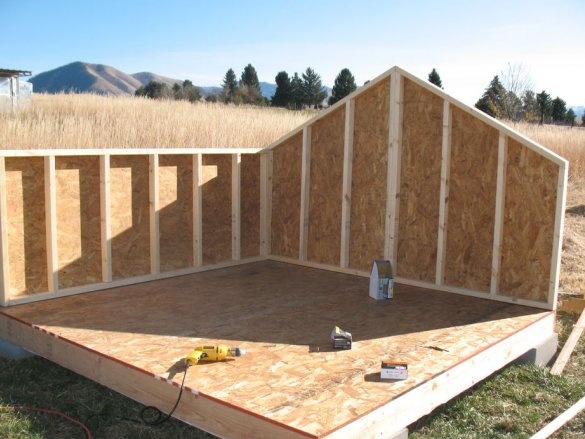
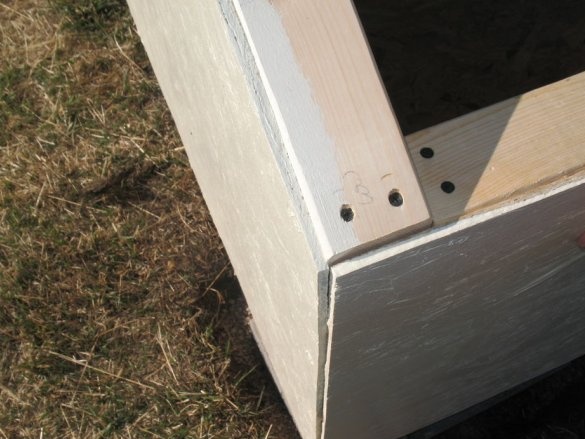
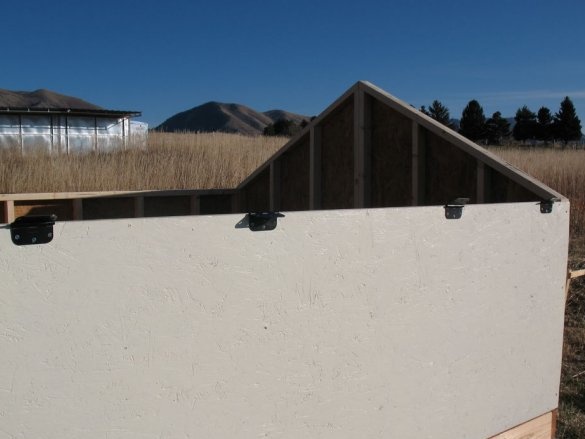
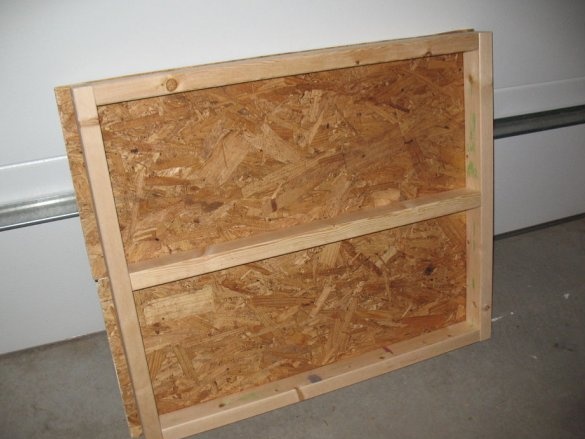
The side walls face the eastern and western horizons and are the walls to which the roof is connected. The master wanted them to be low so that the telescope could be directed as far as possible to the horizon. The height of the walls is only a meter high.
Step Three: End Walls
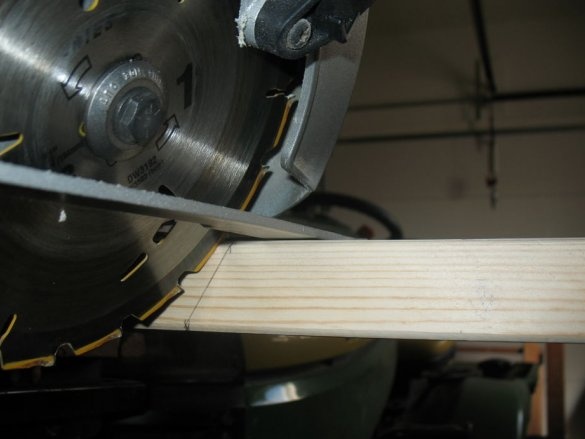
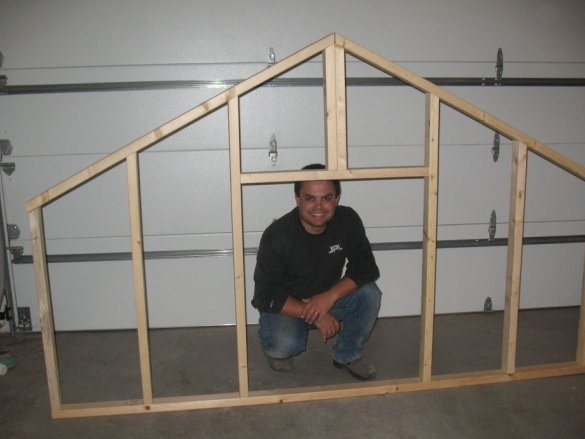
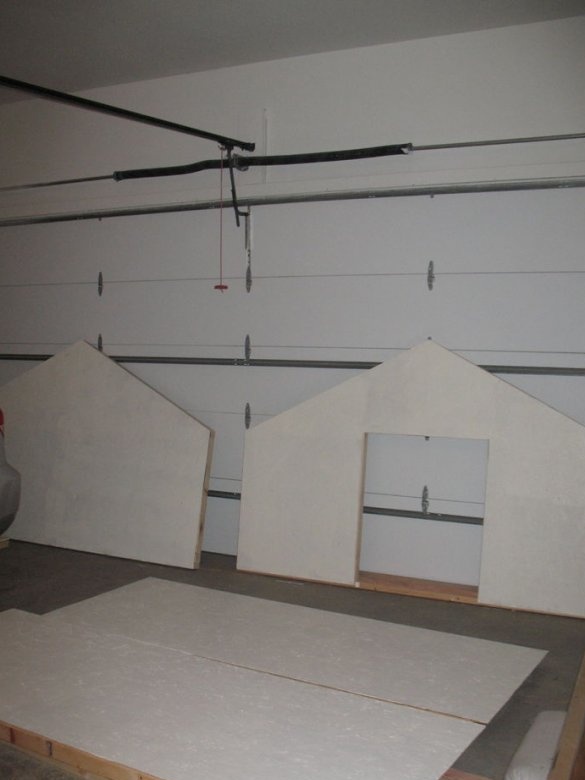
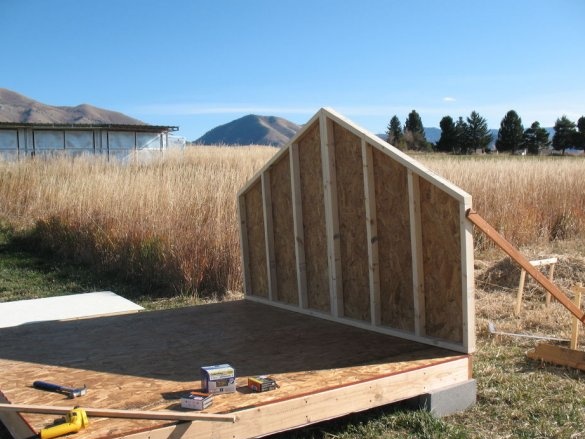
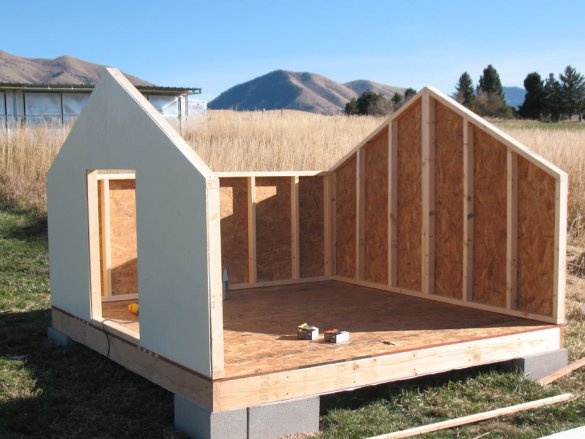
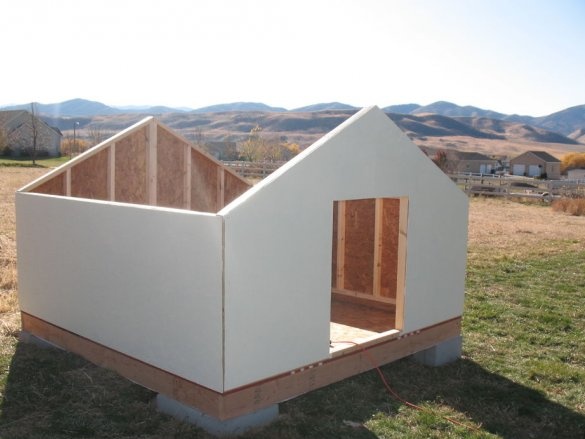
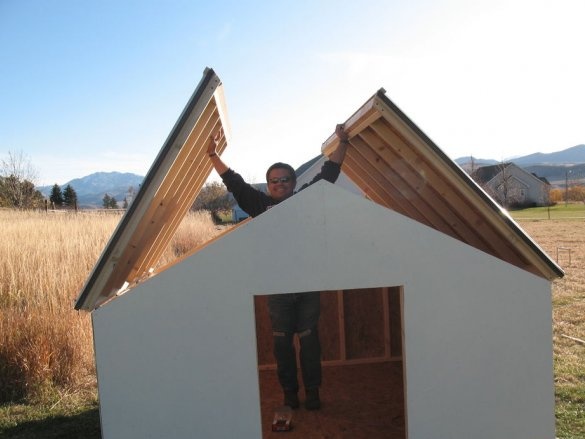
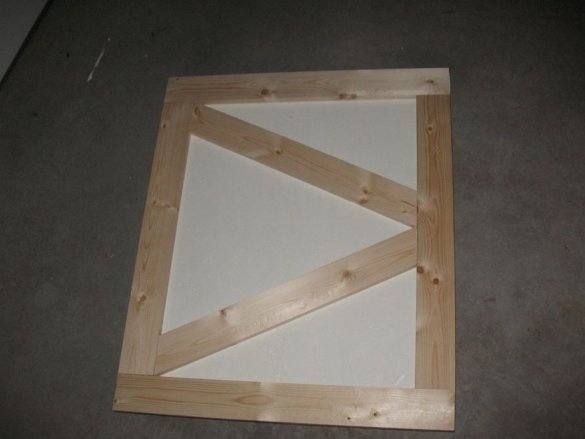
The manufacture of end walls is also not complicated. This is just an OSB sheathed frame. The angle at the frame is 30 degrees. The north wall has a small door.
Step Four: Foundation
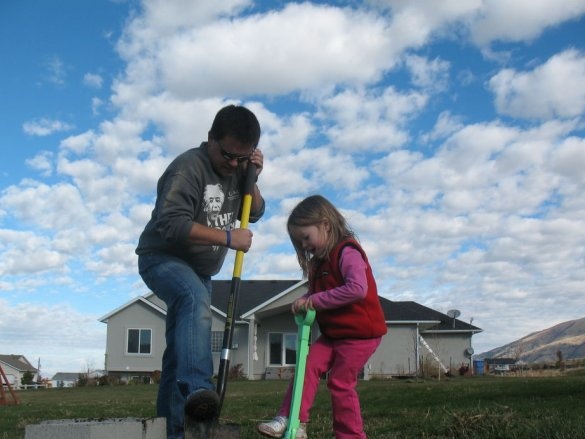
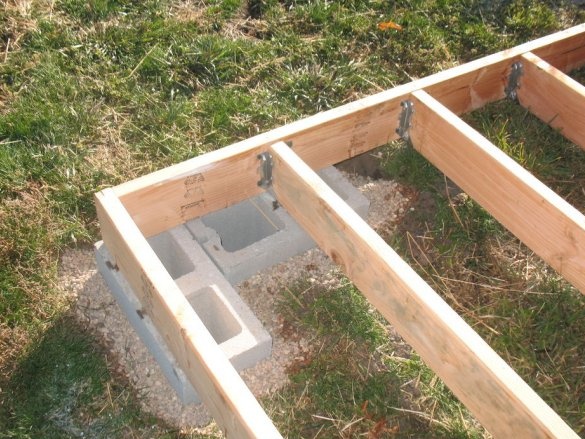
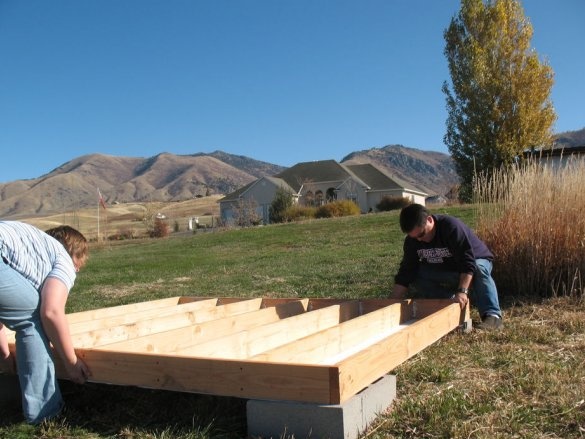
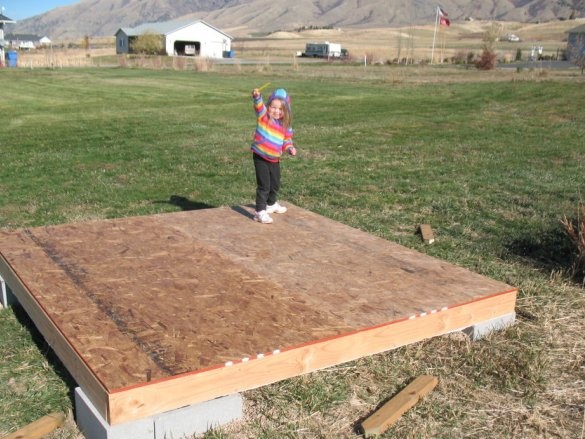
The master did not want to make a rigid foundation, so he simply placed two cinder blocks laid on a gravel pillow in the corners.
Step Five: Floor Frame
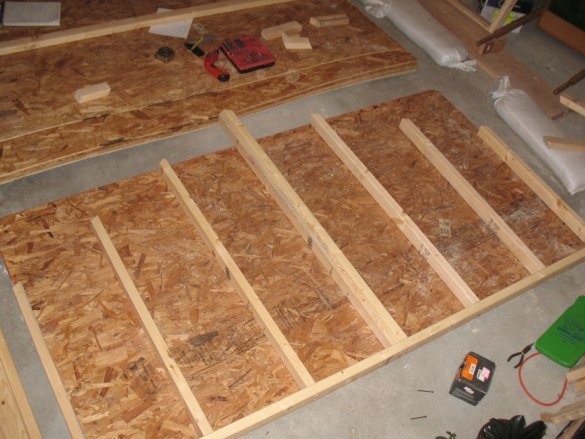
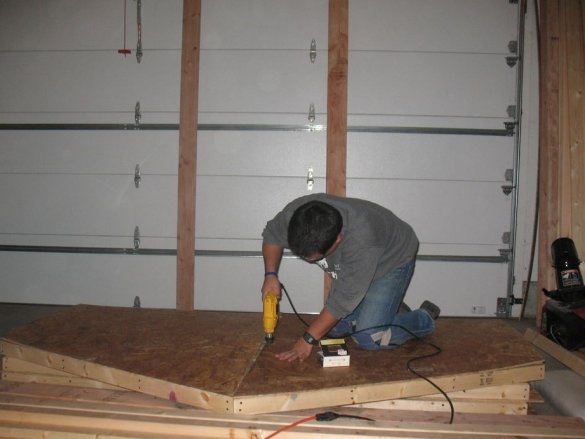
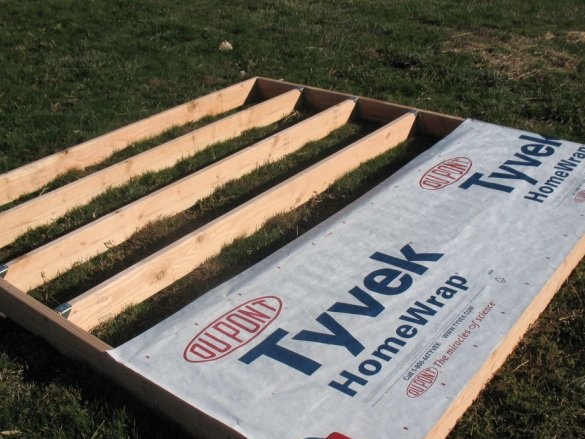
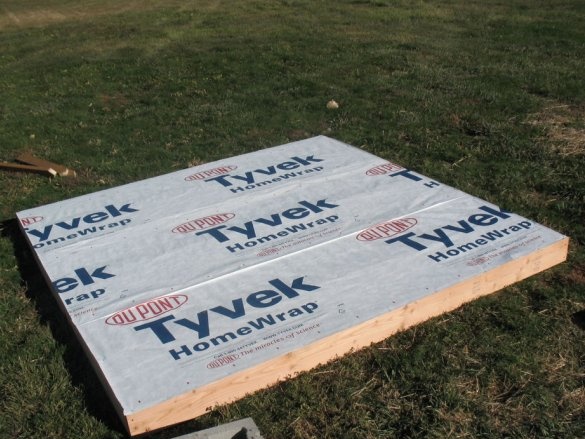
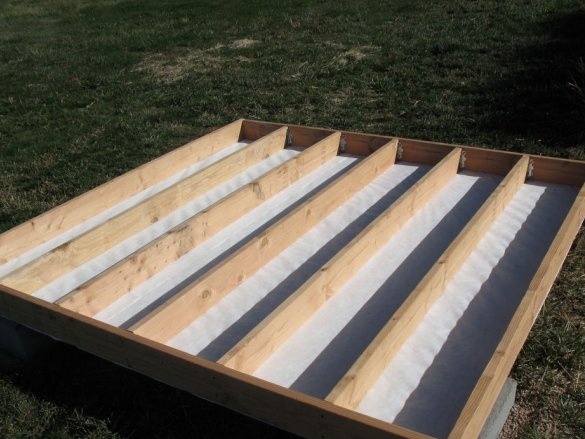
The frame is a frame of vertically arranged boards. A few more boards are mounted inside the frame. A heater is attached to one side of the frame. Then the frame is turned over and OSB is sewn up.
Step Six: Build
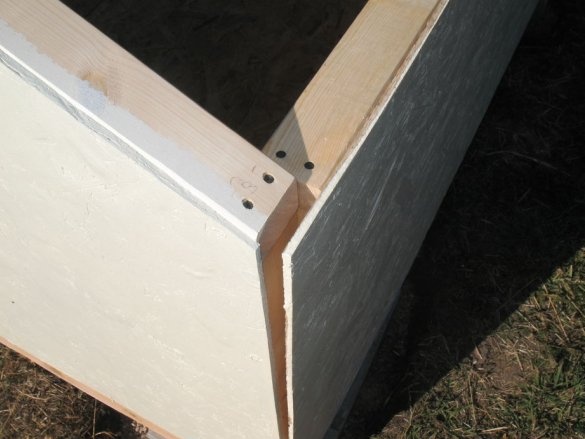
Then the master fixes the walls.
Seventh step: the roof
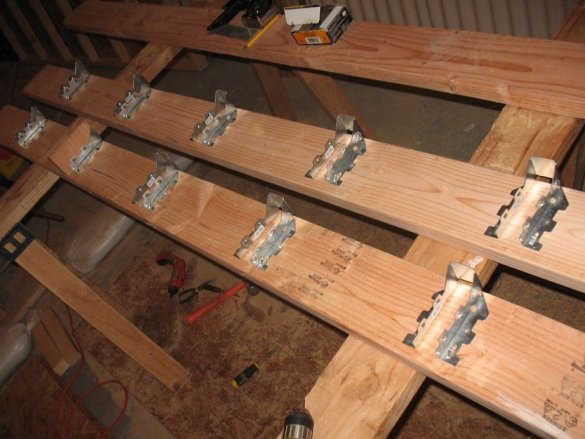
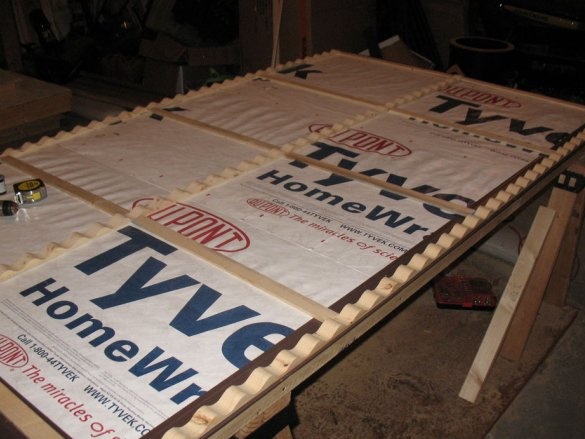
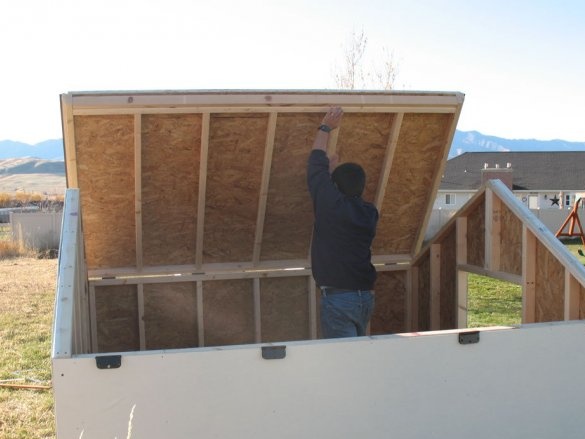
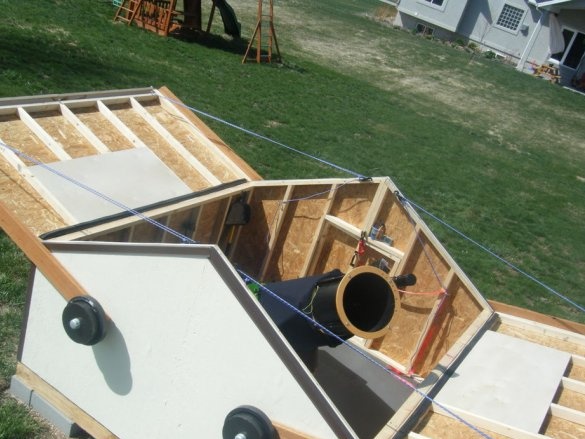
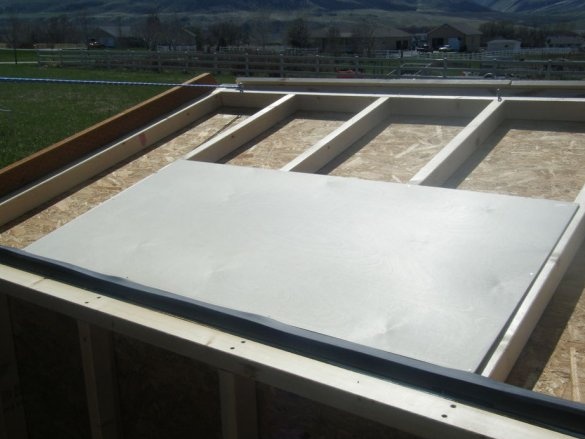
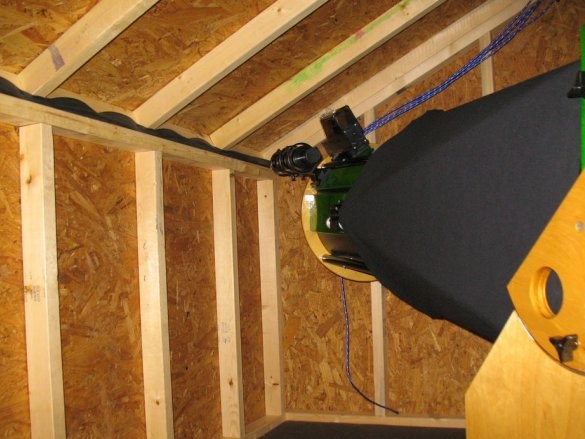
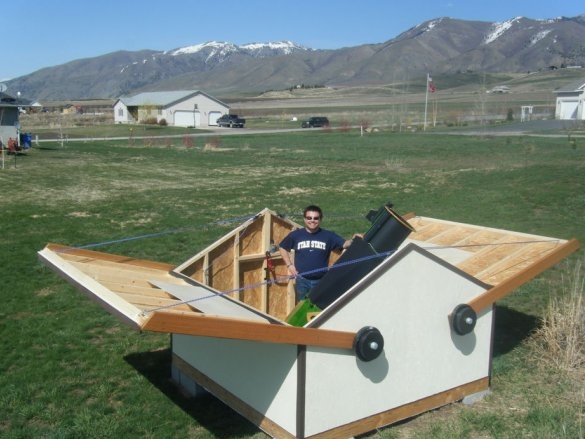
The roof is made of two separate frames. The roof frames are similar to the side frames.The roof is inclined upward at an angle of 30 degrees from the horizontal.
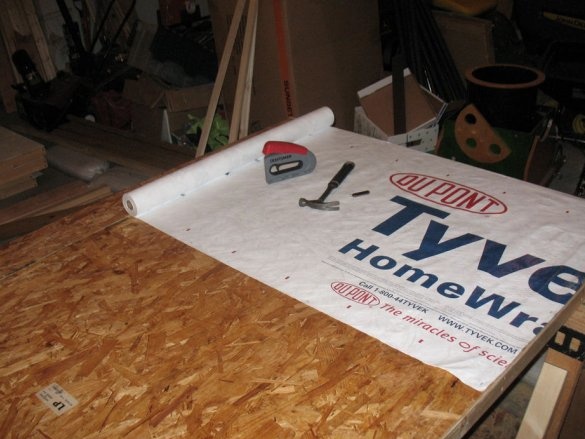
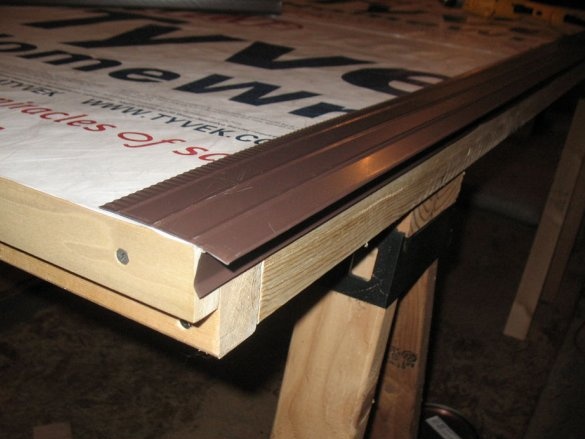
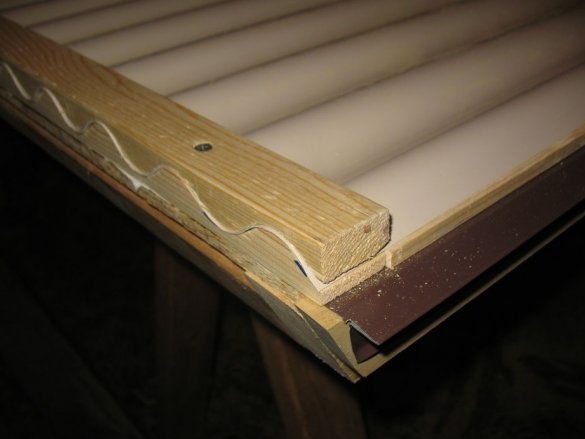
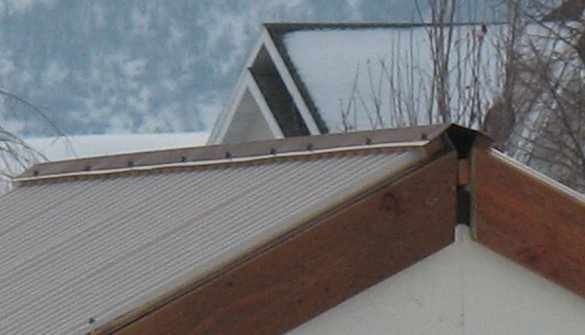
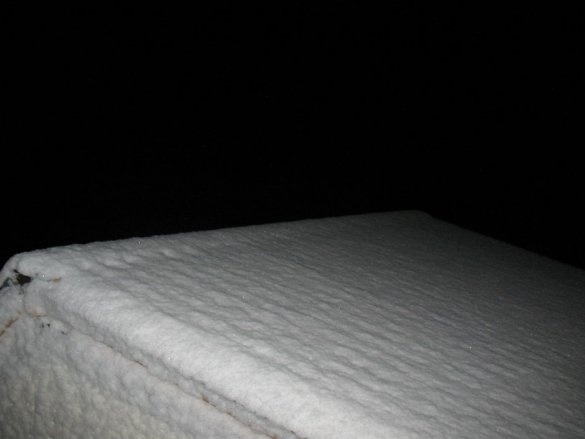
Sheathed OSB roof, and then heat and moisture protection material. The side edges and the edges near the ground were lined to divert water from the roof.
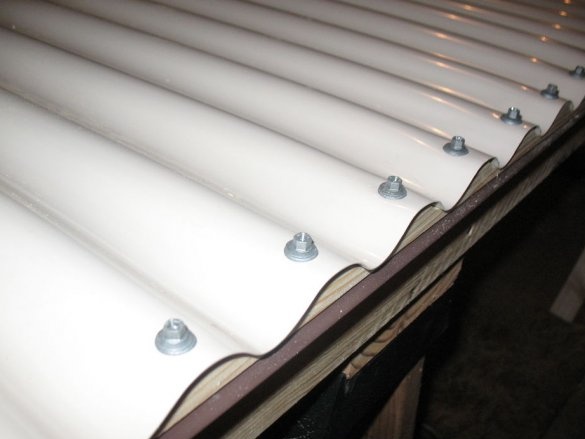
The top of the roof is corrugated plastic garden roofing panels - they are cheaper than aluminum roofing, and are easy to cut and fasten.
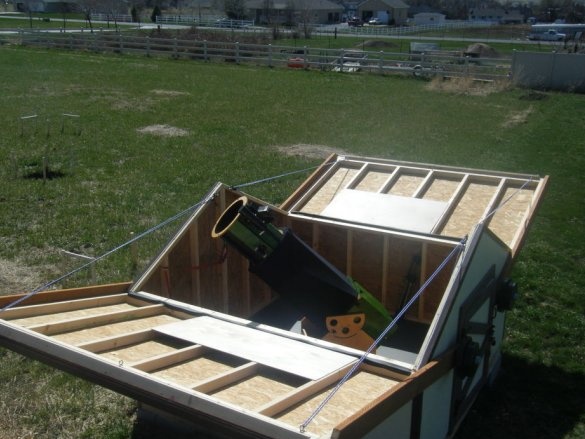
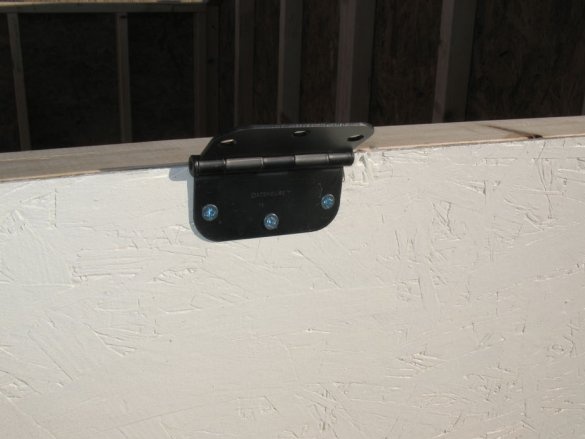
The roof is fixed to the wall with four canopies on each side.
Step Eight: The Door
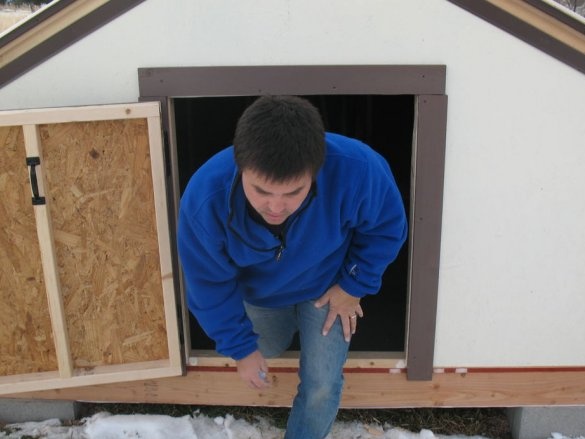
In the opening of the north wall sets the door.
Step Nine: Counterweights
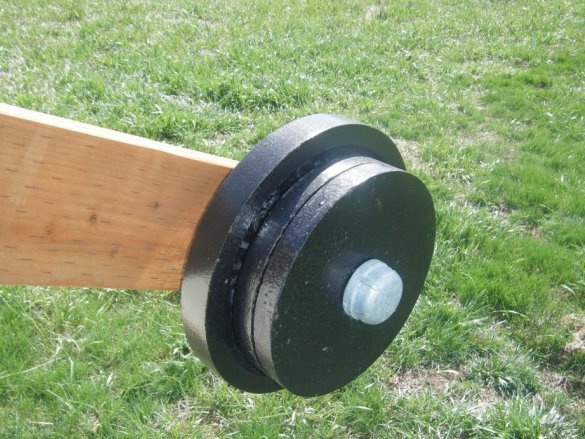
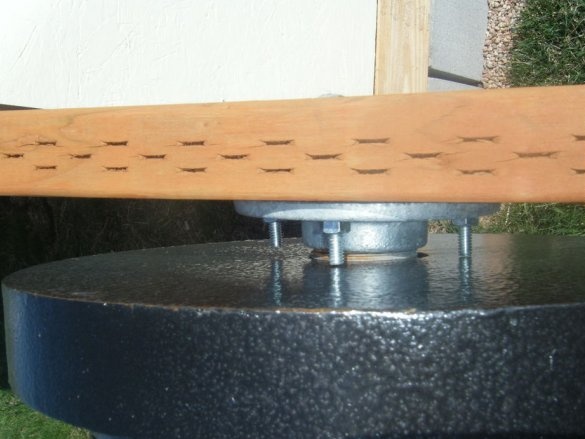
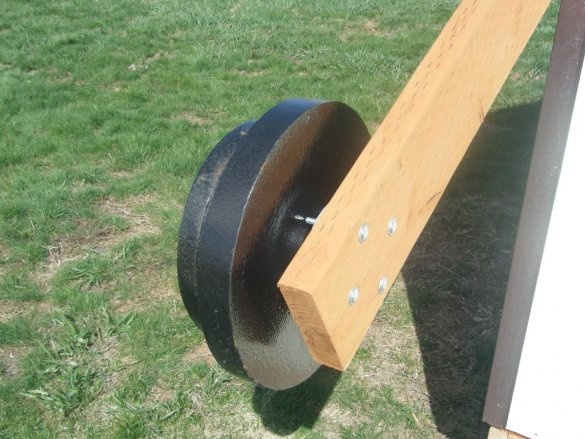
The counterweight system was a late addition to the design. Initially, the master intended to simply raise the roof panels up, but could not get enough leverage to do this. He looked at many different ways of lifting it from the inside or outside, but it was all complicated. Over time, the idea came up to use counterweights.
The master fastened the long boards and screwed them directly to the outer surface. This solution was perfect. The boards covered the gap between the roof and the walls (effectively isolating it from the weather), and when the roof turned and opened, the boards holding the counterweight did not interfere with the opening.
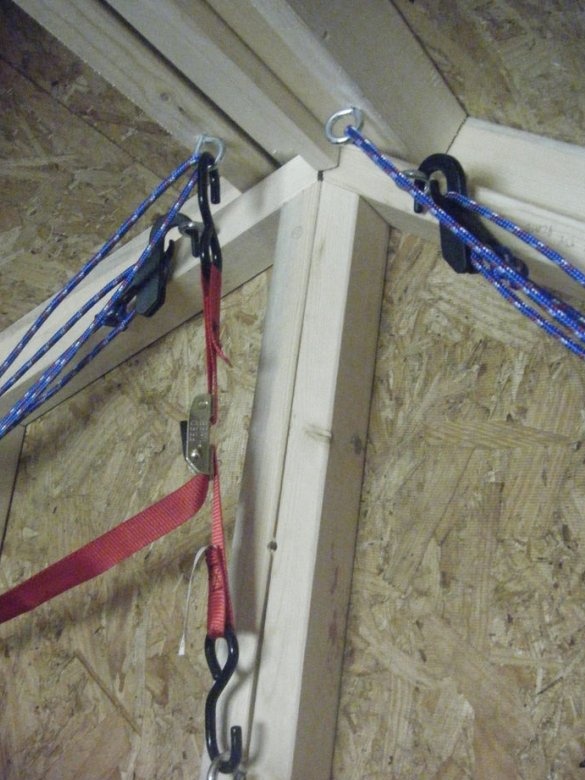
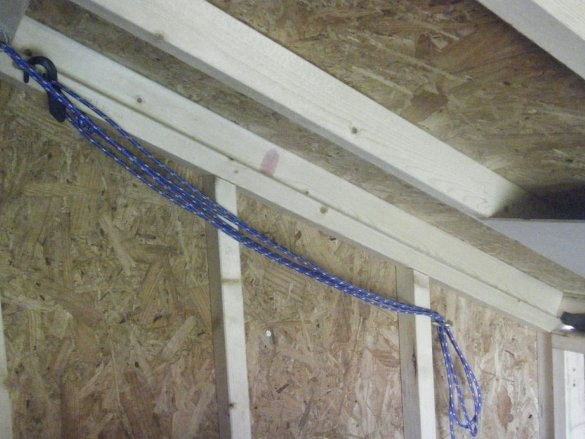
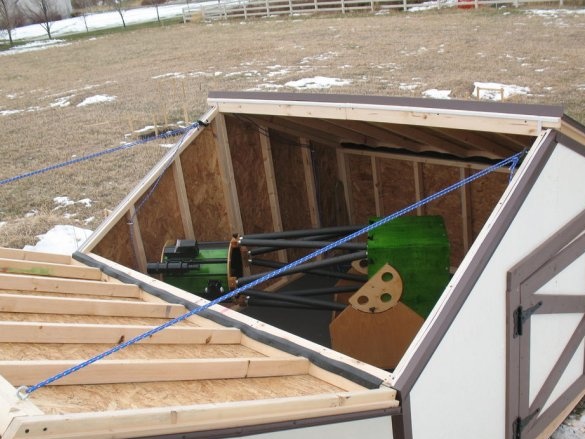
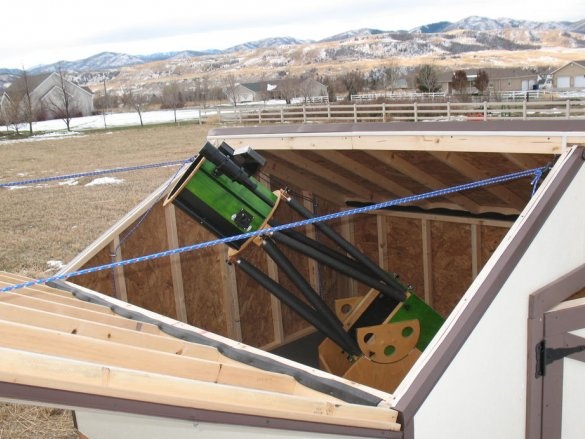
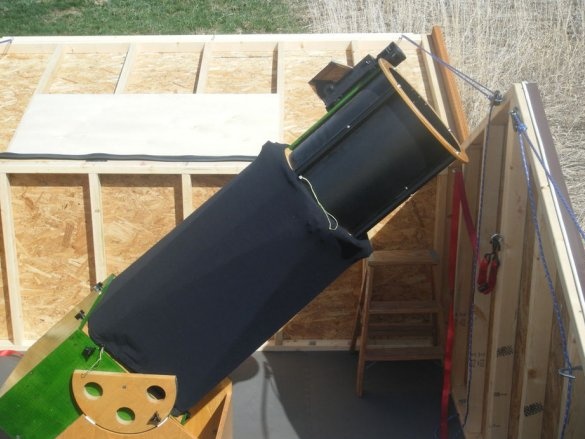
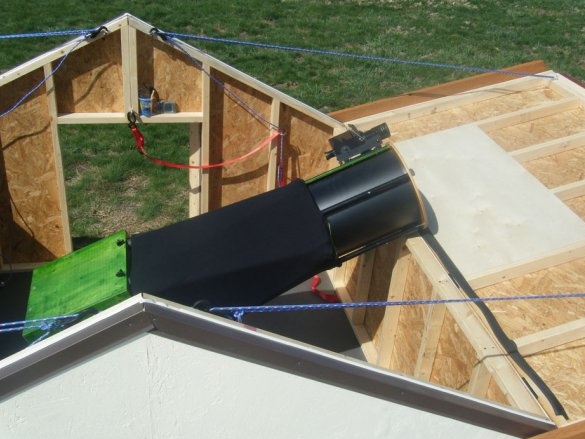
The roof opens simply by hand, and closes with a rope system. Opening and starting an observation takes no more than two minutes. Two straps with a ratchet mechanism are released, the eastern roof panel is folding, the western roof panel is folding, and you are ready to watch!
Step Ten: Final
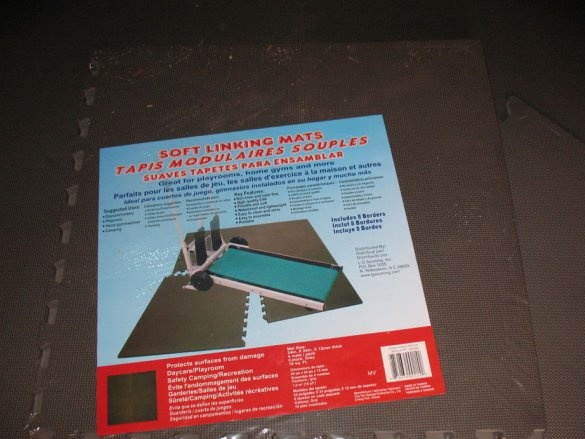
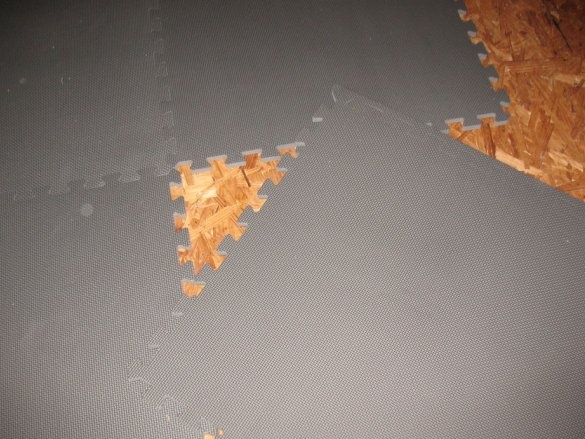
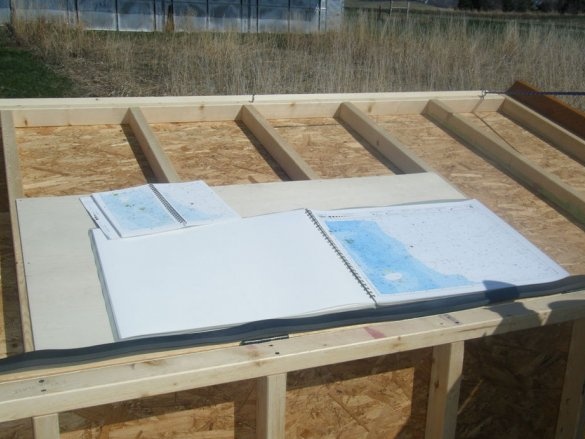
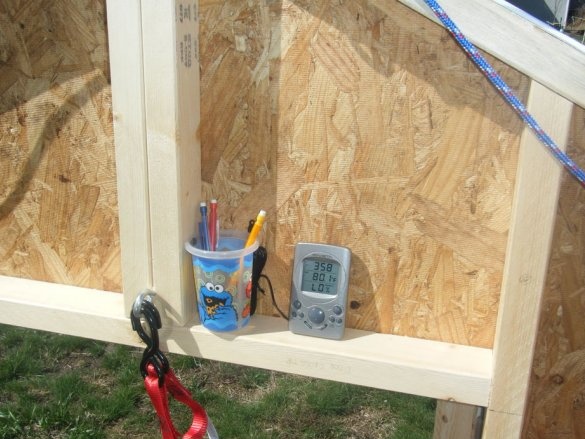
The master covered the floor with soft tiles, fixed a pencil case on the side and installed a thermometer.
The amateur astronomer is pleased with the resulting observatory. The telescope is now always under the roof and ready to use.
This is how the astronomical observatory turned out for little money and with low labor costs.

