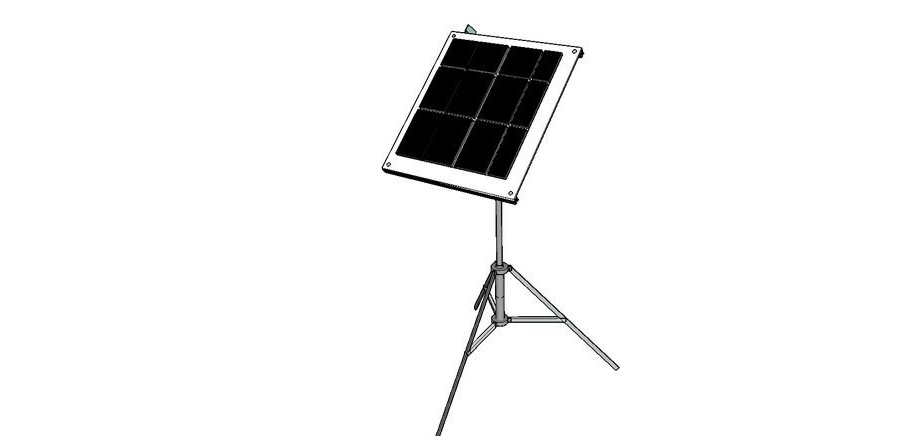
A few years ago, the master was already making a stand for the solar panel, but it was bulky and difficult to transport in a trailer. Such devices are also on sale, but all of them are either very expensive or not quite mobile. A large solar panel, leaning against a picnic table, with a heavy battery and a large inverter, is not what the master wanted.
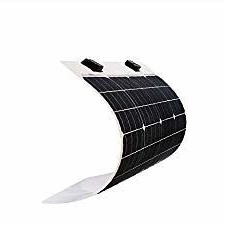
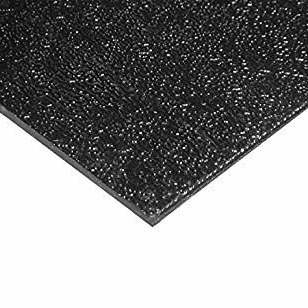
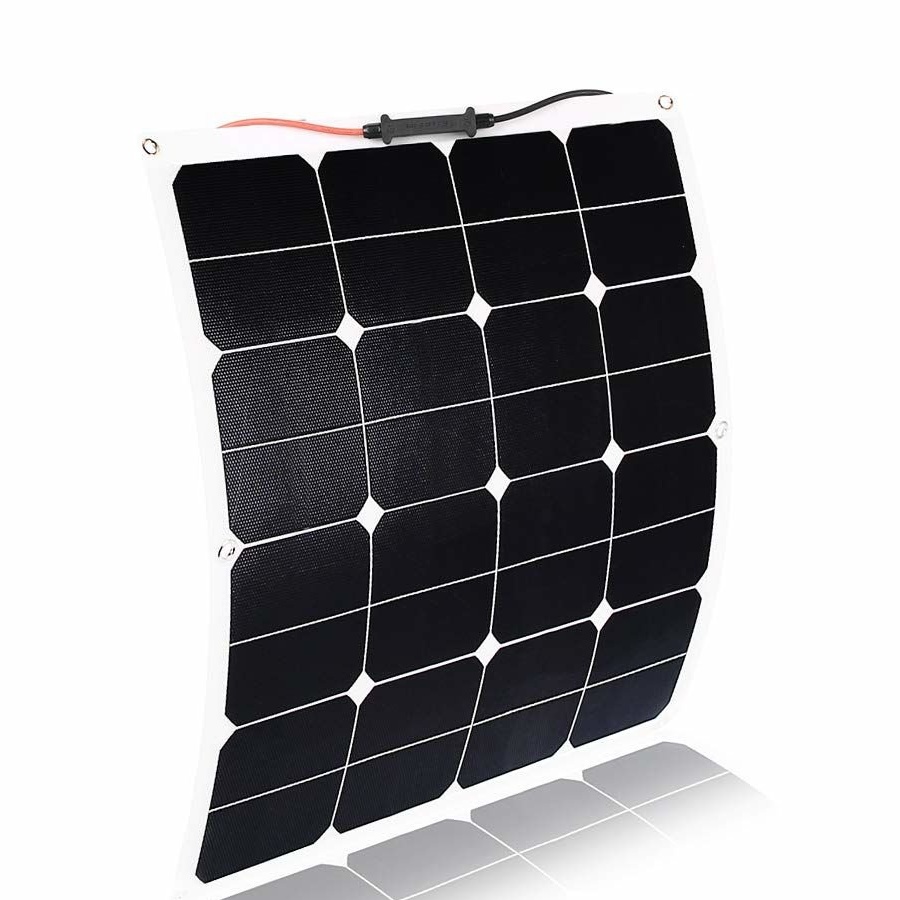
This design is ideal for use with a trailer because it was designed specifically for flexible solar panels that can easily be placed under the mattress of a car trailer. Another advantage is that it can be easily assembled and disassembled, as well as adjusted for any panel size from 50 to 100 W, using the rotary knobs.
The manufacture of such a system takes about two hours, and it is easy to change to suit any needs.
Tools and materials:
-Hammer drill;
-Oil for lubrication;
-Drill;
-Circular Saw;
-Roulette;
-Keys and screwdrivers;
-Knife;
-Tap;
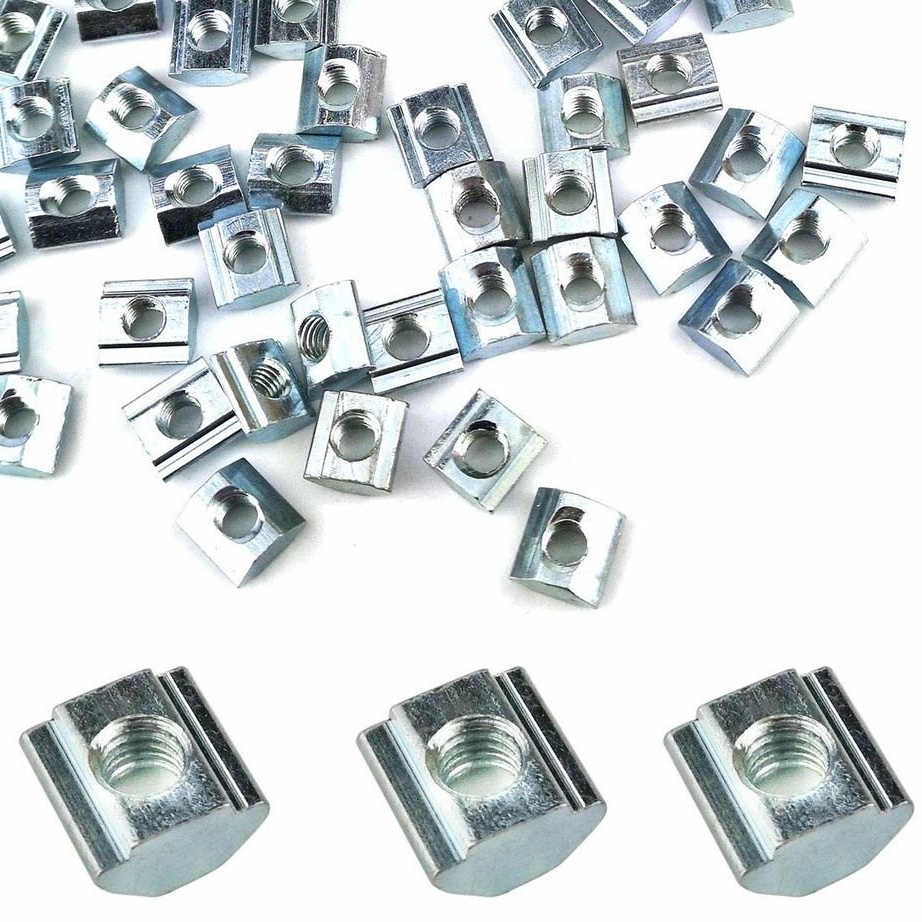
-Nuts M8;
Screw M5;


Step One: Assembling a Tripod
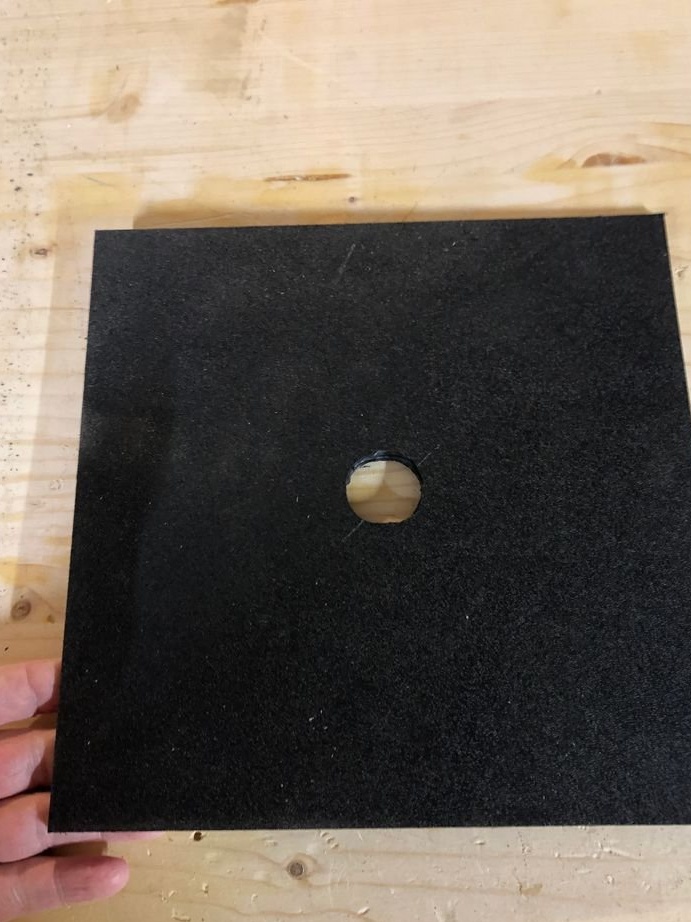
The first step is to unpack the tripod and assemble it. Then you need to fix the metal plate and fix the substrate to the plate.

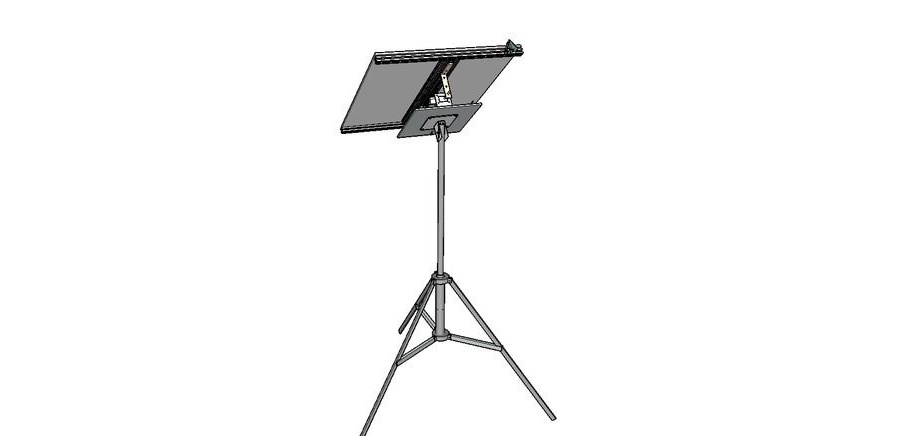
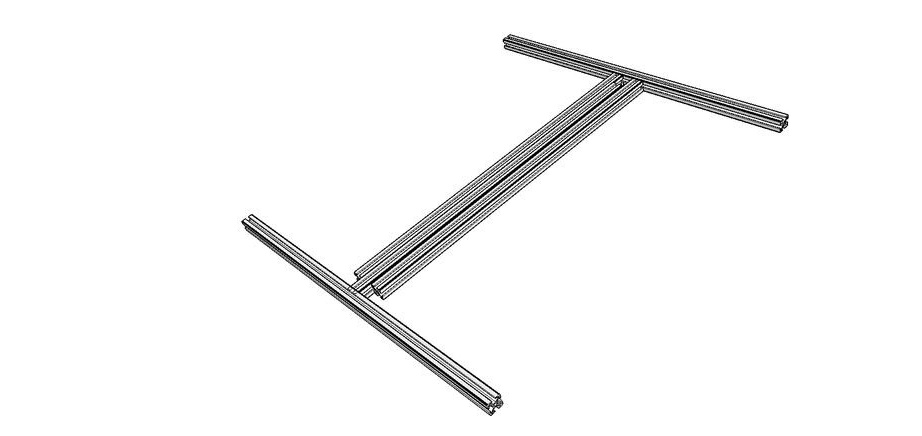
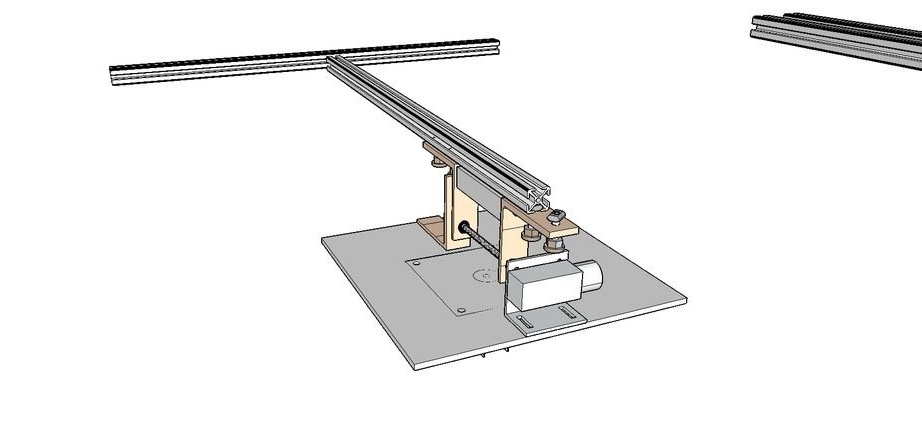
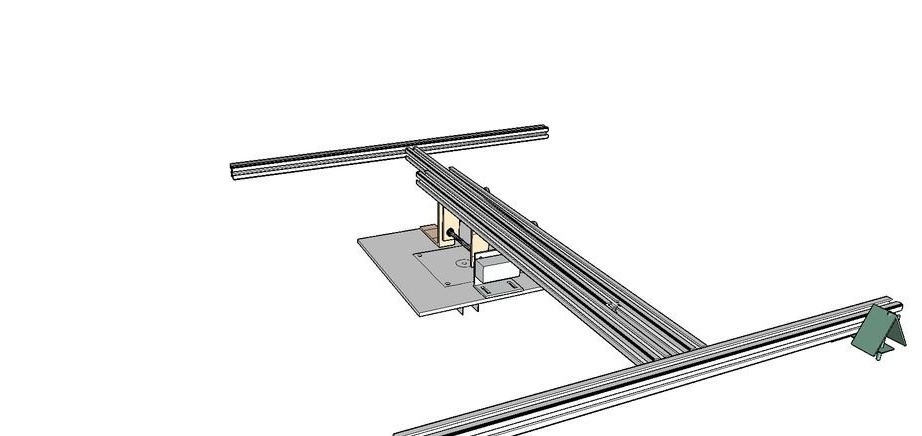
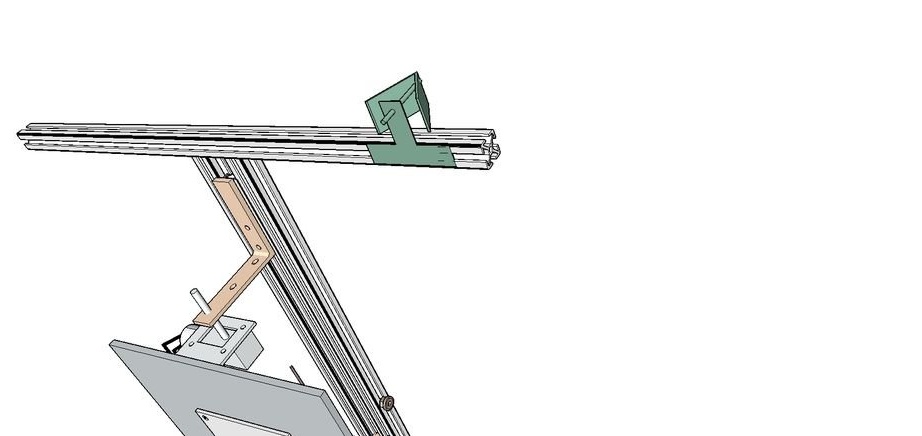
Step Two: Solar Panel Mount
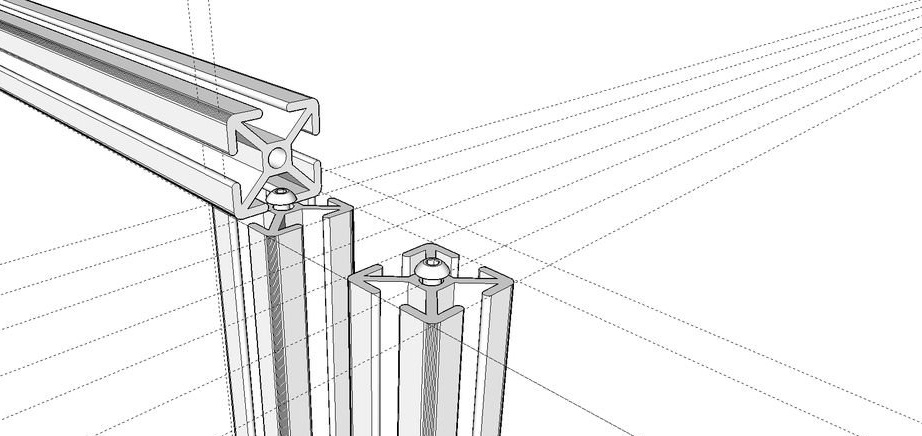
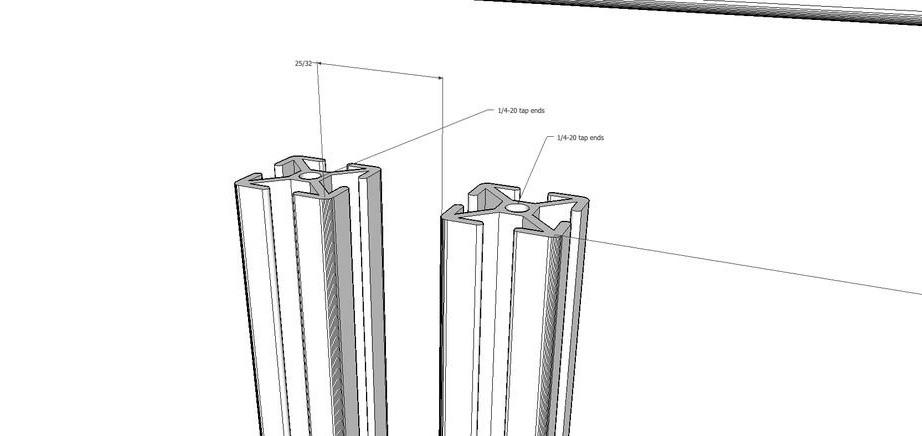
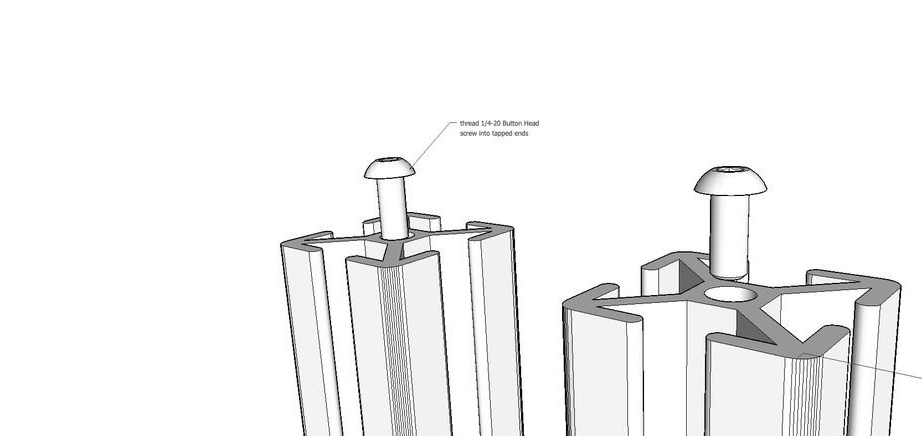
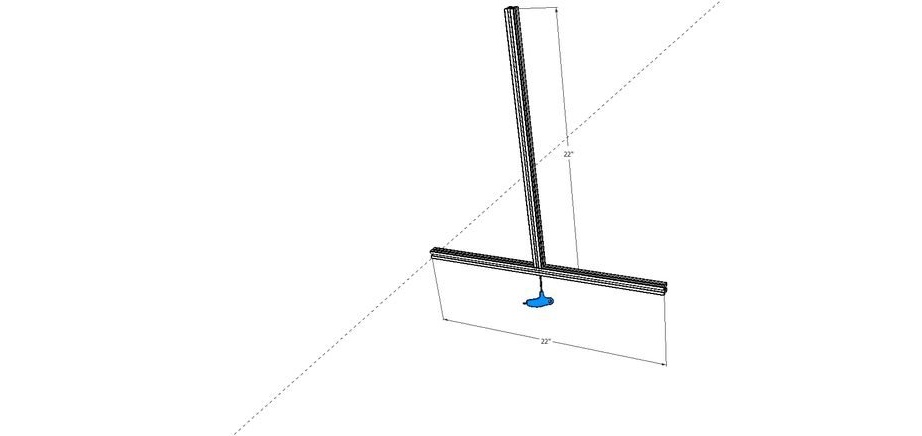
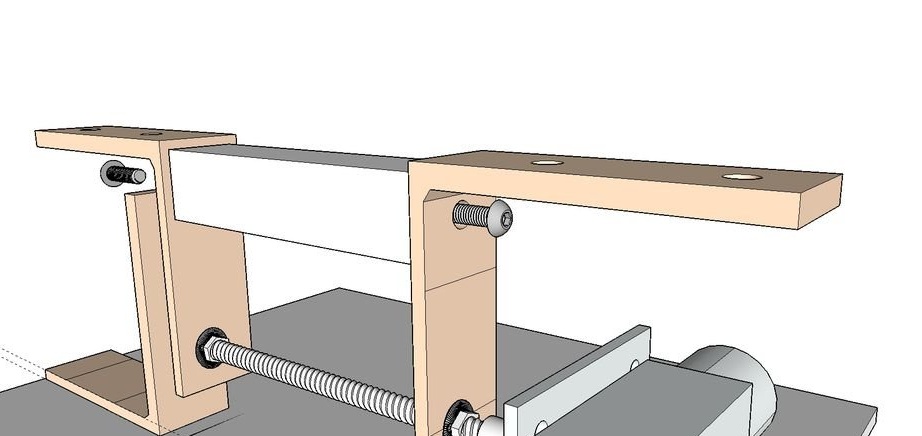
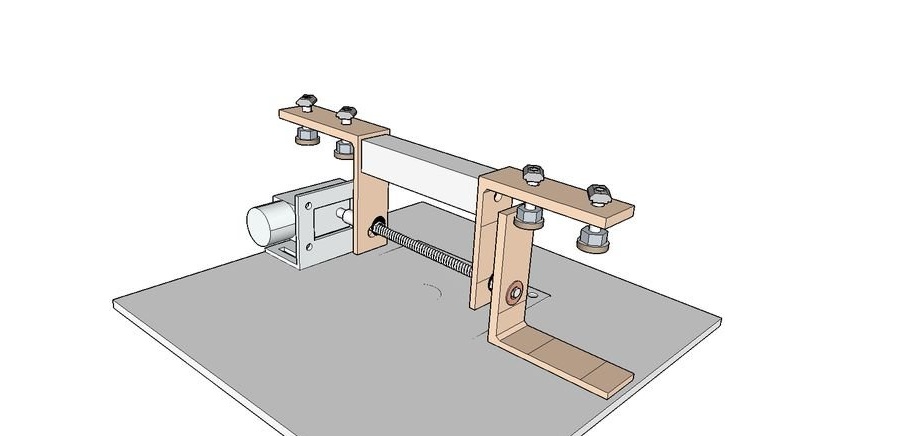
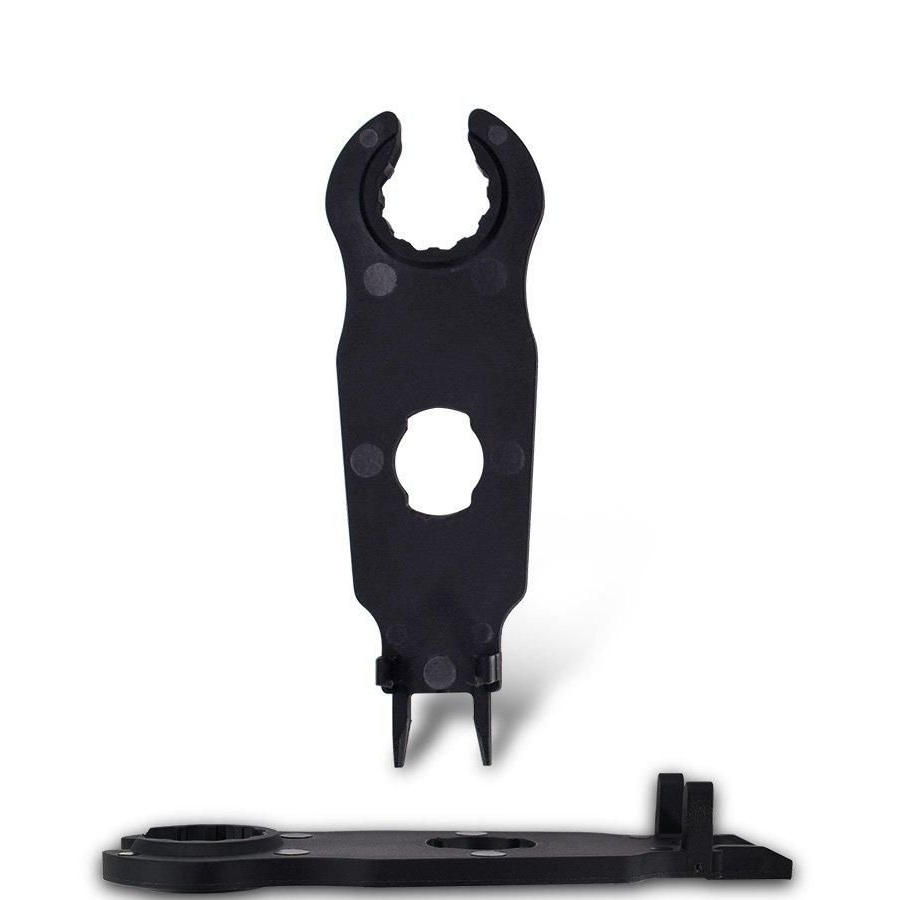
Now you need to make a mount for solar panels. Mounting is made of aluminum rails. The master cuts the guide into segments of the desired length. Then you need to do, as in the figures. Two guides are taken and screws are screwed into their ends, but not completely. Then, the screw heads are inserted into a groove in a perpendicularly located guide and the guides are shifted to the middle, and then 20 mm from each other. The screws are tightened through pre-drilled holes.

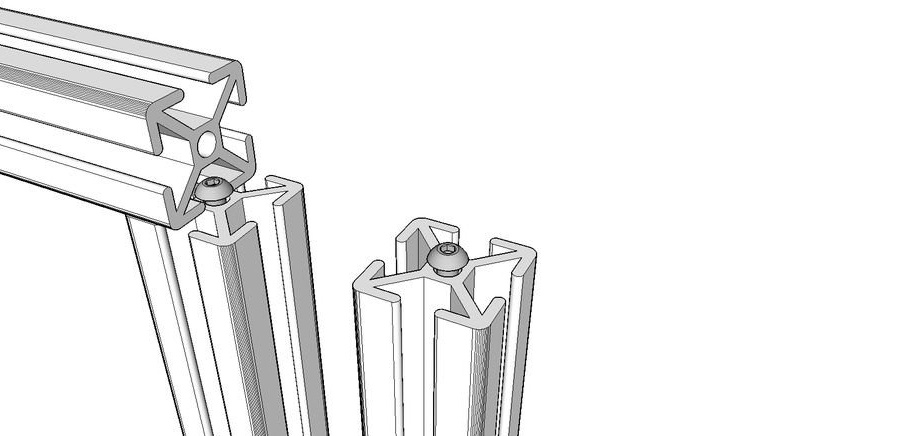

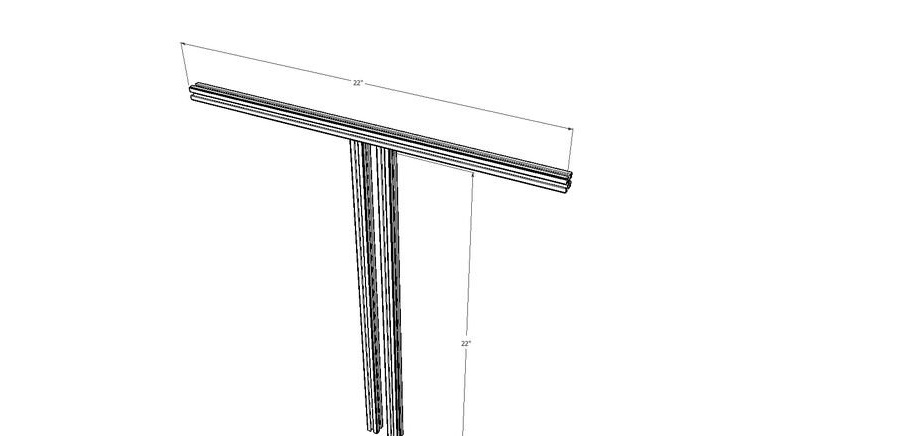
Another part of the mount is assembled with a guide in the middle. Two parts come together.
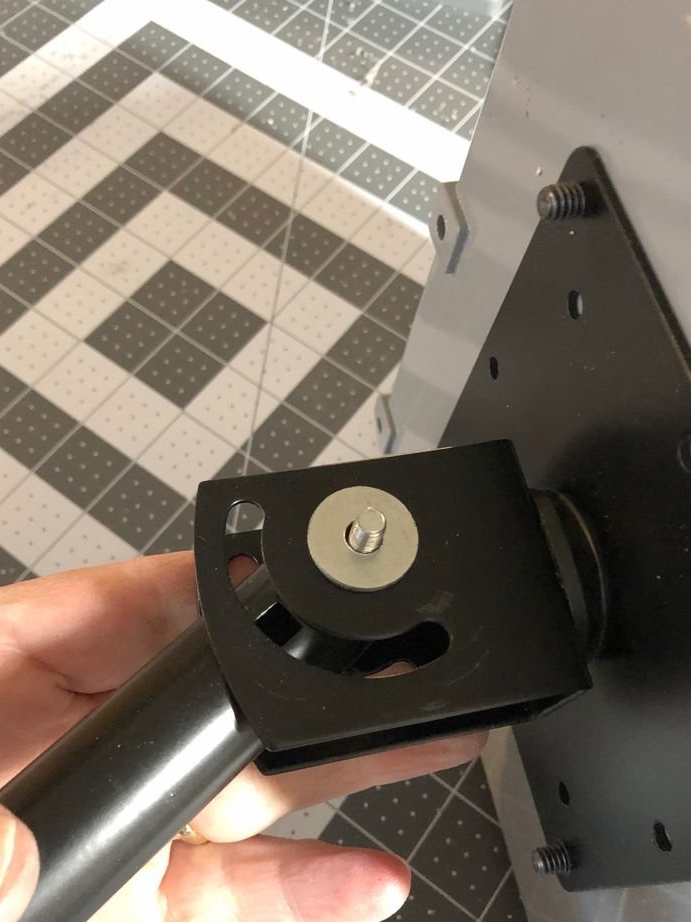
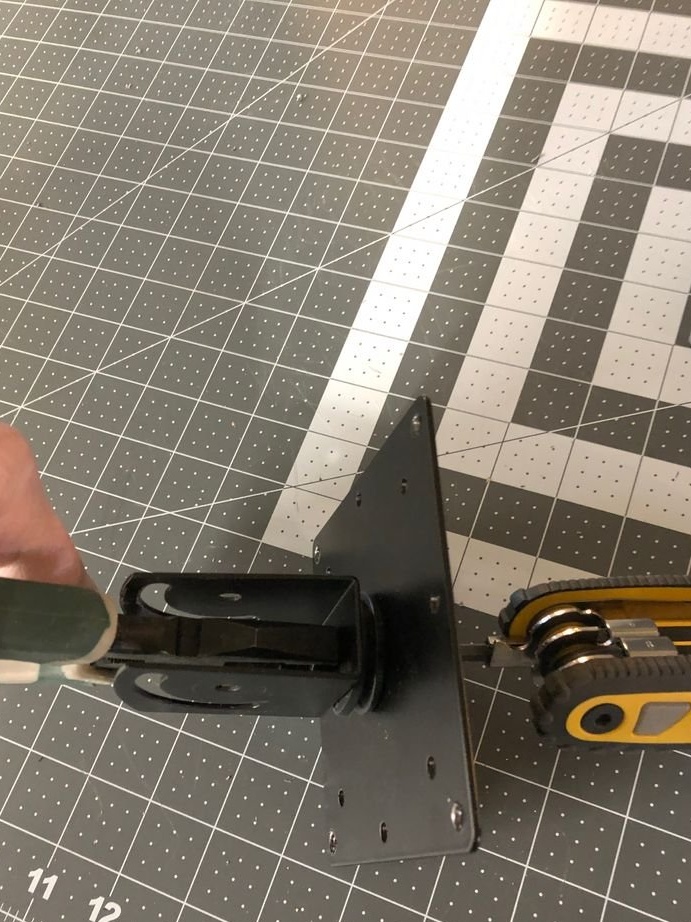
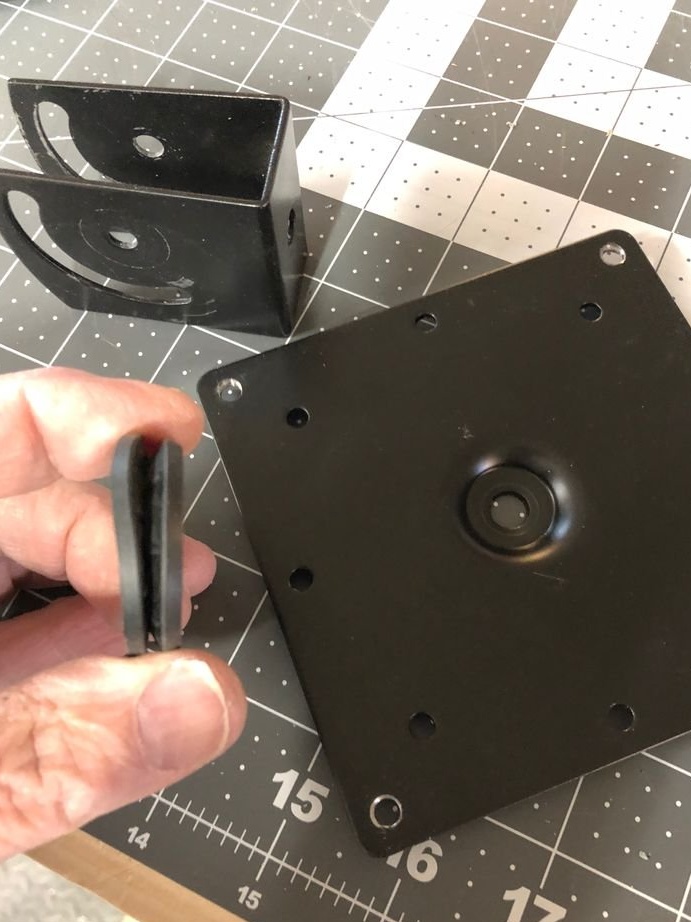
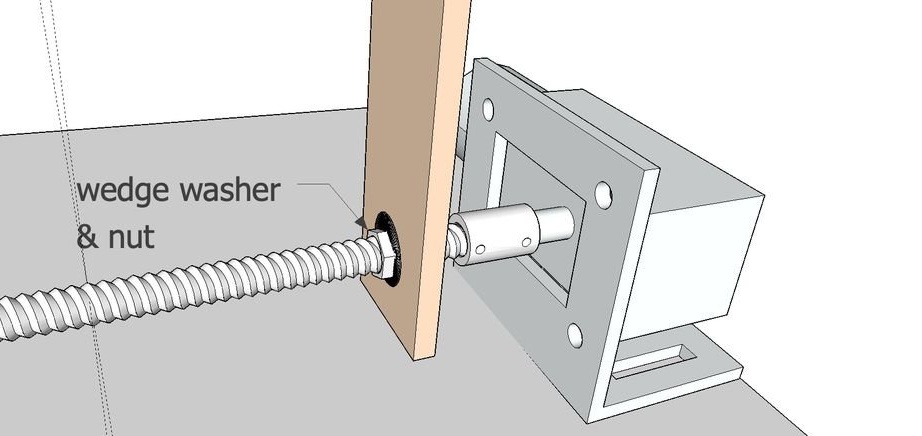
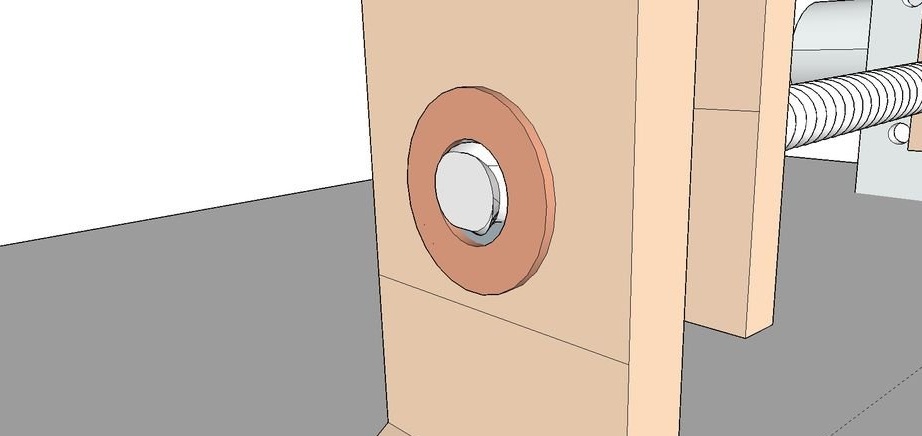
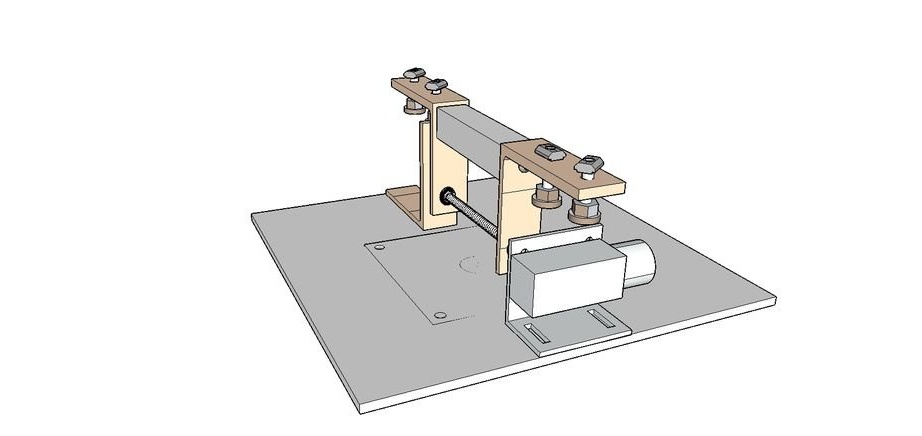
Step Three: Mount the Gear Motor
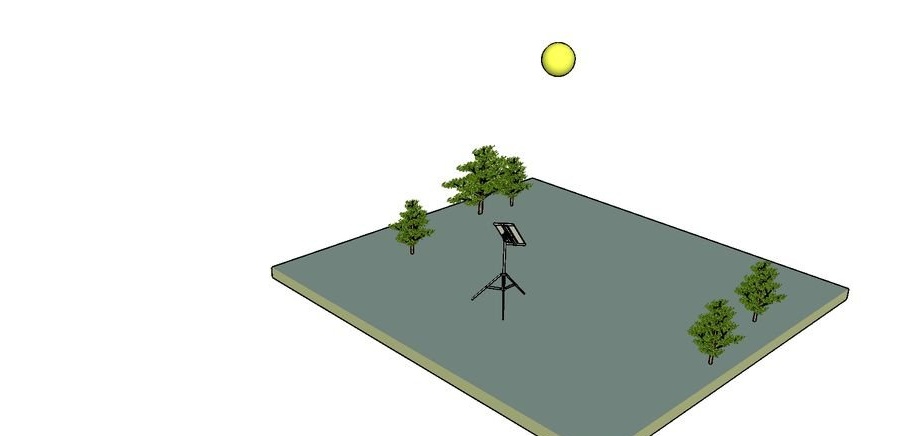
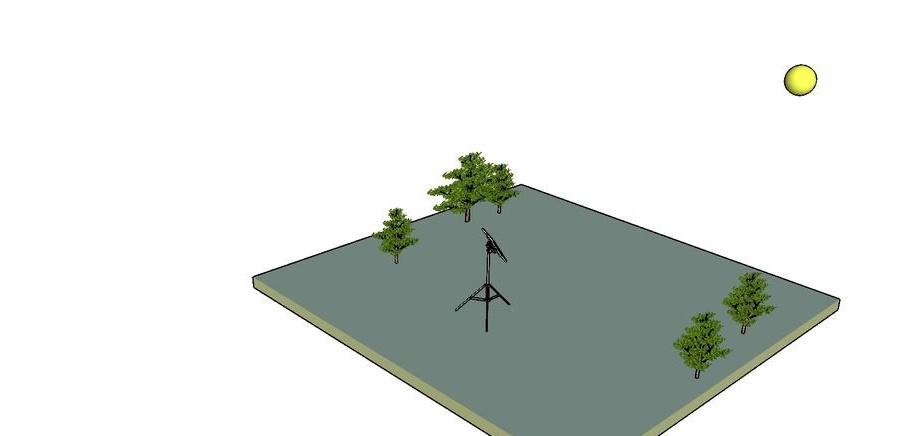
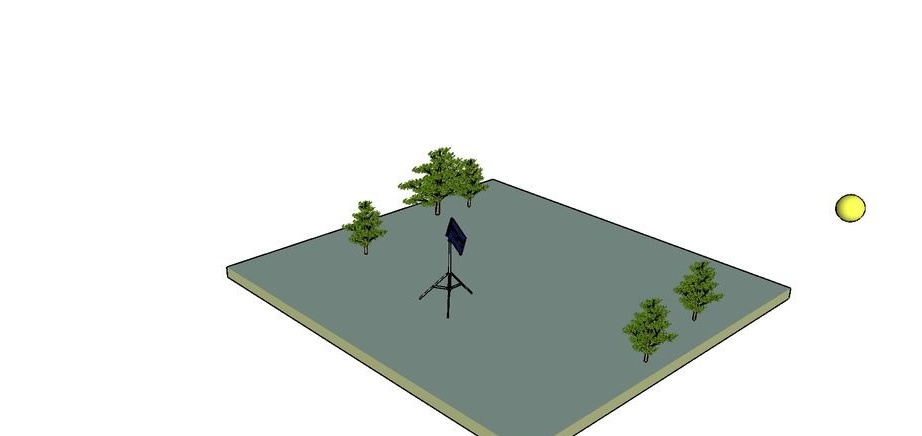
Fastens the gear motor on the plate. The gearmotor shaft is connected to a threaded rod. Two nuts are screwed and glued to the shaft. L-shaped brackets are fixed to the nuts.When the gearbox shaft is rotated, the brackets with a fixed solar panel will also rotate.
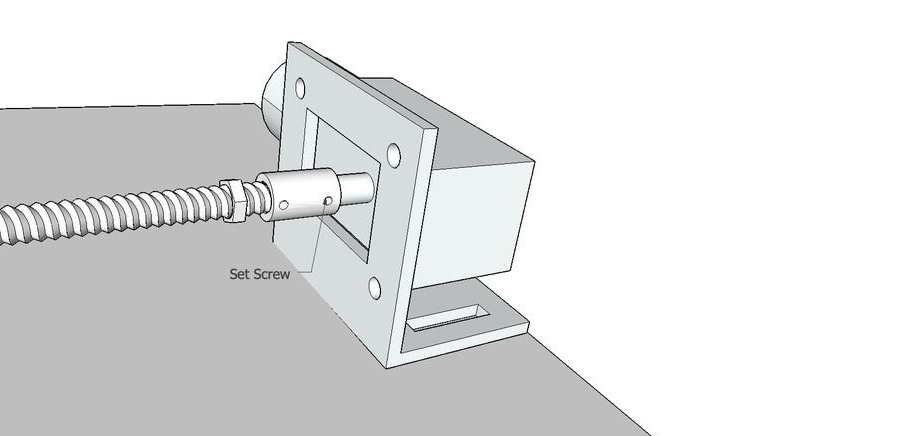
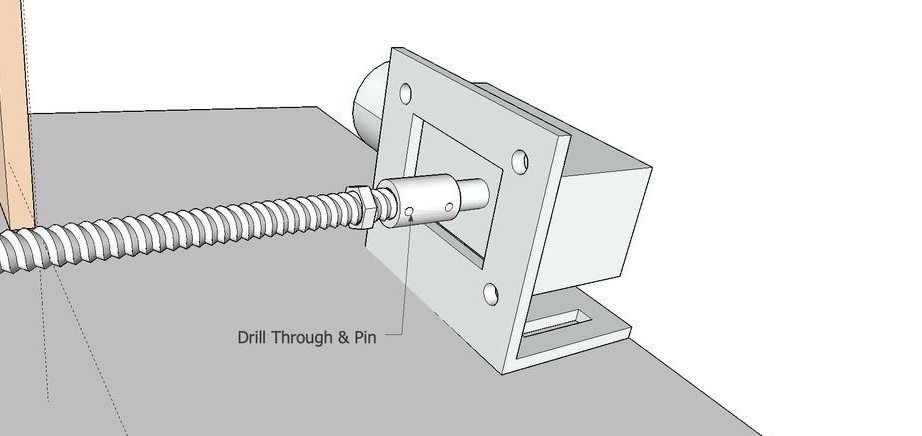
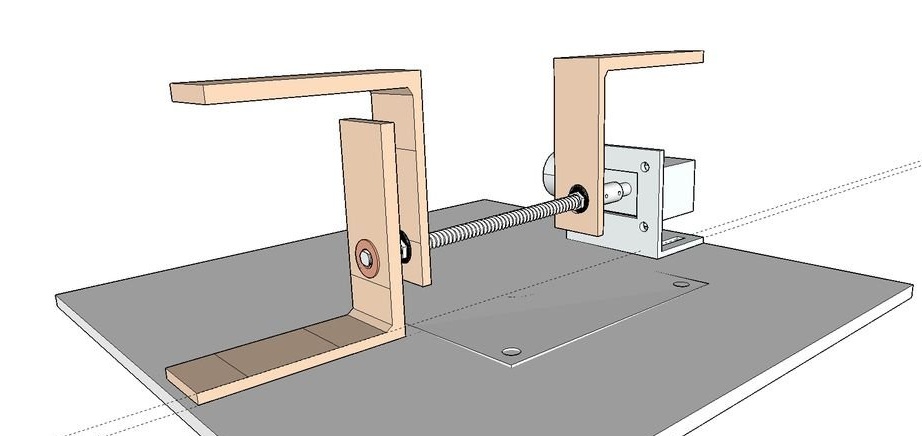

Thus, the best (electronically) position of the solar panel relative to the sun will be tracked.
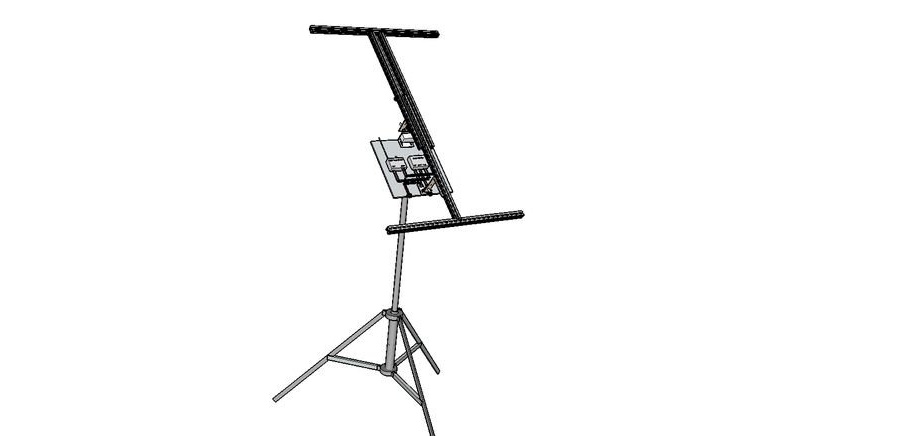
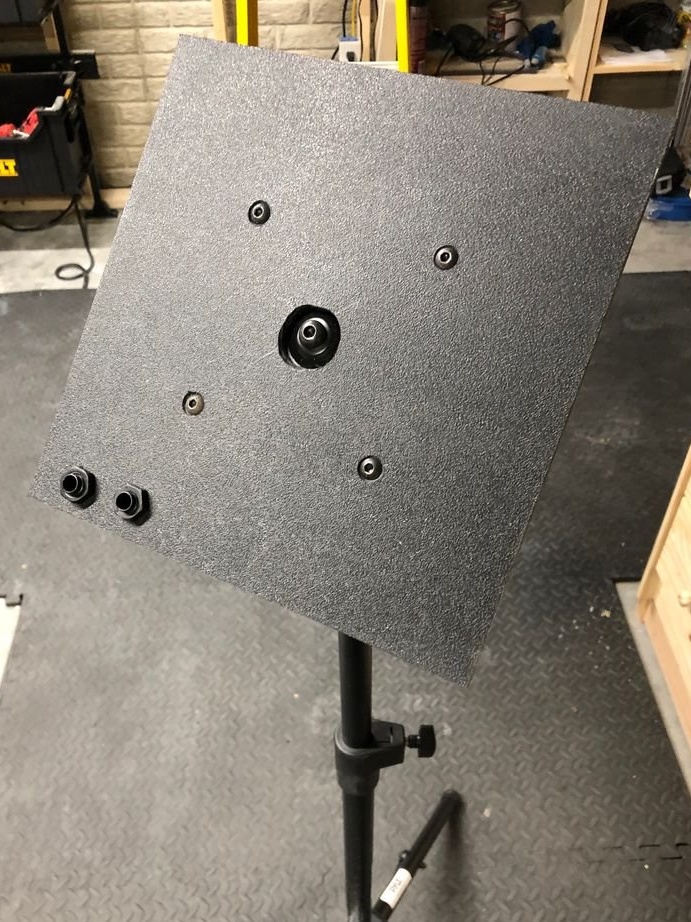
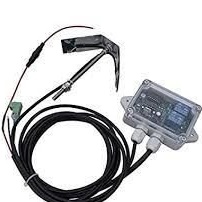
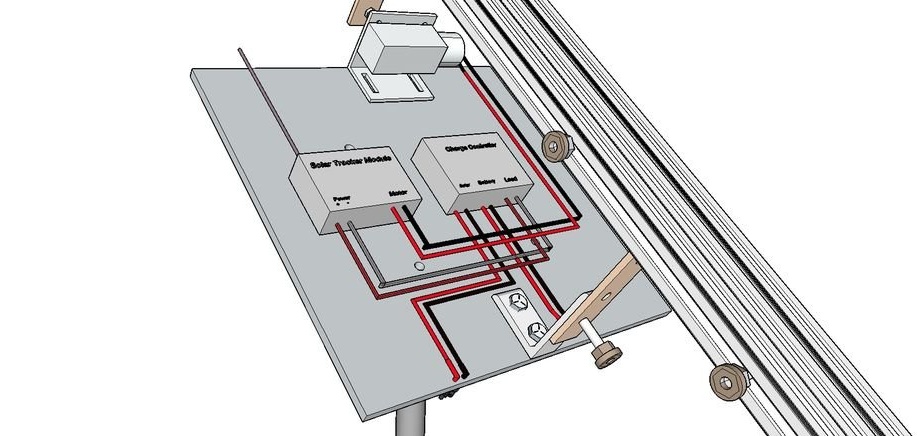
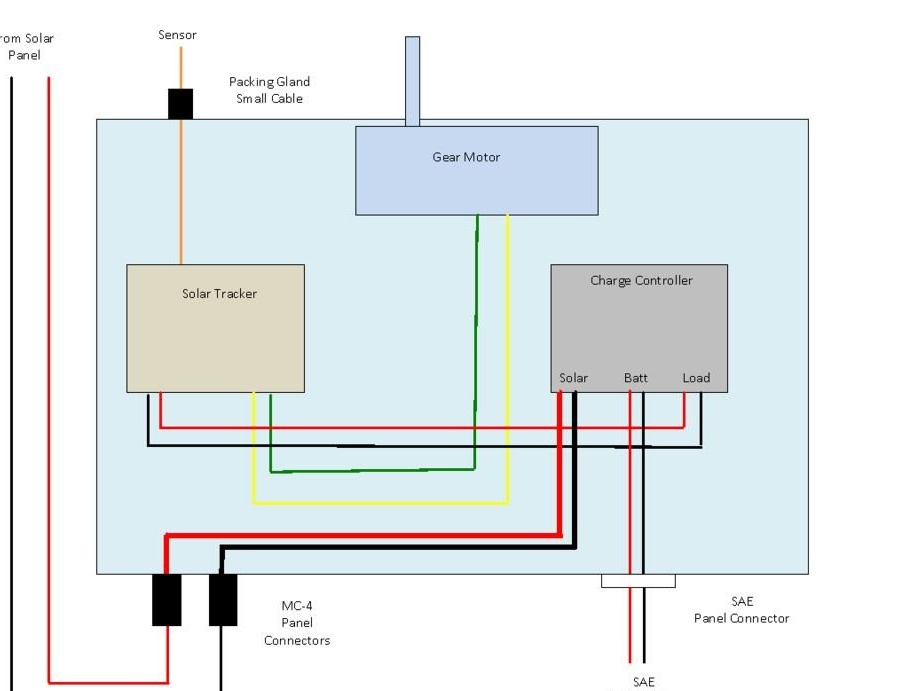
Fourth step: installing the controller, connectors, sensors
Secures the charge controller and the tracking sensor in the figure.

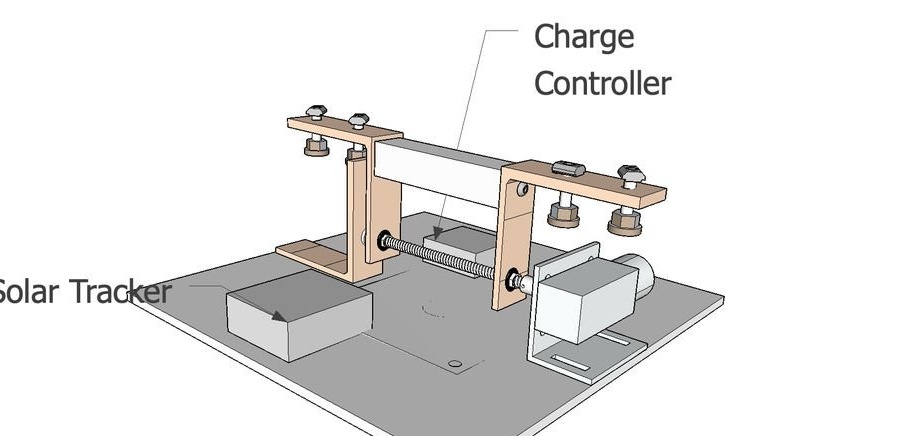
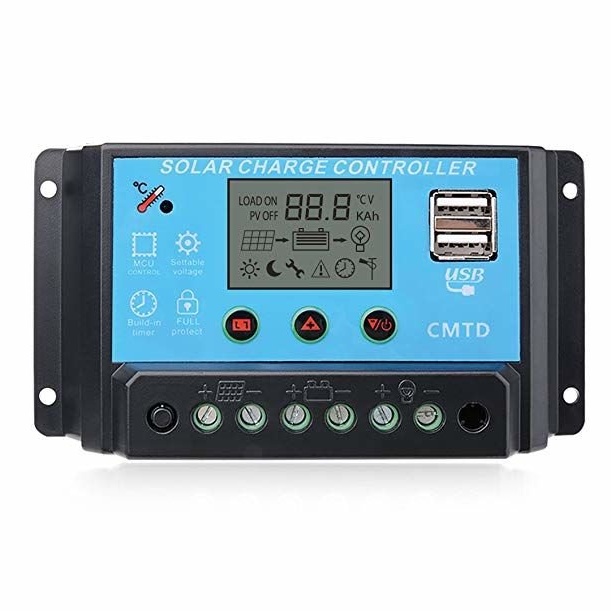
Installs connectors and plugs in connectors.


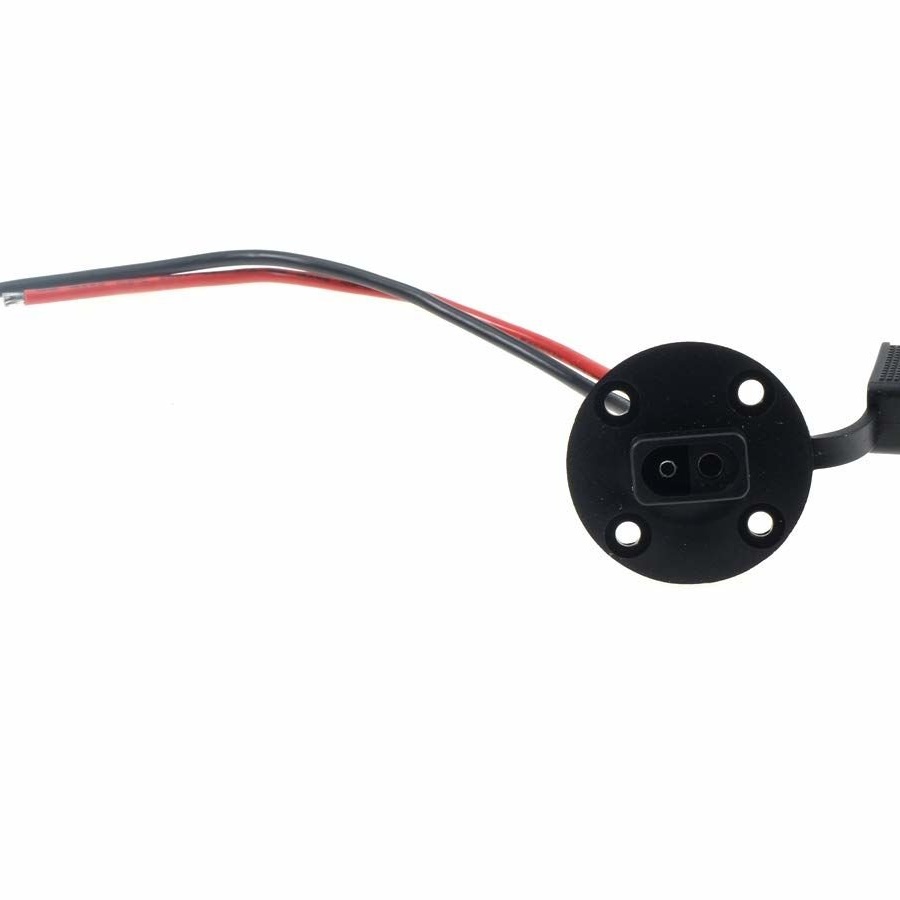


The tracking device has a remote sensor. Secures the sensor.
The connection scheme is simple. Black wire - minus, red - plus. Yellow and green power to the gearmotor, the polarity is not important.
When the Sun rises in the east, the Sensor will detect the presence of light, and the panel will turn east.

Step Five: Attaching the Solar Panel
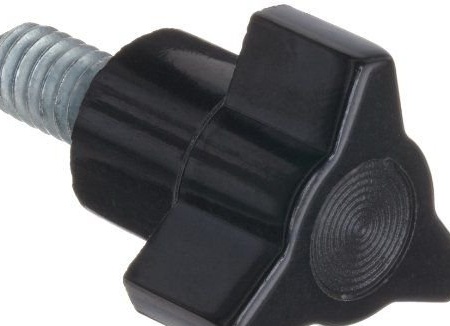
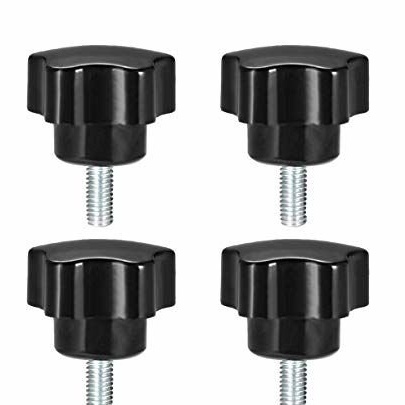
Now you need to fix the flexible solar panel to the mount using handles with bolts. Set and orient the panel towards the sun. Connect the solar panel to the corresponding connector on the autotrailer. The panel itself will choose the optimal position and will rotate accordingly to its movement.