
And again about health. Many of you lead a sedentary lifestyle, sitting in the office or at home at the computer. In this case, swelling of the legs and feet often occurs due to decreased blood circulation. And this, in turn, leads to all sorts of bad effects, a decrease in performance is the most harmless of them.
In this article, Alexey, the author of the YouTube channel of the same name “Aleksey Leontev Workshop”, will tell you how he made the original foot massager.
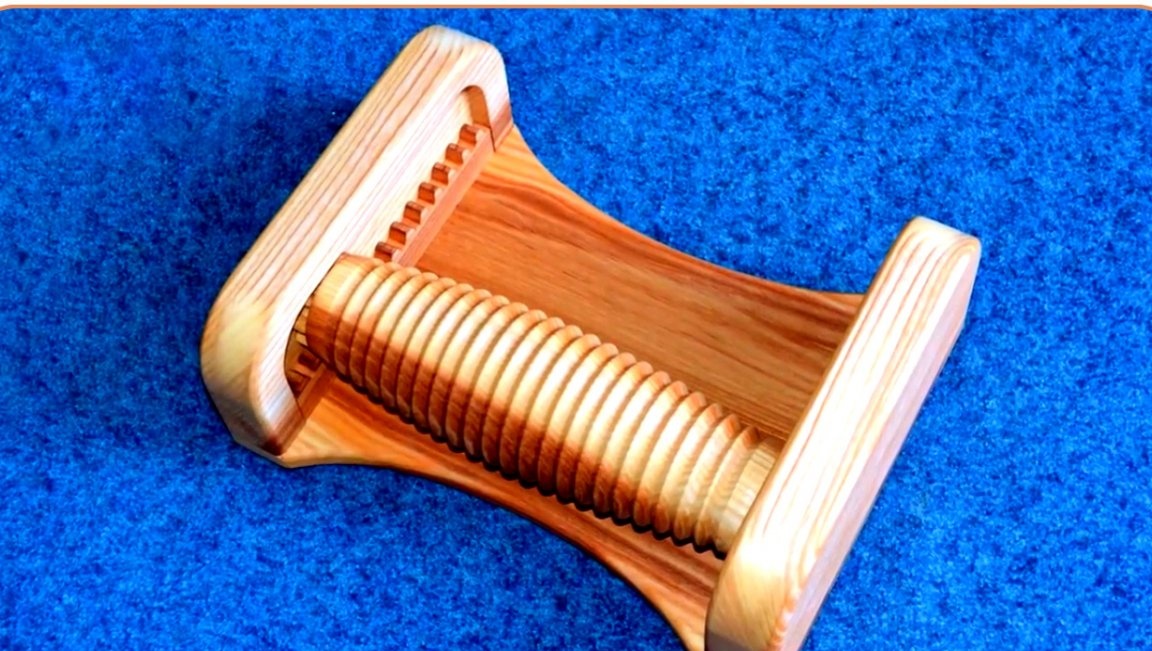
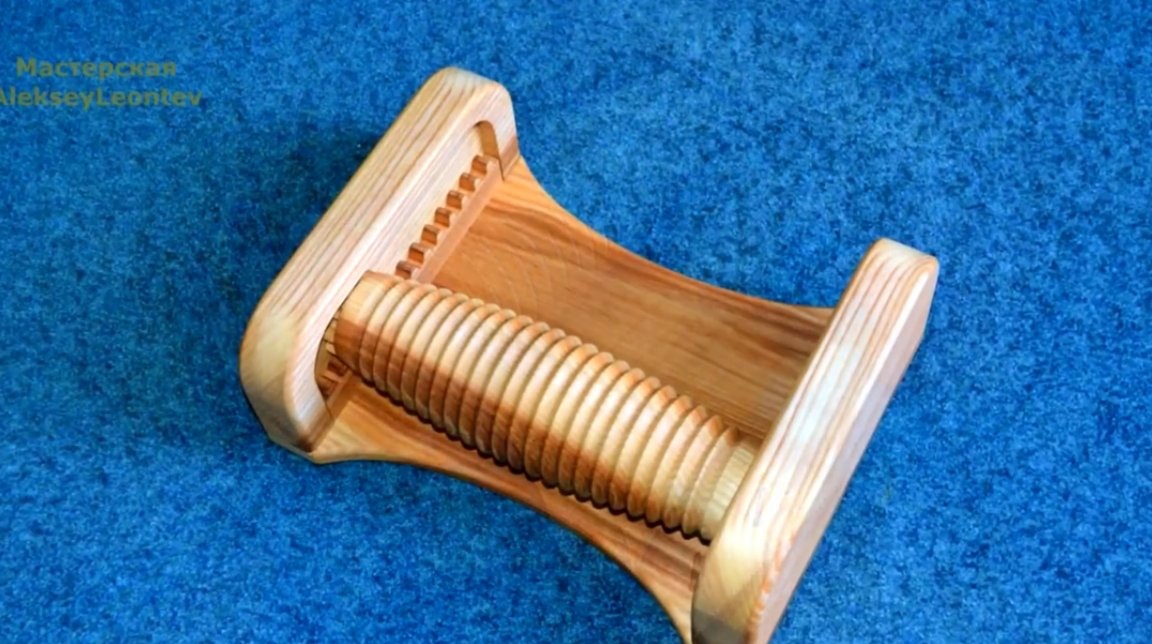
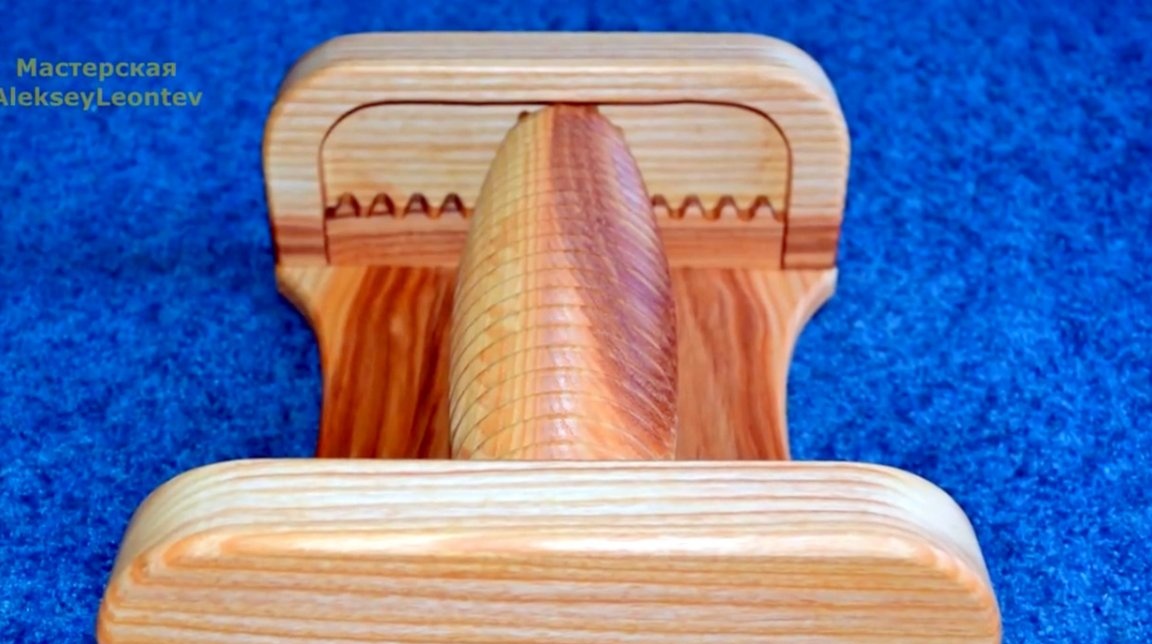
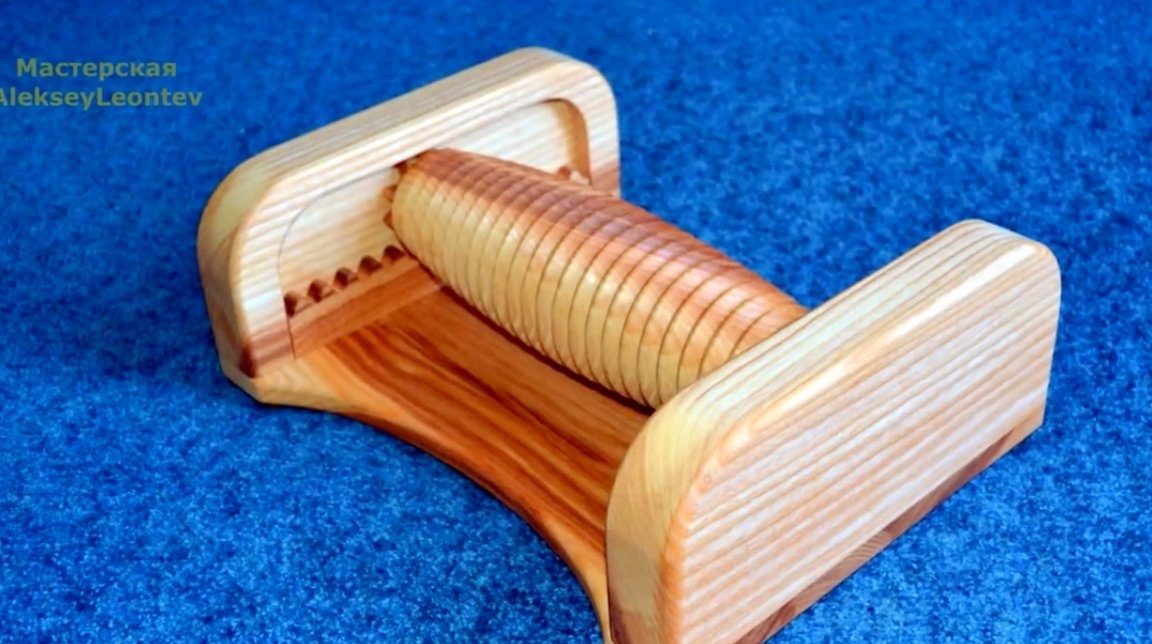
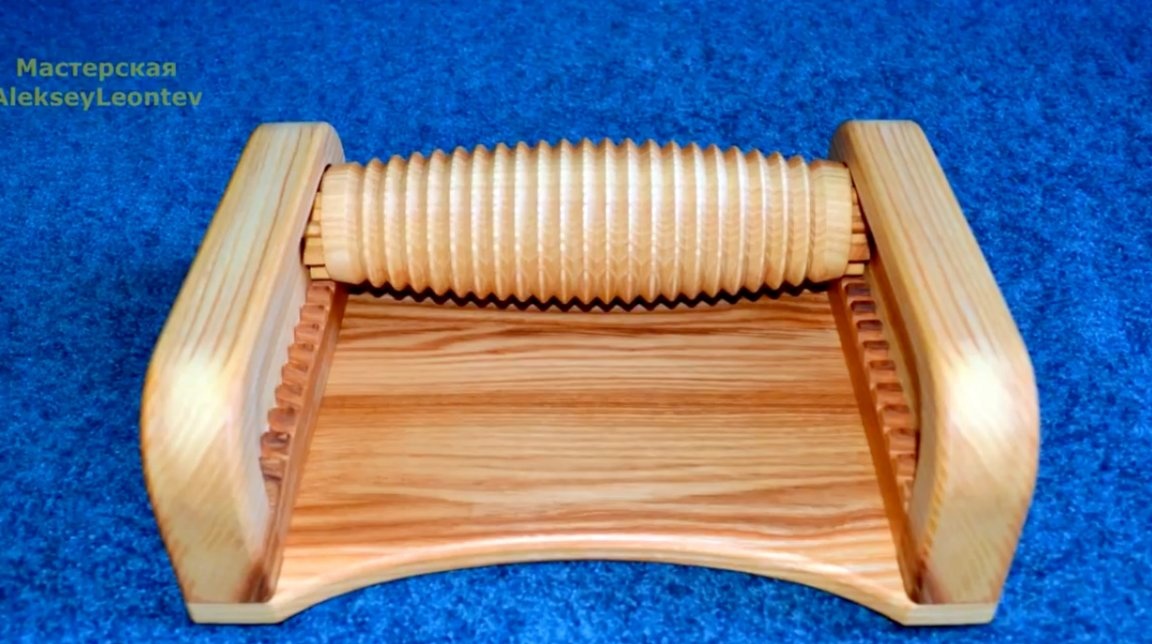
This model The massager is interesting in that the roller itself rotates not just in one place, on the stationary axis, but moves along the base along the gears, which creates a fairly noticeable vibration.
Materials
- Ash boards
- Joiner's glue
- sheet plywood
—
- Wood screws
- Sandpaper.
Instruments, used by the author.
—
—
—
—
- Jointer, planer, lathe
—
- Miter saw
- Belt sander
- Orbital sander
—
- Knife, scissors, ruler, pencil.
Manufacturing process.
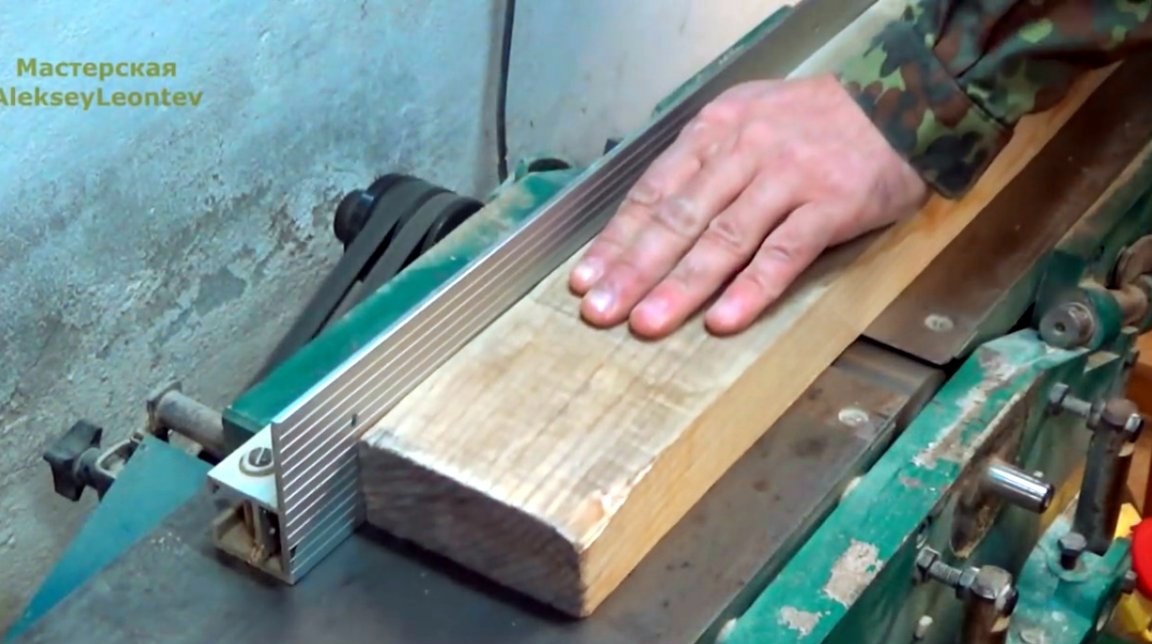
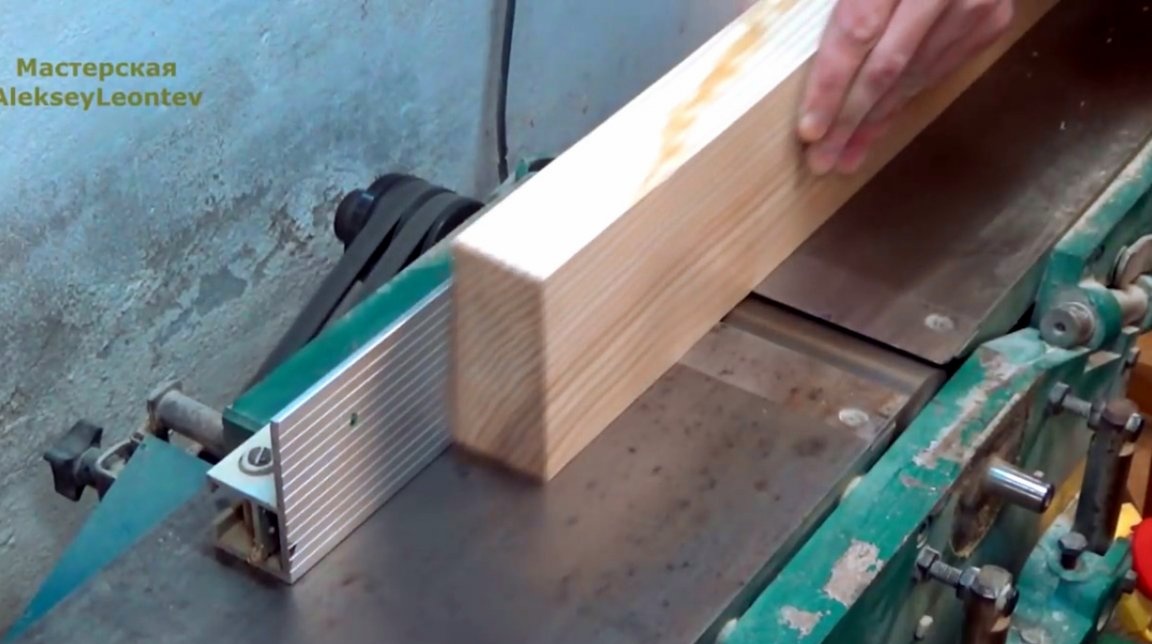
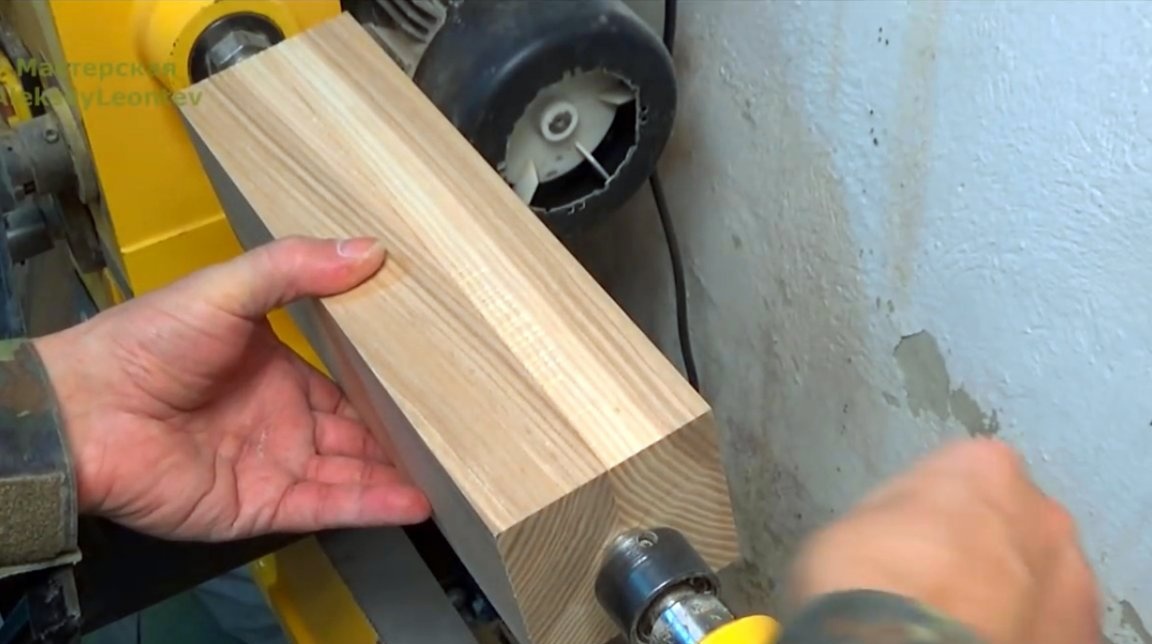
For three years, the author’s ashboards lay under the canopy, so the time has come to apply them in practice. To begin with, it aligns the base of the workpieces on the jointer.
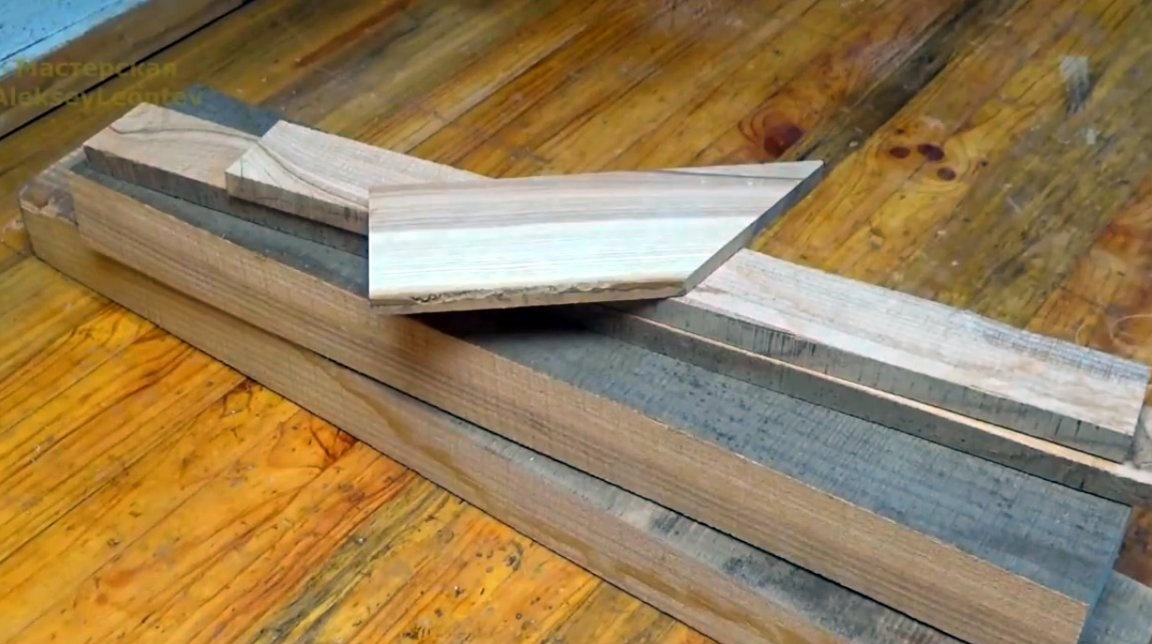
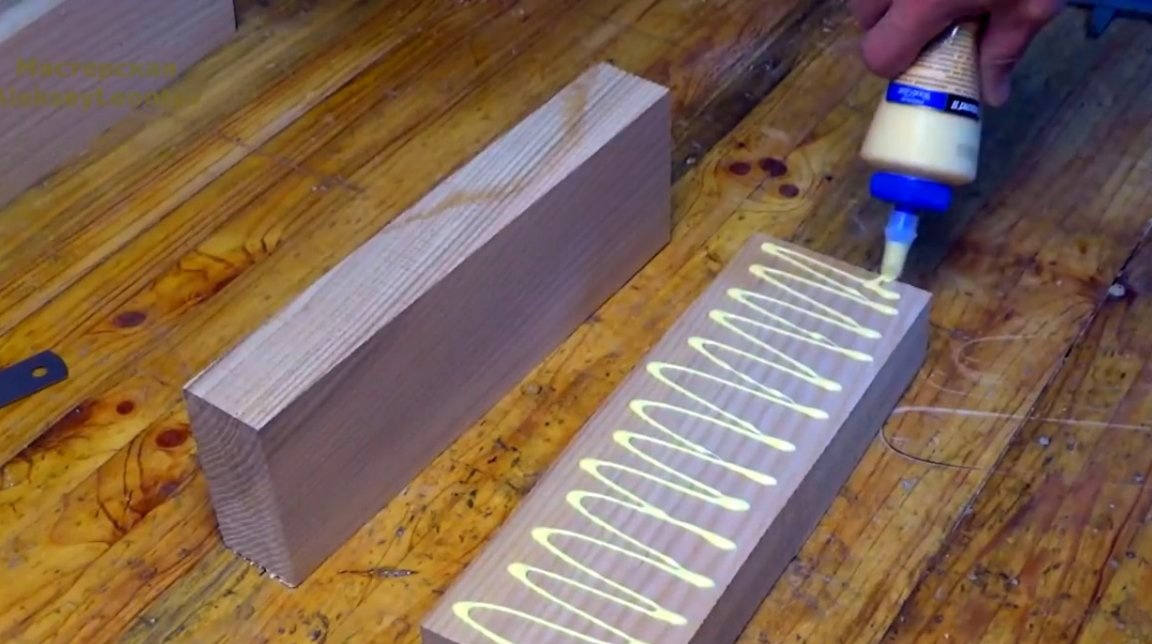
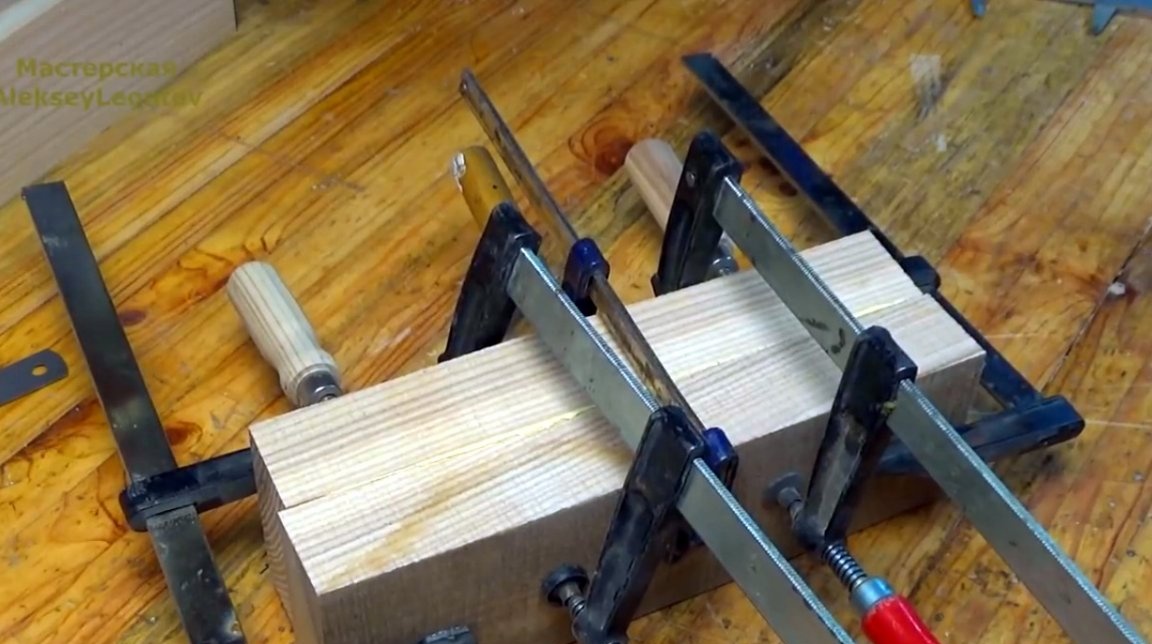
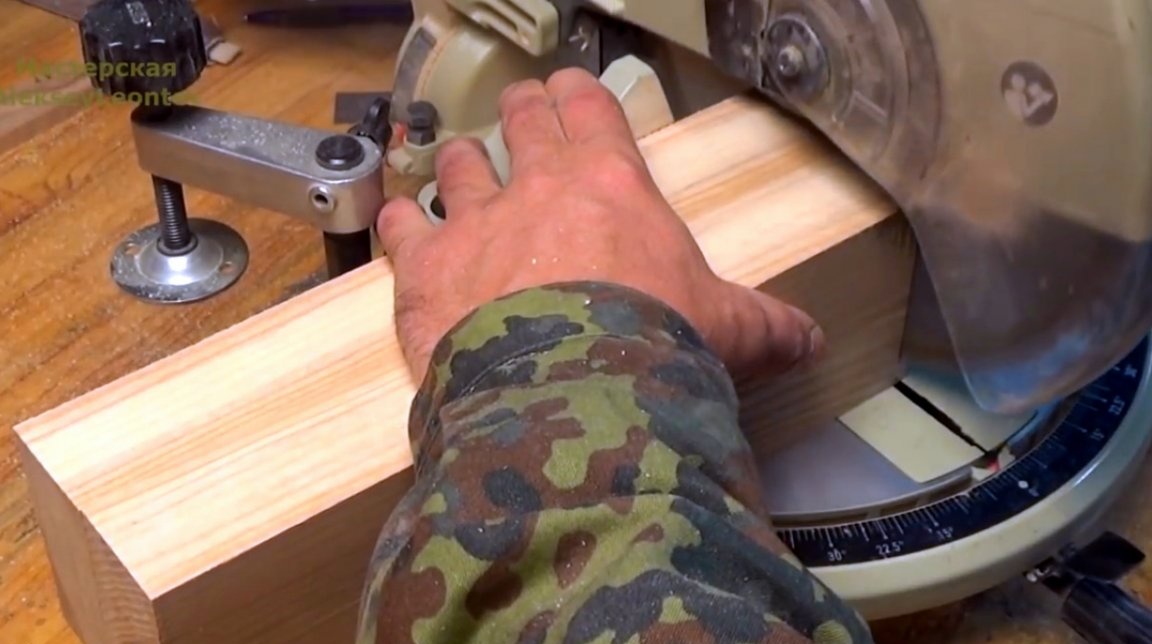
Then it sticks together two blocks, fixes them with clamps, and a blank is obtained for a massage roller. The width and height of the workpiece are the same.
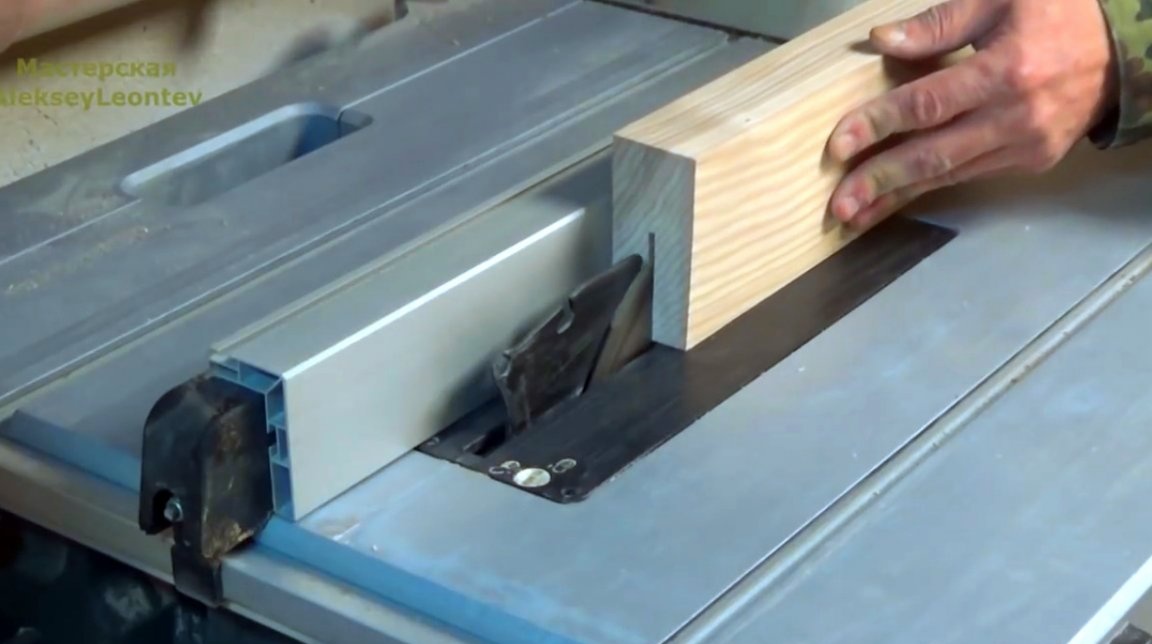
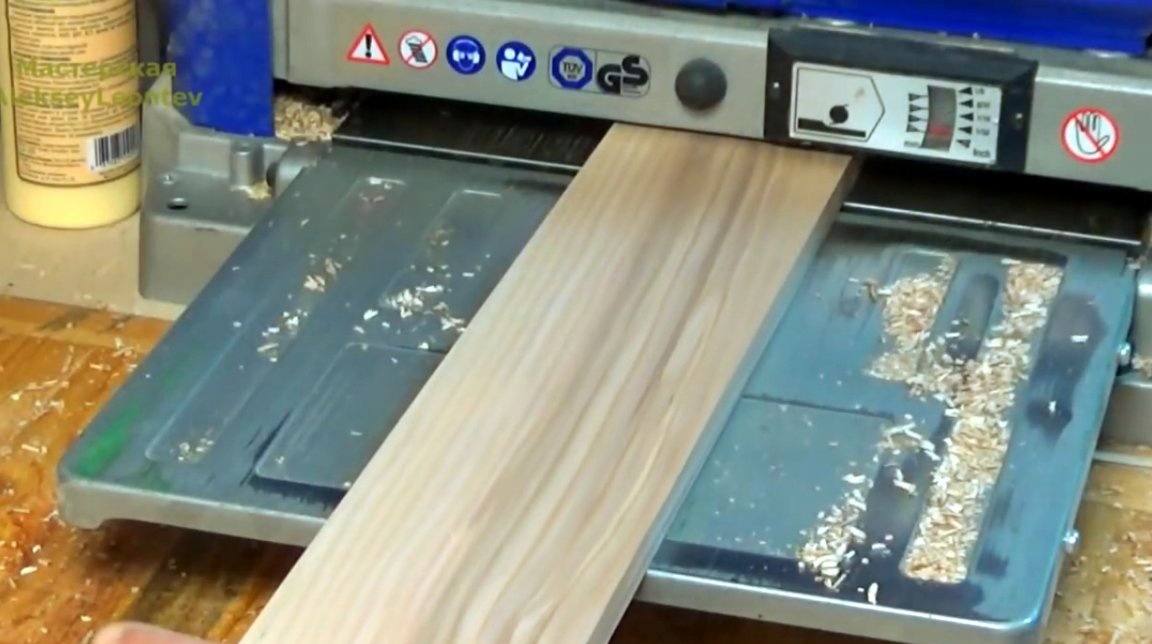
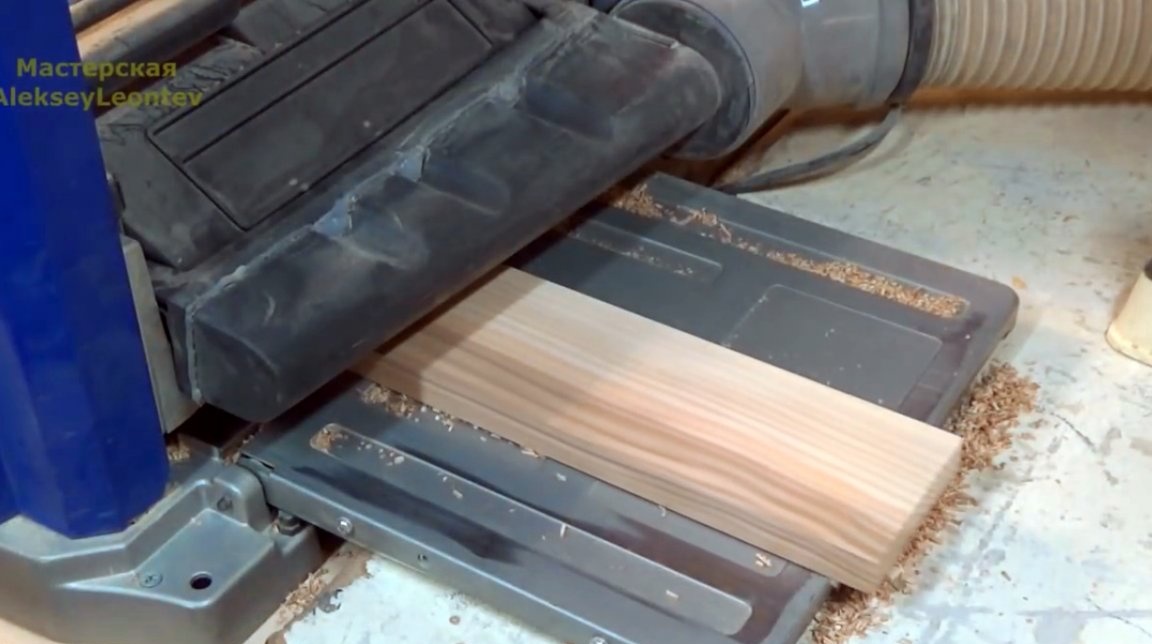
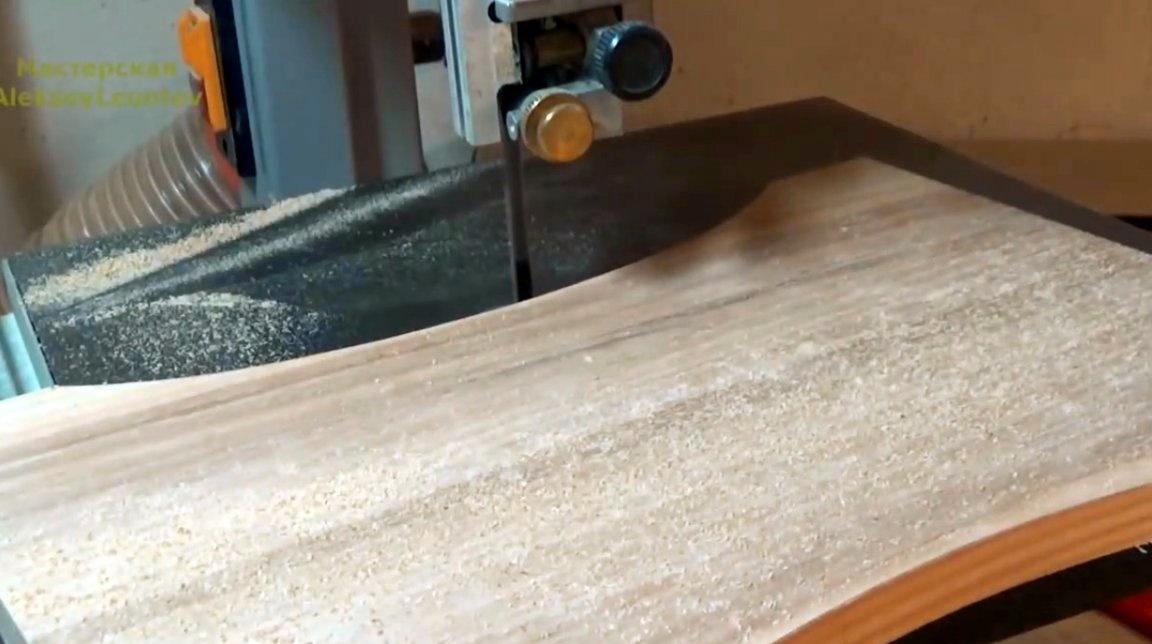
Dissolves another workpiece on several boards, levels the surface on the thicknesser.
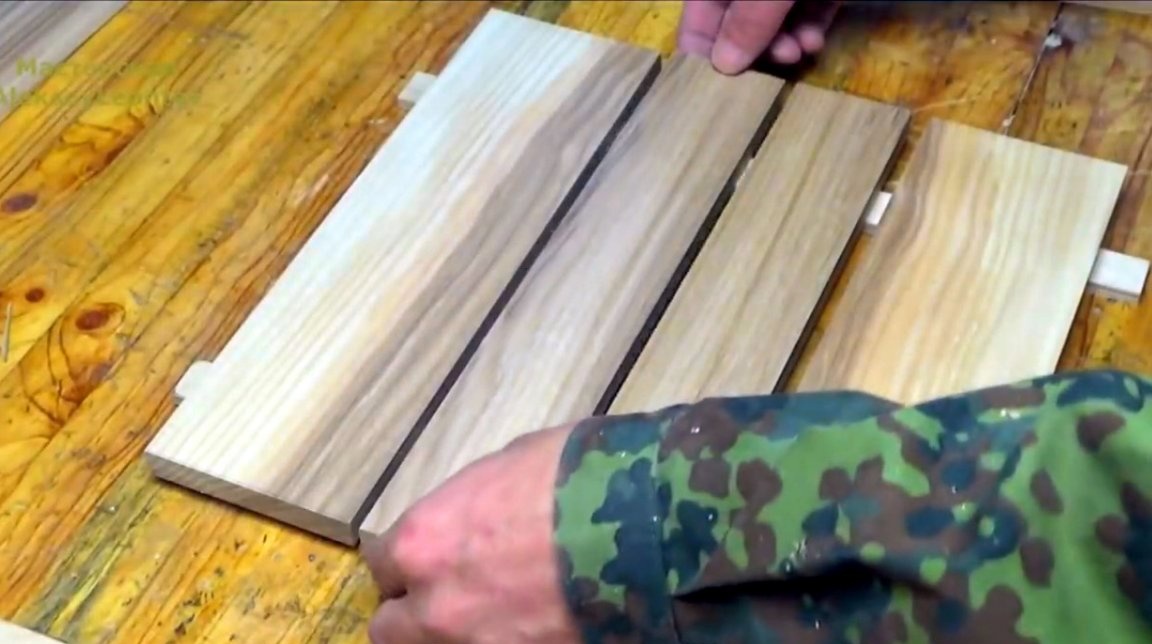
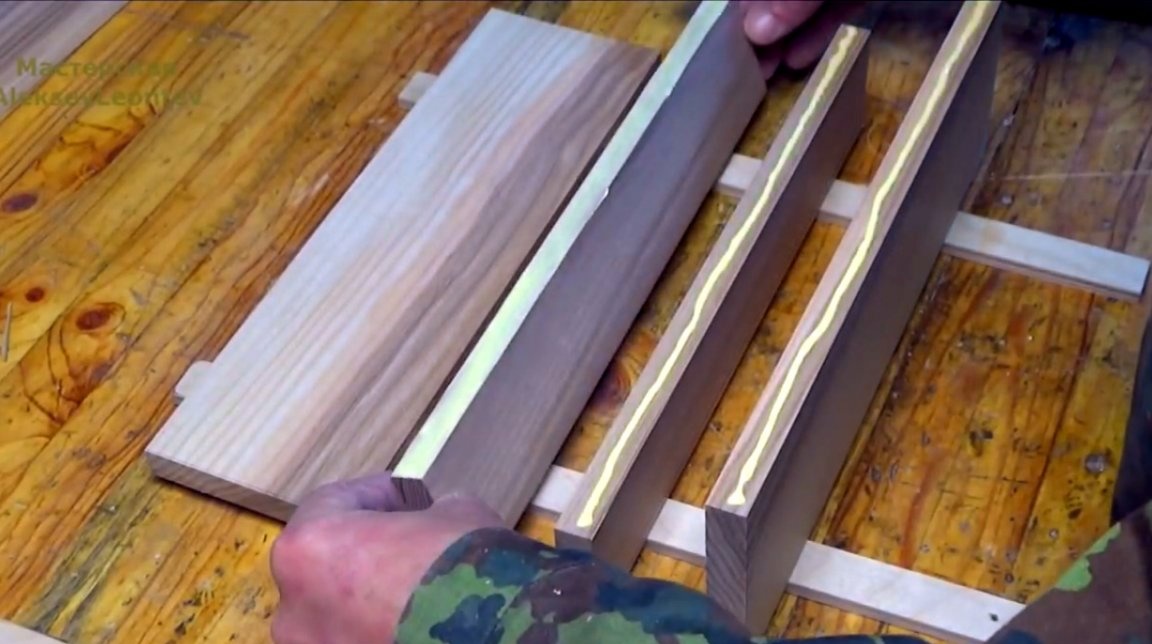
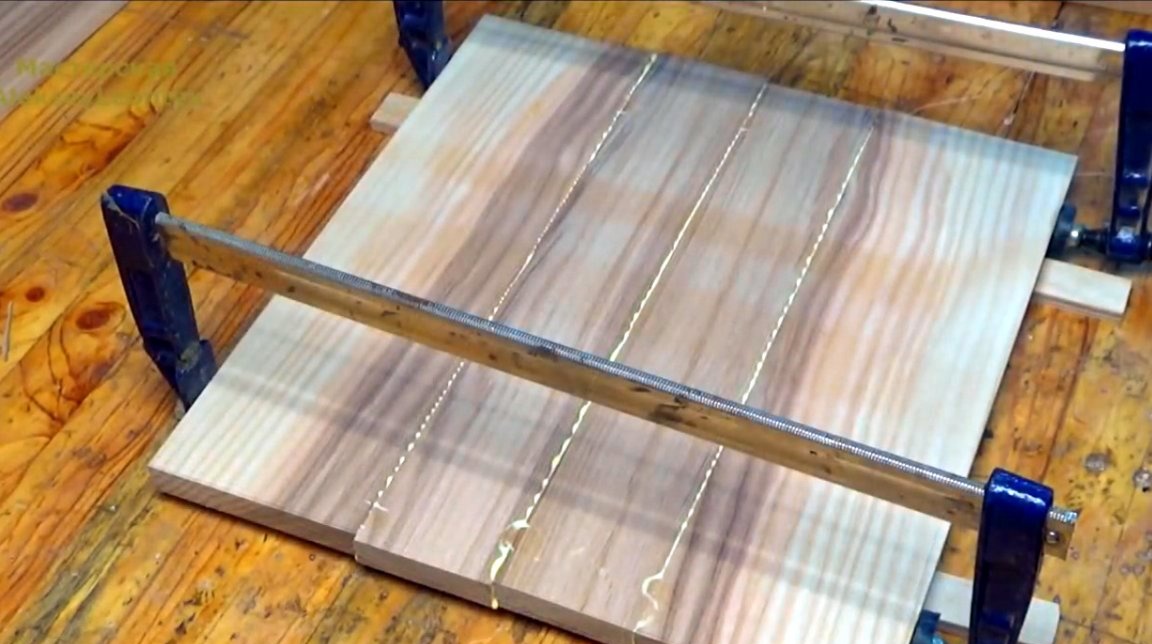
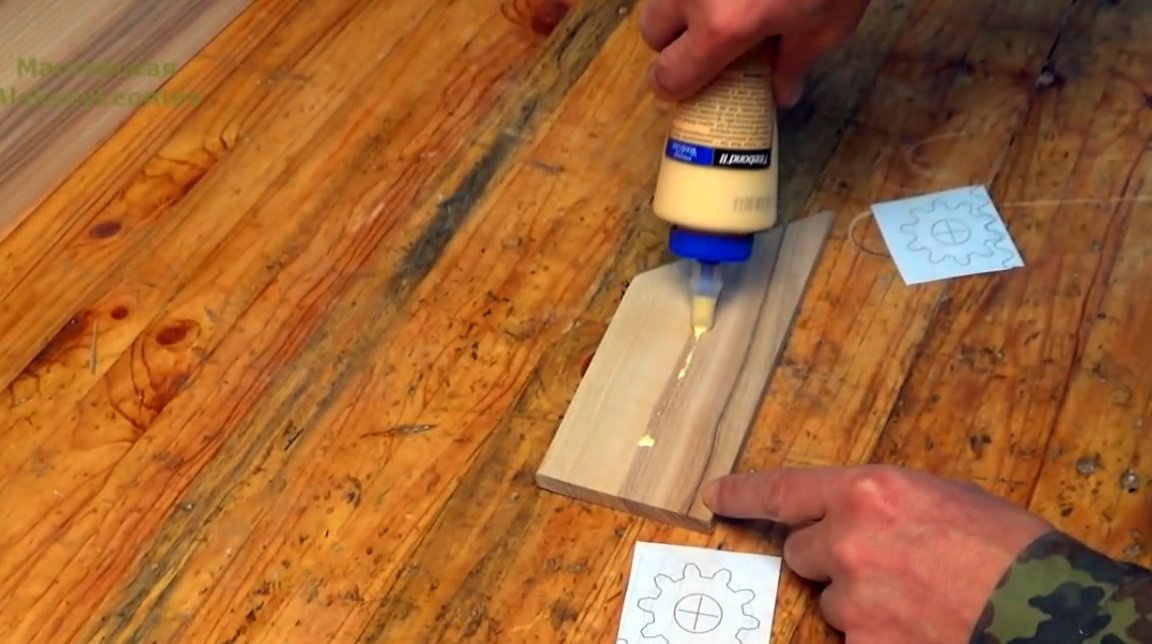
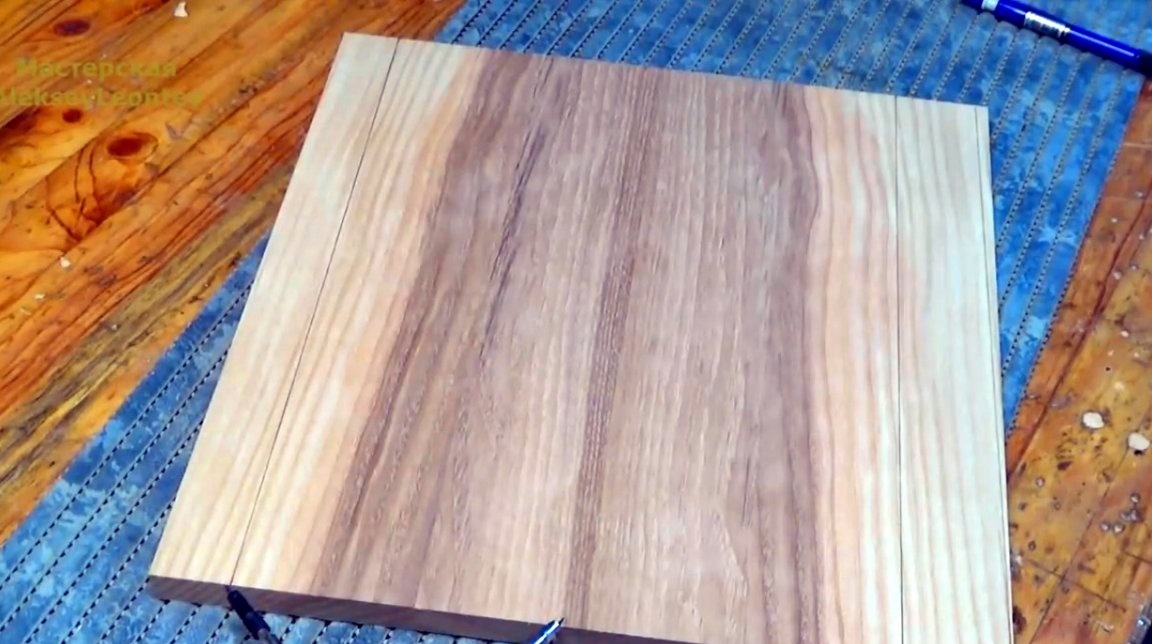
Next, the master glues a board for the base from the boards, picking up a picture.
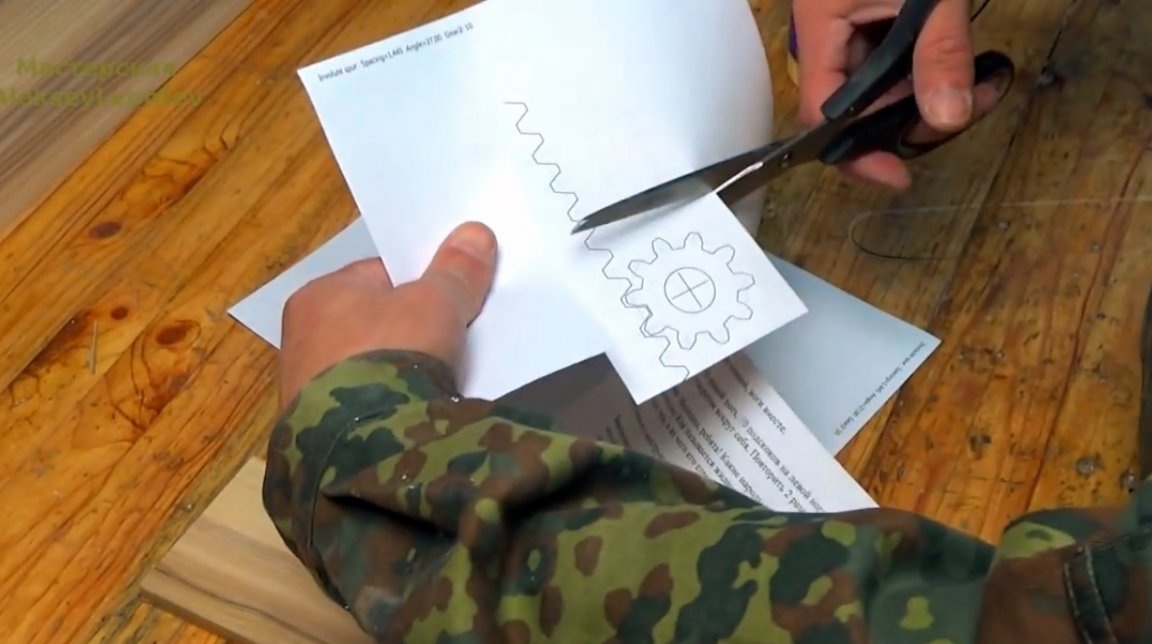
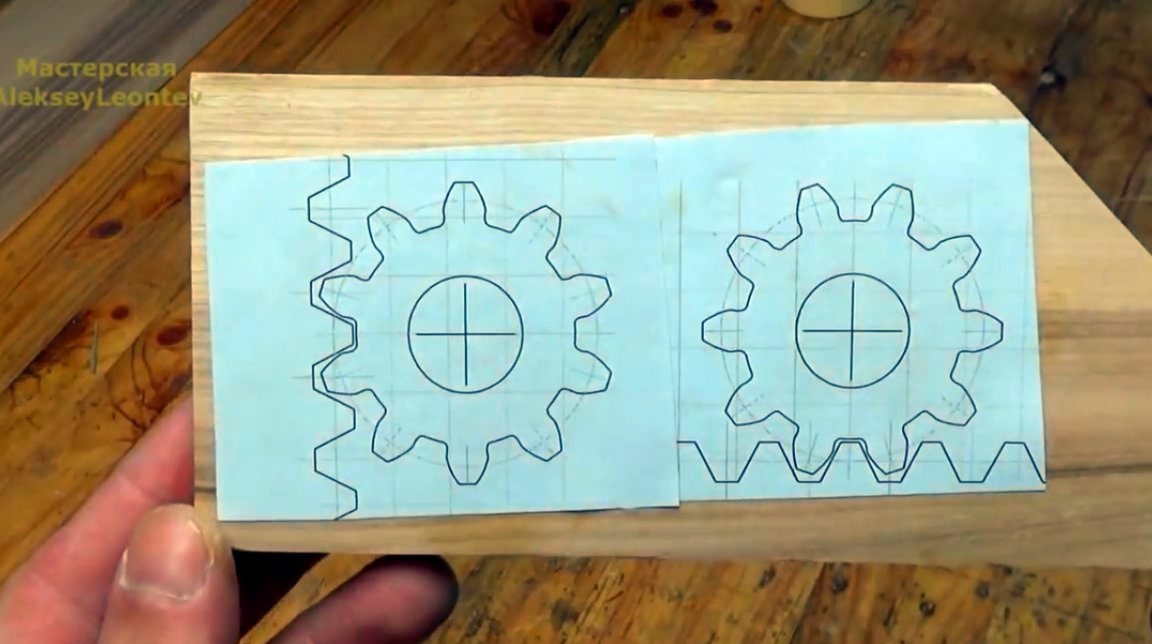
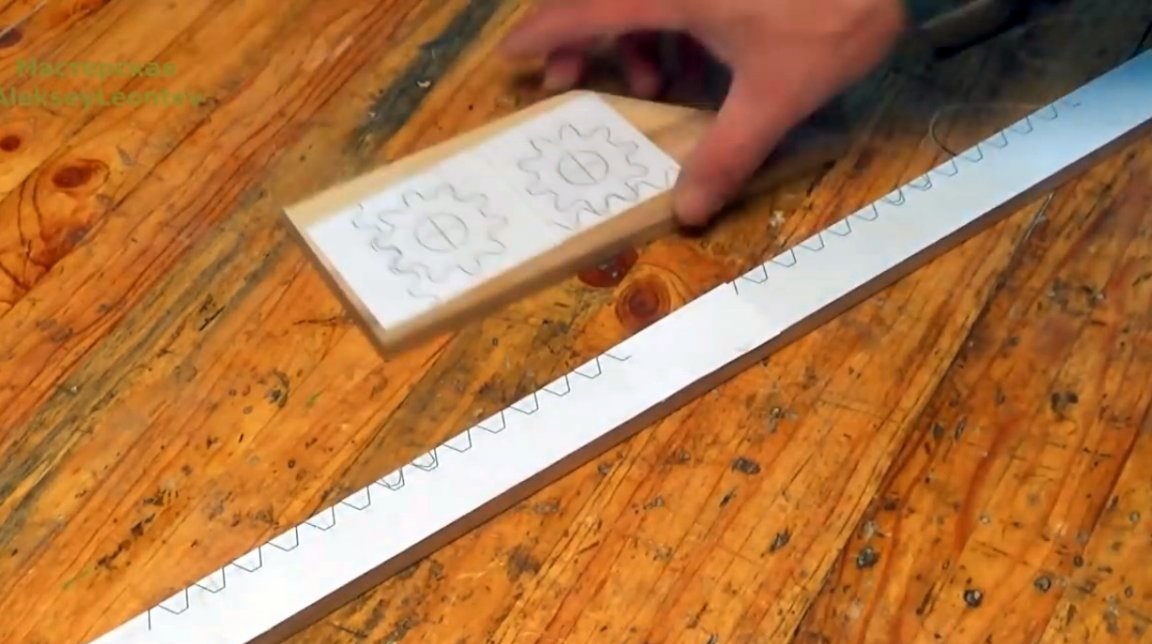
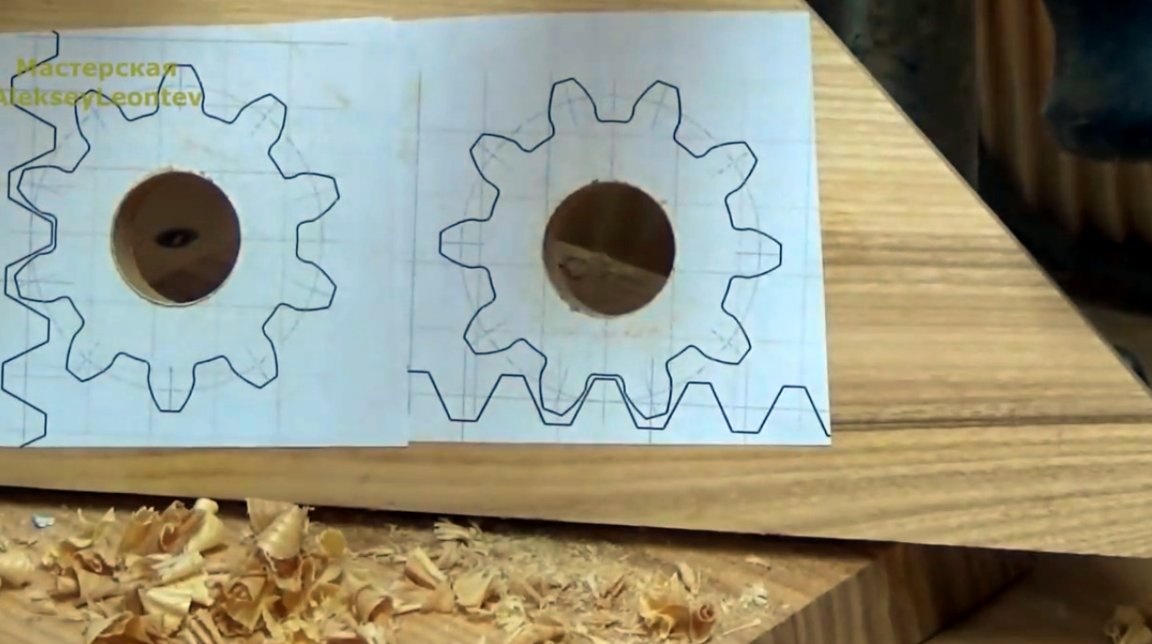
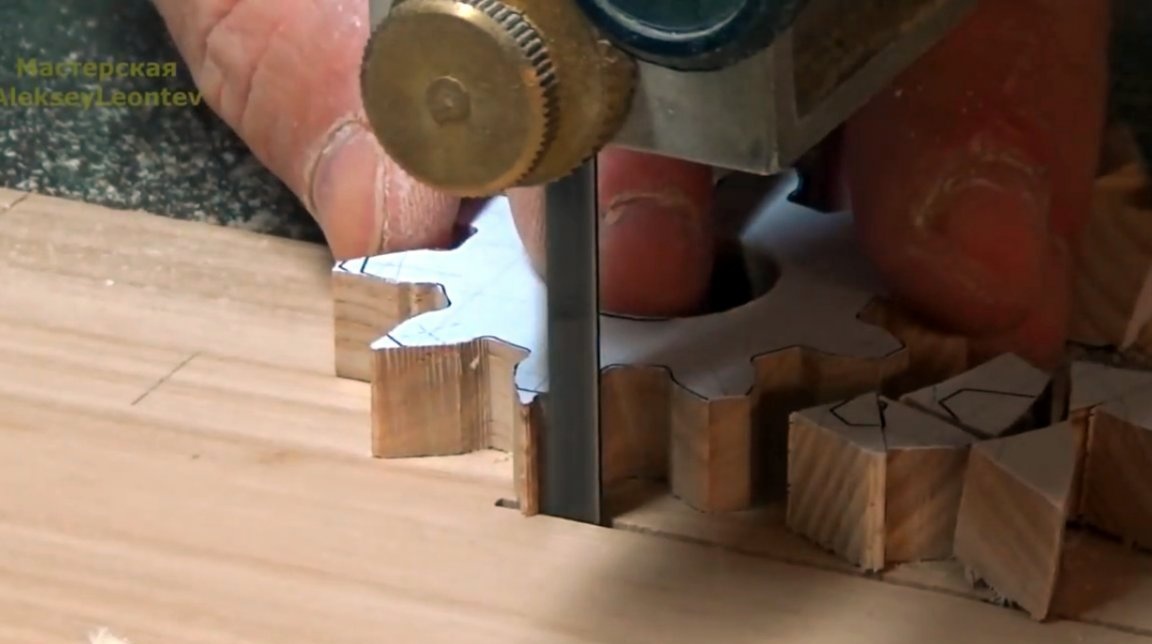
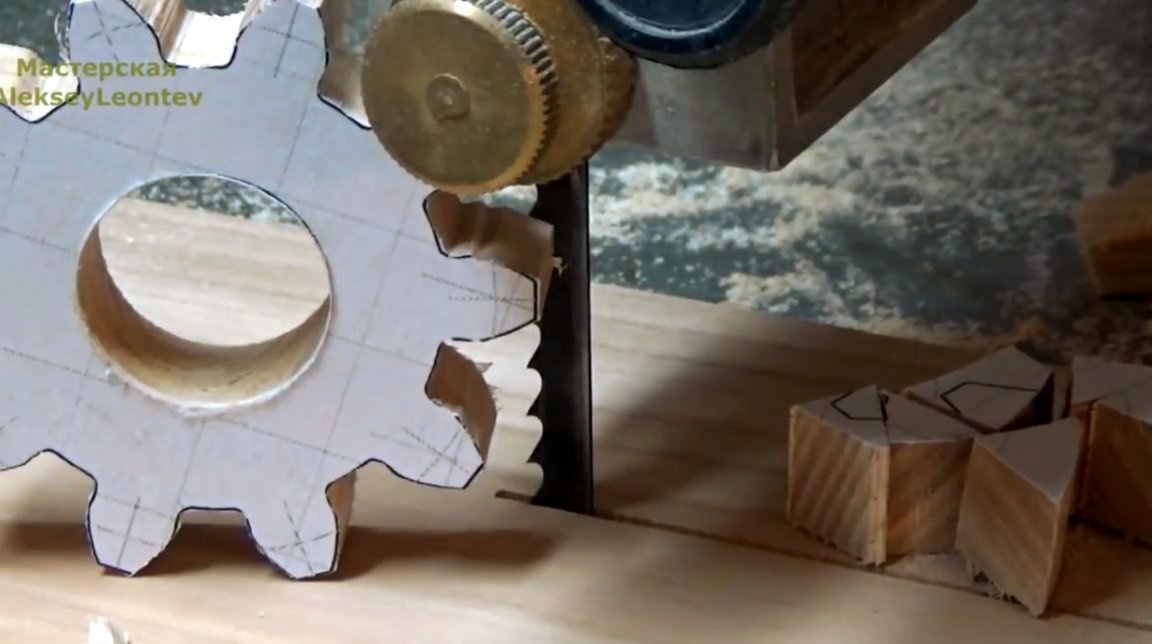
Next, cuts out two gear patterns, and glues to the trim board.
Now the master prepares blanks and templates for the rack.

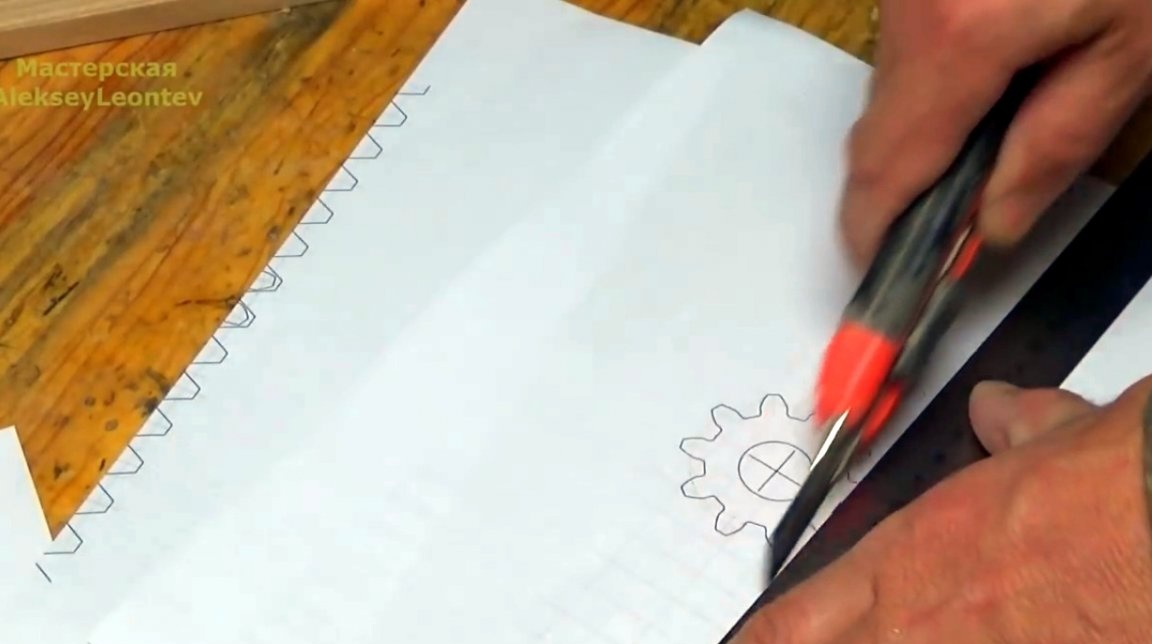
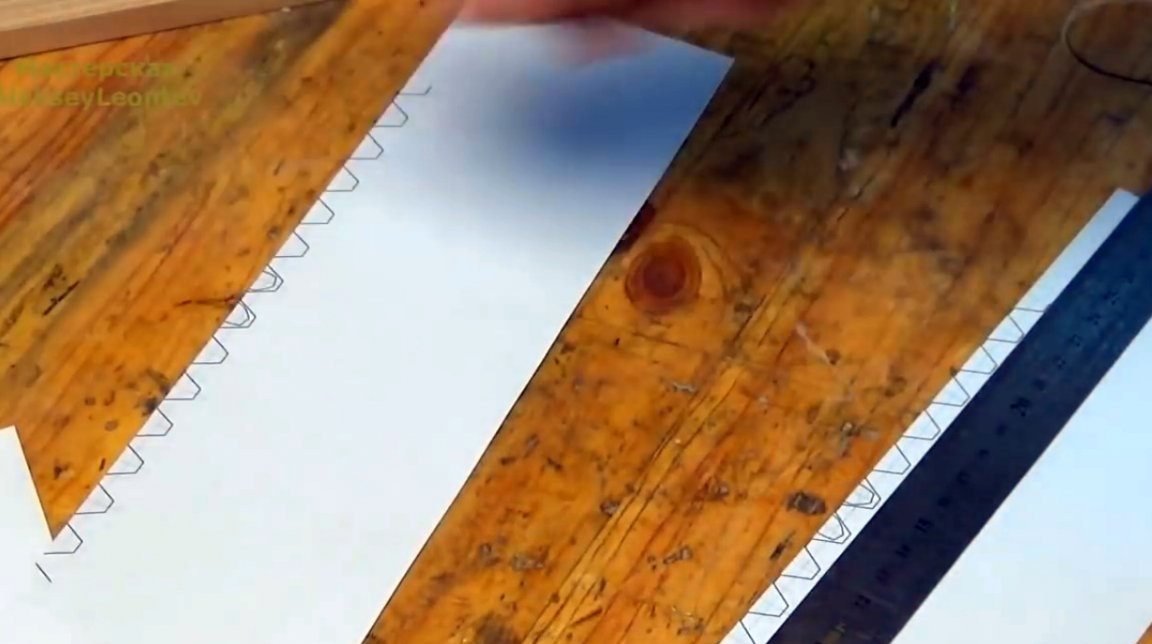
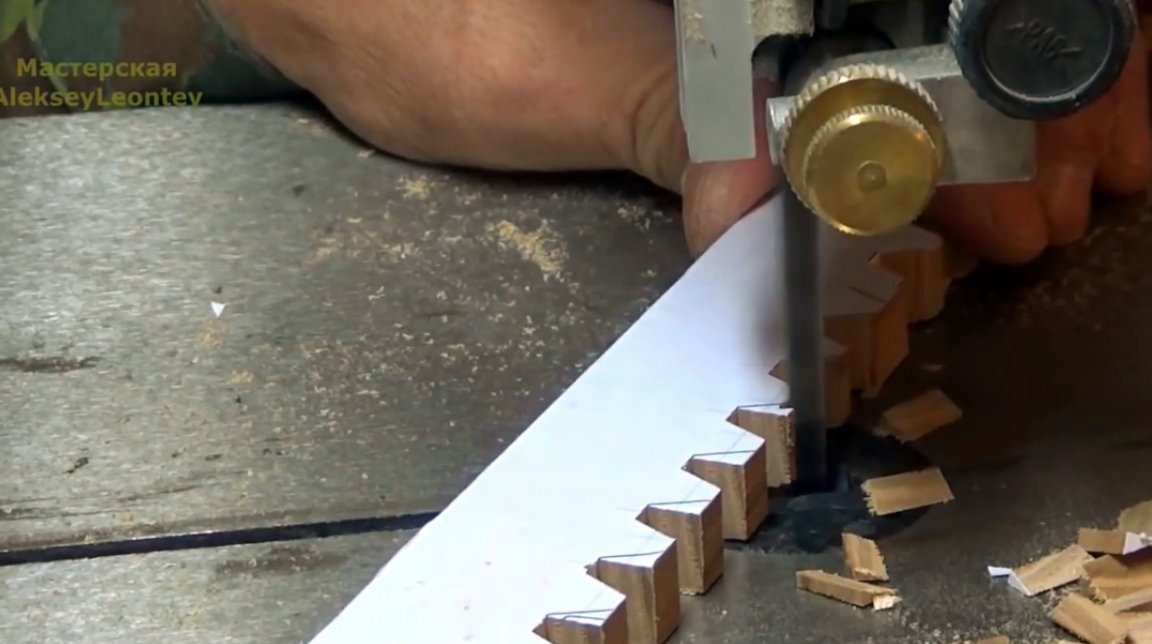
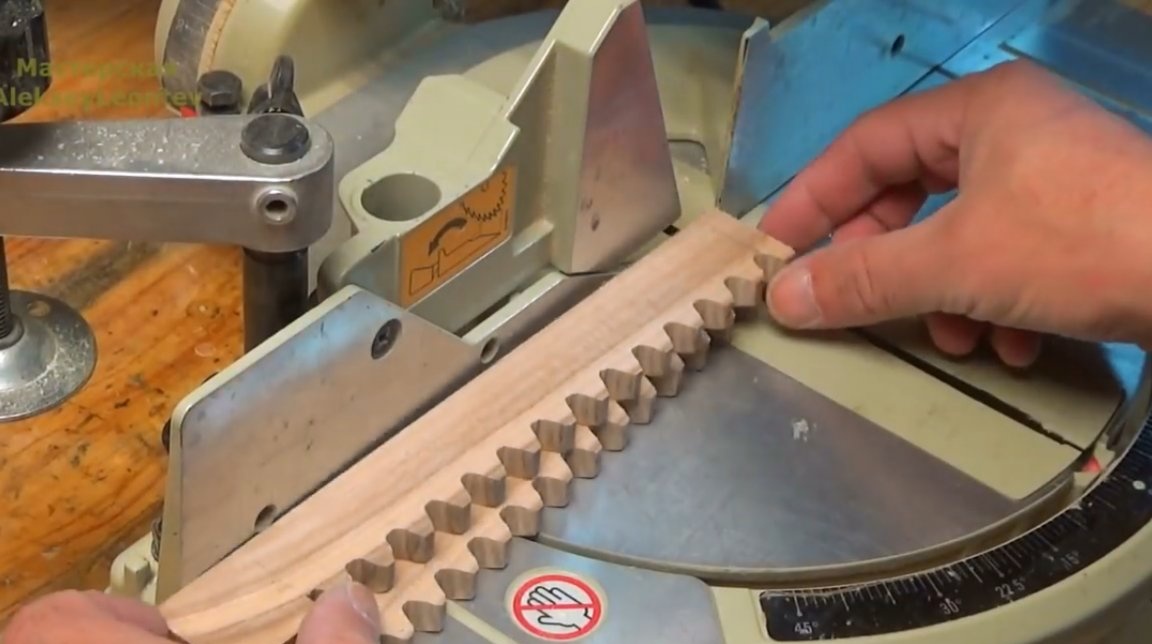
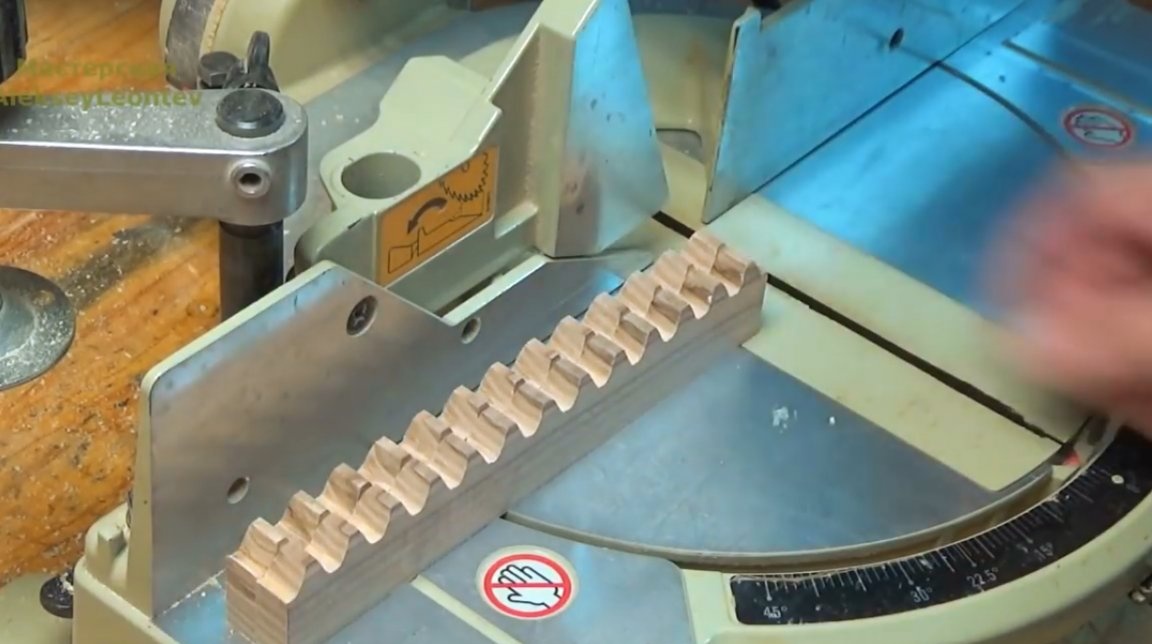
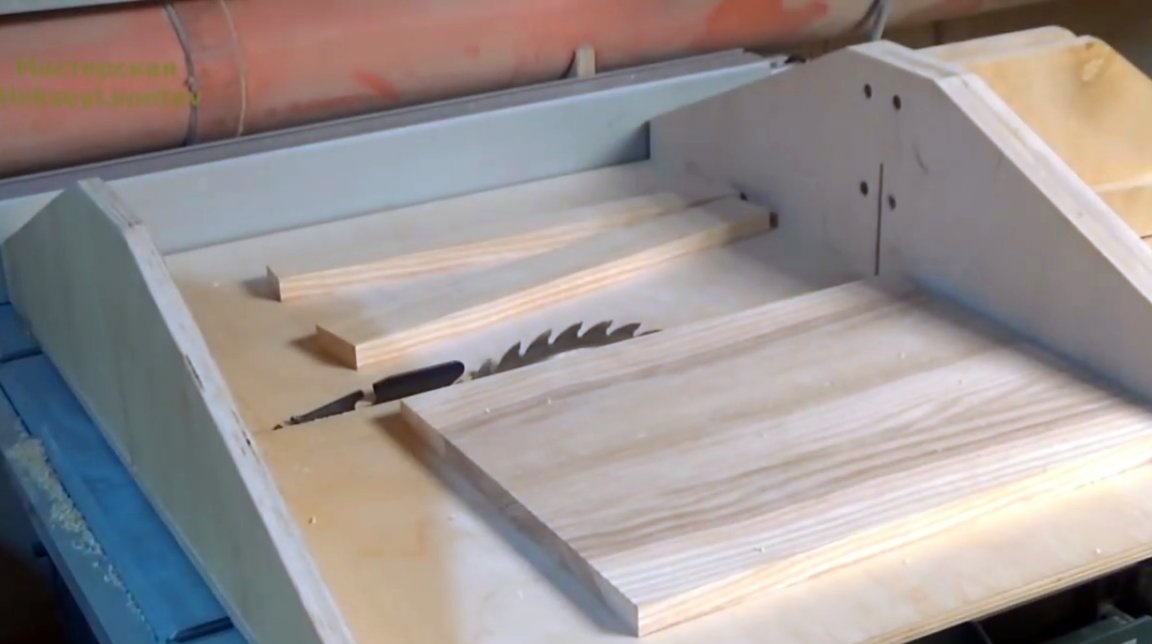
Glues the templates to the rail, and makes cuts between the teeth on a circular saw.
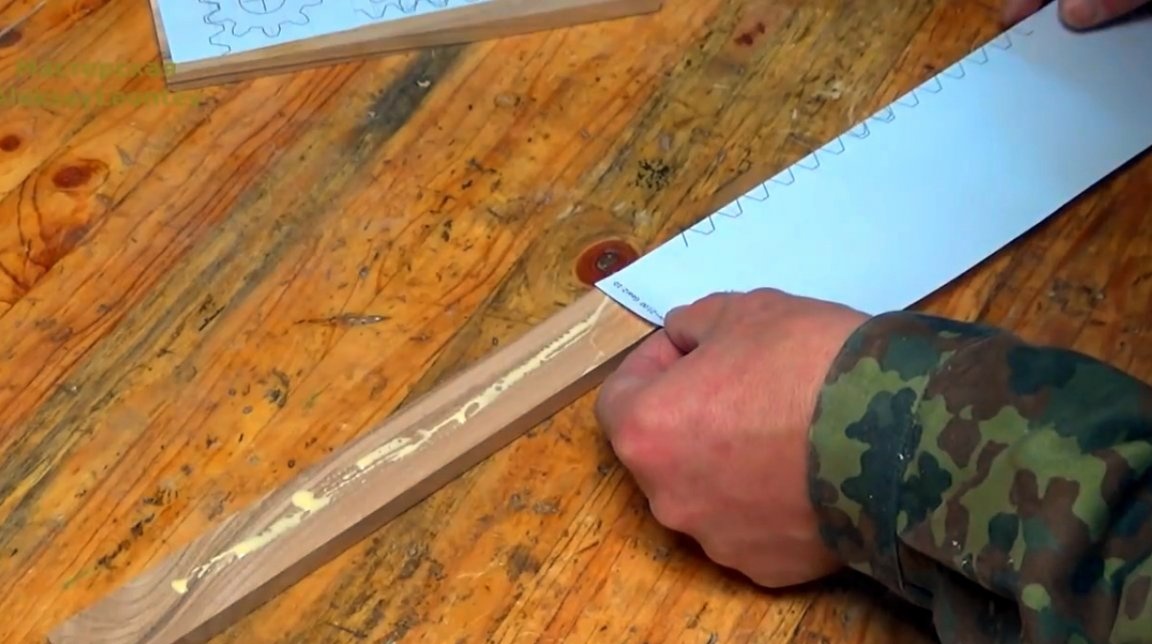
Also forms the edges of the teeth on the band saw.
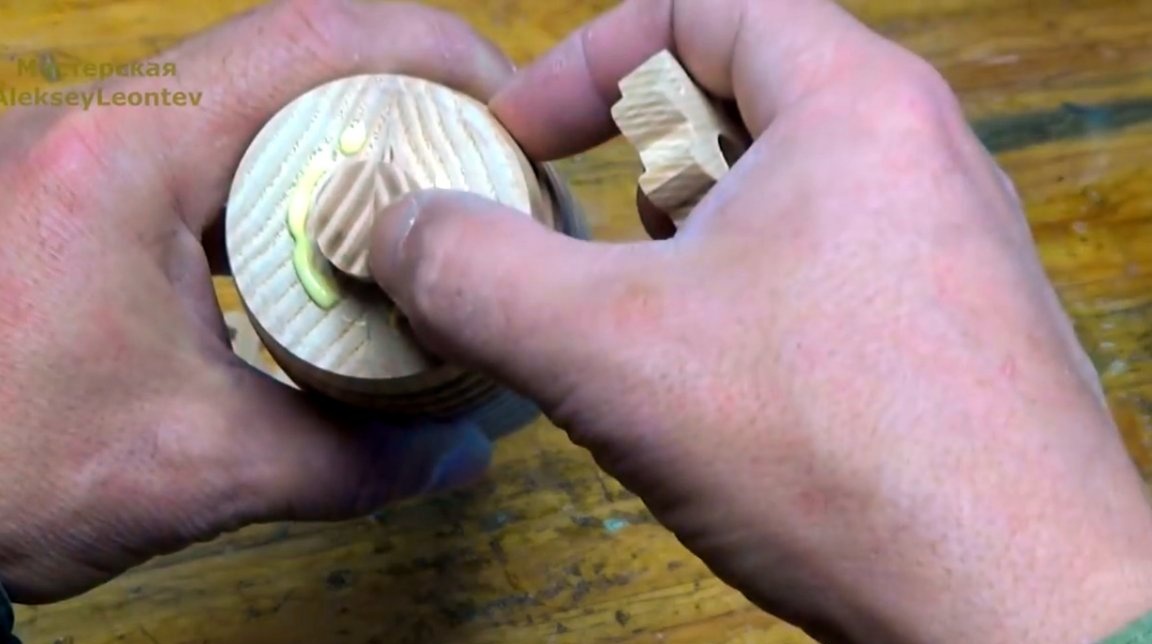
In the center of the gear blanks, drills a hole with a Forstner drill.
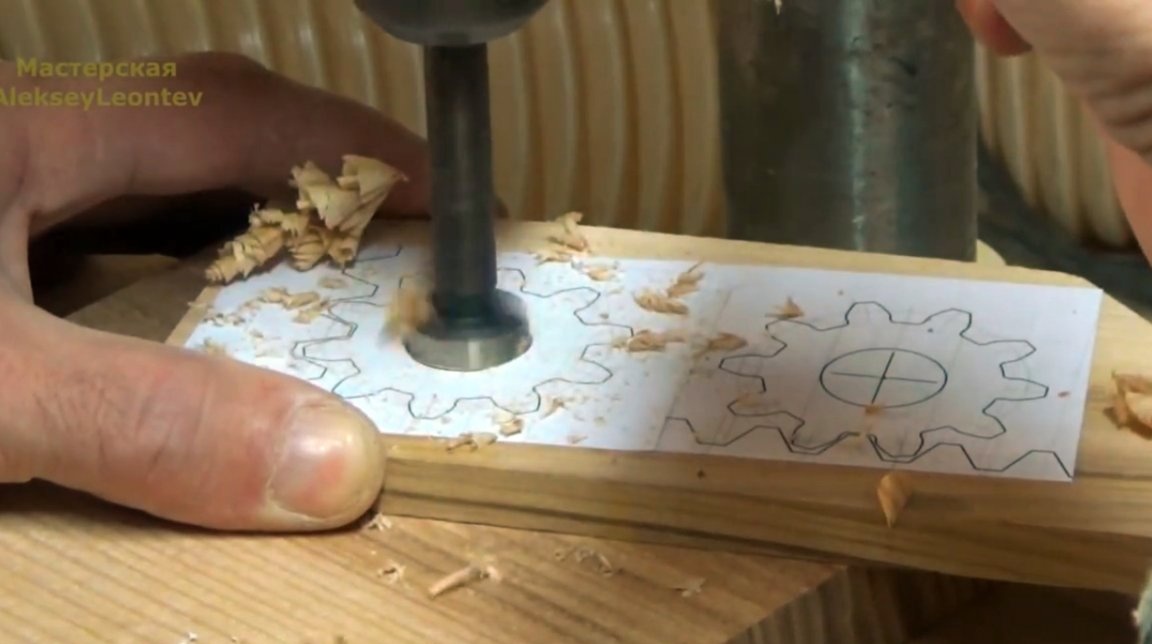
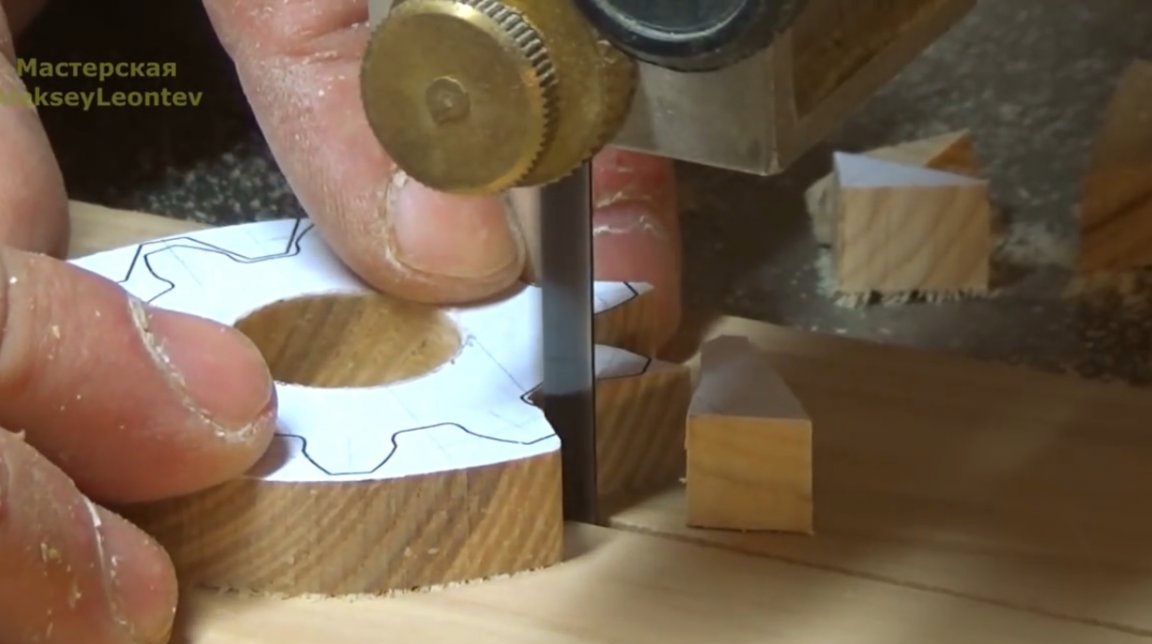
It cuts off excess and forms teeth.

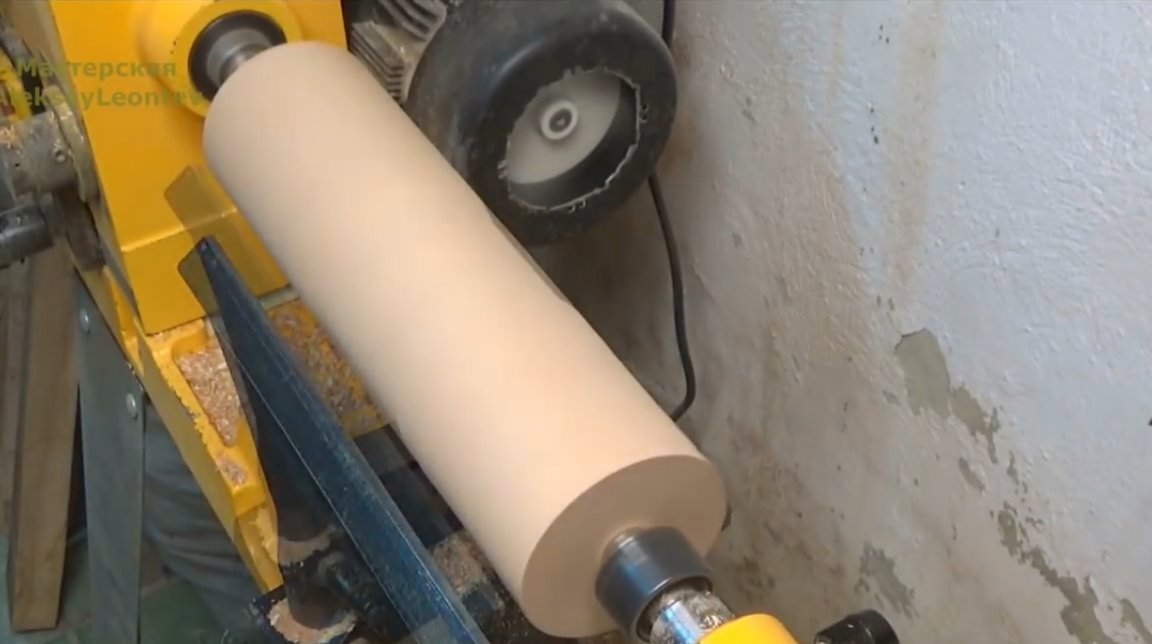
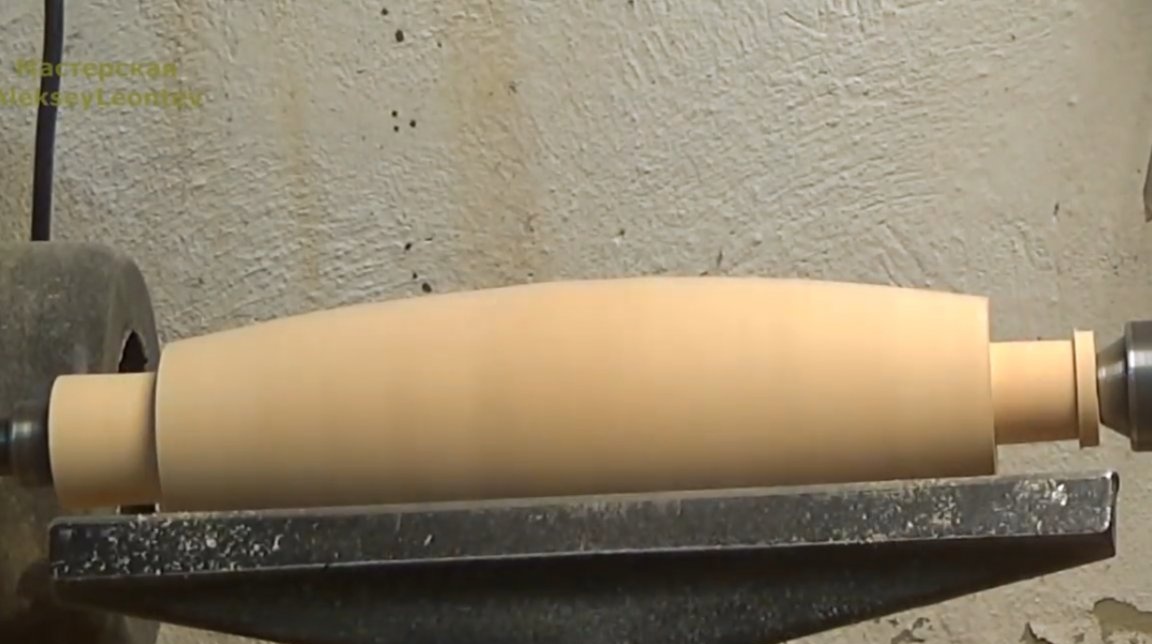
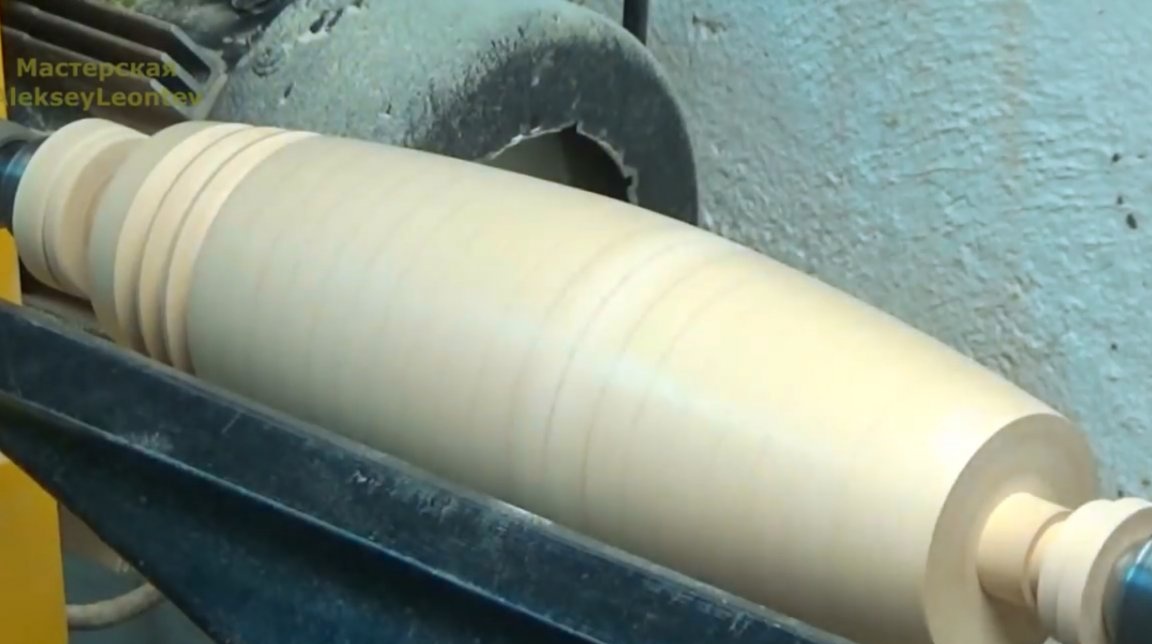
The glue in the blank for the roller has dried, the master aligns the ends, and sets the blank in the lathe.
First grinds the workpiece to a cylindrical shape, and then to the shape of the spindle. Also at the edges forms pins on which gears will be put on.
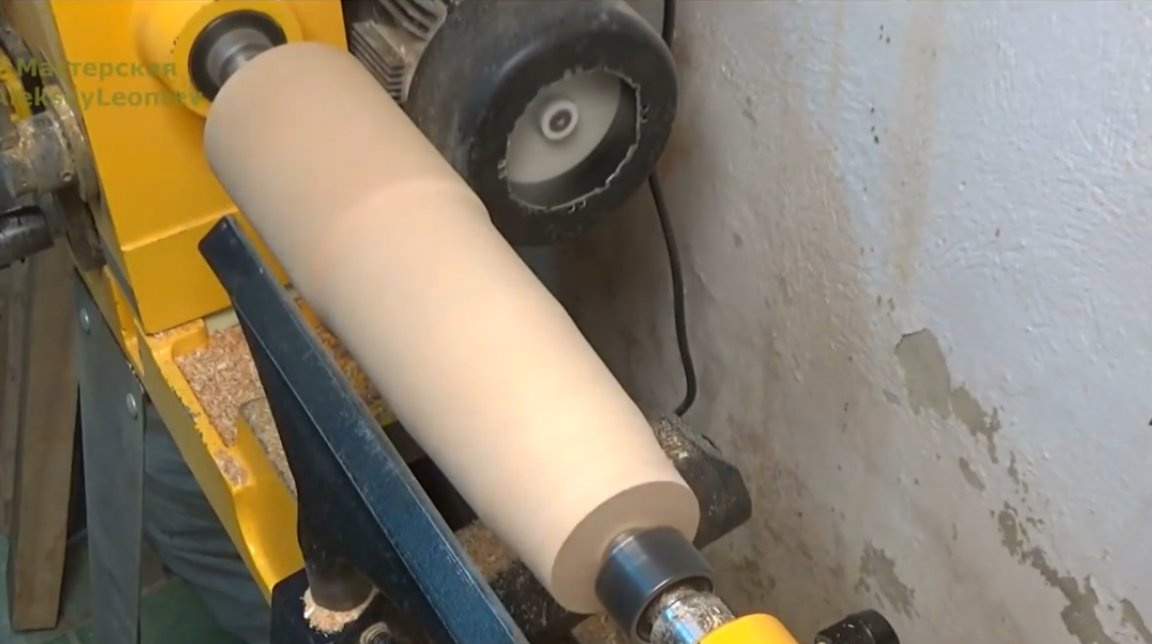
Ends the formation of pins, and pours out places for cutting.
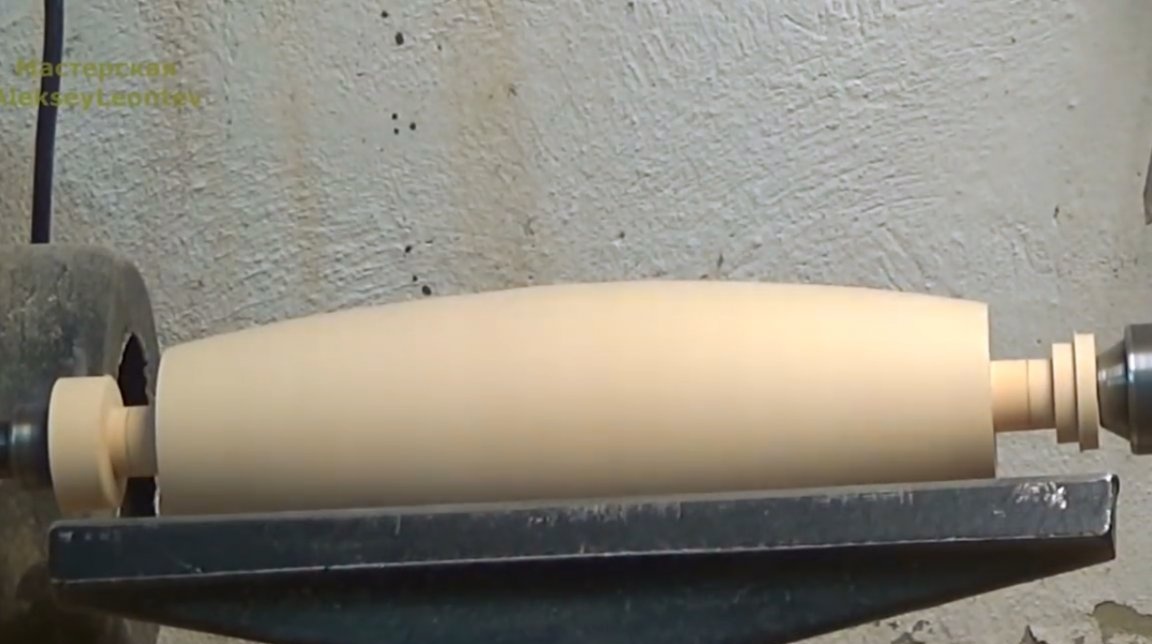
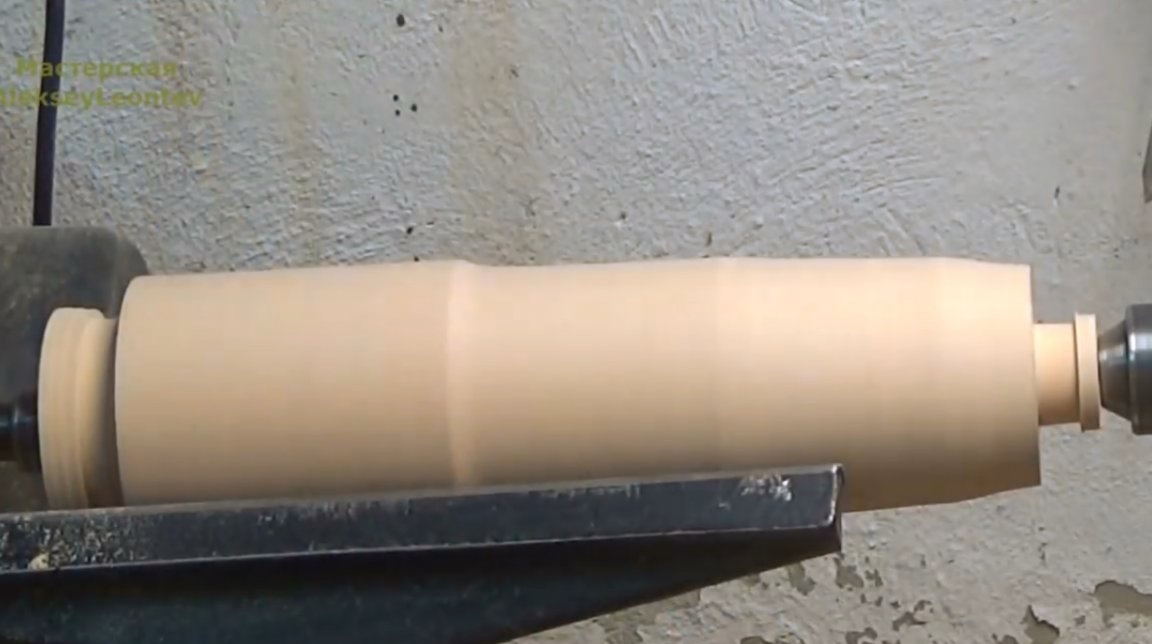
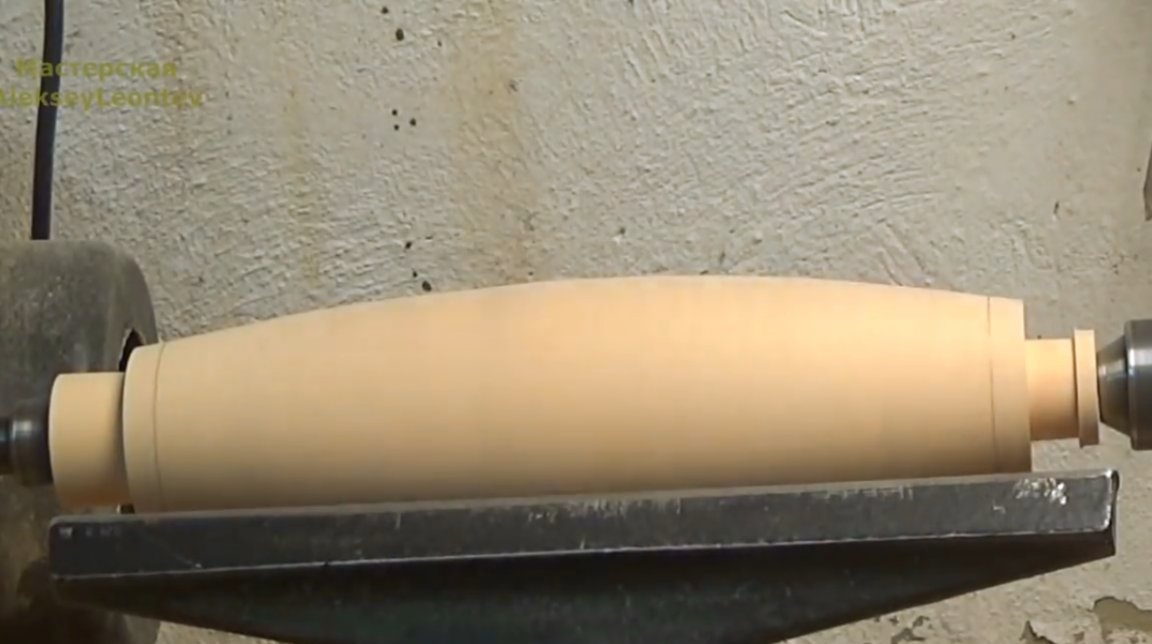
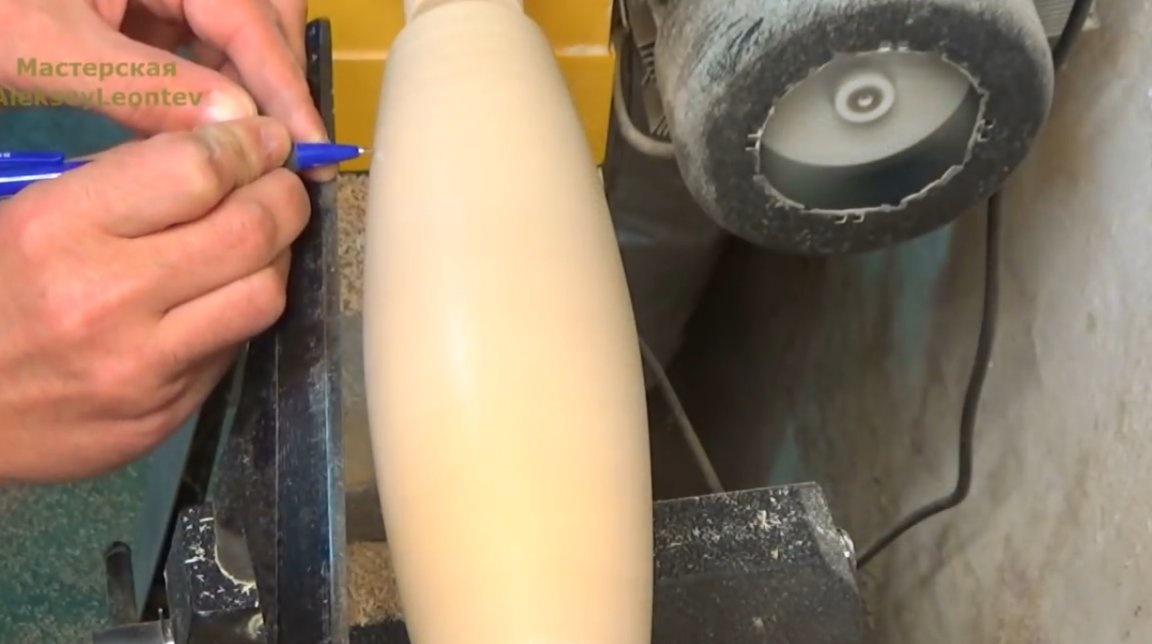
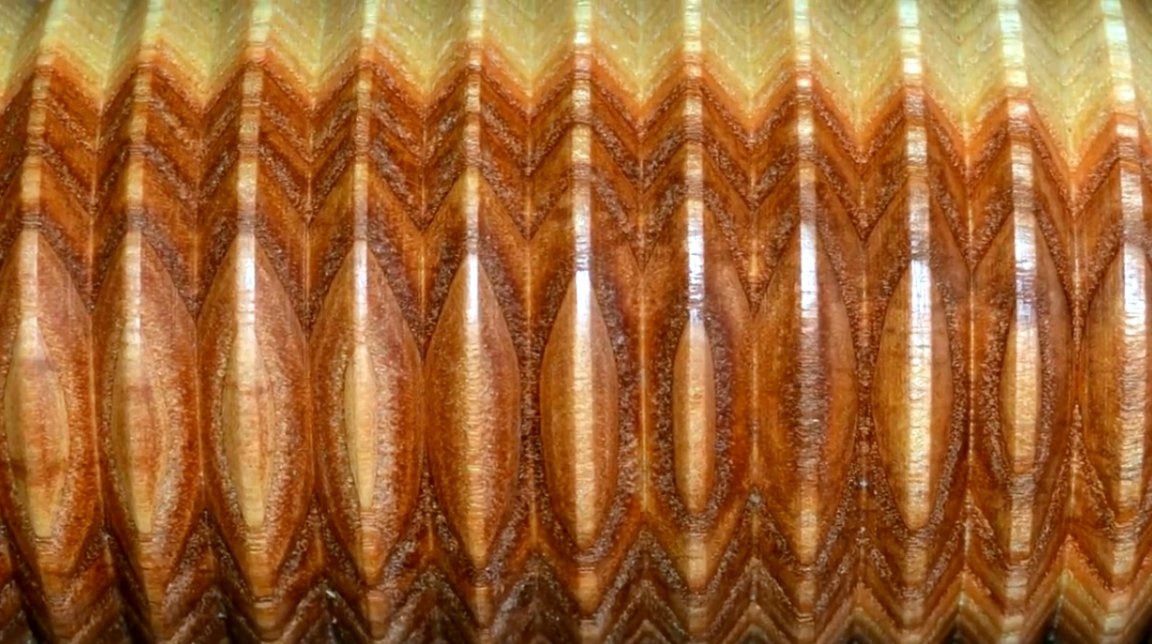
Now applies markings for the massage comb, and grinds it.
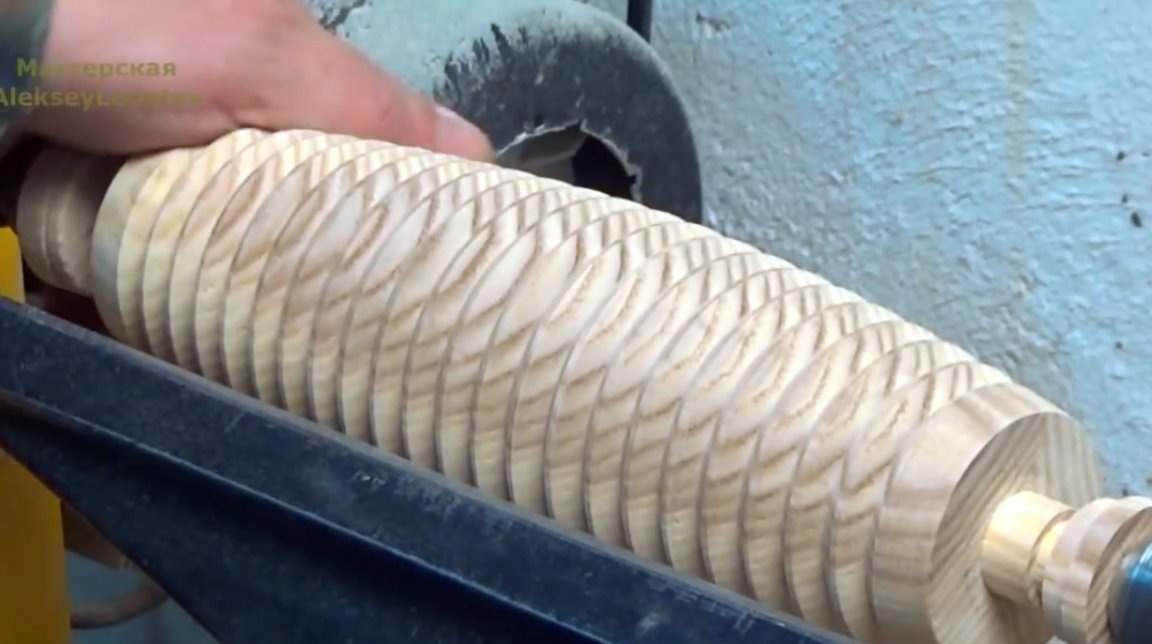
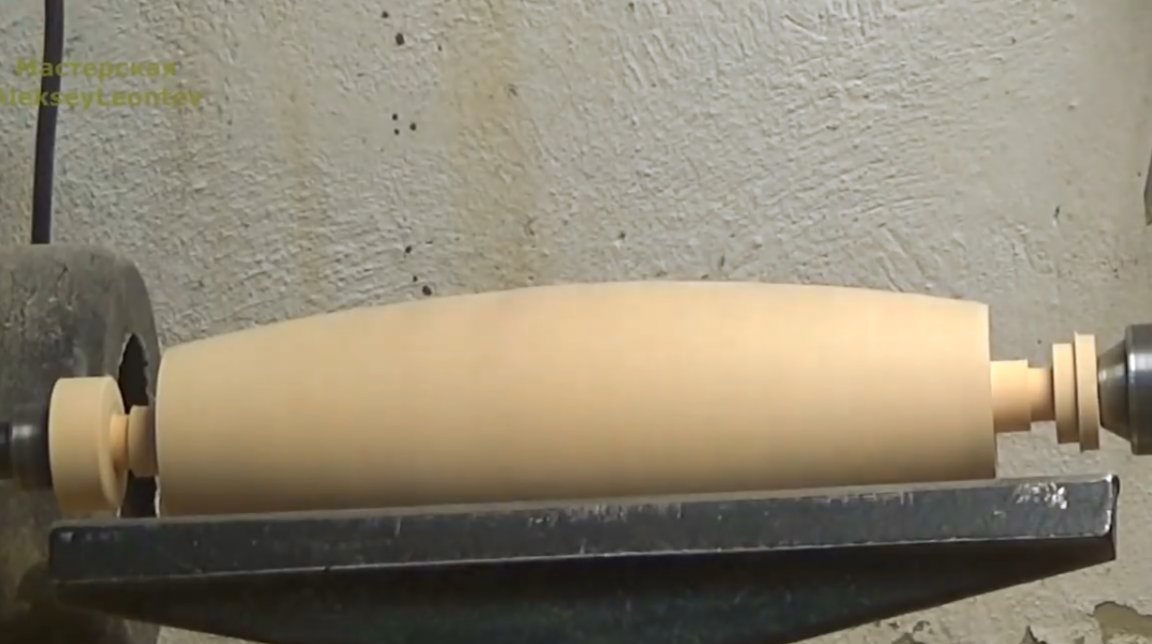
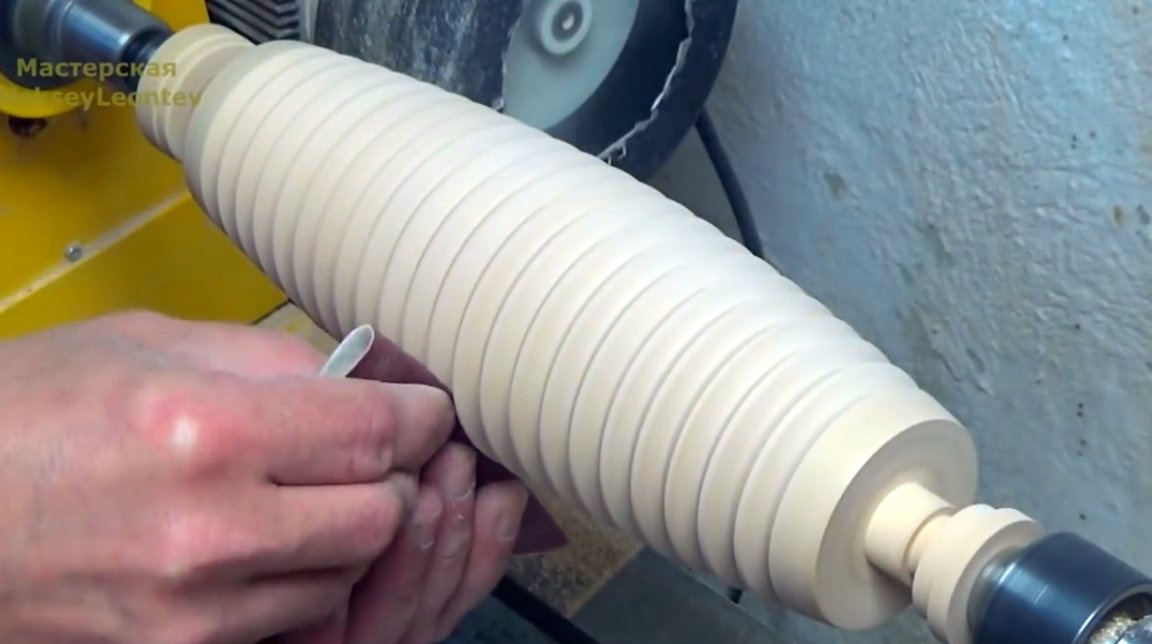
It grinds the entire surface of the roller, removes the workpiece, and cuts off the excess.
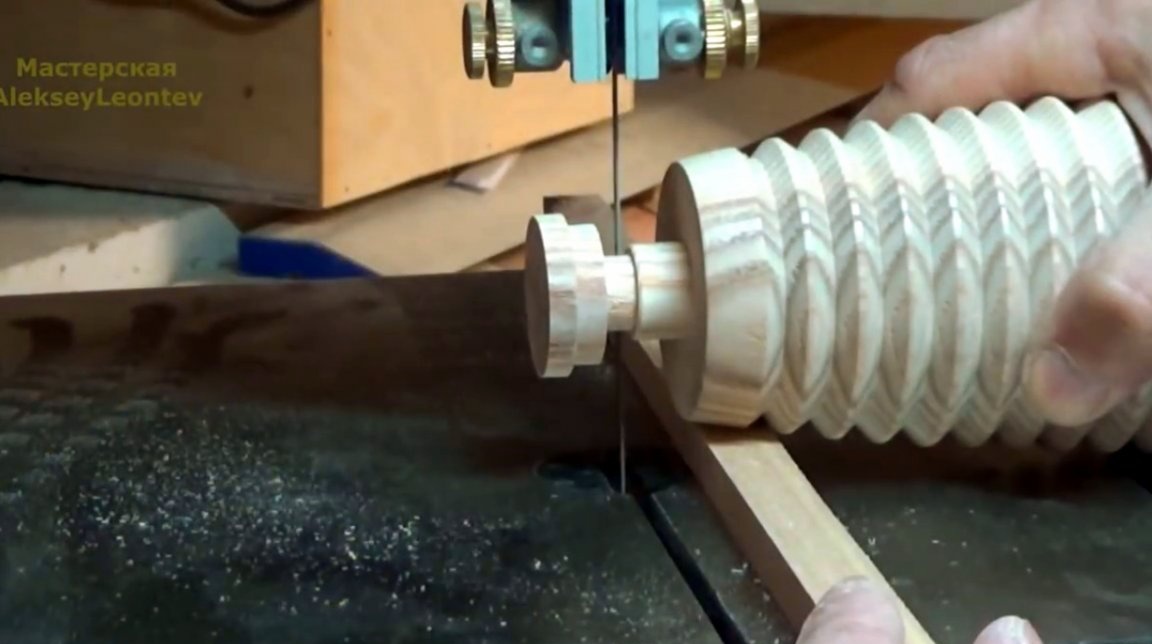
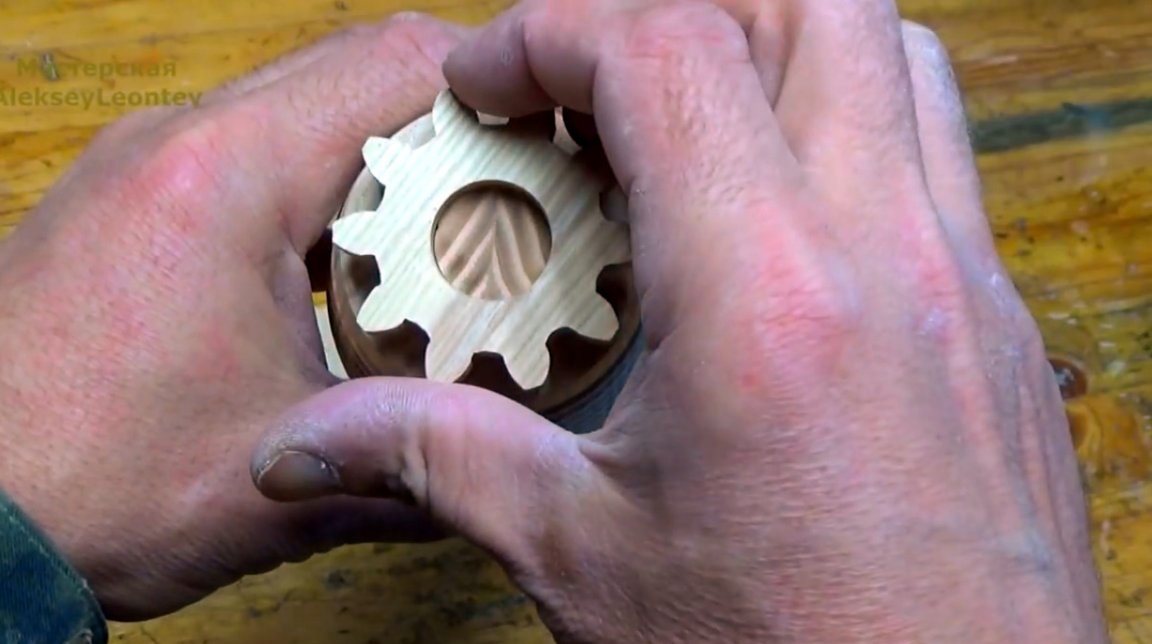
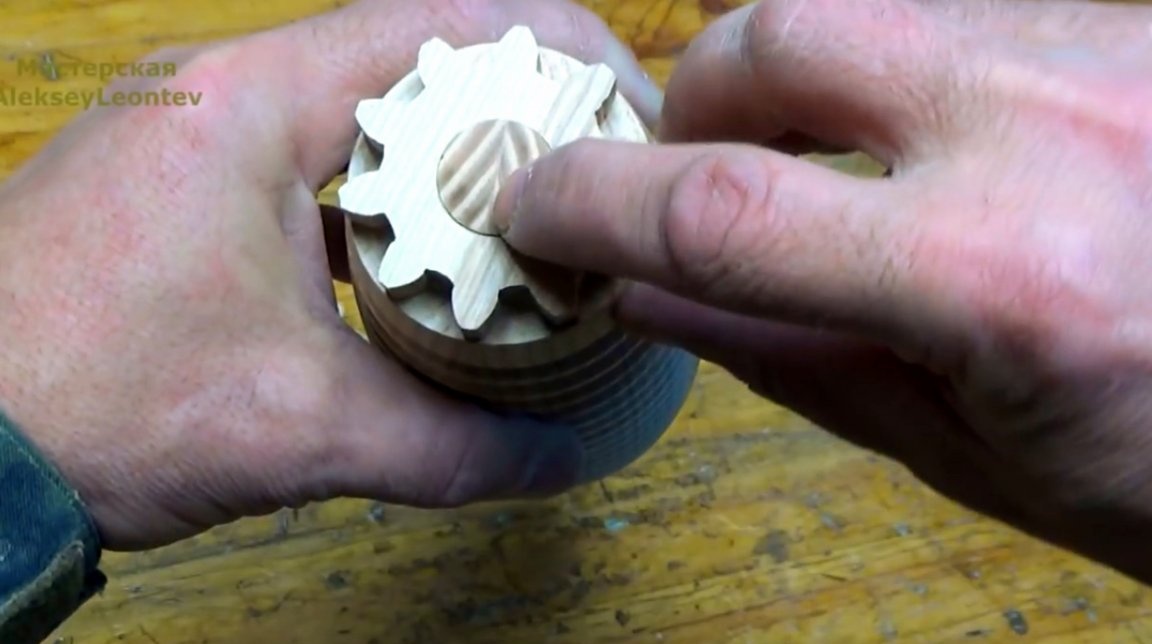
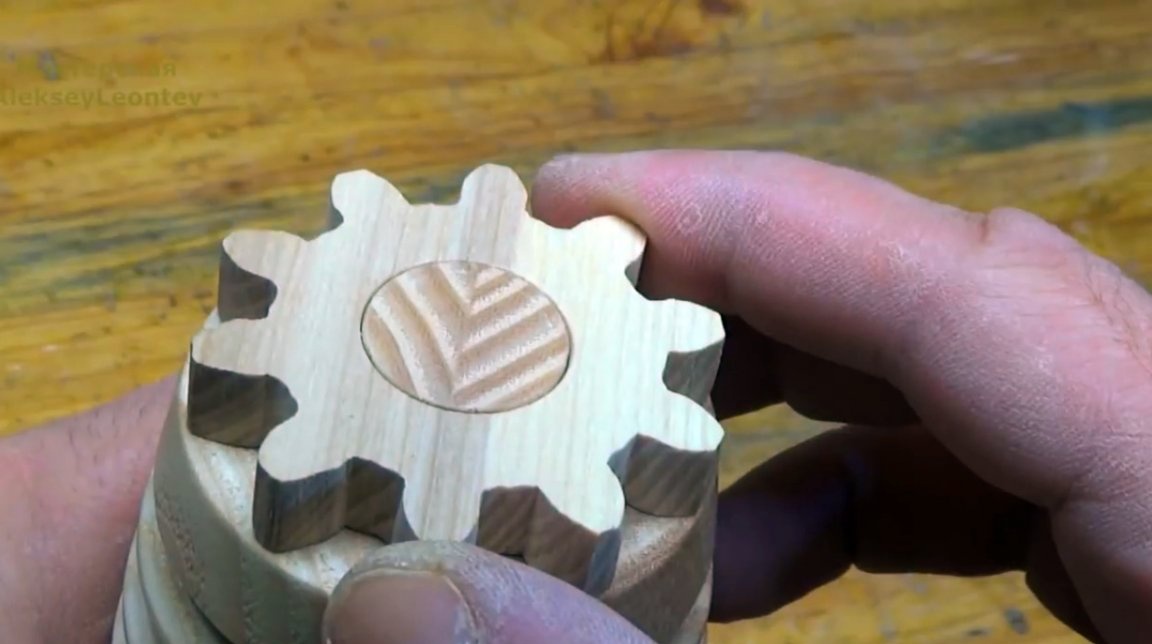
Having cleaned the gears from patterns and irregularities, applies glue to the ends of the roller, and glues the gears. It is important to set them in the correct, coaxial position. The master will be guided by the seam remaining from gluing the roller.
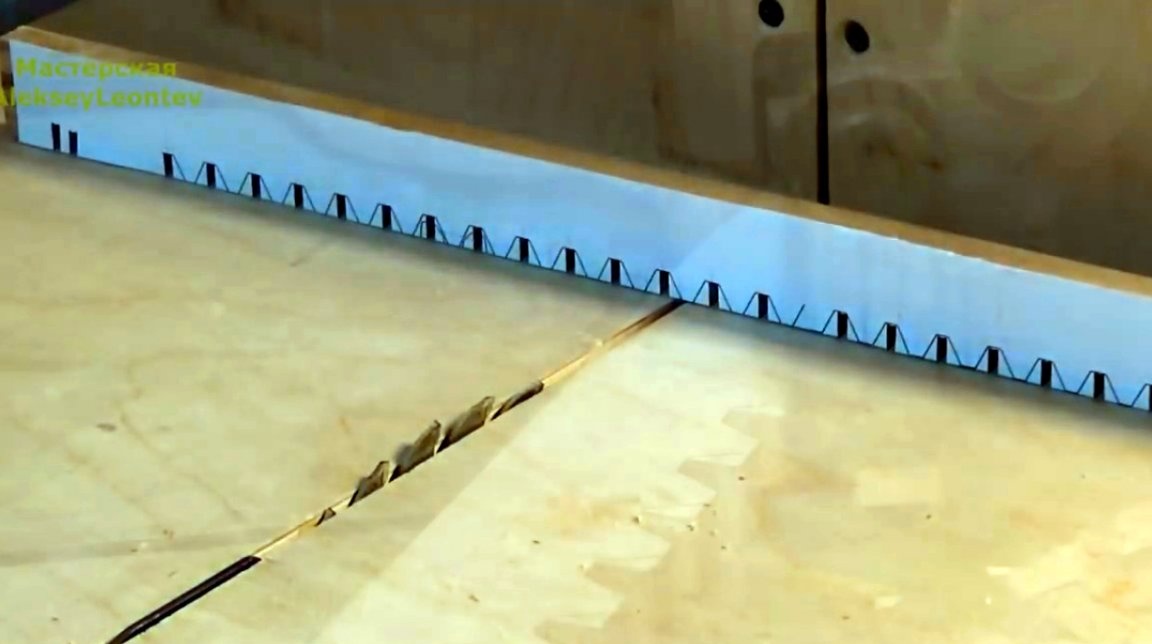
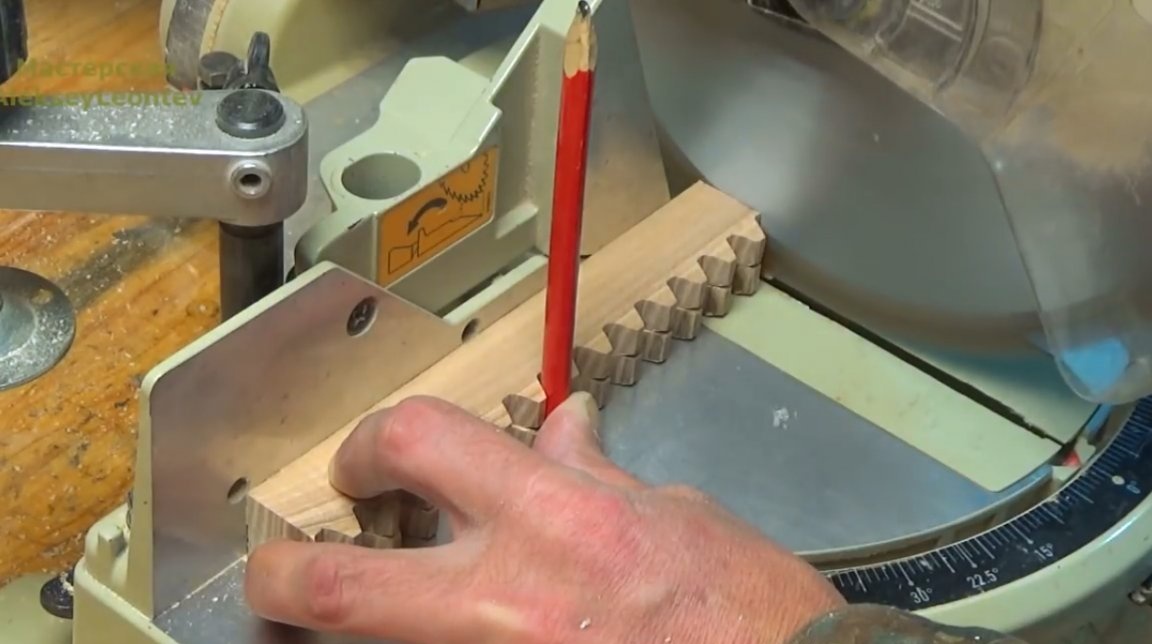
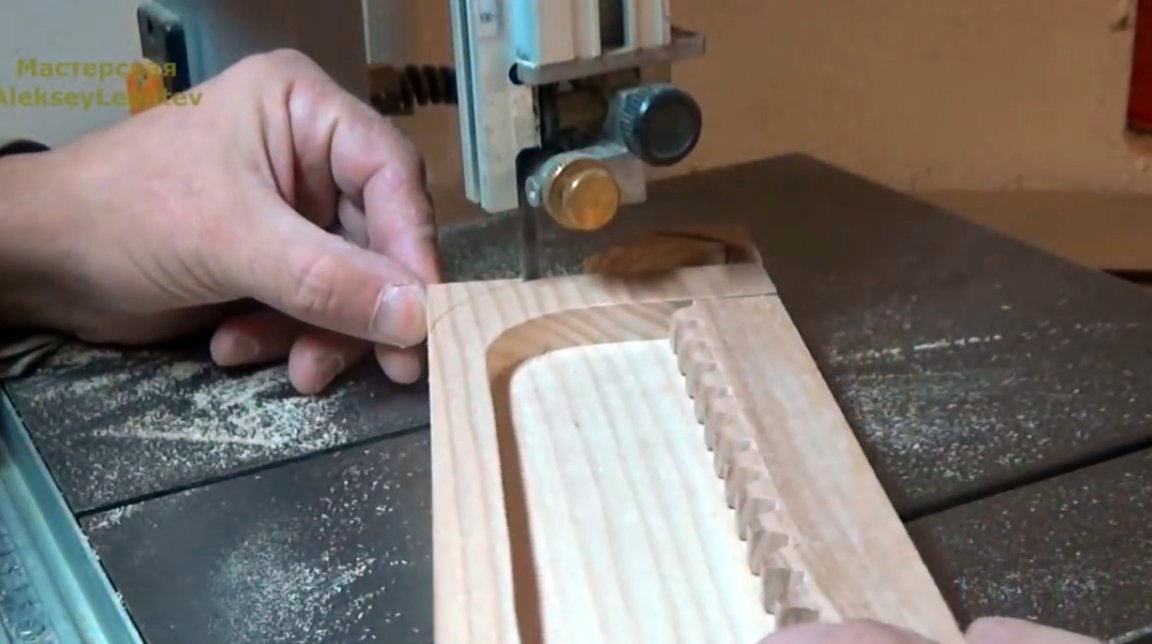
The turn of cutting gear racks has come. Here, accuracy is also very important. The master installs the blanks one above the other, and inserts a construction pencil between the two teeth. In this way, the edges will be trimmed correctly and the teeth will match.
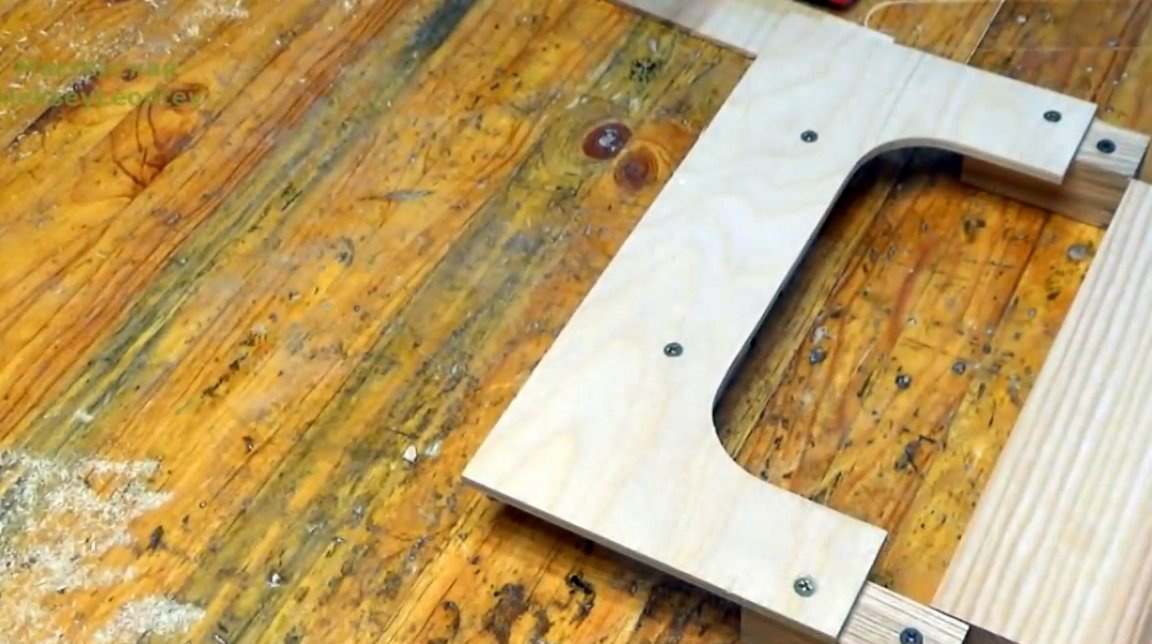
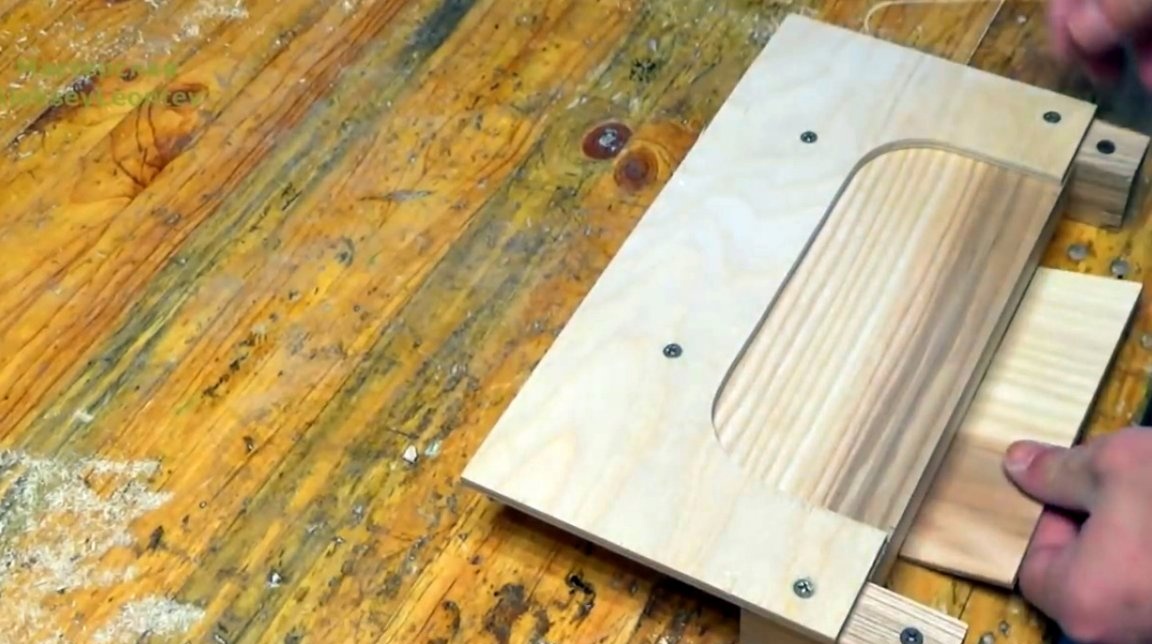
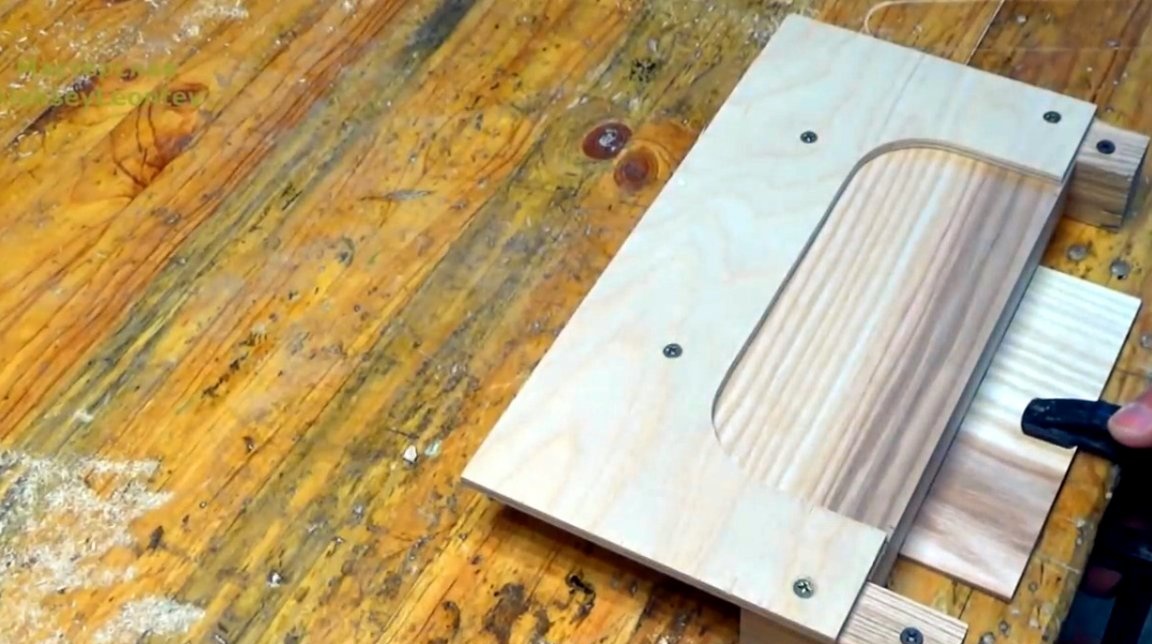
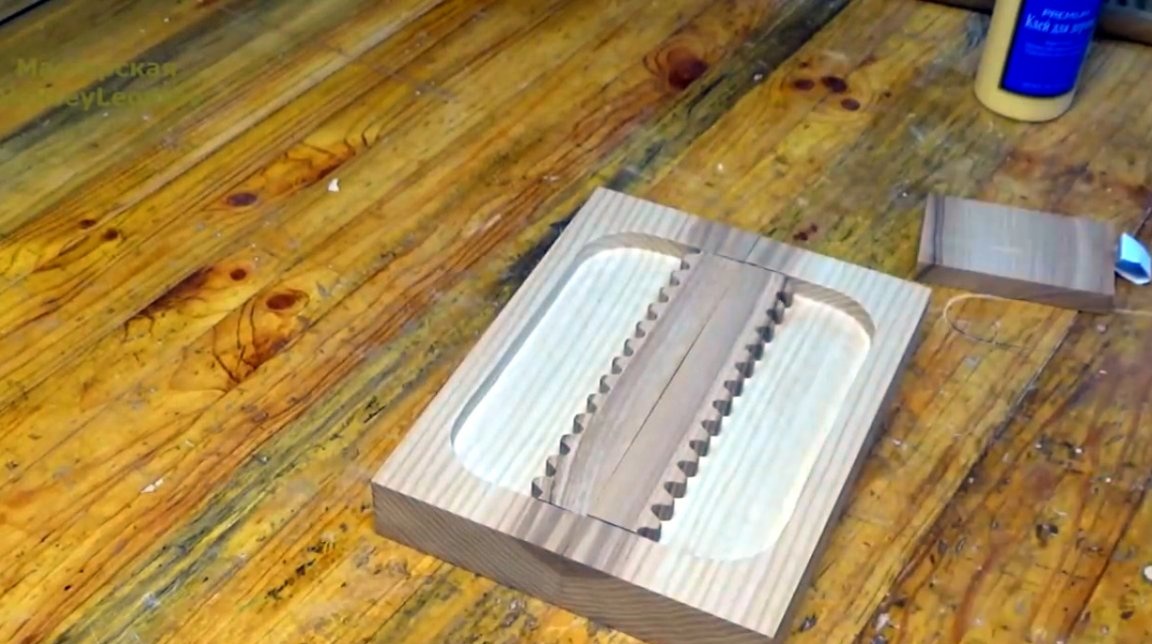
Now it's the turn of the side walls. The master cuts one blank, then imposes it on the board, fixes it with a clamp, and makes a second cut. So we got two absolutely identical blanks.
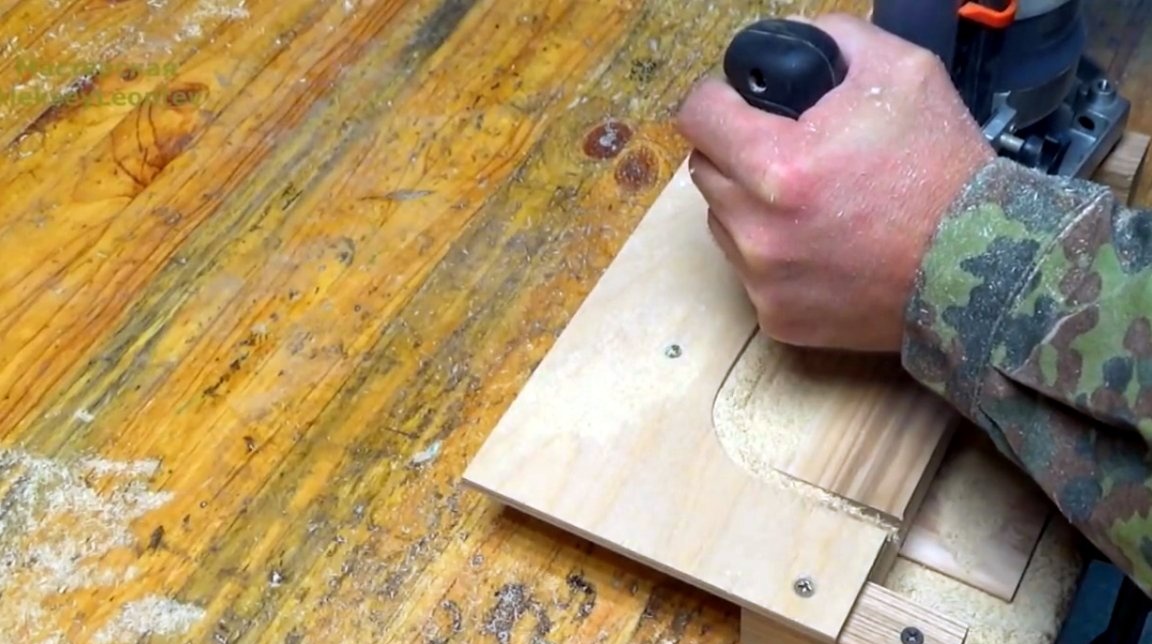
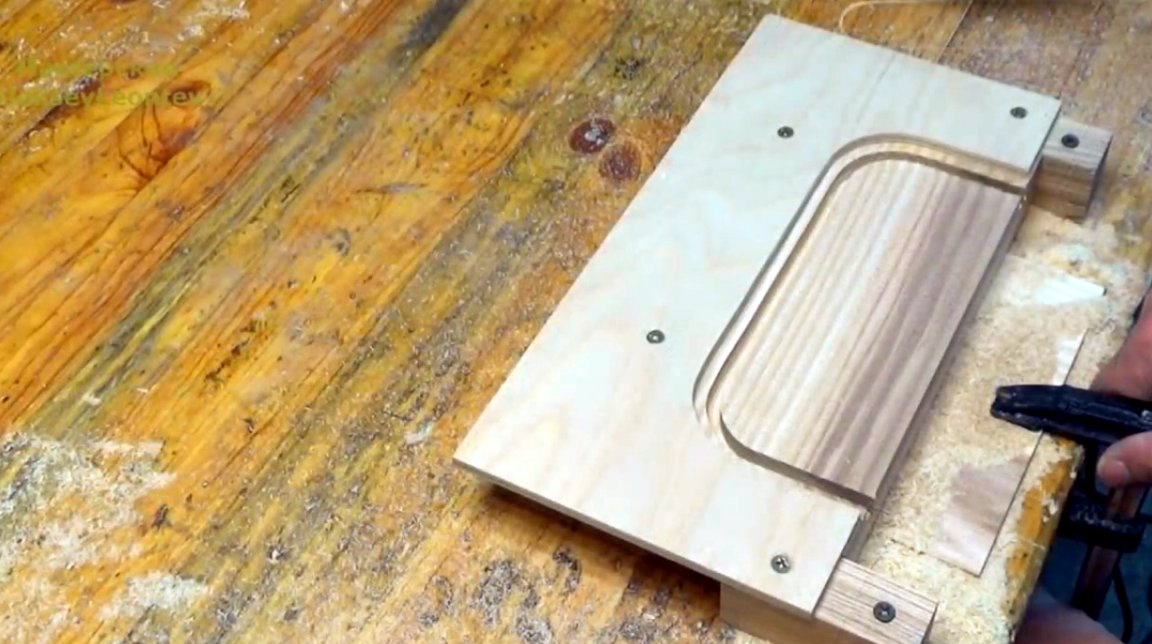
For further processing of the walls, the master needed to make a template from scraps of timber and sheet plywood. Now the workpiece is pushed into it, fixed with stops, and the contour of the recess is milled with a milling cutter with a thrust bearing. Next, a selection is made of the excess.
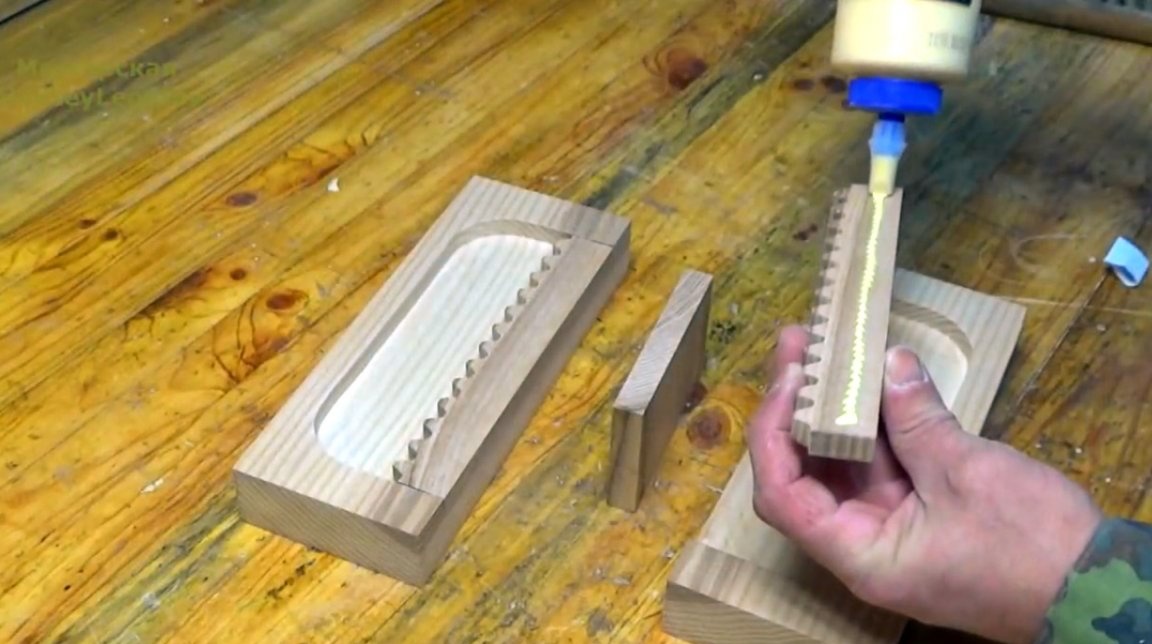
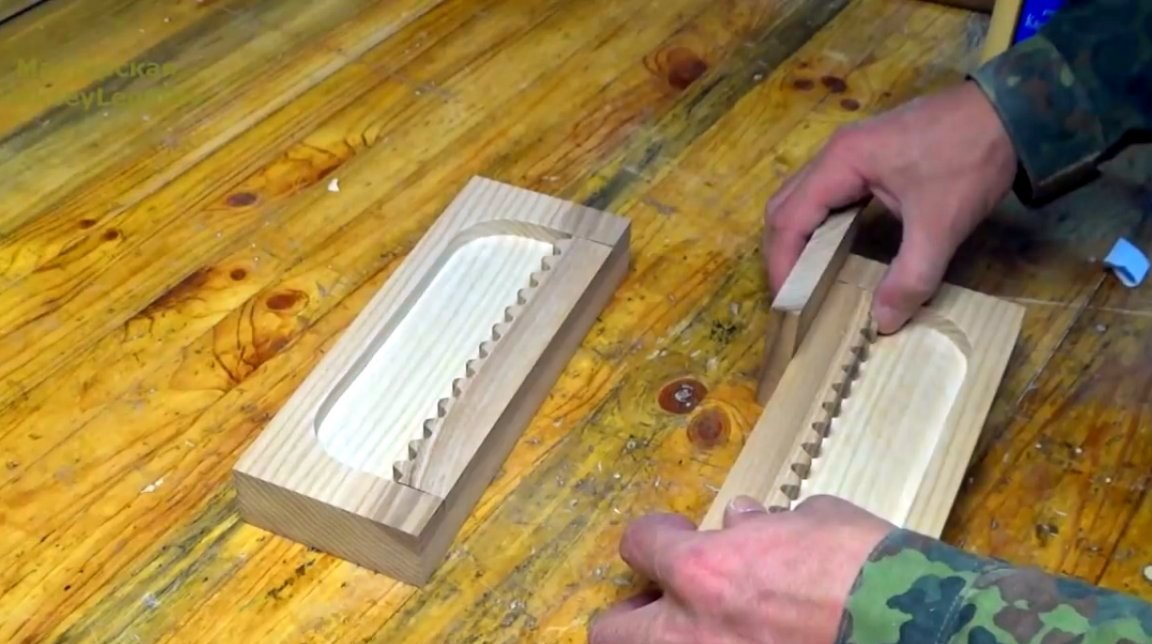
The next stage, the master glues the gear racks in their place, resting the lower edges of the rails in a small plank.

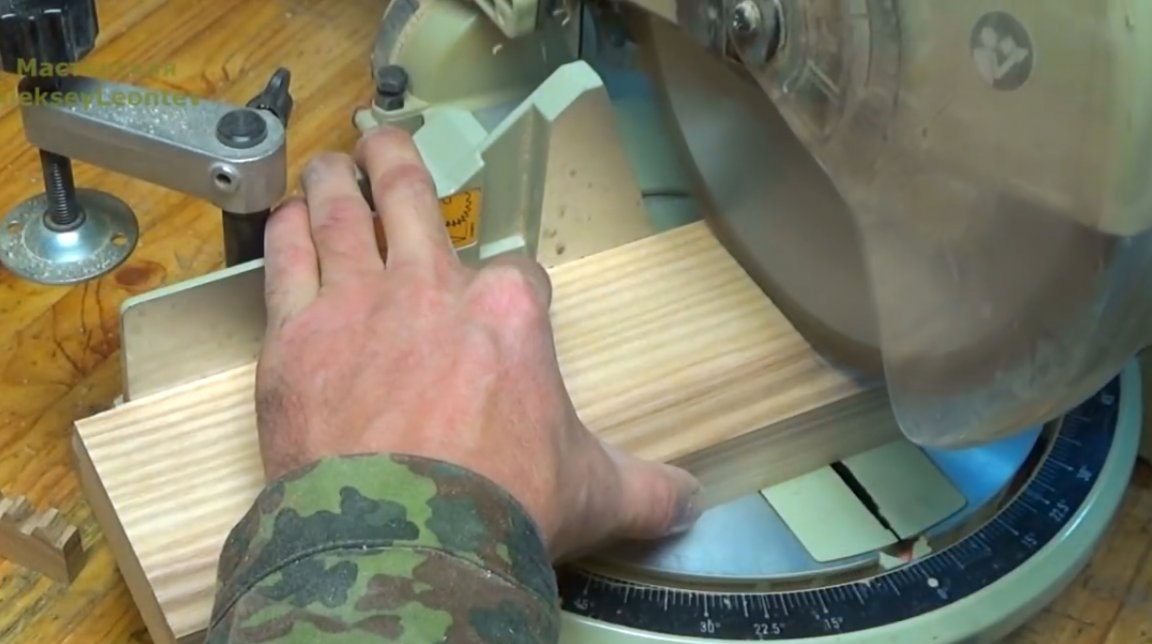
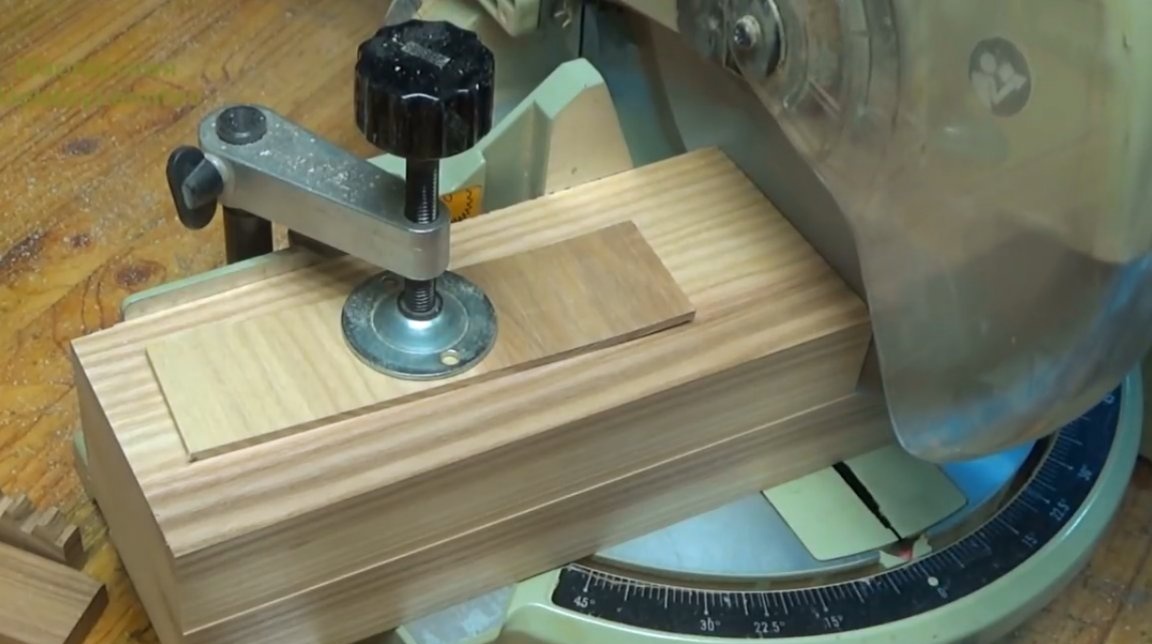
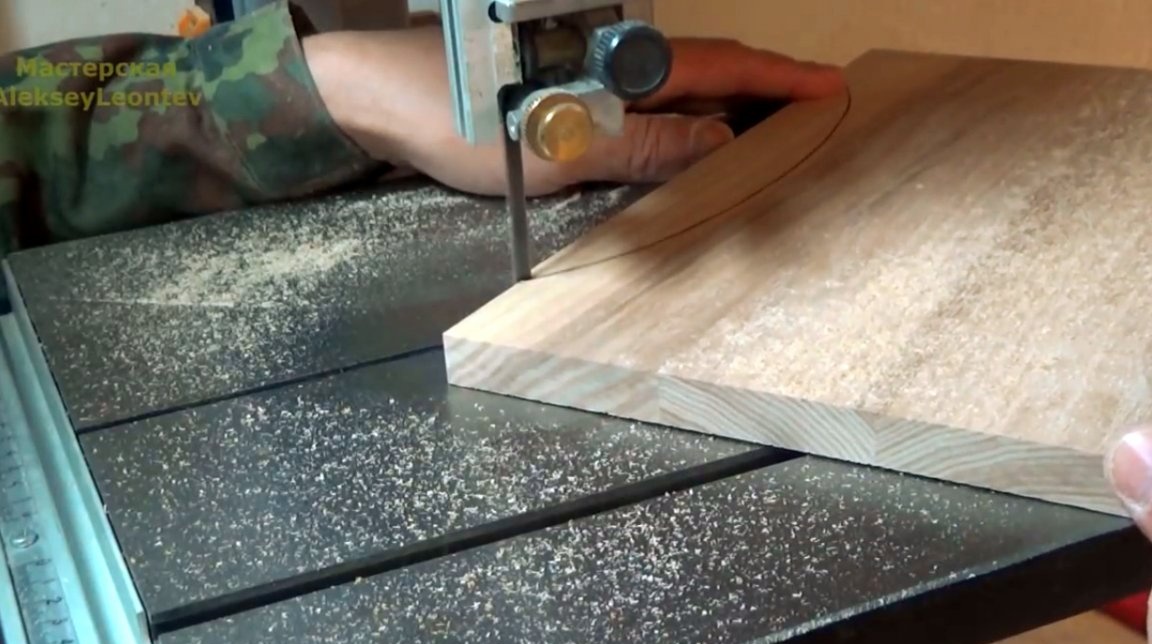
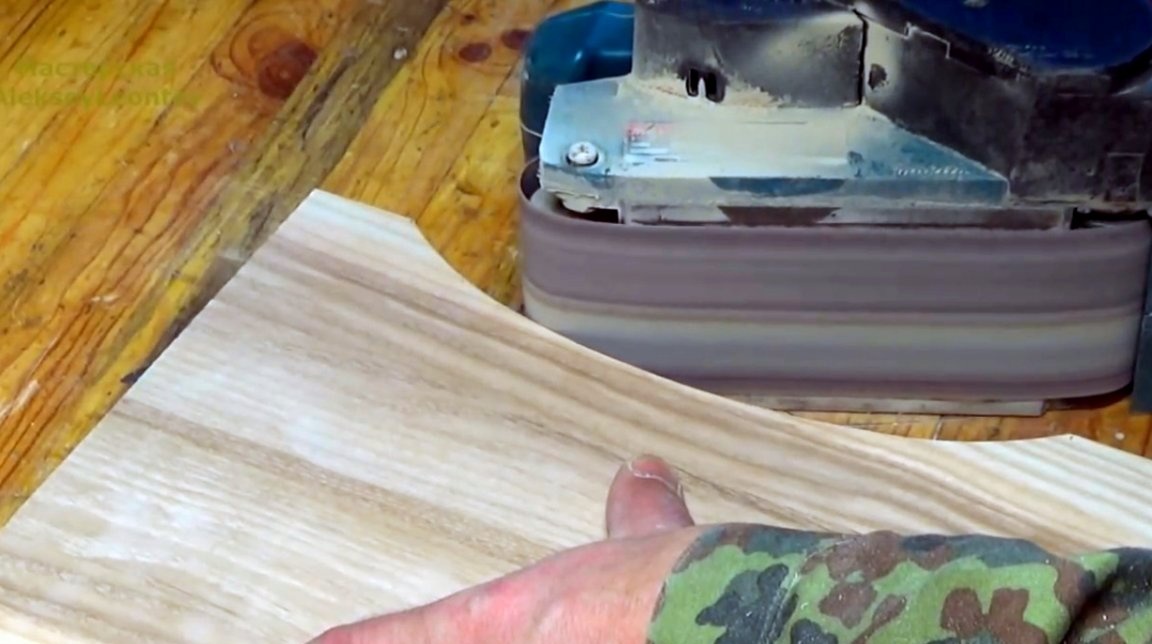
It remains to make the last detail, the base of the massager. The shield is trimmed to the desired size.
Then the master makes arc cuts from the outside.
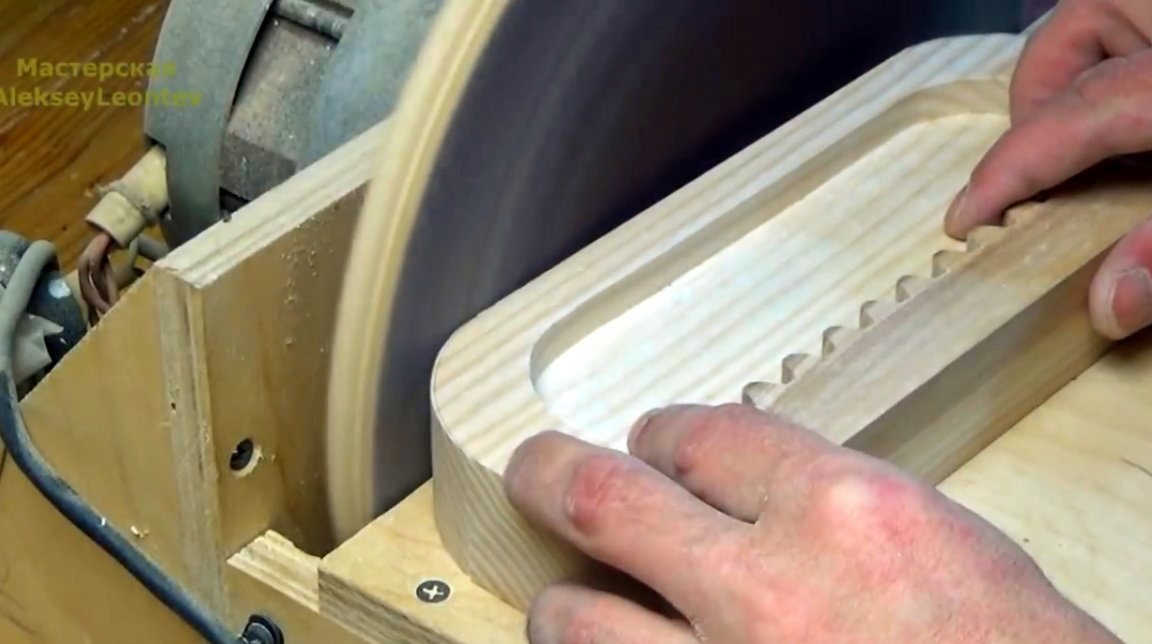
Places of cut are polished with a tape machine.
Also rounds the upper corners of the side walls, and polishes them.
Alexey proceeds to the stage of milling work on the machine. It handles facets with a radius mill with a thrust bearing. And in order to prevent chips from forming on the edges, and the part does not come off, he lays a piece of the board.
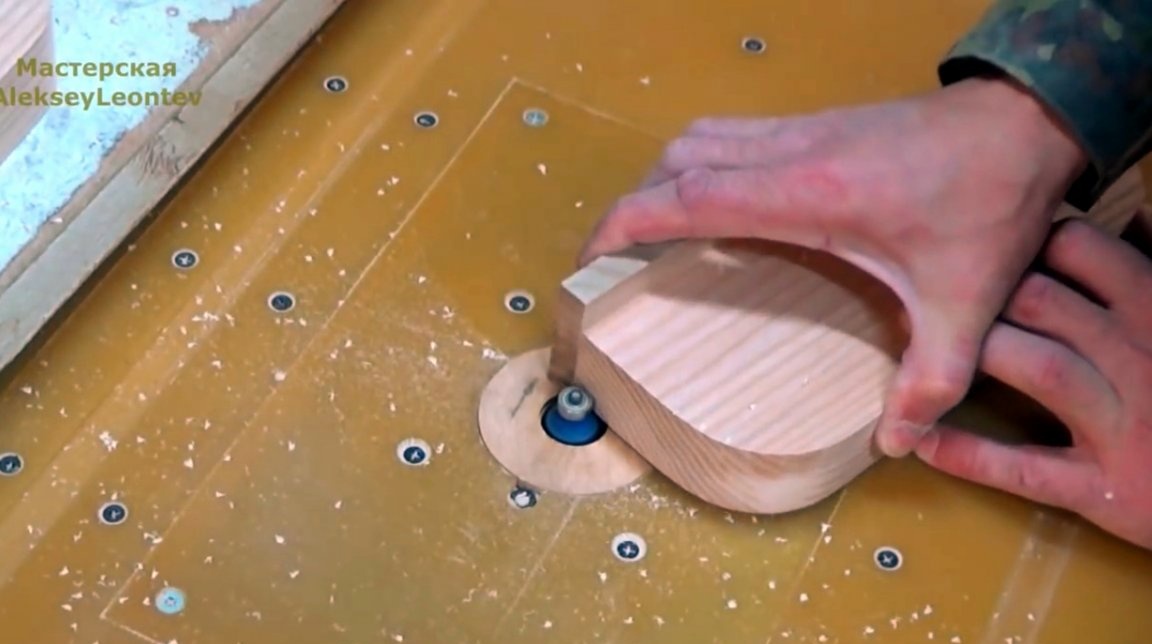
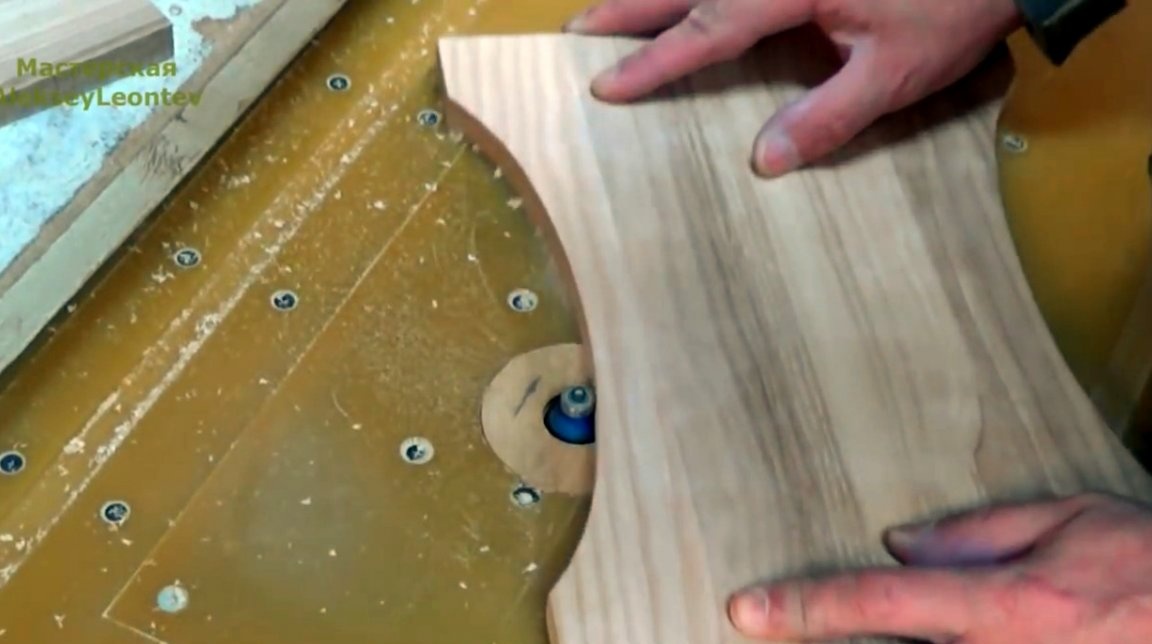
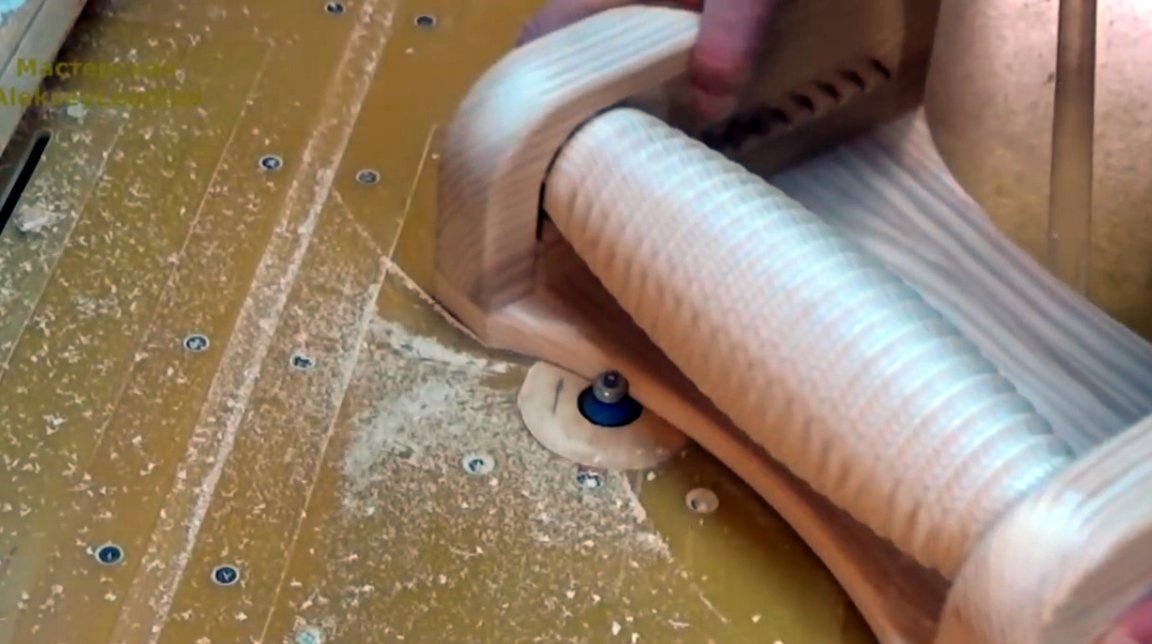
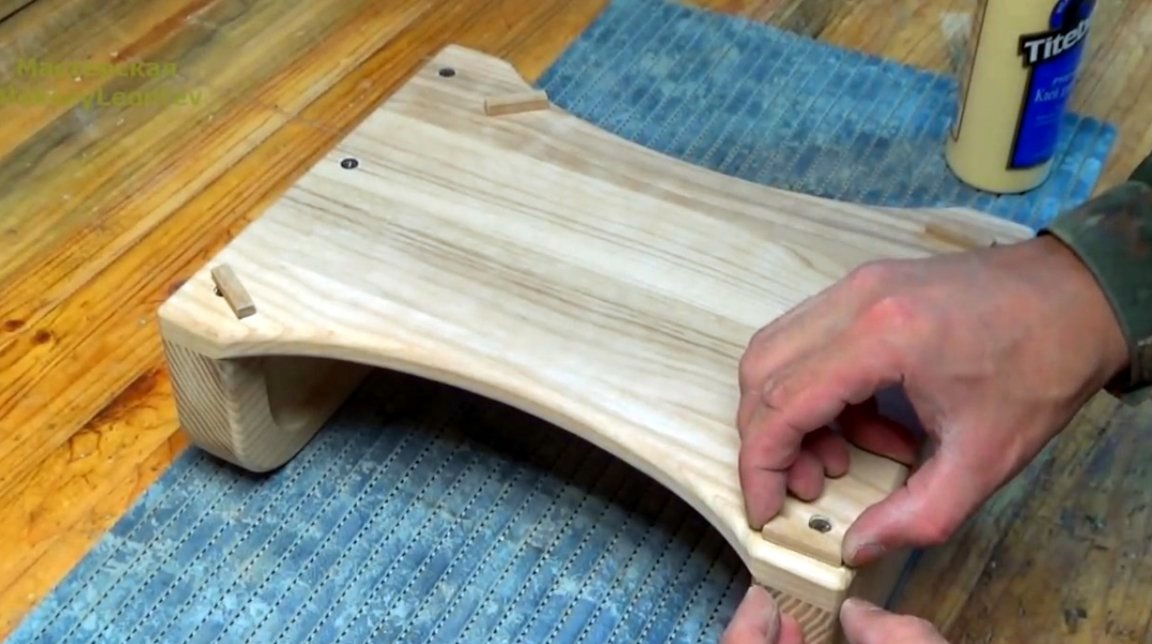
Having processed all the internal faces, the master collects device. Simply installs the roller in its place, and bolts the side walls to the base. After that, all external faces are milled.

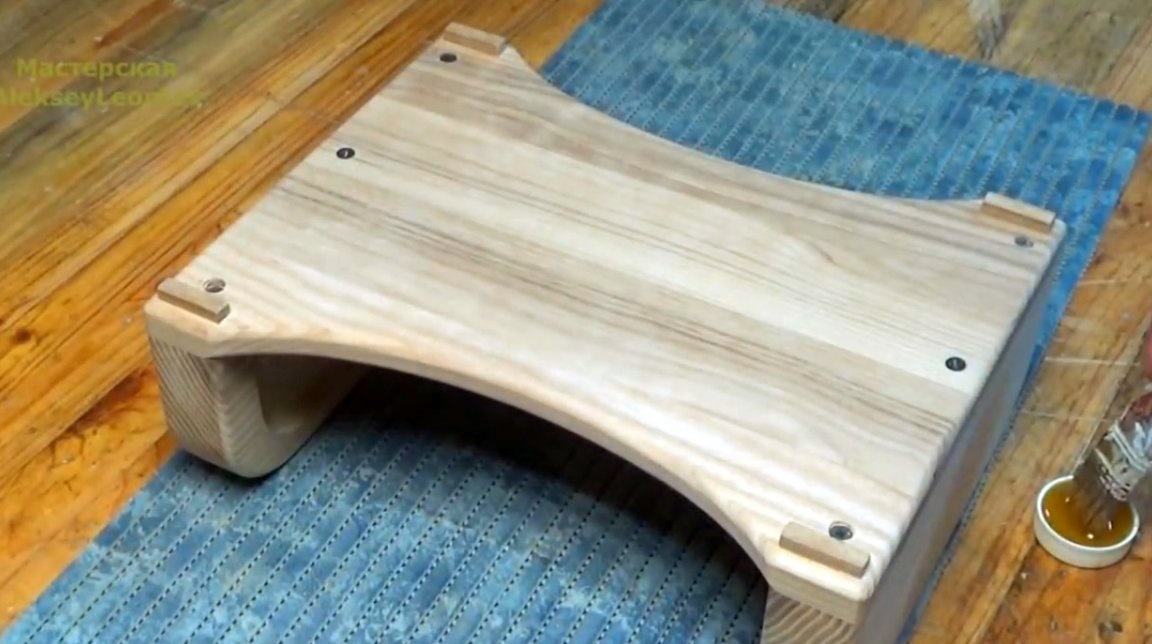
Now glues four legs at the corners of the base.
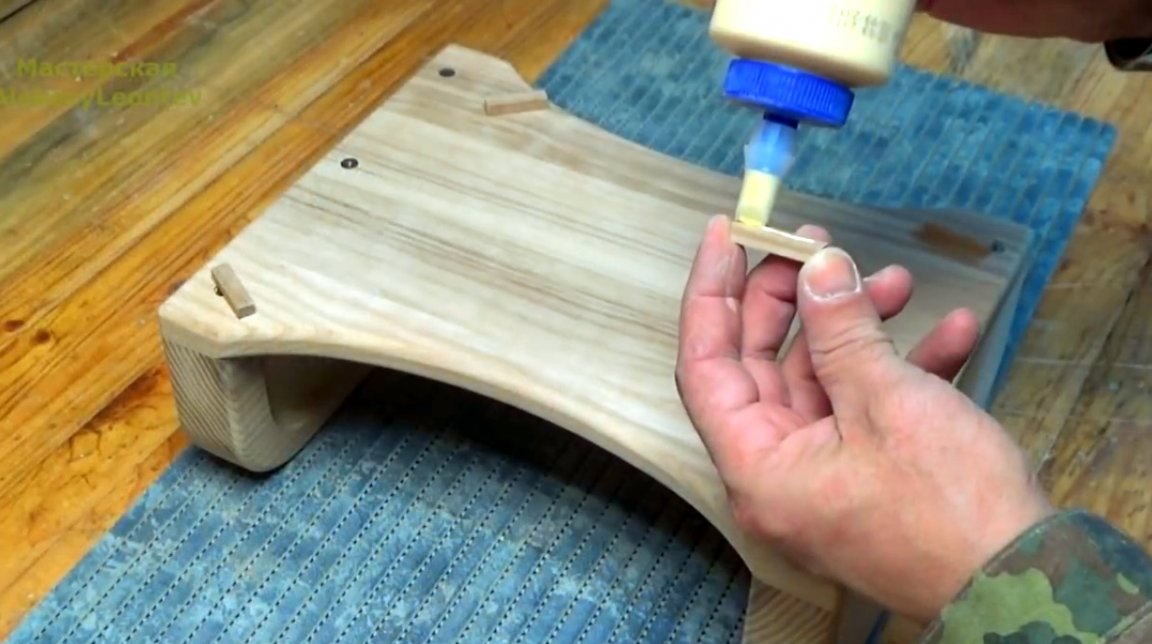
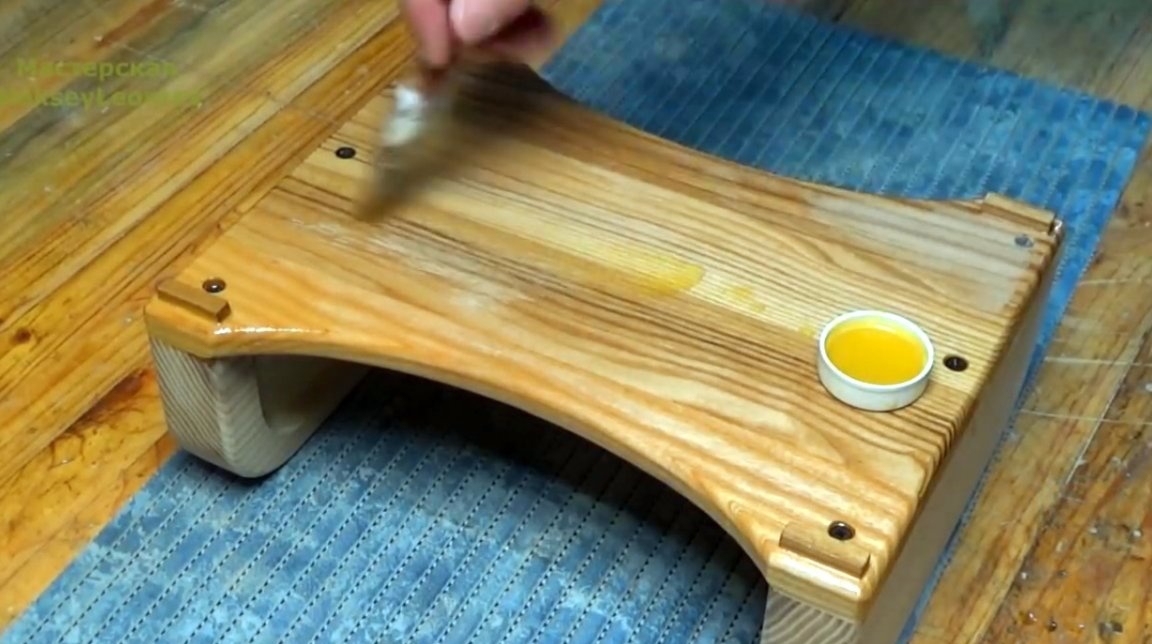
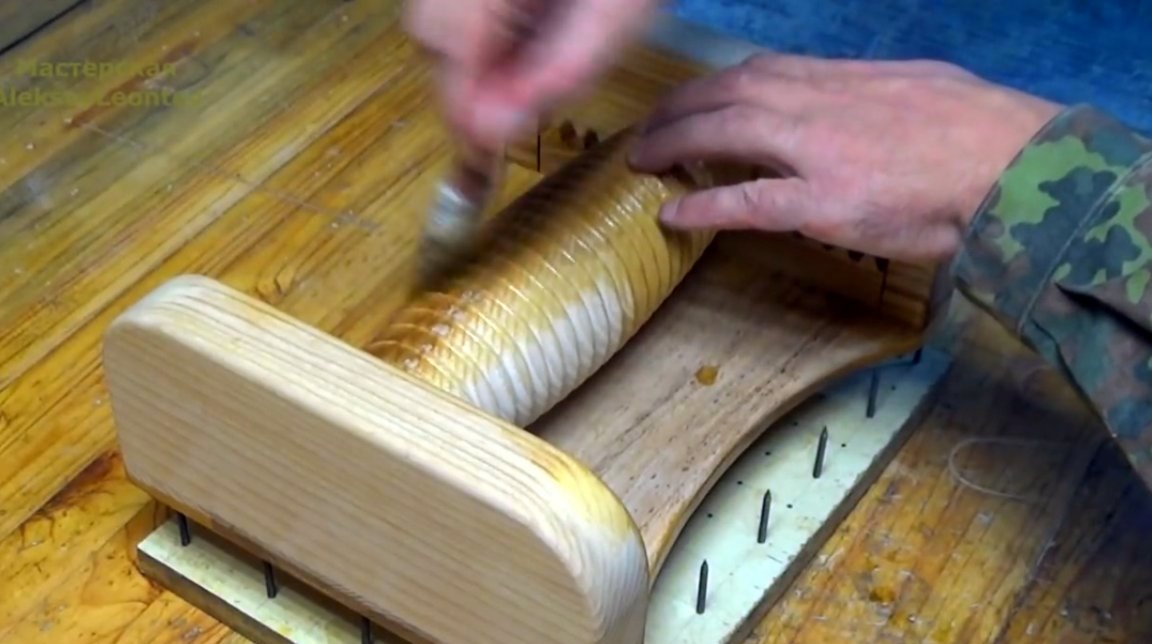
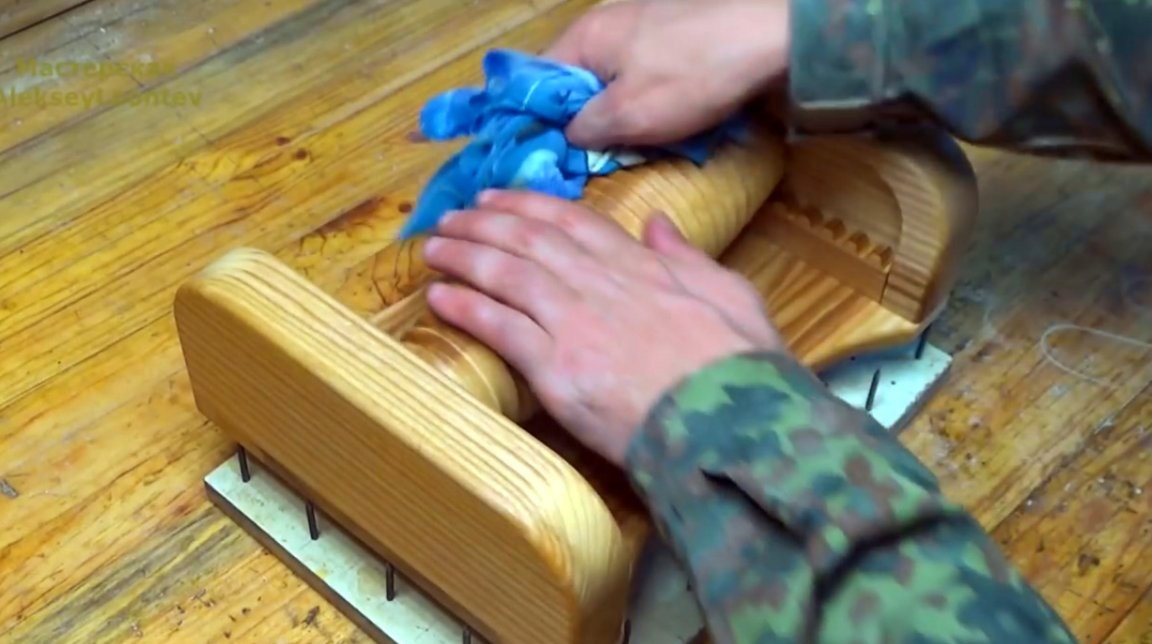
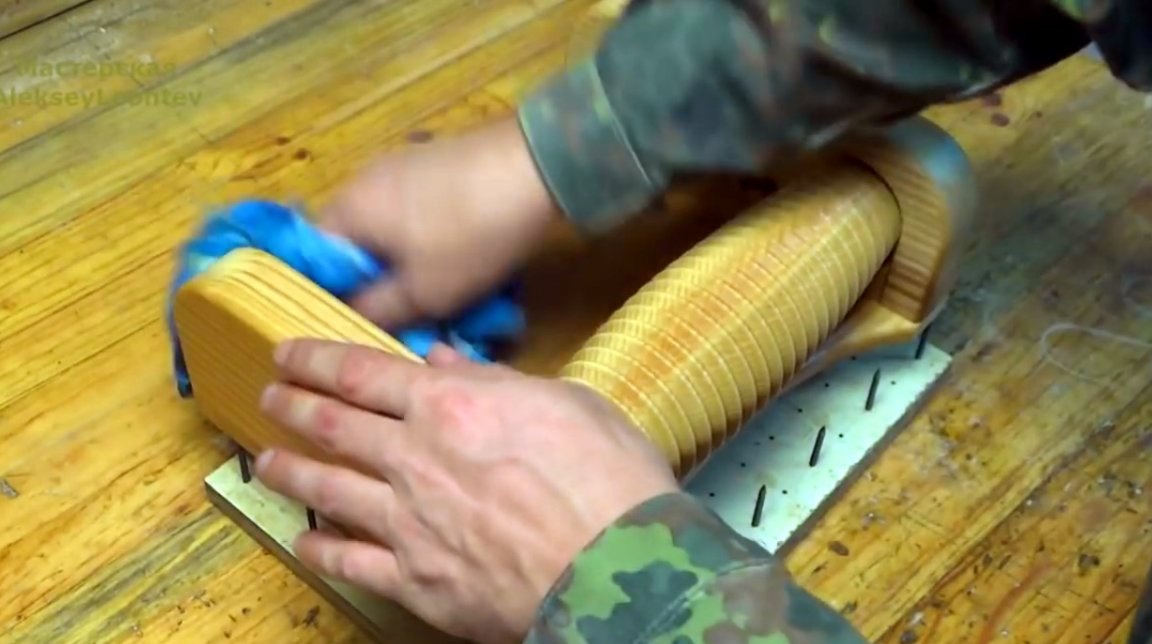
The final stage of the impregnation of the massager with linseed oil. It can be purchased at this the link. It will help protect the wood from moisture, and will display a beautiful ash structure. After absorbing the oil, the excess is removed with a rag.
Here's a beautiful product from Alexei. Of course, you can create absolutely any pattern of massage elements on the roller. Although in the form of pyramids or triangles, but this is at the discretion of those who decide to repeat this mechanism.
By the way, in a recent article, an interesting “do-it-yourself wall-mounted back massager"From the same master.
Thanks to Alexei for the idea of a beautiful and useful foot massager!
Good health, good luck, and interesting ideas to all!
Author video can be found here.