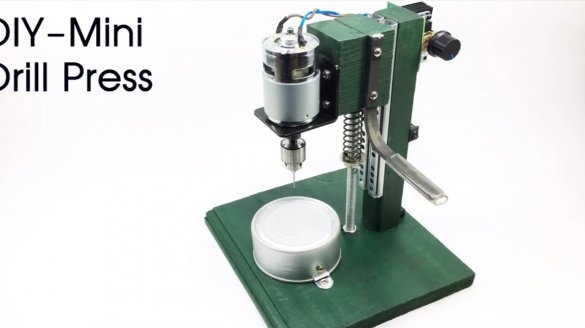
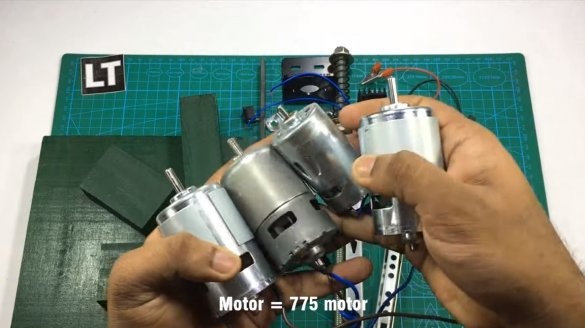
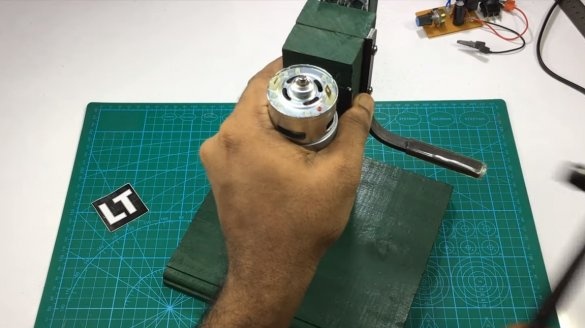
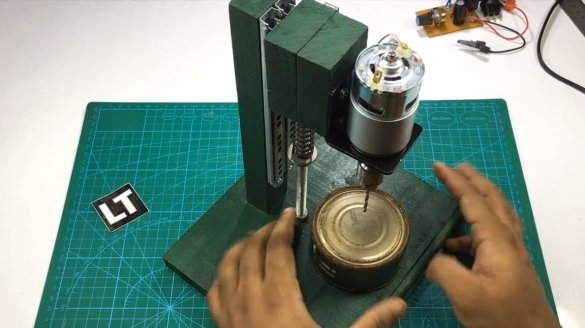
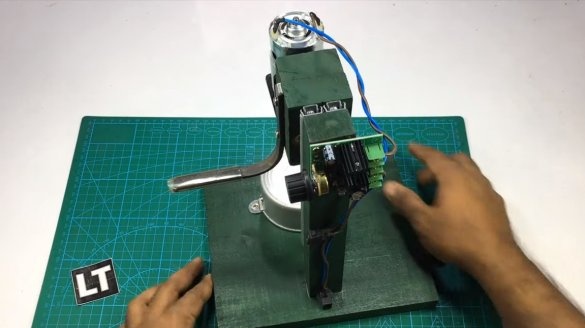
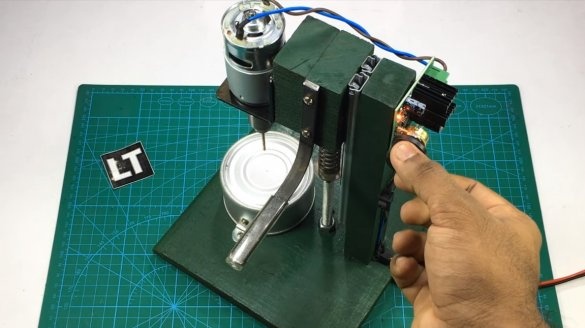
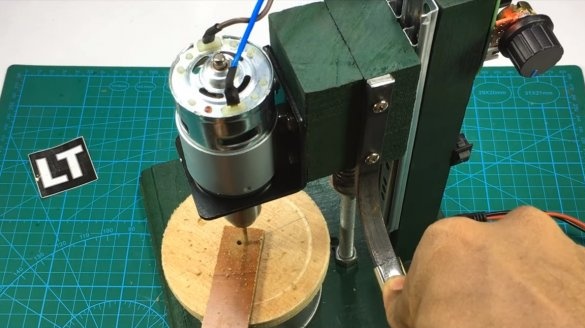
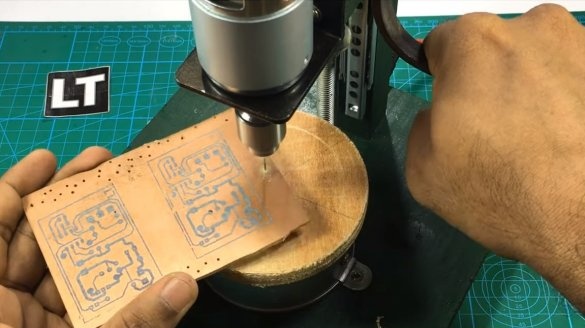
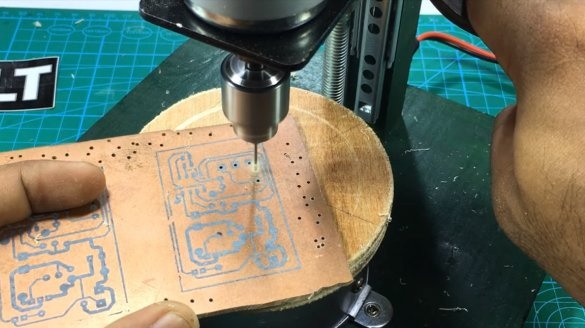
Greetings to all lovers of craftsmanship do it yourself, I propose to consider a small portable drilling machine. Using such homemade it is possible to drill textolite, plywood, sheet metal and other materials. The machine runs quietly and is equipped with a controller for smooth adjustment of speed. As the basis, the notorious 775 motor is used, which is used for the manufacture of a variety of home-made machines and not only. Such motors have high torque and develop high revolutions, and thanks to the built-in fan, the engine is effectively cooled. 775 engines come in different capacities, you should also pay attention to the type of bearings when choosing, ball bearings last longer than classic bushings. If you are interested in the project, I propose to study it in more detail!
Materials and tools used by the author:
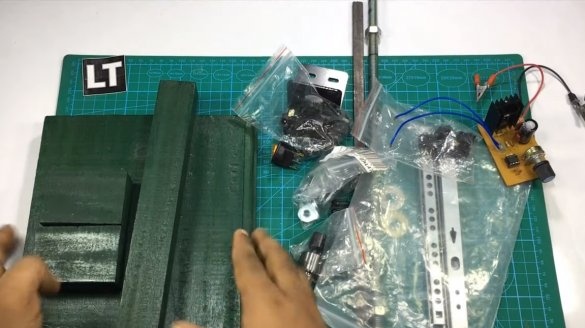
Material List:
- ;
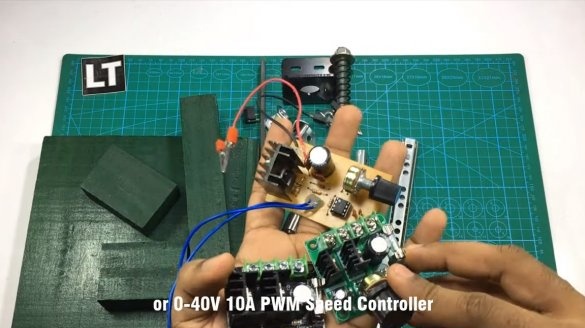
- speed controller 10A;
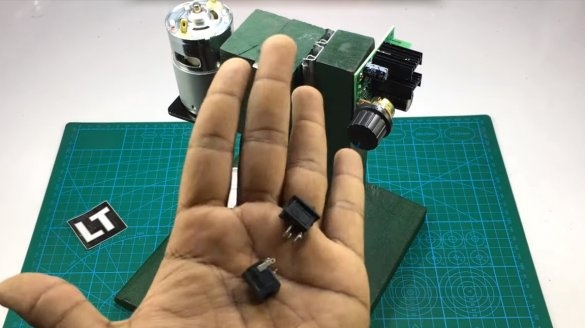
- switch and socket for connecting a power supply (10A);
- wires;
- ;
- ;
- two furniture sliders;
- an arm for the engine 775;
- threaded rod, nuts, washers, spring;
- an iron plate for the handle;
- tin can;
- fixing corners;
- screws;
- board and whetstones;
- paint.
Tool List:
- soldering iron;
- marker;
- jigsaw;
- glue gun;
- drill;
- screwdriver;
- ruler;
- a grinder or hacksaw for metal.
Homemade manufacturing process:
Step one. Base assembly
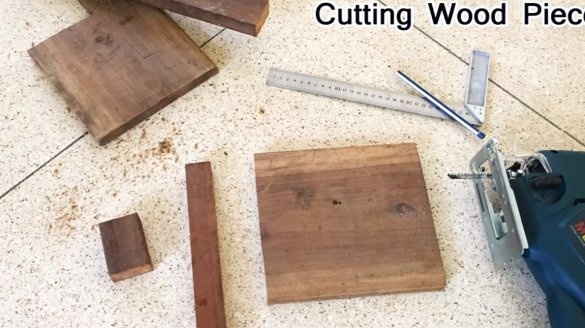
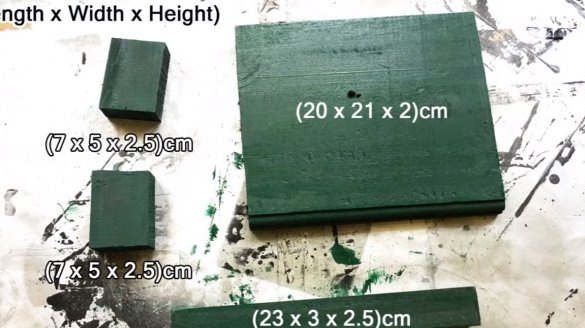
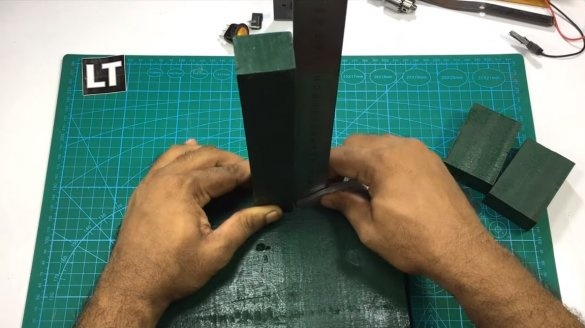
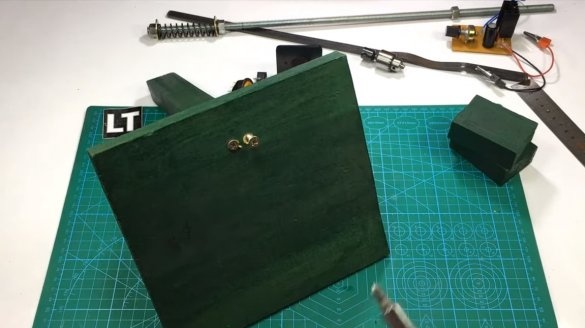
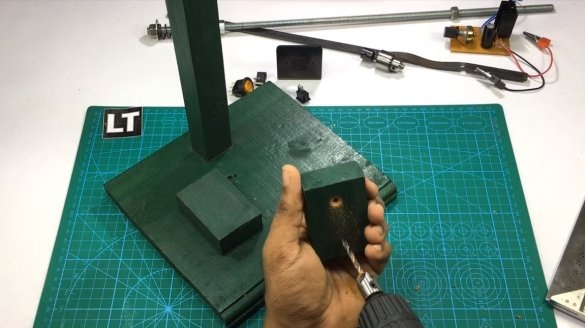
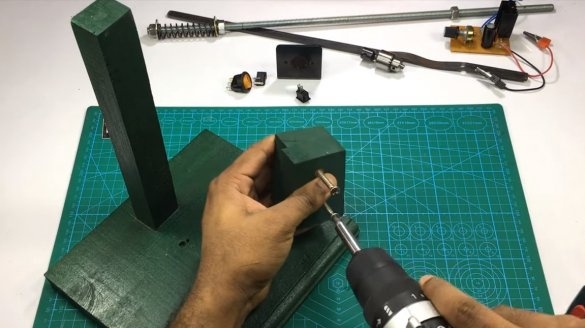
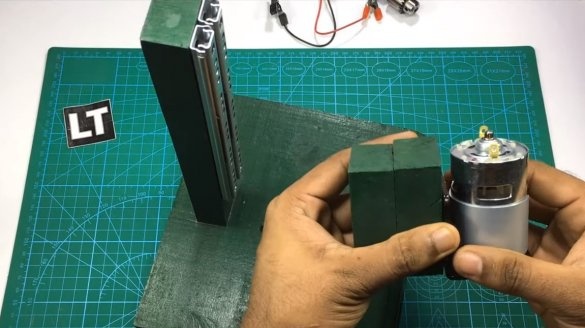
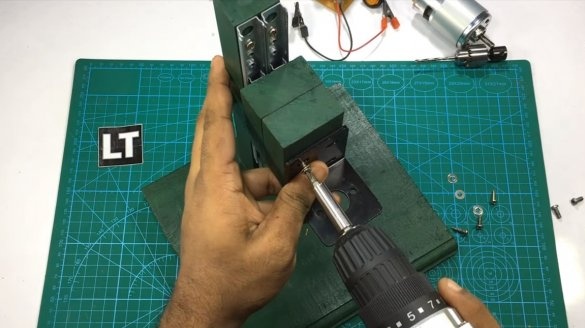
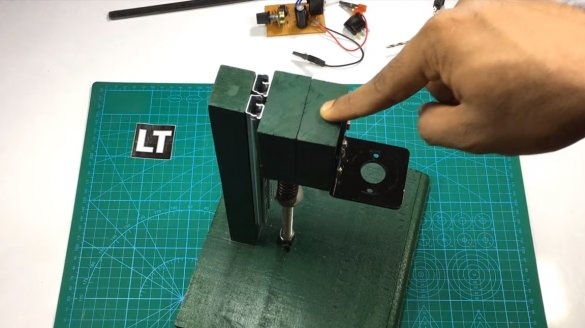
First of all, we will collect the basis to which we will all attach. The base is made of a piece of board, to which a bar from a bar is screwed at a right angle. It would be good to coat the joined parts with wood glue for reliability. We also need to assemble a block on which we will install the engine. To do this, you can twist two bars with screws or find a solid block in size.
Step Two Sliders
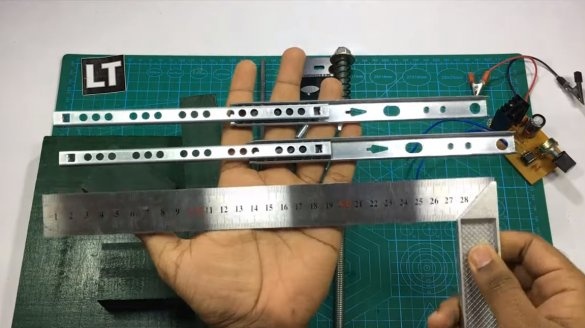
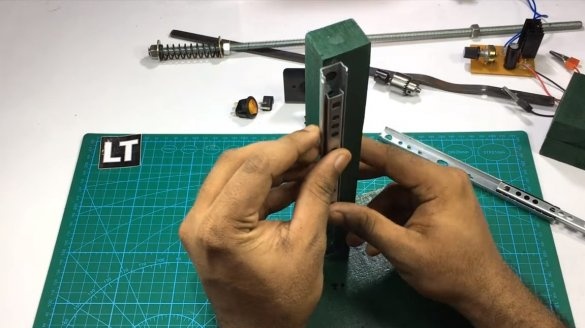
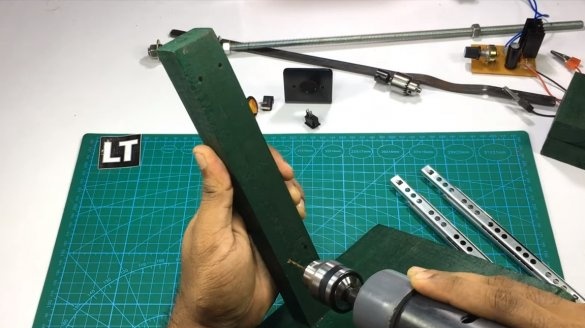
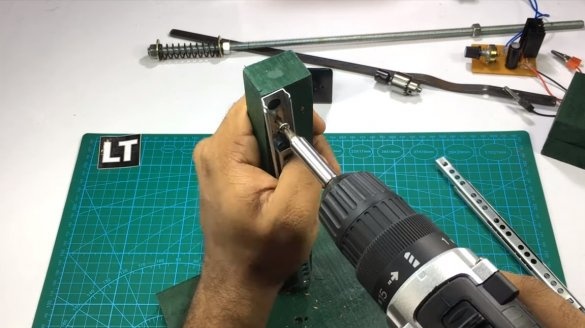
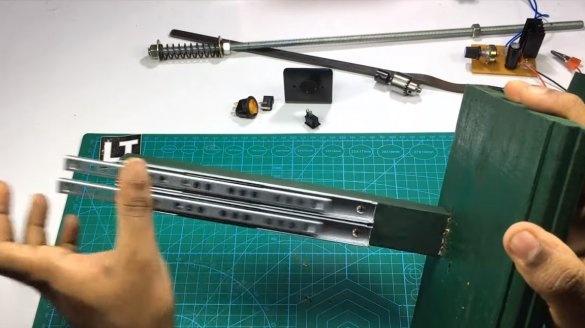
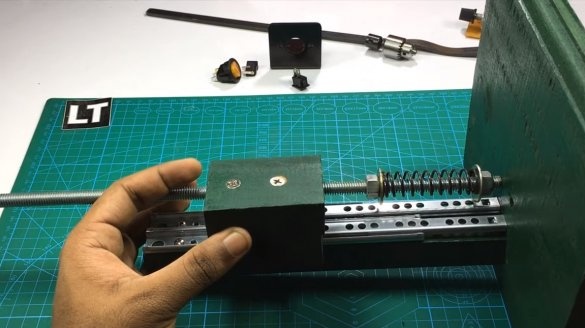
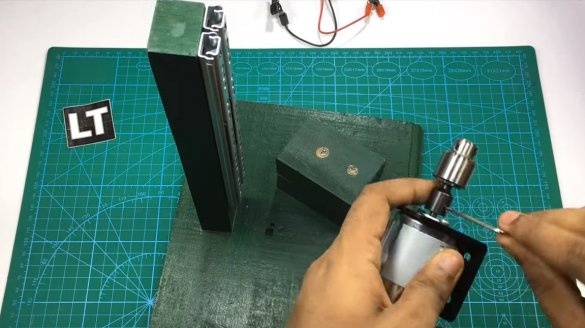
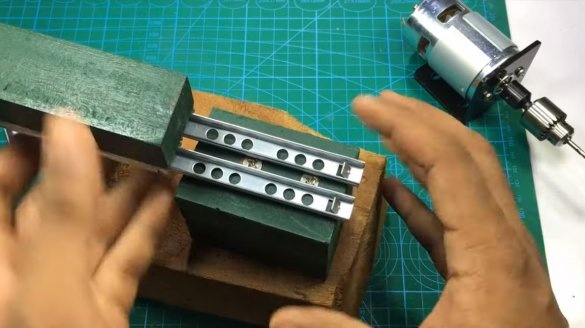
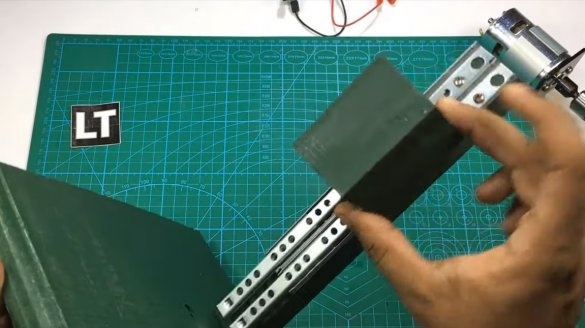
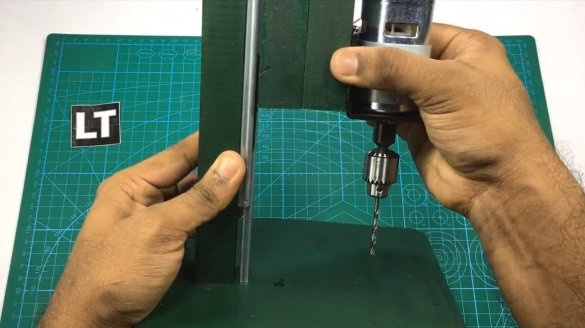
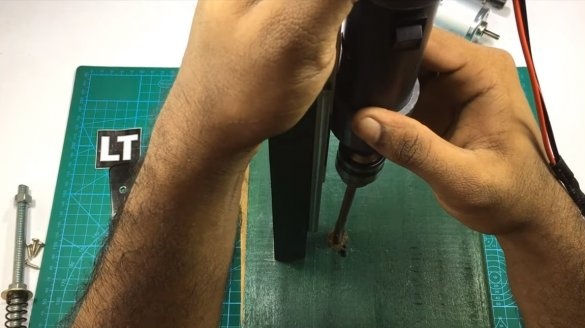
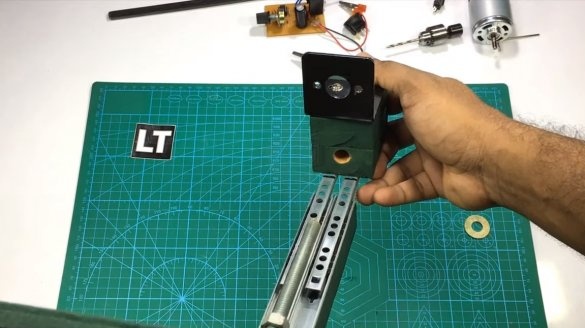
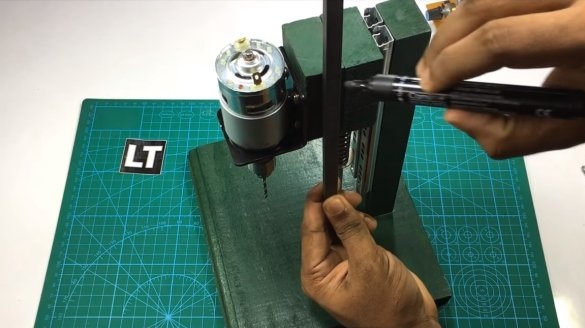
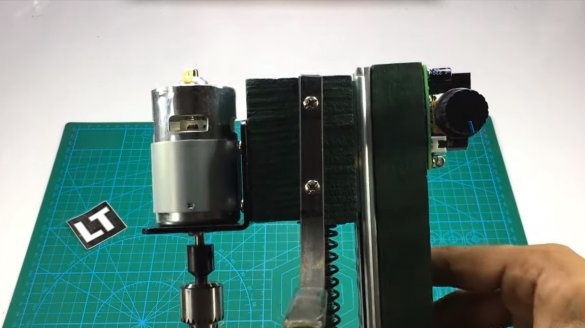
We attach two furniture sliders to the rack, it is better to choose quality sliders in which there are no large backlashes. When drilling, the author moves the drill to the side, which is not particularly good when the hole needs to be drilled accurately. We fasten the sliders with screws or screws. A block is screwed to the inside of the sliders, to which the engine will already be attached.
Step Three Preparing the return mechanism
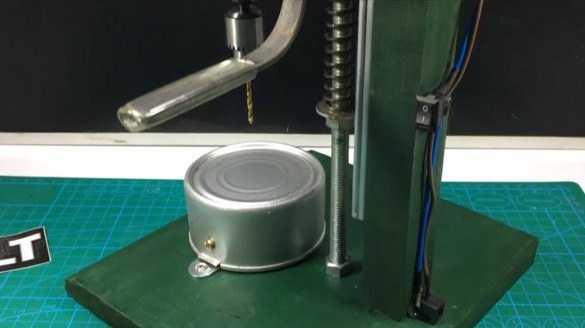
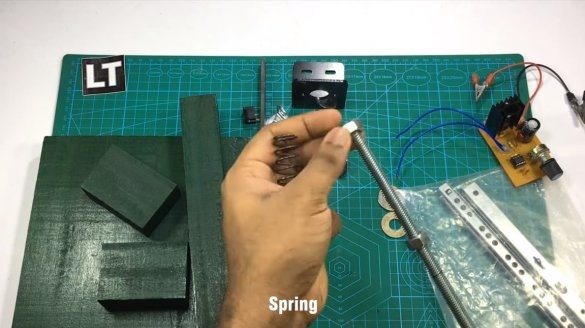
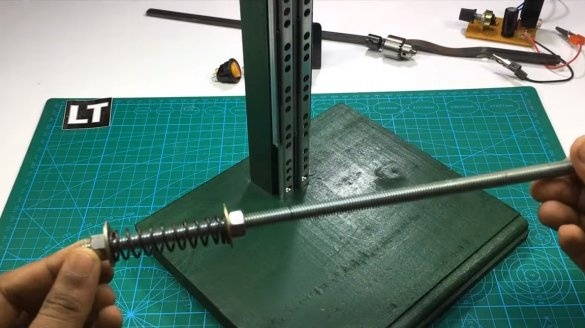
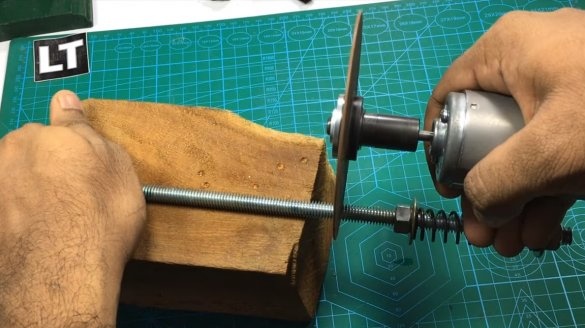
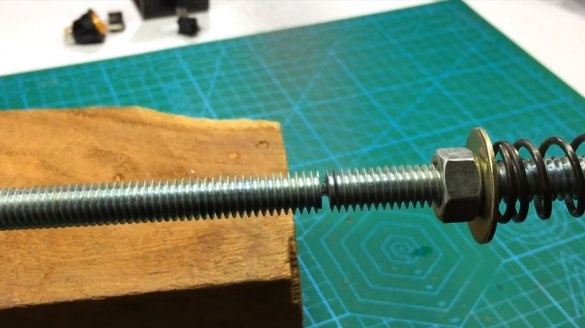
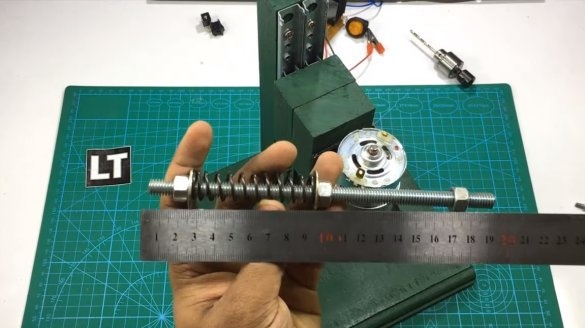
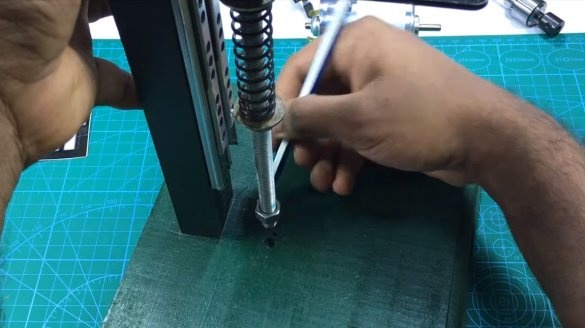
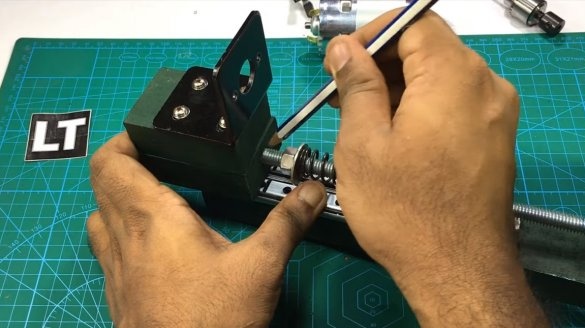
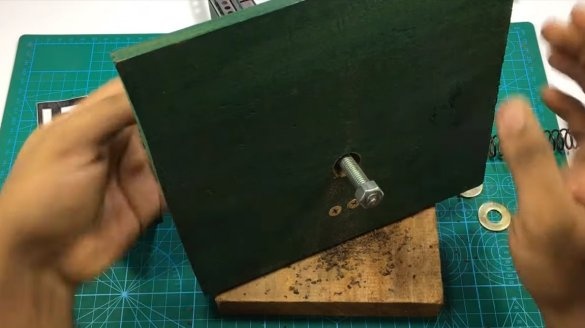
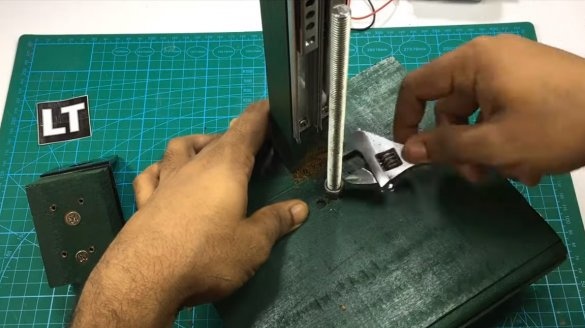
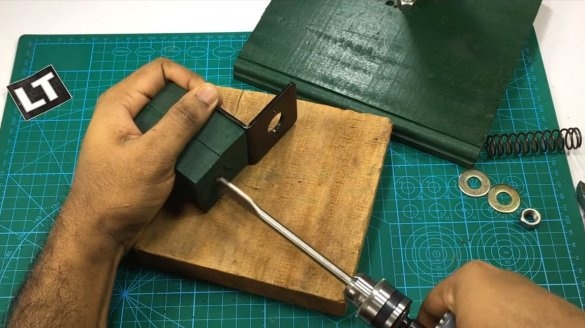
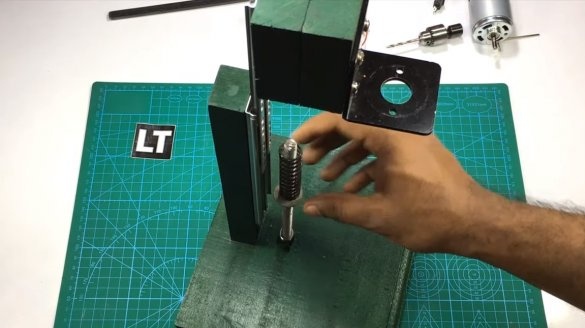
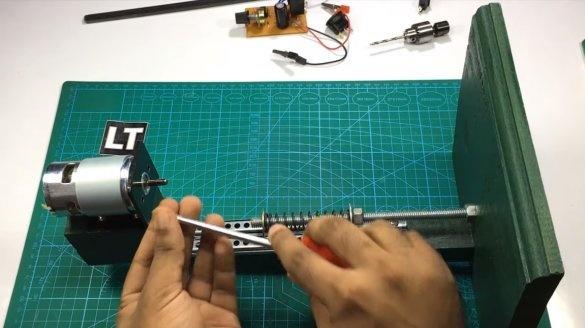
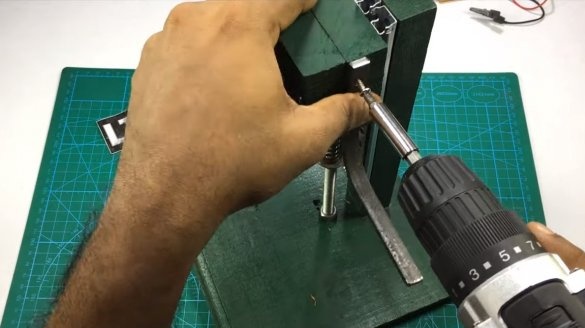
After lowering the engine with a drill chuck, it must itself return to its original position. The author built the necessary lift from a threaded rod, nuts, washers and springs.We cut the threaded rod to the required length, it will have to be screwed to the base, and its other end will go into the movable block.
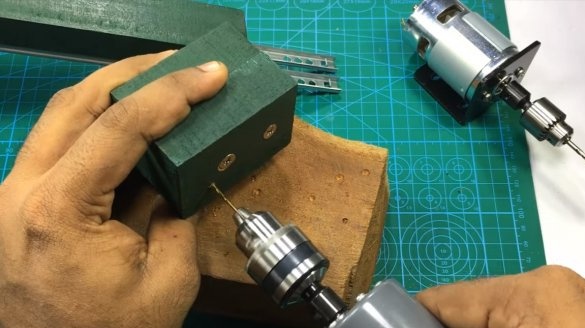
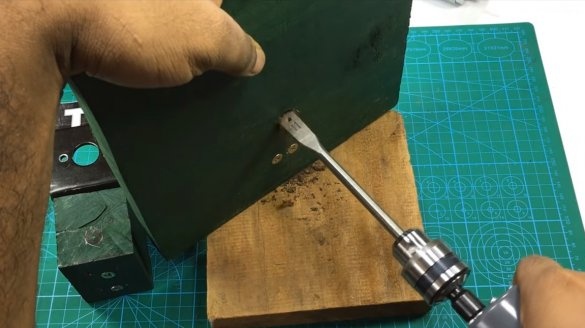
At the base we drill a through hole and, on the other hand, drill a recess for the nut. In the movable block, we drill a blind hole in diameter slightly larger than the diameter of the threaded rod.
Step Four A pen
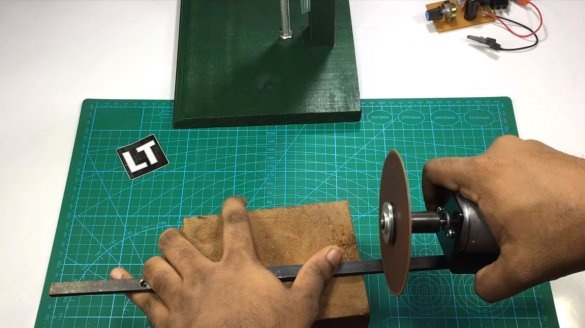
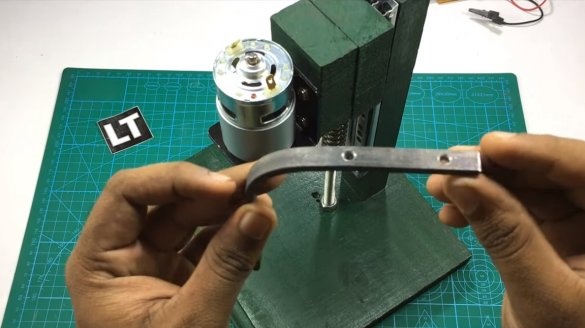
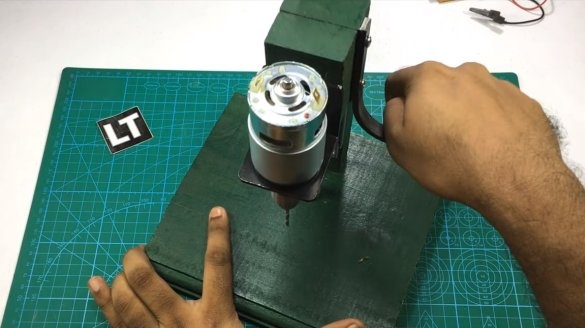
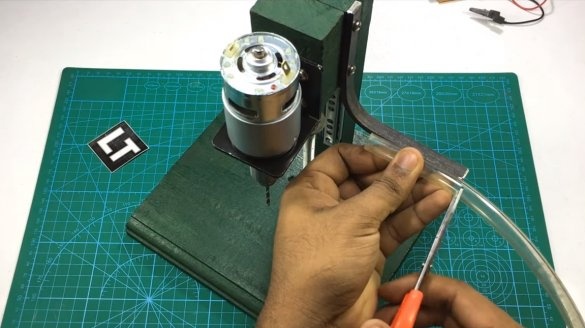
We make a handle for the drilling machine, for this we need an iron plate. Cut off a piece of the desired length and bend, drill holes and screw the handle to the movable block. At the end, we put a piece of hose on the handle so that it is pleasant to take on the handle.
Step Five Support
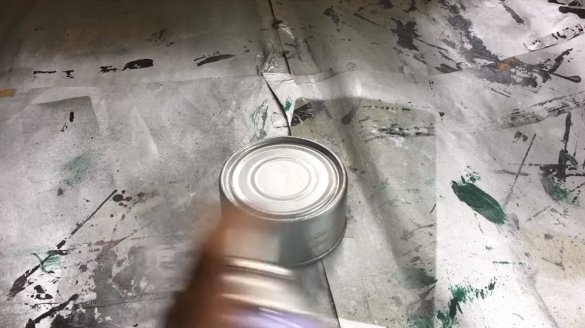
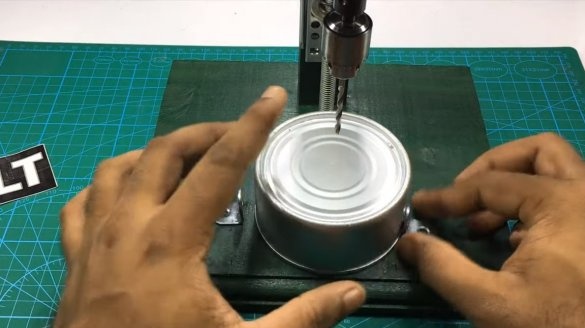
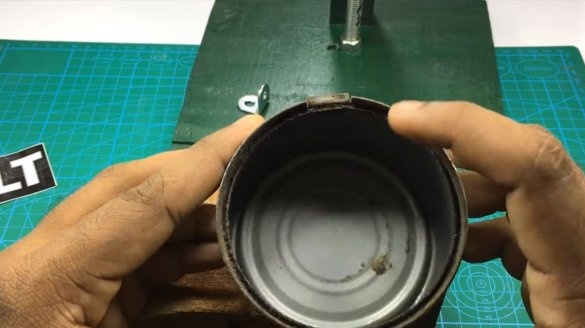
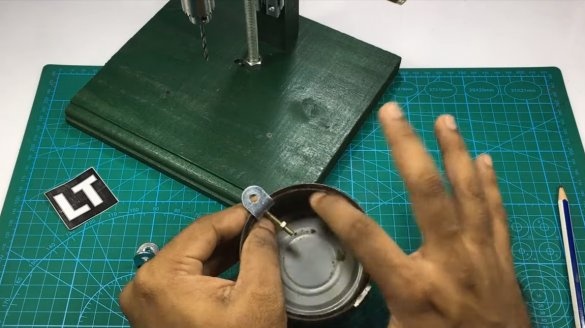
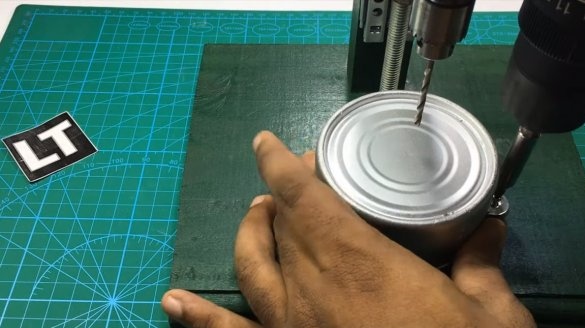
We make a support for drilling, for such purposes the author decided to adapt a tin can. We paint the jar with a spray can and fasten it to the base with the help of fixing corners.
Step Six Finishing touches
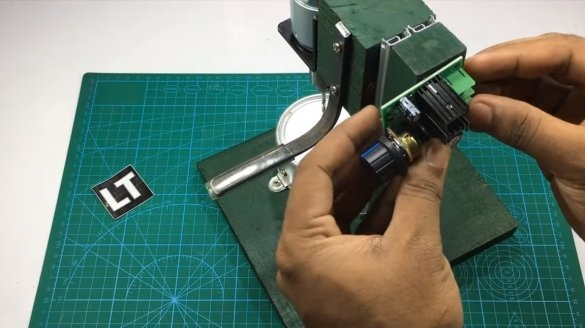
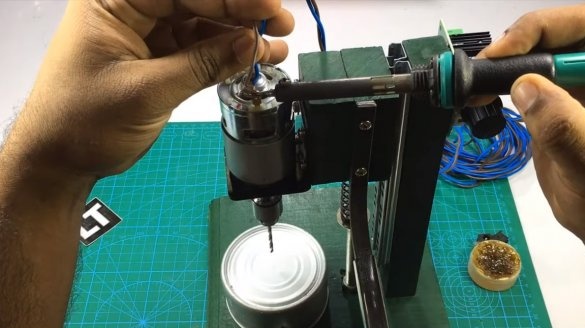
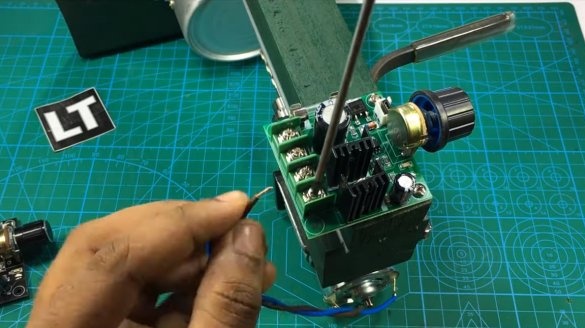
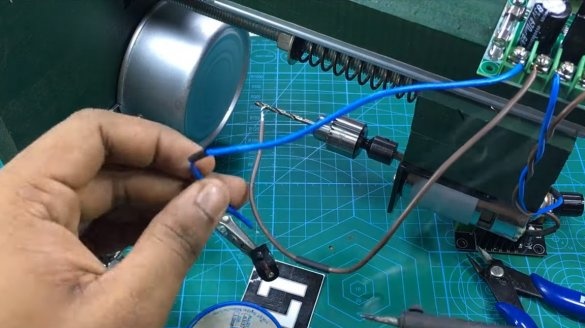
In conclusion, we need to install the speed controller in a convenient place, solder the wires, and also install the socket for connecting the power supply and the switch. We fix the necessary parts with a glue gun. That's all, after that the drilling machine will be ready for testing.
Seventh step. Test
We connect the power supply to 12V or the battery, if after turning on the cartridge rotates in the wrong direction, we change the wires to the places on the motor contacts. The engine can be powered up to 24V, but at this voltage it will work to the point of its capabilities, developing monstrous turns.
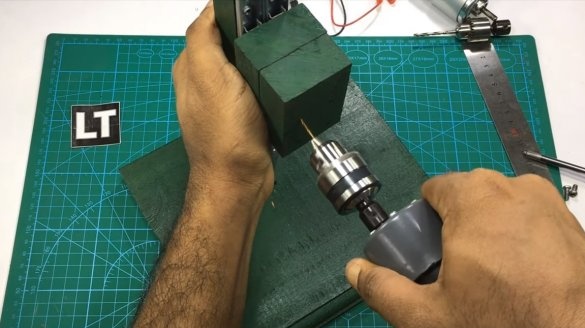
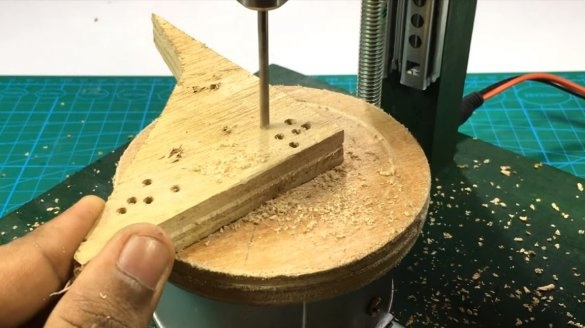
As an experiment, the author decided to drill plywood, the machine easily copes with the task, but there is play in the machine, so the sliders were not selected very high quality. Also, the author quite easily drills textolite. In general, the machine is convenient and suitable for various small tasks, as required.
This is the end of the project, I hope you liked the homemade work, and you found useful thoughts for yourself. Good luck and creative inspiration, if you decide to repeat this. Do not forget to share your ideas and homemade things with us!

