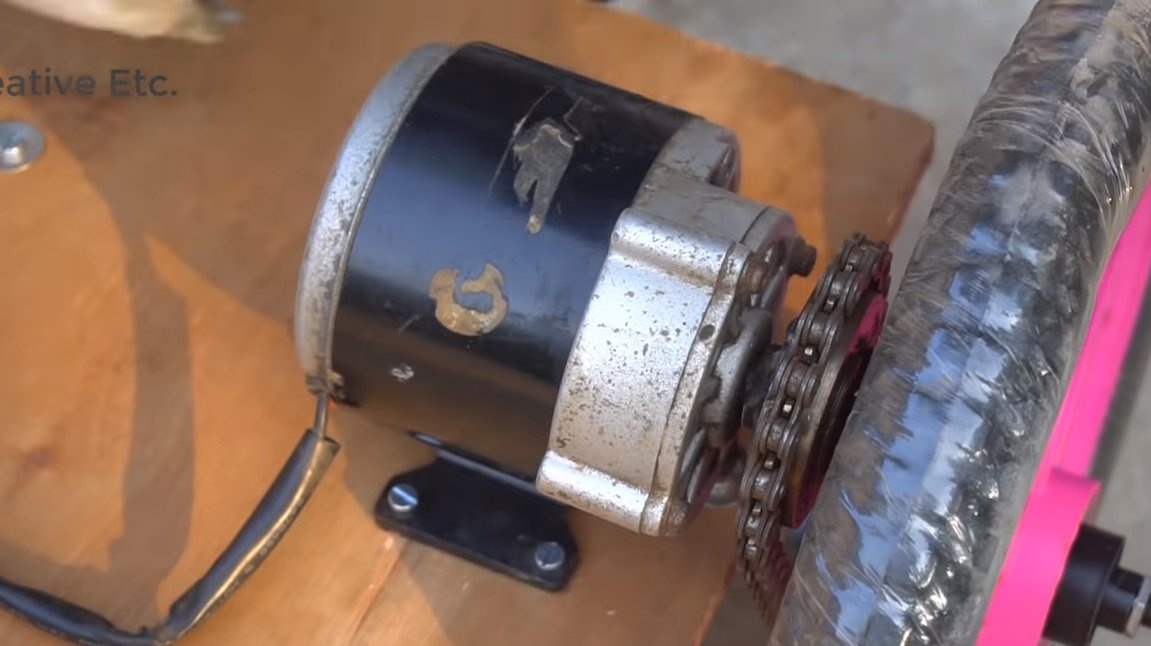
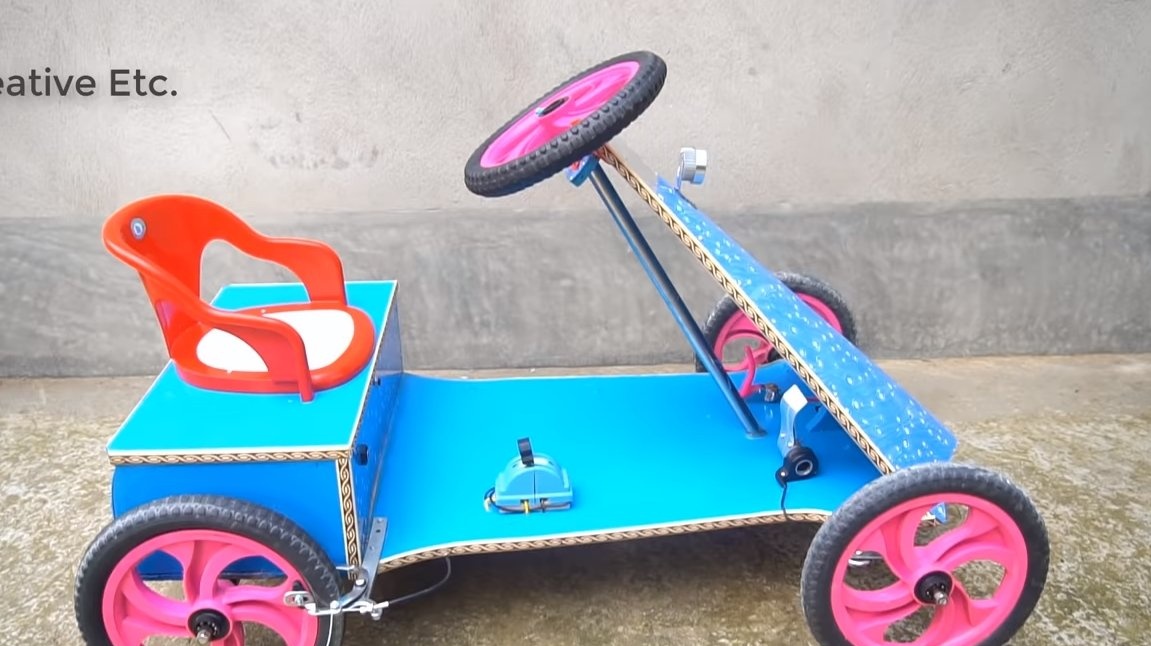
Hello to all fans of craftsmen, today we will consider how to make cards for a child with an electric motor. Of course. Everything has been done "to leave me alone," but no one bothers you to improve the design, to do everything reliably. The machine is driven by a gear motor for a 250 W bicycle, which is powered by 24V. Main part homemade made of plywood, for the axes the author used a corner. The card accelerates to 30 km / h, and the useful weight that can be transported is 125 kg. If you are interested in the project, I propose to study it in more detail!
Materials and tools used by the author:
Material List:
-
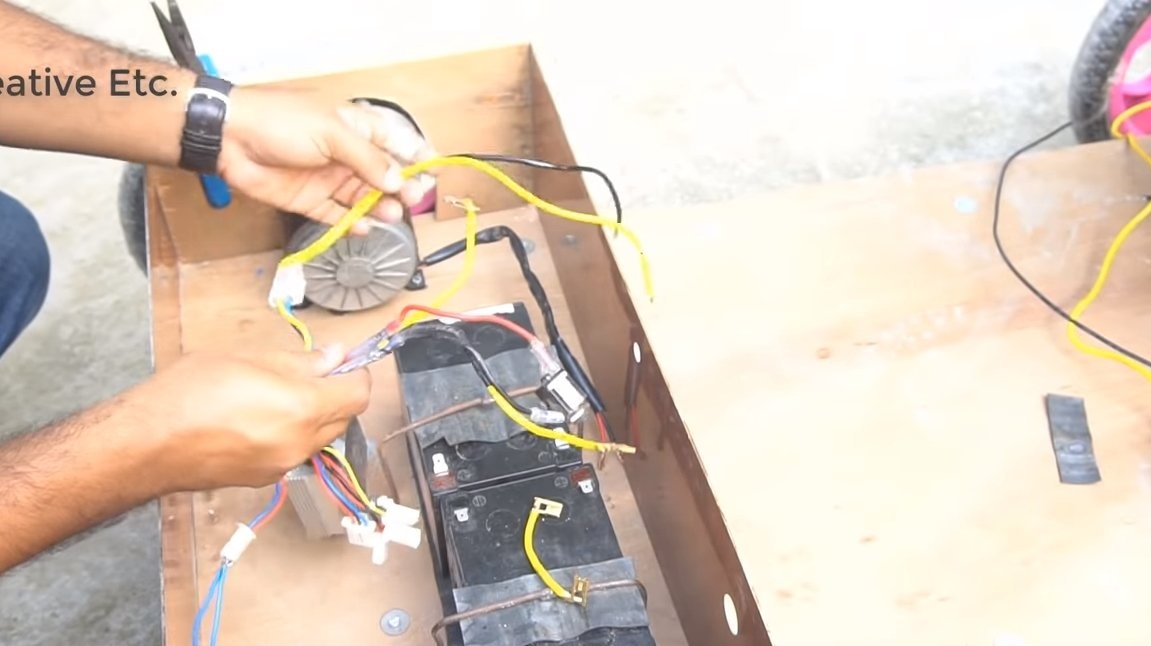
- engine speed controller;
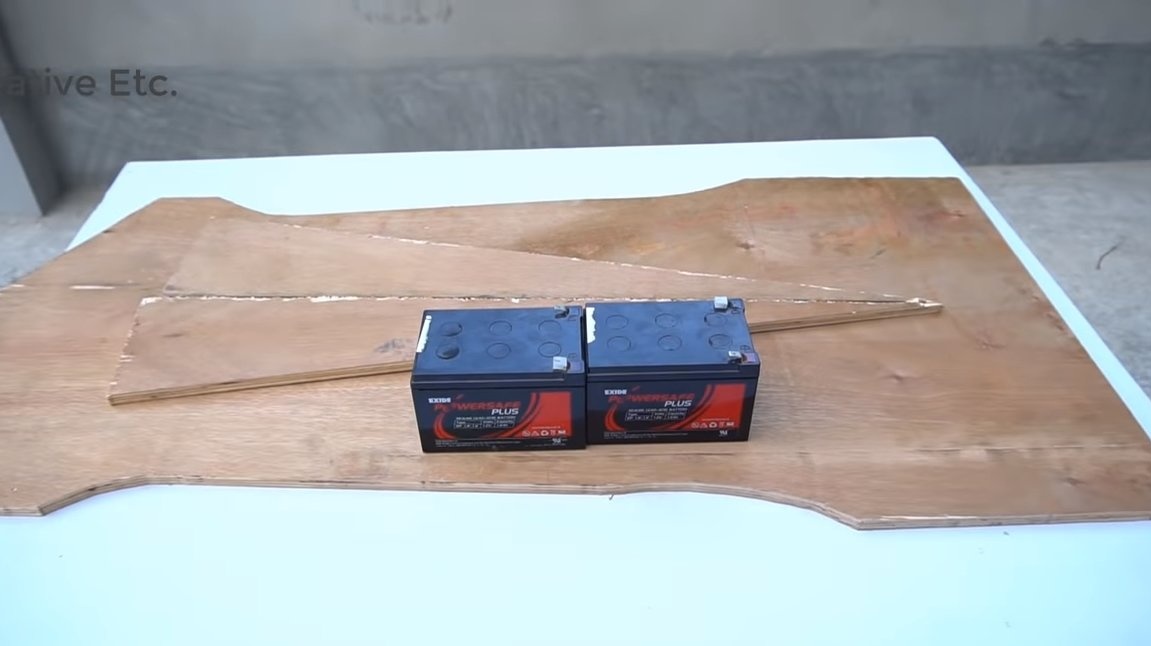
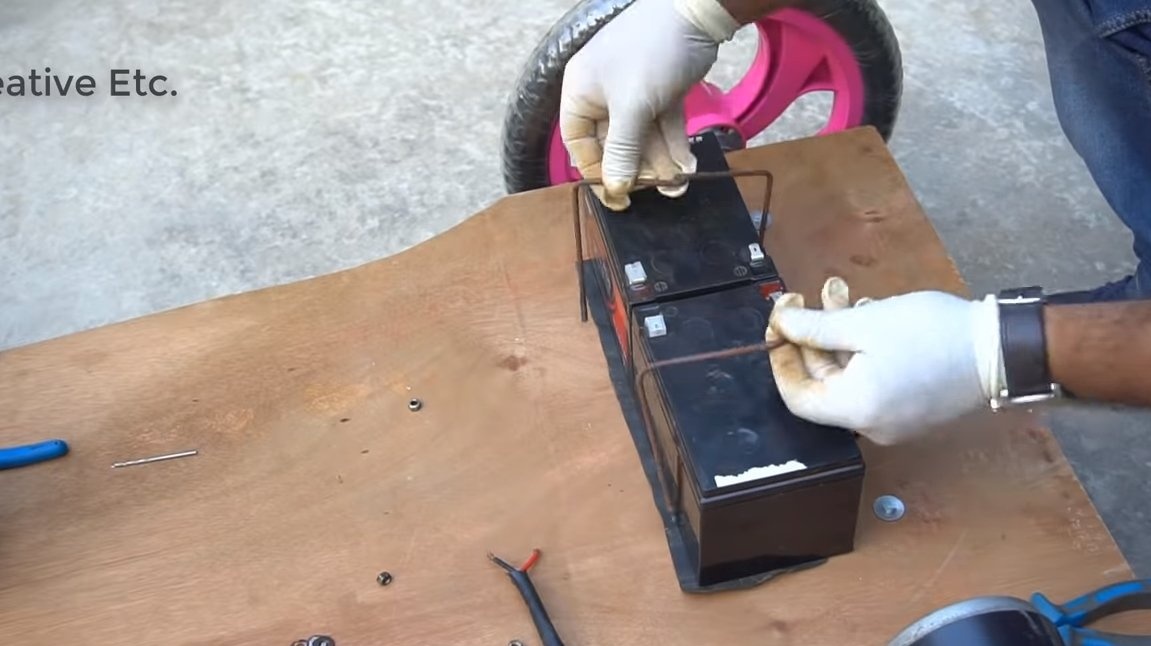
- two 12V batteries (for 24V);
- a hand brake from the bicycle;
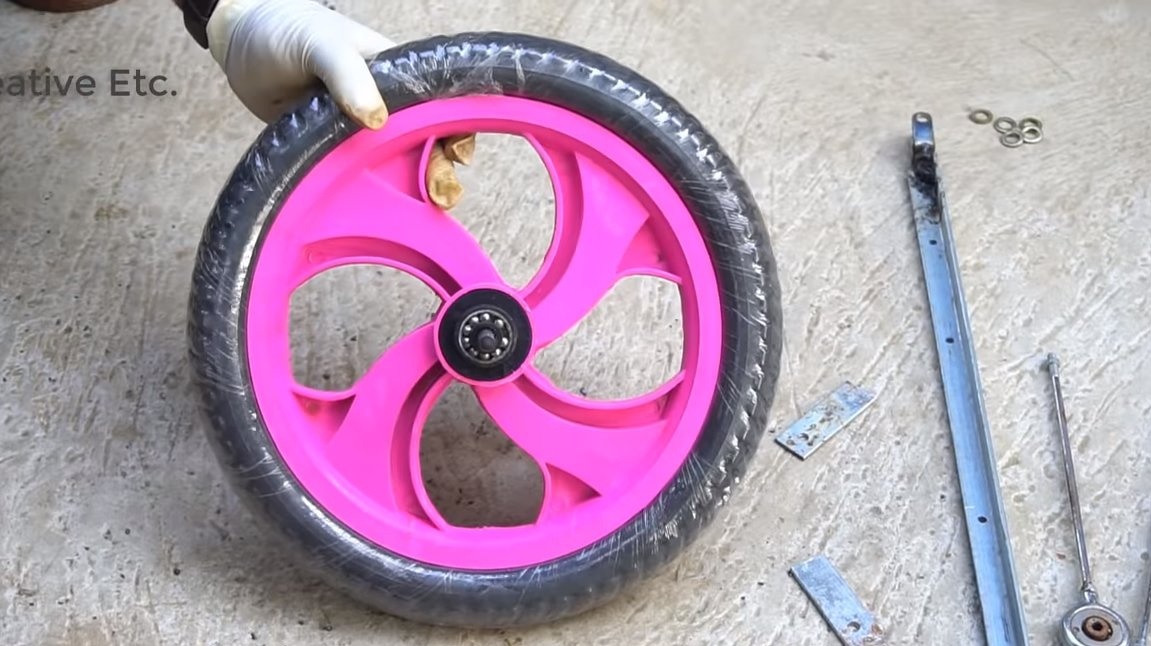
- 5 plastic wheels;
- iron corner;
- children's plastic chair;
- iron plates, screws and other little things.
Tool List:
- grinder;
- welding machine;
- jigsaw;
- drill;
- marker, tape measure.
Homemade manufacturing process:
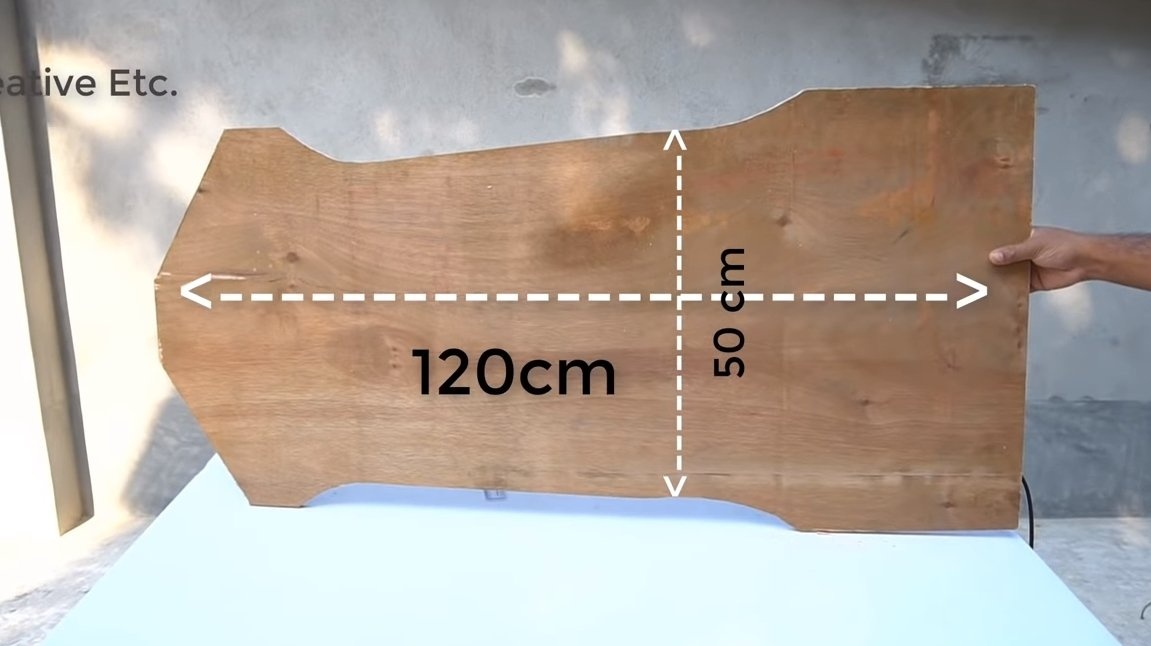
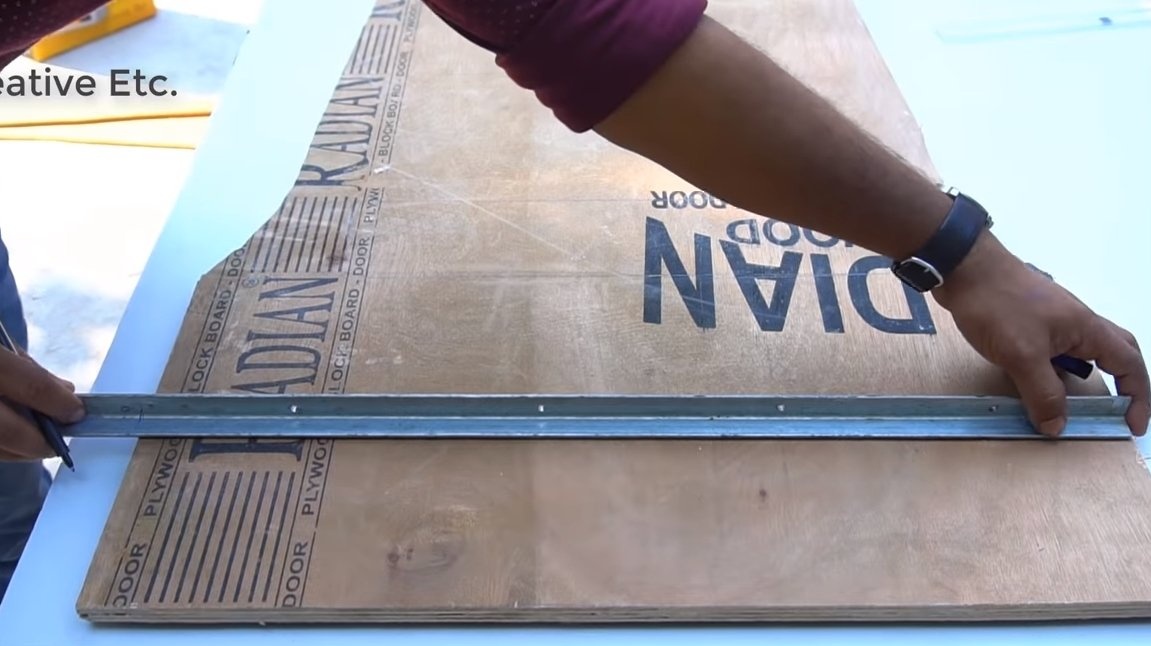
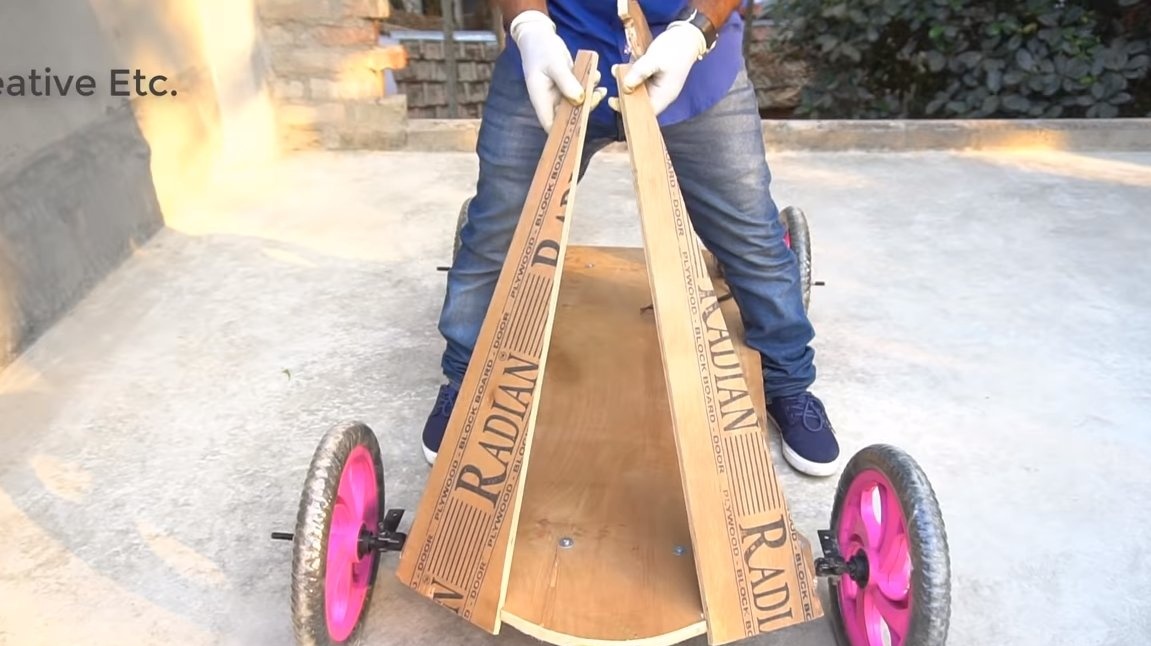
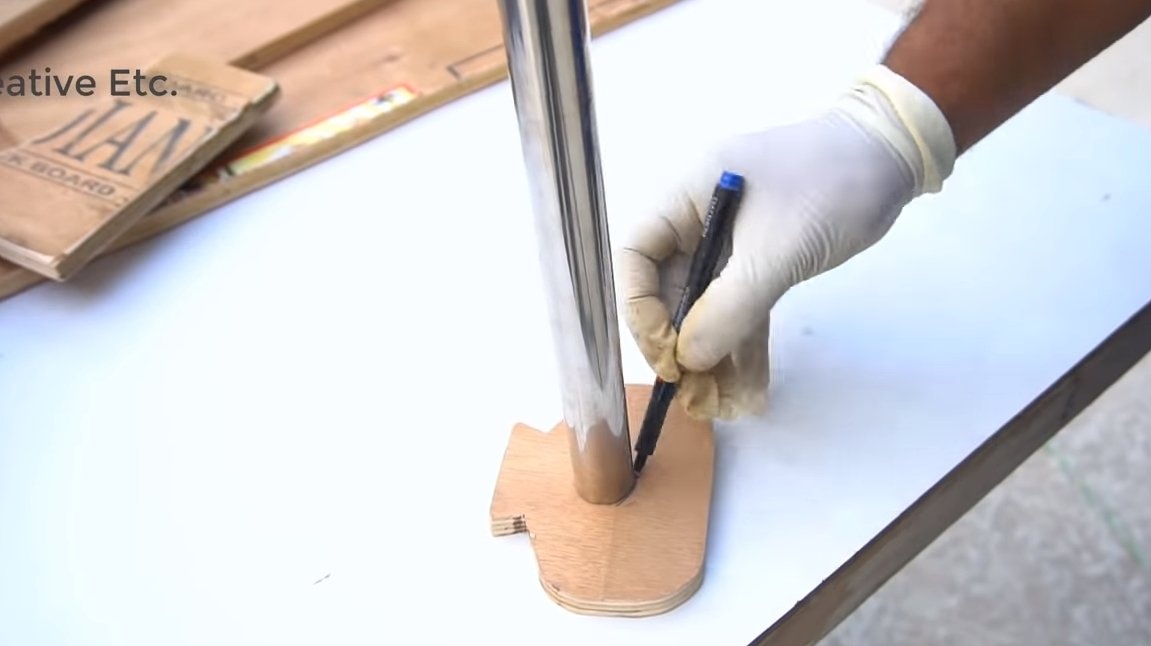
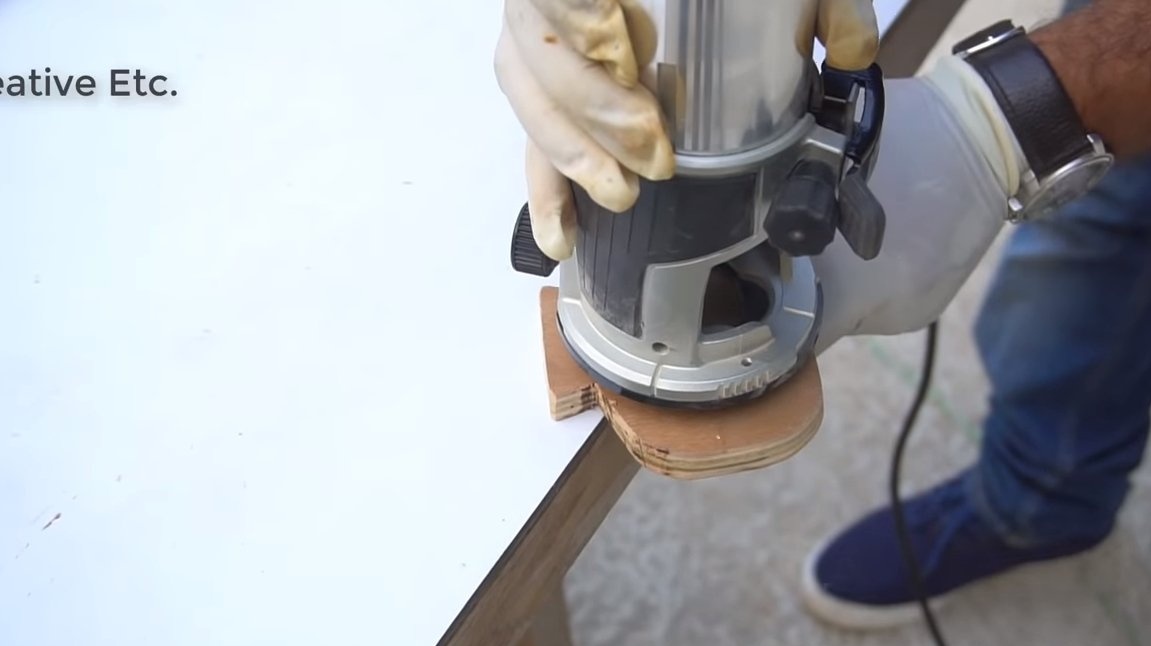
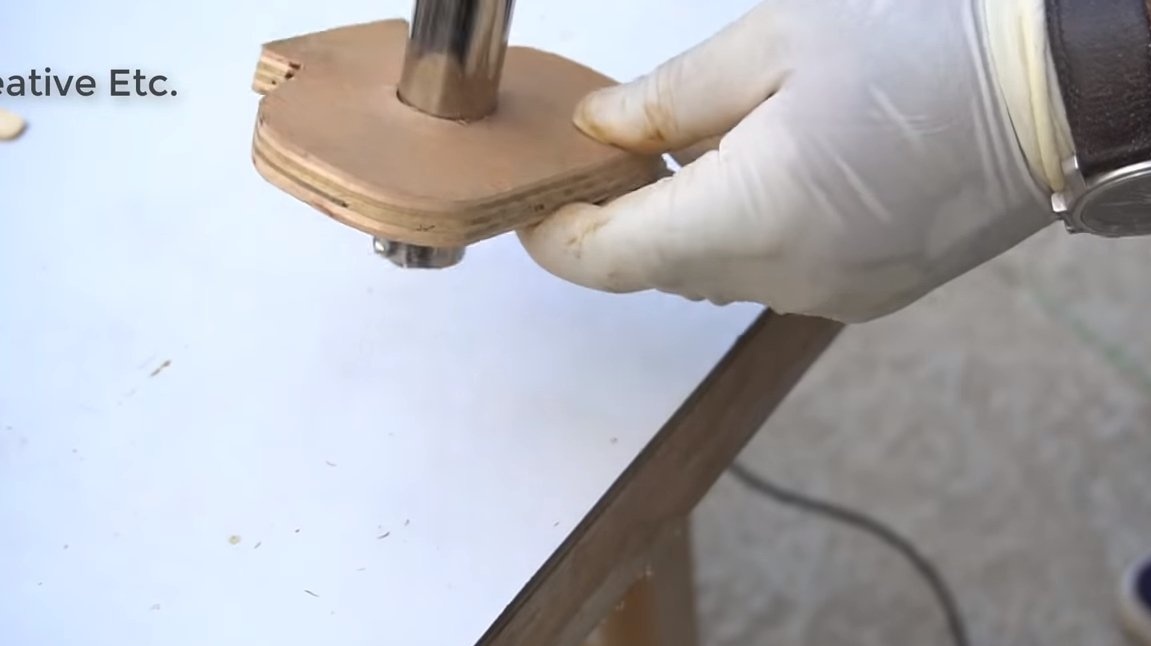
Step one. Frame
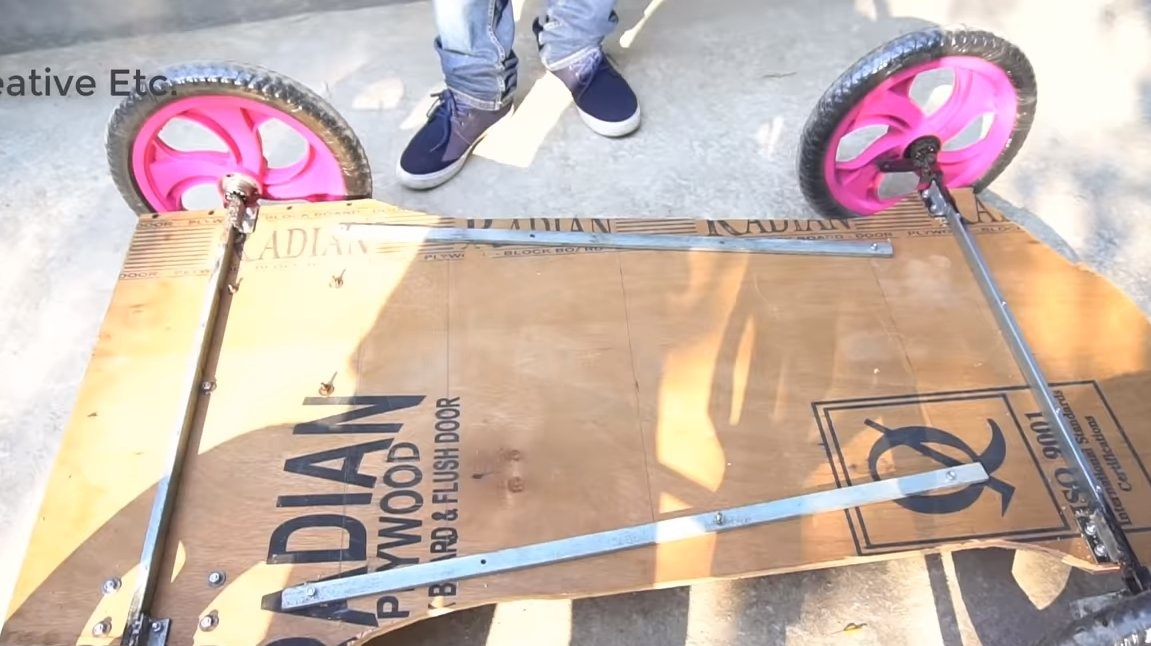
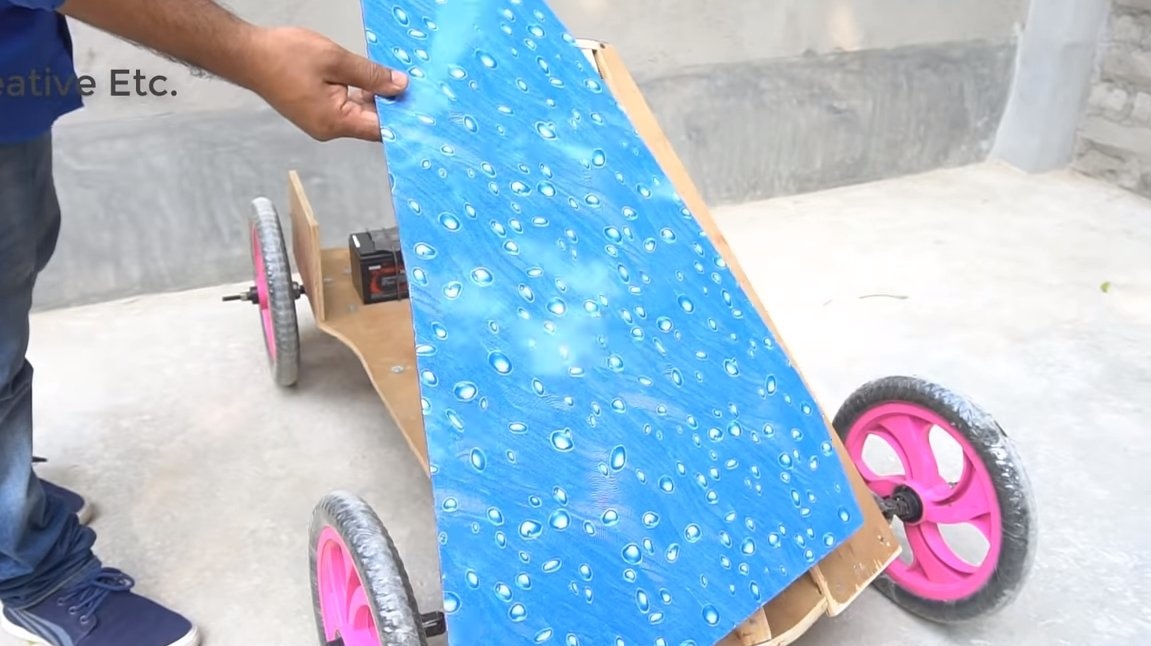
The frame of the card is made of plywood, the author only slightly strengthened it with a corner. The dimensions can be seen in the photo, just cut out the whole structure using a jigsaw.
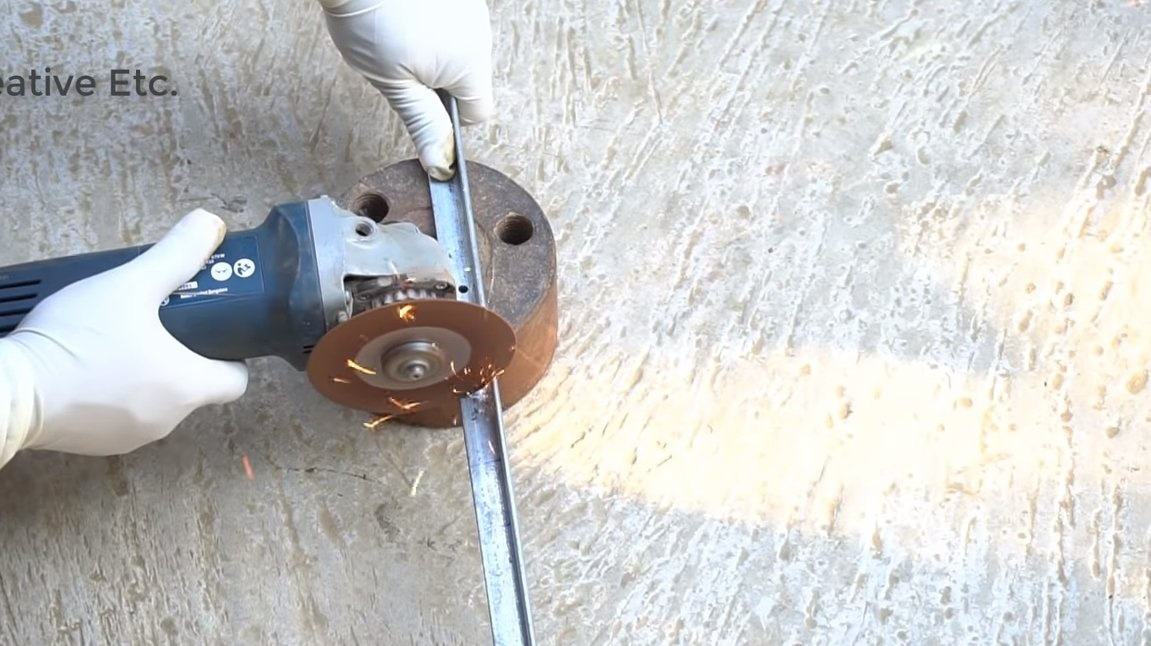
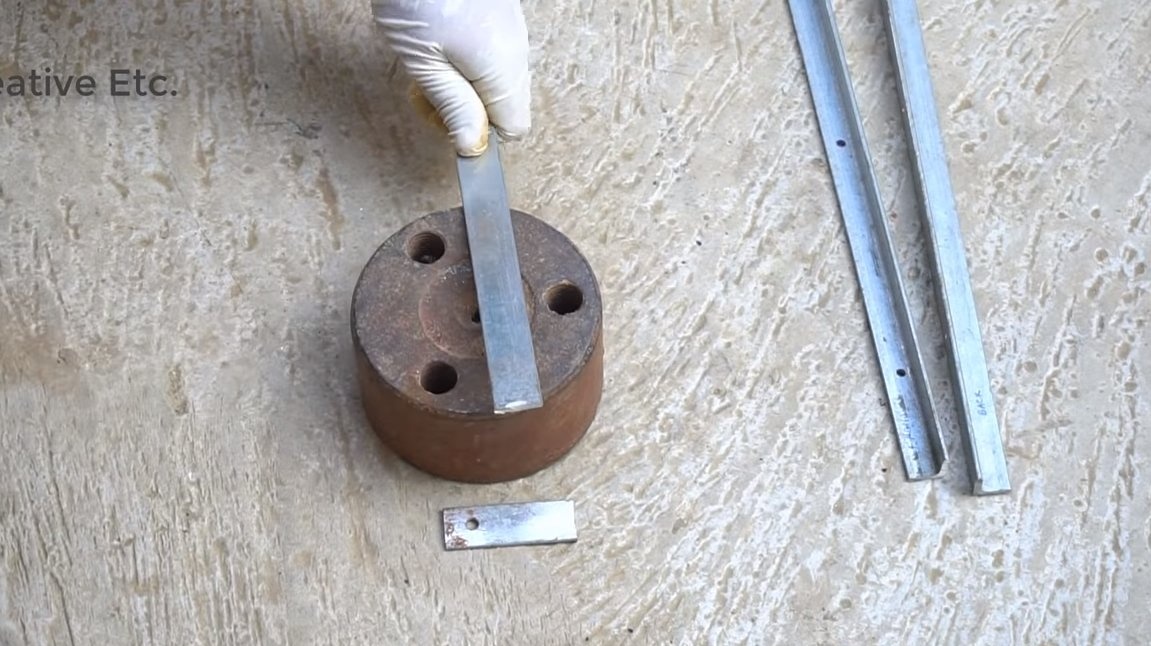
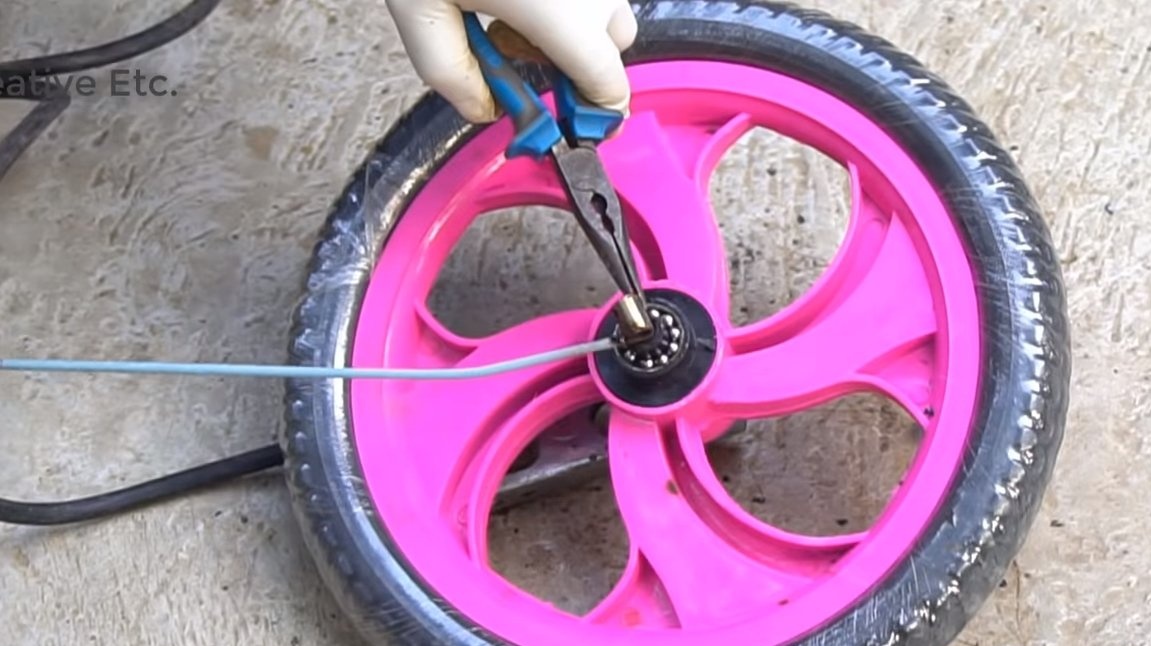
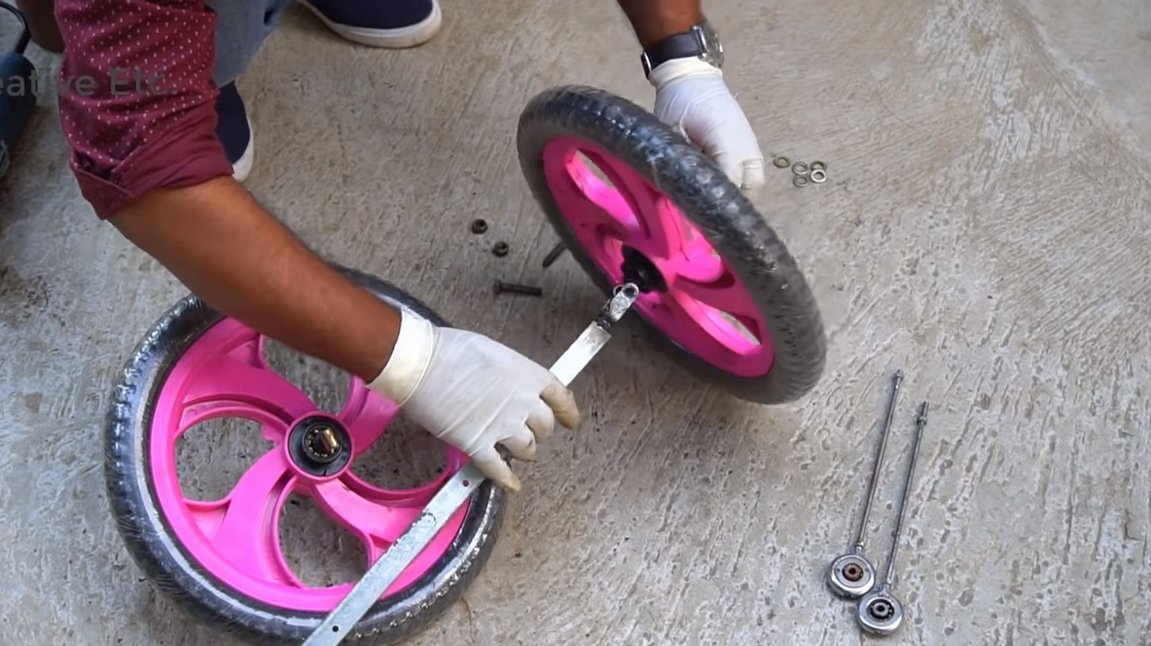
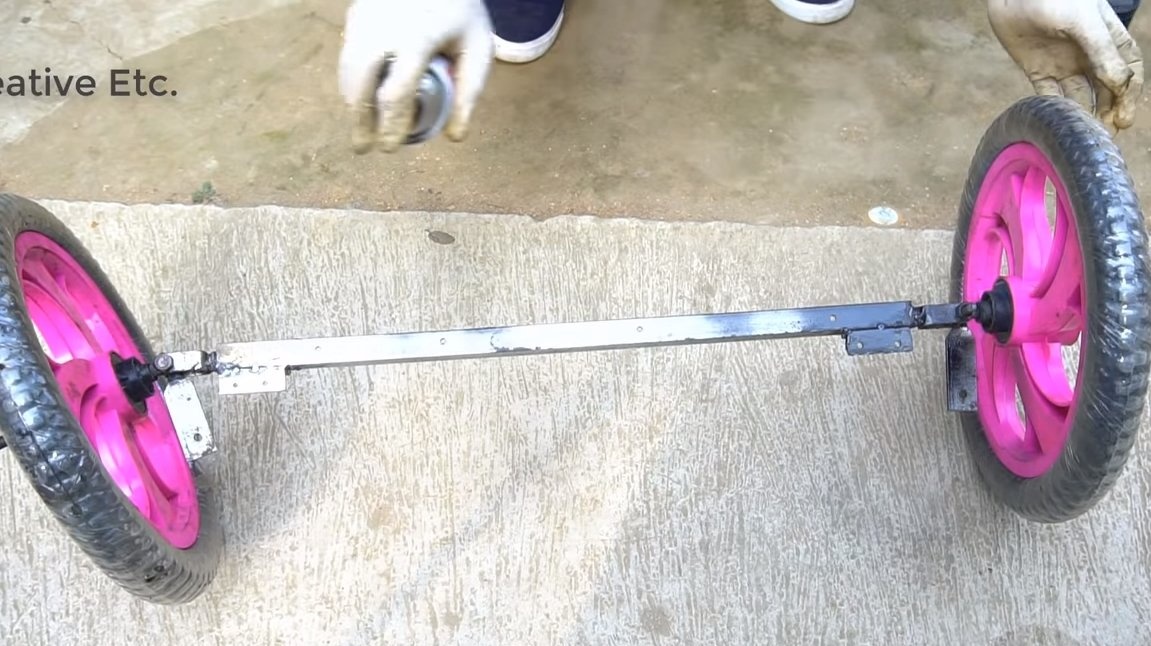
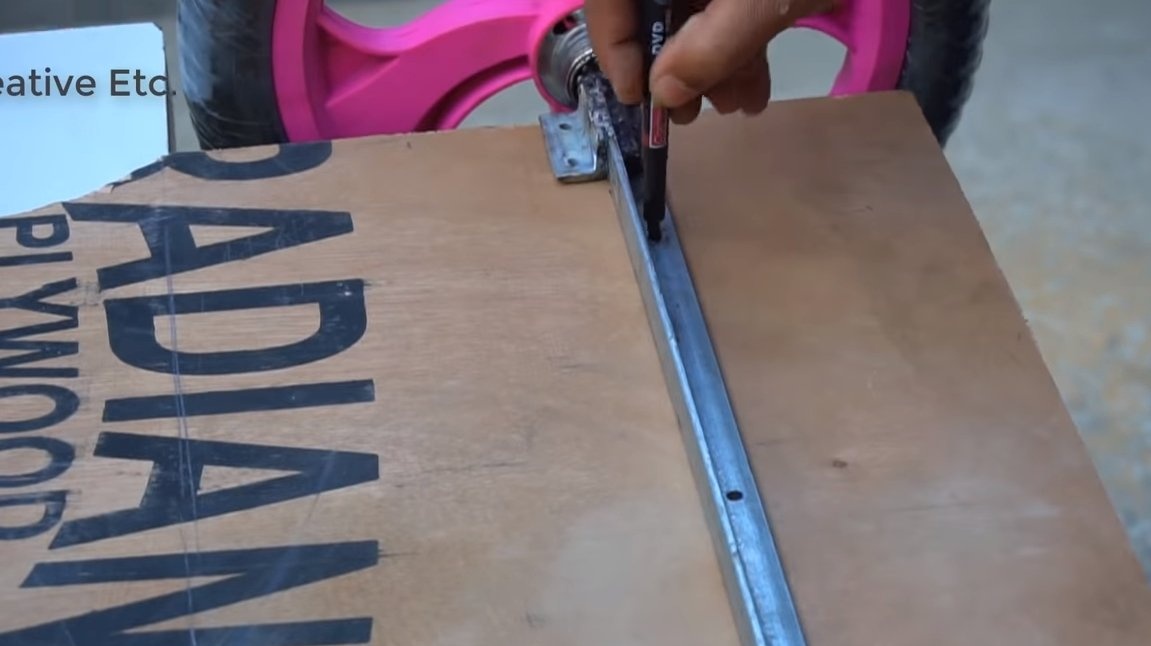
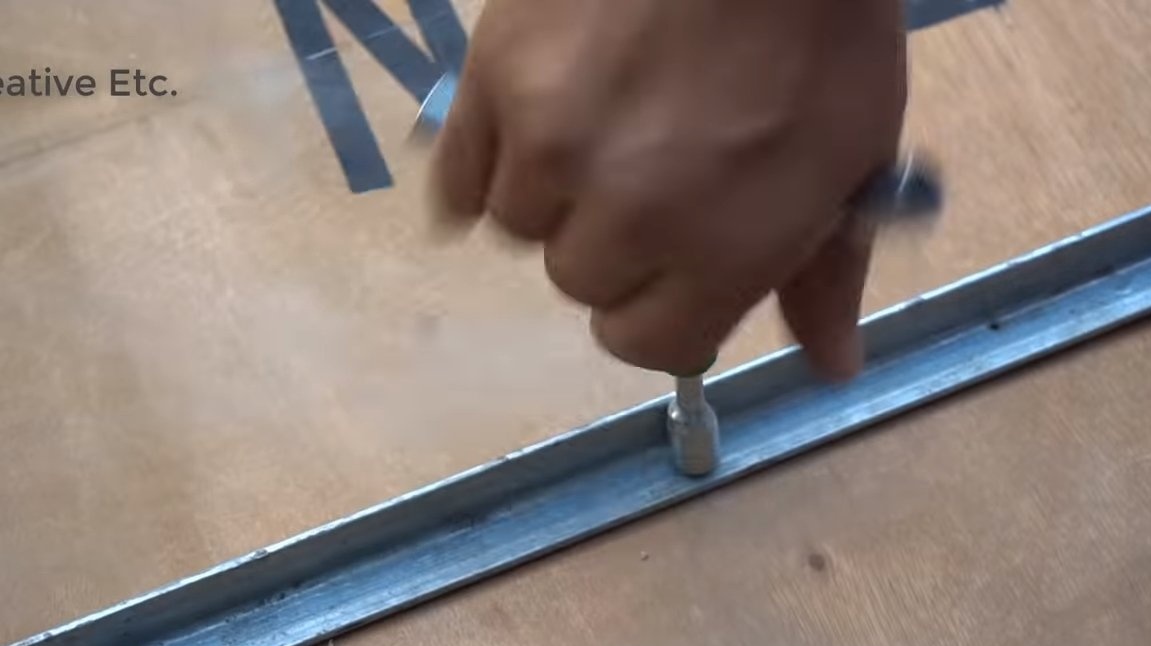
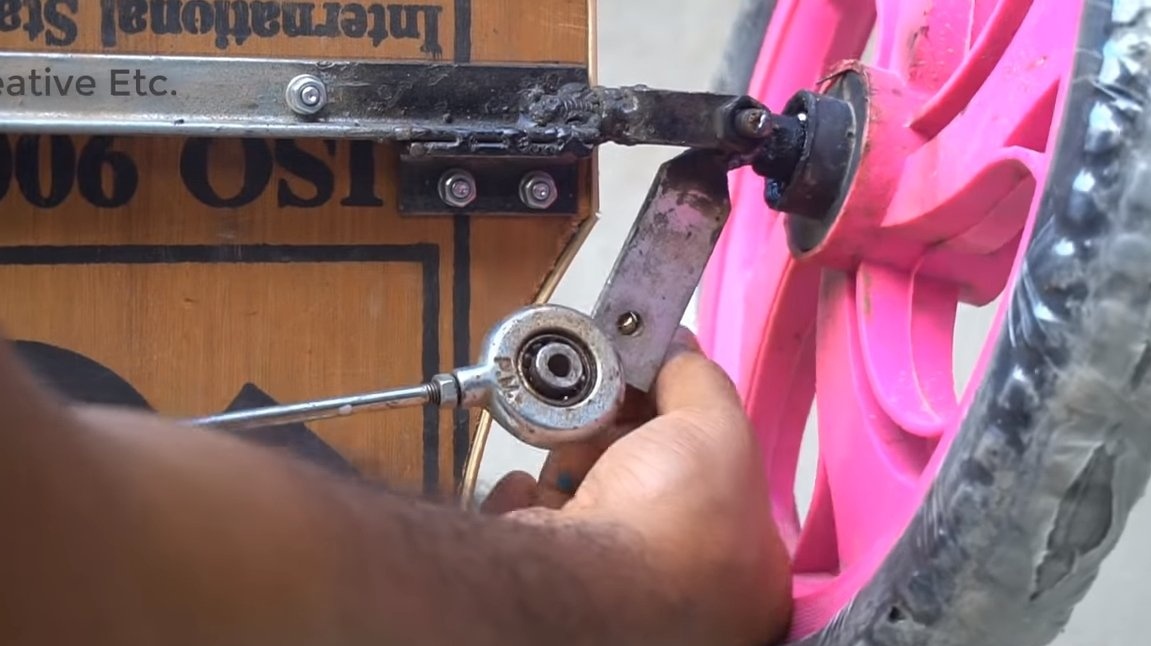
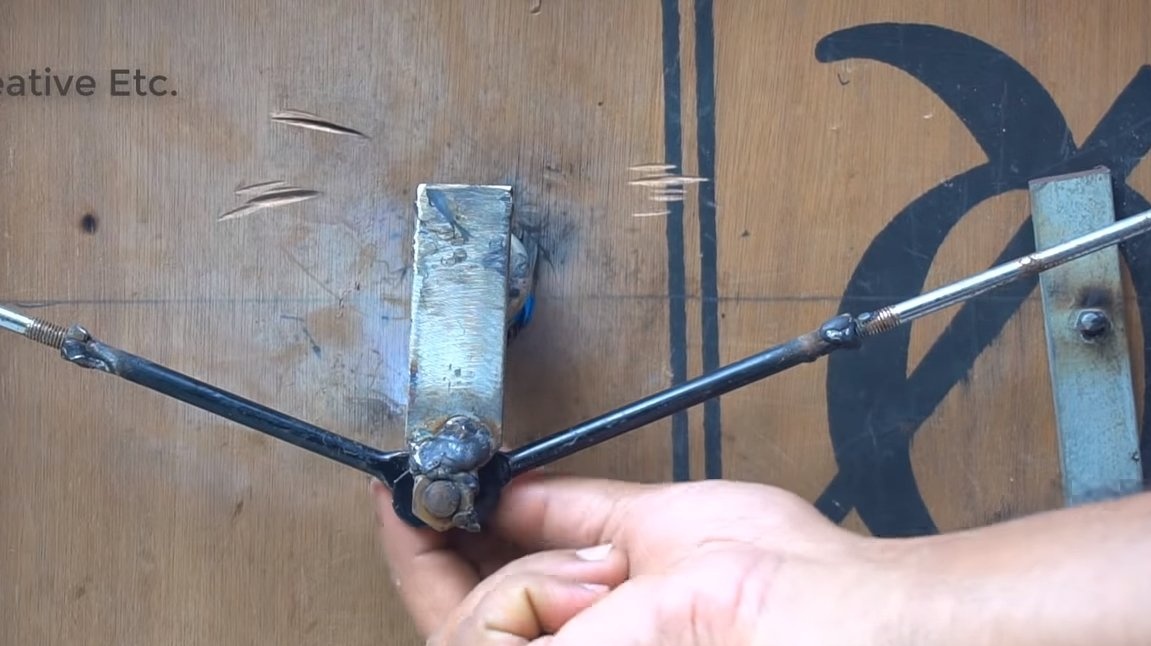
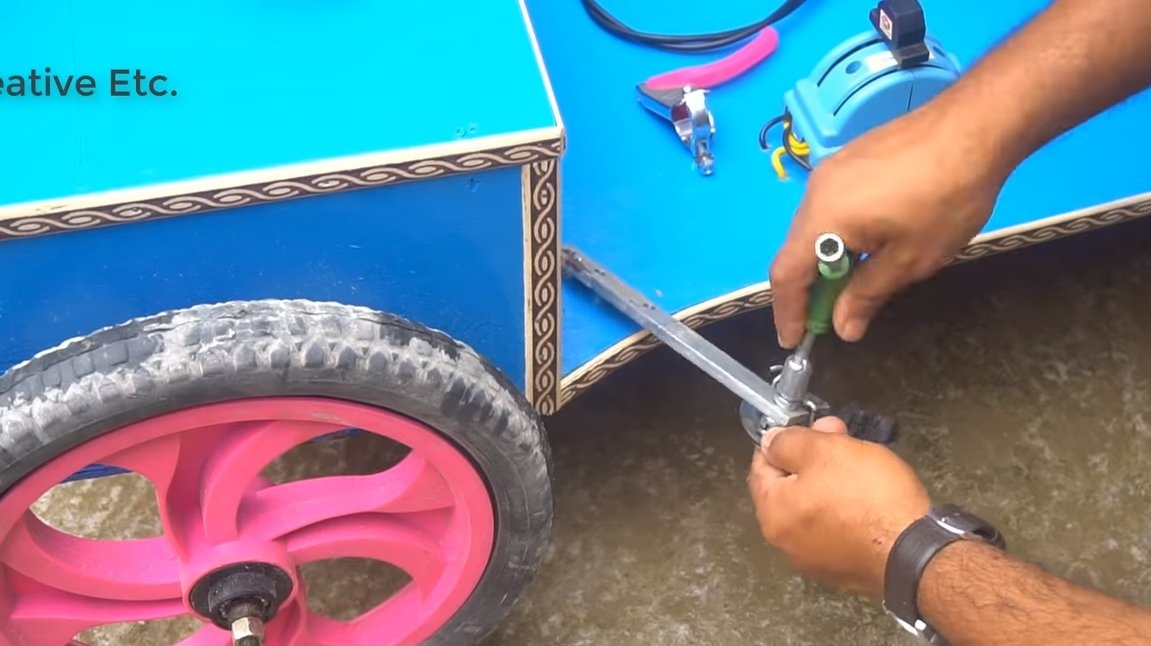
Step Two Axes
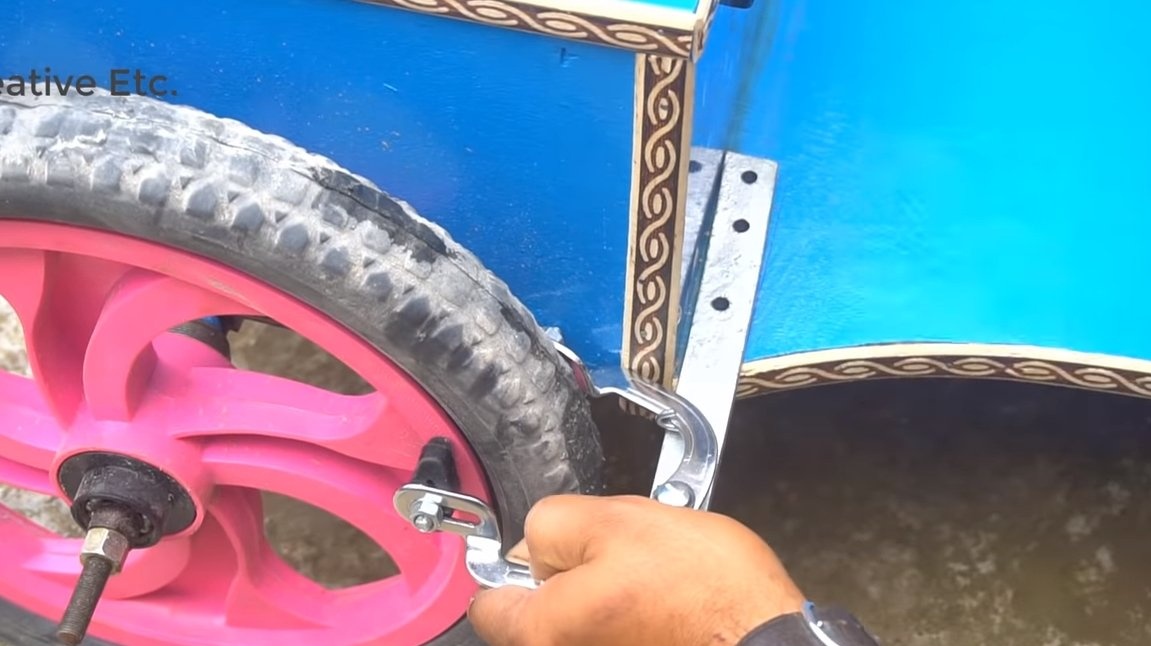
We make axles for the machine, they are made of an iron corner. Ears are welded to the front axle at the ends, these will be hinges that will allow the wheels to turn. Also, the author welds to the axles of the wheels of the tube, this will be the second part of the hinge, both parts are interconnected using bolts and nuts. All welding connections must be very strong, otherwise the child may become disabled!
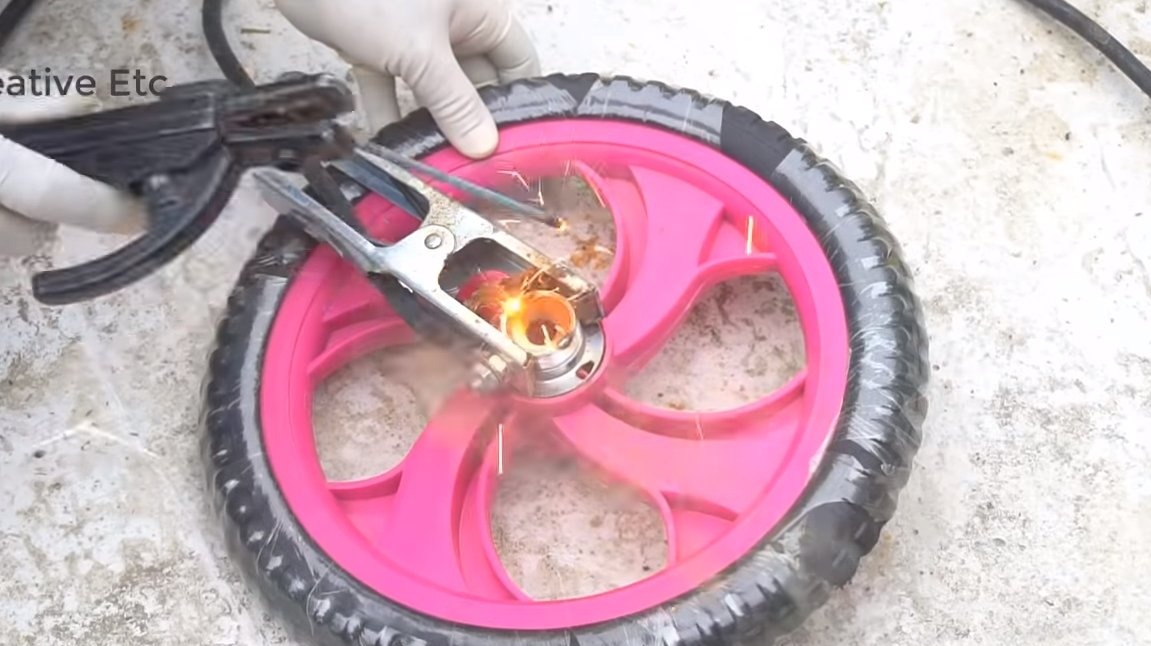
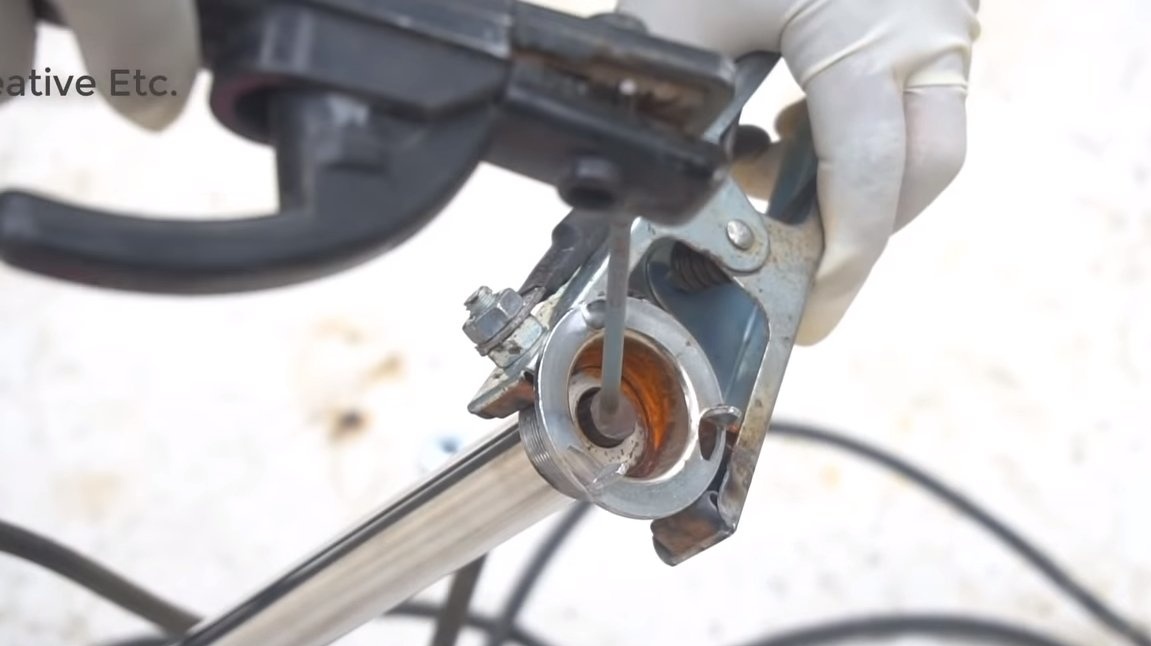
In addition, ears are welded to the axles of the front wheels to which the tie rods will be attached. The author brews iron without removing the axle from the plastic wheels, which can lead to damage to the wheels.
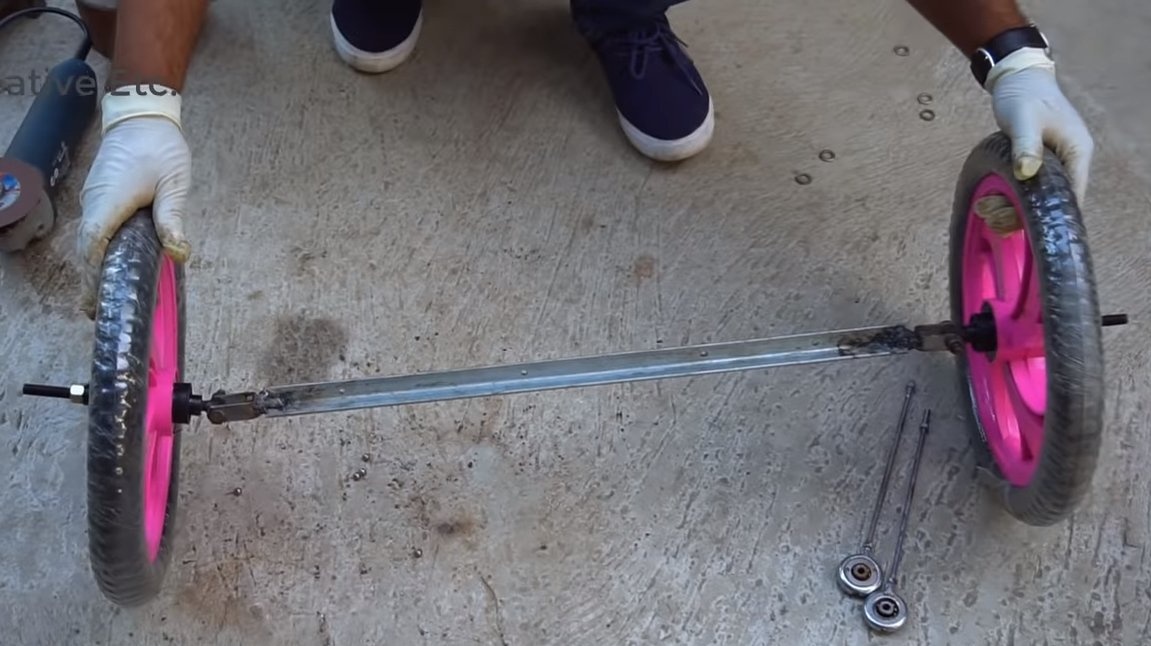
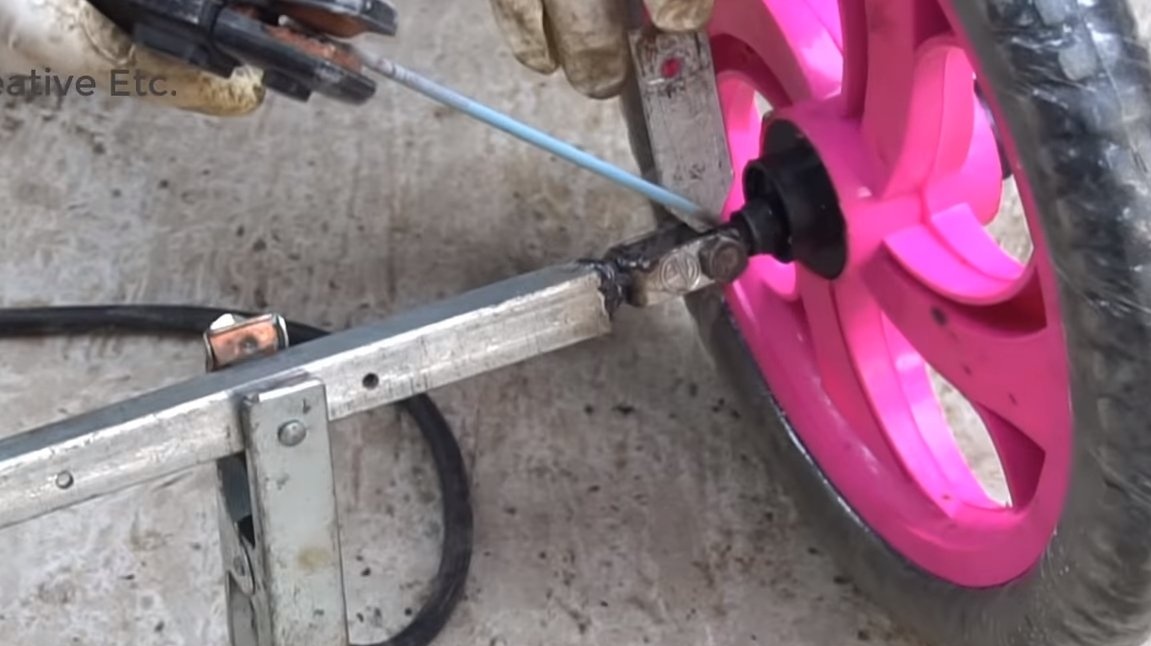

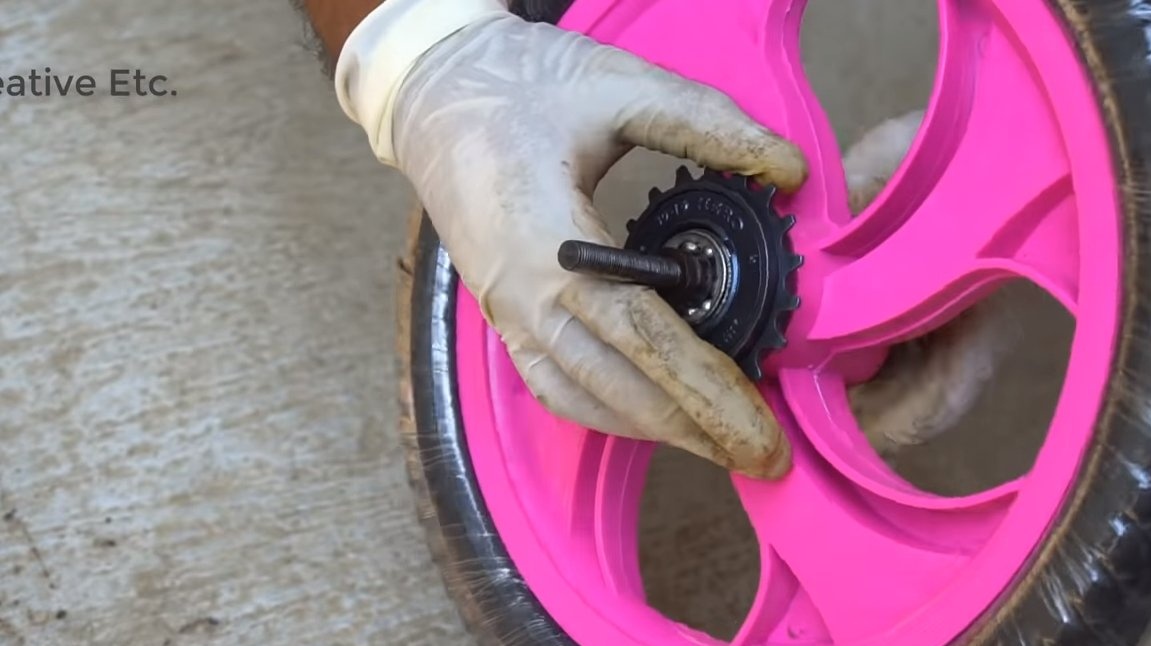
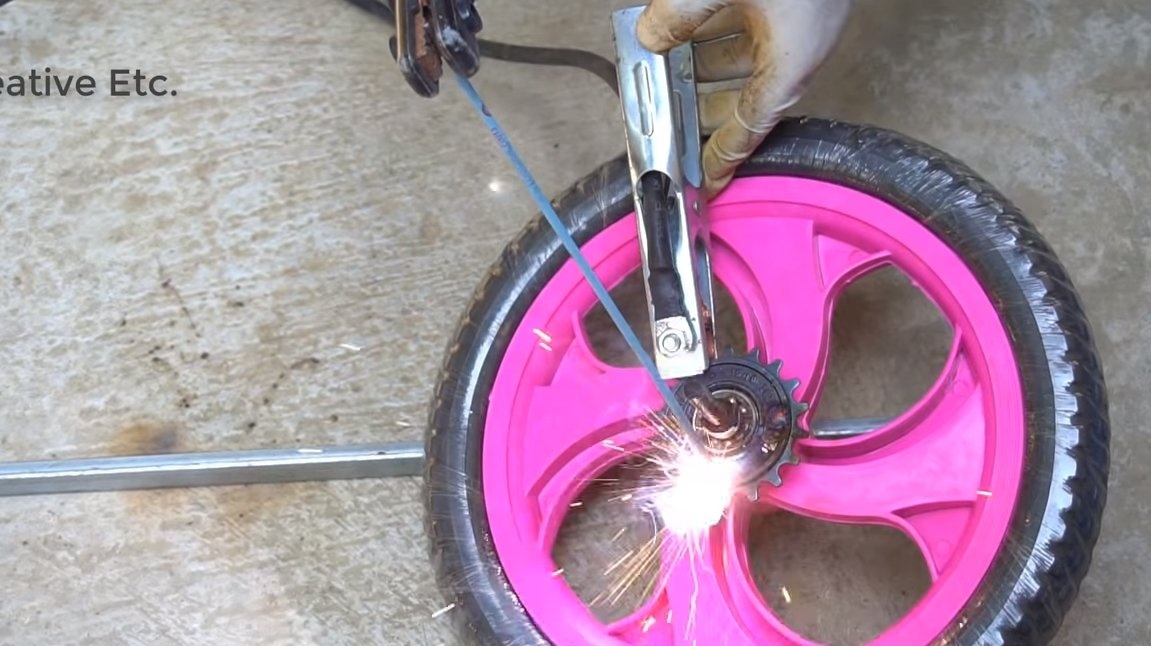
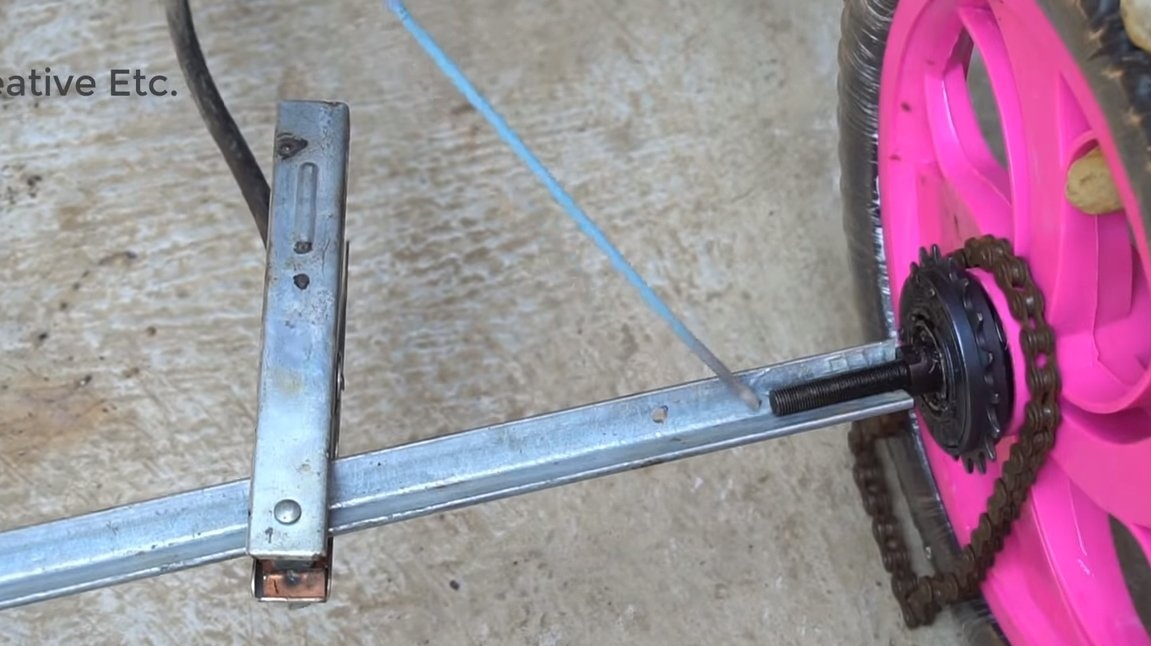
As for the rear axle, we first need to install a bicycle sprocket on the rear wheel, the author brewed the ratchet, as another sprocket with ratchet will be on the engine shaft.Well, then one side of the axis is welded to the corner.
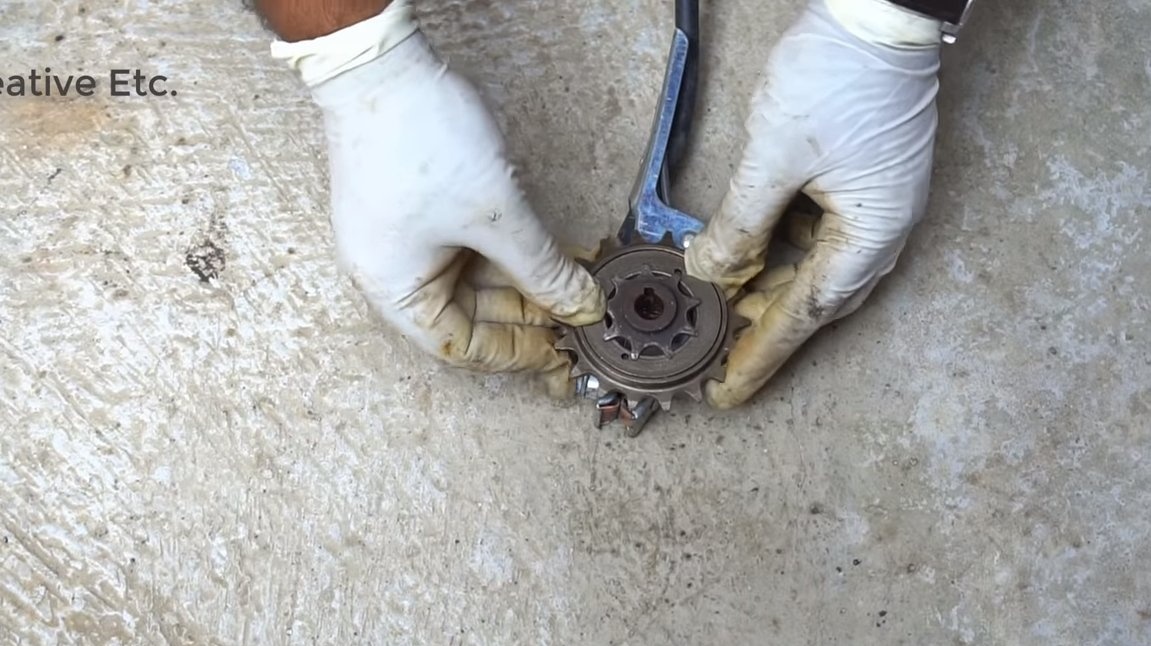
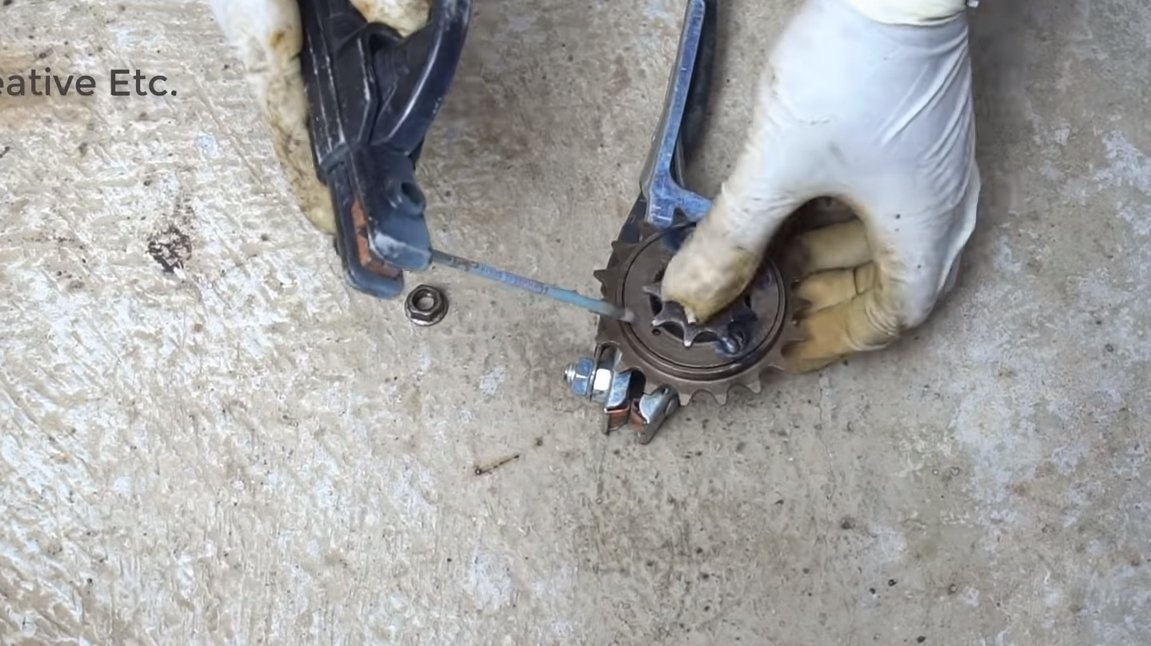
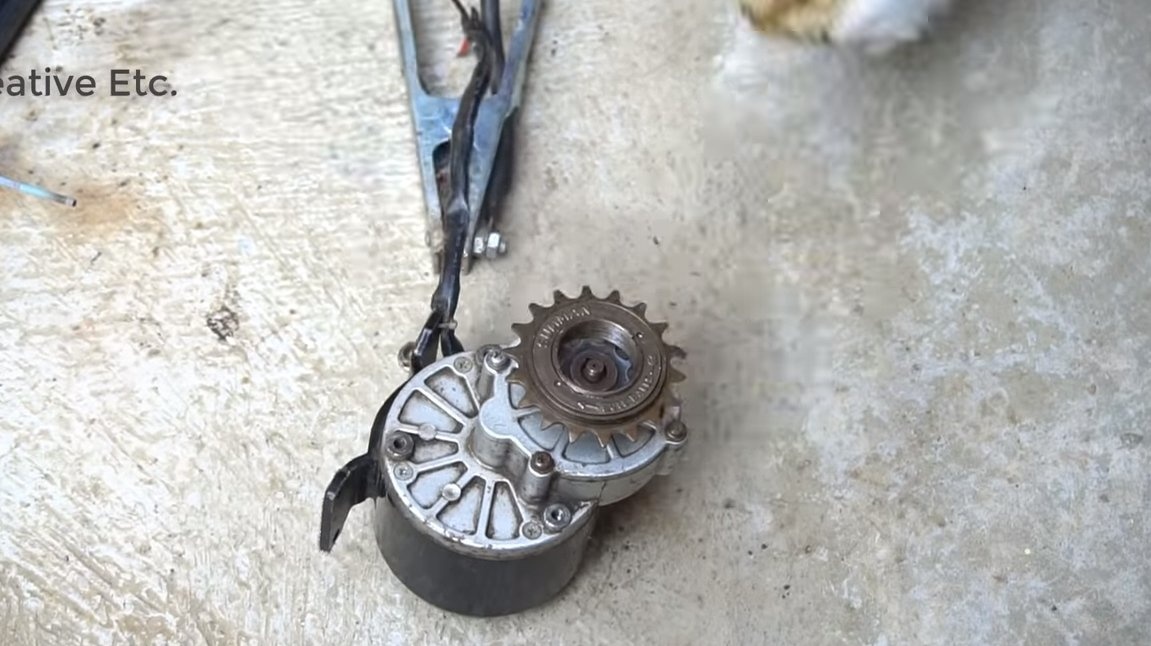
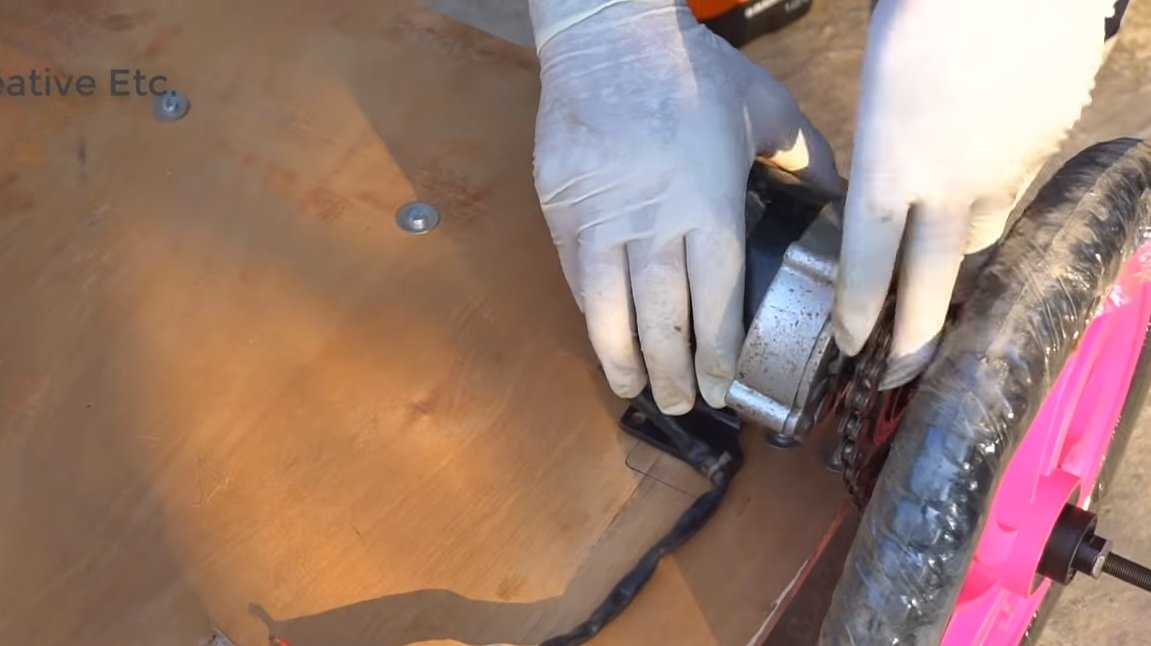
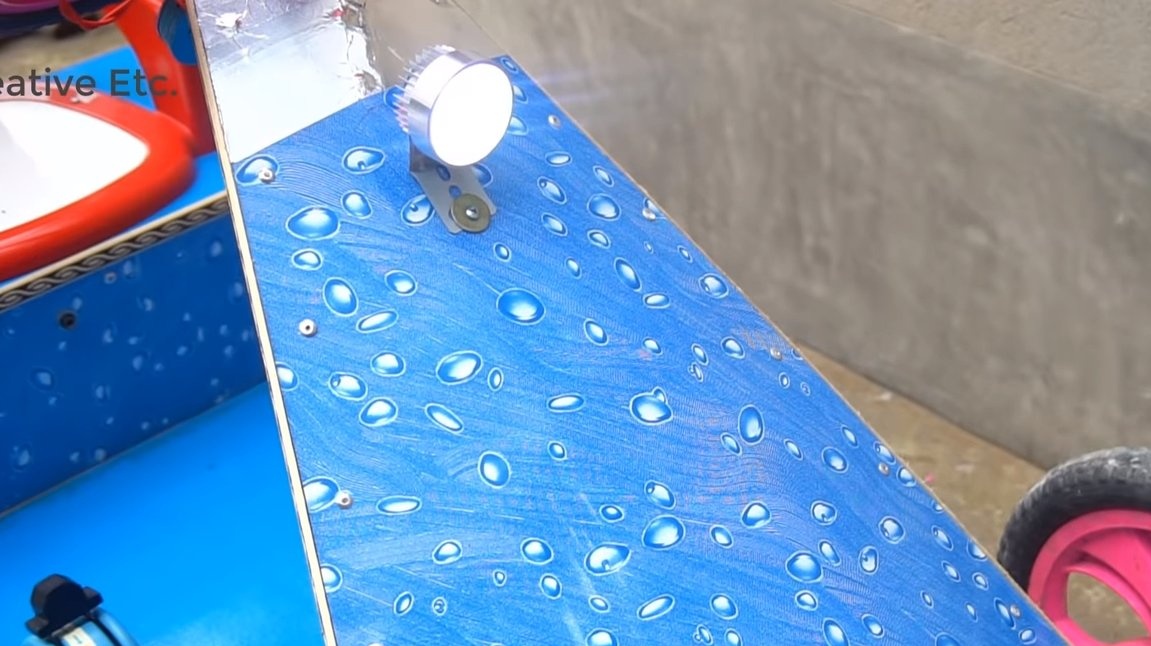
Step Three Lead sprocket
We install a drive sprocket on the engine shaft, just weld the bicycle sprocket to a small sprocket that is mounted on the engine shaft. Now it remains to fasten the drive sprocket with a nut to the motor shaft. Thanks to ratchet it will be possible to drive by car on the coast.
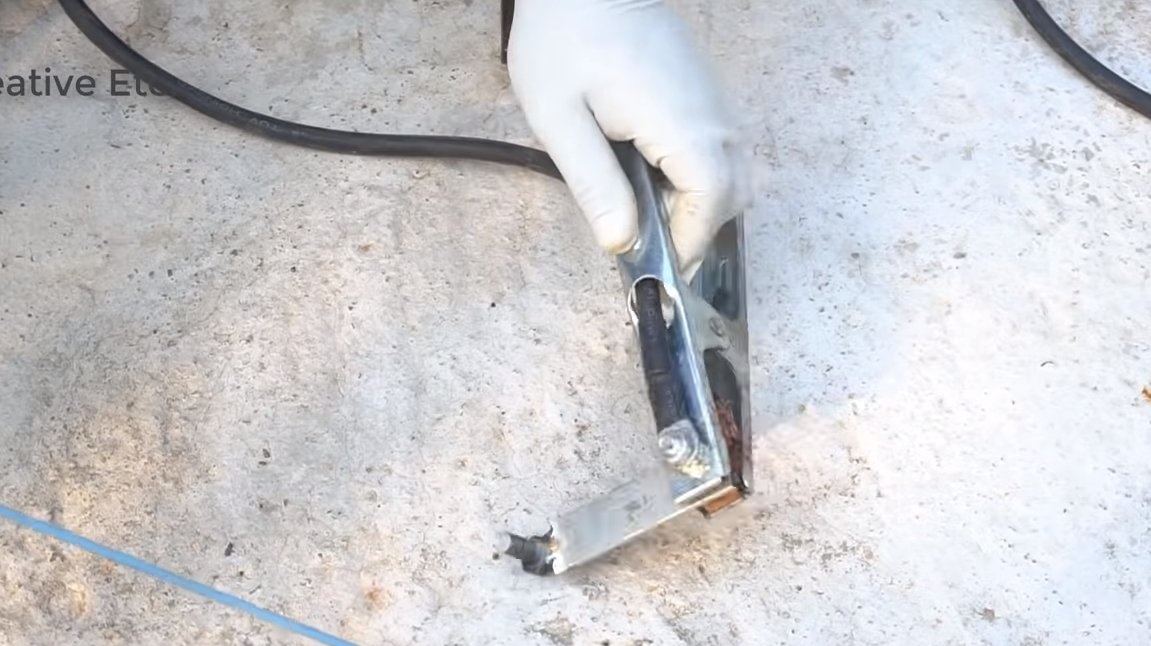
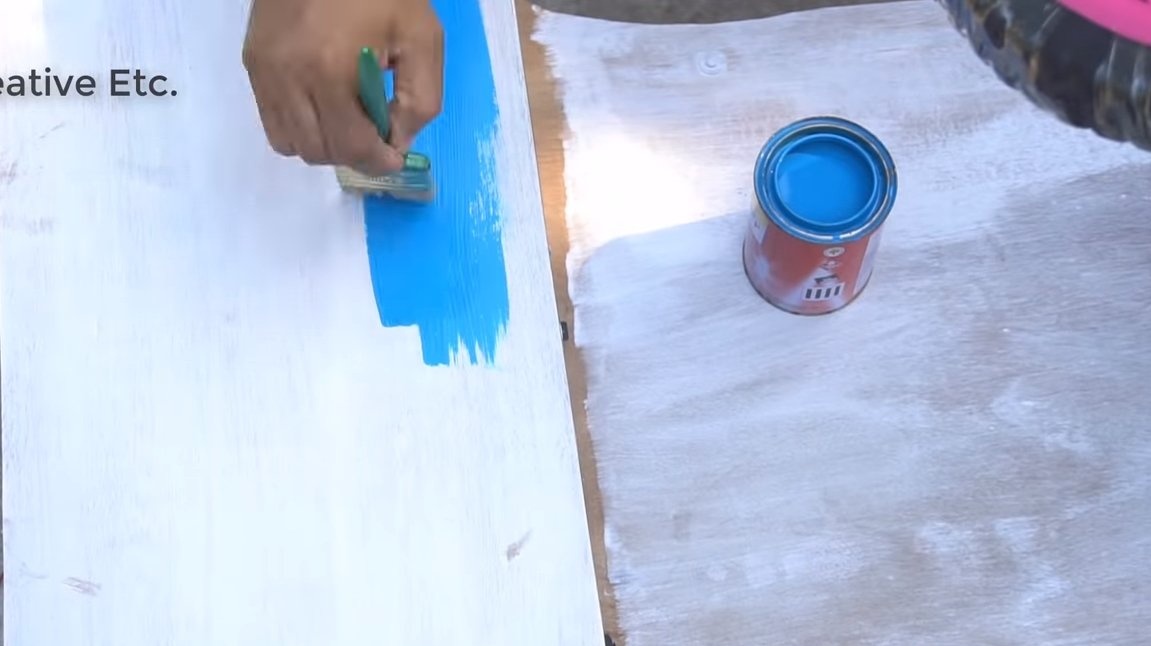
Step Four Painting
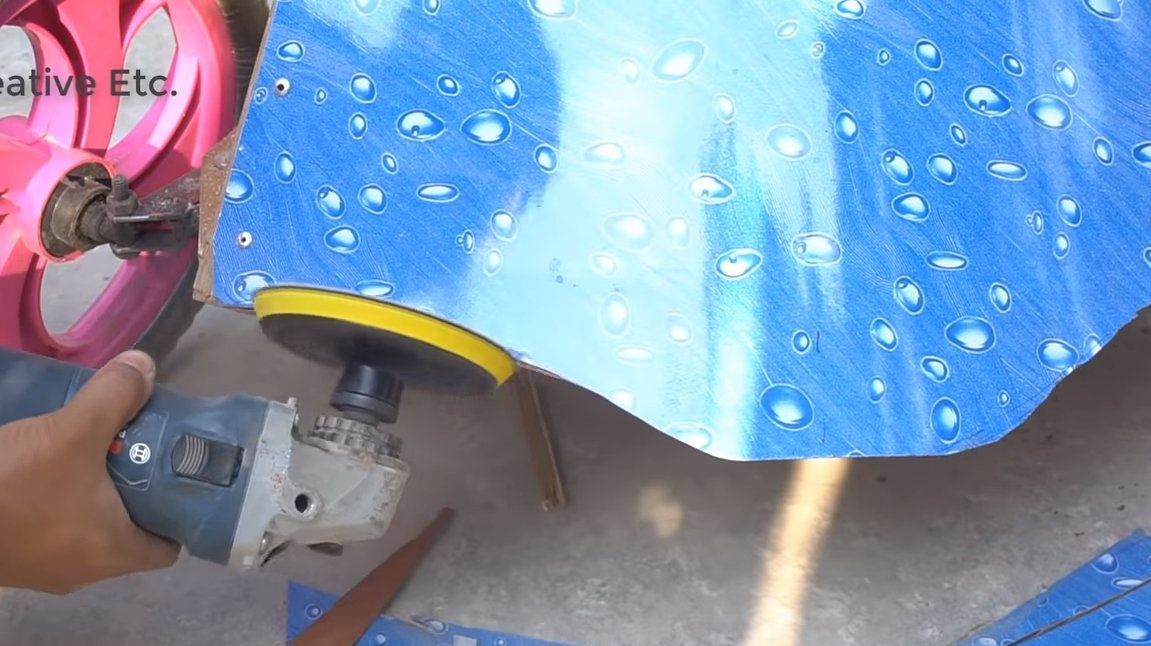
We paint iron parts so that they do not rust and look good. It is convenient to work with a spray can.
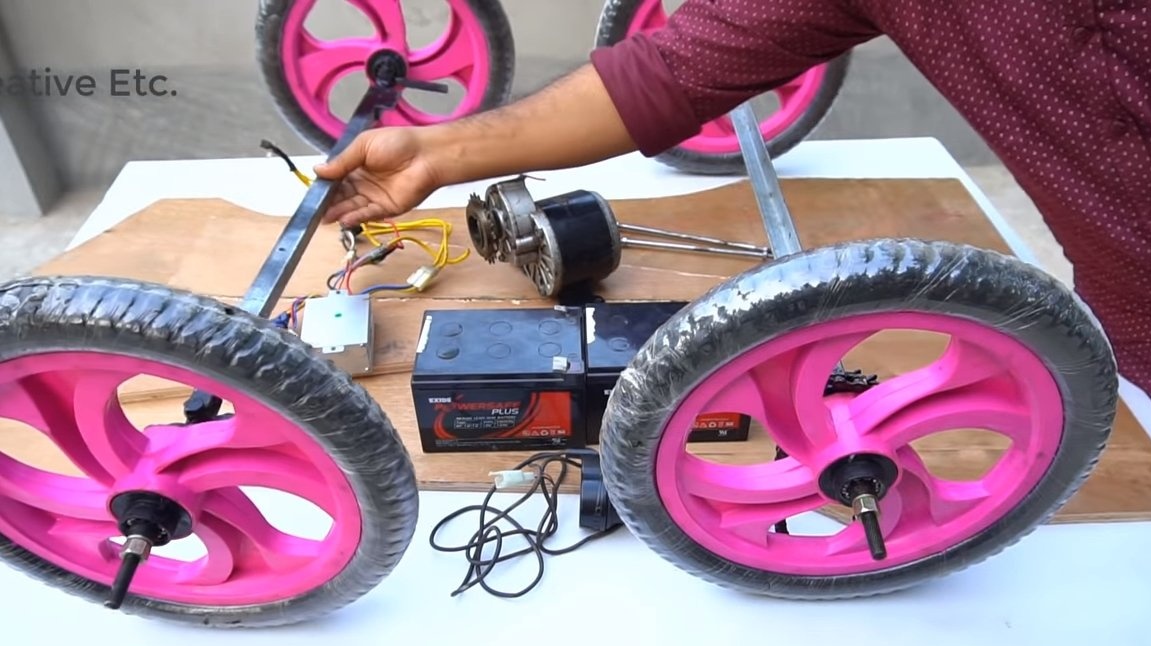
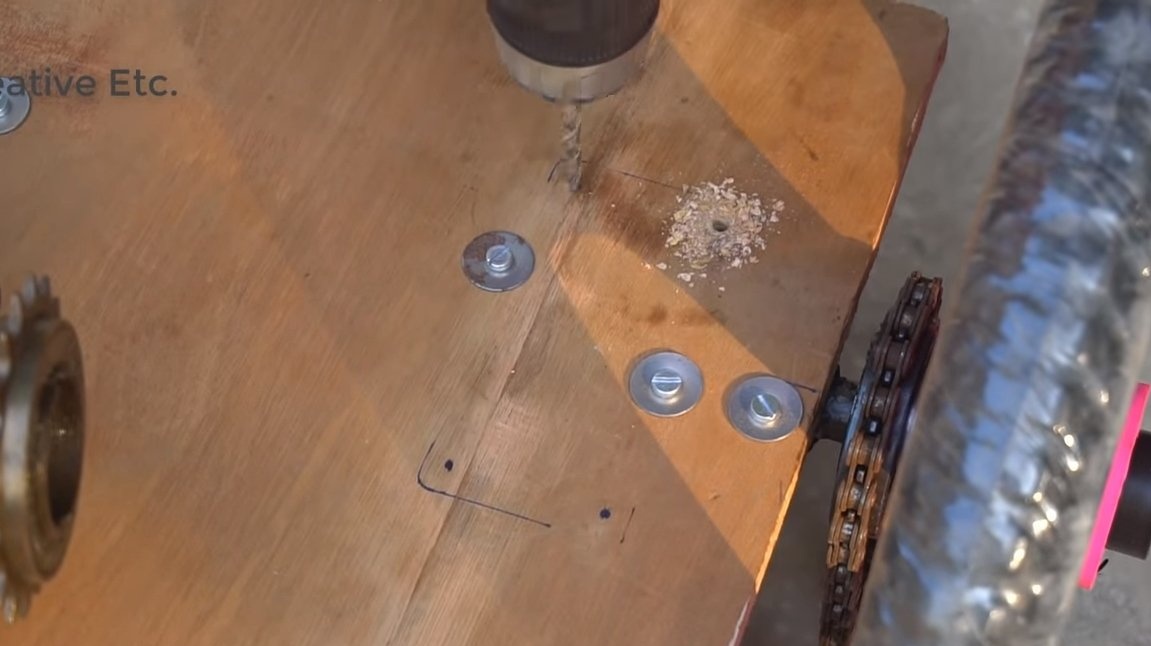
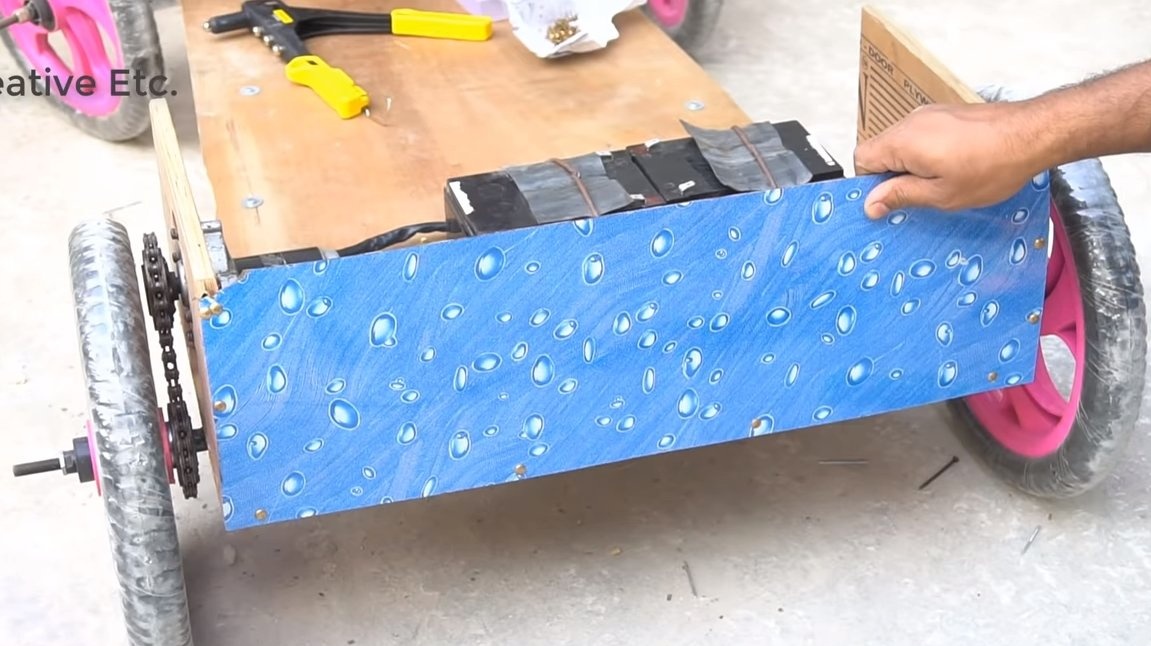
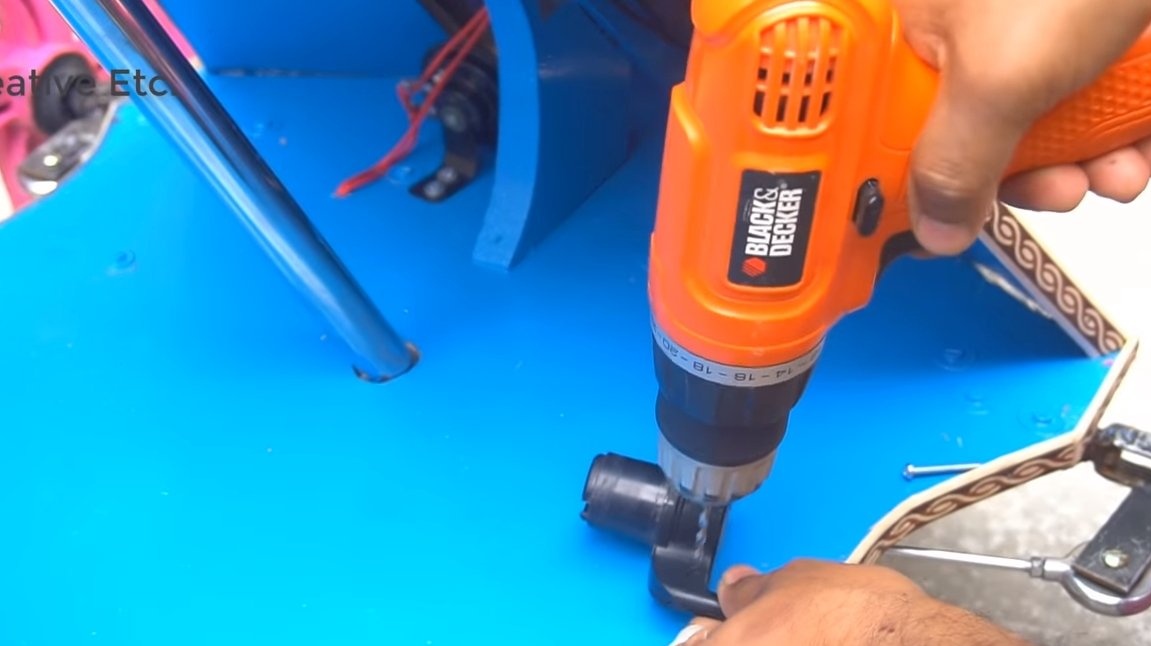
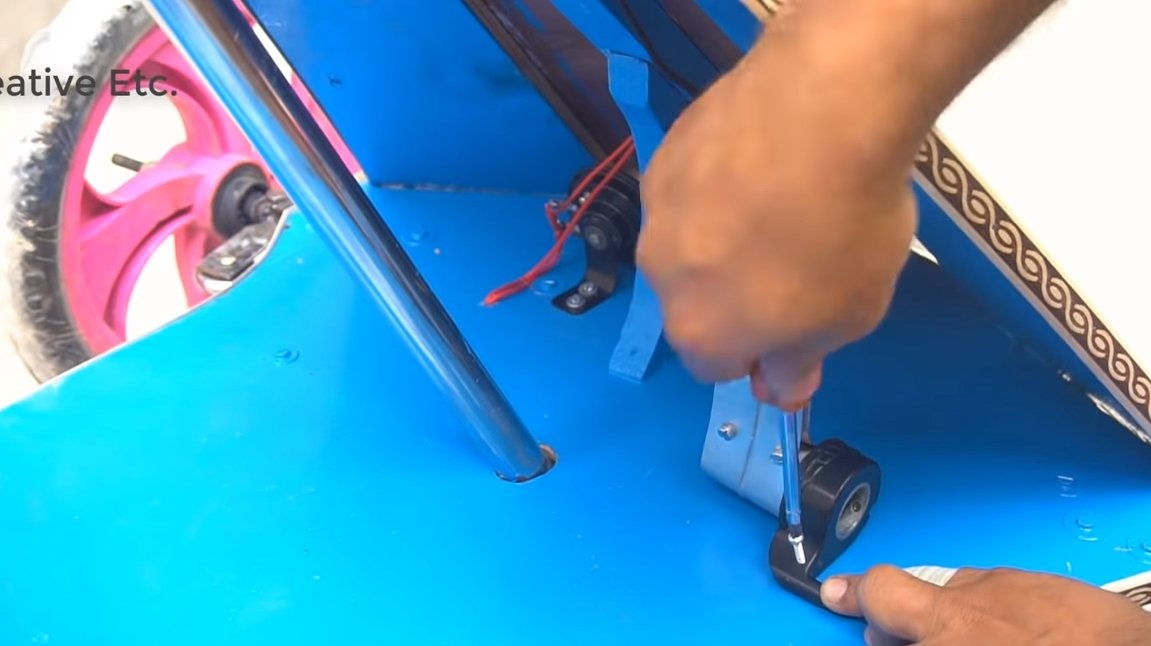
Step Five Assembly
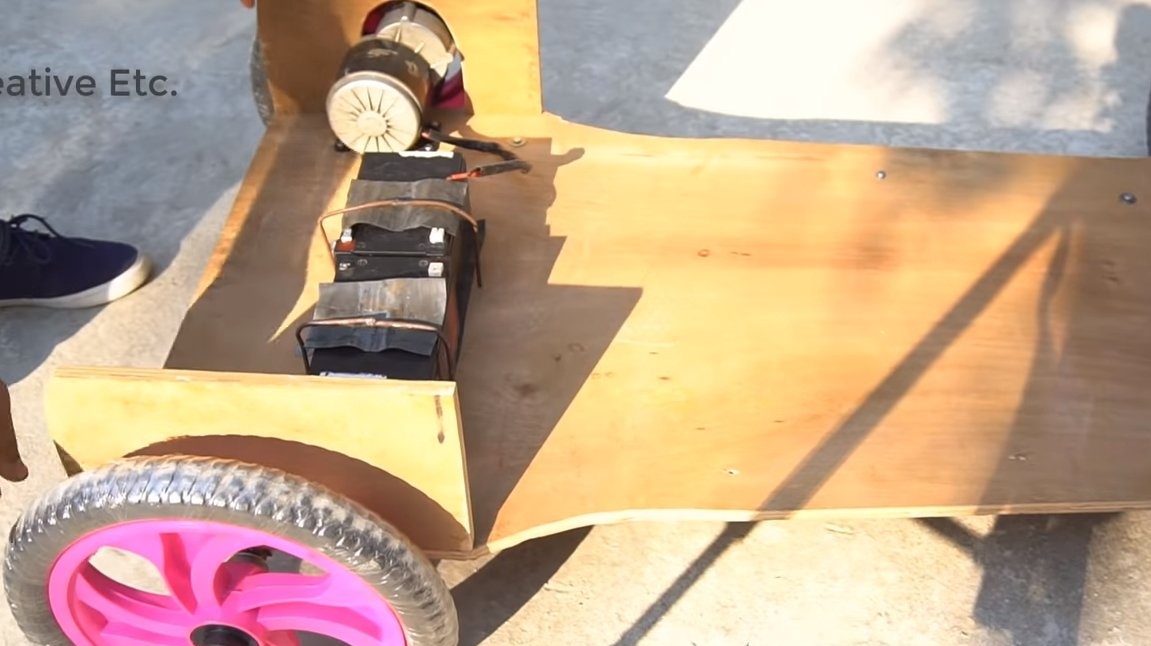
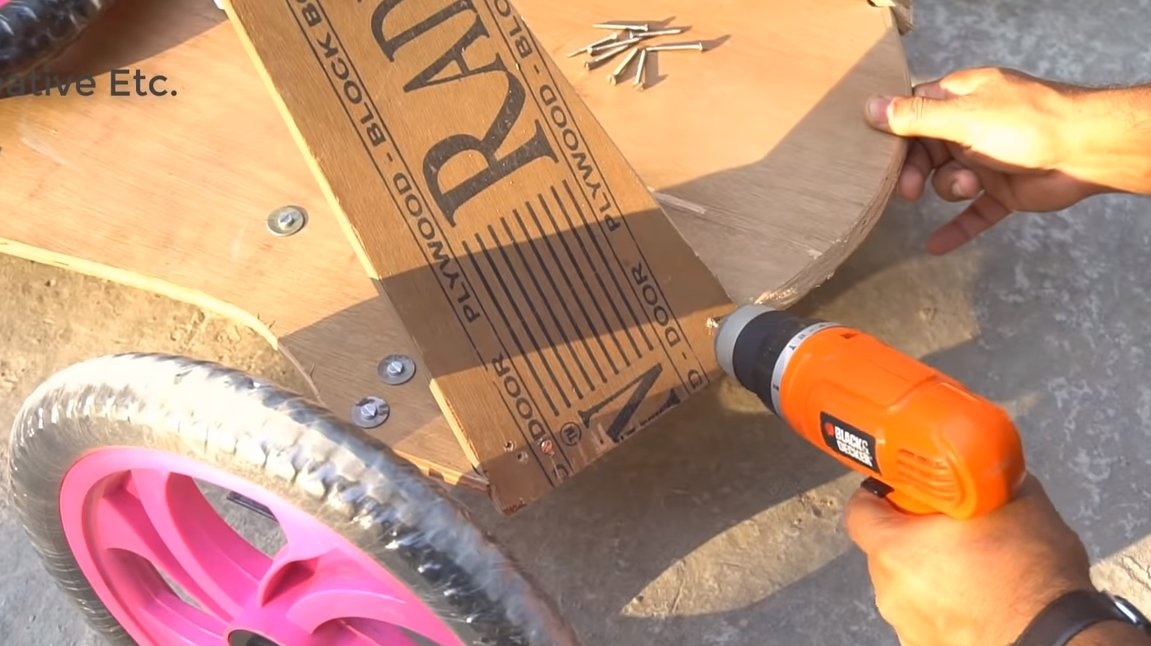
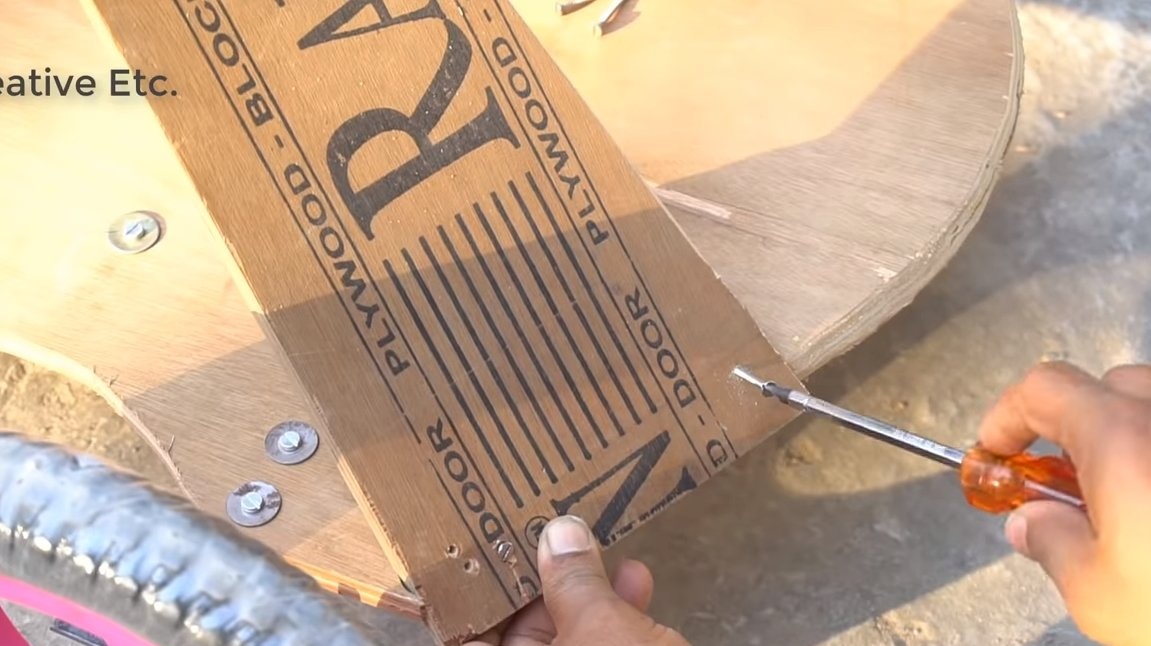
Install the front and rear axles on the frame of plywood. For fastening we use bolts with nuts. We install the engine, we tighten the chain, the motor must be fastened securely with screws and nuts. As for the batteries, the author makes a rubber substrate under them and presses iron clamps to the plywood.
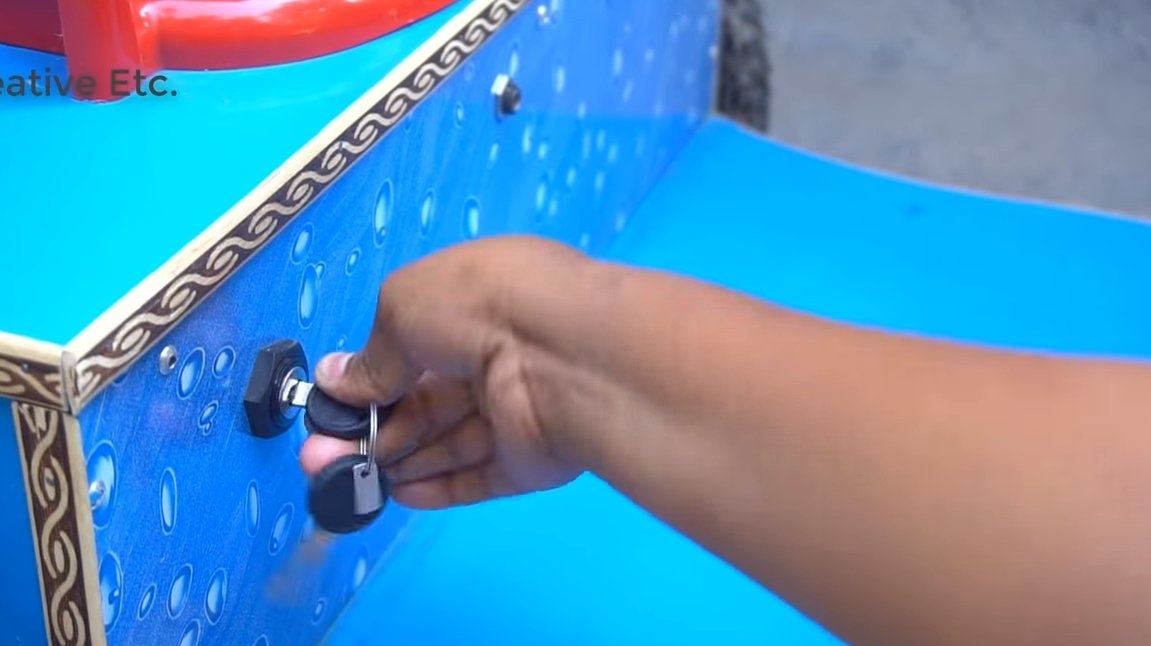
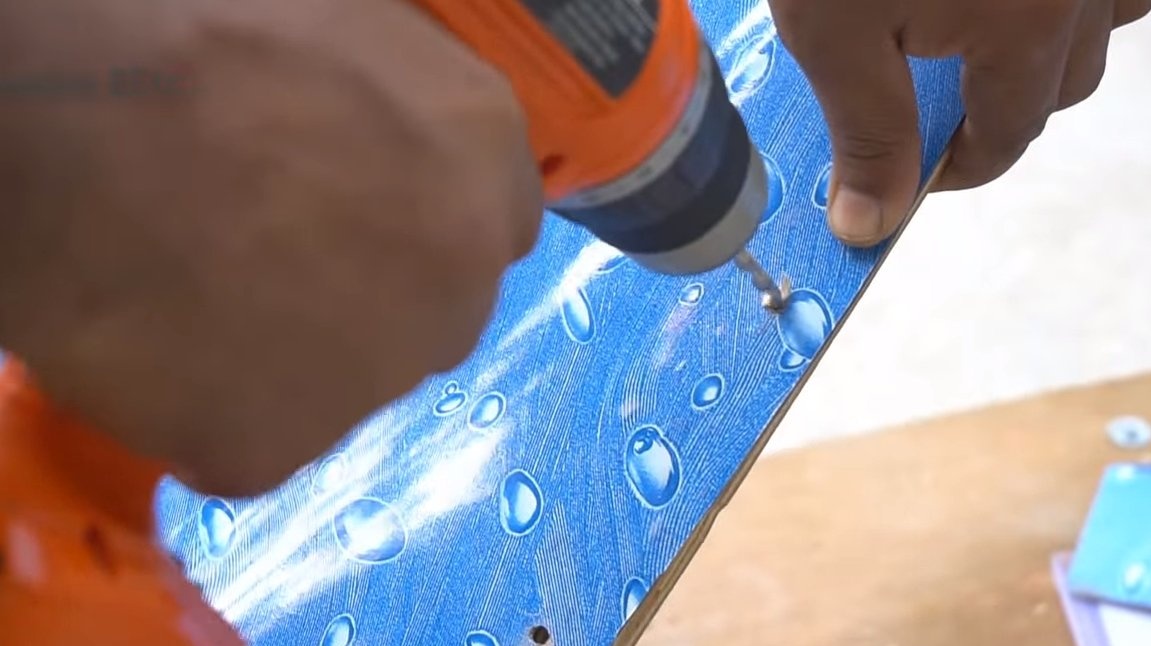
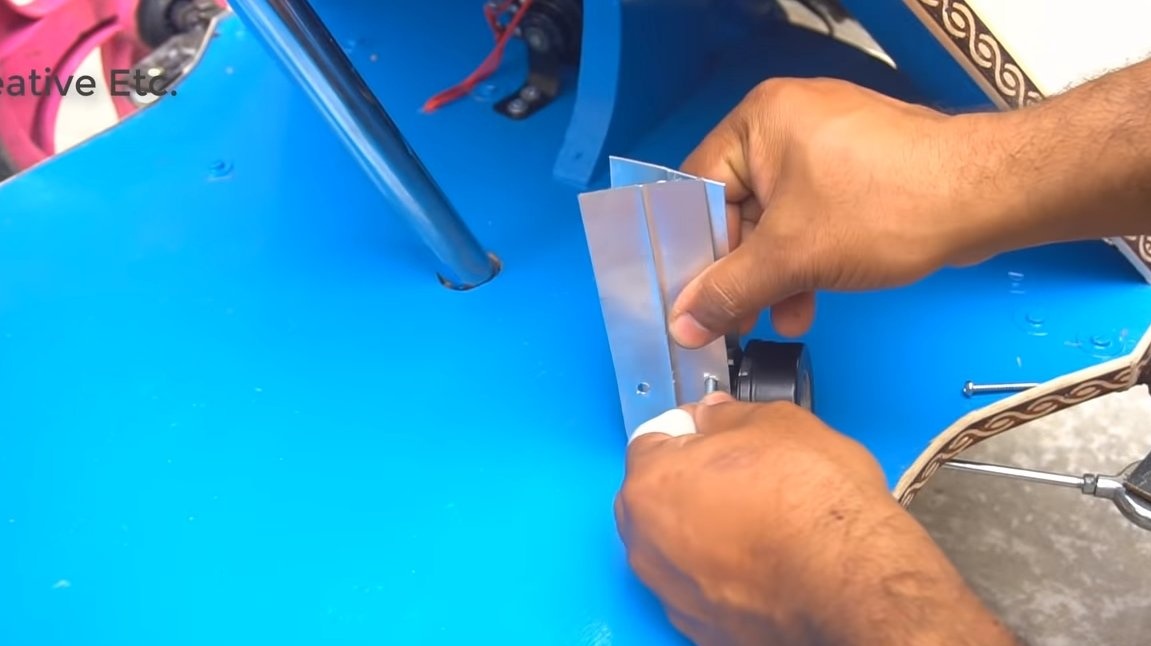
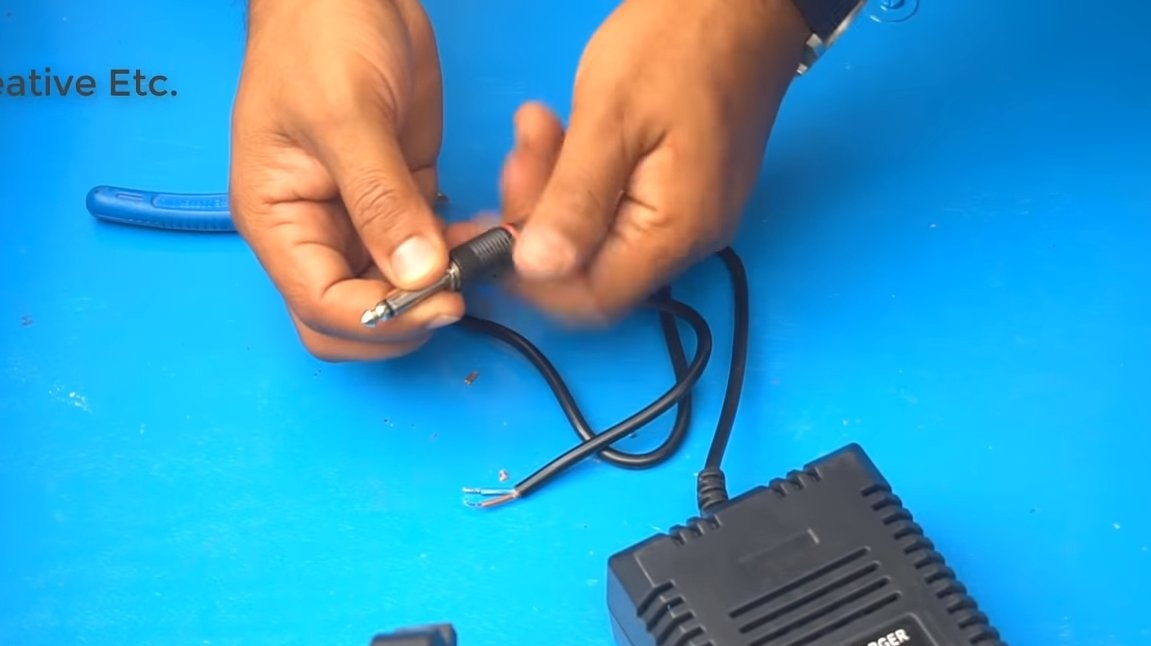
For steering, you will need to make a rack of plywood. The author also decided to strengthen the frame by screwing aluminum or iron plates to it for rigidity. The battery pack is located at the rear of the machine, here we also have a speed controller. The ignition switch and charger socket can be positioned in the rear wall. As a decor, the car can be sheathed with thin sheet plastic, glued with film and so on.


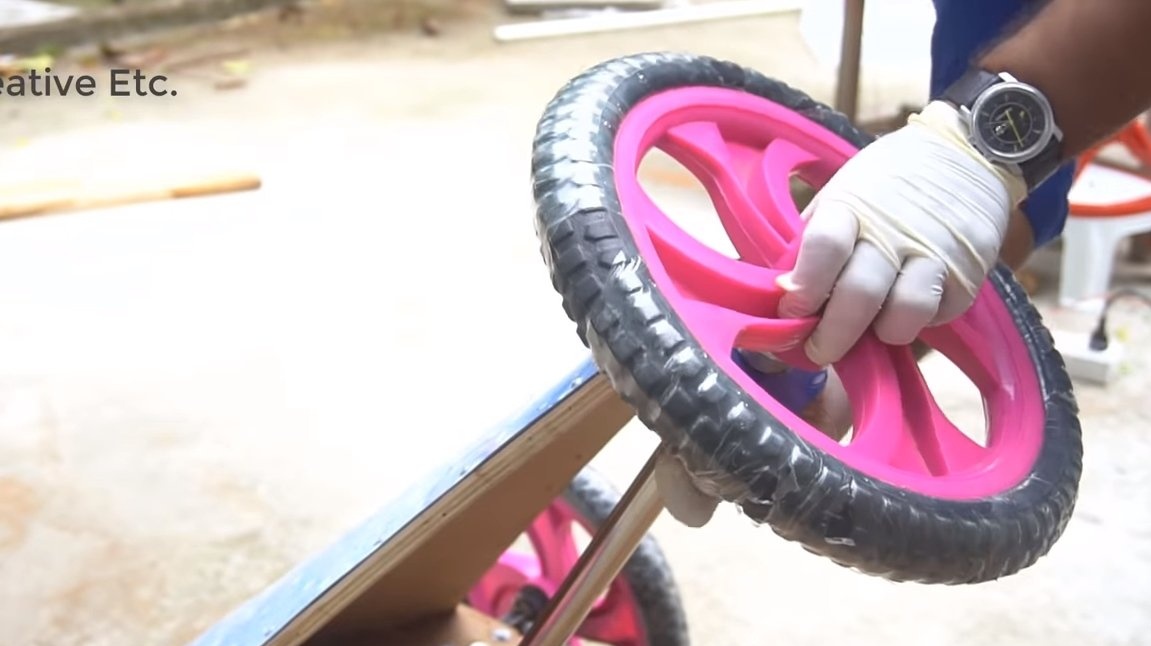
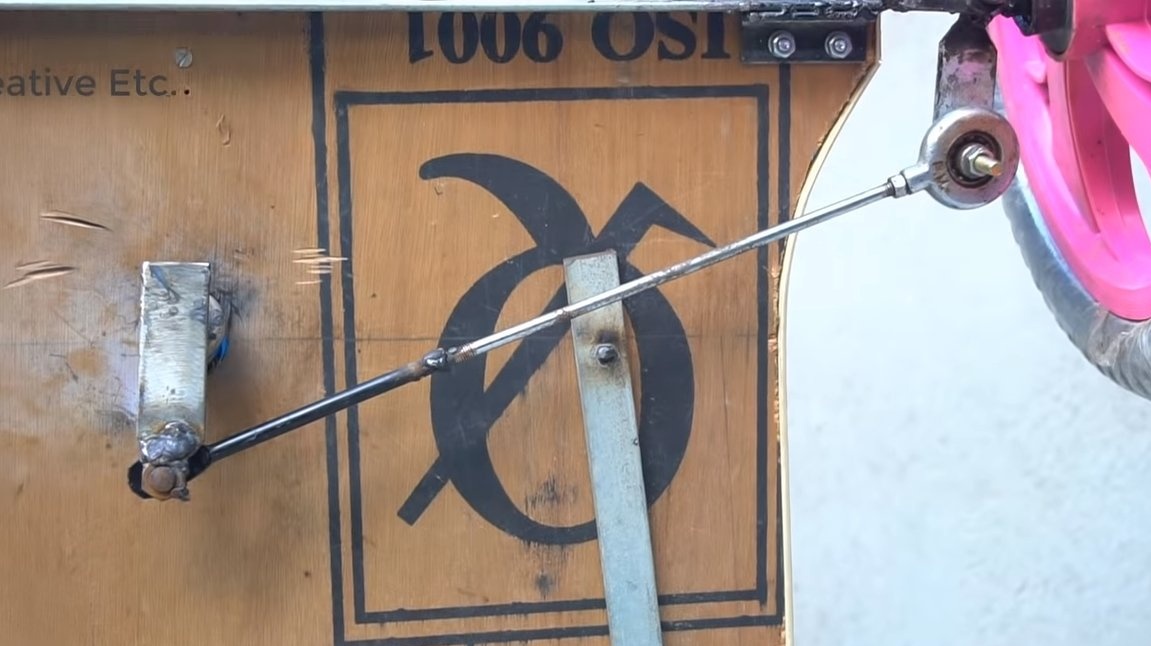
Step Six Steering
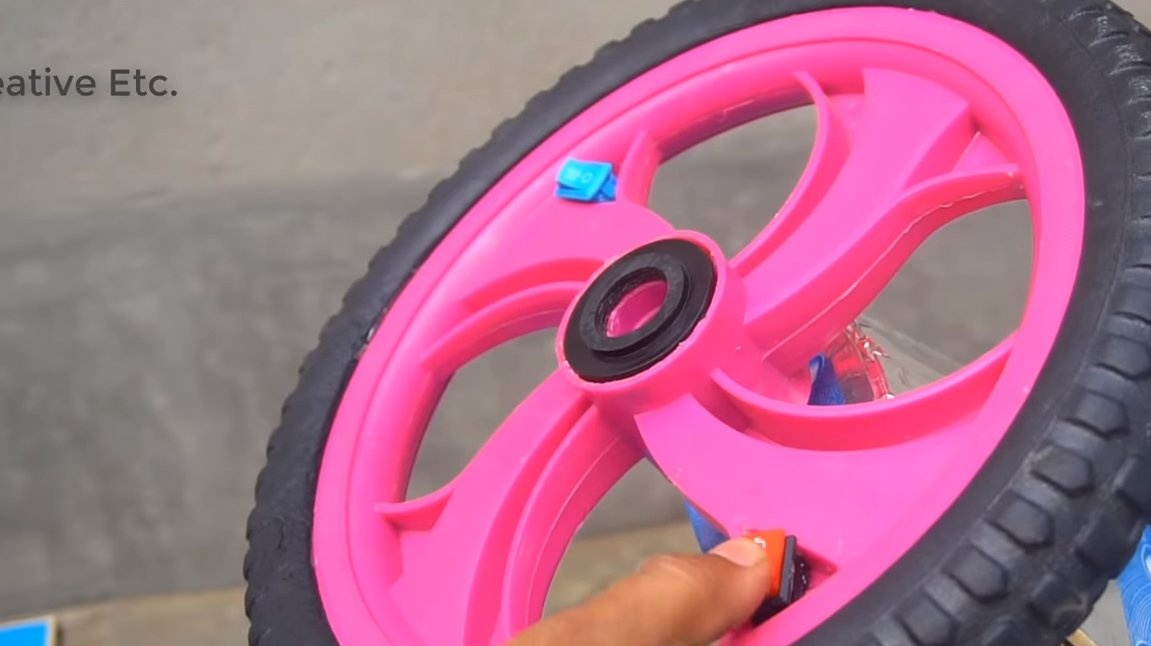
We do the steering, the shaft is made of a piece of pipe, and the steering wheel is made of cycling plastic wheel. At the end of the steering shaft, we weld a plate with an ear, well, then you can install steering rods. It is a pity that it is impossible to adjust the alignment / toe-in at a homemade product.
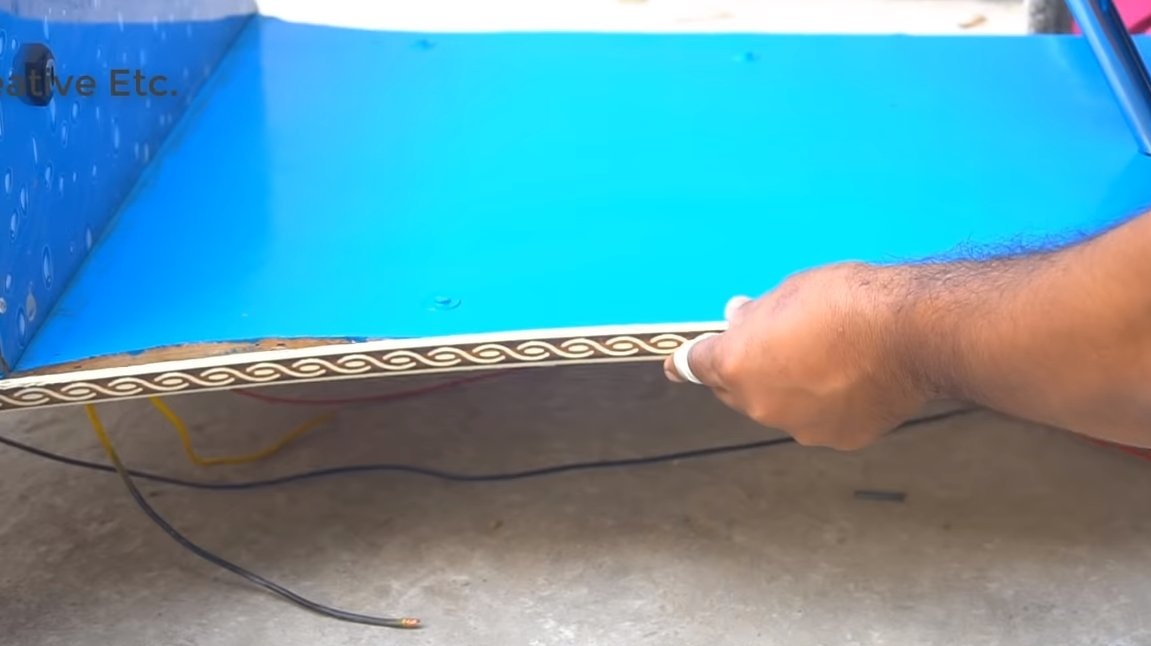
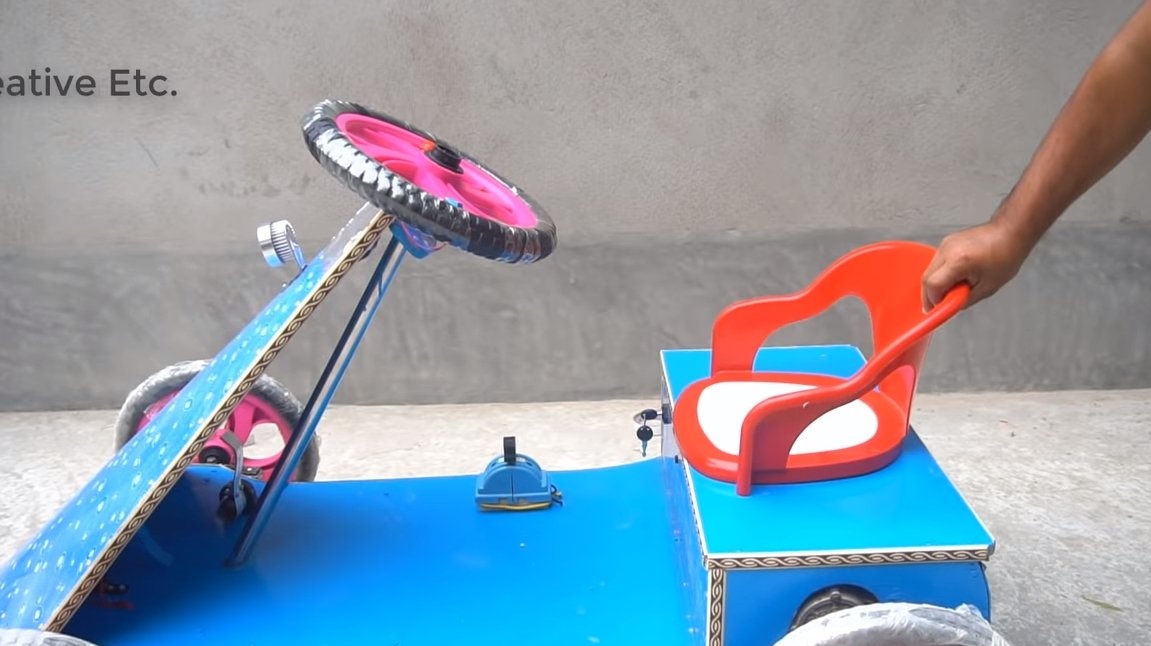
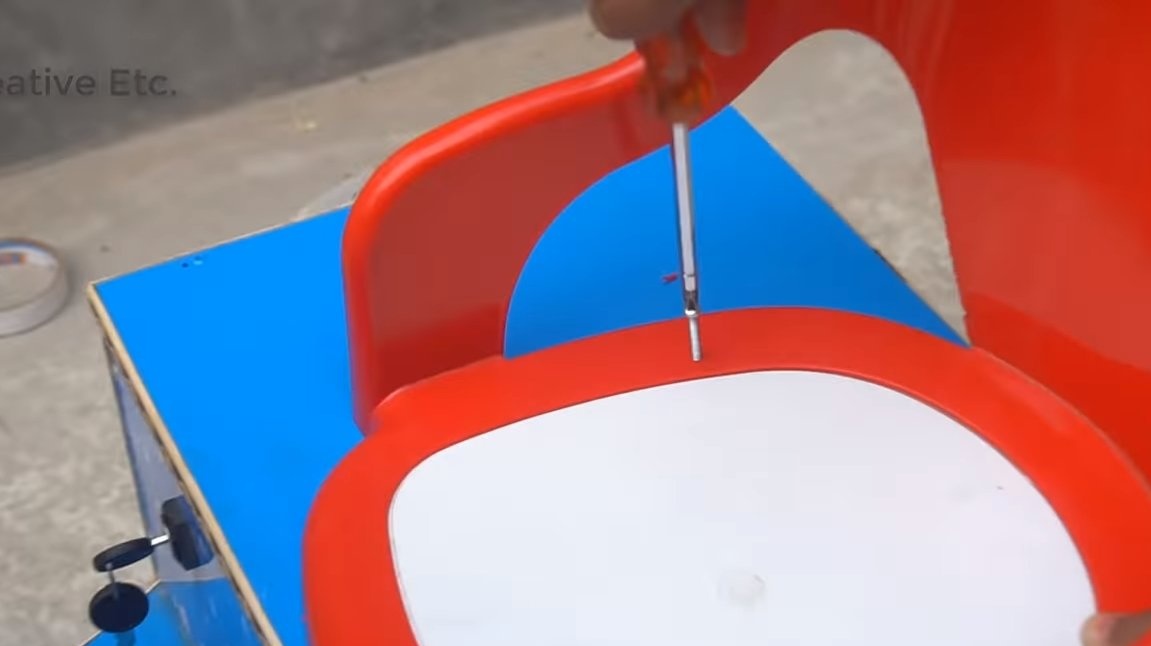
Seventh step. Final touches
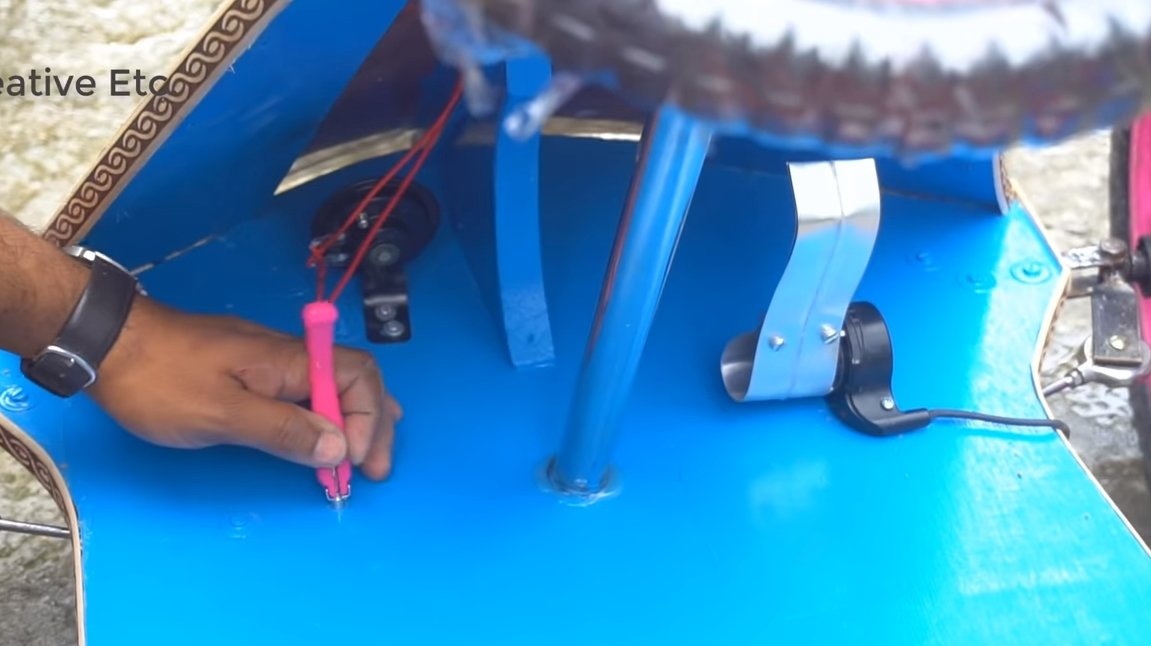
At the end, paint the plywood and seal the ends with duct tape or similar material. We install a switch on the pole, which will enable reverse gear. The author made a pedal from e throttle grip. As for the seat, a plastic highchair was used, the author cut off the legs from it and screwed it to the car with screws.
Of course, a car needs a brake, the author attached a hand-held bicycle brake to one wheel, and a plastic wheel. The brake lever was installed as a pedal on the base, under the left foot.
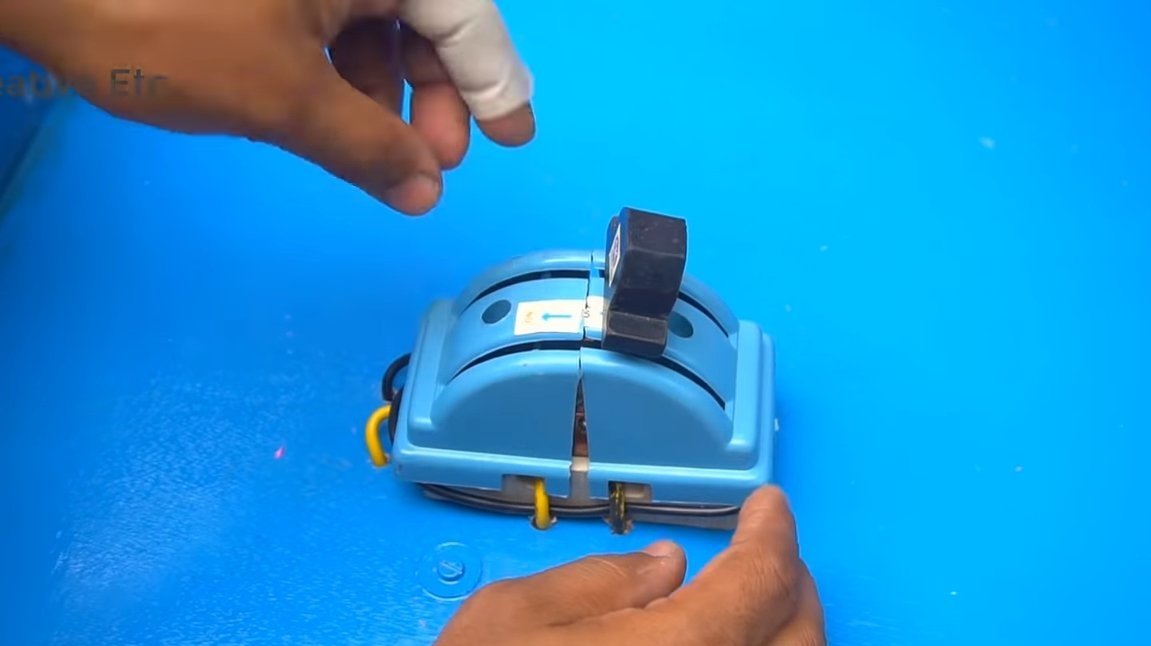
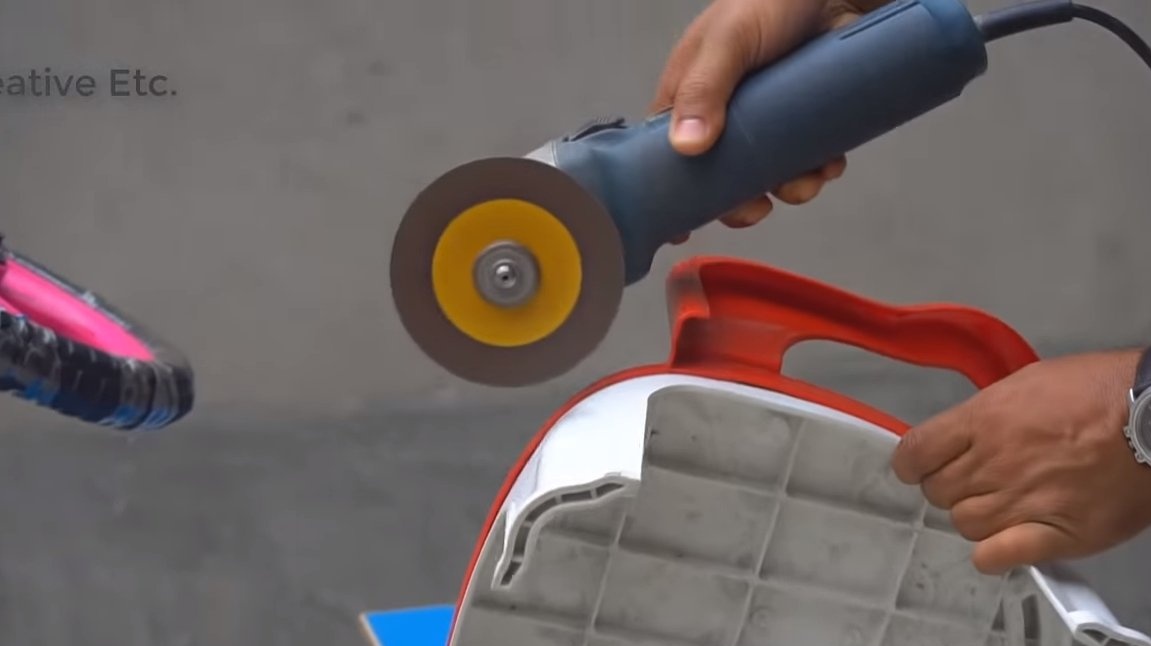
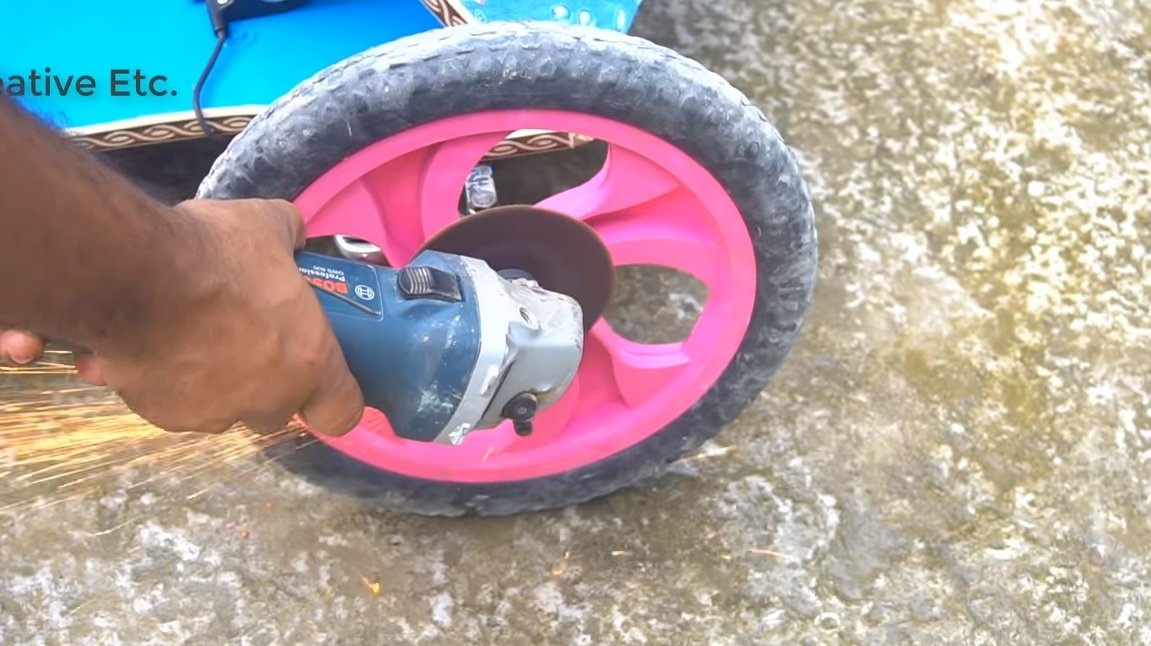
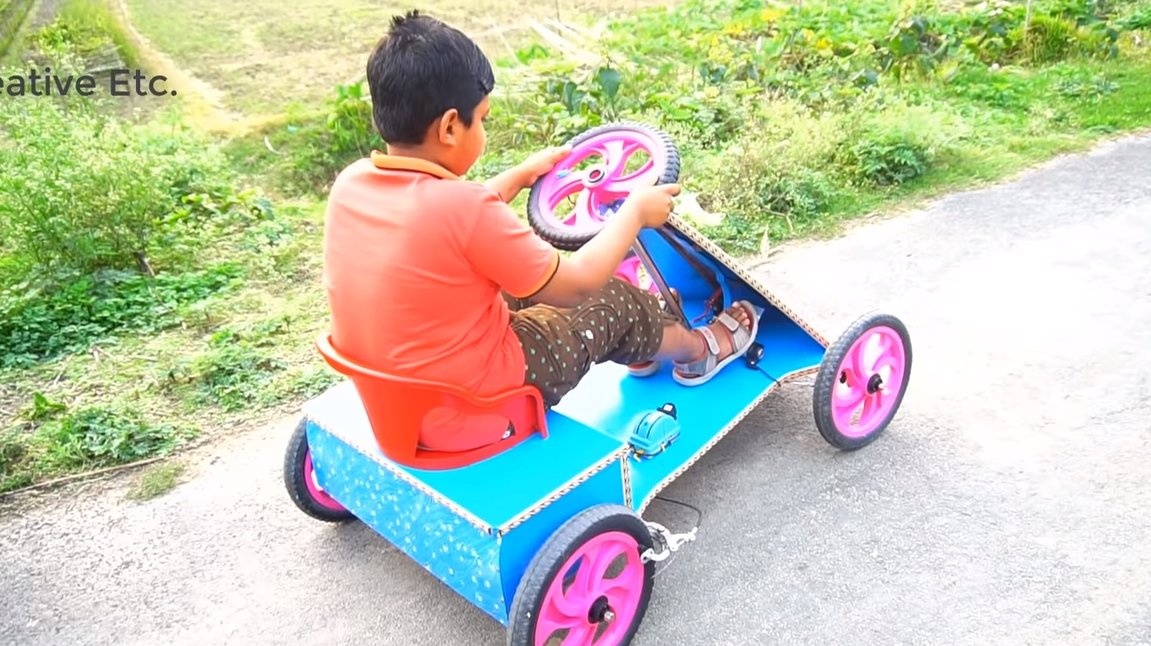
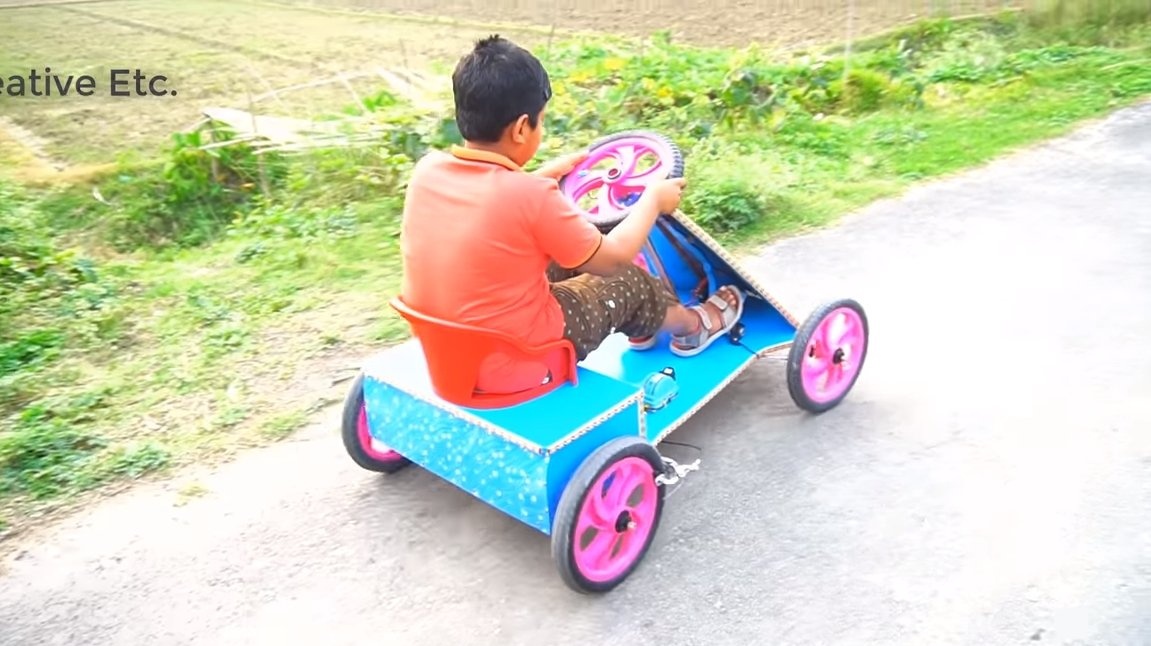
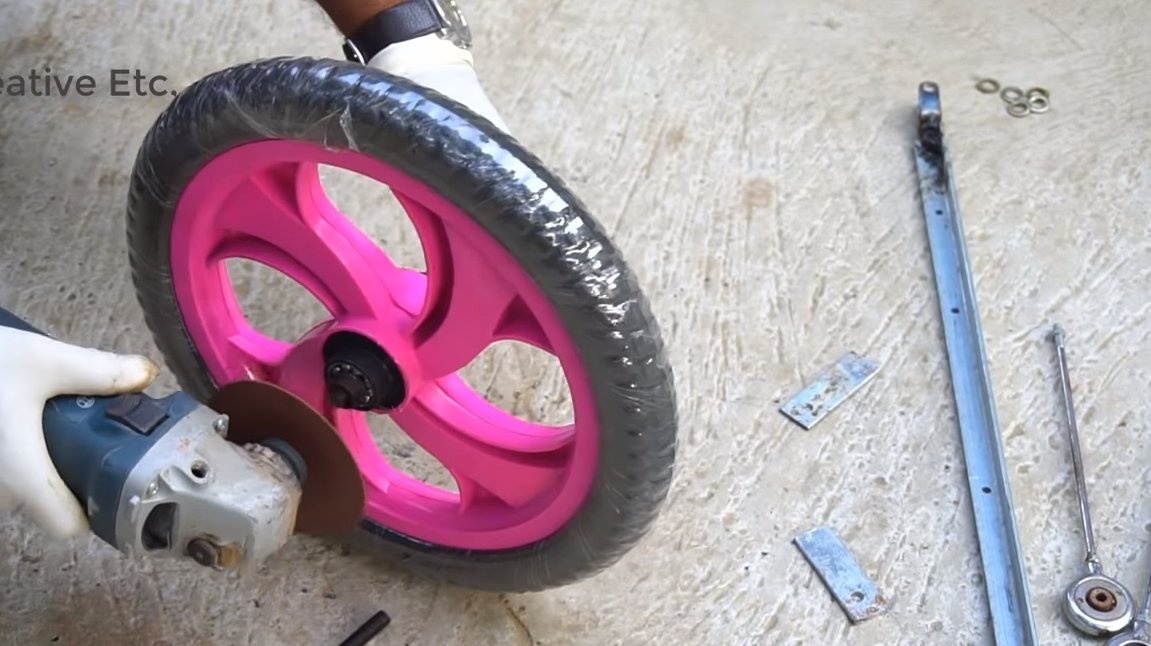
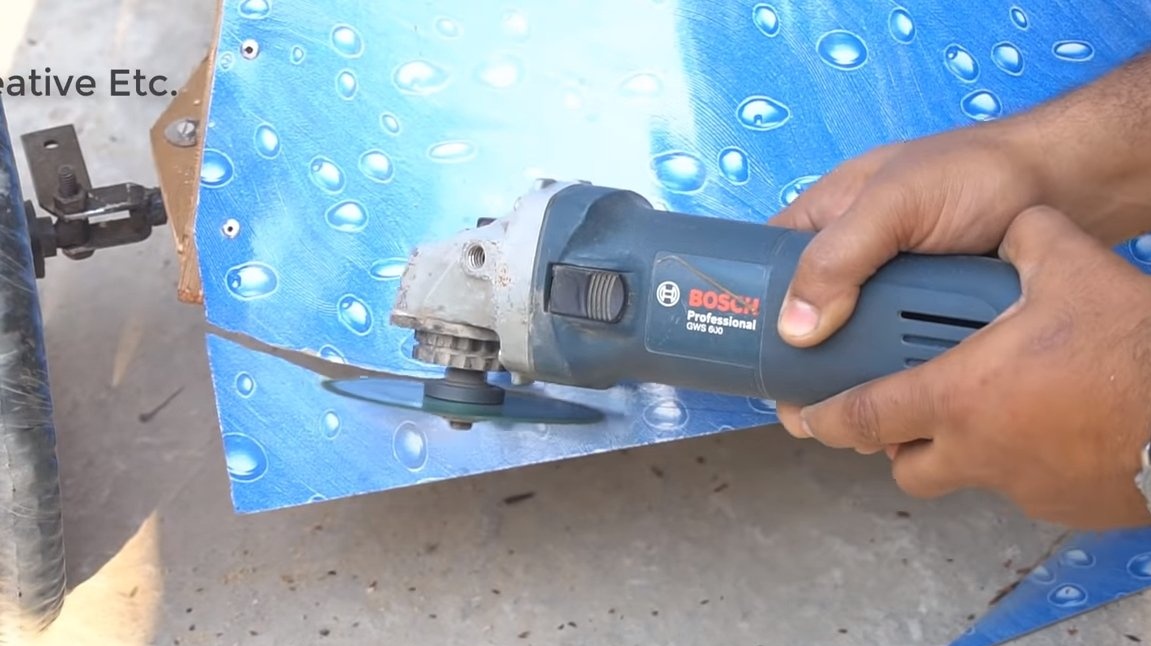
Well, the author placed two buttons on the steering wheel, this is a signal, as well as a headlight. Also, with the help of a grinder, we cut off the excess parts of the axles of the wheels so that they do not cling to anything. That's all, the car is ready, insert the key into the lock and you can go. To test the homemade undertook a small angry Indian. The car rides without problems, but how long the homemade product was able to travel without breakdowns remains unknown.
This is the end of the project, I hope you have found useful thoughts for yourself. Good luck and creative thoughts if you decide to repeat this. Do not forget to share your ideas and homemade things with us!