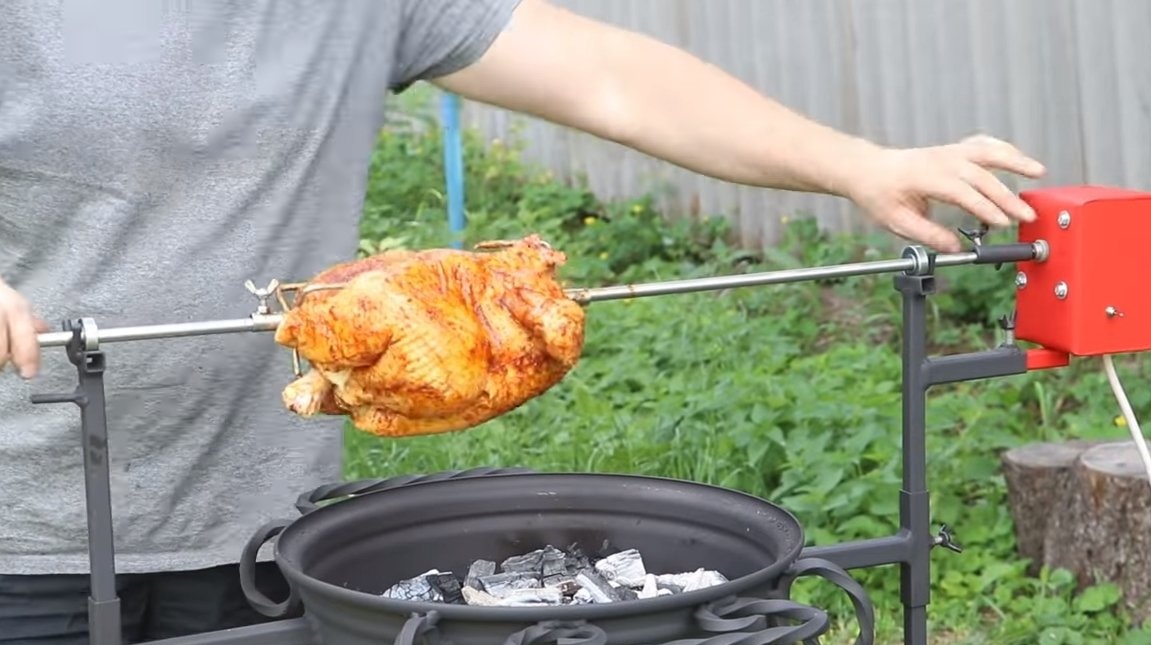
Greetings to fans of craftsmen, today we will consider how to make a beautiful, convenient and reliable grill. The author used a rim as a basis, and a brazier was made from it. The barbecue has the ability to adjust the amount of air, everything is regulated using the handle. The brazier is also equipped with a function for automatically turning the skewer, for this a small gear motor is used here. And if suddenly the motor for some reason stops working, you can switch to manual mode.
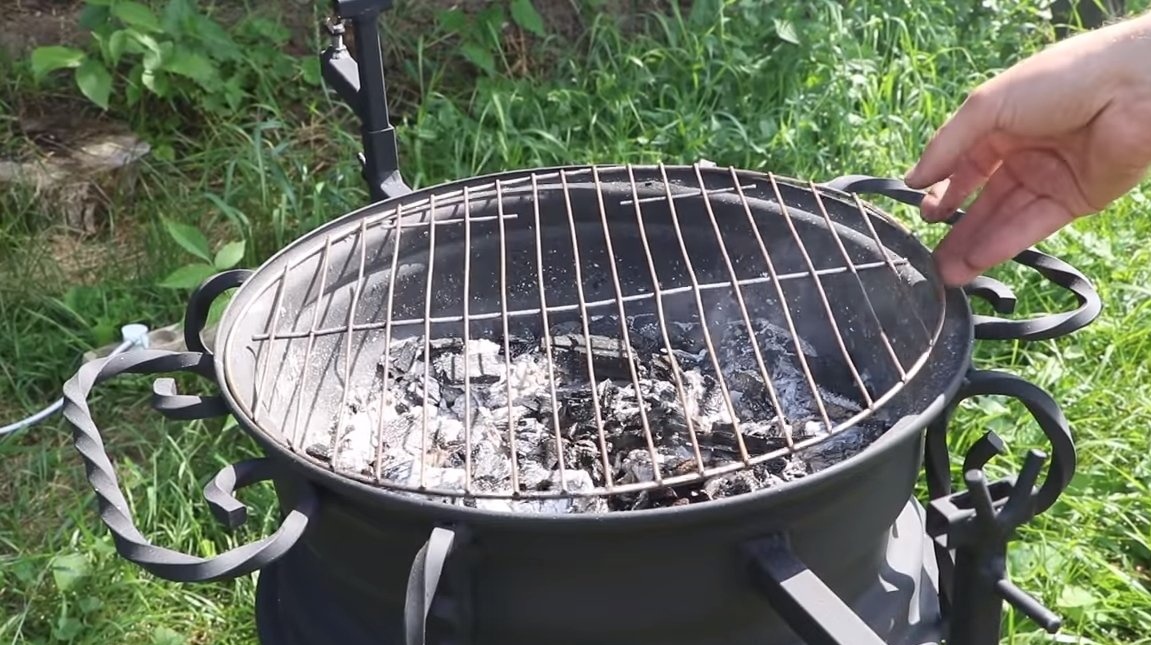
The support of the skewer can be adjusted in height, thereby achieving the need for frying temperature. If desired, a grill grill is installed on the grill; you can fry meat and other products directly on it. If you are interested in the project, I propose to study it in more detail!
Materials and tools used by the author:
Material List:
- ;
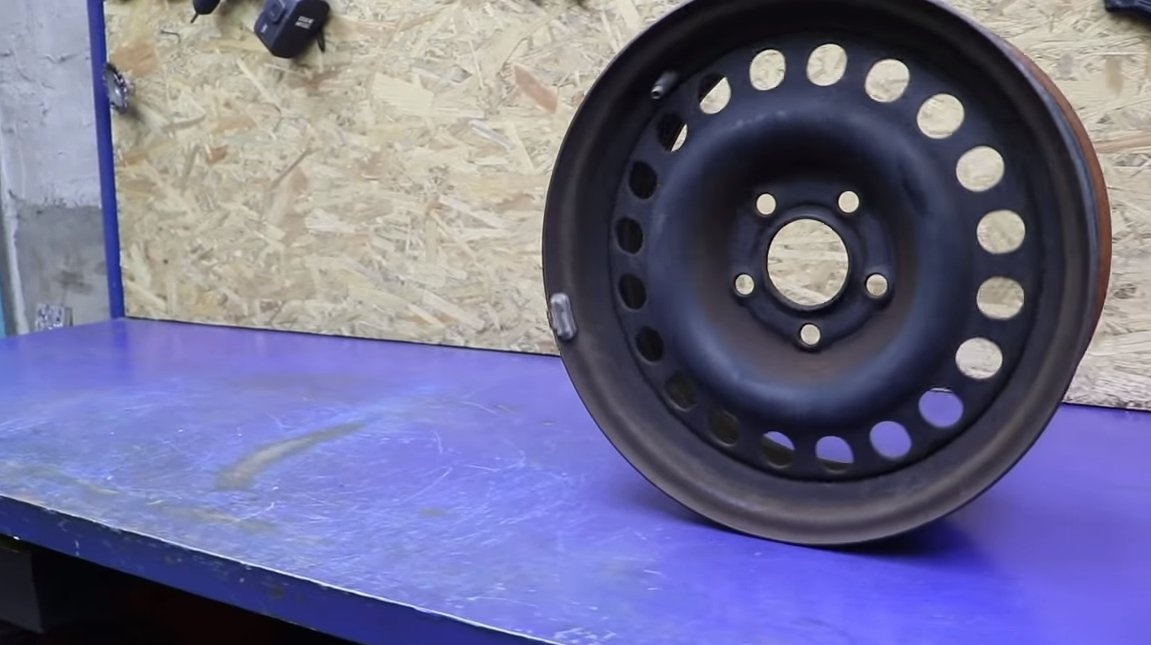
- a rim;
- square iron rods;
- sheet metal;
- an iron rod or pipe for a skewer;
- bolts and nuts;
- profile pipes;
- bearings;
- heat resistant paint.
Tool List:
- grinder;
- welding machine;
- bending machines;
- plasma cutter;
- drill;
- drilling machine;
- marker, tape measure;
- a hammer, a vice, wrenches and so on.
Manufacturing process homemade:
Step one. Brazier making
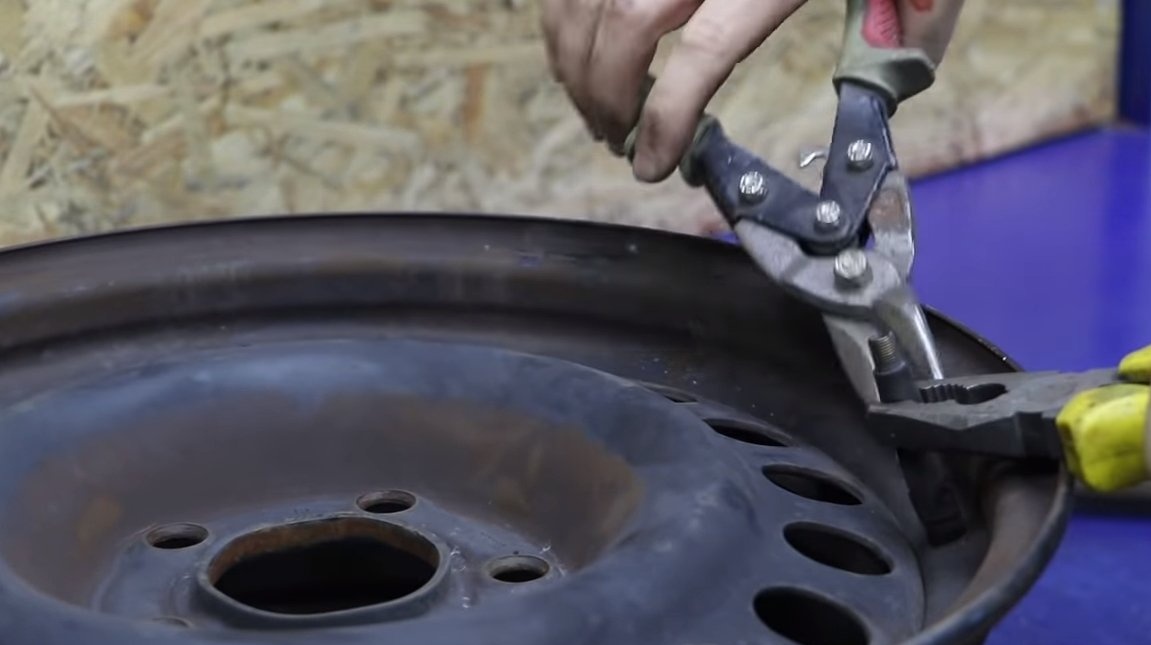
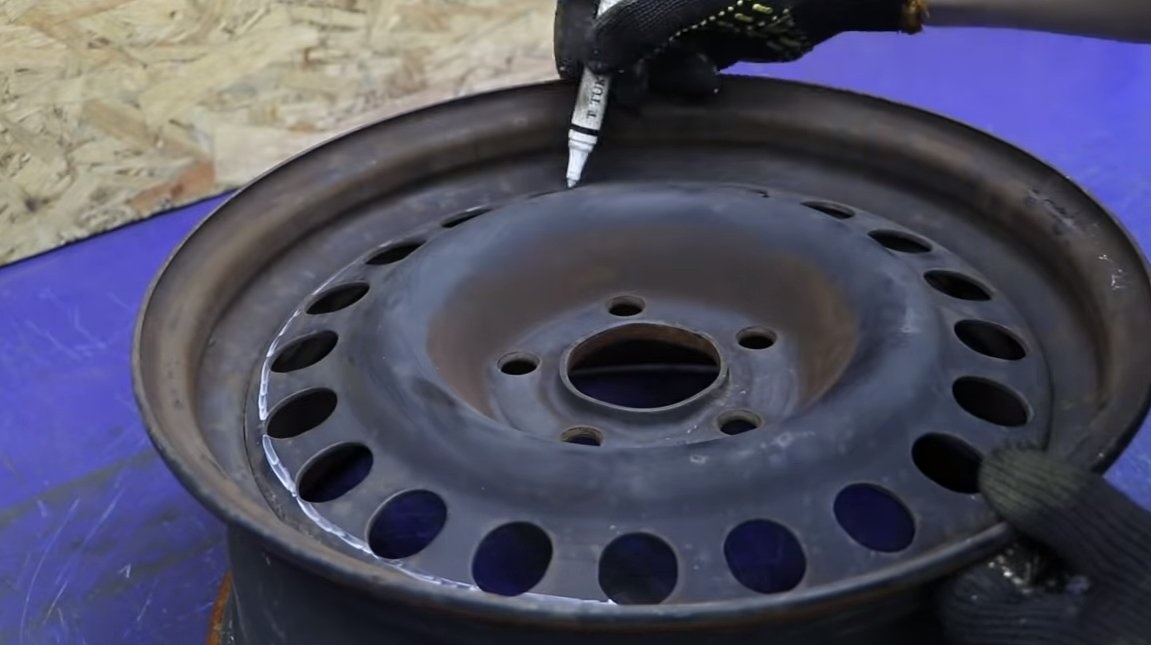
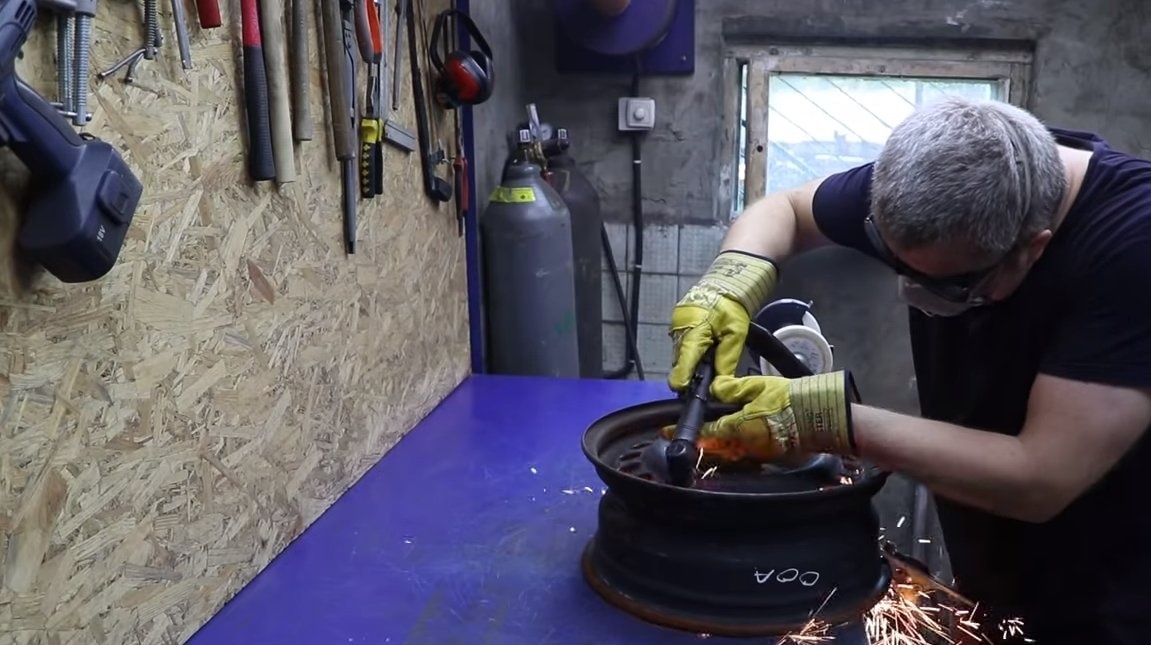
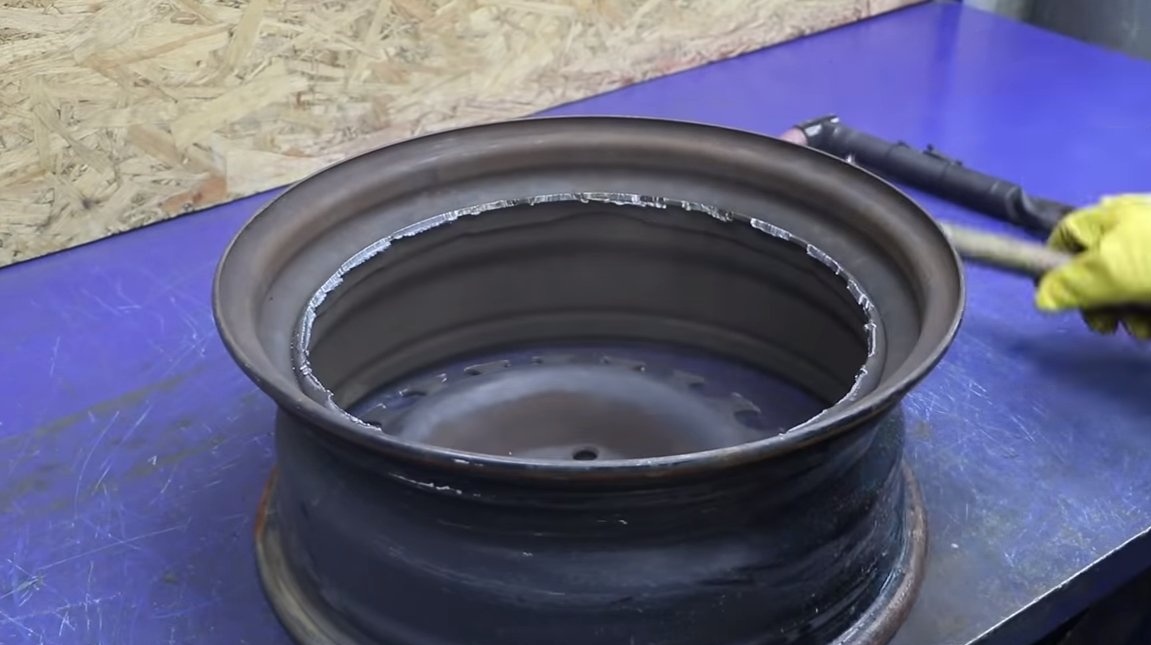
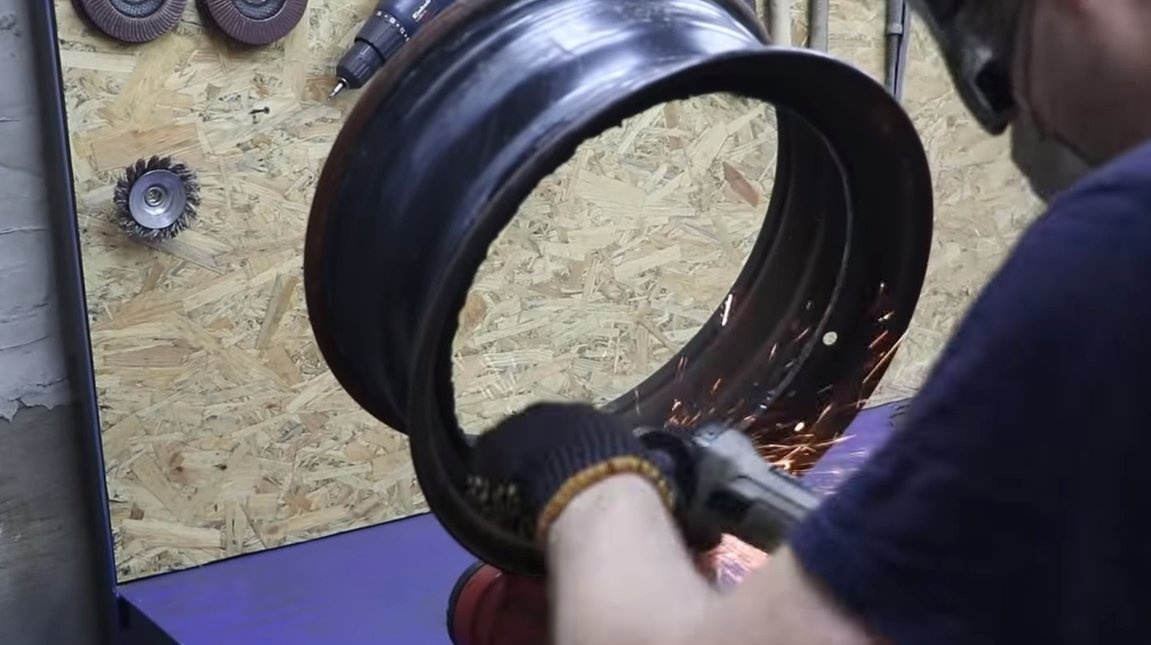
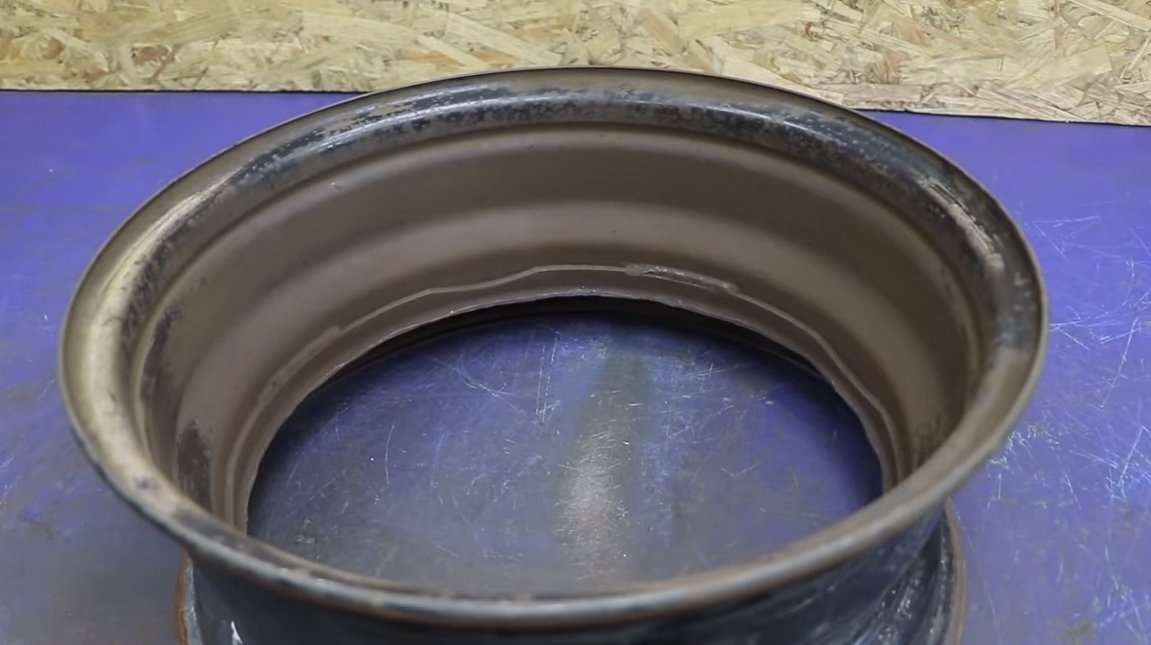
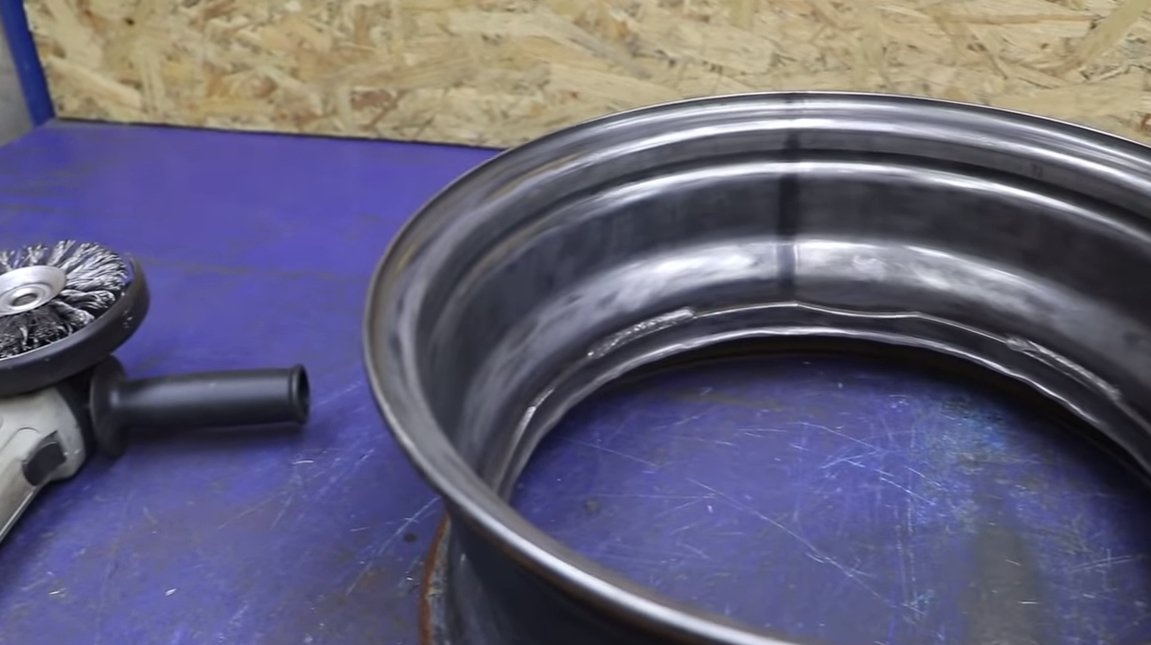
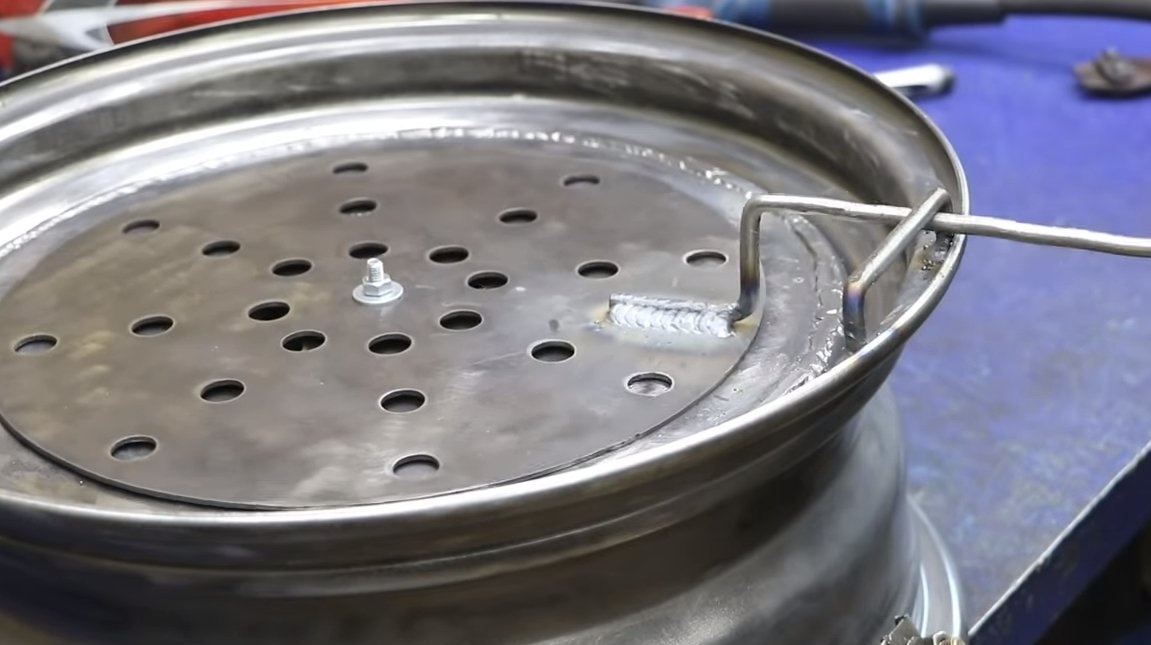
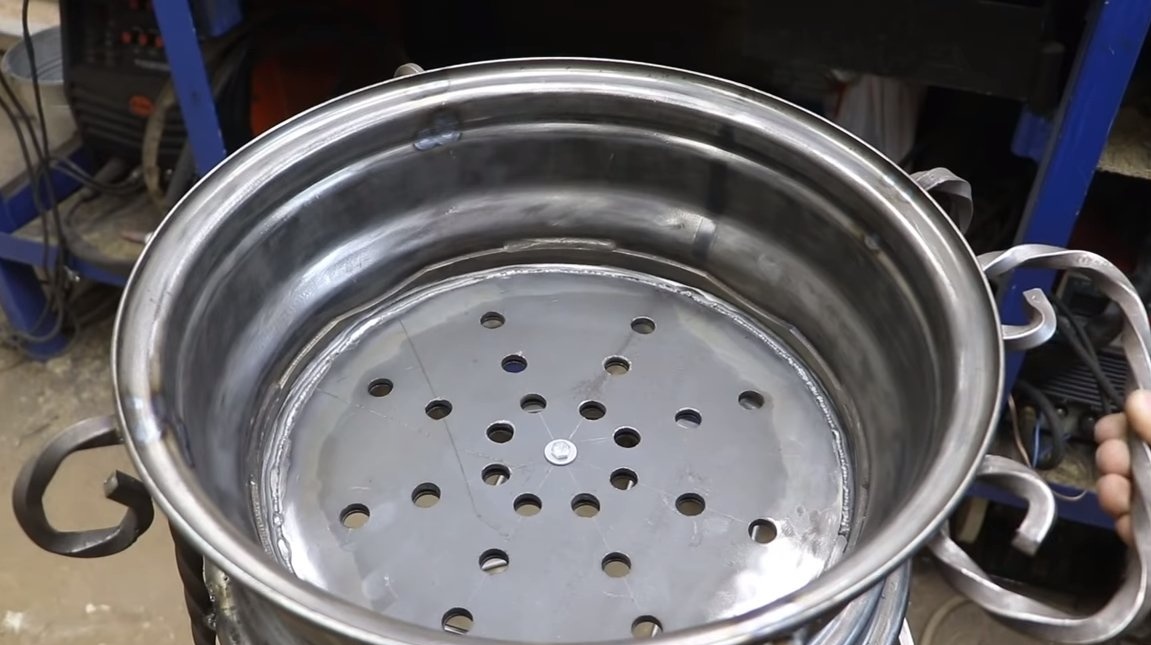
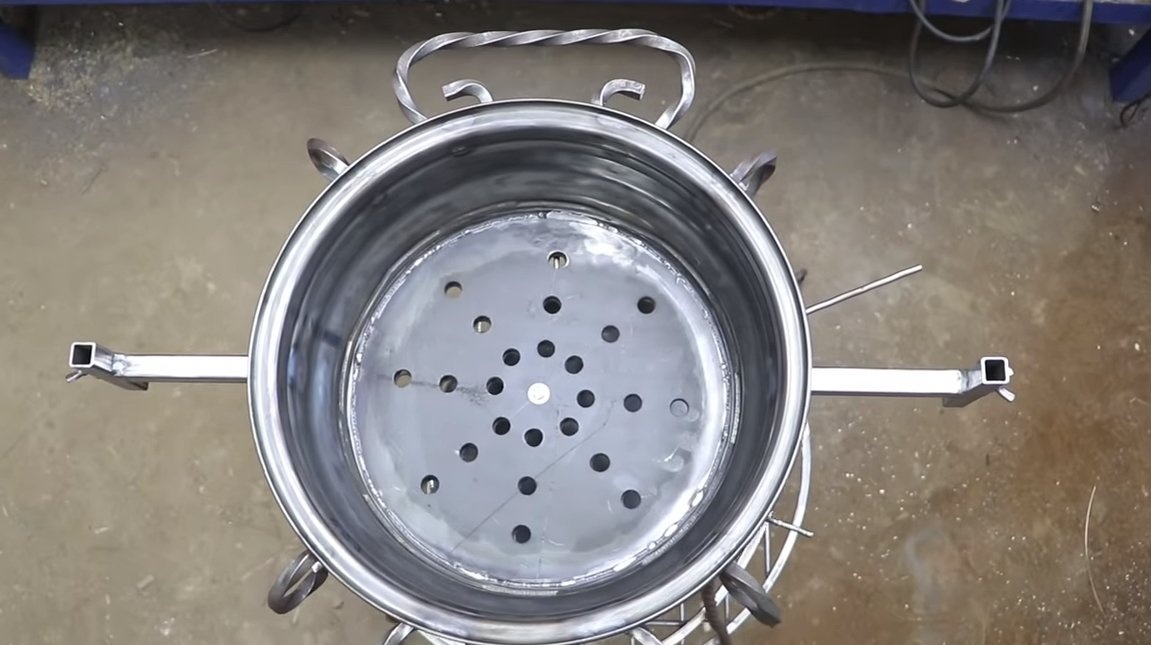
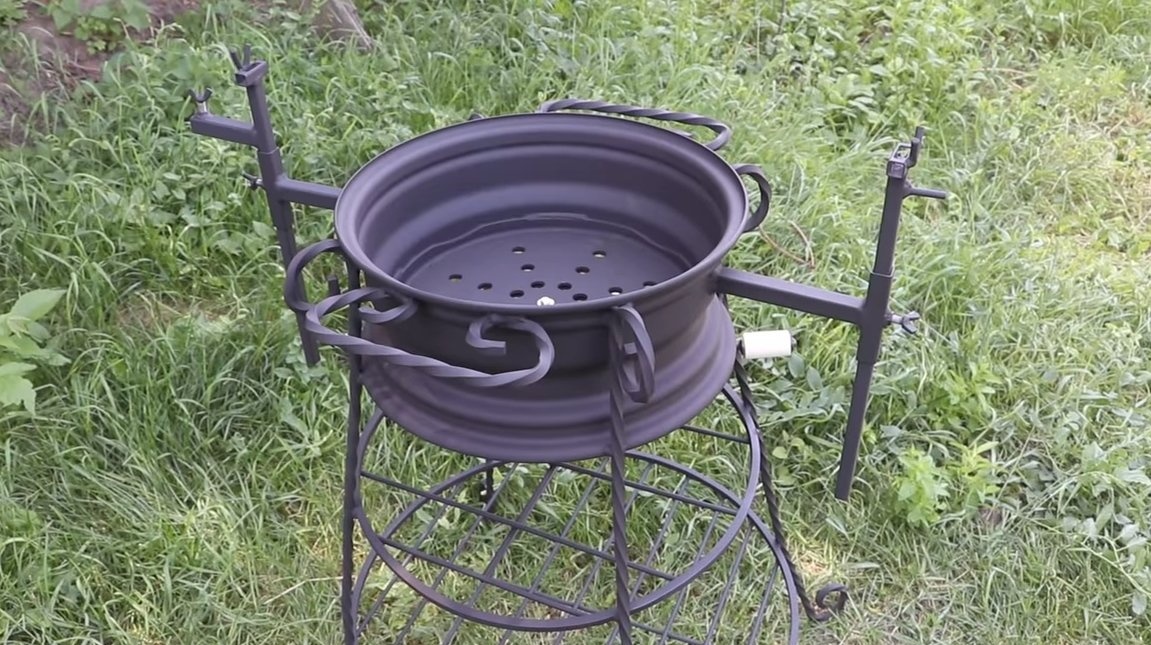
First of all we will make a brazier, for this we need an iron rim. We make the markup and cut out the central part of the disk, it is most convenient to work with a plasma cutter, but you can also handle the grinder. Next, the cutting site is well cleaned with a grinder with a grinding disk.

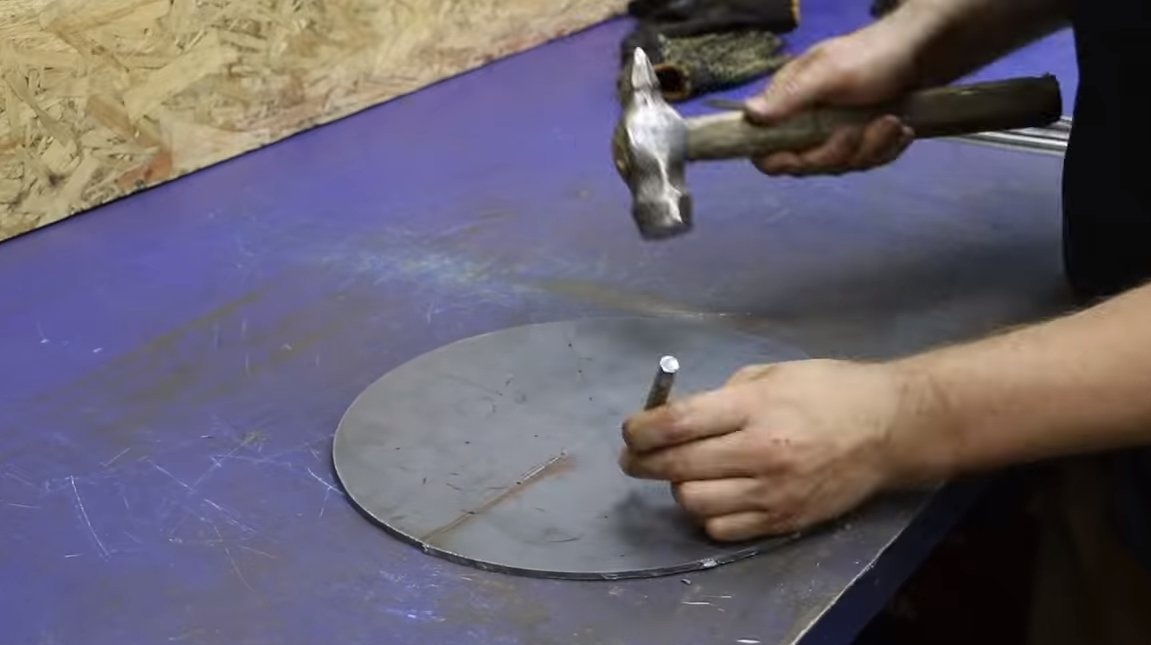
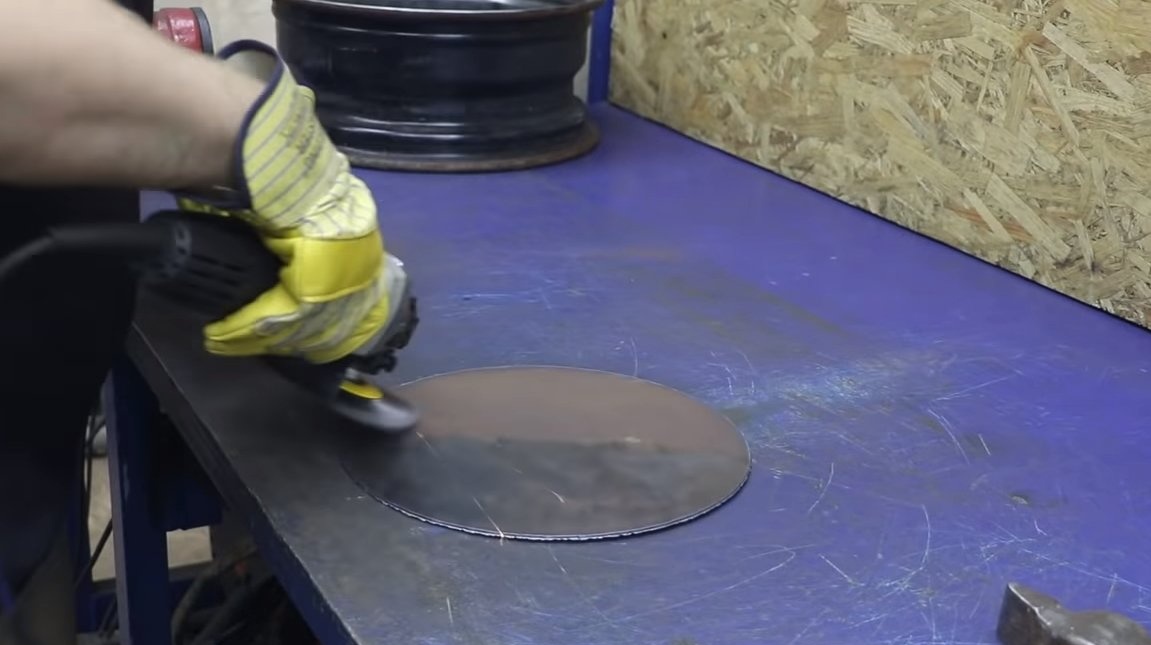
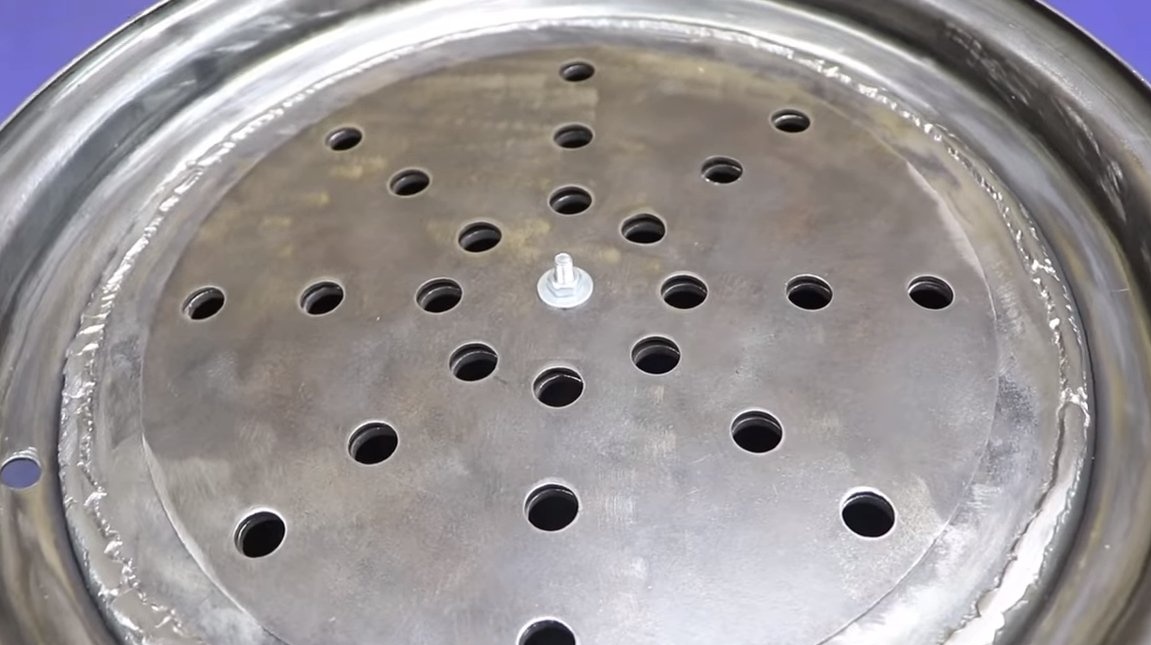
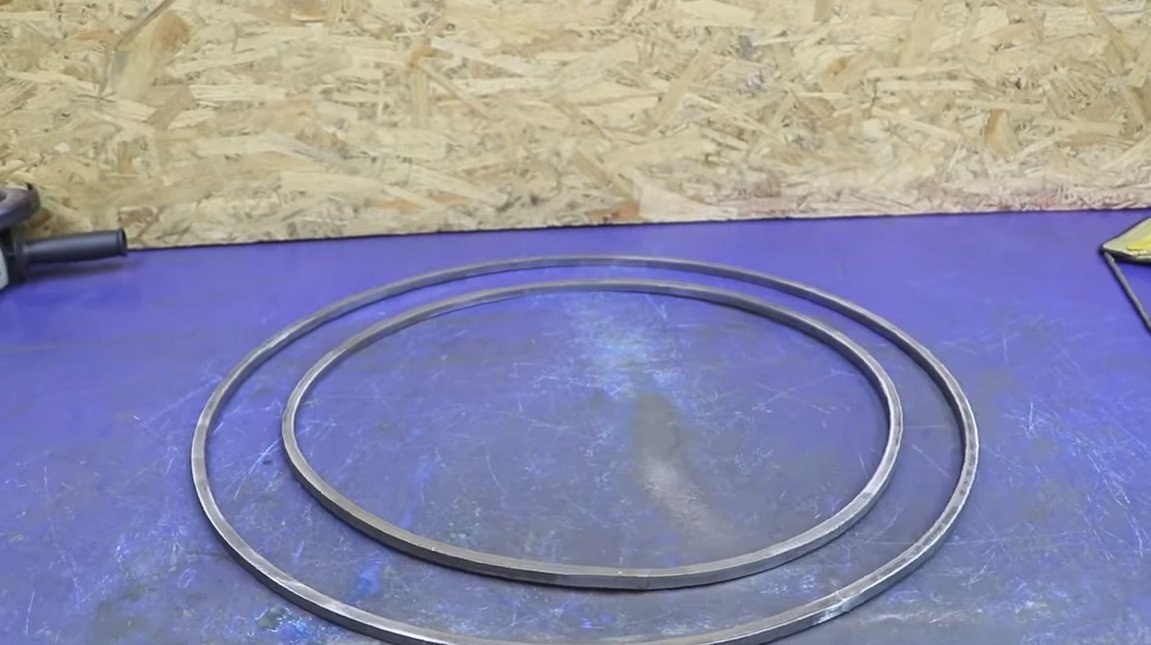
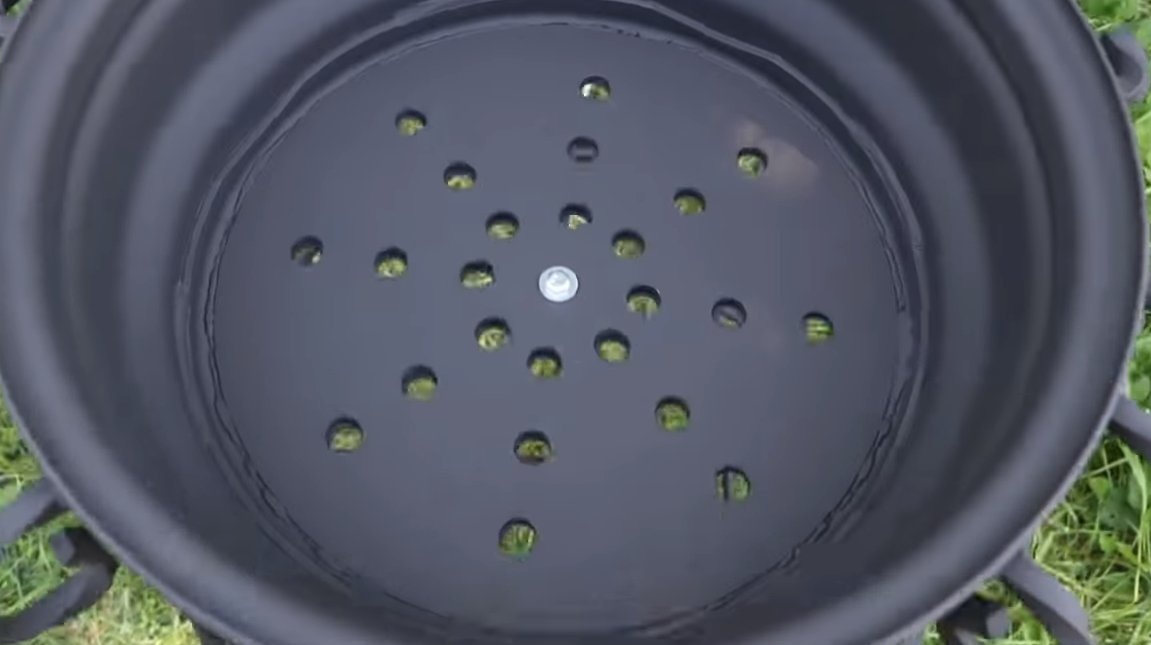
Now for the brazier we need to make a bottom, here we need sheet steel and better thicker. We cut two circles along the inner diameter of the disk, the author used a plasma cutter and a special holder.
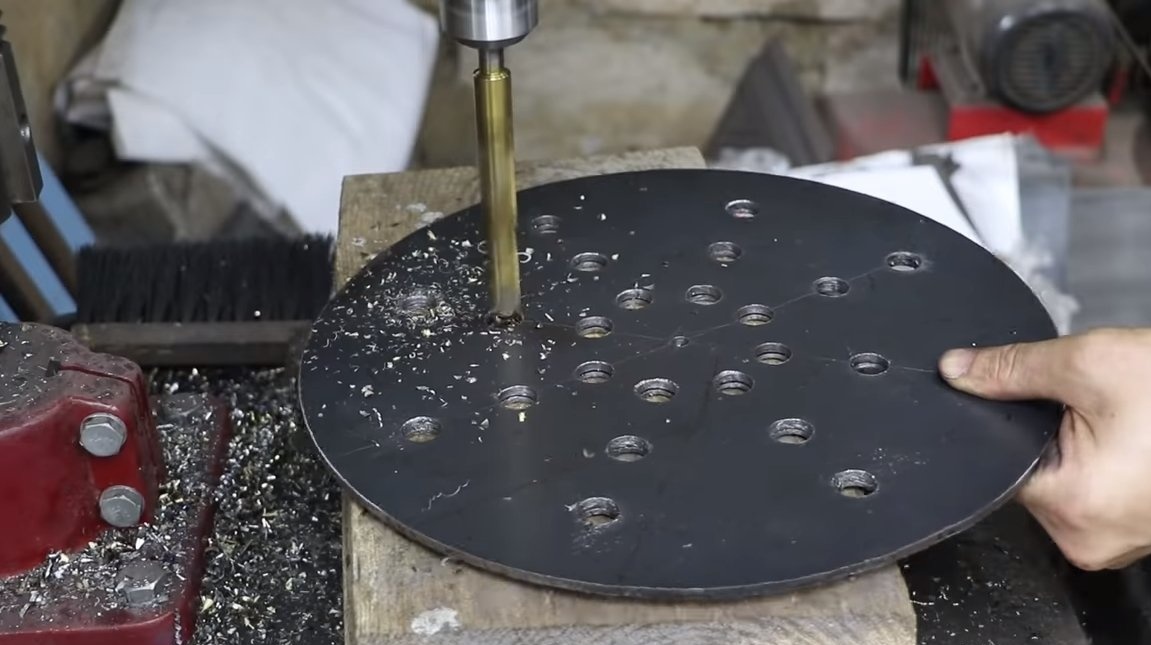
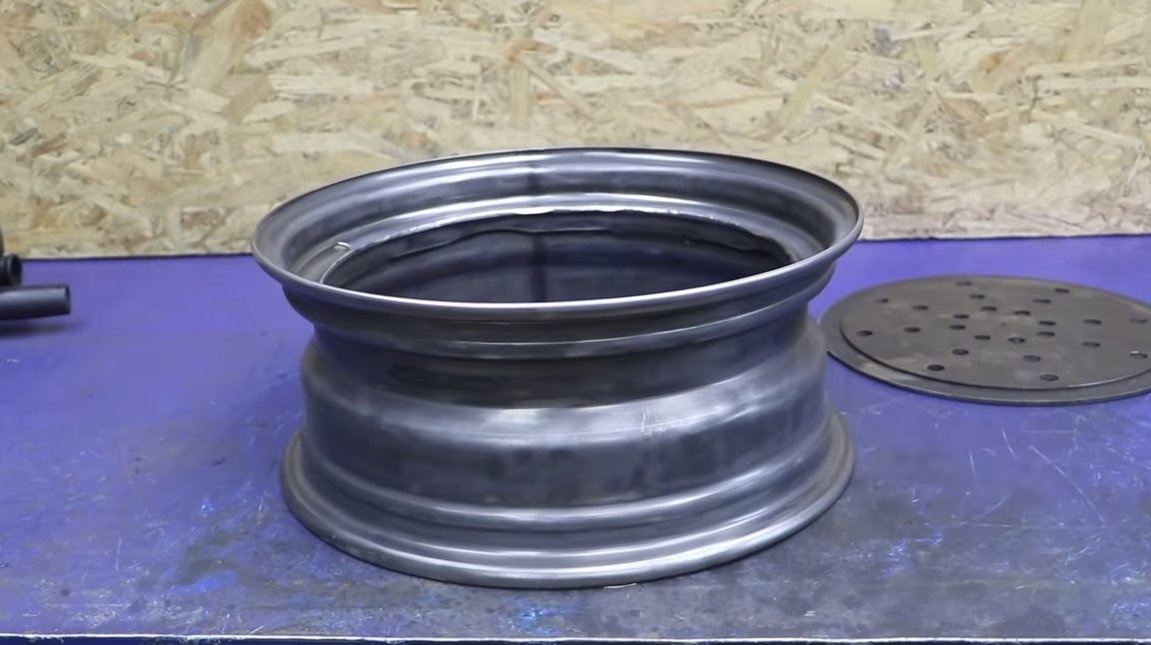
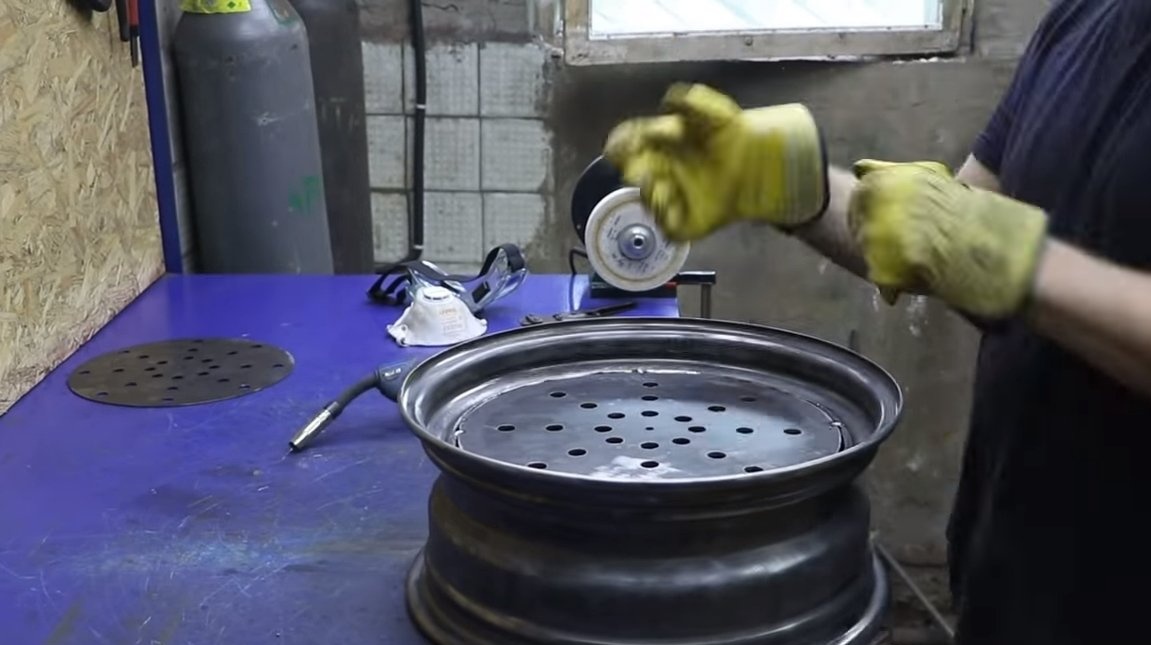
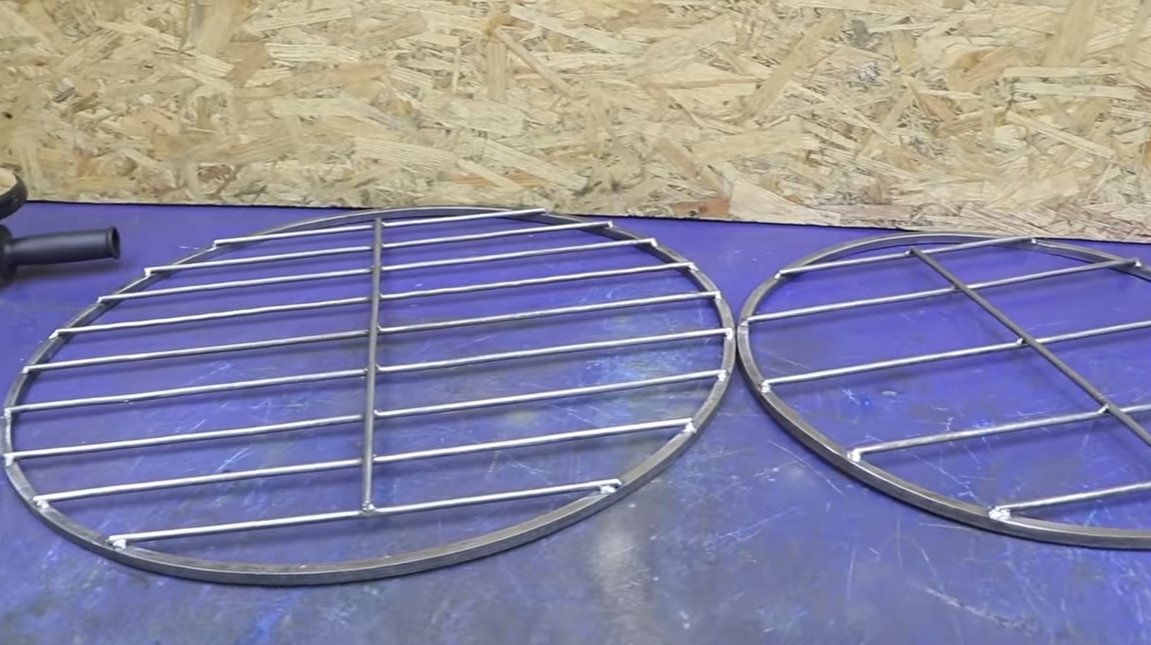
In each circle we drill rows of holes, air will enter through them. We weld one circle to the disk, and screw the second with a bolt and nut.Now, turning the upper circle, we open or close the rows of holes. It remains to make a handle, bend it from the bar and weld to the circle. For the handle, we also weld the stops.
Step Two Legs
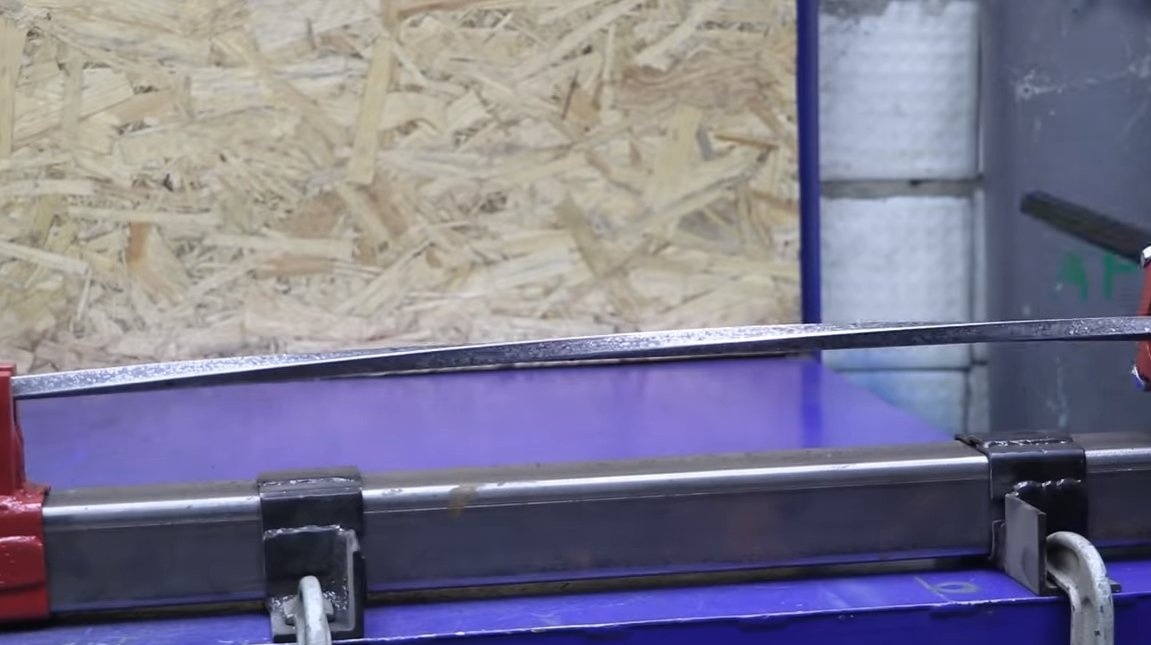
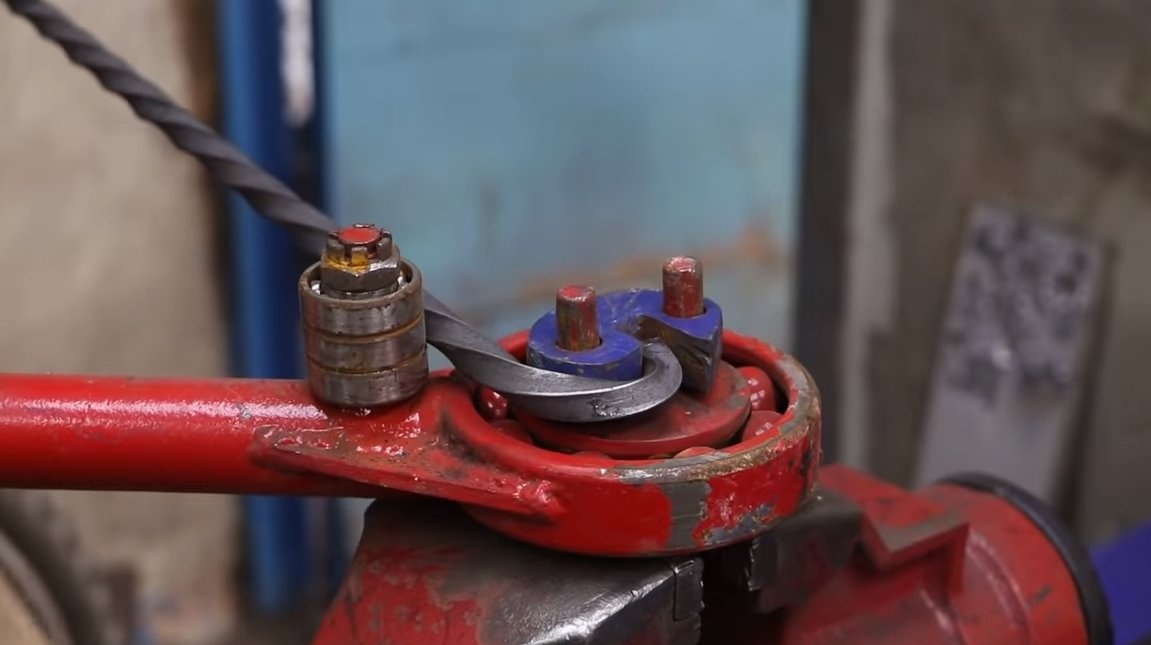
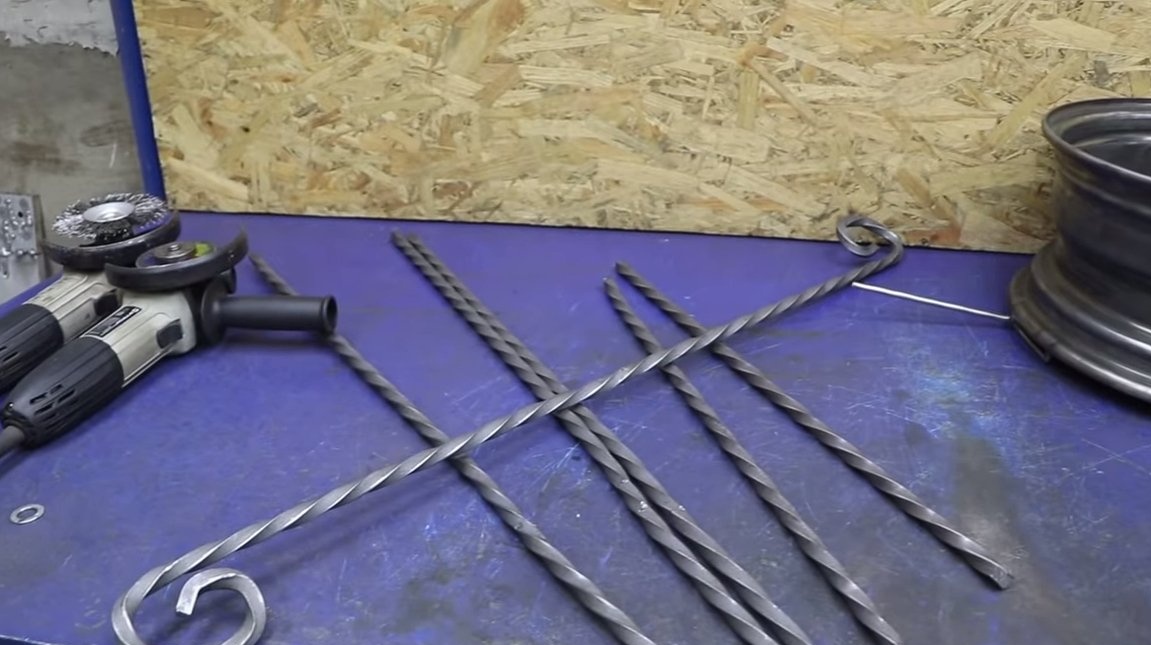
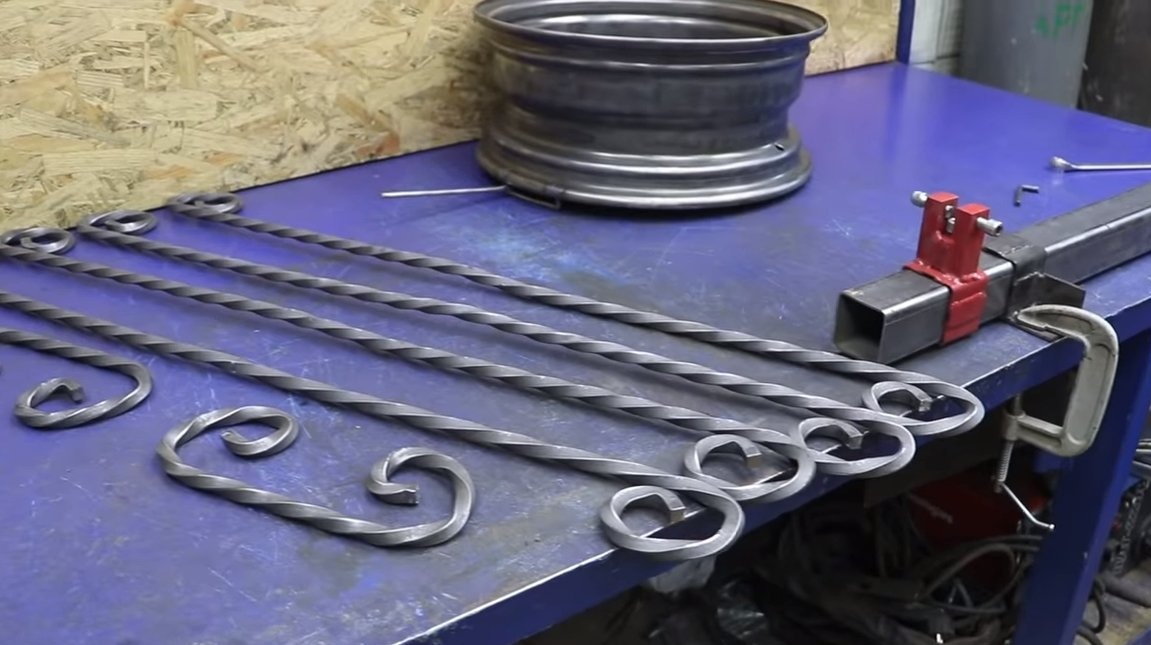
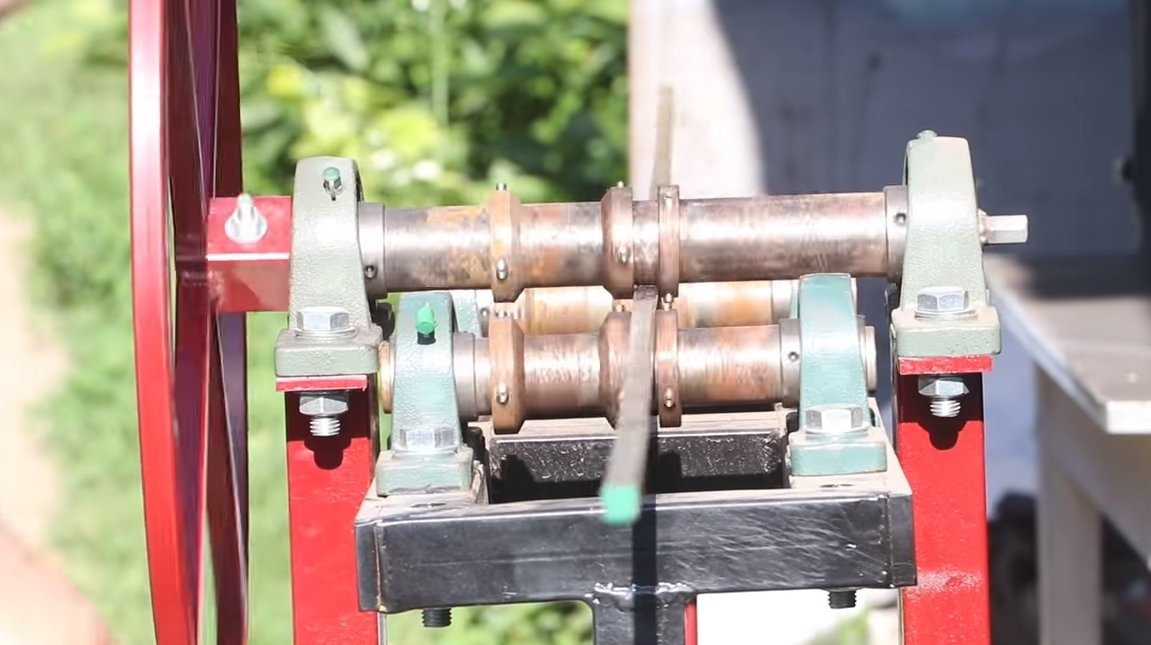
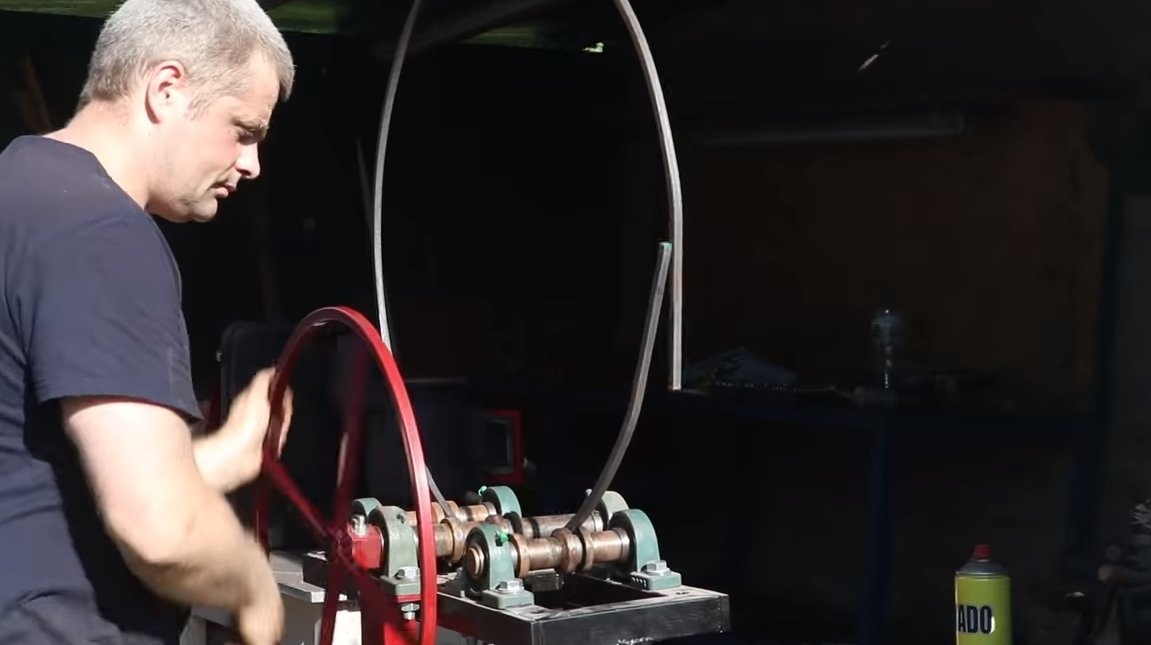
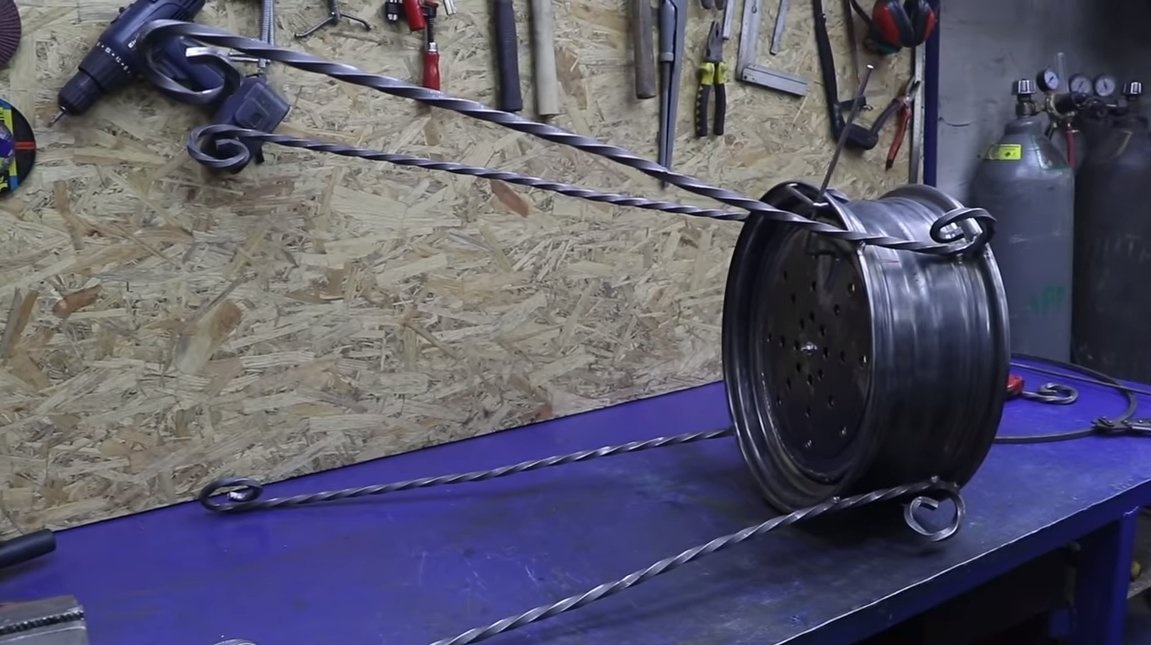
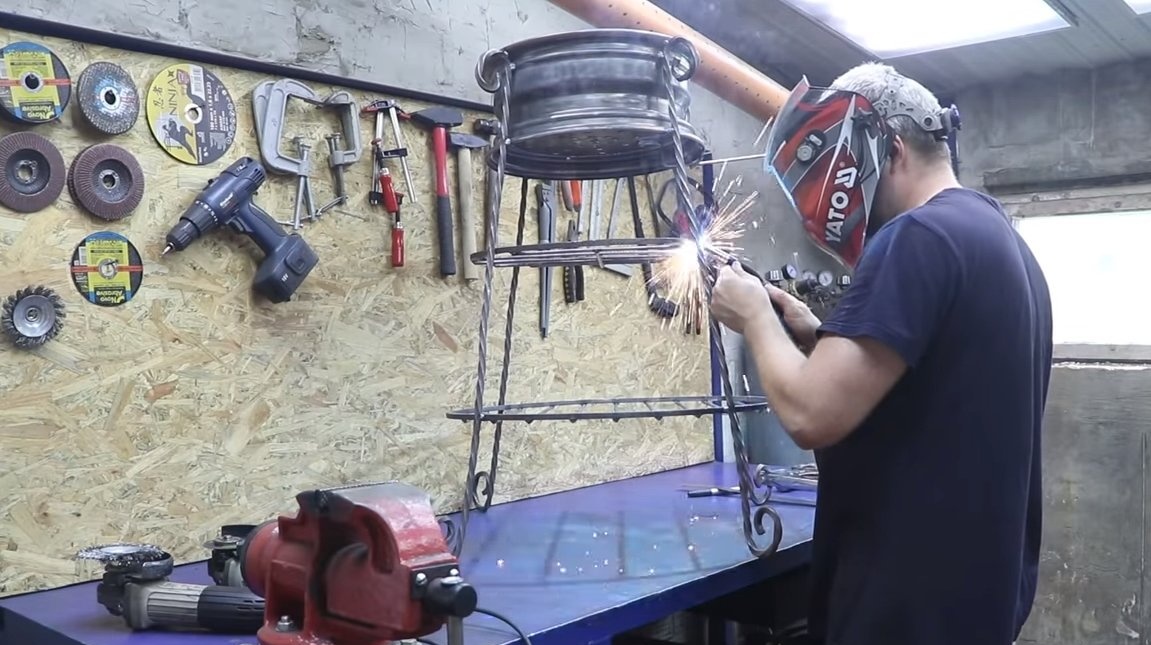
We make legs for the brazier, here the author decided to surprise everyone, and made the legs twisted, square rods were used, which the author bent and twisted using various home-made machines. Then all this is welded as in the photo. There are also two shelves on the grill, one shelf is needed to install the ash tray, and the lowest one can be used to store coal, firewood and so on. Brazier handles were also made of twisted square bars.
Step Three Skewer
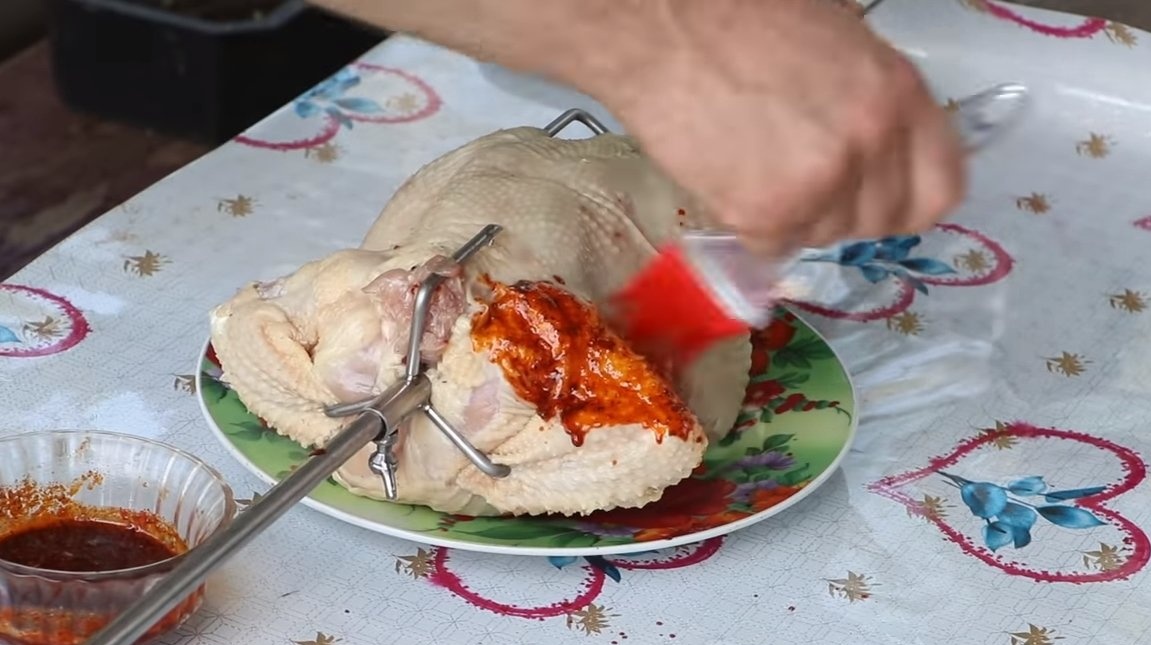
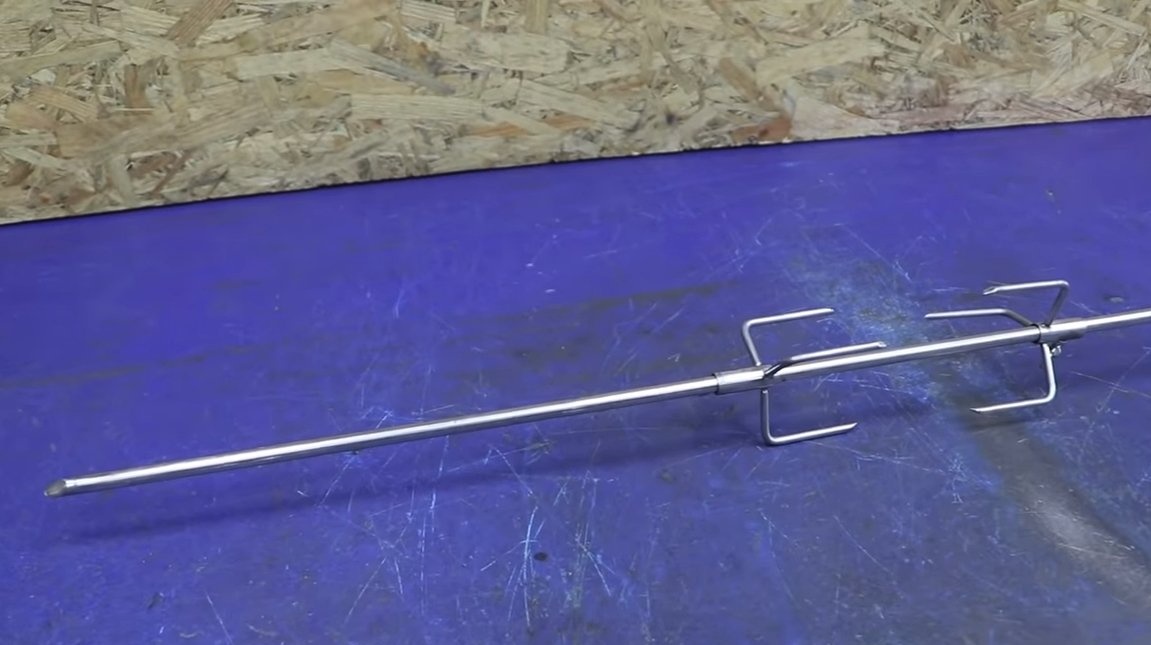
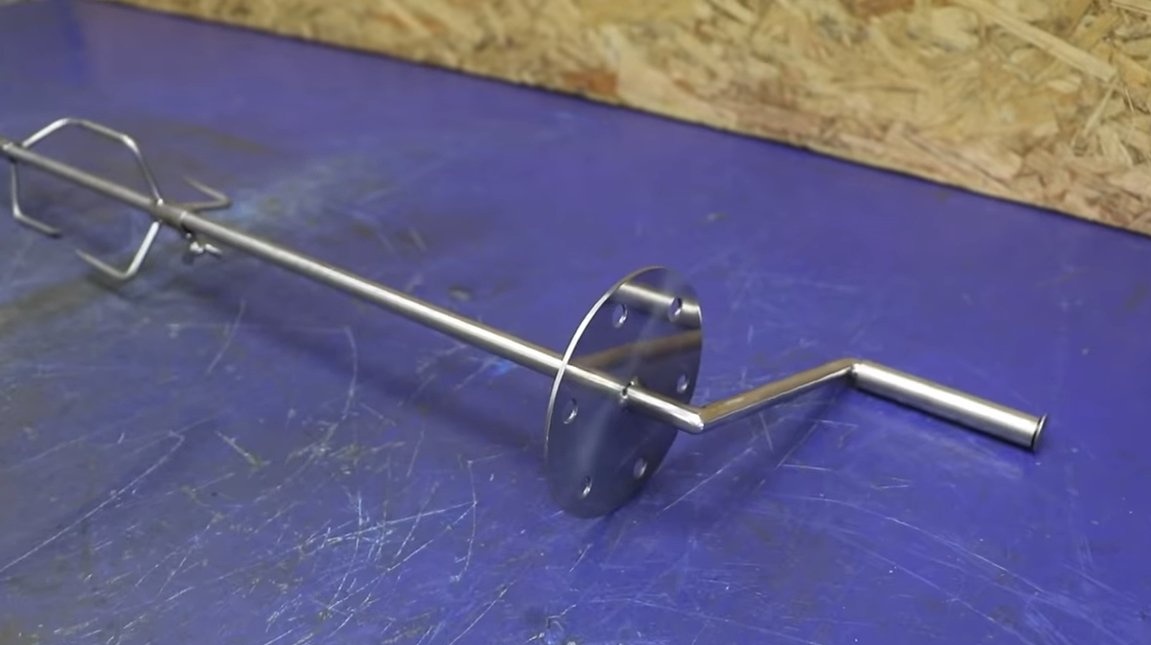
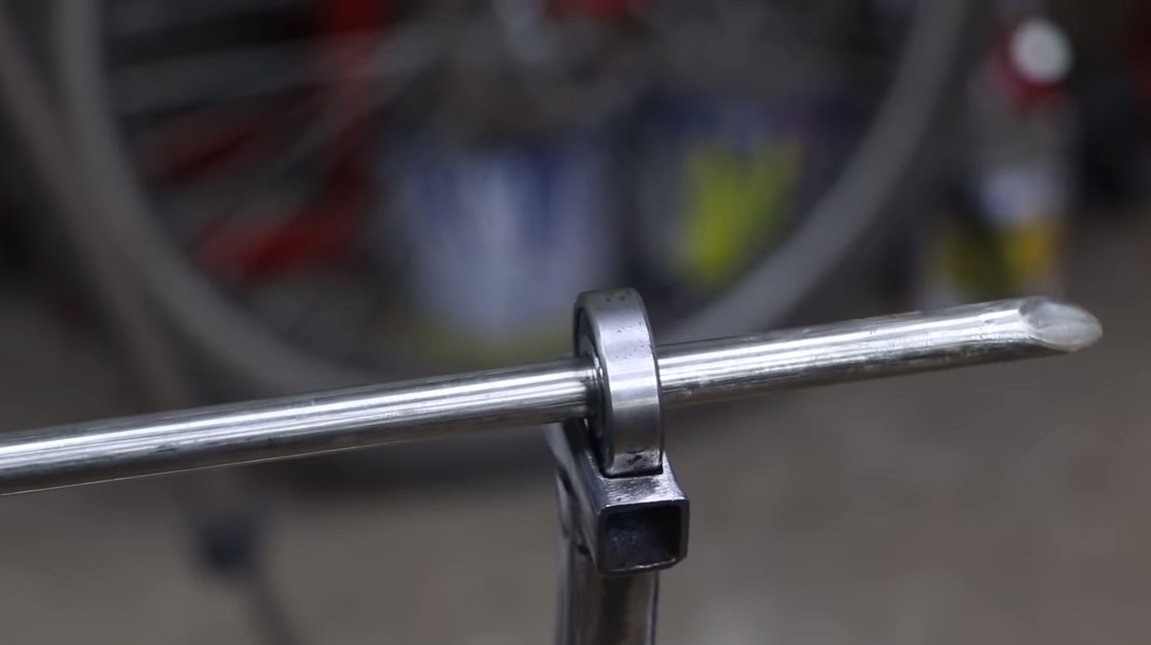
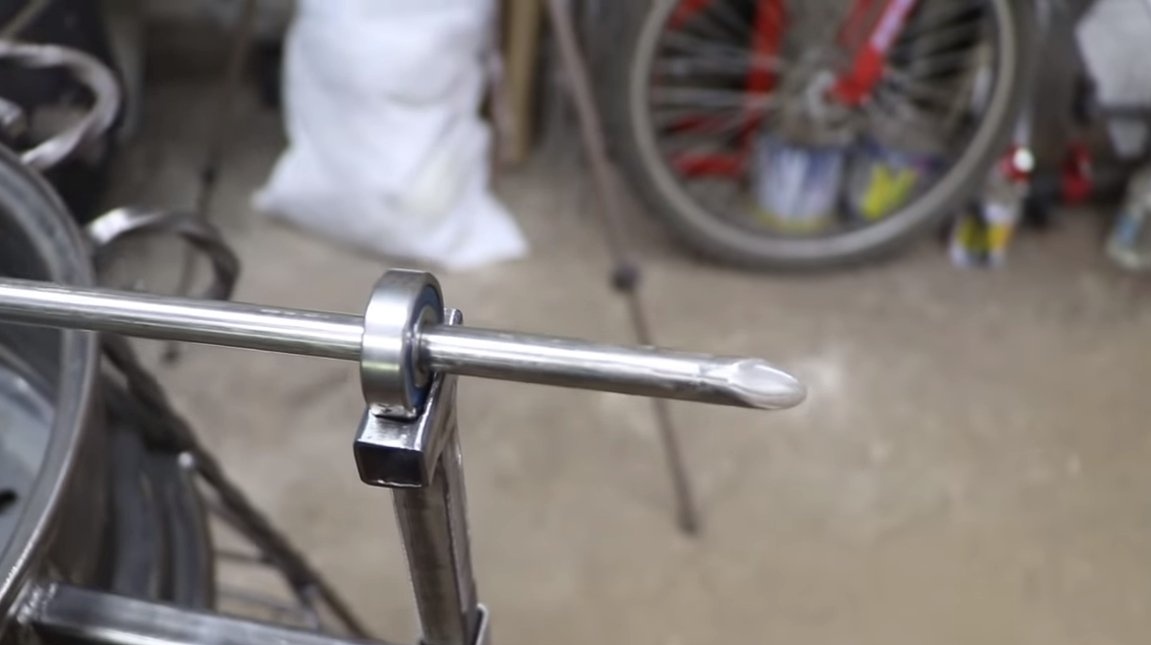
We make a skewer for barbecue, it is recommended to use a stainless pipe or stainless rod. There are special meat holders on the skewer, they can be fixed in any convenient place.
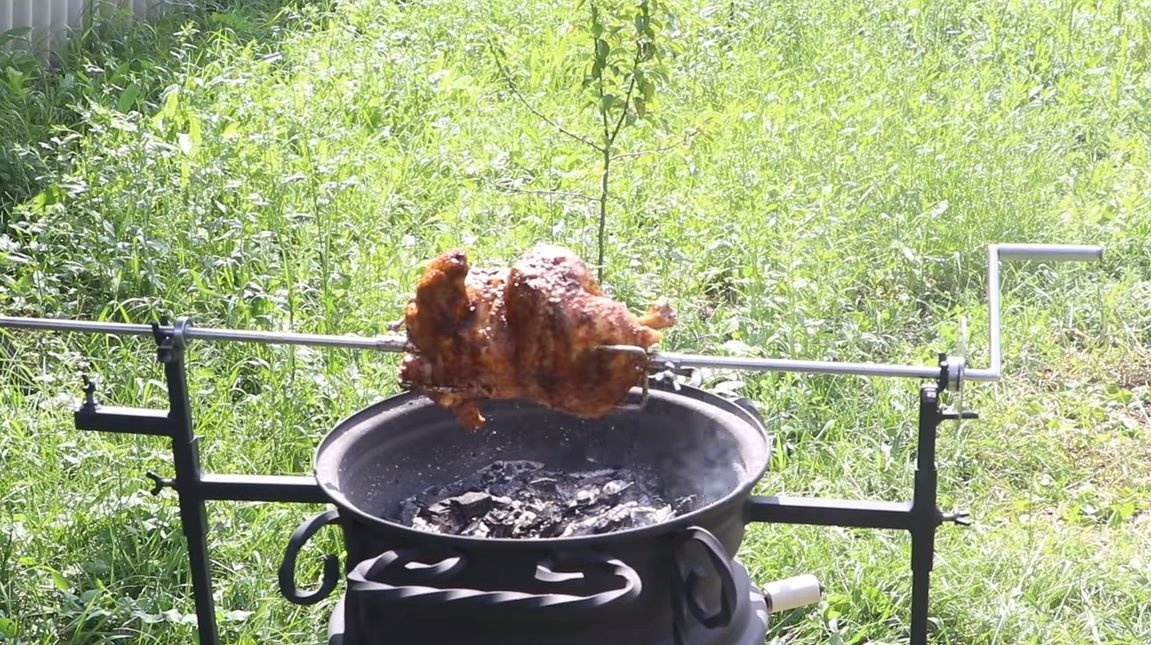
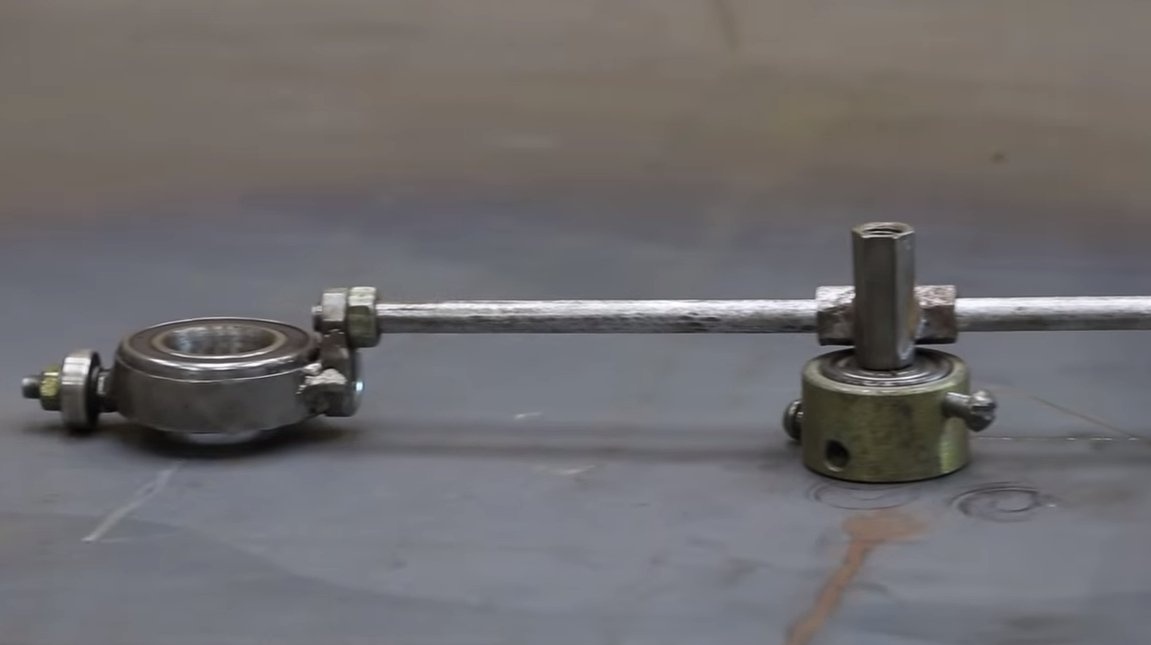
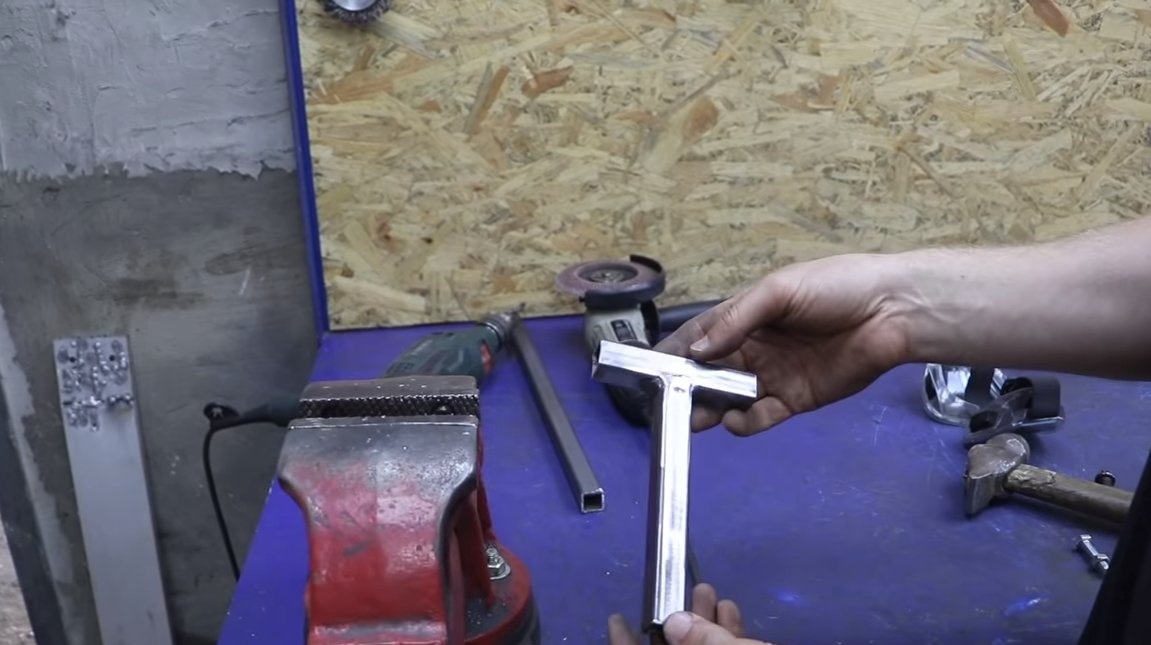
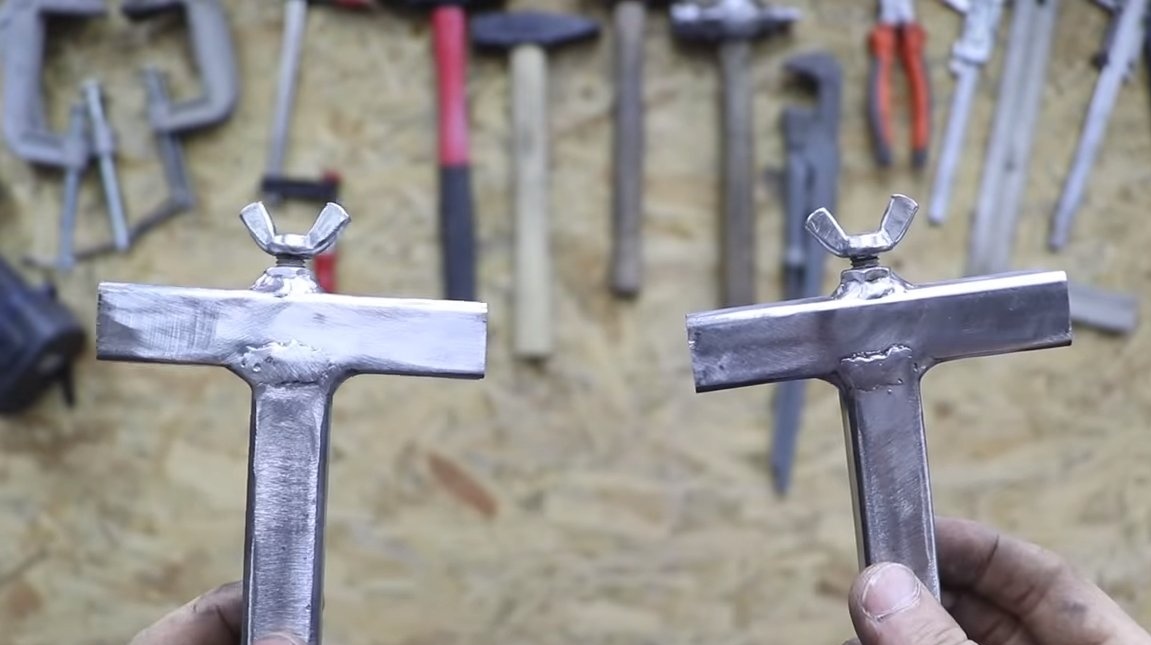
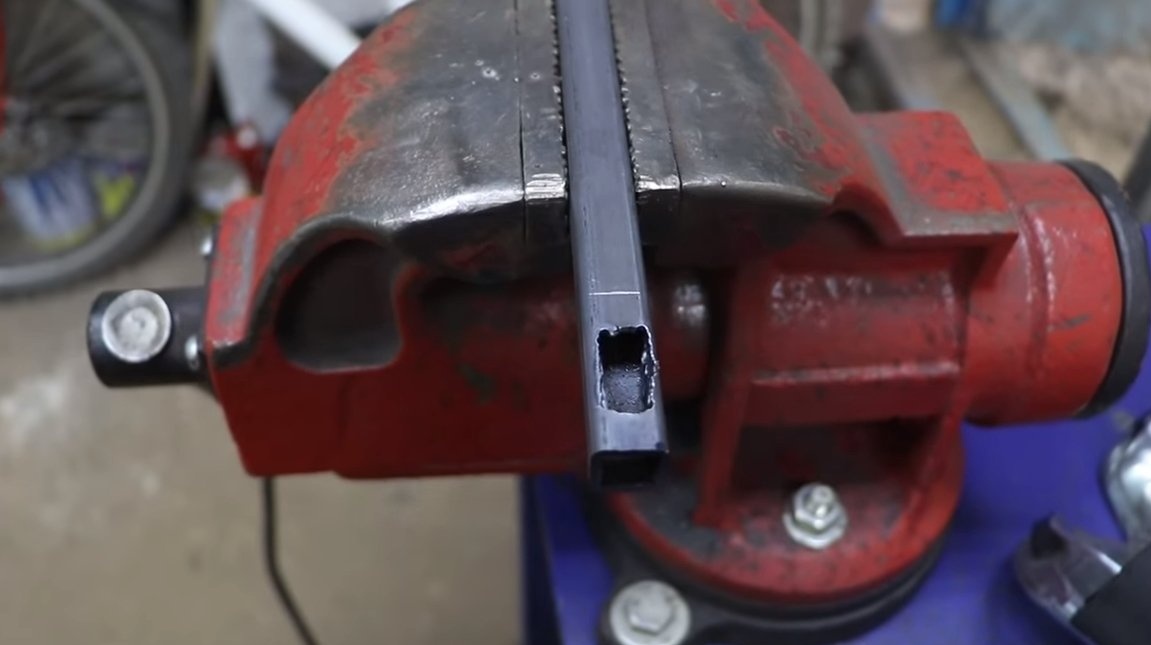
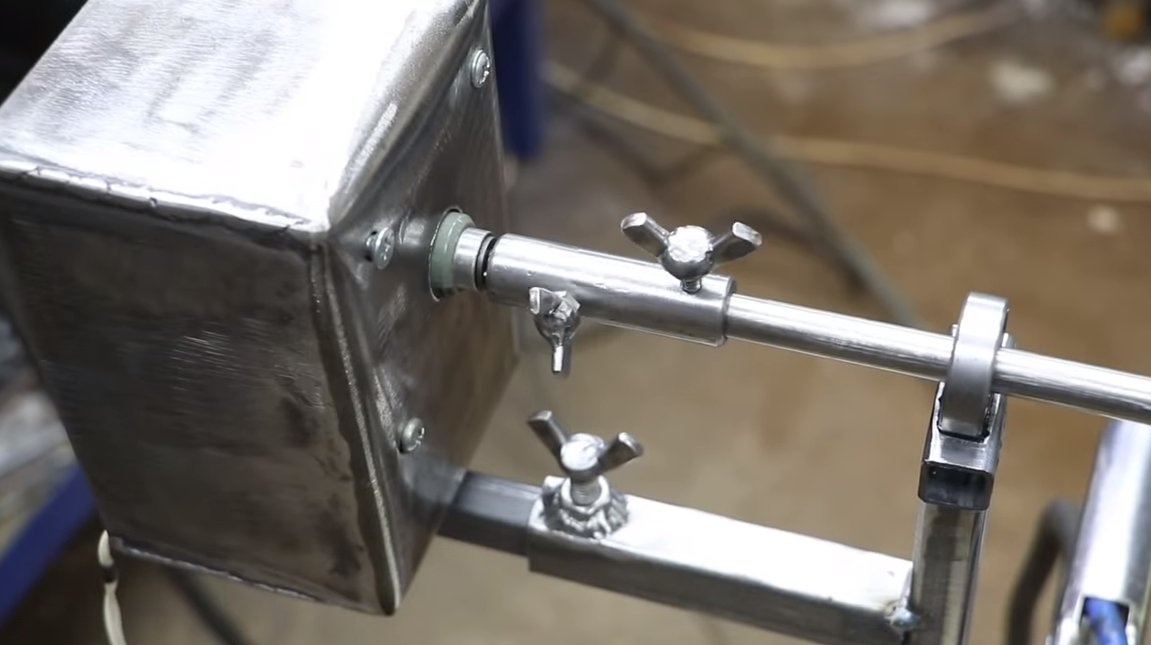
To operate the machine in manual mode, the author attached a handle to the skewer, and the other end will be connected to the engine using the splines. The skewer will rotate on bearings, special pores from profile pipes are welded to the barbecue in the form of the letter "T". Under the bearings in the profile pipes, recesses are cut out into which they fit and are thereby fixed.
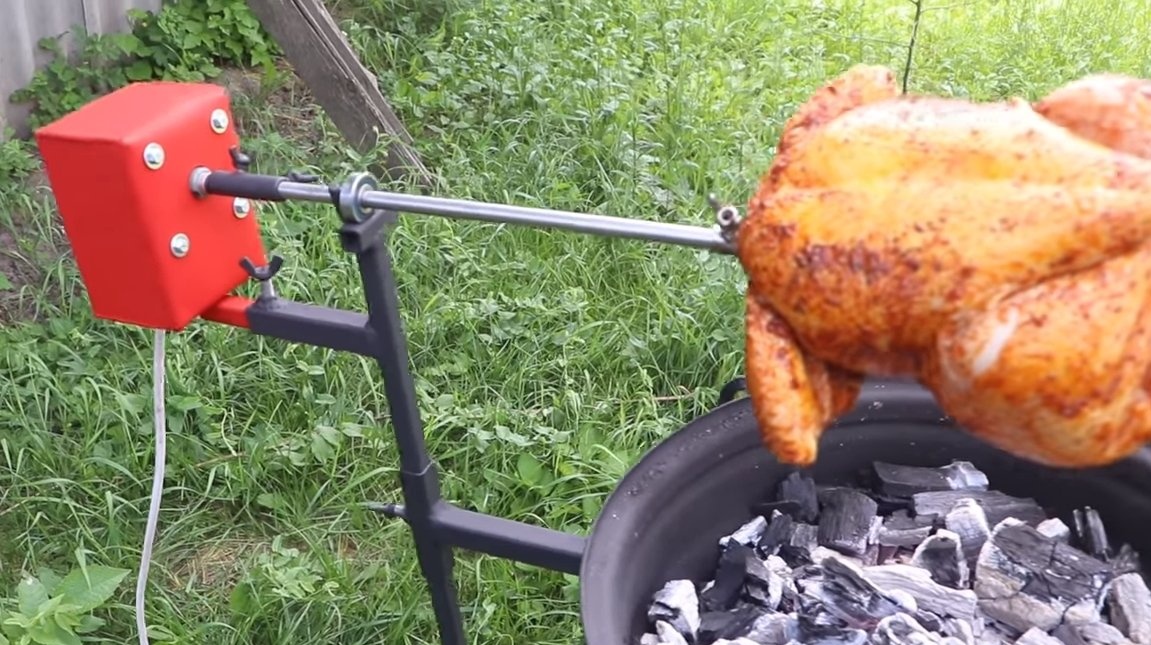
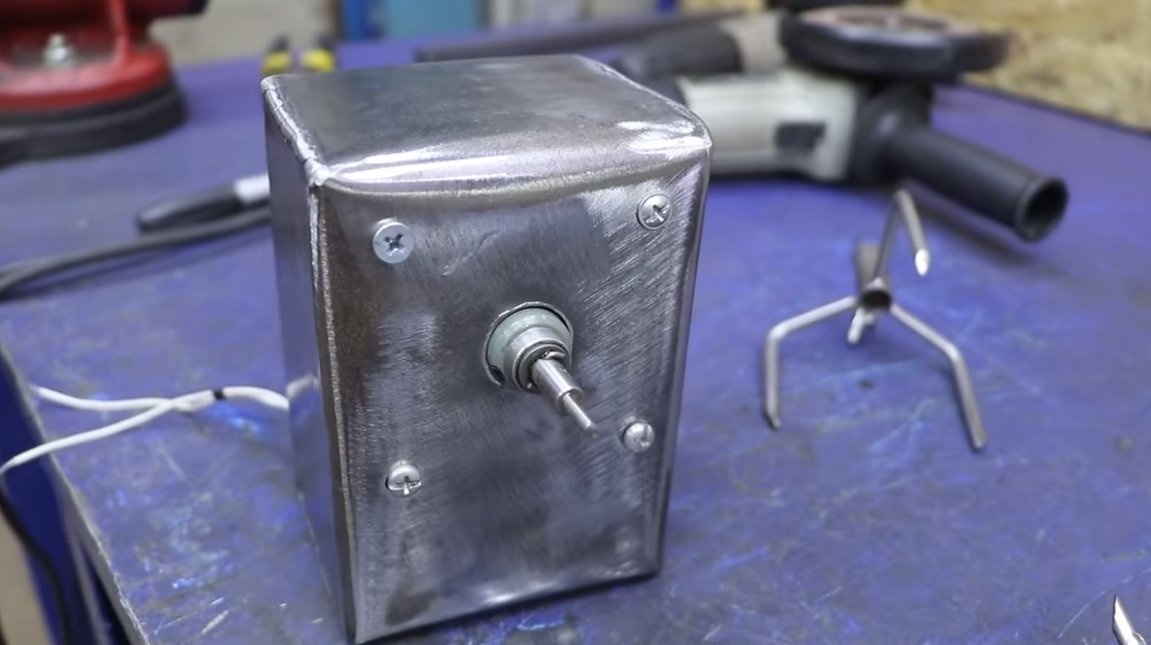
Step Four Engine
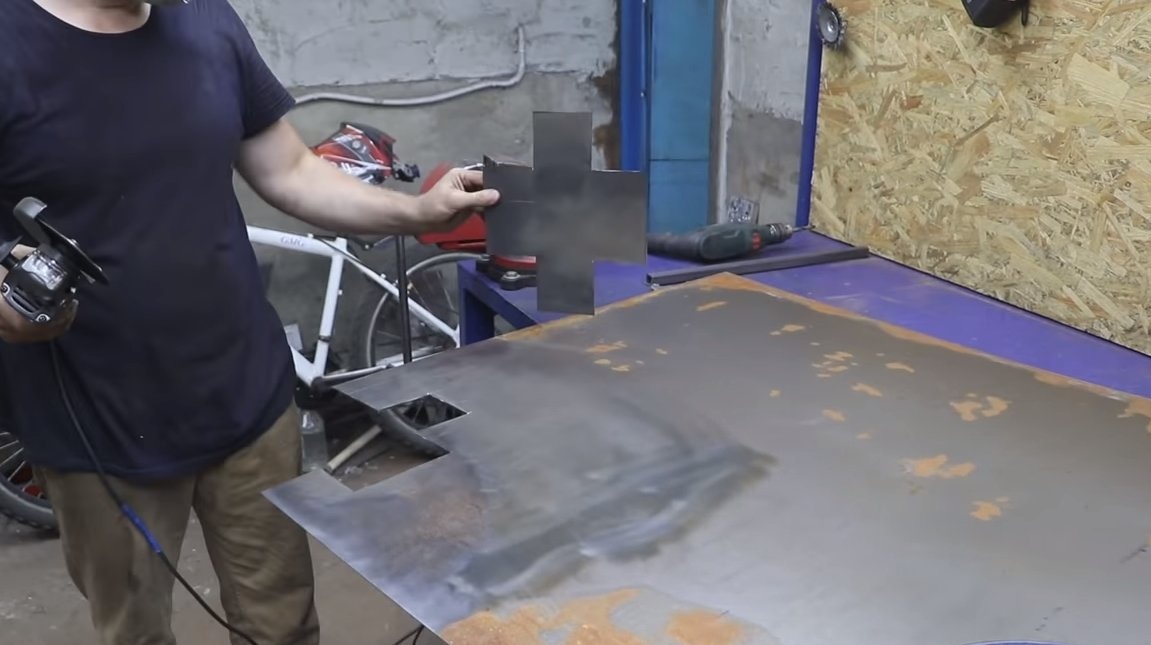
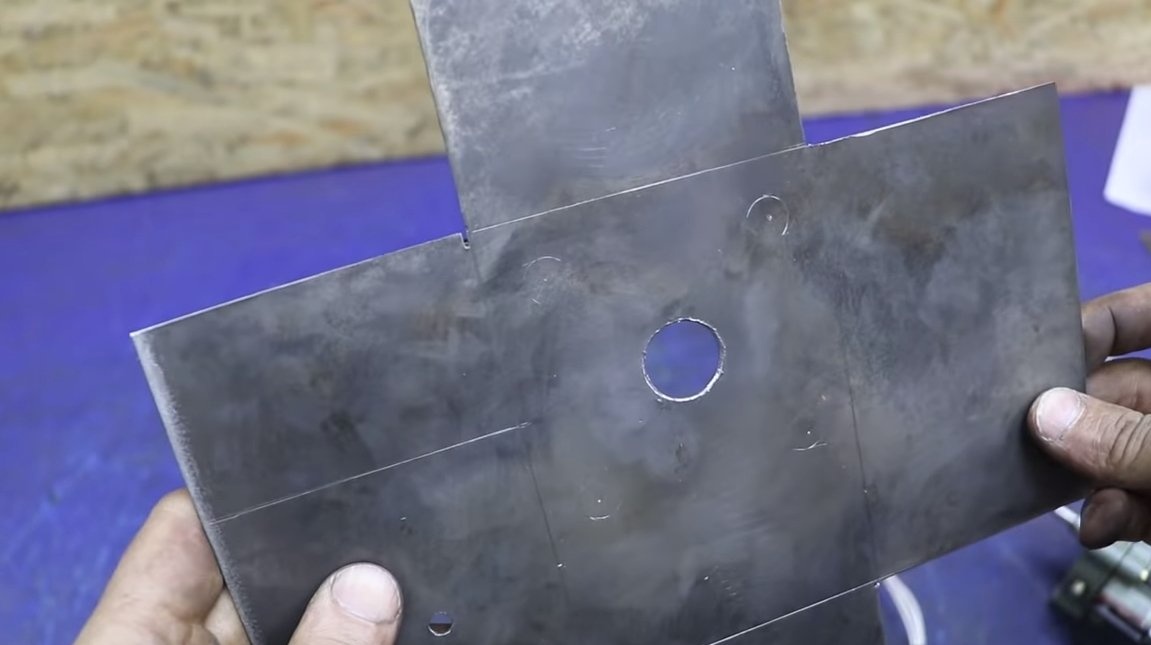
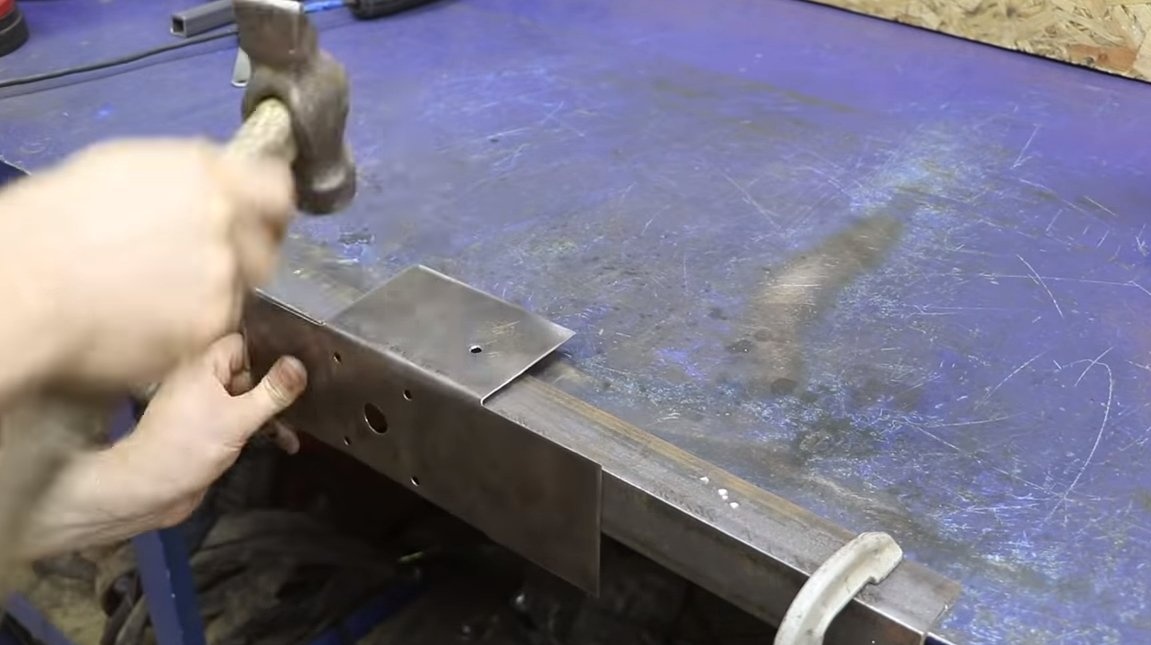
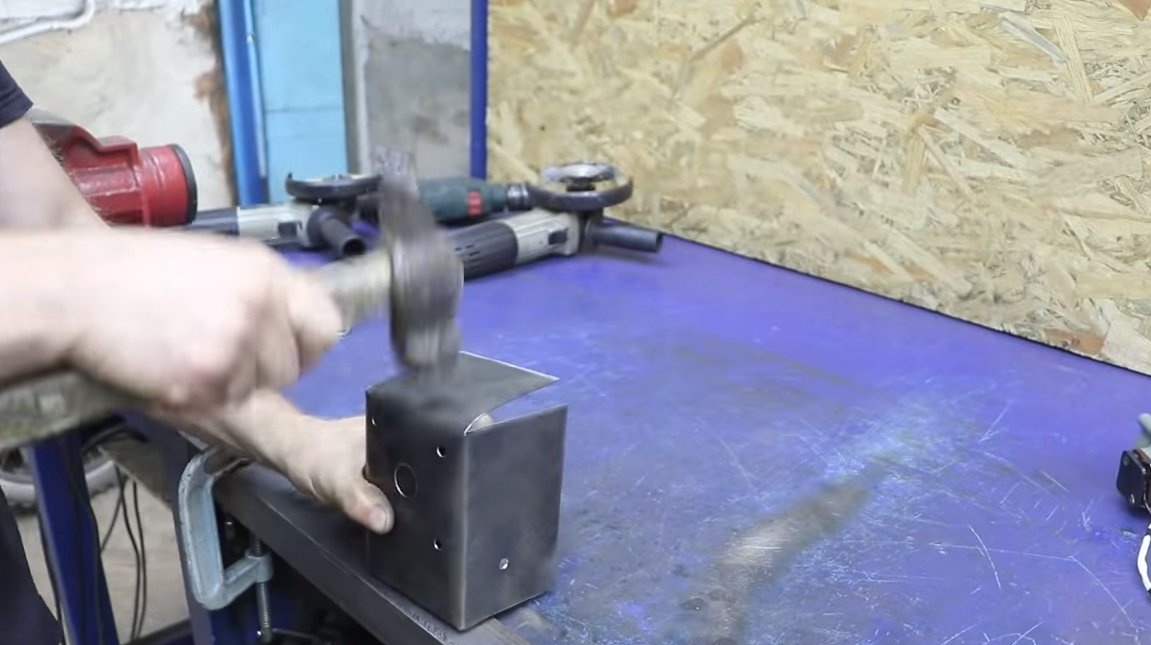
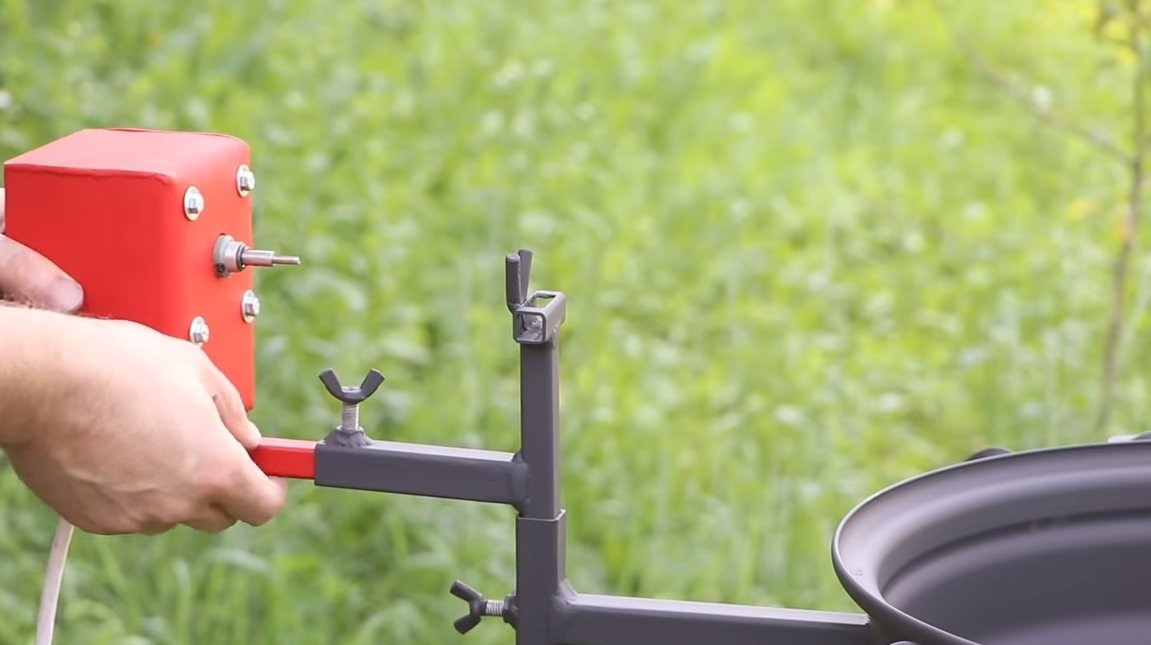
We will make a box for the engine so that water and dirt do not get on it, the author assembled it from sheet iron. To connect the motor shaft with skewer, the author has machined a special adapter. The engine is easily removable, to fix all the components of the brazier, the author made wing bolts, as a result, they can be unscrewed and twisted by hand.

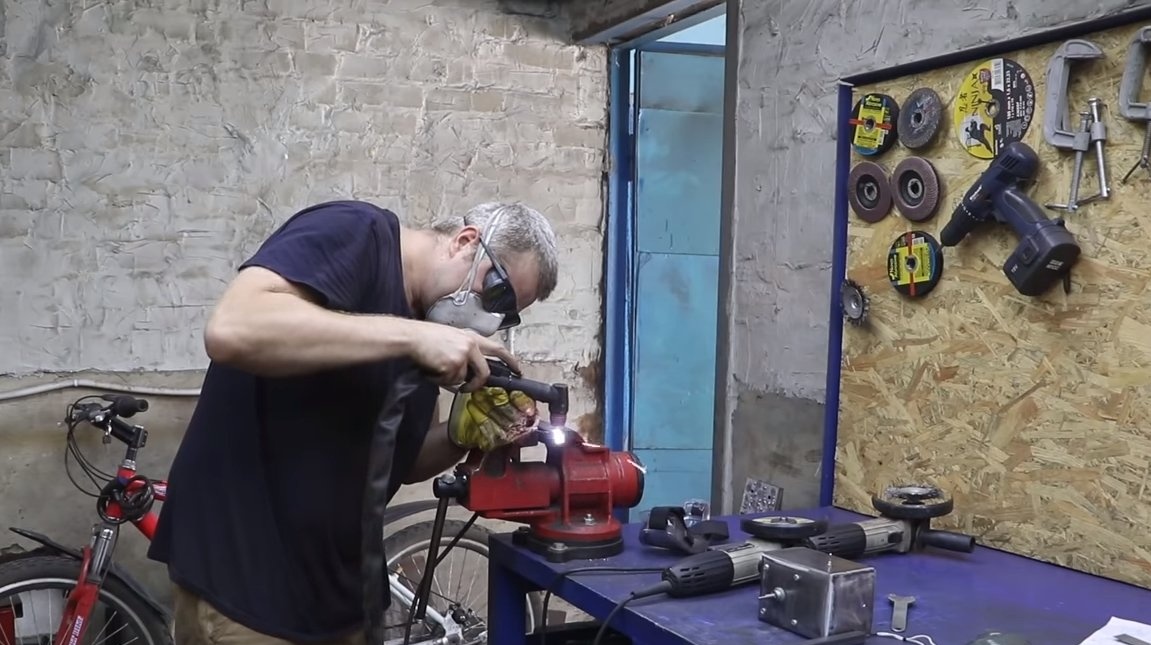
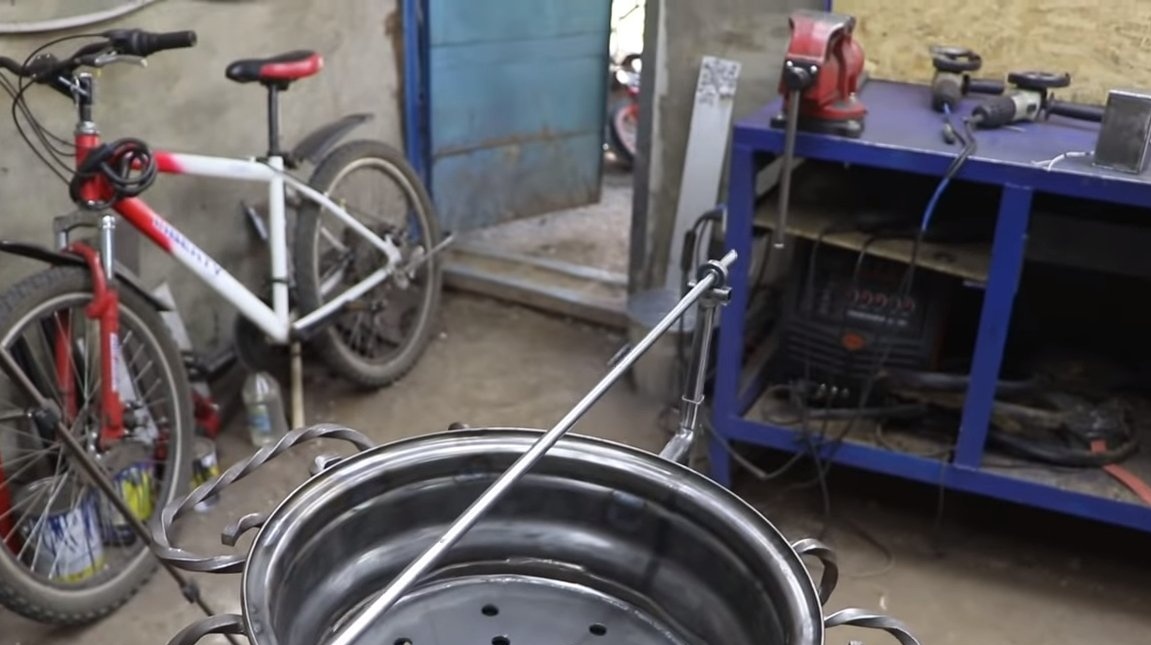

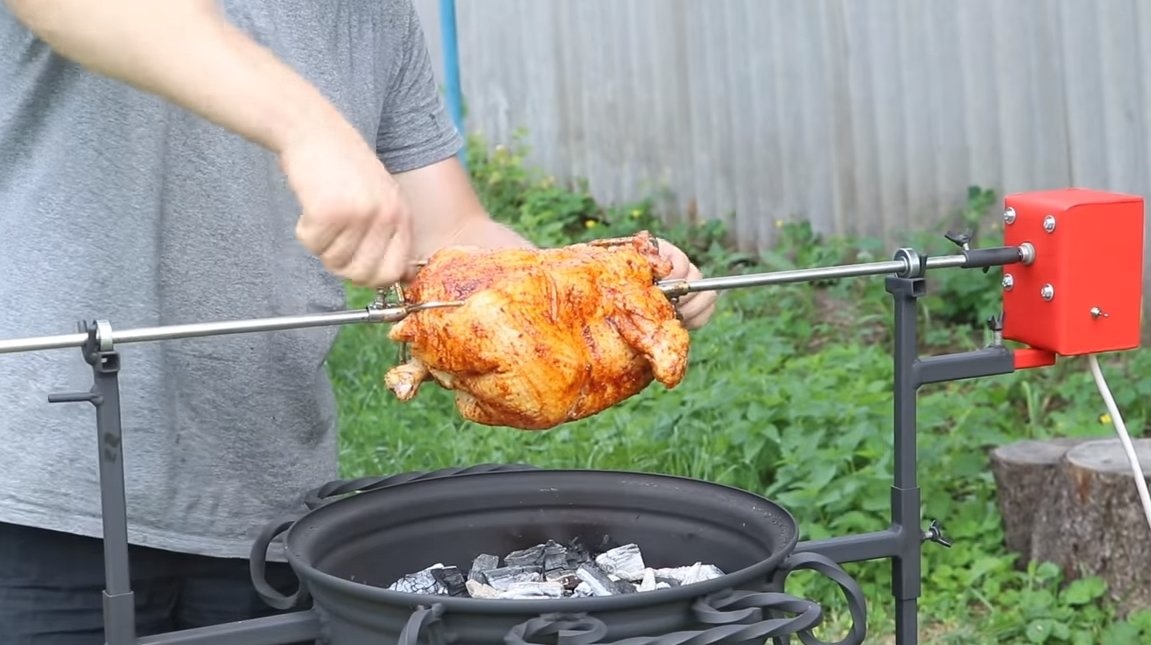
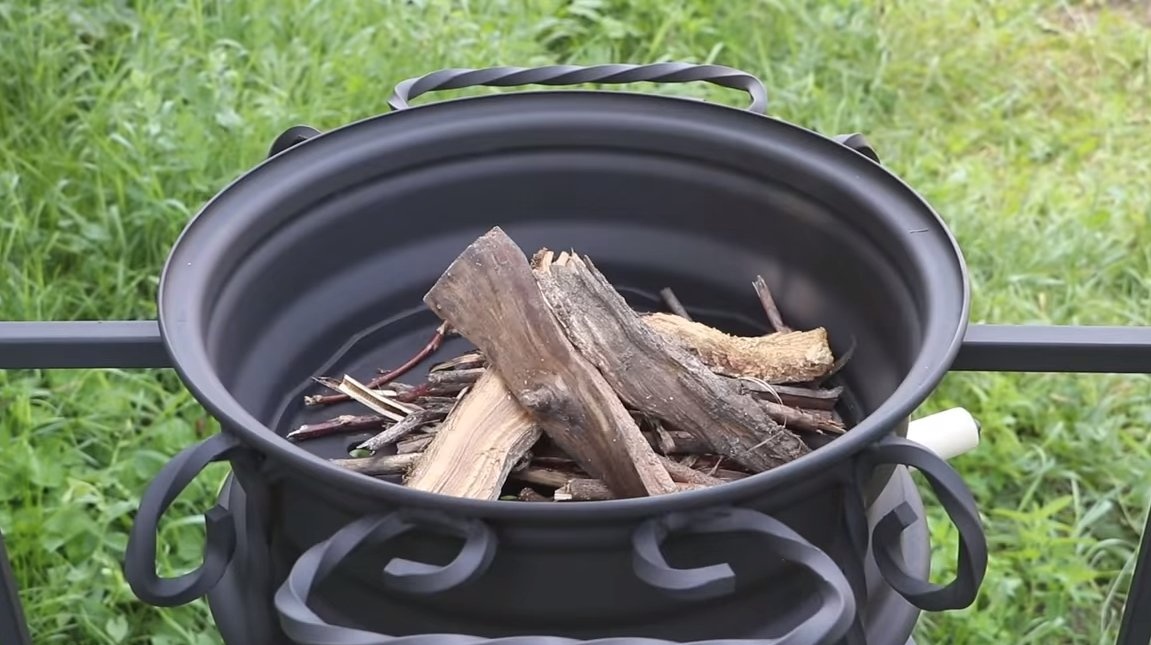
Step Five Painting and testing
We paint the iron parts of the homemade black matte paint, you will need a heat-resistant paint. After that, we assemble the home-made and can be tested. You can adjust the burning intensity by turning the knob that controls the air. Also, the skewer can be set at the desired distance from the source.
Of course, the meat does not rotate very fast, but for finer tuning it would be nice to equip the machine with a dimmer to adjust the speed.
On this, the project is over, everything works fine, and the homemade look looks masterpiece. Such a machine would be a great addition in the country, in a private house, and so on. Of course, if you use a motor from the wipers as the engine, the homemade product will be able to work far from home from the battery. The whole structure is disassembled and can fit compactly in the car. I hope you enjoyed the project and found useful thoughts for yourself. Good luck and creative inspiration, if you decide to repeat this. Do not forget to share your ideas and homemade things with us!