
In the master’s store, there is always a need for cutting cardboard. The master is engaged in the manufacture of wooden grates, and cardboard is needed for packaging finished products. Typically, cutting cardboard is done simply with large scissors or scissors for metal, but if you have to cut a lot, your hands quickly get tired. In addition, cutting with scissors leaves a notch, an uneven edge and takes a lot of time.
The solution was to create a machine that cuts cardboard, like a table saw. The machine should have foot control, leaving your hands free.
Let's watch the video.
To make such a device, the master used the following
Tools and materials:
-Electric scissors for metal;
-Soldering accessories;
-Wire;
-Aluminum corner;
-Aluminum plate;
-Aluminum profile;
-Aluminum tube;
-Threaded rod;
- The pedal is automobile;
-Fasteners;
- Limit switch;
-Drill;
-A metal sheet;
-Paint;
-Boards;
-Tap;
-Laminated board;
-Burner;
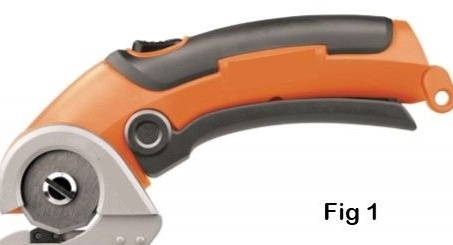
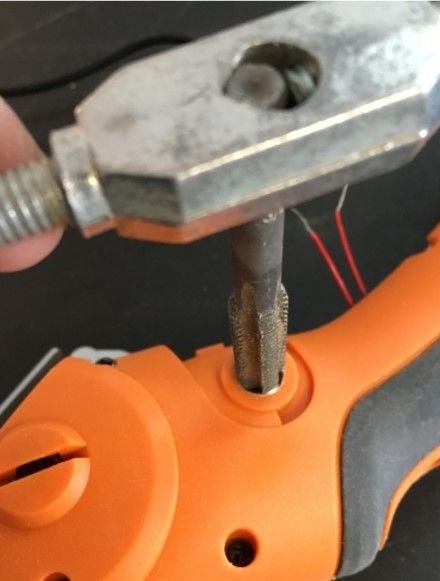
Step One: Scissor Preparation
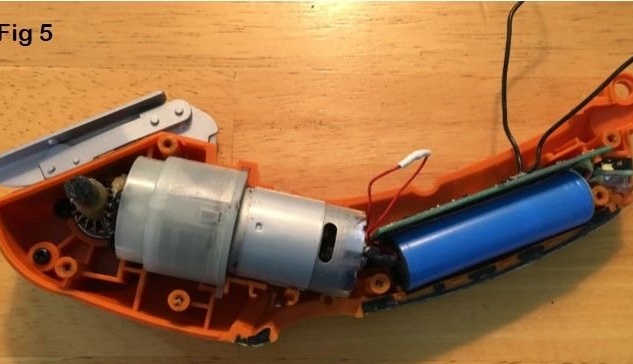
The choice of rotor-type scissors is due to the even edge of the cut and fast operation.
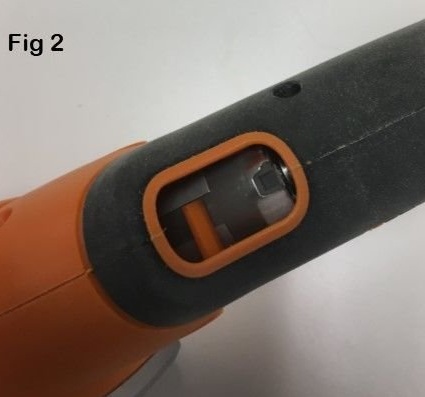
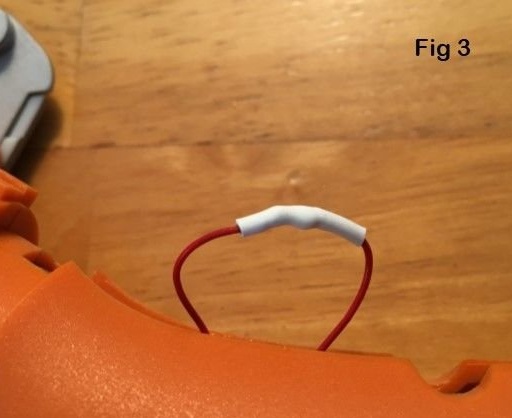
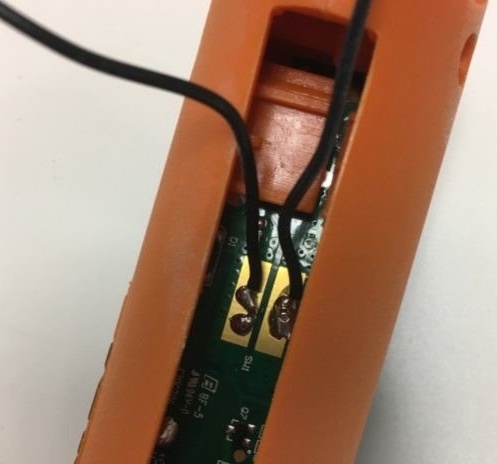
The scissors have a built-in battery and do not work when connected to a charger. Also on the case there are two switches, one on top, without pressing which the power button on the handle does not work. The master disassembles the case and removes the top button by connecting the wire directly. The master also solders two wires to the power button board. A further solution with a charger will be discussed in the last steps.
Step Two: Foot Pedal
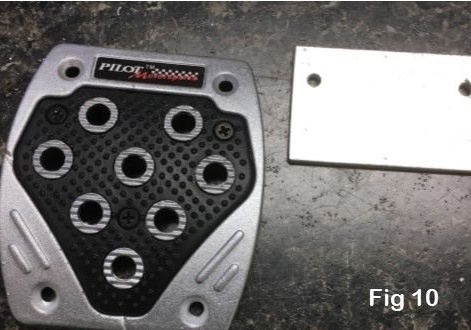
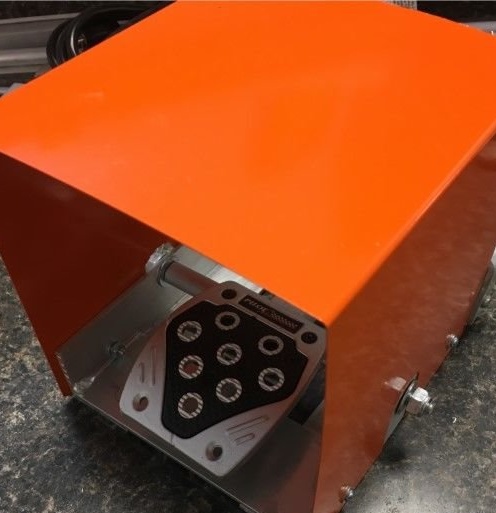
As already mentioned, the machine will start from the foot pedal. The master himself acquired the pedal pad in the store, and made the entire mechanism himself.
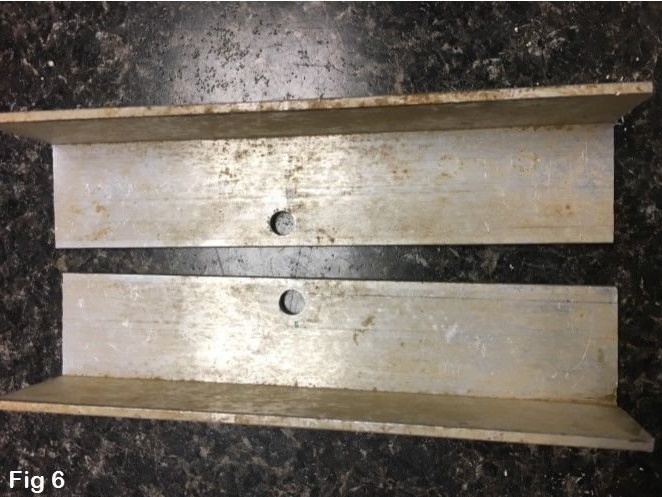
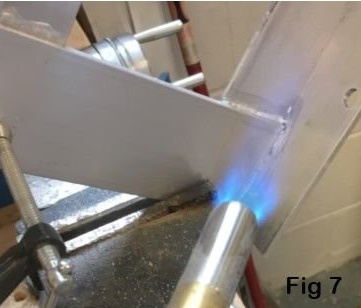
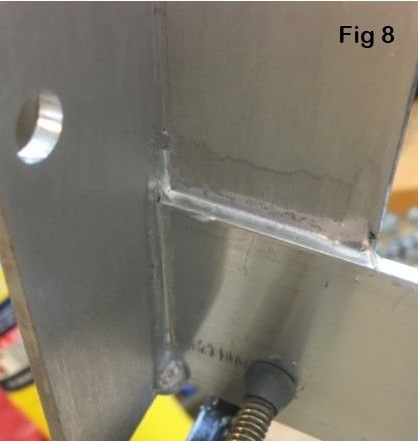
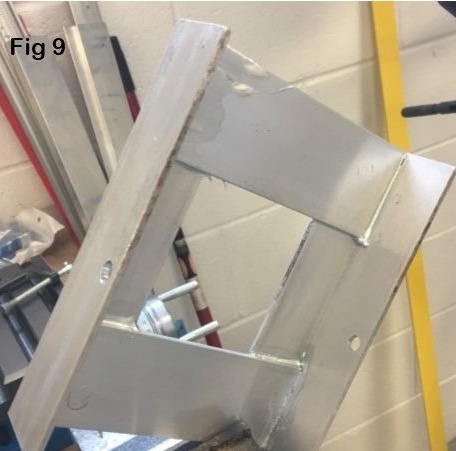
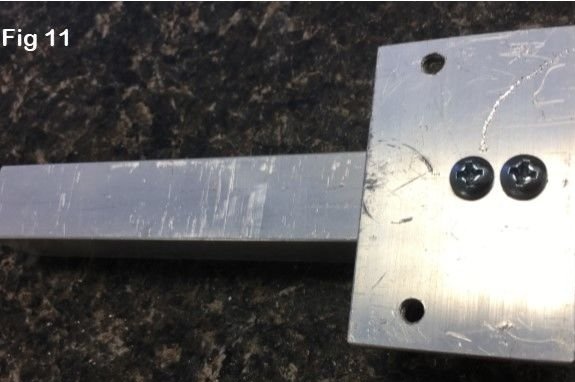
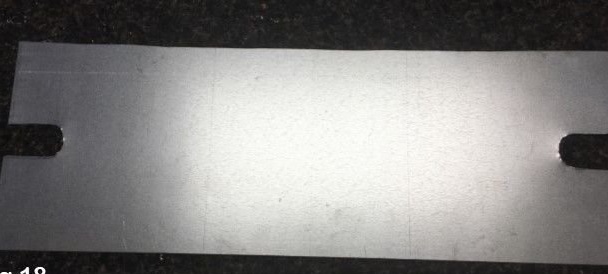
From the aluminum corner and strip, the master soldered the frame.
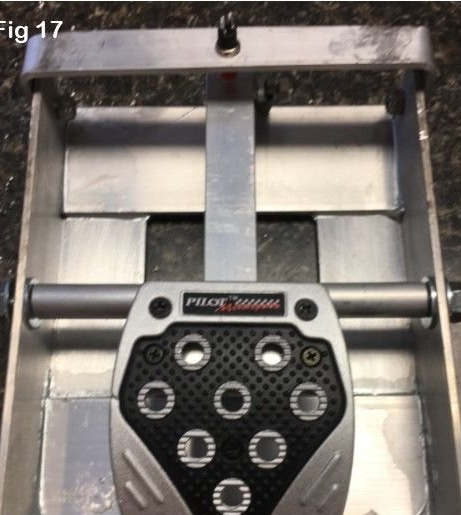
Then he assembled the pedal and fixed the pad on it.
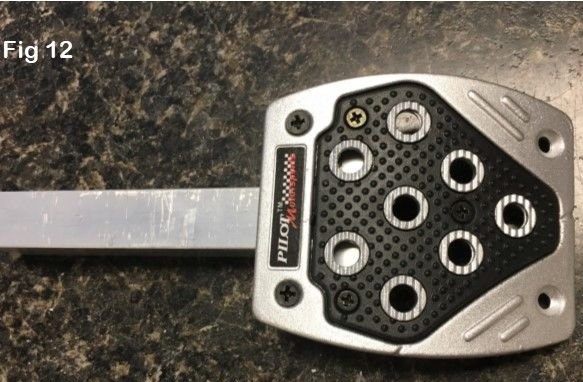
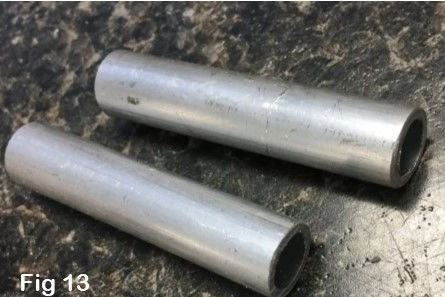
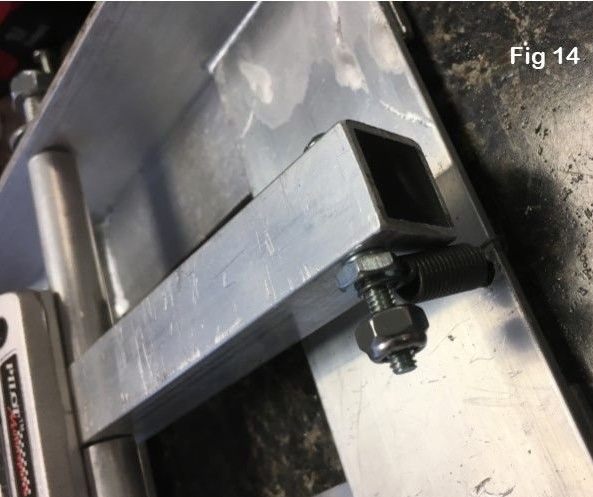
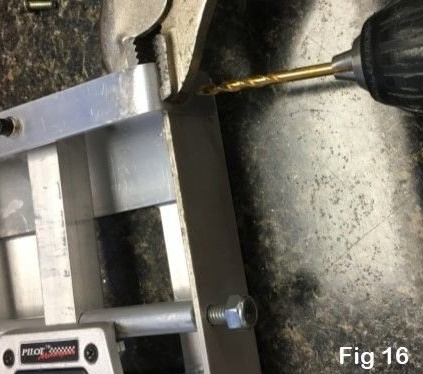
He fixed the pedal to the frame. The pedal is attached using a threaded rod. Sleeves are put on the rod. To return the pedal to its original position, the master installed a spring.
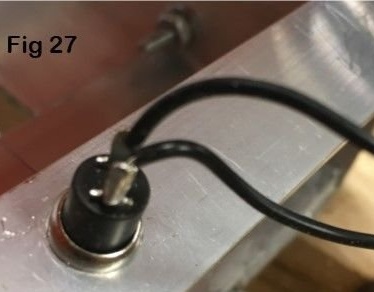
Now you need to install the button.The master bends the aluminum strip, drills a hole in the middle and sets the button. Further, the bracket with the button needs to be fixed on the frame so that the button is turned down. Now when you press the pedal, the circuit will close through the button, and when you release the pedal, the spring will pull the pedal down, and the button will return to its original position breaking the circuit.
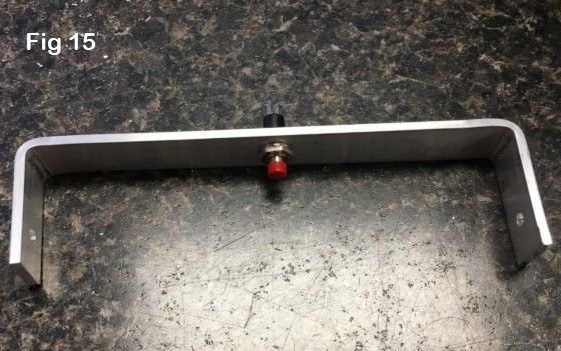
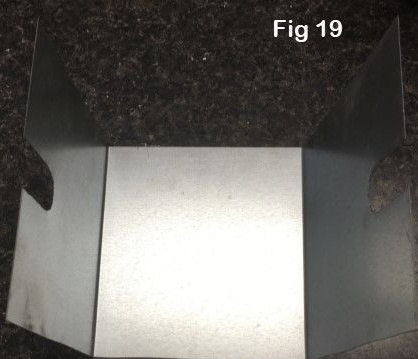
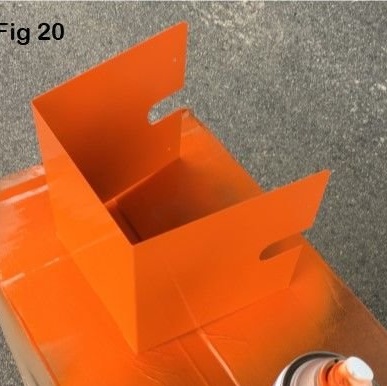
On top of the frame, the master installs a casing made of thin metal.
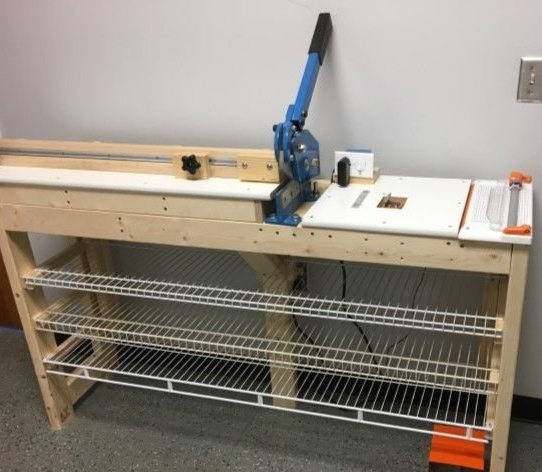
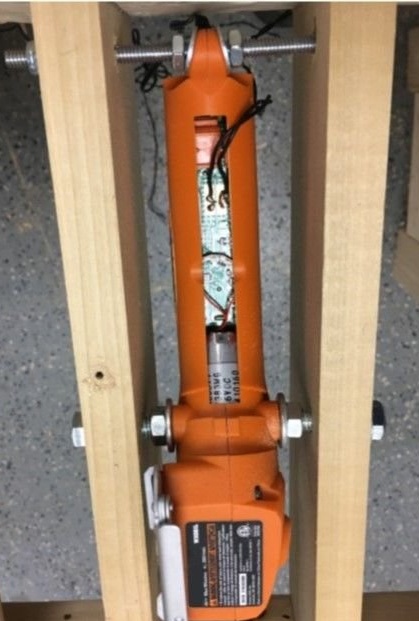
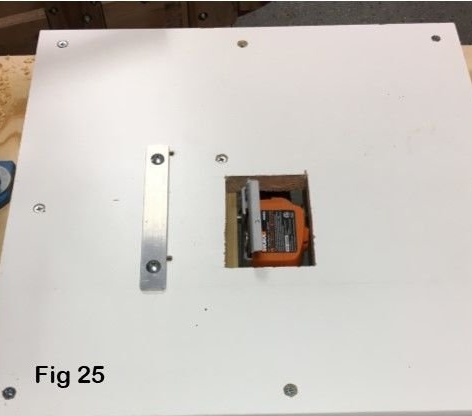
Step Three: Bed
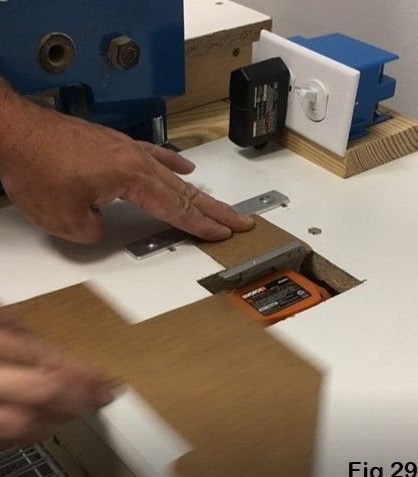
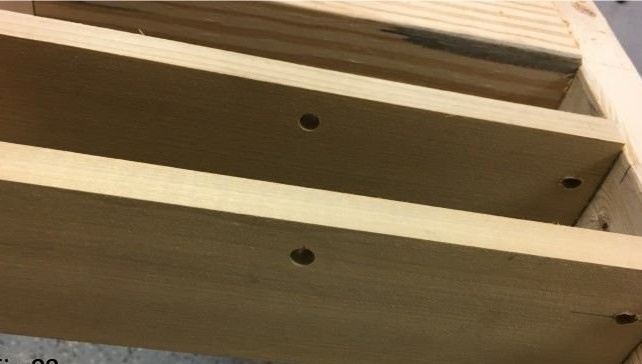
The master had a desktop and on his base he decided to install this machine. From the boards I made a frame. Removed the power button scissors. I cut the thread in this hole and secured the scissors to the frame. I fixed the frame on the table. I installed laminated plywood on top.
Step Four: Connect
To connect the scissors, the master used a switch that has two groups of contacts. When the switch is up, the power goes to the scissors, when the switch is down, the power goes to the outlet and the charger installed on it, which, in turn, charges the battery of the scissors.
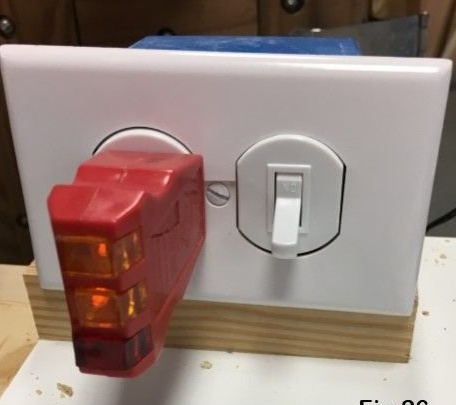

All is ready.