
Summer is in full swing, and many of you, in addition to the long-awaited vacation, are engaged in repair work.
In this article, Andrey, the author of the Shayter Andrey YouTube channel, will tell you how he made one very unusual and useful device for work with a laser level. The author called it “fiber optic tag”
With its help, you can greatly simplify the process of laying tiles, and other precise construction processes.
Materials
—
- Two-component epoxy adhesive
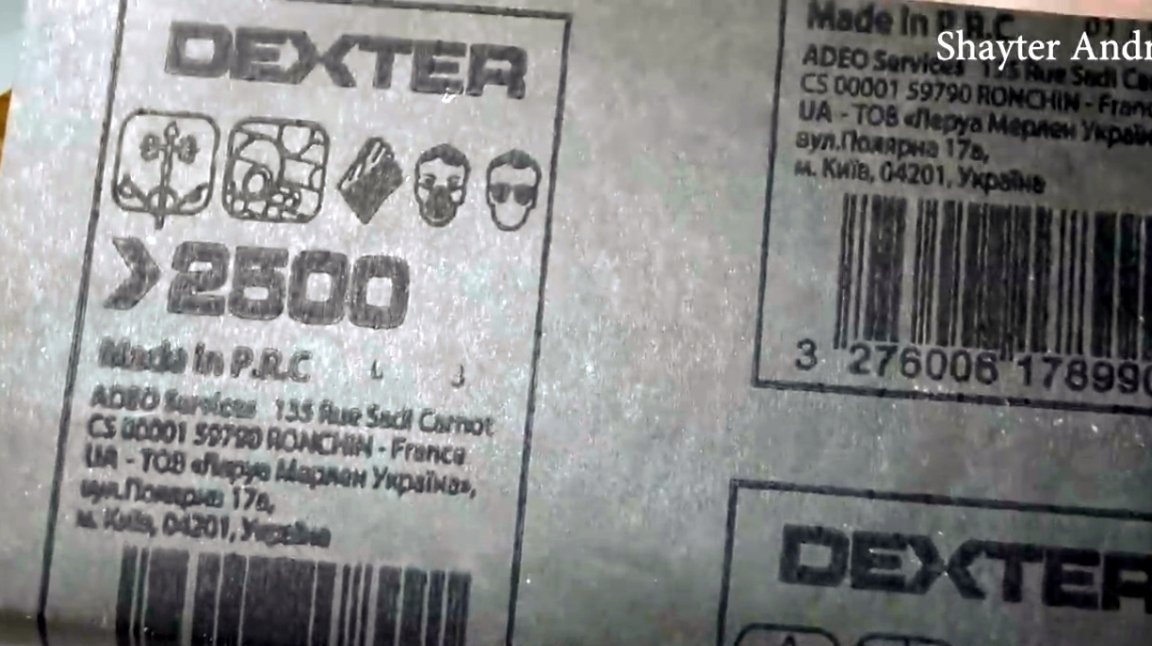
- Emery paper 80 - 2500 grit
- Strip of genuine leather, GOI paste
- Super glue
- Cling film, white plastic 0.5-1 mm thick.
Instruments, used by the author.
- 3D printer
- Laser level
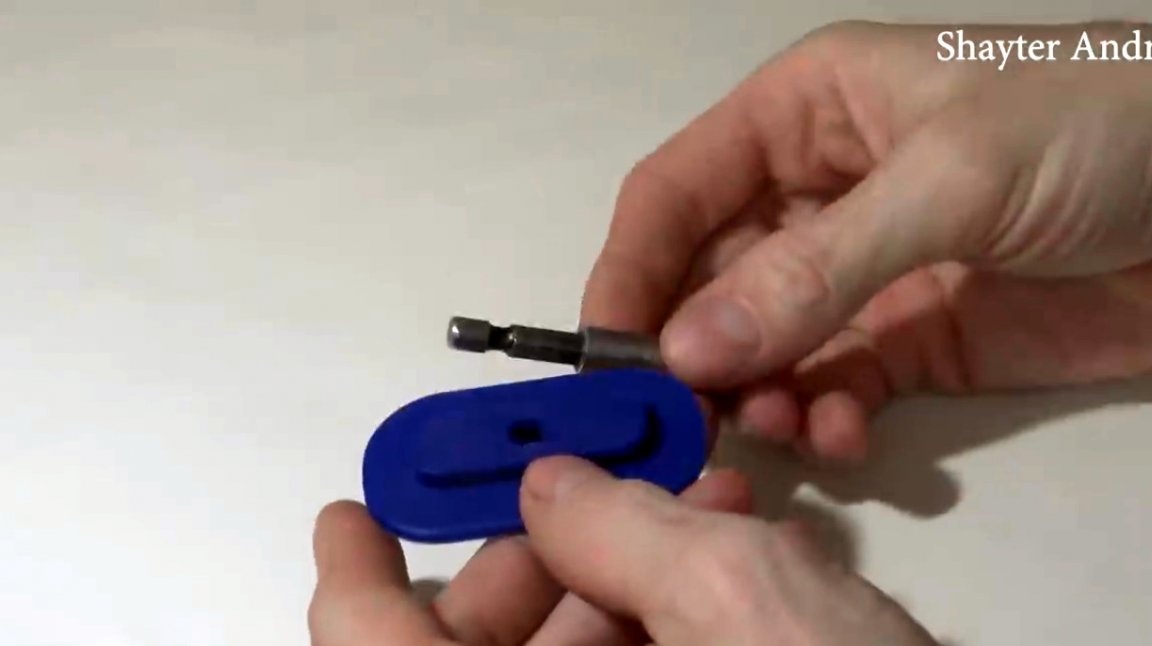
-, hex shank bit holder
-, cutting disc
Manufacturing process.
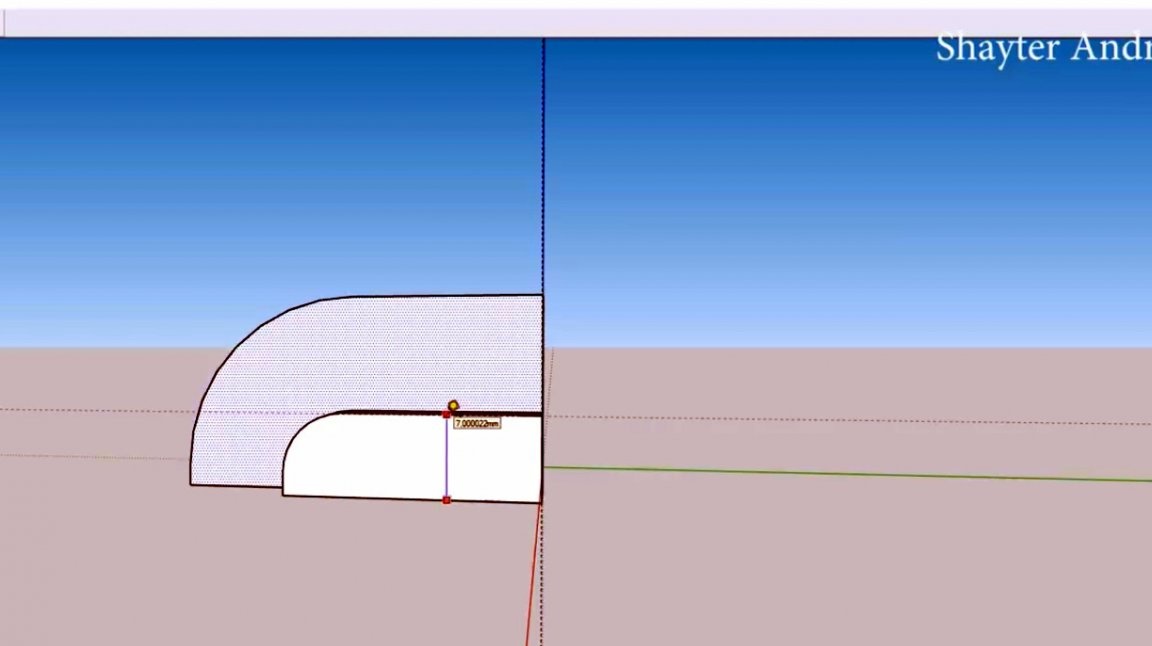
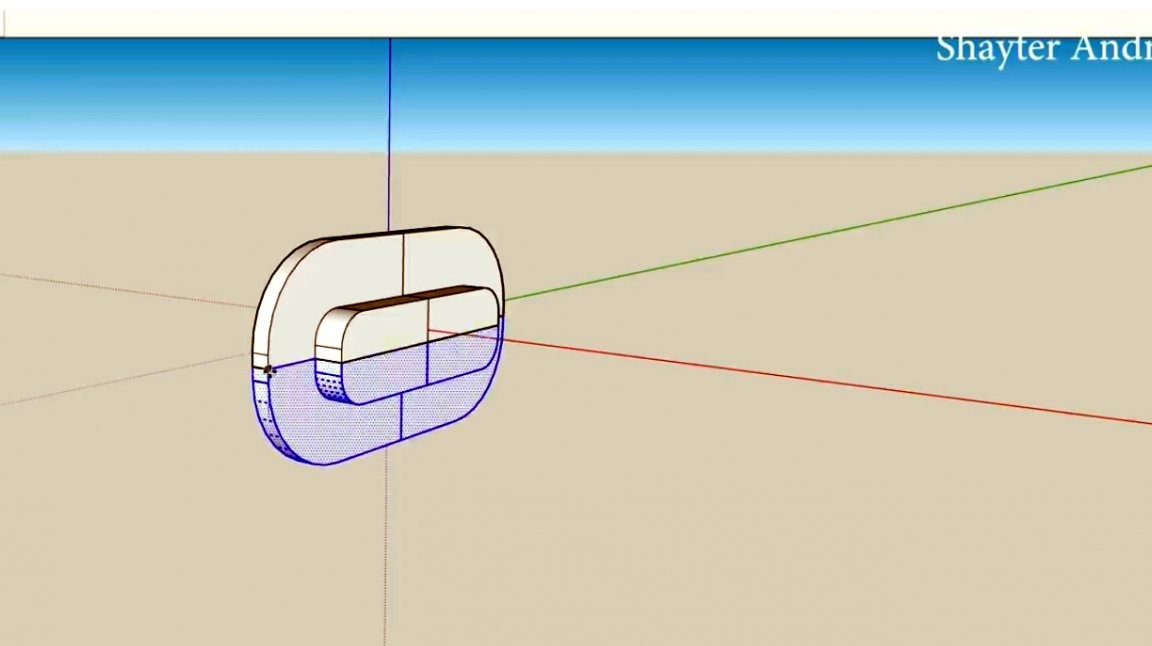
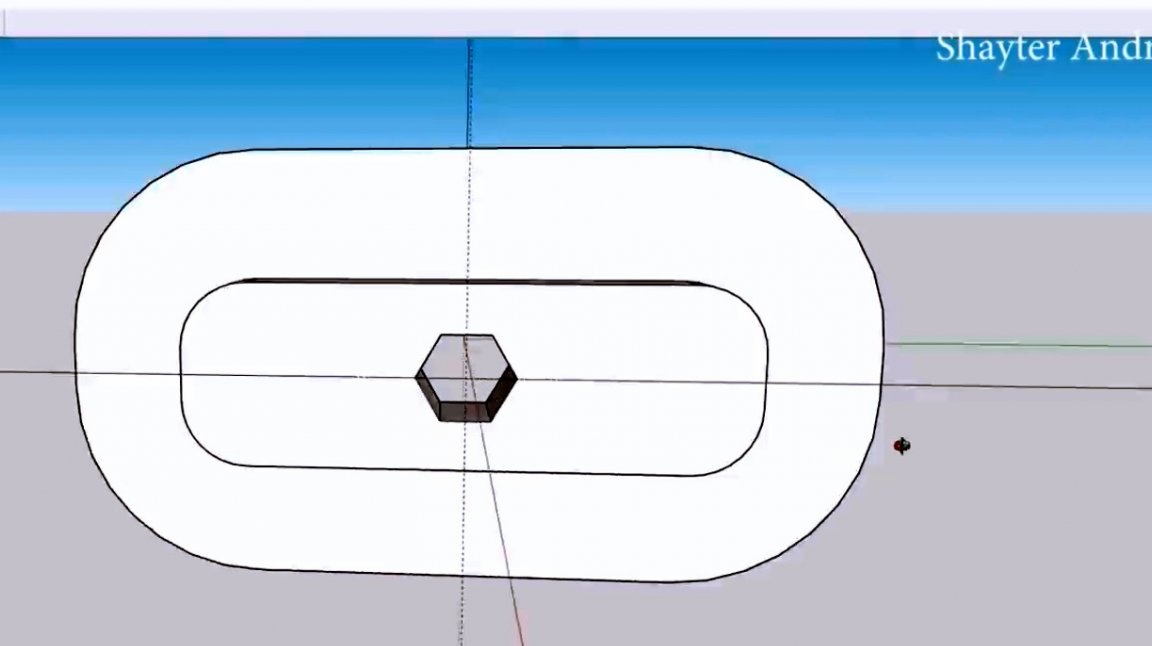
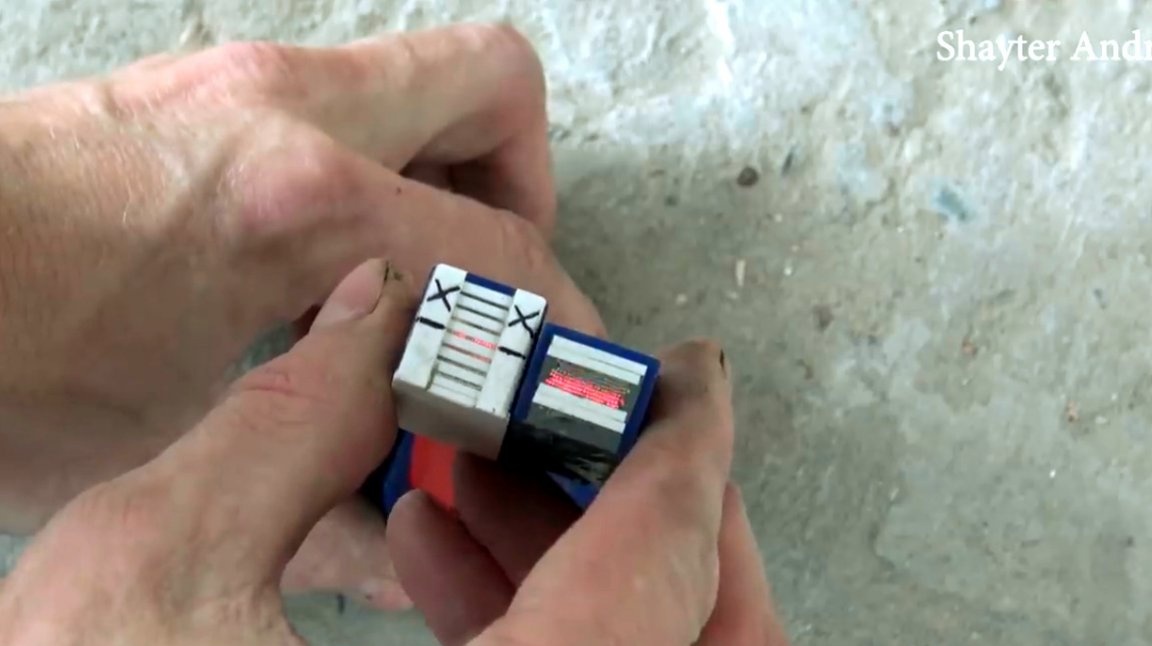
First of all, the master made a case for this homemade product on a 3D printer. Models can be downloaded from the following the linkkindly provided by the author. This model Designed to make four fixtures at a time. The first and second pictures show the shape of the future product.
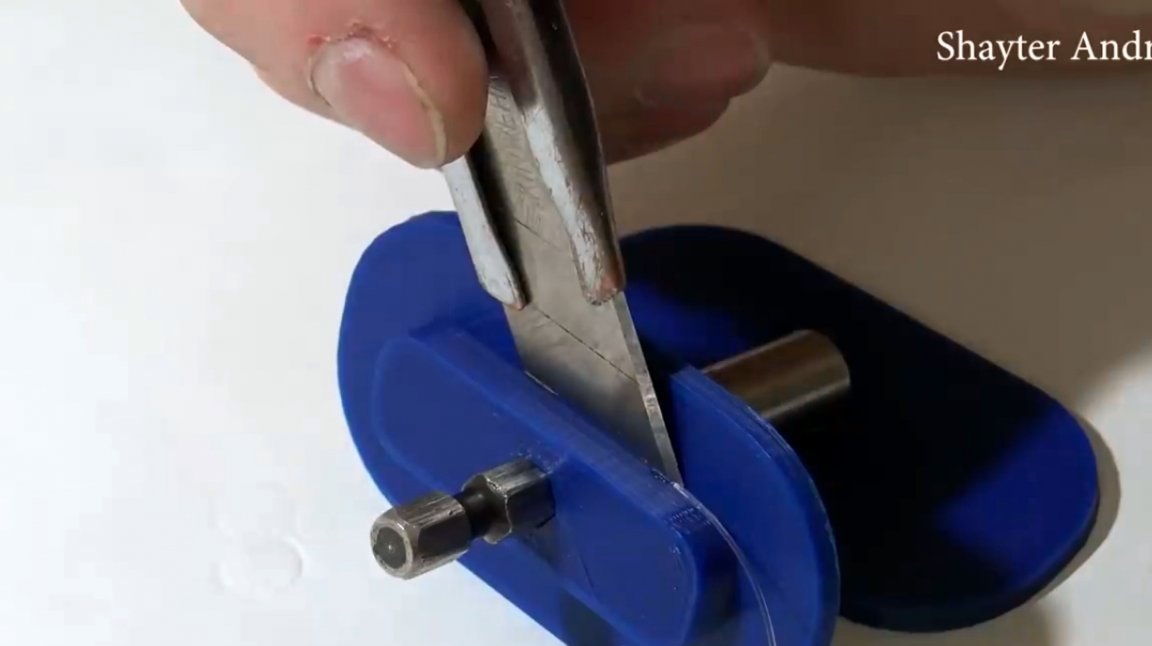
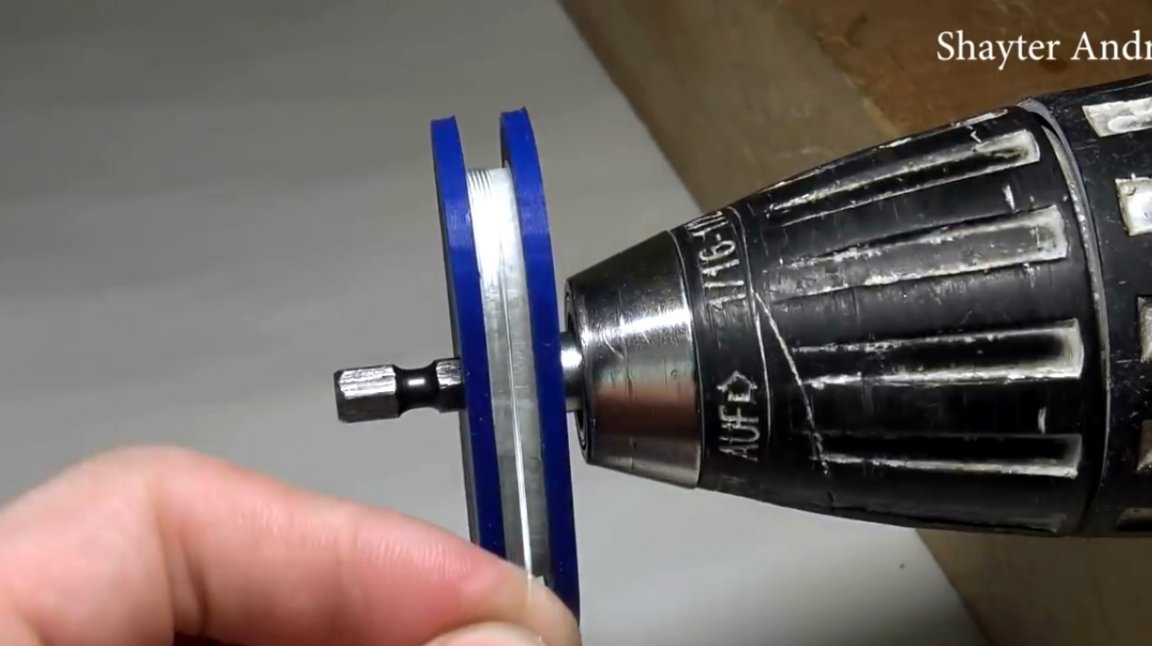
In principle, these blanks are not of high complexity, and can be made of plywood using a conventional hacksaw and file. To accurately connect the parts to each other, the master provided a hex hole in the center of each of them. Its dimensions coincide with the dimensions of the shank of the bit extension.
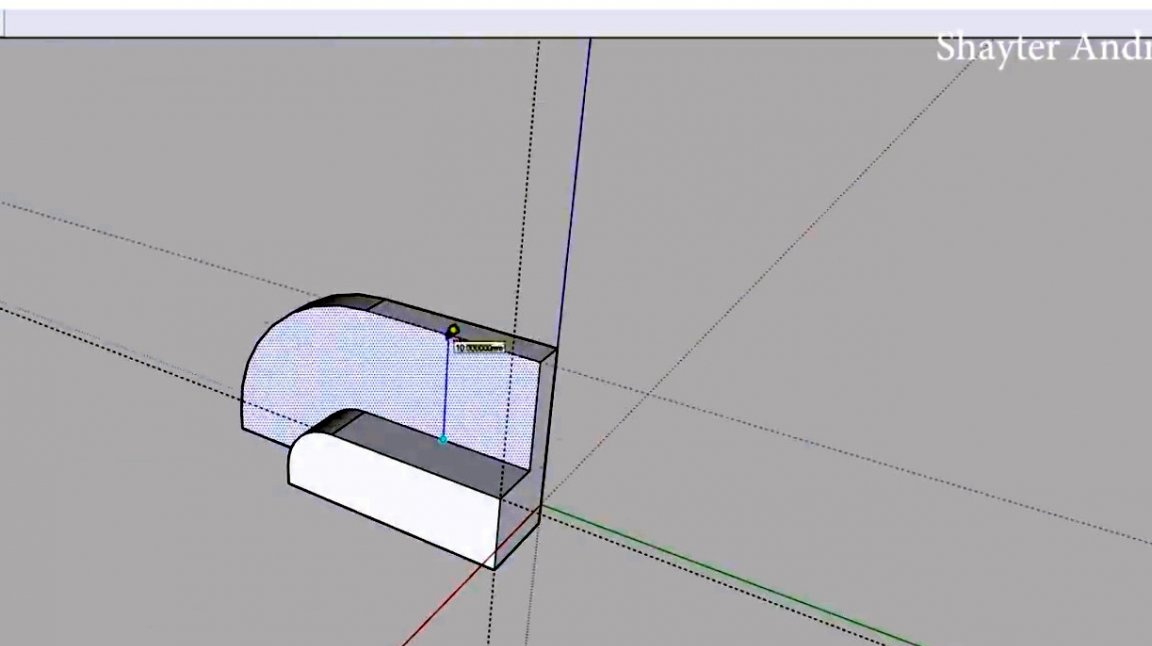
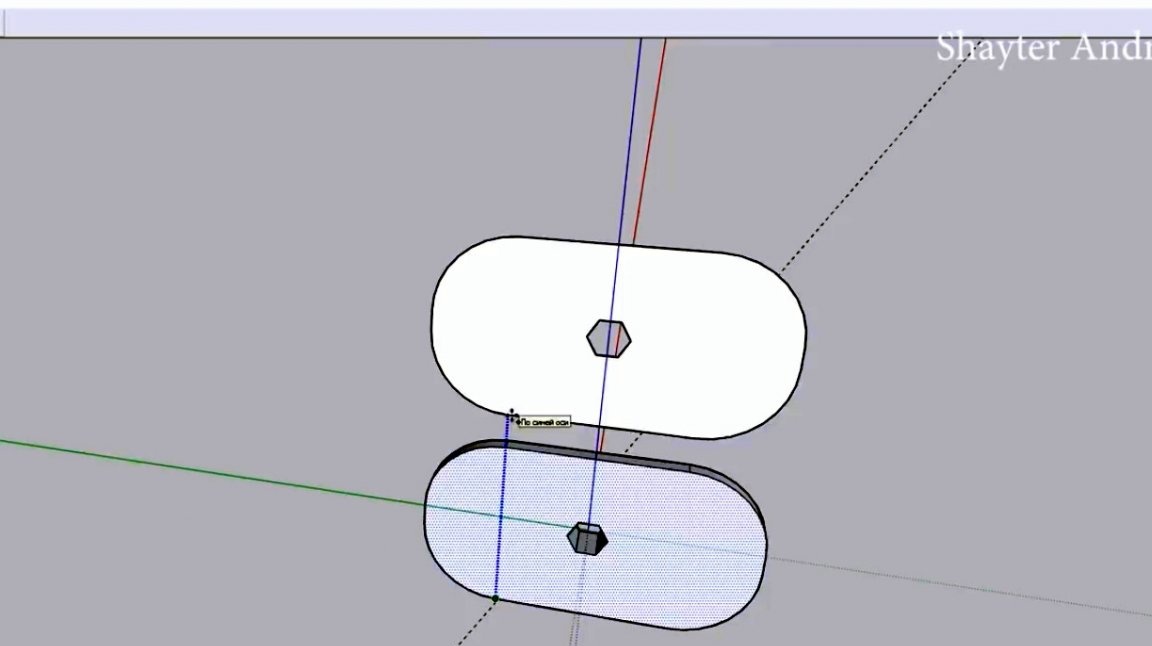
In this way, the details will be fixed during gluing and winding of the optical fiber.

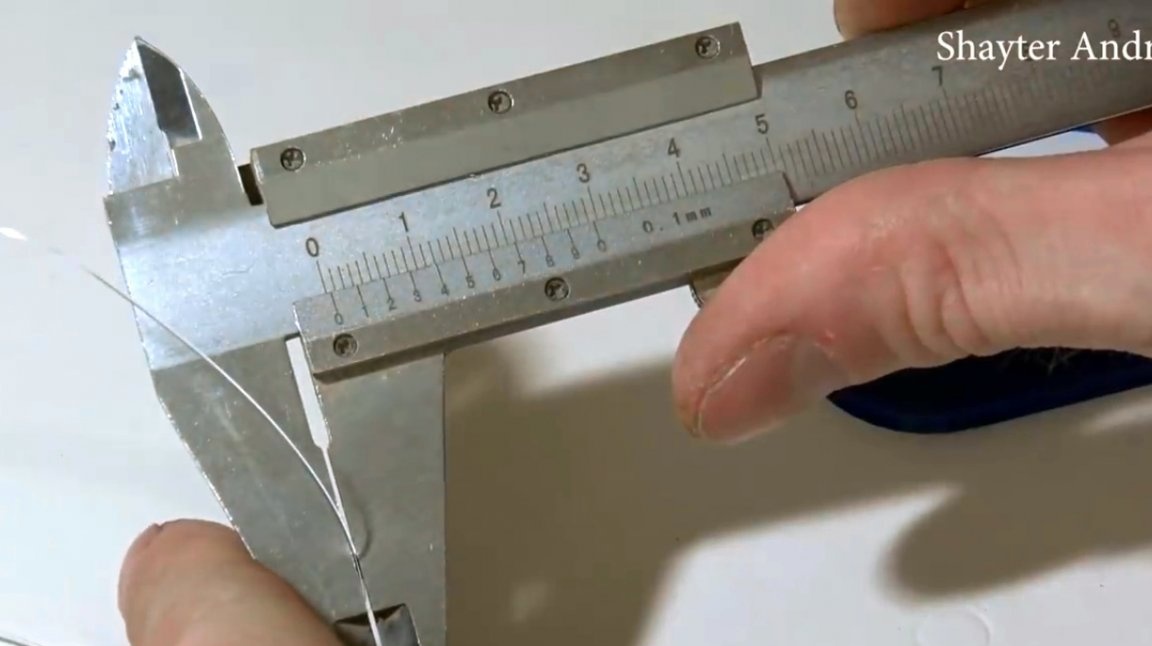
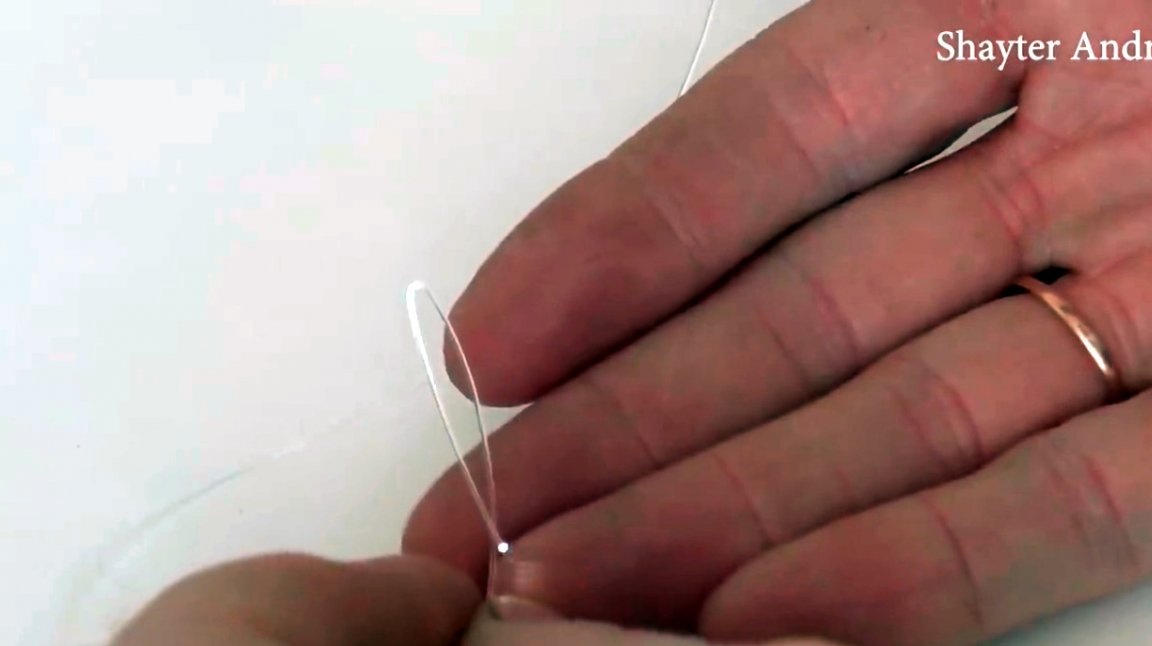
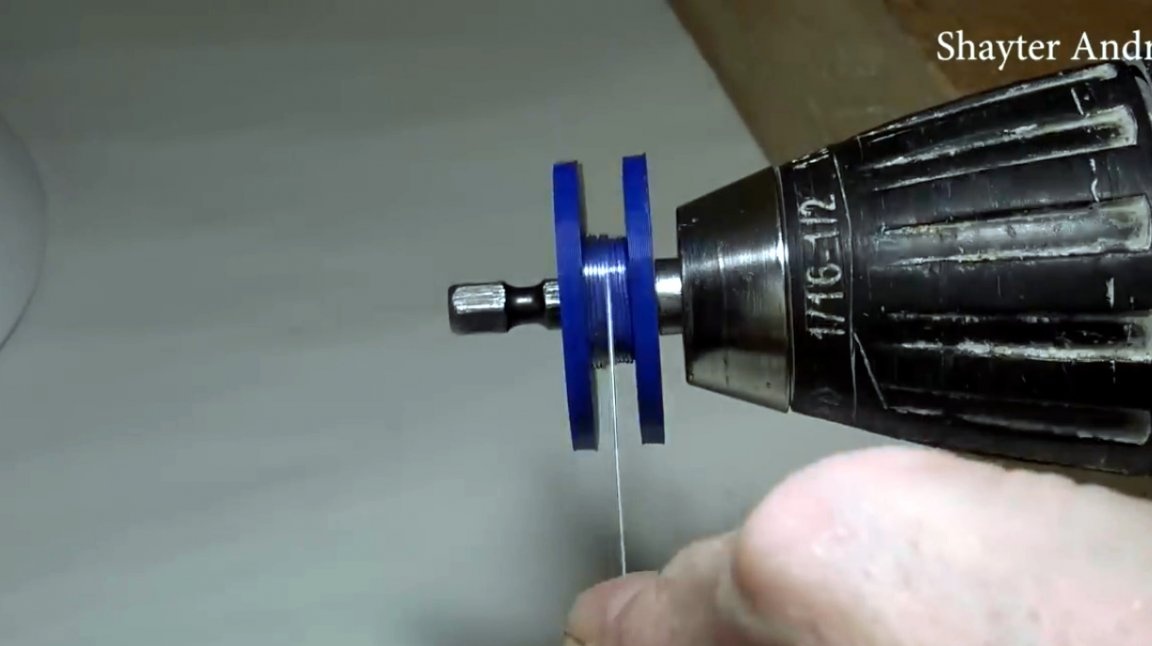
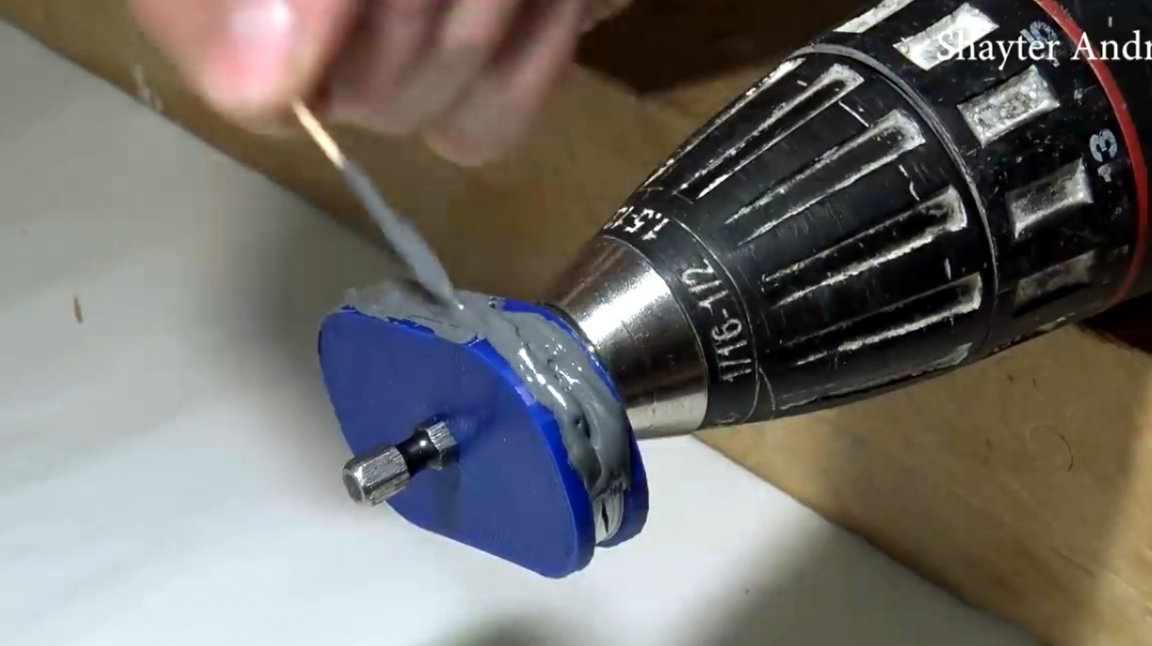
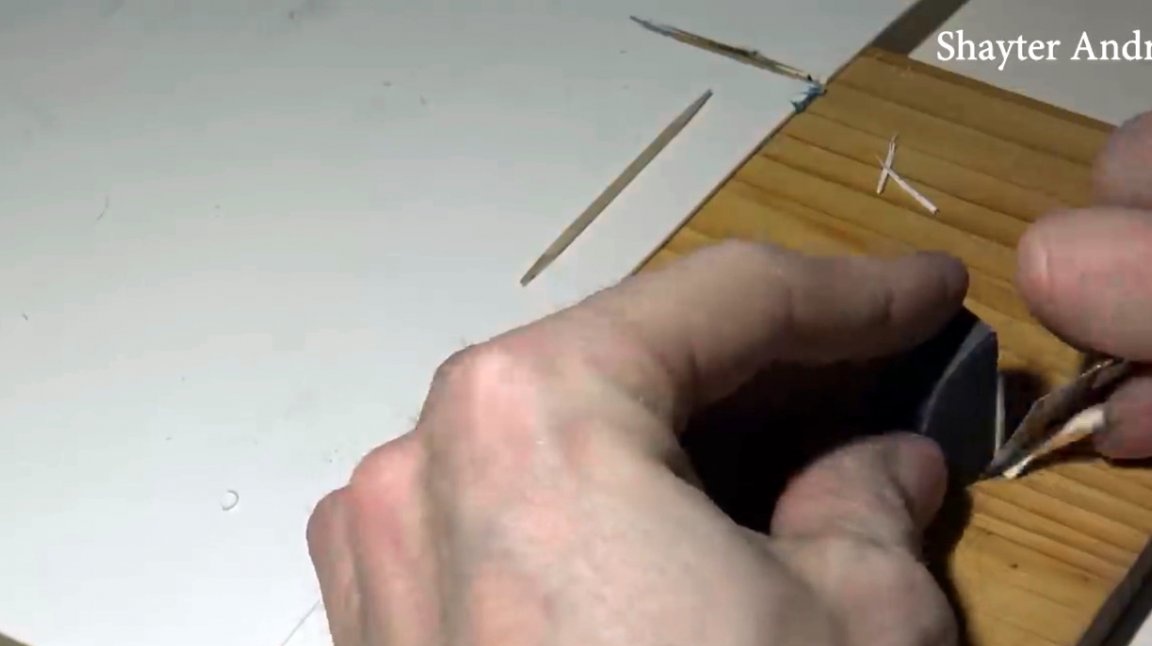
Then the author acquired a diameter of 0.5 mm. This diameter will be responsible for the maximum accuracy of the device. When choosing another option or manufacturer, it should be borne in mind that it should bend very well, and not break.
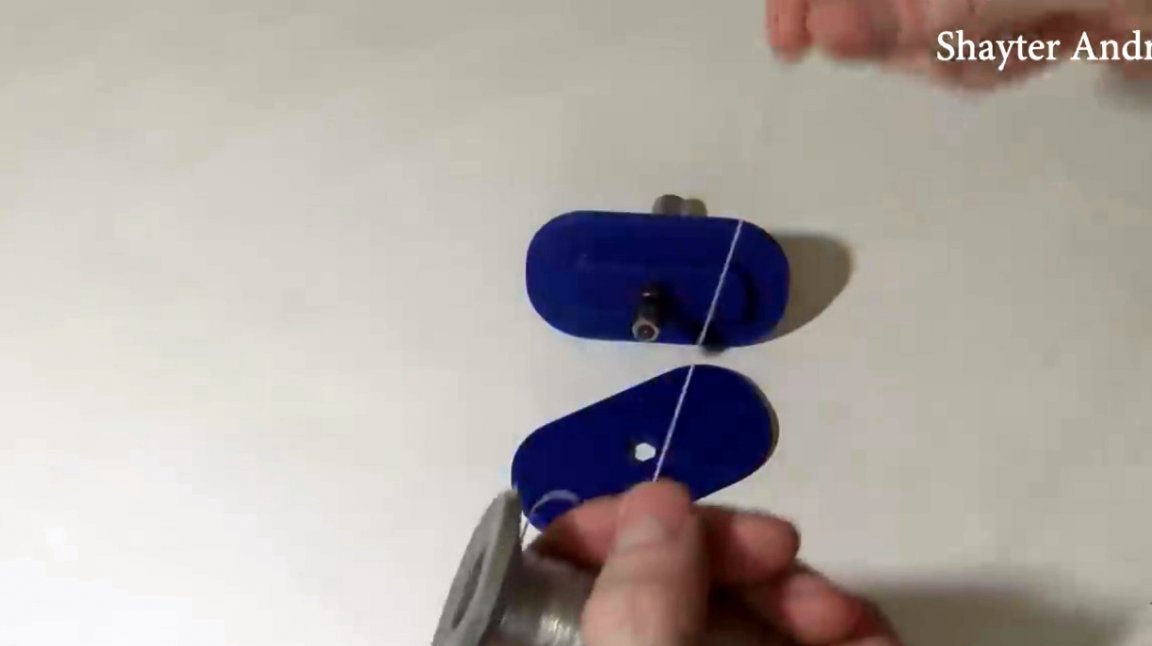
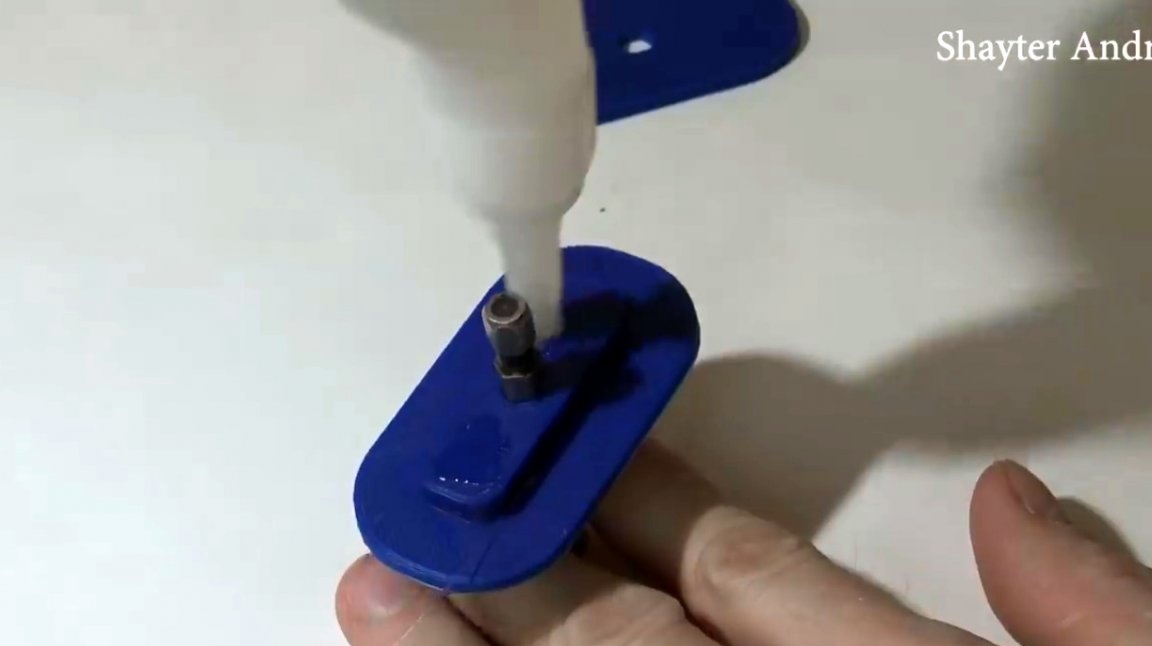
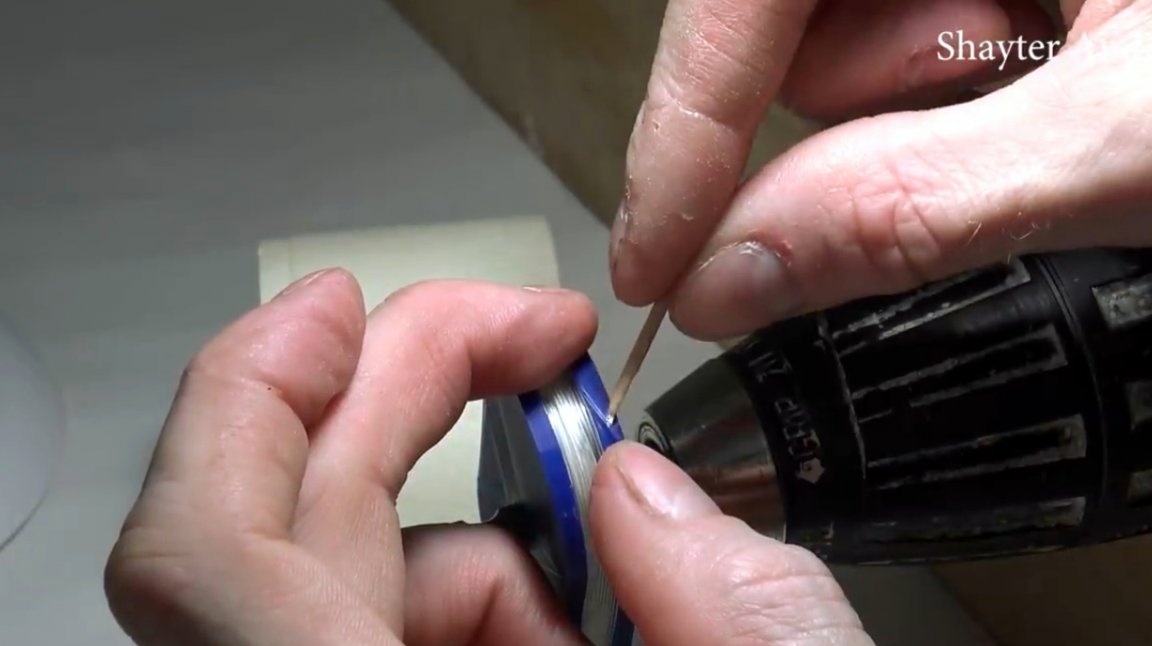
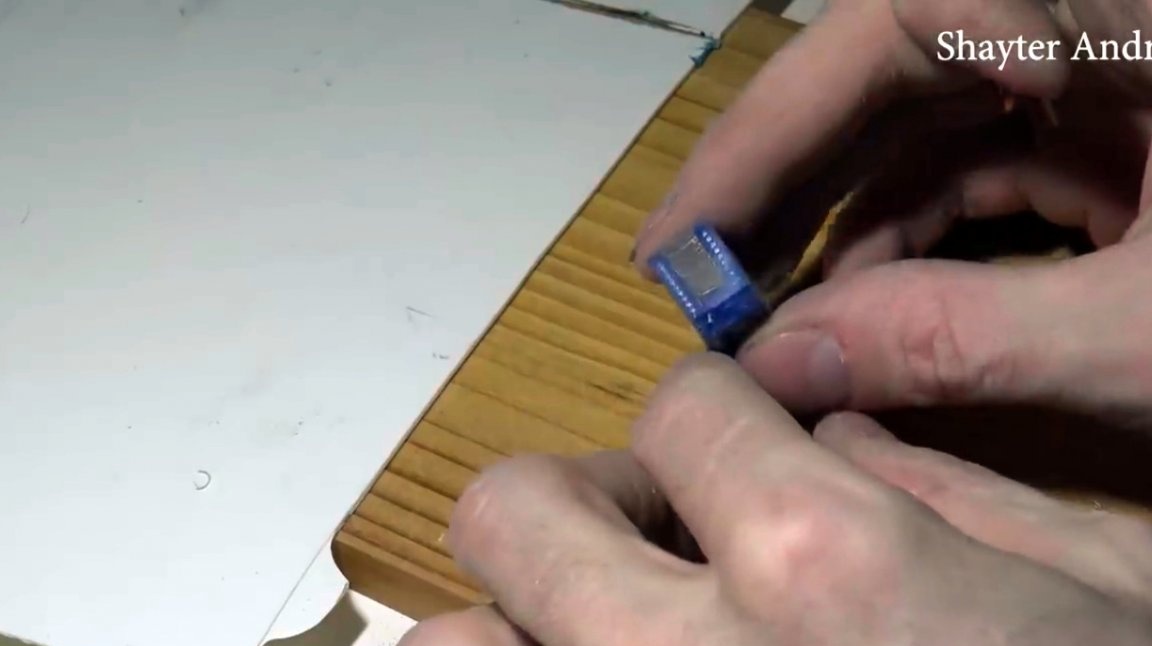
Now the master glues the beginning of the fiber to the substrate. The lid is also glued.
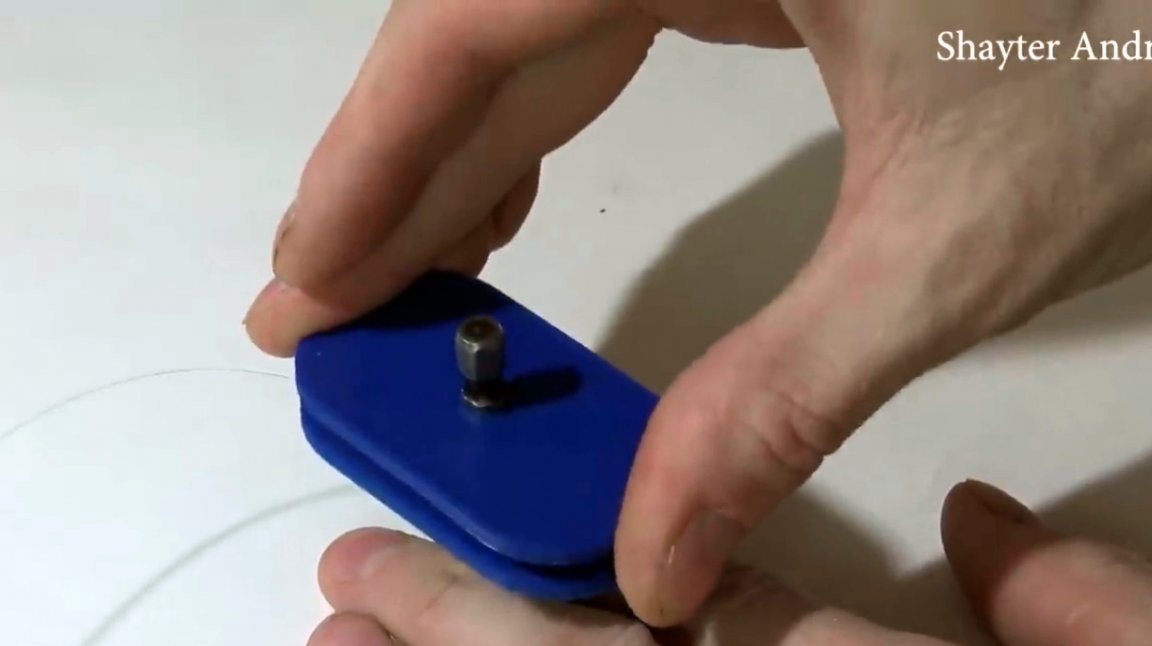
Having fixed the bit holder in the chuck of the screwdriver with the reverse side, it starts winding. It is extremely important to make her turn to turn.
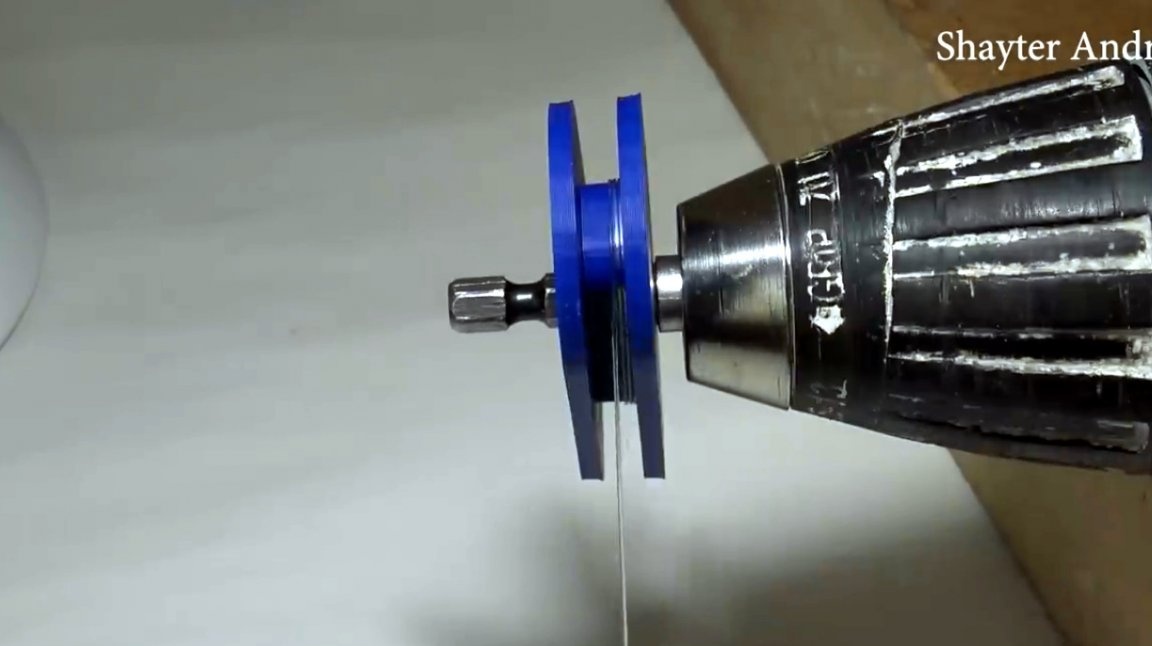
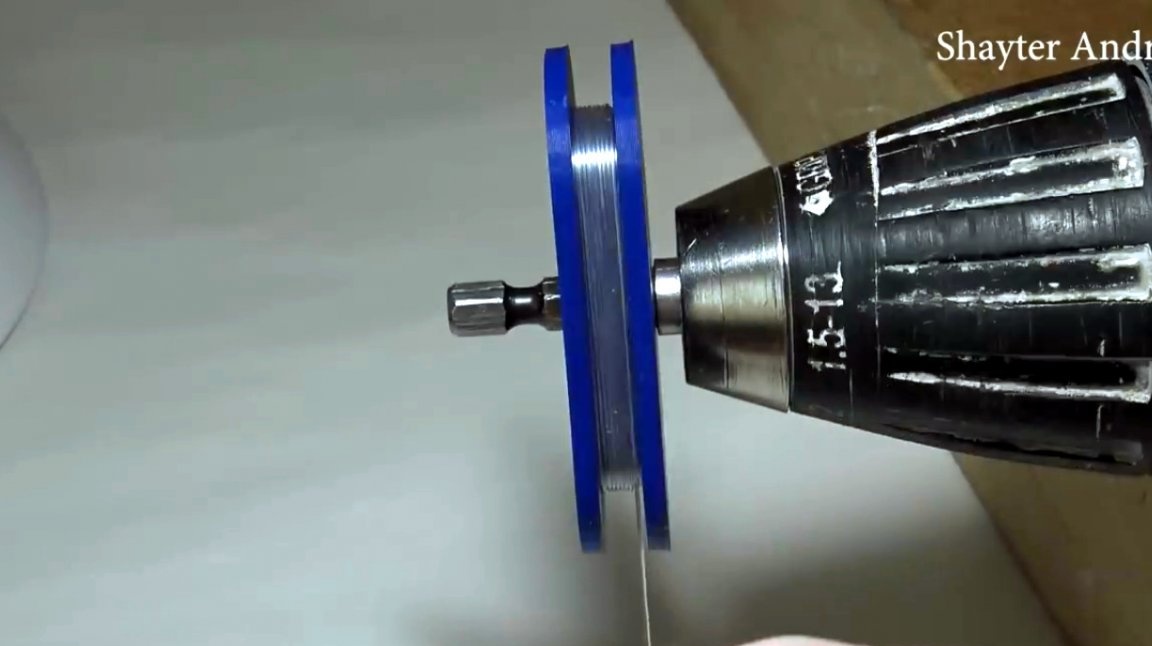
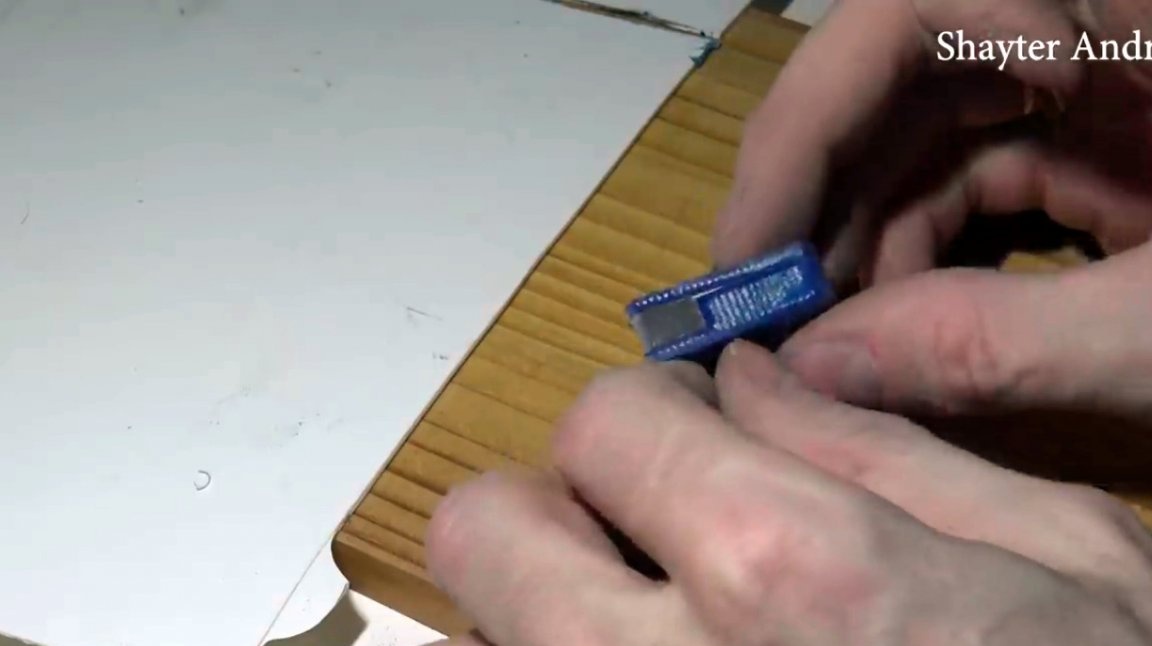
Of course, fiber breakage can happen, but there is nothing terrible. You can rewind the layer in which the breakage occurred, fix the previous layers with a thin masking tape or tape, and continue winding.
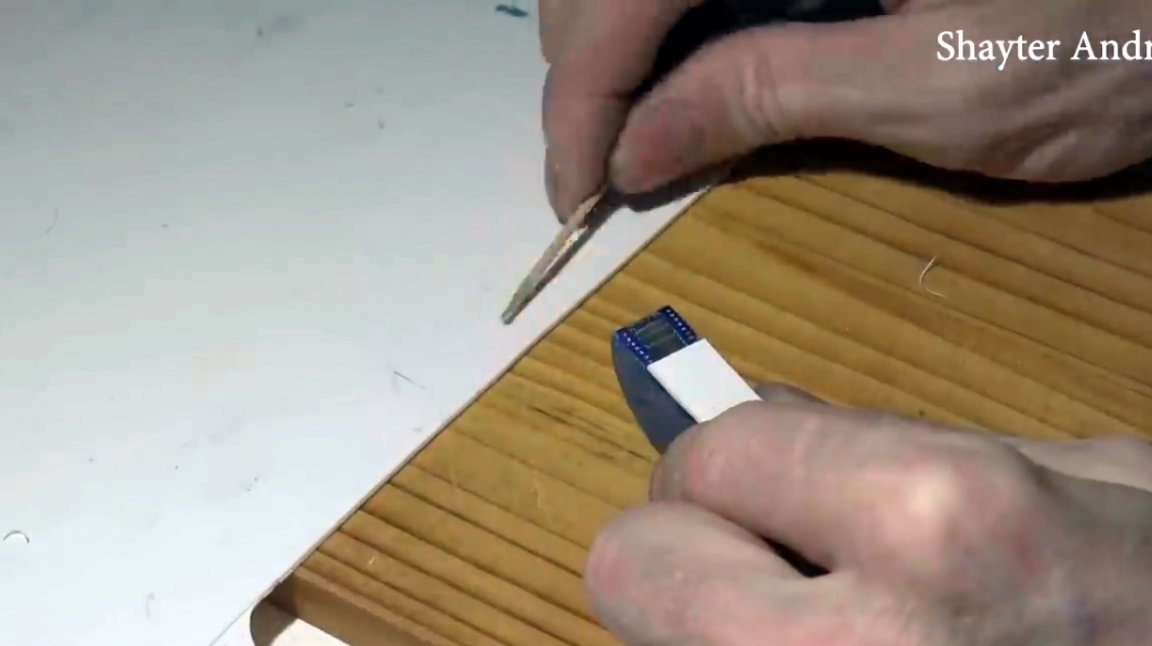
Upon completion of winding, the edge of the fiber is fixed with super glue.
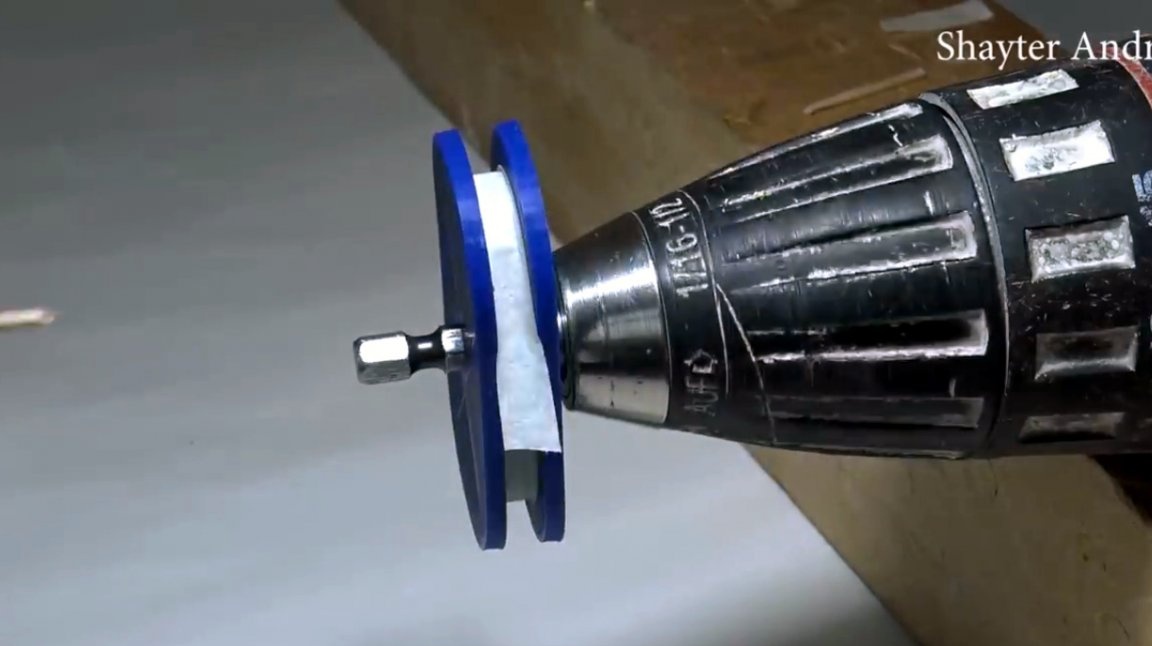
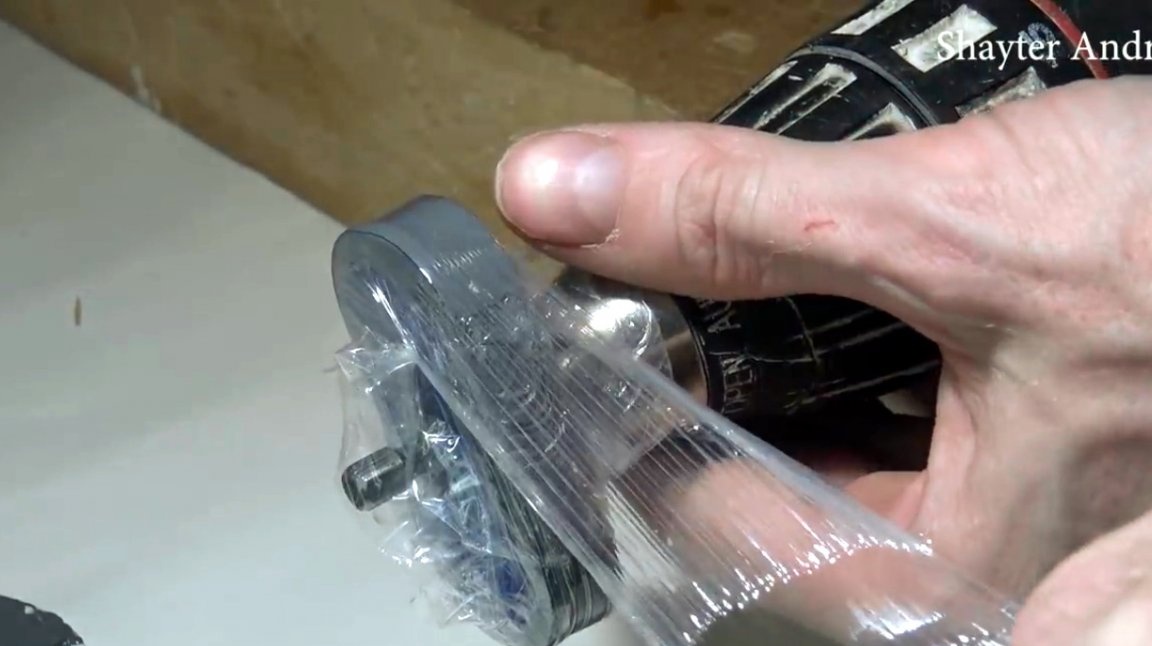
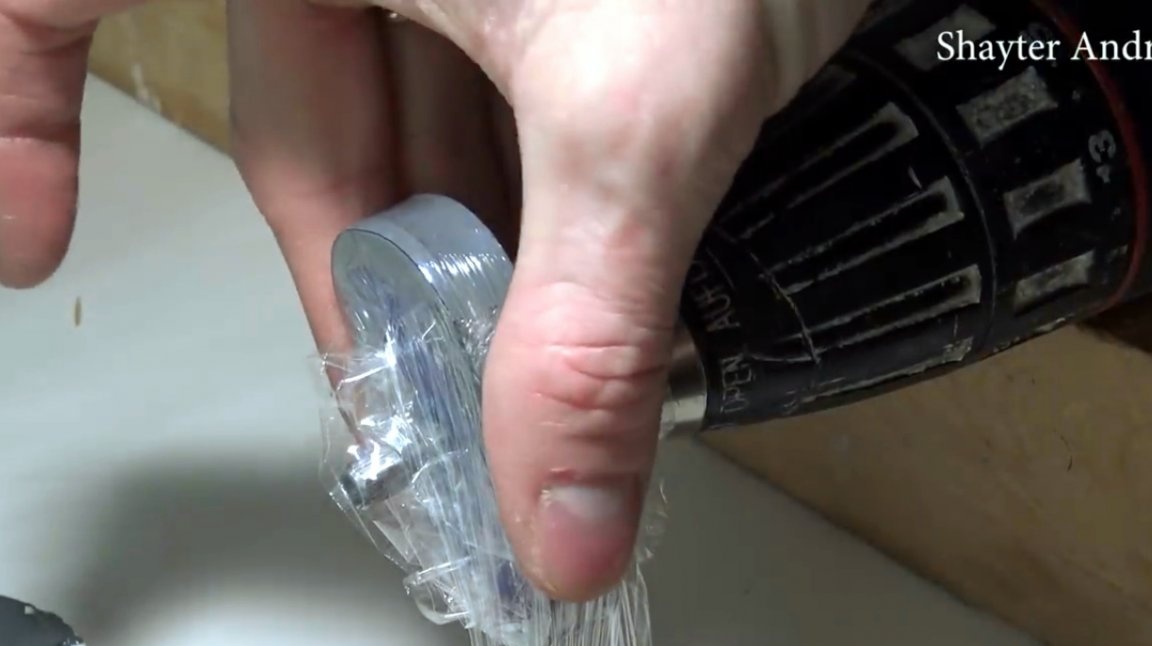
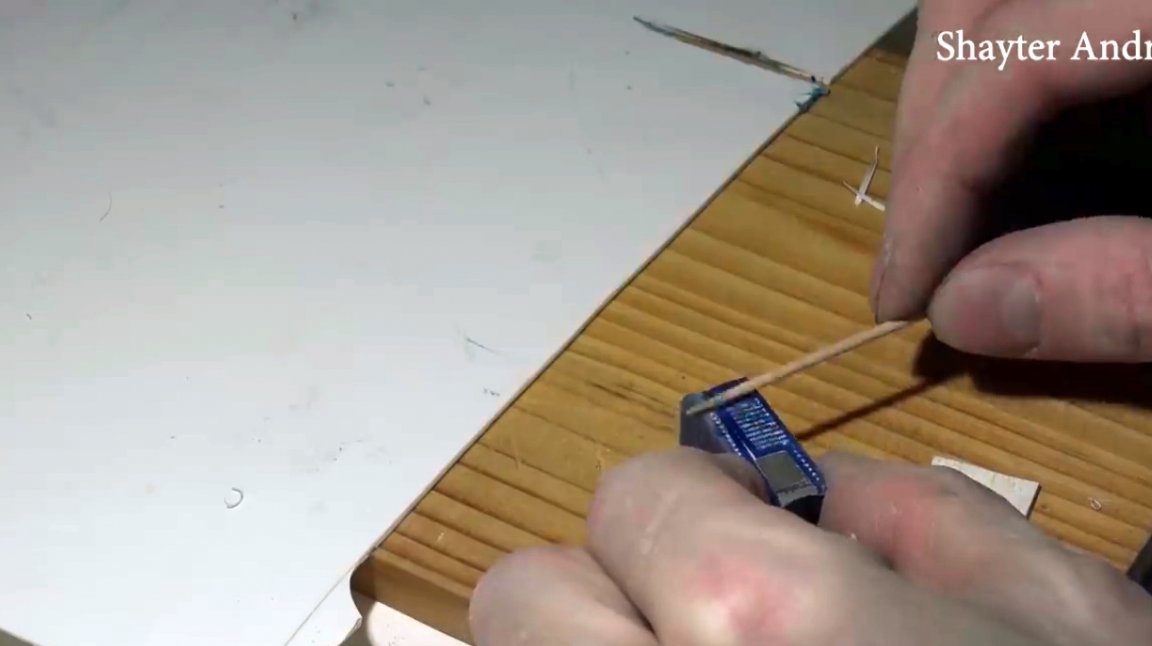
Next, the master, using epoxy, fills her recess in the coil.
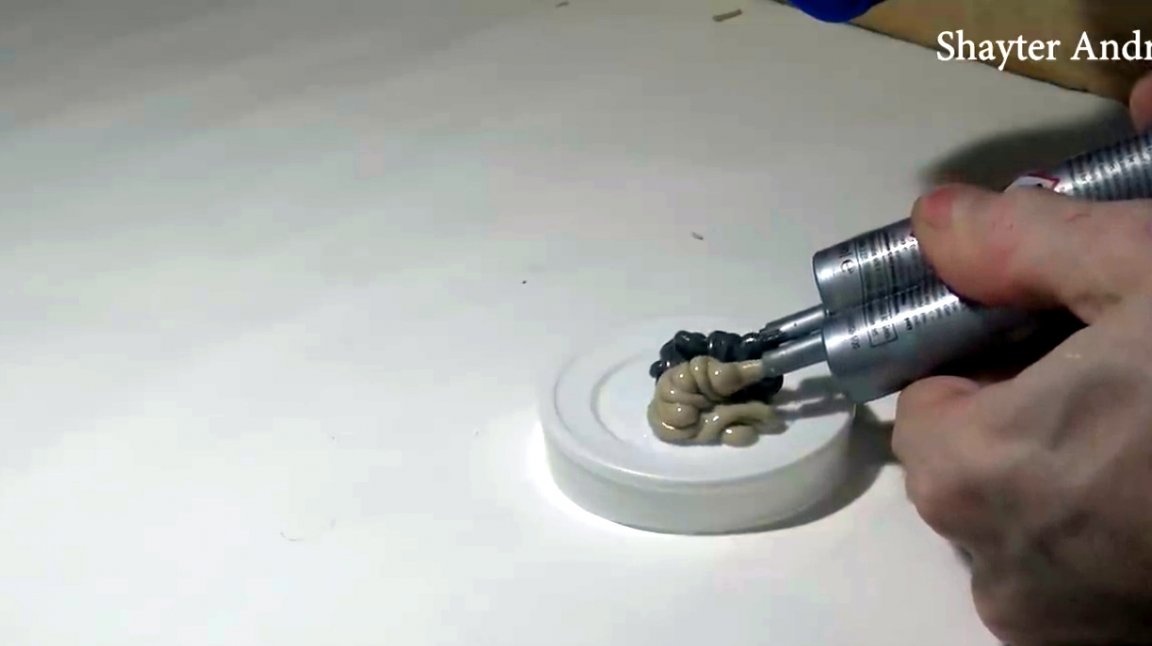
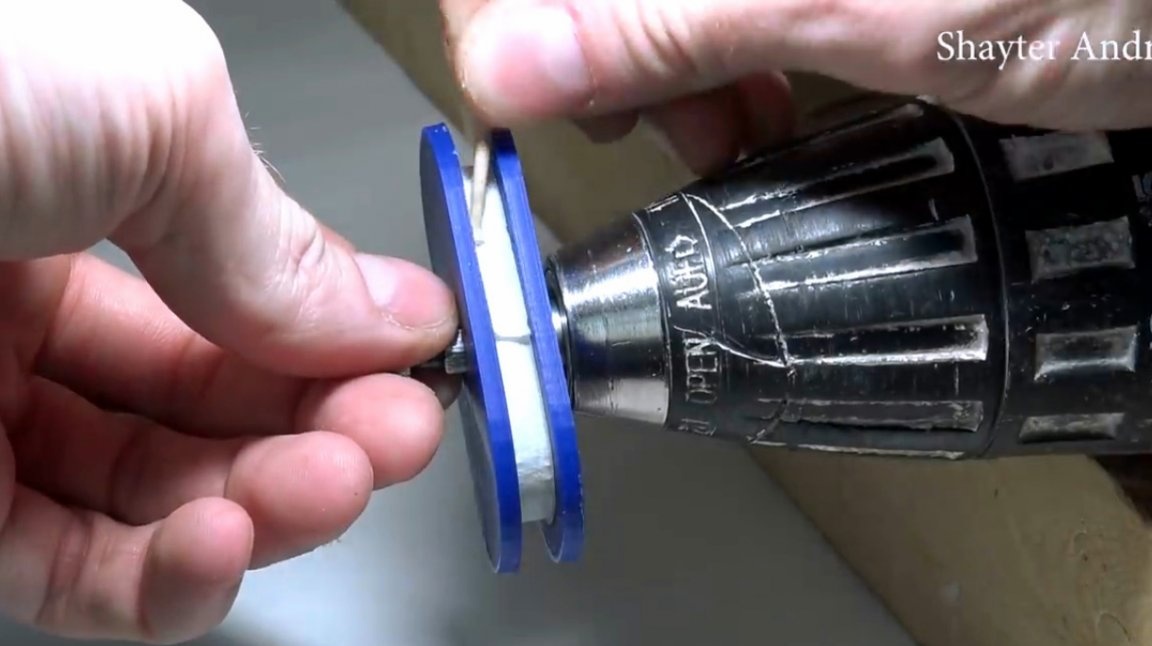
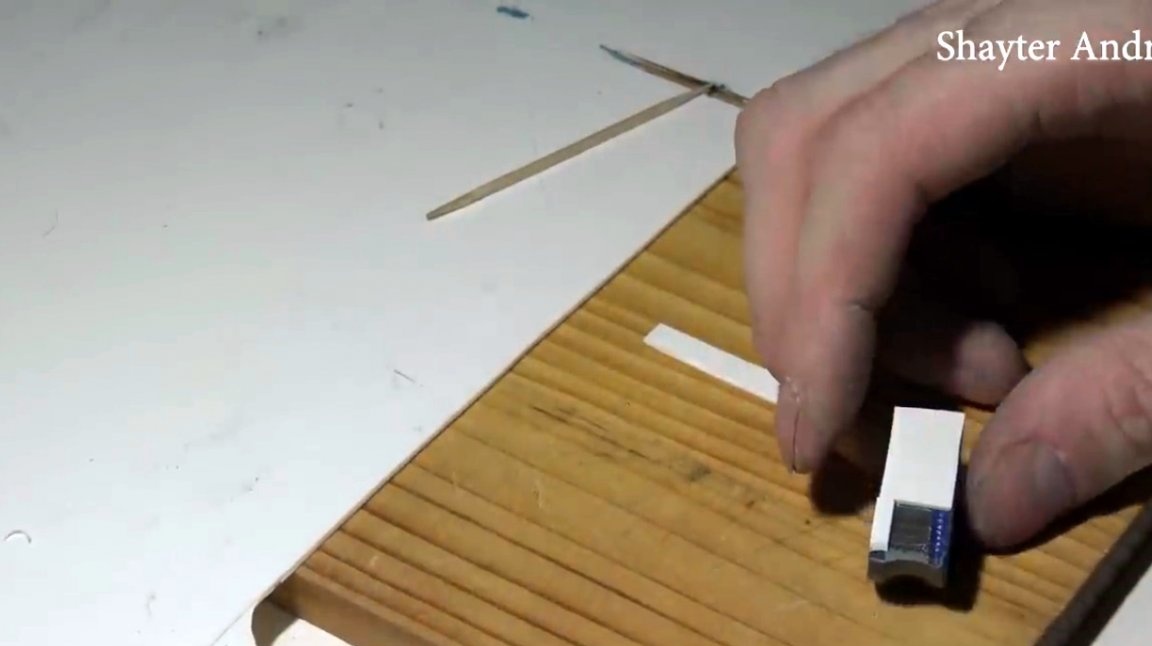
Since the glue is very fluid, and does not harden immediately, you need to fix its shape. For this, Andrei recommends using a cling film, and wrap the coil tightly. Then you can easily shape the glue.
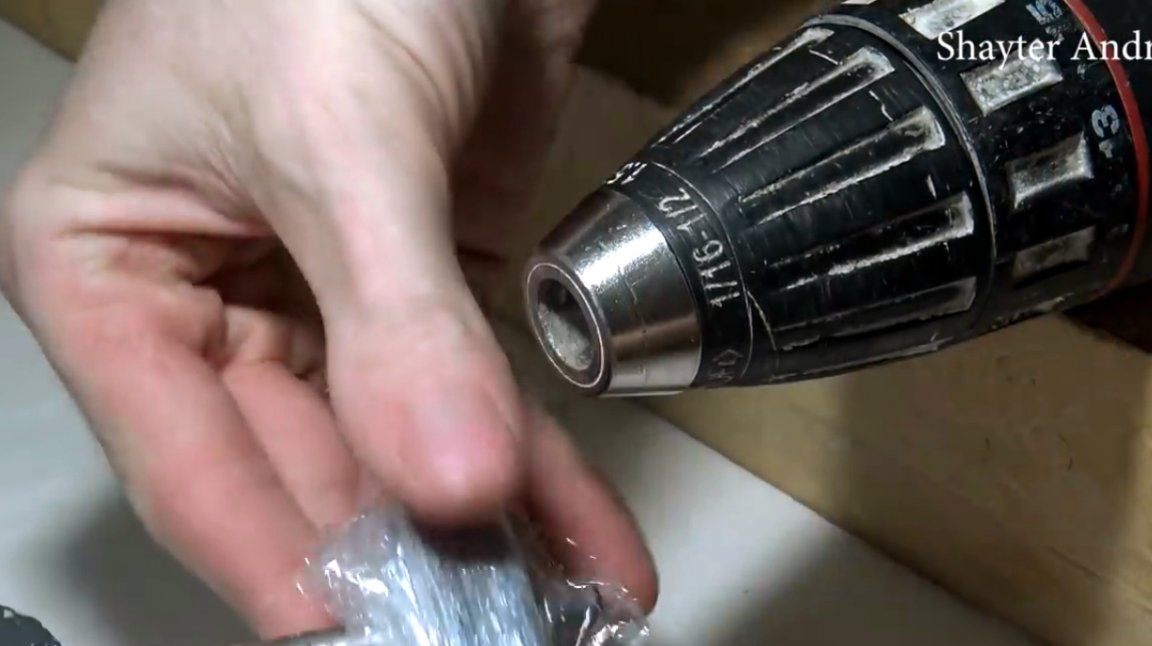
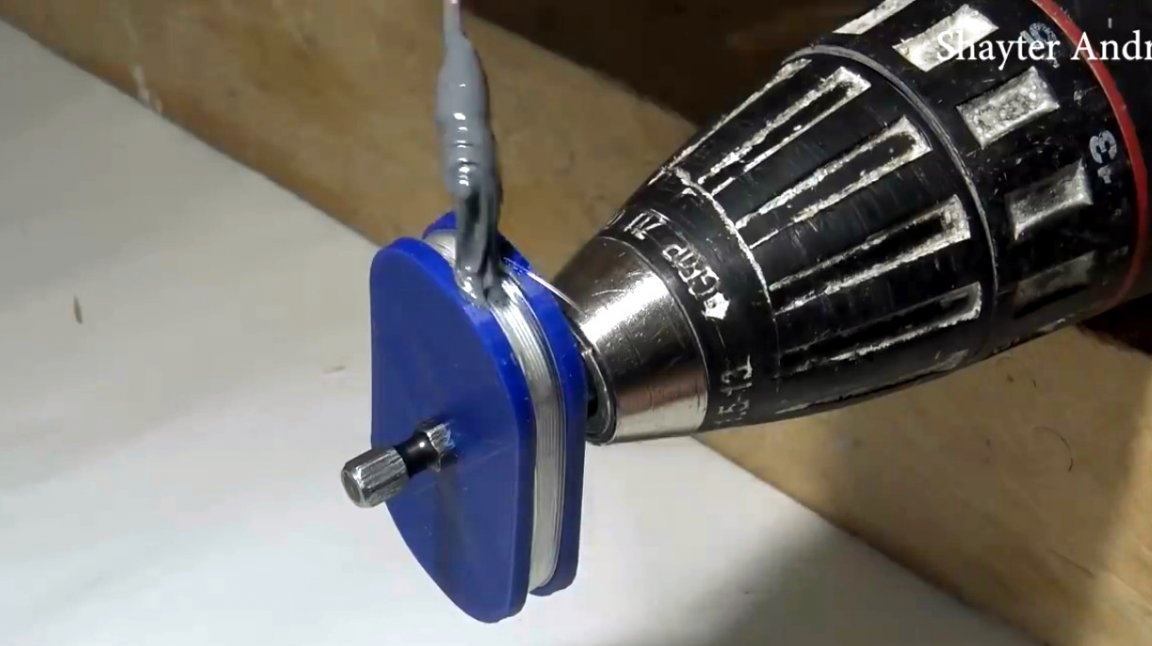
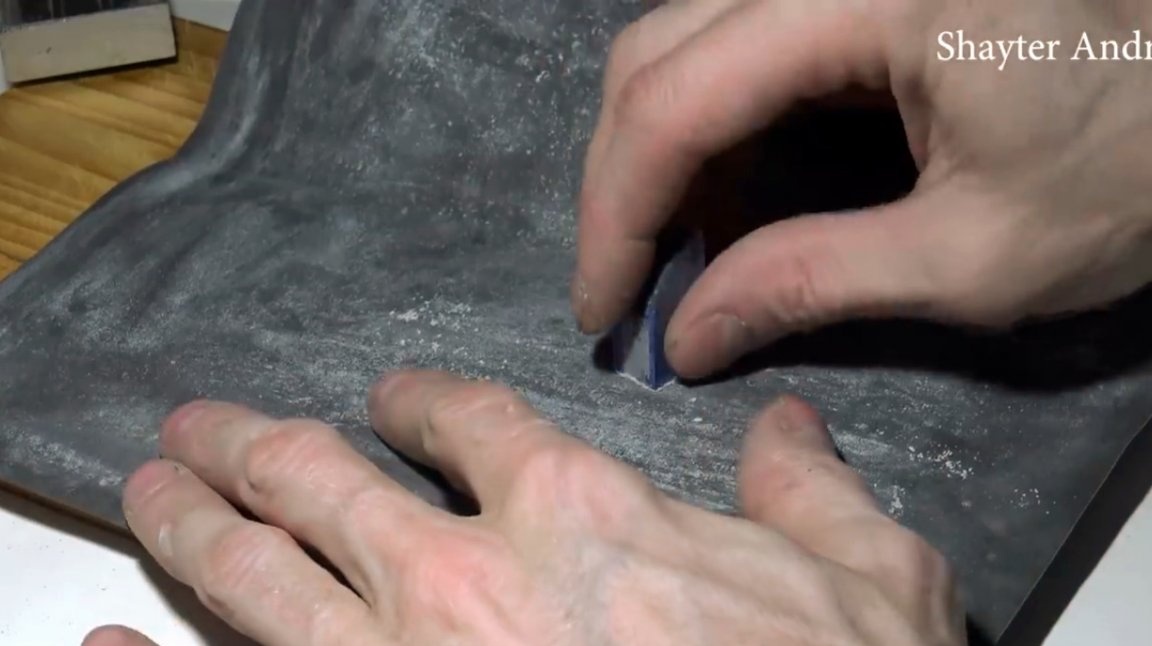
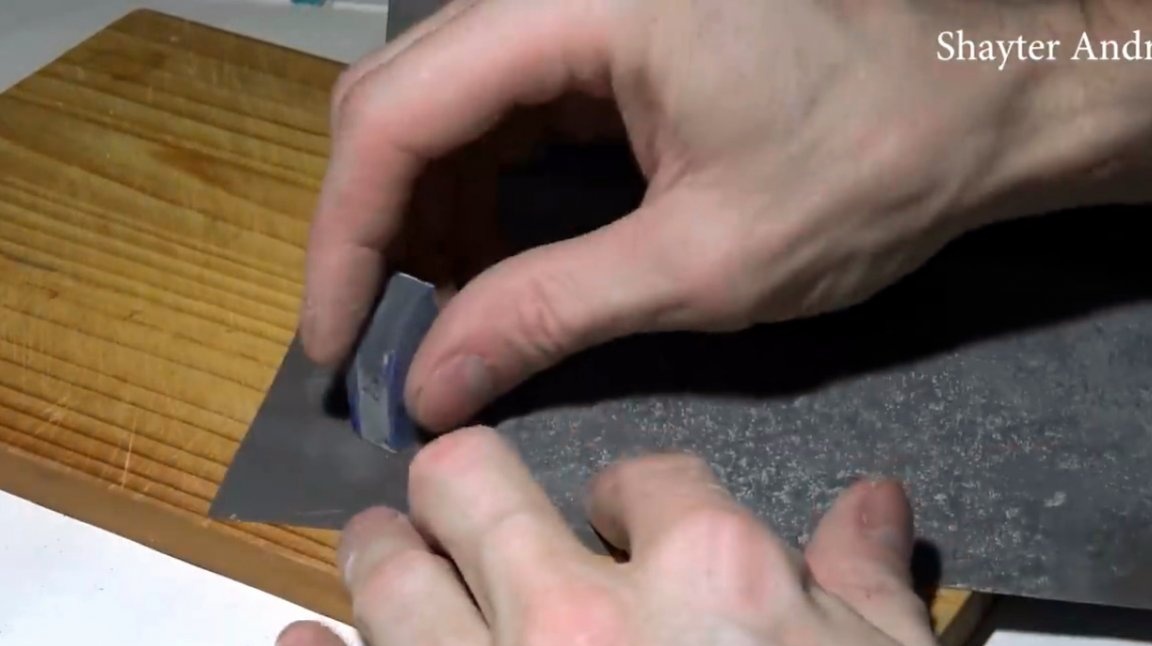
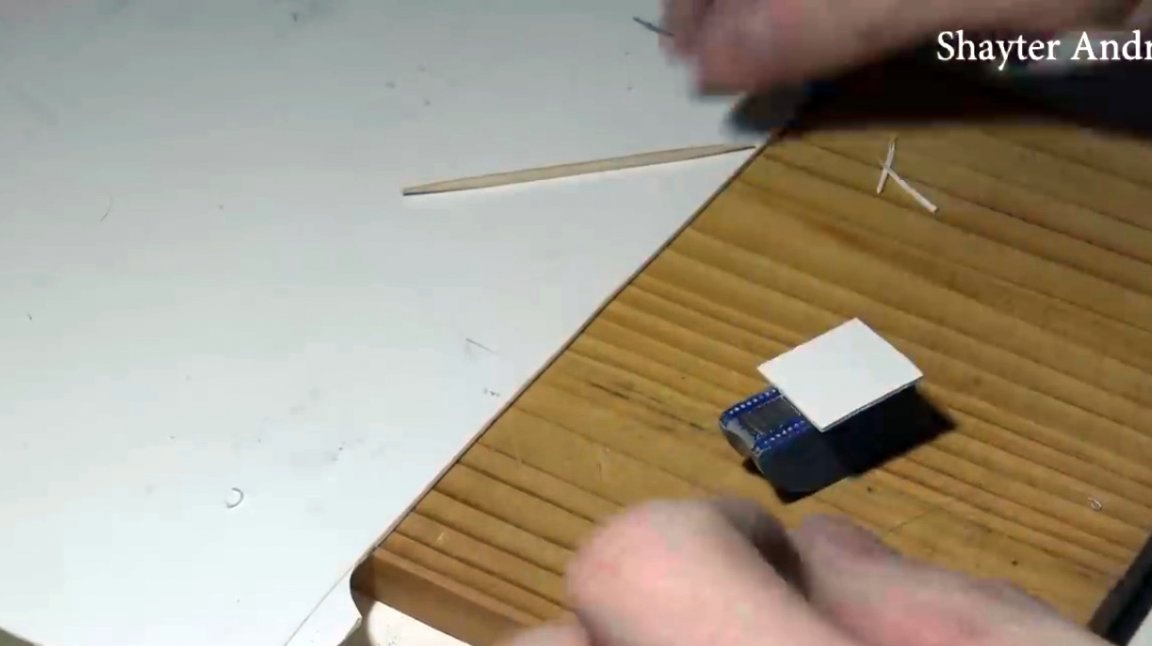
The glue froze, its excess is cut off with a knife. Then the resulting workpiece is cut with a grinder into four parts. This method is more correct than cutting with a hacksaw. So the edges of the fiber are slightly melted, but do not crack, and do not shift.
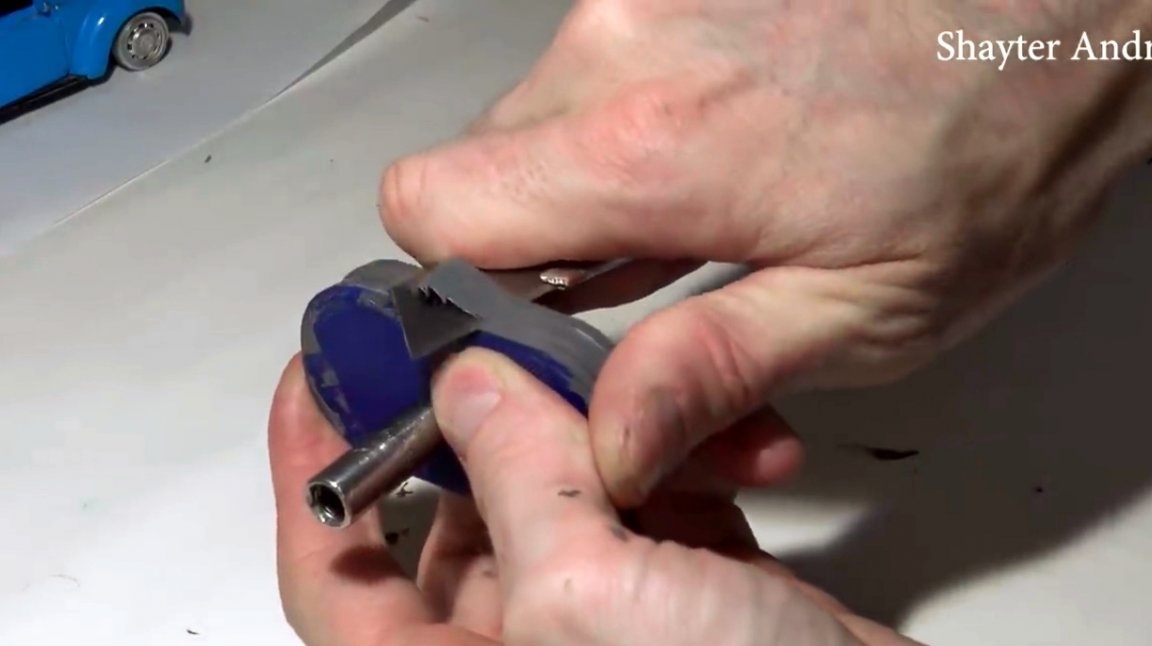
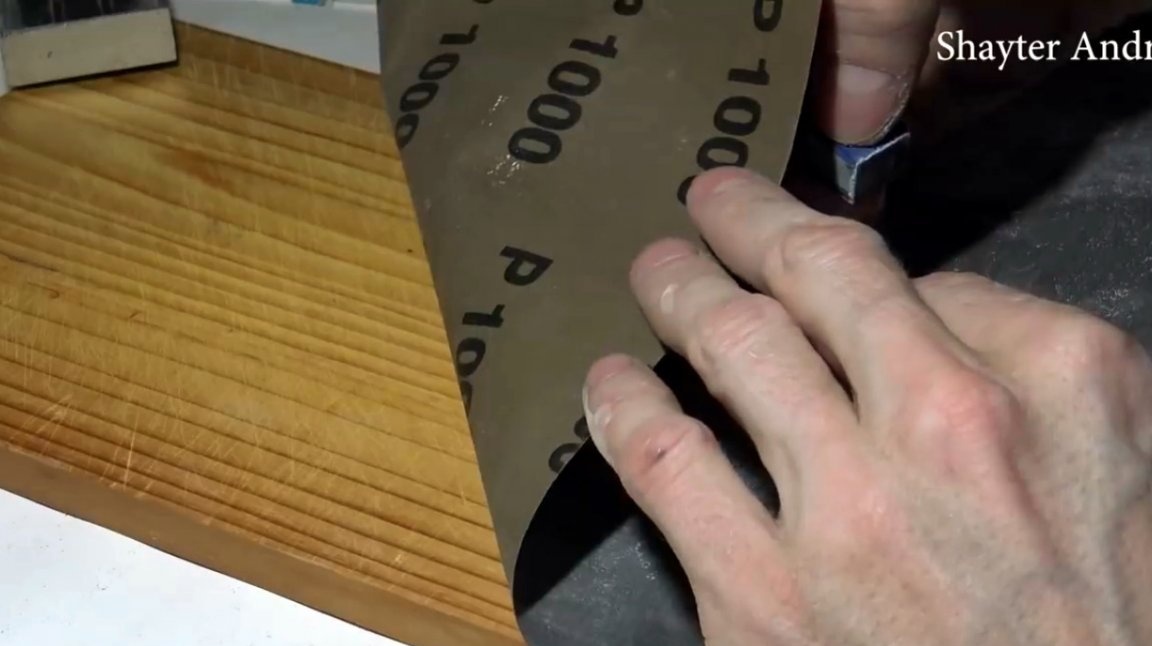
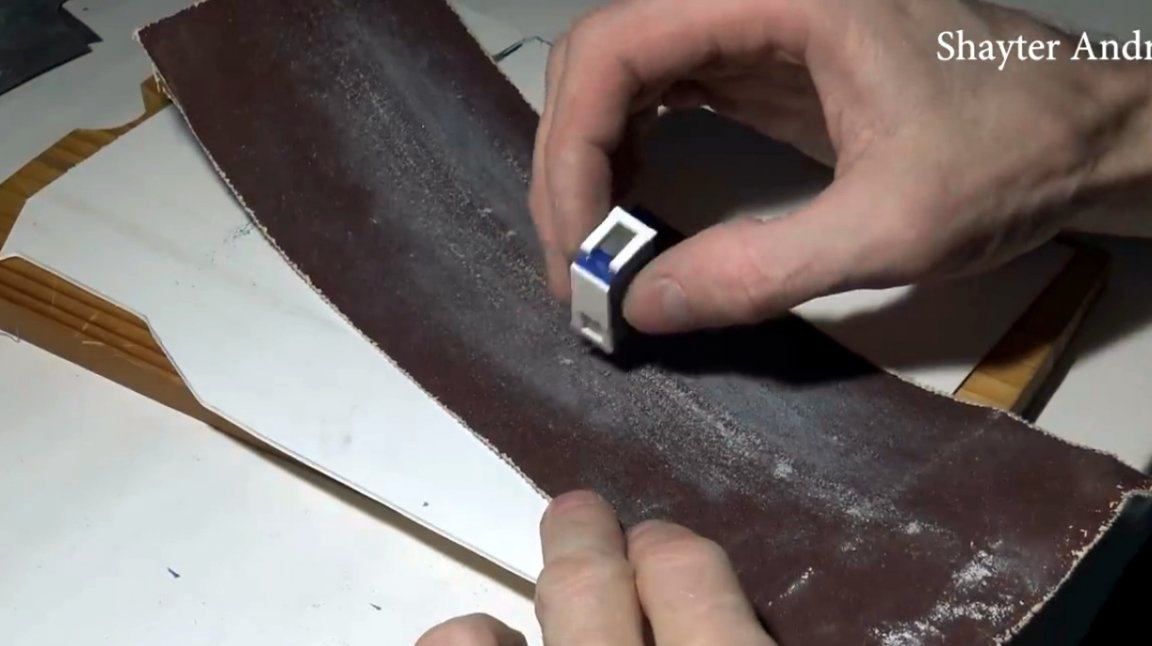
Then follows the step of grinding the cut points with sandpaper. To do this, the master begins with the 60th, and ends with the 2500th grit. The final grinding of the edges of the optical fiber was performed by the author using a leather strip and GOI paste.
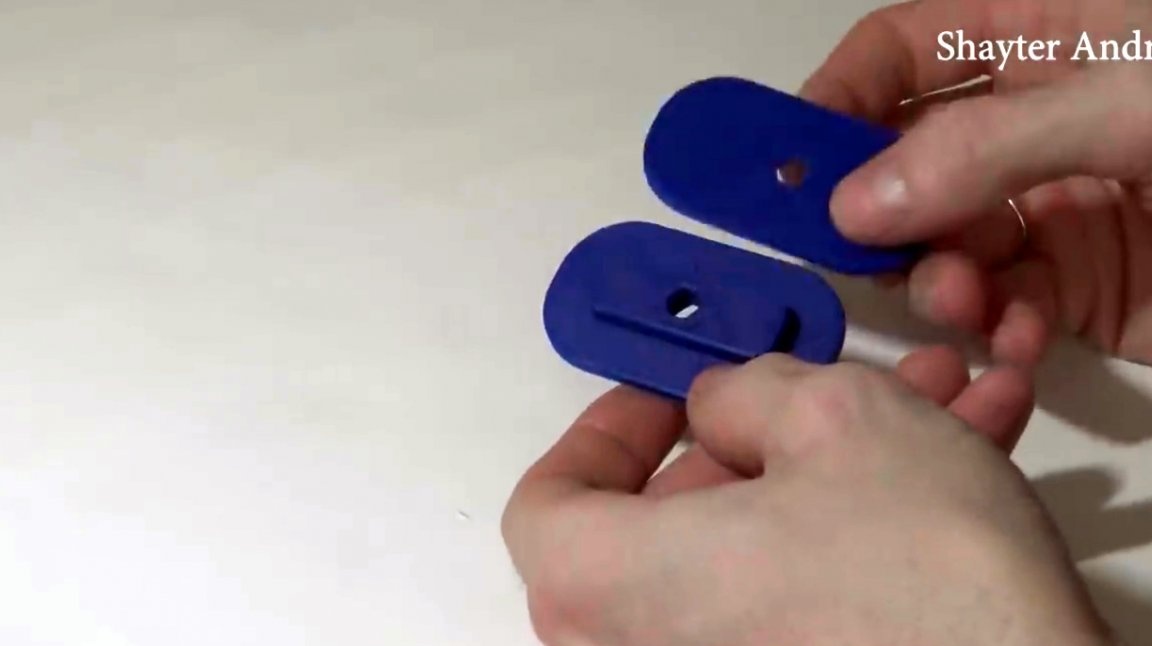
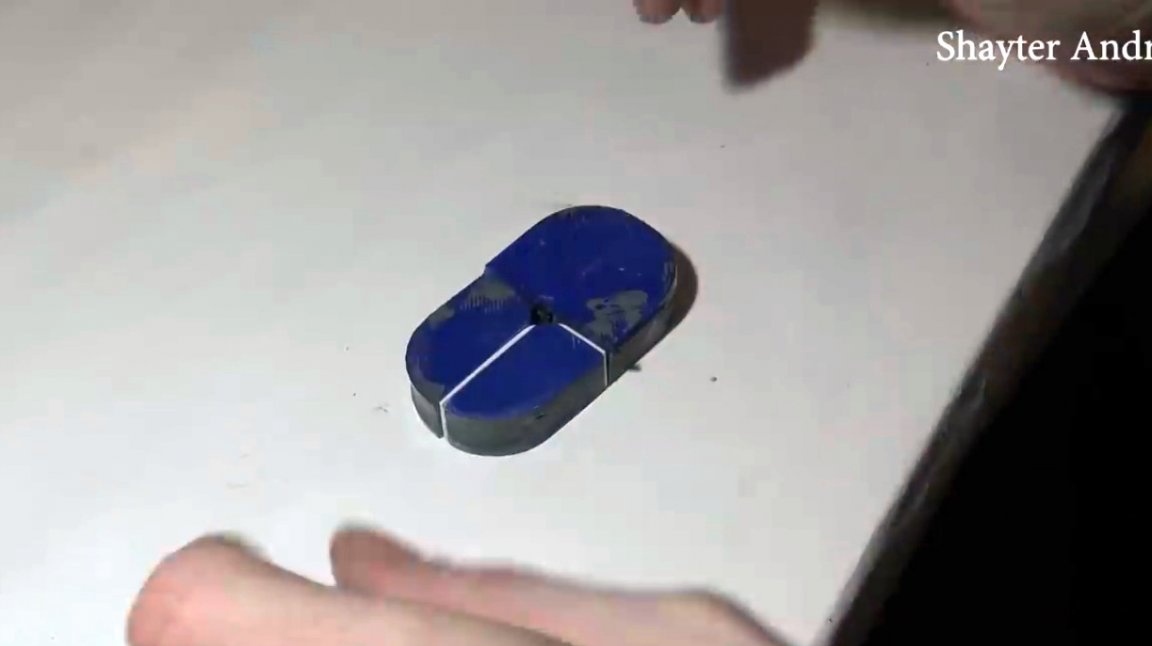
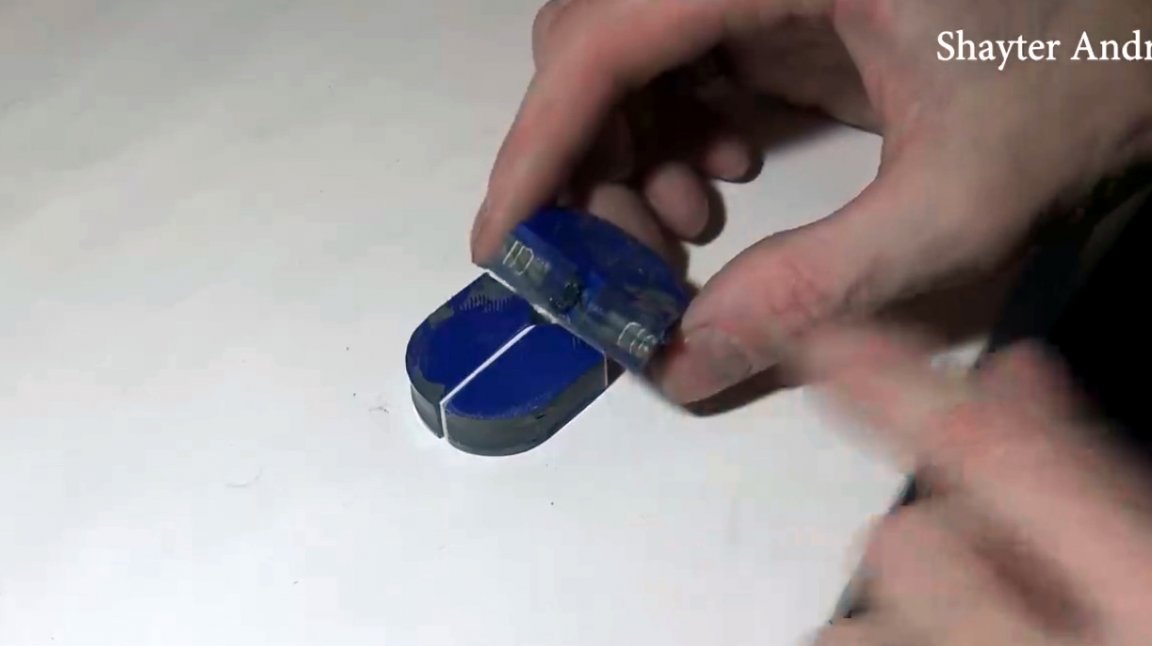
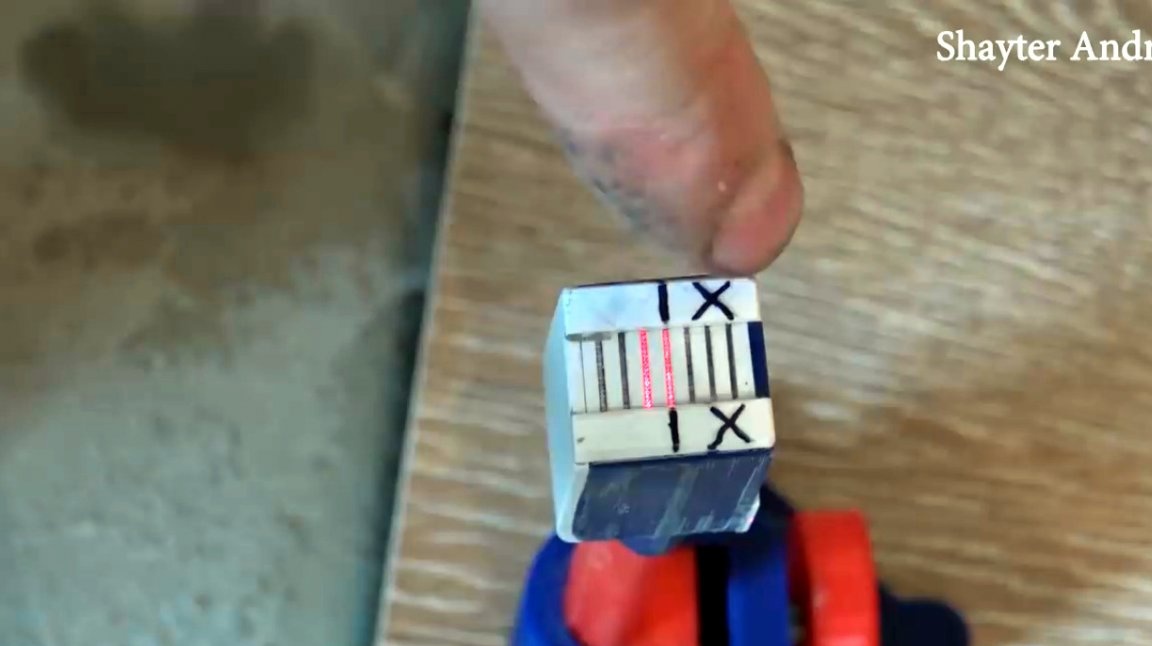
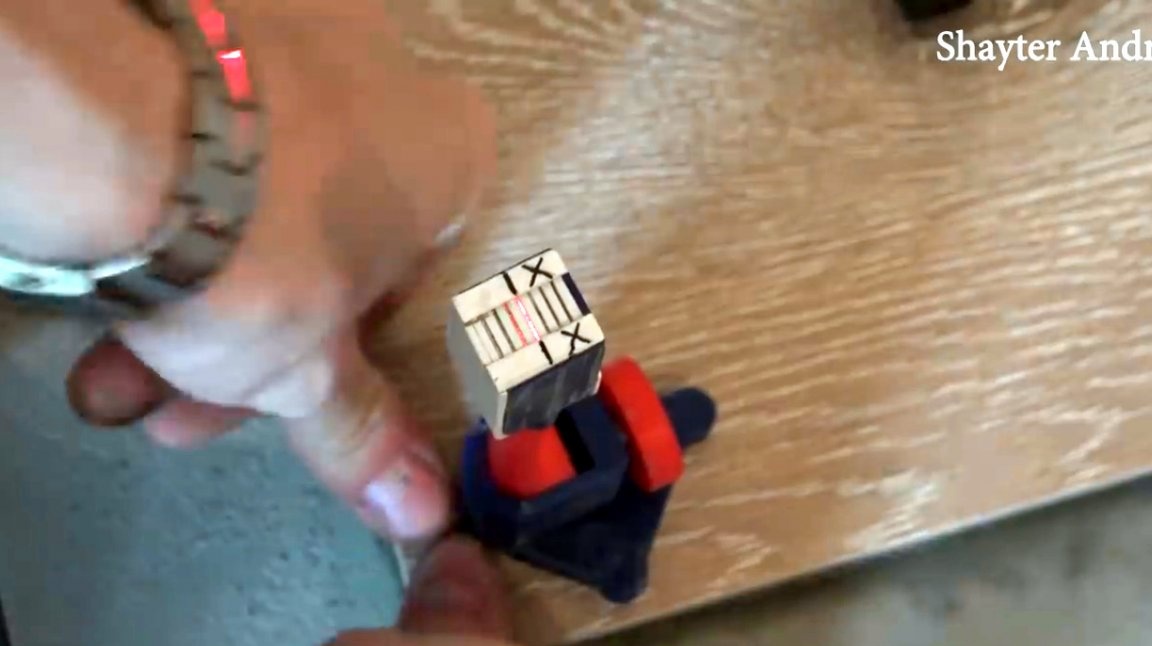
These are the blanks.
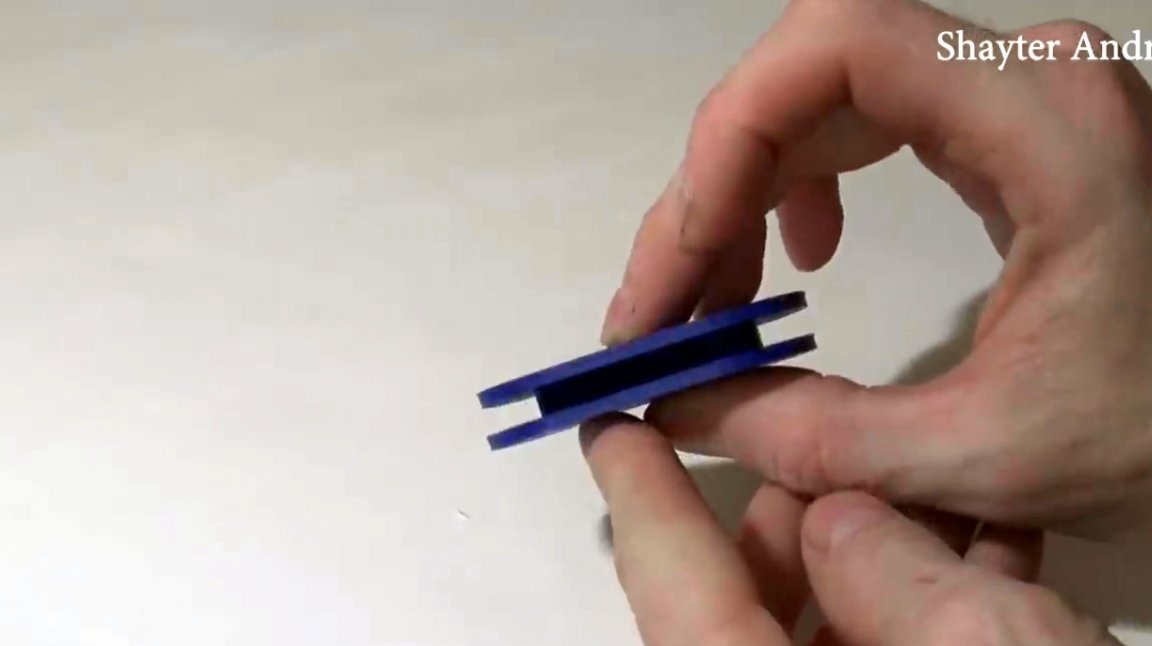
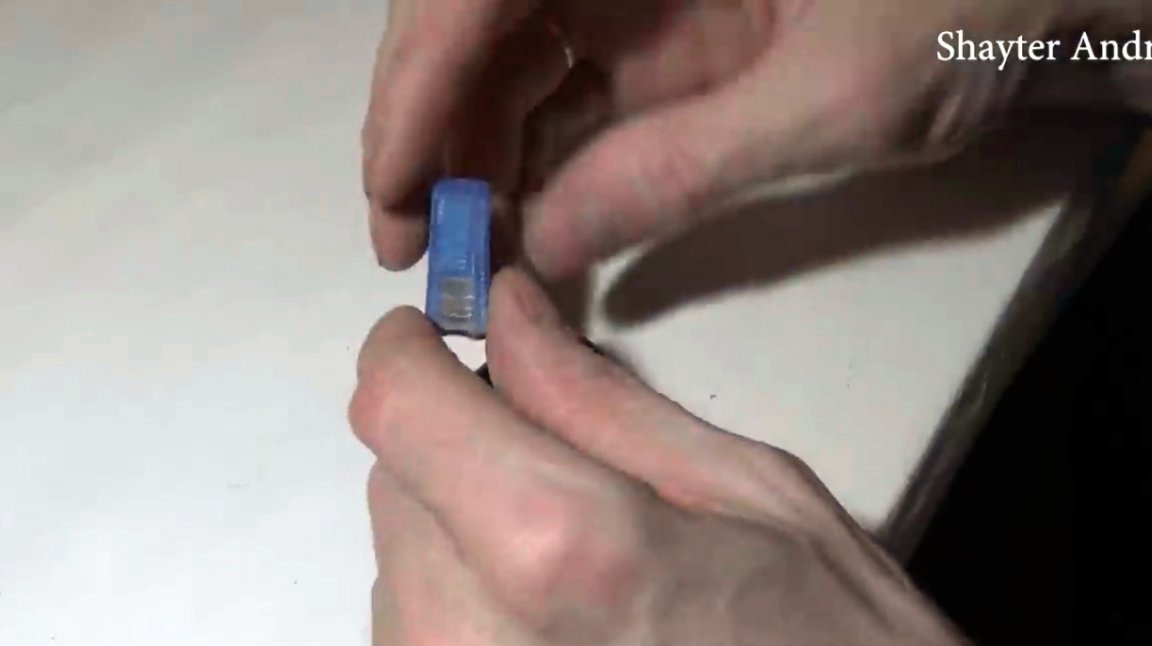
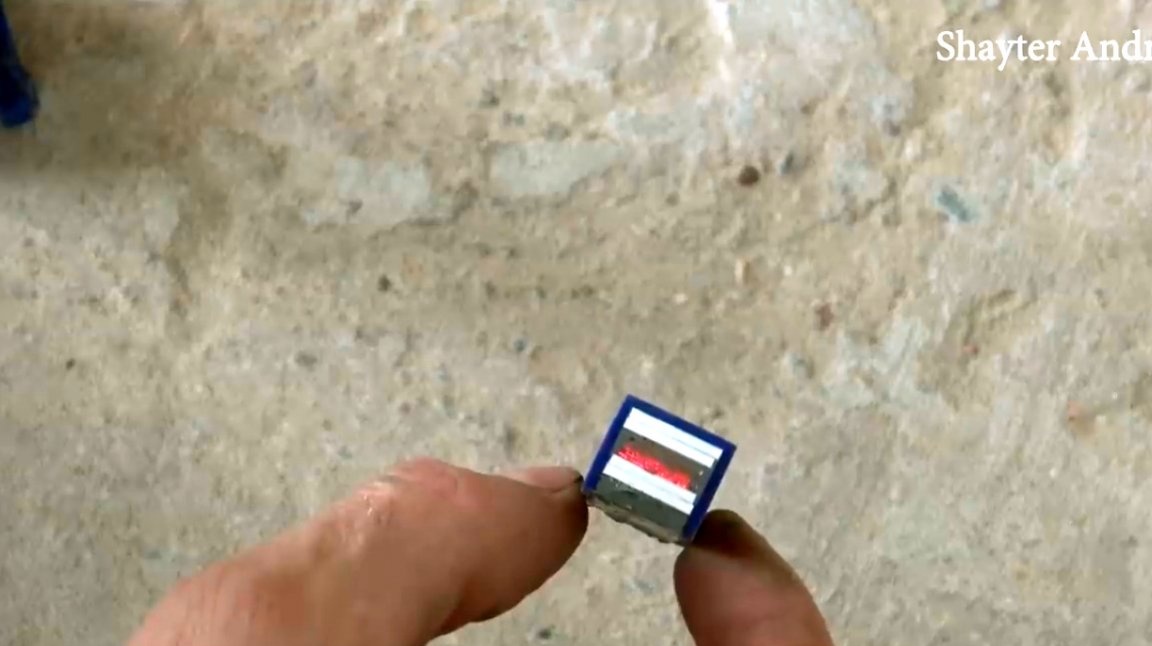
Now the master needs to glue a few pieces of plastic to create a platform for marking, and slightly deepen the surface of the optical fiber.

Also glues the sides, and the second platform. Then polishes.

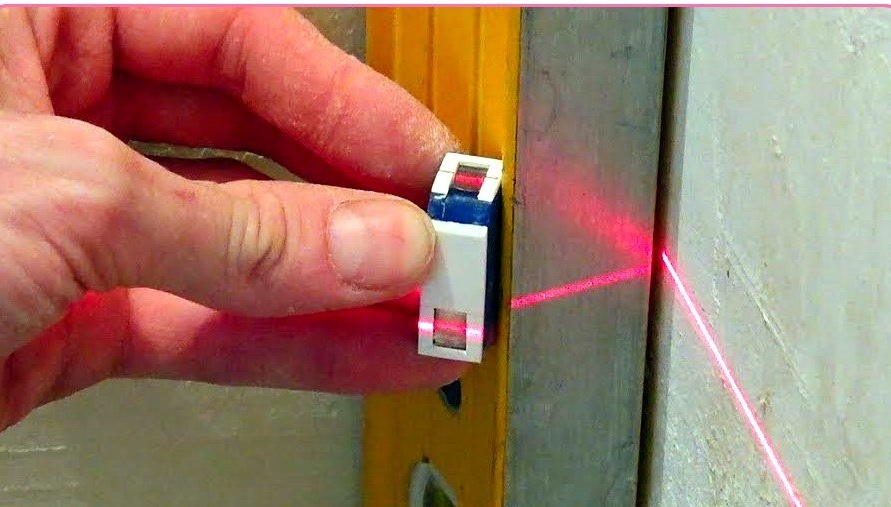
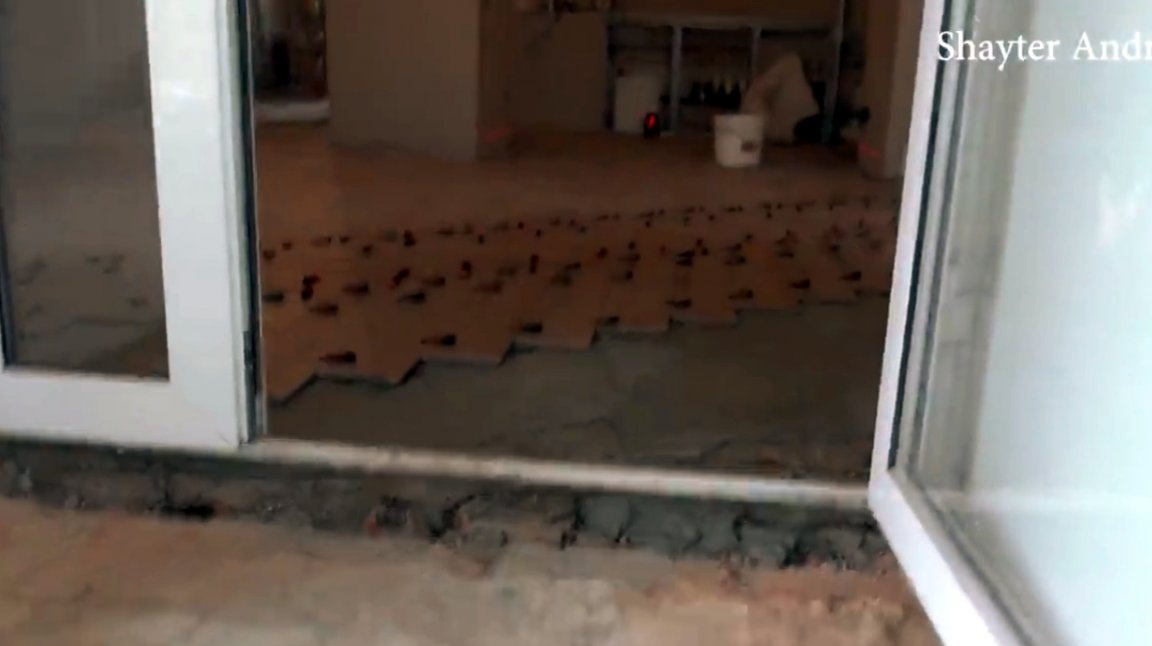
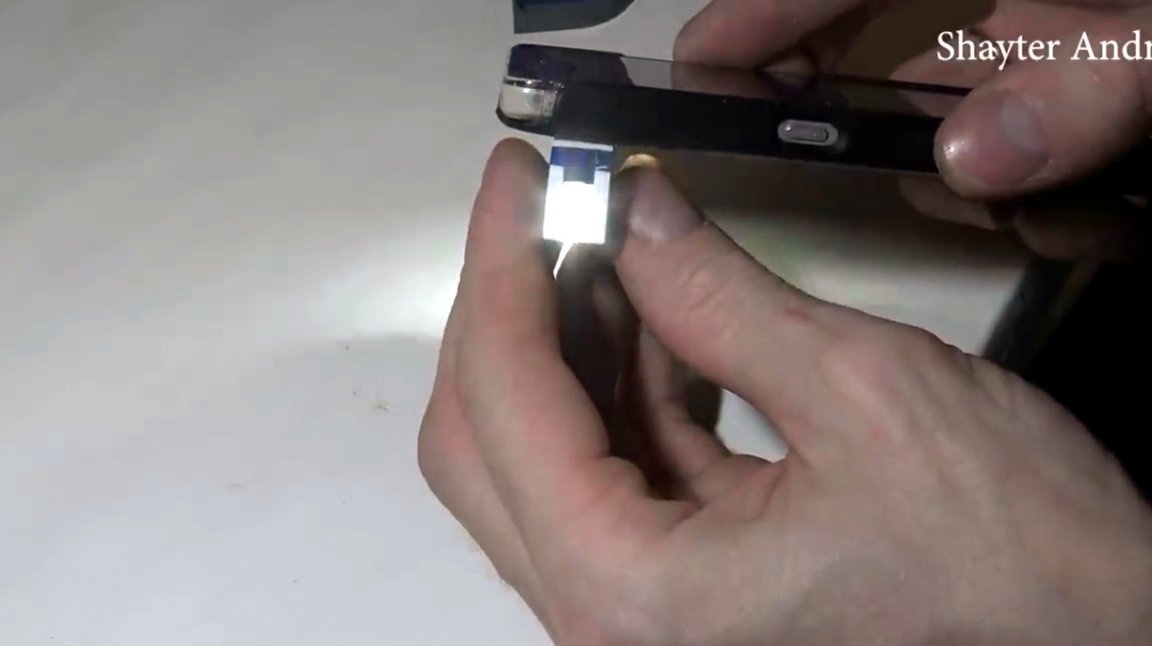
Now look how this device works. It allows you to translate the hit beam located in the horizontal plane to the top of the device. The master marks the center line near the receiving window.

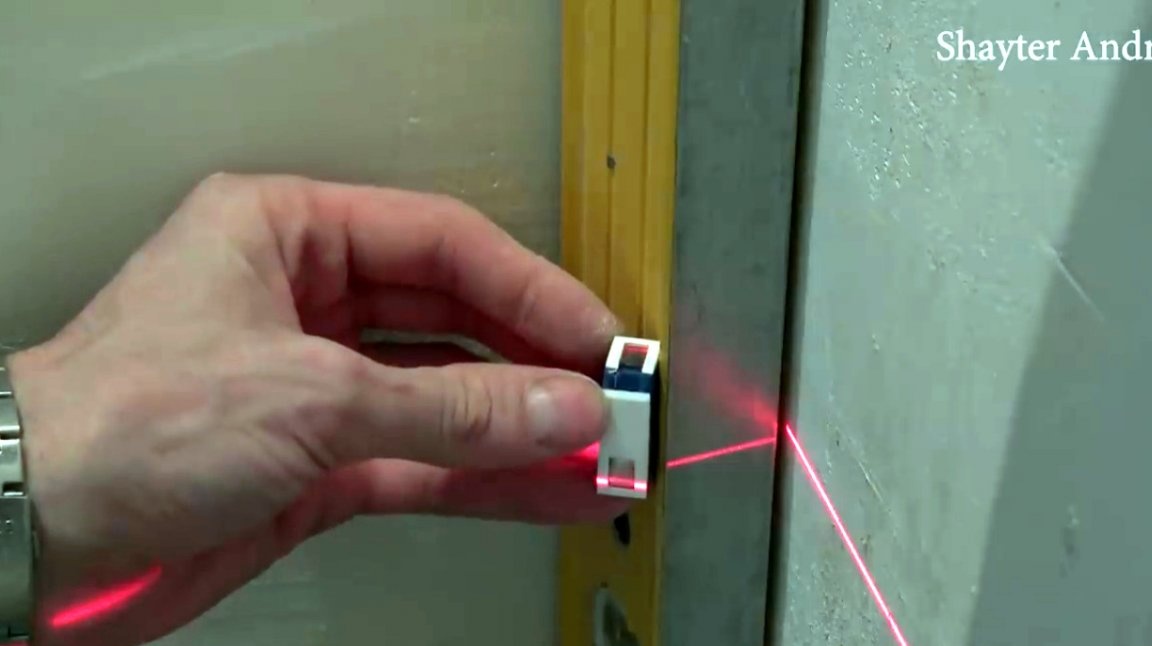
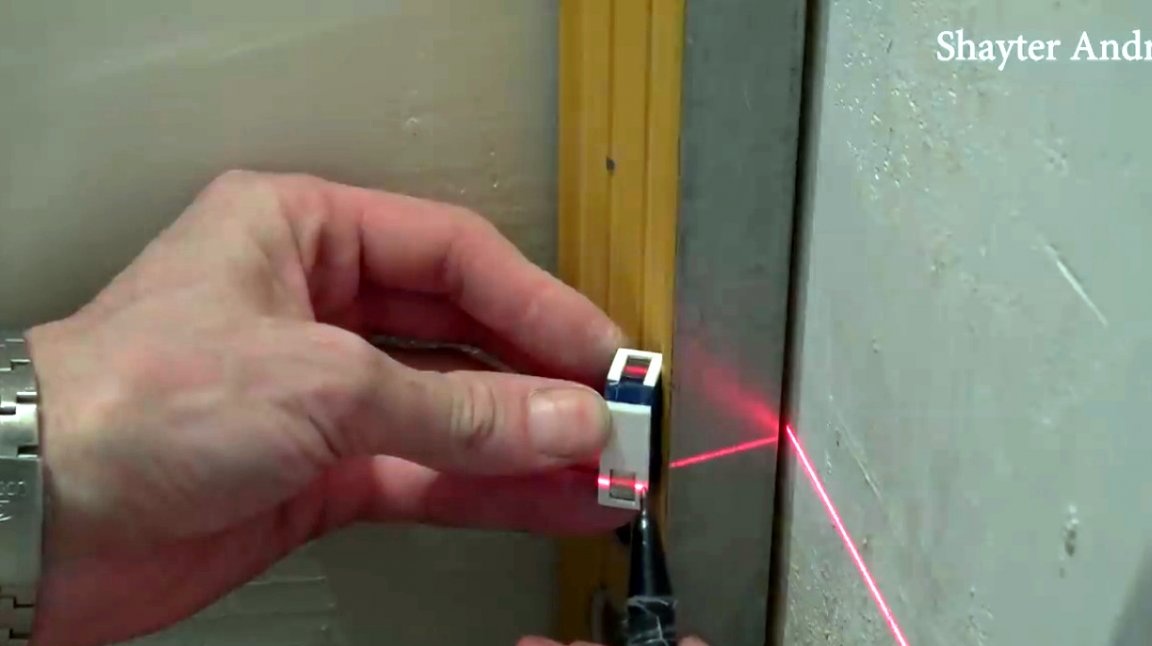
What is this for? Everyone who has been laying tiles knows how difficult it is to align all faces. And having installed this device near the corrected edge, the beam from the level will be visible in the upper window. Moreover, the accuracy is 0.5 mm. In addition, this device works great even in sunlight. Sometimes for these purposes, workers apply a square, installing it on a tile. But looking at it from the side is very inconvenient. Now you can even correct long tiles without bending over.
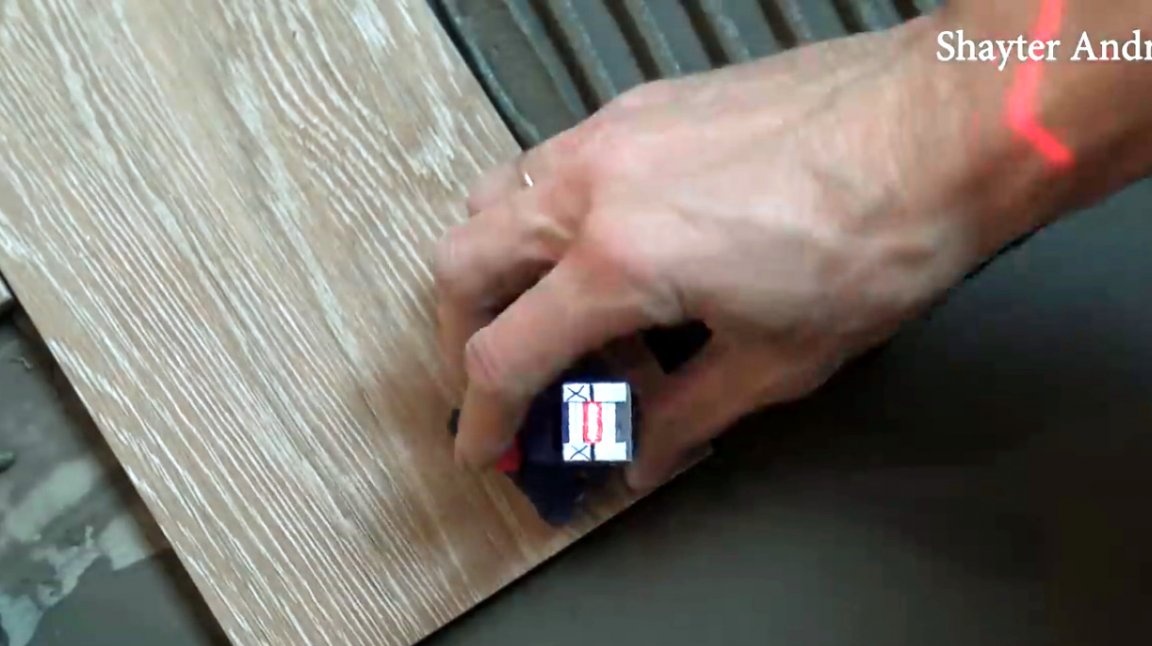
And so it transmits light from a flashlight.
Thanks to the author for a simple but useful fixture for construction!
All good mood, good luck, and interesting ideas!
Author video can be found here.