
Many people like to decorate their desktop with all sorts of globes, pendulums, and the like mechanical things.
In this article, the author of the YouTube channel “Engineer Bruns” will tell you how he made a three-axis gyroscope.
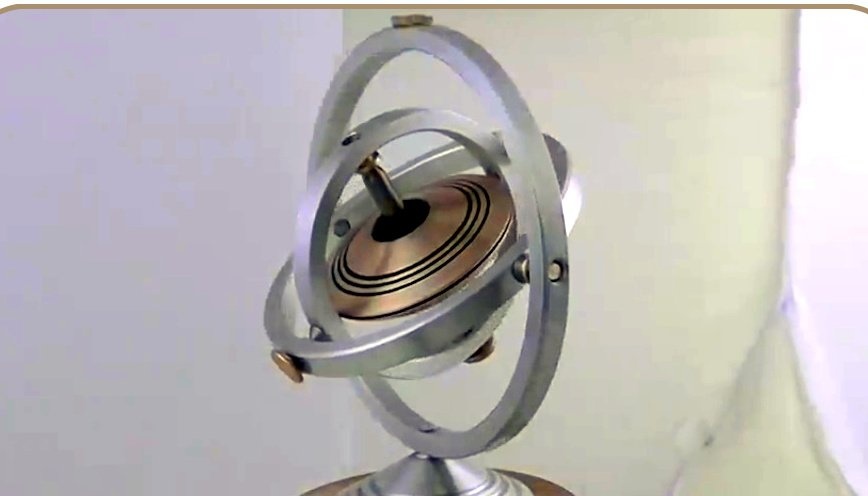
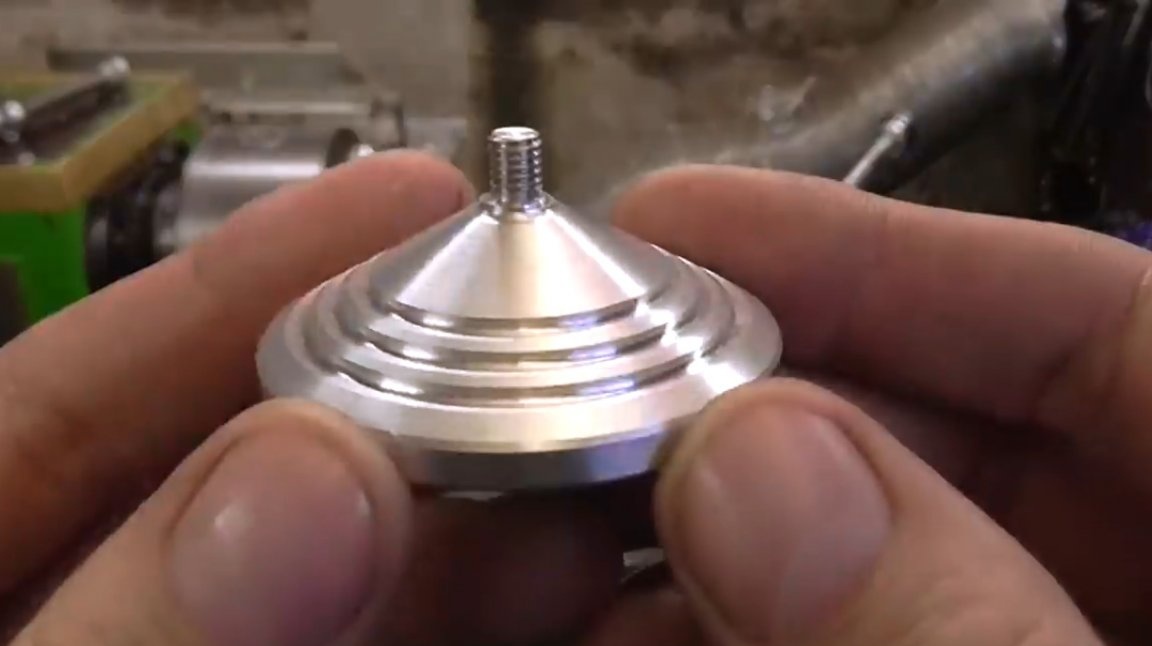
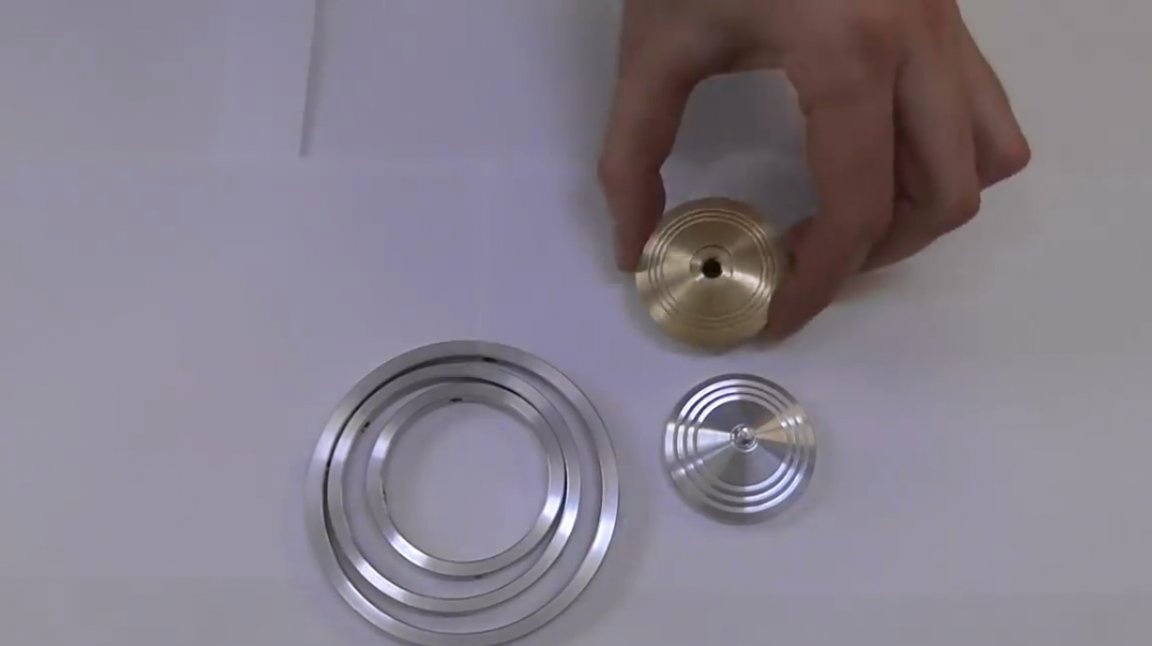
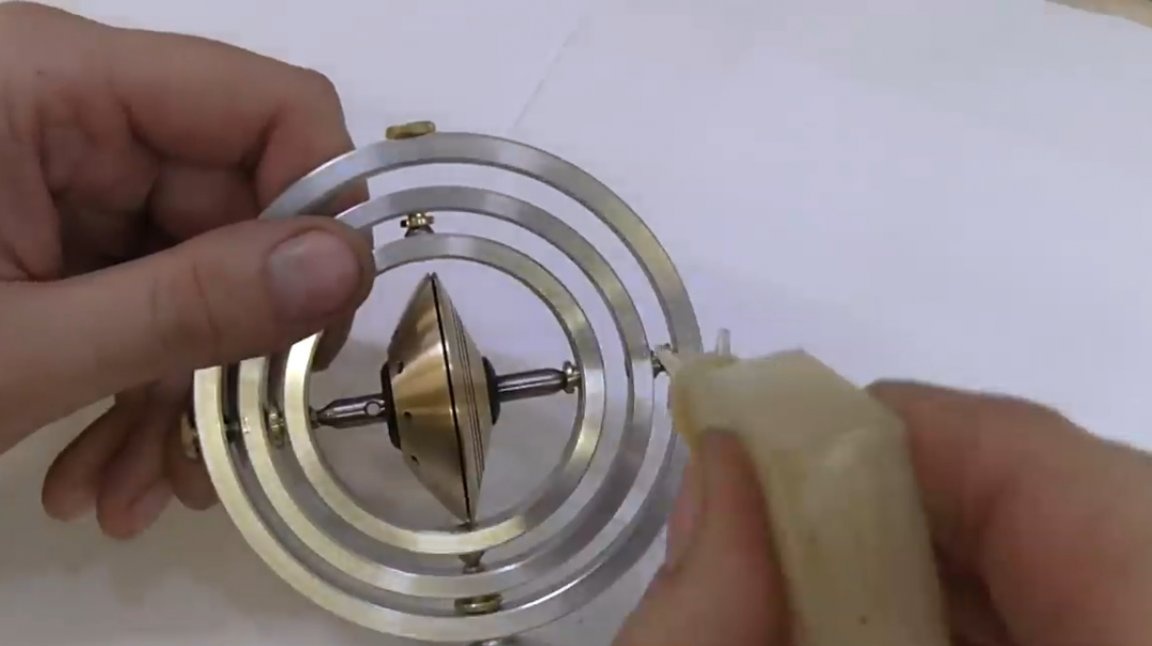
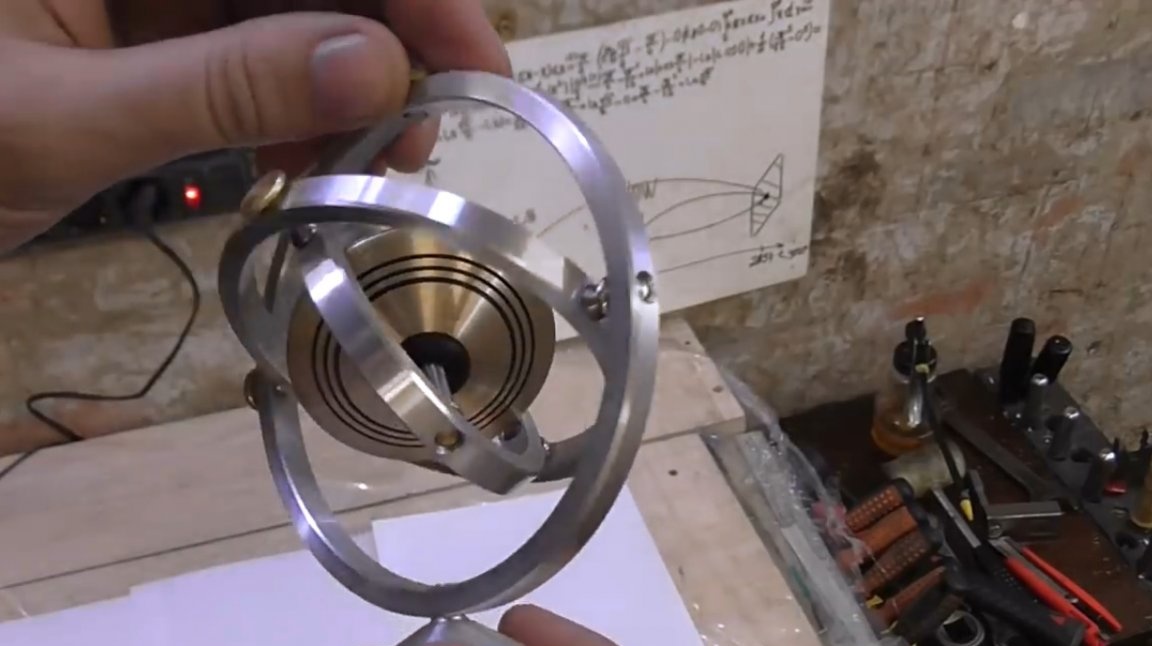
So, this simple-looking beautiful bauble will be very interesting to behave if you give a rotational moment to the central disk. Yes, this homemade product is not very easy to manufacture, and even the author himself sells it. But if you have a lathe, or a familiar turner, then it will take literally a couple of hours to make it.
Materials
- Aluminum and brass discs
- Ebony round timber
- Brass and steel bars
- Kapron thread
- Machine oil.
Instruments, used by the author.
- Lathe
—
- Band-saw
-, lerka
- Drilling machine
- Center finder, drill.
Manufacturing process.
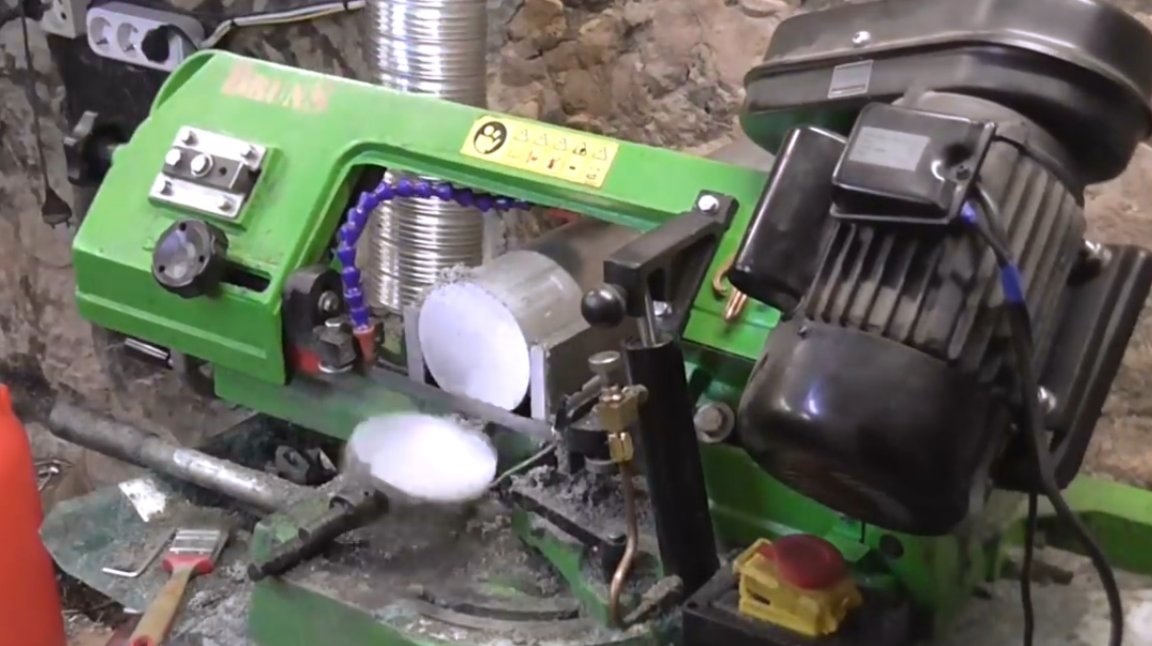
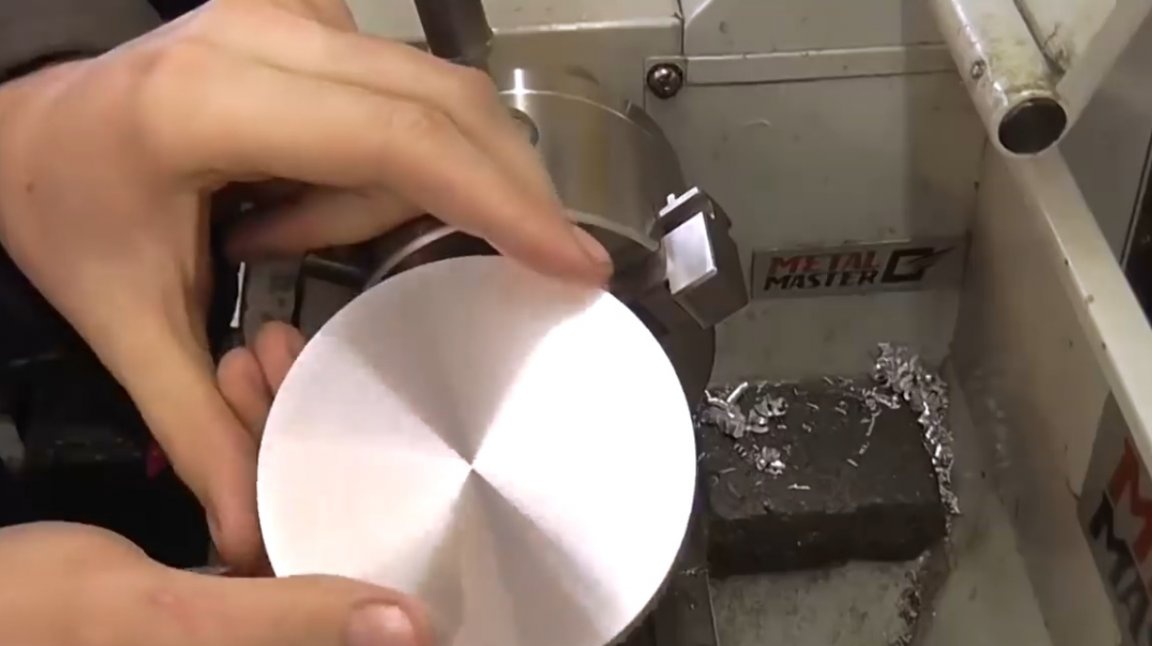
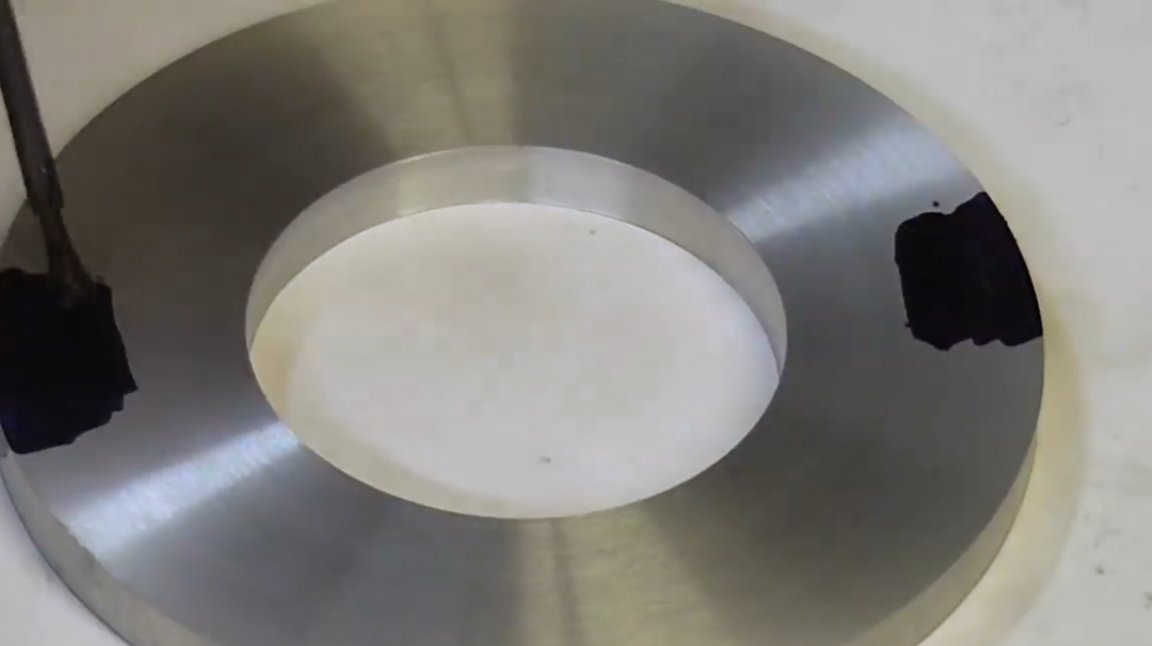
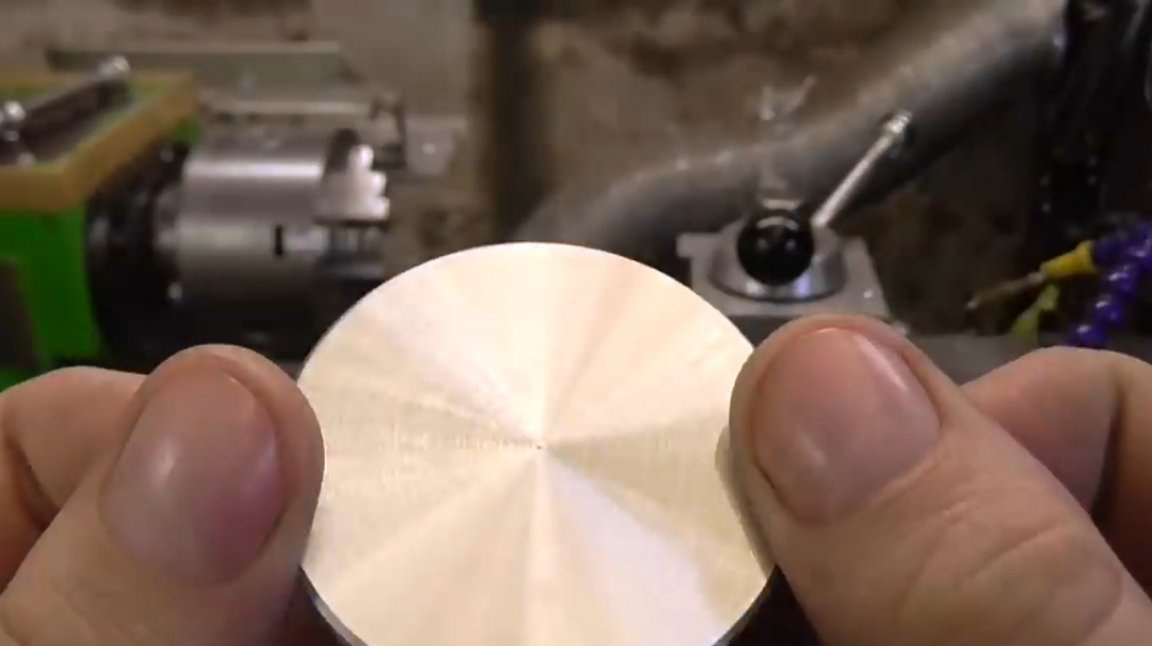
First of all, the master cuts the pancake from an aluminum disc.
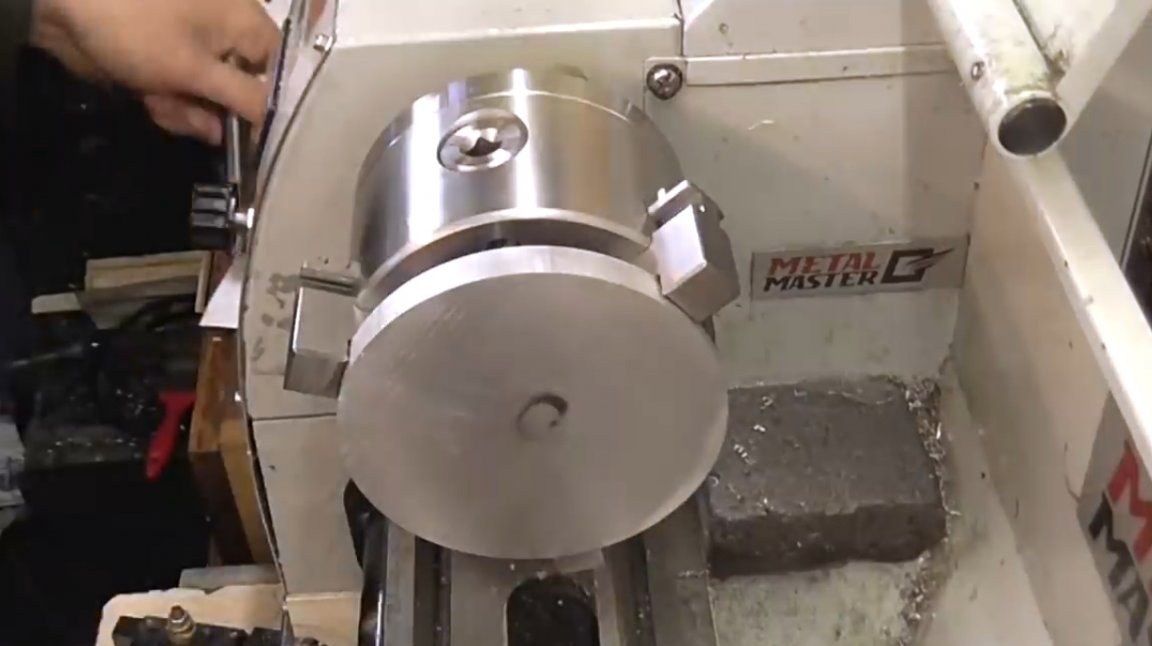
Installs it in a lathe, and aligns the first side.
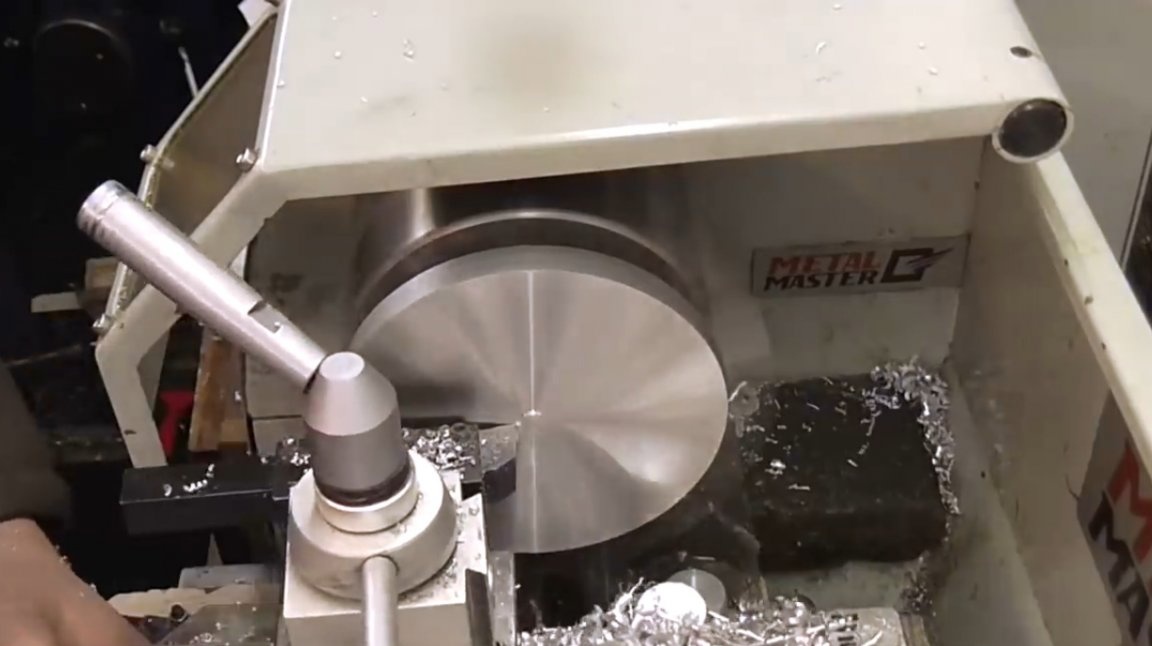
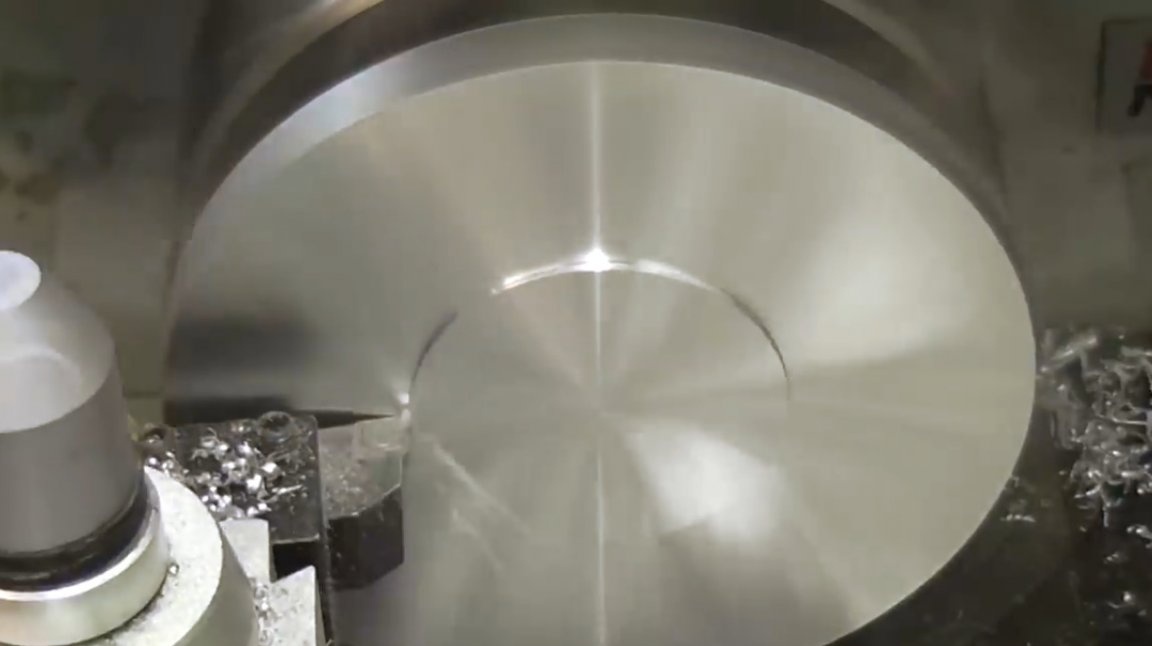
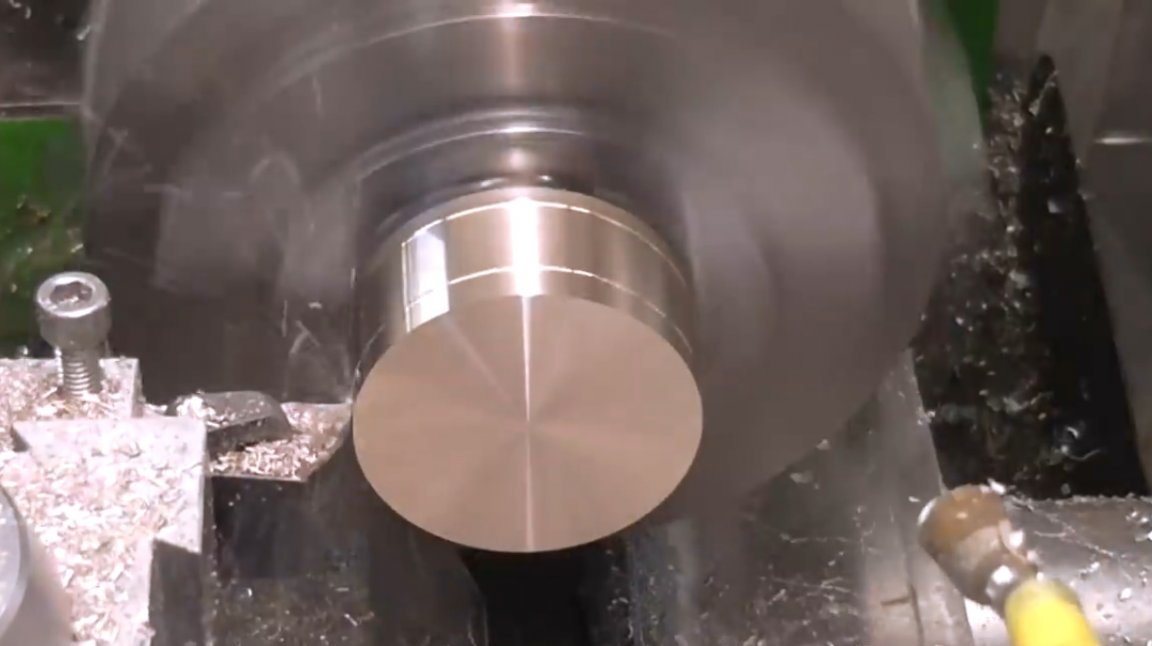
The resulting workpiece unfolds, and cuts out its central part. Then marks the coaxial centers on the sides.
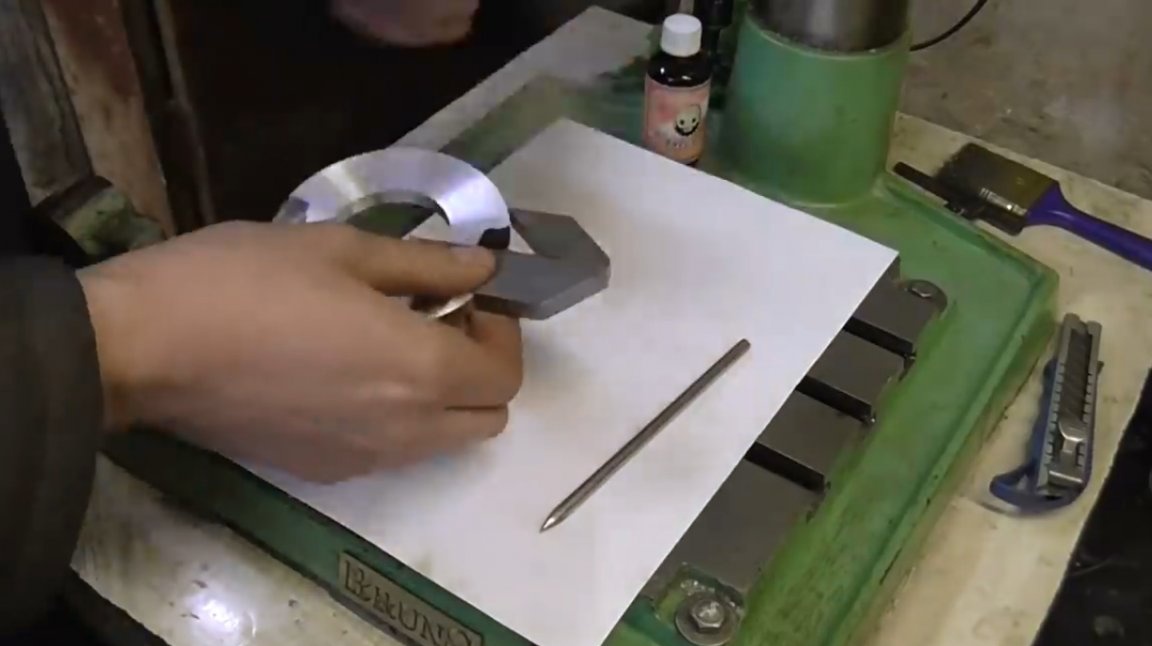
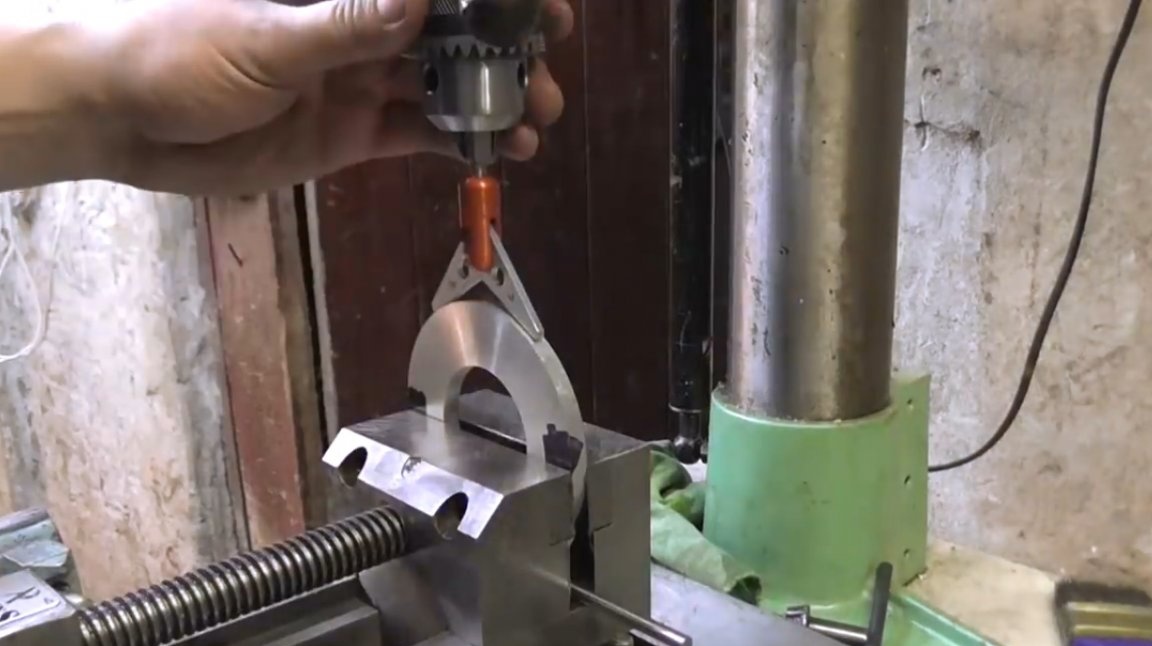
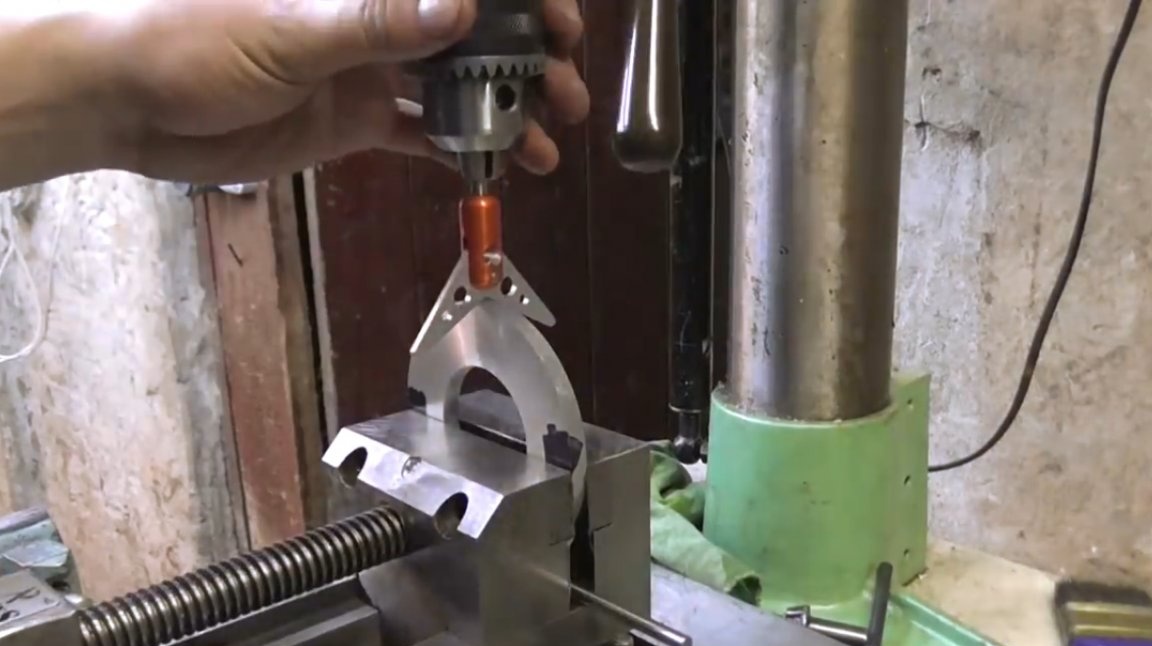
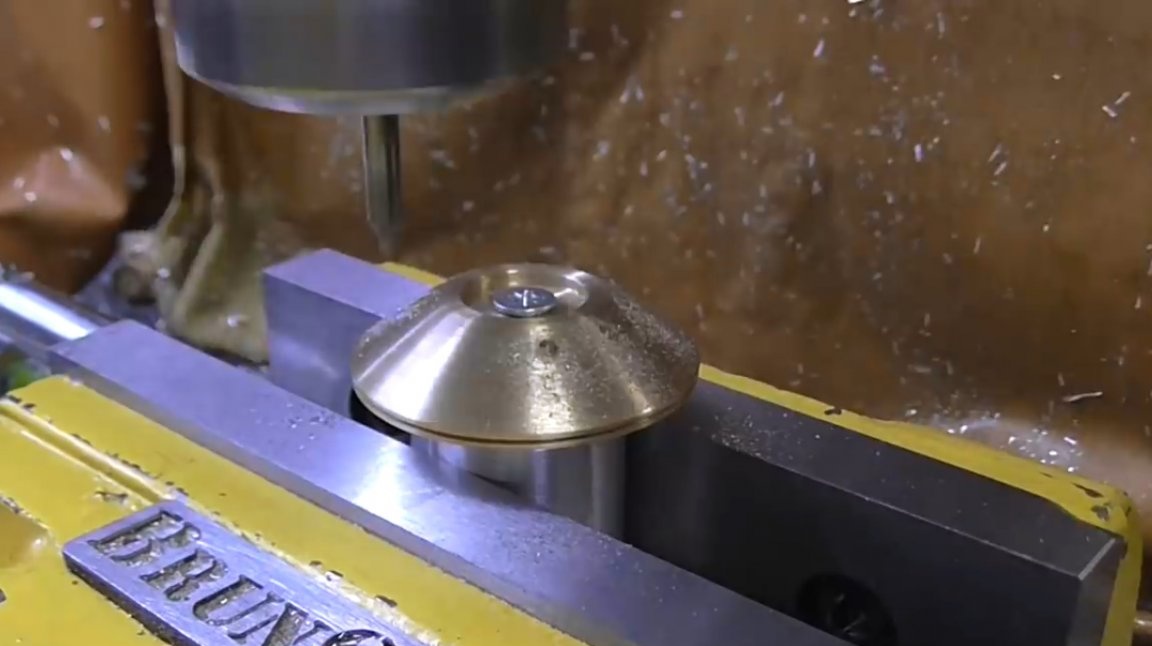
I fixed the workpiece in the vice of a drilling machine, placing the centers horizontally. Next aligns the cartridge using a center finder. And drills through holes on all four sides.
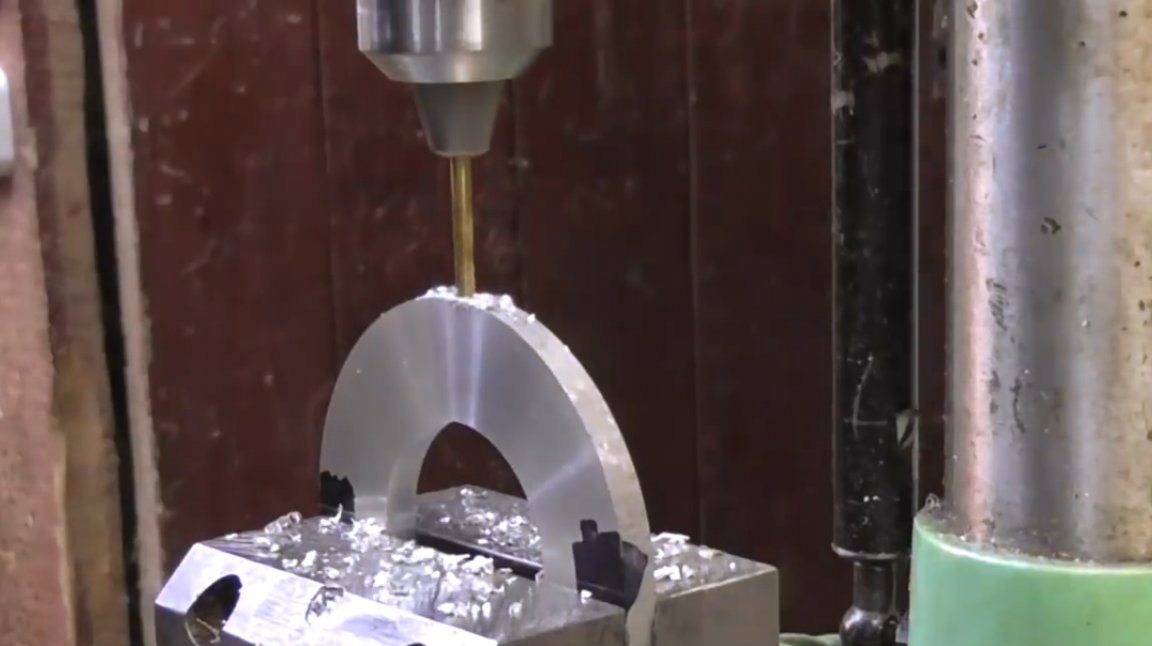
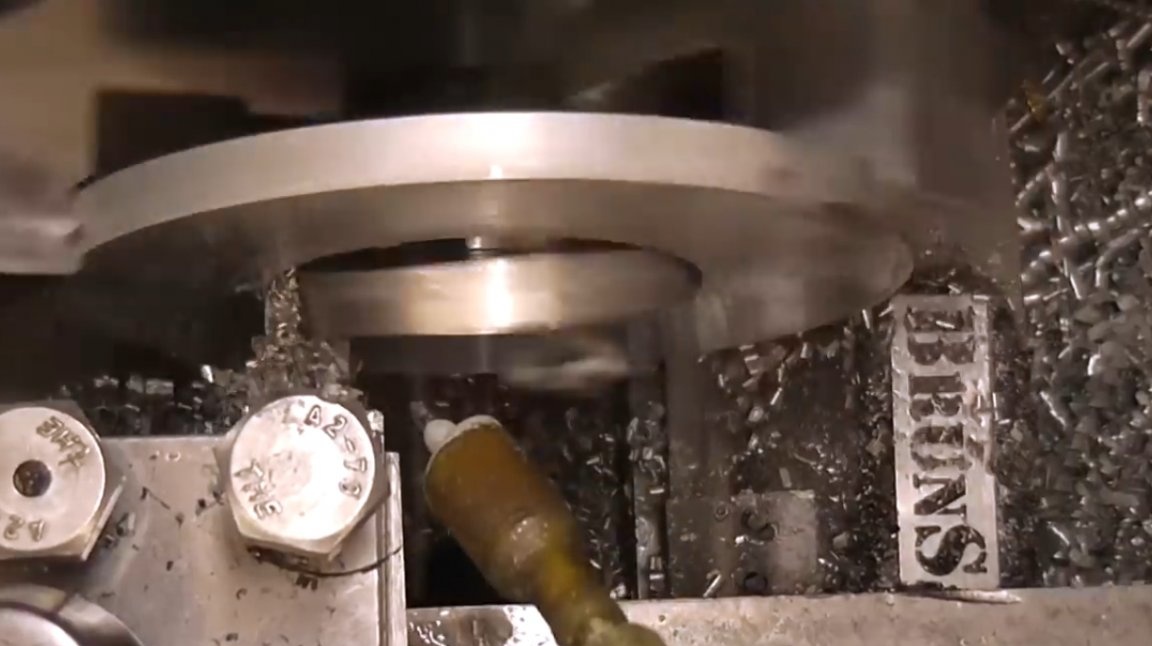
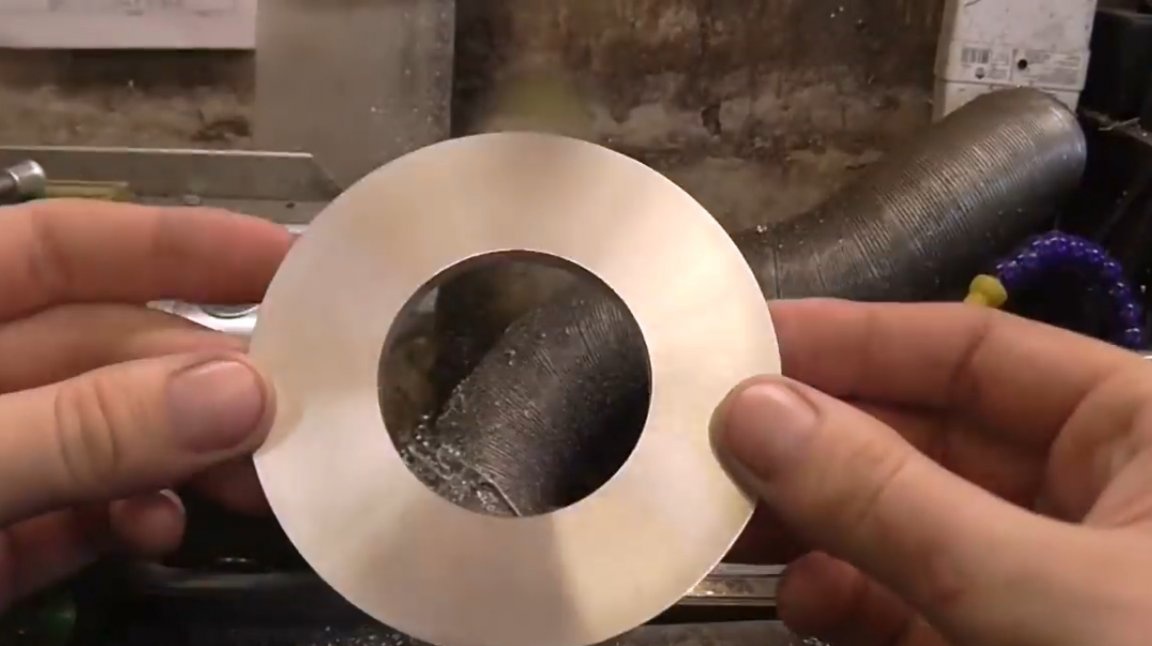
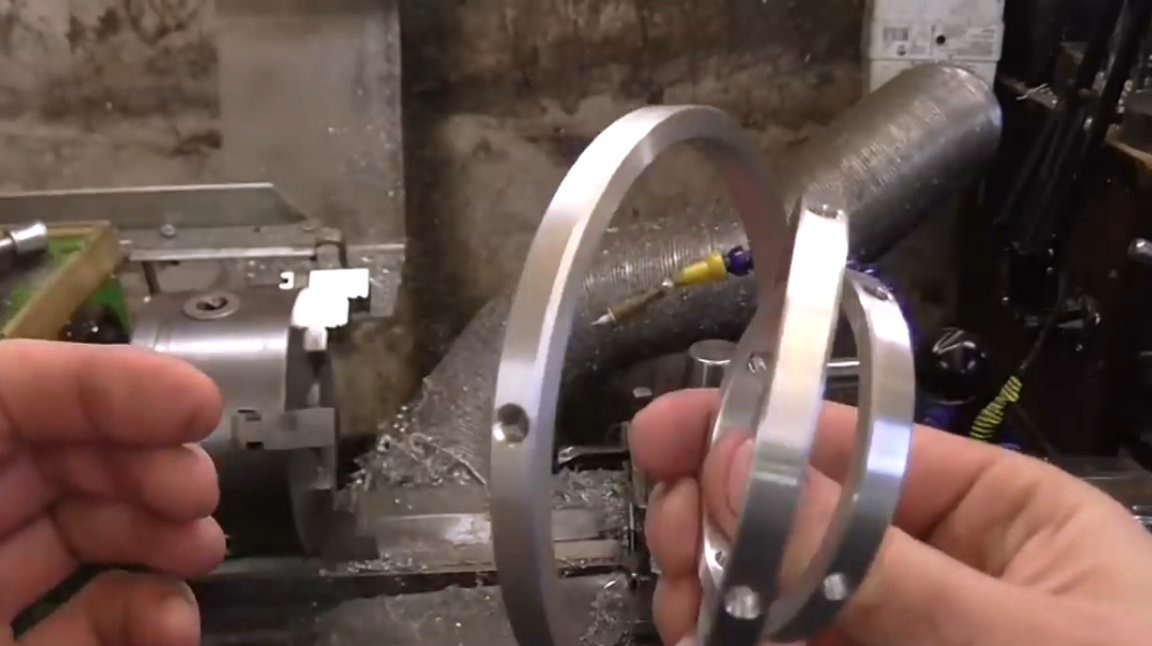
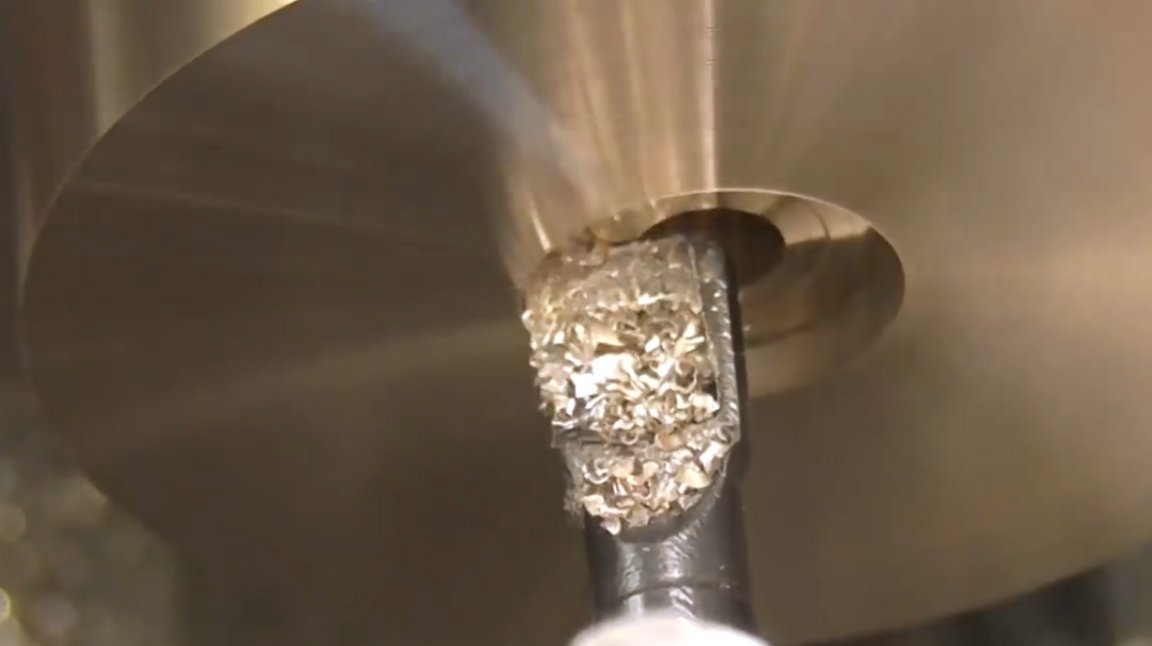
Returns the workpiece to the lathe, and cuts out three rings. It cuts the holes in the holes.
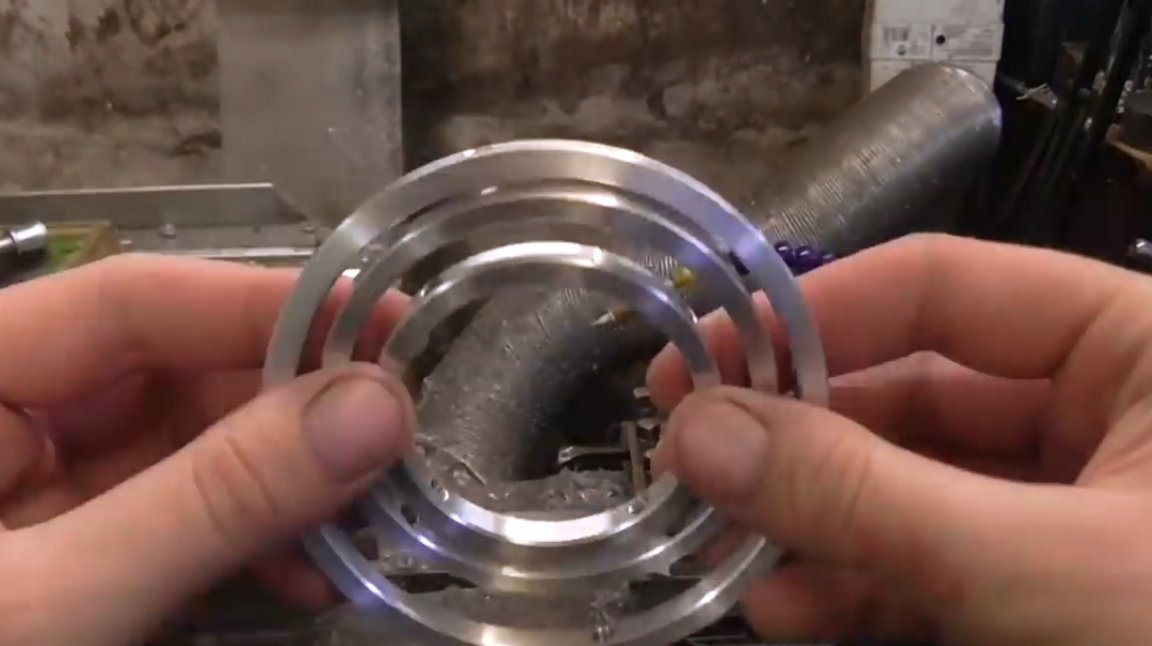
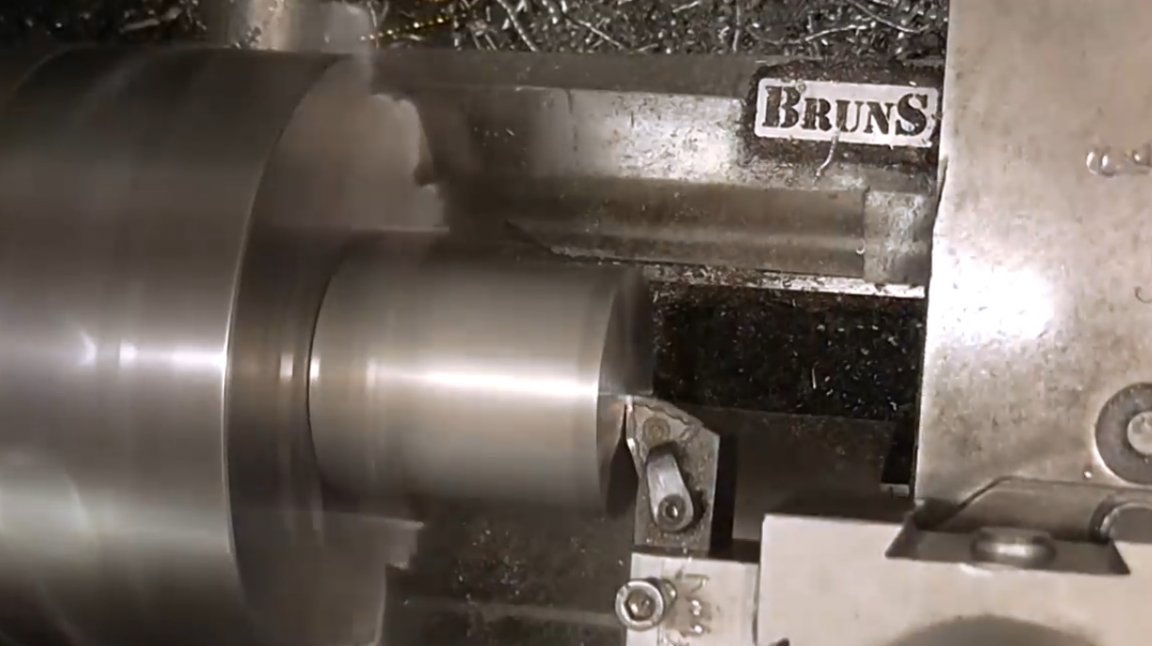
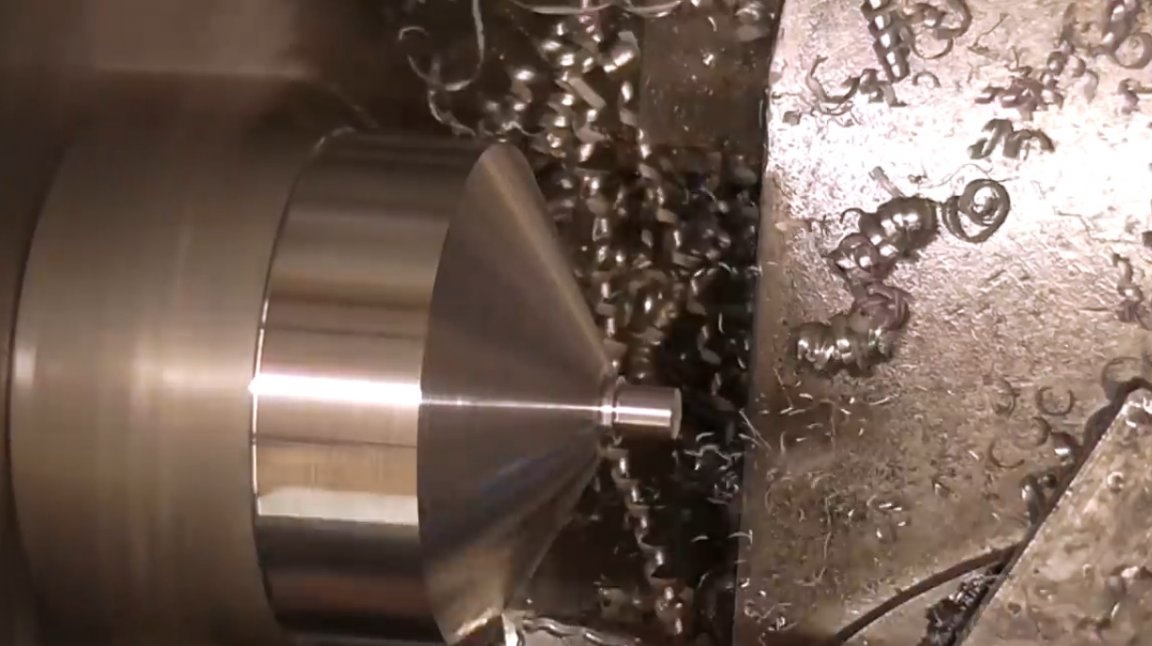
Now the author needs to make a base for the gyroscope. He makes it from an aluminum blank in the shape of a cone. Leaves a small ledge, and cuts the thread on it with a lerka.
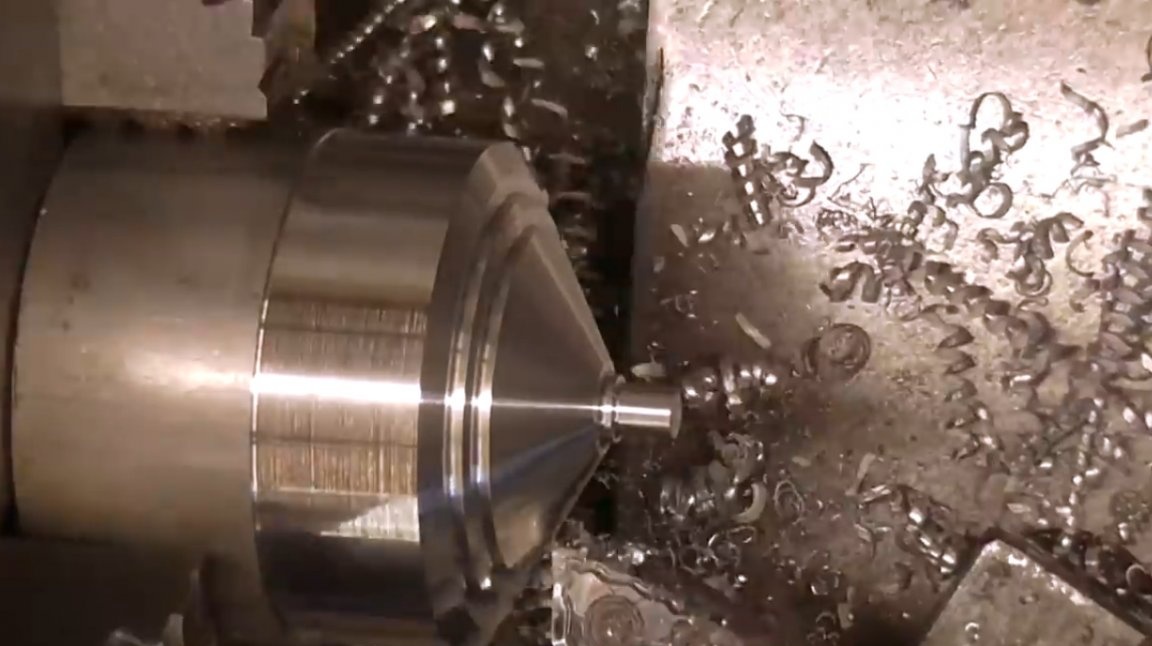
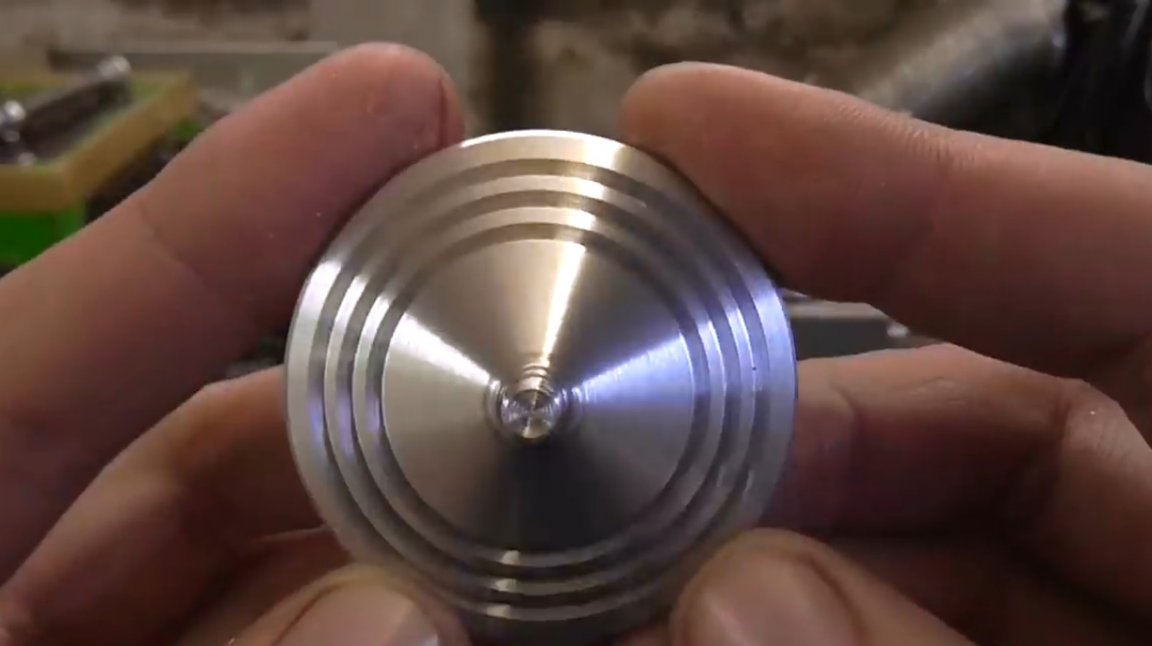
Here is a base with decorative grooves. Elements of the supporting structure are ready.

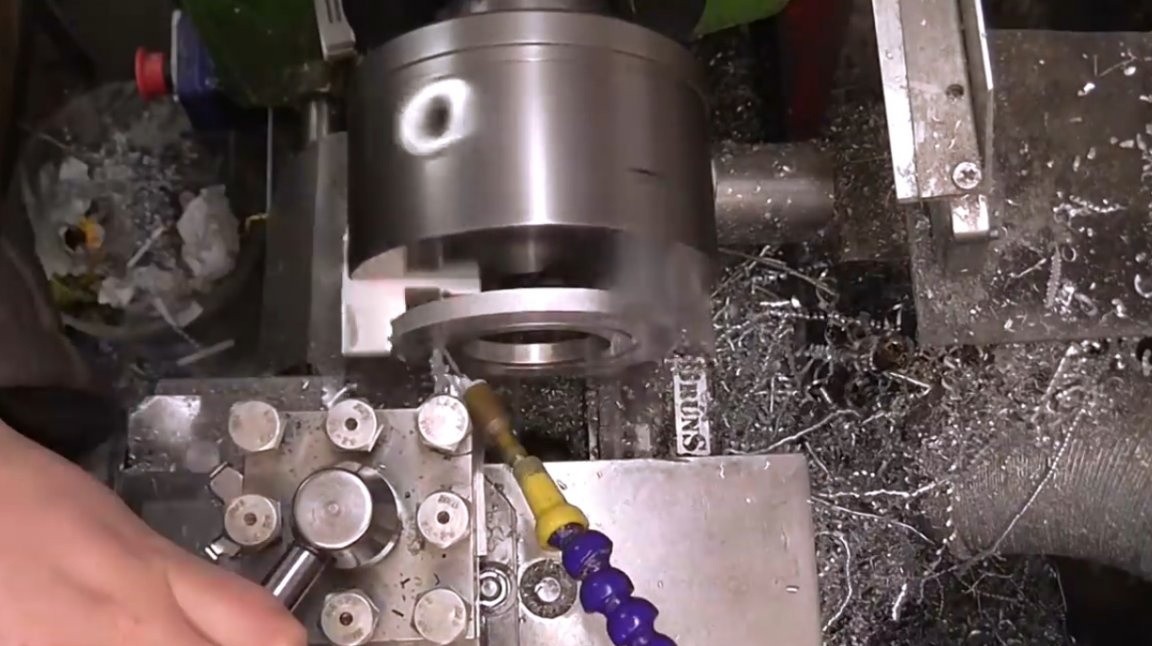
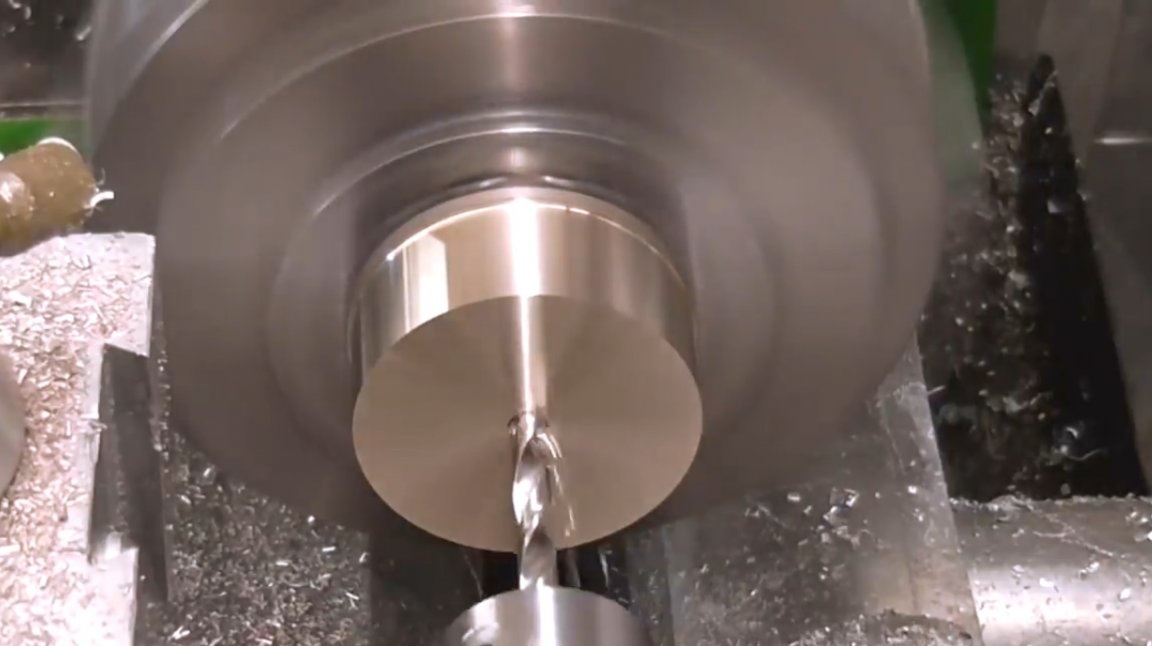
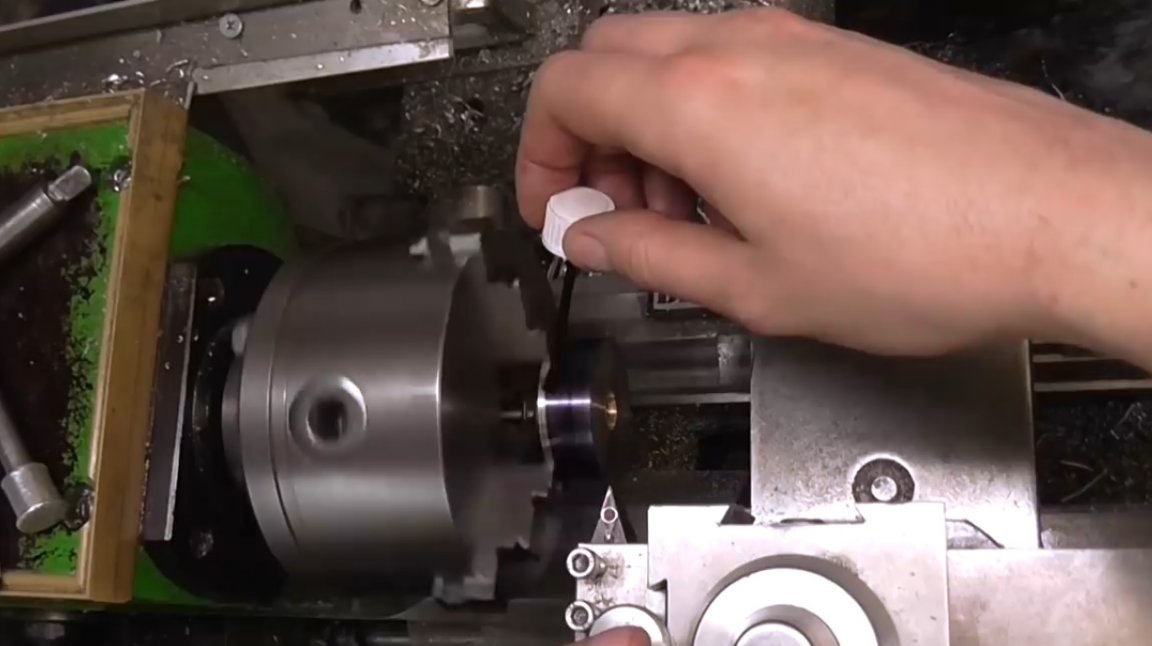
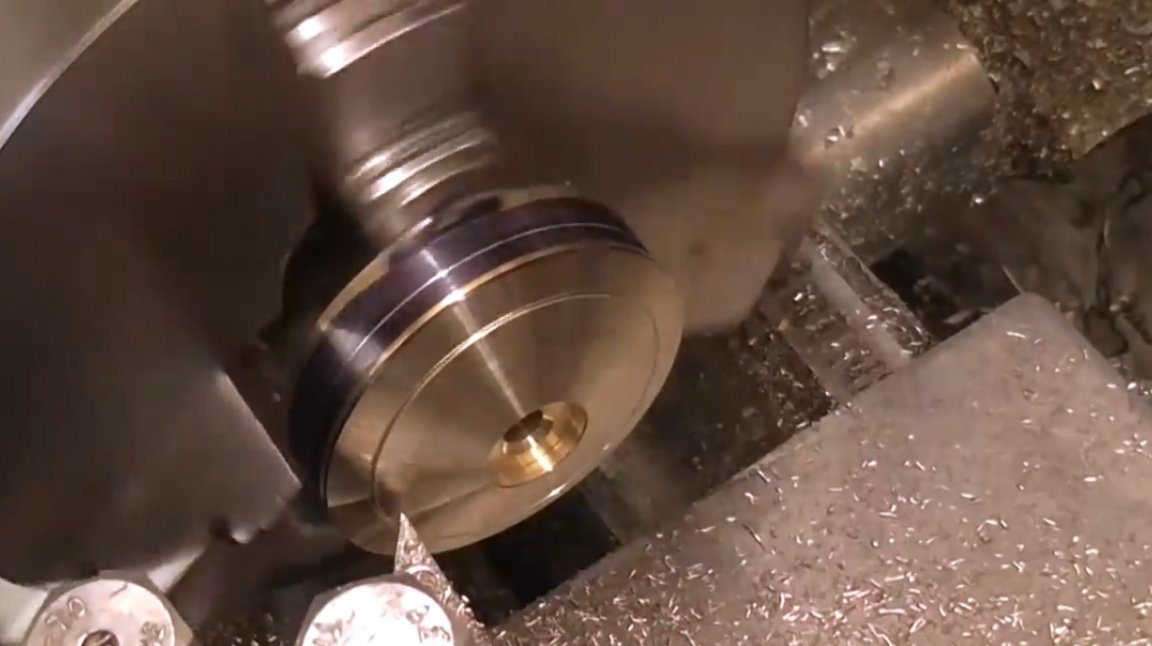
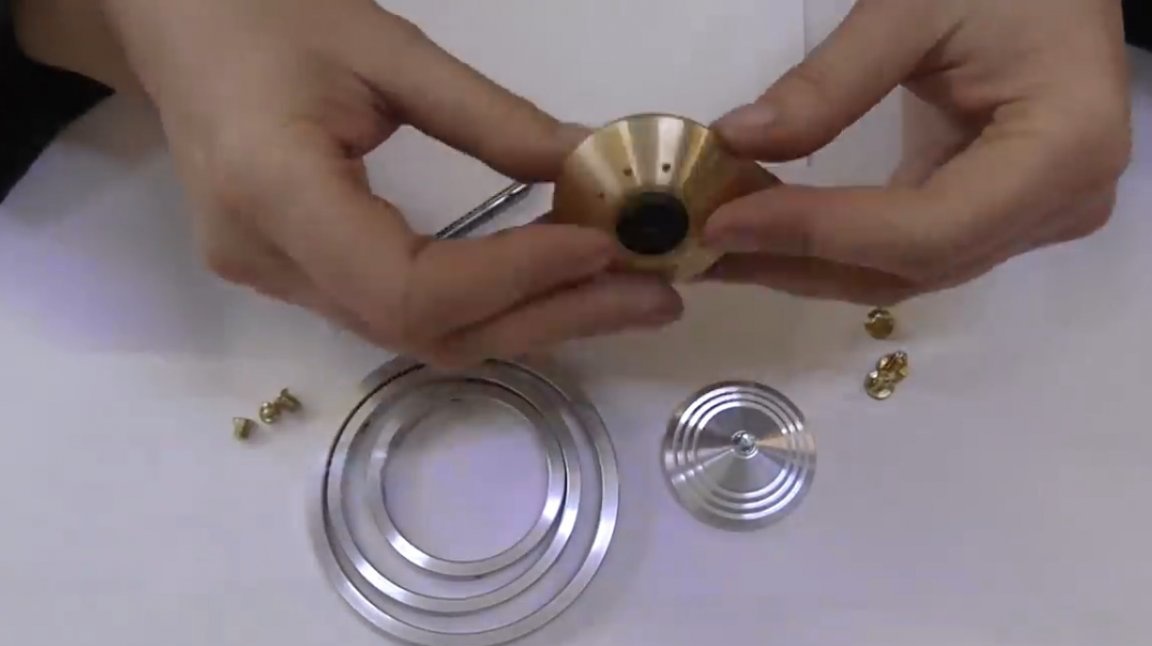
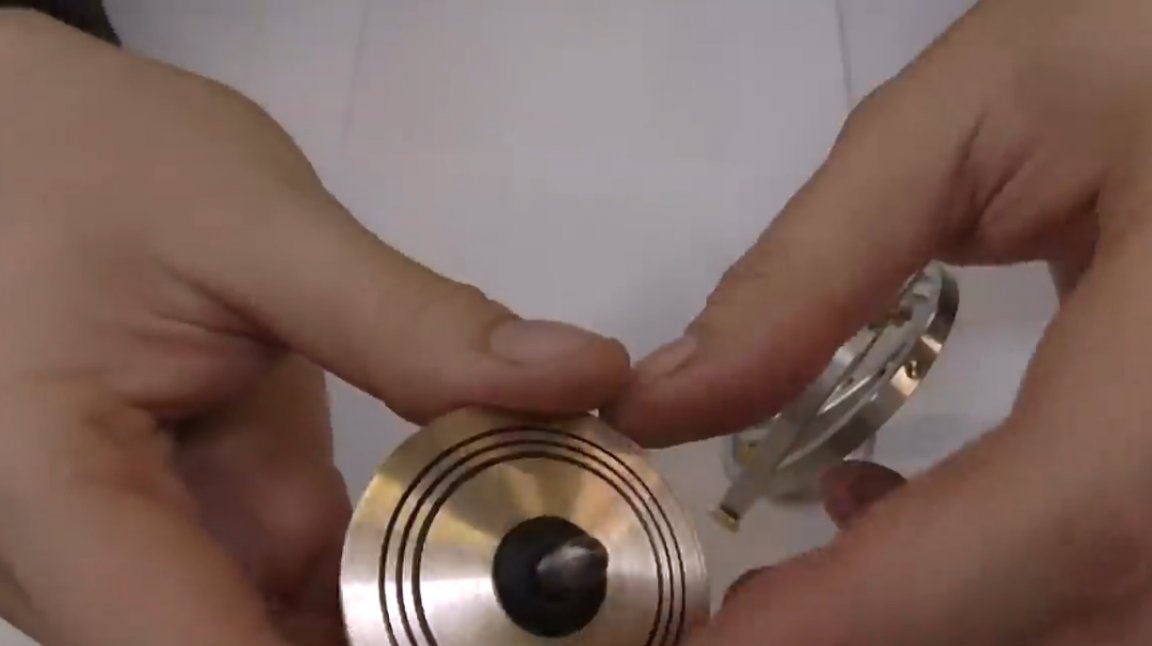
The next step, the master begins to manufacture the body of the gyroscope itself. For him, he uses a brass blank. Drills a through hole in the center, and makes a groove for the bushings.
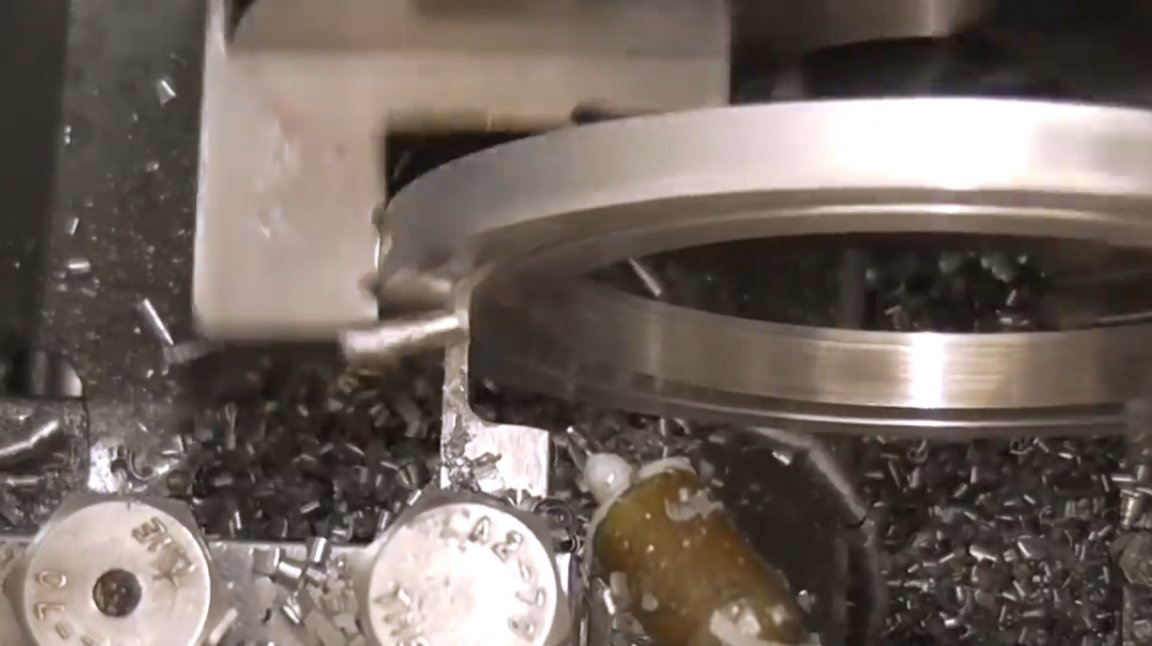
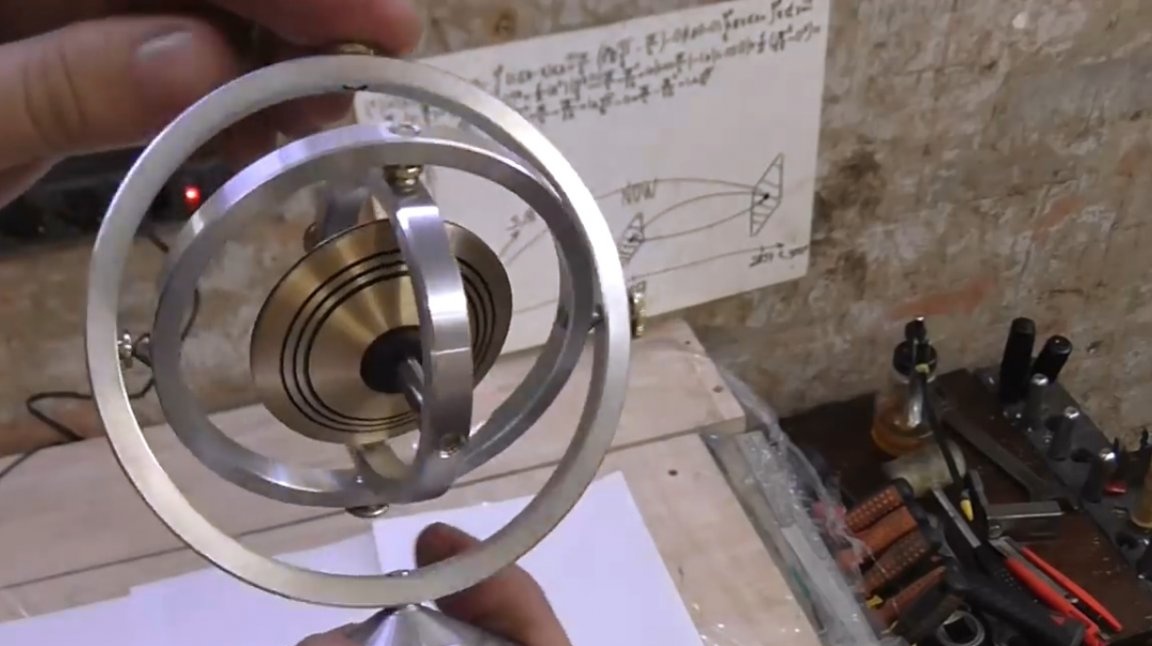
In order to make the marking better visible, it paints the outside of the workpiece in black, marks two central stripes. Stitches the first side to the shape of a blunt cone, and makes a decorative groove.
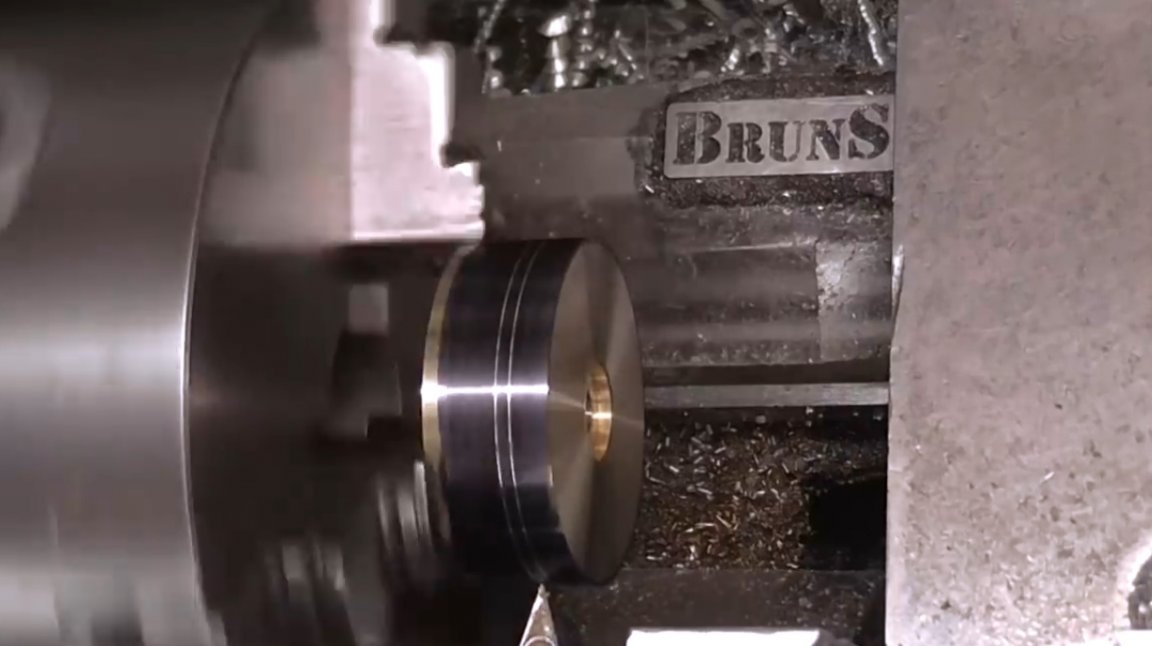
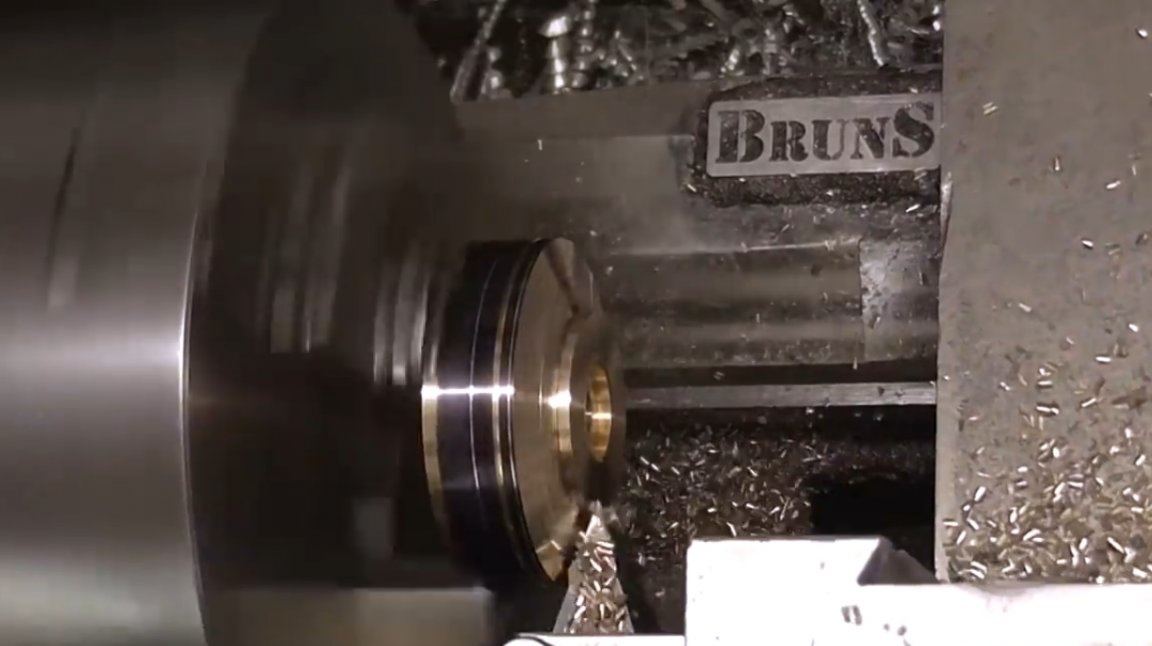
Turning over the workpiece processes the second side, but leaves it smooth.

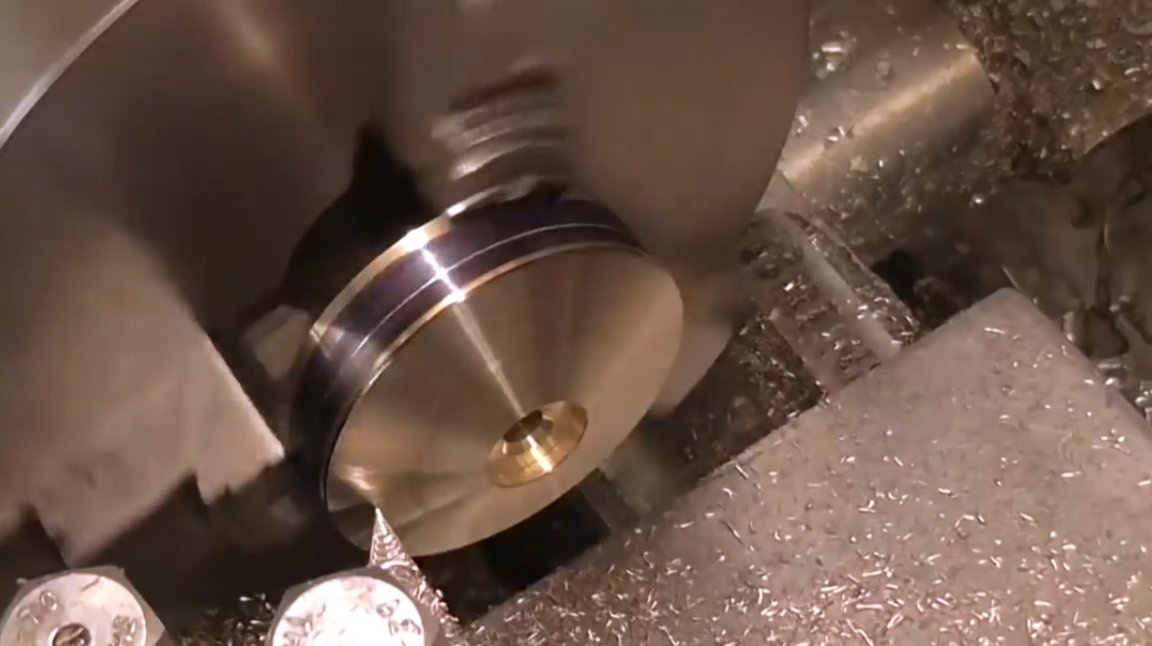
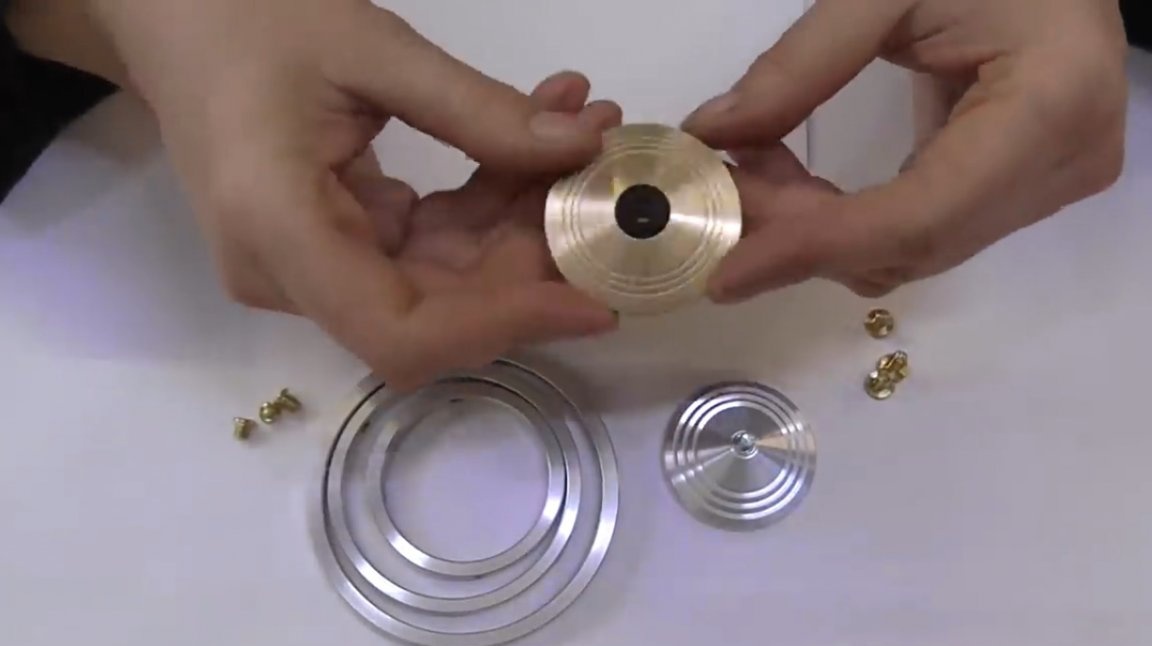
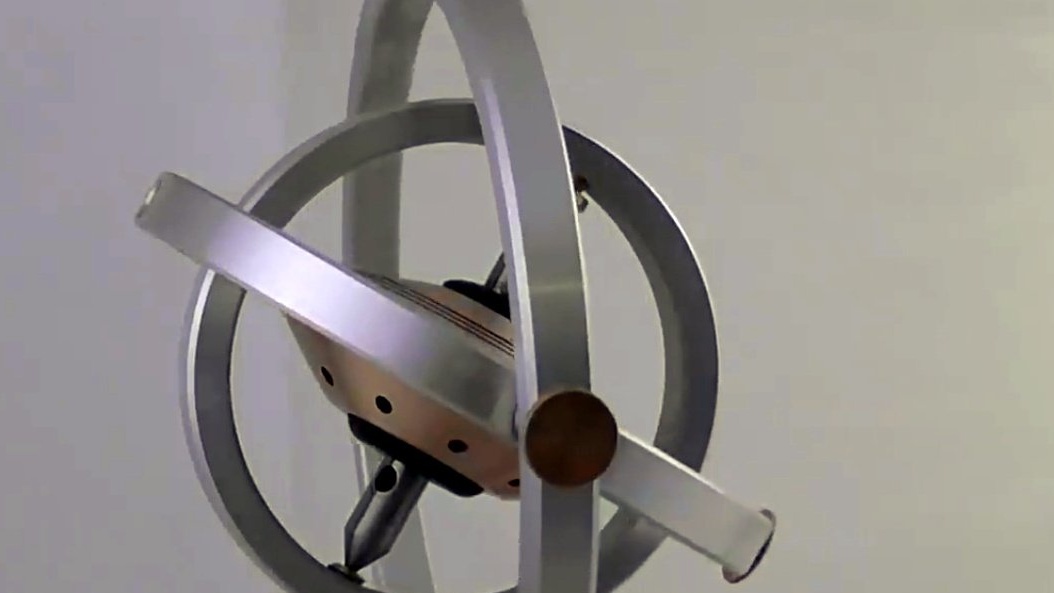
This is the first side, and now the master decides to put decorative dots on the smooth side. Everything should be symmetrical, otherwise there will be an imbalance.
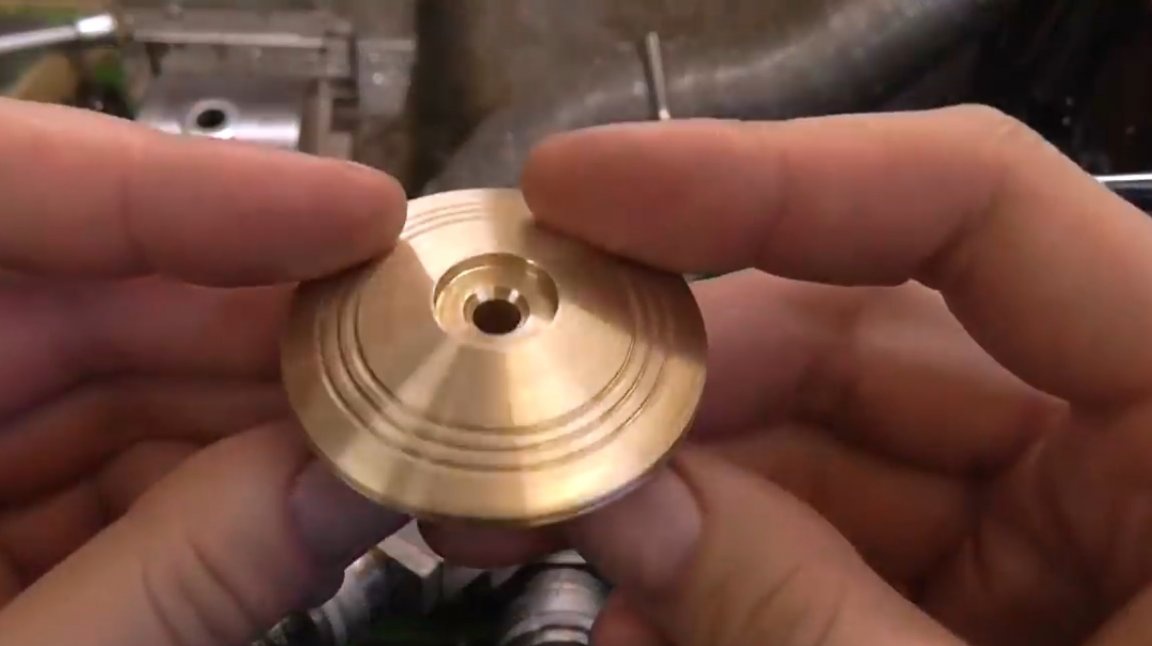
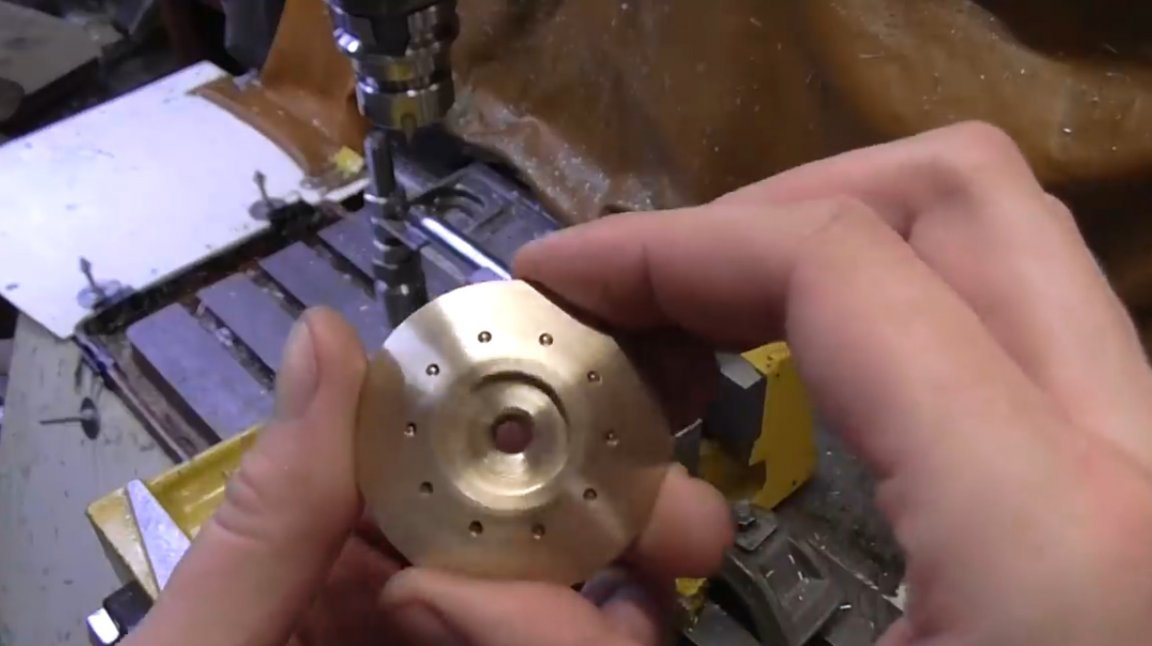
These parts are ready, sanded and polished. There remains a lot of small things - various cogs, bushings and an axis.
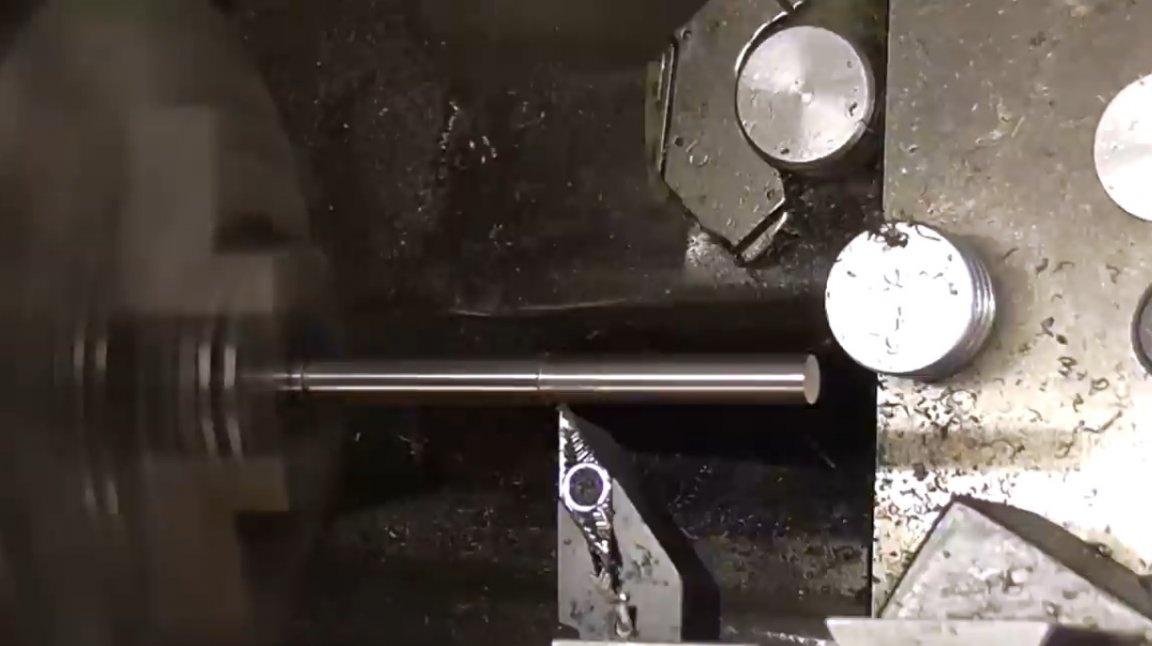
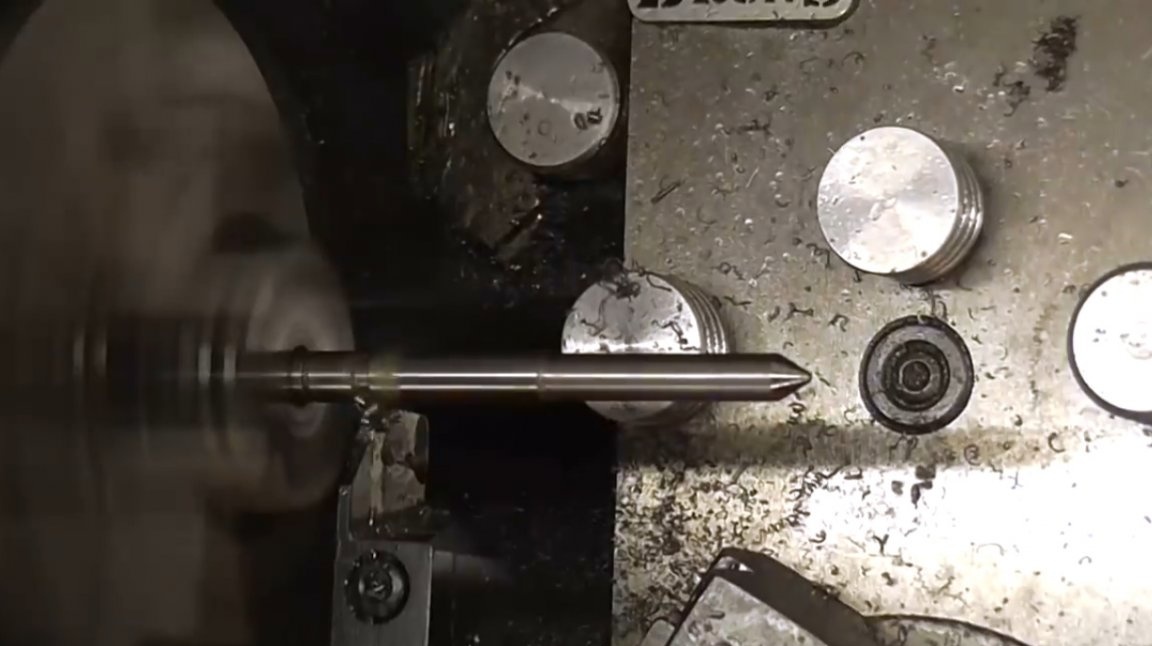
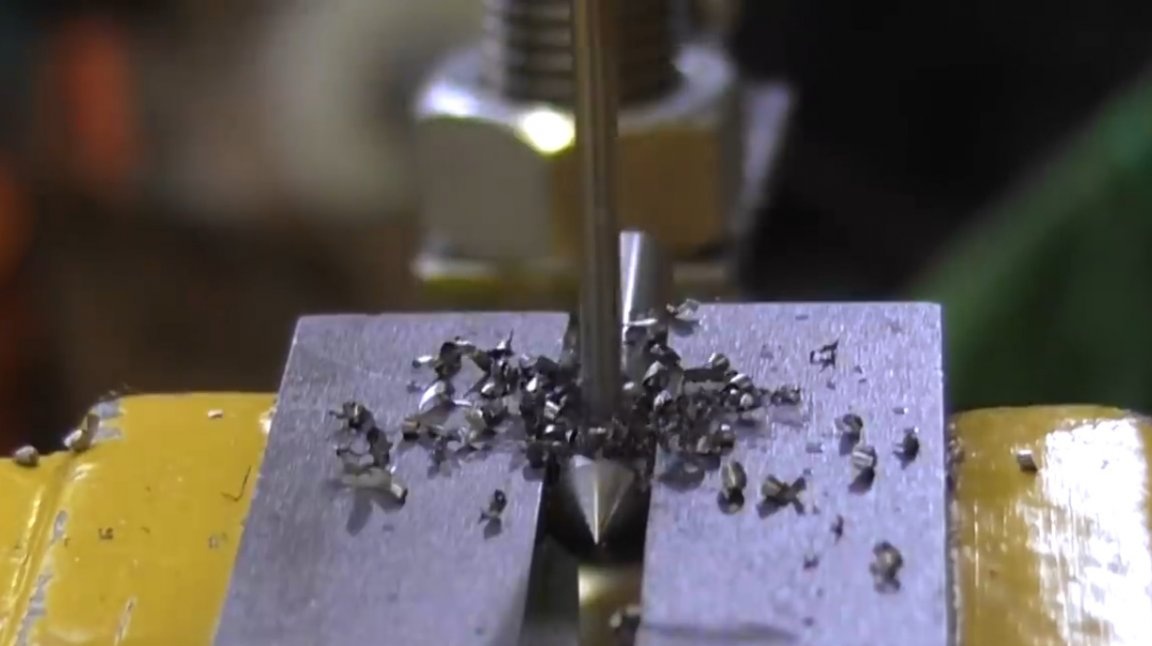
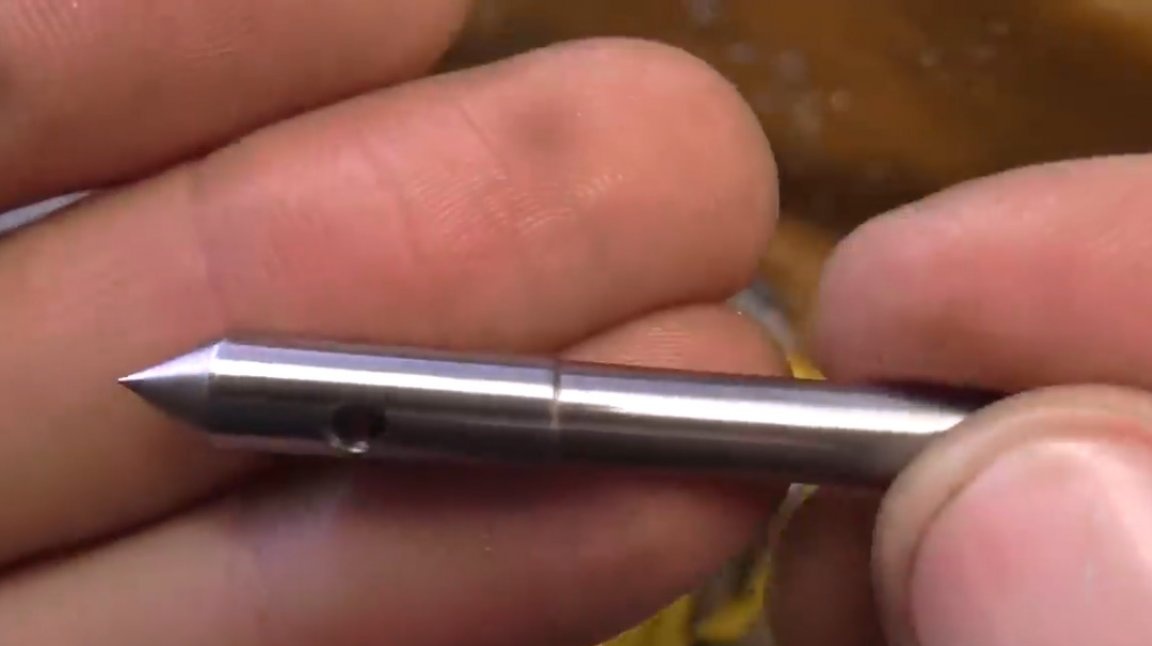
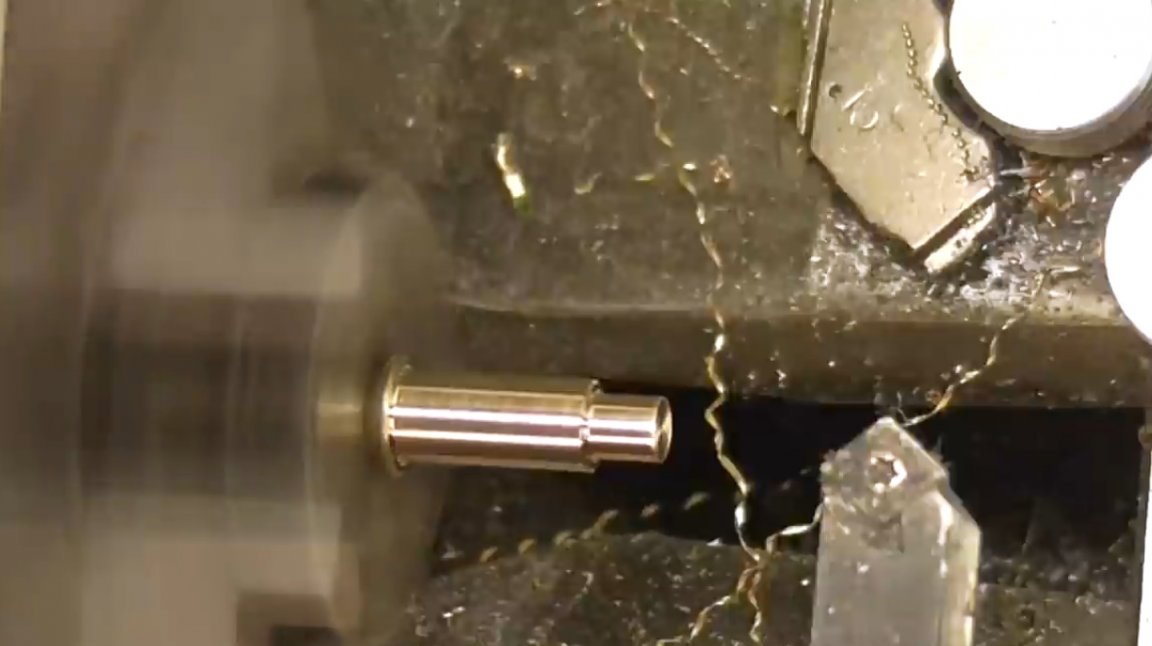
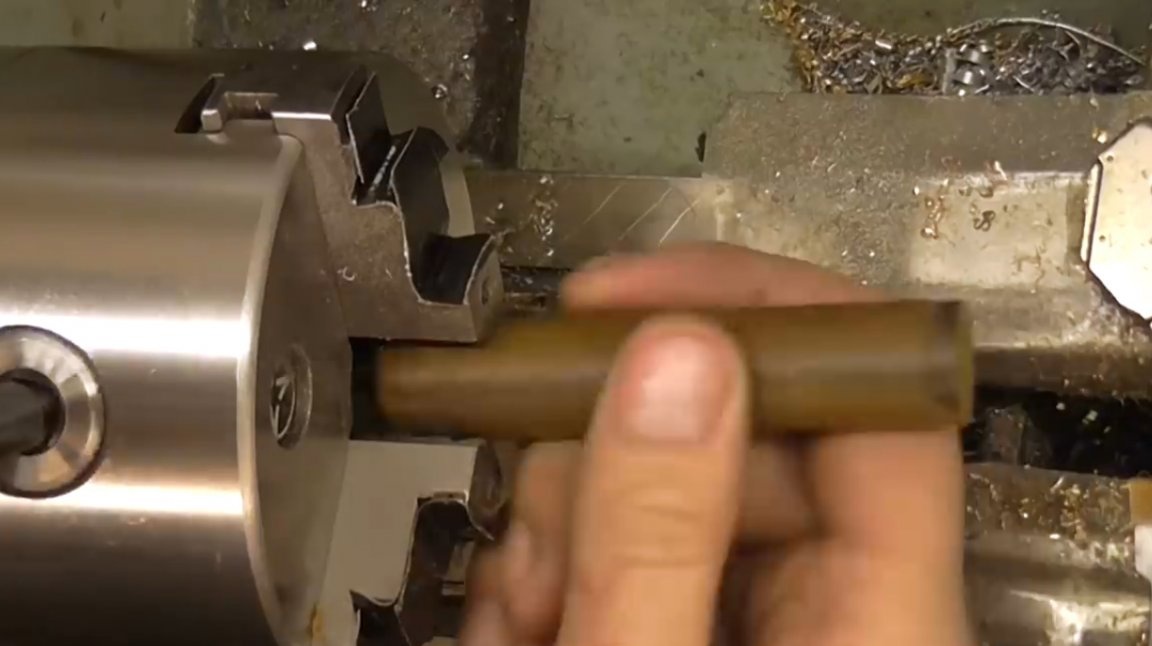
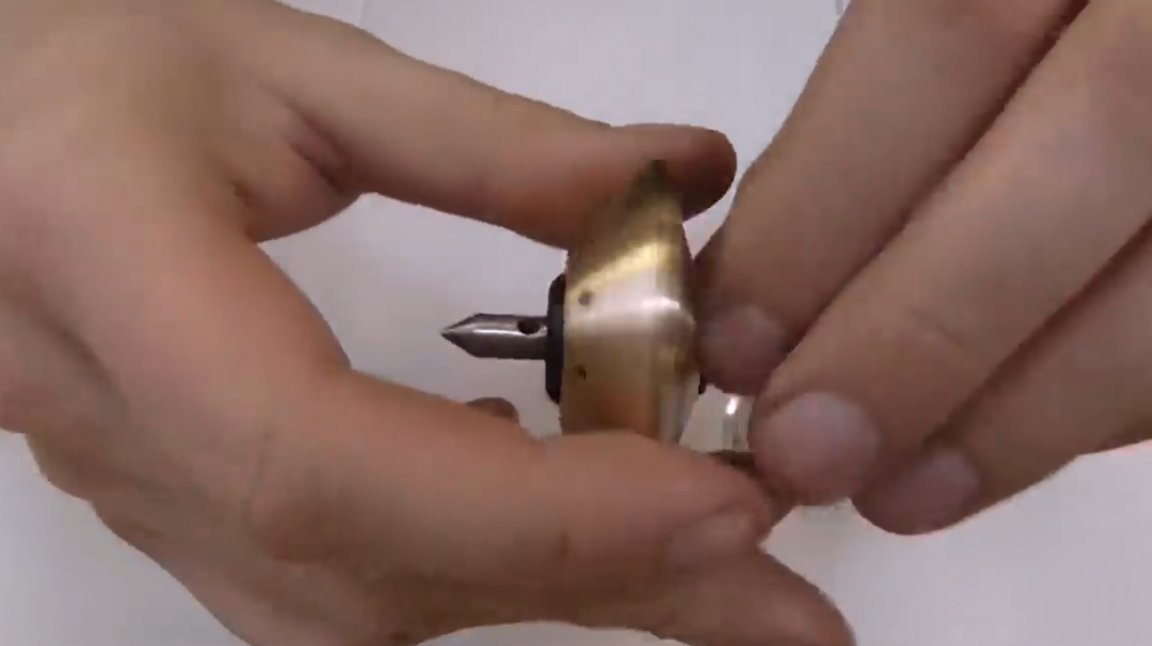
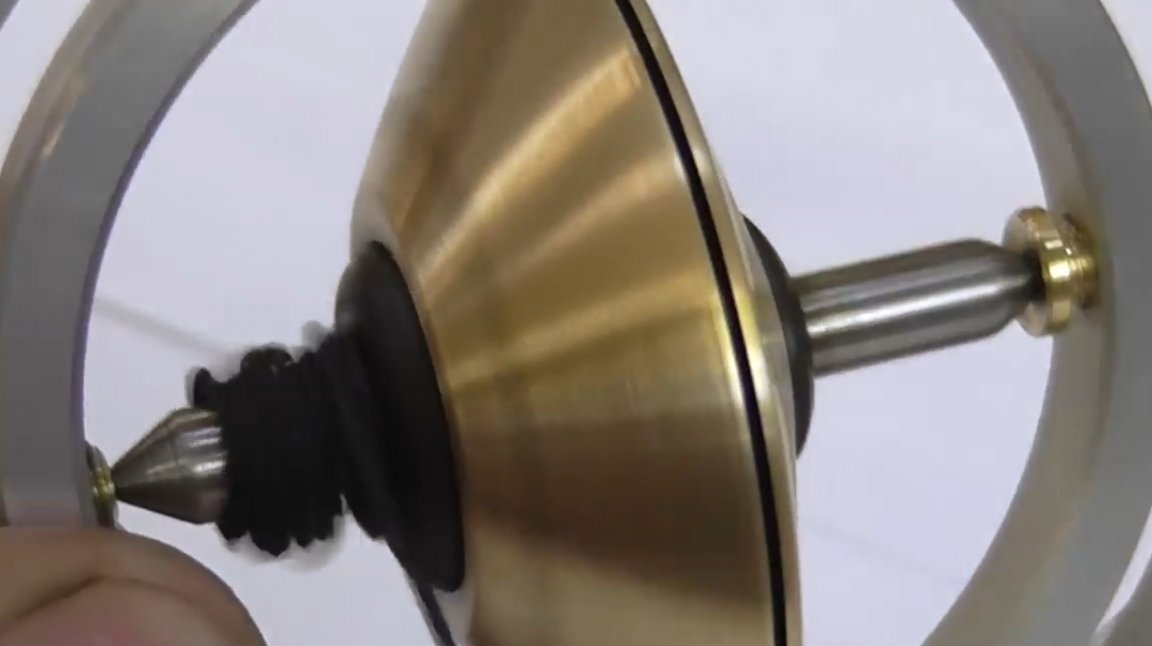
Another important detail is the axis for the gyroscope. It will be made of steel bar. At its two ends, the master forms cones. Moreover, one of the sides is extended half a millimeter more. Then, a transverse through hole is drilled on the thicker side of the axis.
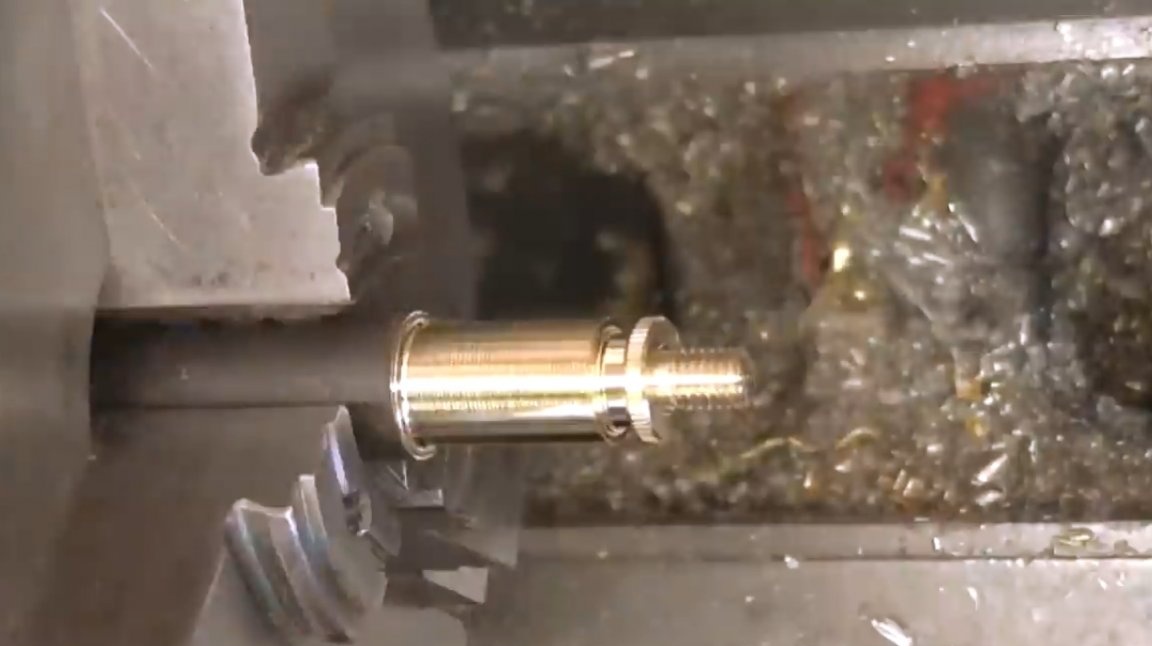
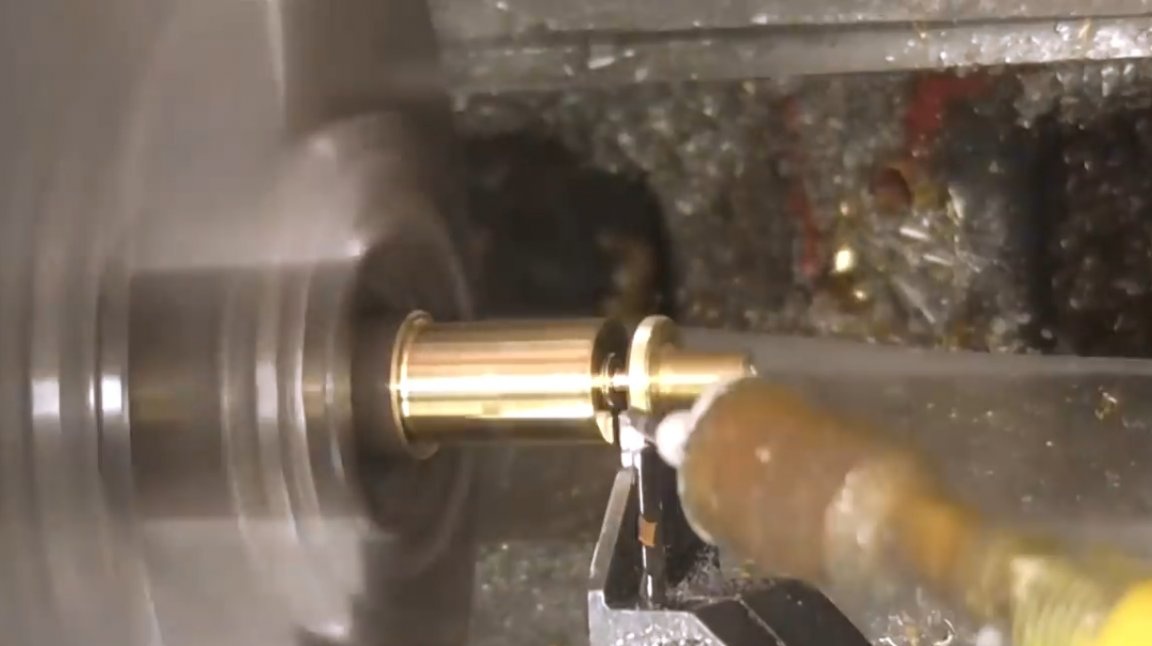
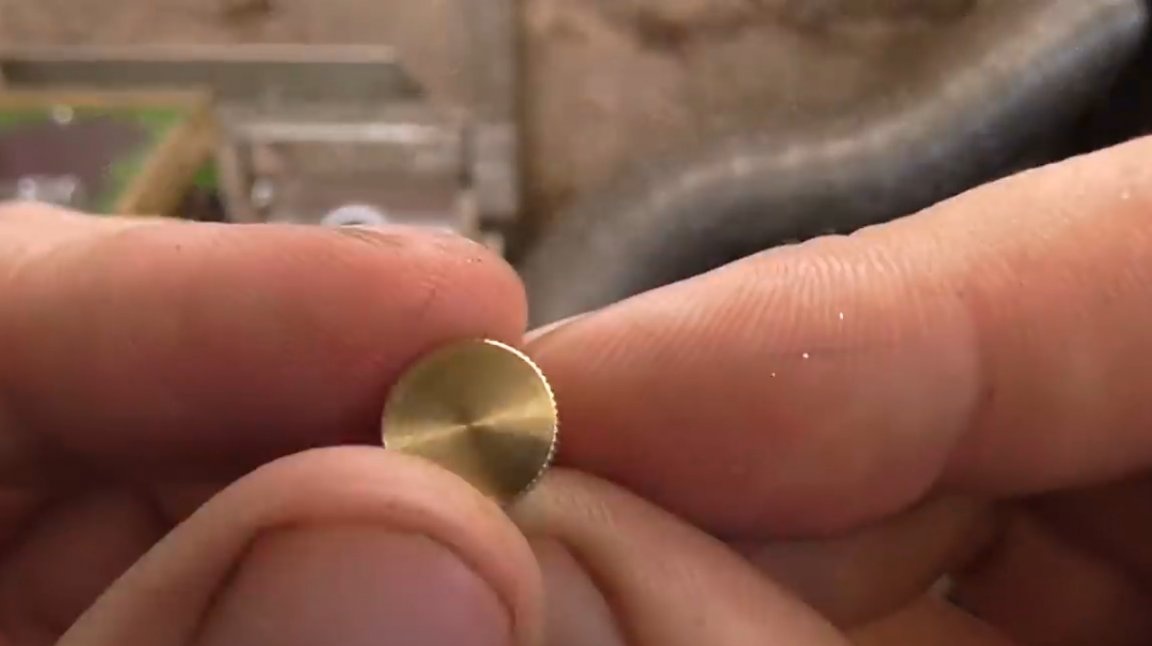
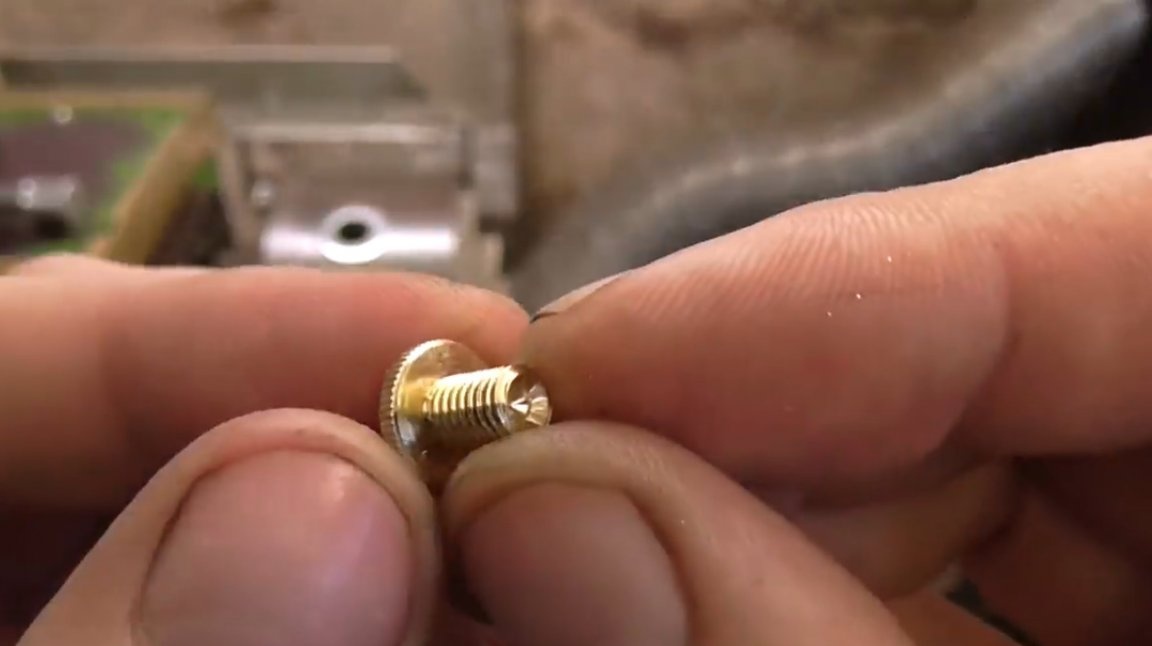
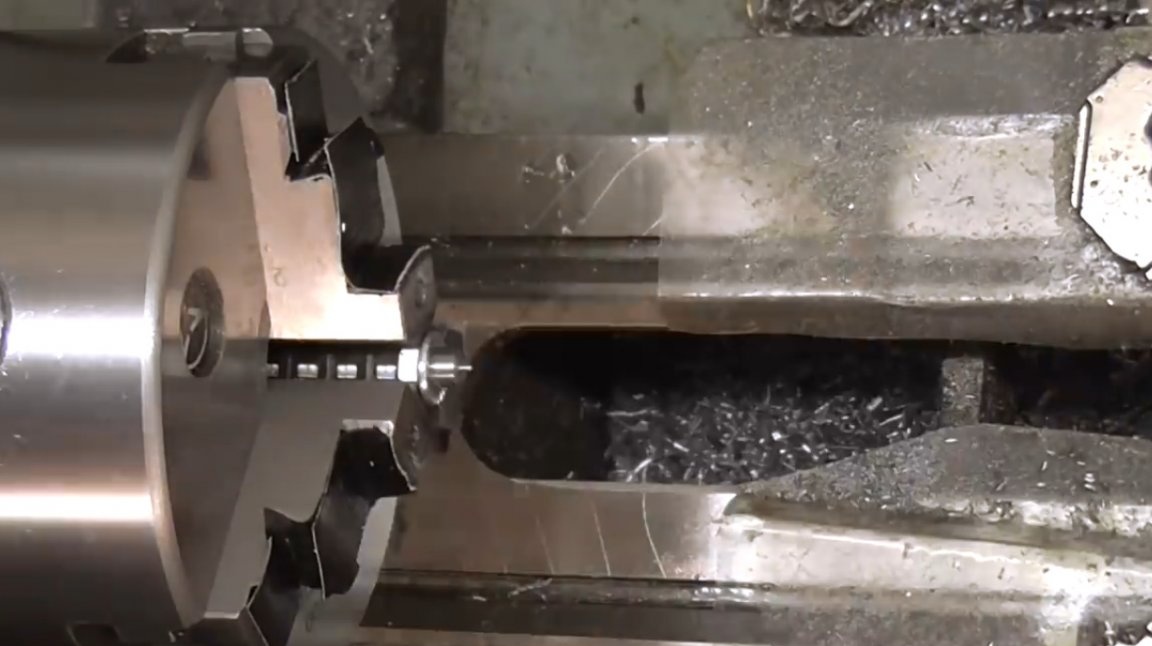
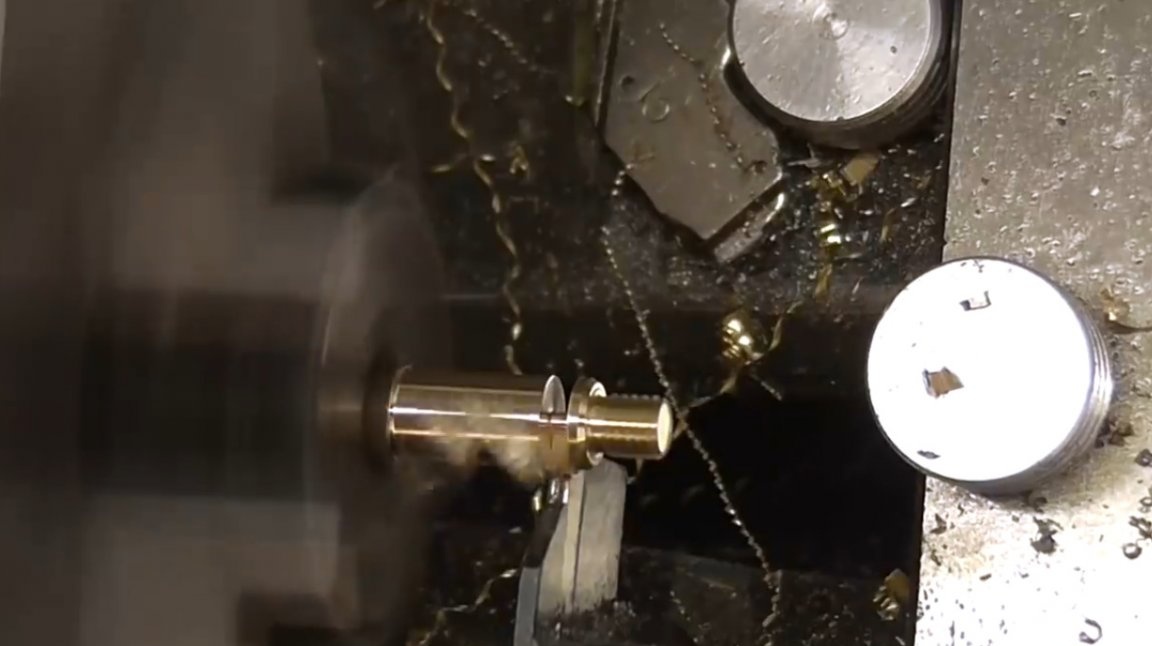
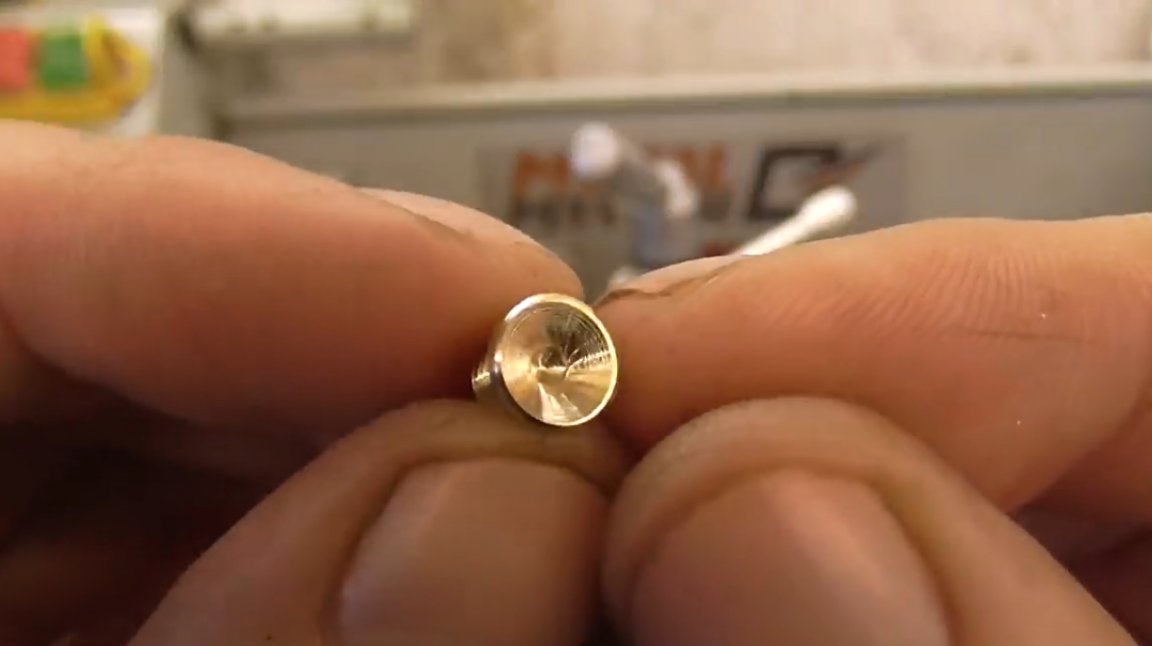
Now the master makes a screw from a brass bar, knurls it on its head, and cuts the thread. It will be just a decorative screw for the top of the outer ring.
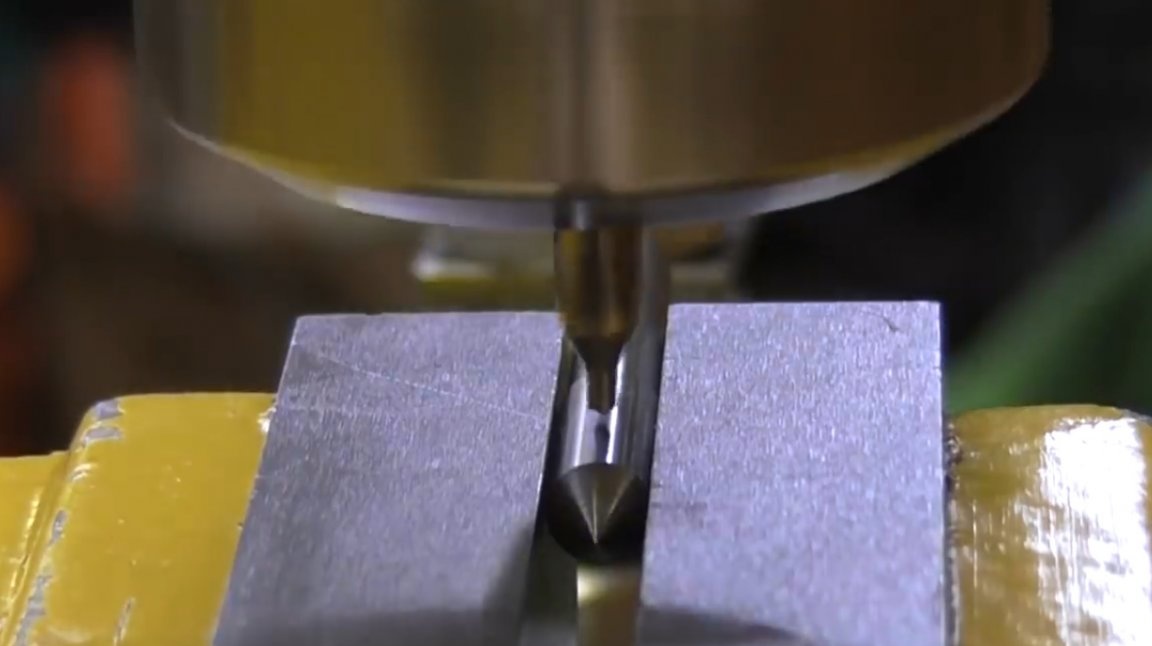
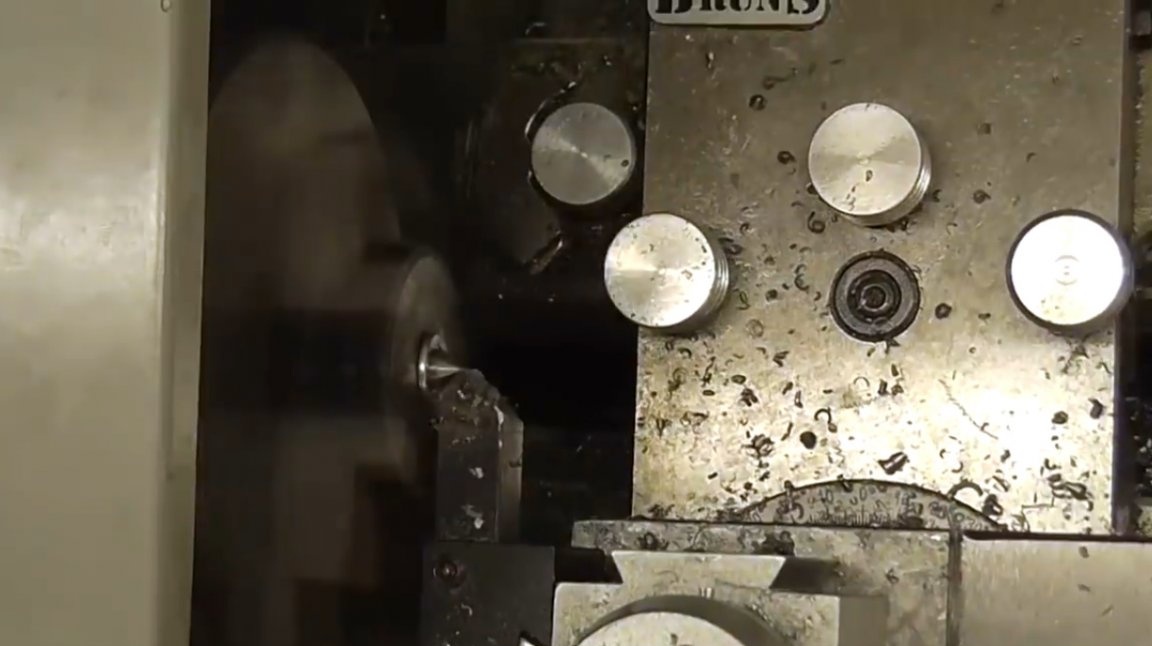
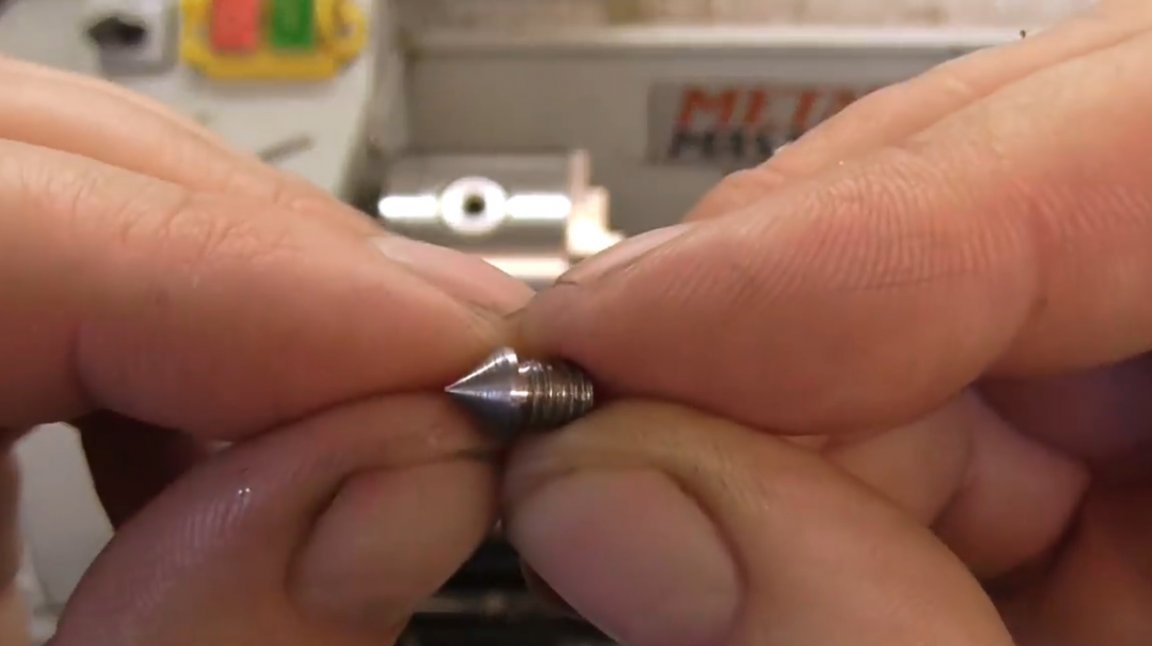
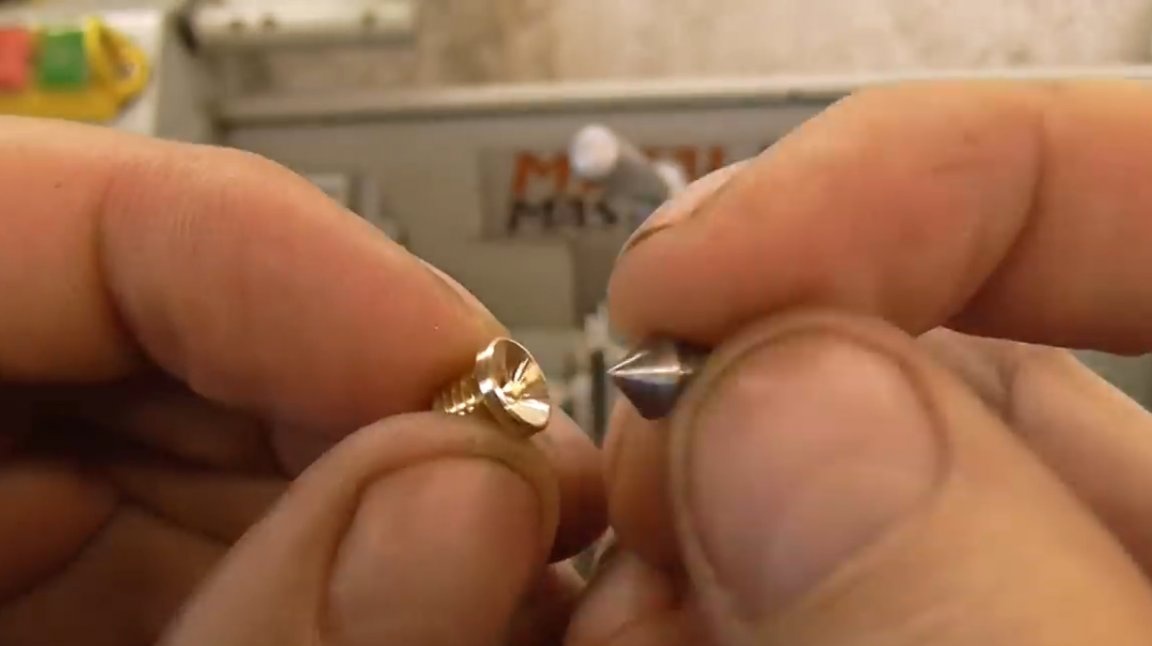
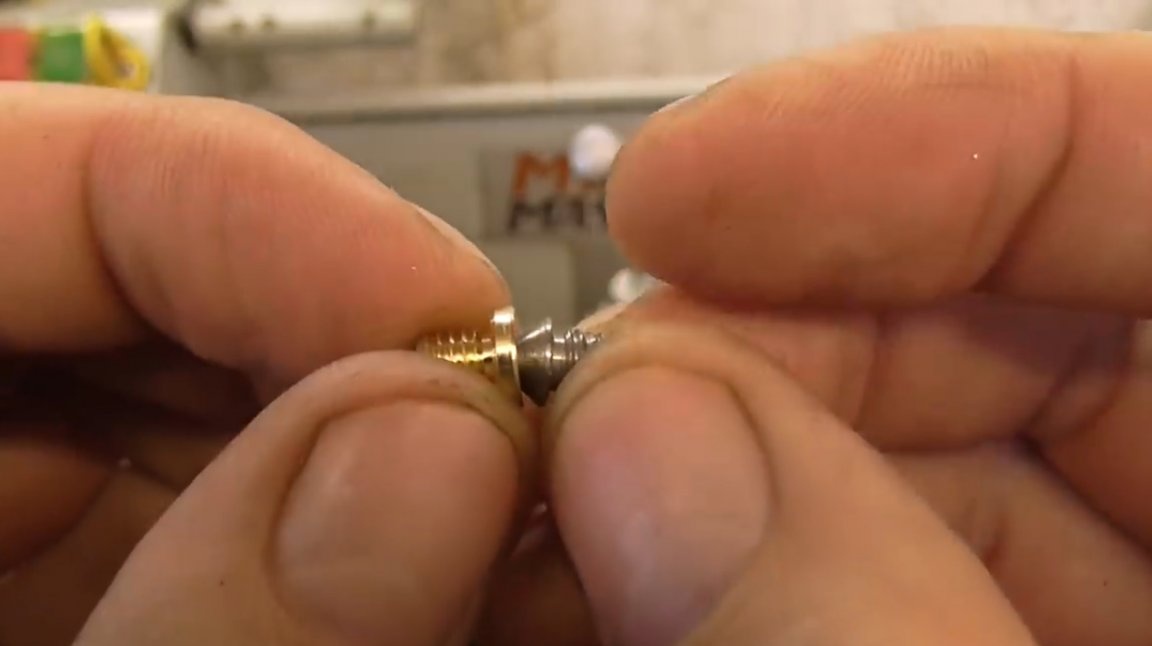
Then four screws with a sharp conical head are made of a steel bar.
And six more mates with a recess in the head. These will be made of brass.
Actually, in this way they will be installed in the structure, and will keep the rings on their axes, but allowing them to rotate freely.
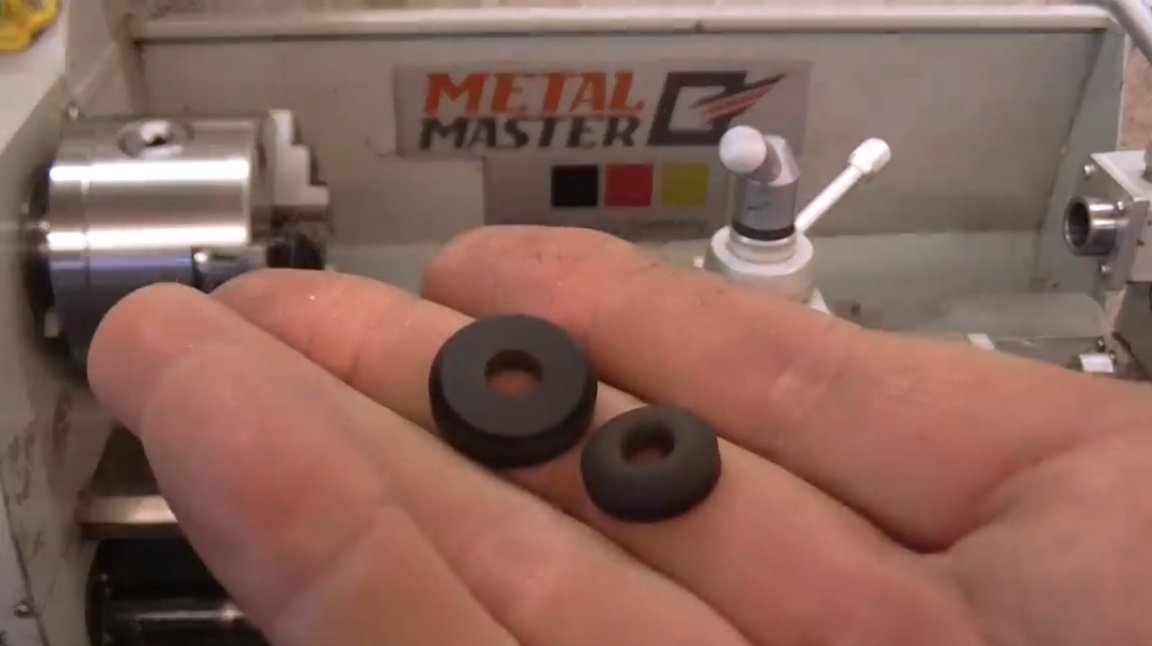
Further, the author made two bushings from an ebonite rod, they will rigidly fix the axis and disk of the gyroscope to each other.
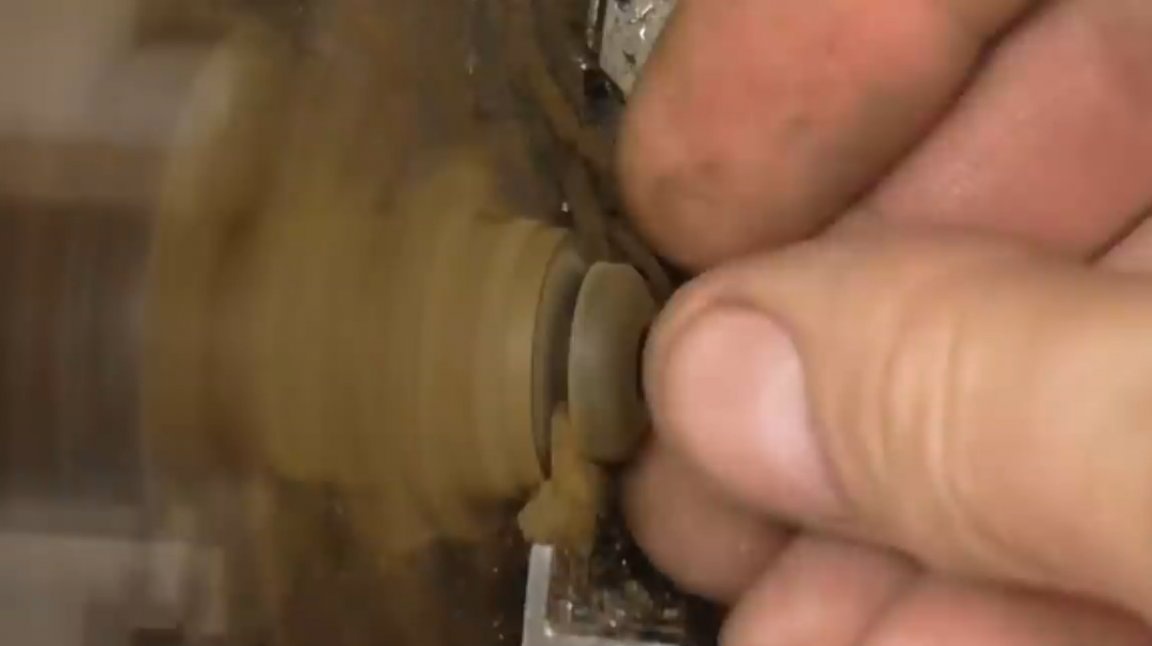
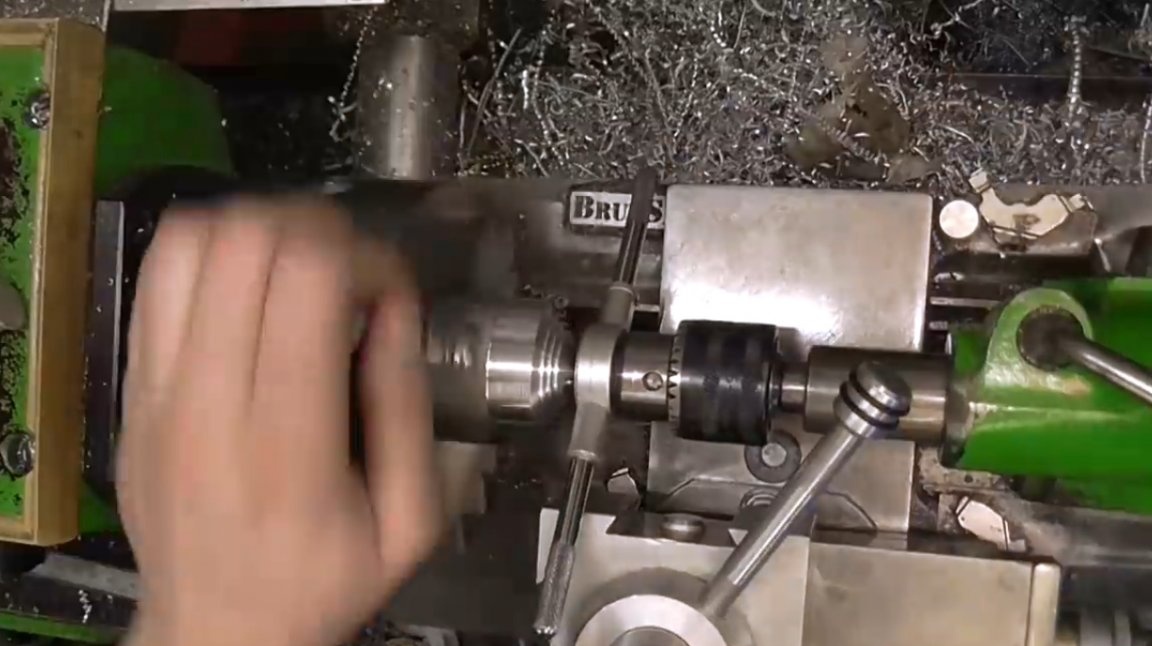
The assembly process begins. The master presses the bushings in their place in the disk.
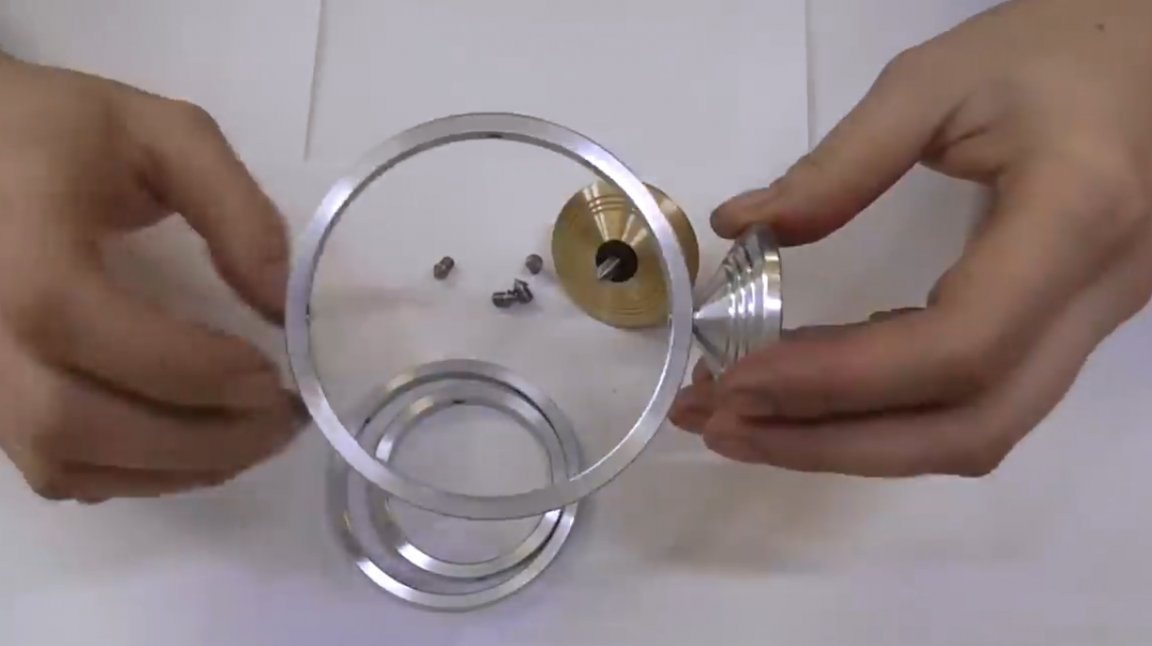
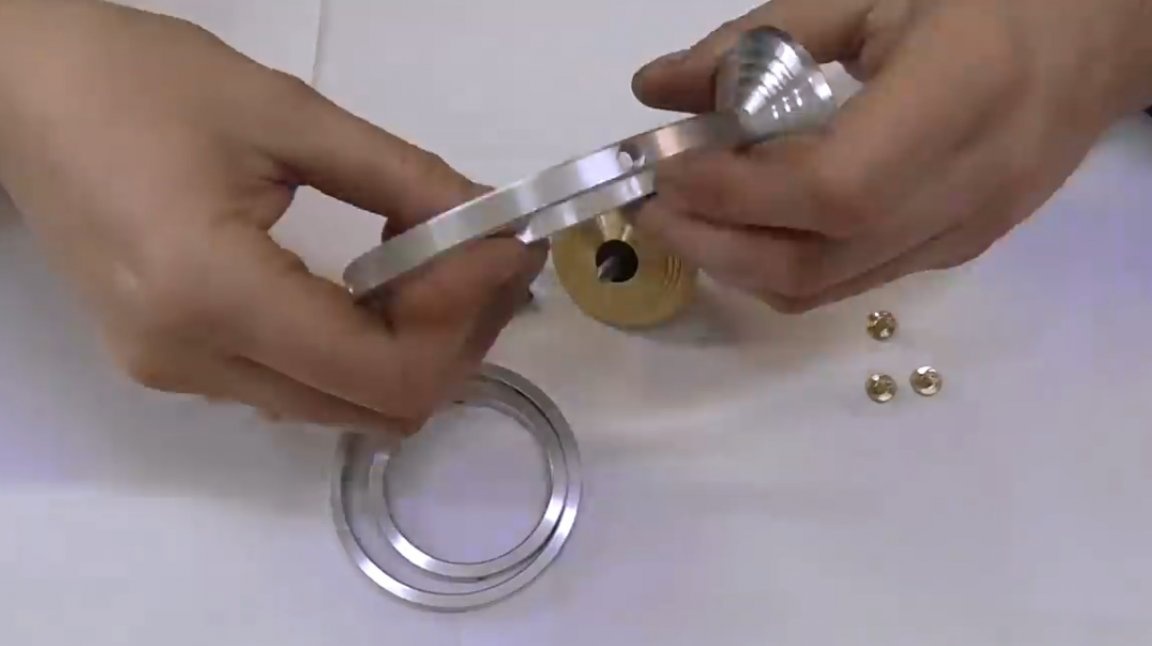
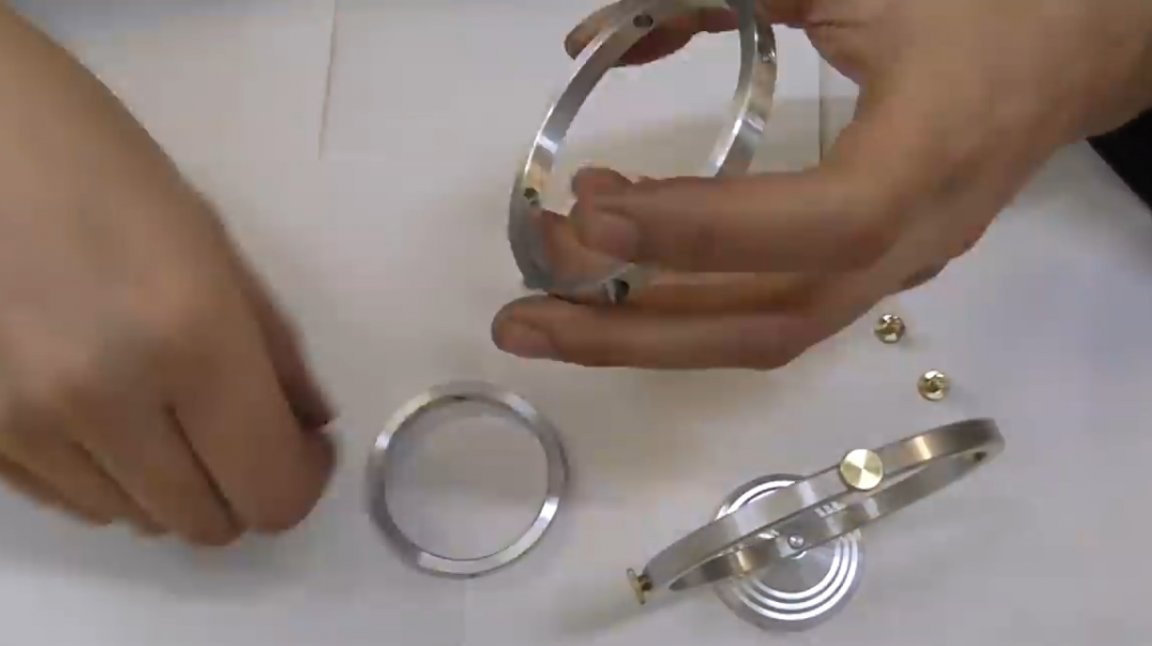
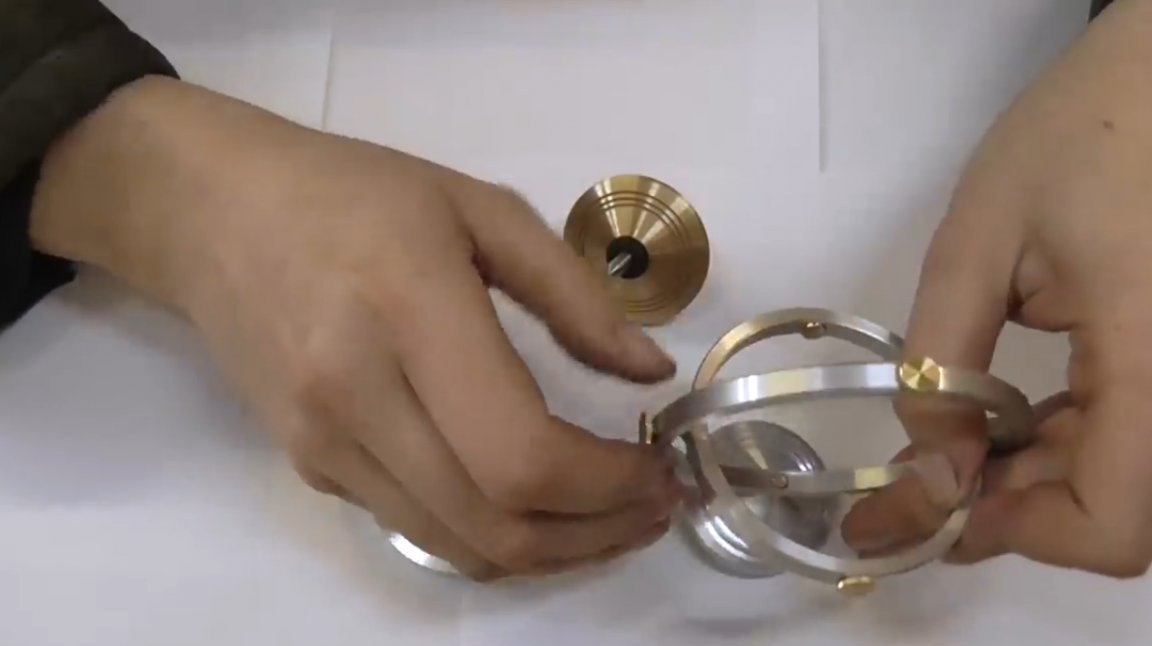
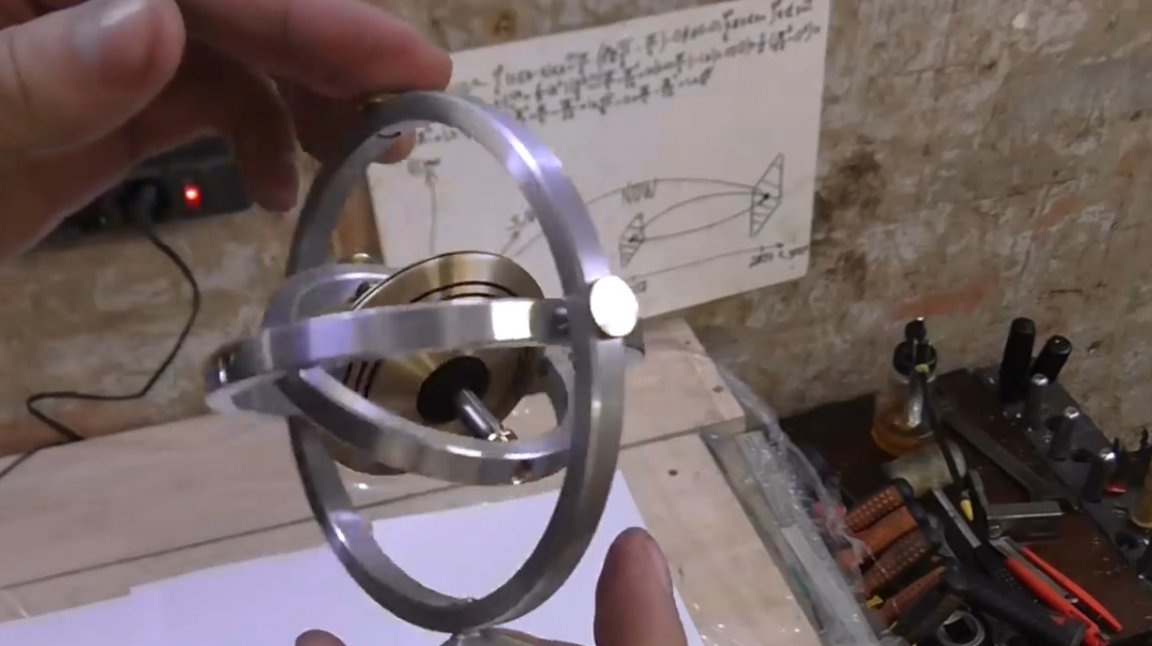
Next, it fastens the base to the outer ring, screws a decorative screw into the upper part. And mating brass screws with a concave head are screwed into the side holes.
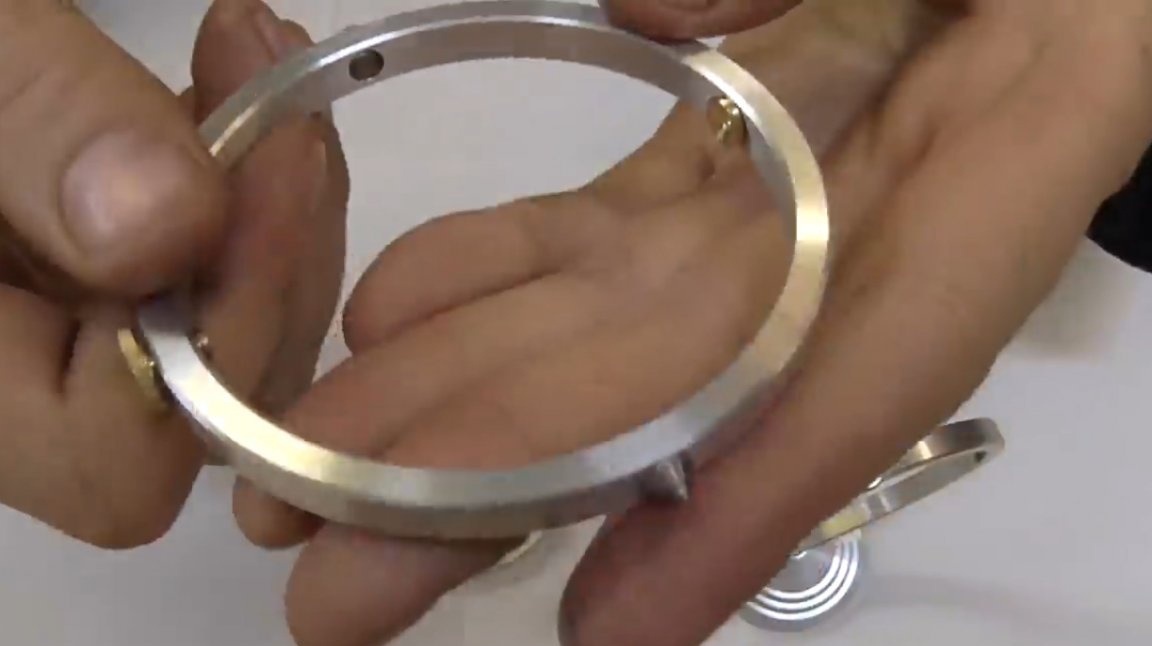
In almost the same way, the second and third rings are assembled. Only there, steel screws and brass mates are aligned. Steel - point outward, and a brass head inward.

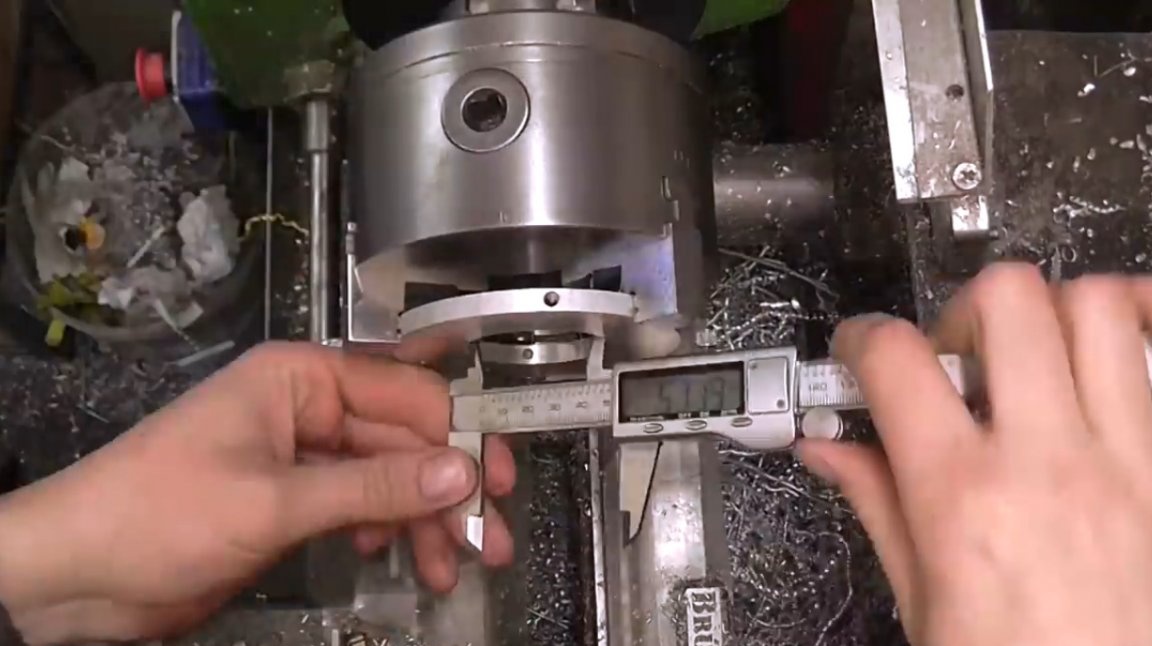
Installs the second ring in place, adjusts the pressing force, and checks the balance.
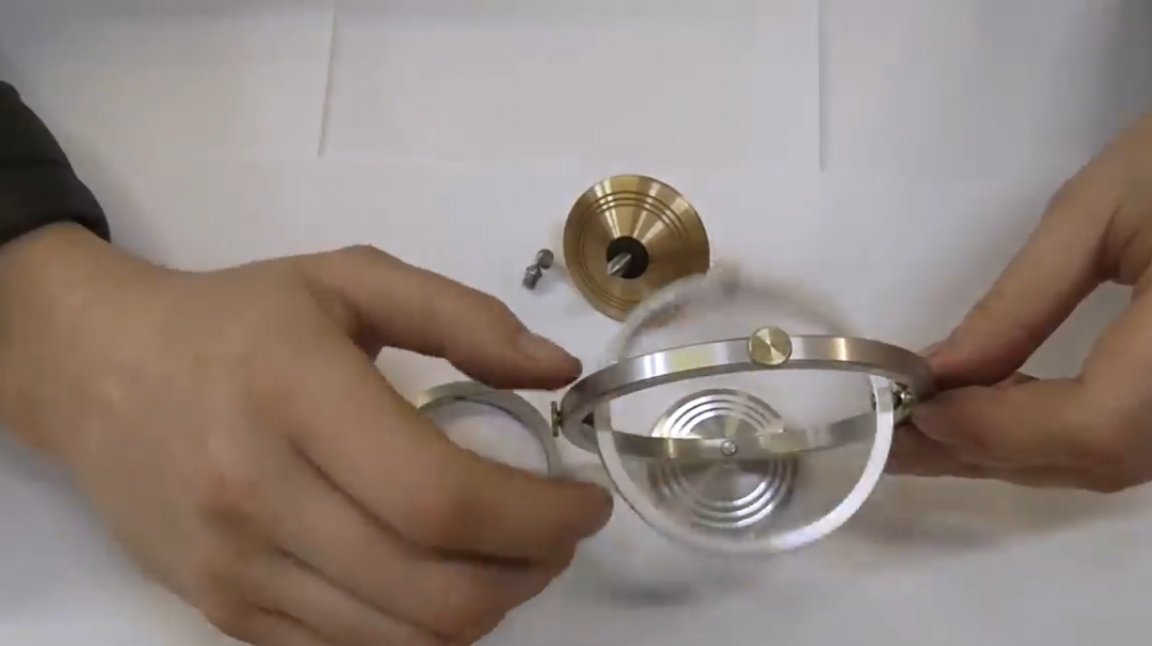
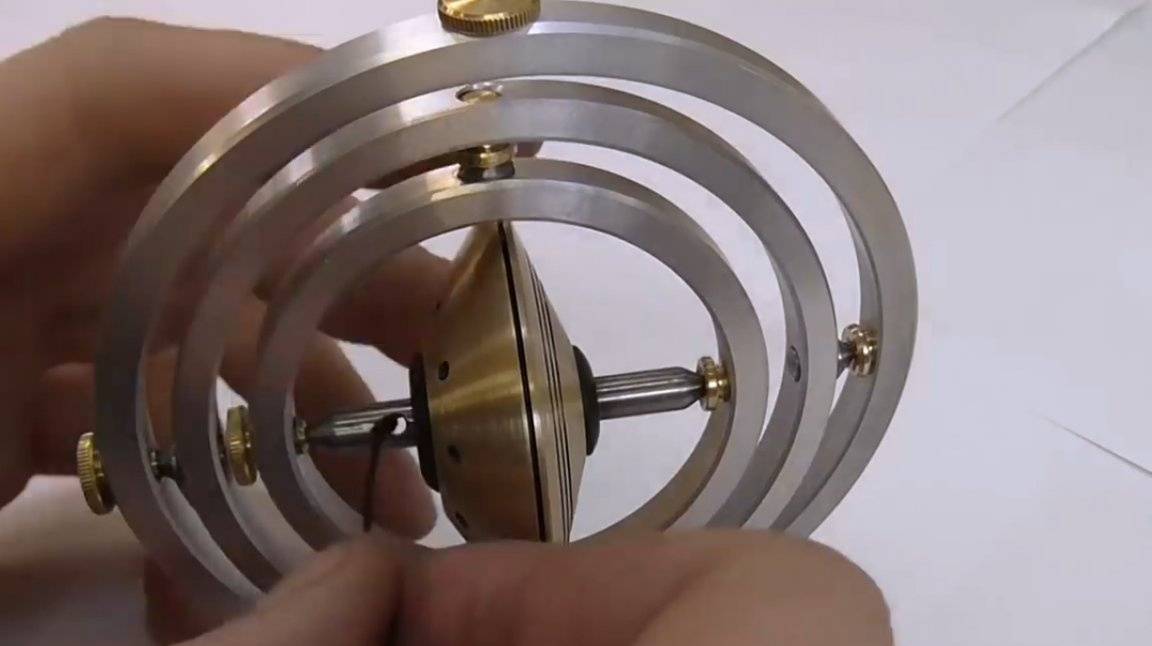
It presses the axis into the gyroscope disk, and installs it in the third ring.
It remains to lubricate the joints, because the more friction there is, the worse everything works.

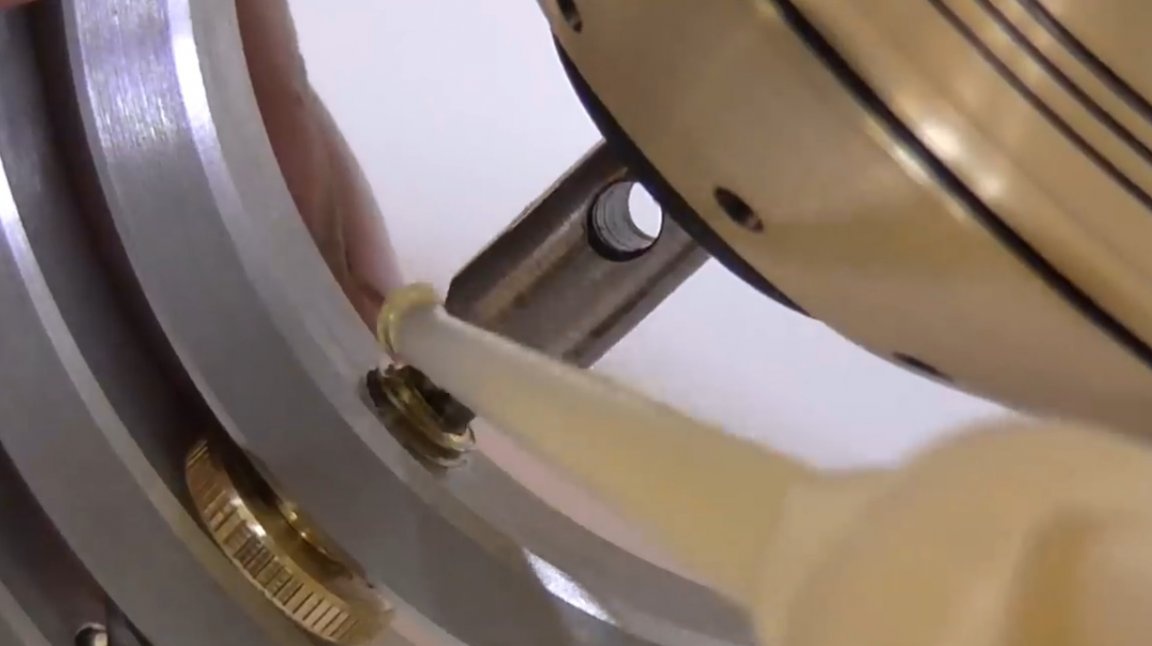
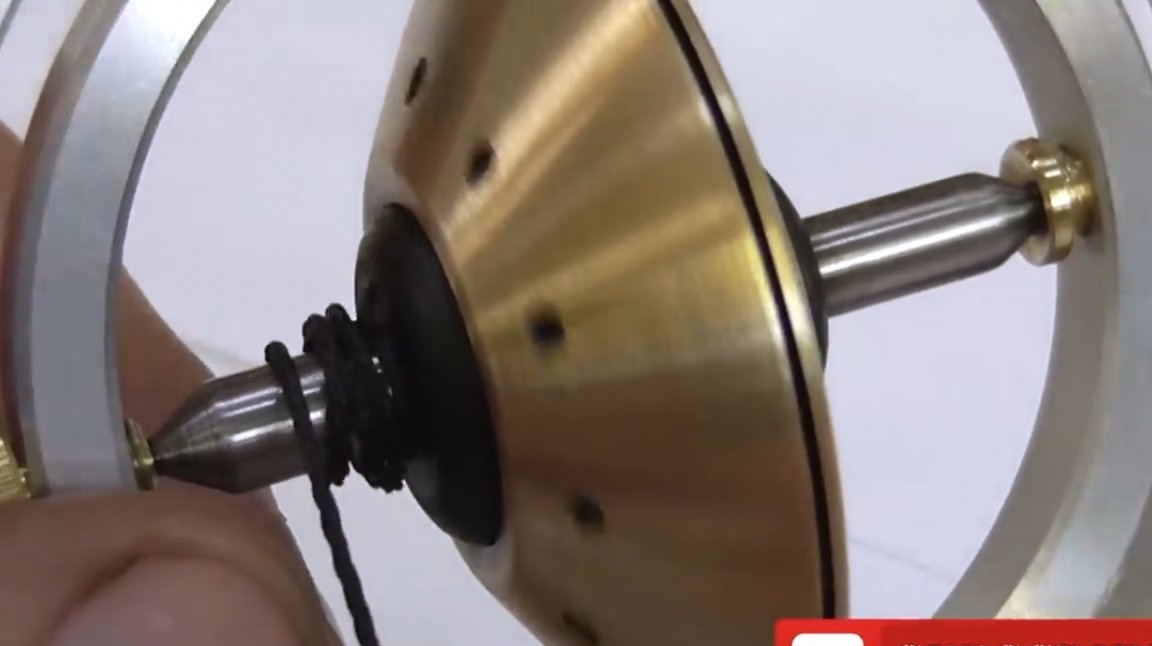
The tip of the rope is freely threaded into the hole of the axis, and wound around the axis. Suddenly pulling on the rope, the gyroscope starts, while the rope should be released. The gyroscope is running!
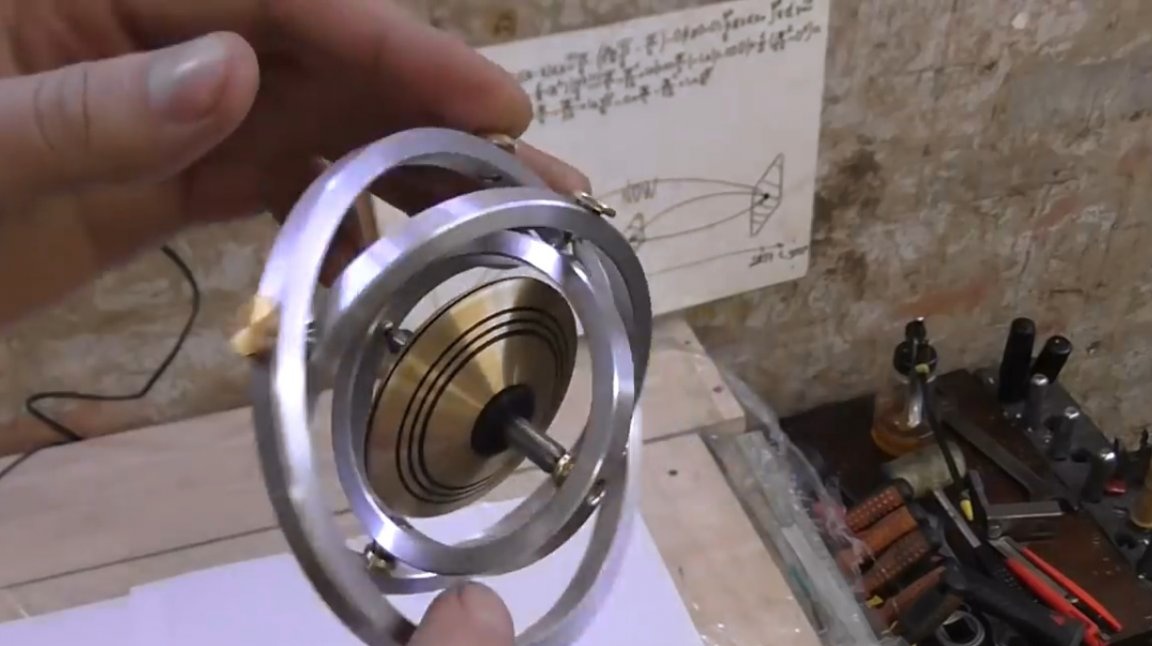
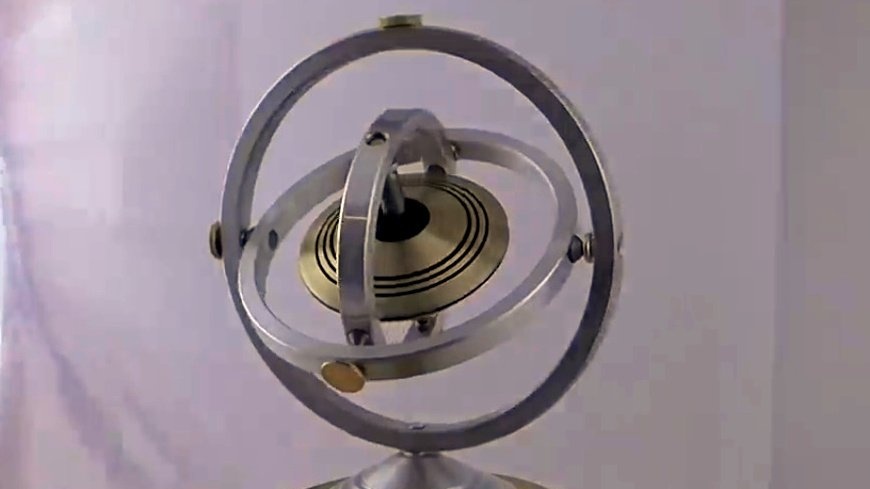
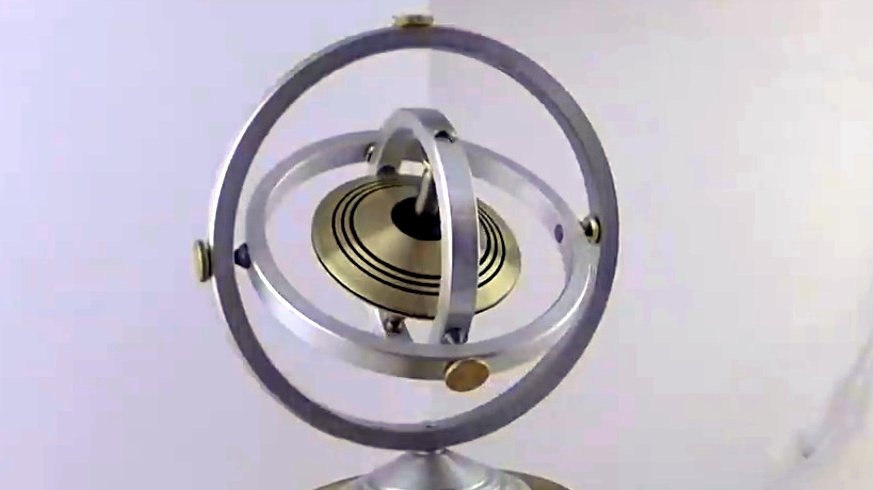
Now, no matter how you twist the base - the central disk will remain in one position. And if you move one of the inner rings, then the system will set in motion, and both inner rings and the gyroscope will rotate in space.
By the way, this decor element helps to relax quickly and switch attention.
Thanks to the author for an interesting and beautiful implementation of a three-axis gyroscope in metal!
All good mood, good luck, and interesting ideas!
Author video can be found here.