

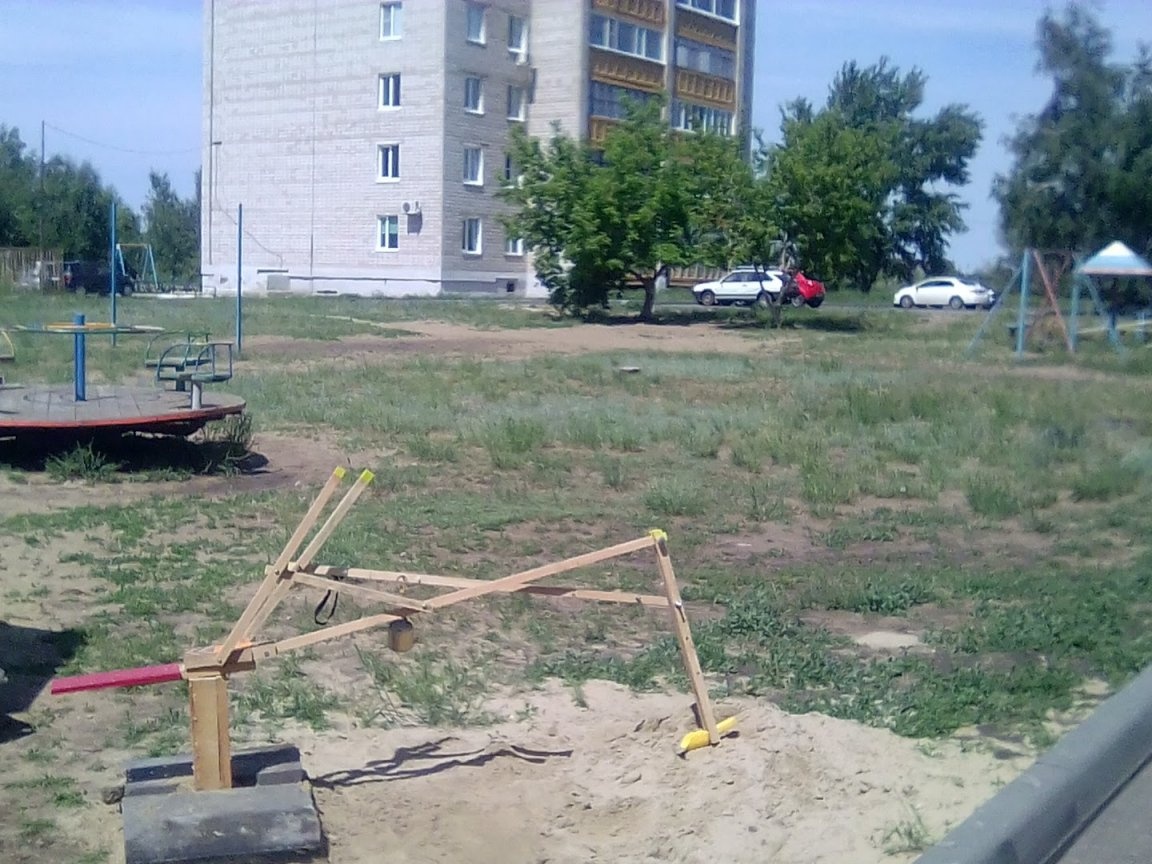
I was fascinated by the idea of excavators made for children's games in the sandbox. Most of the constructions coincided, both for wood and for metal. Therefore, it was easy to understand and based on them make a drawing for existing materials. I had these wooden poles for the garden and the garden and other remains of wood suitable for the desired size of the structure.
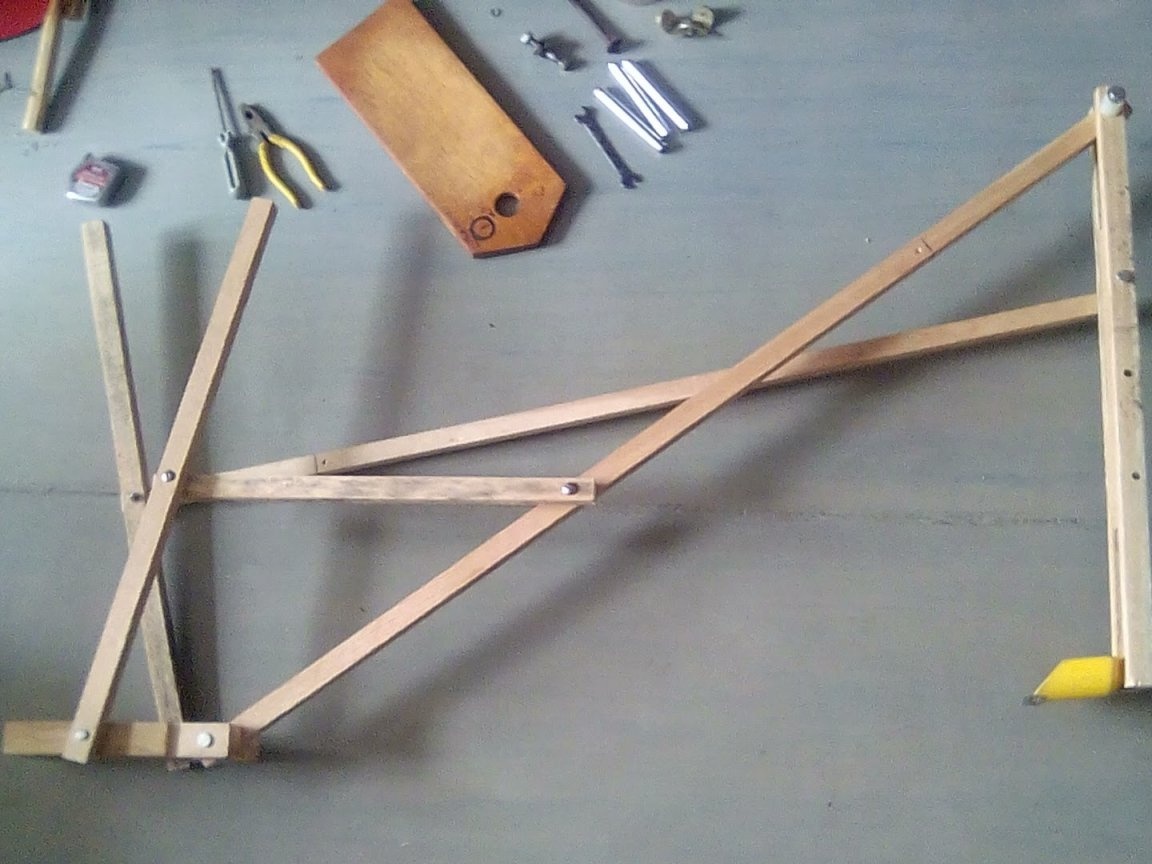
So where did I start? With outline drawing. He looked something like this. Only without inscriptions is natural.

First of all, I will write the size of the trellis so as not to repeat. This is about w. in. 2x2.5 cm.
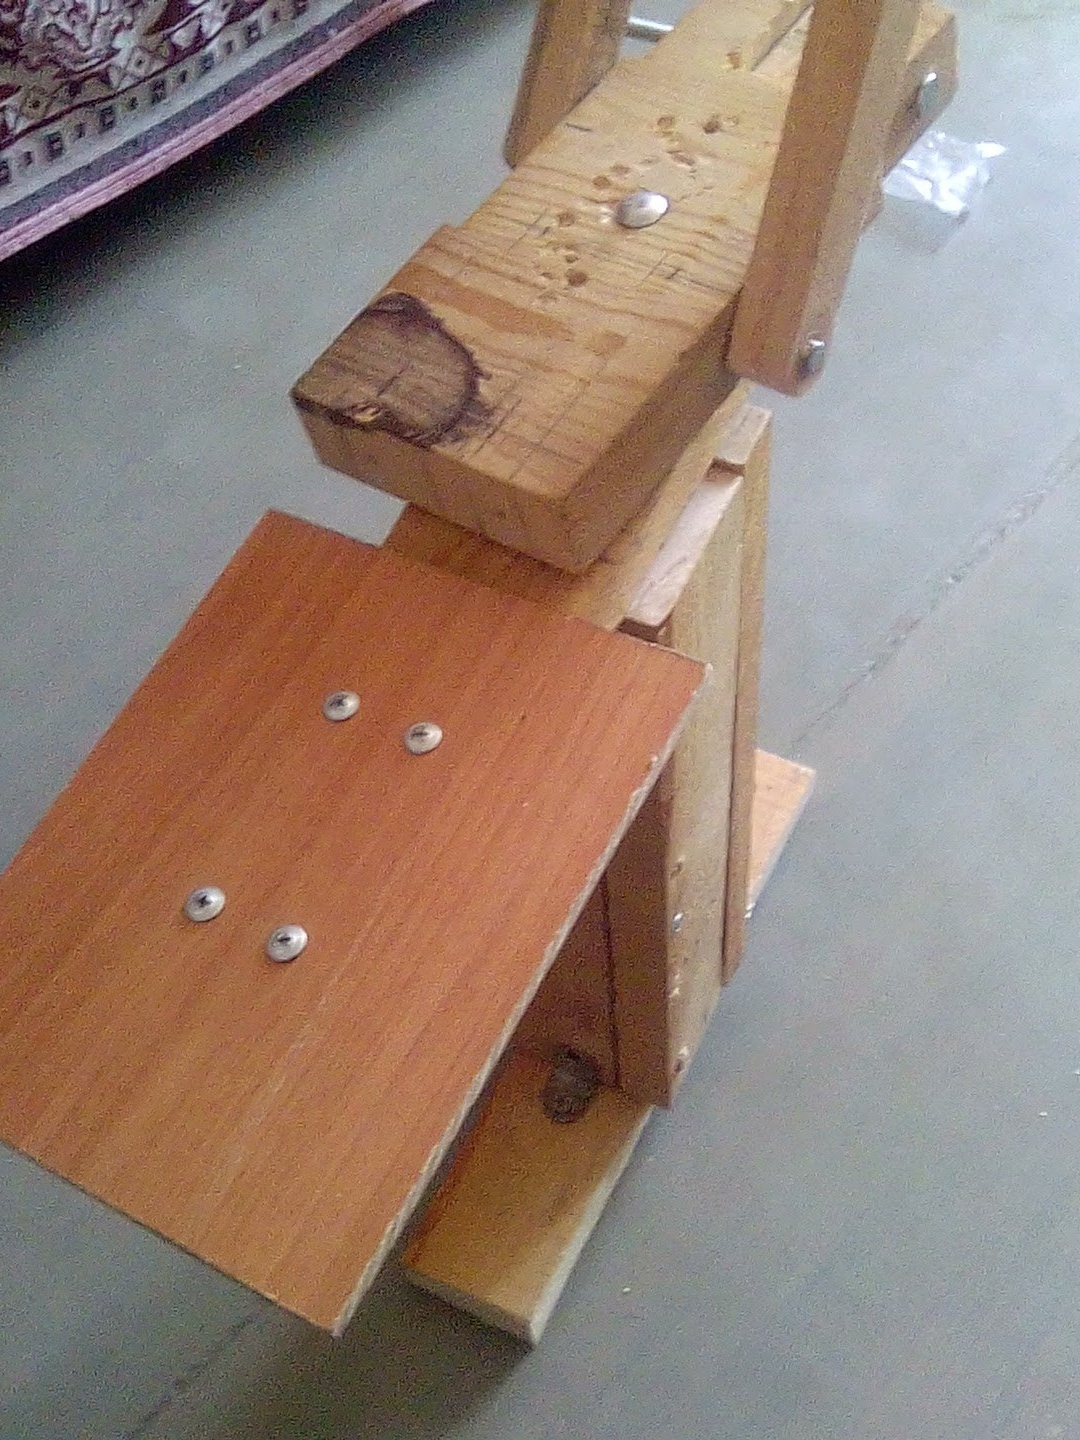
1. The seat. At first it was made of MDF, then replaced with a more waterproof material, like a painted metal channel. Size (d. 34 cm, w. 11 cm);
2. The basis. Size (d. 36 cm, w. 7 cm, in. 3 cm);
3. Movable base. Size (d. 25 cm, w. 11 cm, in. 3.5 cm. Width of the spike 35 mm, depth of the spike 6 cm);
4. A cupboard of four identical parts. Size in assembled form (d. 40 cm, w. 10 cm). The size of each of the four parts (d. 40 cm, w. 7 cm, in. 3 cm);
5. The base of the pedestal. Size (d. 35 cm, w. 10 cm, in. 3 cm);
6. The long arrow. Length 120 cm;
7. Short arrow. Of two identical parts and one short in the center. The length of the two long parts is 65 cm, short 32 cm;
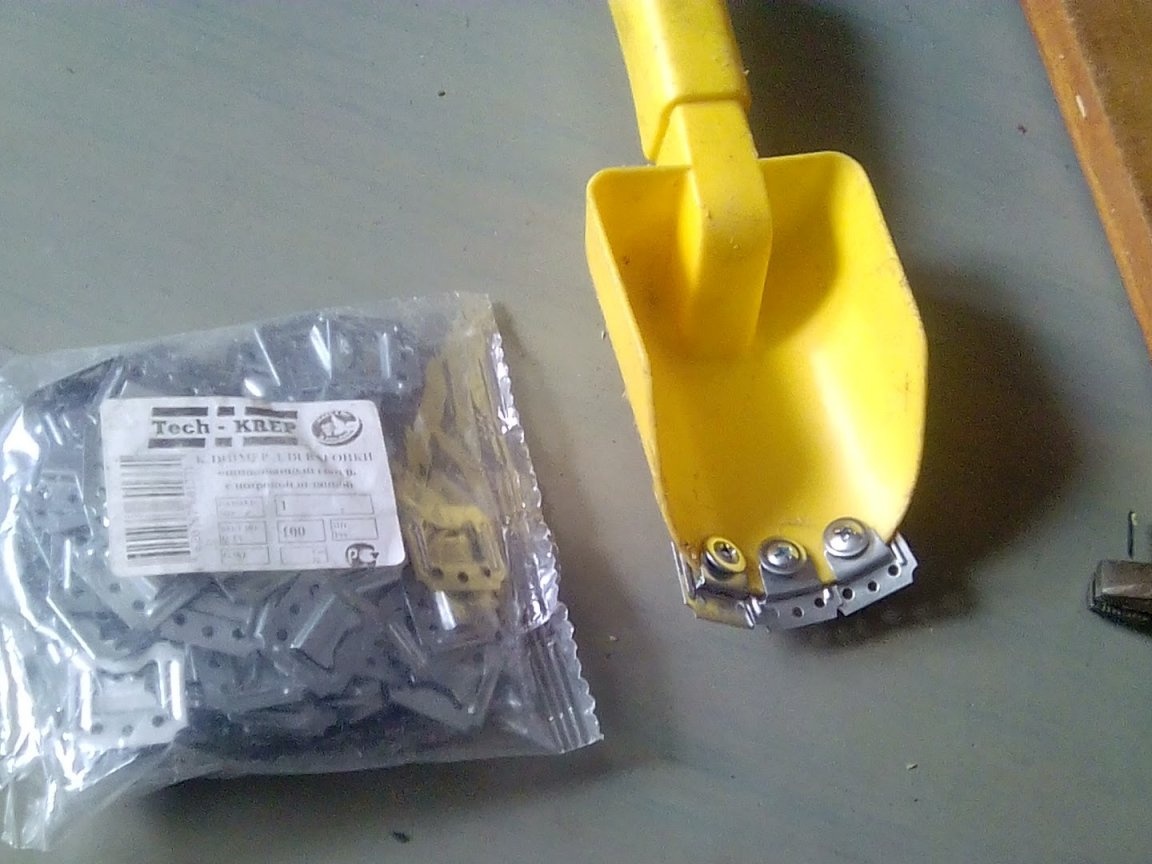
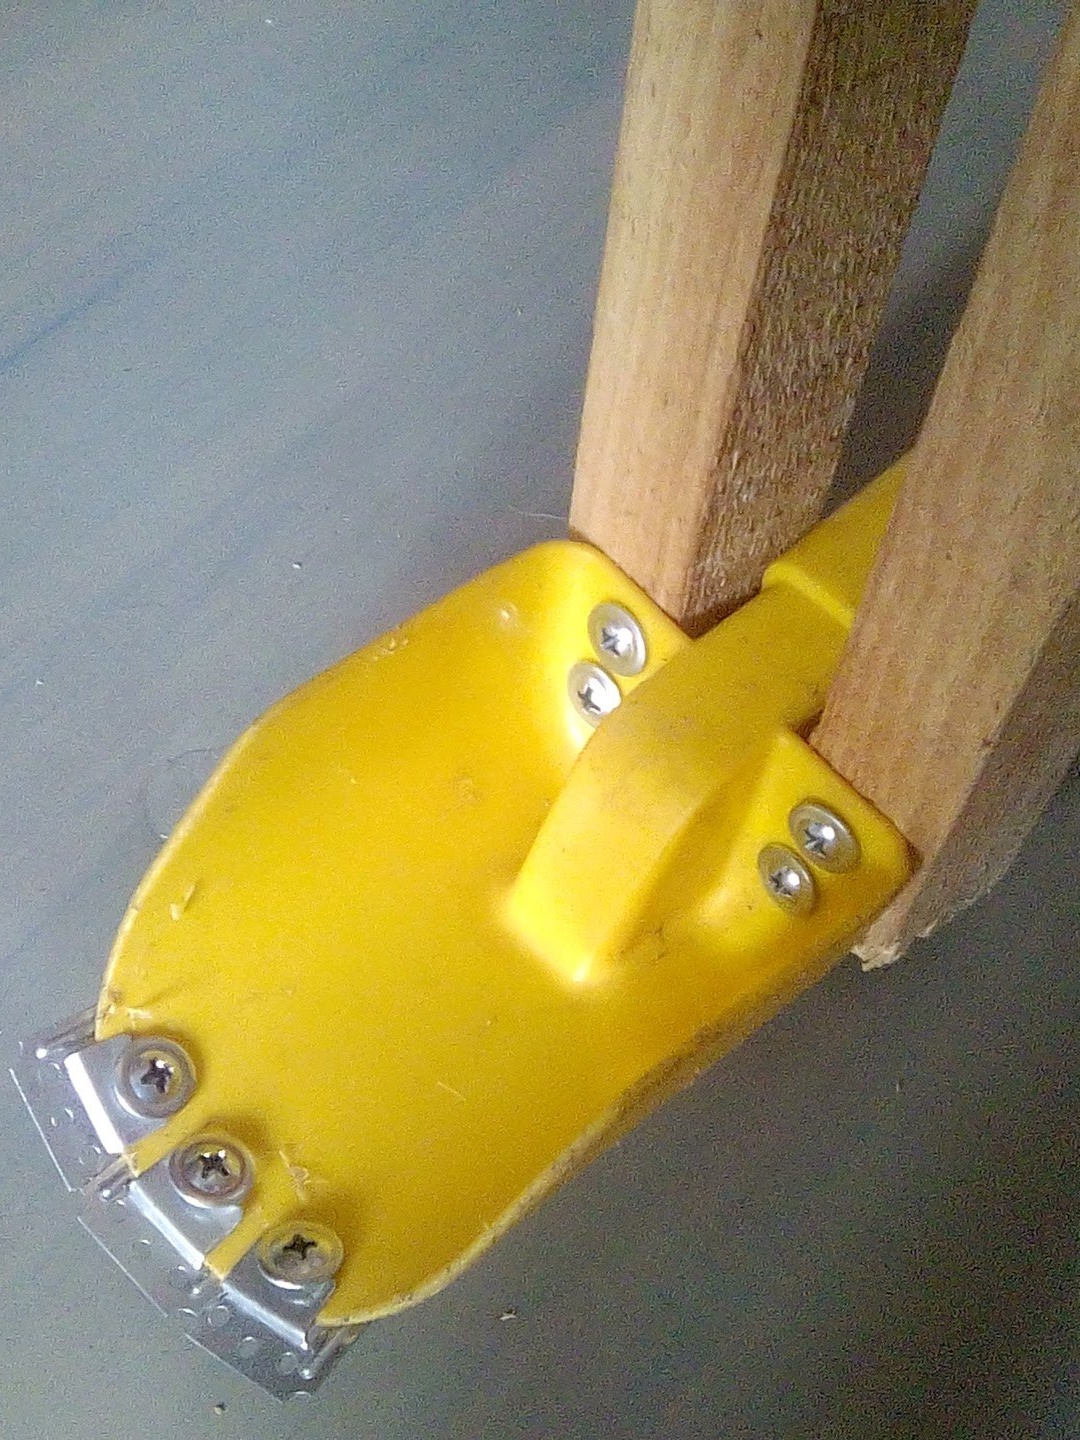
8. A bucket from a plastic baby scoop. Plus three bolt-on metal pads;
9. Thrust of a long arrow (on the right). Length 48 cm;
10. Thrust of a short arrow (left). Length 114 cm;
11. Traction handle for the long boom (right). Length 65 cm, hole for traction below the center of the handle;
12. Traction handle for the short boom (left). The same length of 65 cm. And a place under the hole for traction;
13. Curb of a pedestal of two identical poles for a wider emphasis, size (d. 45 cm).
Materials from wood:
1. Wooden poles 10 pcs. in size from the drawing;
2. Boards for a curbstone (4) from a bar. Sawed 4 pcs. and connected. You may have a little bit different, except, probably, the length, that is, the future height of the cabinet;
3. The base (2) and the base of the pedestal (5) are made of the same bar;
4. Movable base (3) from a wide bar.
Materials from bolts and other metal parts:
1. 2 bolts, 2 nuts, 2 washers to secure the seat (1);
2. 1 bolt (80 mm), 1-2 nuts and 2 washers for connecting the base (2) to the movable base (3);
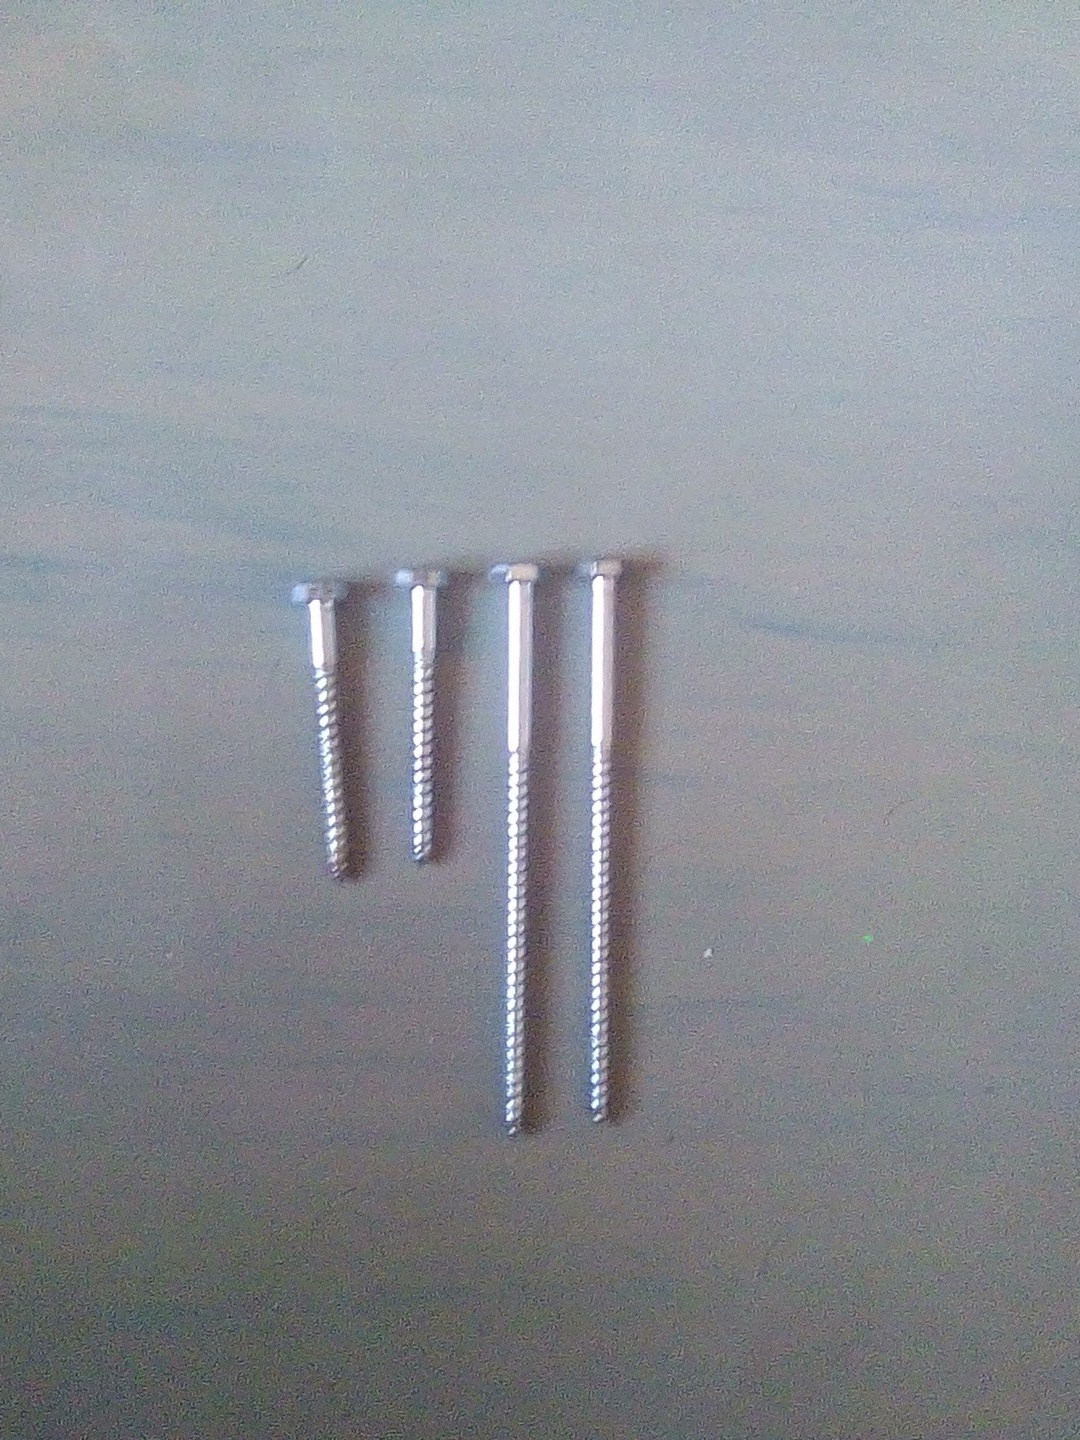
3. 2 self-tapping screws (d. 12 cm) with a 10 mm turnkey head, each with two wide washers (total 4 pcs.) For sliding between the movable base (3) and the handles (11), (12) and between the same handles and self-tapping heads.
4. The first long through bolt of the anchor bolt (d.13 cm) for connection to the moving base (3) of the long boom (6);
5. The second long through bolt (d. 13 cm) for connecting parts (6) and two (7.1 and 7.2);
6. The third long through bolt (d. 13 cm) for connecting parts (10) and three (7.1, 7.2 and 7.3);
7. Three bolts (d. 6 cm), three nuts and three washers for each bolt (on the sides and in the center between the wooden parts) for connecting parts (9) and (6), (11) and (9), ( 12 and (10);
8. 2 yellow large self-tapping screws for connecting parts (2) and (4);
9. 12 self-tapping screws with a press washer for connecting the base (4). On each of the four sides, three screws;
10. 2 long self-tapping screws for connecting the part (5) with (4). And also for fastening the transverse metal strip from the channel (not shown in the drawing, it can be a convenient size);
11. 2 self-tapping screws for fixing the jib (13) to the pedestal (4);
12. 4 black self-tapping screws connecting parts together (7.1, 7.2, 7.3);
13. 4 self-tapping screws with a press washer for connecting a plastic blade with (7.1 and 7.2);
14. Three metal fasteners from the lining for the bucket teeth and three bolts and three nuts for them;
15. Three corners for connecting parts (2, 4, 5) with each other and fasteners to them (two for each corner);
16. Seat (1) made of painted metal channel.
Additionally: children's plastic spatula or garden metal scoop;
A bit of acrylic paint for coloring: blue and orange. As well as varnish for coating paint and ends of wooden trellises.
Instruments:
1. Hacksaw;
2. Drill with drills for wood and metal;
3. Ruler-square;
4. Ruler-roulette;
5. Household gloves;
6. Screwdriver, bits;
7. Horn wrenches for nuts.
Assembly.
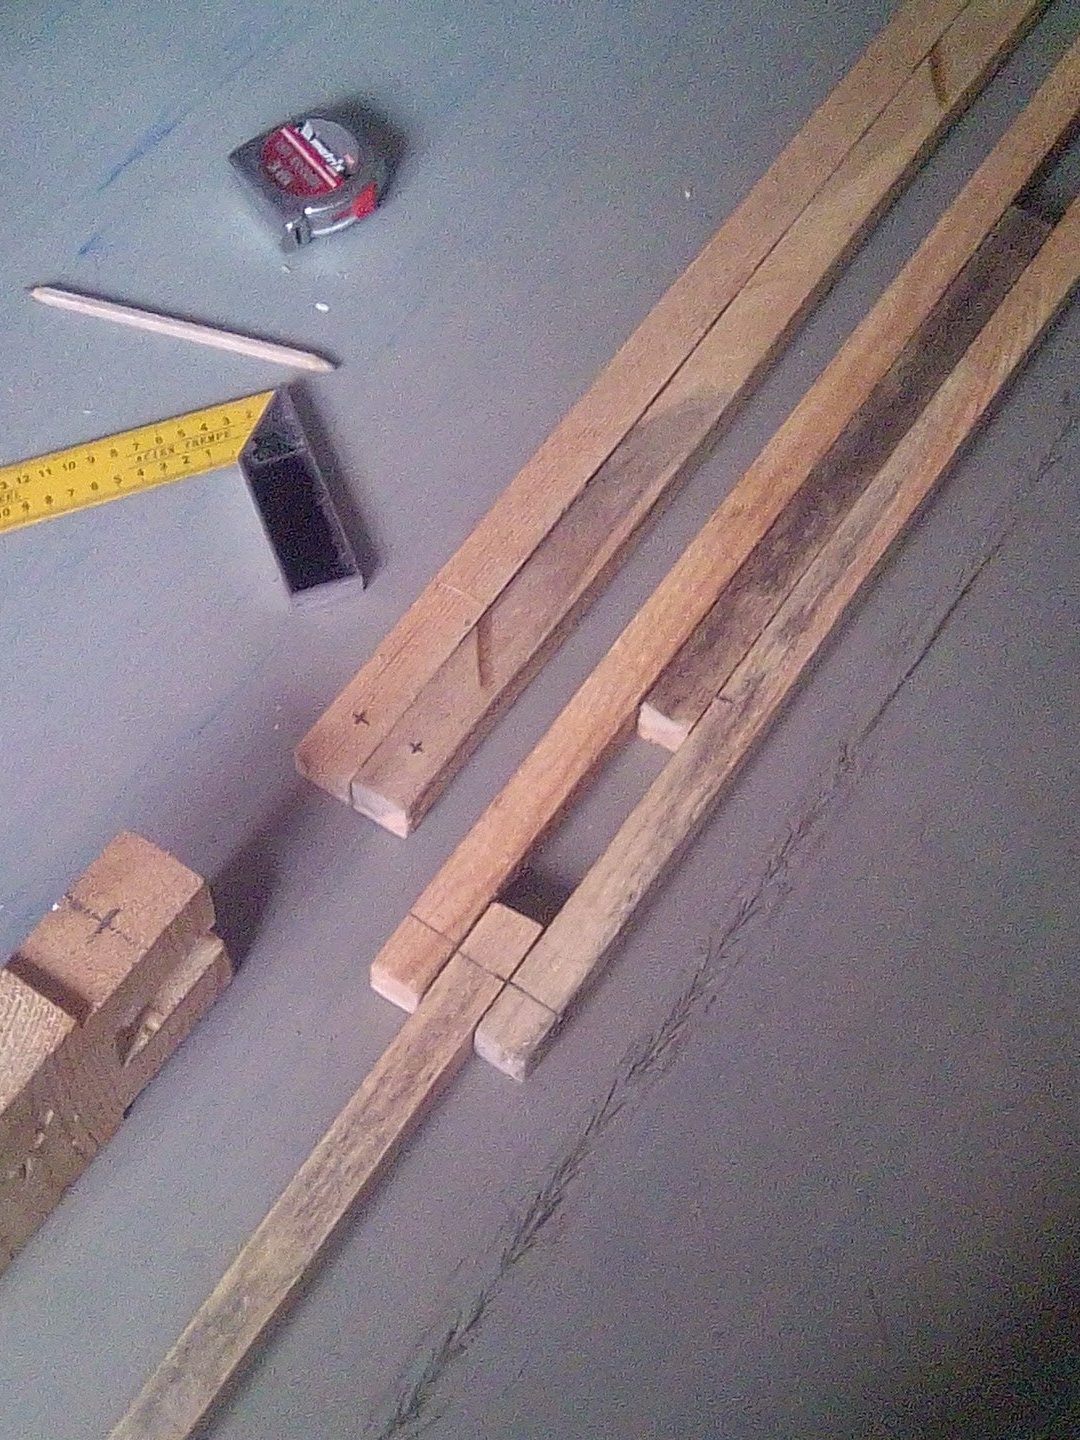
1. Cutting of wooden parts according to the dimensions of the drawing;
2. Drilling holes for bolts and self-tapping screws, if necessary;
3. Assembly of parts together;
4. Painting, drying;
5. Installation in place, crushing the mortgage metal cross transverse with heavy concrete curbs for the exit;
6. Add a pile of sand to play with it;
7. We enjoy the game of children and sometimes carry out maintenance of the structure (we tighten the loose bolts).
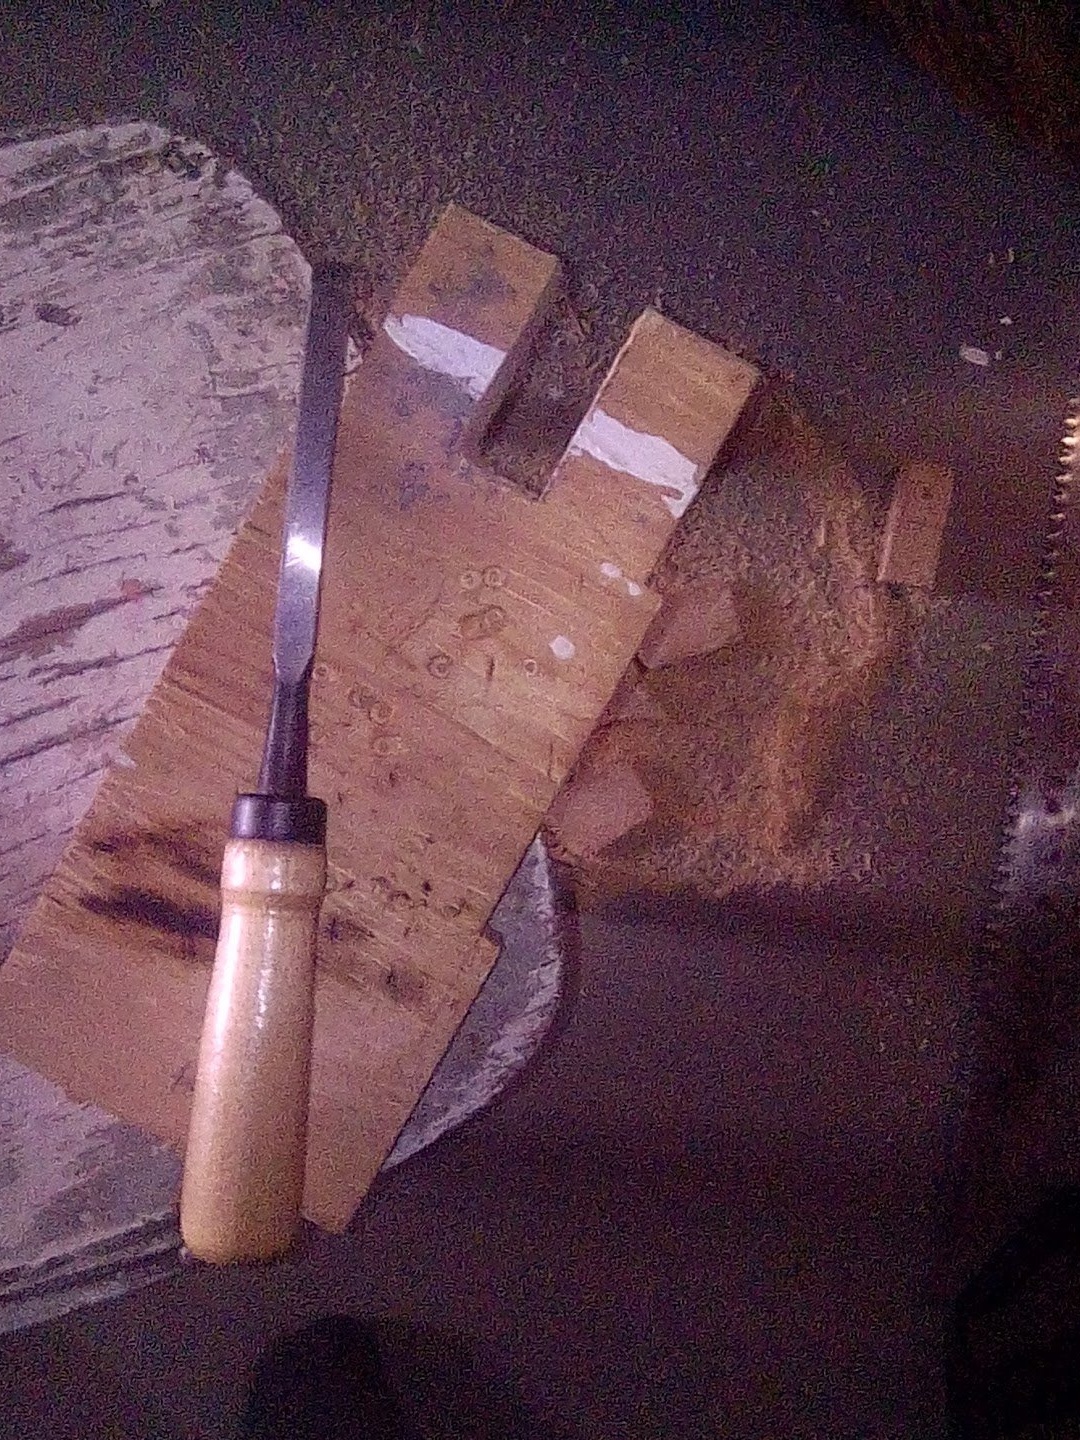
More details.
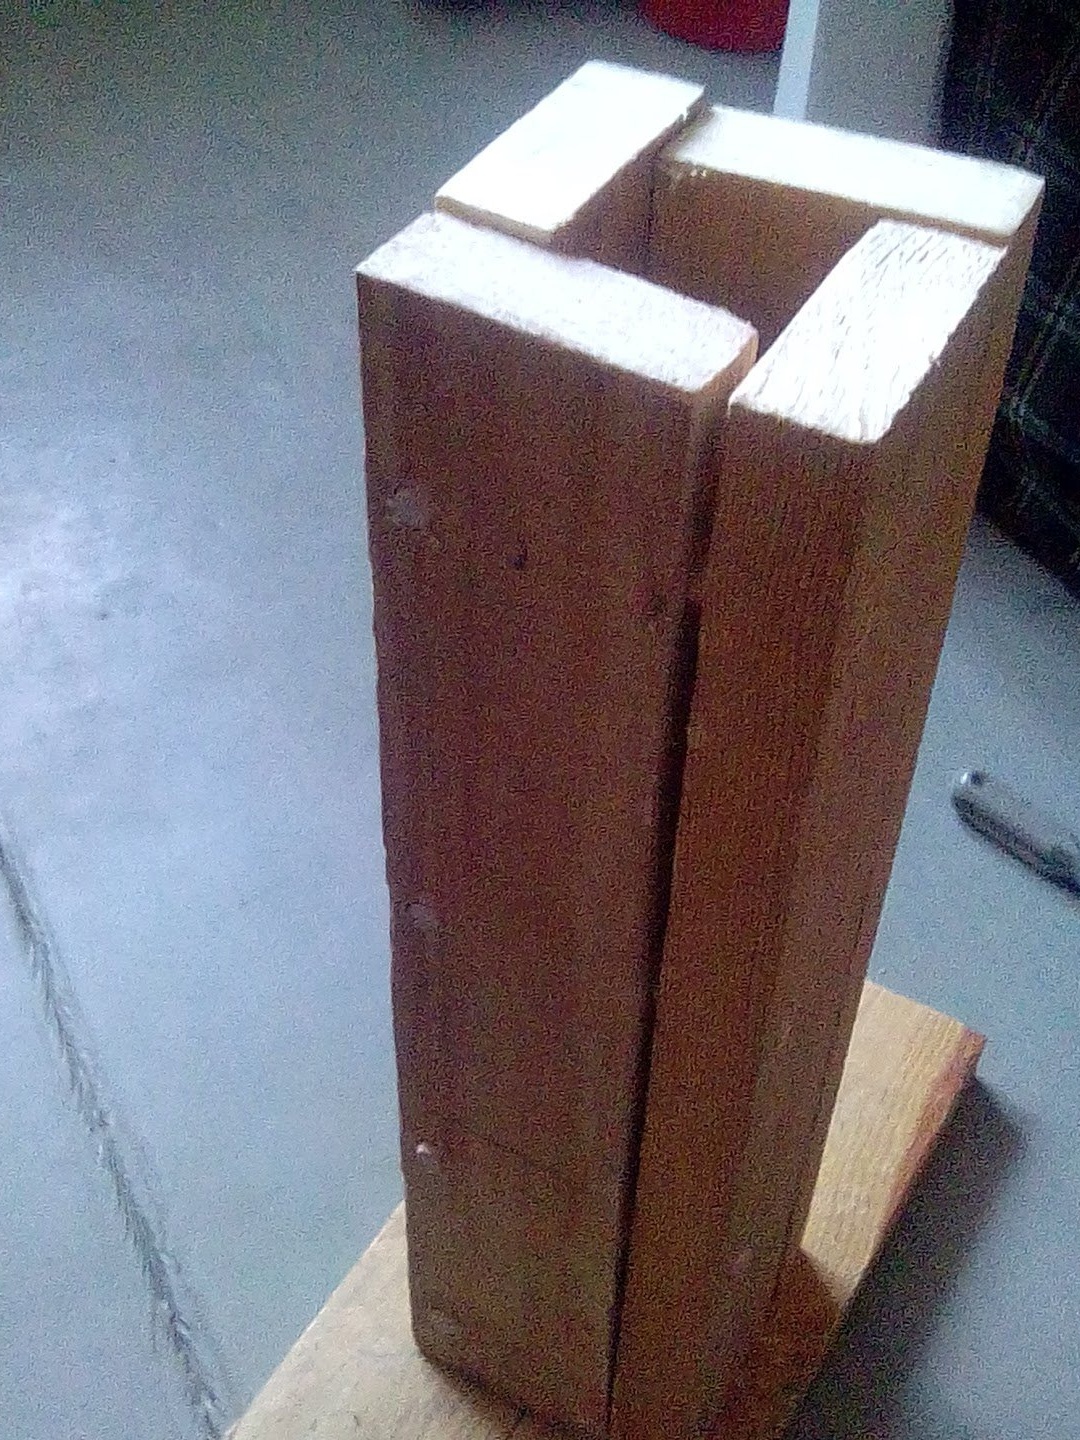
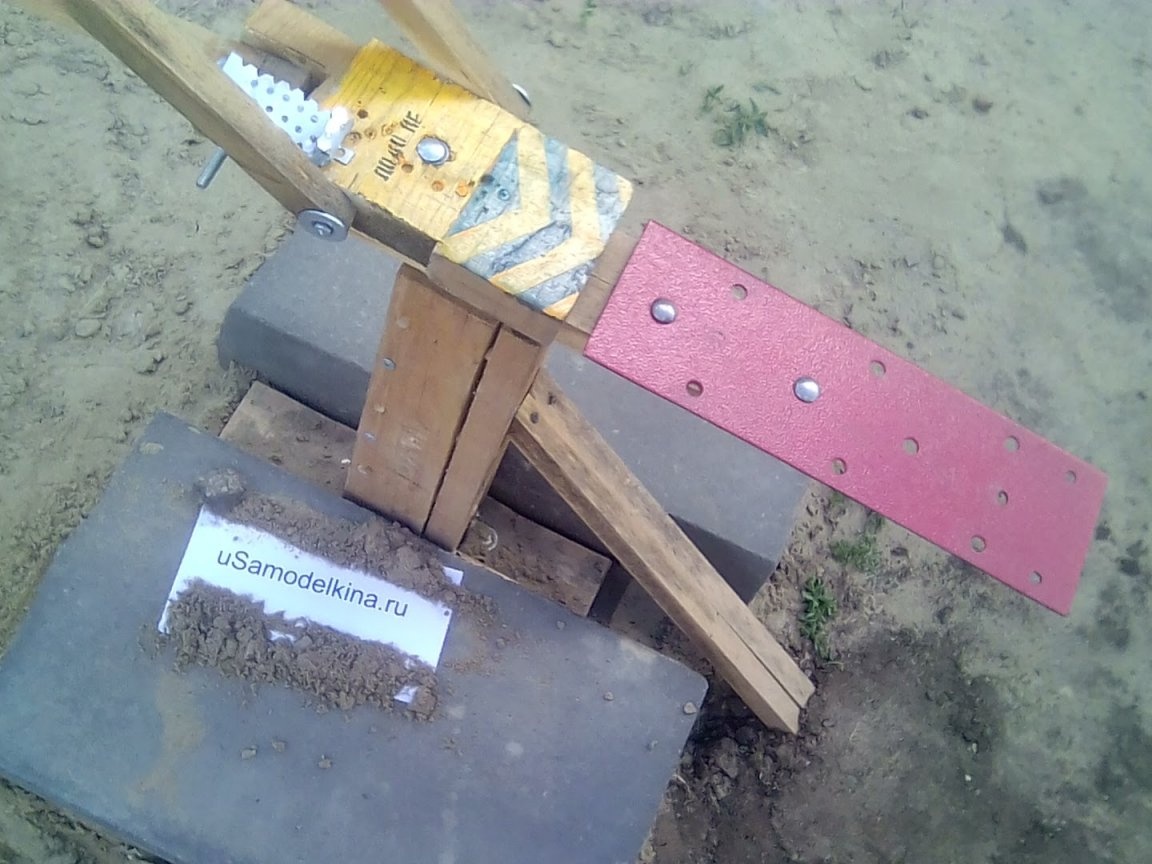
We make a groove. We saw a few cuts and hollow them with a chisel. In operation, one of the wooden ledges after a crescent on the site of an apartment building completely broke down at its base, but the structure works at the same time. Reinforced with a metal perforated strip for drywall.
Attention 1: We choose the right place for drilling a hole in the movable base (3) so that there is a place for movement of the end face of the central long arrow (6) and a place for the hole for the bolt in it. The sequence is as follows. First, make a hole in the arrow, then in the teeth of the movable base, after marking everything up.
Attention 2: Two self-tapping screws for the handle-levers should not be on the same axis of the movable base (3), as they can interfere with each other.
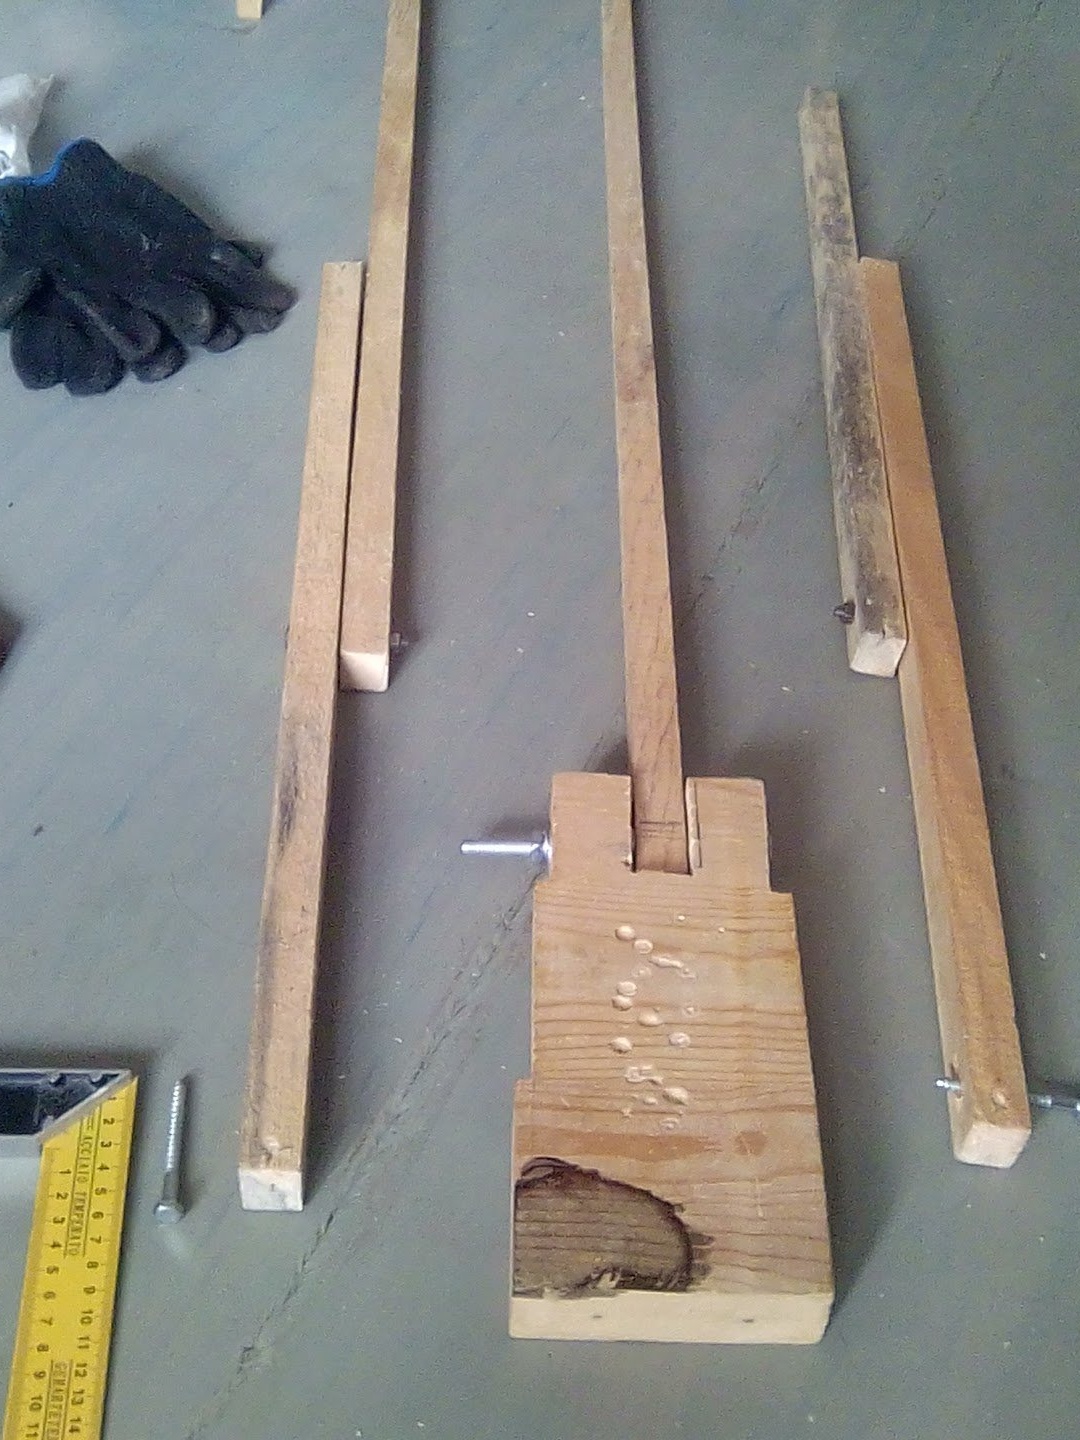
I was reinsured and twisted longer self-tapping screws for fastening the handle-levers (11, 12) to the movable base (3).
Detail short boom (7.1, 7.2, 7.3) assembly. In the photo, the arrow is turned upside down.
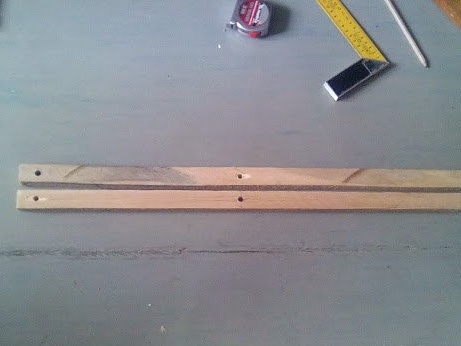
Lever handles (11 and 12). Bolt holes just below the center of the trellis.
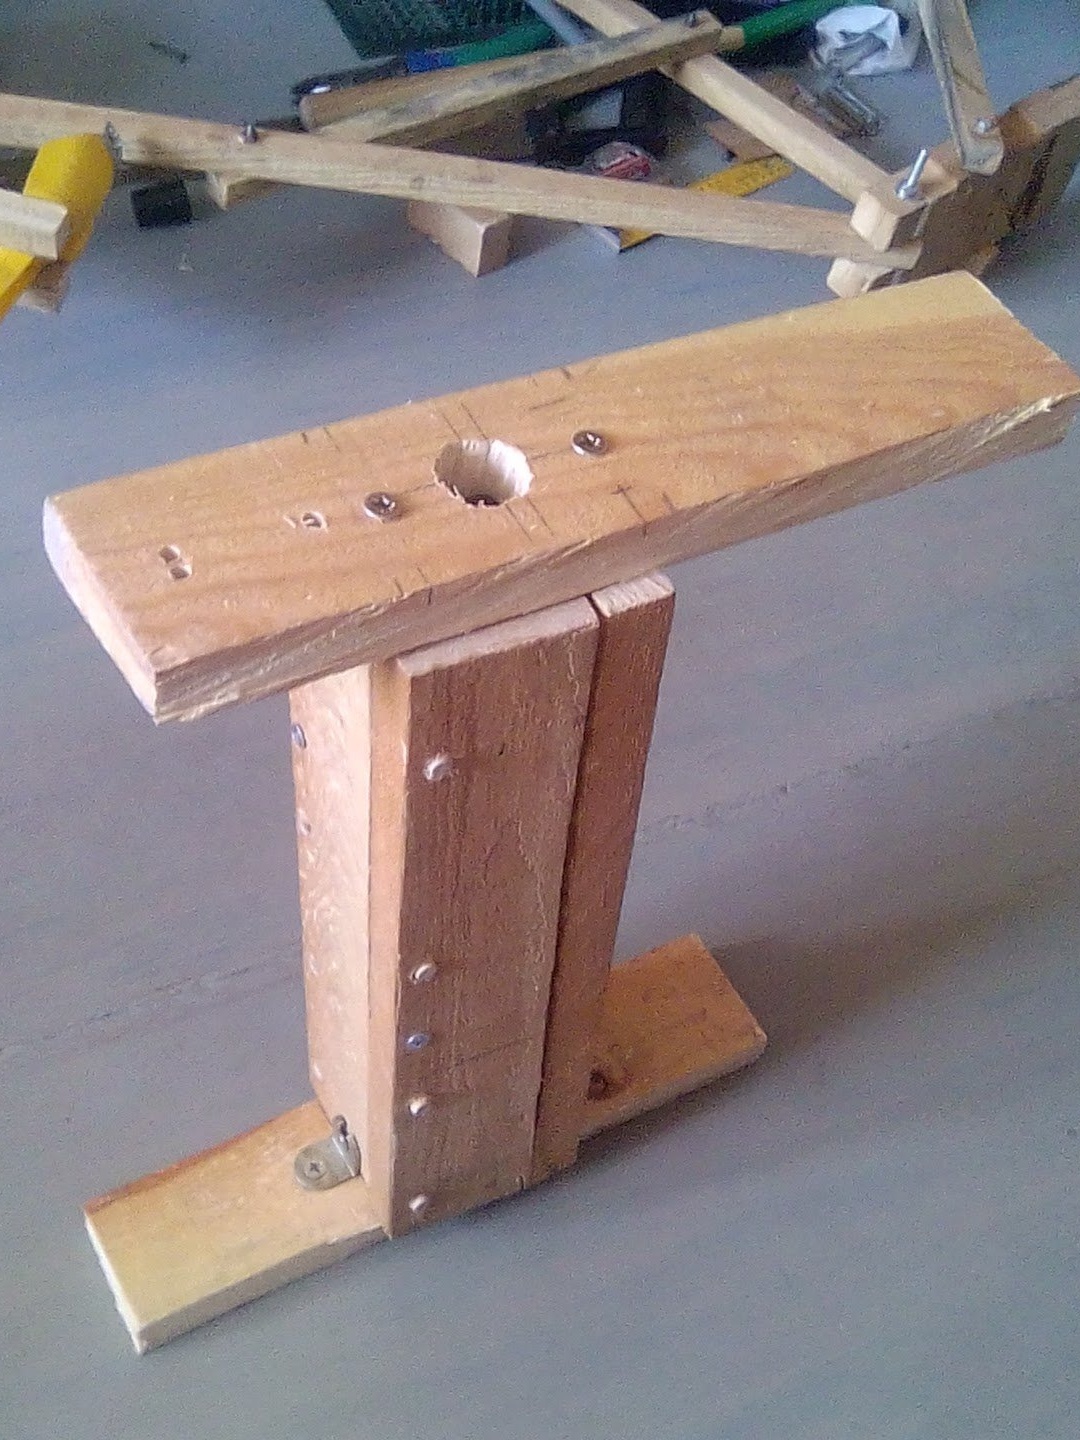
The initial fixture of the pedestal (4) on wooden pins. Then, from all four sides, screwed in three screws.
The corners are visible, but they can only hold a static load. Large self-tapping screws, two from the bottom and the top, take on the dynamic load. Fastening a curbstone (4) with (2 and 5).
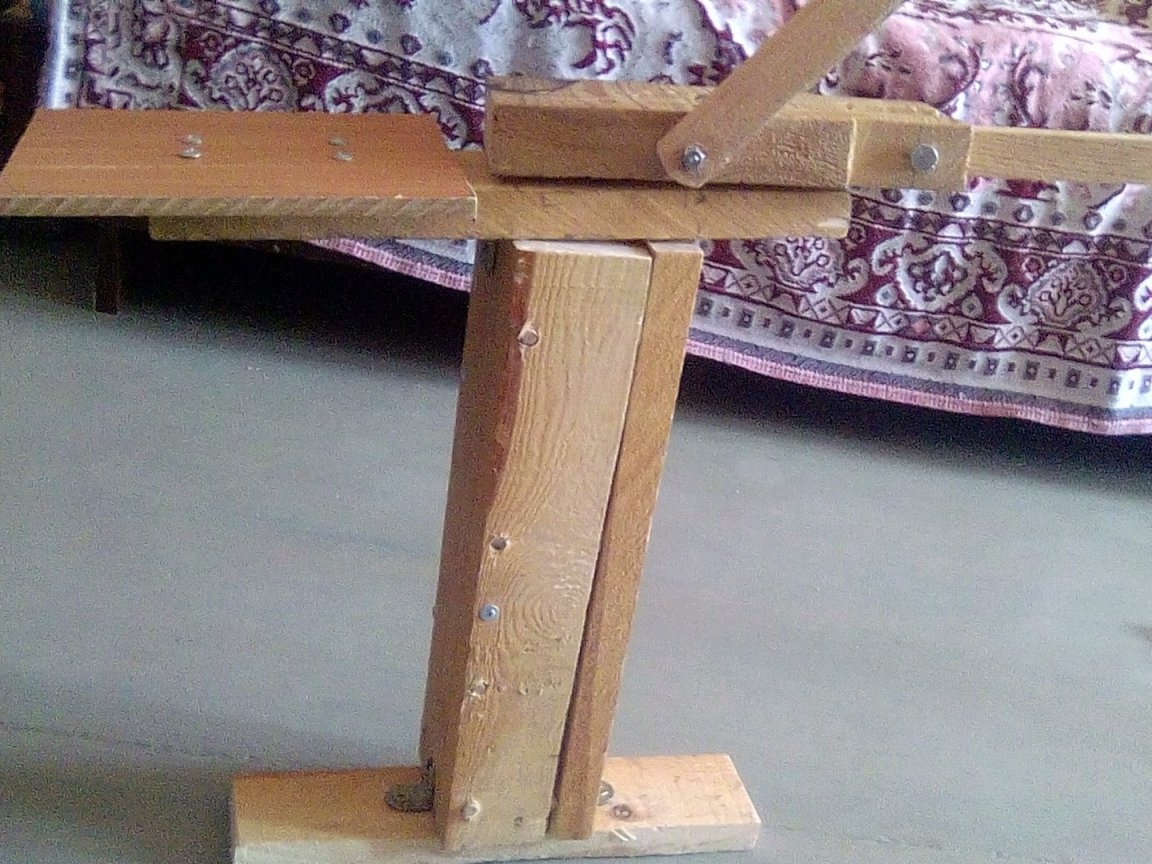
For the bolt of the axis of rotation of the movable base (3), I chose the drilled hole in the base (2) closest to the stand (4).
The ends of the handle levers must be rounded so as not to interfere with the turns of the moving base and not to touch the lower stationary base (2).
On top of the bolt was longer than his thread and had to put the cylinder from the base for medical adhesive plaster.
The bolt below was conceived as fixture of a small arrow (7) and the use of an excavator as a crane. Then it lost value.
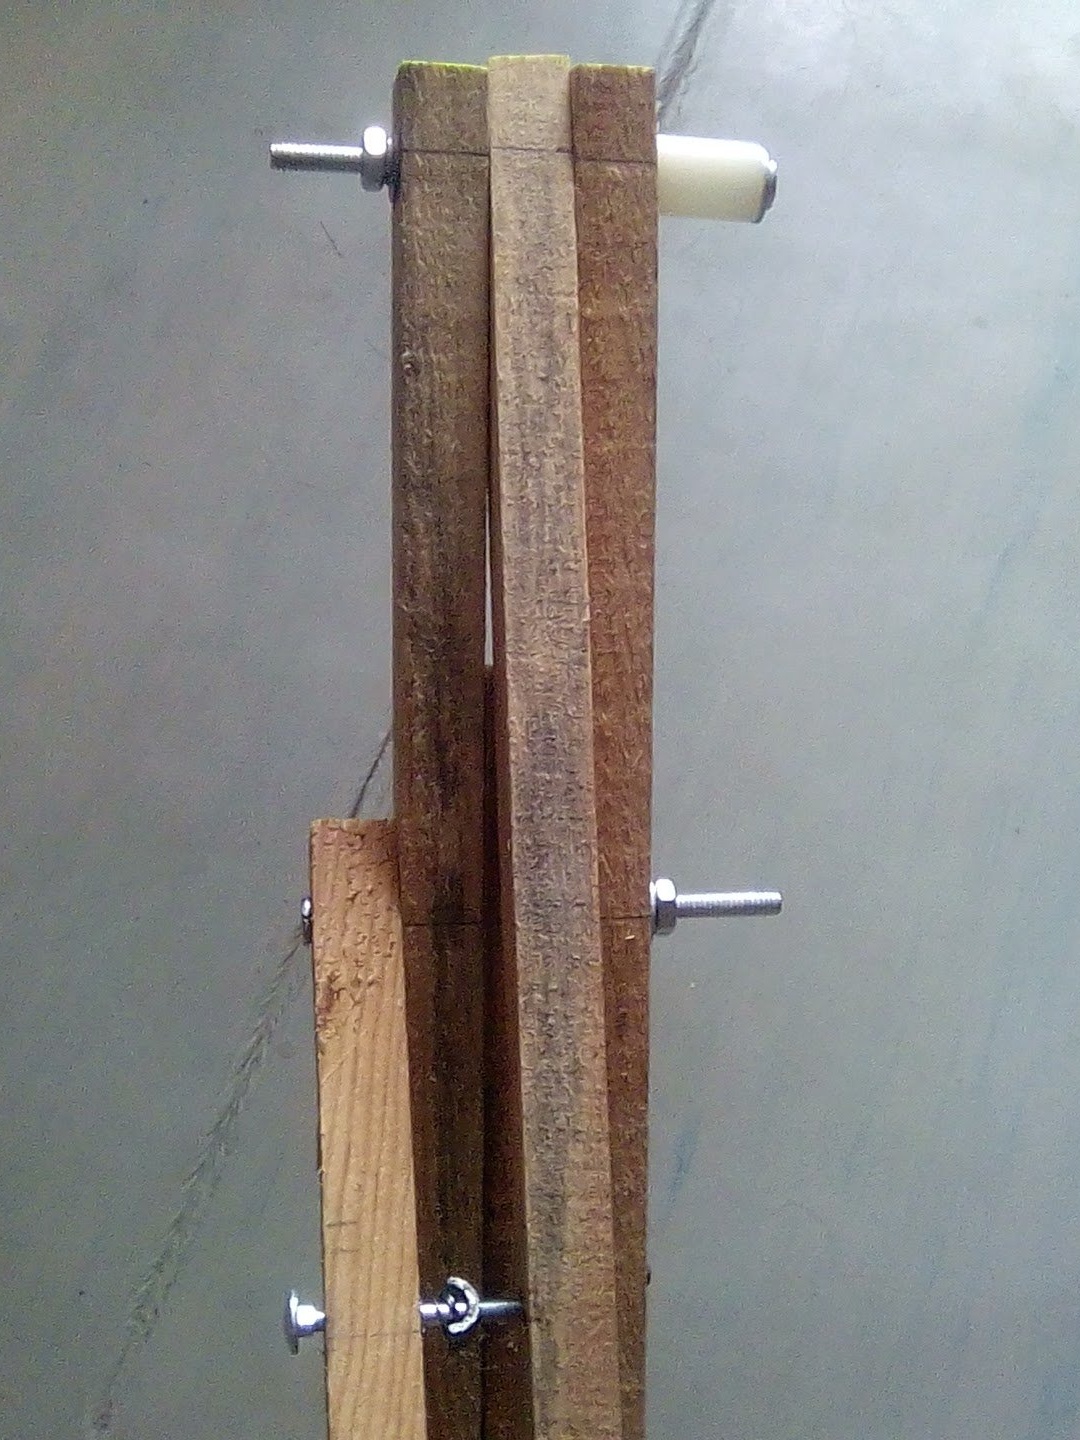
For movement without jamming, it is necessary to lay washers between wooden rubbing parts. As well as between wood, heads and nuts to prevent abrasion of the ends of the axis of rotation.
Teeth from the lining mount.
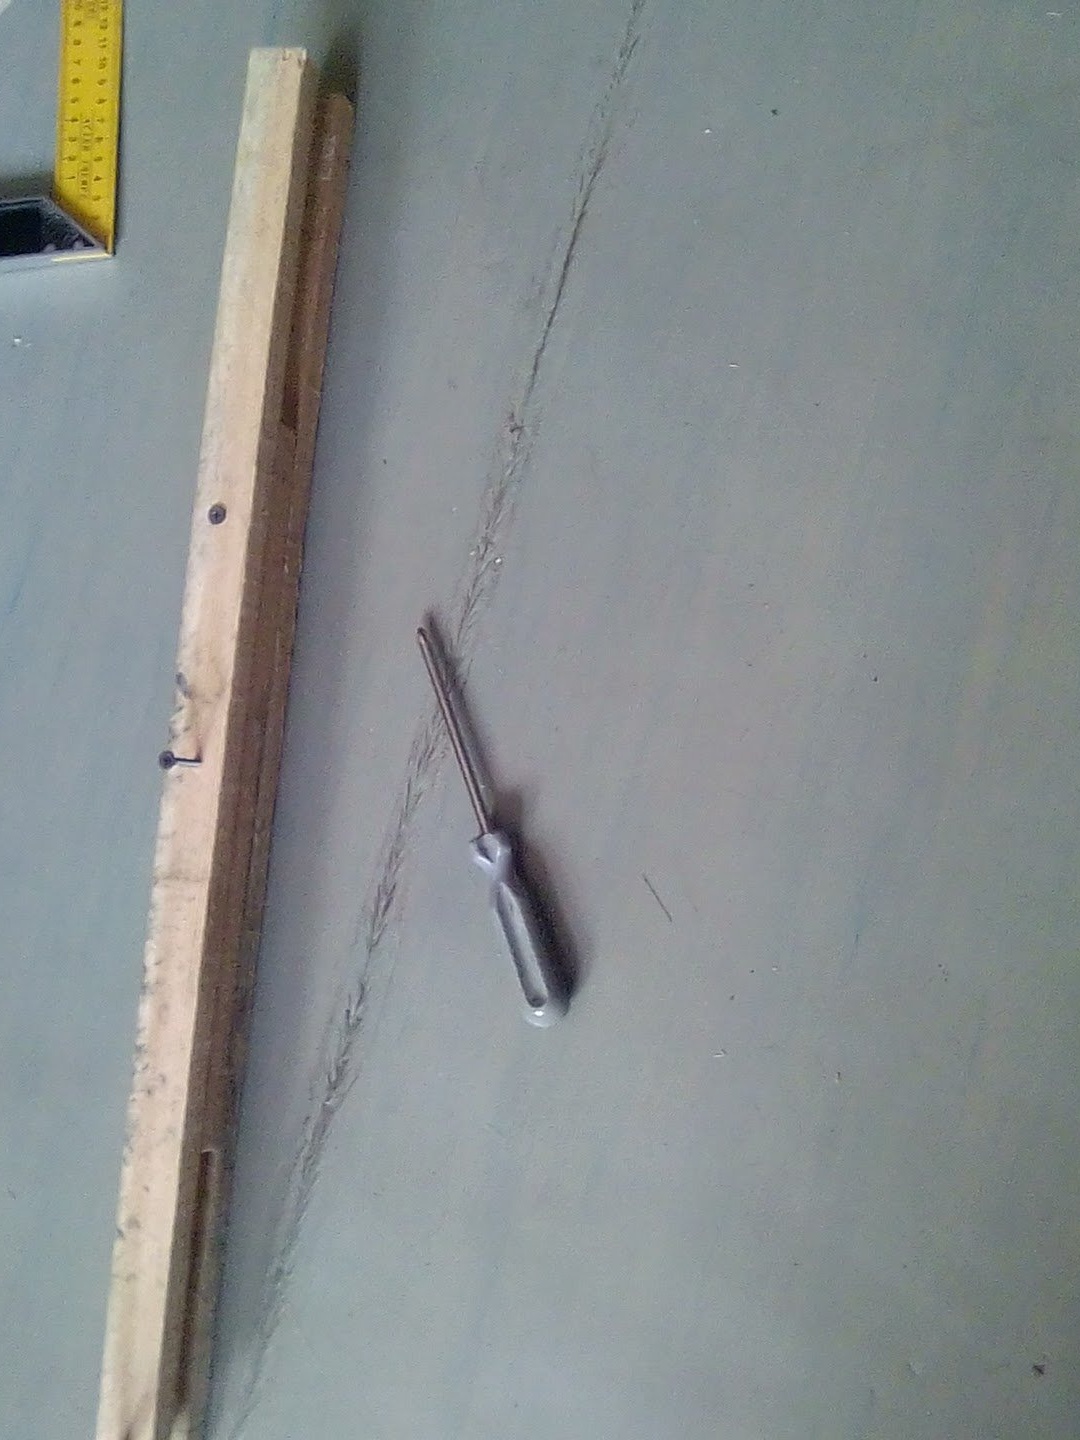
So that thin wooden trellis does not crack at its base, you must first drill holes for them under the screws. Self-tapping screws are needed long, under the thickness of the trellis.
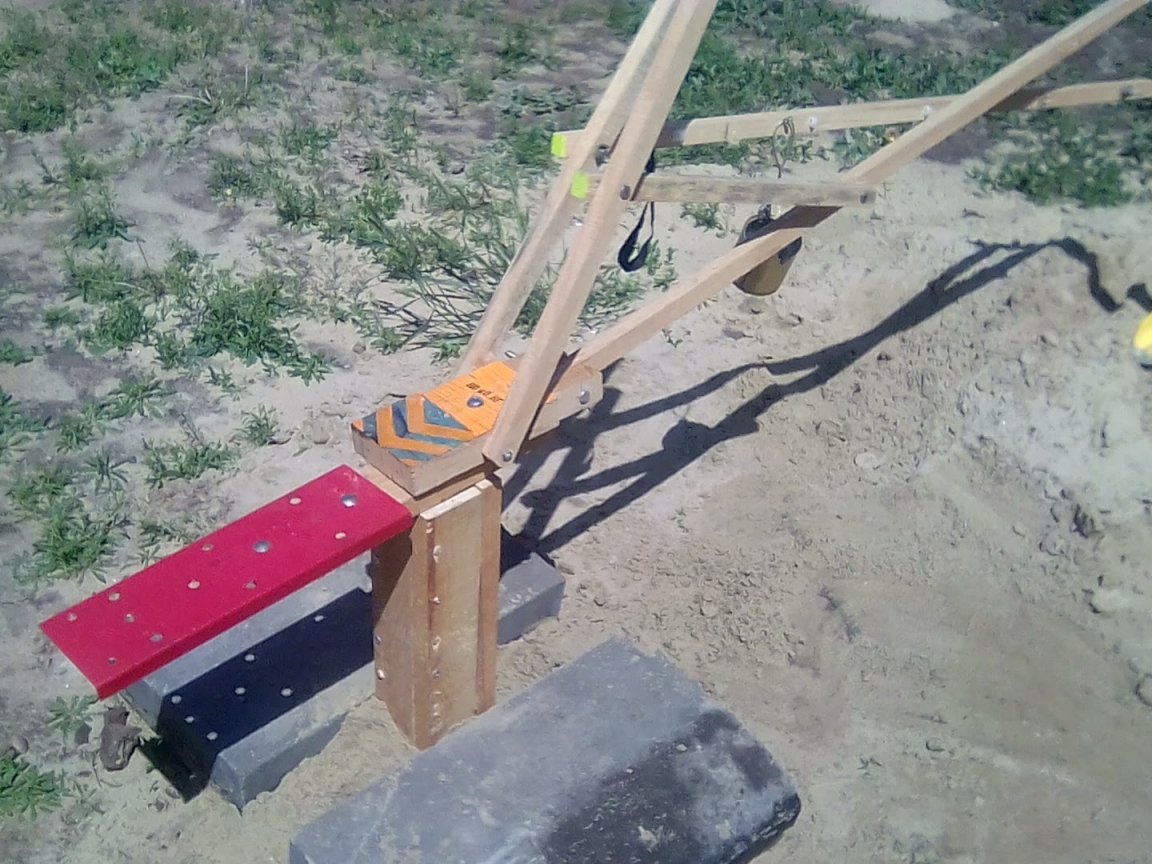
Ukosin 13 installed after one day of operation and the identification of this defect. In the land, the mowing is supported by stone.
Given the height of the base stones, it turned out to be, it seems to me, a convenient height for most children. When the smallest are not yet reached by the legs, and very large children can delve into the sand while standing. In general, the design turned out to be quite acceptable, while you can still grind the handle from the burrs and maybe the cabinet for someone will be more aesthetically pleasing than here. It is also possible to additionally consider protecting children's fingers from falling between levers and rods.