
This article will show you how to do it yourself to do device, which will allow you to accurately enough and also pretty quickly cut the external thread on the metal. Also, during the manufacturing process of this device, we will try the technology of anodizing aluminum and see what happens in the end.
The following instructions are taken from the YouTube channel "Good Master".
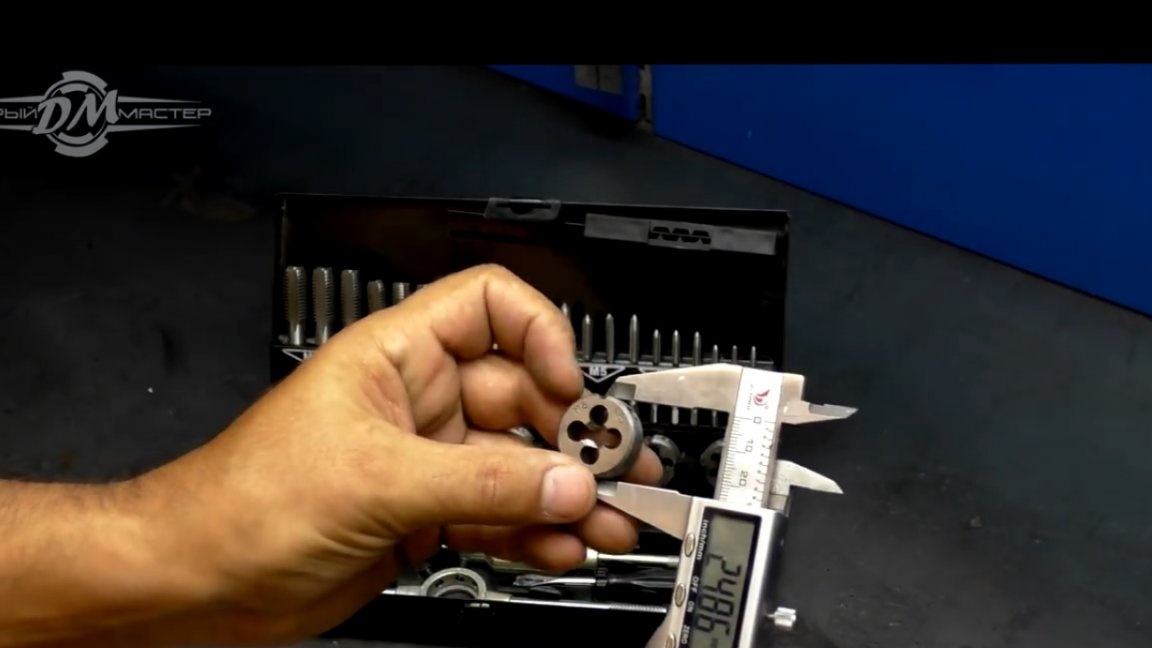
More recently, such a thread-cutting set was purchased in the Leroy Merlin store.
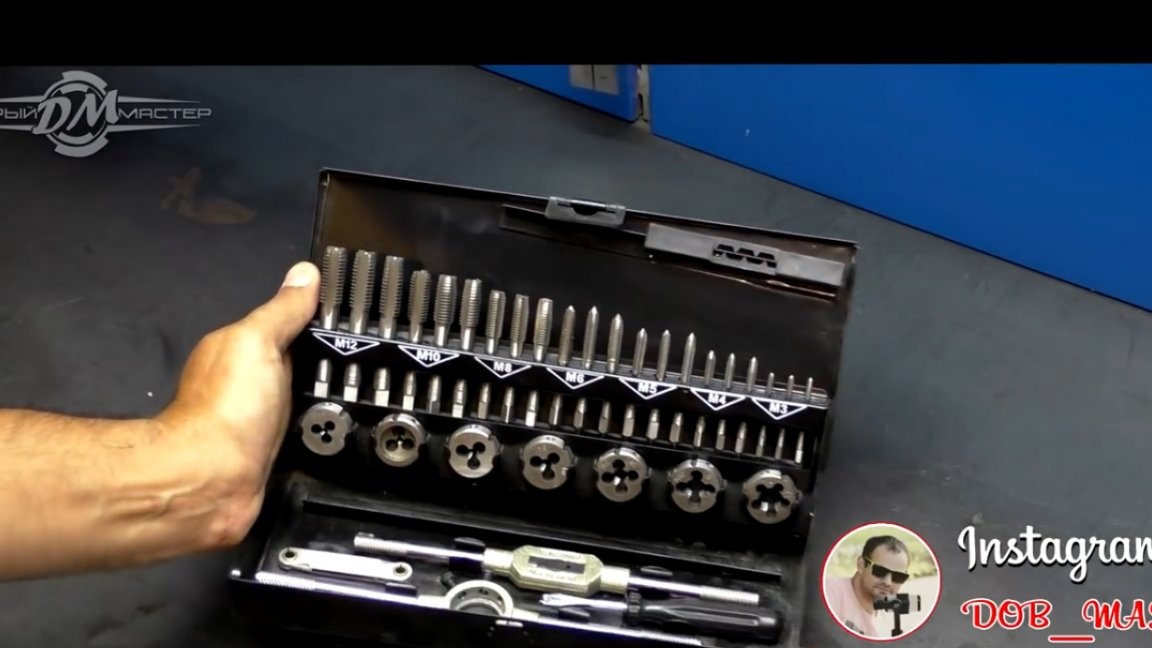
In it, the author liked the number of taps for each thread size, there is a first, second number, and the set is equipped with universal taps.
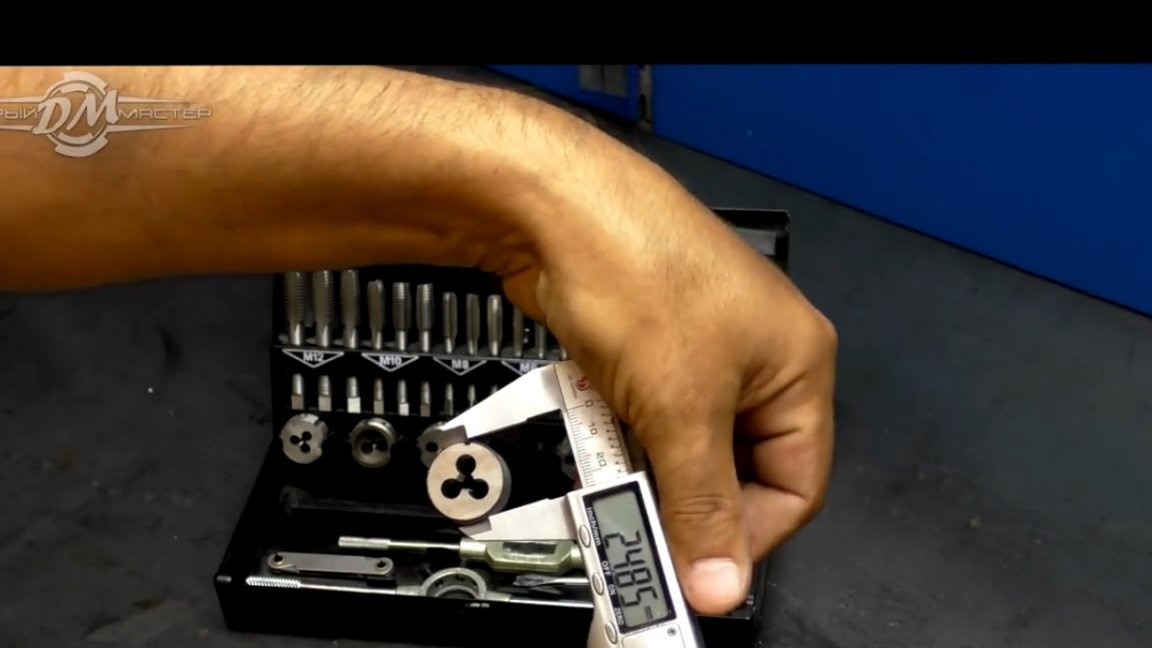
Also, the advantages of this set include the fact that the outer diameter of the thread of the mounted dies is the same.
Here we are going to make a universal holder for them today. But first, we have to cast a suitable size out of aluminum. As a material, the author decided to use castings that have already passed two melts, due to which they are sufficiently well cleaned, this will help to get rid of pores in the metal in a significant amount.

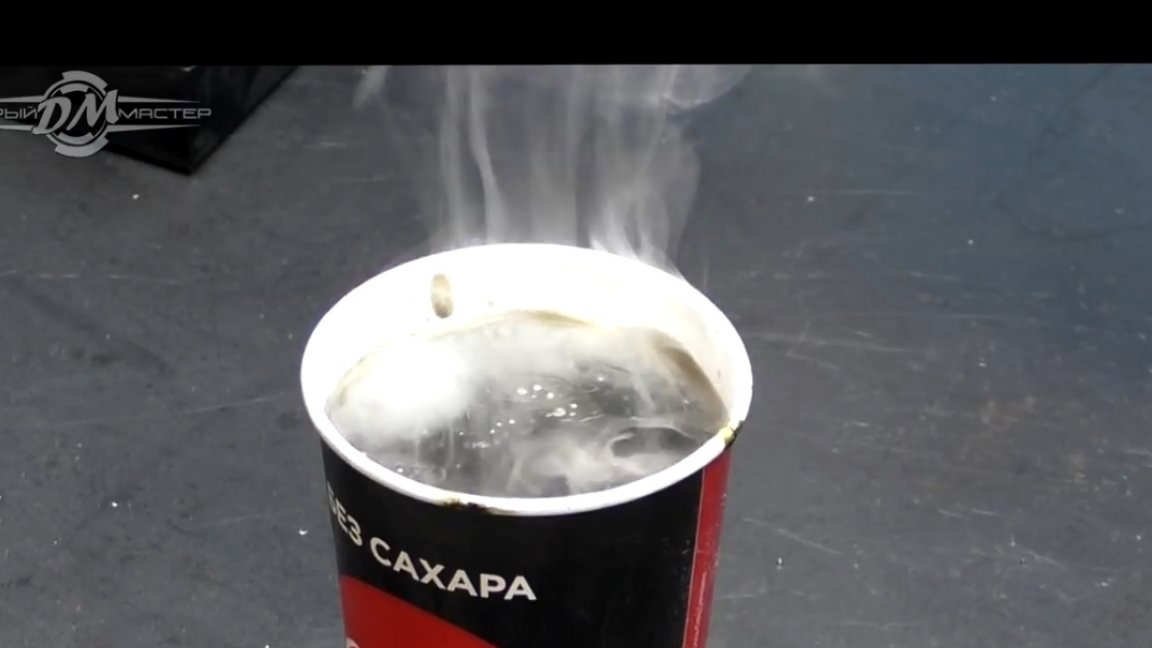
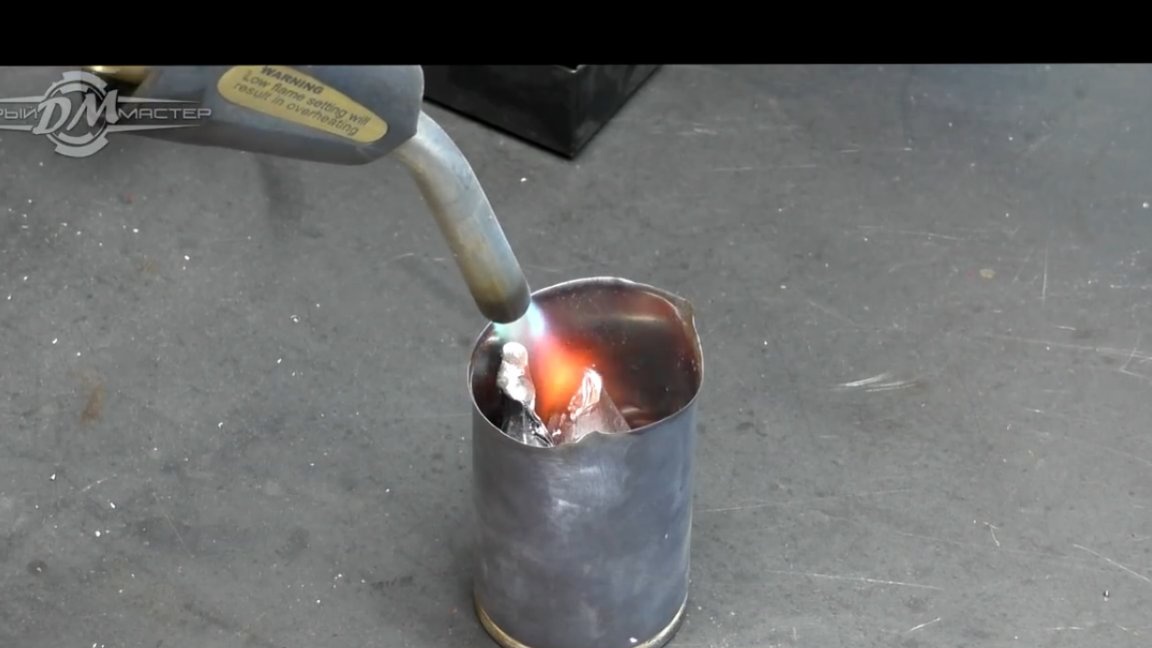
We will fill in the jar of vd-40 grease, it just fits perfectly in diameter. But first, the bank needs to be burned.
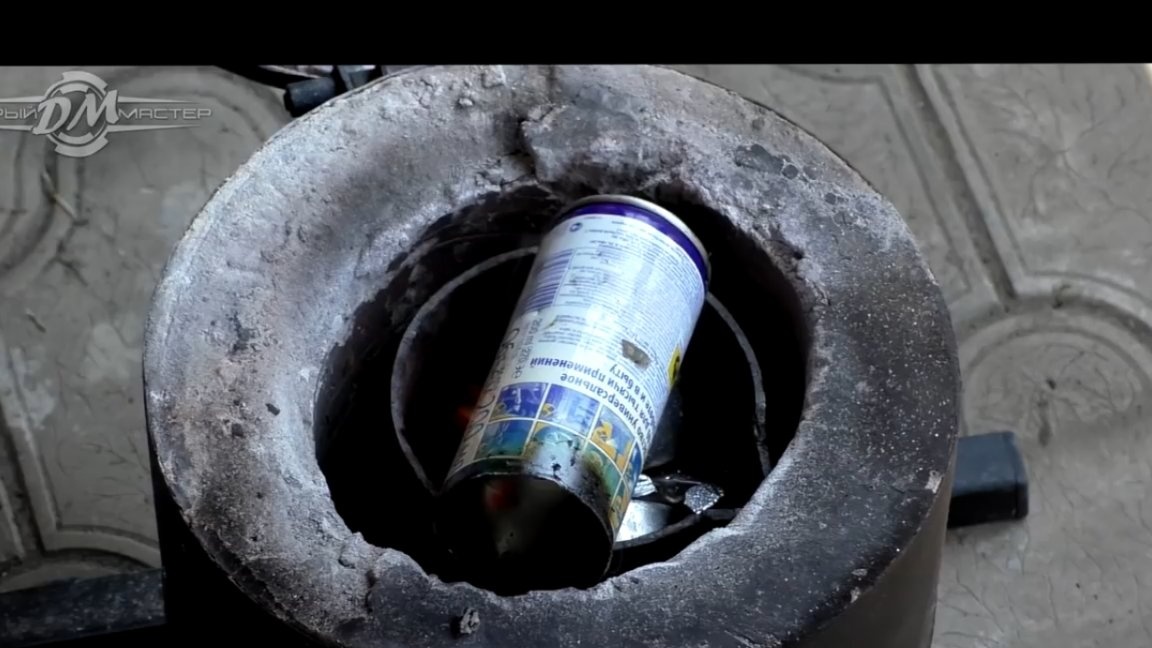
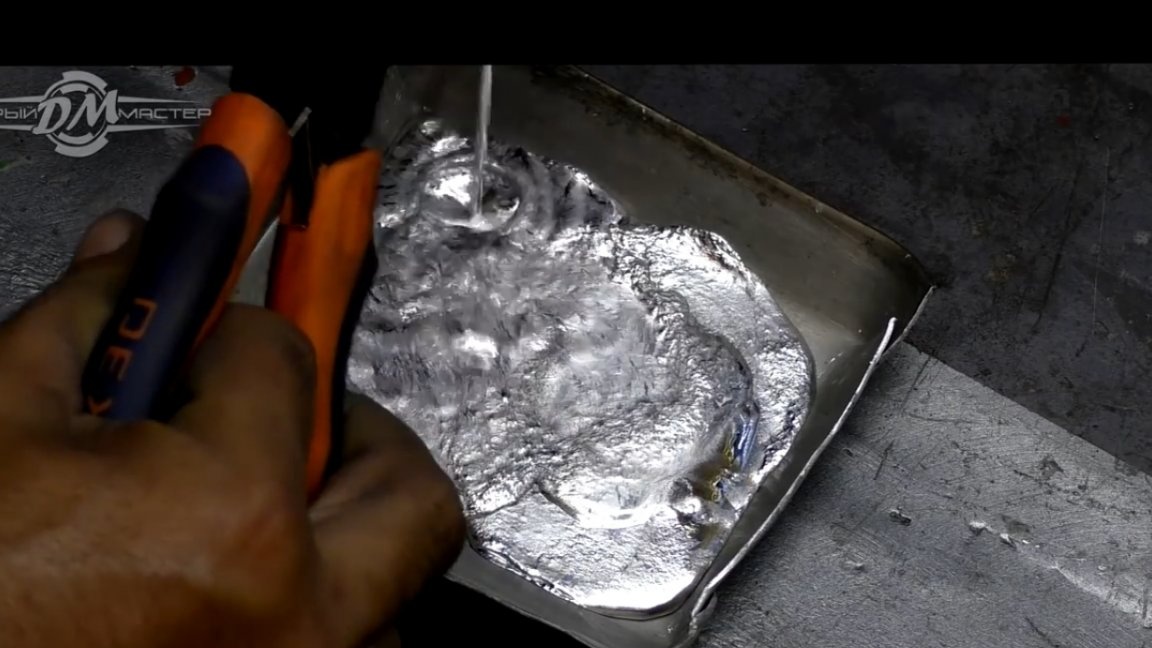
It is necessary to remove slag from the melt from above, while the master himself does not mix the melt. Now you can start pouring.
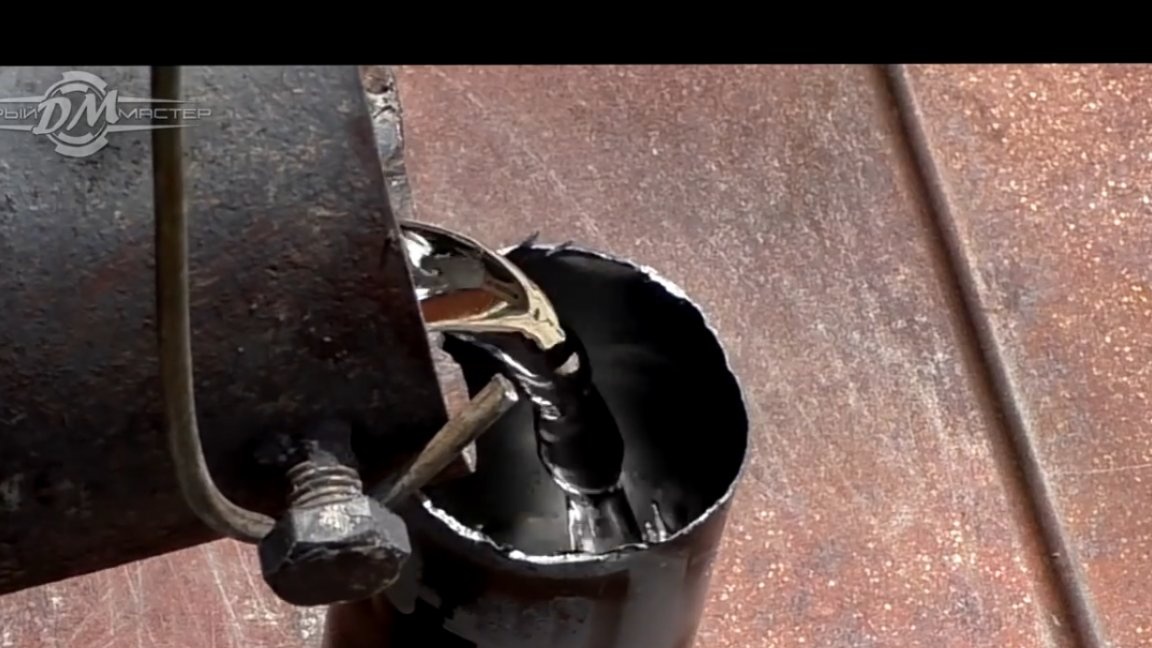
As a result, here we have such a blank:
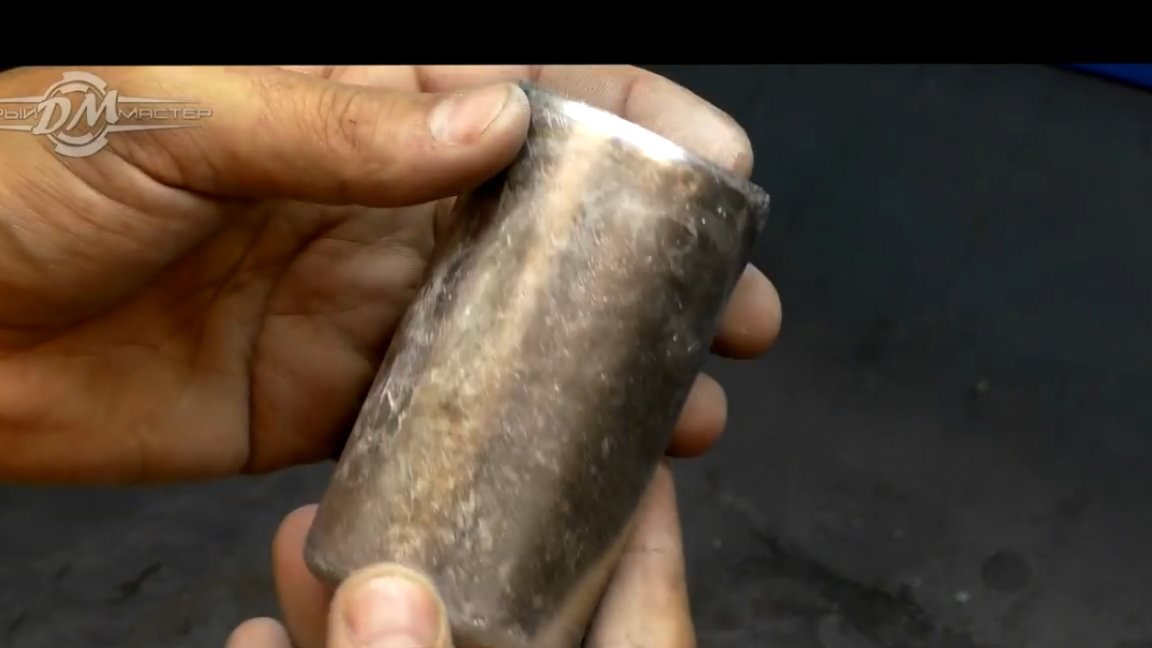
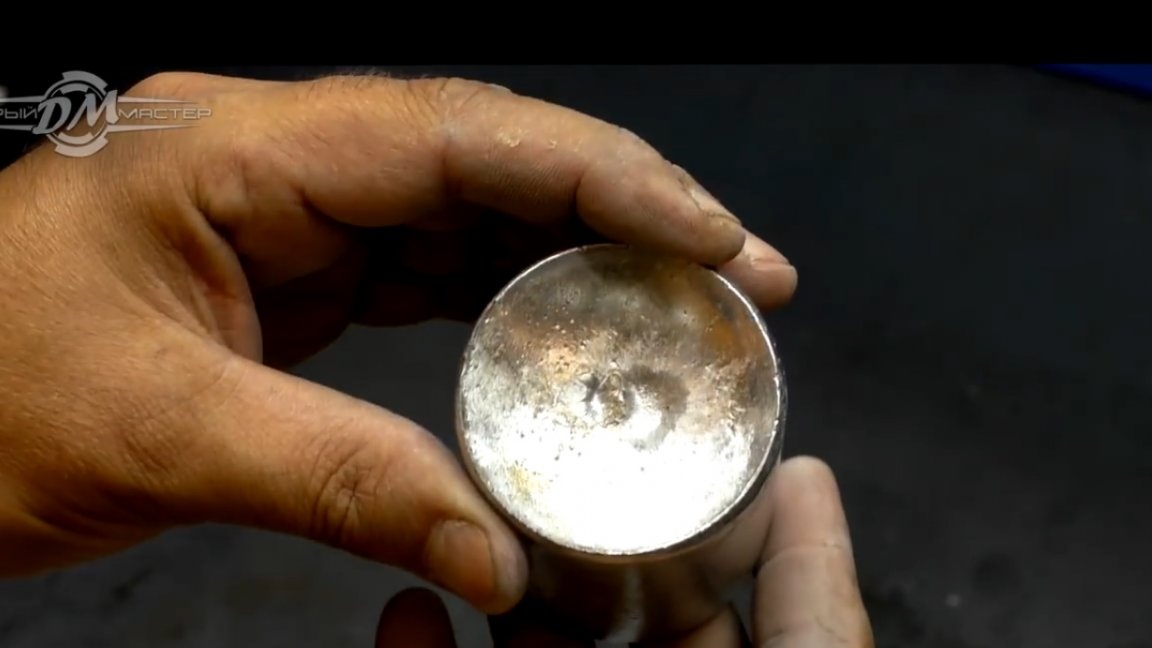
At first glance, the quality is not bad, it turned out much better than the previous castings of the author. Of course we’ll take a closer look at the machine.

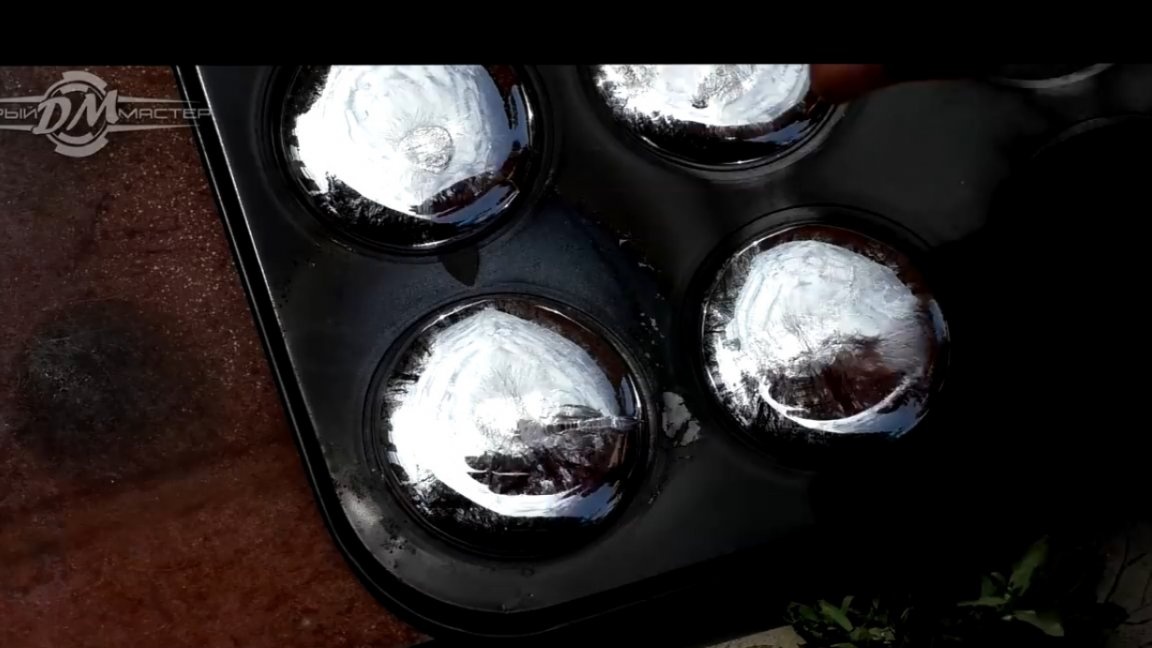
The master poured the remaining material into molds, so it will be much more convenient to reuse it.
We will try to grind the resulting workpiece with special plates on aluminum. According to the seller, viscous metal does not stick to them.

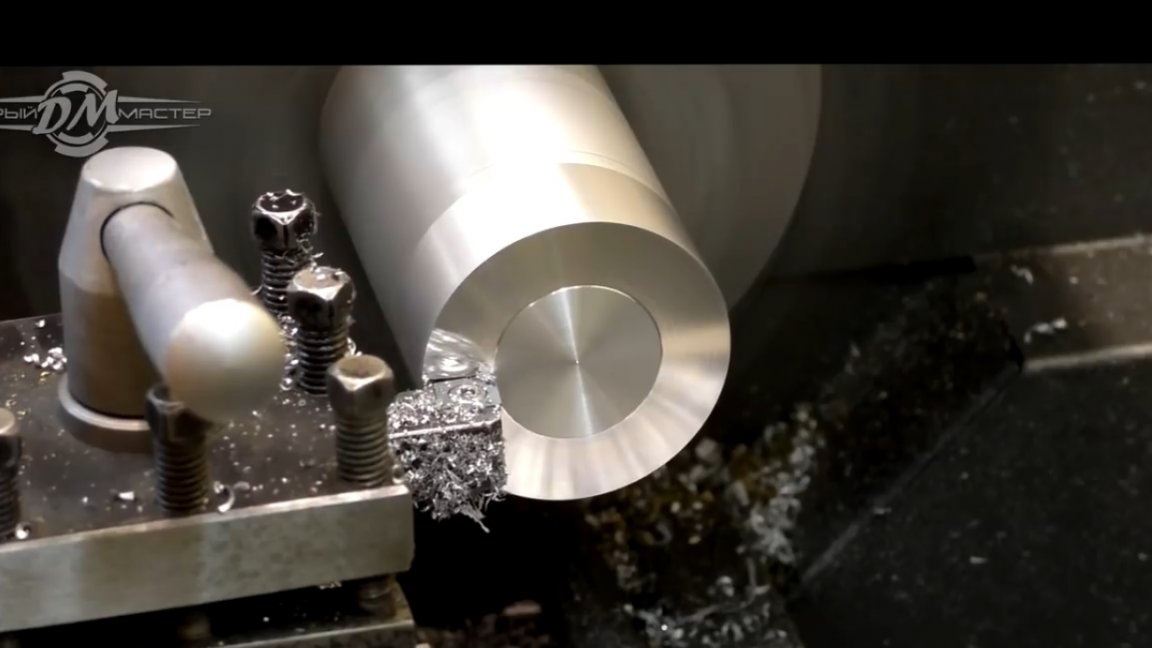
First you need to perform rough peeling of the workpiece. Her external dimensions are arbitrary, but the larger, the better, why understand later.
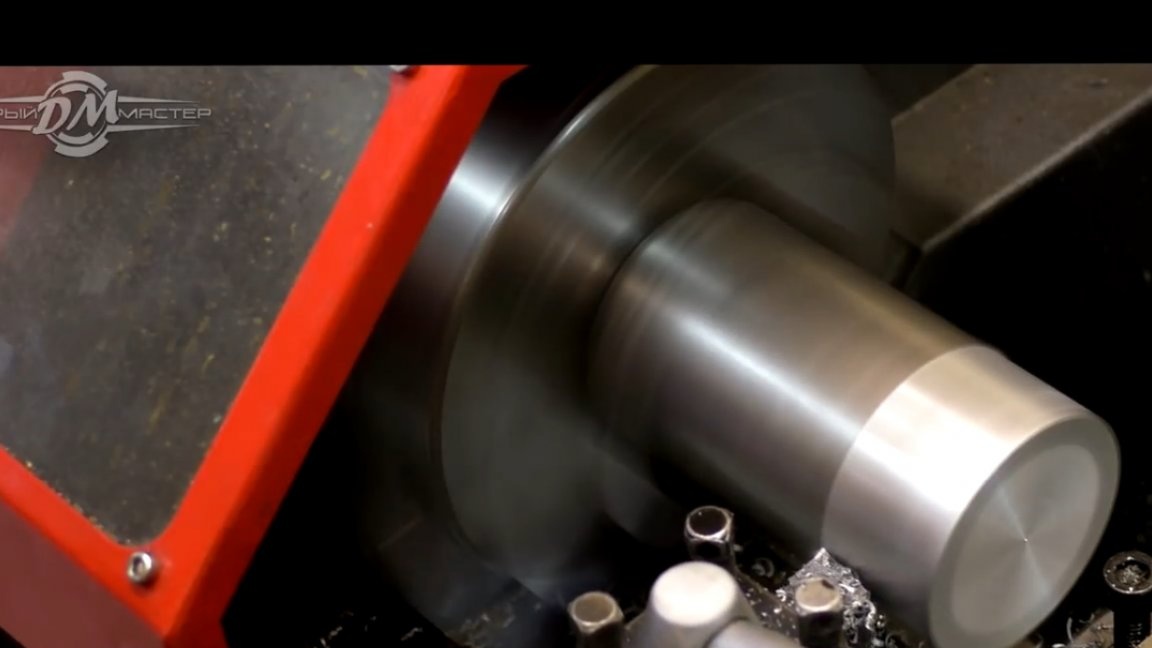
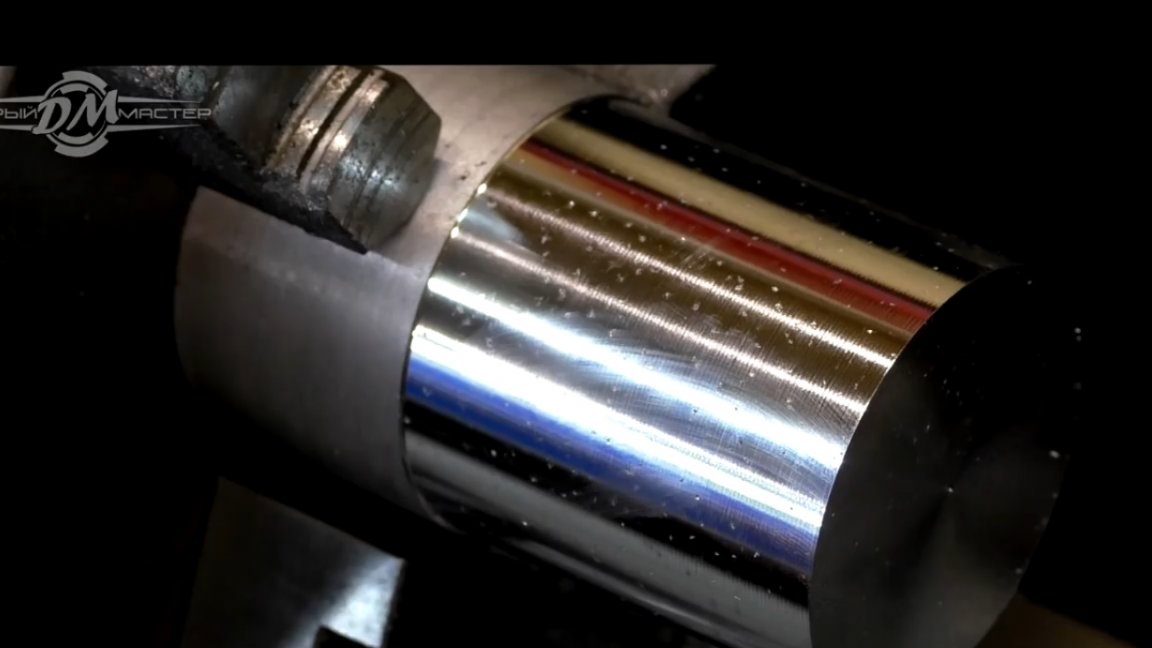
Then, for clarity and to give additional gloss, we will go over a plate with a diamond sharpening.
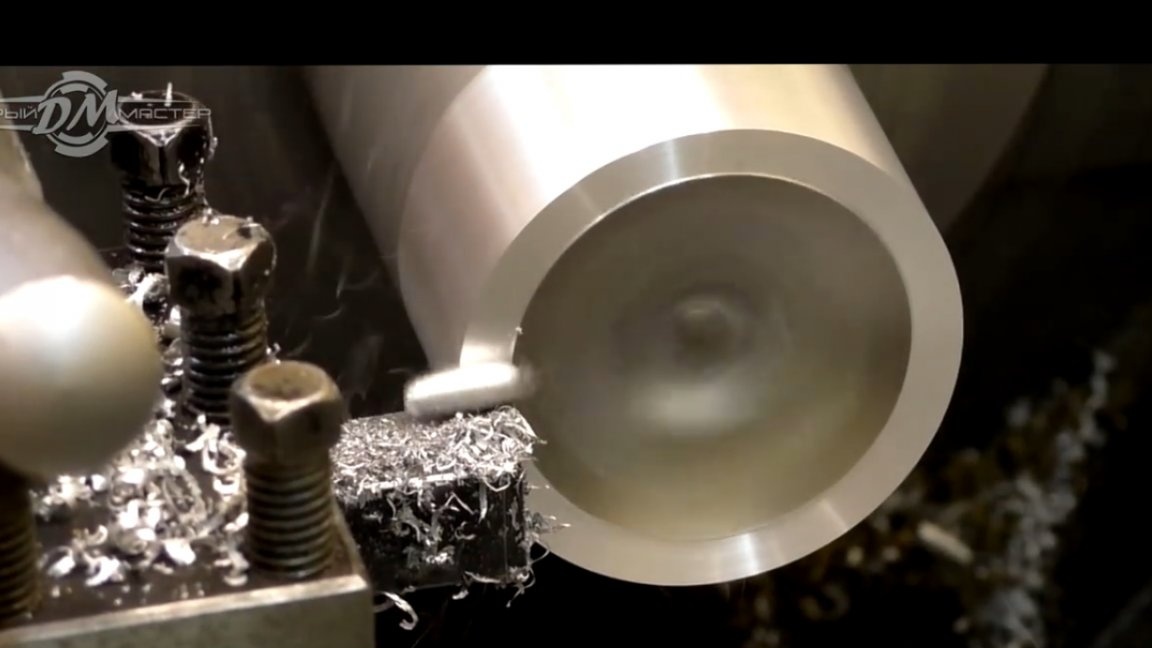
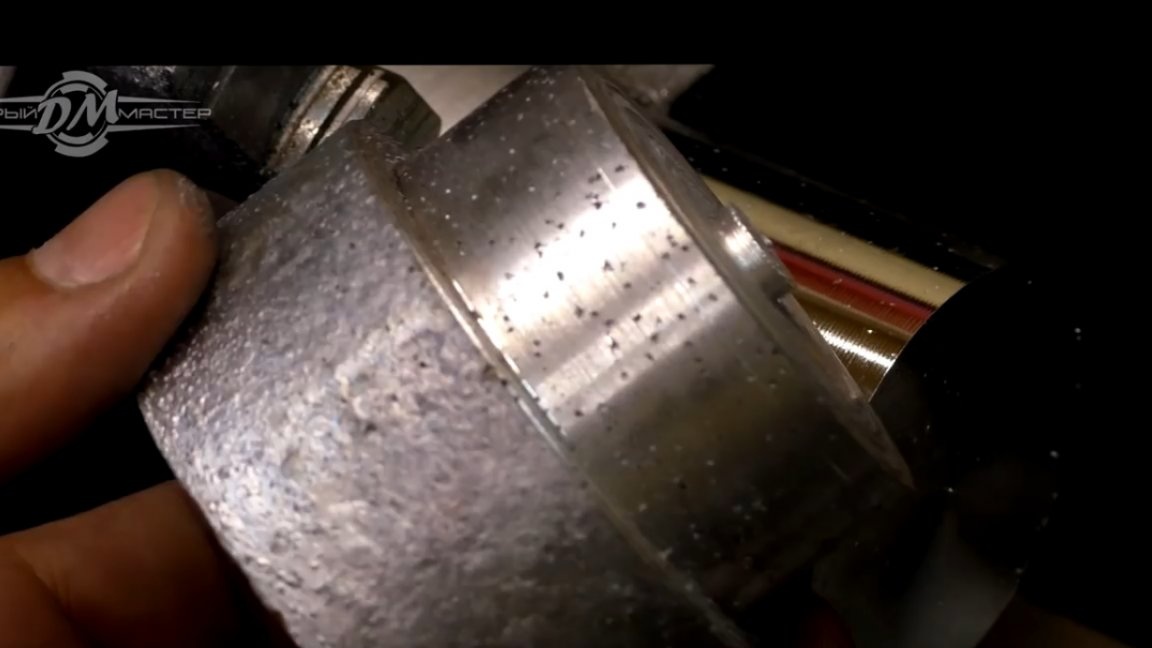
As you can see, small shells in the metal nevertheless have a place to be and are present on the workpiece, but if compared with previous versions, this casting turned out to be just perfect.
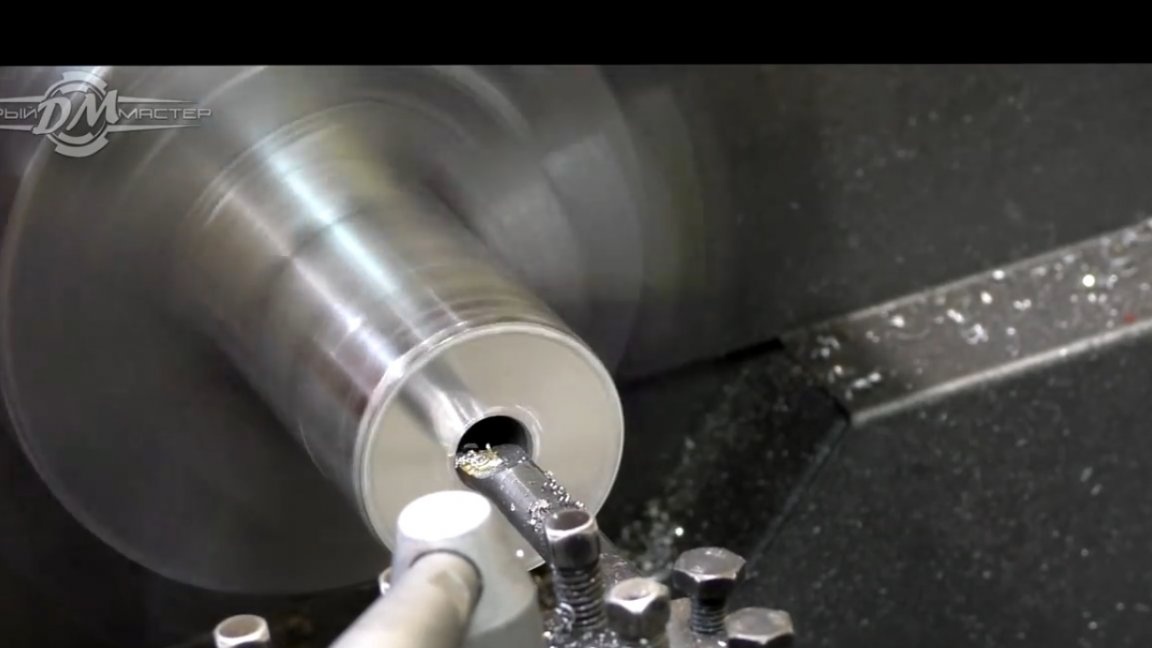
Further in the workpiece, it is necessary to drill a hole with a diameter of 13 mm.
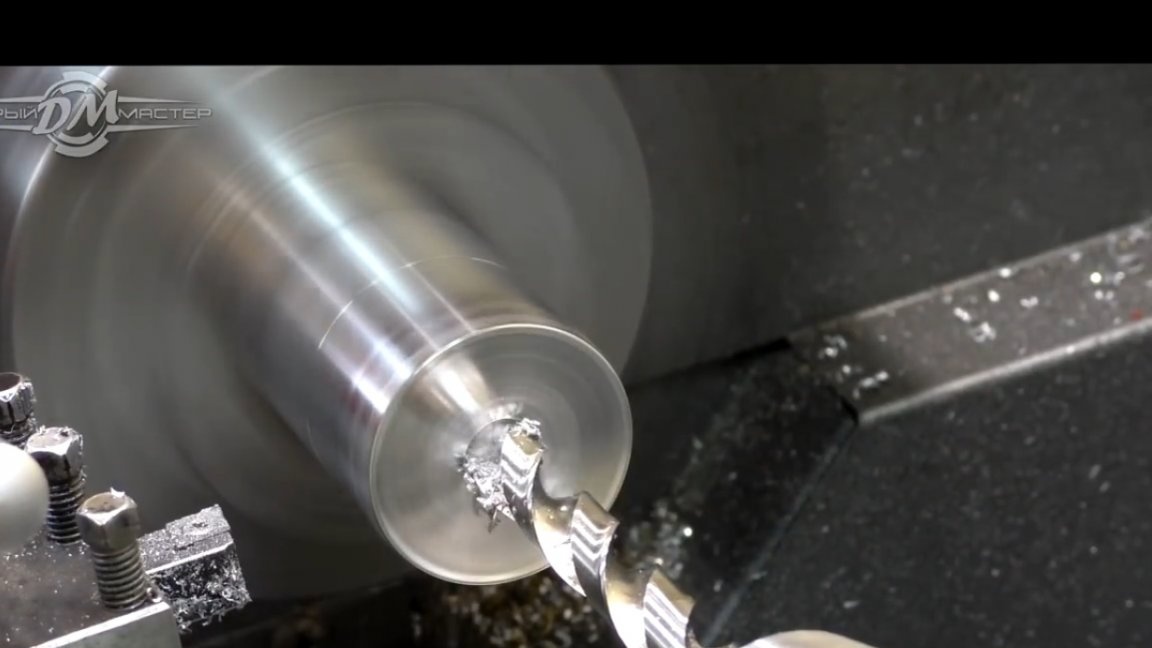
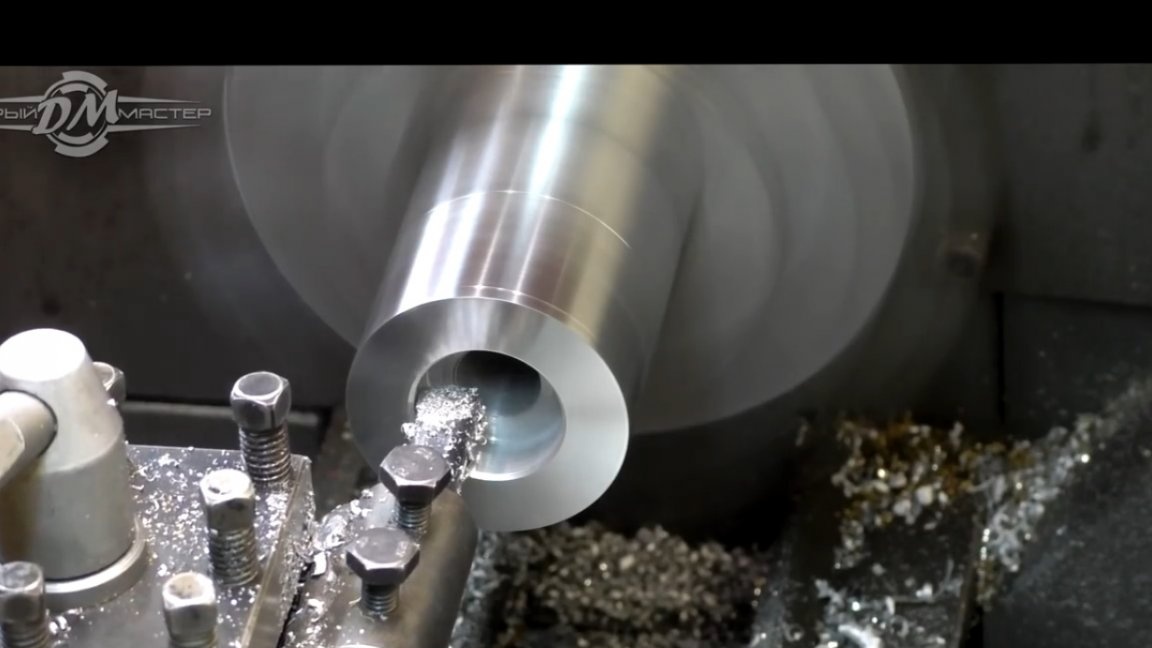
Subsequently, we will bore the resulting hole up to 14mm, then a guide will be inserted into it.
And on the opposite side it is necessary to make a groove to the size of the die.
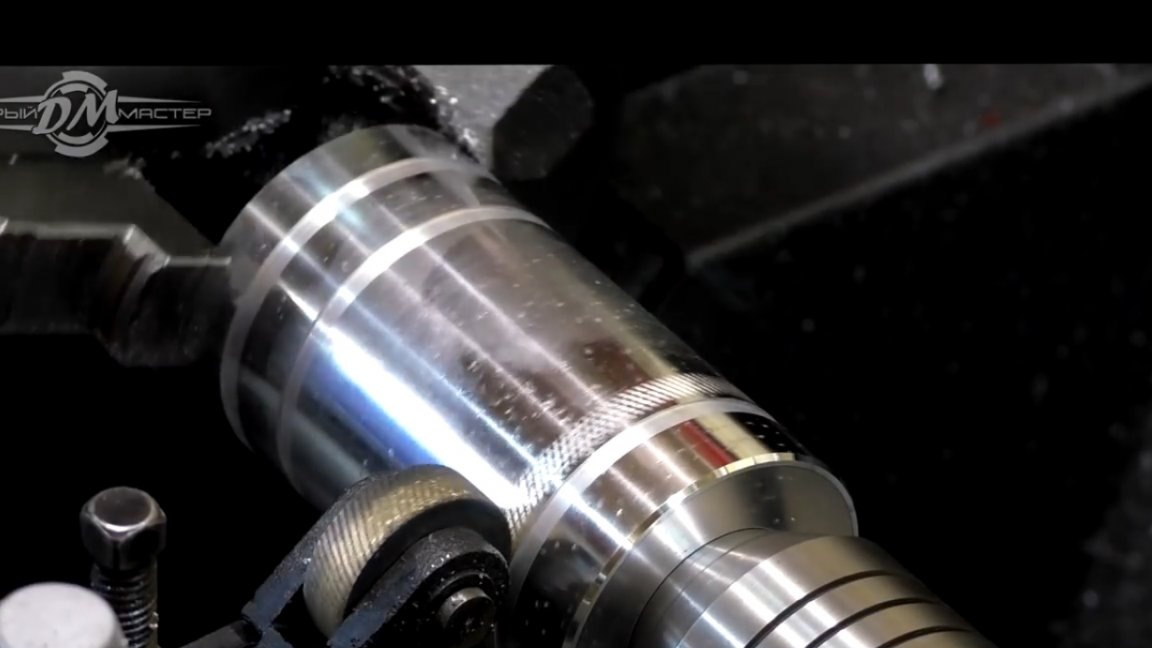
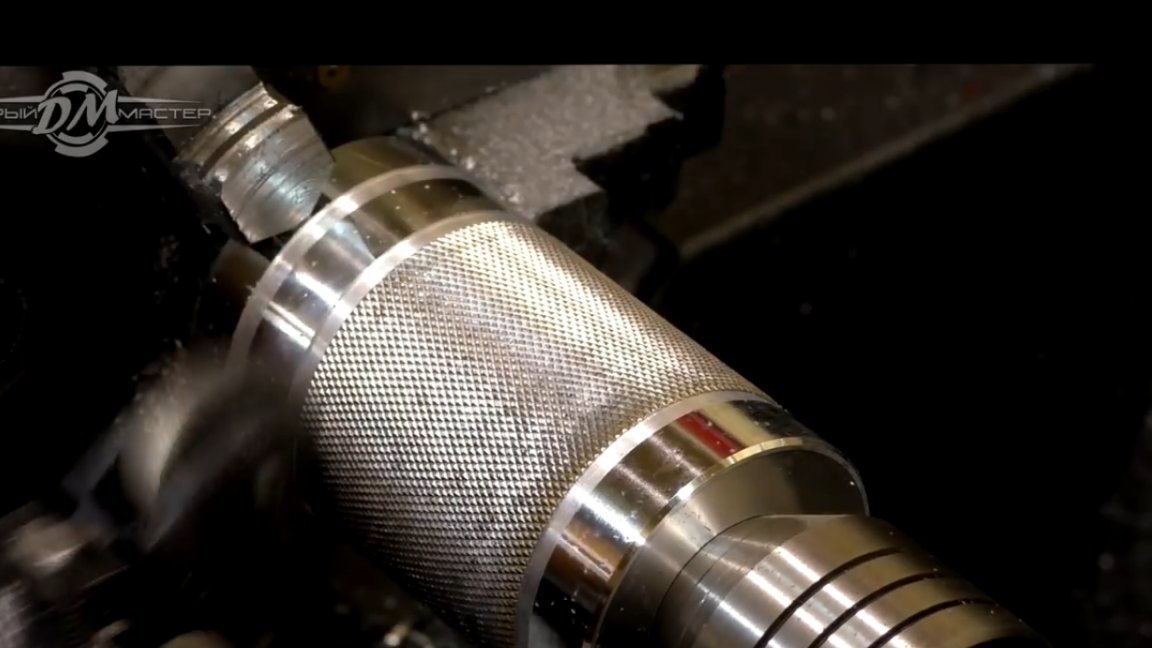
For better grip in the hand when threading a small diameter, it is necessary to knurl on the future tool. The author decided not to roll along the entire plane, so, in his opinion, it will be more beautiful.
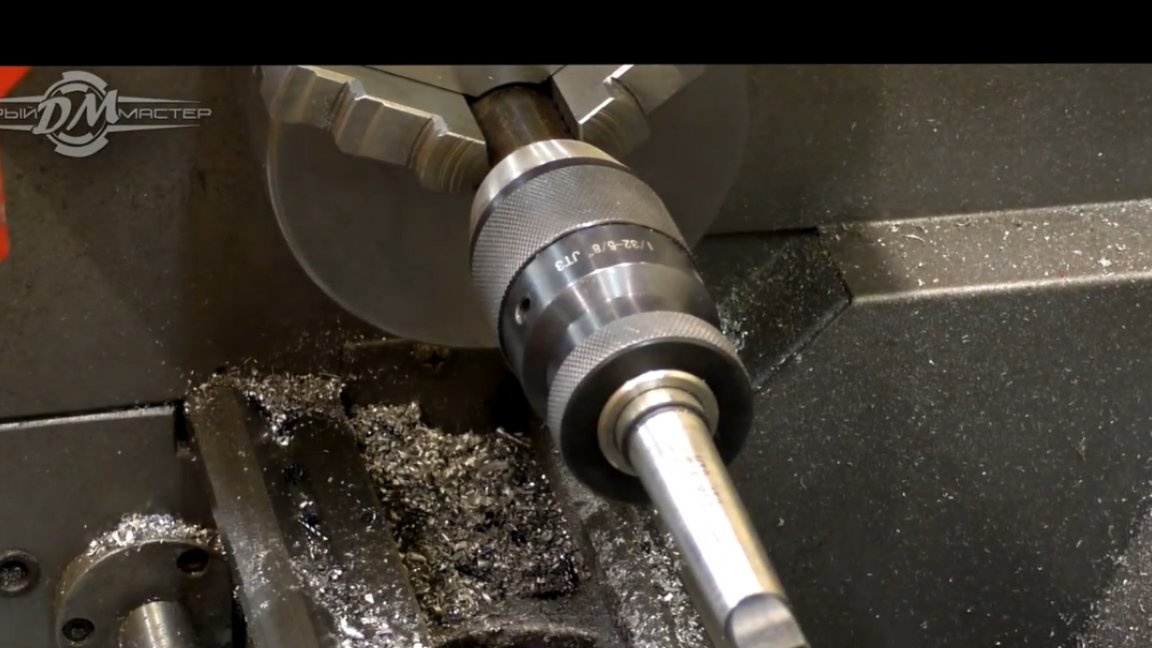
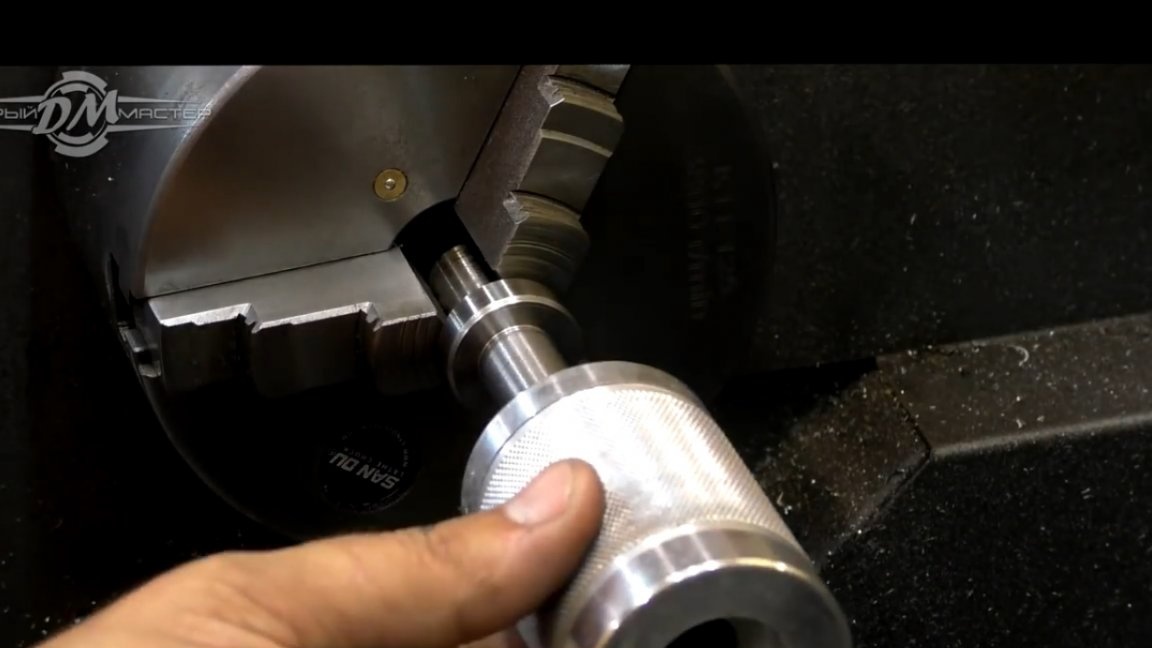
Next, we proceed to the manufacture of the guide. It will be made of steel 45, this is the remainder of the old scrap from the times of the USSR.

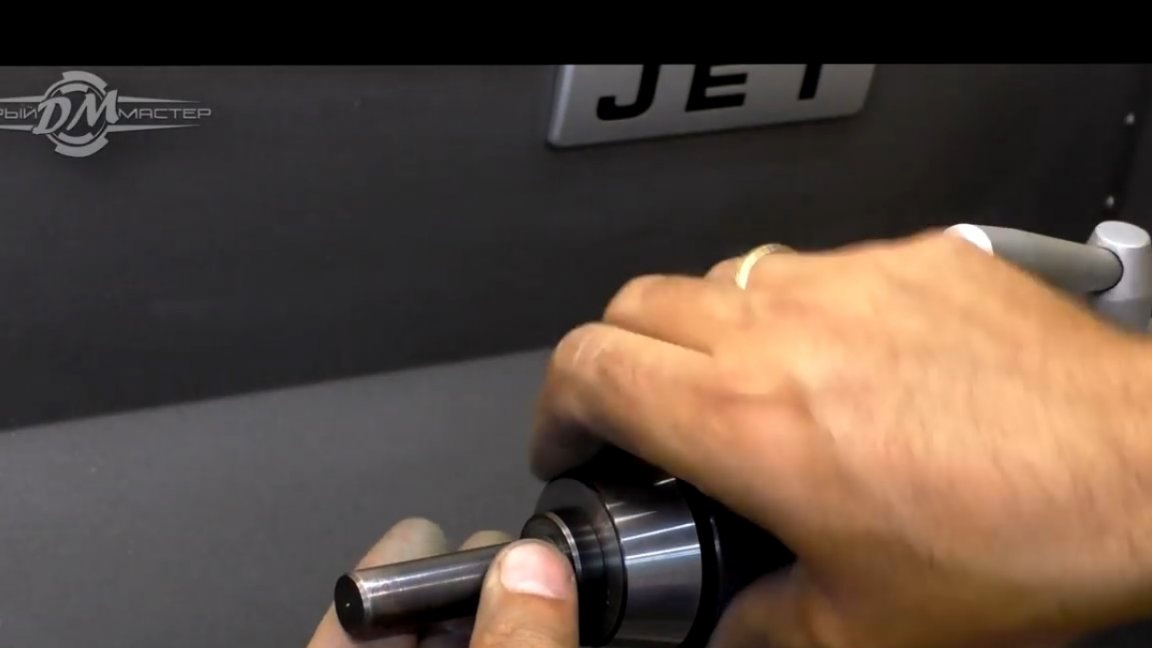
On the one hand, the master made a shank for mounting the shaft in the cartridge.
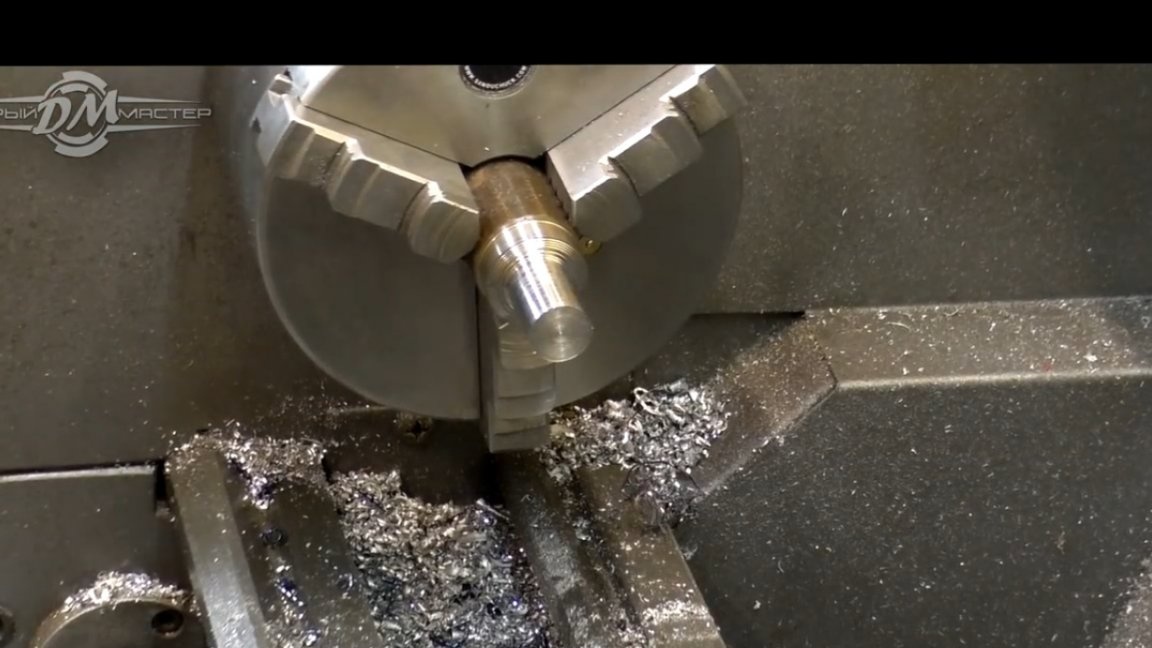
It turned out just perfect, there is practically no beating.
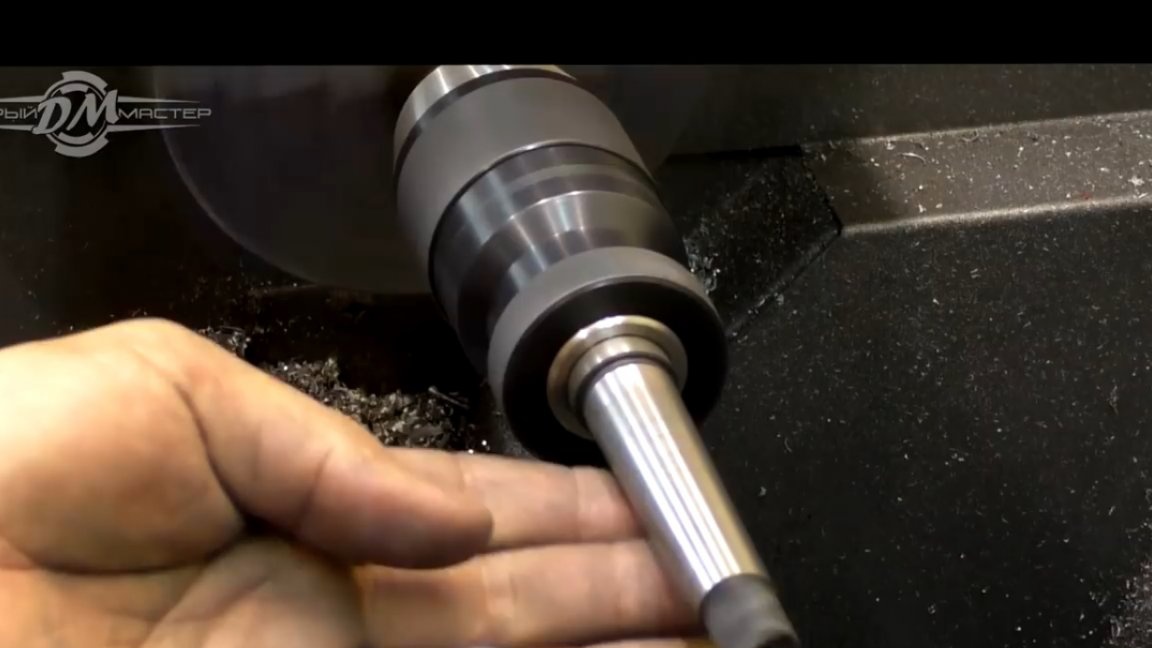
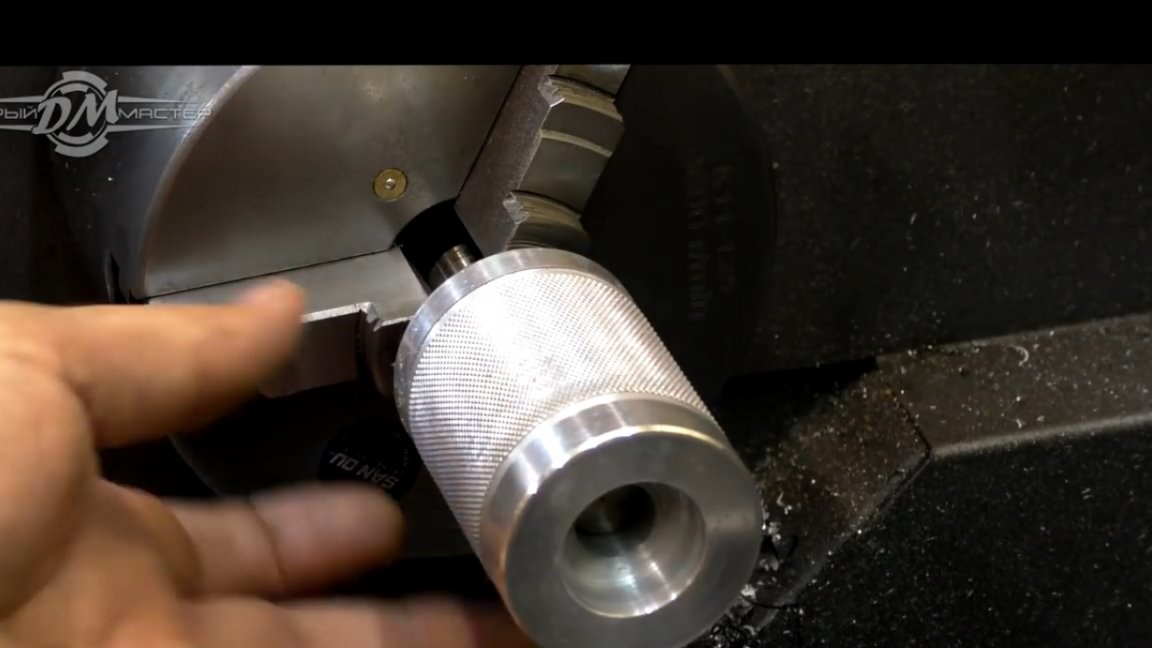
Then proceed to the groove of the second side. Here it is necessary to remove the chamfers and grind a little.
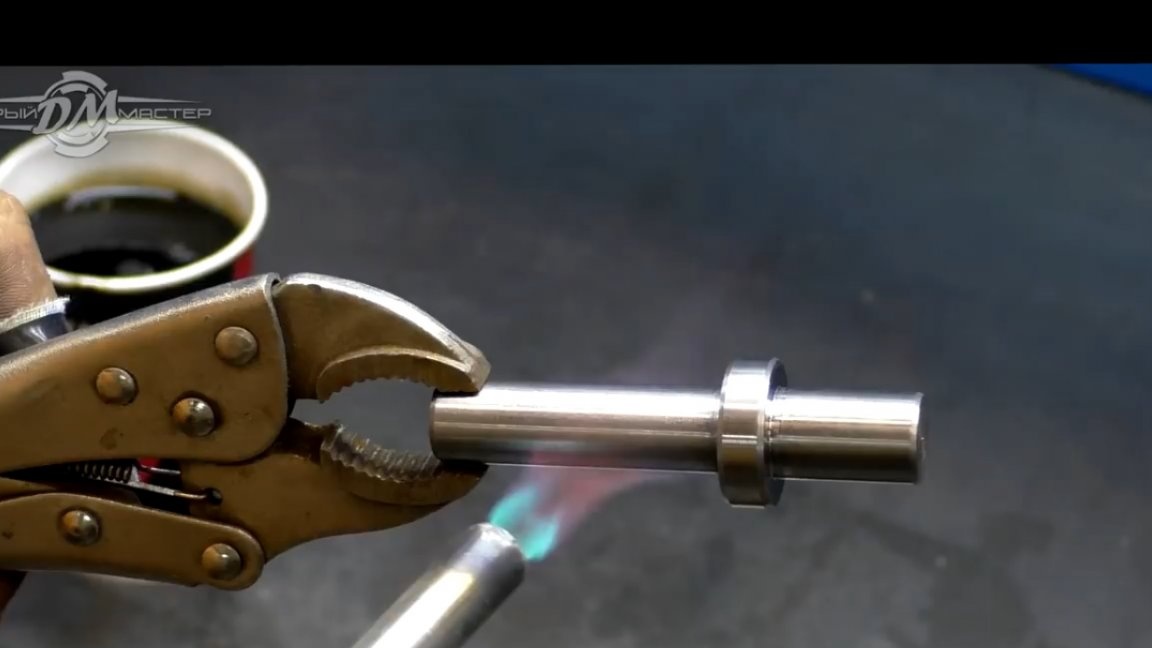
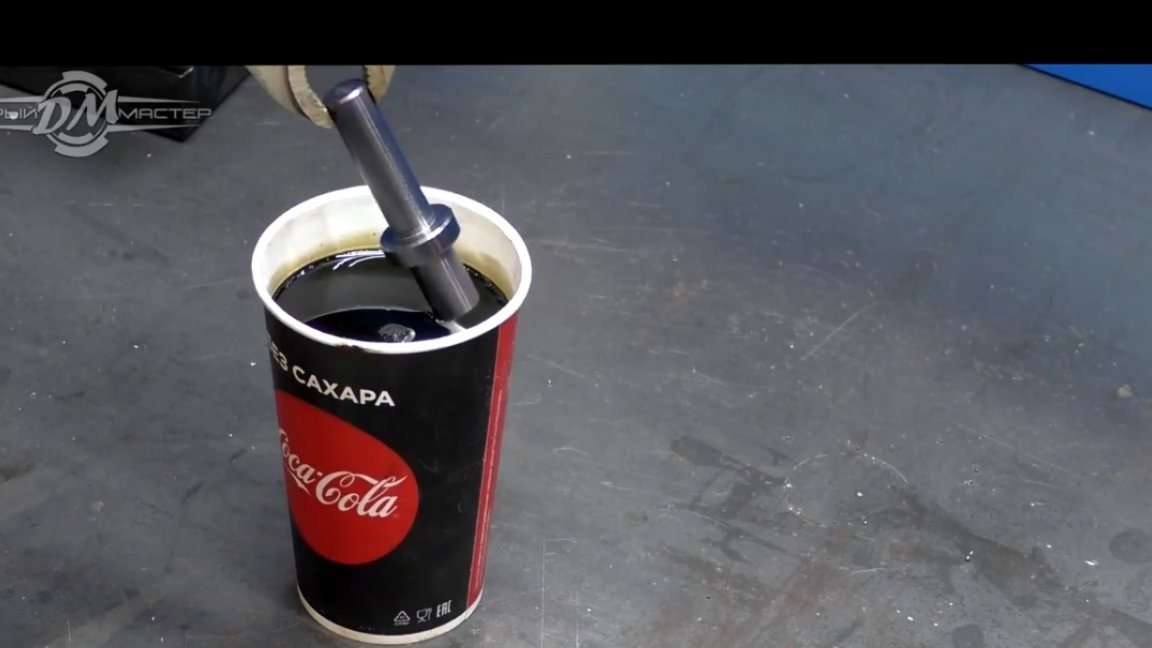
Now we proceed to the processing of parts. The author decided to bury the shaft, and anodize the holder. Shaft processing is extremely simple. First you need to heat the part to a certain temperature, and then immerse the shaft in a glass with Coca-Cola.
But with anodizing, everything was not as simple as it seems at first glance. Especially for this, the author had to make a pair of lead electrodes. These electrodes were made of old fishing sinkers, since the author, unfortunately, did not have any other material for this task.
Then the part must be secured with aluminum wire.
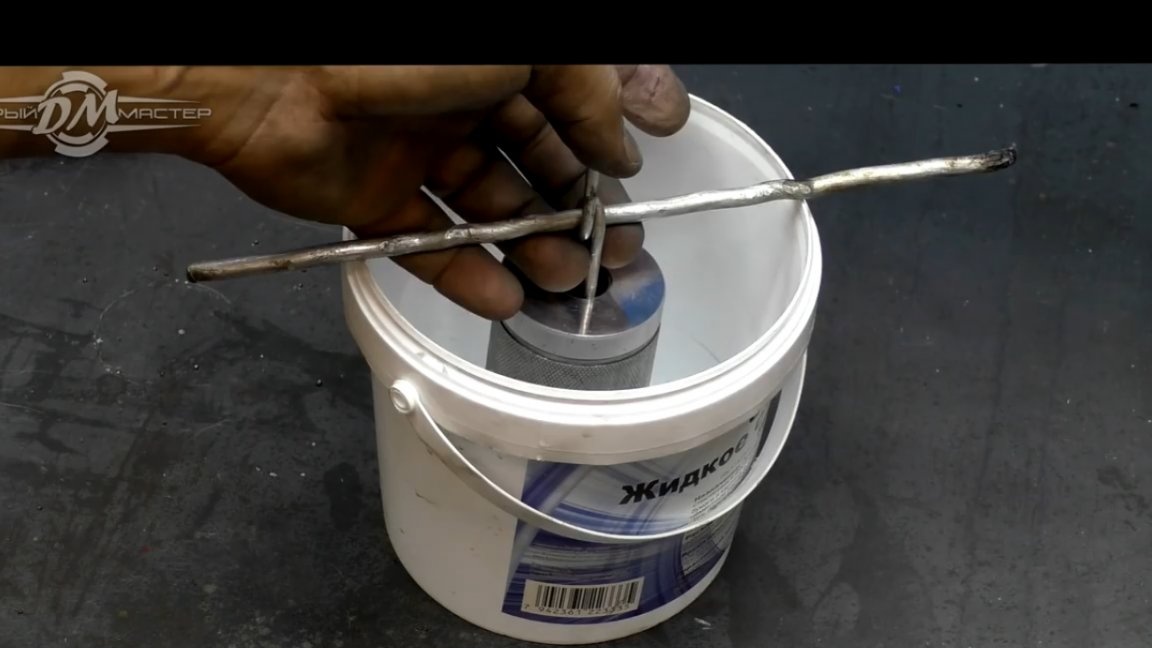
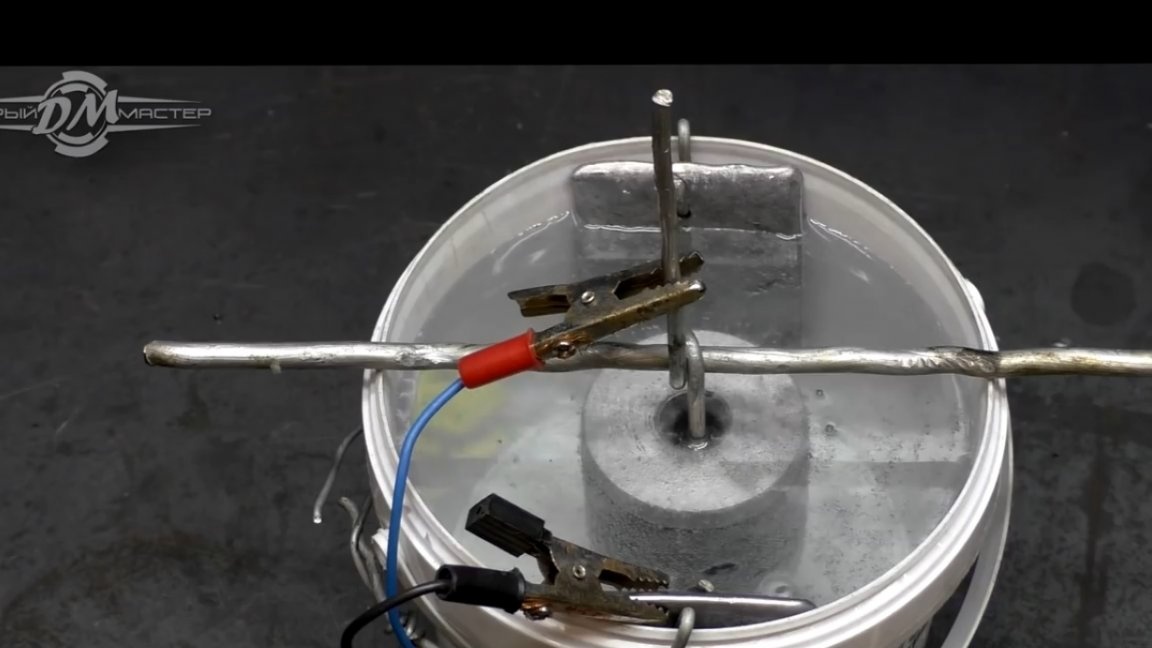
We do the same with a pair of lead electrodes, we fix them with an aluminum wire in this way:
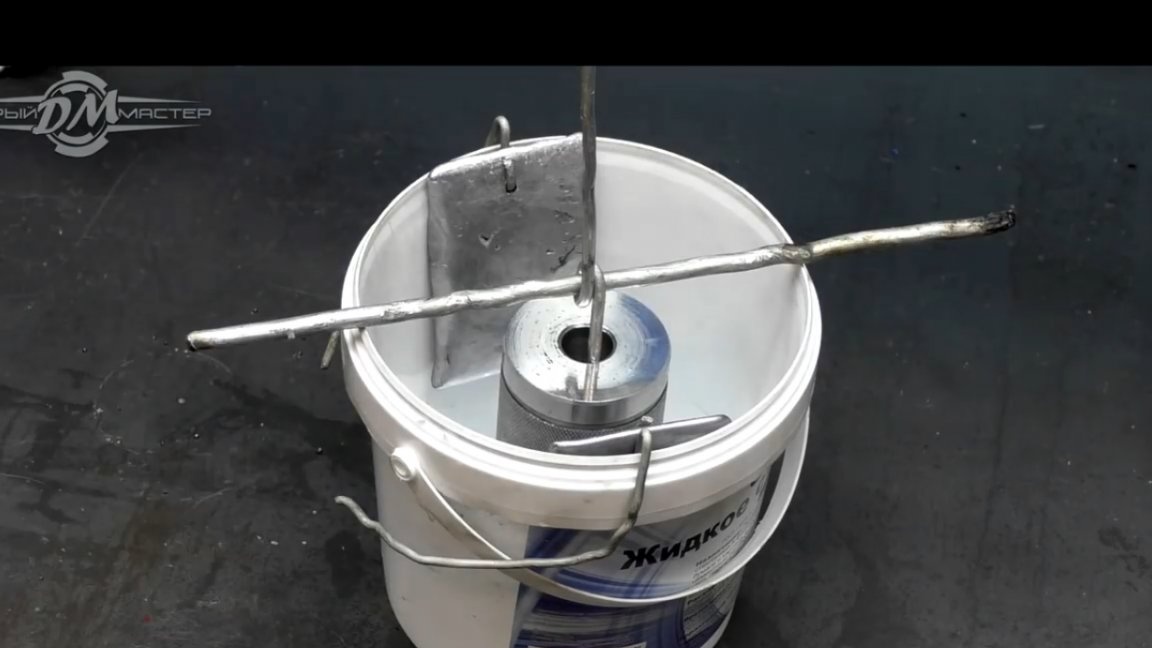
Further, all this resulting “sandwich” must be filled with the most ordinary electrolyte from the batteries.
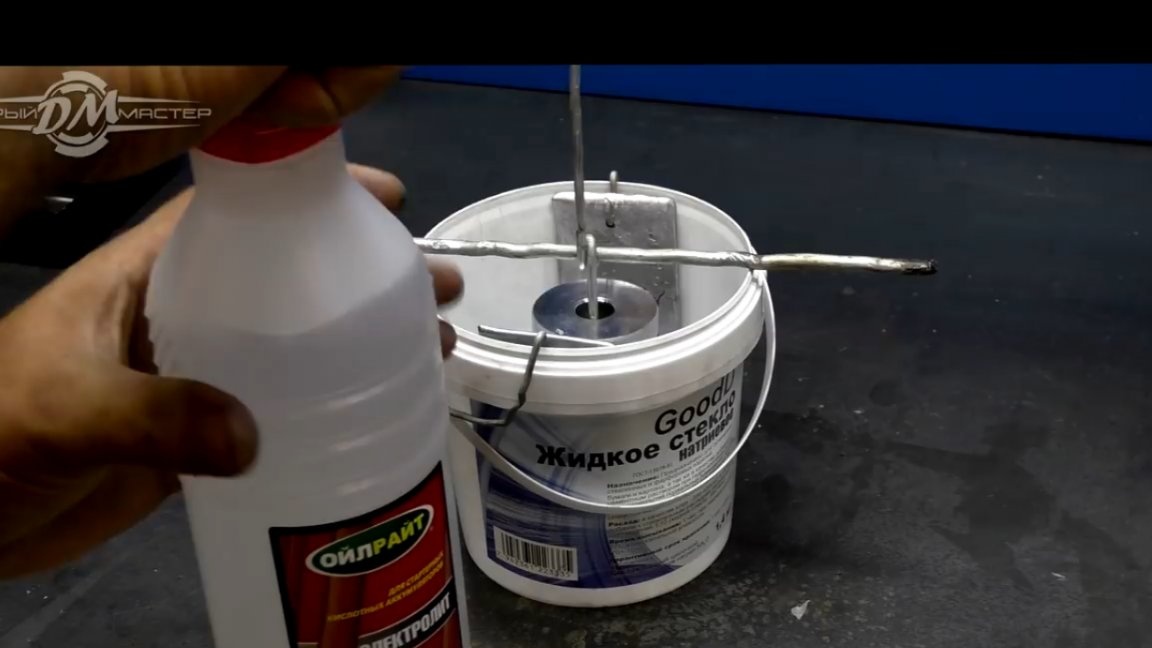
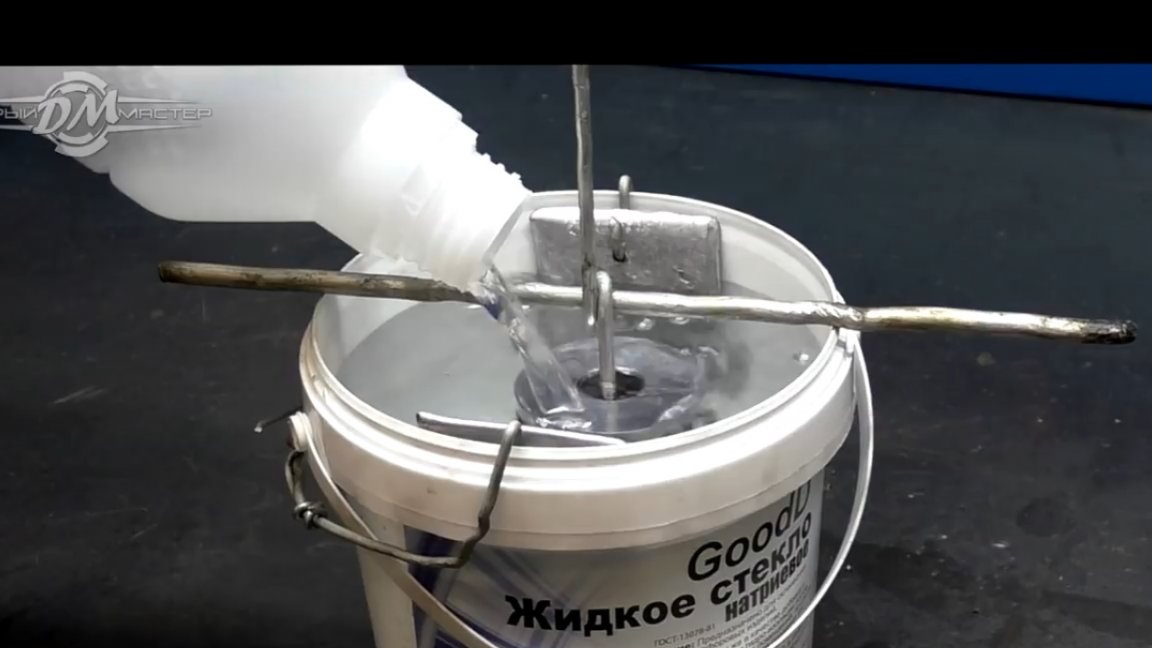
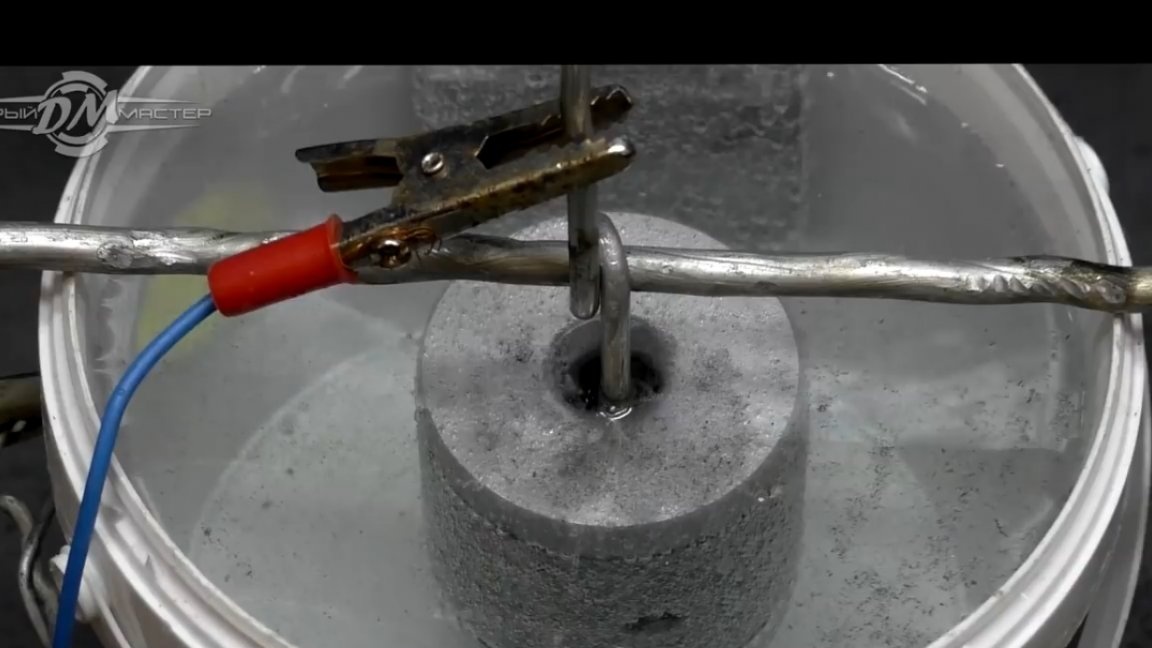
It remains only to connect the wires and apply voltage.
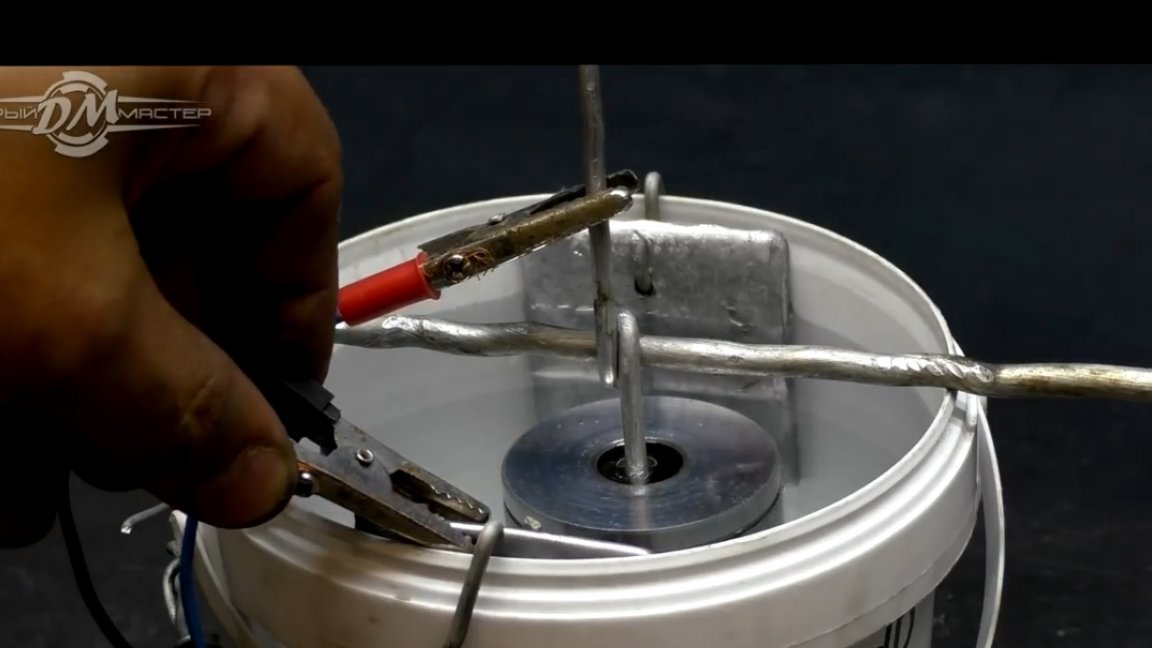
You can see how the reaction started almost immediately, as a result of which an oxide layer was supposed to appear on the surface of the part.
The author uses the most ordinary green paint as a paint, as they say in numerous forums, this should work. Zelenka for this procedure will need quite a lot. In total, more than 120ml was used.
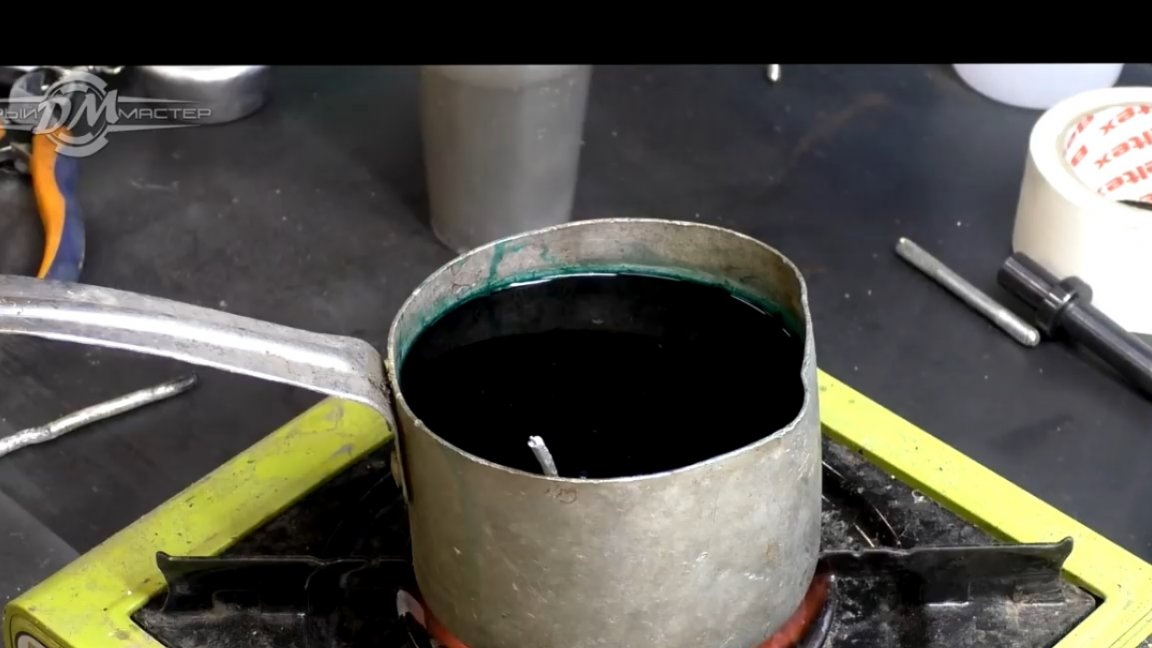
After an hour, it is necessary to immerse the part in the coloring solution. We are waiting for 20 minutes, let it boil.
Unfortunately, as a result, anodizing did not work out, but on the other hand, the shells on the metal turned out even more.
After such anodizing, the workpiece had to be processed again on a lathe. Well, if it didn’t work out in green, then let it shine.
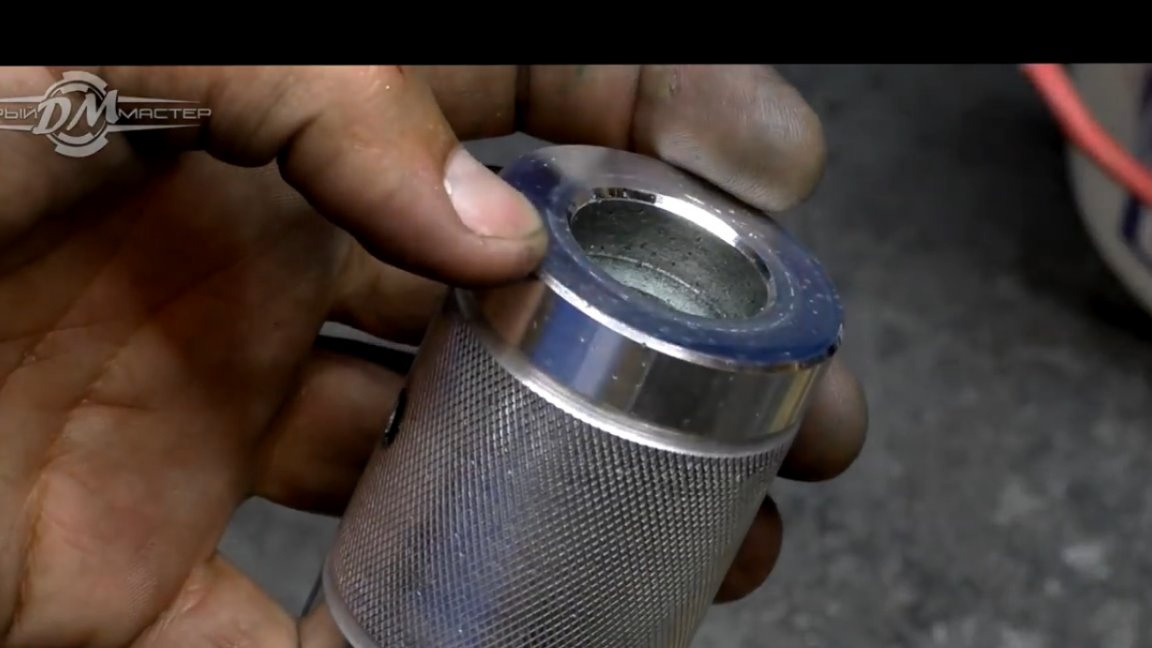
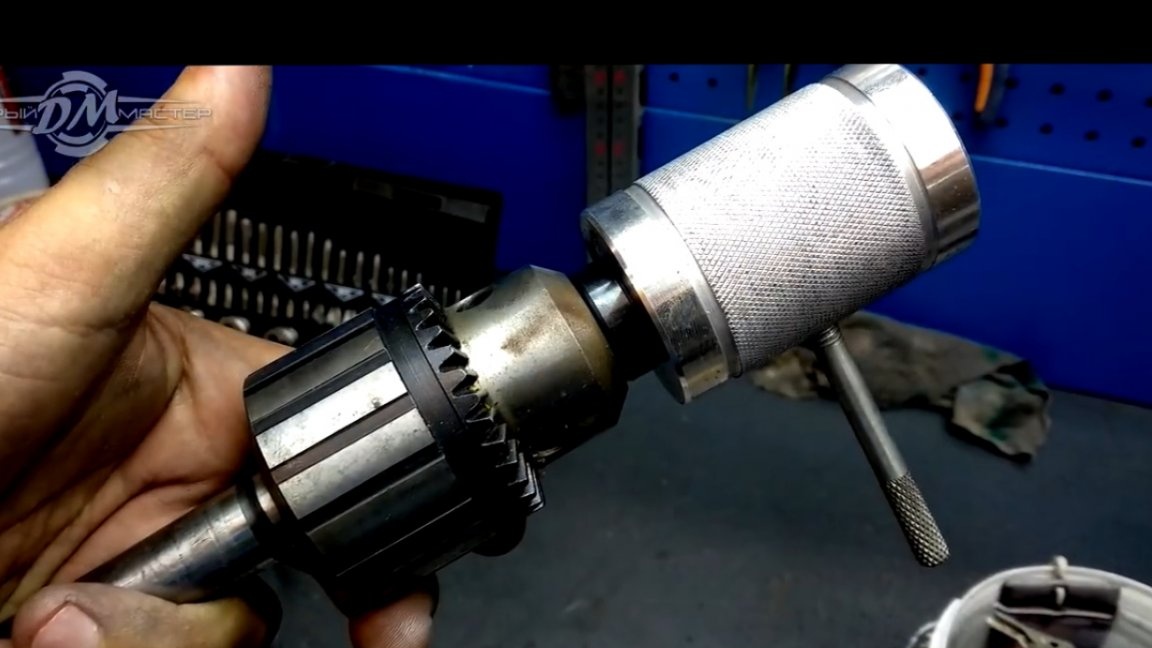
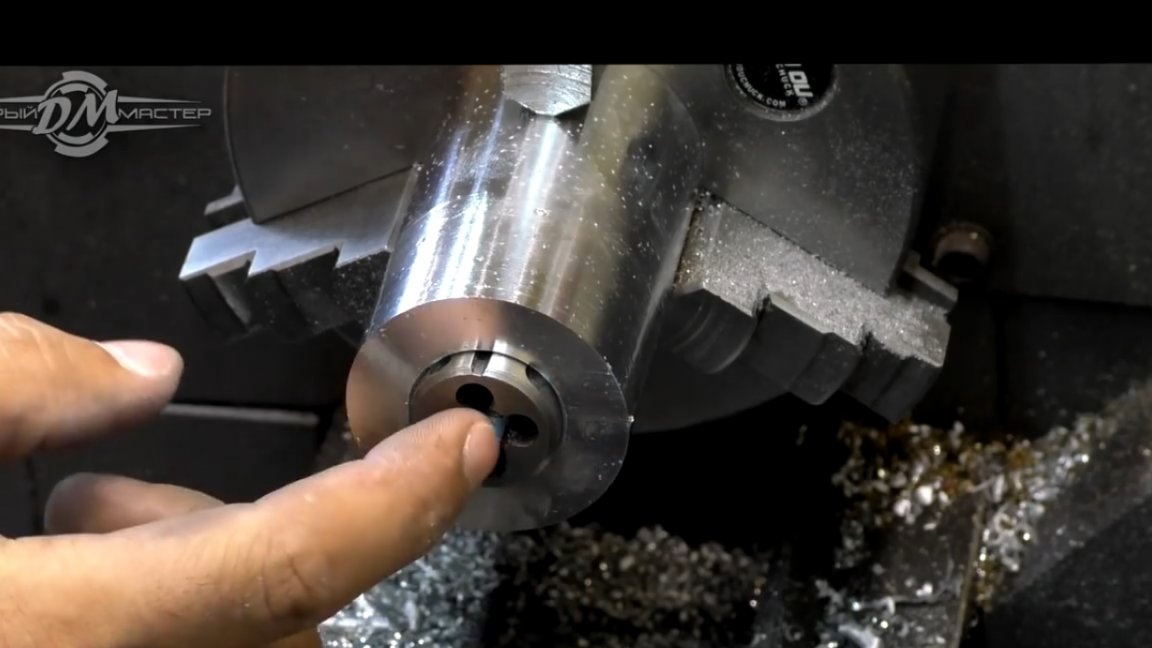
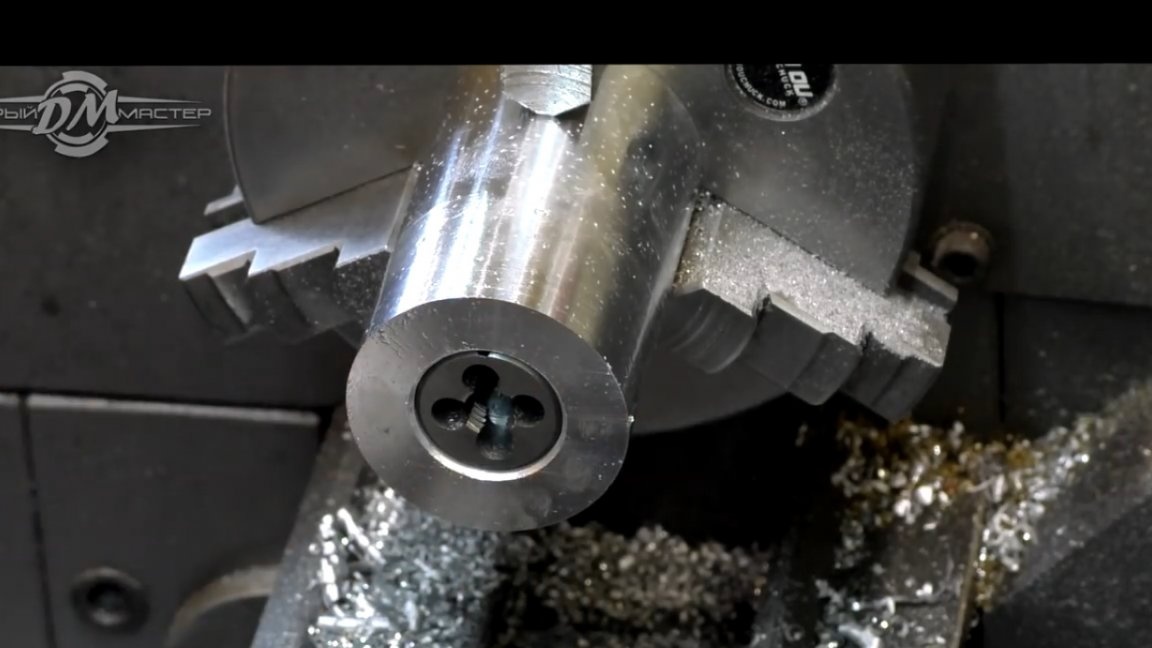
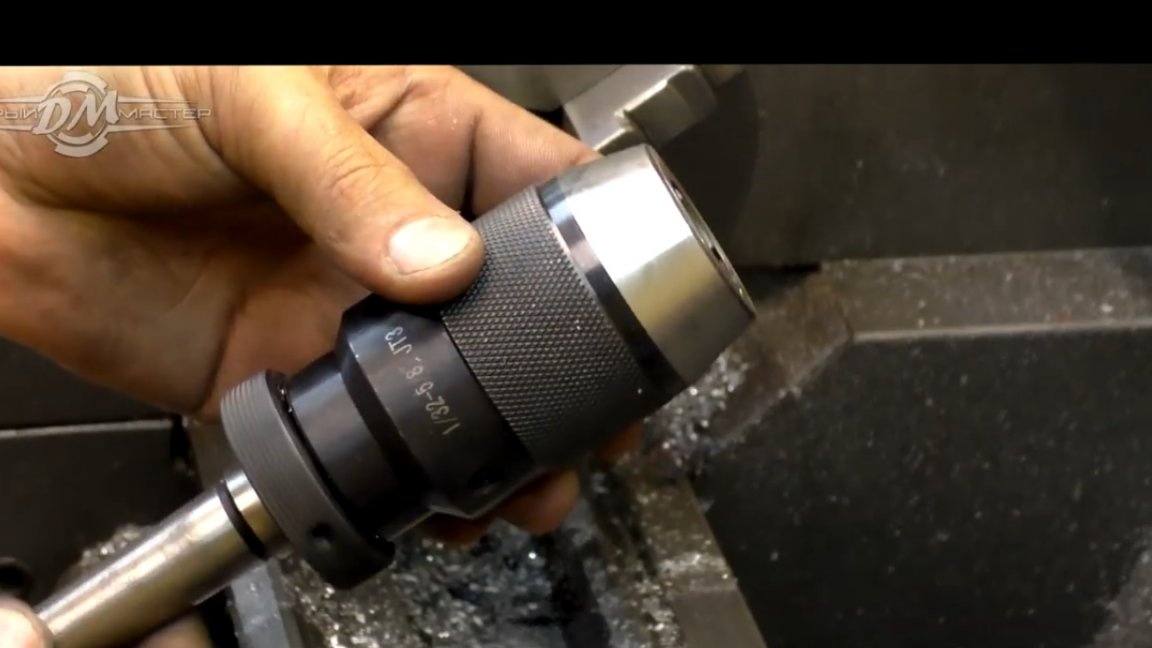
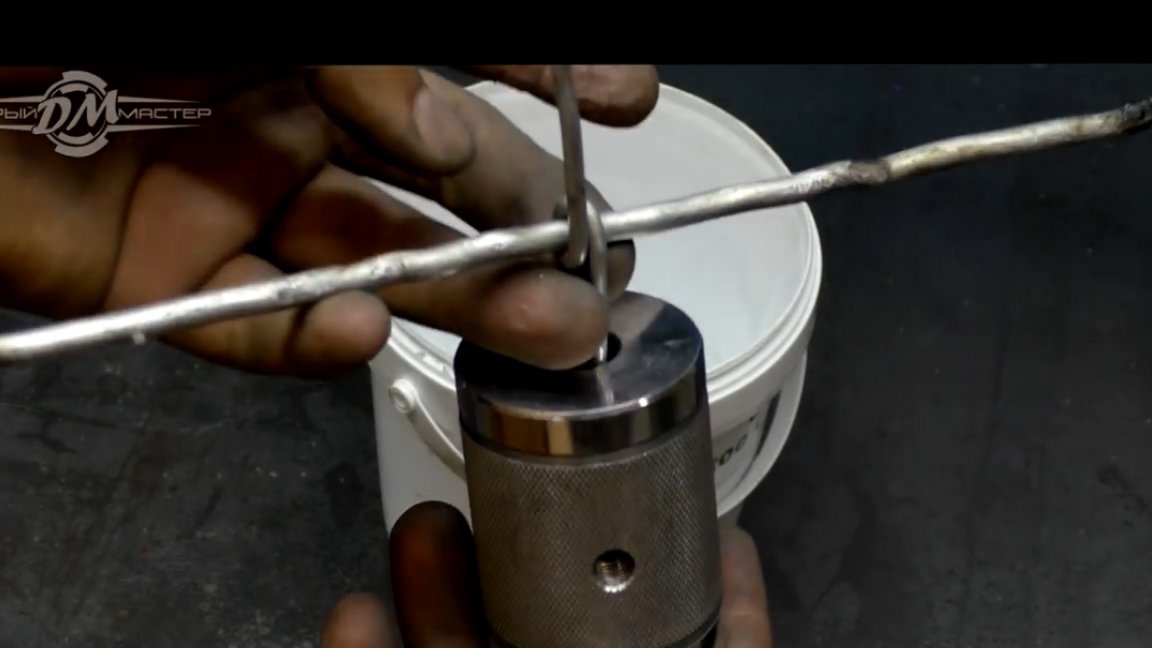
That's all, the homemade product is completely ready. Let's check it in work. First, we fasten the shaft into the cartridge guide, we put on a holder on it and almost everything remains to screw in the gujon under the hexagon for fixing the die.
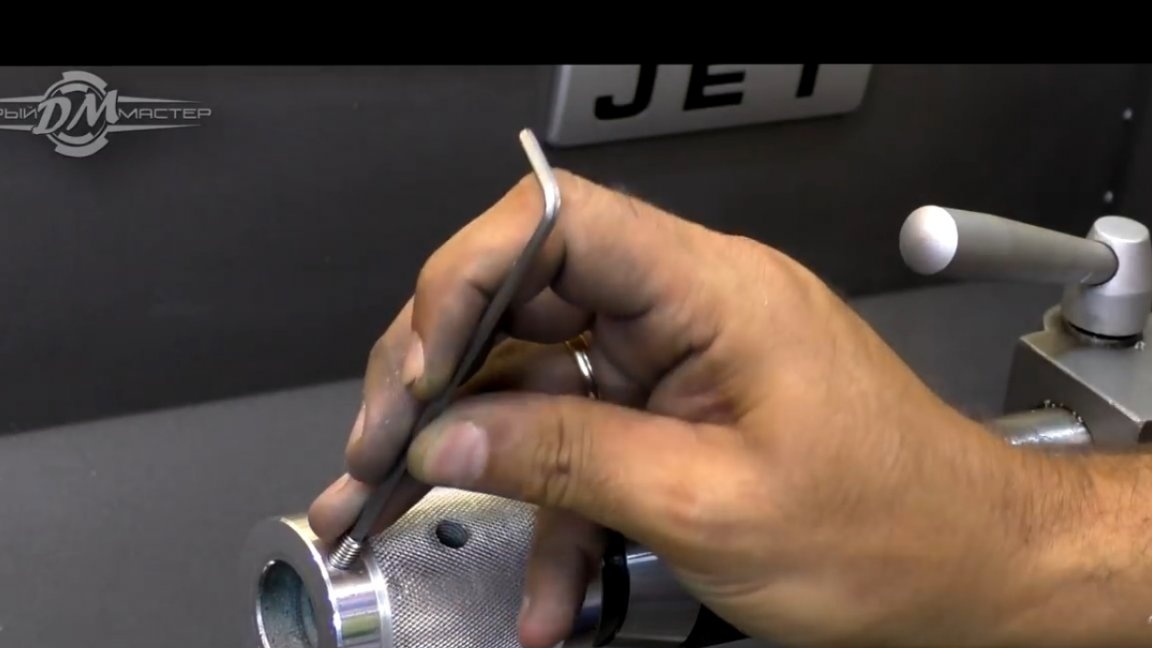
Also in the housing there are special holes for screwing in the handle.

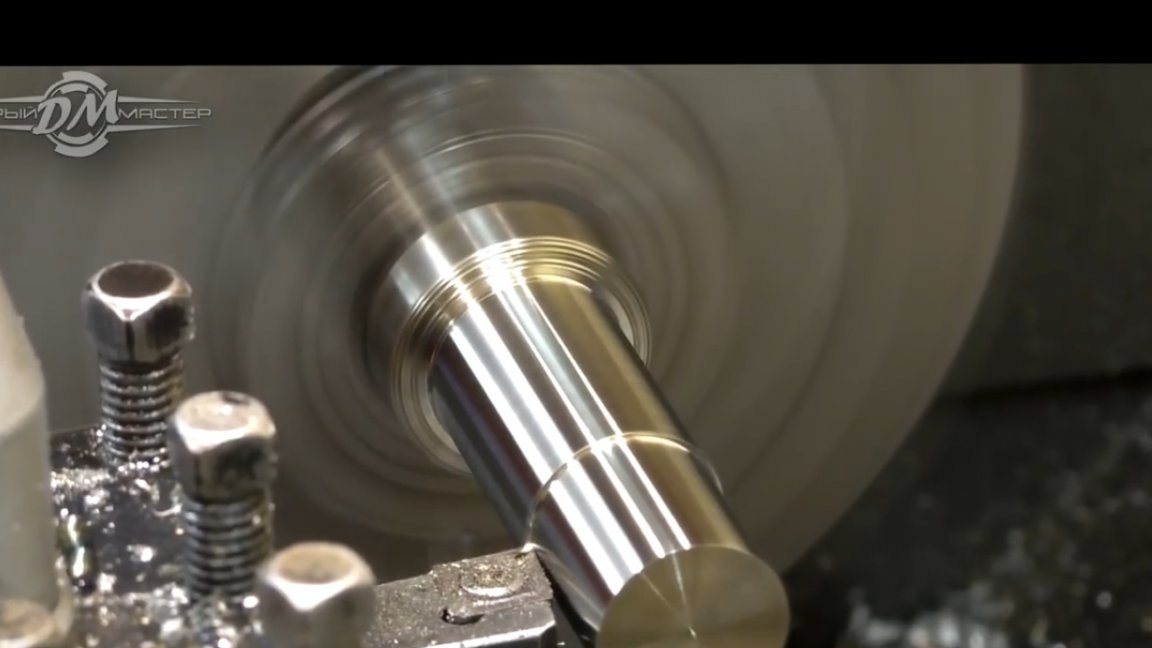
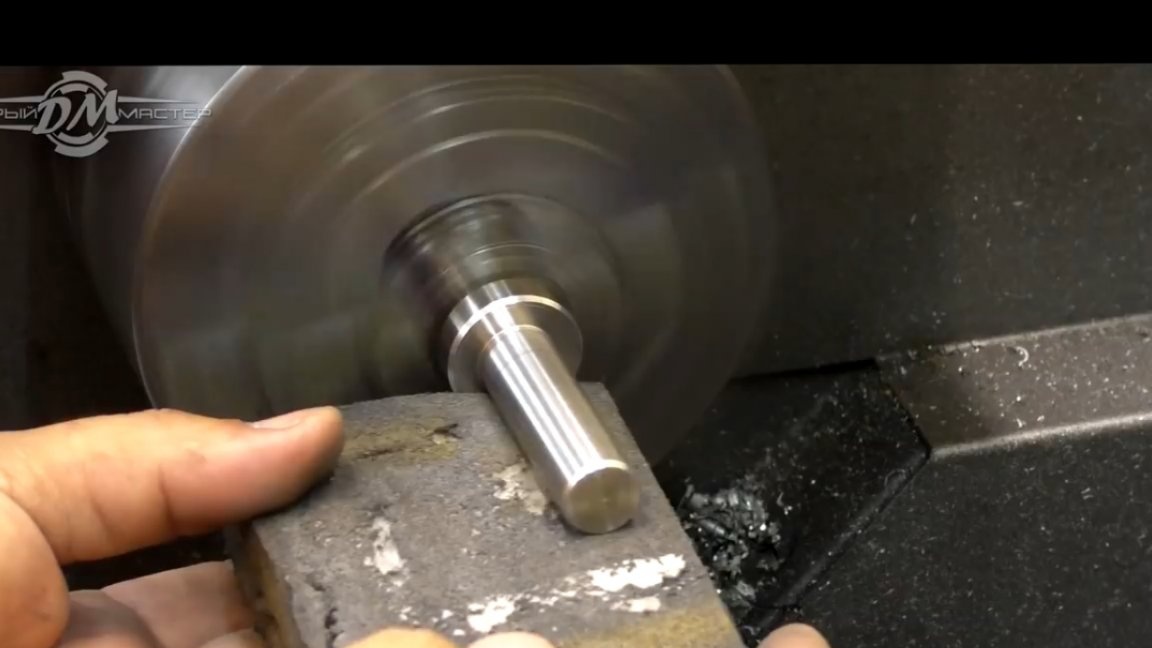
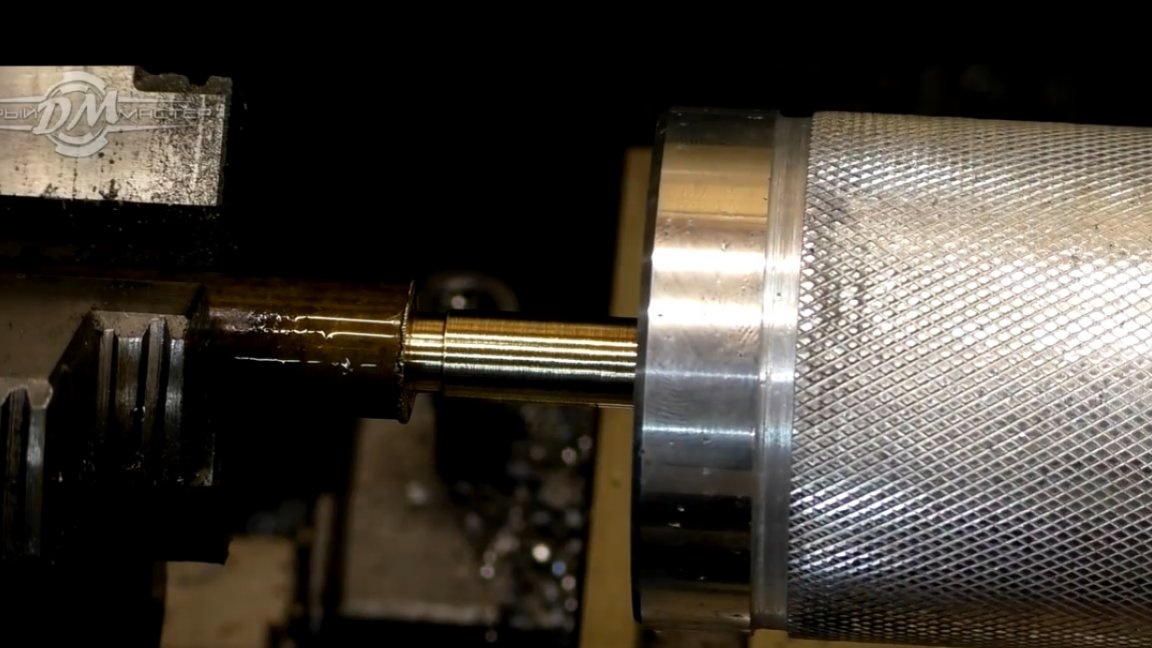
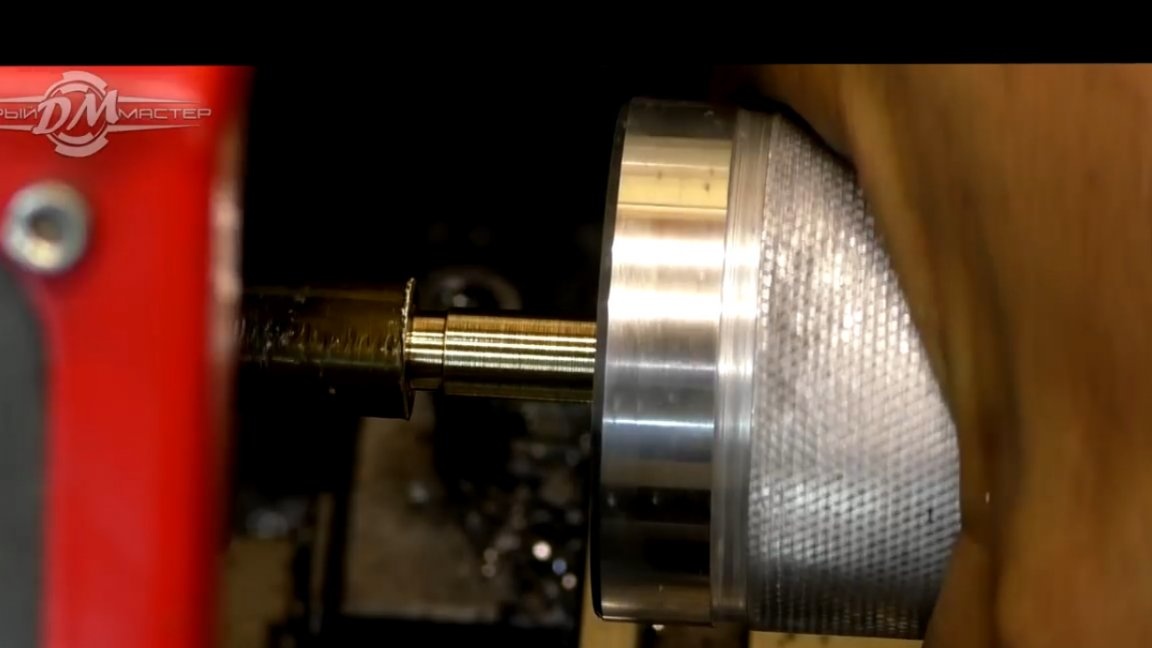
Such a handle will be necessary with a sufficiently large effort. Now let's cut the thread on a brass bar for the test, but first you need to grind it to the desired diameter.
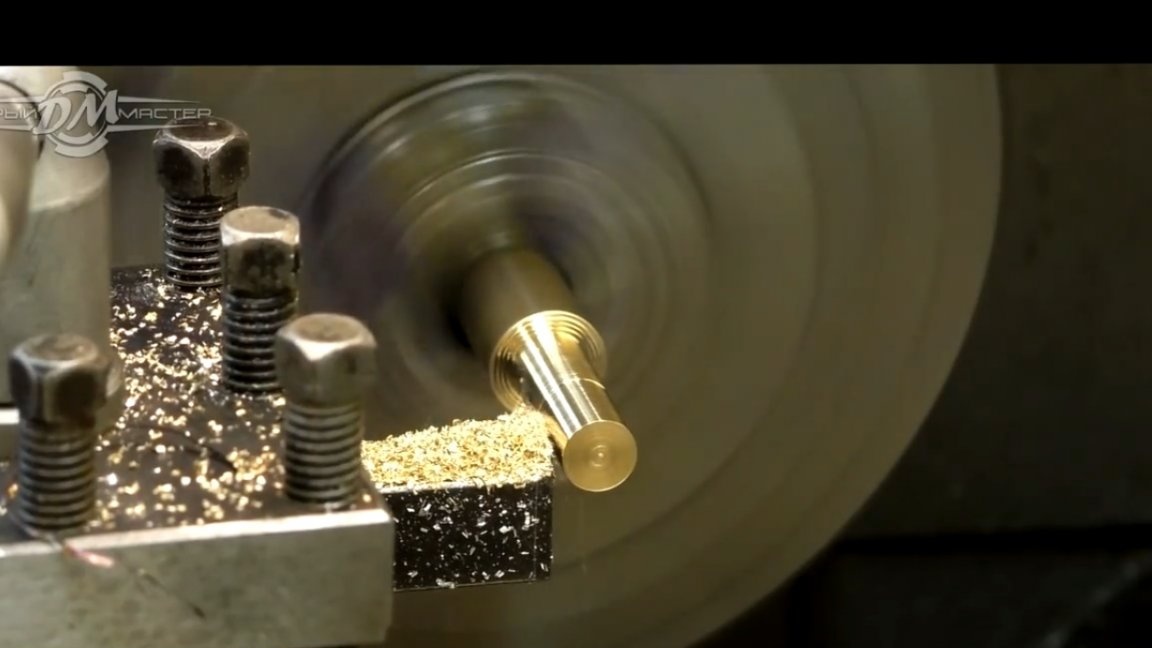
Thanks to knurling, this device can be held by hand. This is great for cutting small threads.
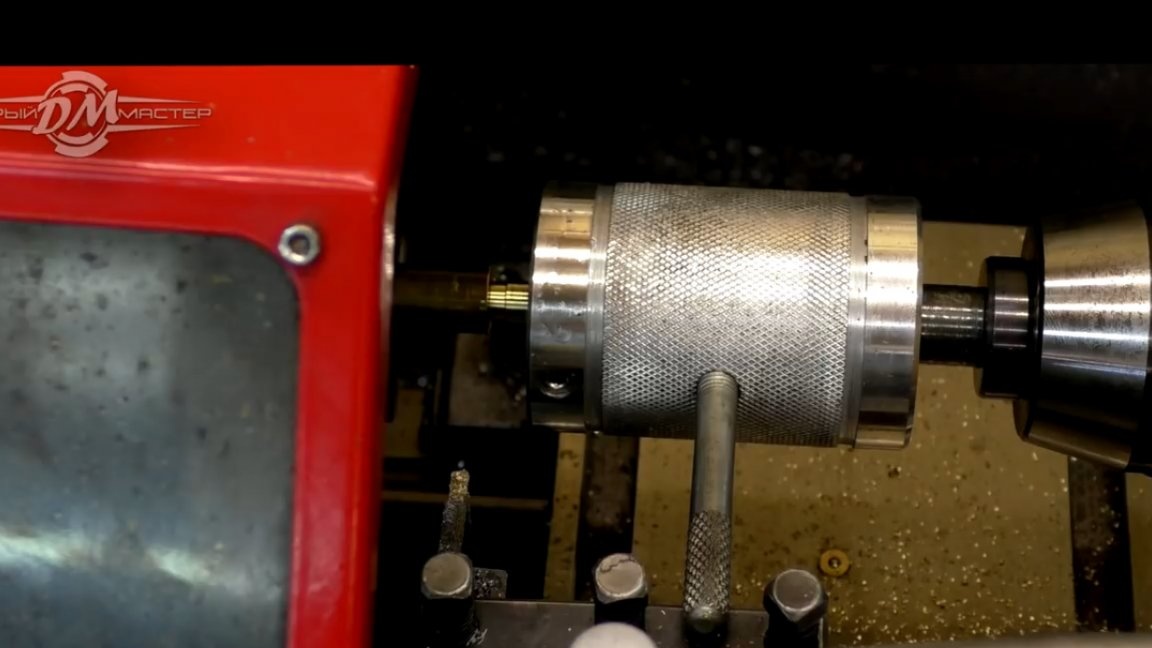
And if you use a special pen, the process can be automated by simply resting it in the tool holder.
As a result, here we have such a beauty:
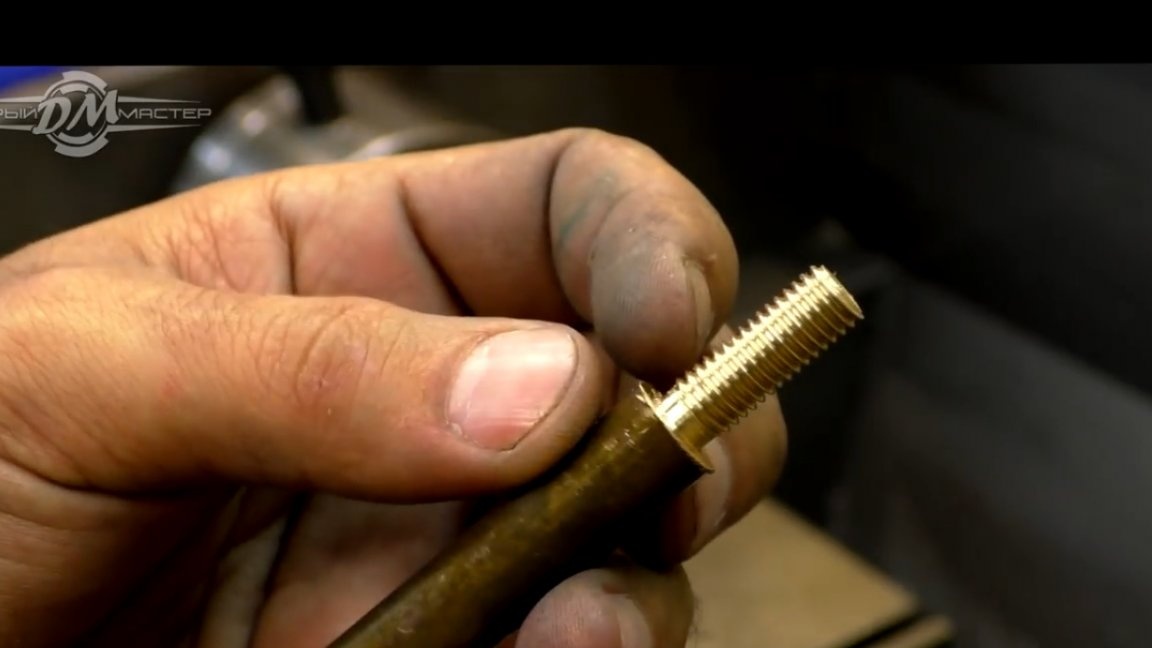
Our new home-made device does its job perfectly. This can be done. Thank you for attention. See you soon!
Author's video: