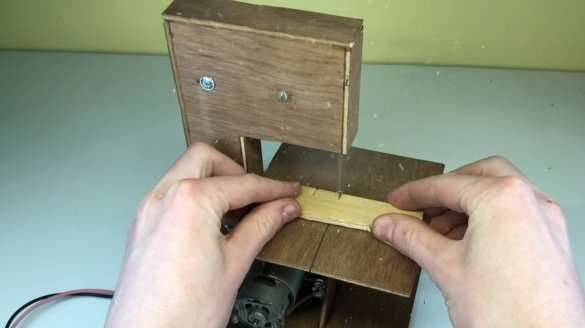
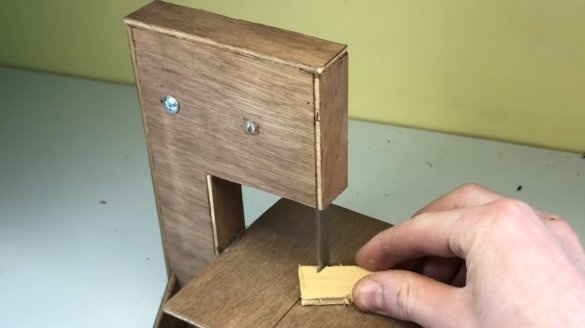
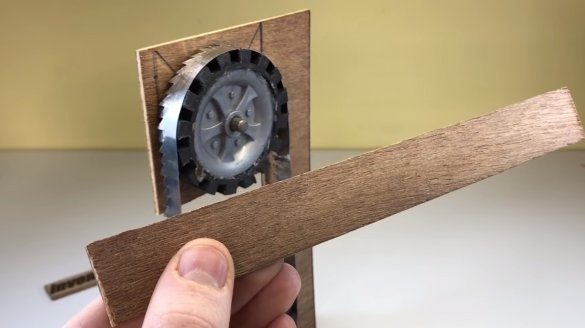
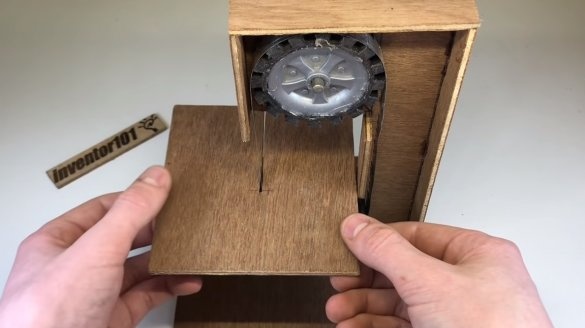
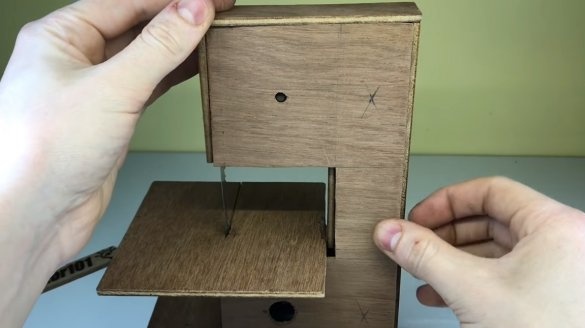
I welcome all fans to craft, today we will consider how to make a tape cutting machine from improvised materials. With the help of such a machine, it is possible to quickly cut sheet material and more. The machine turned out to be quite efficient, only the detachable tape was poorly made, its author made it from a can, so you won’t cut it for a long time. As a basis, the author uses a 12V motor, for such homemade perfect, but you need to set the speed control. All other parts will be easy to get, and tools for manufacturing will need a little. If you are interested in the project, I propose to study it in more detail!
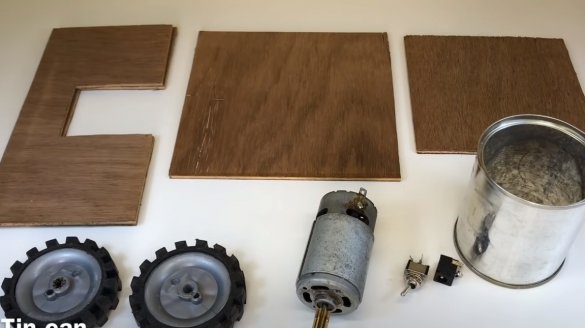
Materials and tools used by the author:
Material List:
- plywood;
- iron rod for the axis;
- two wheels from a toy car;
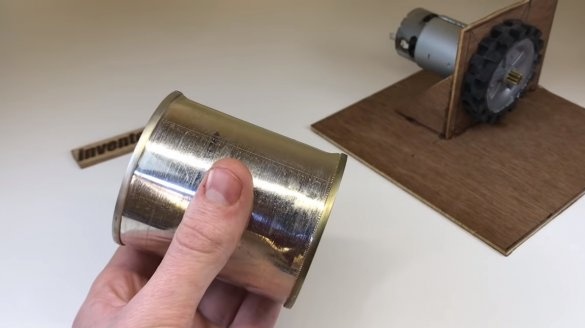
- tin can;
- screws with nuts;
- or similar to 12V;
- Super glue;
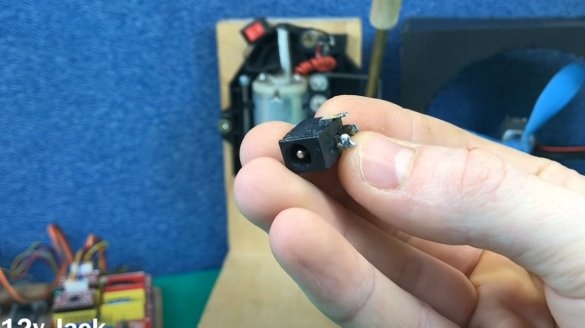
- socket for connecting the power supply;
- switch.
Tool List:
- jigsaw;
- a hacksaw;
- drill;
- scissors;
- soldering iron;
- pliers;
- glue gun.
Homemade manufacturing process:
Step one. Assembling the base and installing components
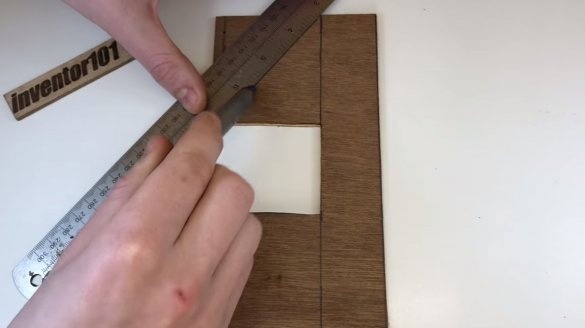
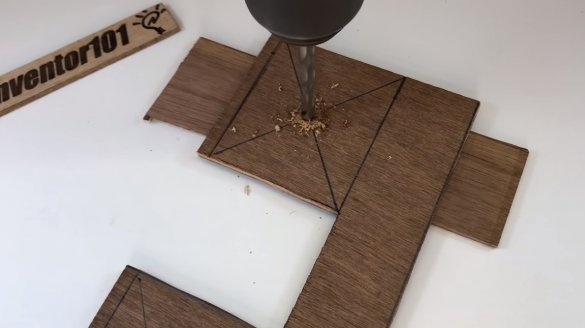
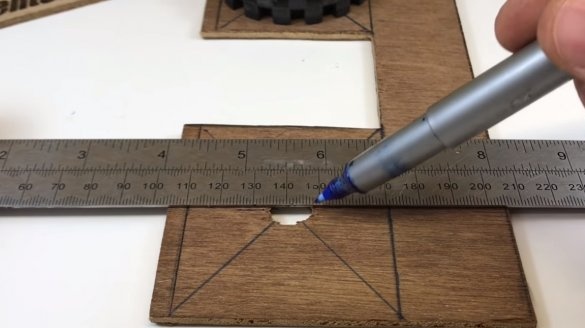
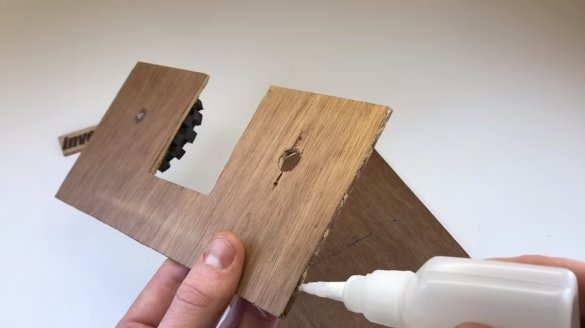
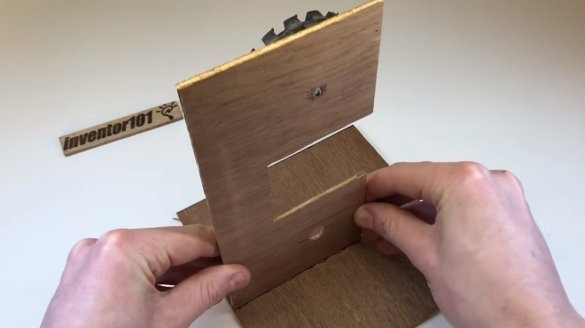
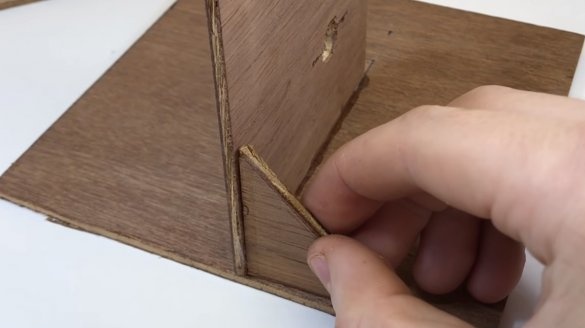
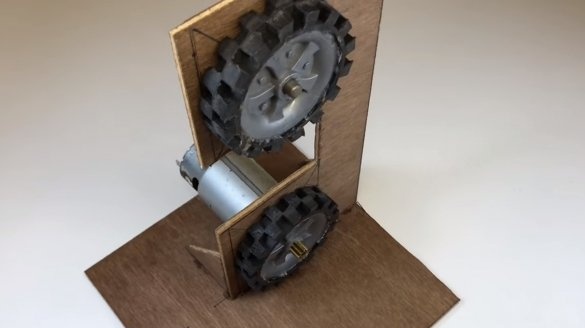
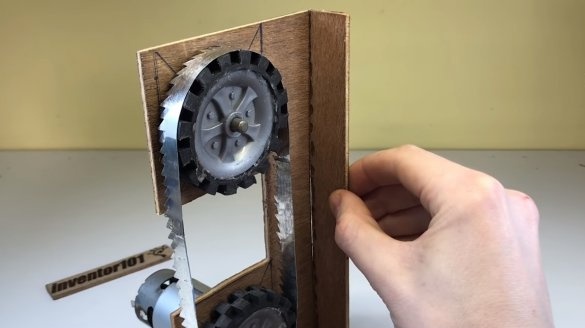
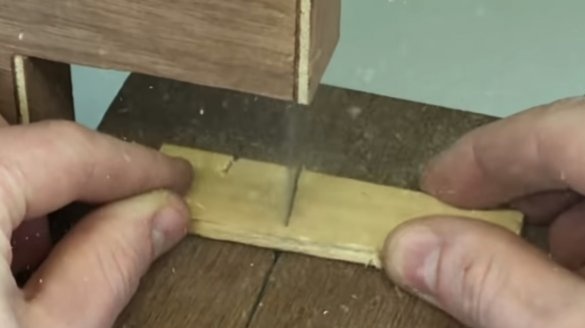
For the manufacture of the frame, the author used plywood, cut out the details from it, as in the author's photo. Of course, ideally, plywood should be thick so that everything can be assembled on self-tapping screws, or you can use boards. The author simply glues parts from plywood with superglue.
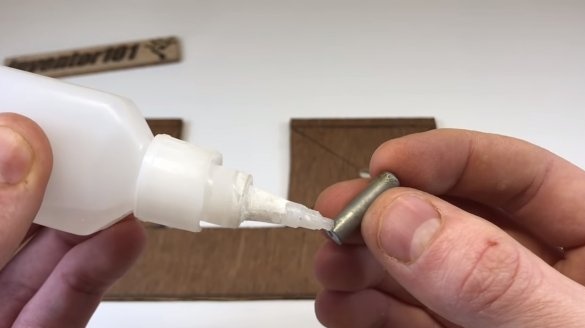
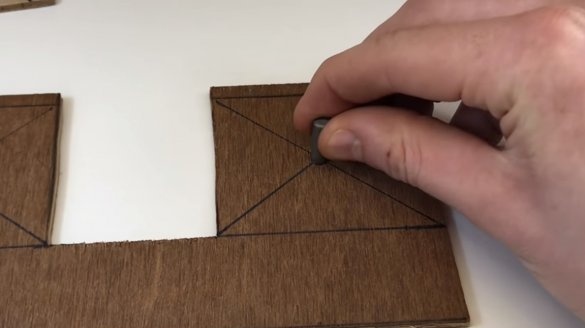
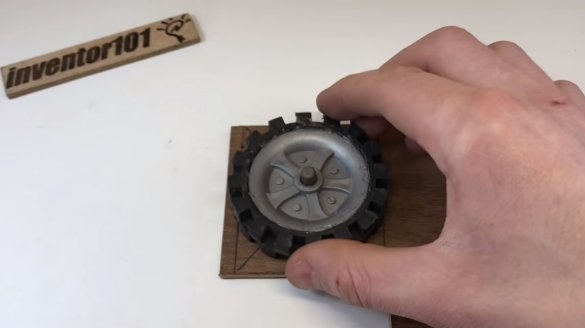
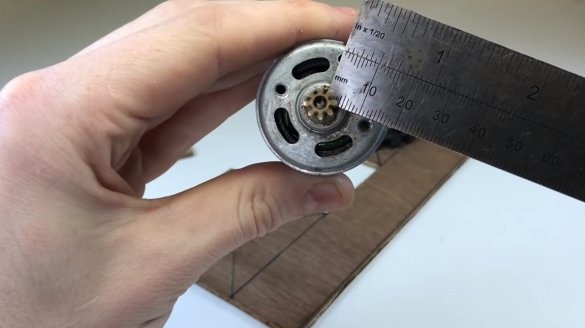
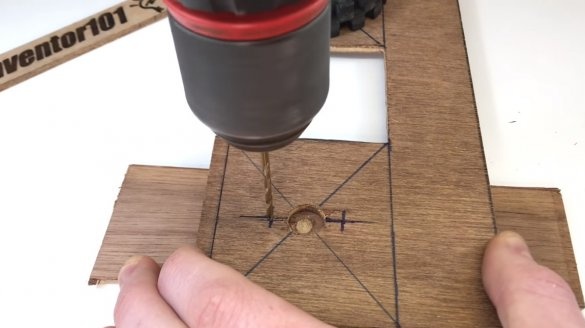
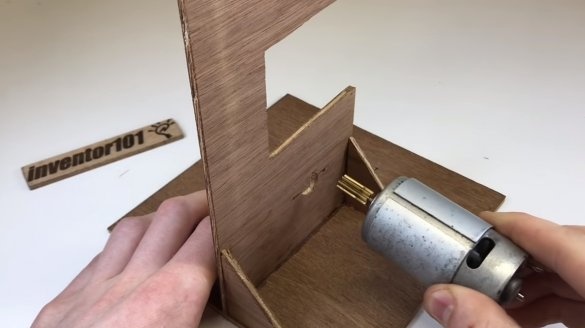
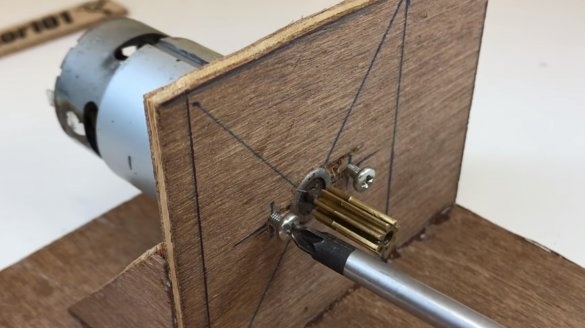
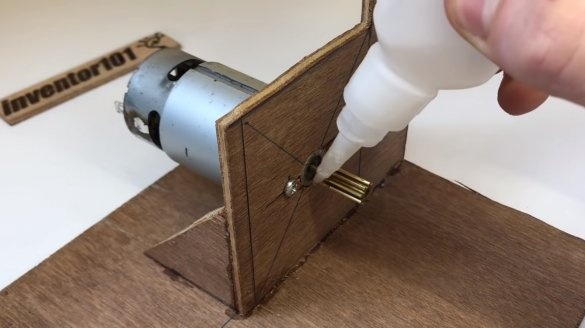
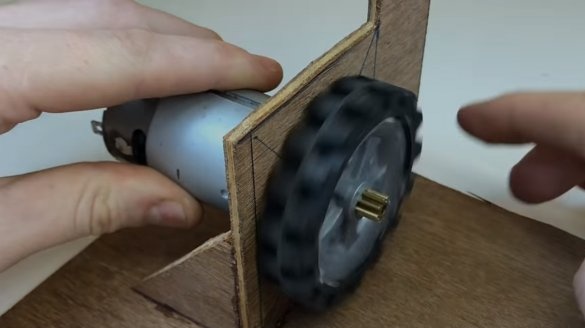
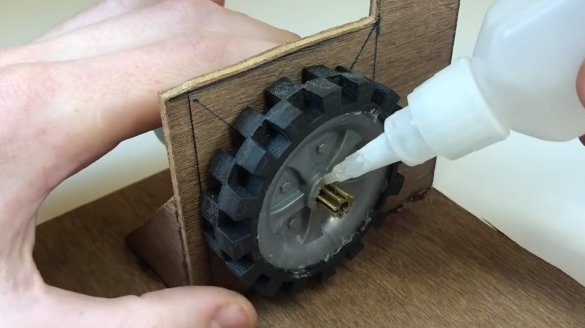
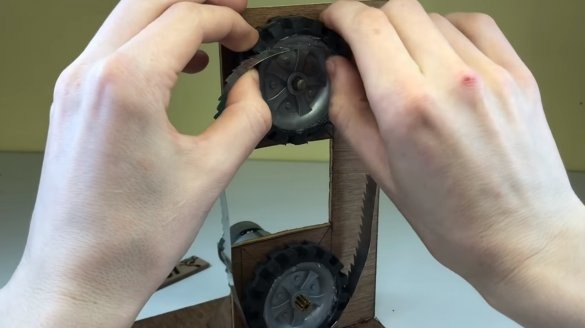
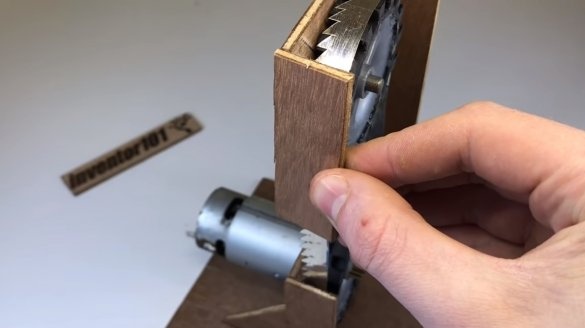
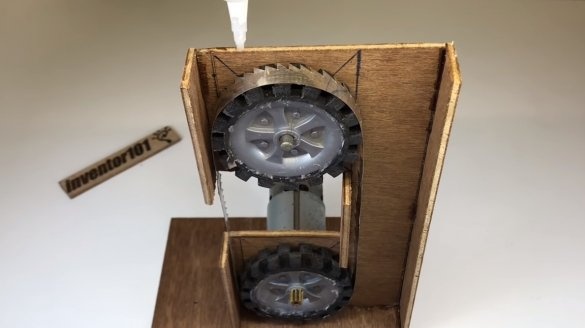
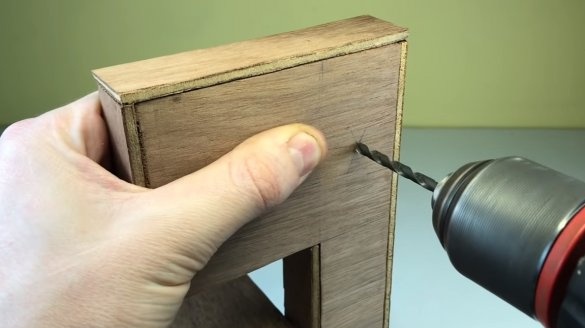
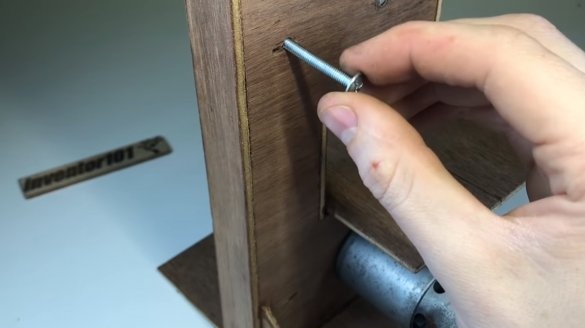
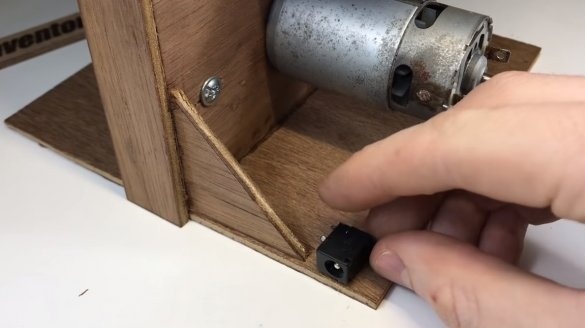
In the upper part of the rack you will need to install the driven wheel, for it you will need to find the iron axis. Under the axis, we drill a hole in the wheel, and the axis is glued into the hole drilled in the rack. We install the engine in the lower part, drill holes and fasten the motor with screws. There is a gear on the motor shaft, under it we drill a hole in the wheel and glue the wheel to the gear. That's all, the machine is ready, it remains to make a cutting blade.
Step Two Cutting fabric
The author decided to make a detachable canvas from a can, but it is important to understand that such metal is not durable and can be cut with a machine unless cardboard and other not too hard material.
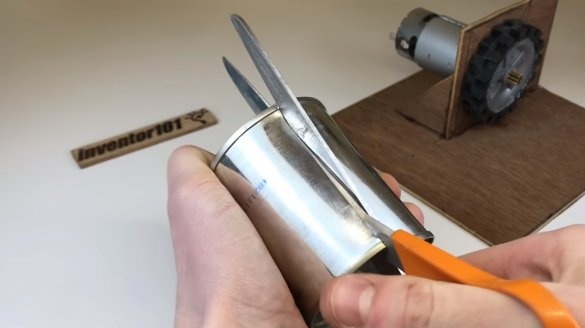
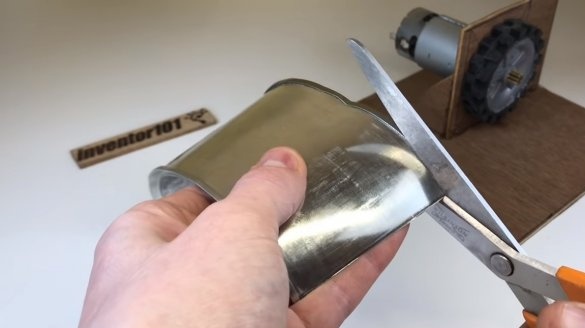
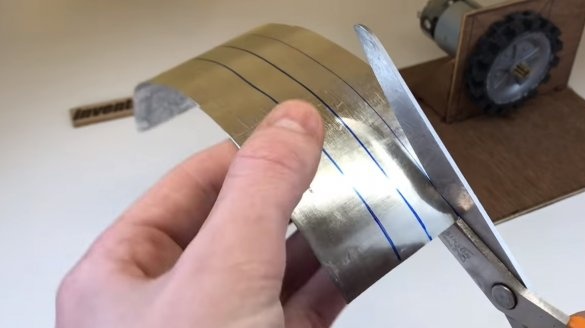
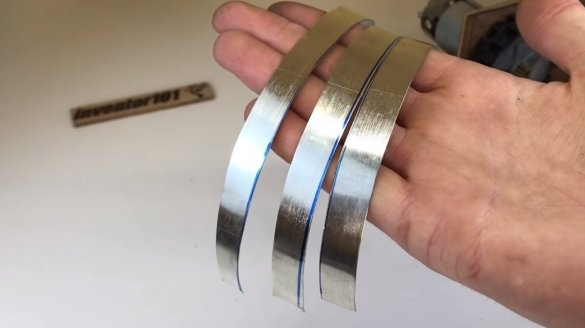
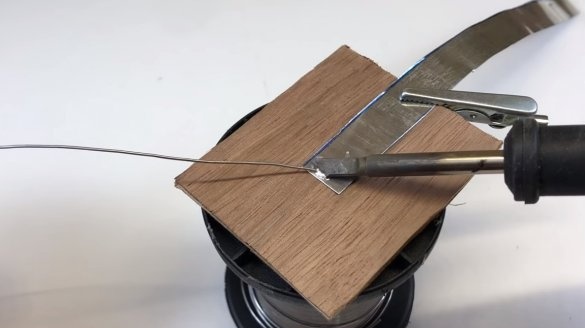
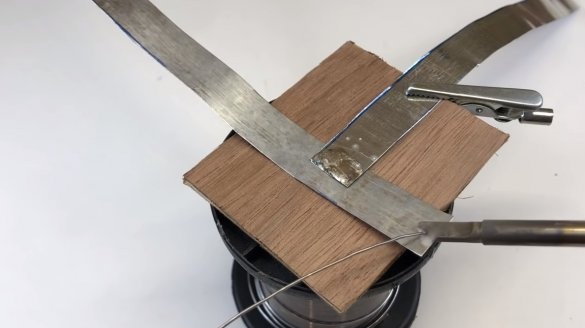
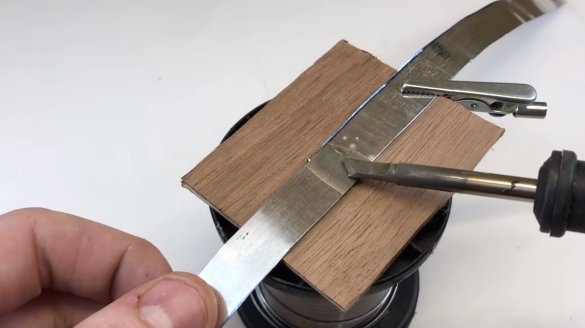
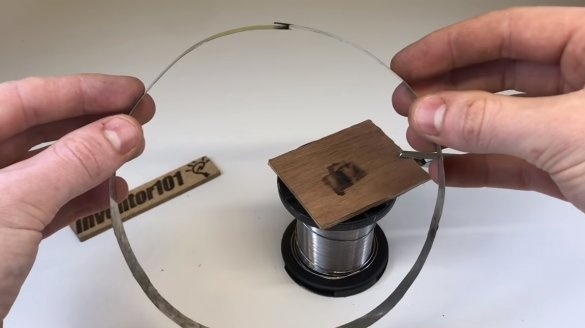
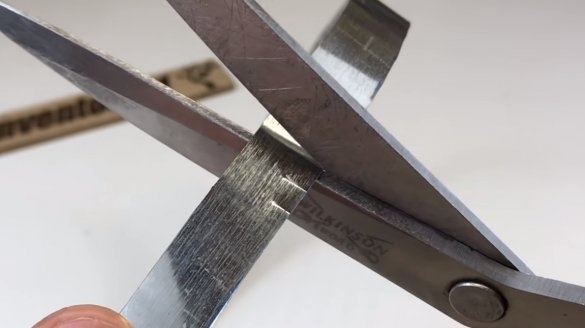
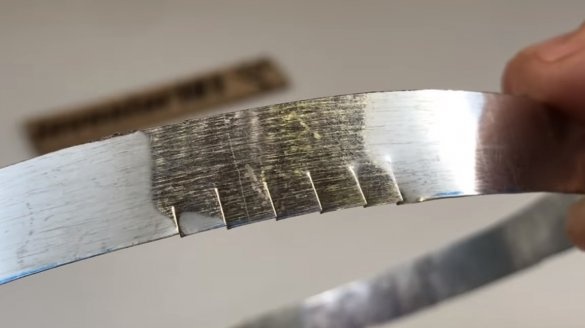
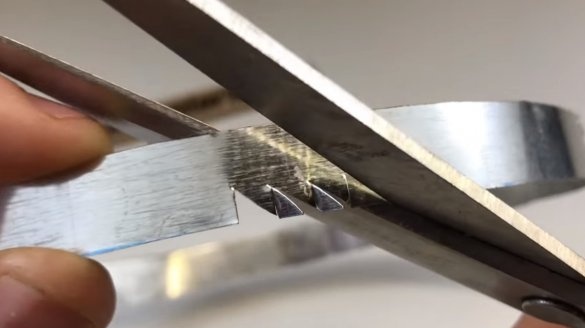
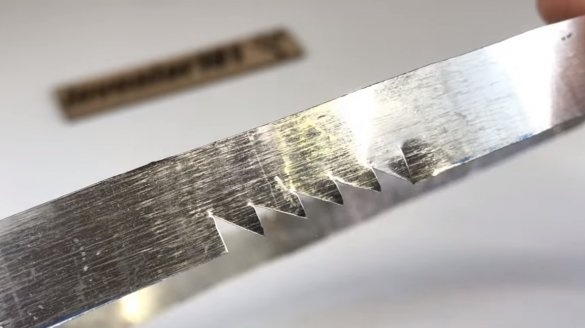
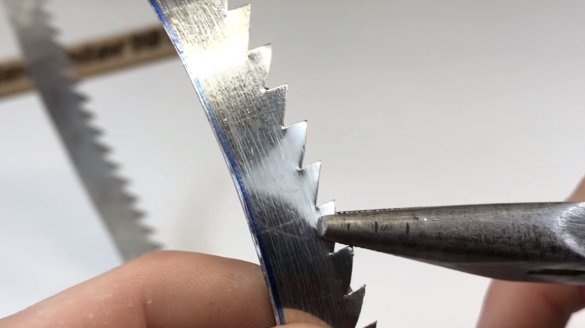
We cut the tin can into strips, and then the strips are soldered to get the tape of the desired length. The result should be a ring on which you need to cut the cloves. The author cuts the cloves with scissors, and she has rather large sizes. It is better to make the teeth small, then they will not bend under loads, and the blade will be able to cut hard materials.
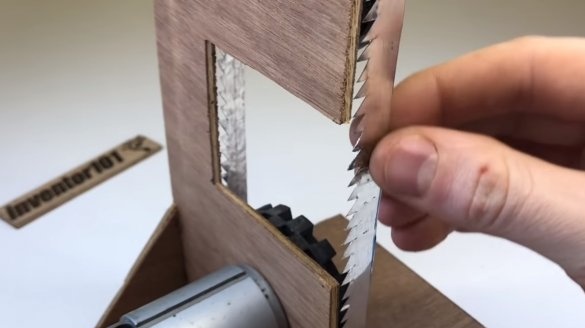
That's all, now the canvas can be installed on the machine.
Step Three Finishing touches
At the end, we finally assemble the machine body, and also set the working table. That little table works as an emphasis for a cutting tape. But for long-term work it is better to fasten the iron stop.
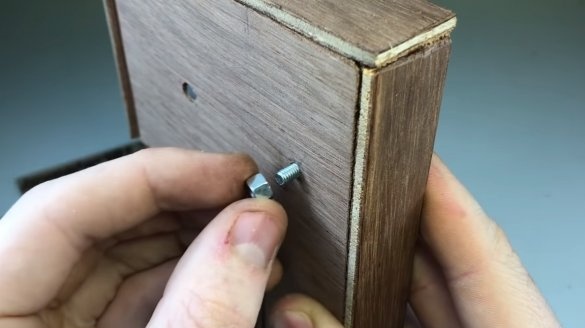
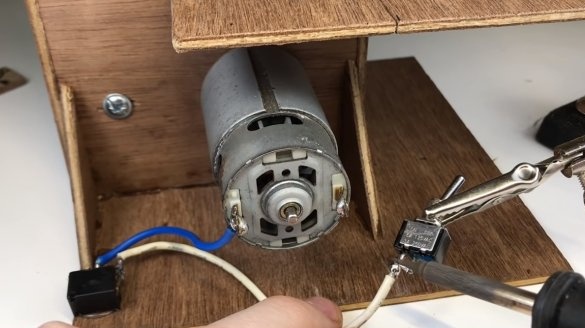
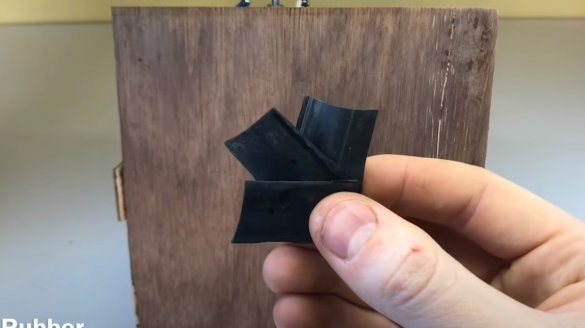
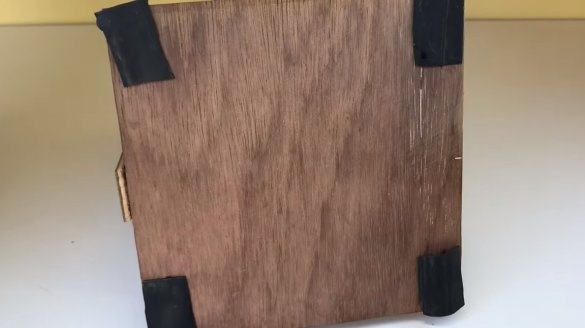
To prevent the car from falling apart, the author pulled it with screws and nuts. We solder wires to the motor contacts, glue the socket for connecting the power supply and the switch with a glue gun. And so that the machine does not drive around the table from vibrations, we glue to the base pieces of rubber of the bicycle chamber.
The homemade product is ready, the machine cuts sheet material quite well, but it was not possible to understand what exactly it was. If you modify the car a bit, it will turn out to be a pretty good homemade product. On this project is over, I hope you liked the homemade. Good luck and creative inspiration, if you decide to repeat this. Do not forget to share your ideas and homemade things with us!

