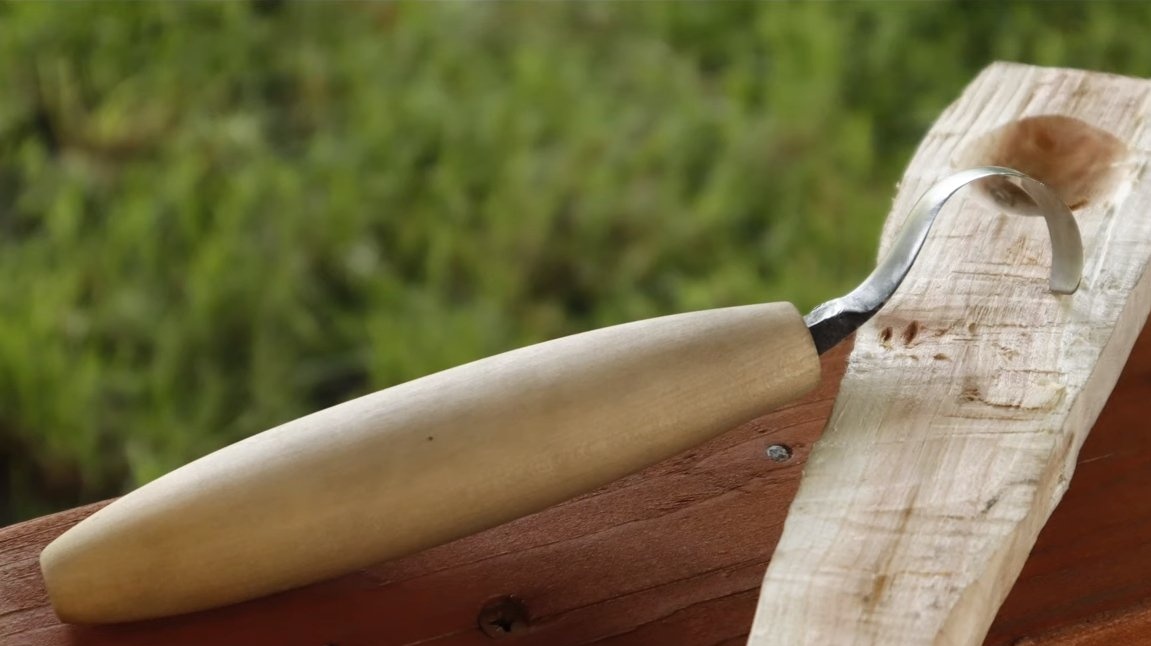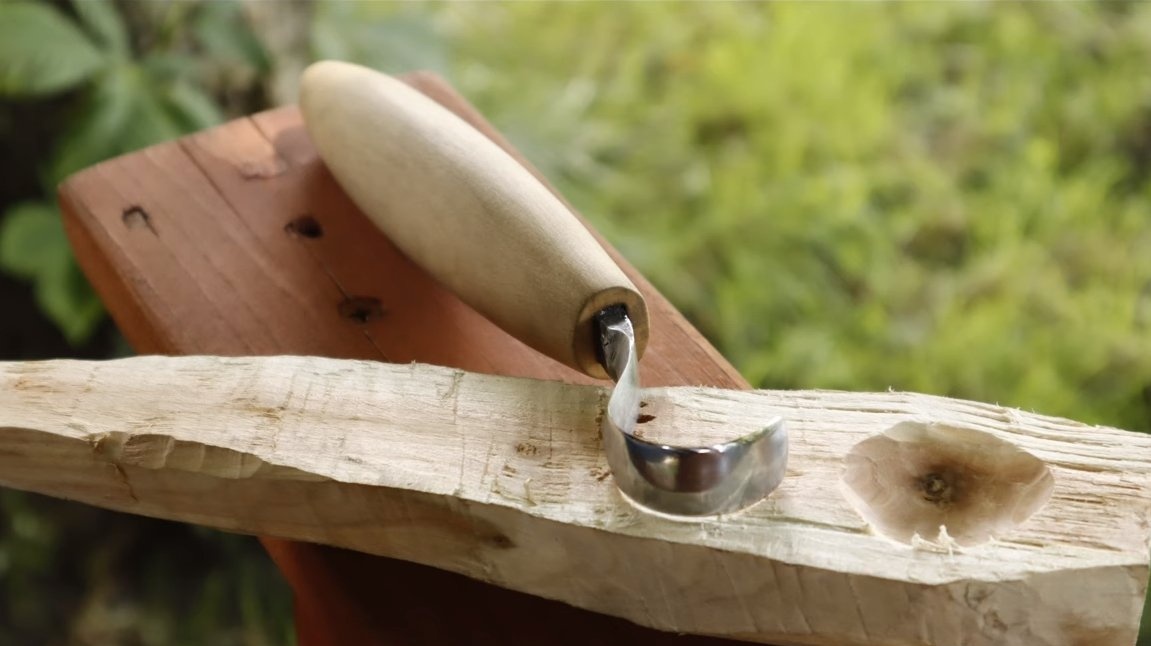
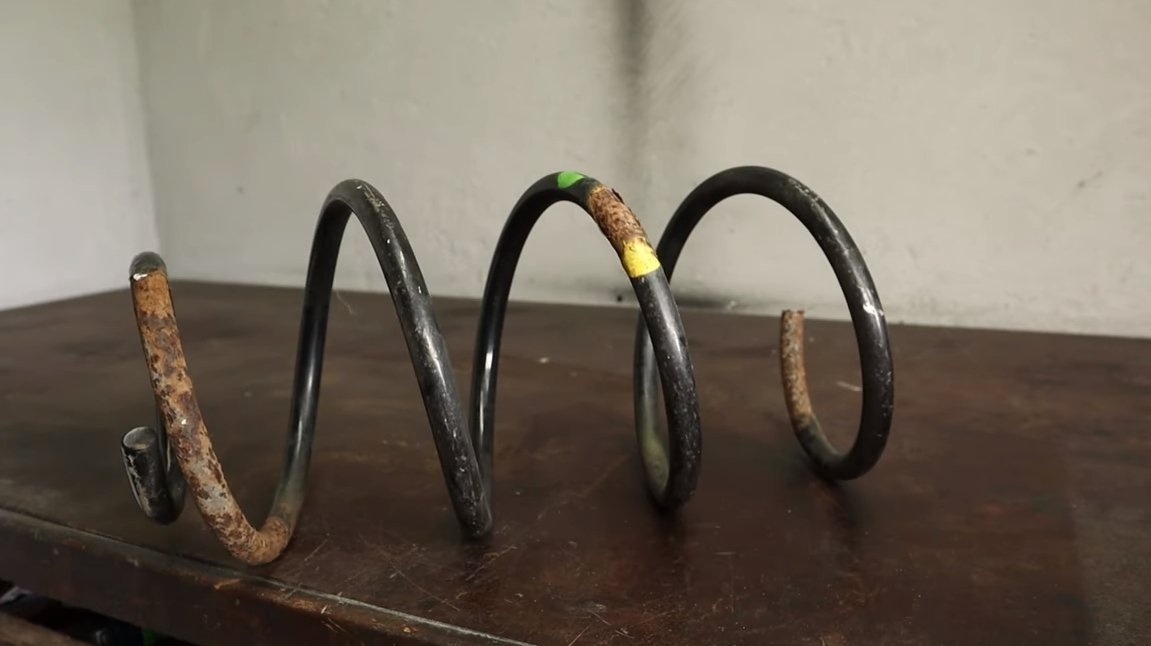
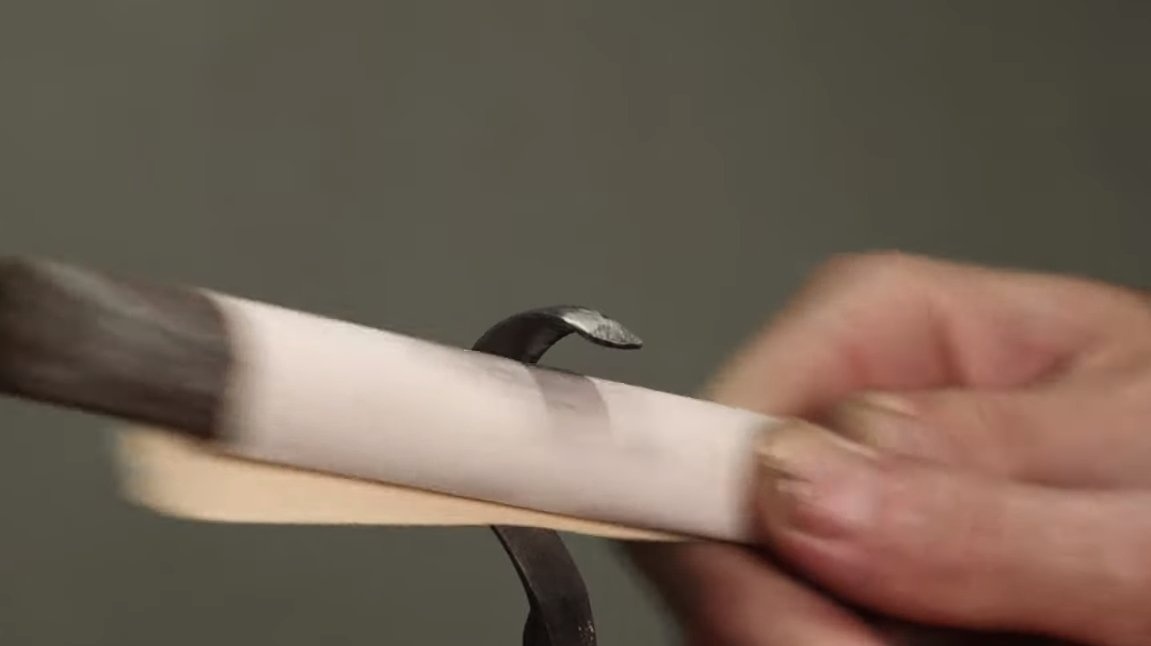
Hello to all lovers of craftsmanship, today we will consider how to make a knife for woodcarving. This knife has the shape of a hook, and it is mainly intended for cutting round grooves in a tree. The author made the knife by forging, so you need a forge, and the source of the material was the old automobile suspension spring. Such steel after forging is quite well hardened, and the knife holds sharpening well.
The knife handle is made of wood in a fairly simple way. So if you have a blacksmith furnace and an anvil, you can safely get to work. Such a knife will be a great addition to the set of woodcarving masters. If you are interested in the project, I propose to study it in more detail!
Materials and tools used by the author:
Material List:
- a piece of spring from the car;
- wooden block for the handle;
- epoxy glue (optional);
- oil for wood impregnation.
Tool List:
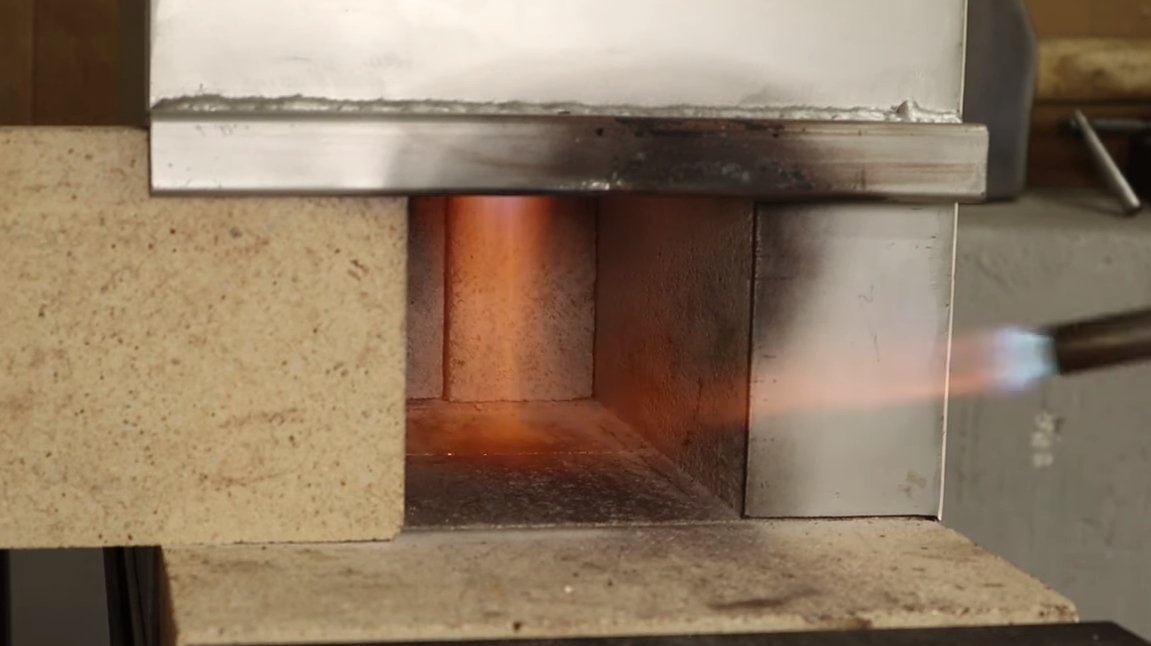
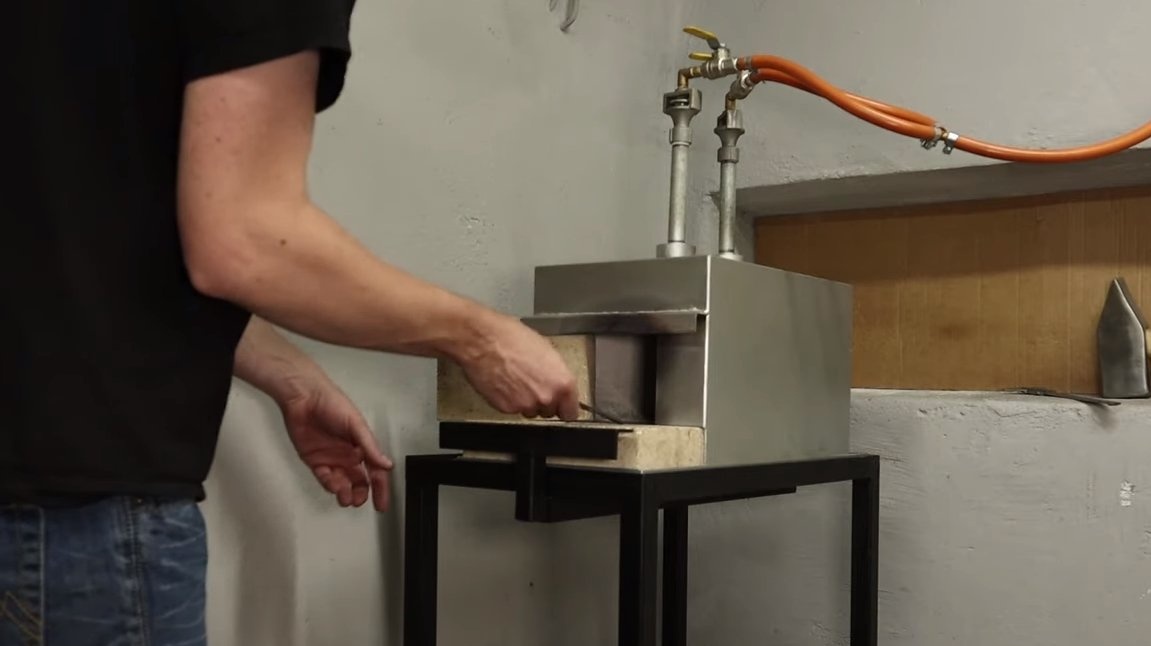
- forge furnace;
- gas-burner;
- oil for hardening;
- a tool for forging;
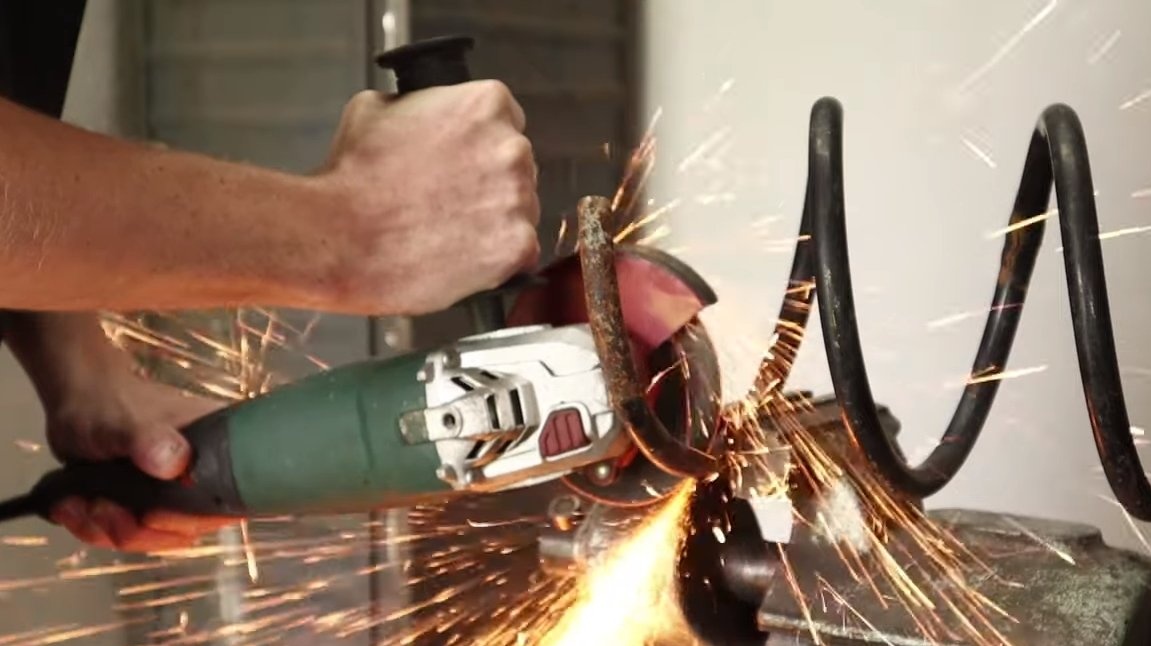
- grinder;
- drill;
- brace;
- sandpaper.
Manufacturing process homemade:
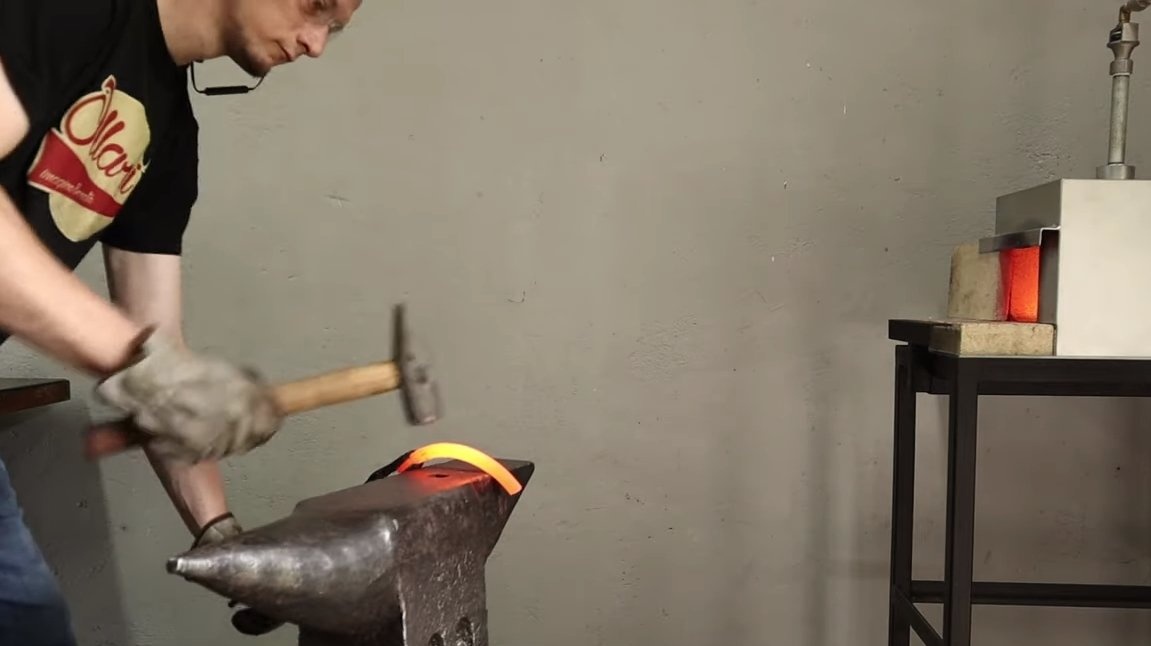
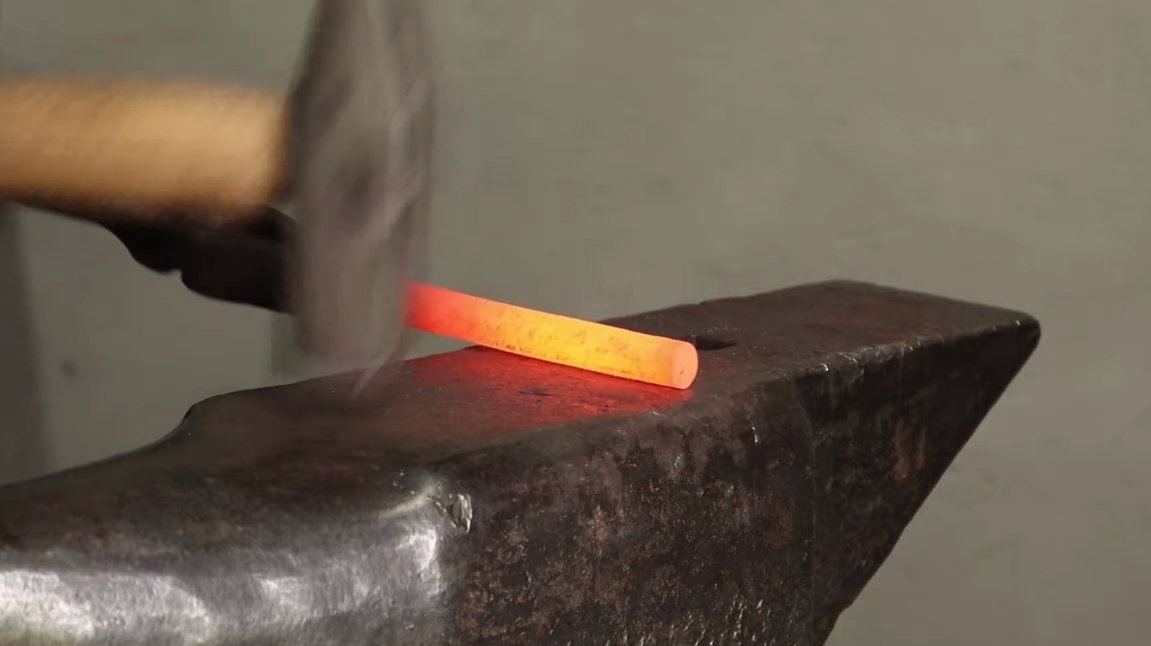
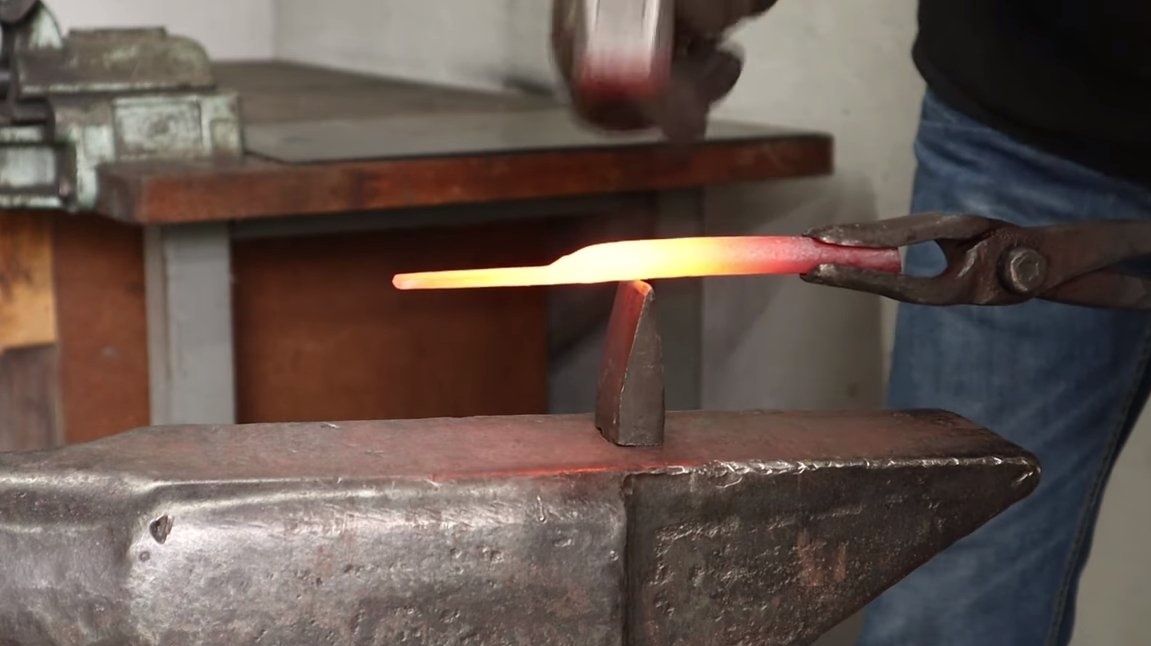
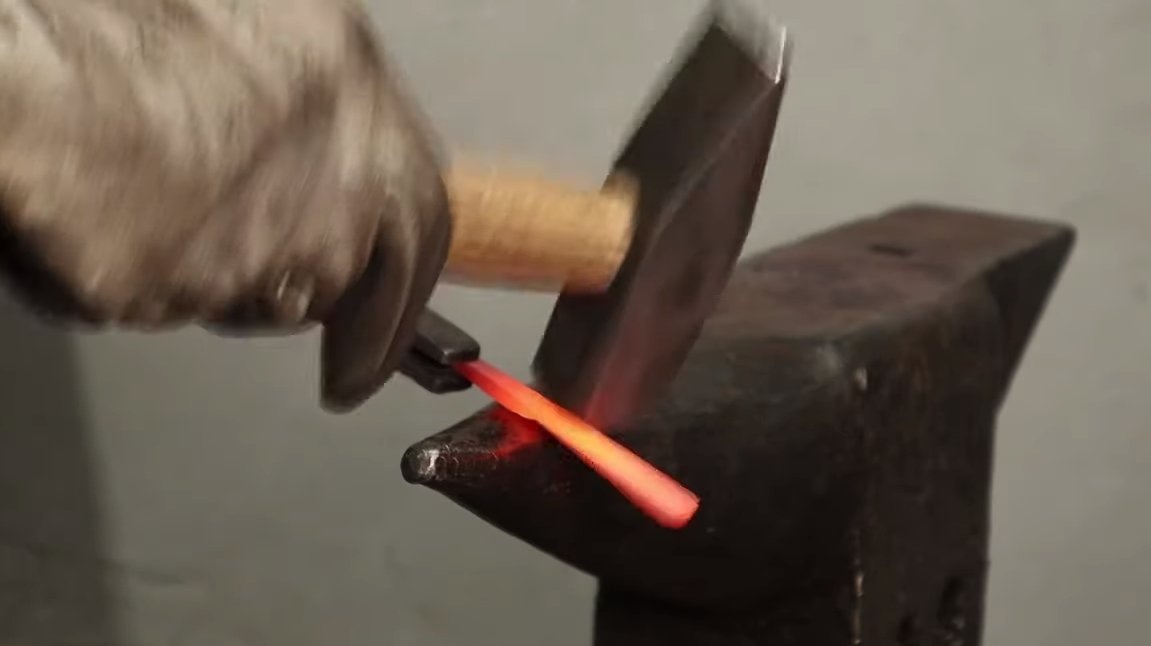
Step one. Primary profile
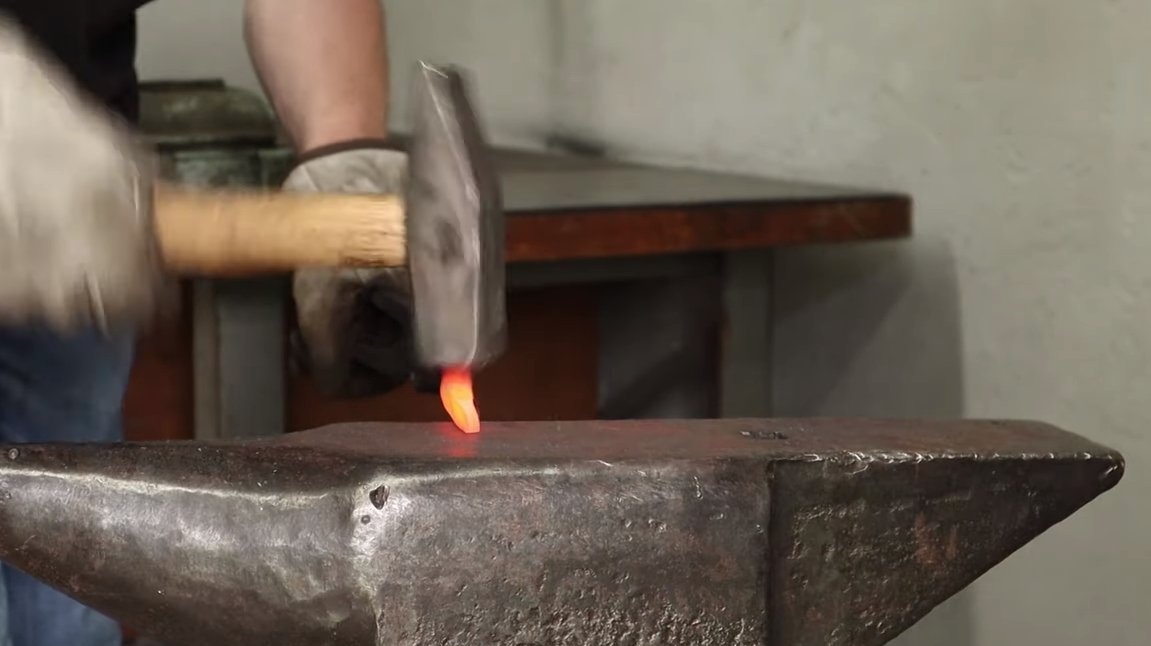
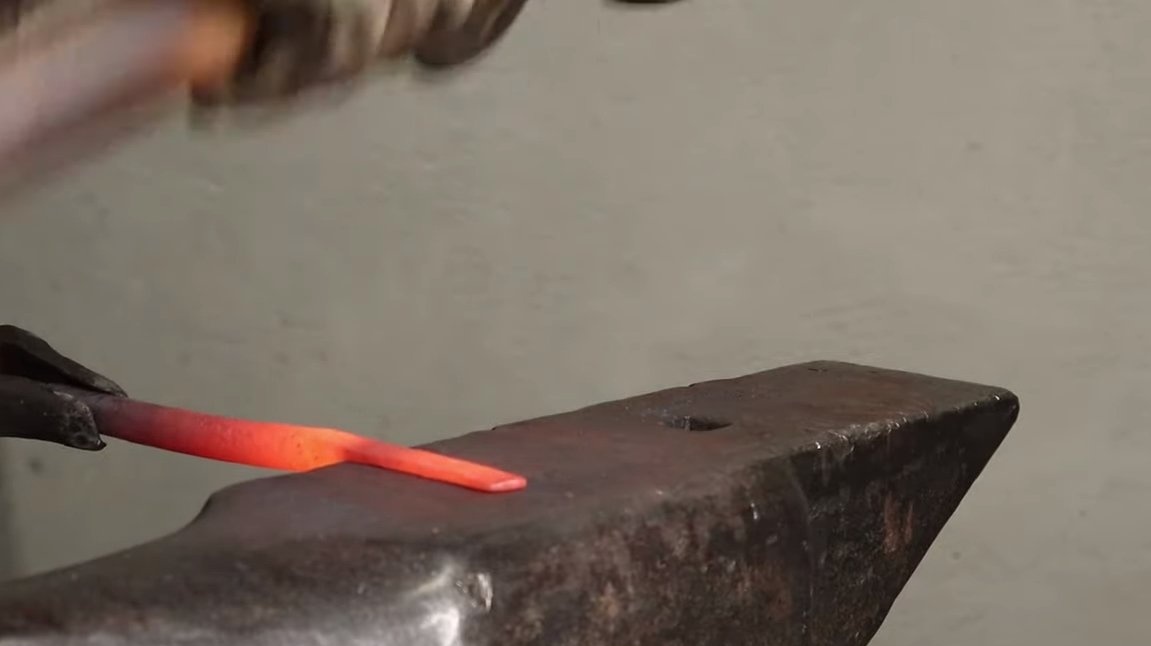
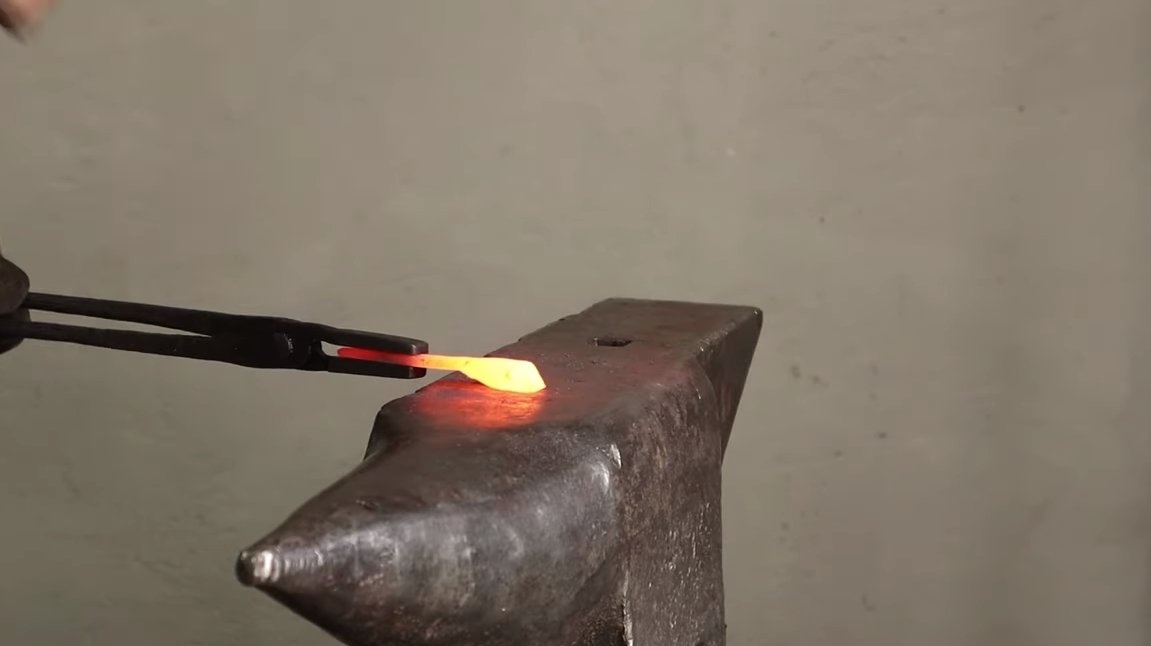
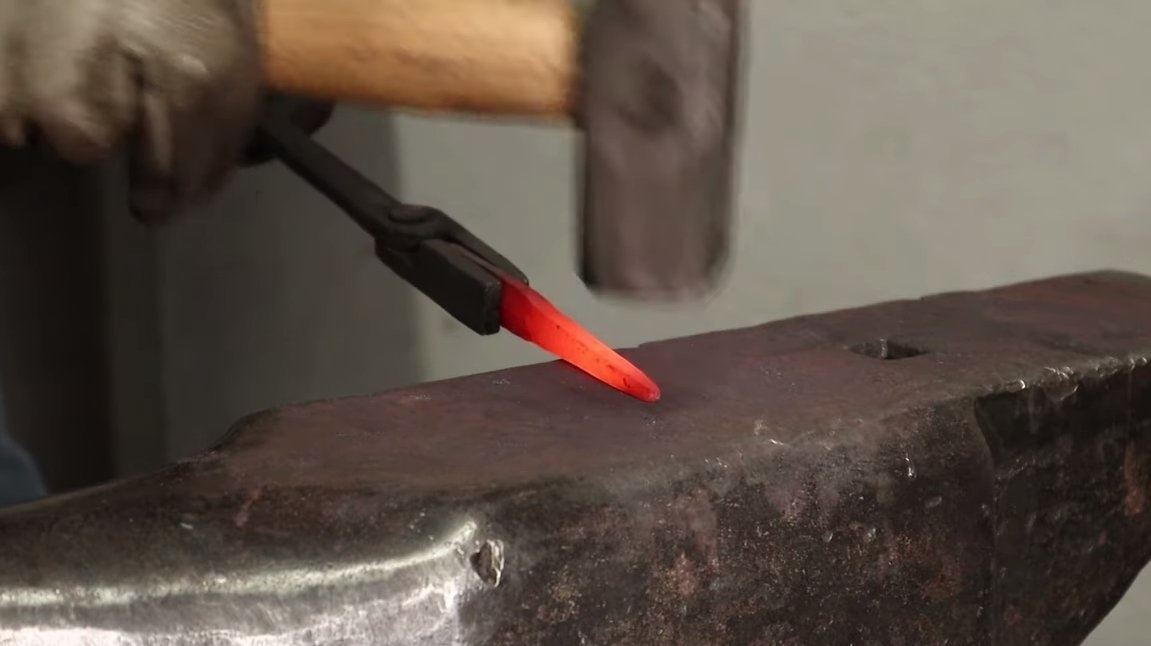
First of all, we cut off a piece from the suspension spring, the author just found a bursting spring, which he removed from the car. Next, we heat the workpiece to a bright red glow and proceed to forging. Gradually stretch the metal, the primary profile of the knife is a thin plate. We also need to pull off the shank of the knife, make it sharp so that it easily goes into the handle.
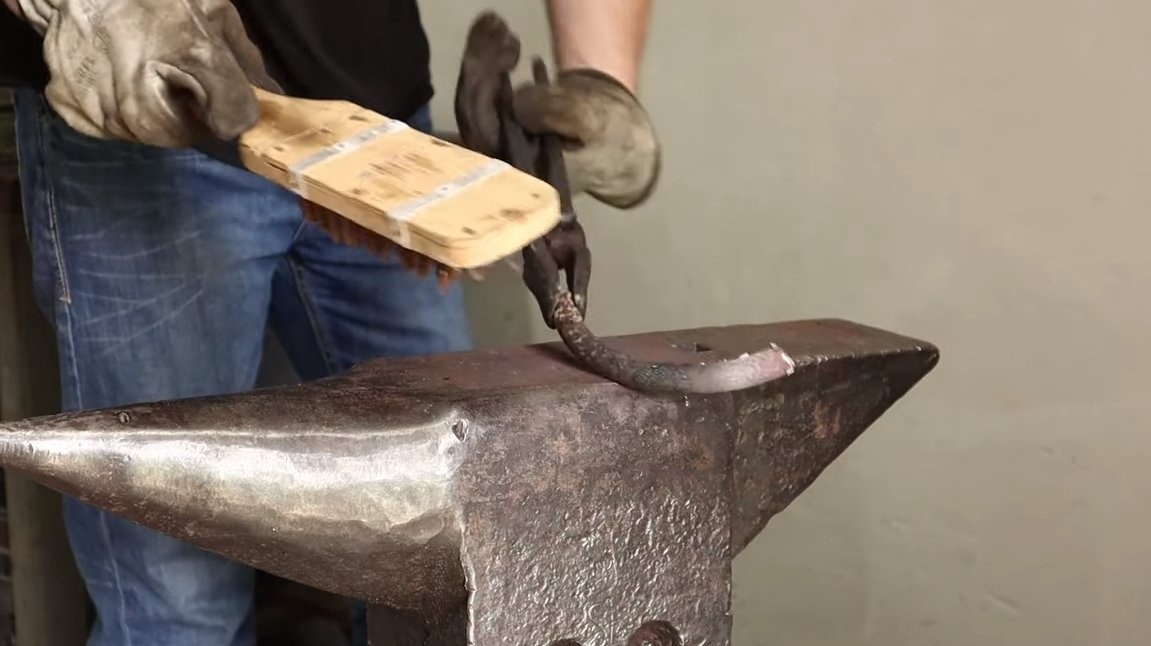
In the end, the author normalizes the metal by heating it and leaving it to cool gently in the furnace. This is a necessary post-forging procedure that prevents deformation and cracking of steel.

Step Two Handle blank
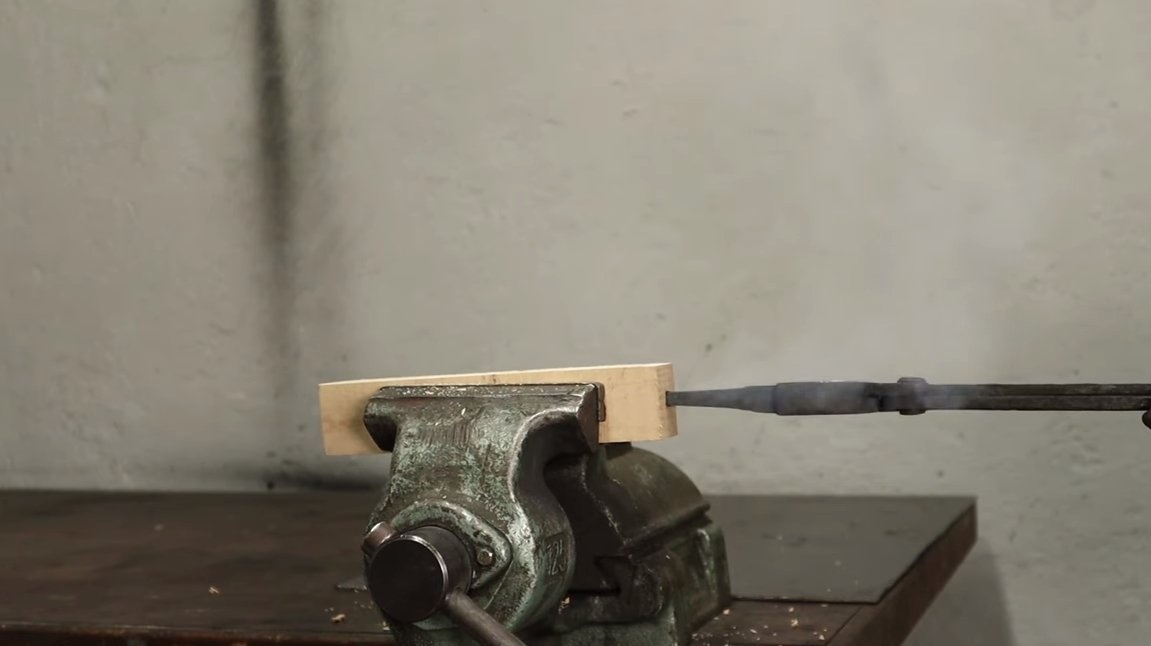
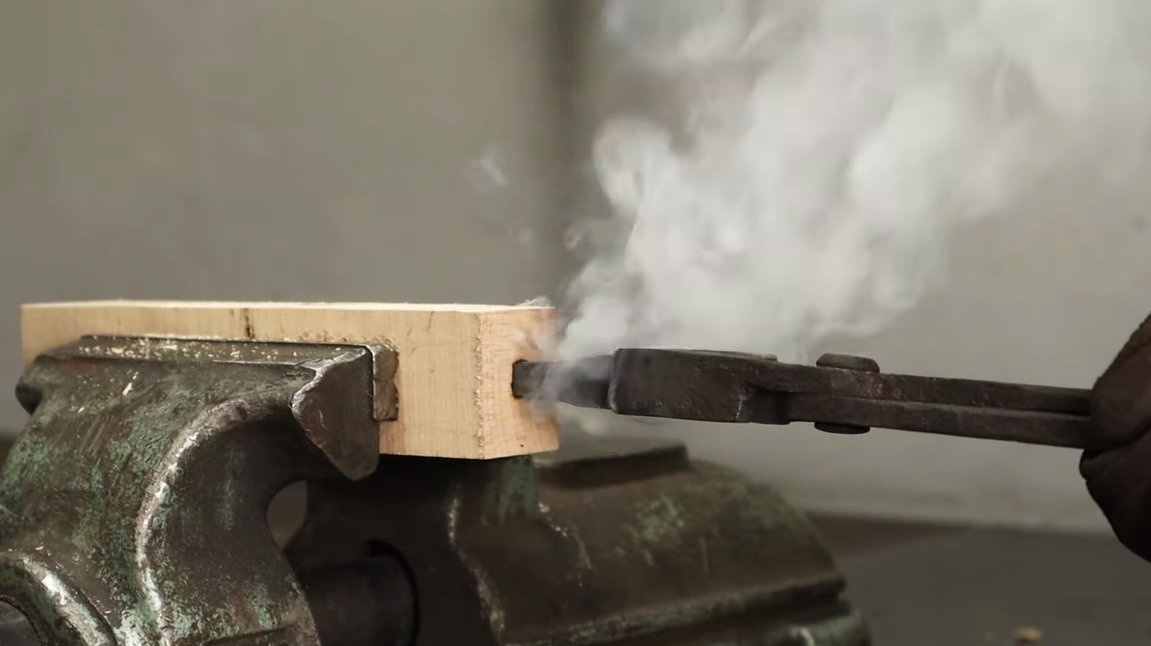
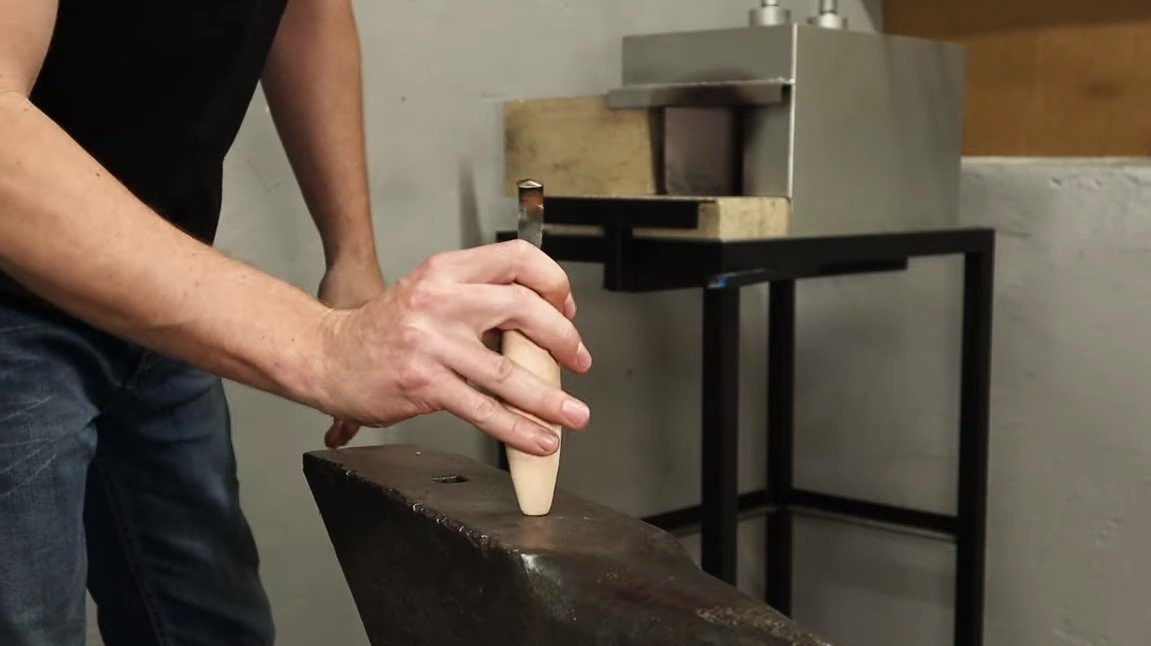
For the manufacture of the handle, we need a bar, it is better to use oak, maple or other durable wood, so the knife will last longer, and it will look great. Our task is to make a slit hole for the knife shank in the workpiece.The easiest way to do this is by burning a hole. First of all, we drill a hole in the workpiece with a drill, and then we insert the red-hot shank of the knife there. As a result, we get an excellent hole of exactly the shape and size that we need.

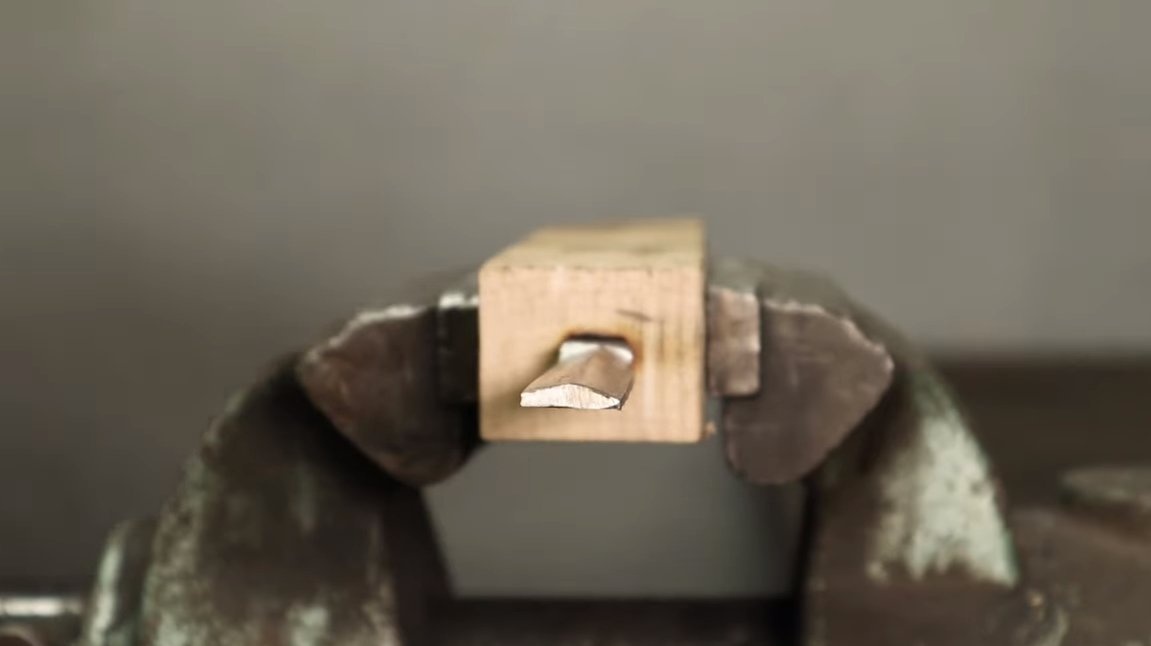
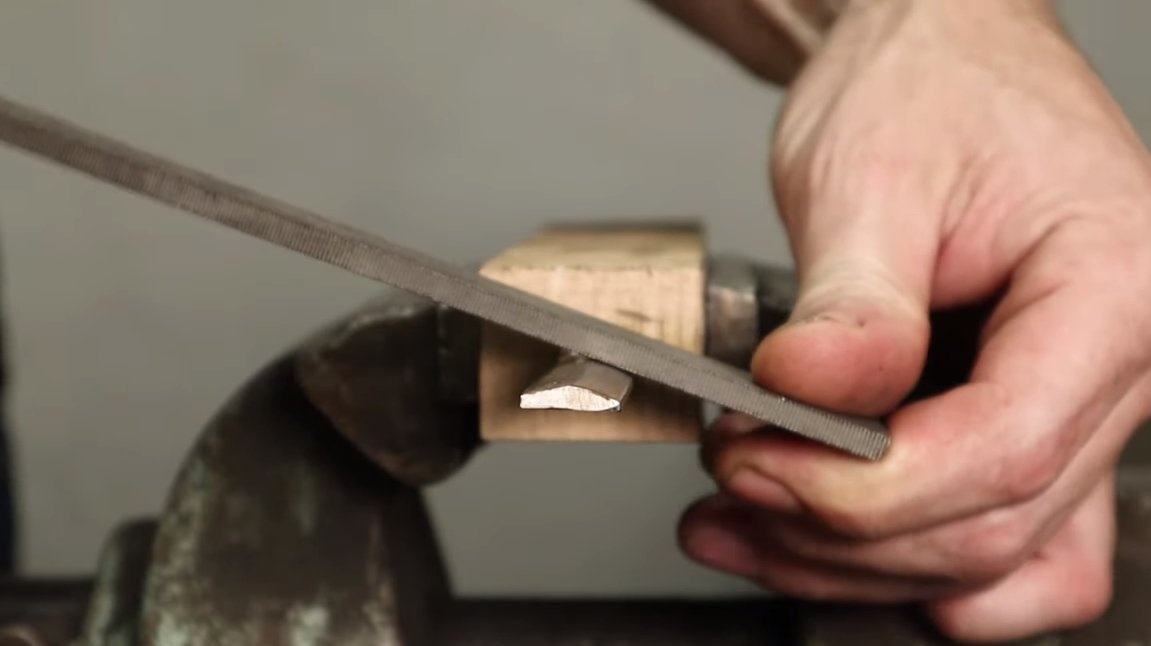
Step Three Descent and final profile
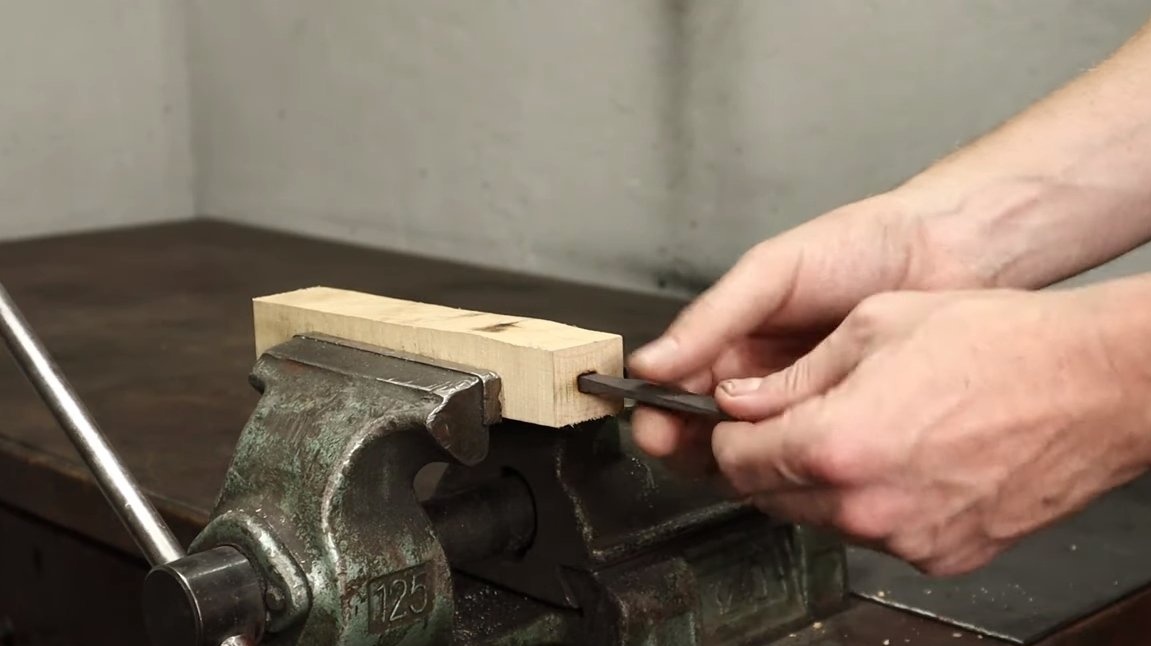
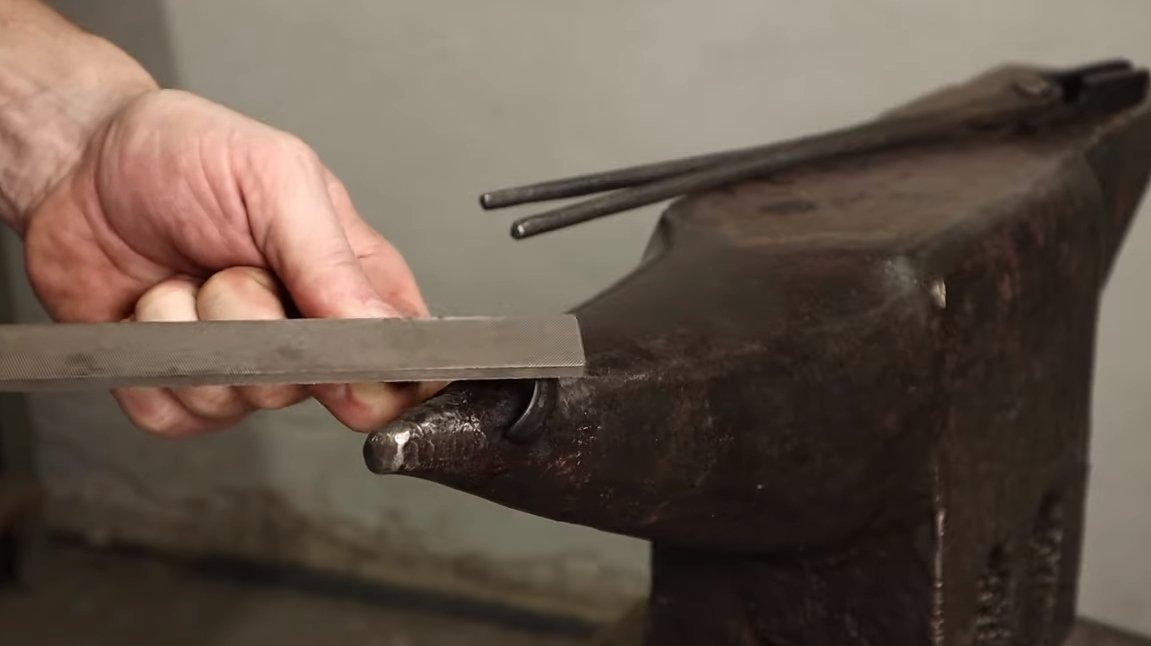
We need to make descents on the knife blank, here we need a file. If you look from the end, then the shape of the workpiece should resemble a triangle. In the end, we then need to make less effort to sharpen the cutting planes of the knife.
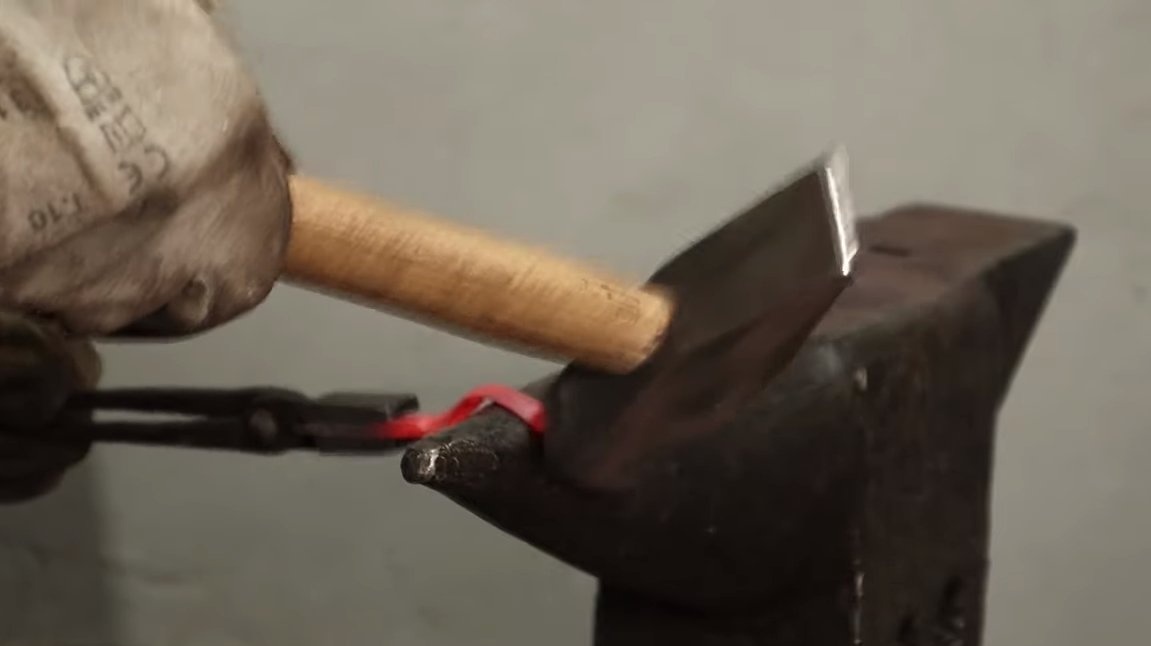
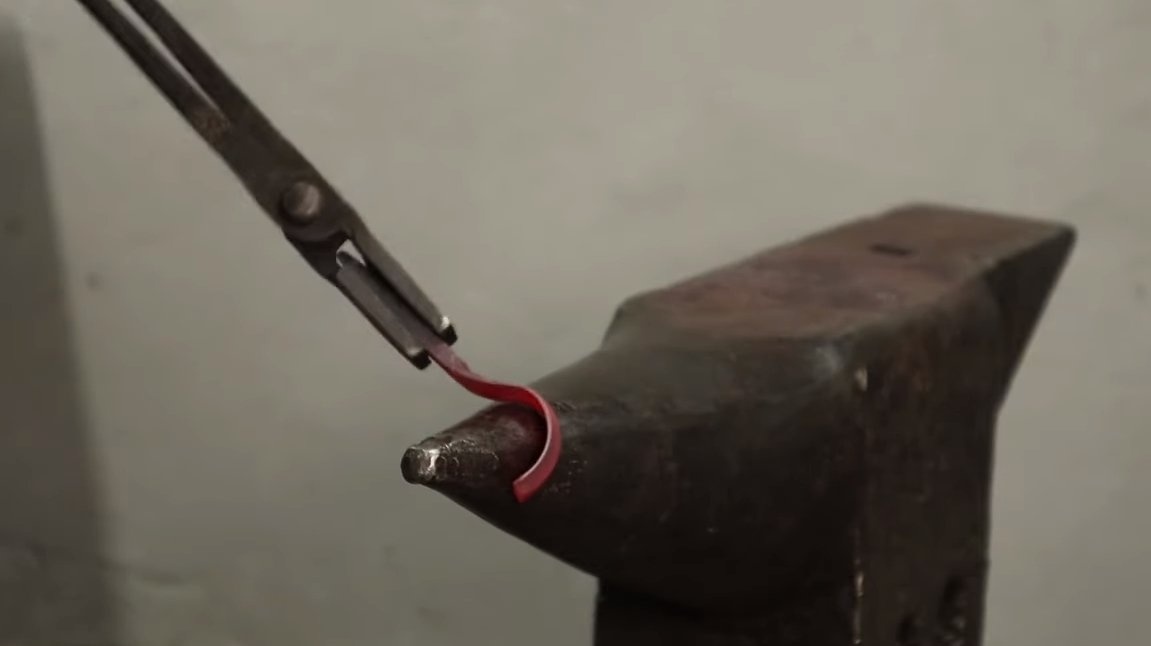
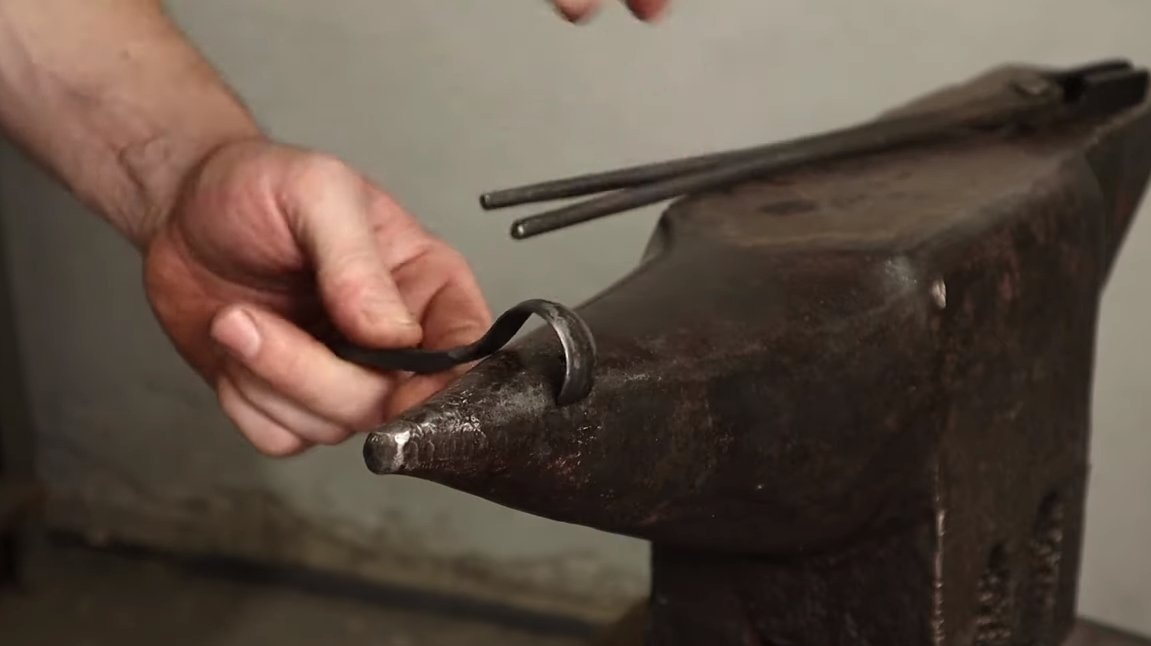
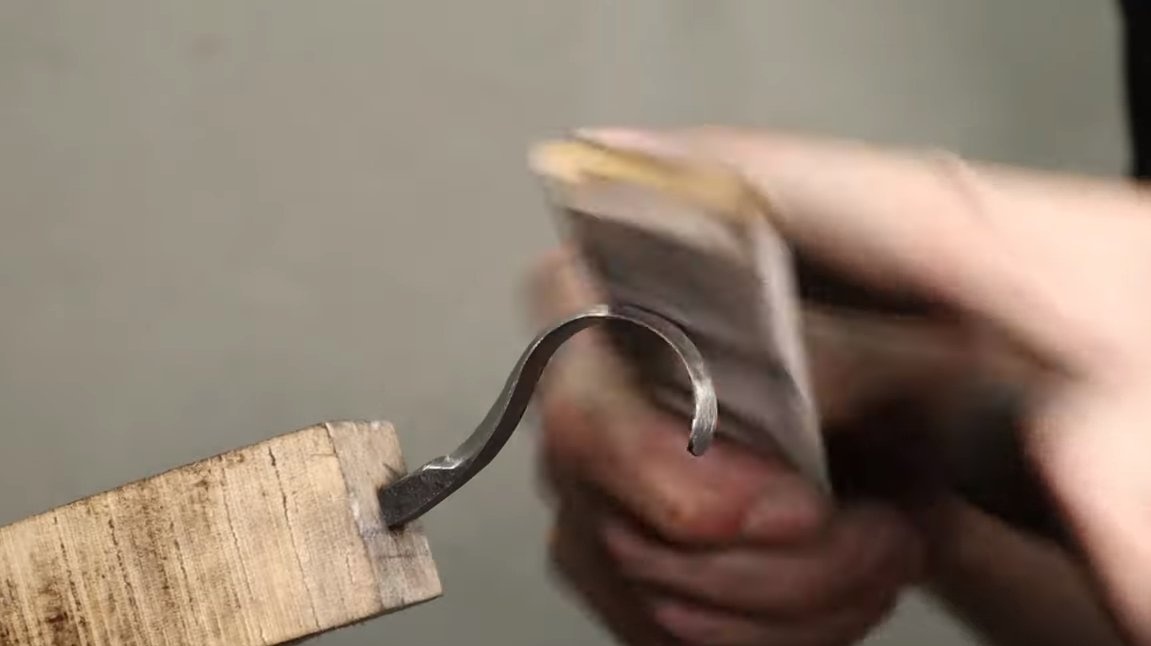
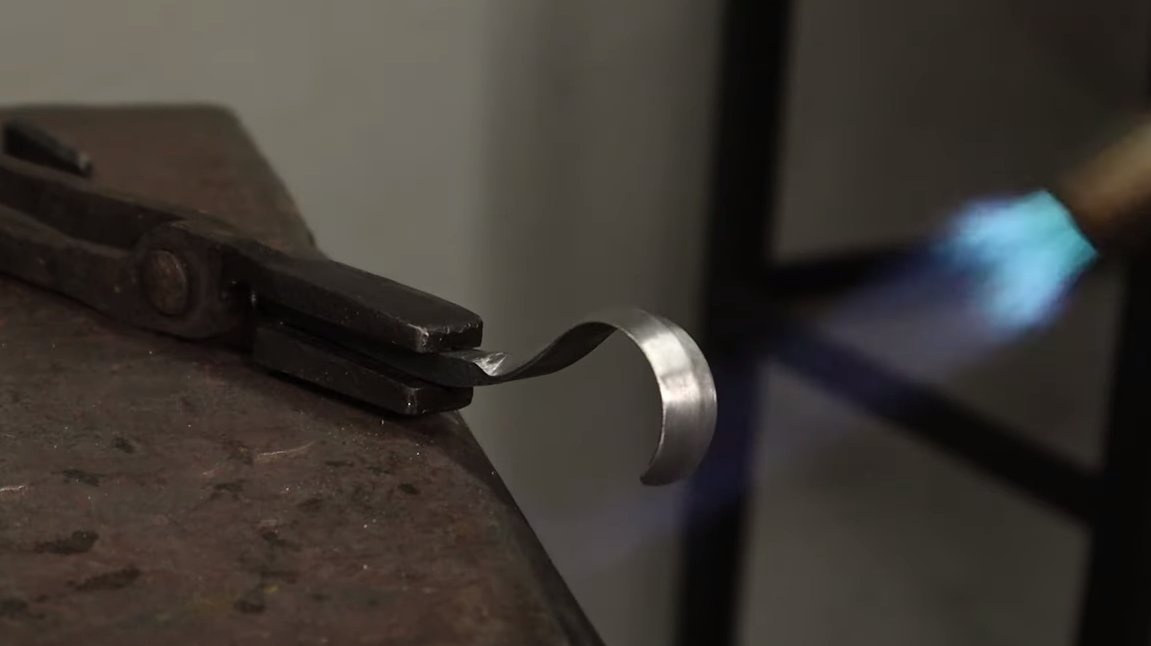
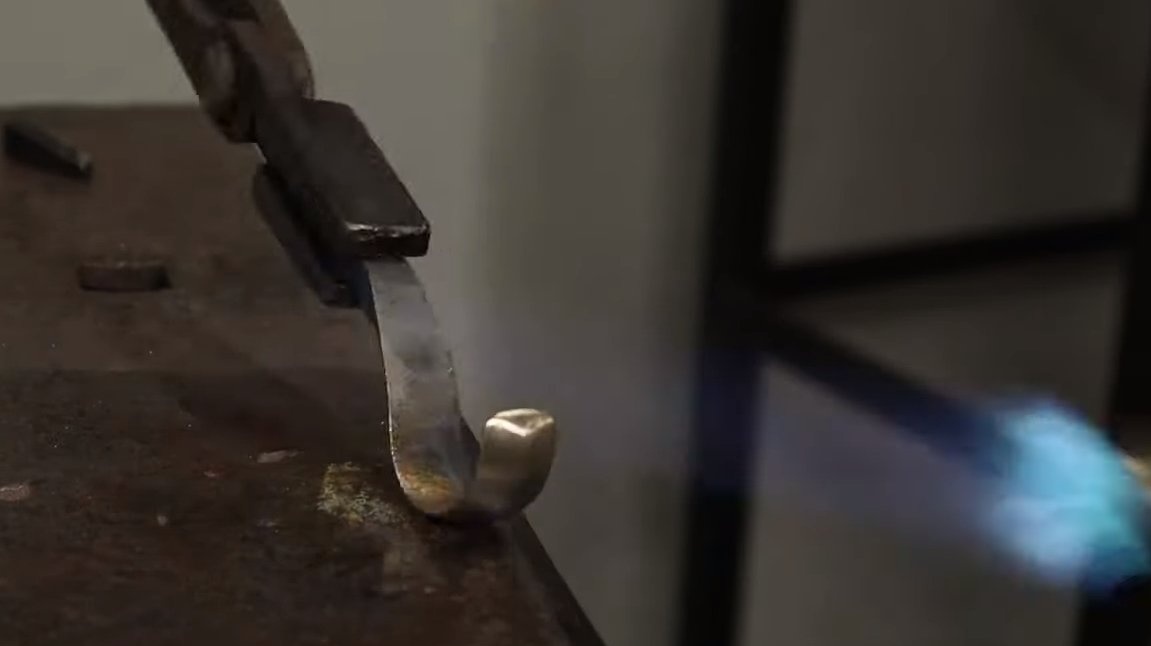
After the descents, we will only have to bend the knife into the hook, again we will heat it up and slowly bend it on the conical part of the anvil.
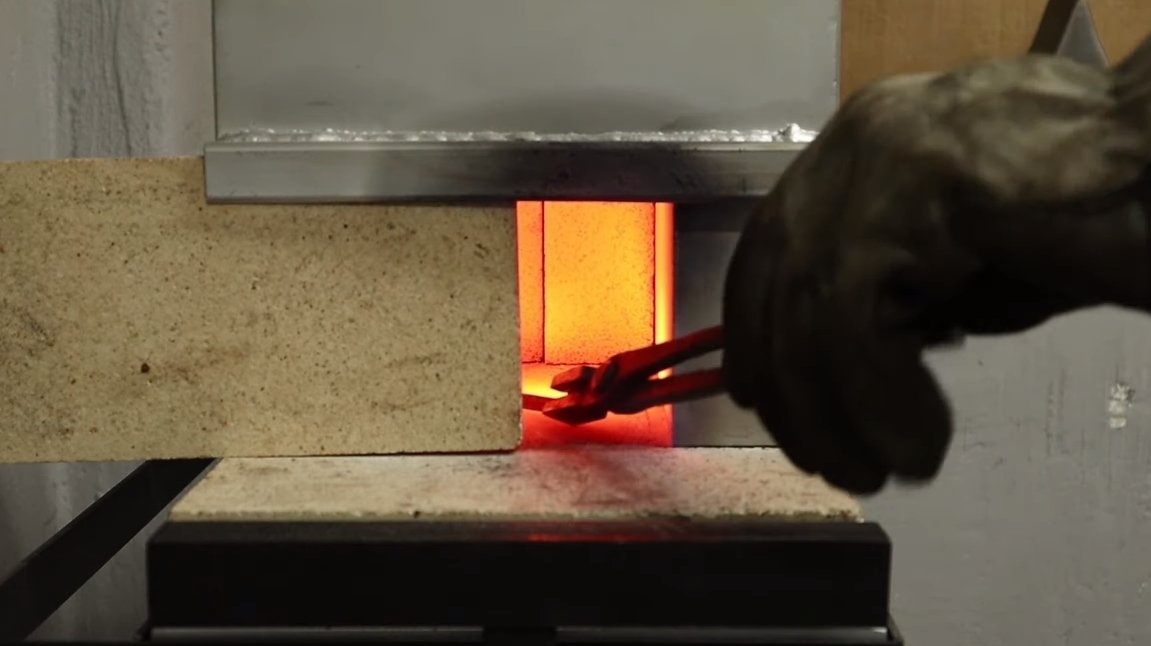
Step Four Heat treatment
We proceed to heat treatment, as a result we should get a knife with spring properties, the blade of which can withstand heavy loads and will remain sharp for a long time.
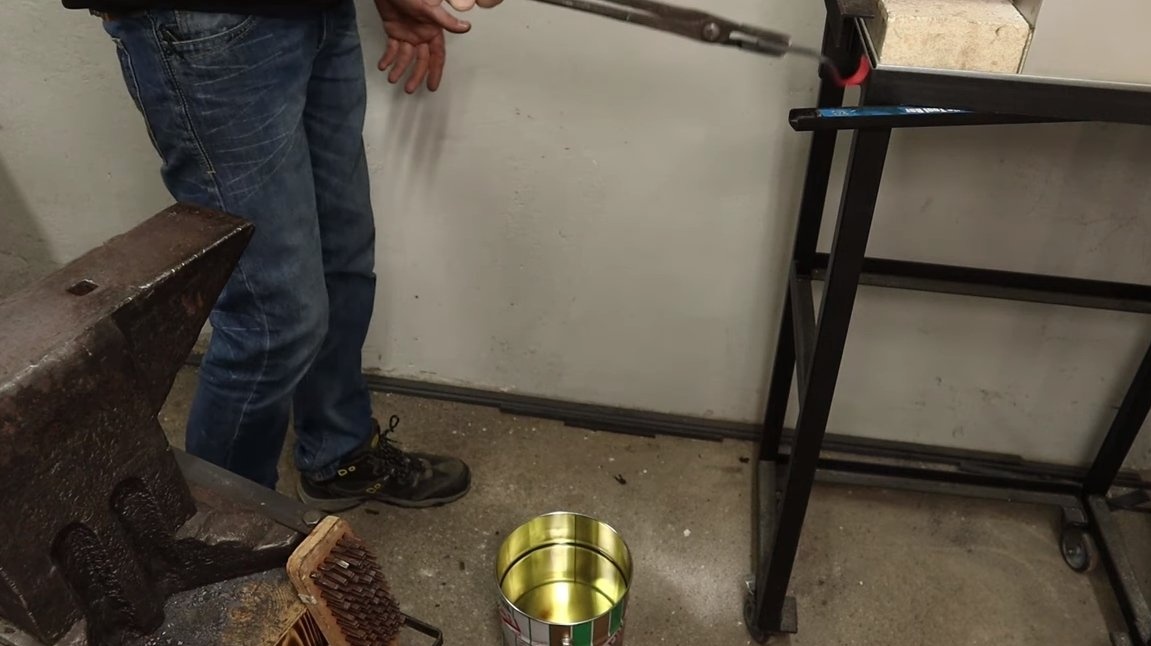
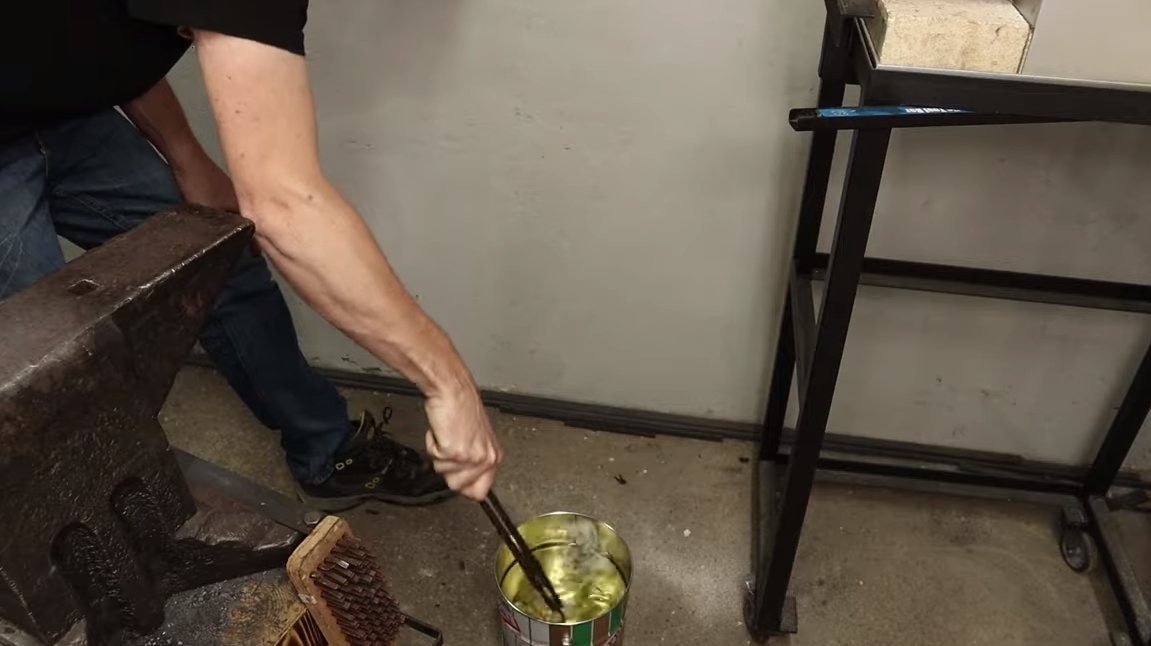
To begin with, we harden the steel, for this we heat it to a red glow and bring it to the magnet. If the magnet does not respond to steel, then we have reached the desired temperature, lower the knife into the oil.
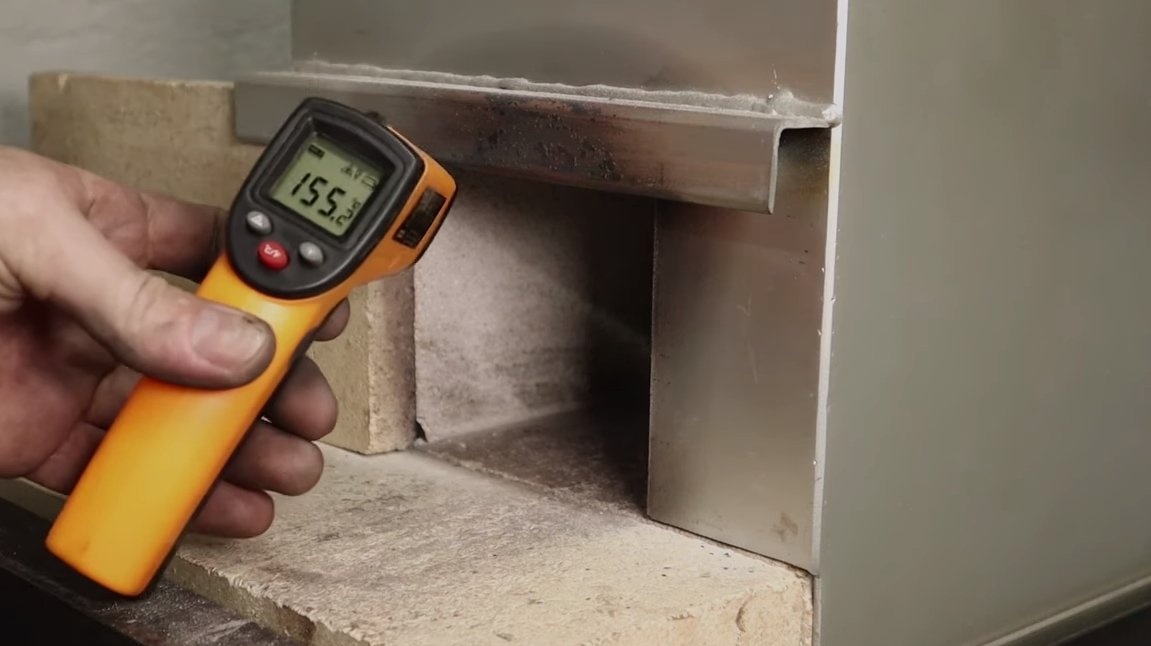
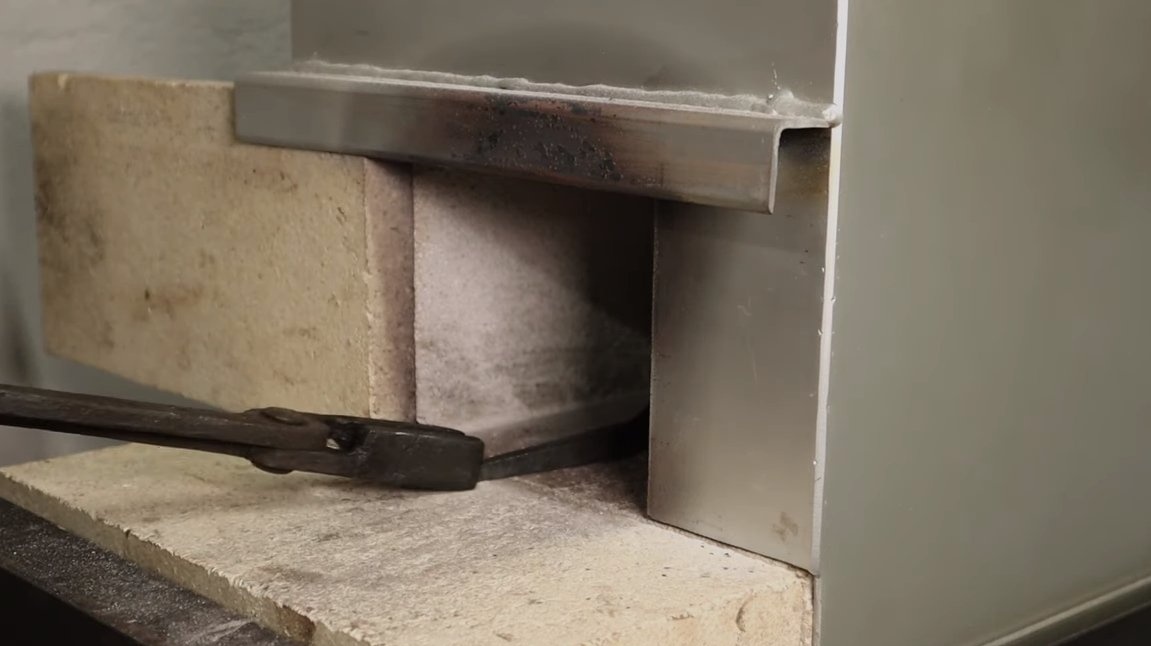
Now the steel is hardened, when you hit the knife with a metal object, a ringing should be heard. Also hardened steel will not be taken with a file. Ahead is the vacation of steel, for this we need to polish it to a shine to see how the color changes when heated. We arm ourselves with a gas burner and slowly warm the steel, we need to achieve a uniform straw color, this will be the temperature of the tempering of steel, now it will spring and will not be so fragile. The author spent his final vacation in an oven at a temperature of 150 ° C.

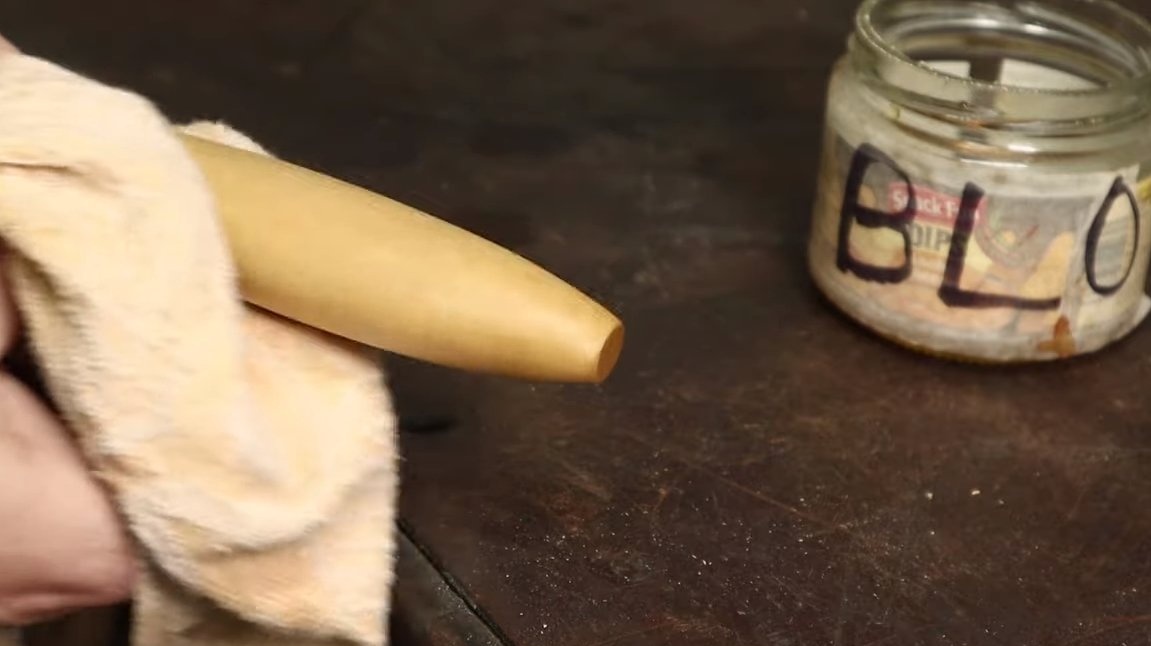
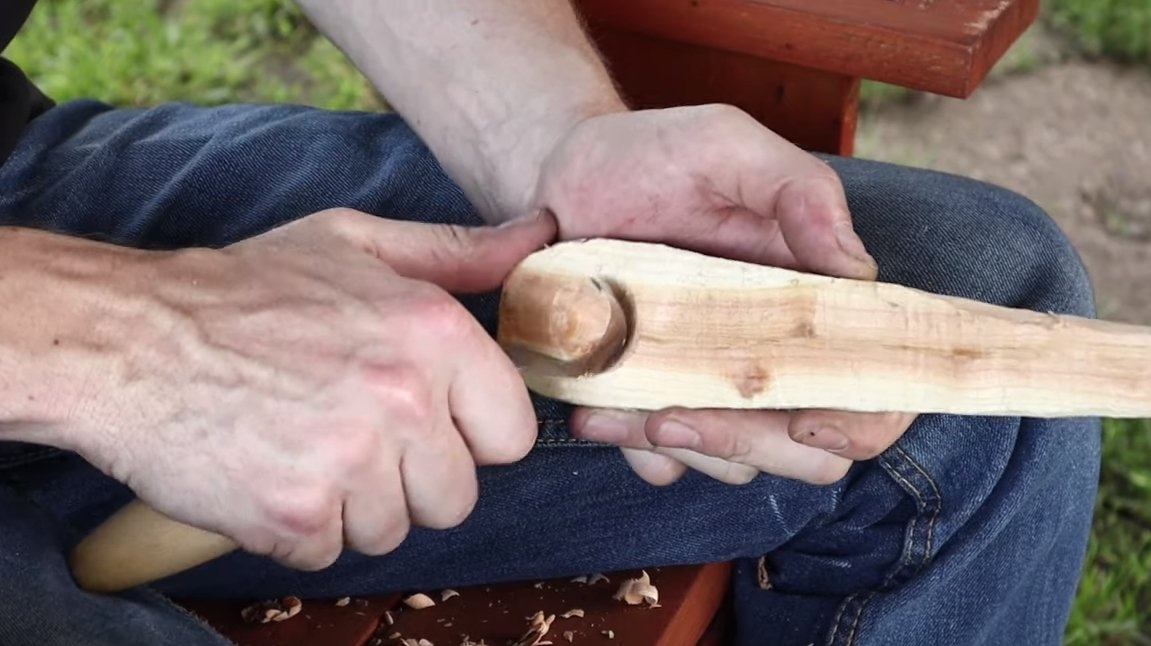
Step Five Handle
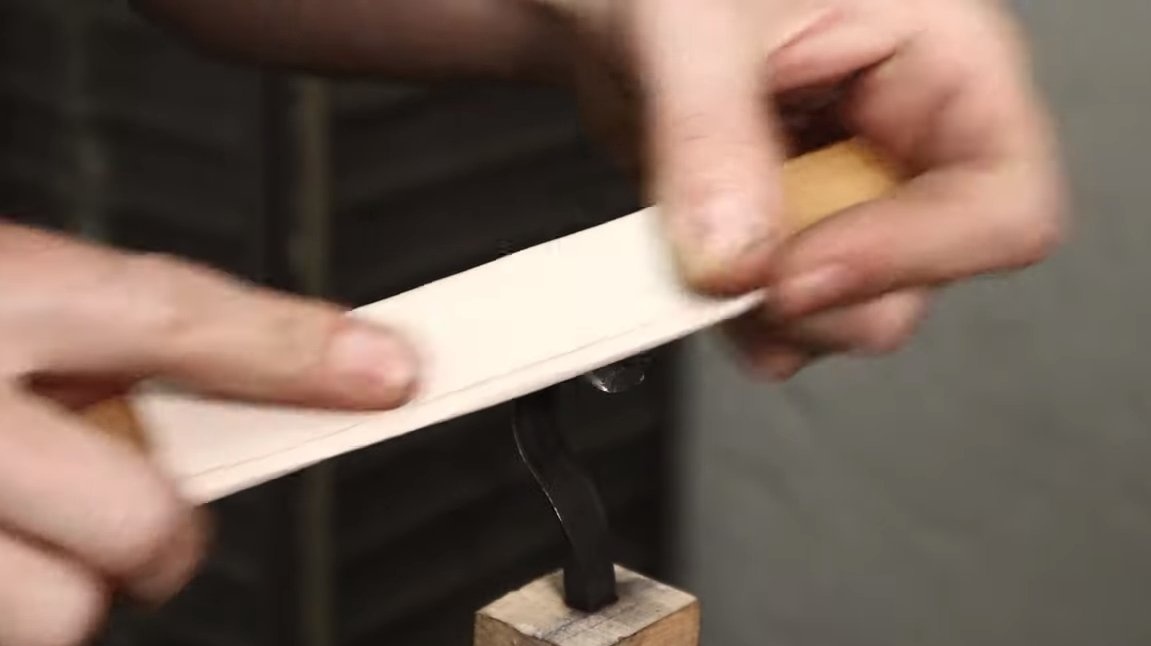
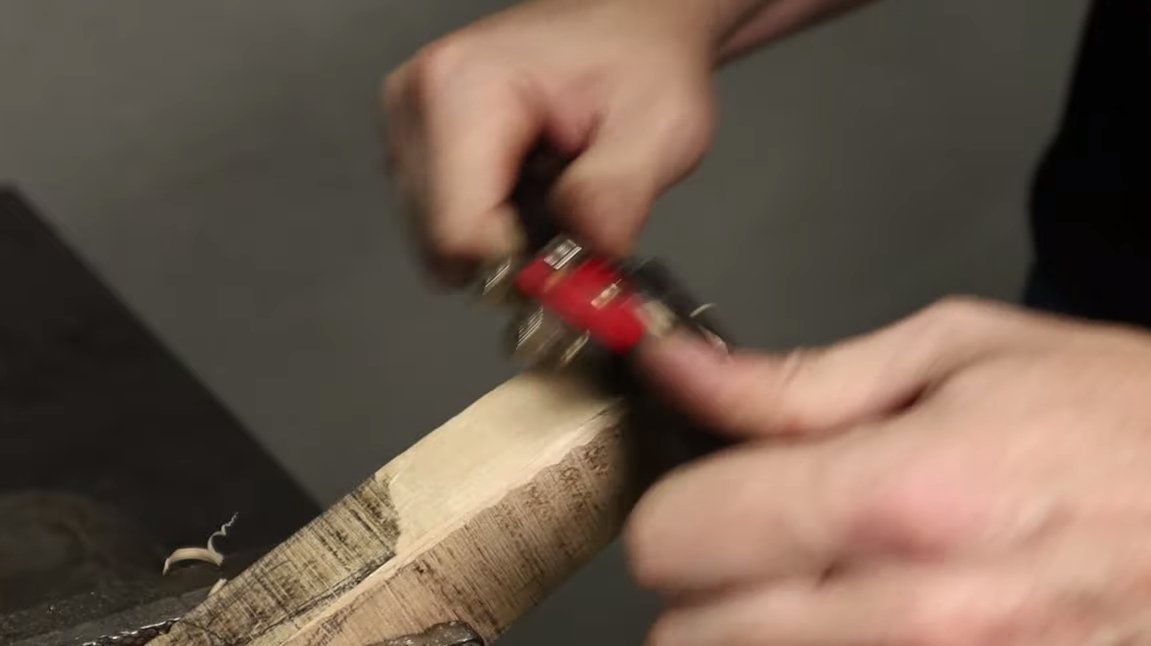
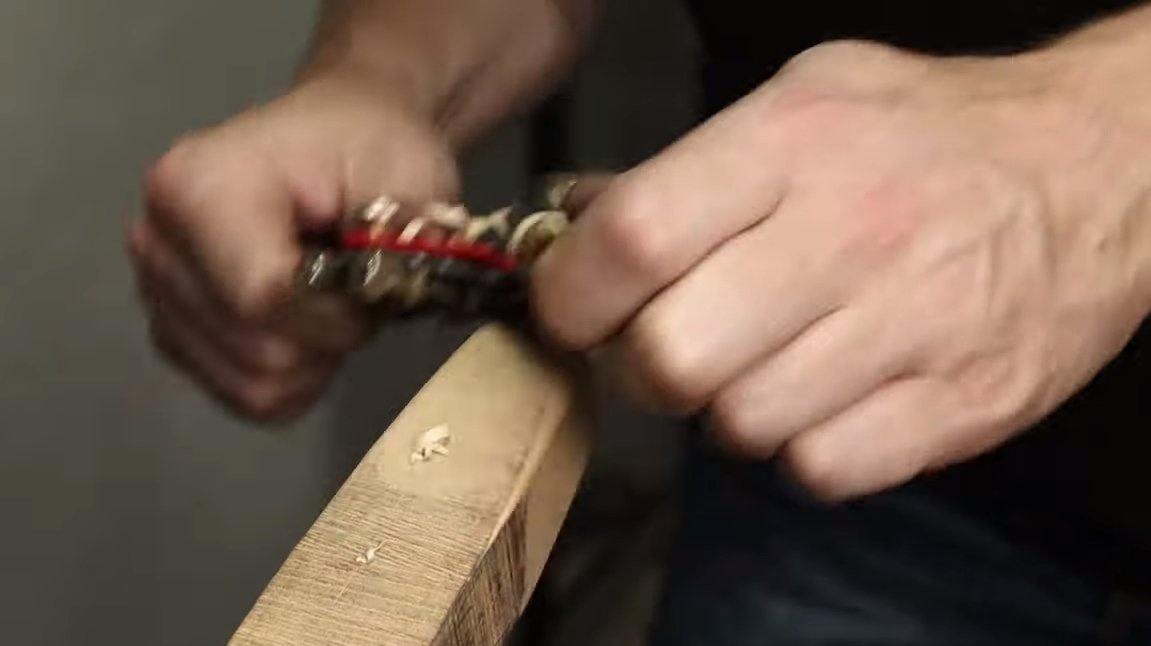
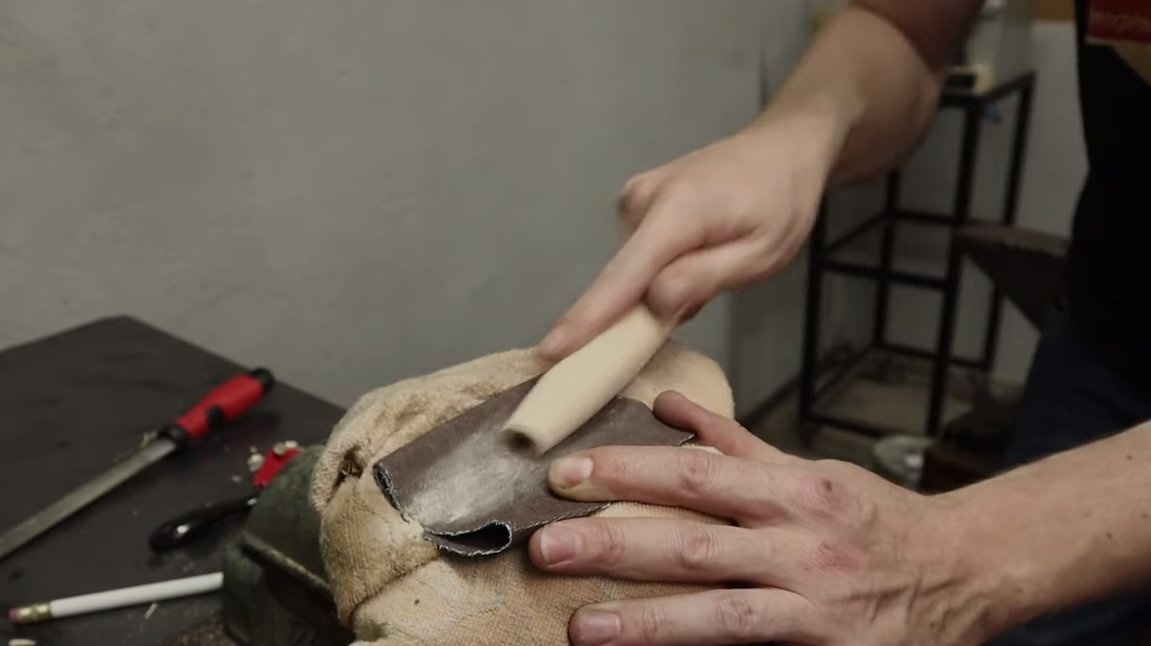
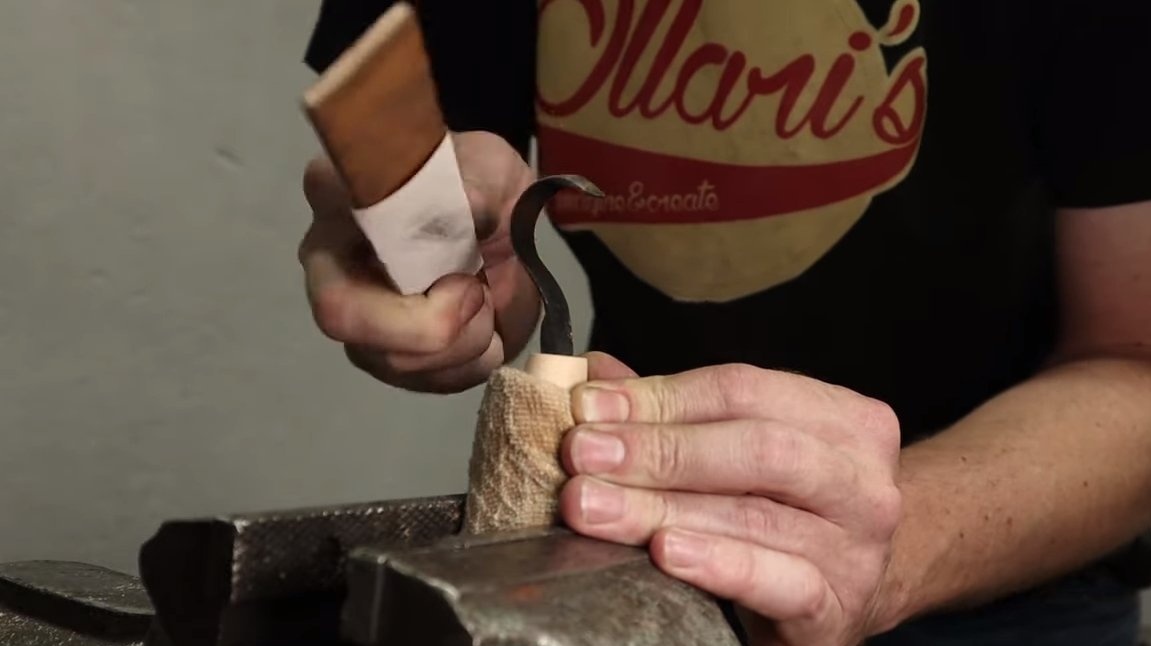
The workpiece of the handle that we prepared earlier, needs to be finalized, to give the desired shape we use a bracket. Having removed the required amount of wood, we carefully grind the handle first with coarse, and then with fine sandpaper. As a result, the handle should become perfectly smooth.
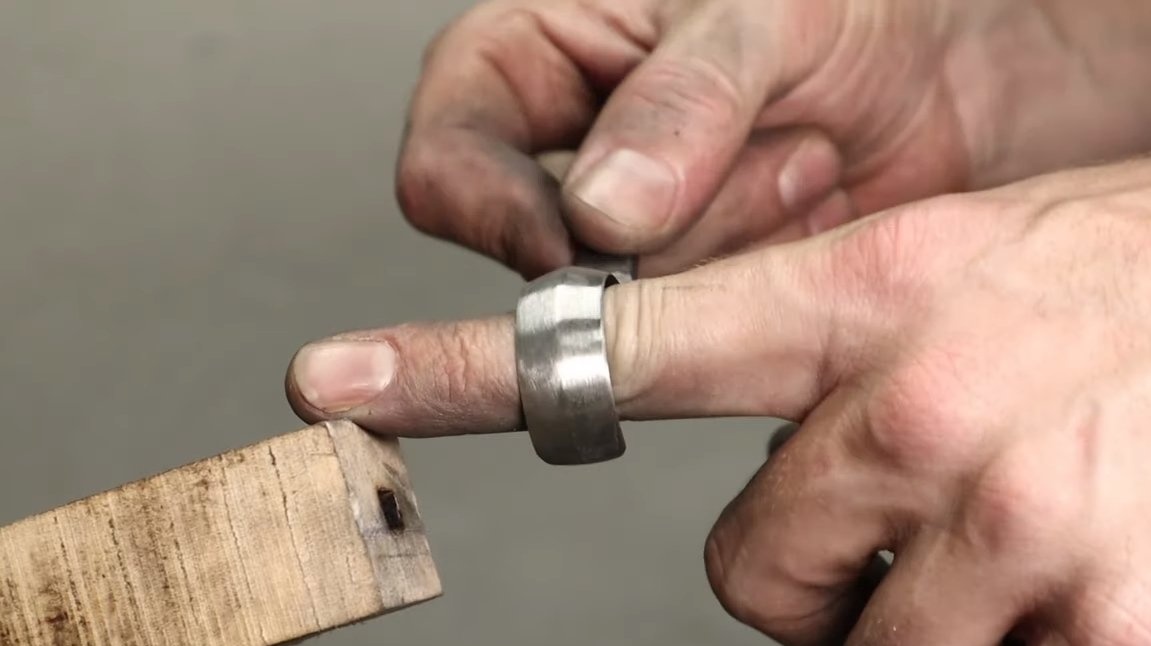
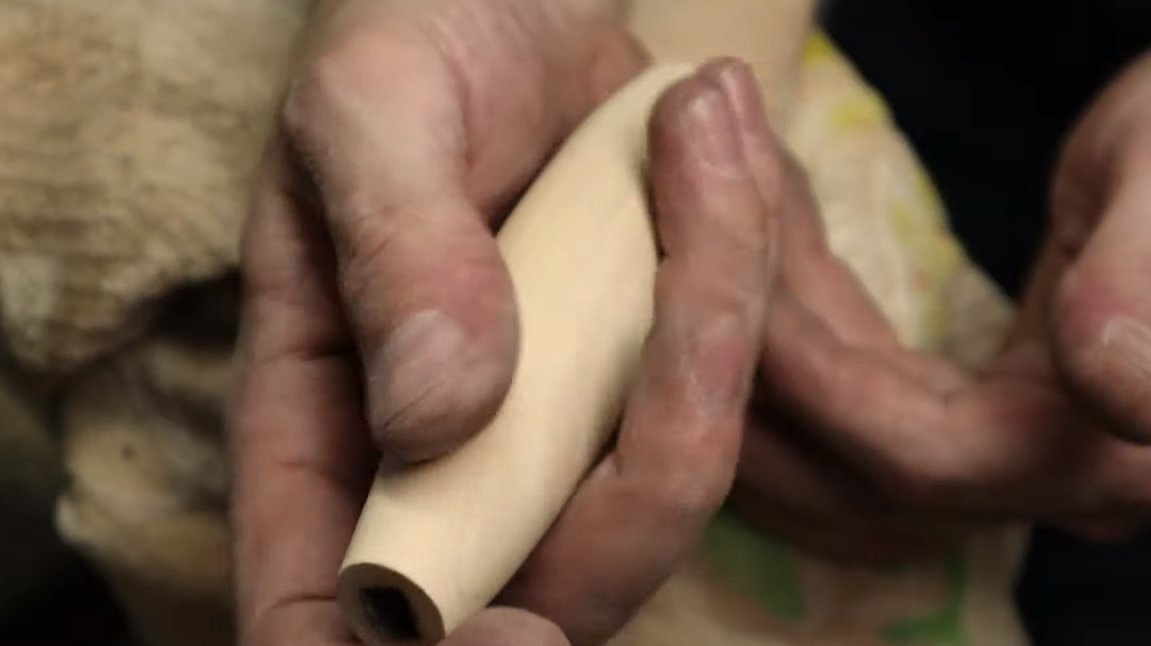
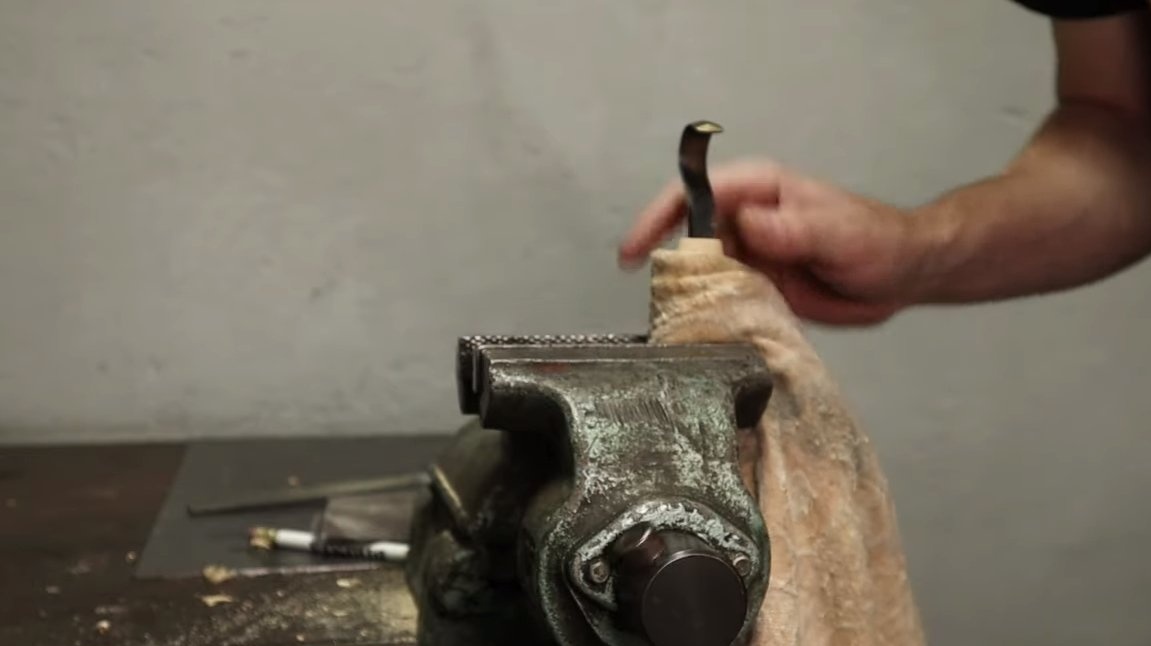
Insert the shank of the knife into the prepared handle, the author inserted it on a dry, without glue. We also grind the knife to a shine so that it looks good. Note that such steel will rust heavily, so the knife must always be lubricated during storage.
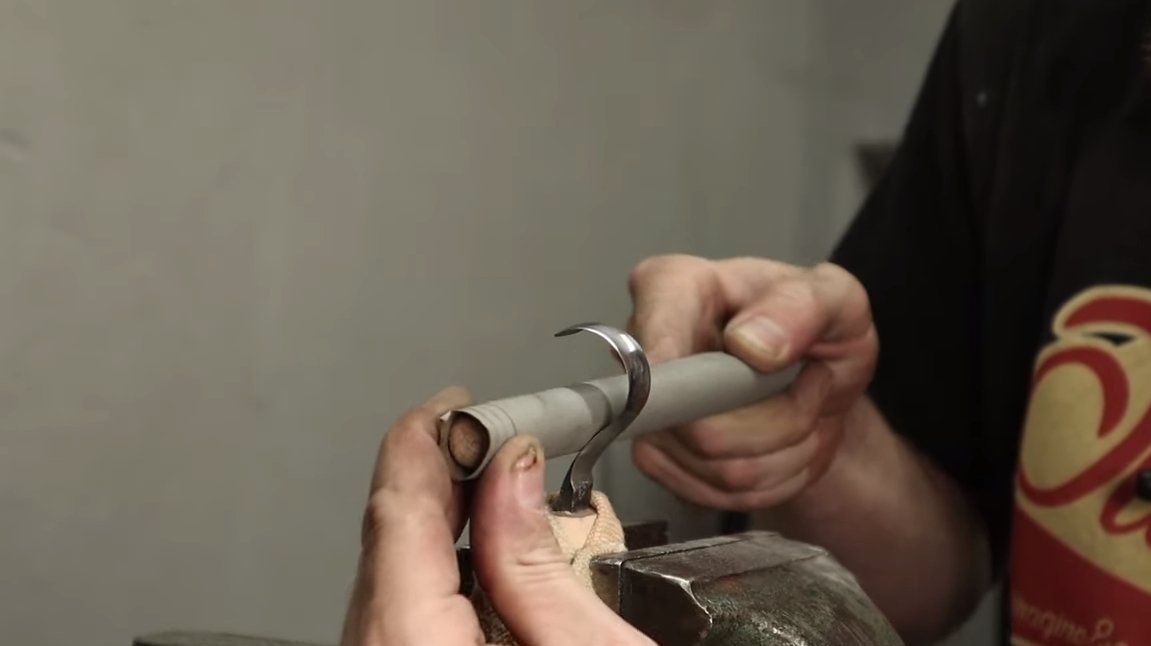
Step Six Impregnation and testing
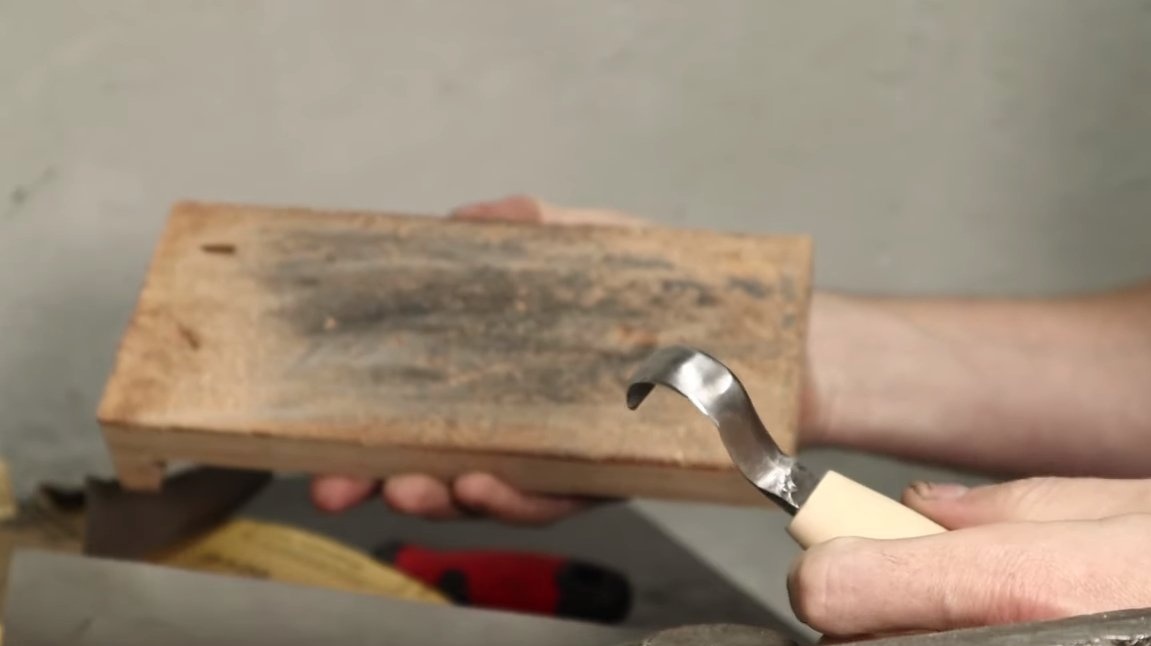
The handle is impregnated with oil, epoxy or varnish, as a result, the wood looks gorgeous and is not afraid of water. Now the knife is ready and you can test it.
After sharpening, the author works with a knife quite easily and simply, the home-made turned out to be convenient. This is the end of our project, I hope you have found something new for yourself. Good luck and creative inspiration, if you decide to repeat this. Do not forget to share your ideas and homemade things with us!