
Greetings the inhabitants of our site!
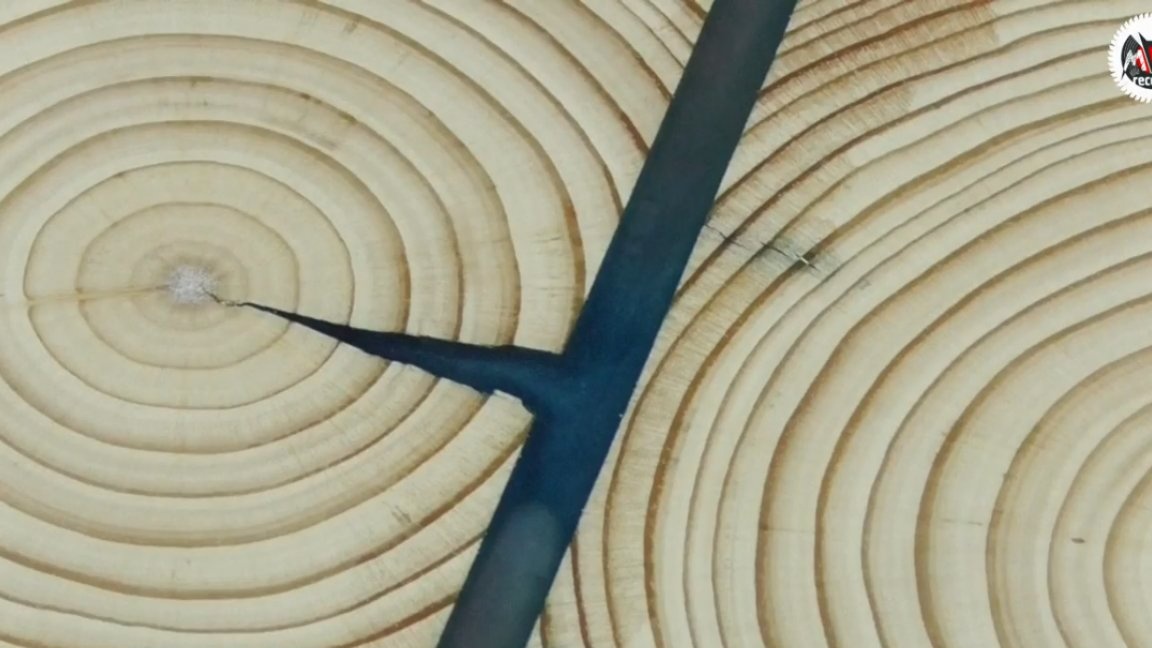
This article will discuss another interesting experiment with epoxy resin and such a piece of pine timber, which has been kept by Maxim Kozlov, the YouTube author of the channel since the construction of the house for about a year.
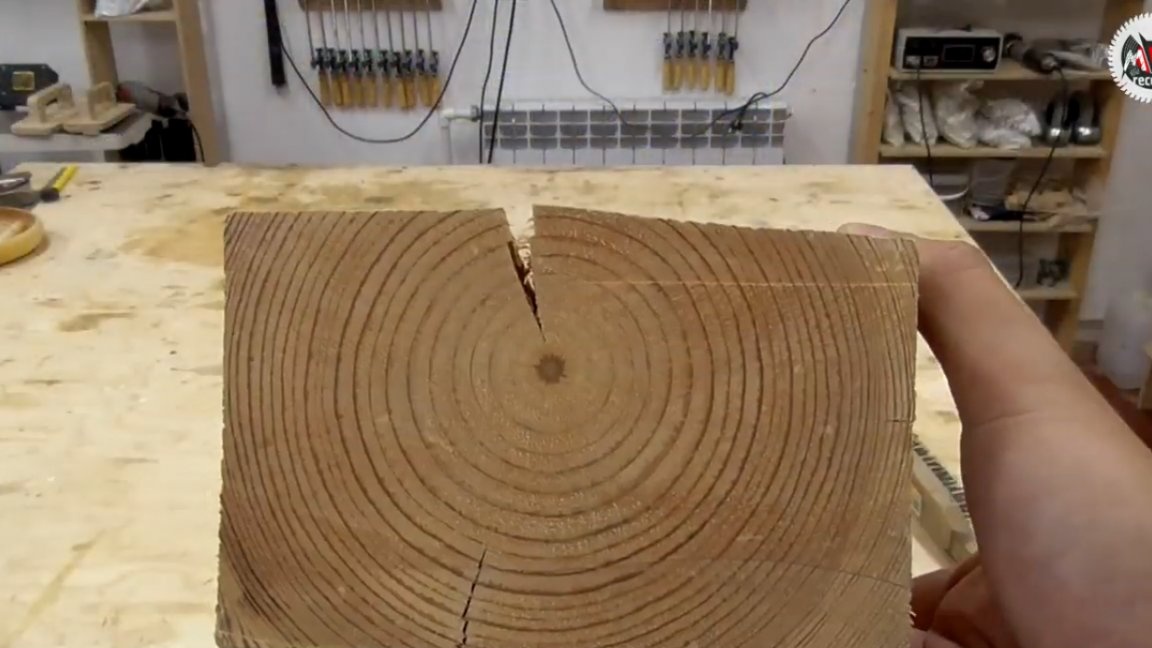
For more than a year, the master has been using epoxy in various turning products, but his hands reached the pouring of the countertop only now, and besides, a lot of ideas for original products appeared. This time, the author began cautiously, feeling some moments of working with resin on cheap material, for which this cracked beam went into action.
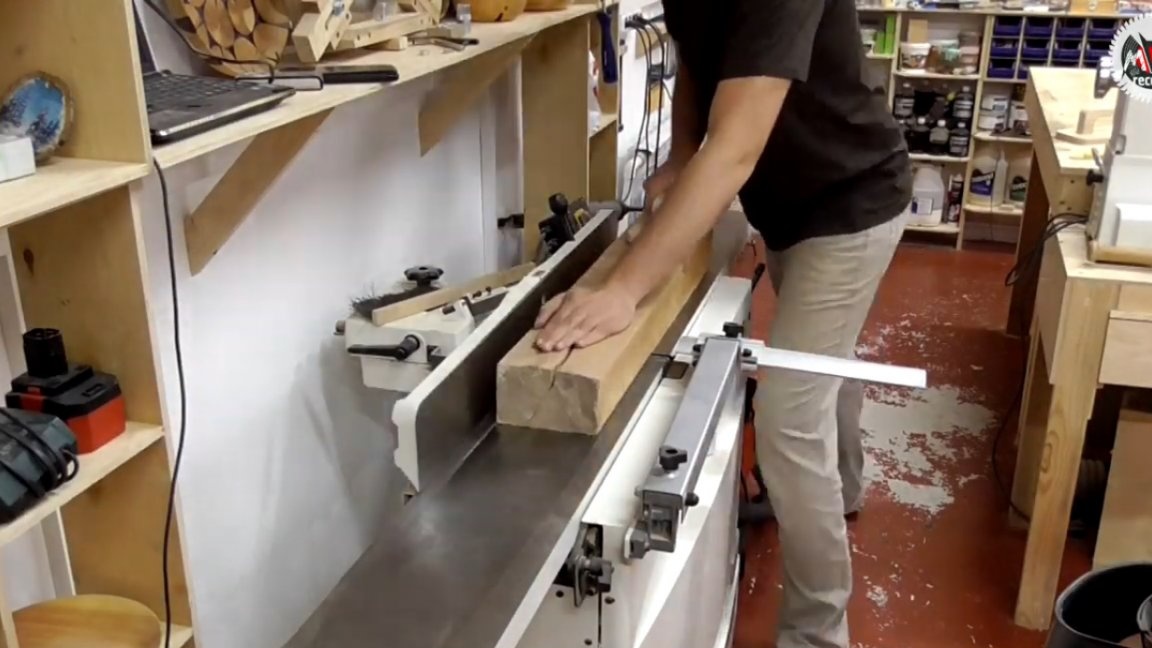
The first step was to prepare a piece of wood for work. The master began by deciding to give the workpiece a rectangular cross-section for subsequent face cutting.
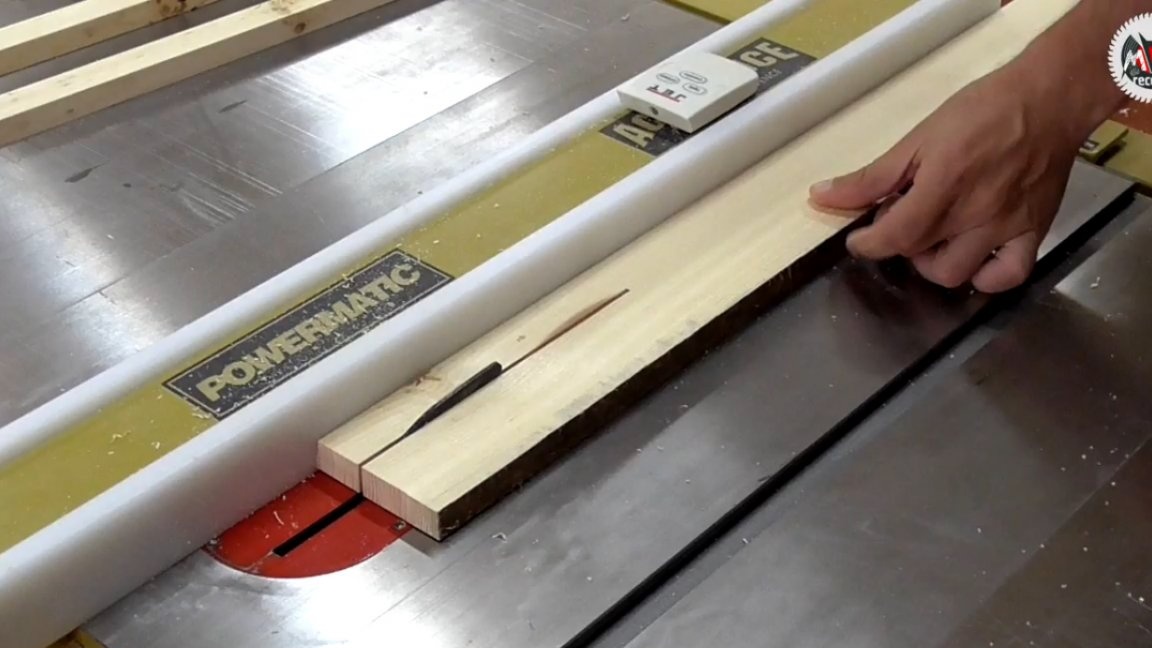
In the future, all the elements will need to be glued to the base, so the end cuts must be performed as evenly and perpendicularly to the workpiece itself. Since the band saw was not quite suitable for this task, it was decided to file the details on a circular in 2 passes. Using the carriage, this can be done as accurately and safely as possible.
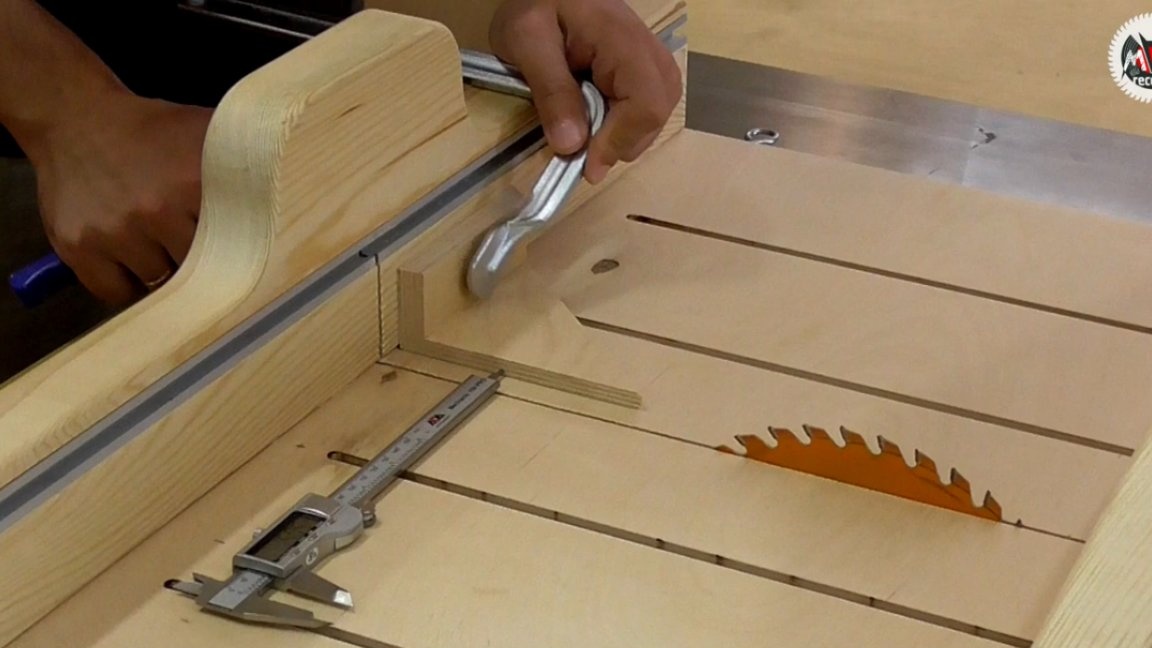
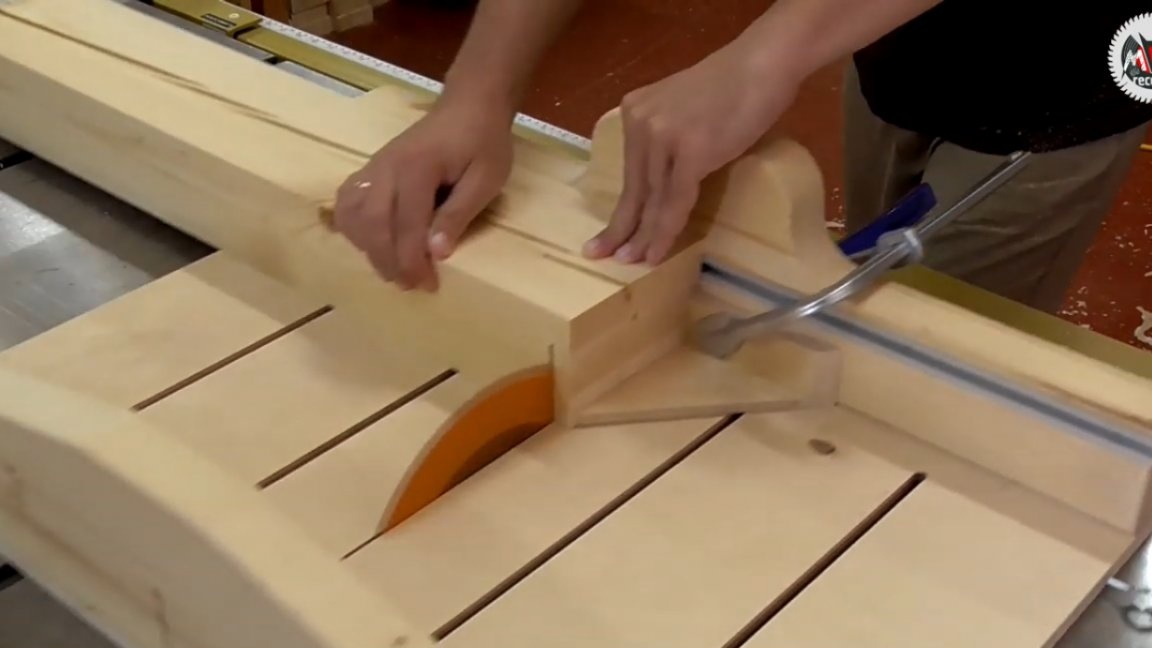

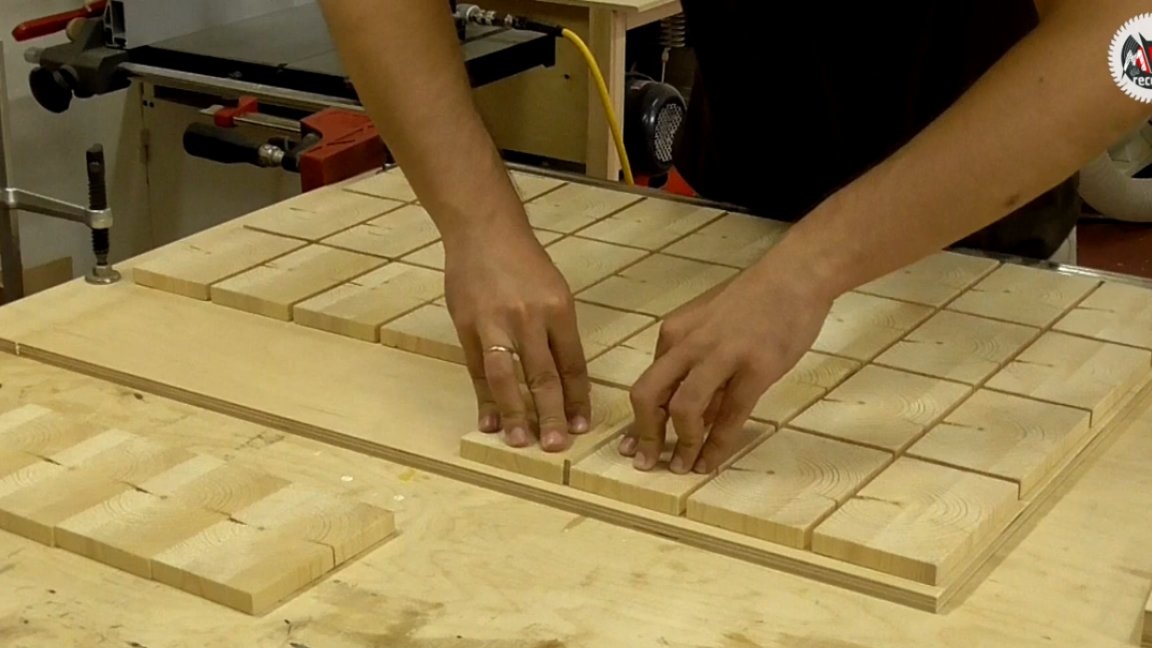
The task was to saw such end parts with a thickness of 15 mm, which would form 90 percent of the surface of the countertop.
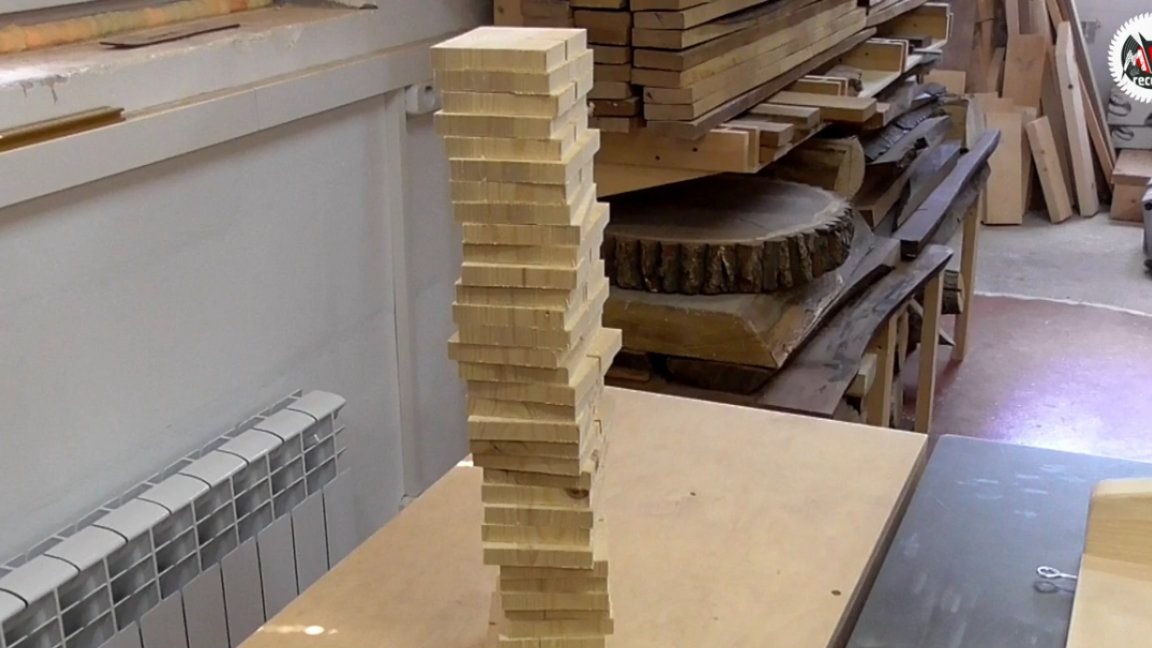
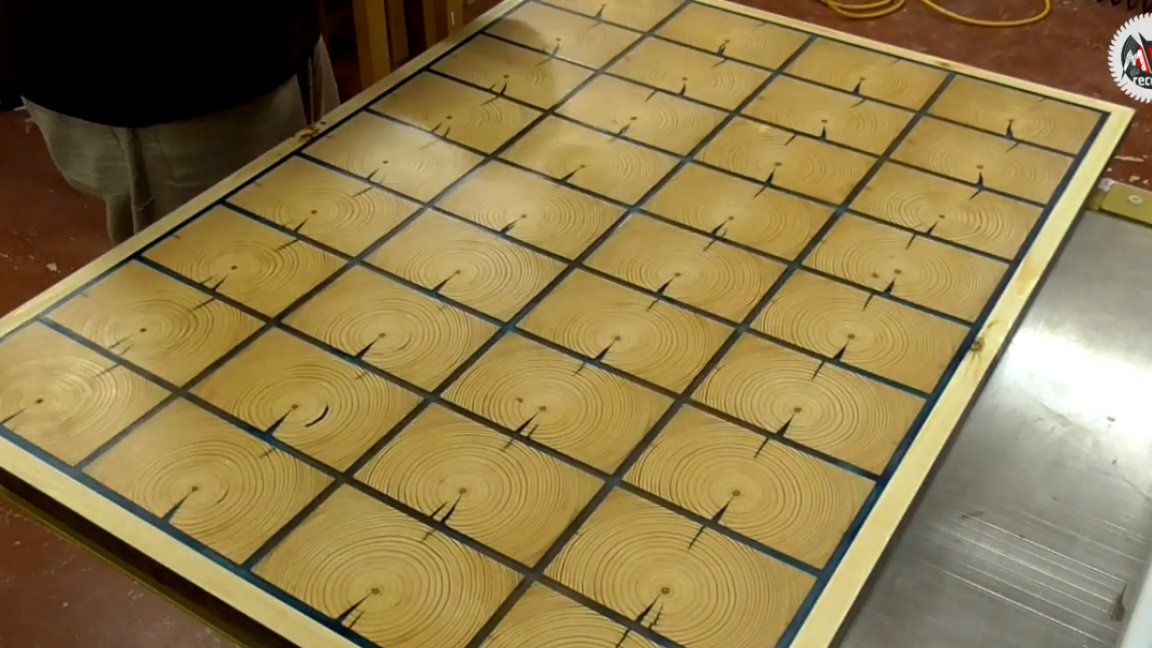
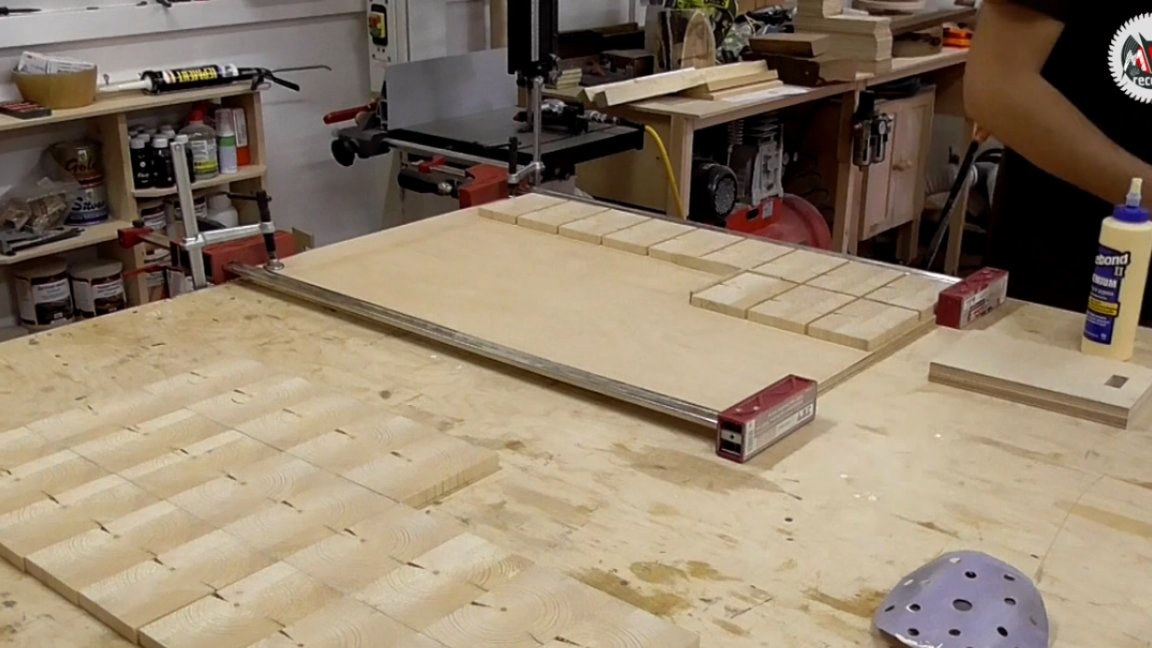
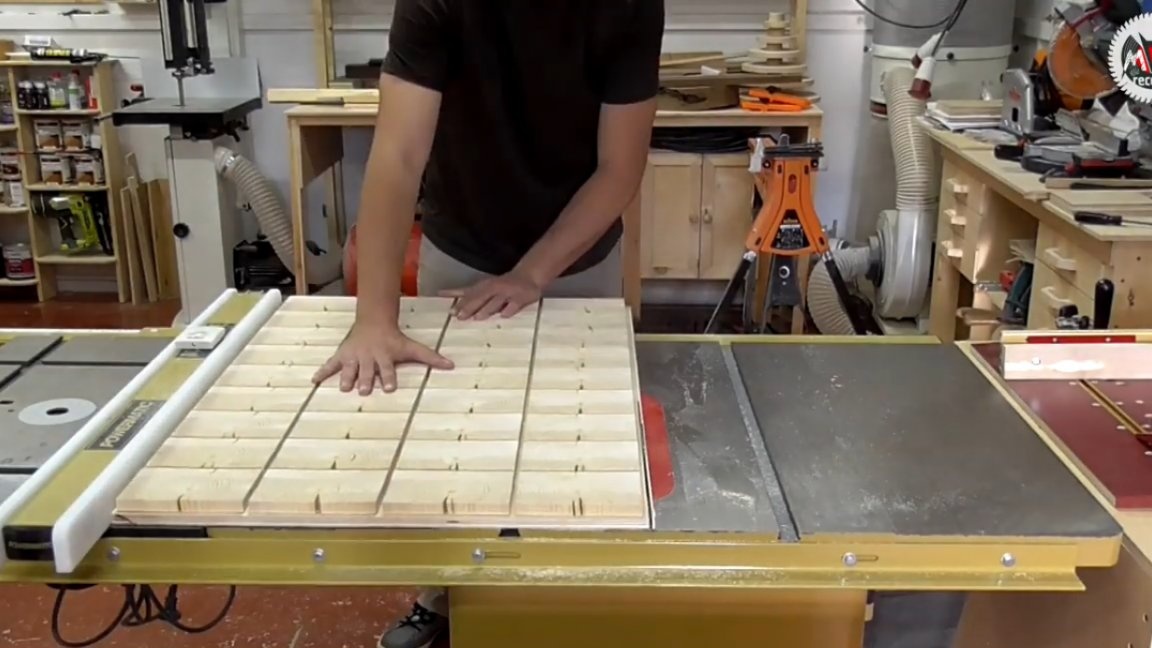
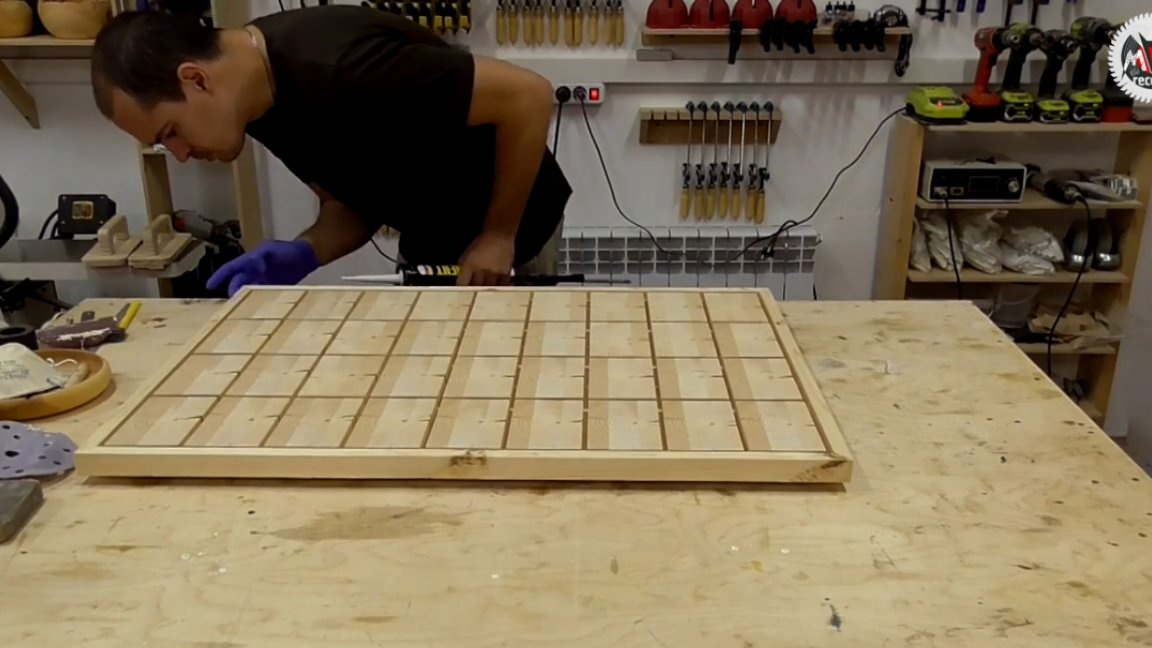
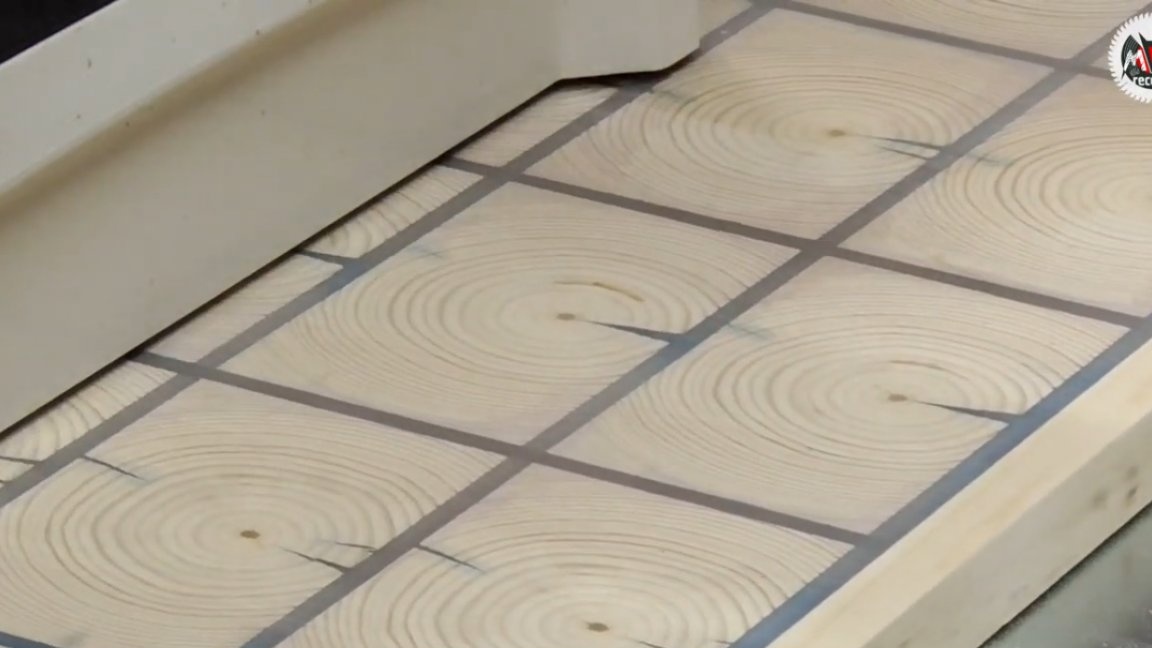
The technology is quite old and from time to time such a technique can be found in decorative floors, and in countertops it also has the right to life. The next step, the master laid out all the details on the table in order to understand how large the substrate would be.

The peculiarity of this countertop does not imply the use of the transparent properties of the resin, therefore, in this case, it is also possible to use the pouring base quite conveniently, which allows the use of wood elements, moreover quite thin and the same thin layer of resin. As you know, this can significantly save material consumption. Next, we proceed to filling the matrix with end cuts.
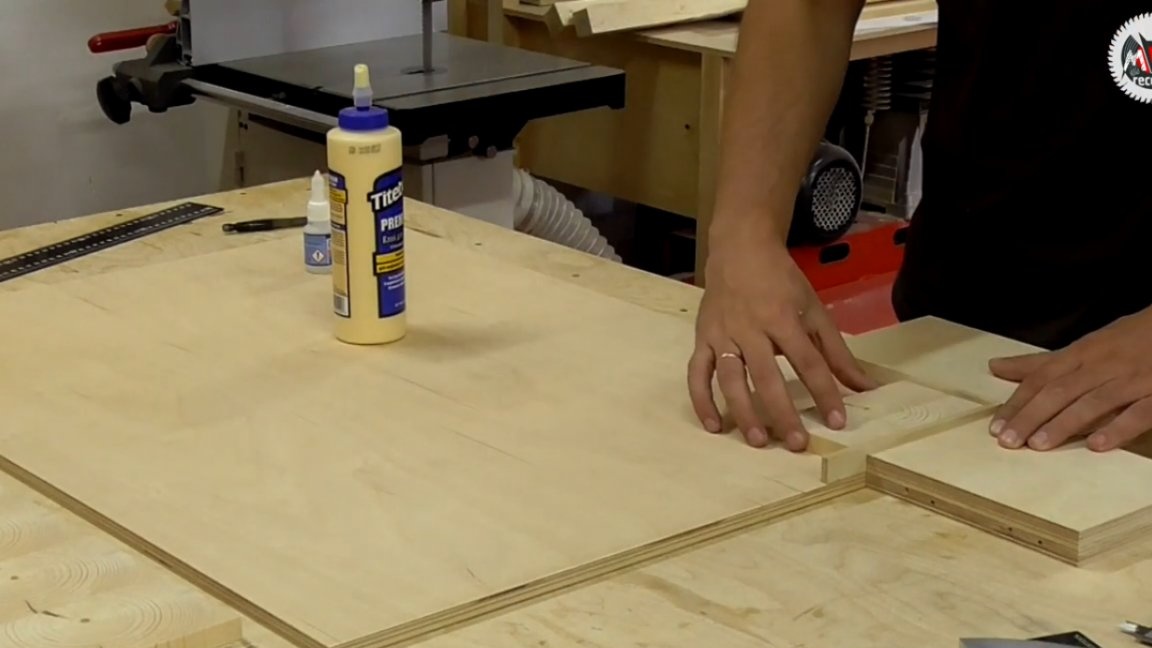
When sticking wooden elements on the plane, no additional pressing is required, just press the part for a few seconds.
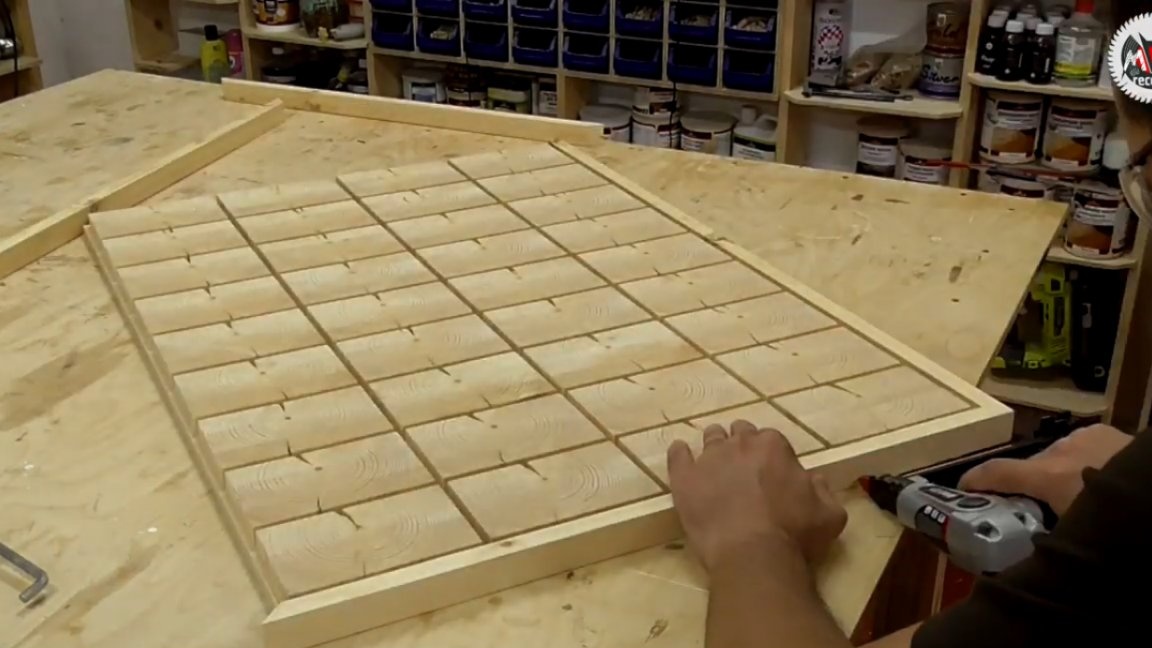
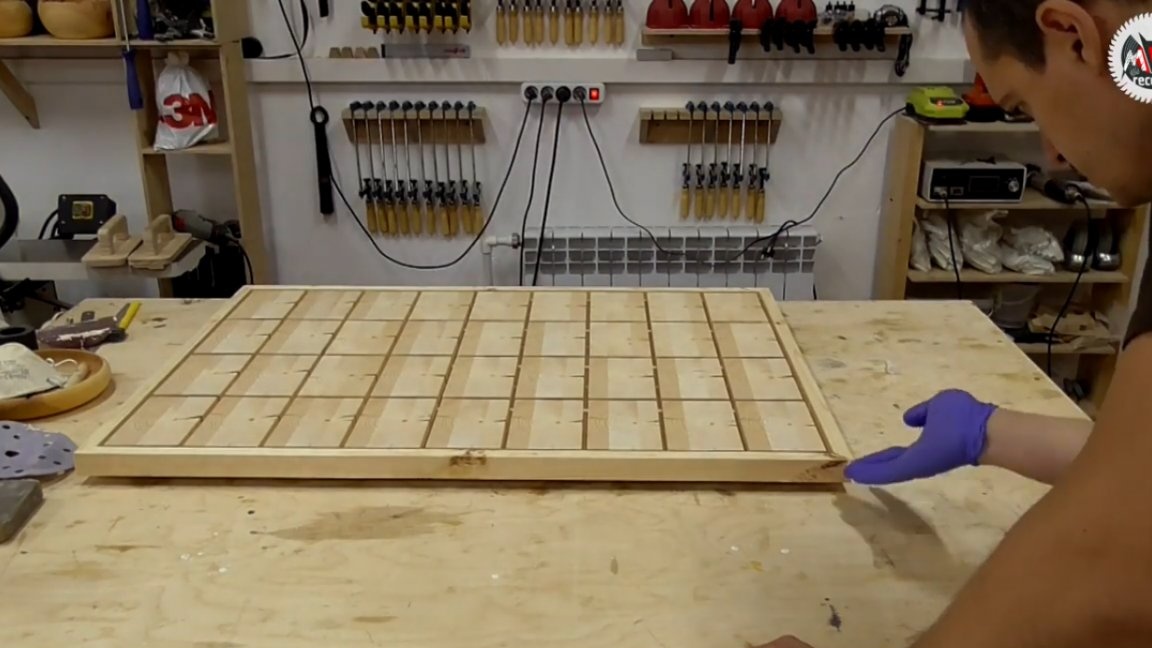
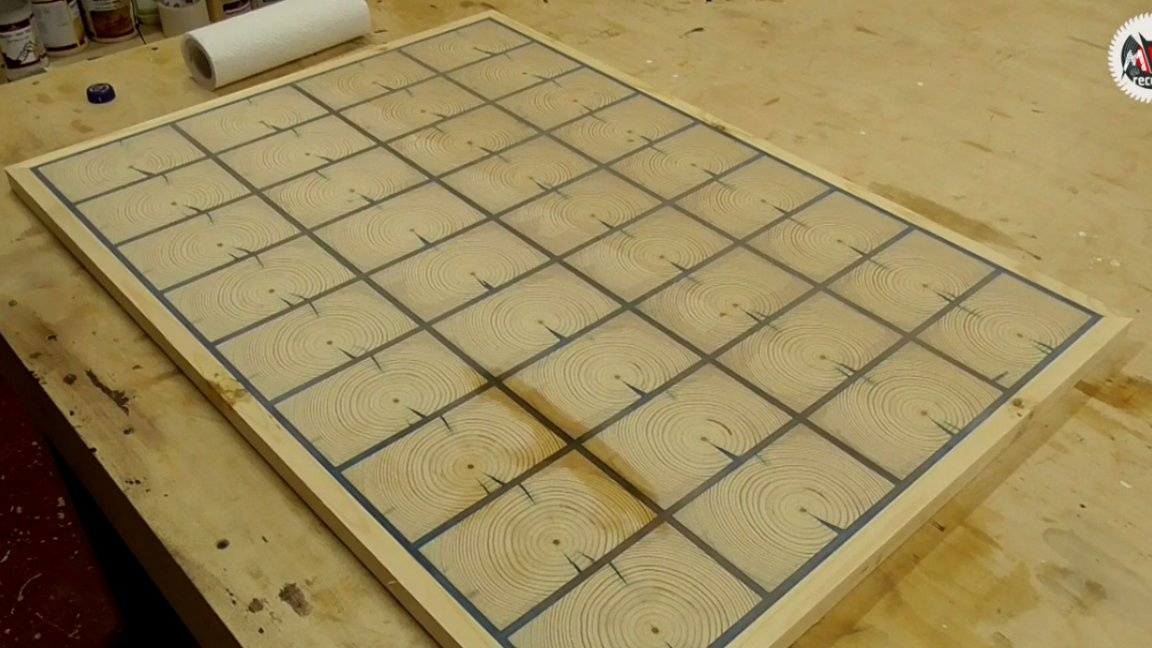
This type-setting structure is quite simple, but will serve as the first step for more complex compositions. Now you can begin to form the details of the tabletop structure, in which the inch board of the same pine went into business.
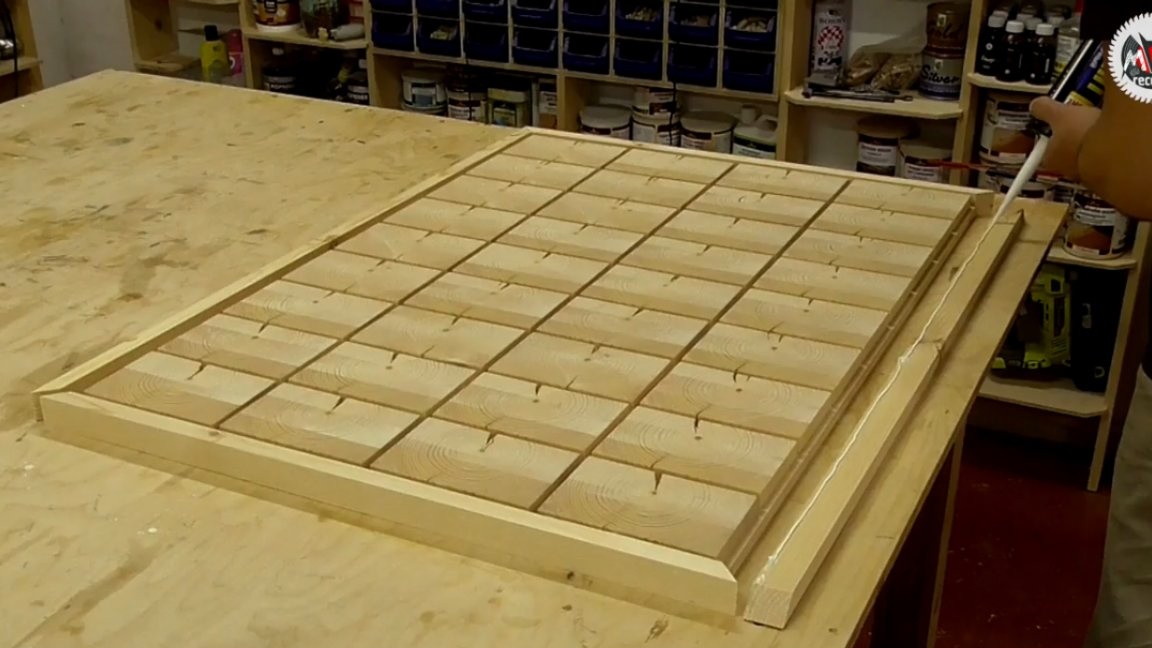
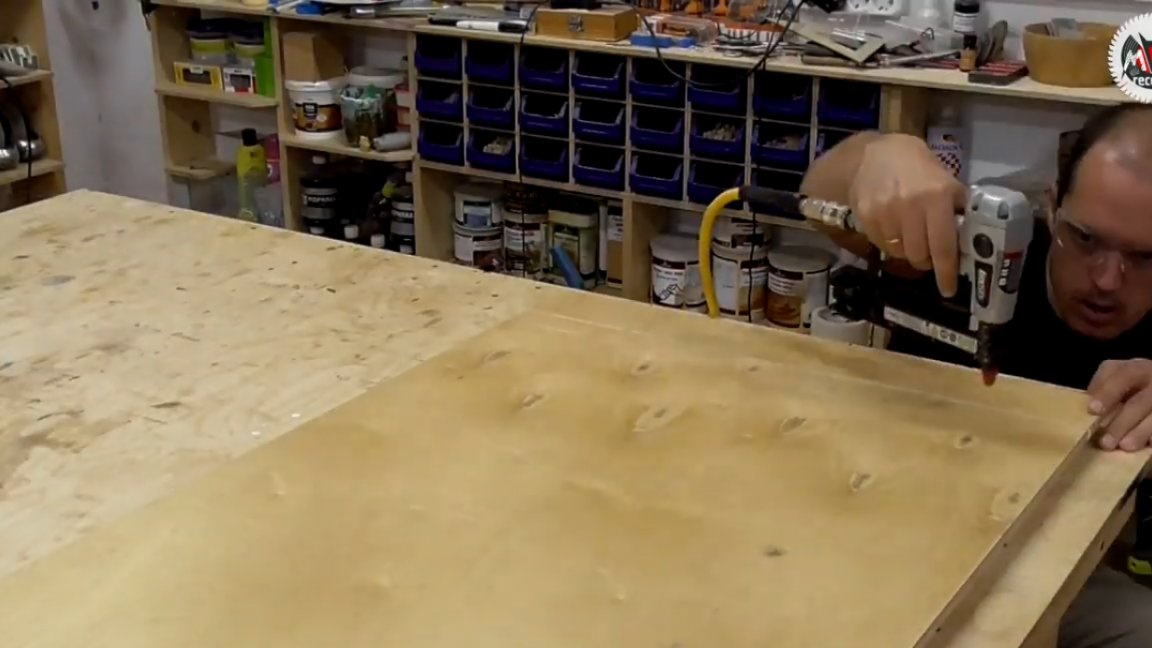
These details need to be done a millimeter and a half wider than the height of the future countertop, since they will close the filling area. And after the polymerization process, all products must be driven through a drum grinding machine and the casing must be flush with the base of the countertop. Accordingly, if necessary, the countertop can be re-framed over the existing lining, setting a pseudo-thickness of any size.
Before pouring the product with resin, it is better to lubricate the joints with a sealant also from the outside, since the epoxy is quite fluid and it would be better if the product was completely sealed.

Also, do not forget about the angles through which the resin can easily escape.
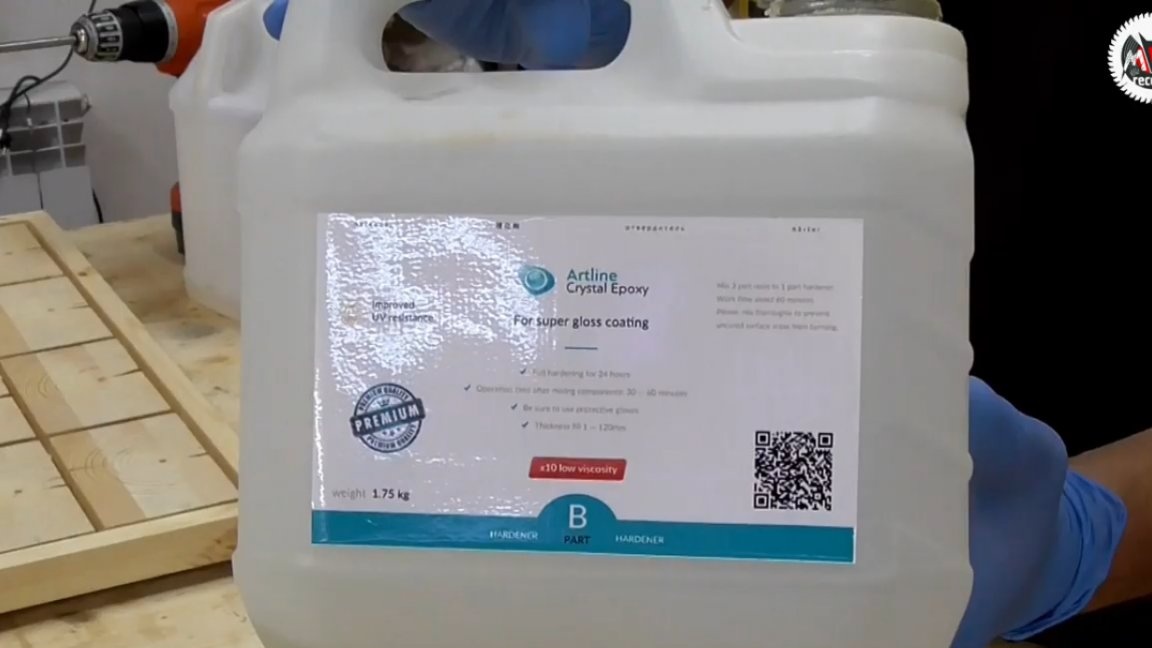
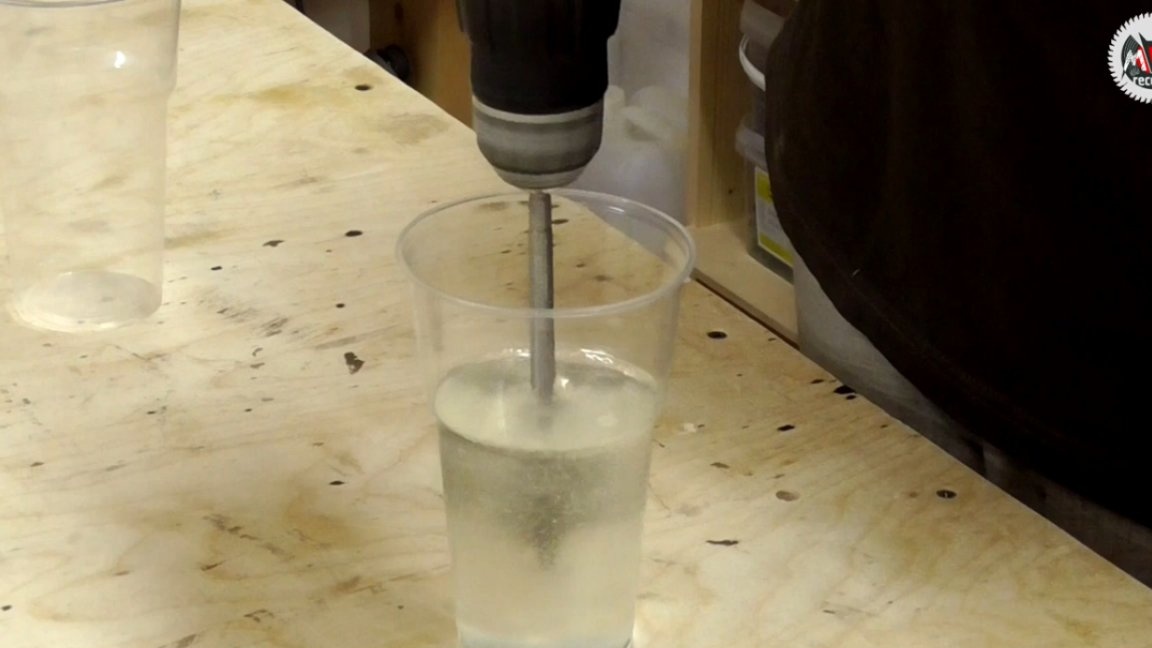
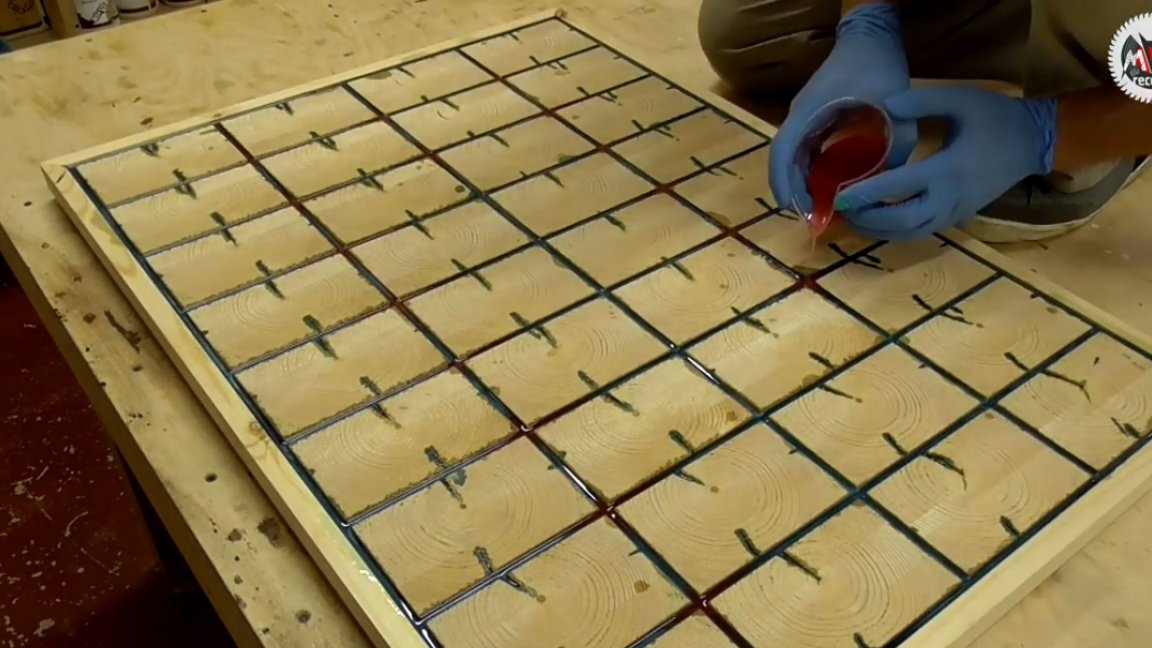
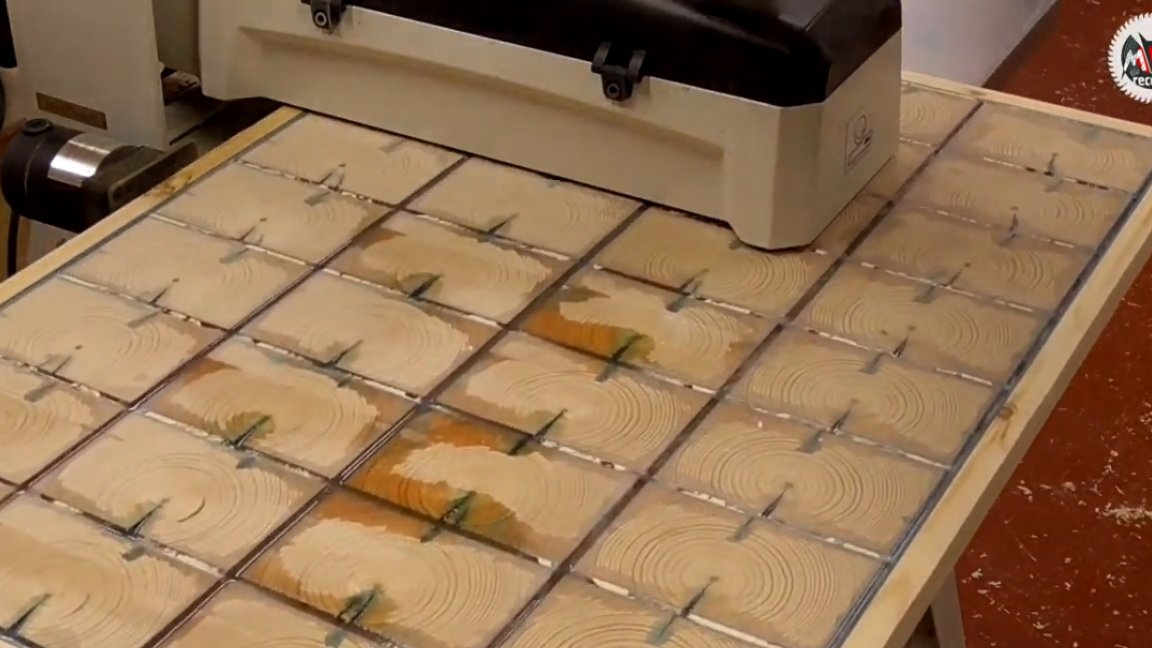
After that, you can begin to fill the product with resin. They say that any resin must be warmed up before work for better flowability, but the author has been manufacturing various products using epoxy for a year now and during this time can only complain about its excessive flowability. Sometimes it even comes to the fact that the epoxy literally tries to escape through the capillaries of wood.
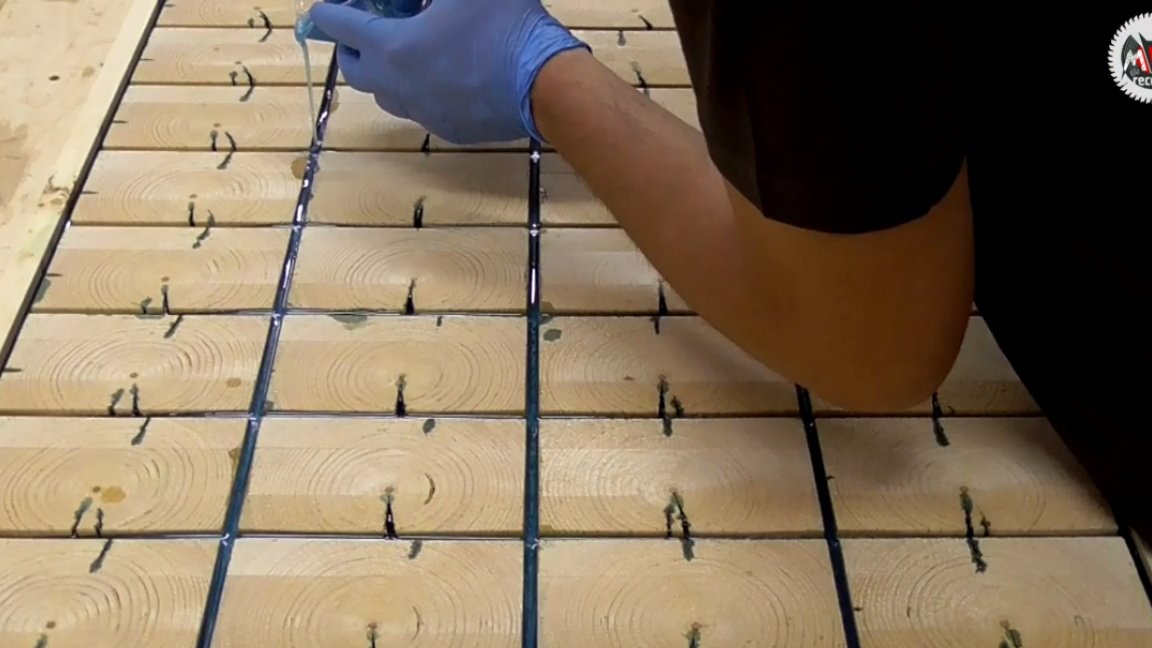
Now, regarding the fill itself. Initially, the idea was to cover the base with resin with a dye so that it was not visible, and then pour the whole thing with transparent resin. Accordingly, the resin must be poured very carefully, exclusively in the seams between the wooden elements.

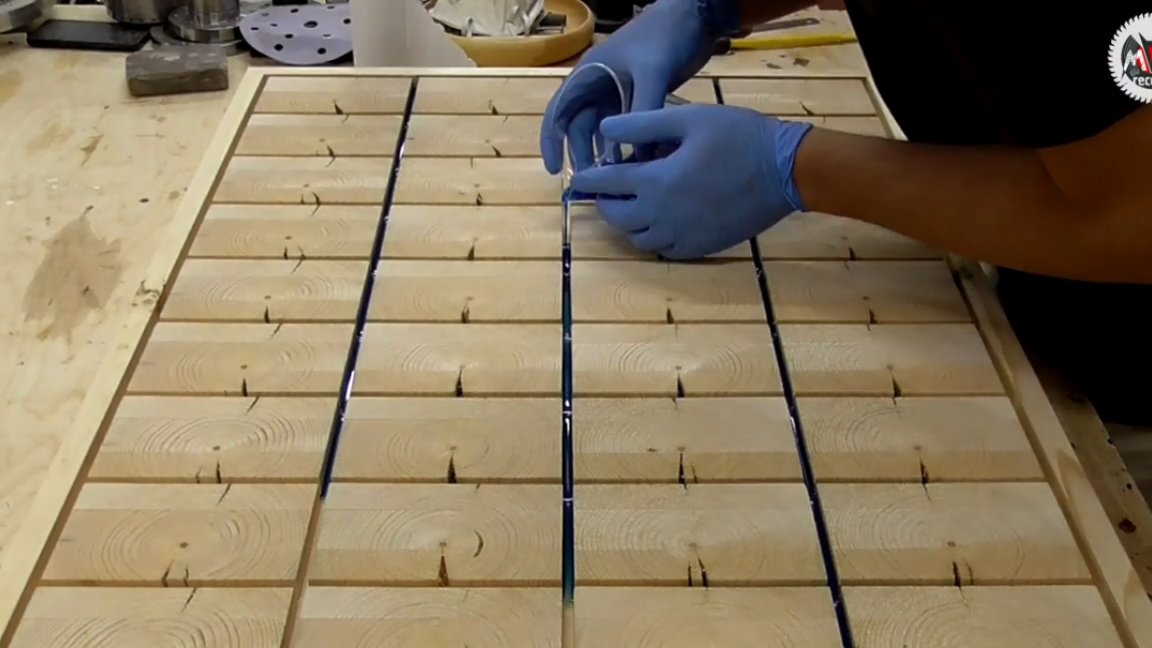
In the process of pouring, it became clear that the resin began to rise quite actively along the surface of the cracks of the woods and the idea of transparent pouring had to be postponed. Well, then you have the opportunity to try out metallic pigments. They due to the high refractive index allow you to create stunning patterns.
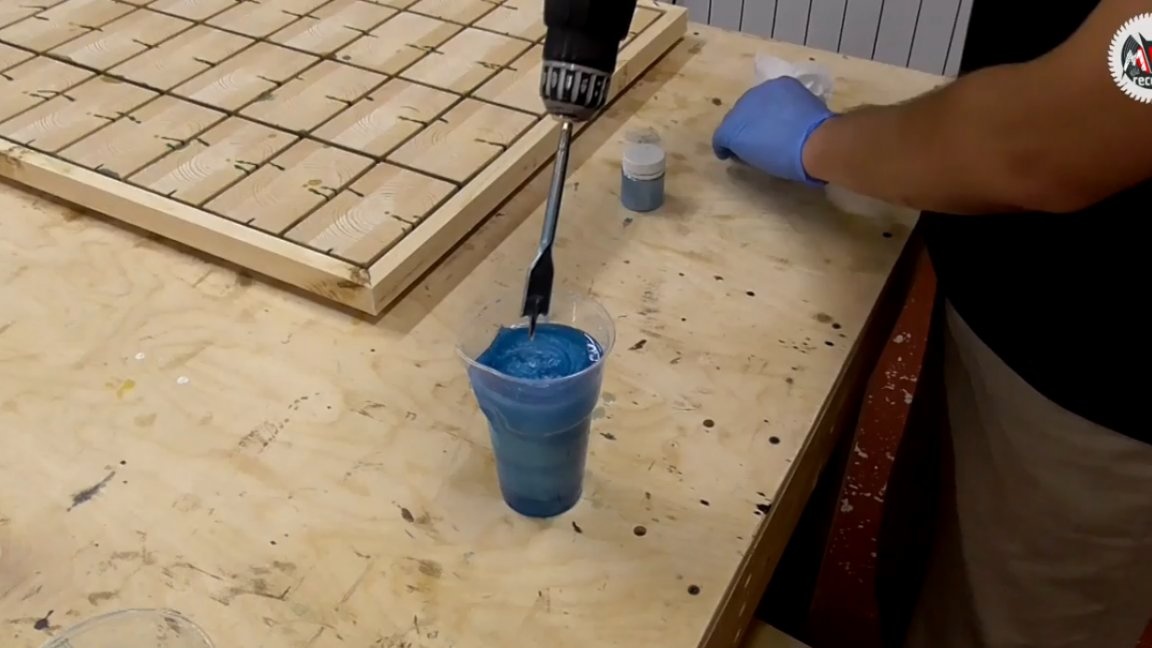

The last batch, it was decided to do the same with metallic pigment, but only a different color.
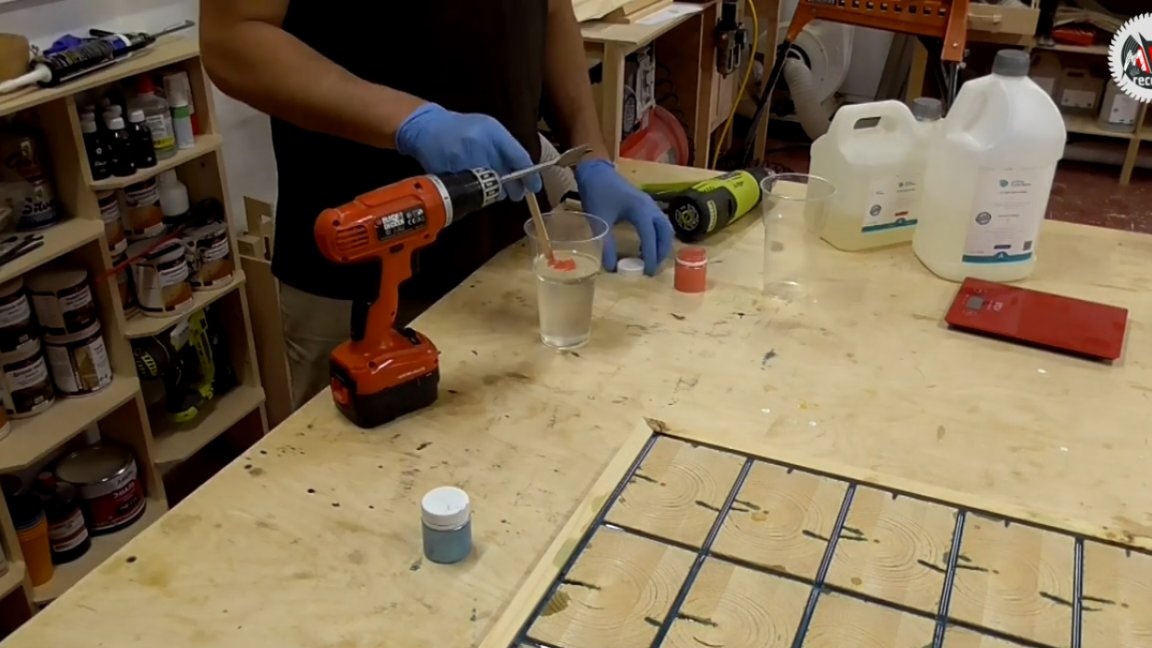
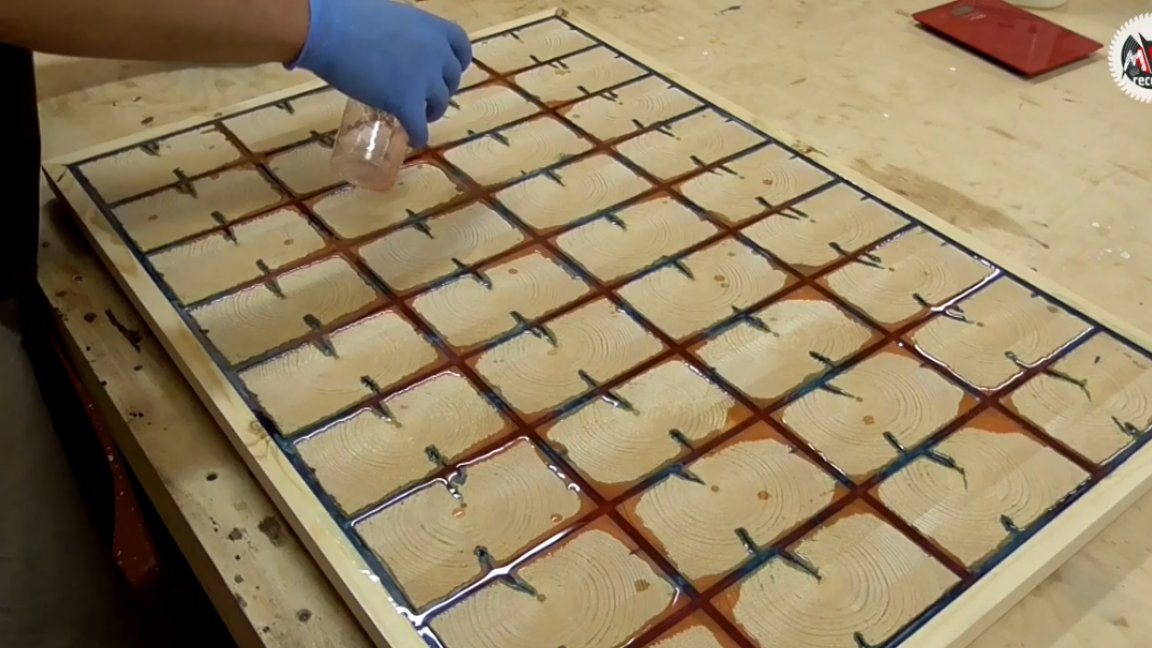
And in the beginning it turned out exactly what was intended, the resin of one color began to displace the resin of another, forming a rather interesting transition, but soon enough the diffusion did its job and all these layers in the crosshairs were almost completely mixed.
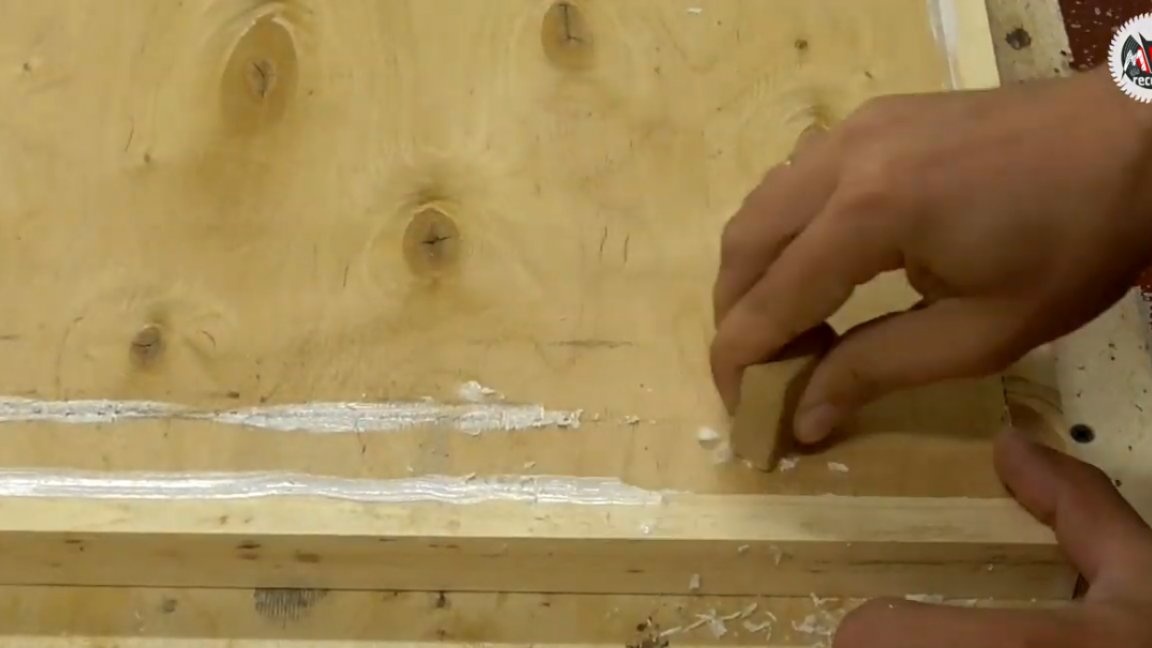
After a day, when the resin has completely hardened, you can continue to work. But before driving all this through a drum grinder, it is necessary to remove the remaining silicone from the base. To do this is quite simple with a regular eraser.
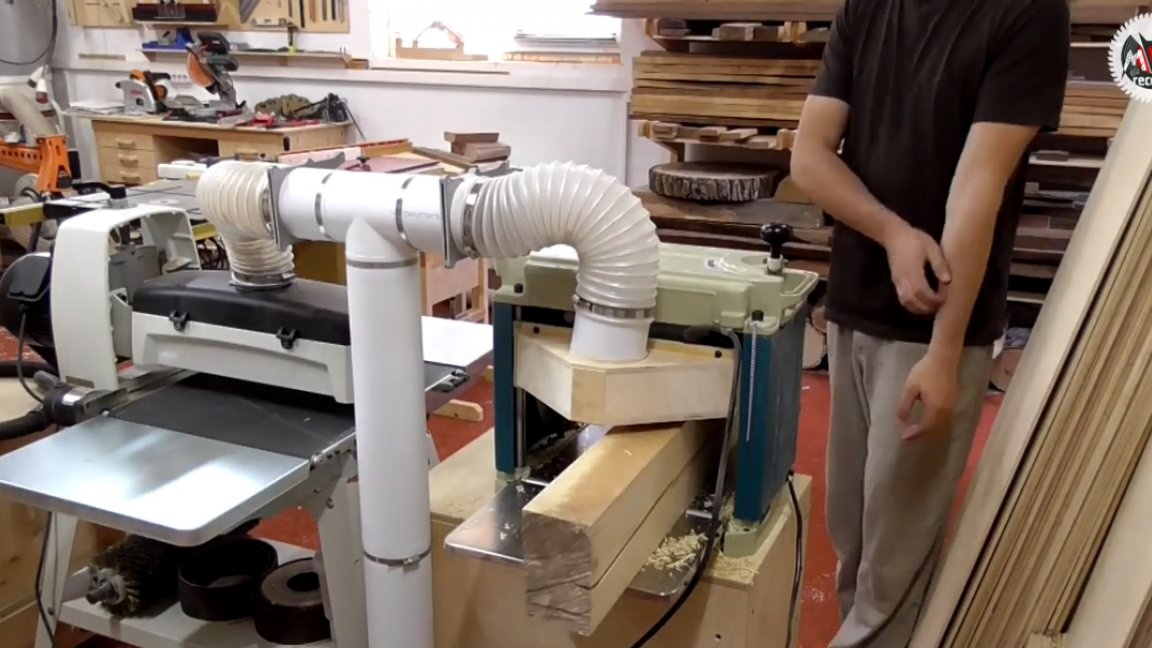
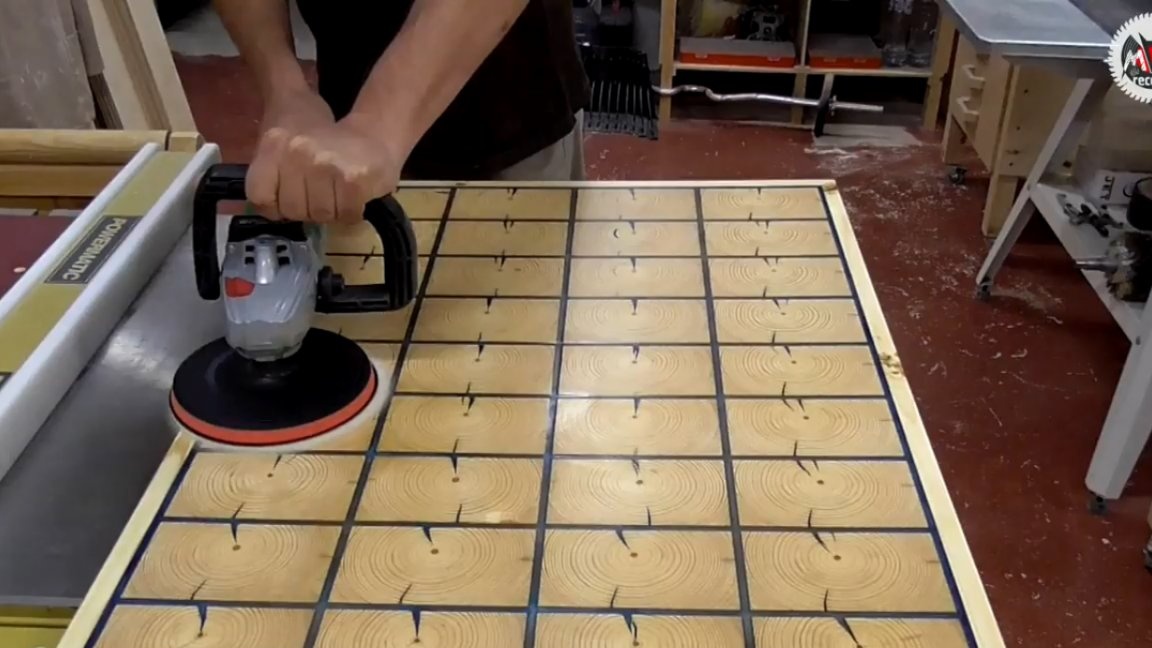
Next, the grinding process begins. Here it is necessary to alternately drive the part from one side to the other, thereby evenly leveling the surface.
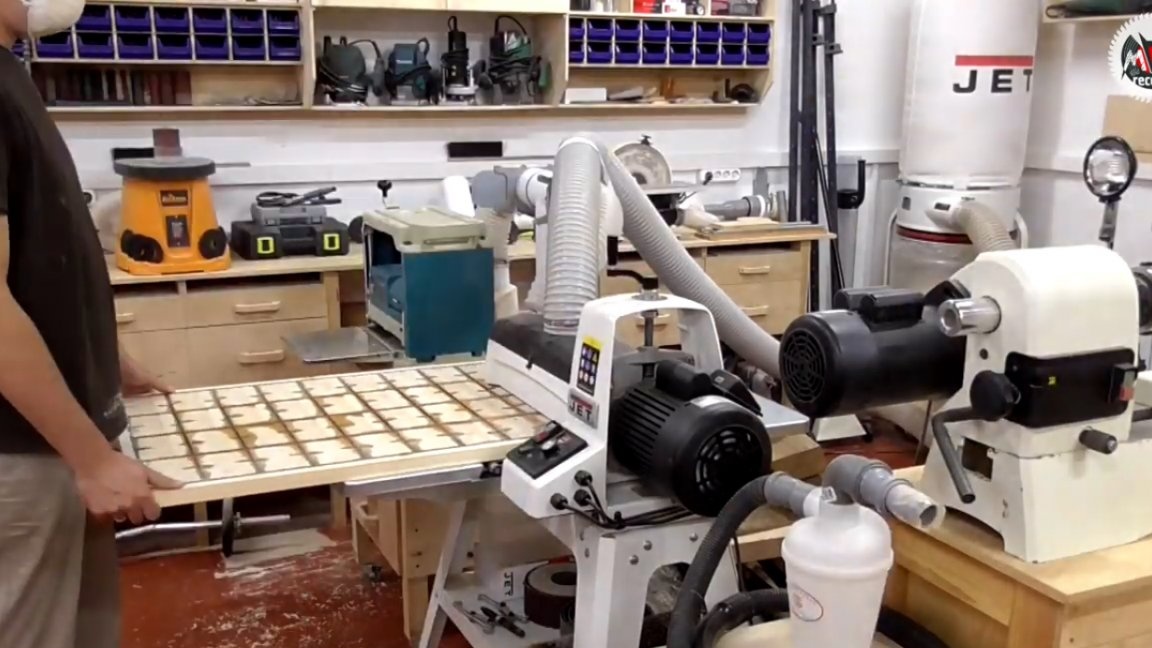
Of course, this whole process can be replaced by manual grinding with an orbital with coarse grain, but manual uniformity is not so easy to achieve, as the saying goes, a hand should be full, otherwise you can make holes that will certainly feel at least tactile. But the full circle still have to go.
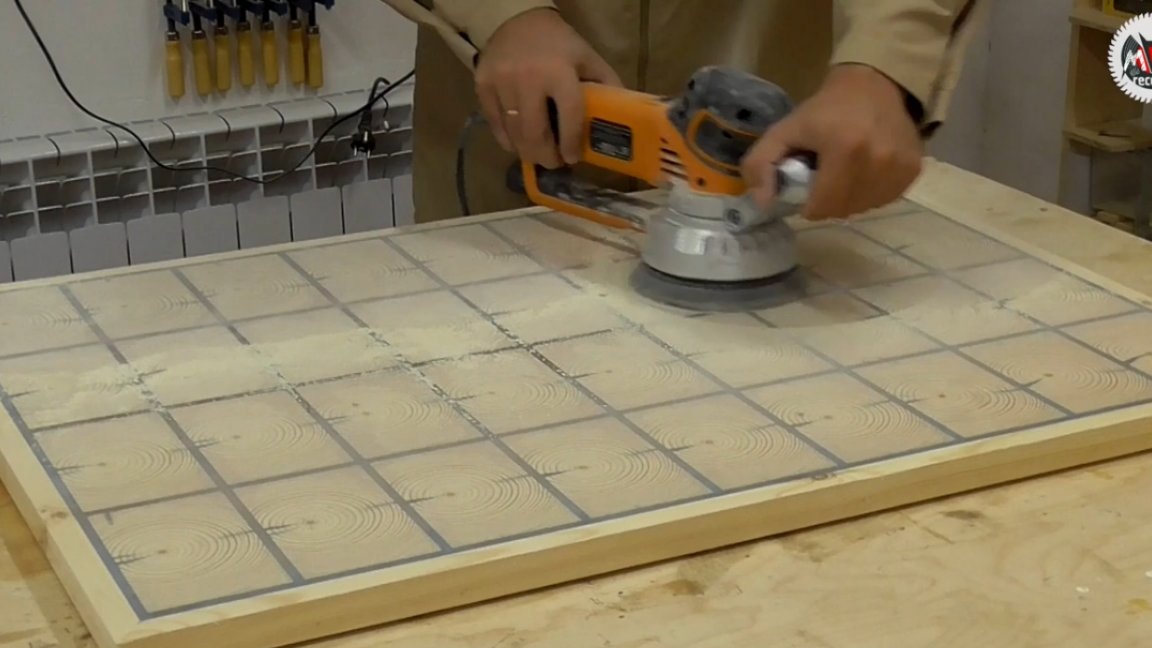
The first grain we have to get rid of all the longitudinal strips from the machine, but you should not be zealous here, we must remember that any resin is afraid of overheating. Therefore, we grind, constantly moving along the plane, while not allowing the surface to overheat. It is very important to use a high-quality abrasive, because only one not calibrated grain can loop the grinding process, thereby increasing the processing time by several times. When grinding products with resin, it is very important to take care of respiratory protection.

The master has recently begun to use a semi mask for these purposes. Prior to this, he used, as it seemed, high-quality respirators, but it was still not enough. So, in manual mode, the author used abrasives from 150 to 2000.
In principle, such processing would be quite sufficient, if it were not for work with the end parts, it would be possible to finish with a polishing paste, but in this case, with a high degree of probability, it would clog the pores of the wood.
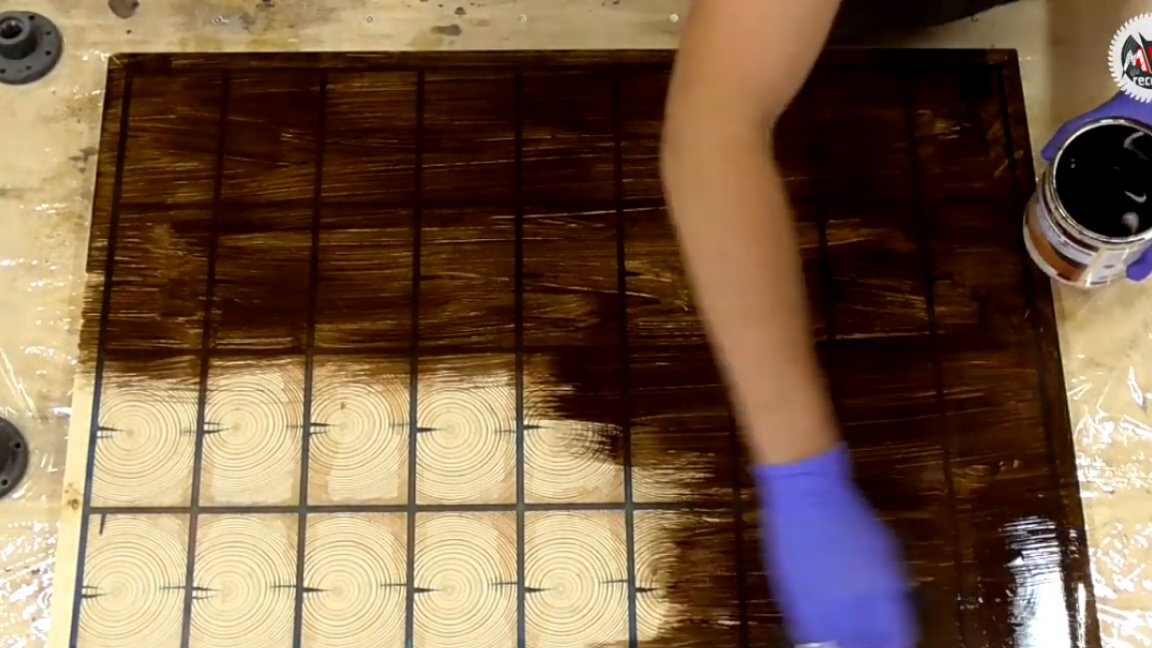
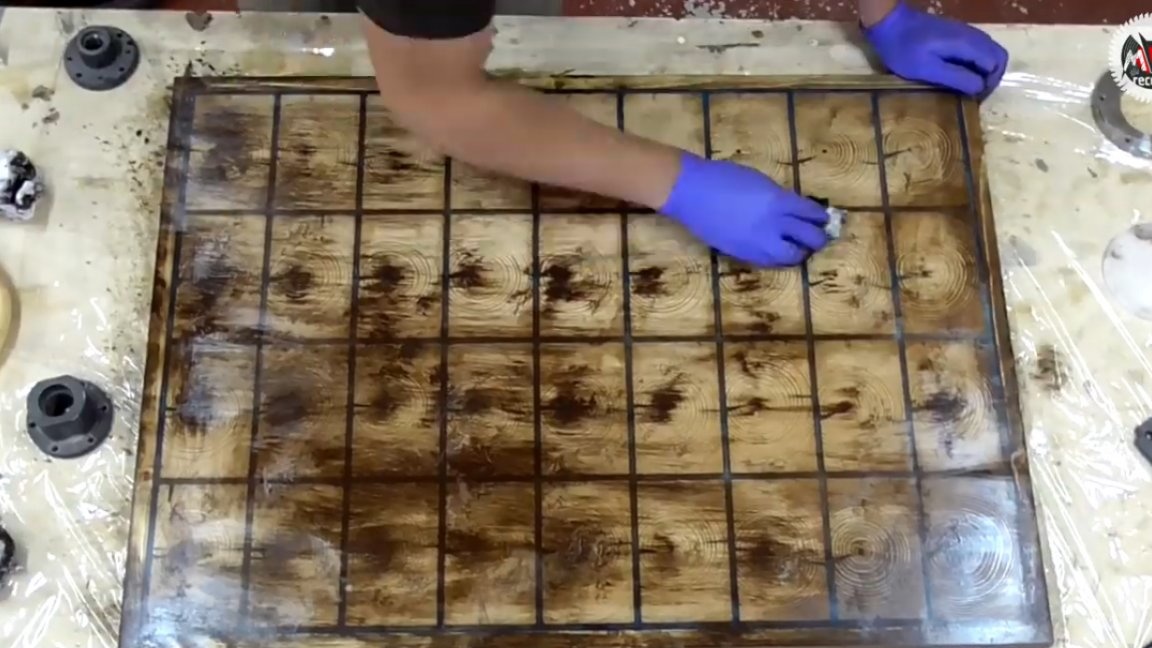
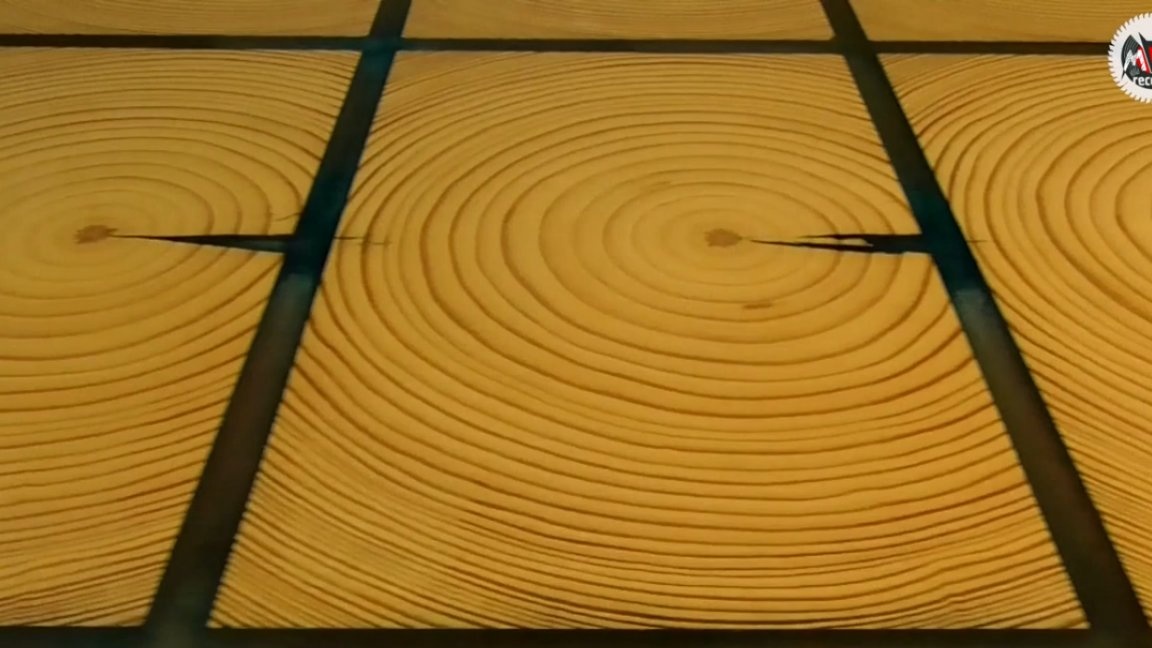
In general, as you can see, traces of tinted resin are noticeable on the saw cuts, this even at the grinding stage prompted the author to dark finish the product in order to block this effect.
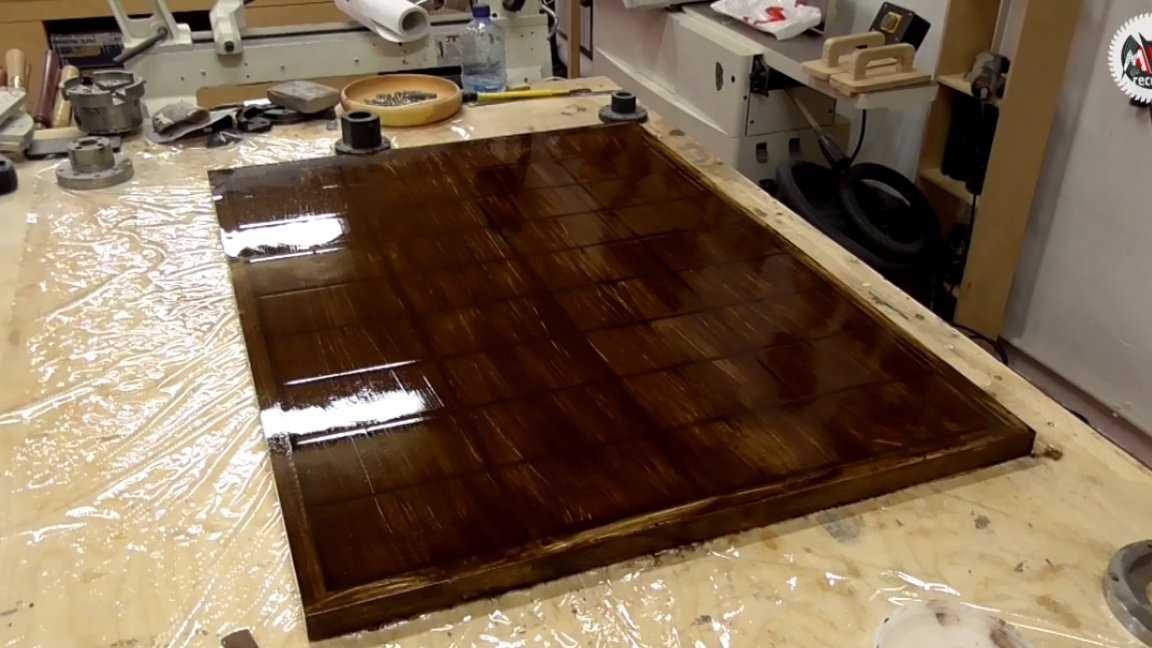
As a result, we got such an effect, you see, it looks pretty interesting.
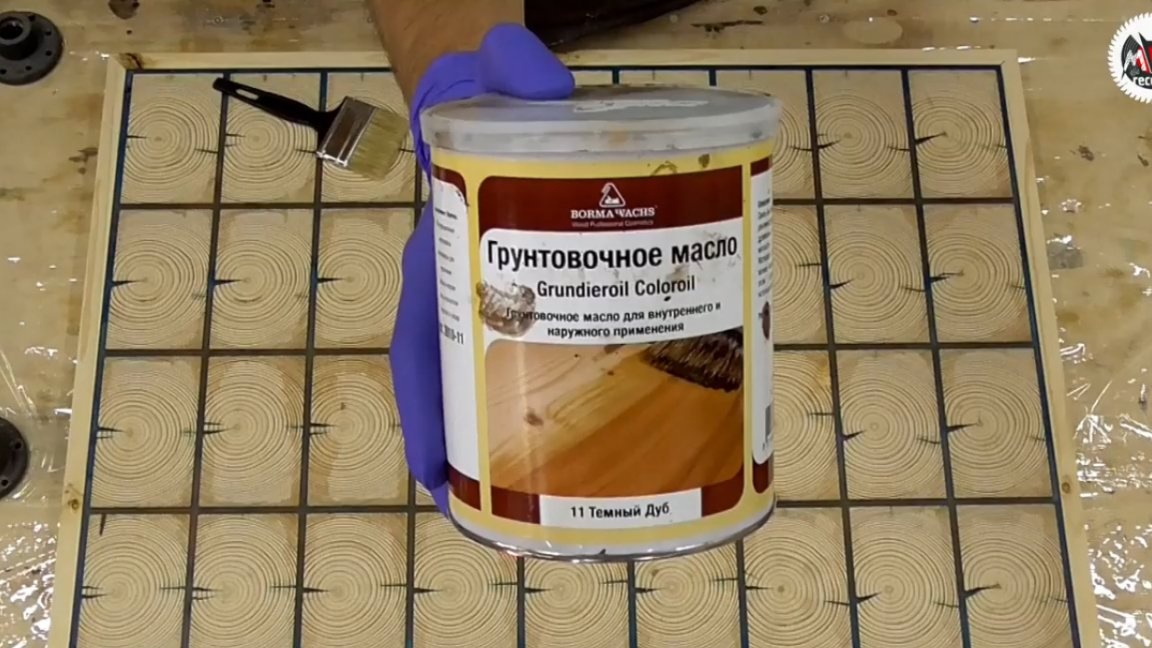
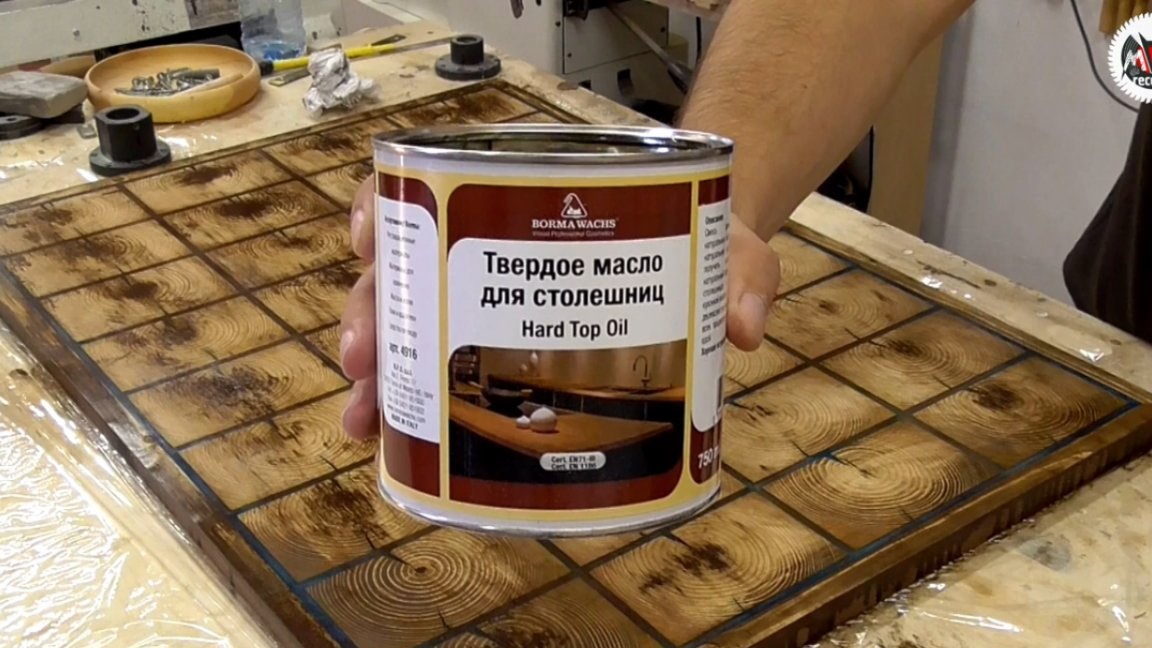
After everything was completely dry, it was decided to go as a finish with oil for the countertop.
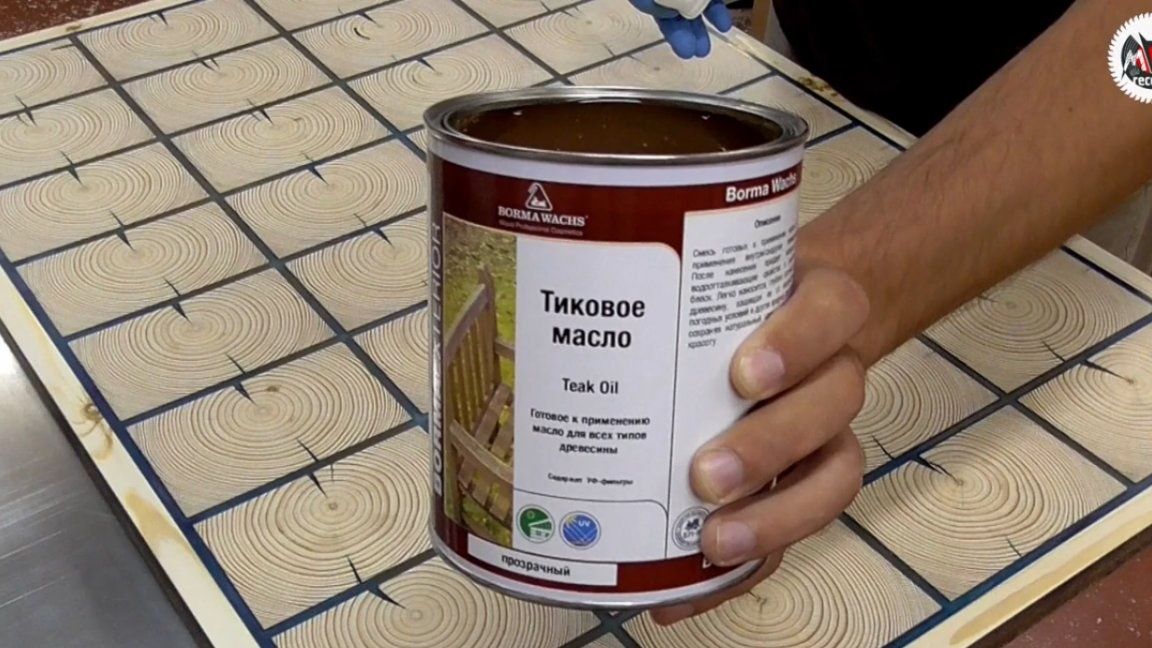
But then everything went a bit wrong, as it was planned, as a result of which a repeated complex resurfacing and coating with teak clear oil followed.
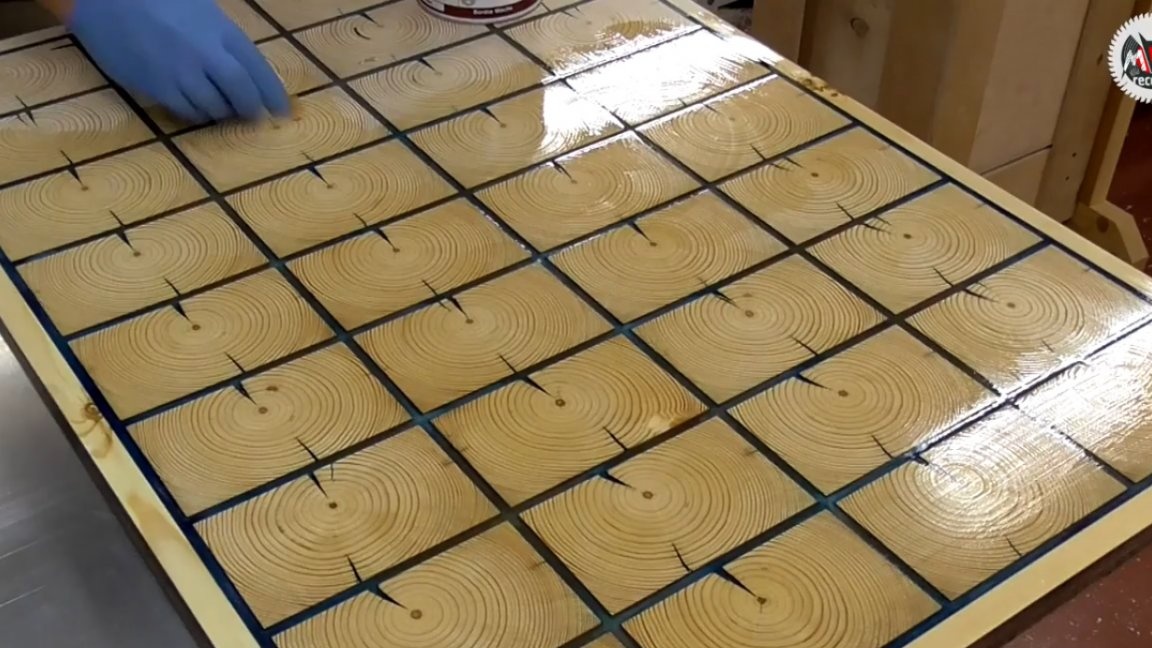
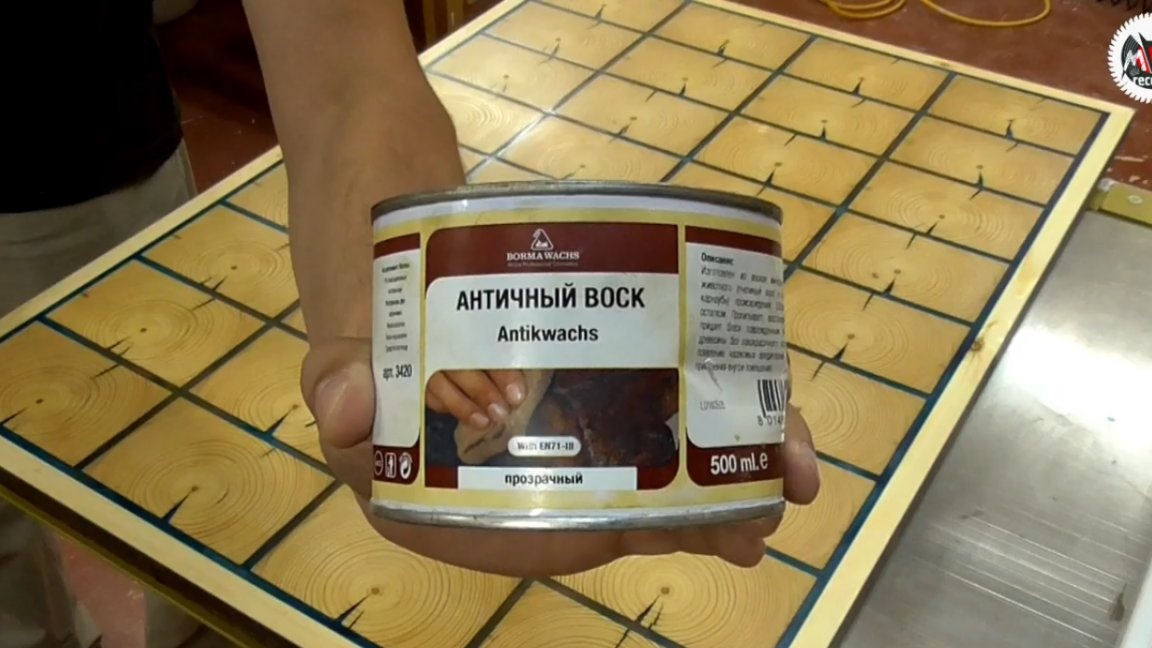
Well, at the finish we go through wax with a little polish.
The master decided not to do legs for the countertop so far, since in general it might be a panel. Well, that’s all. Thank you for attention. See you soon!
Author's video: