
Greetings the inhabitants of our site!
In one of his past videos, the author of the TEXaS TV YouTube channel asked viewers what could be done from an old freon bottle.

Surprisingly, many commentators wrote that the author would make a garbage bin out of an unnecessary balloon. Well, why not, the urn is a pretty useful tool, both for home and for the workshop. In general, in this article we will look at how do it yourself You can make a cool urn from an old freon bottle.
Usually freon cylinders are packed in cardboard boxes, this is necessary for easy transportation.
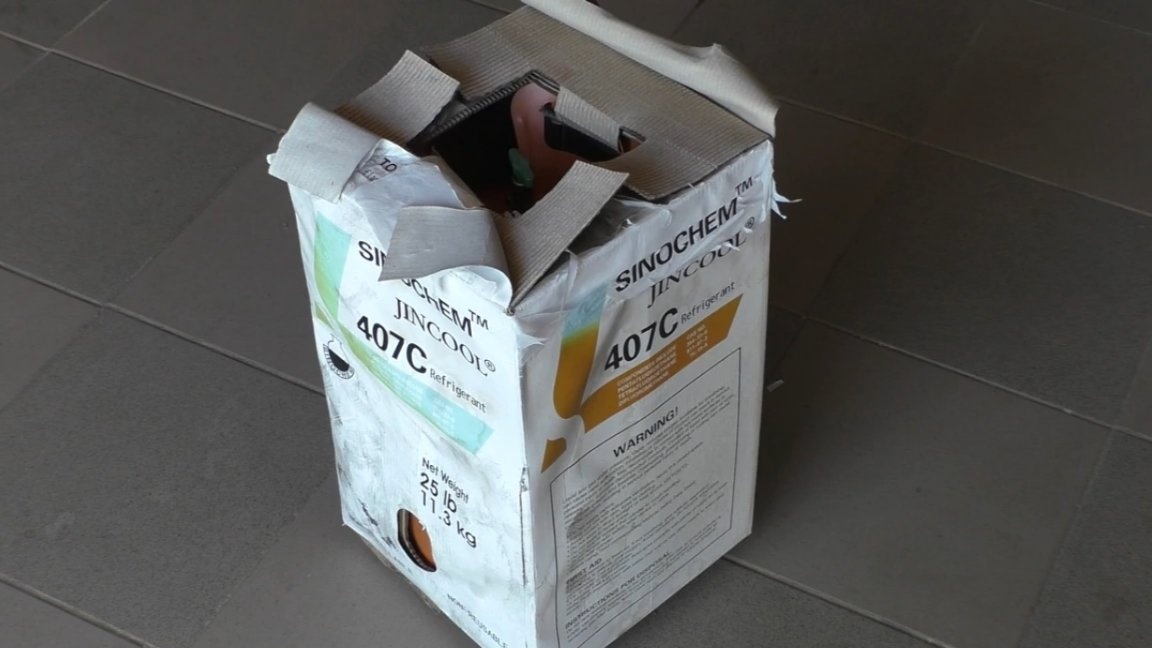
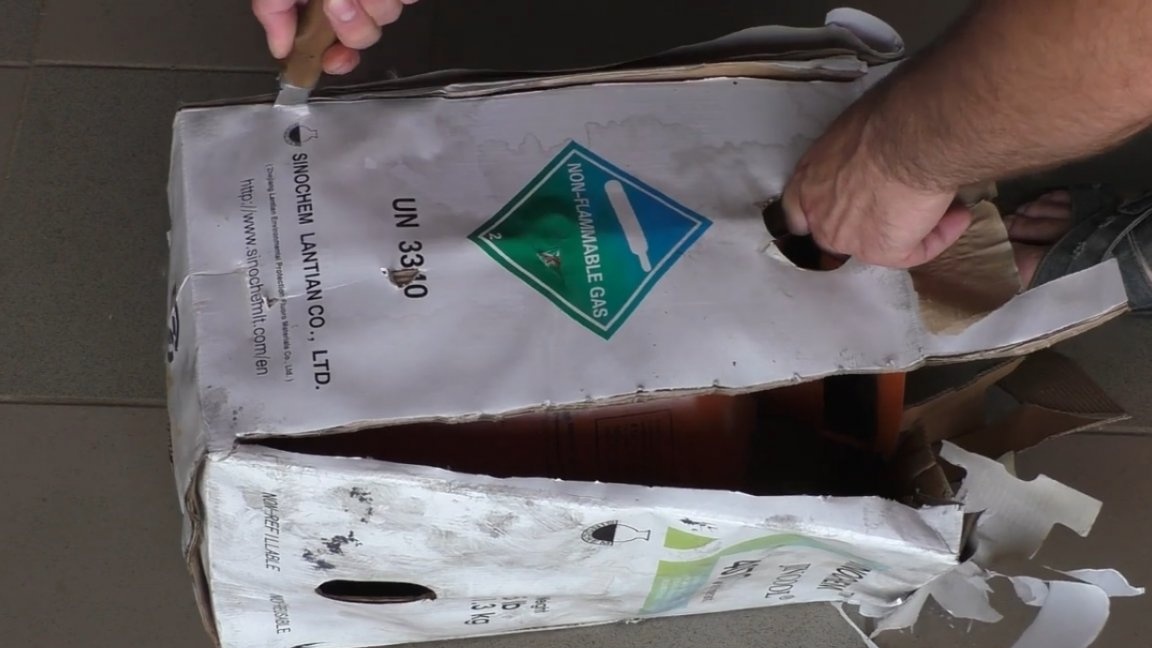
First of all, we need to remove the container from this package. The author does this with a homemade knife from a file.

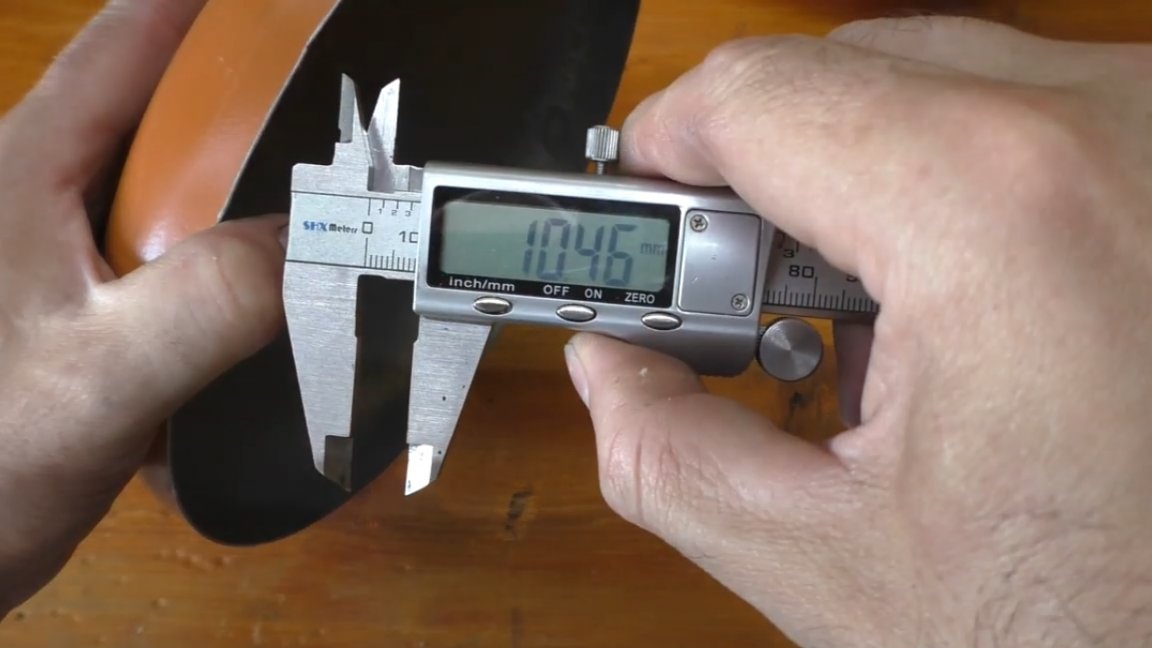
This cylinder has a wall thickness of 1.2 mm. It is necessary to remove all unnecessary elements from the cylinder. To do this, we core the places of contact welding and drill it.
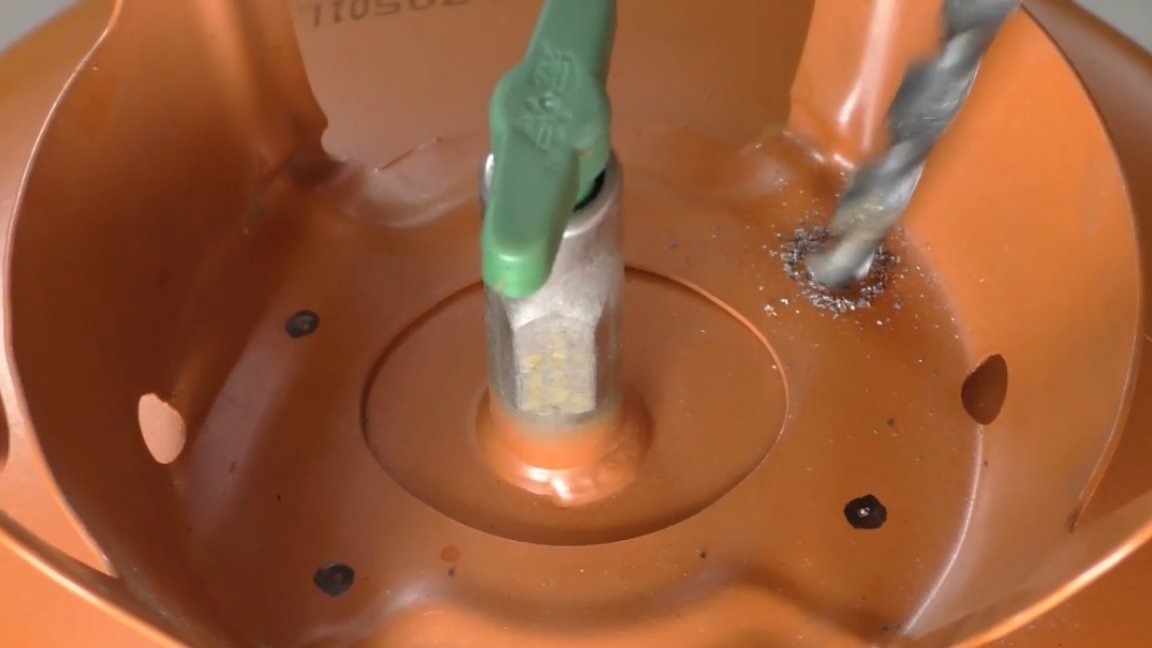
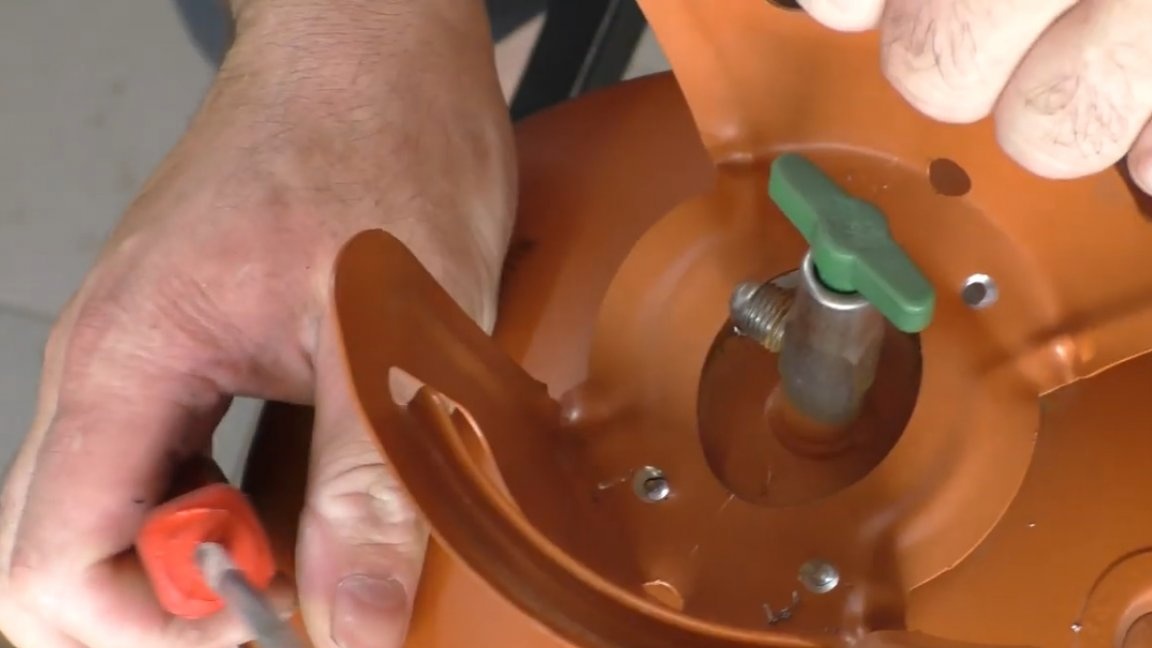
So, the handle is removed, now you can cut off the valve.
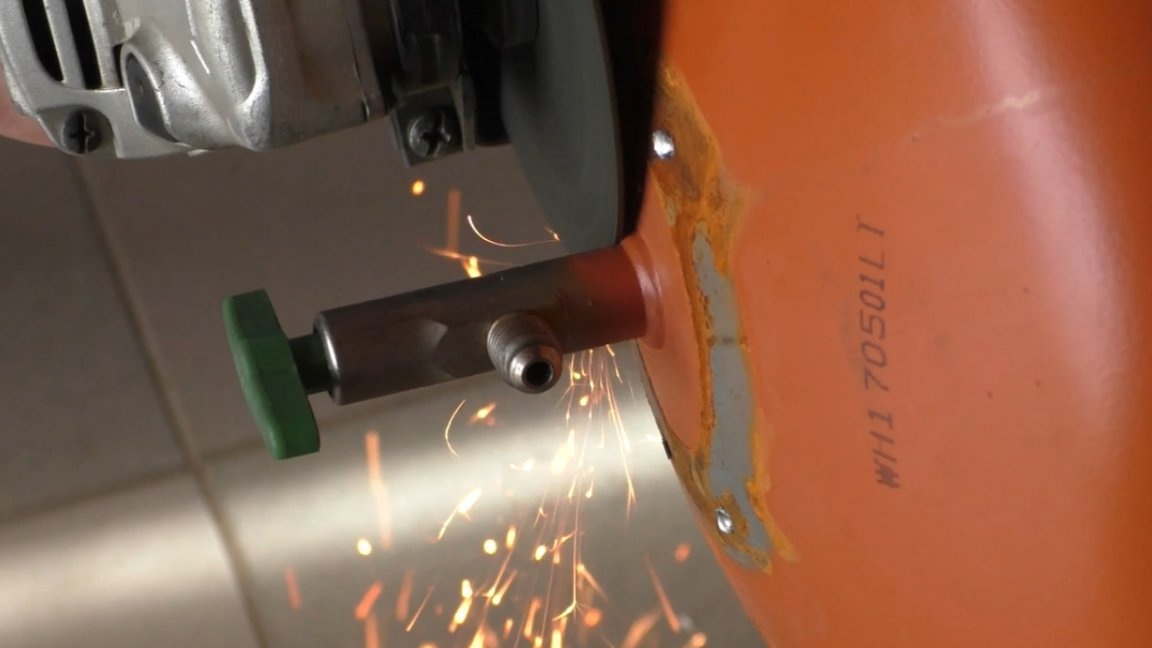
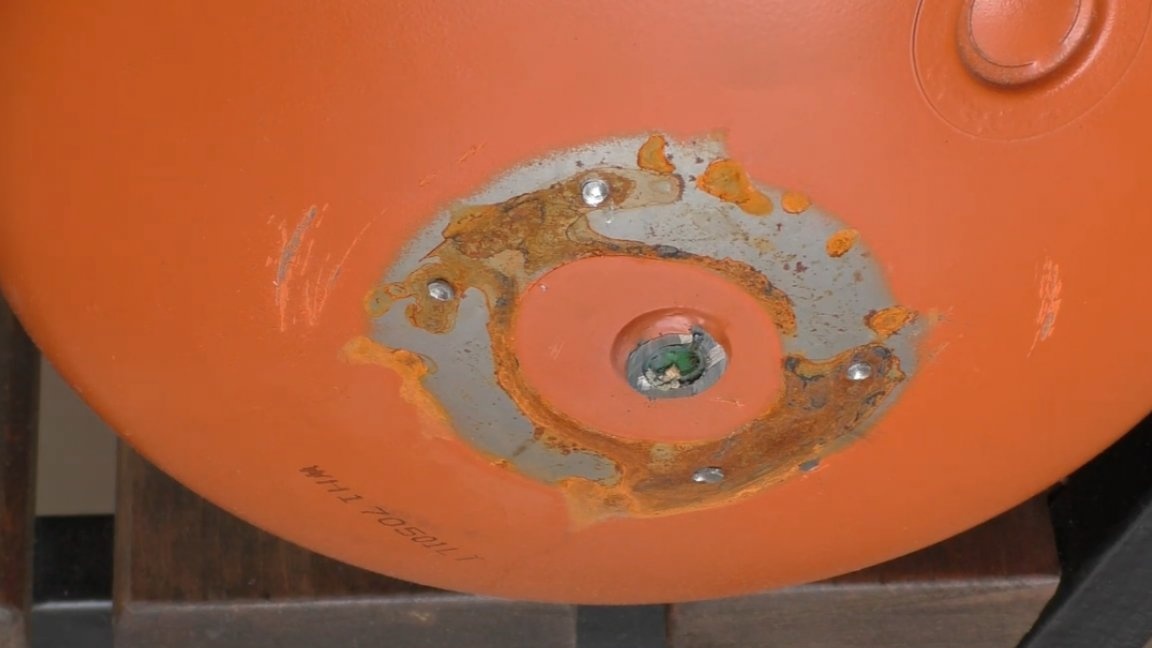
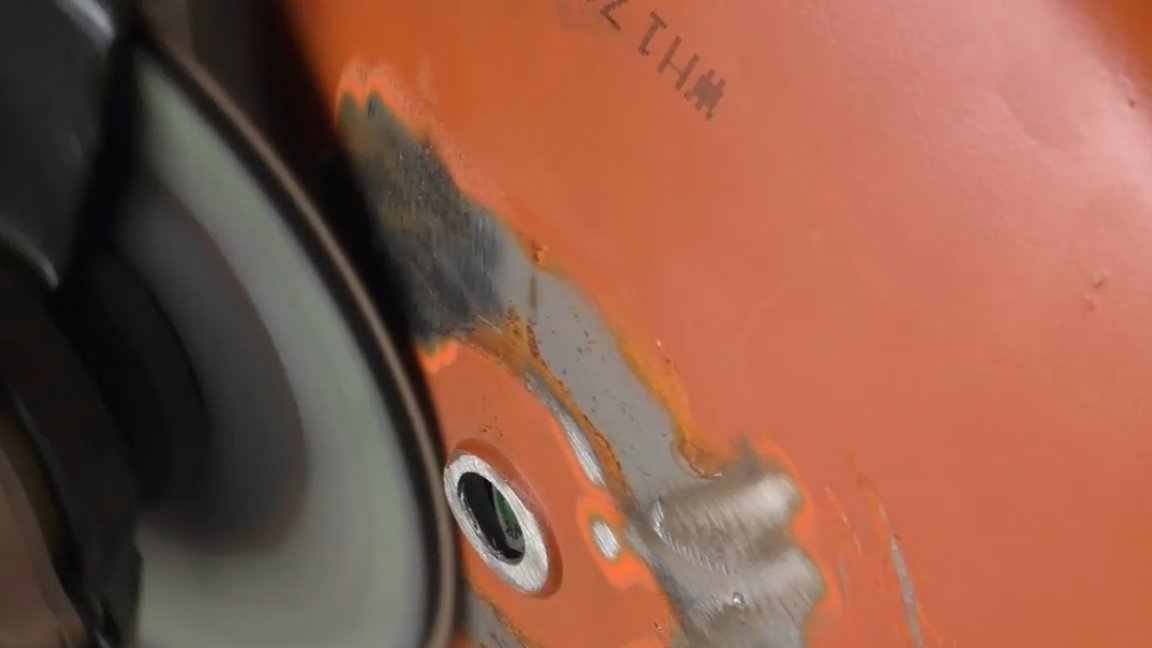
This is not the author’s first homemade product using a freon cylinder and he is often asked why he does not unscrew the valve, but cuts it off? But the fact is that in these cylinders that the master uses, the valve is not screwed in, but is welded into the cylinder. Therefore, nothing but to simply cut it off does not remain. Well, to give a more aesthetic appearance, let's work a little with a petal circle.
It was decided to leave a hole in the bottom, as the author plans to use the urn on the street.
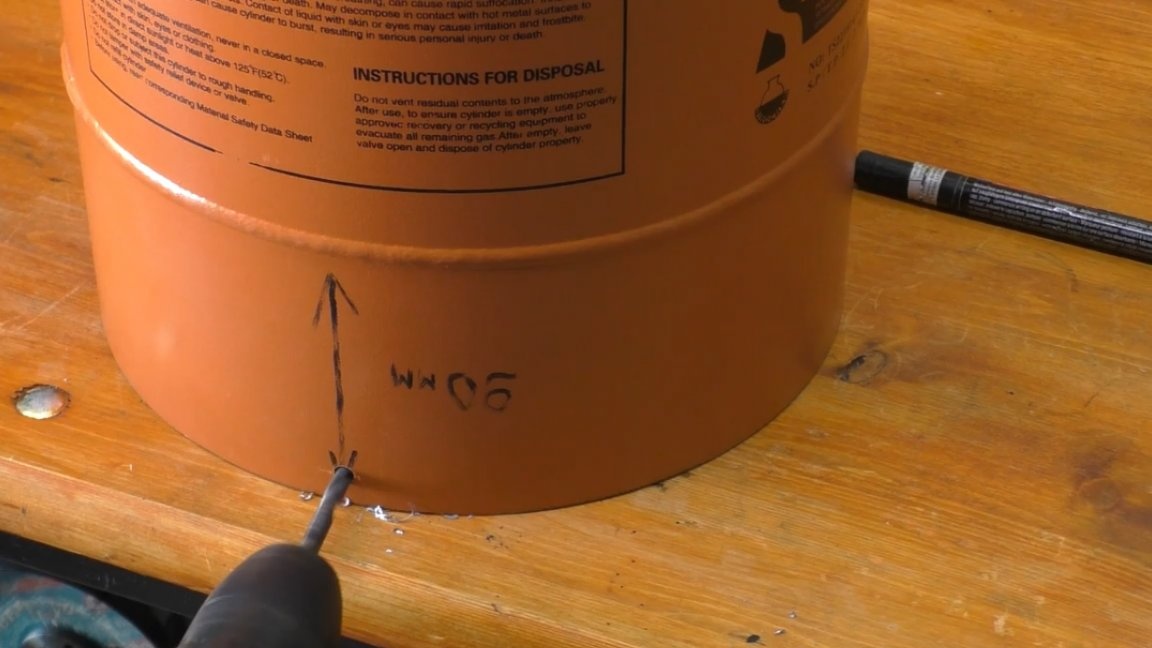
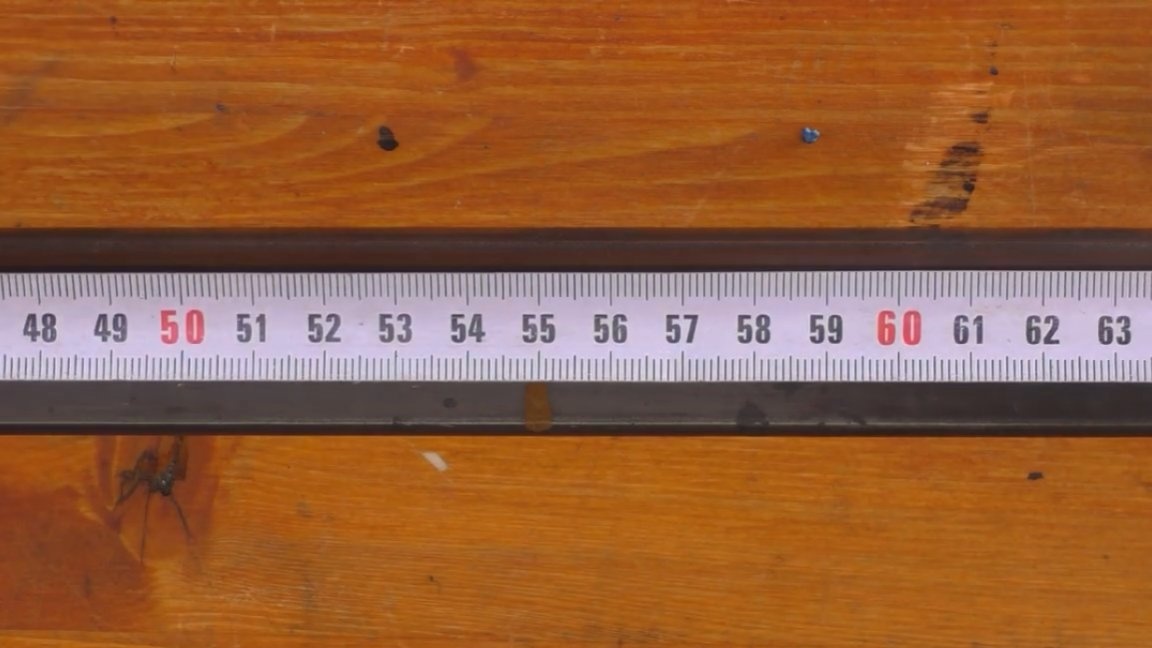
Further from the center of the container where the seam is located, it is necessary to retreat 90 mm and make a mark.
If you install the container on the table and mark it from the countertop, then this distance will be slightly more than 70 millimeters.

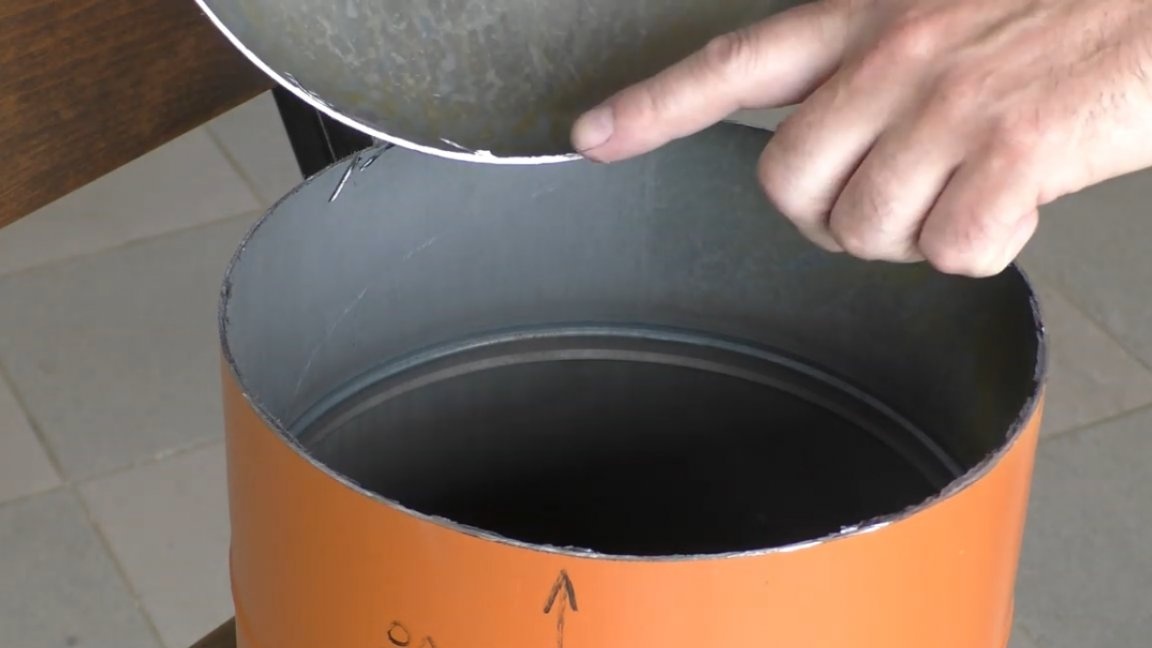
Now you need to mark the cylinder in a circle. To do this, the author found an object suitable for height, put a marker on it and, in such a tricky way, marked the balloon.
As you can see, all ingenious is simple. Now you need to get rid of the bottom of the cylinder. Carefully and slowly cut off the bottom of the container so as not to violate the aesthetic component.
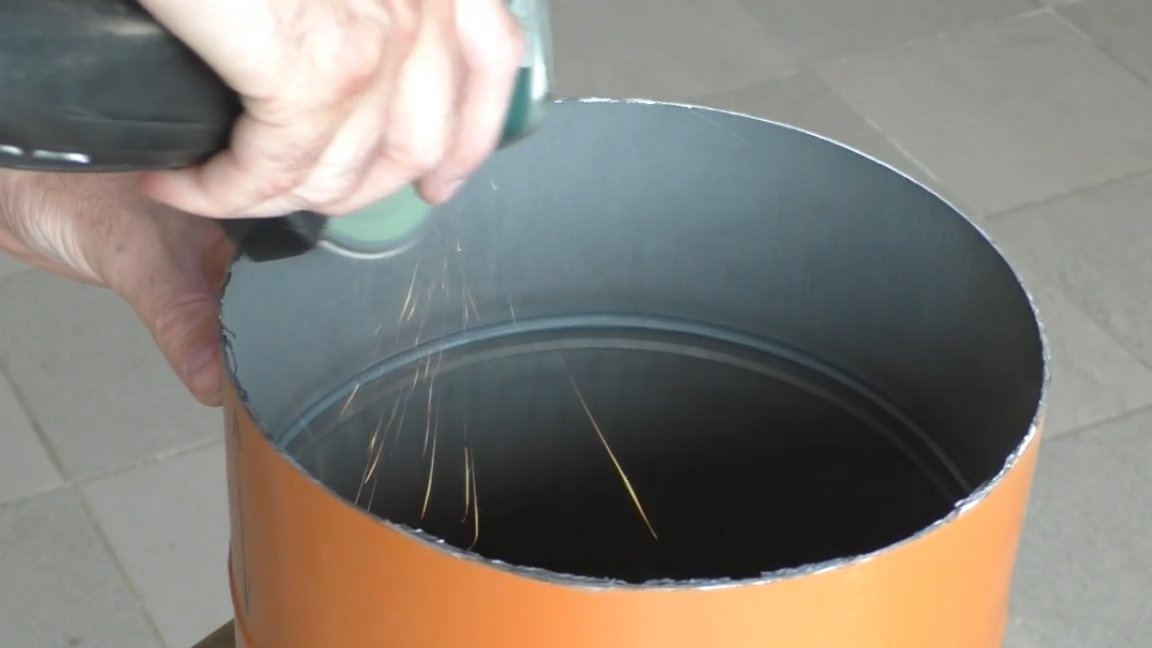
The bottom is cut off, now it is necessary to remove all the burrs, because you can cut yourself not so weakly about them.
The author, as always, does this procedure with a petal circle, it turns out quickly and at the same time quite accurately.
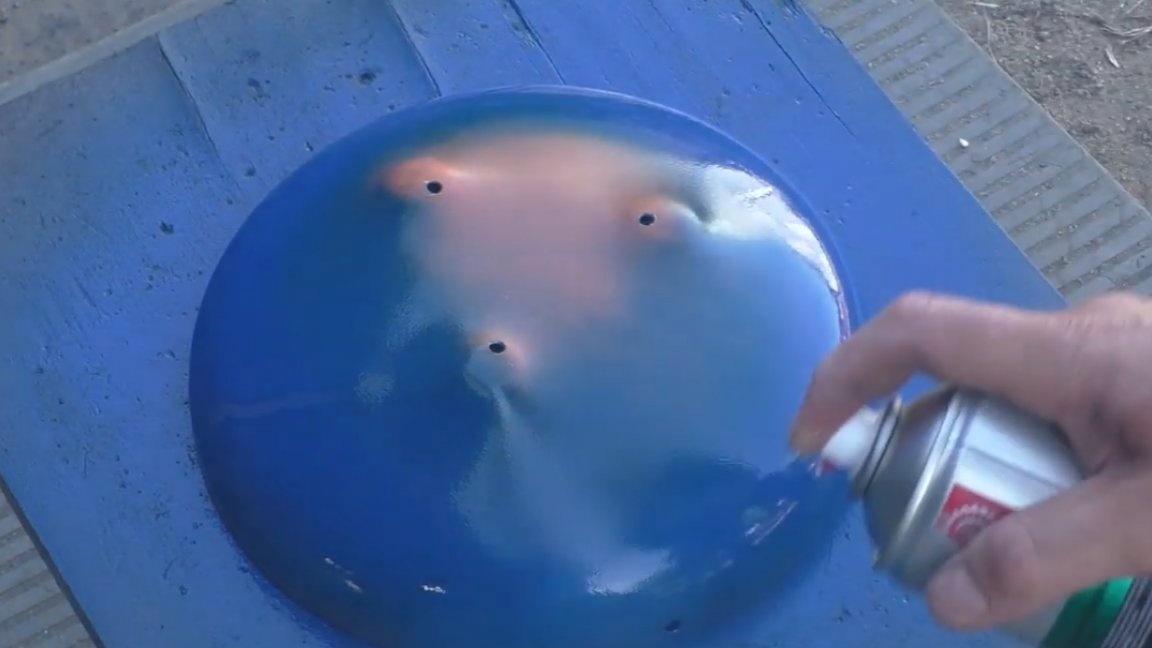
In the lower part of the cylinder, holes must be made to drain the water. This is necessary if you, like the author of this homemade product, will set up an urn on the street. Well, if the ballot box will be operated indoors, then this step can be skipped.
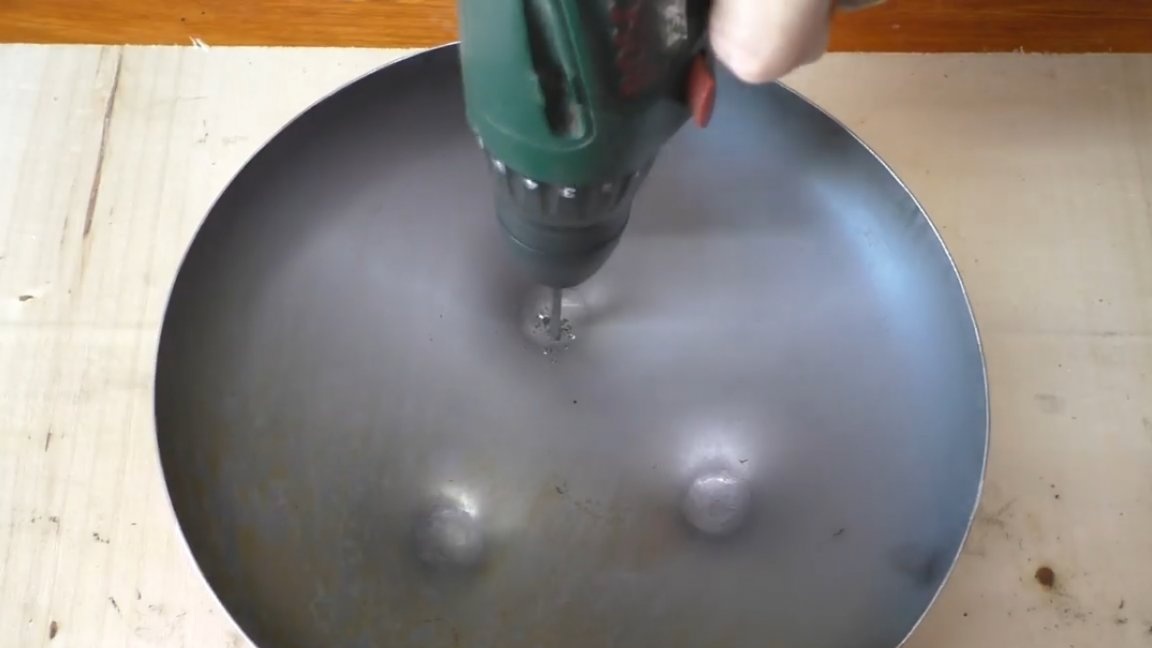
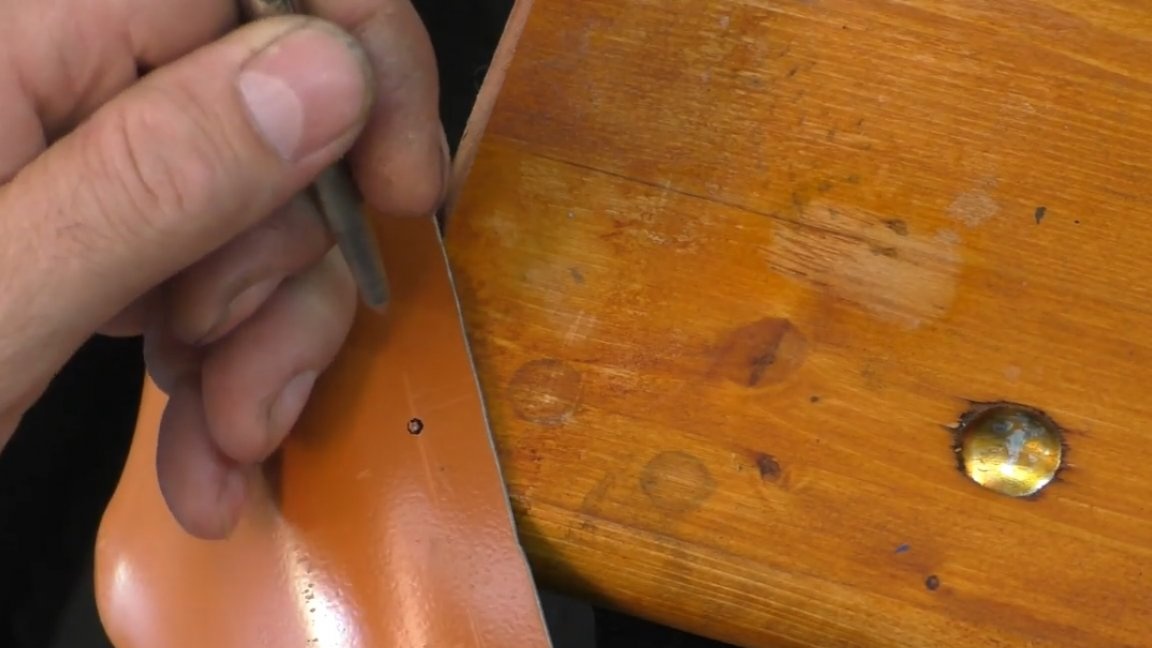
Next, you need to drill 2 holes for attaching to the base. We retreat from the edge of 10mm and put a mark.

Then make a hole with a diameter of 6mm.
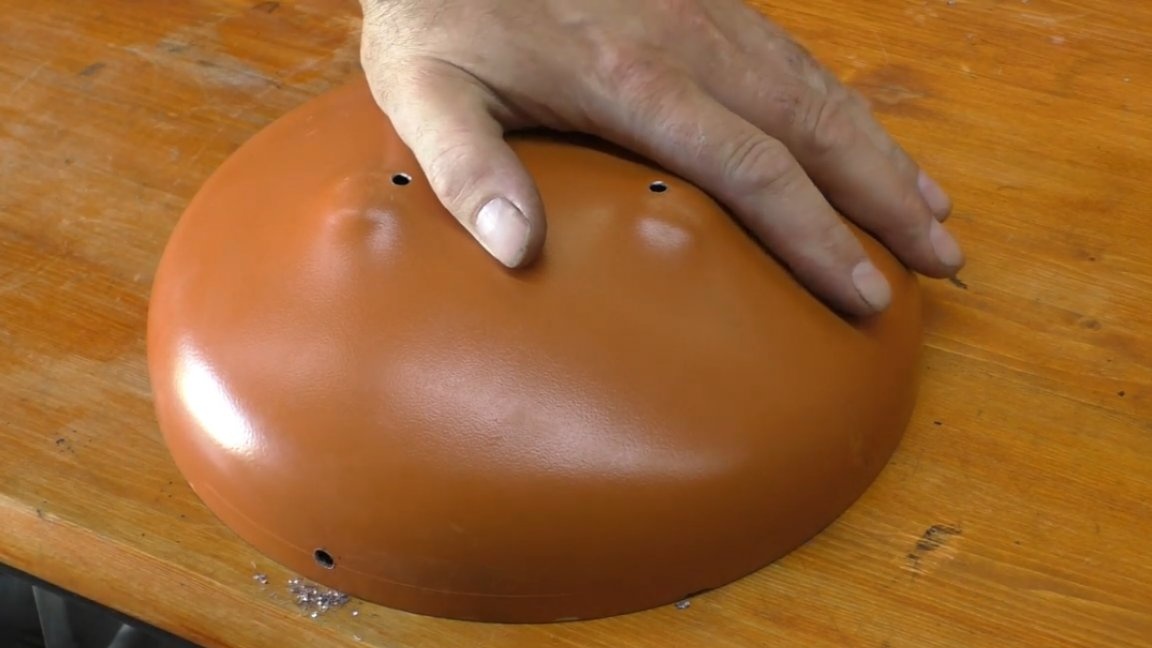
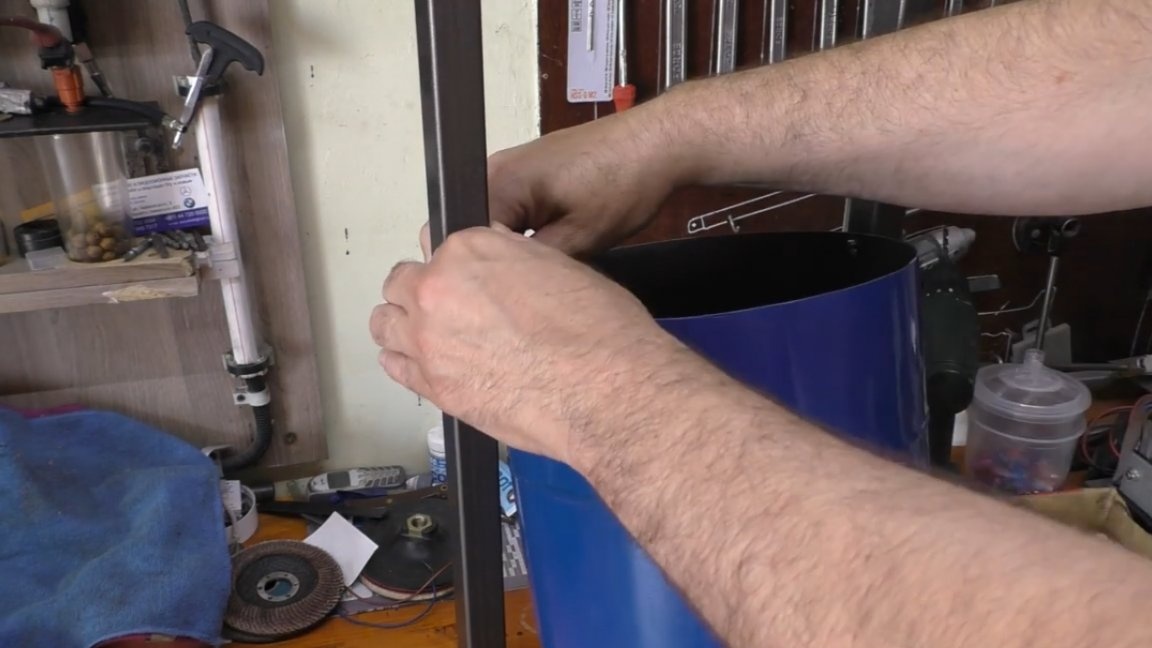
Exactly the same hole must be made from the opposite side, but first you need to precisely mark everything. In this case, the usual shrink tube came to the aid of the master. It is necessary to wrap the lid and divided it in half. And so the location of the drilling of the second opposite hole was determined.
Then the exact same procedure must be done with the main cylinder.
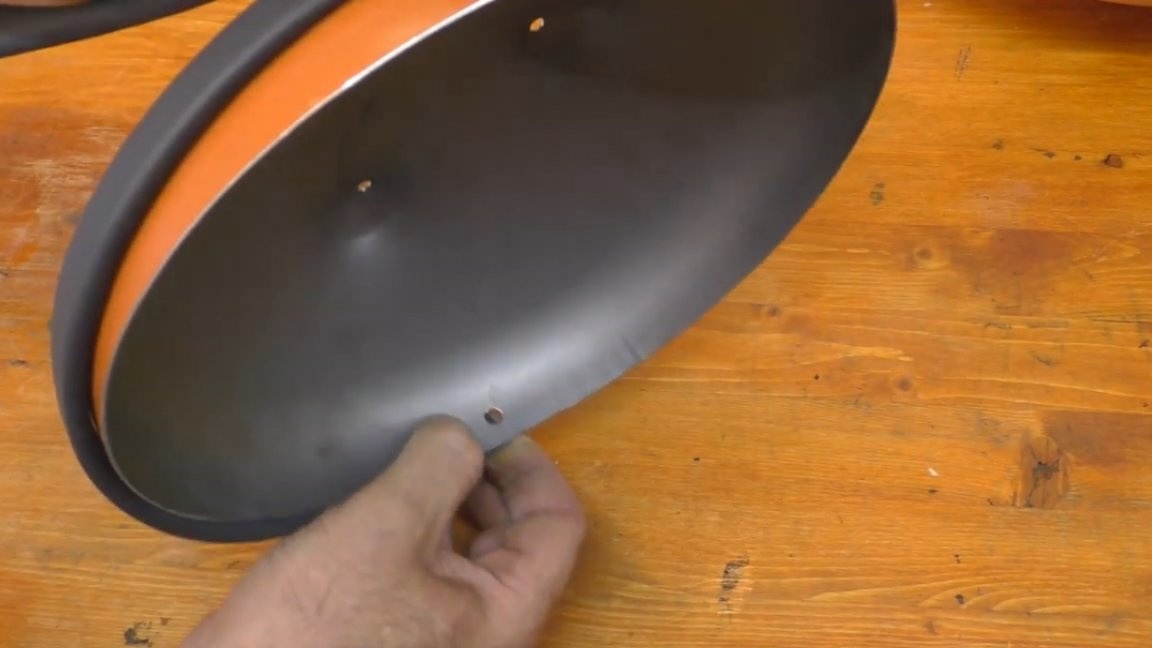
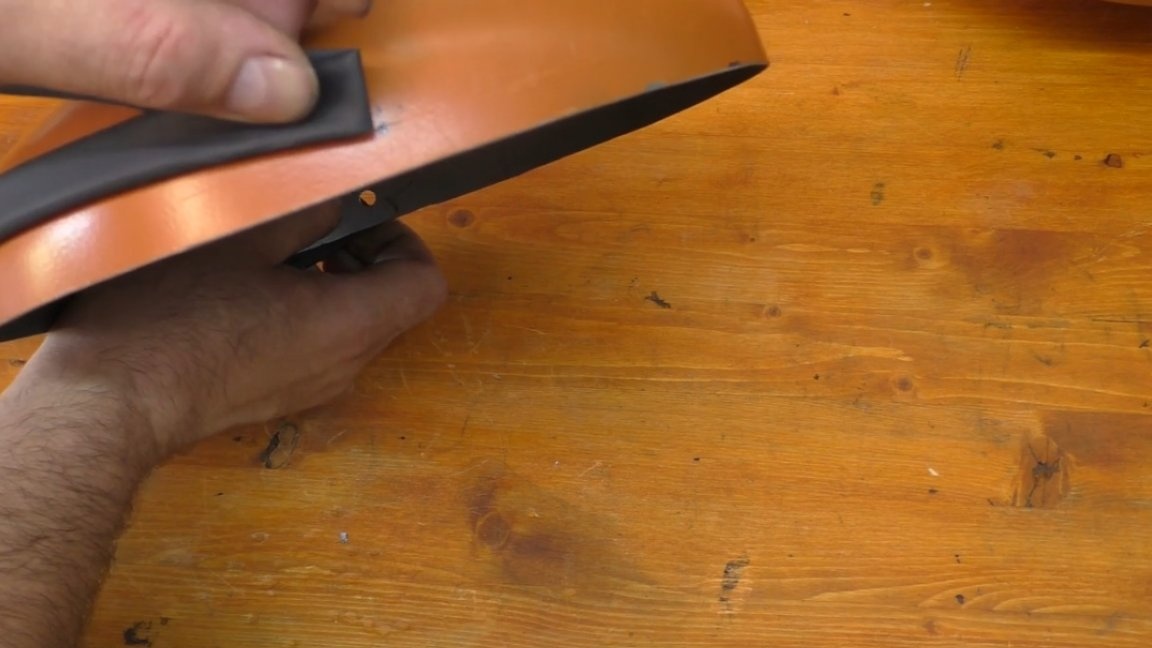
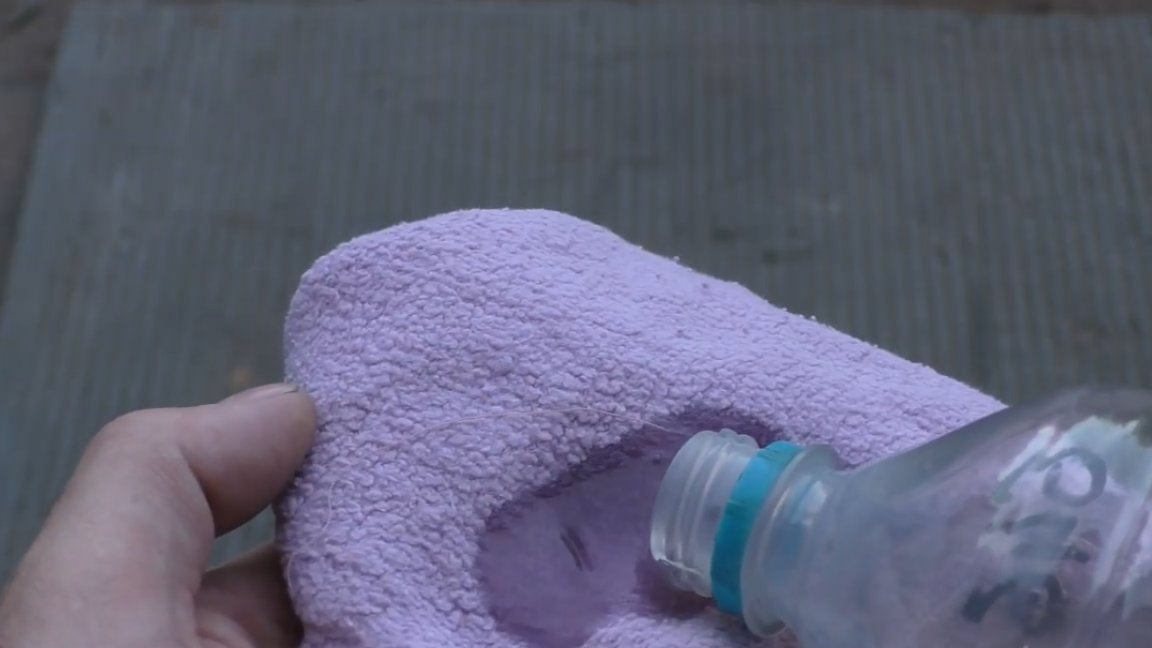
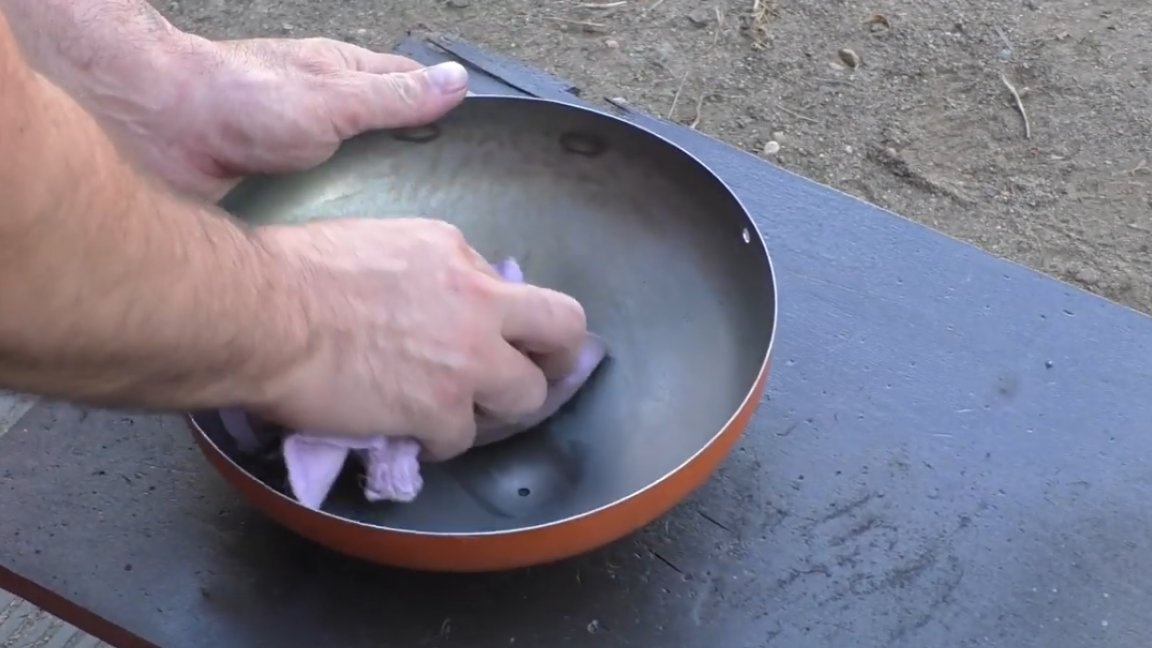
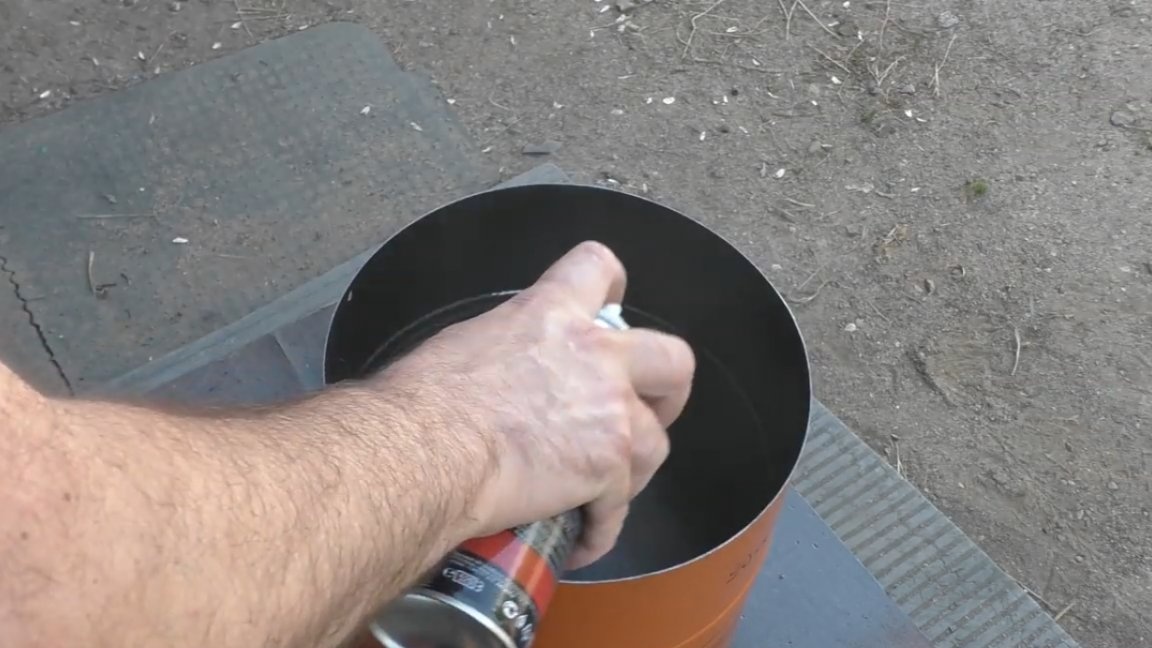
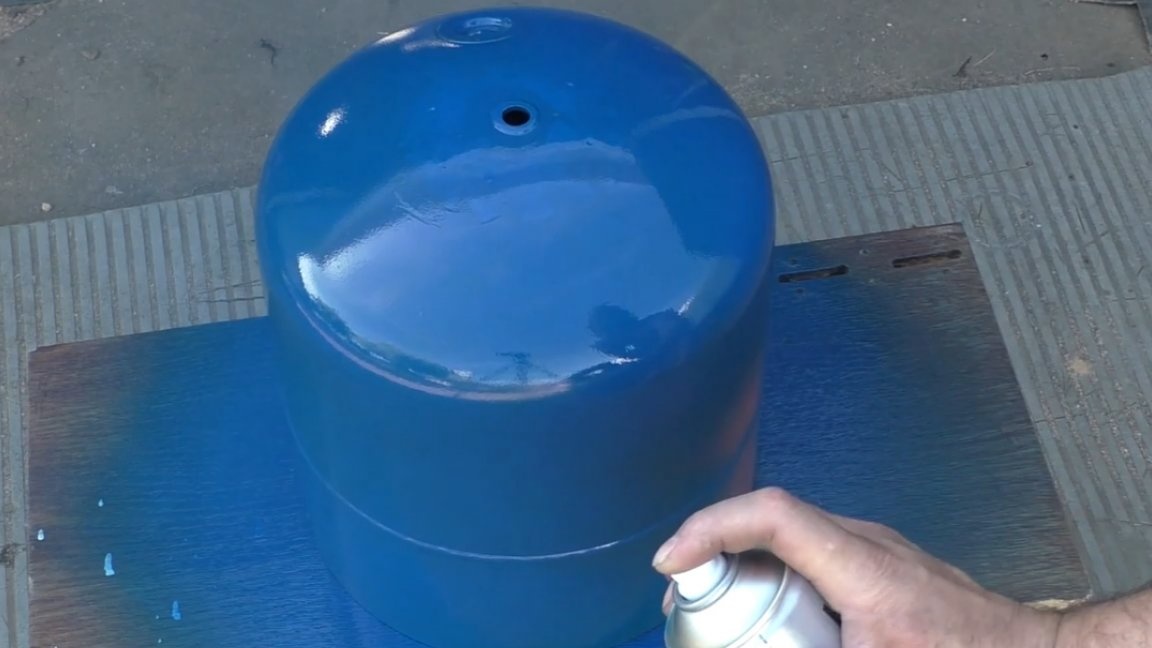
Now you can start painting the resulting workpiece. In this home-made paint, there is no need to remove the paint, so just degrease all the details and paint.
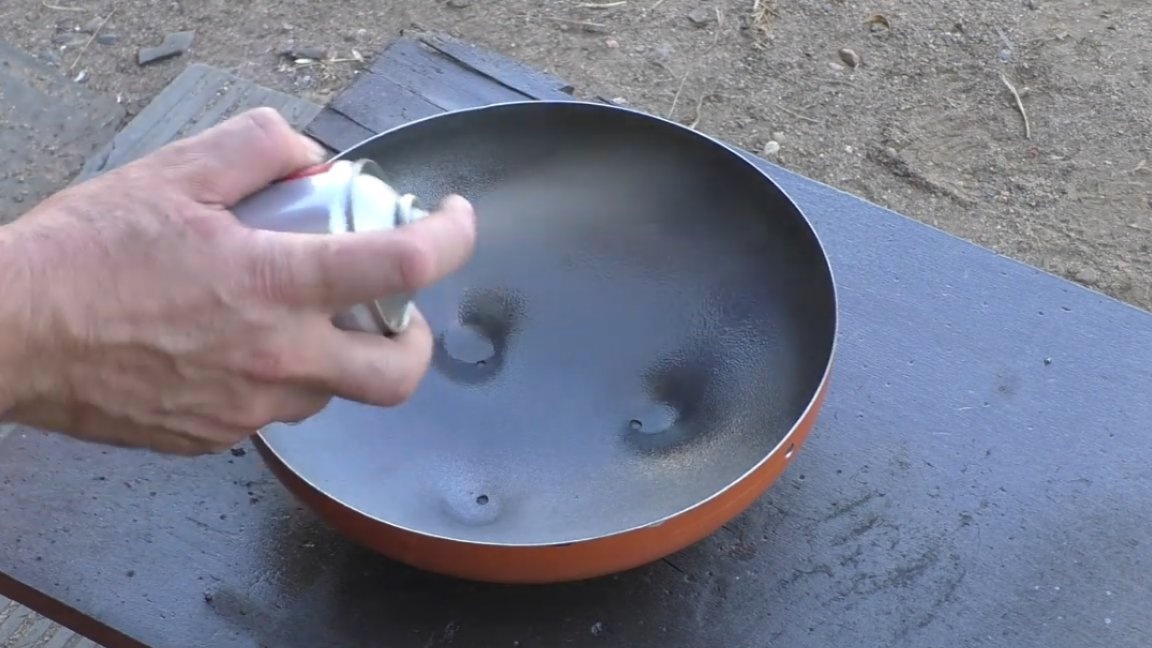
It was decided to paint the inside of the cylinder with enamel with a hammer effect, such enamel is more resistant to mechanical stress. The outer part can be painted with ordinary acrylic enamel.
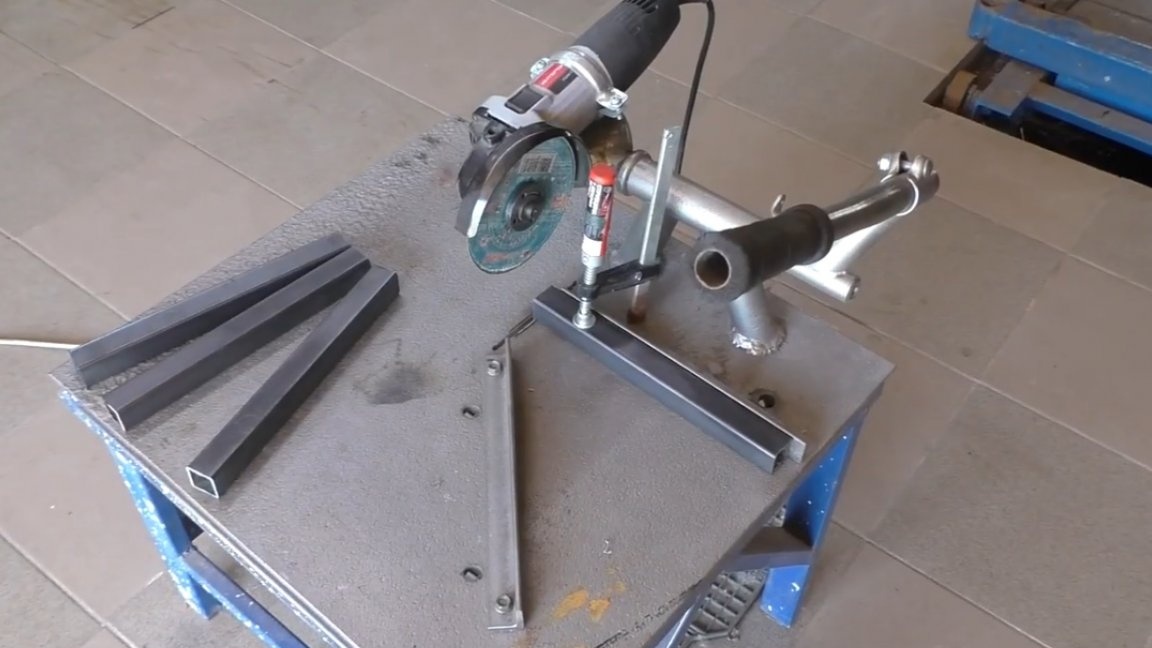
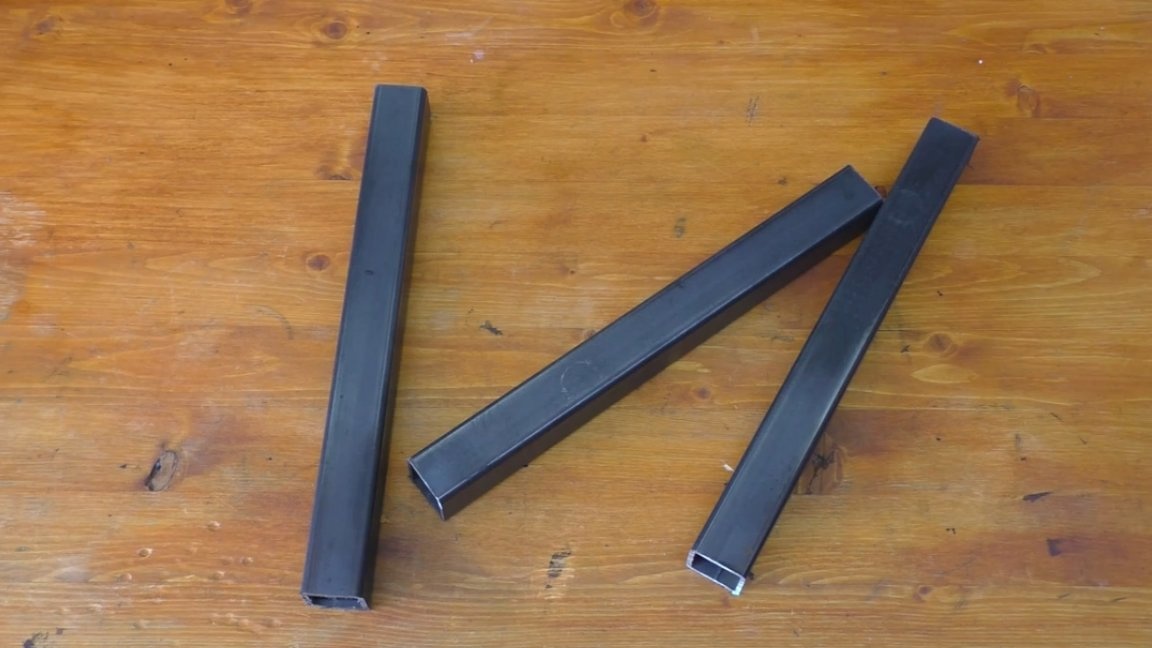
In general, while the paint dries, it's time to think about the foundation. A profile pipe 30 by 30 is perfect for this. I measure 4 segments of 25 cm from it and 2 segments of 55 cm.
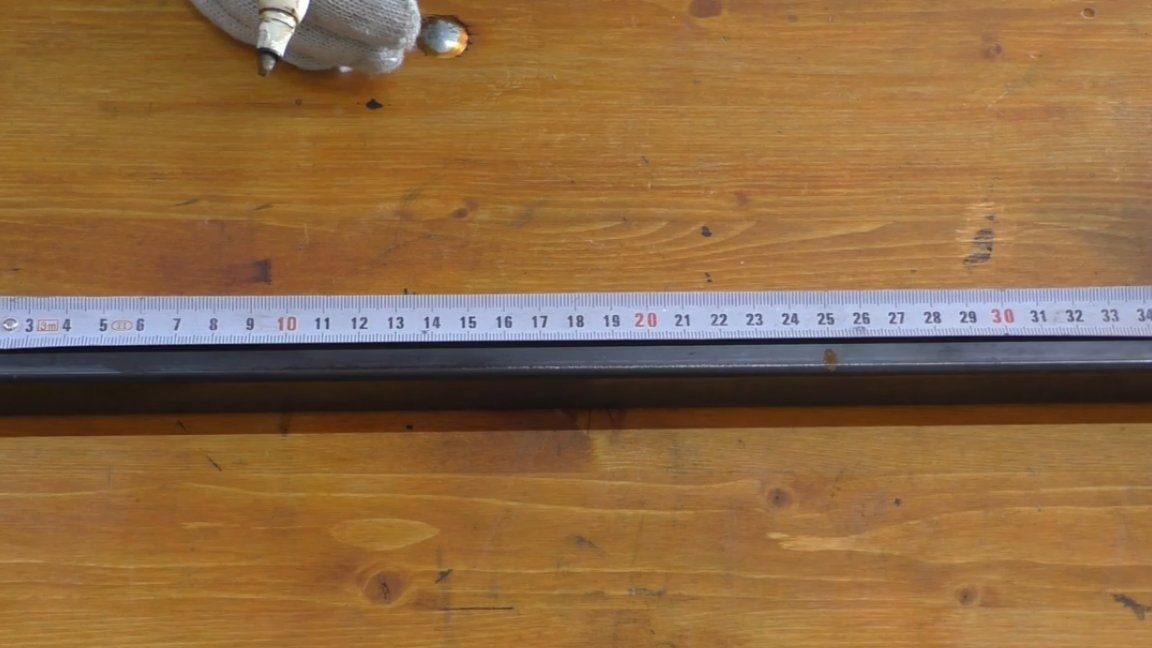
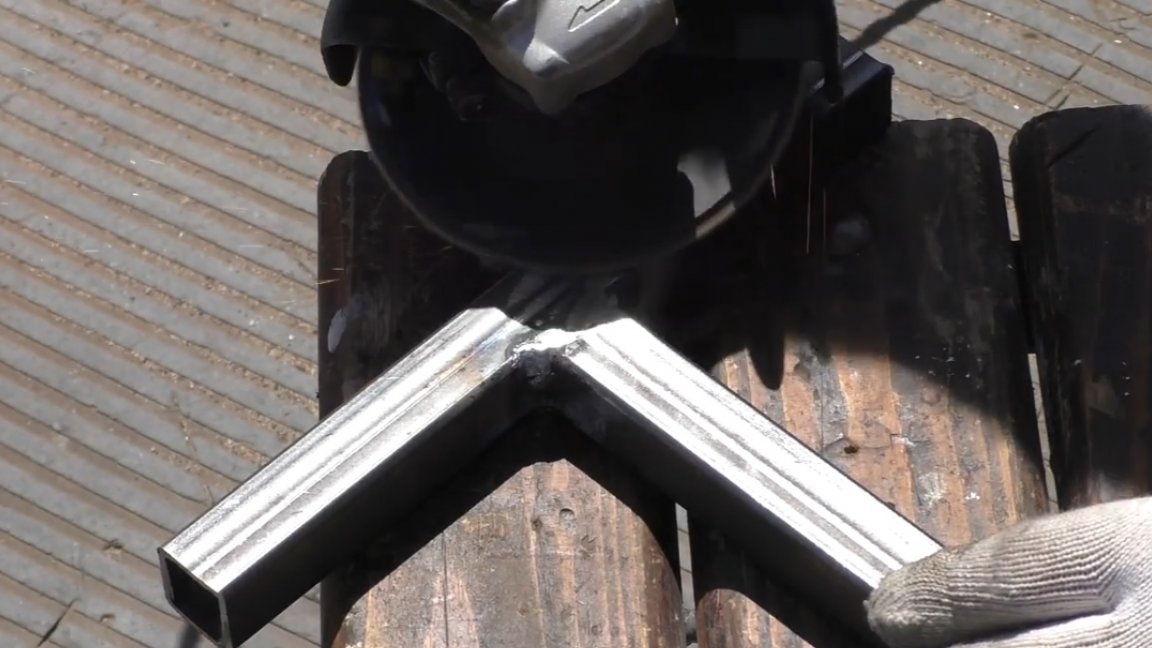
The master produces the cutting of the profile pipe on a makeshift machine based on angle grinders and a bicycle frame.

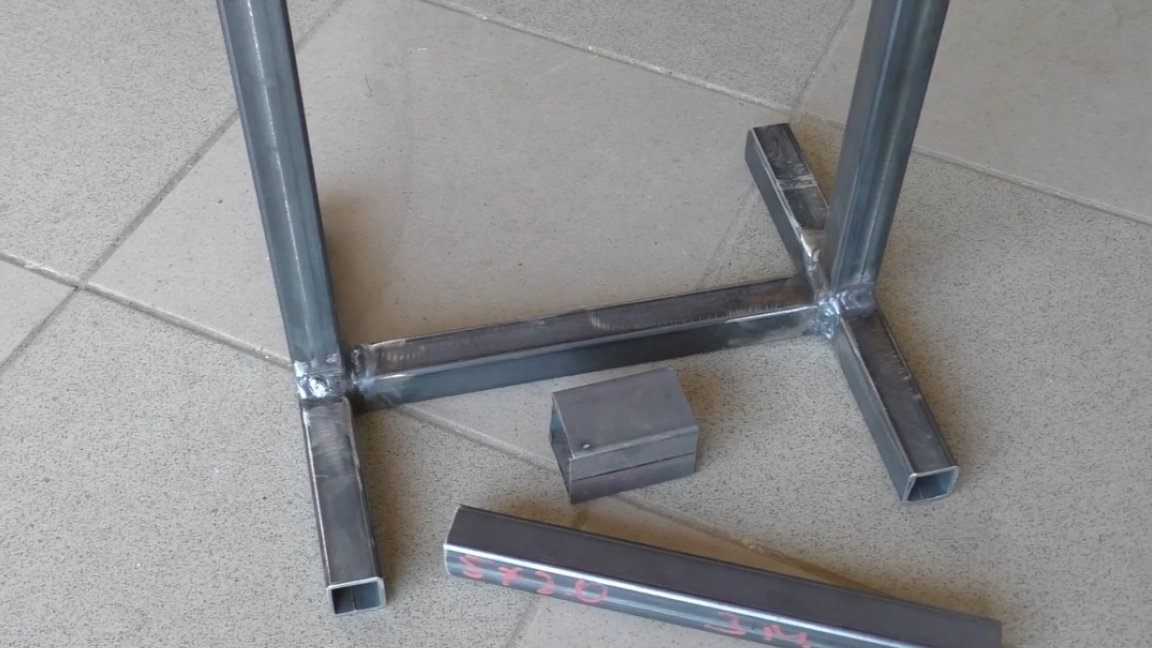
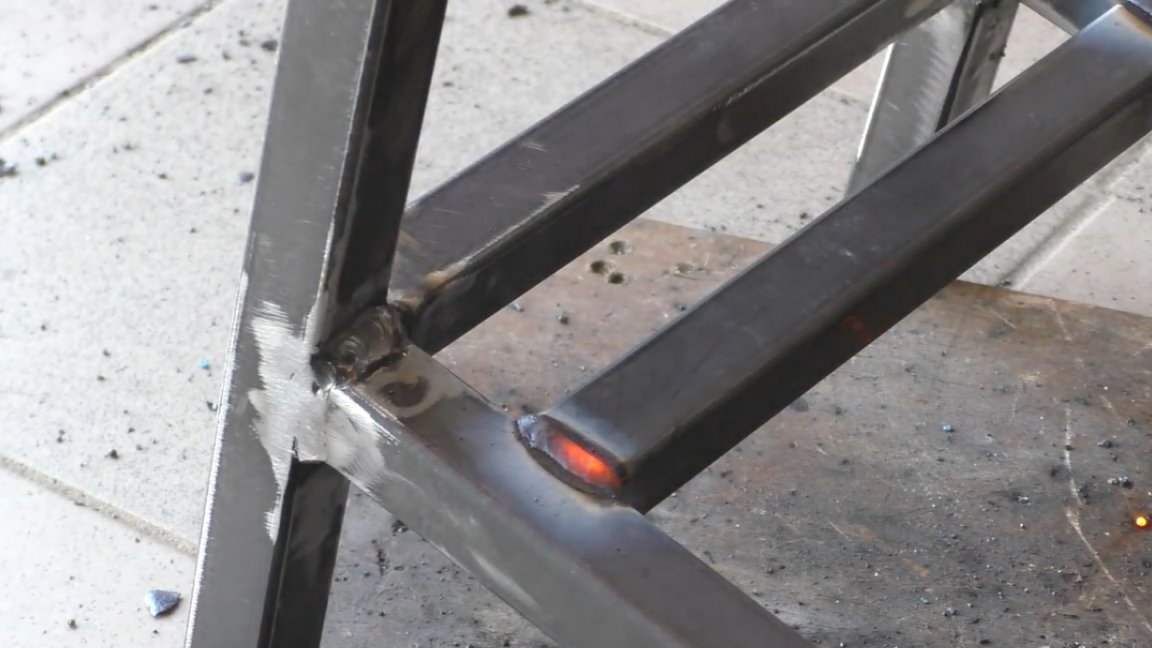
Next, segments 25 cm long must be welded with the letter H, like this:
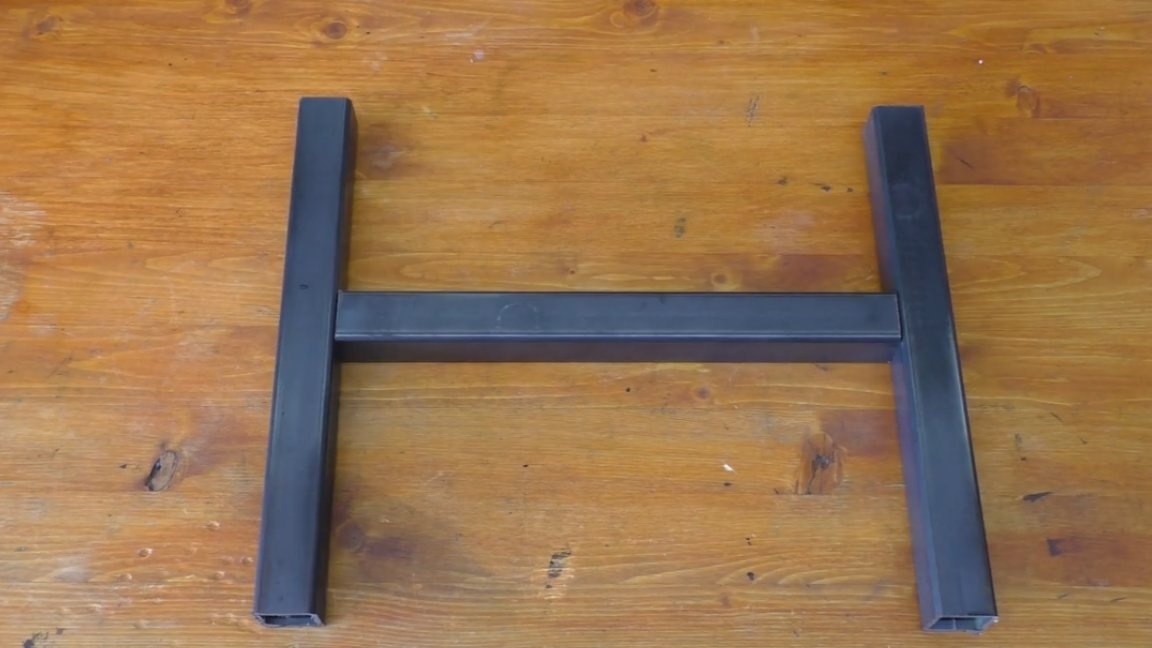
After this, the resulting detail must, of course, be cultivated a little.
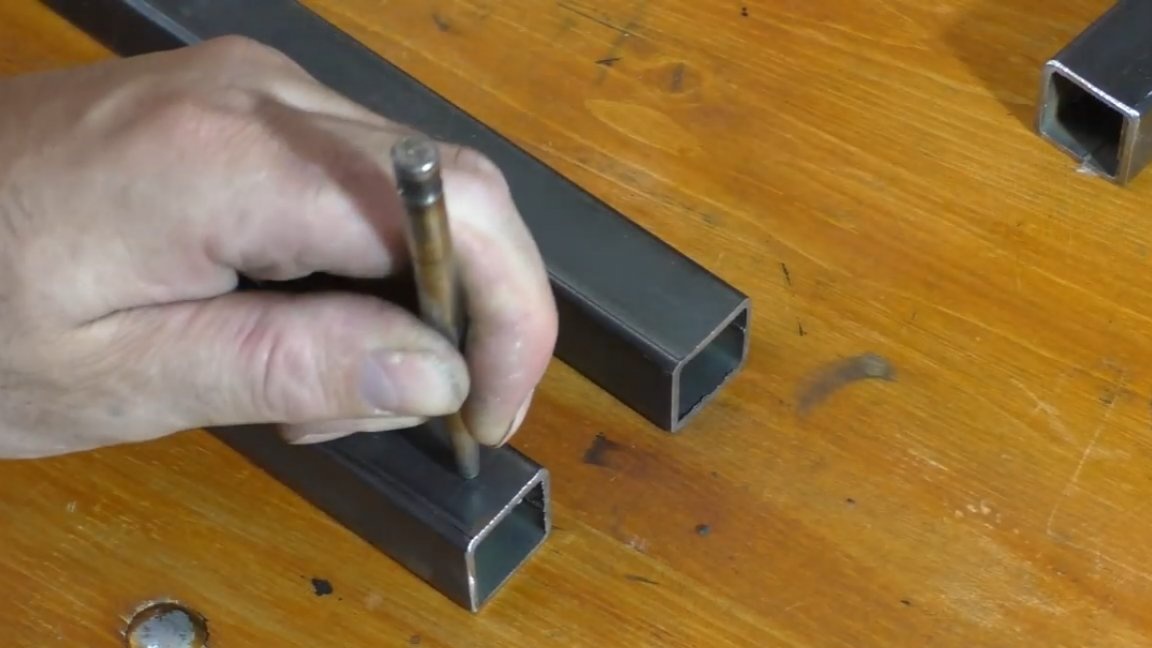
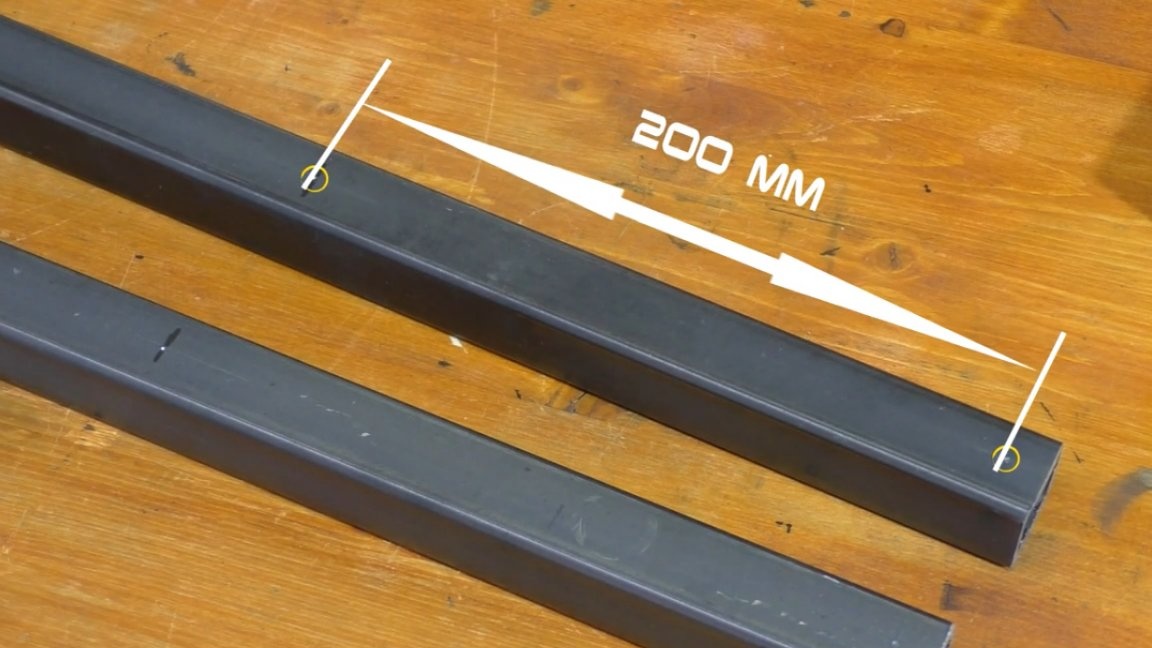
Then in the pipes 55 cm long it is necessary to make 2 holes. The first hole must be made by stepping back from the edge of 10mm, and the second hole by stepping from the first 20cm.
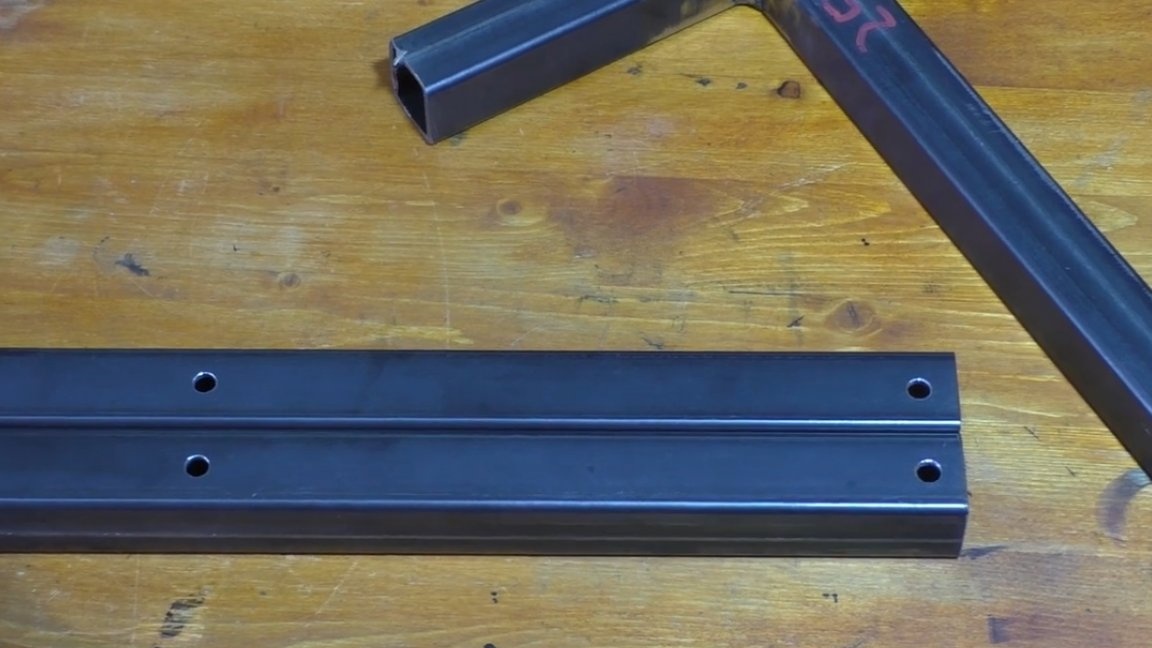
As a result, we get 2 exactly the same blanks.
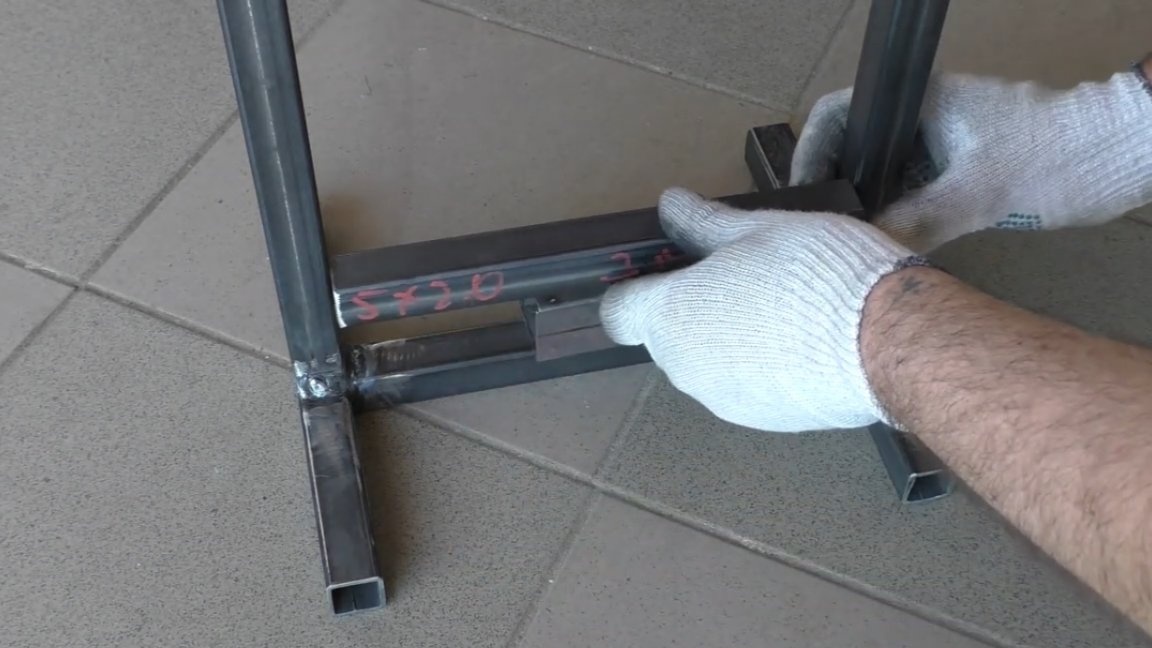
Using the corner, we expose the resulting parts on an H-shaped base and weld, while trying to observe all the planes so that there are no distortions.
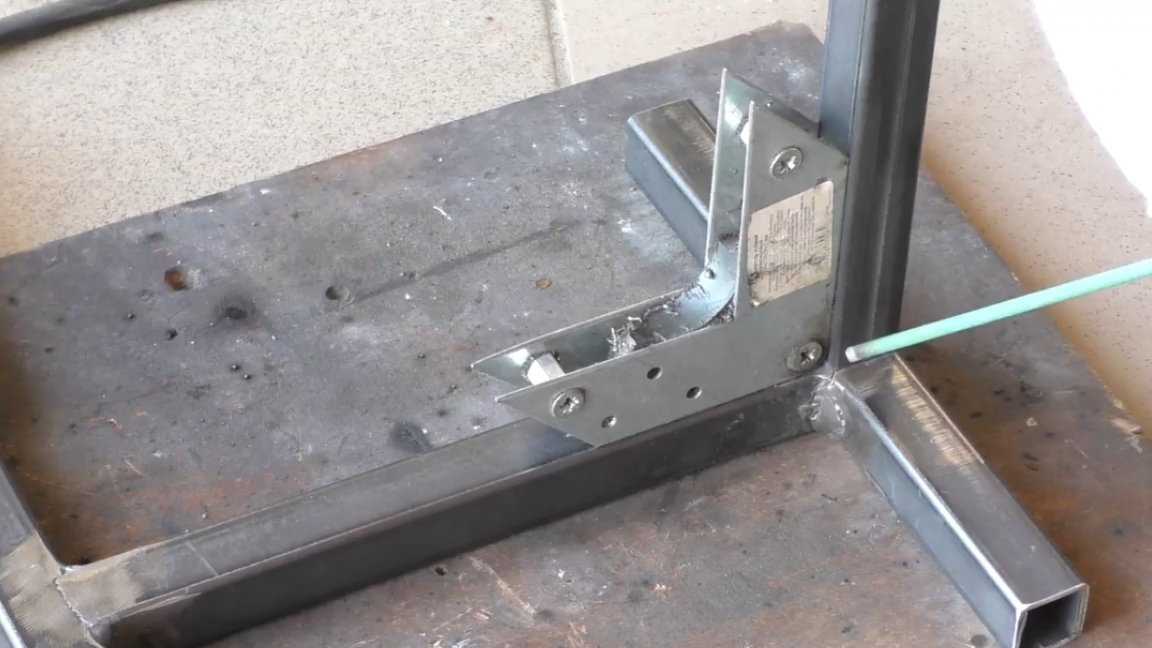
Stands in place, now it's time to weld the spacer to give additional rigidity to the entire structure, although it is already enough, but still it will not hurt for aesthetics and center of gravity.
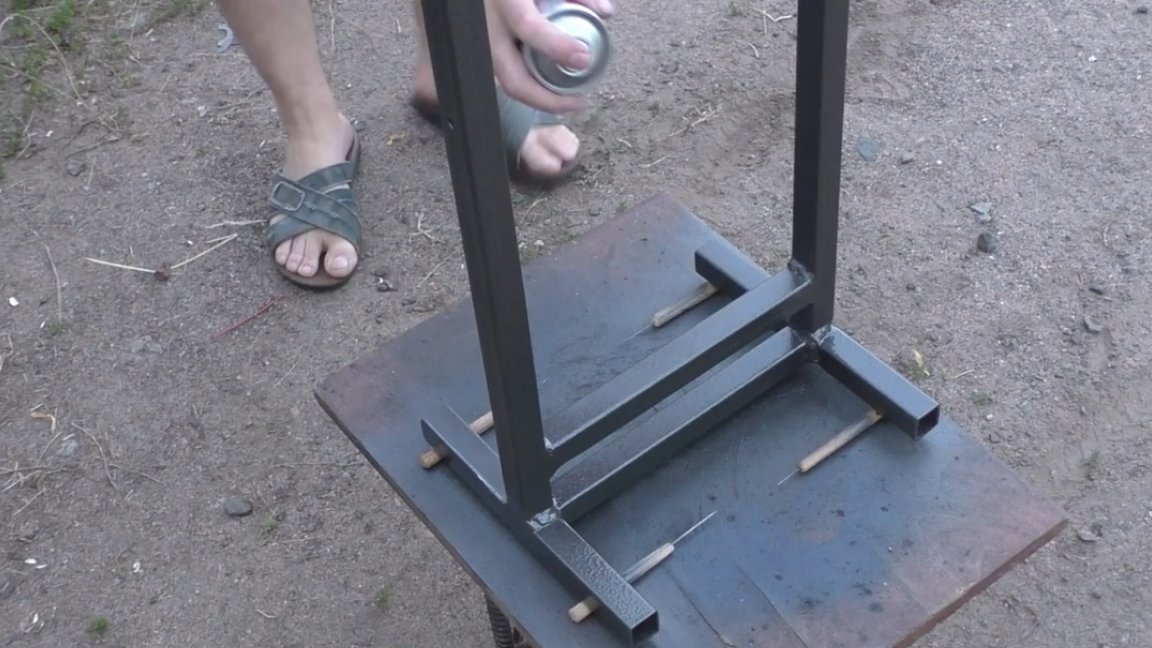
Further details must be degreased and you can start painting with enamel with a hammer effect.

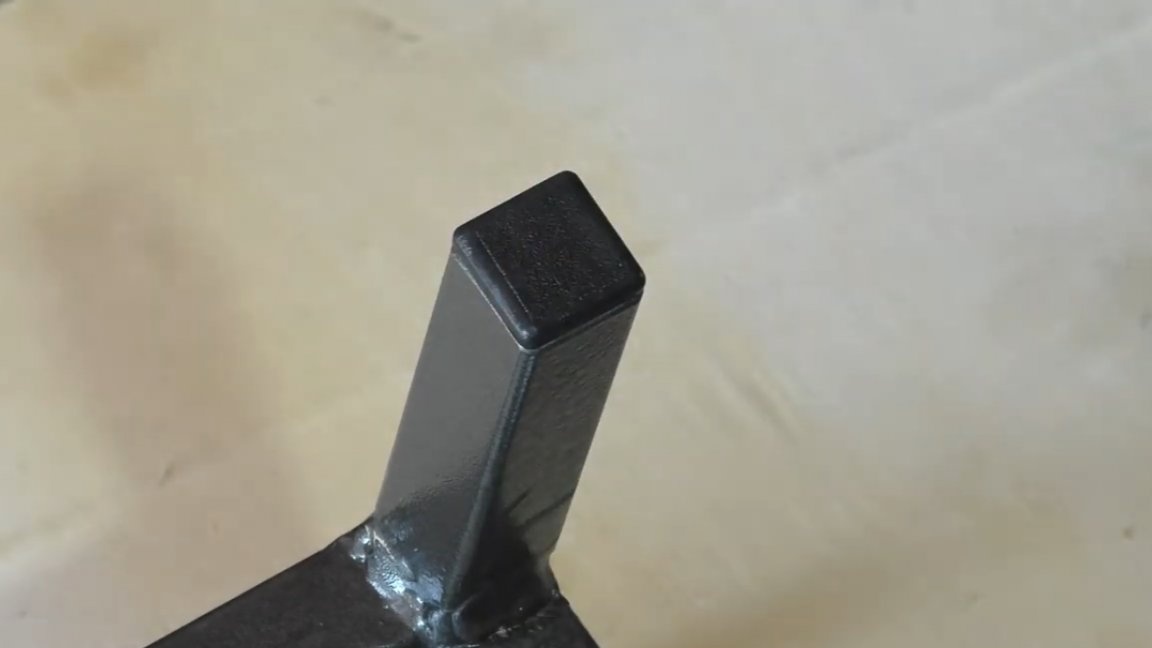
And of course, do not forget about the end caps.
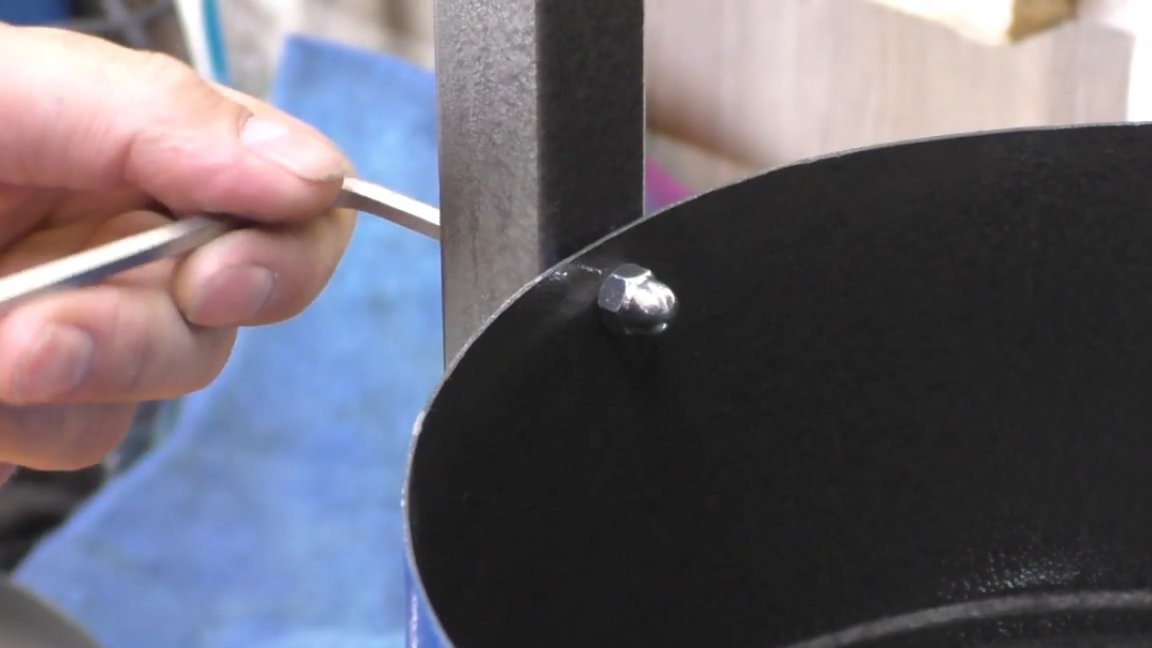
There is very little left - to establish everything in its place and fix it.
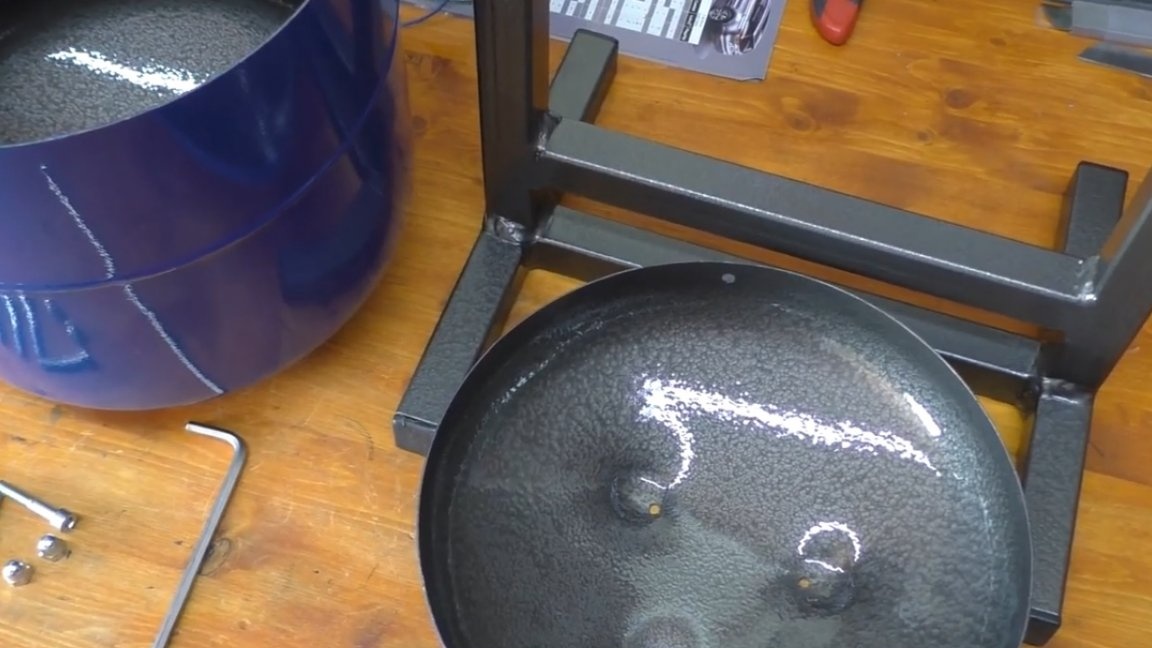

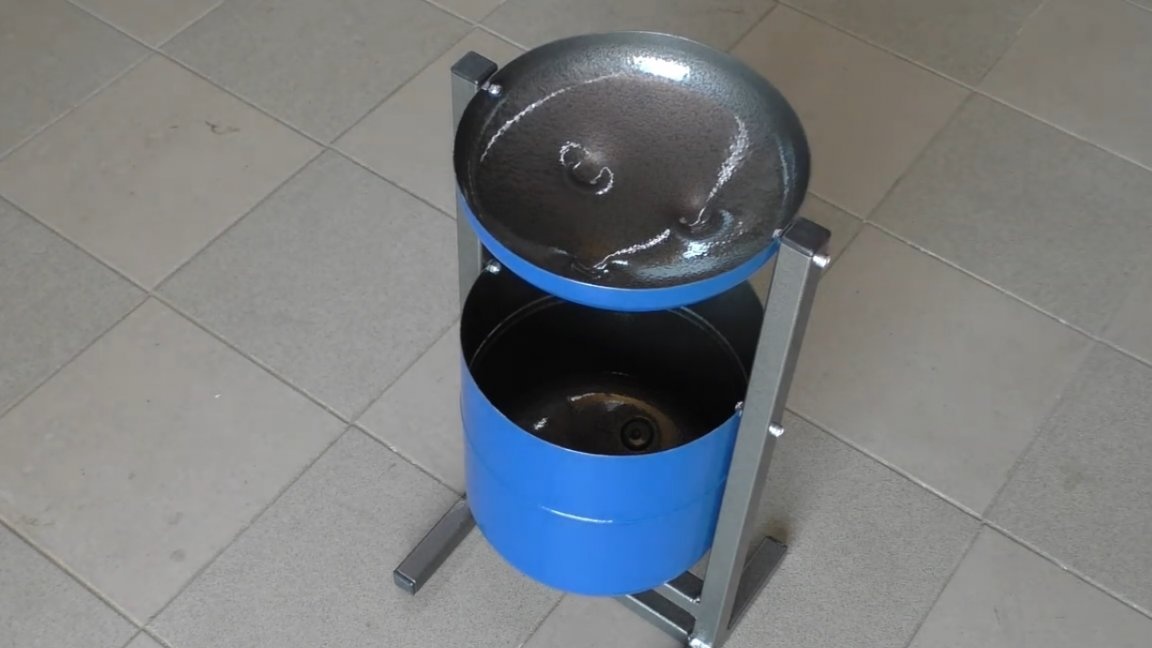
And here is the finished result:
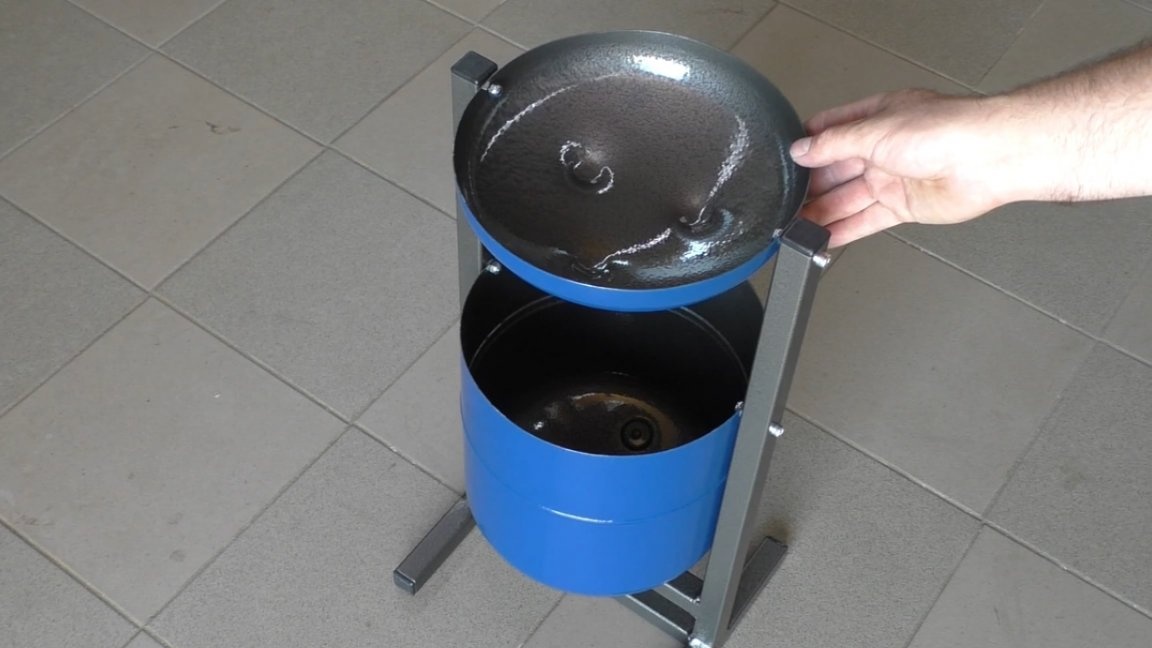

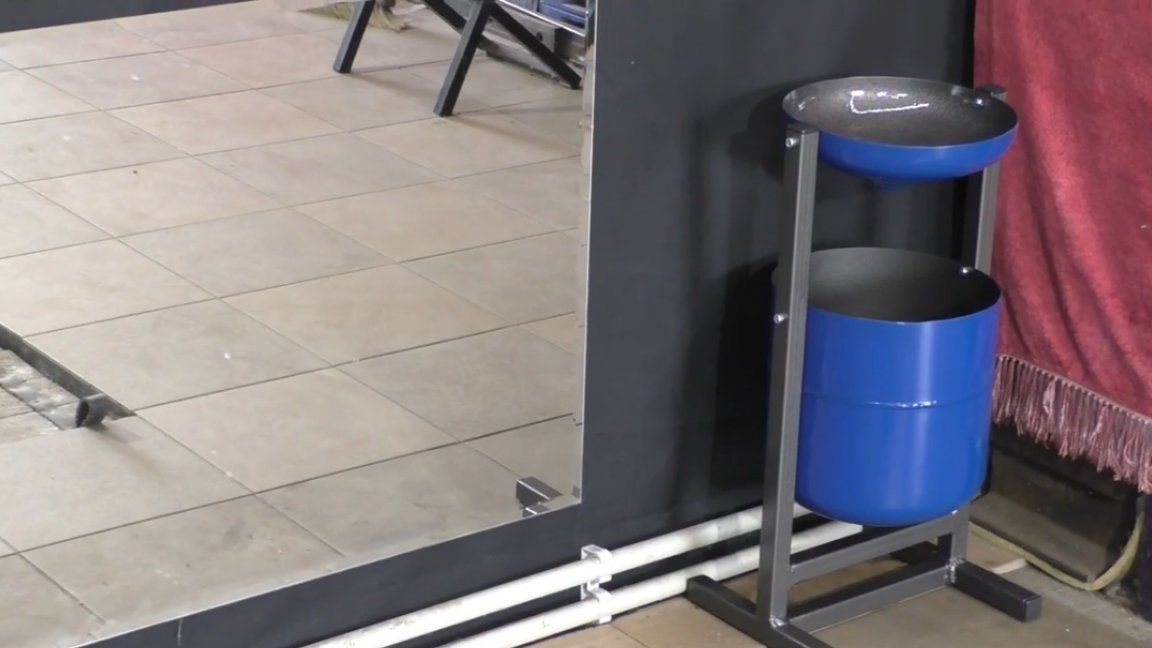
It turned out pretty nice for such a simple design. This inventory will not hinder in any workshop. As a result, we got a pretty simple, but at the same time nice urn, which everyone can repeat if desired. Well, that’s all. Thank you for attention. See you soon!
Author's video: