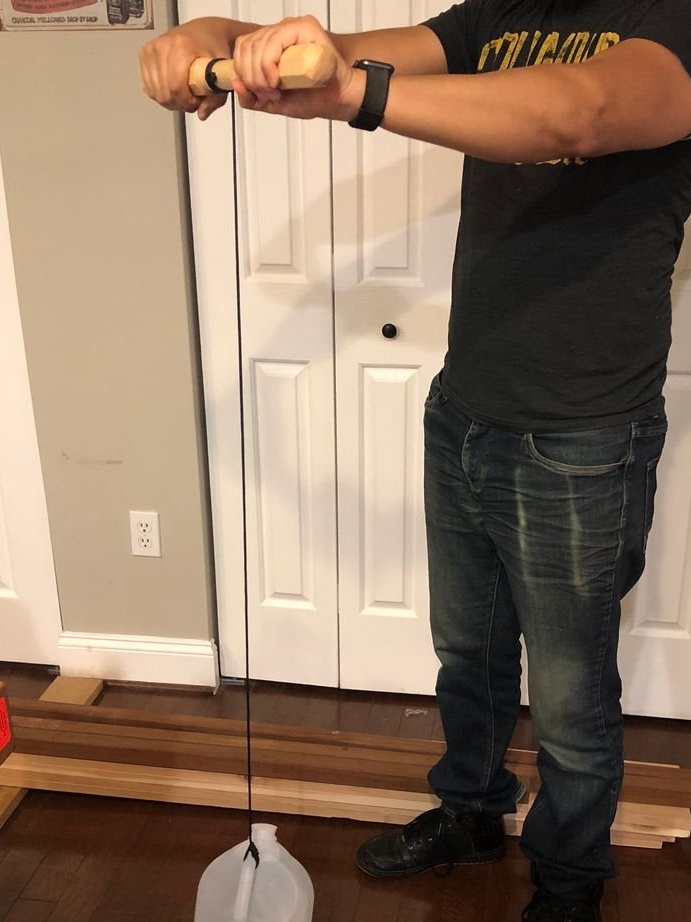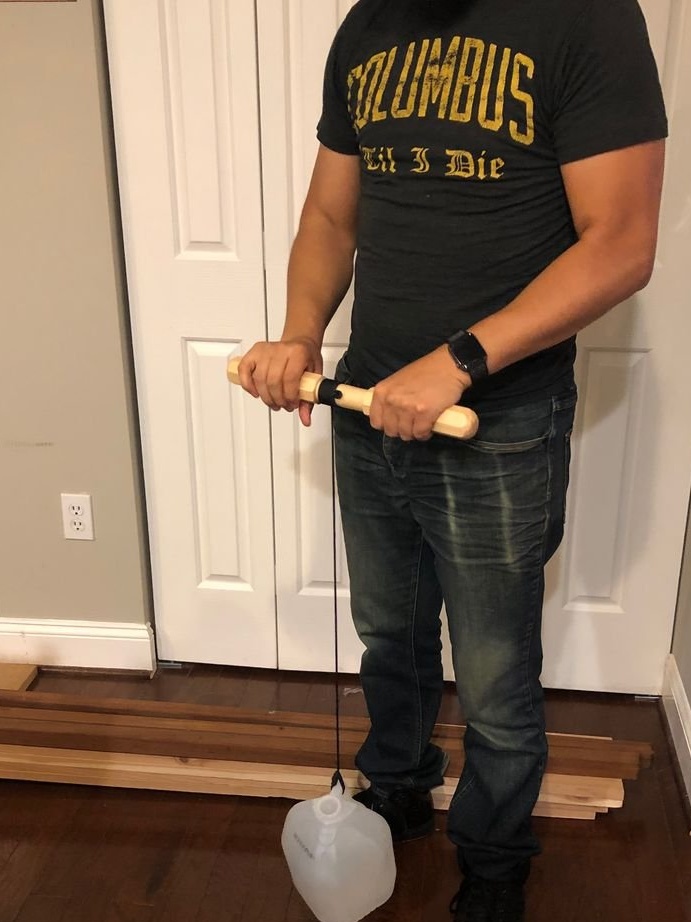
This sports equipment allows you to carry out weight lifting training anywhere. Just attach a suitable weight to the rope and you can do it. Of course, you can just use a stick with a rope without processing it and varnishing, but the master wanted to do not only useful, but also a beautiful thing.
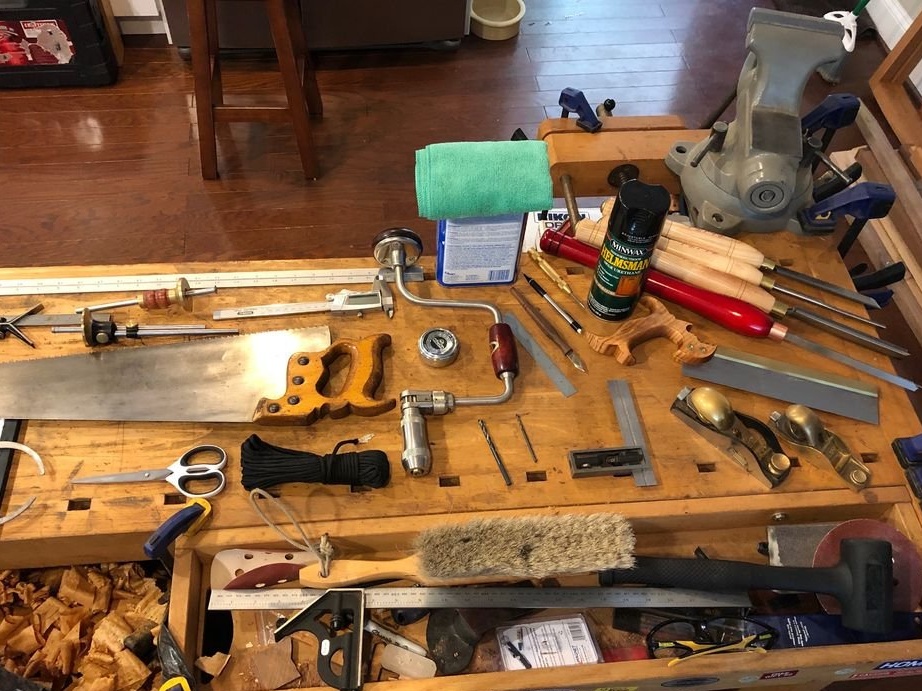
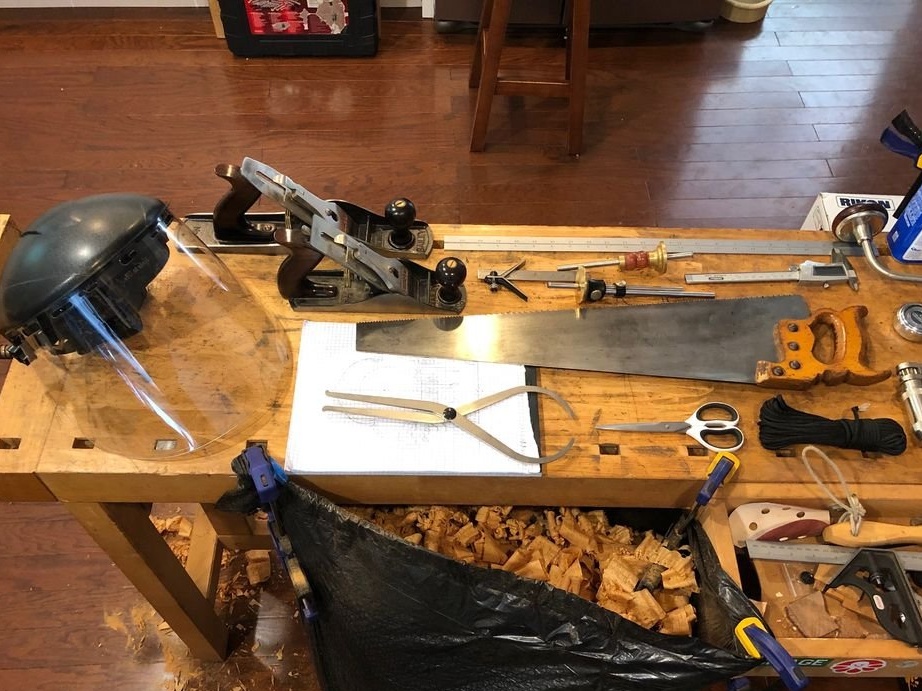
For the manufacture of such a projectile will need the following
Tools and materials:
-Notebook;
-Pencil;
-Rule;
-Board;
-Hacksaw;
-Roulette;
-A circular saw;
-Gon;
-Calipers;
-Plane;
-Kolovorot;
-Lathe;
-Cutters;
-Sandpaper;
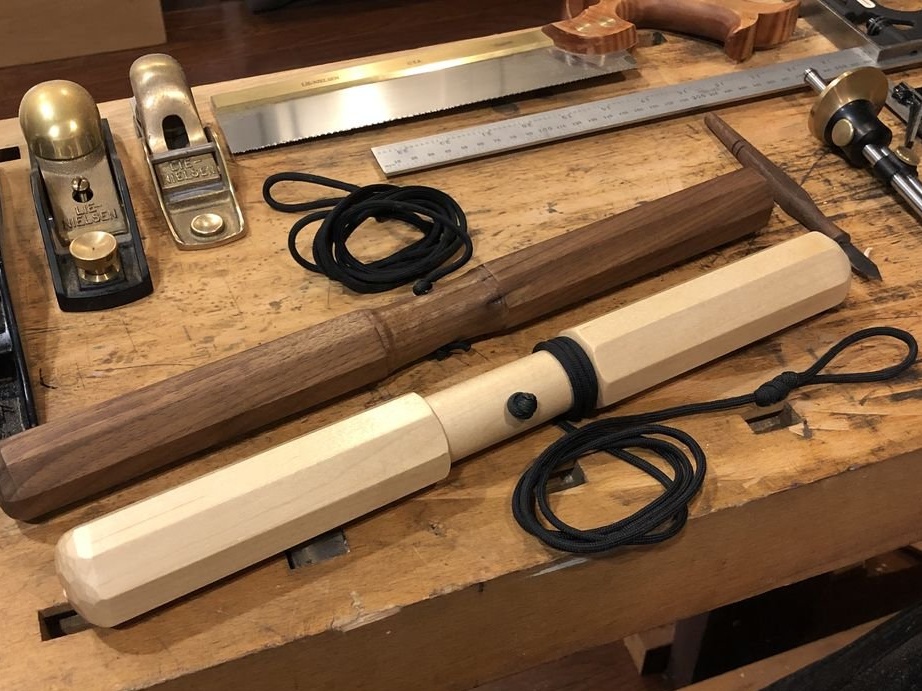
-Cord;
-Polyurethane varnish;
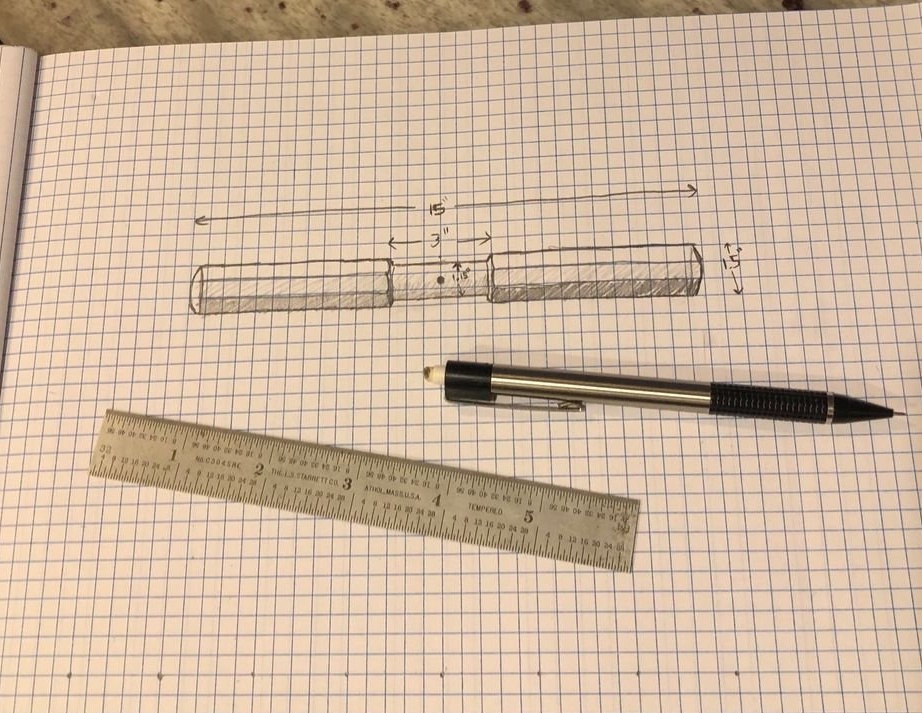
Step One: Drawing
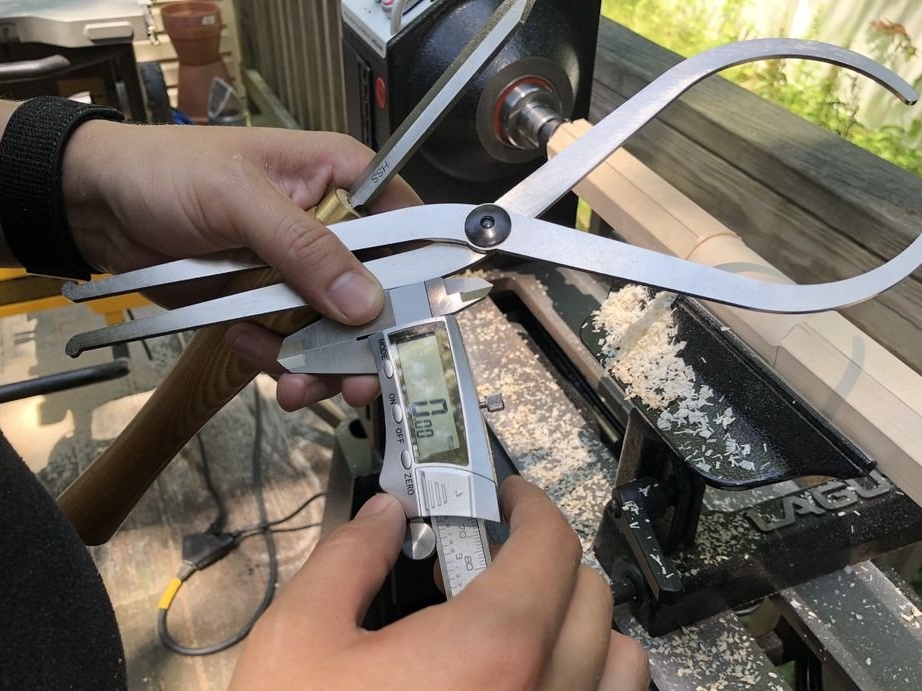
This shape and size is explained by the master, the following provisions: if the diameter of the rod is too small, you focus more on the capture of the rod, without actually training the muscles of the forearm. The same applies to a handle that is too large in diameter.
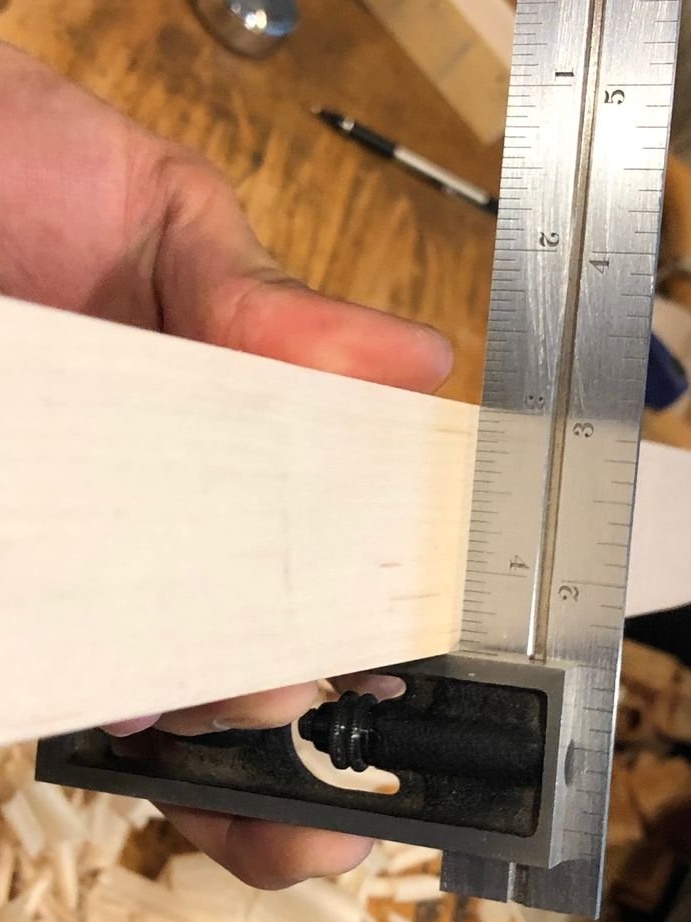
The optimal diameter of the projectile is 1.5 inches (3.81 cm). 15 inches (38 cm) long gives the trainee little room to maneuver when placing hands. Remember that hands should stay close to the center for maximum efficiency.
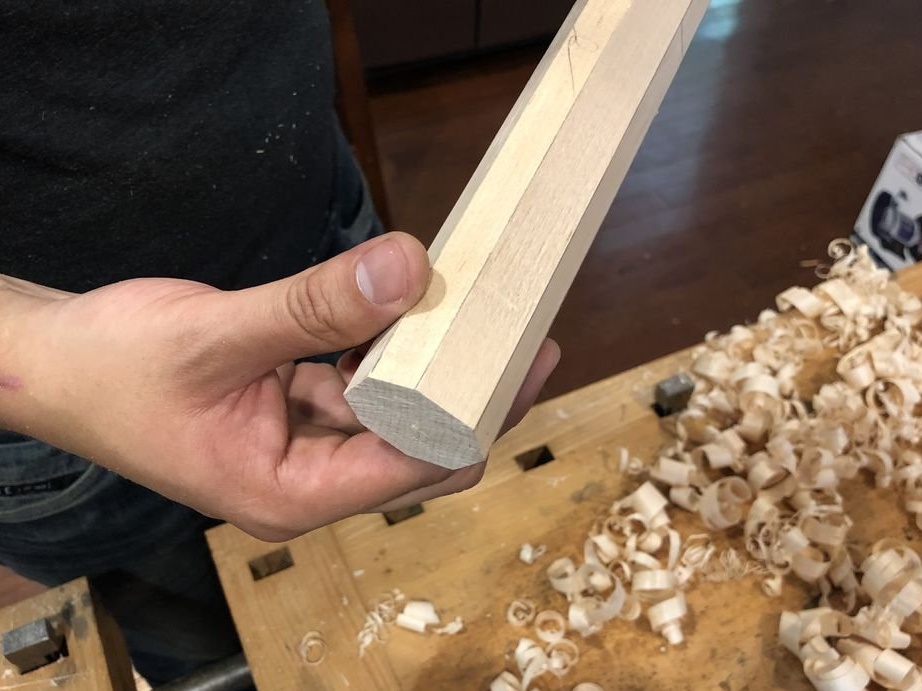
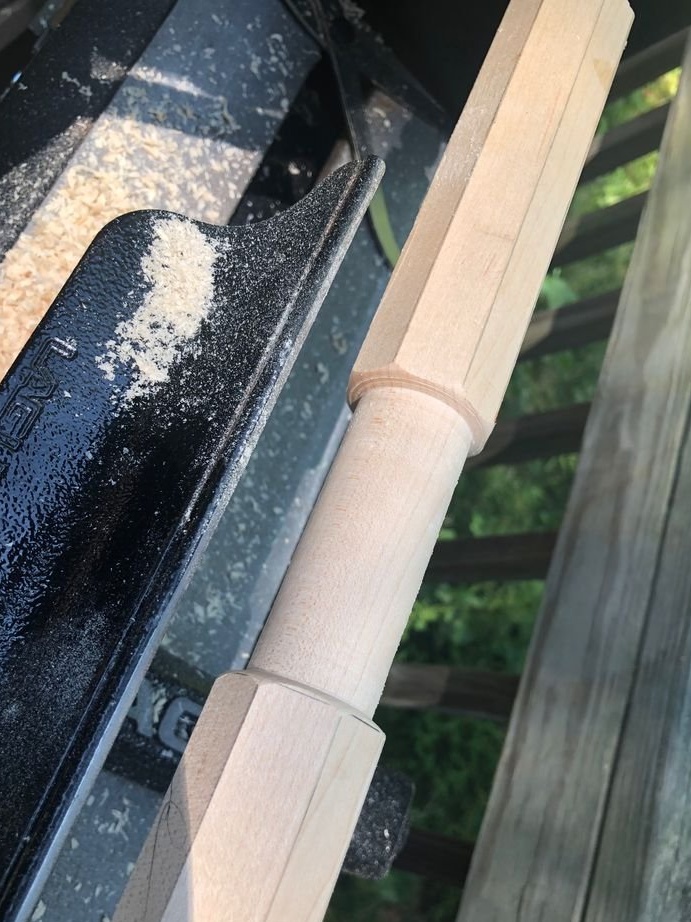
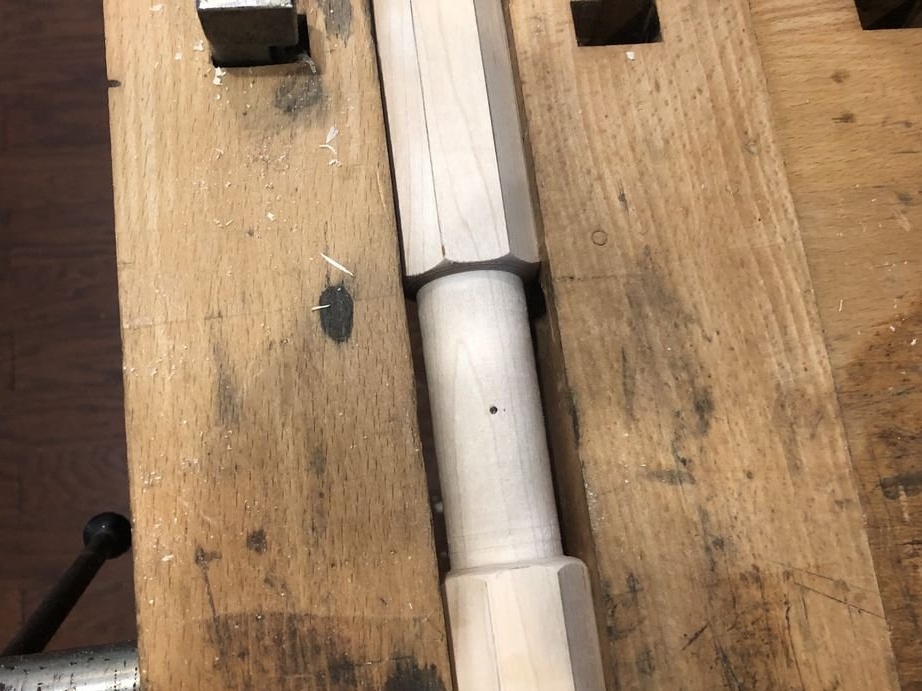
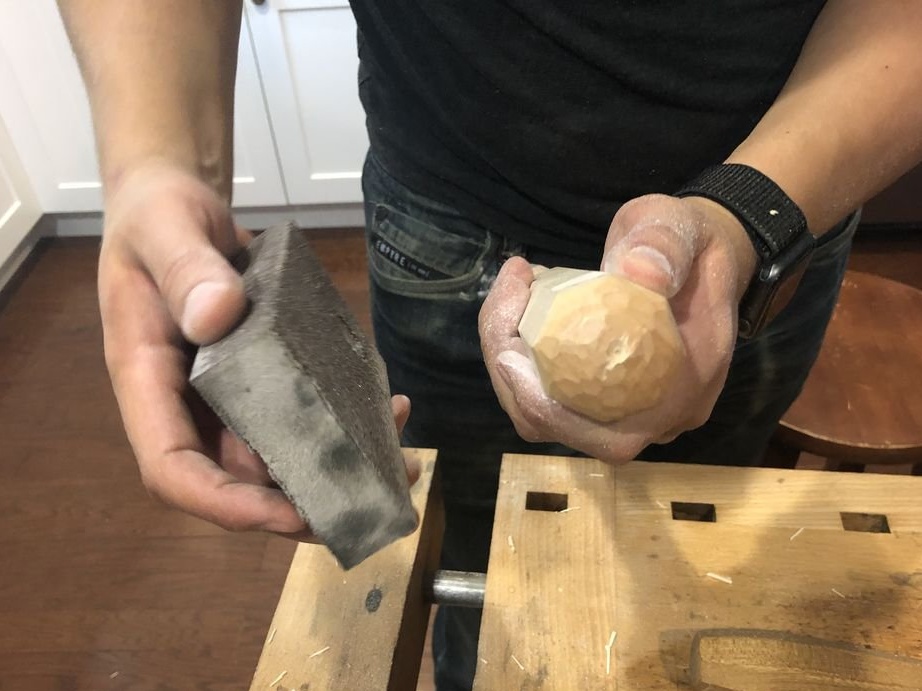
The octagonal shape of the handles serves for additional grip during training.
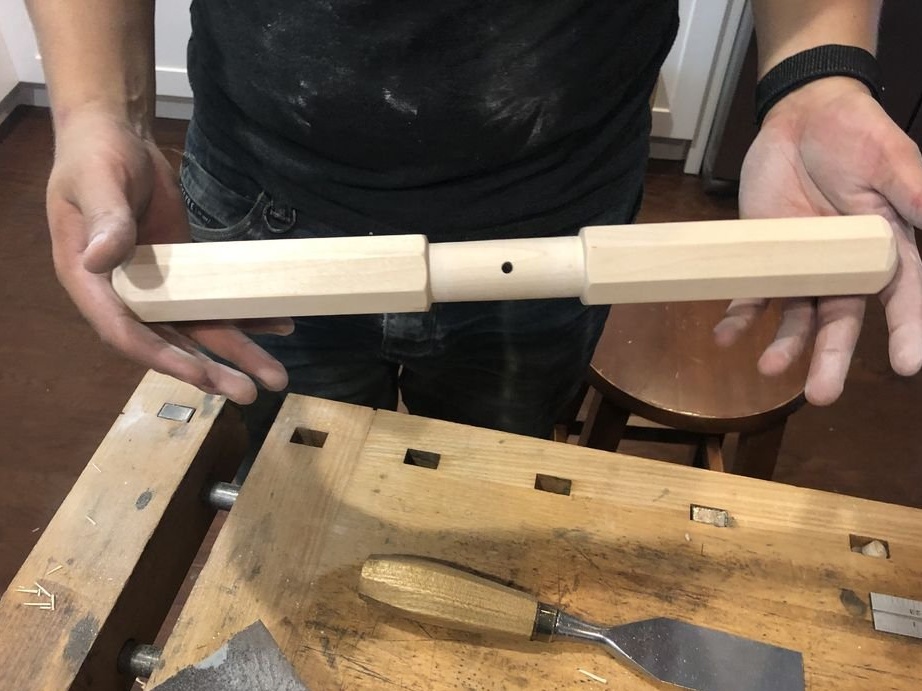
The recessed area in the center of the projectile was created to fix the rope so that it does not interfere with the grip.
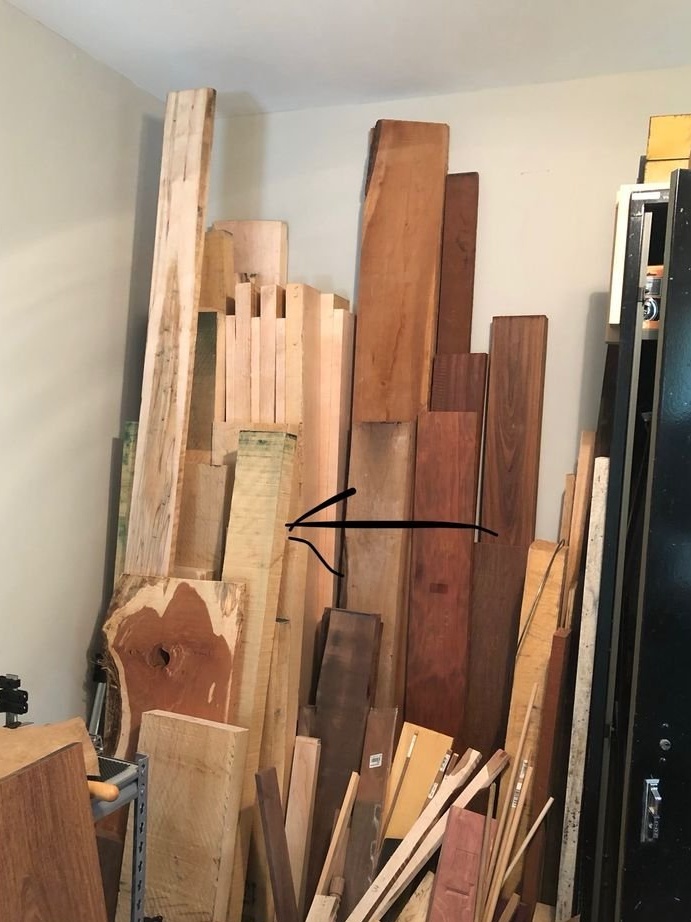
Step Two: Harvesting
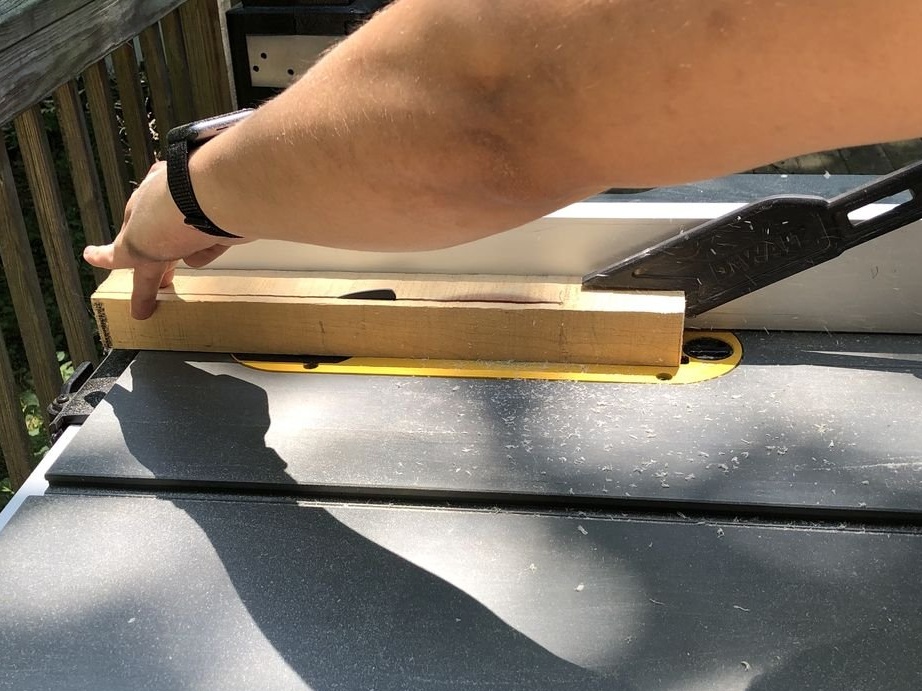
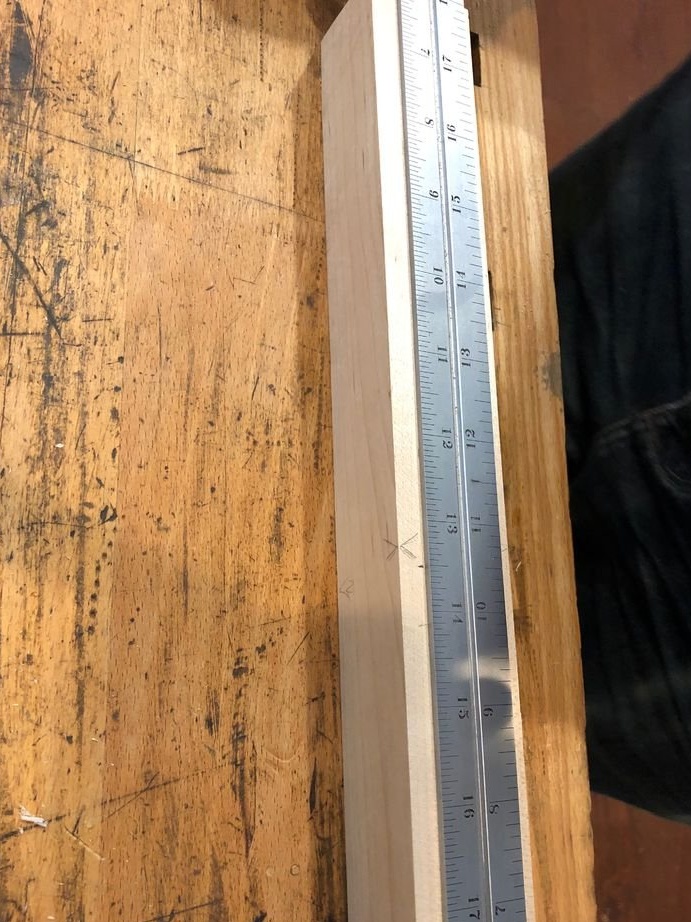
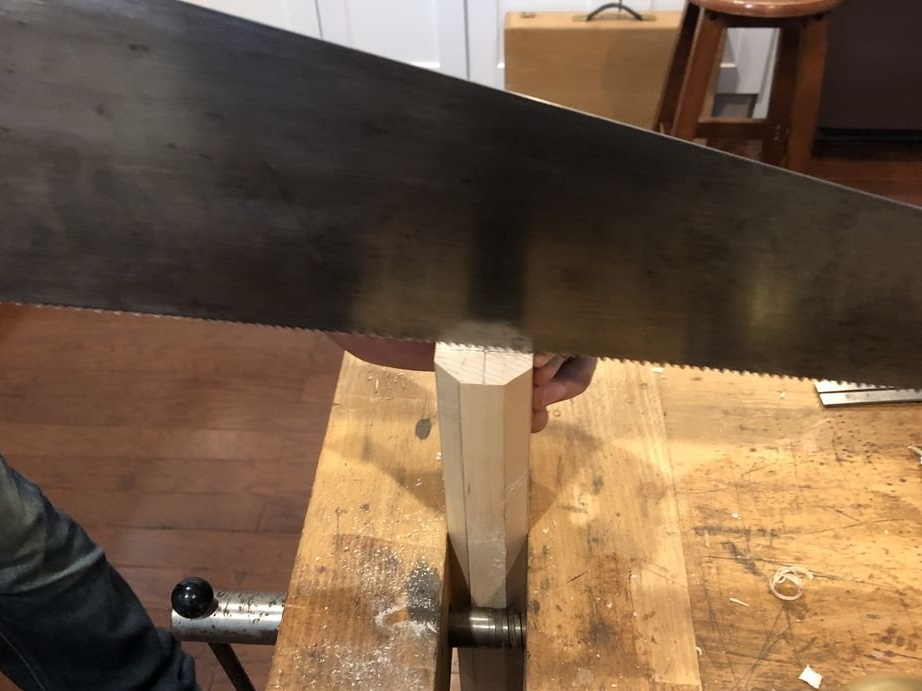
From the maple board master, saws off a piece of 38 cm.
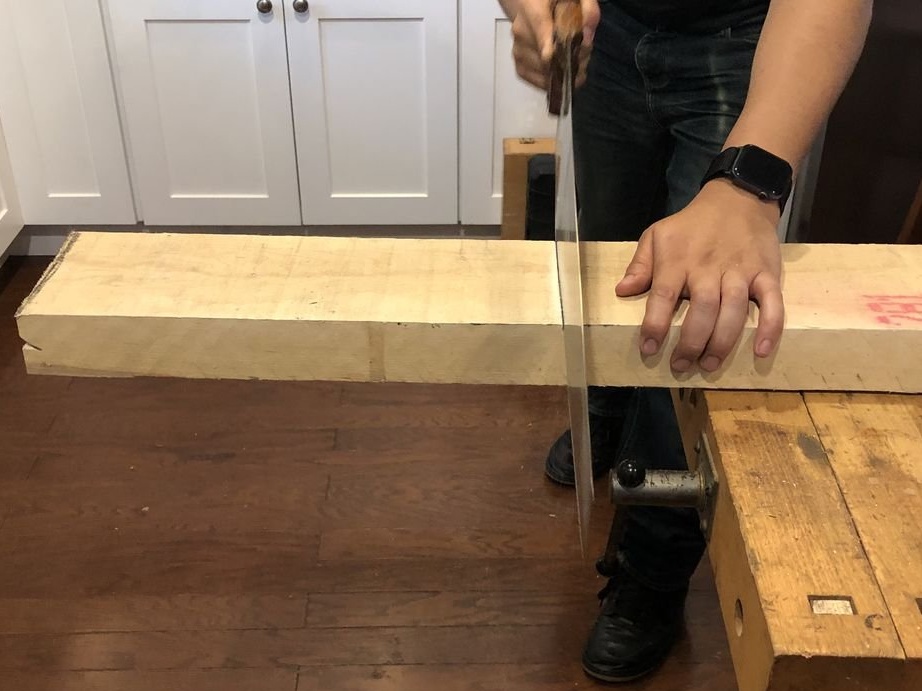
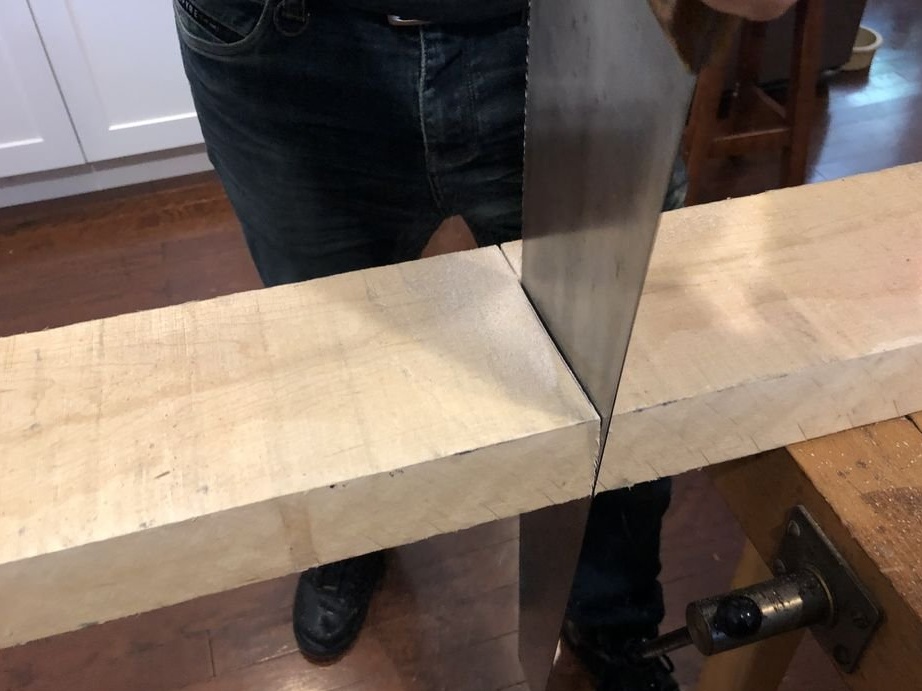
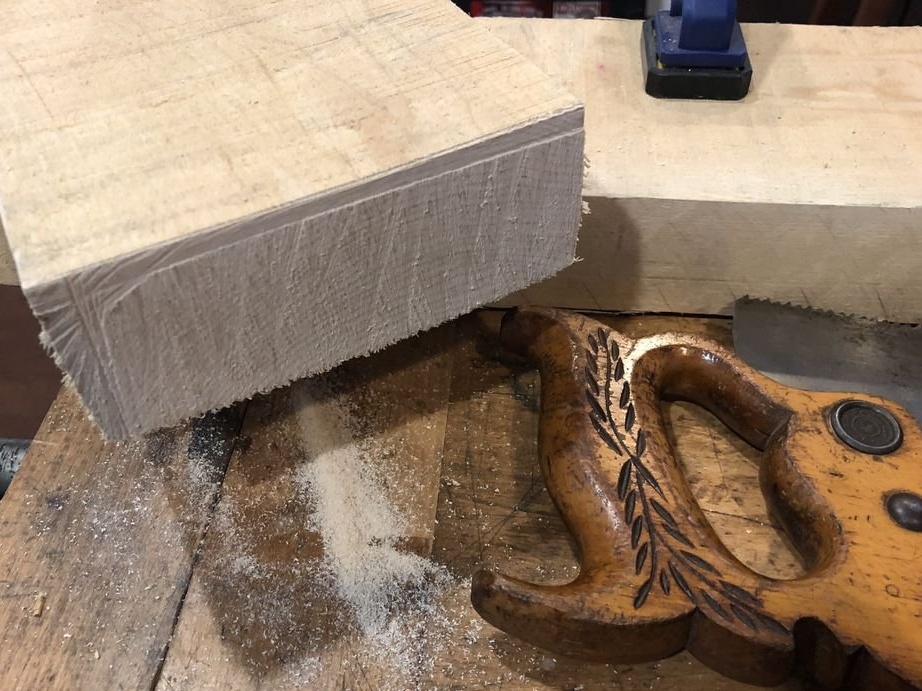
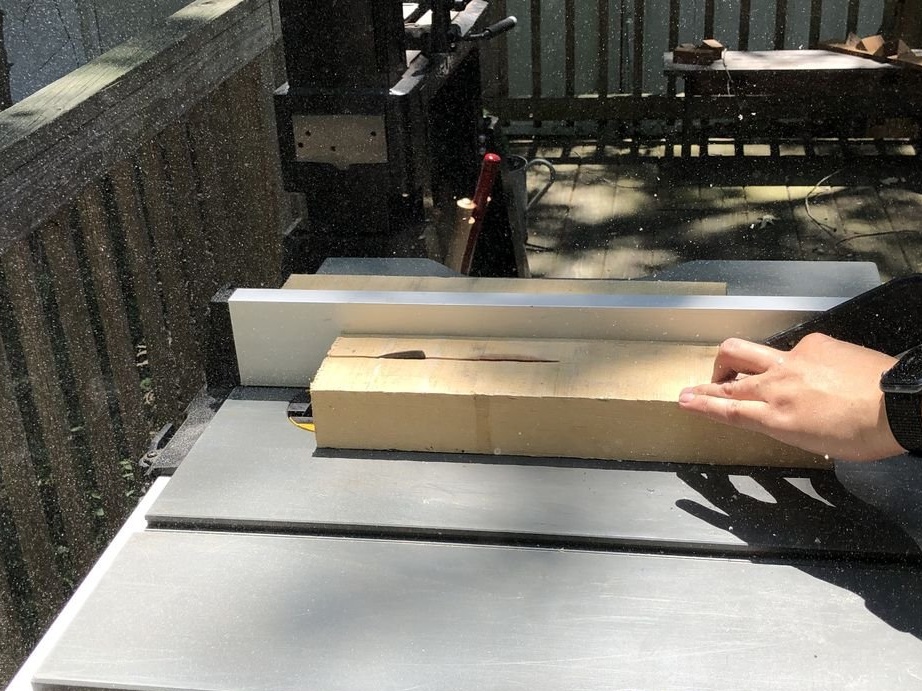
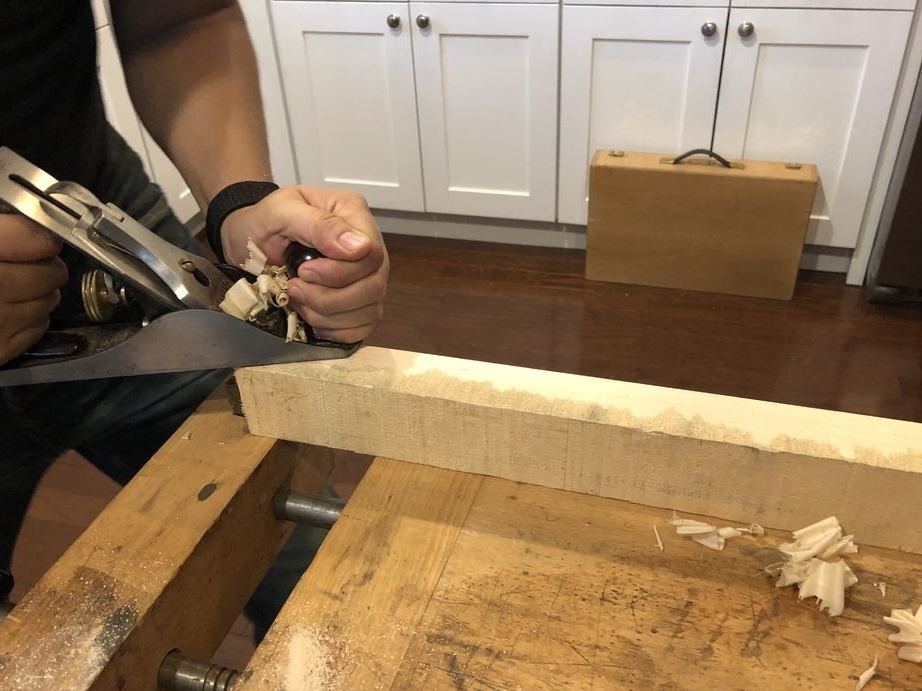
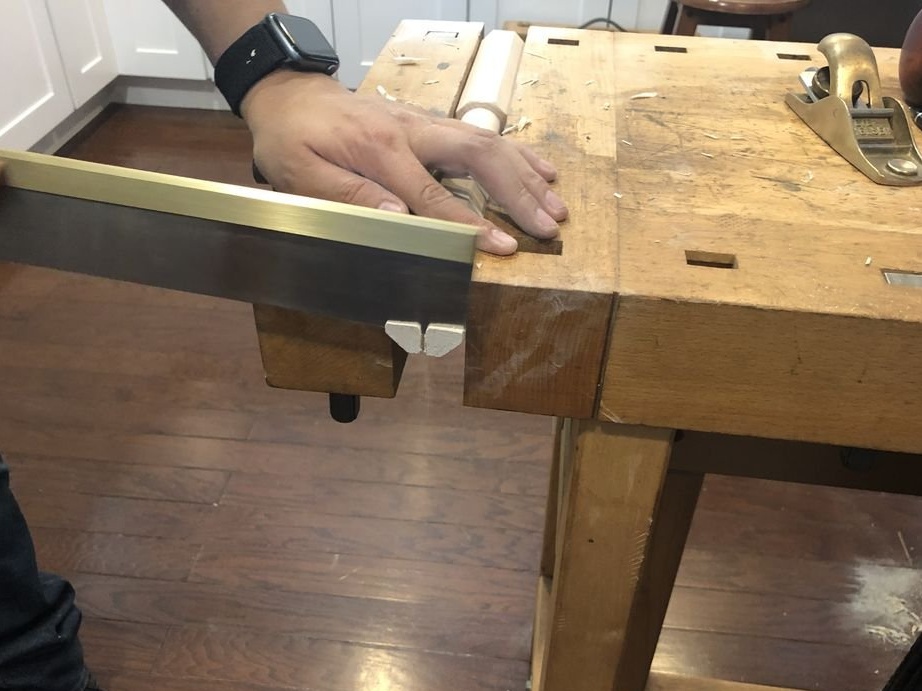
Then the master cuts the board along. Levels the sides of the workpiece at 90 degrees.


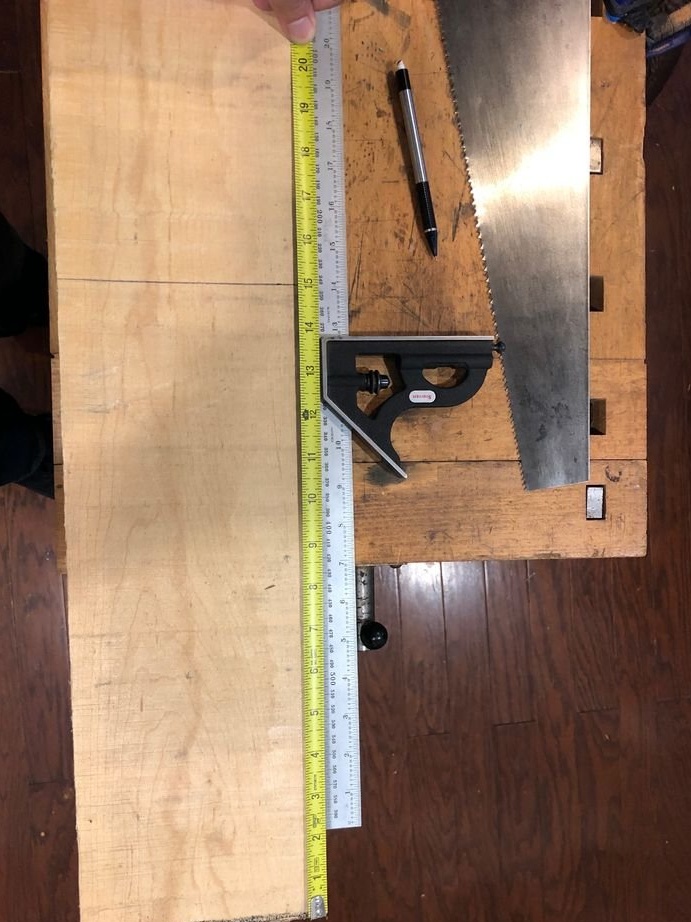
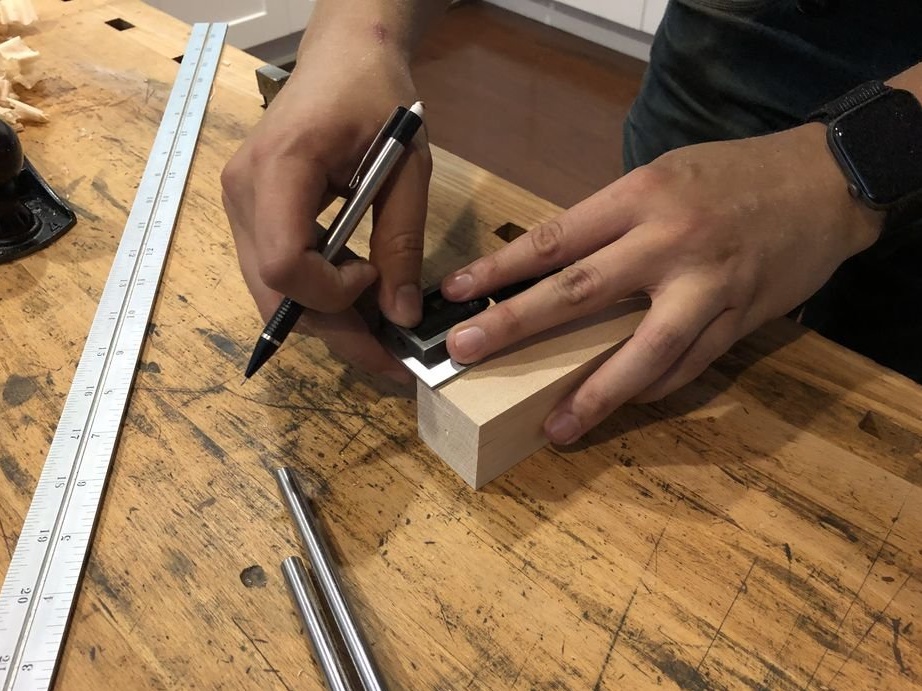
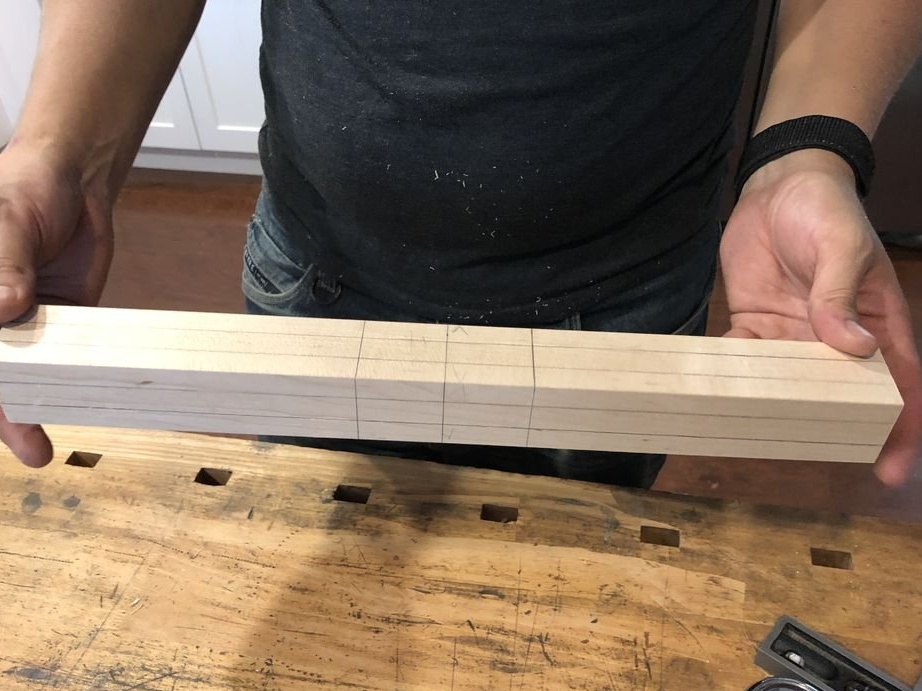
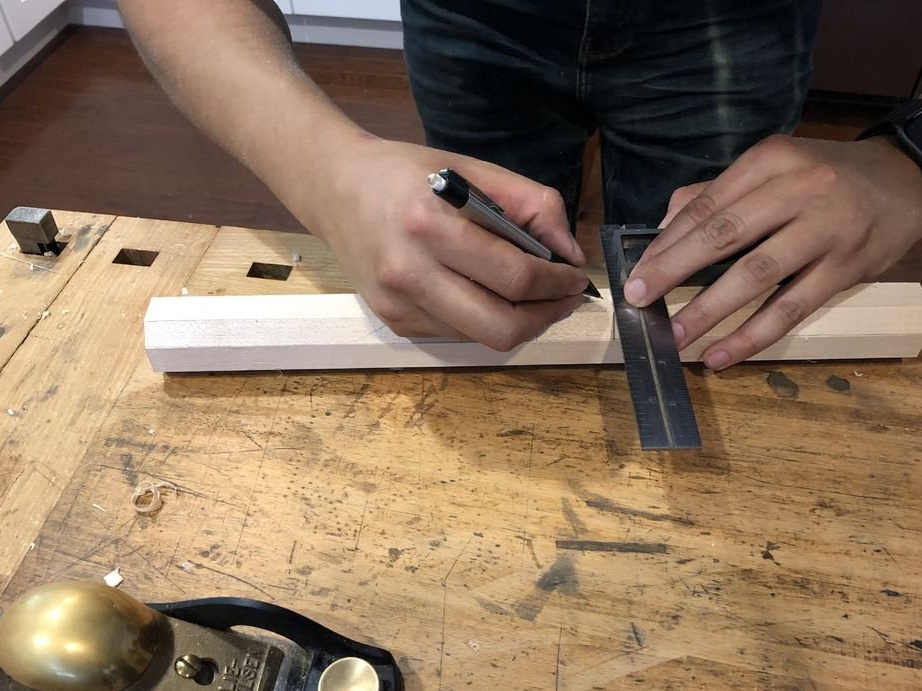
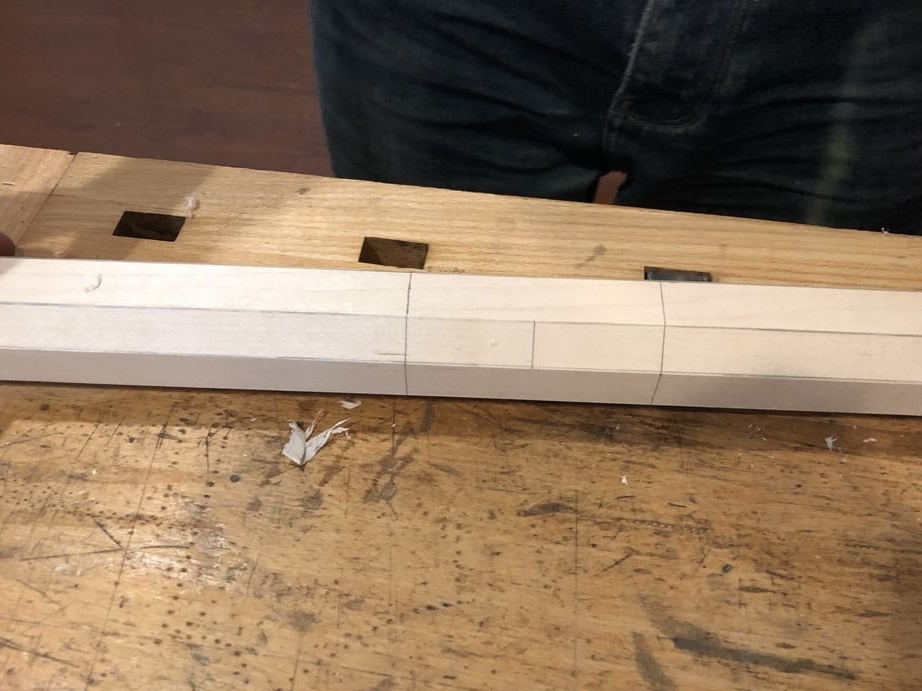
Step Three: Labeling
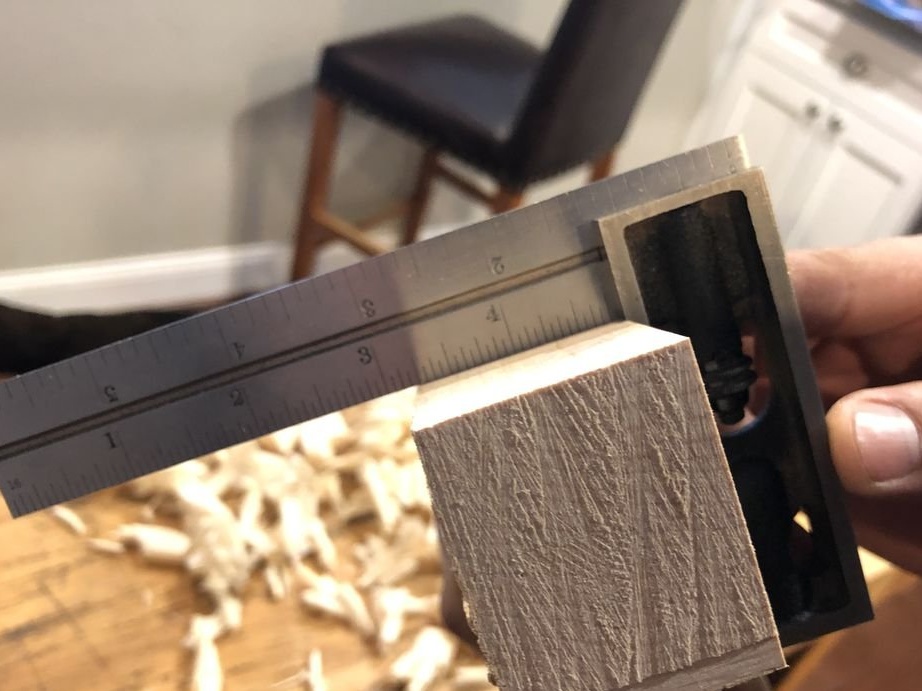
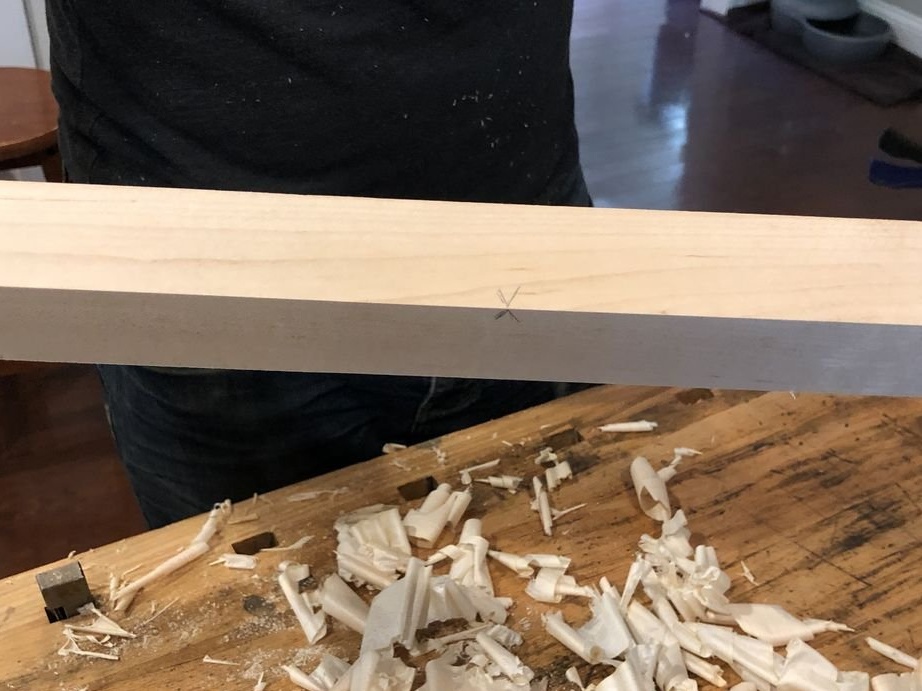
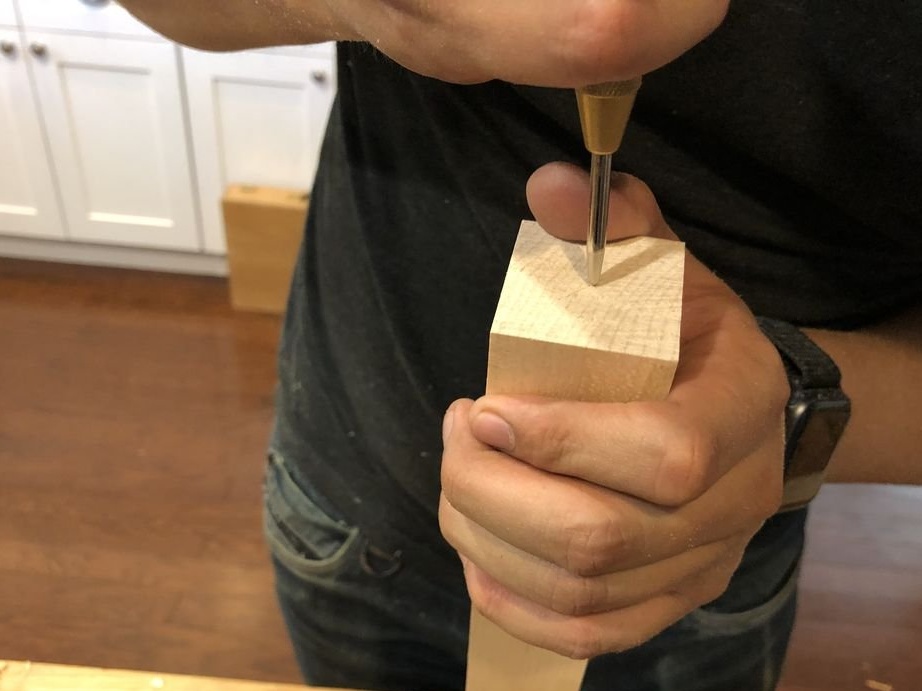
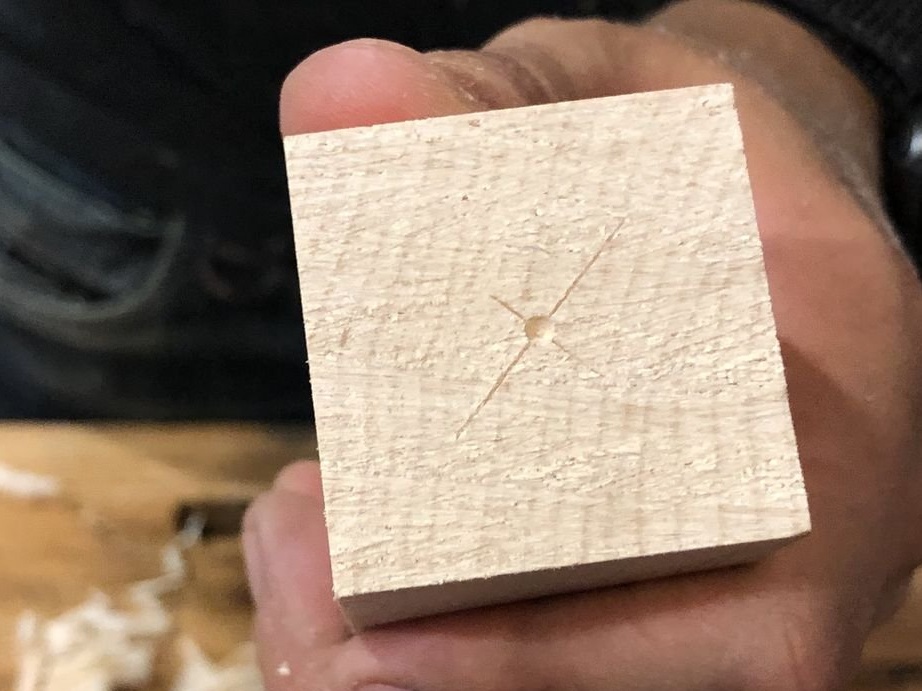
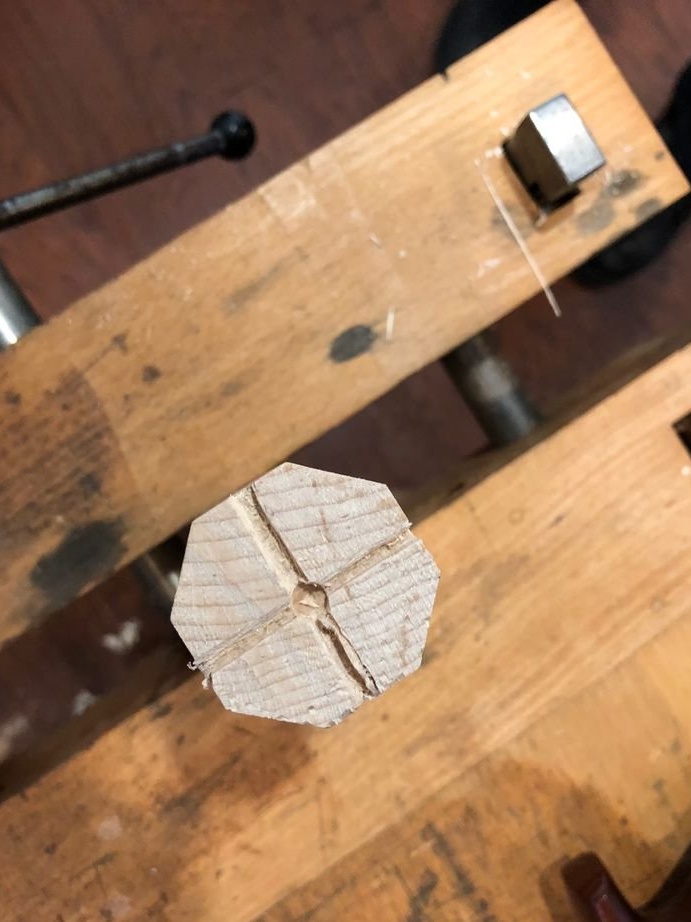
From the ends of the blanks master, notes the center.
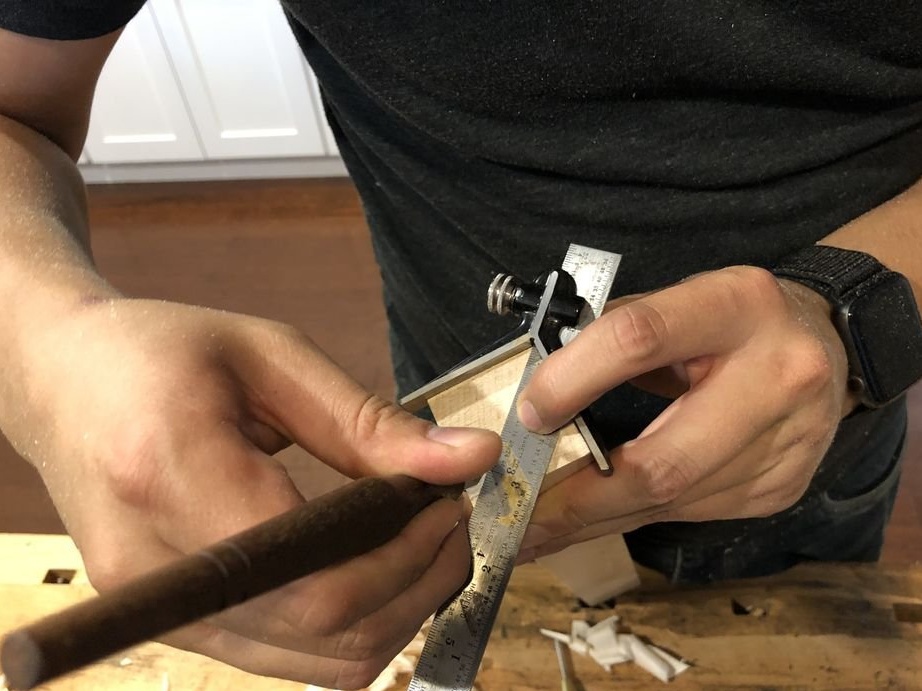
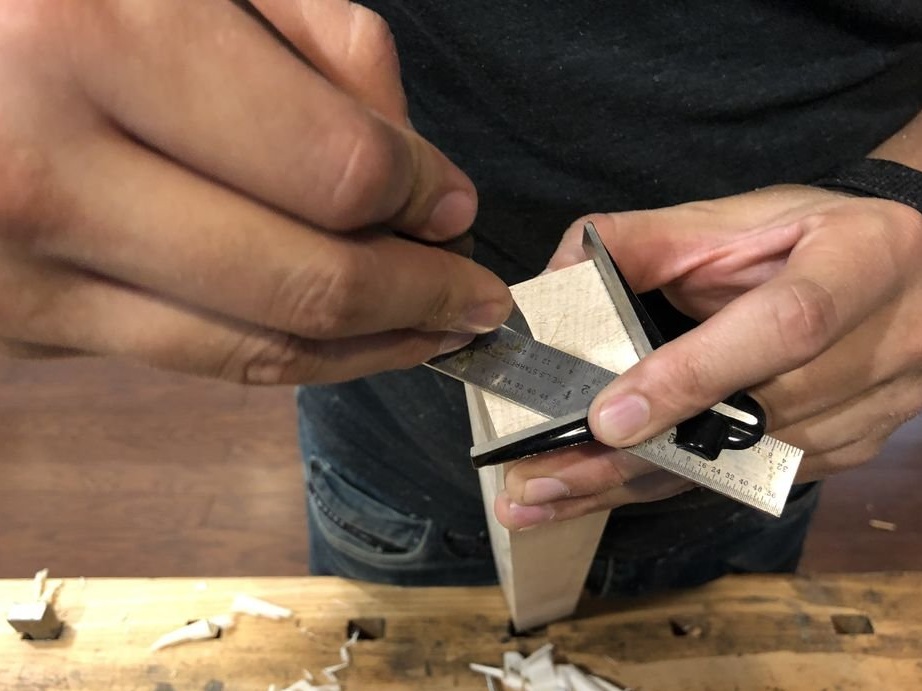
Marks 19 cm from the edge of the workpiece. From this point marks 3.8 cm on both sides.
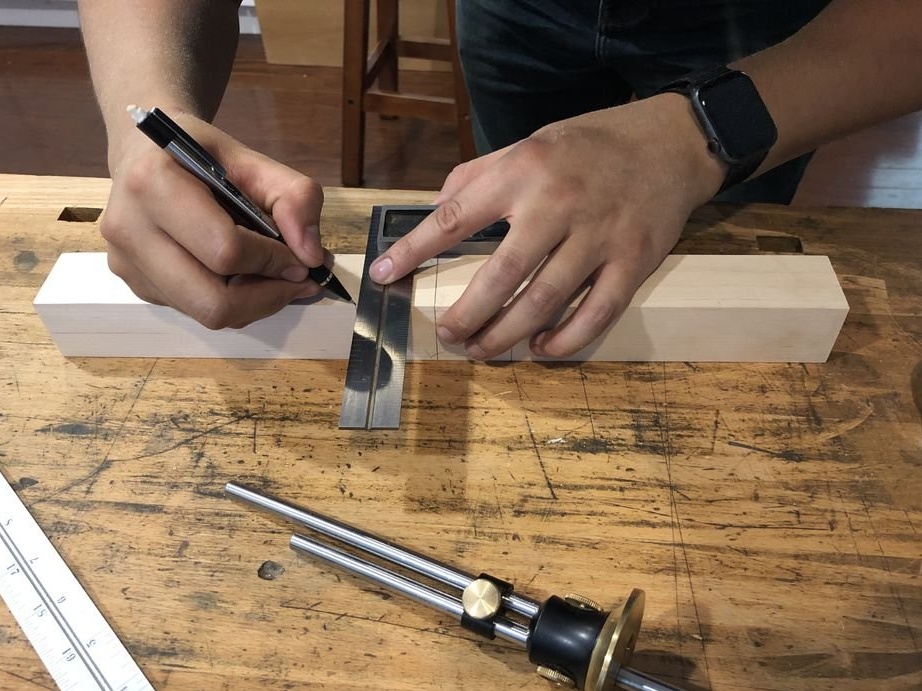
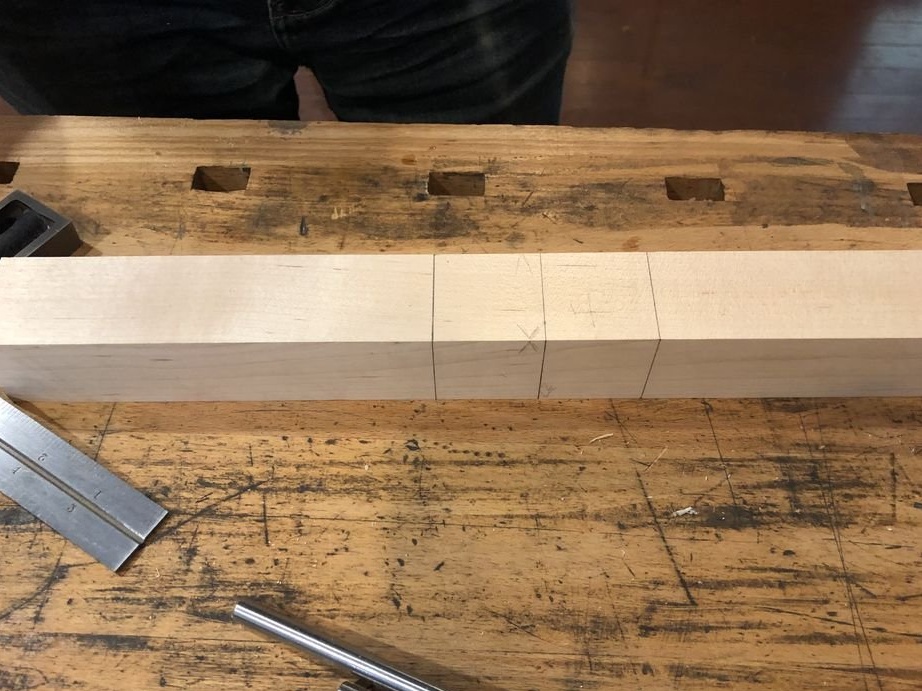
And finally, each side is divided into three equal parts.
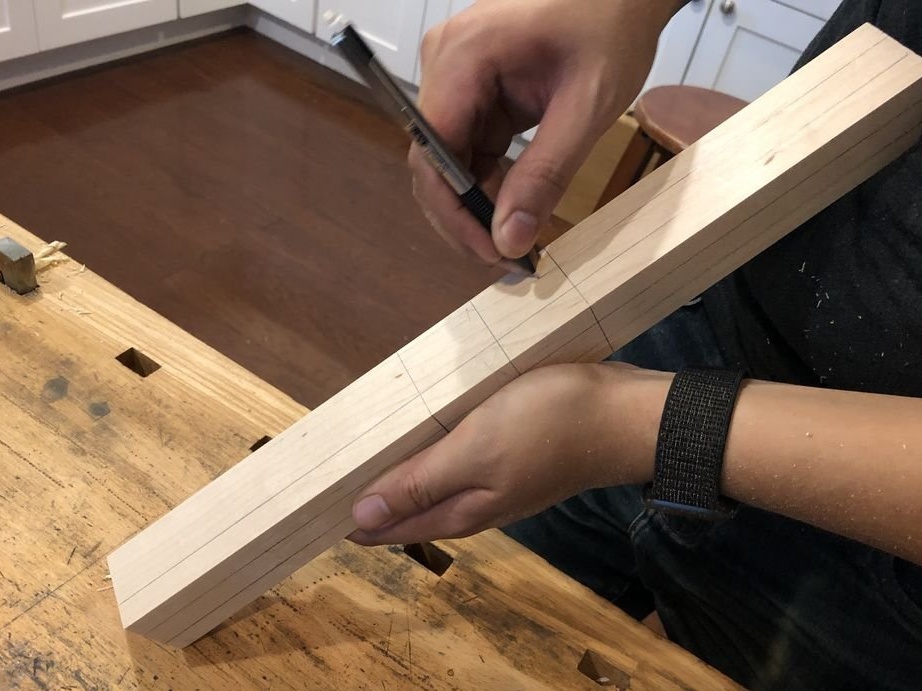
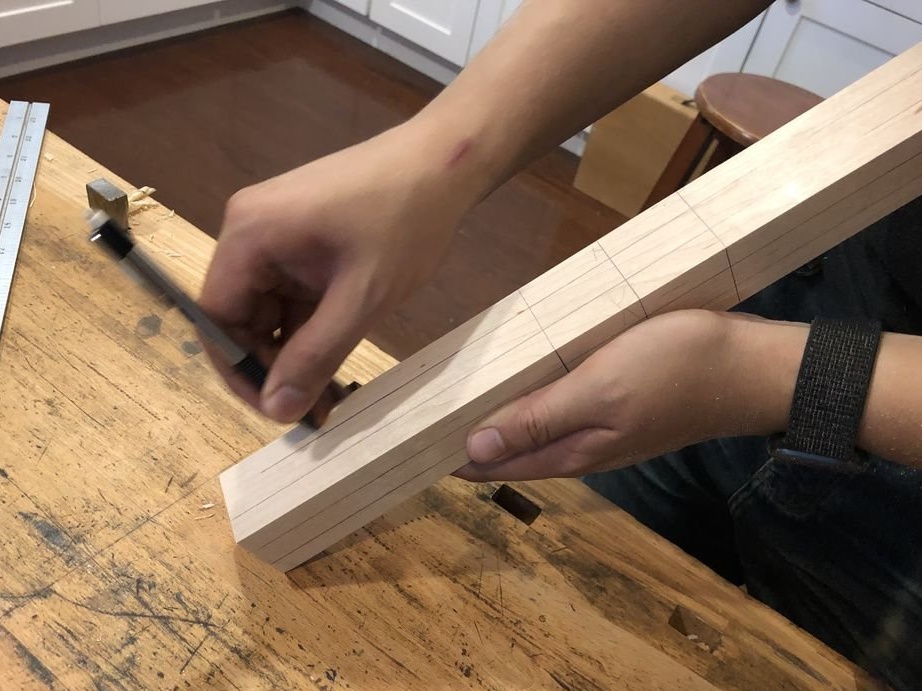
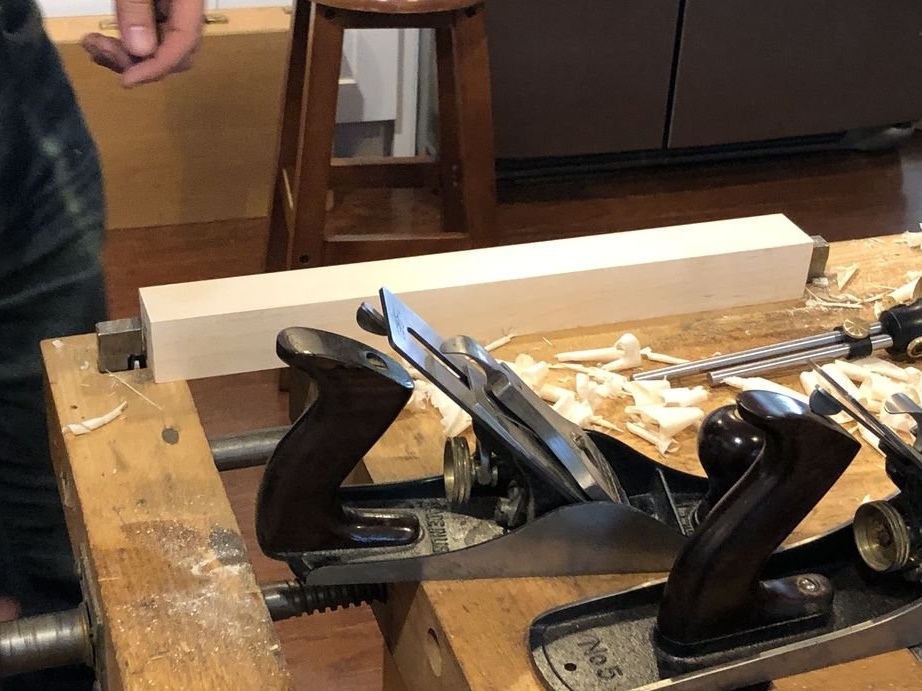
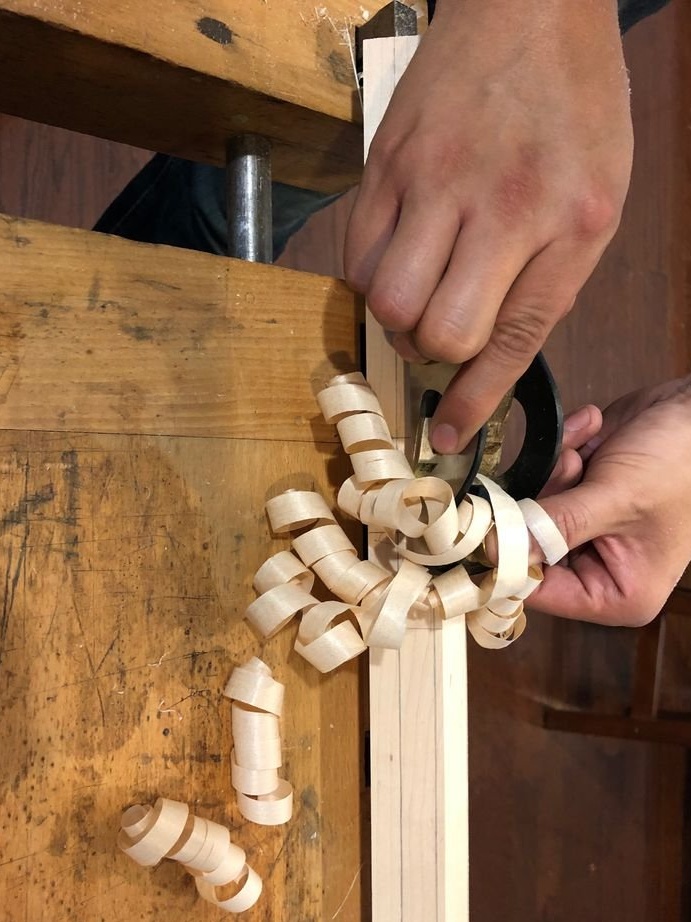
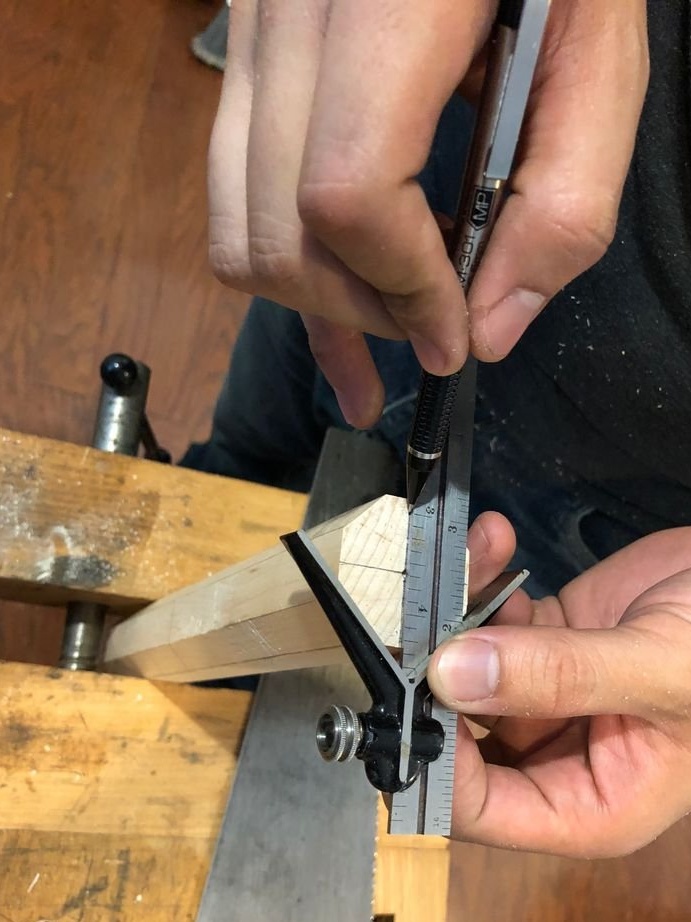
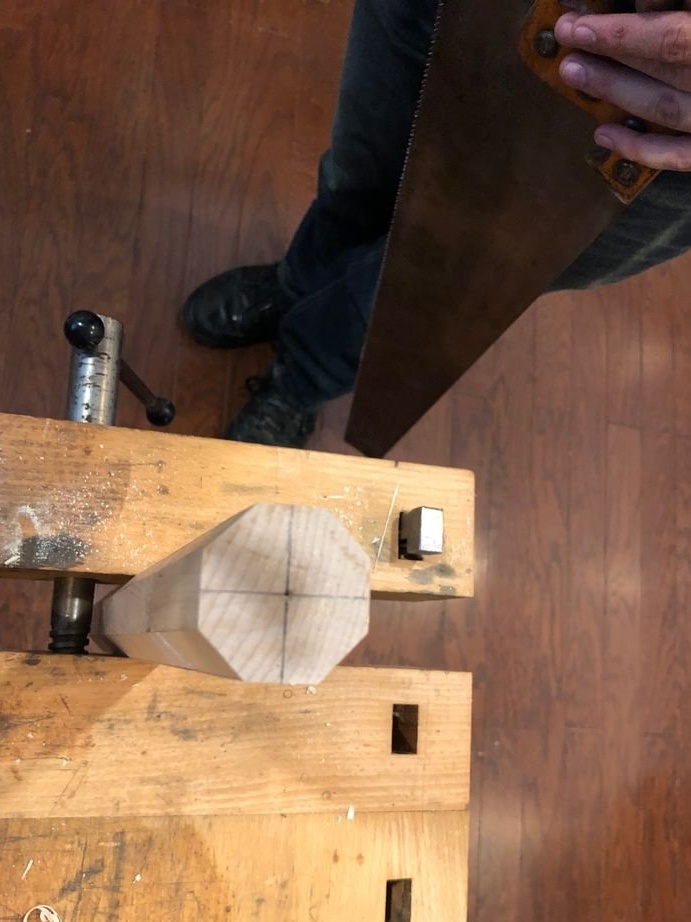
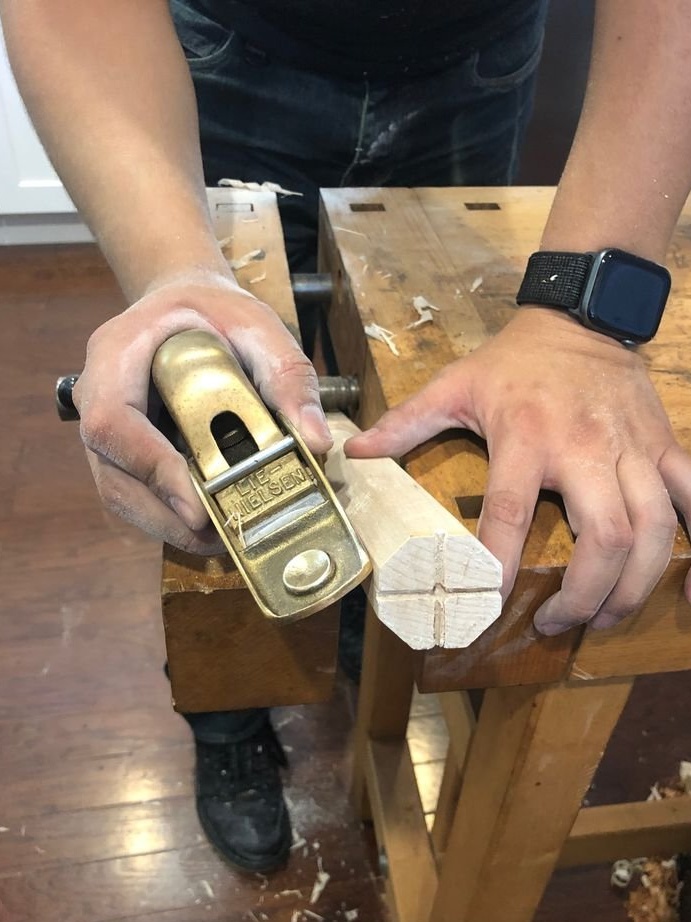
Step Four: Workpiece Processing
Now you need to give the workpiece a hexagonal shape. The master rounds off the workpiece with a planer focusing on the markup.
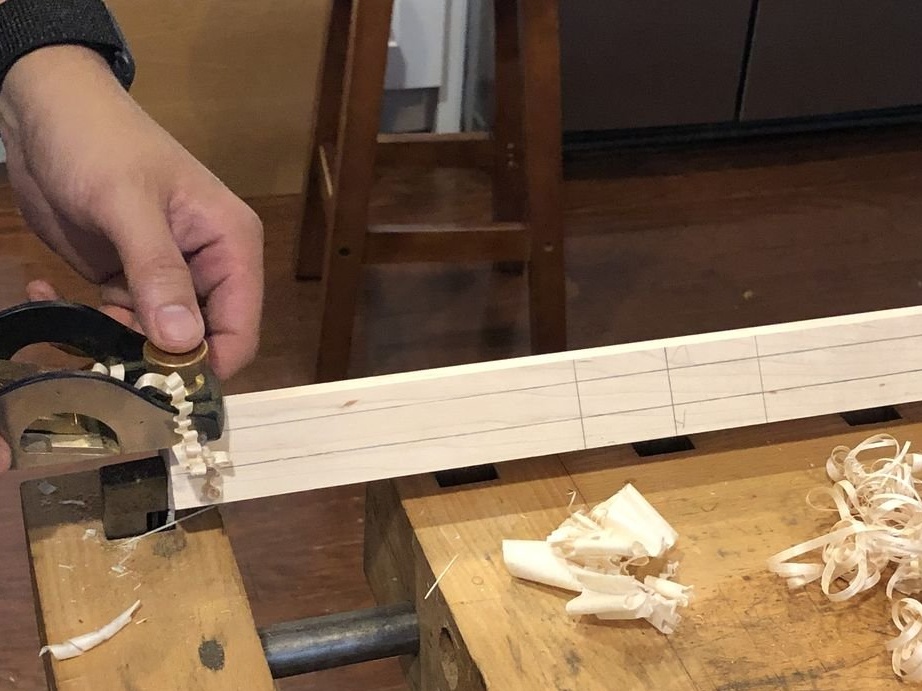
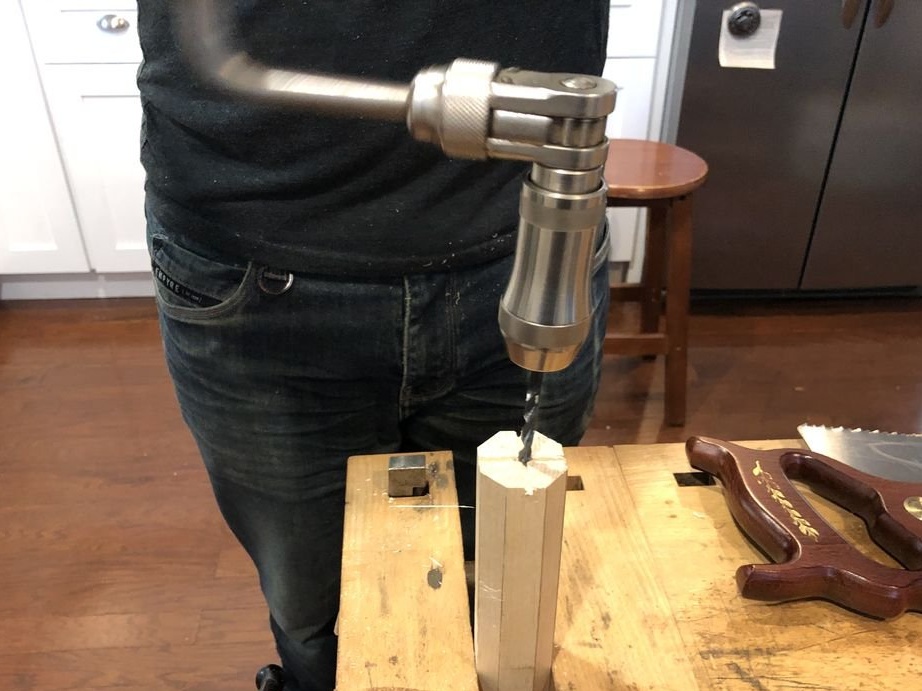
Marks the center line. From one of the ends makes cuts for installing the workpiece in a lathe.
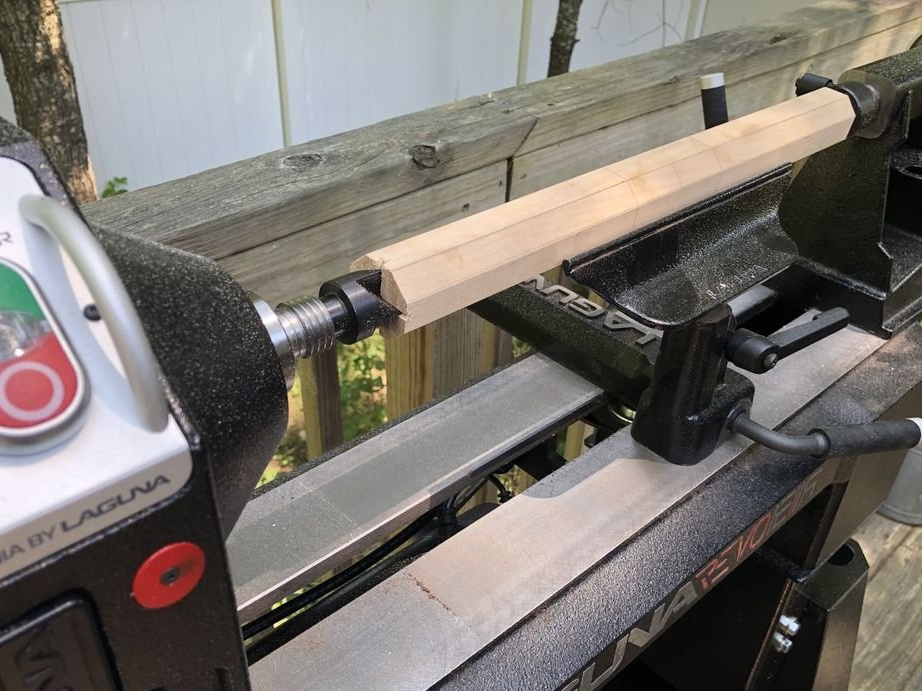
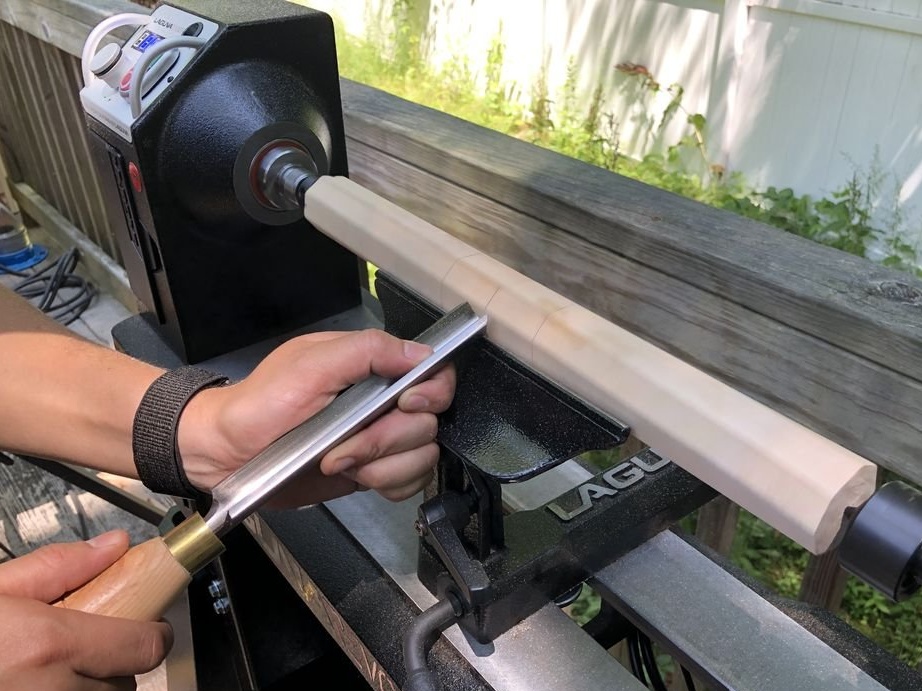
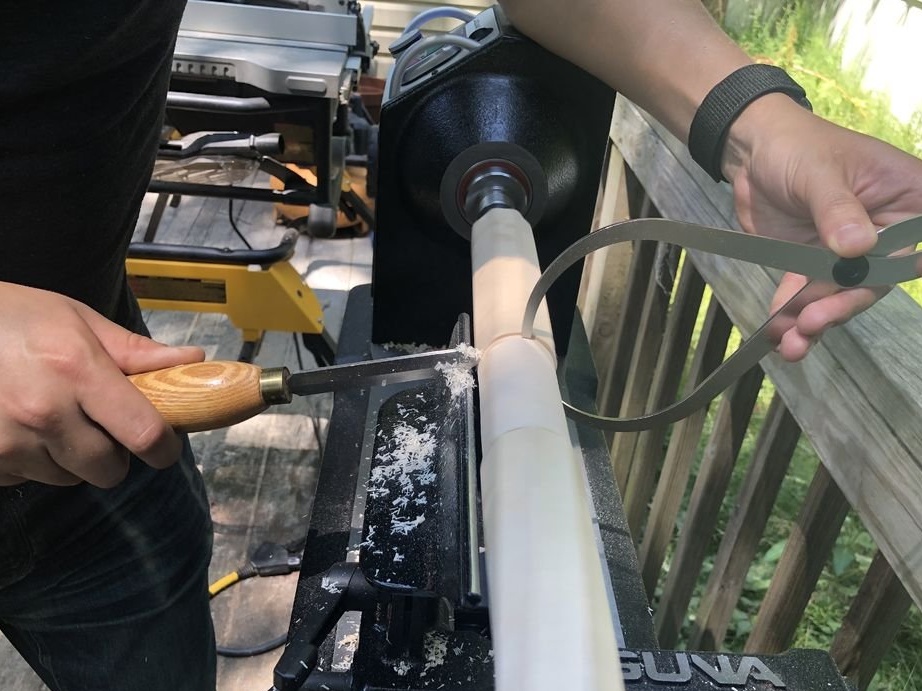
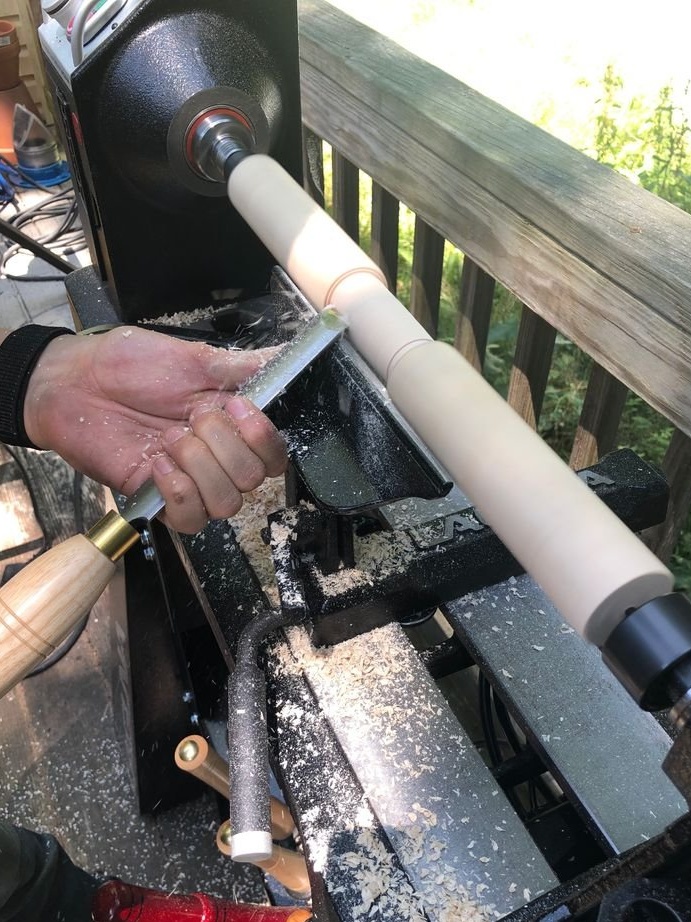
Step Five: Turning
Further, the master installs the workpiece in a lathe and grinds the middle part. The diameter of the treated area should be about 2.5 cm.
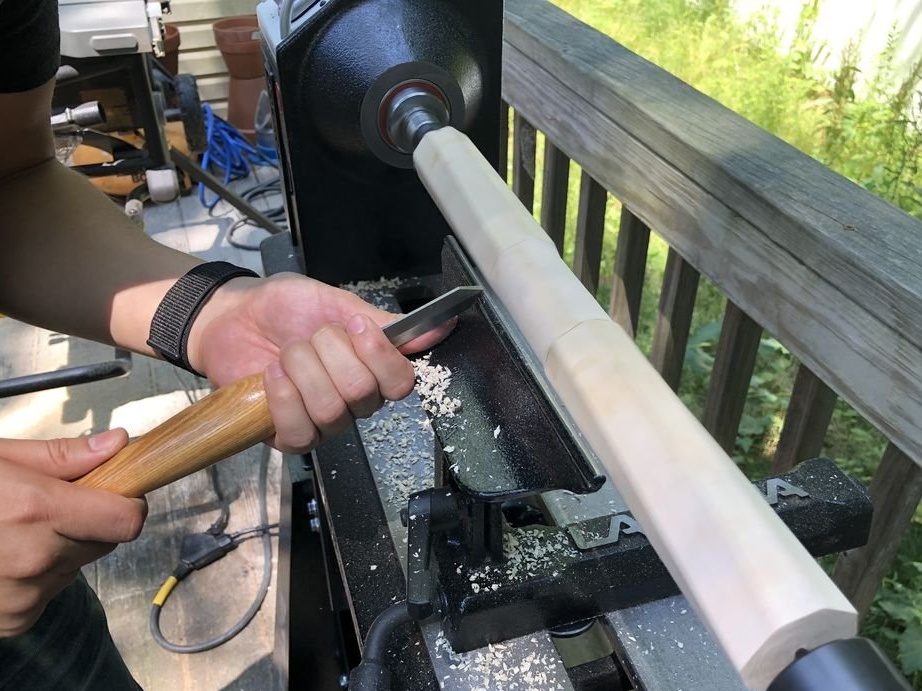

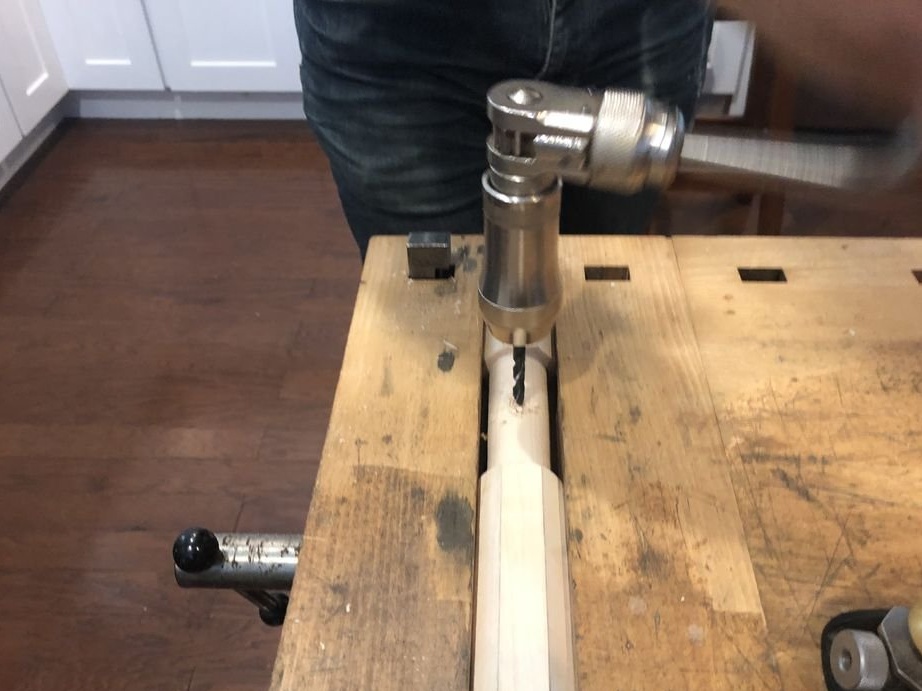
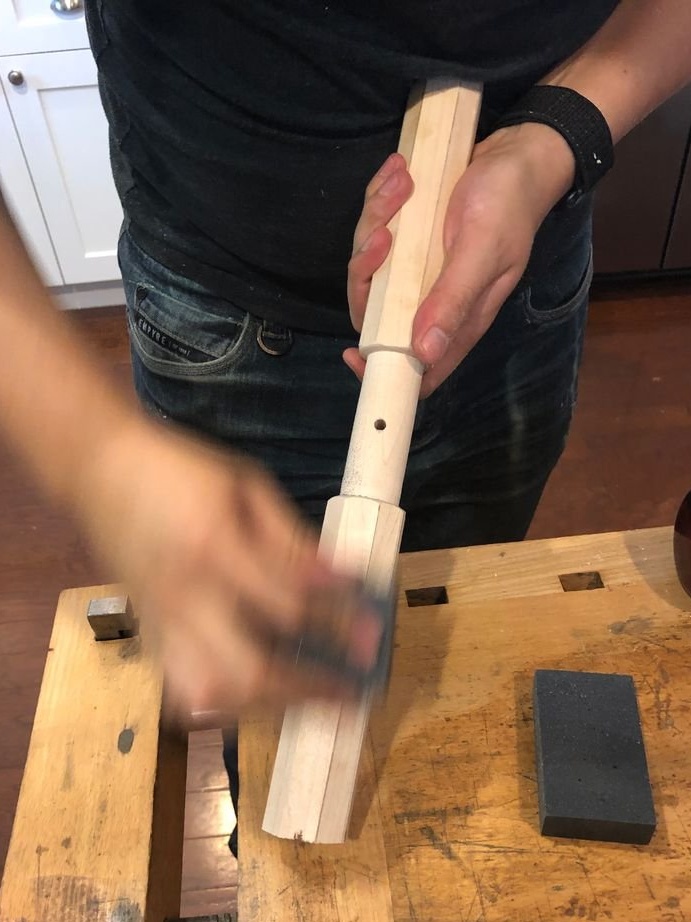
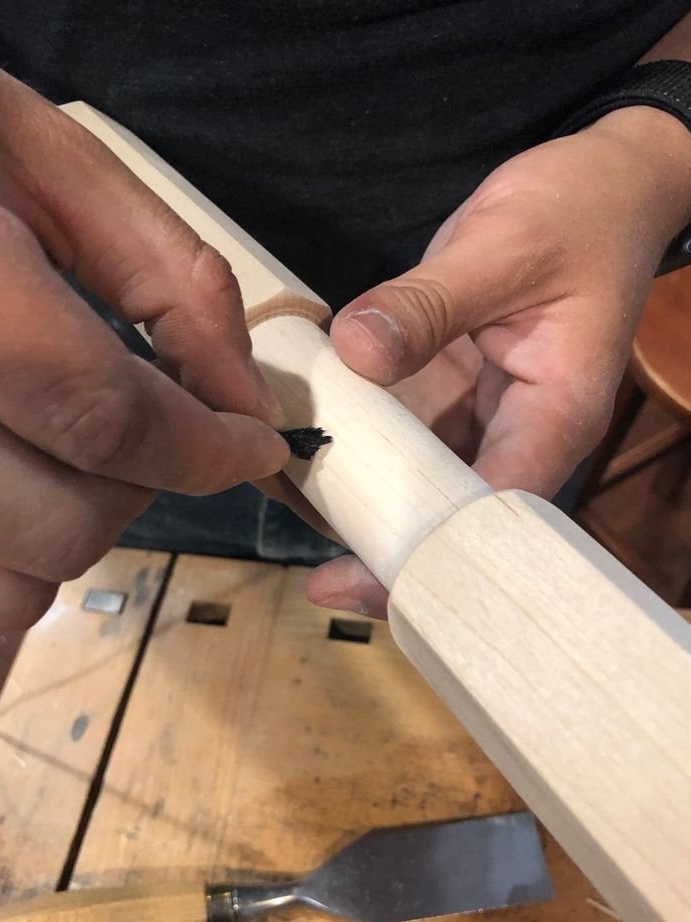
Step Six: Final Processing
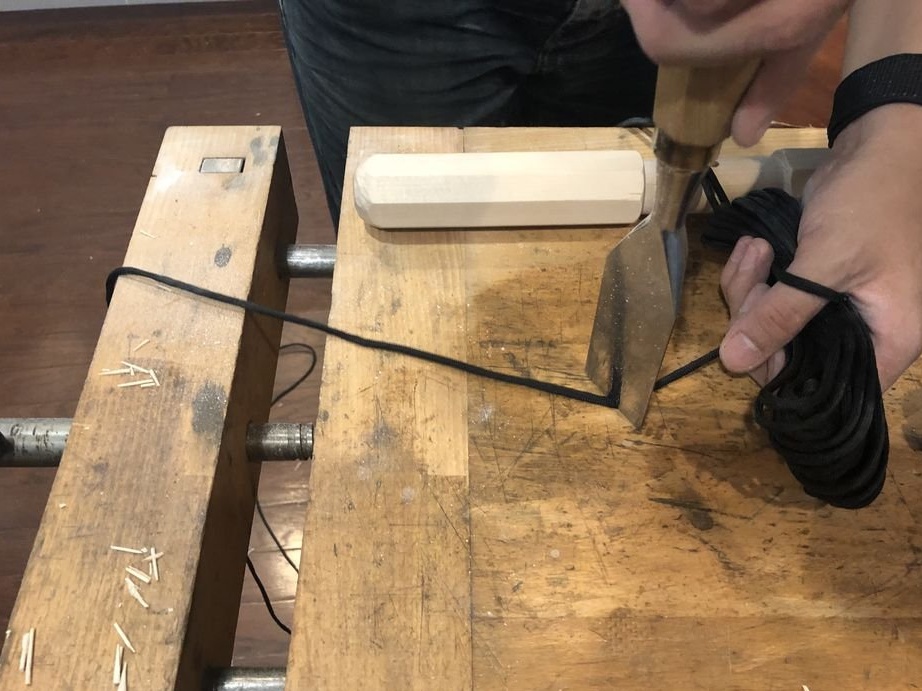
Now there are a few minor operations left. The master drills a hole for the cord.
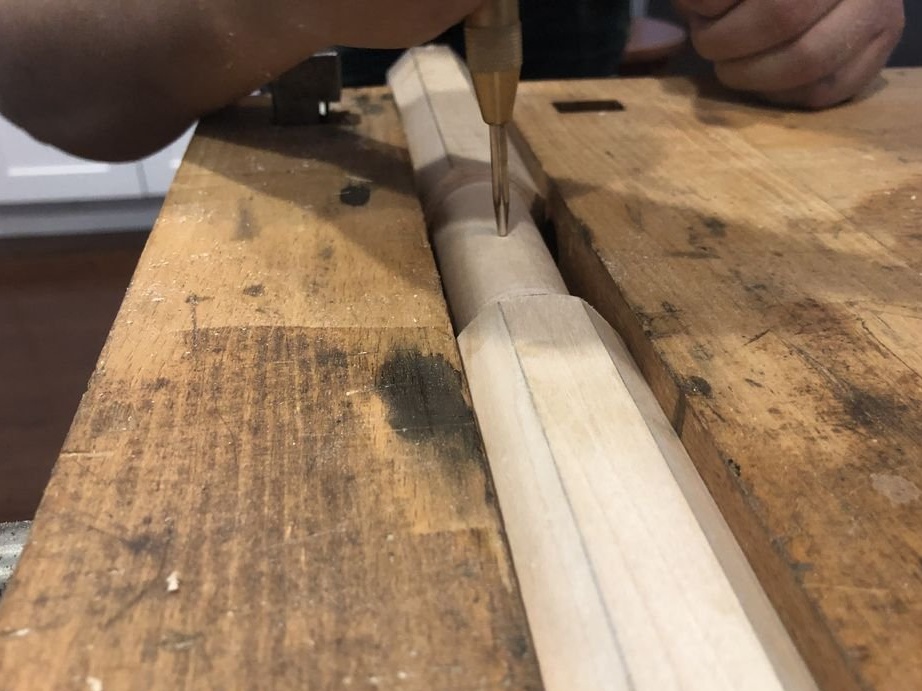
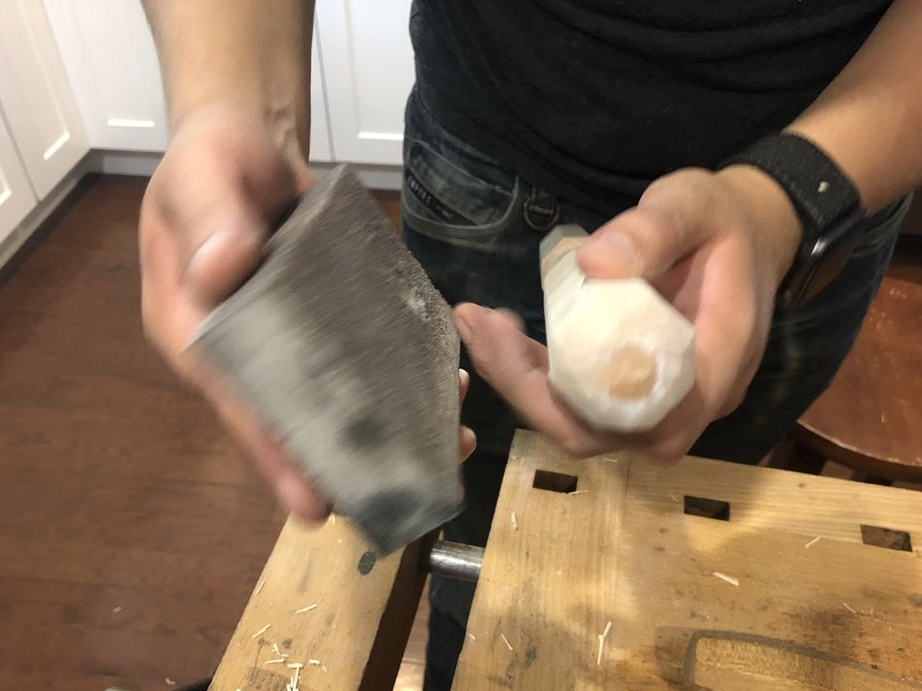
Grinds the sides of the workpiece with a whetstone. Turns the ends.
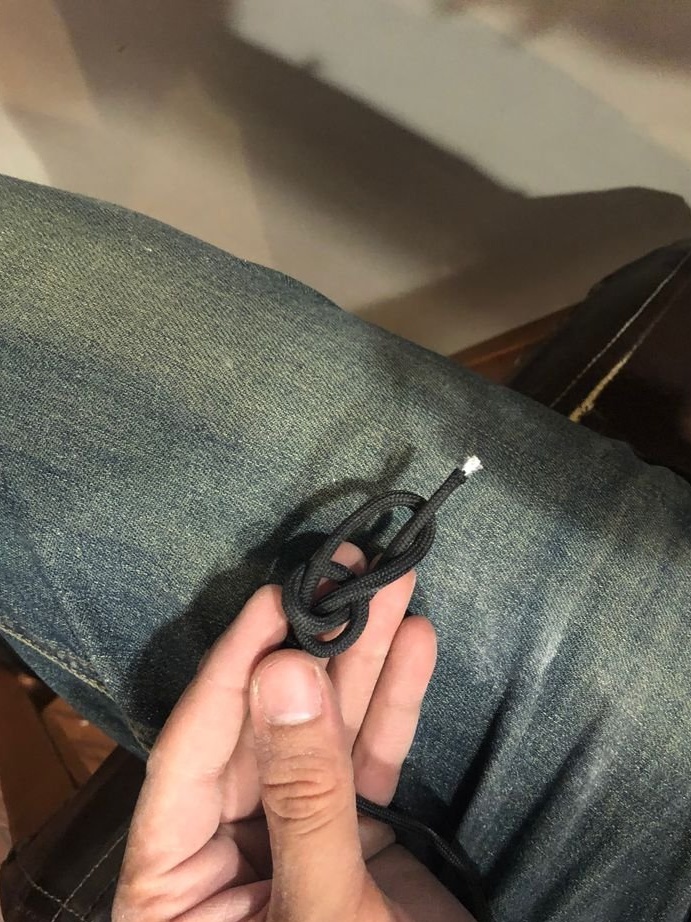
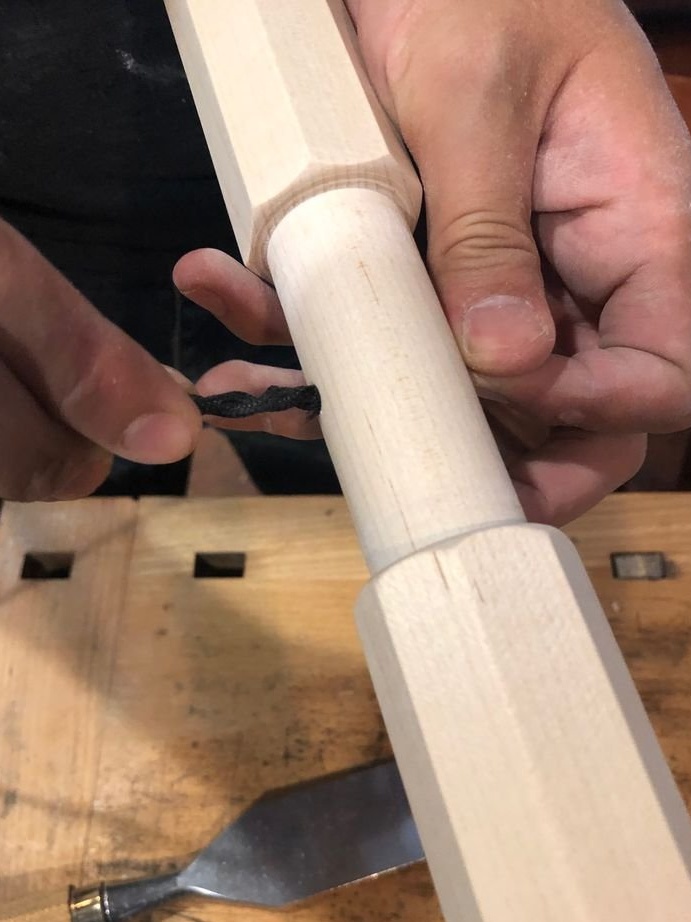
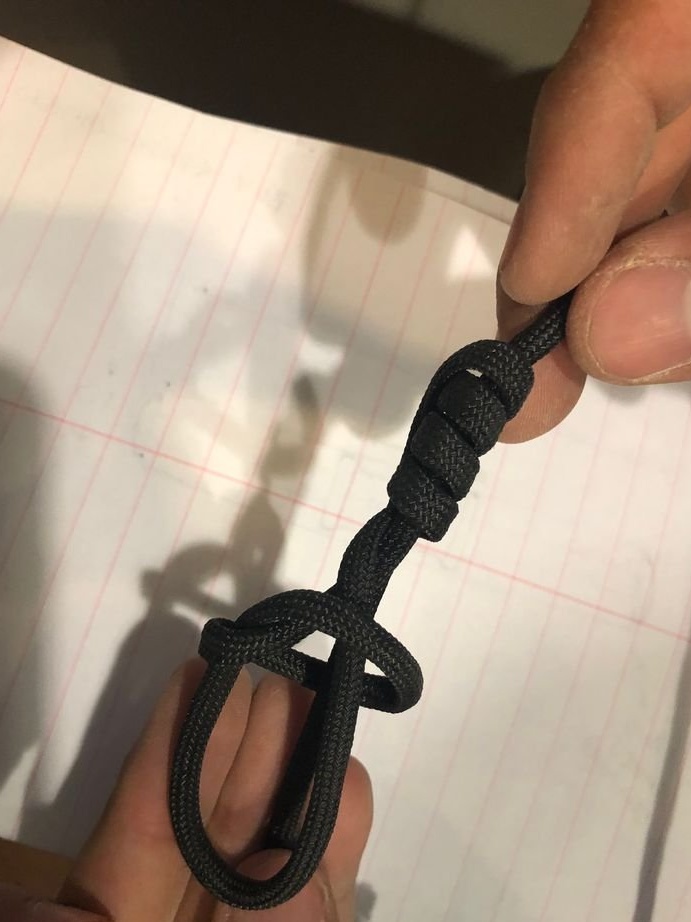
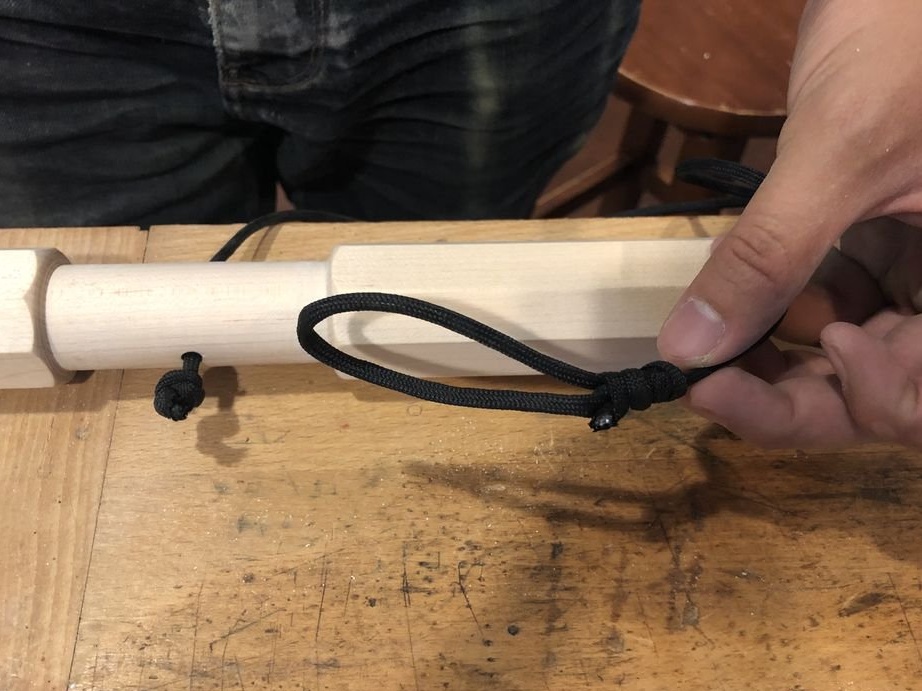
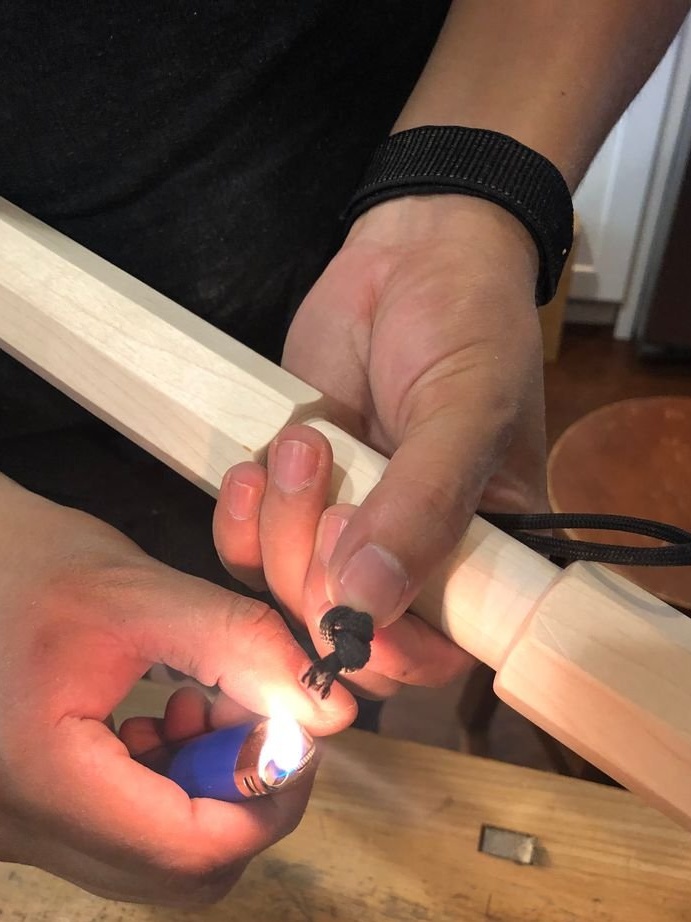
Seventh step: cord
Threads the cord through the hole and knits a loop at the end.
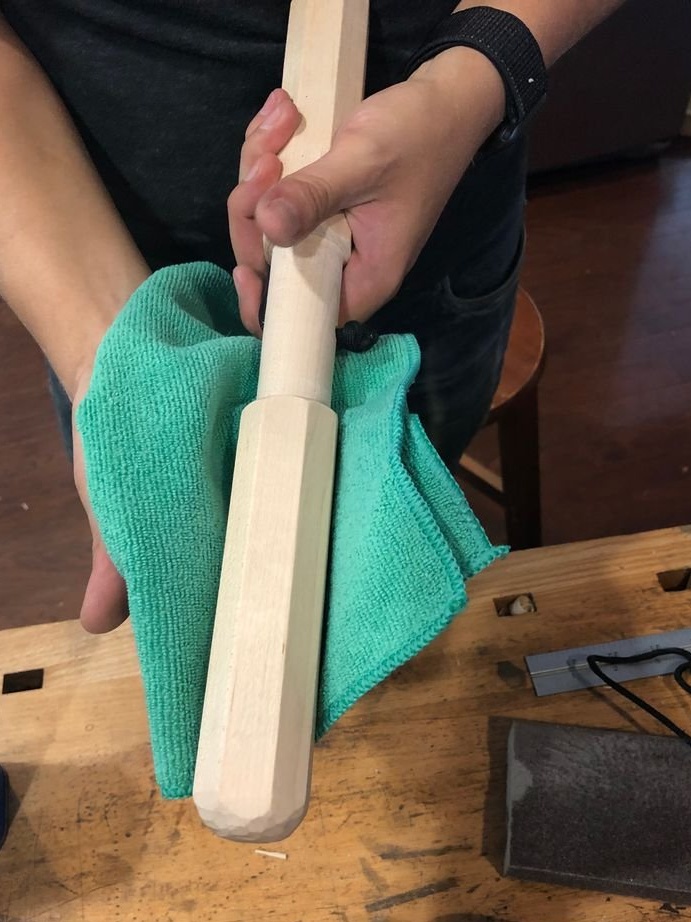
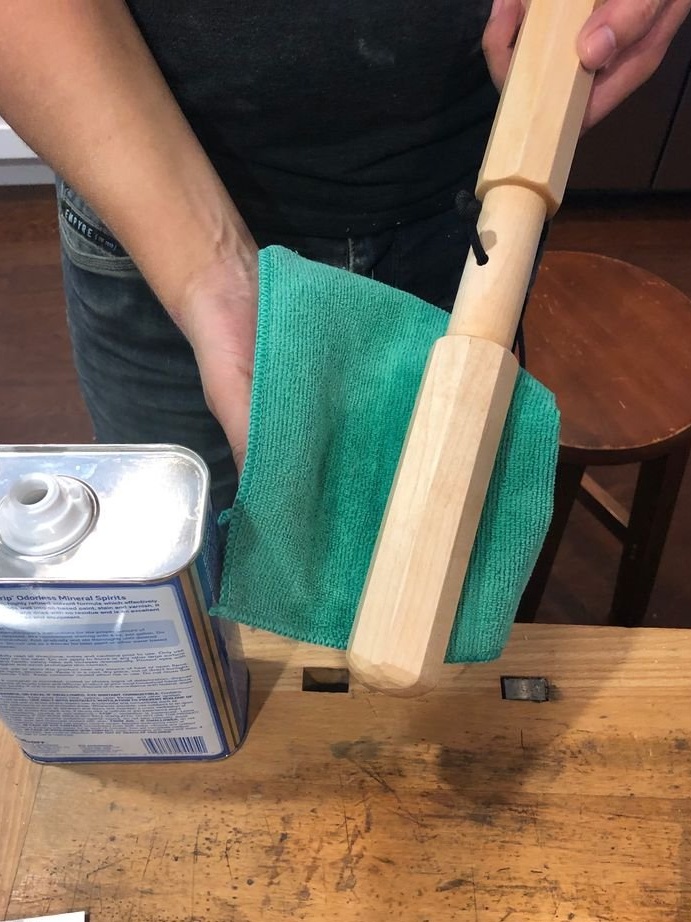
Step Eight: Cover
The master finally polishes the product and applies three layers of polyurethane varnish.
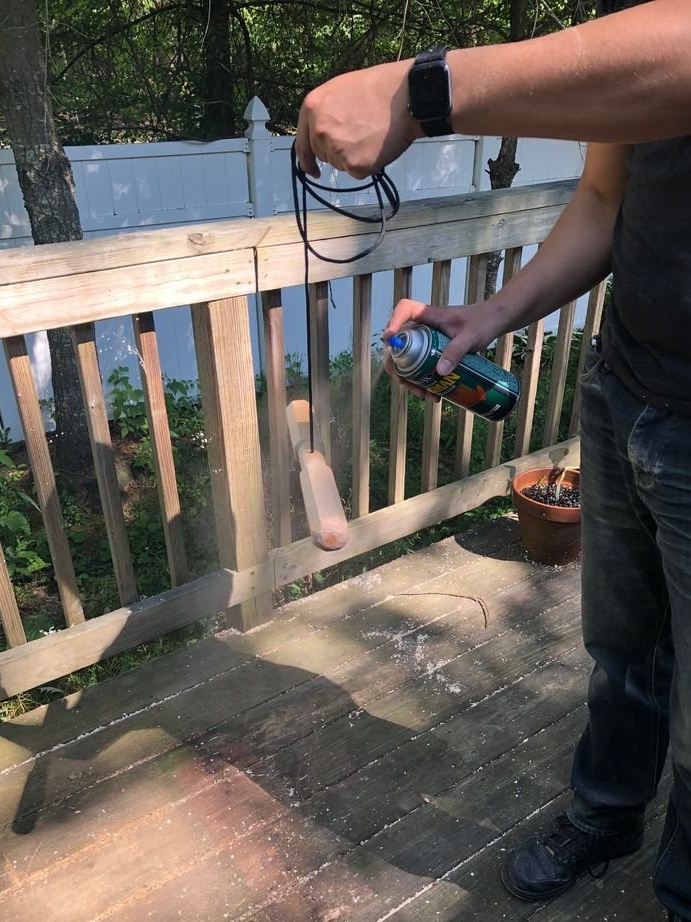
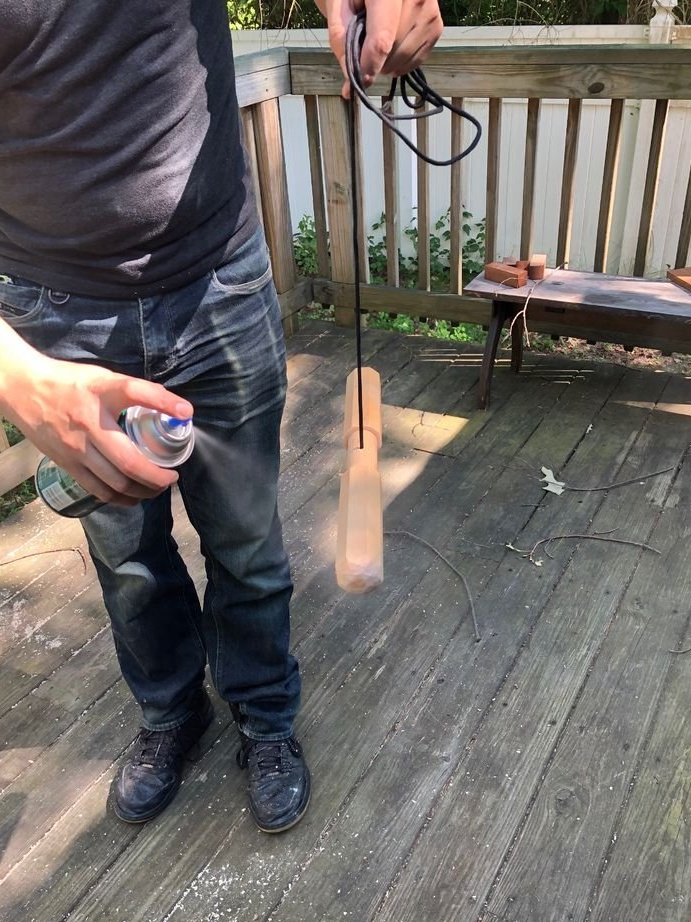
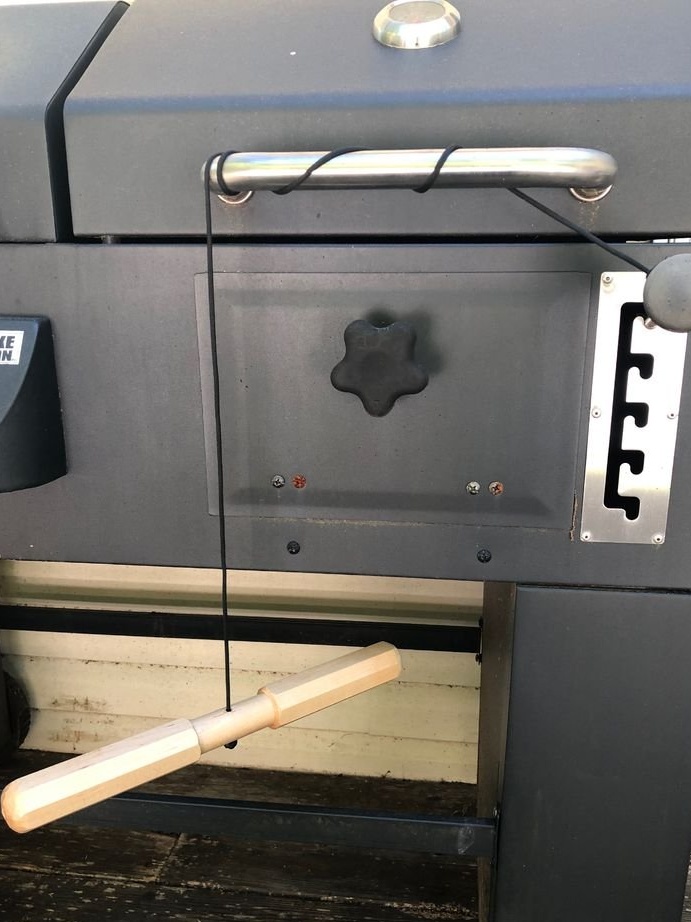
Everything is ready, now you can start training.