
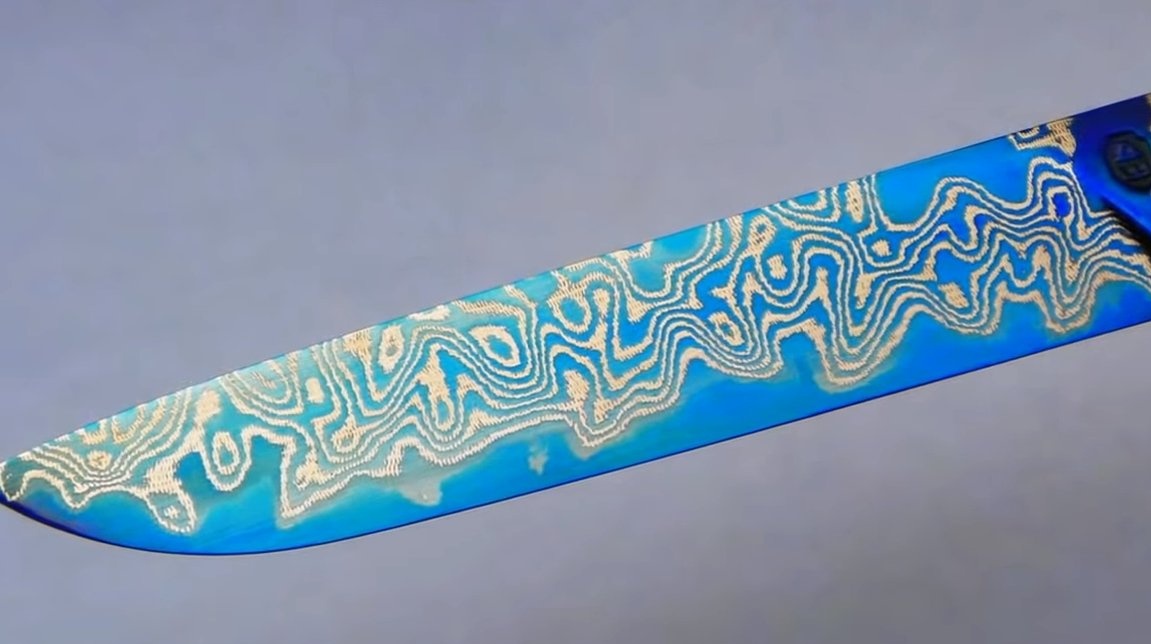
I welcome all fans to craft, today we will consider how to make an interesting blue knife blade with an equally interesting pattern. Of course, the author did not reveal all the secrets of making the blade and promises to release a book, but for now, we will try to make out with you how such a blade is made. Looks homemade quite spectacularly, by forging, the author mixed stainless steel with HVG steel and other brands, it is thanks to the stainless steel that we see this interesting pattern. For the manufacture of a blade you will need a forge furnace, and the author mixed the metals using a press. If you are interested in the project, I propose to study it in more detail!
Materials and tools used by the author:
Material List:
- steel HGV;
- ;
- steel 60s2.
Tool List:
- forge furnace;
- a press, an electric hammer (well, or a sledgehammer with a hard place);
- welding machine;
- ;
- a manual machine for cutting sheet metal;
- vise;
- borax;
- gas-burner;
- grinding machine (rotary or belt);
- polishing machine;
- sandpaper;
- etching reagent (ferric chloride).
The manufacturing process of the blade:
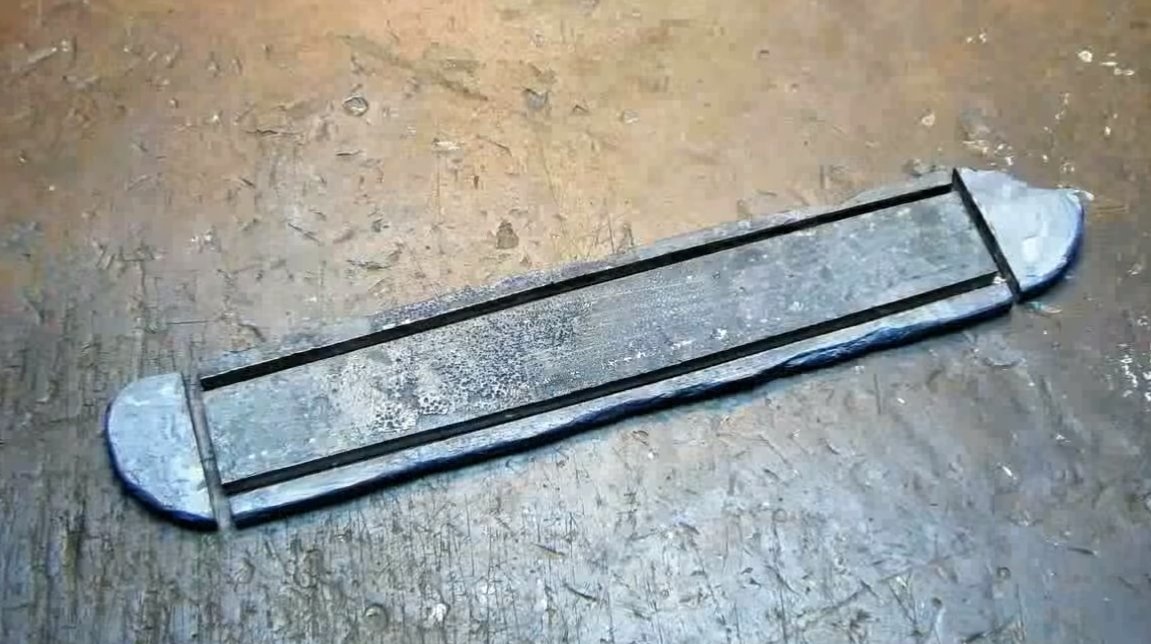
Step one. A sandwich
First of all, we need to assemble a “sandwich” from steel plates, which will then be mixed into a single mass. In the center of the “sandwich” is a plate made of HVG steel, it is this steel that, apparently, forms the very blue oxide film.
We also need stainless steel plates, thanks to this material we get a funny pattern on the blade. In addition, the author used 60s2 steel plates.
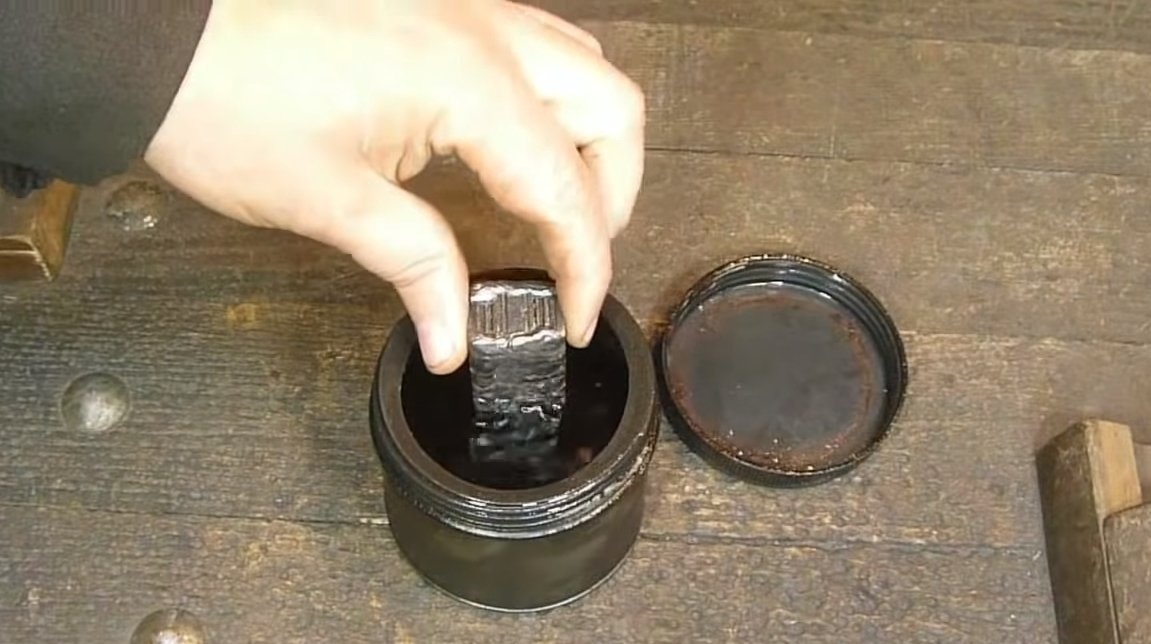
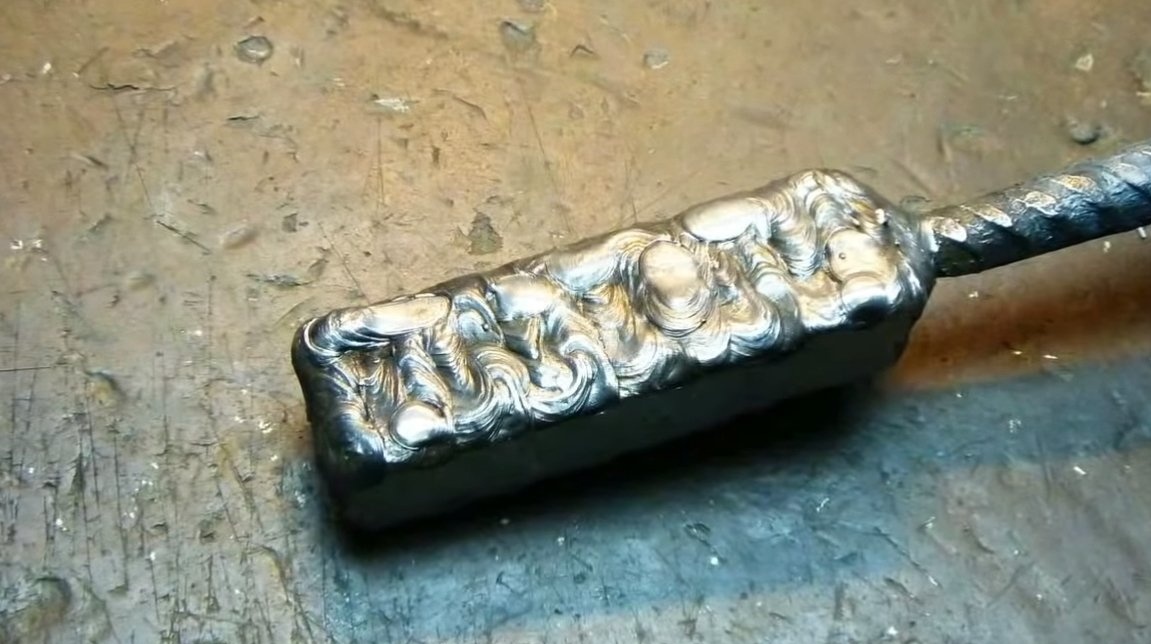
The resulting "sandwich" is pulled together in a vice and welded well. Further, it will be possible to weld a piece of reinforcement to the workpiece, which will serve as a handle for the time of metal forging. The author lowers the workpiece into a liquid, most likely it is a borax, due to which the metals can mix when heated and do not form oxide crusts, but I can be wrong, you can correct it!
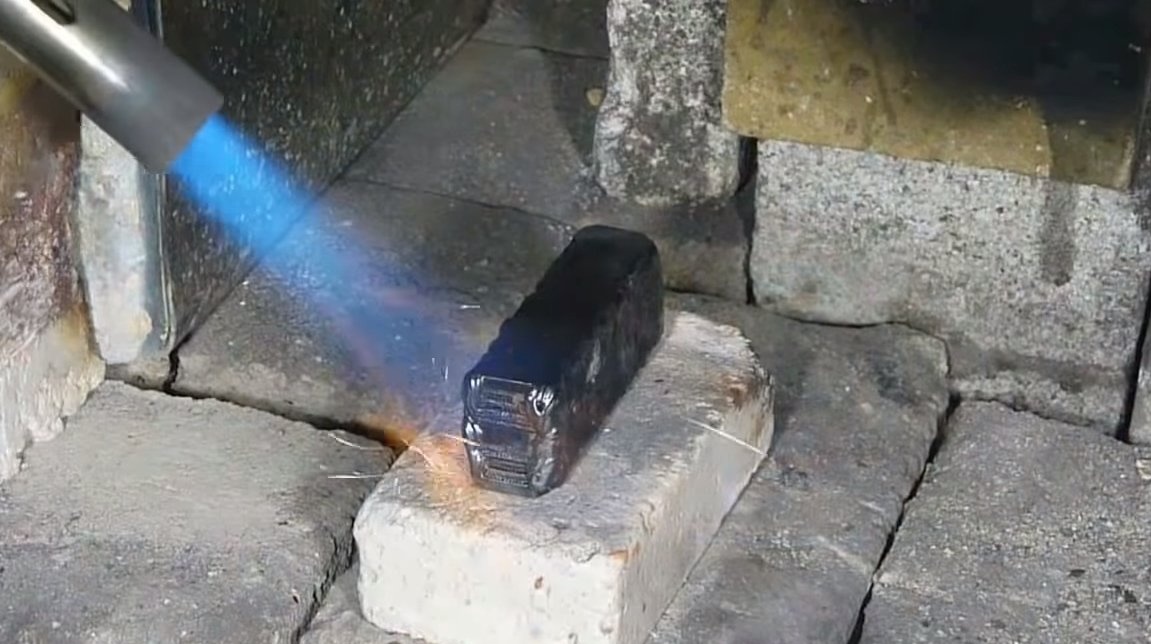
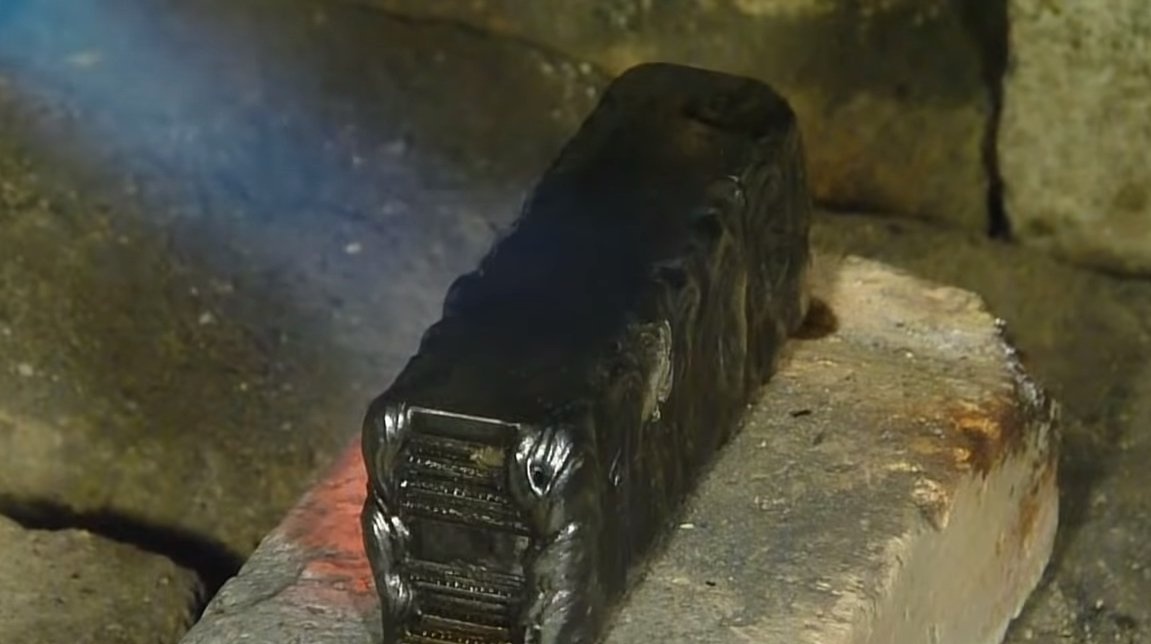
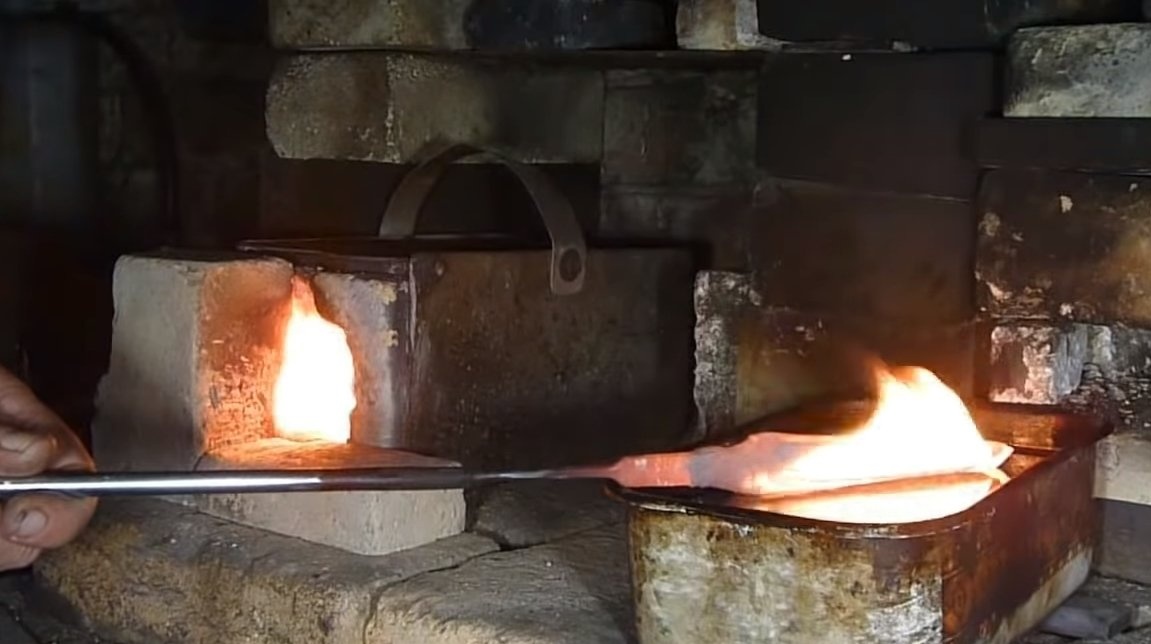
Next, the workpiece is heated by a gas burner, the water evaporates, and the drill remains, now you can start forging.
Step Two Forging
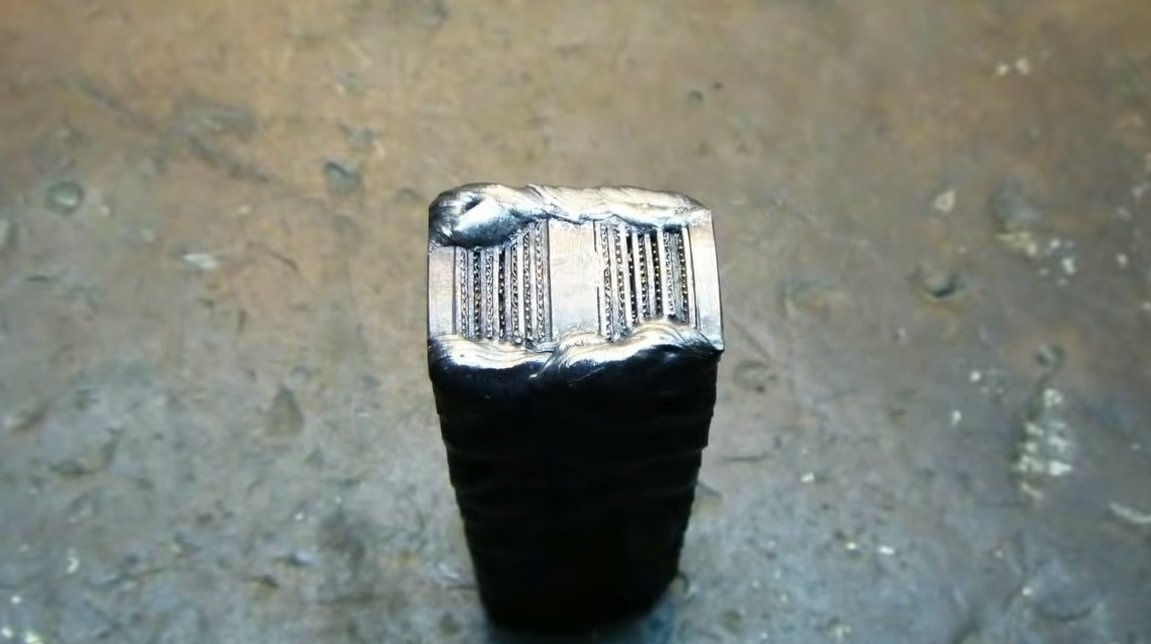
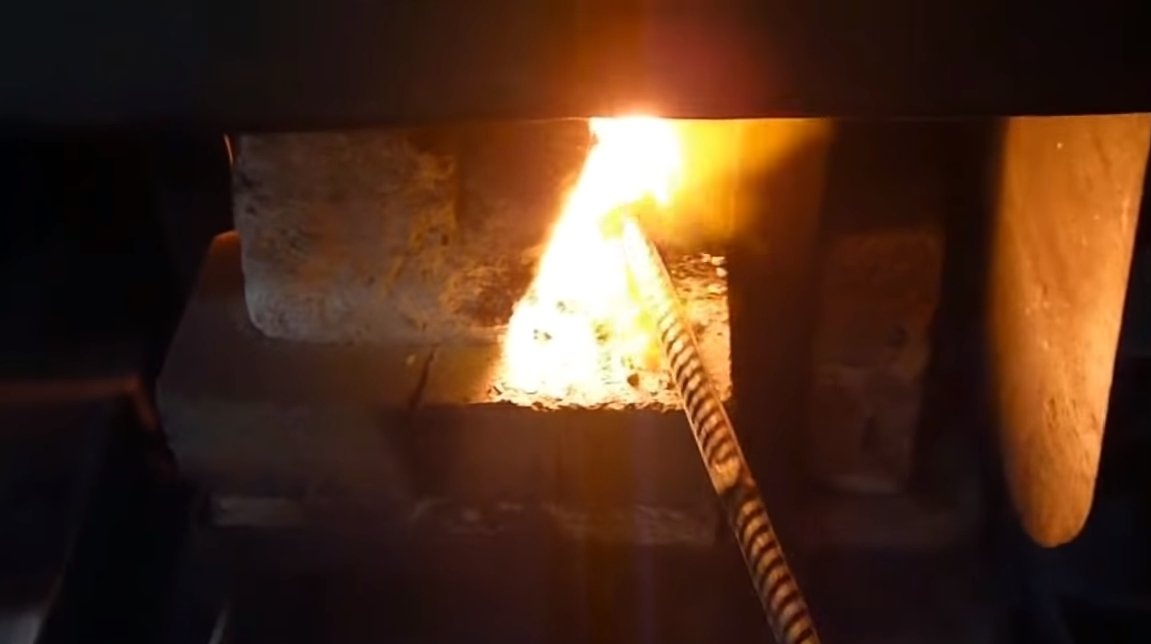
The workpiece is heated to a bright yellow glow, in this state the metals need to be mixed well with each other. But experience is needed here, since what pattern will be on the blade will depend on the methods of mixing. As a result, the workpiece is rolled to a plate, from which we then cut the workpiece.

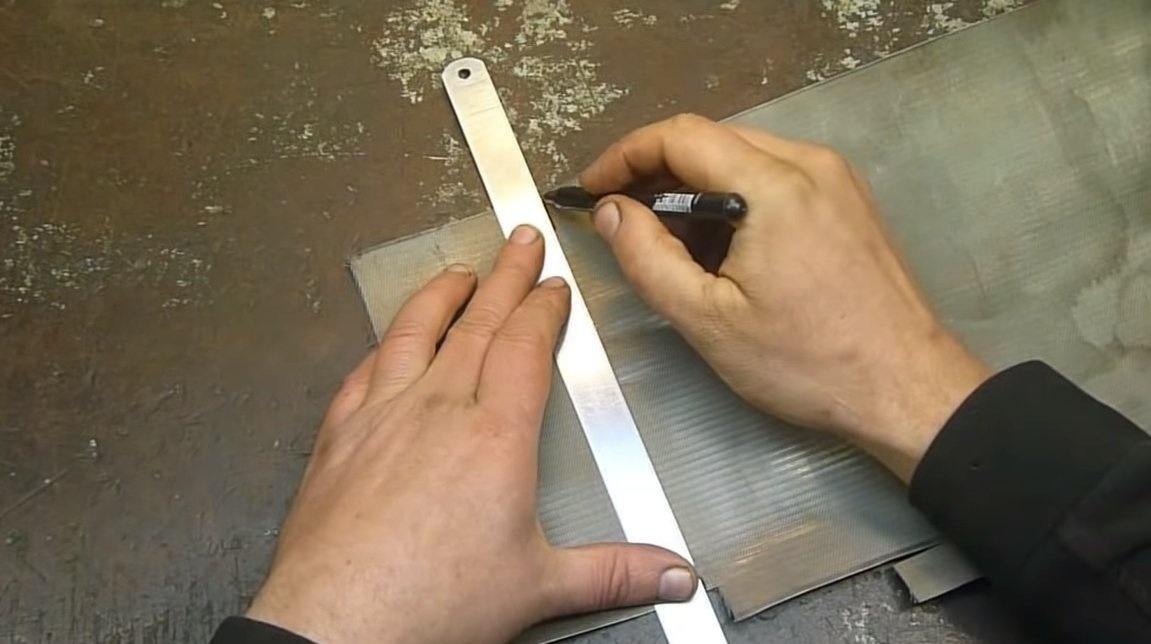
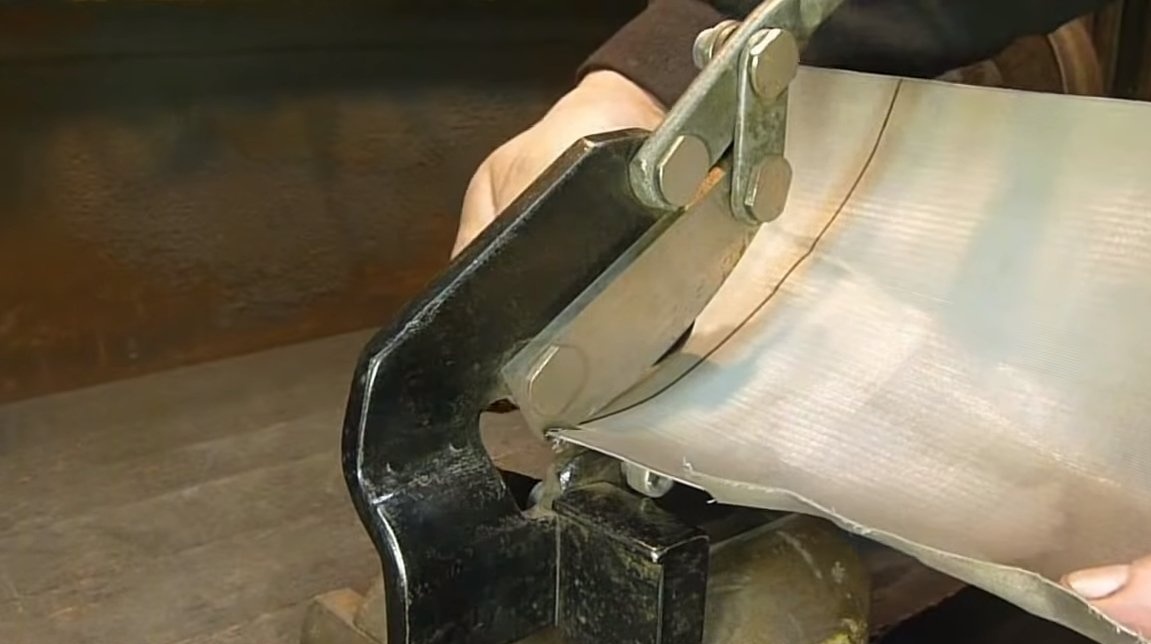
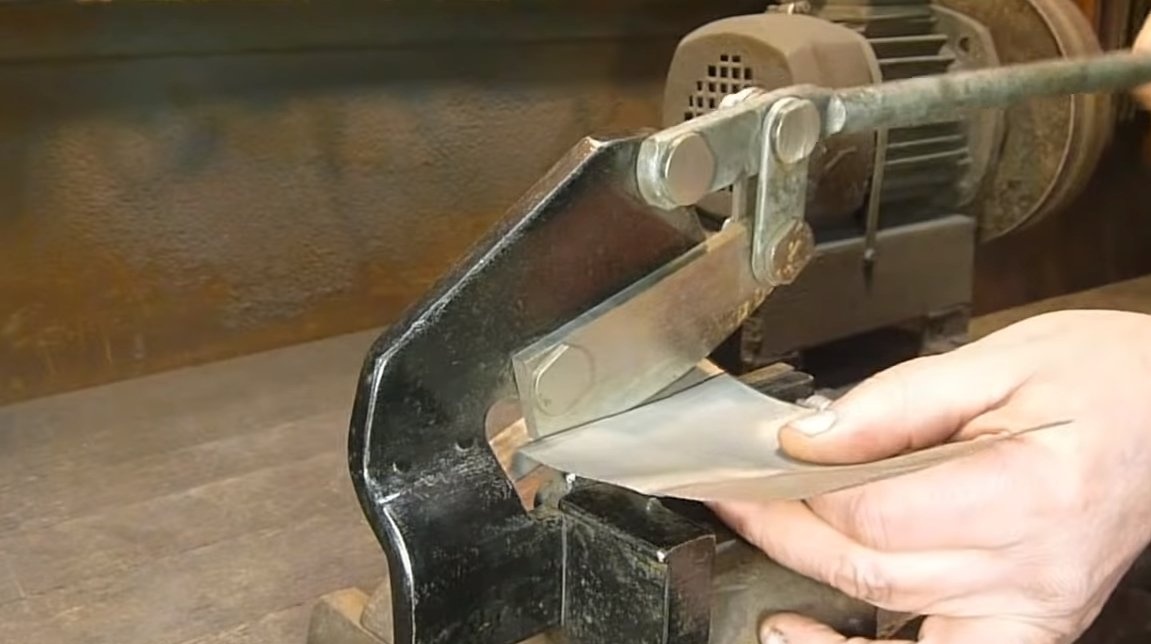
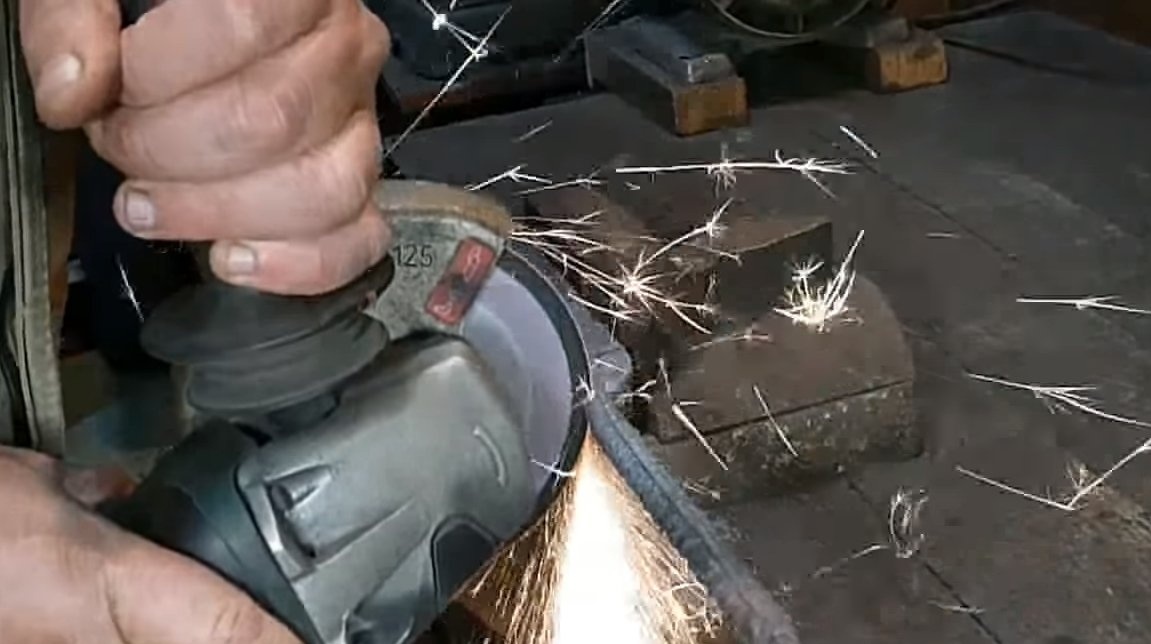
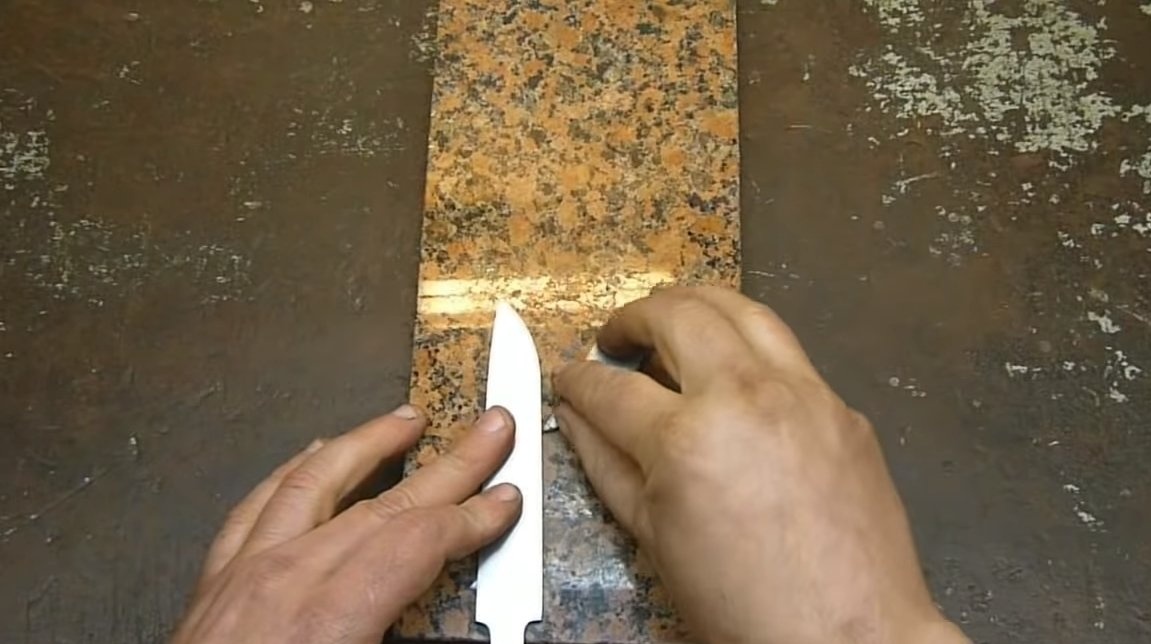
Step Three Cut the blade
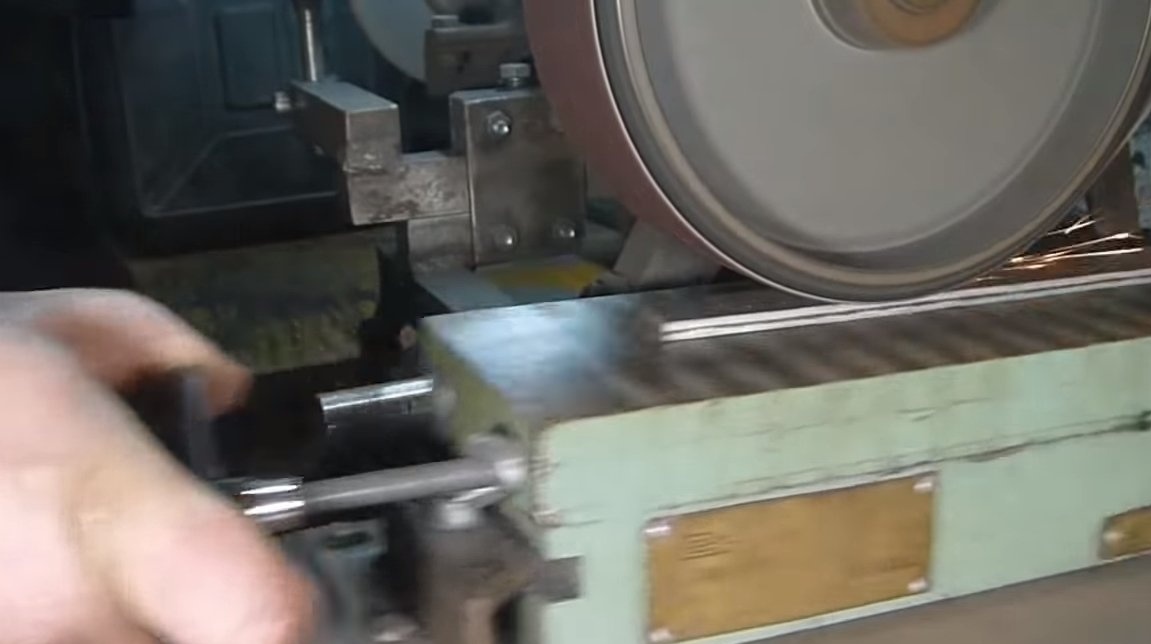
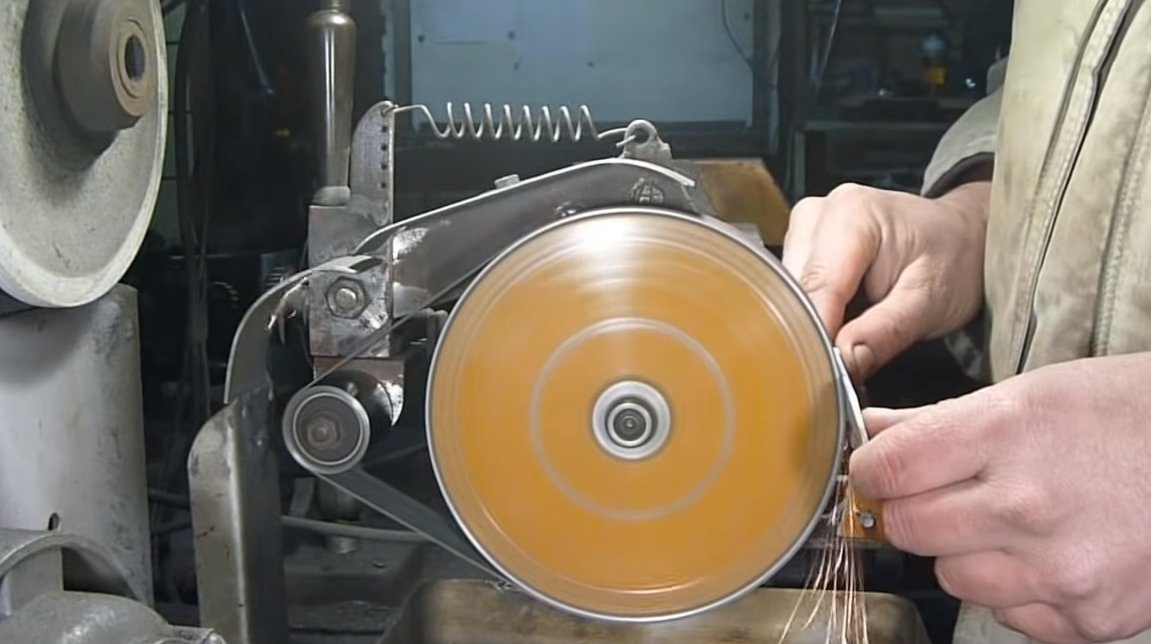
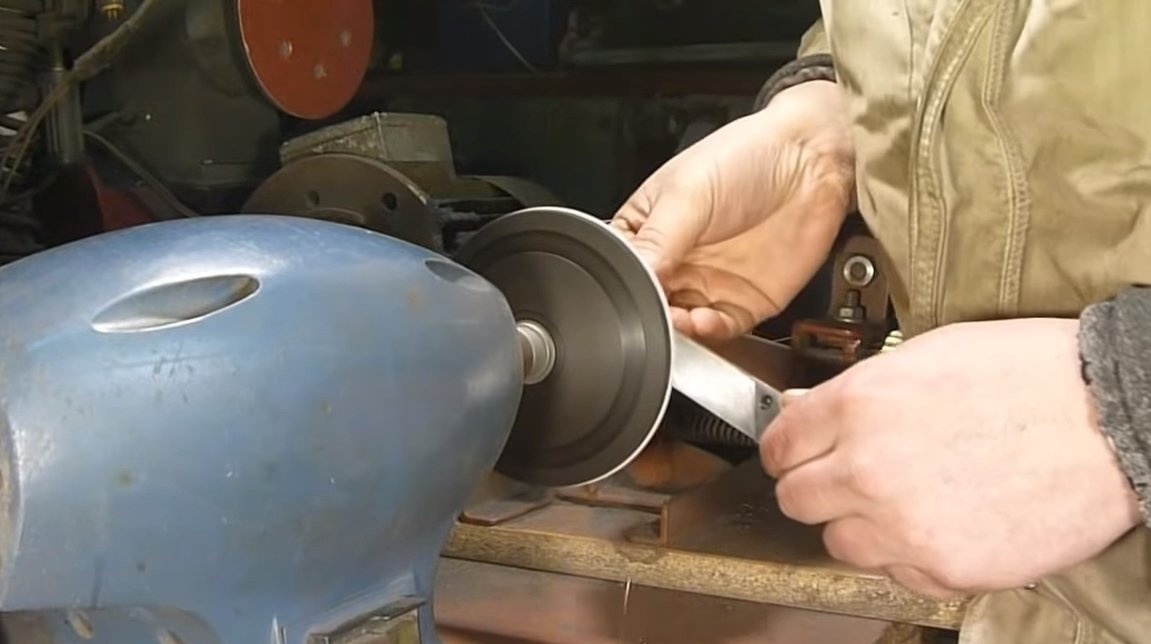
We are armed with a grinder, now you can cut off the reinforcement that served as a handle from the workpiece. From a piece of metal we cut a rectangle, transfer our template and cut a blade out of steel. The resulting blade must be carefully sanded, level the plane. For this, the author used a rotary machine with a special movable platform on which the blade is fixed. As a result, the blade was polished quickly, efficiently and simply.

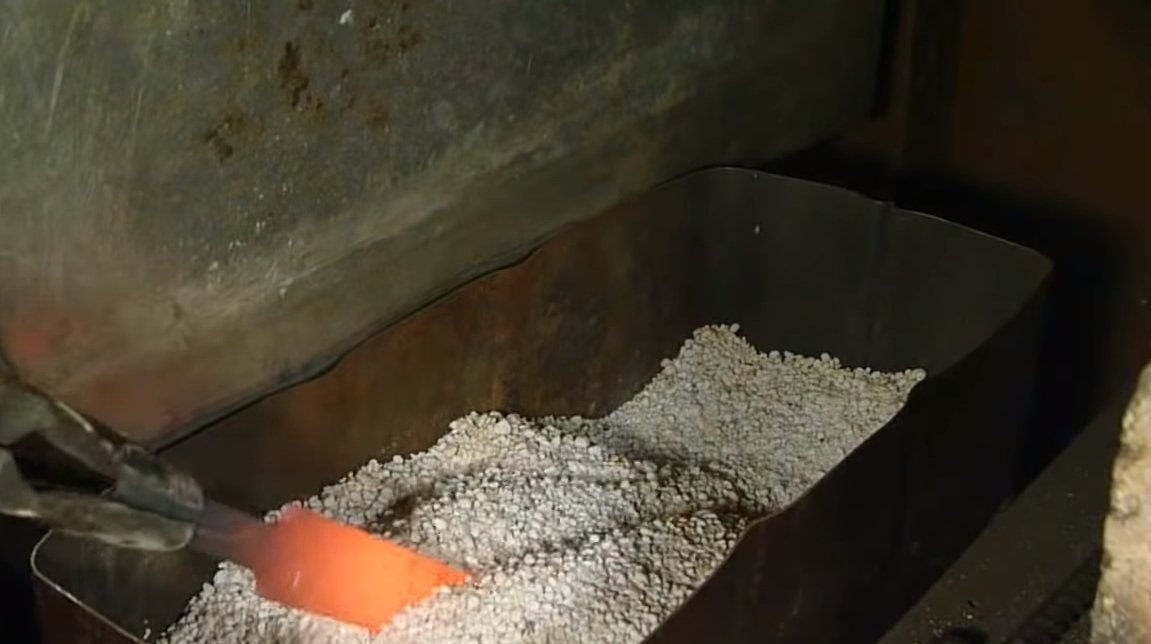
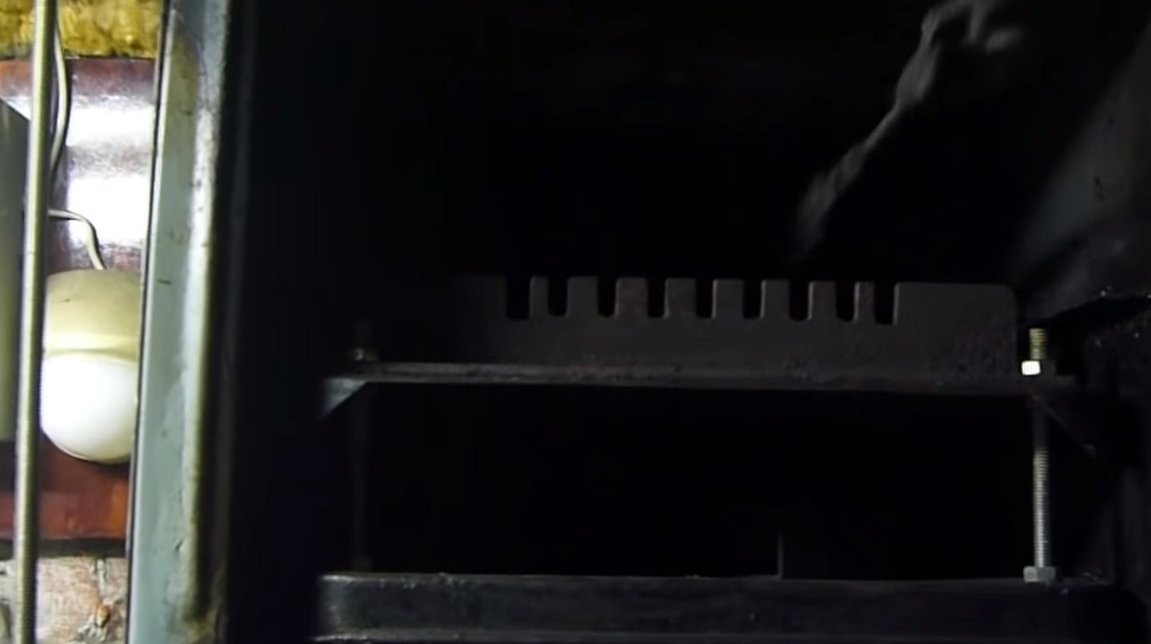
Step Four Stigma and Normalization
If desired, the brand of the workshop can be applied to the blade. After that, the author trims the blade with a hammer and normalizes the steel, this procedure will remove internal stresses. To do this, the blade must be heated, and then immersed in a heat-insulating material so that it cools down as slowly as possible. Some masters simply leave the blade to cool with the stove, but here it all depends on the type of stove.


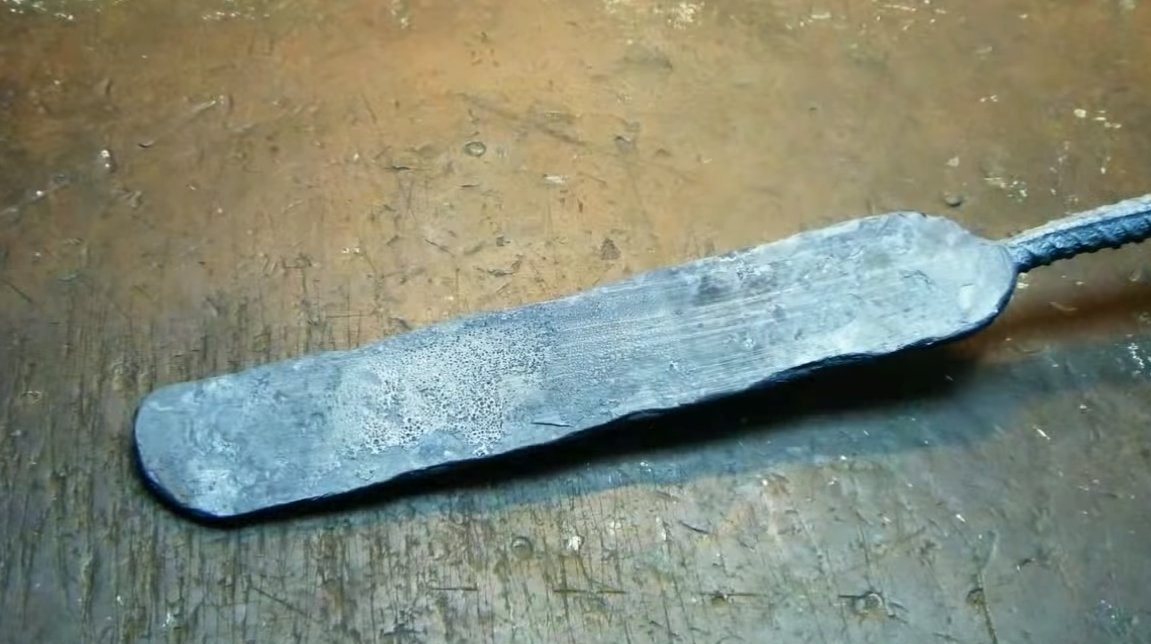
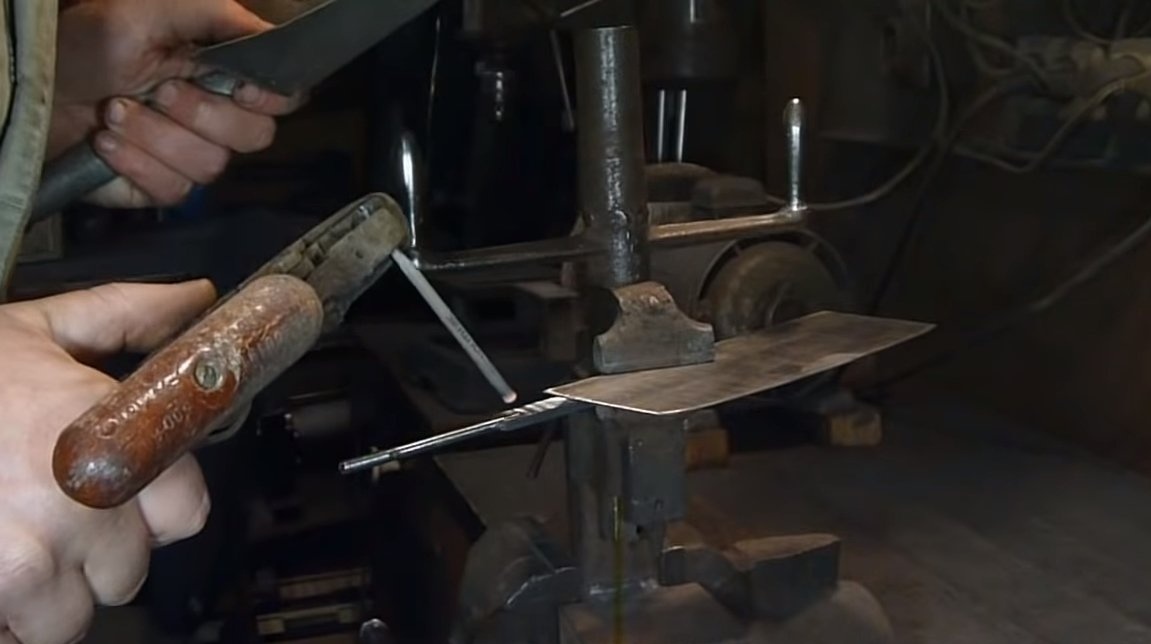
Step Five Shank
We will finalize the shank of the knife, to assemble a reliable handle, the author welds a rod with a thread on the end to the shank. We carefully grind the welding spot, as a result, the blade becomes monolithic.

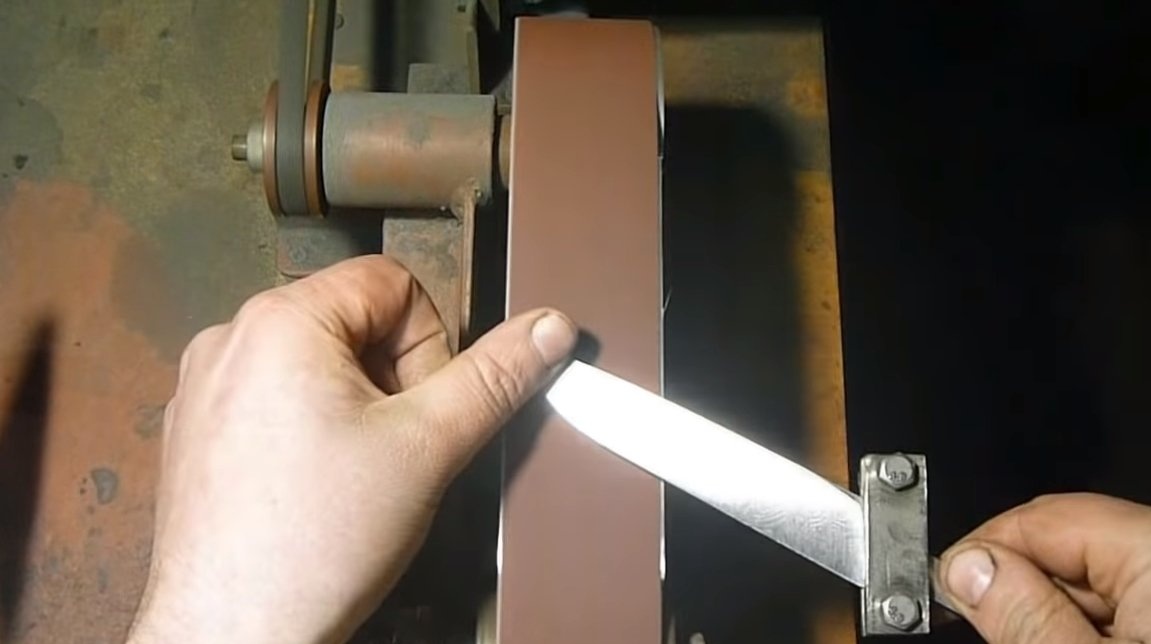
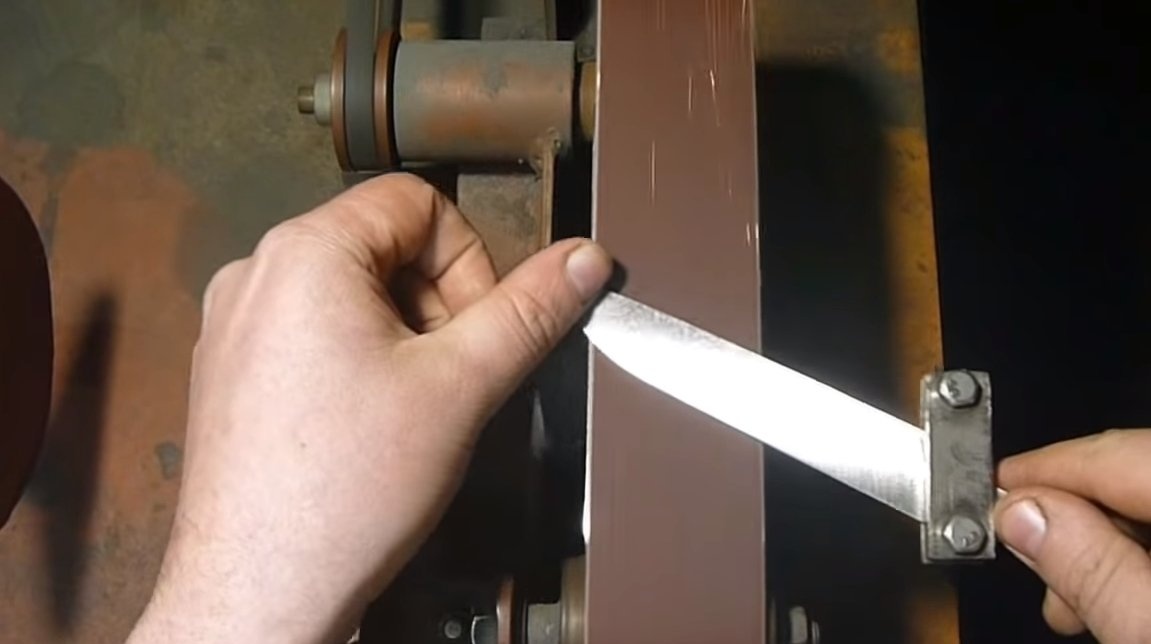
Step Six Slopes
Mark the future blade and make descents on the blade. Here it is already possible to use a belt sander, rotary and so on. There is no need to rush in this matter, since such a difficult-to-manufacture blank will be very offensive to spoil.
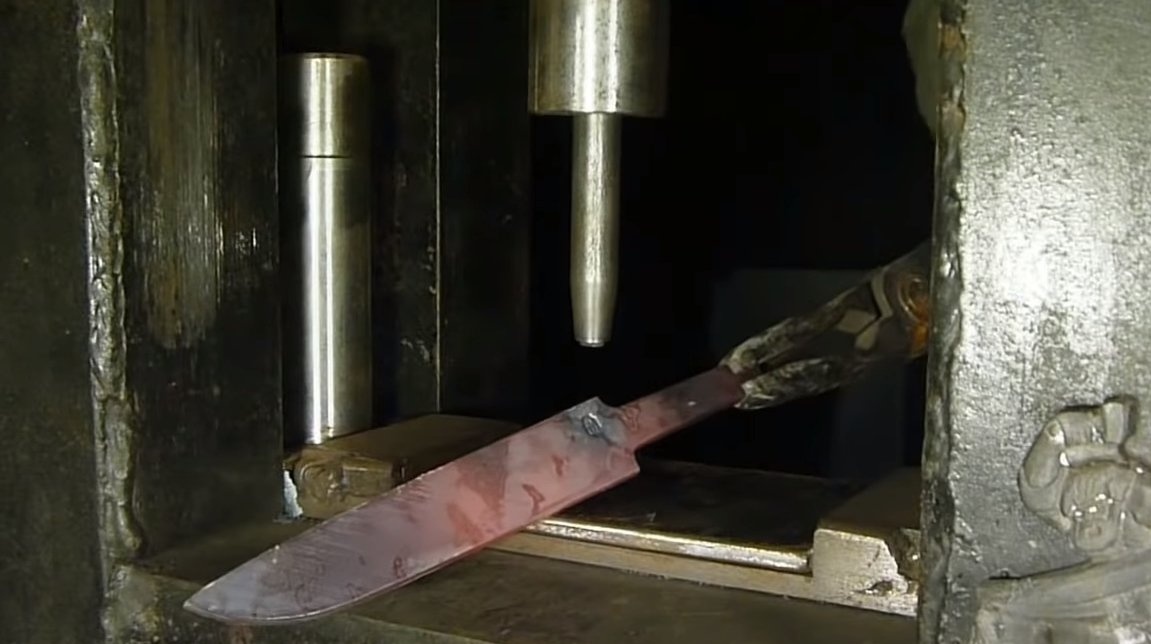
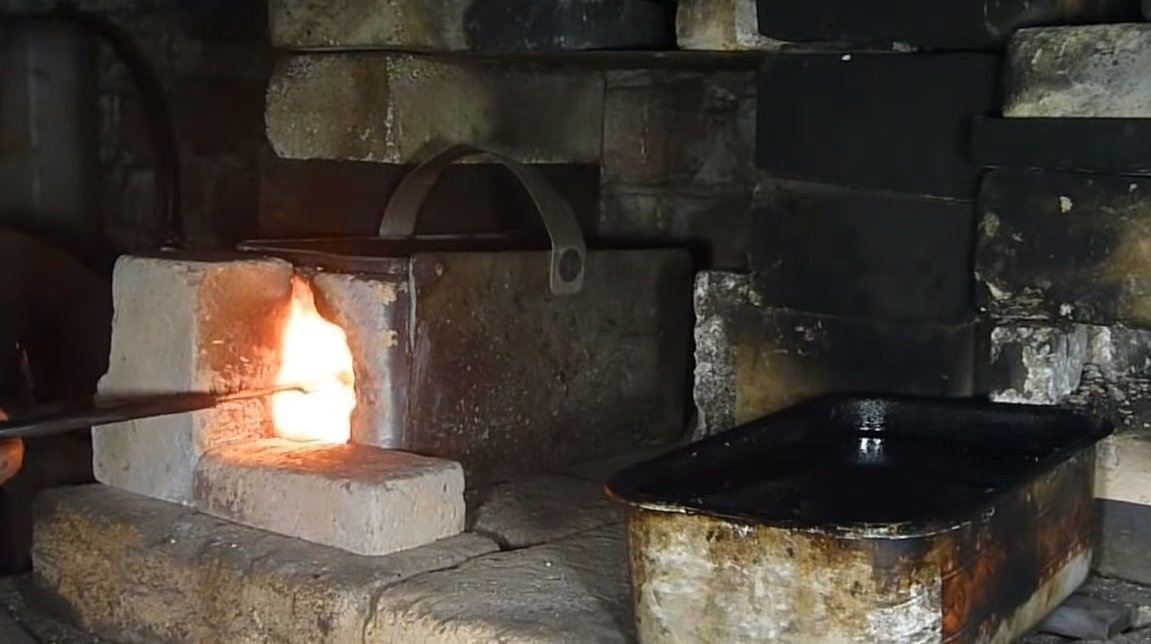
Seventh step. Heat treatment
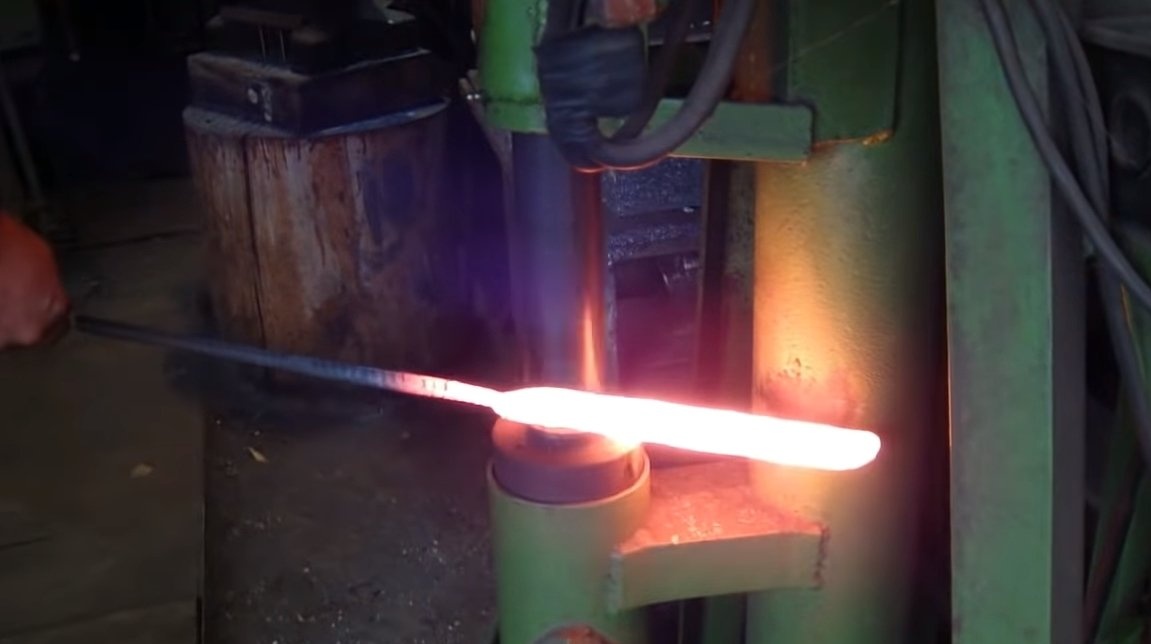
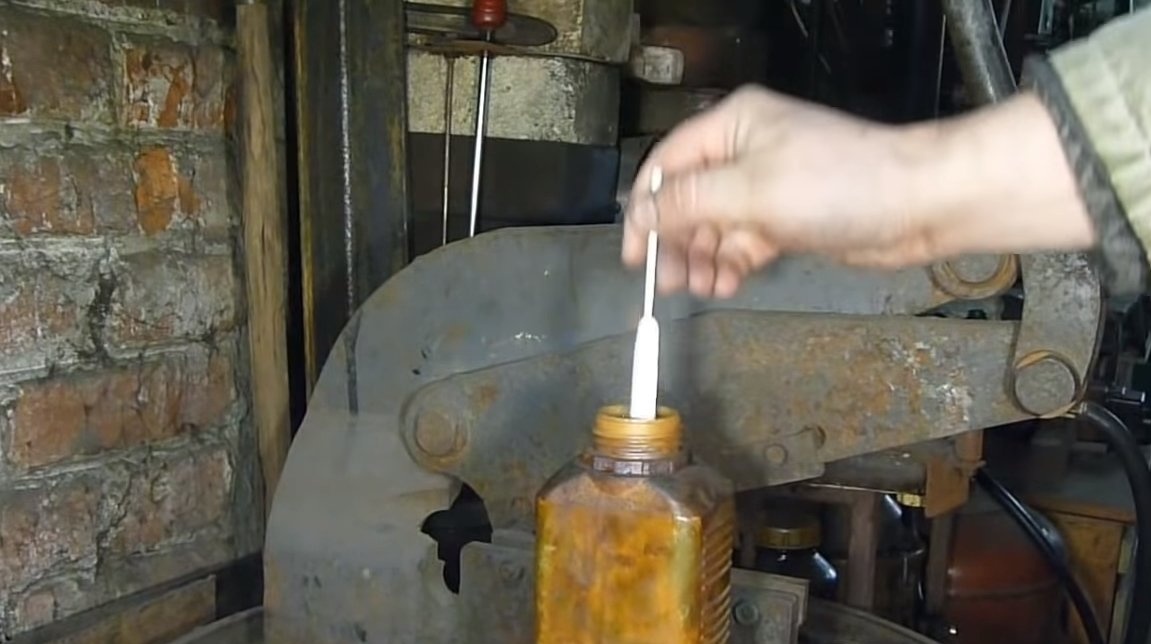
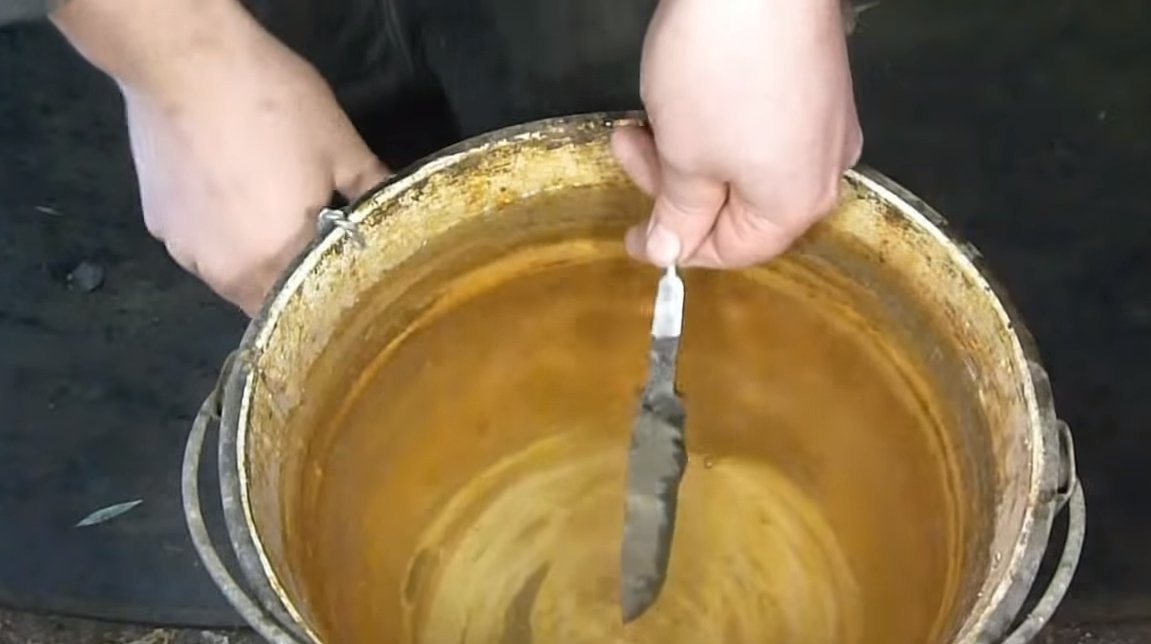
After the formation of the slopes, we will have HGV steel in the area of the blade, and we have to temper it. We heat the blade to a yellow glow and then only immerse it in the oil with a blade. As a result, the blade will be hardened, handle the knife with care, the blade is still hard and brittle.
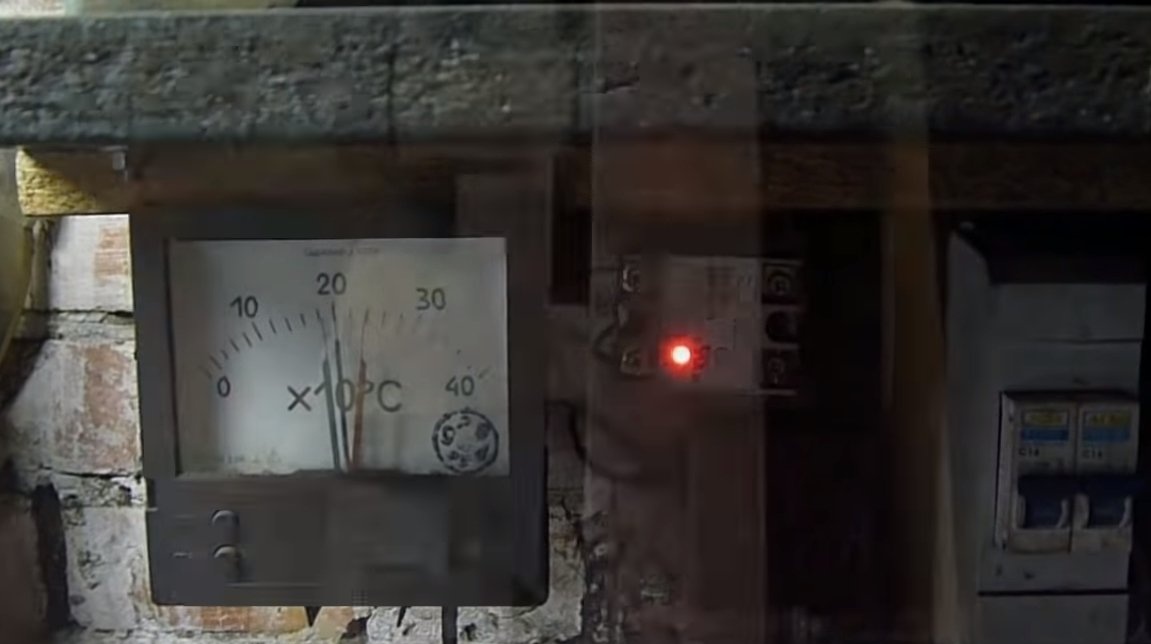
The blade still needs to be released, the author makes a vacation at a temperature of 190 degrees Celsius.
Step Eight. Grinding and etching
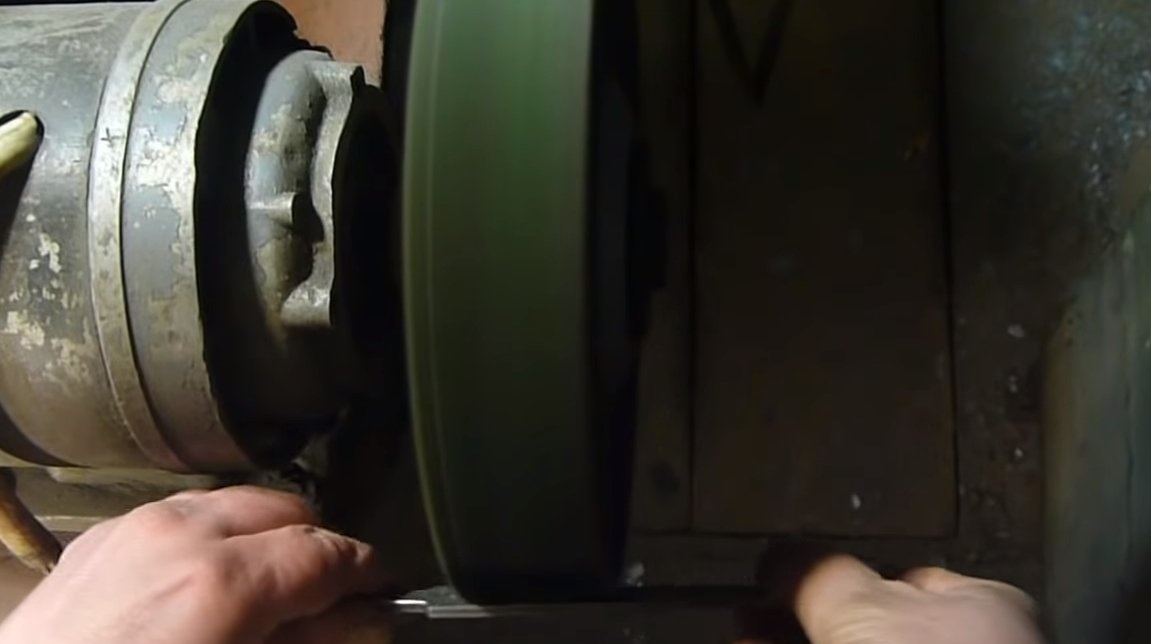
After hardening, we carefully grind the blade by any available means, for rough processing we use grinding machines, and for finer processing we use sandpaper and the help of hands.
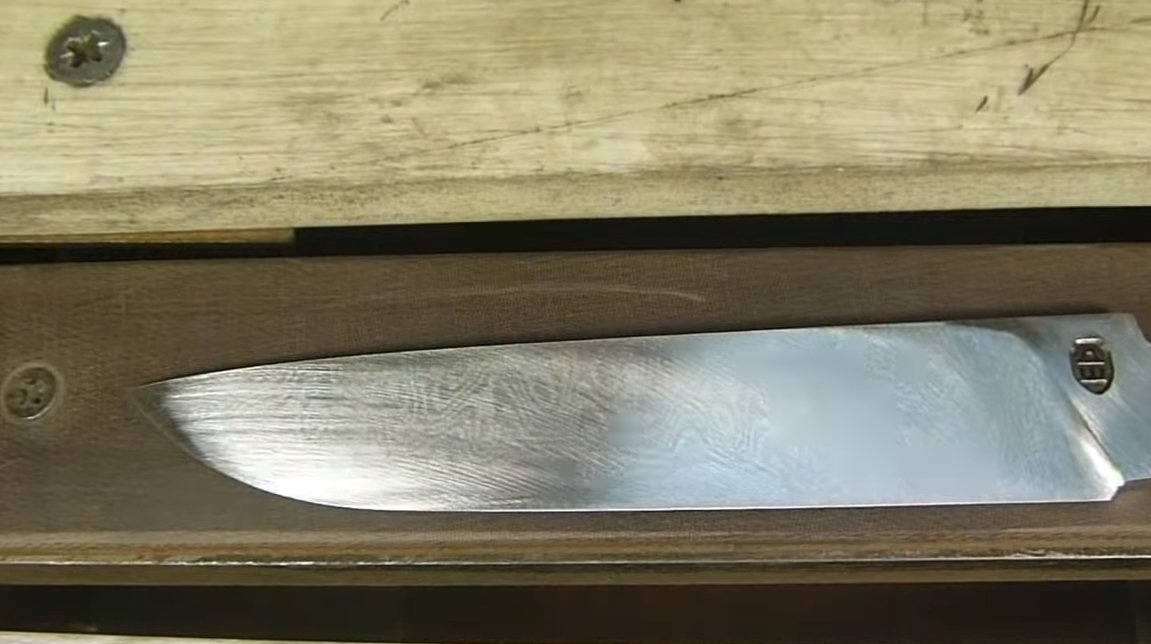
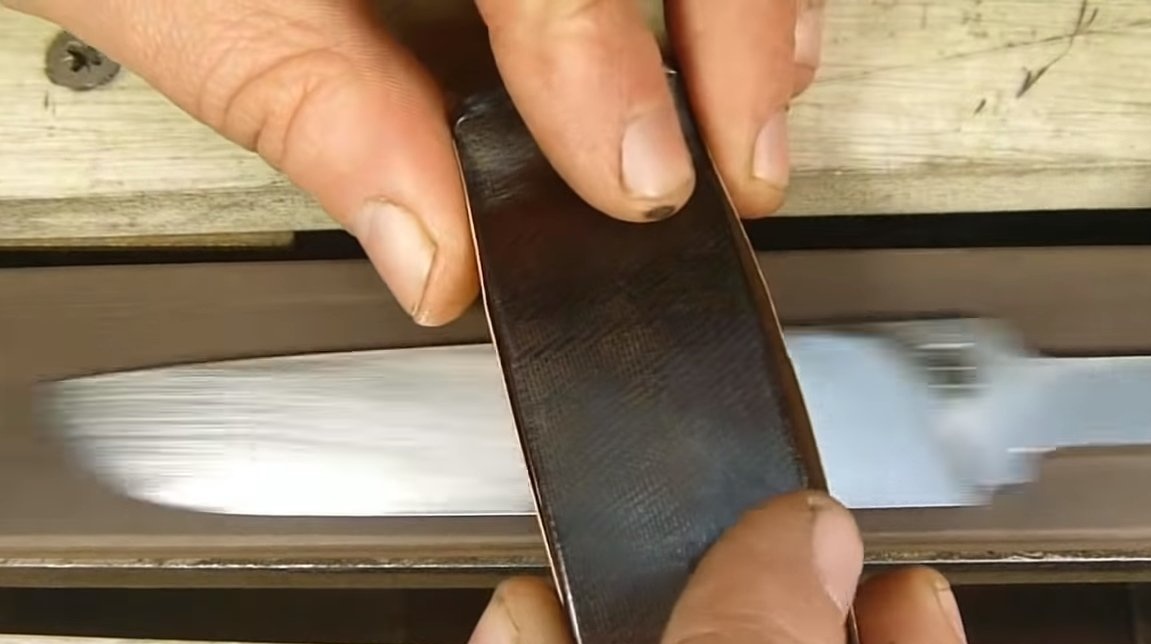
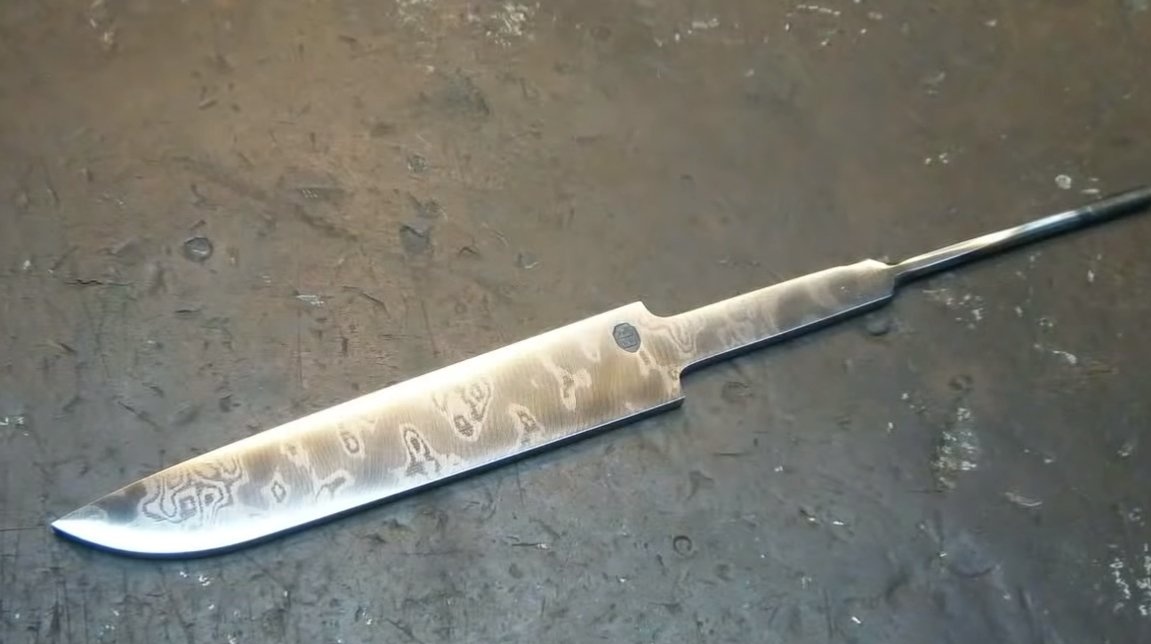
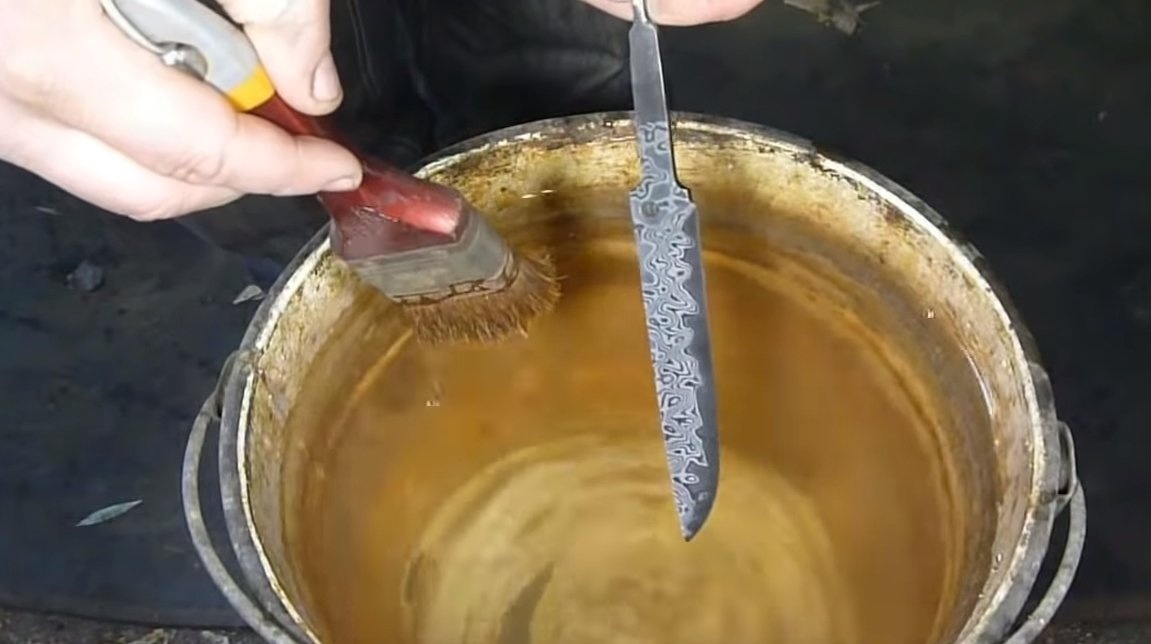
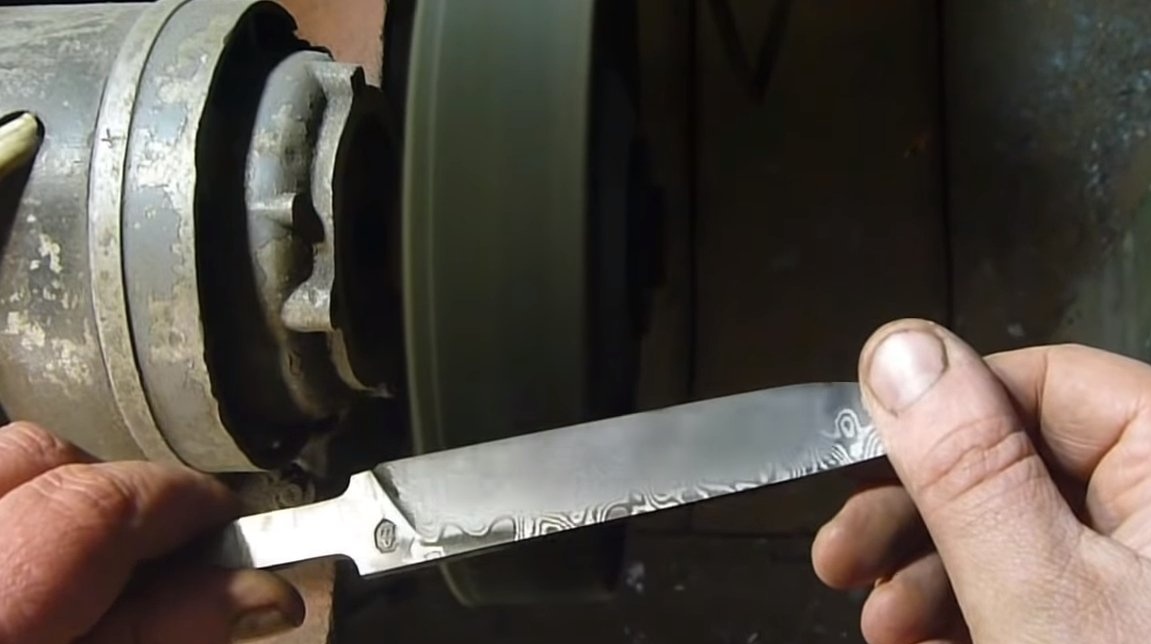
Then we make the etching of the blade, here we need iron chloride, but I can be wrong. As a result of etching, the HBV steel will darken, and the stainless steel will shine. That’s all magic, how can a picture be distinguished. After that, the author polishes the blade using a polishing machine and GOI paste.
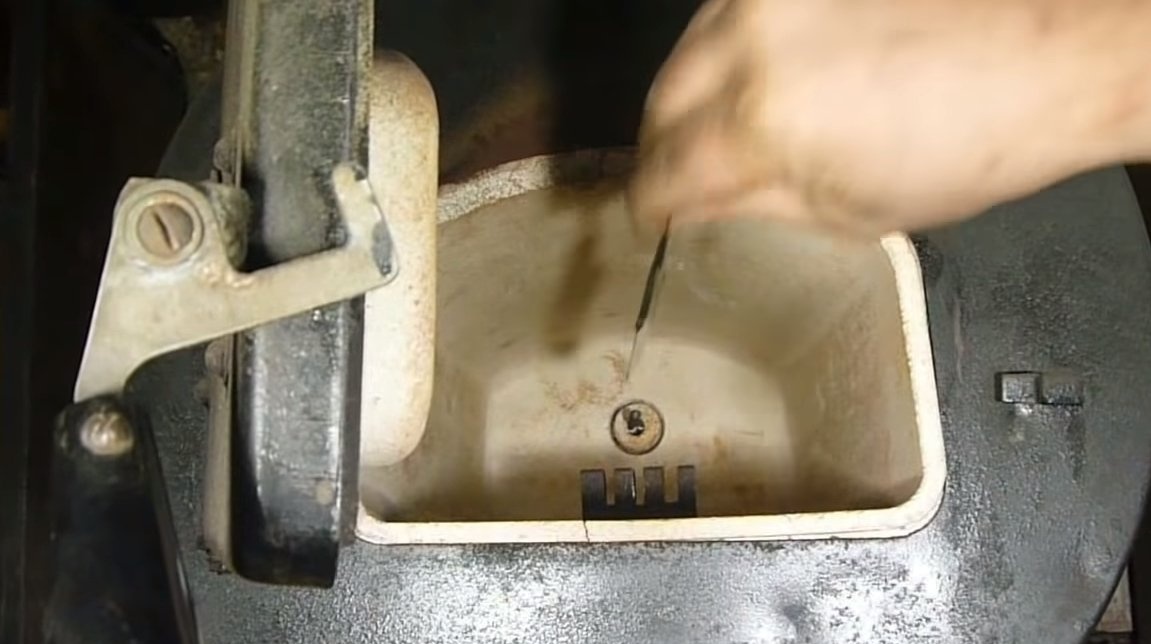
Step Nine. Blue plaque
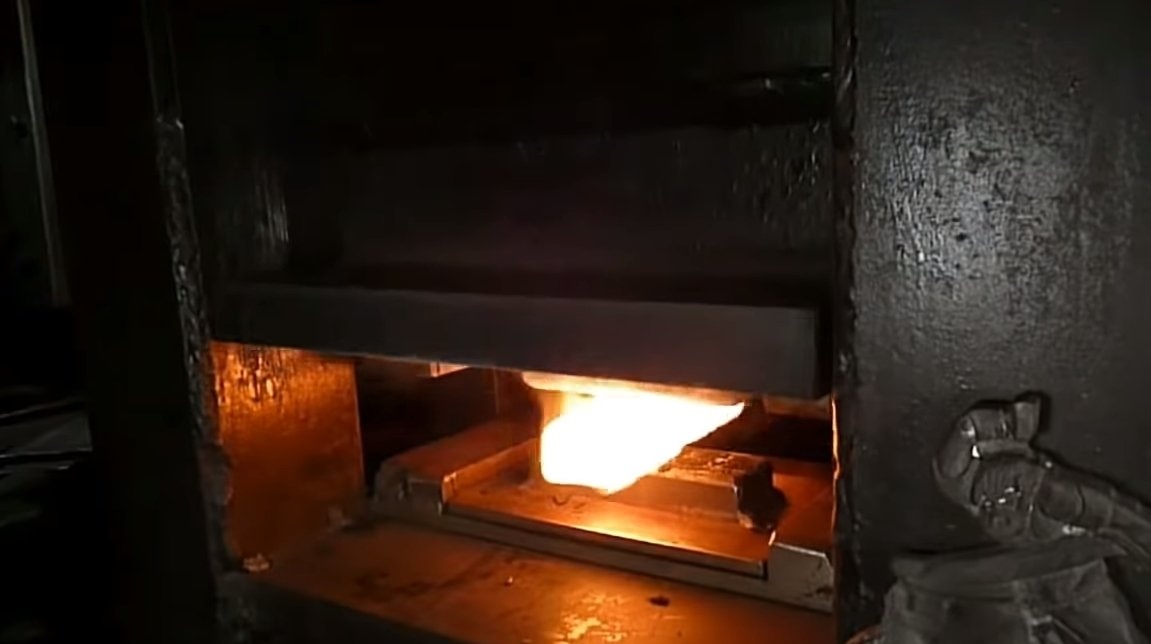
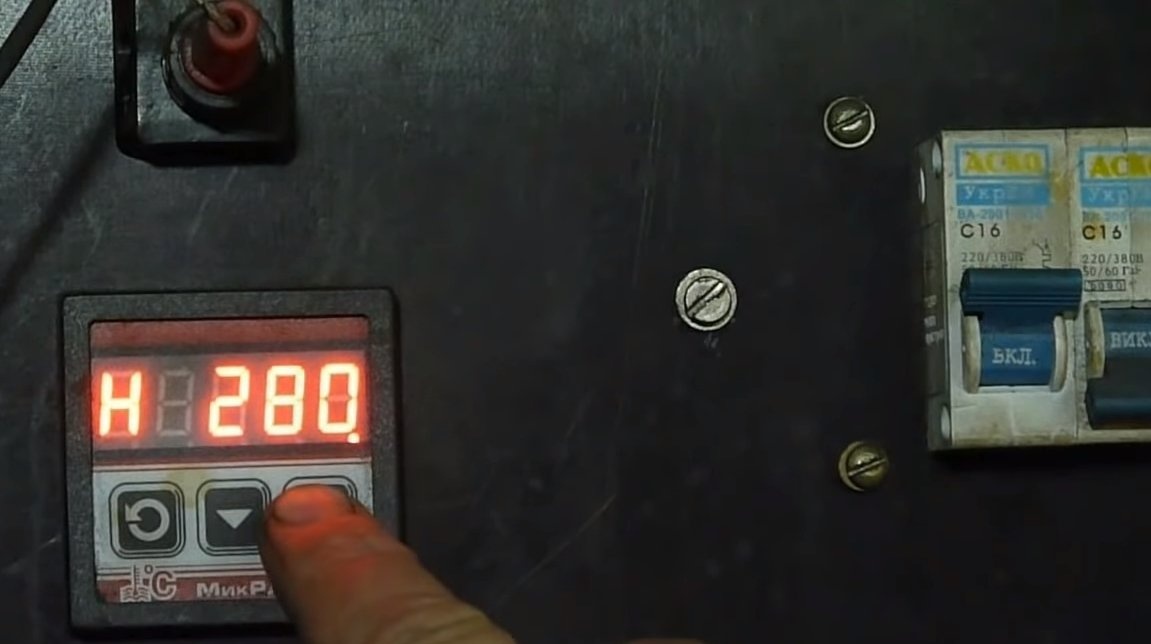
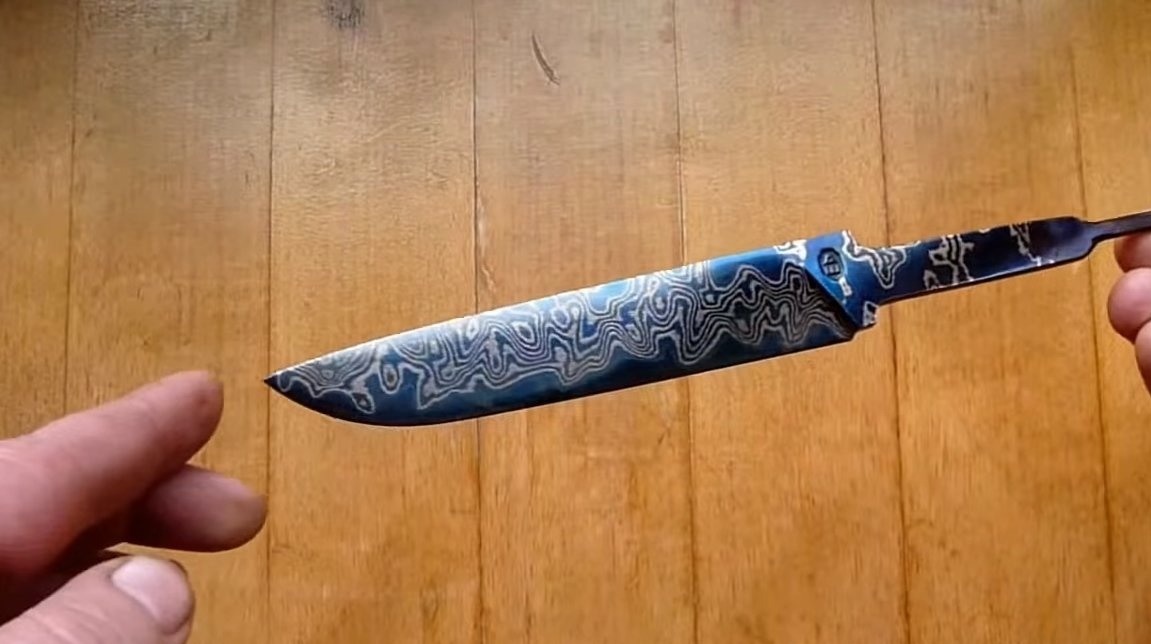
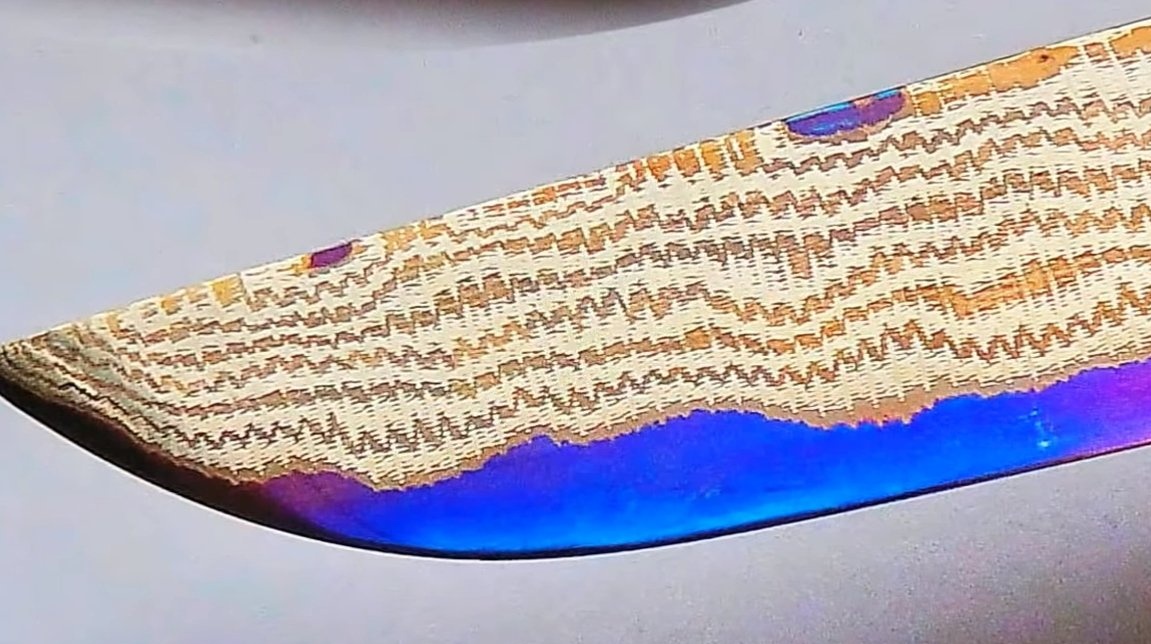
In the end, it remains to do the most important thing - to make the blade blue. There is no magic here either, we need to anneal the steel, as a result, a blue oxide film forms on the HBV steel. Of course, this will be a deeper vacation and the steel will hold sharpening worse, but in general, cutting a knife will be excellent, so you should not worry. The author heats the blade to a temperature of 280 degrees Celsius, as a result, we will already get the blue blade from the oven.
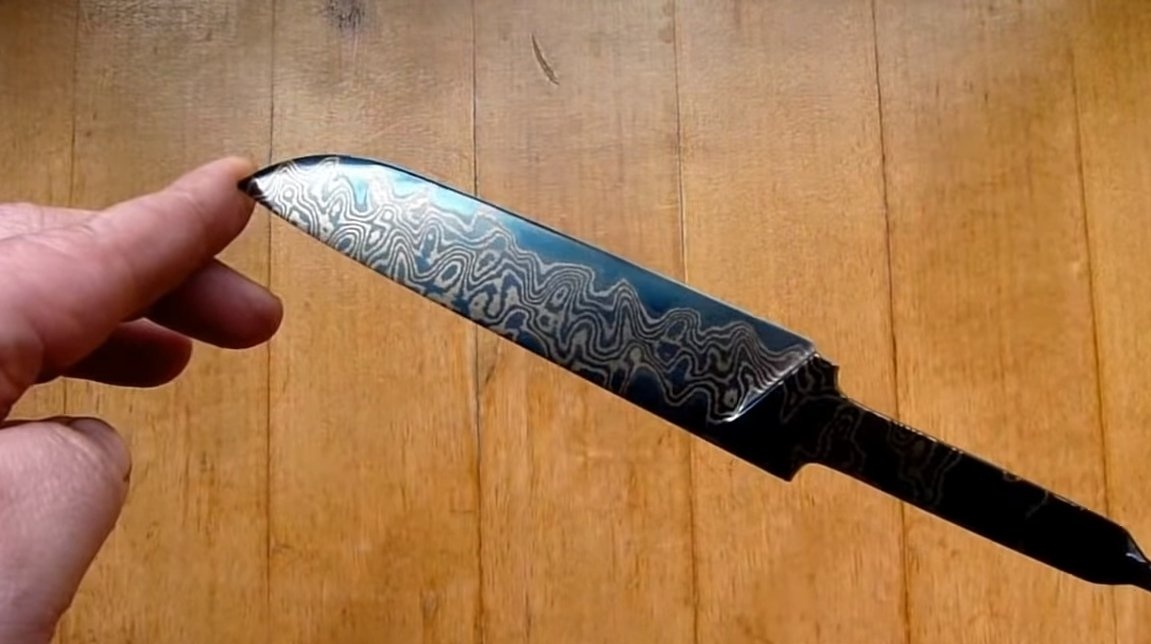
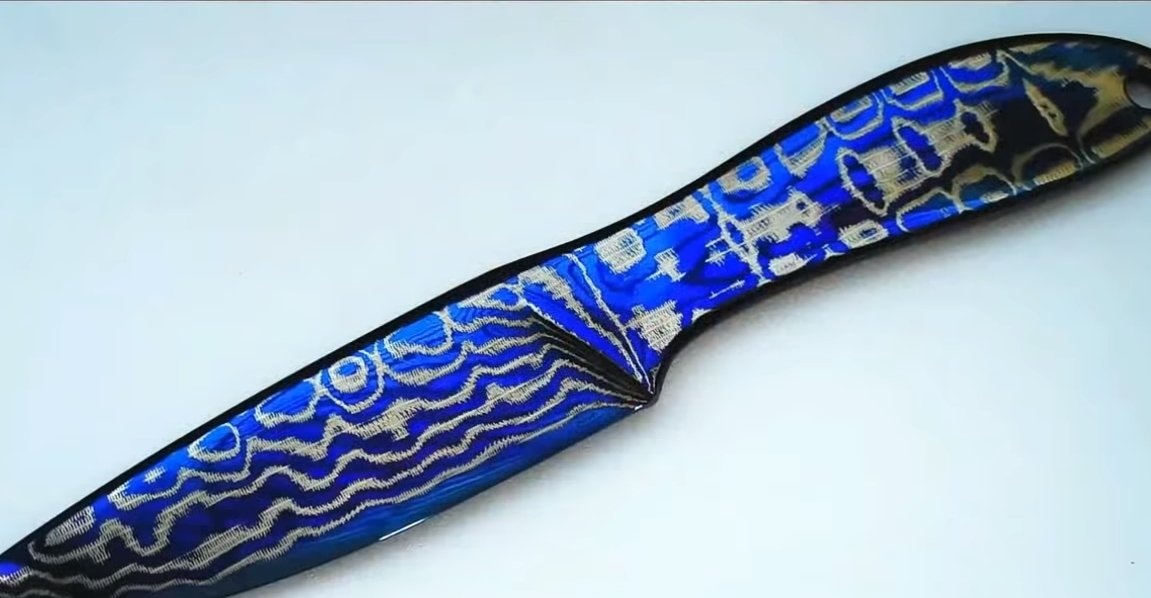
The photo shows what other drawings are obtained from the author on the blade.
This is the end of the project, if there are technical errors, you can offer your versions of how this blade was made. Good luck and creative inspiration, if you decide to repeat this. Do not forget to share your ideas and homemade things with us!