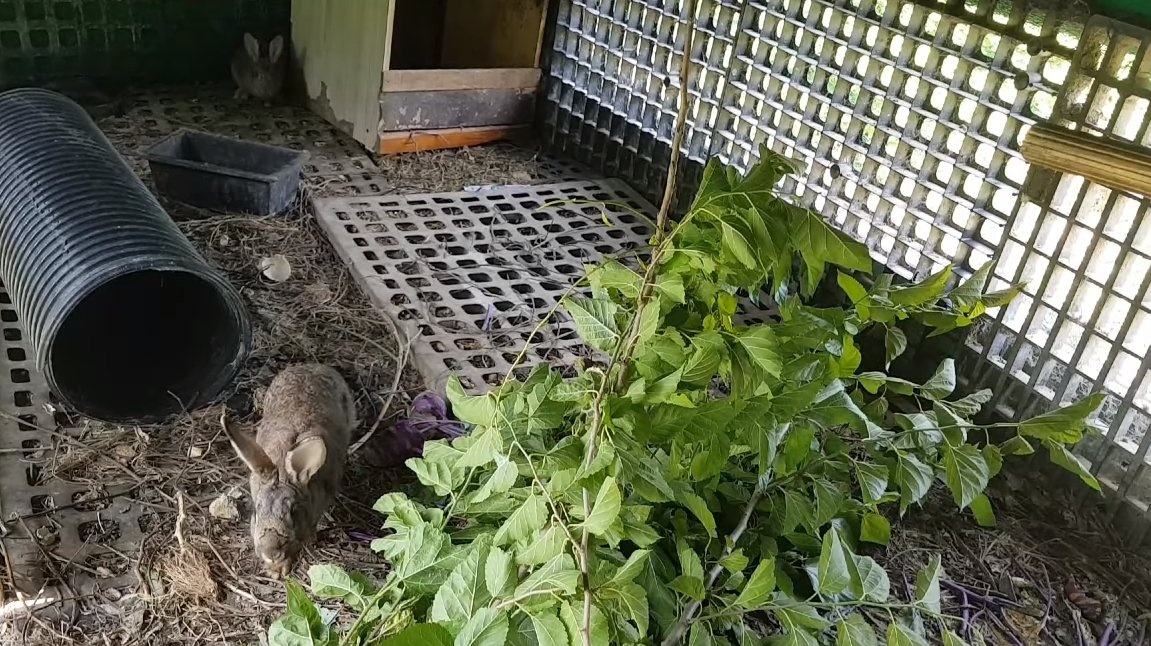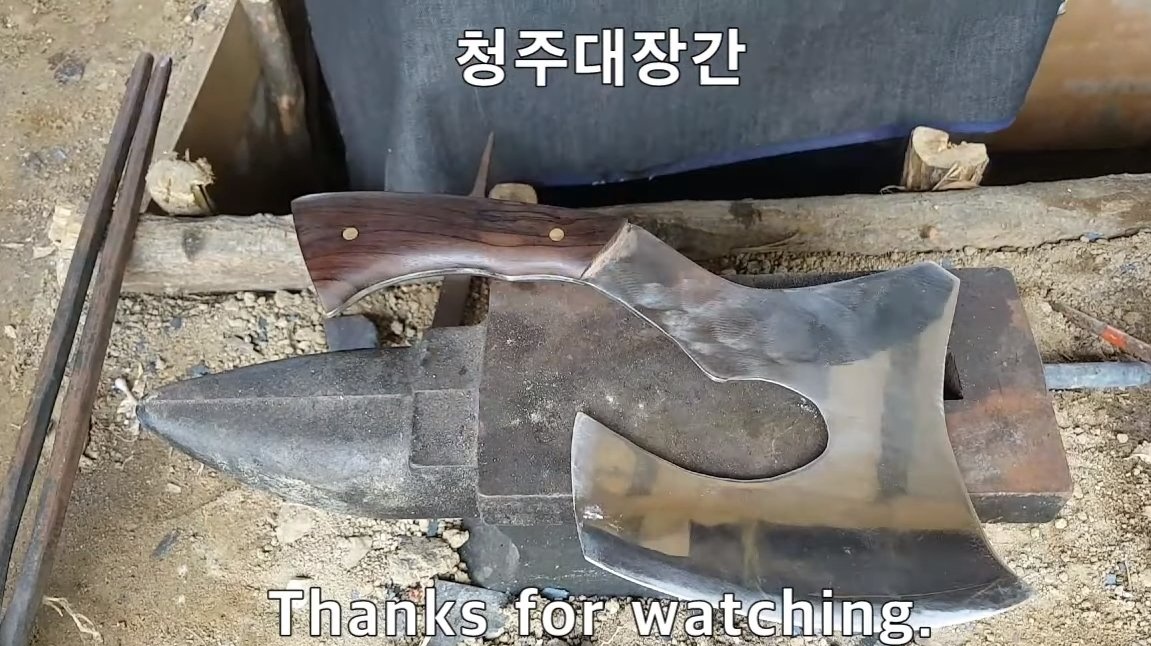
I welcome fans to work with metal, and today we will do an hatchet. You can chop meat and vegetables with this ax, including cutting, the author got an ax so sharp that it easily cuts thin paper into rags. Also, the ax perfectly cuts branches, the author uses the shoots to feed rabbits. Homemade it is easy to assemble and almost everything is done on the knee, only grinding work is the difficulty. The author used a thick saw blade as material; the steel turned out to be of rather good quality. If you are interested in the project, I propose to study it in more detail!
Materials and tools used by the author:
Material List:
- saw blade;
- wood for linings;
- brass rods for pins;
- epoxy adhesive;
- not enough for wood impregnation.
Tool List:
- belt sander;
- grinder;
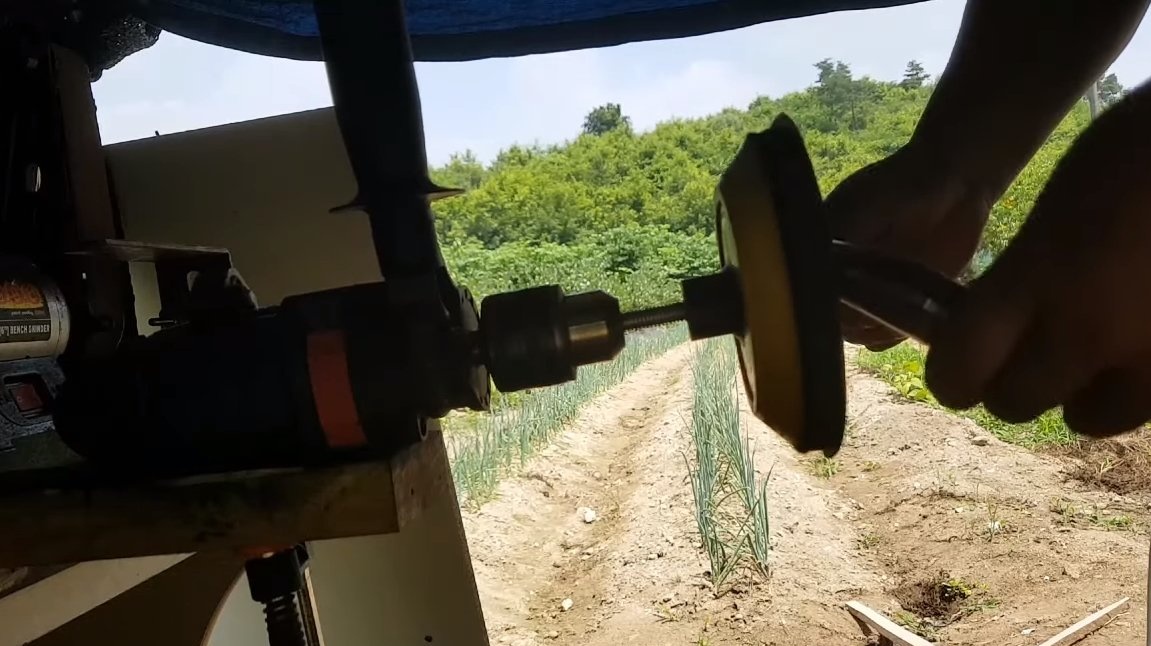
- drill with a polishing nozzle;
- clamps;
- jigsaw;
- marker;
- oil for hardening;
- blacksmith furnace (or you can blow up the coals with a hairdryer);
- fine sandpaper.
Hatchet manufacturing process:
Step one. Primary profile
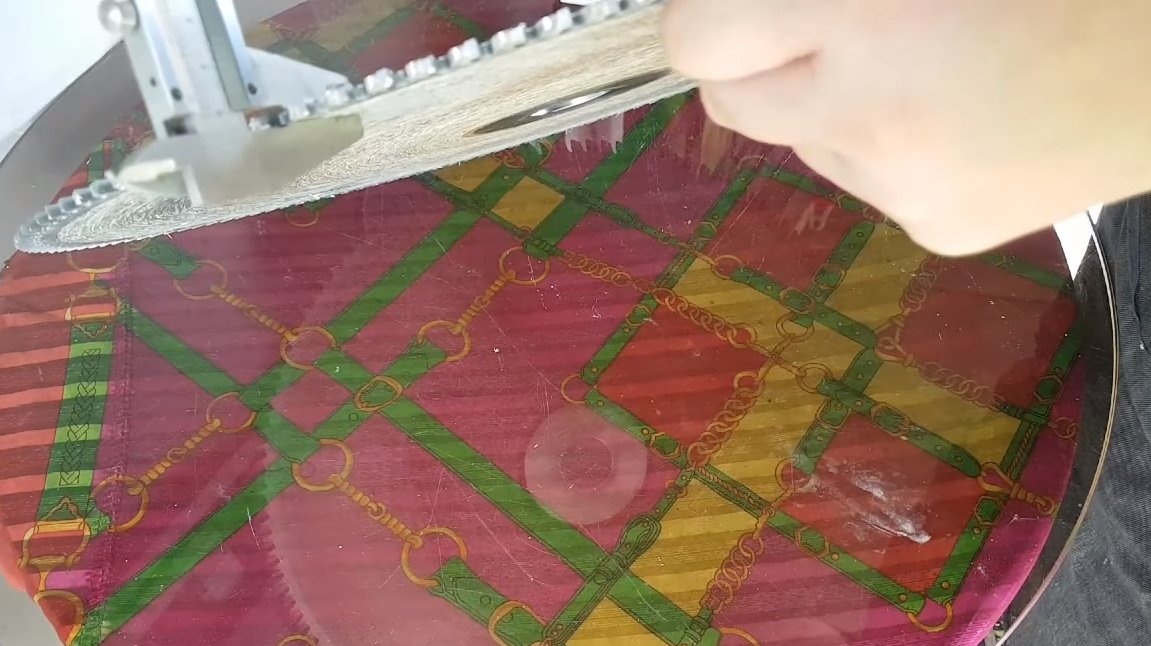
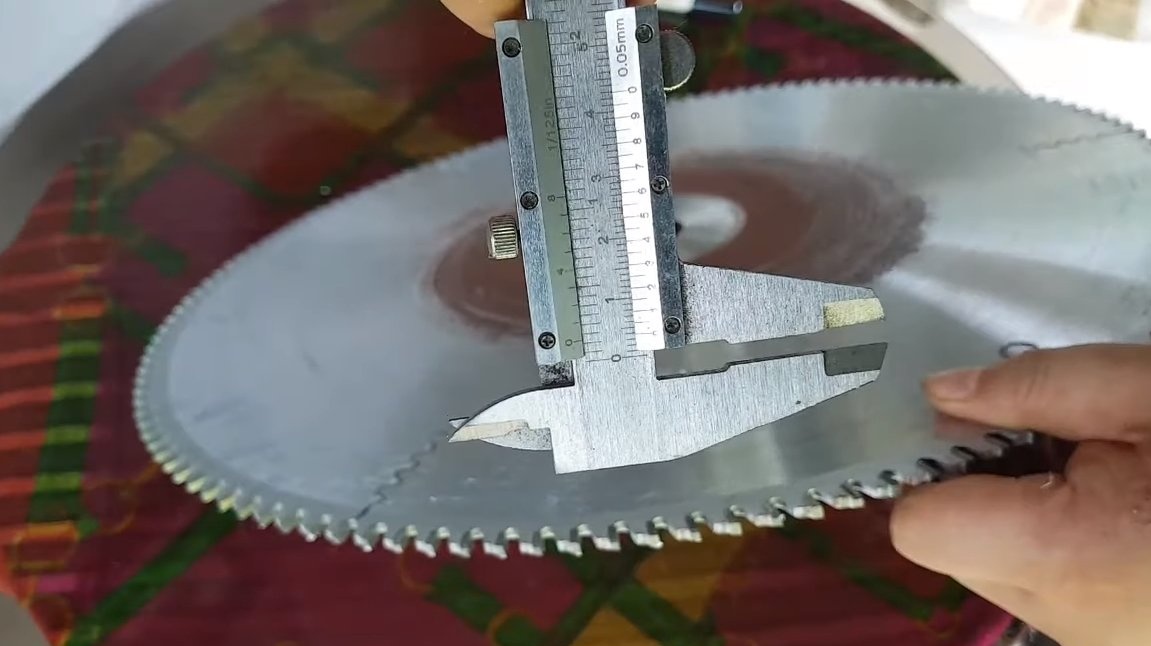
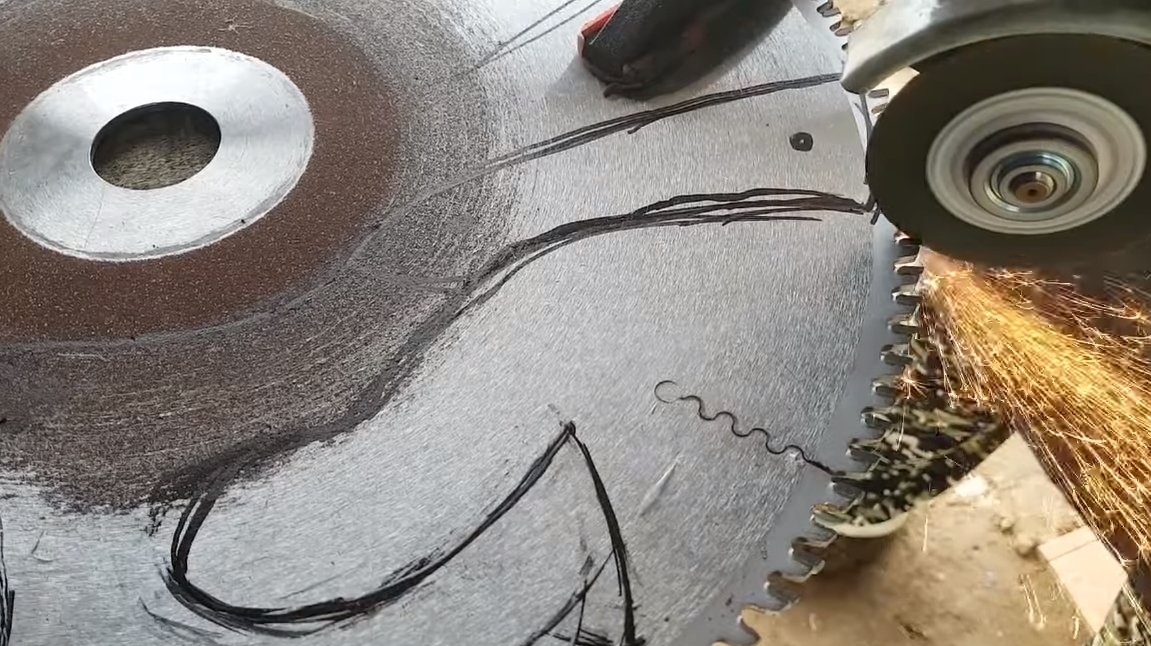
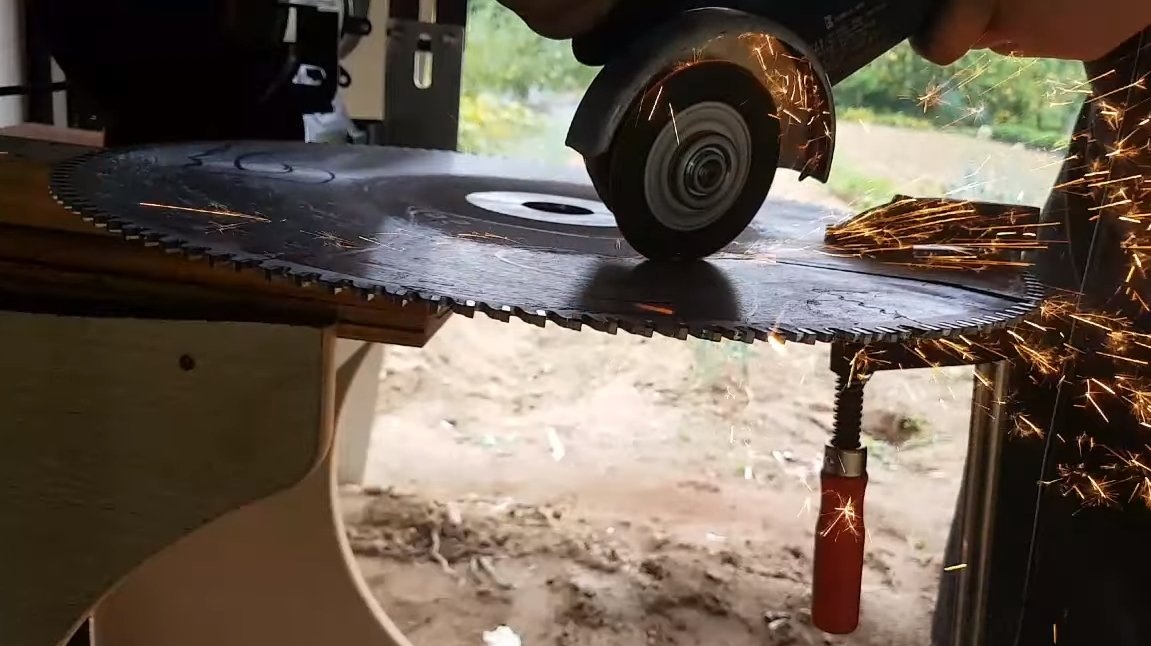
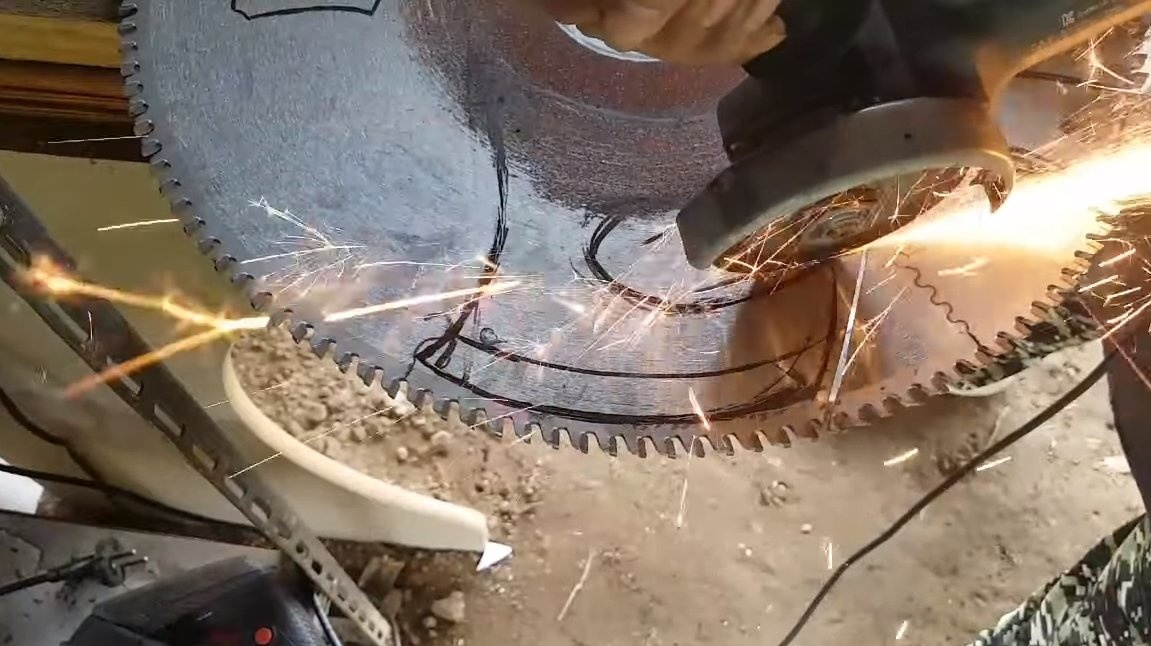
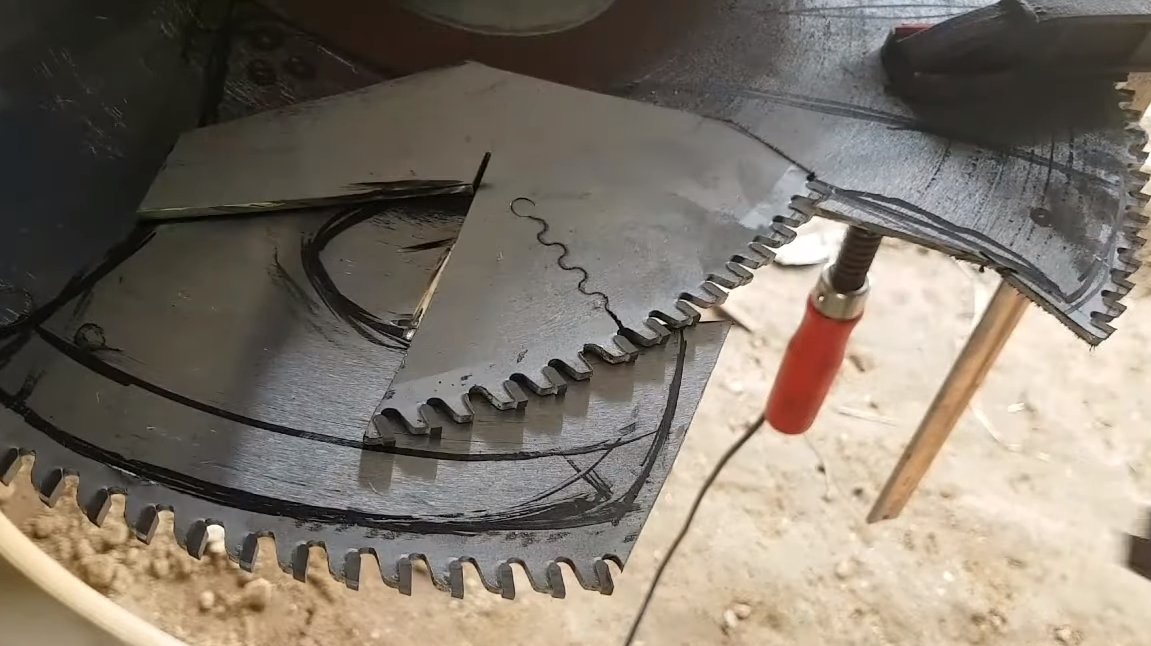
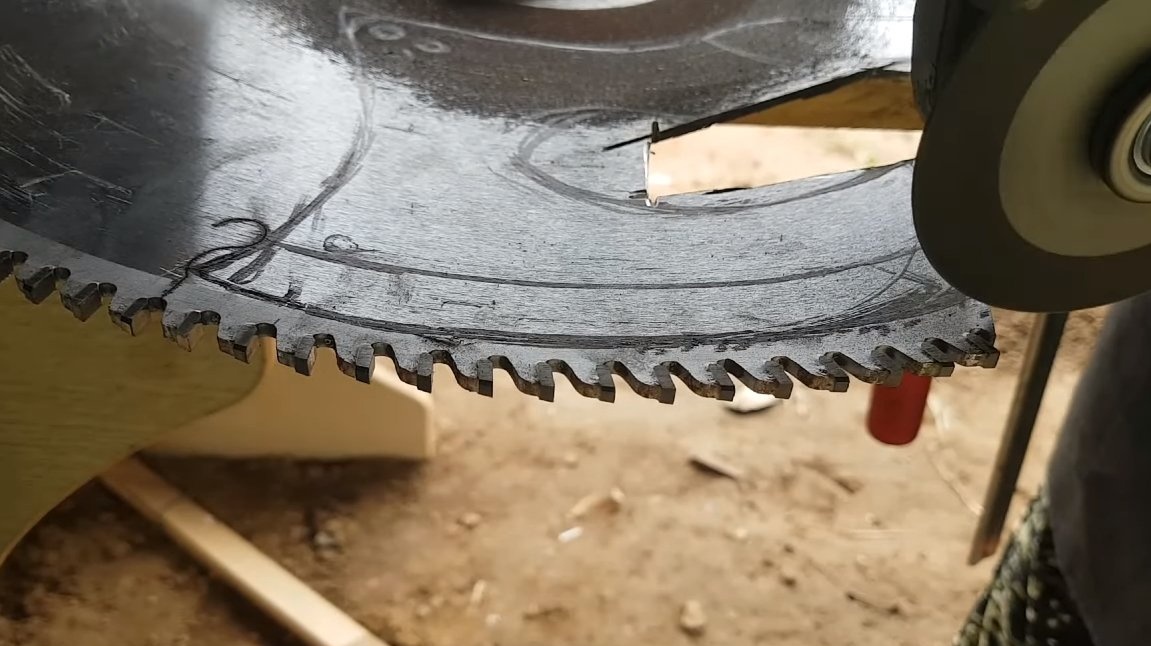
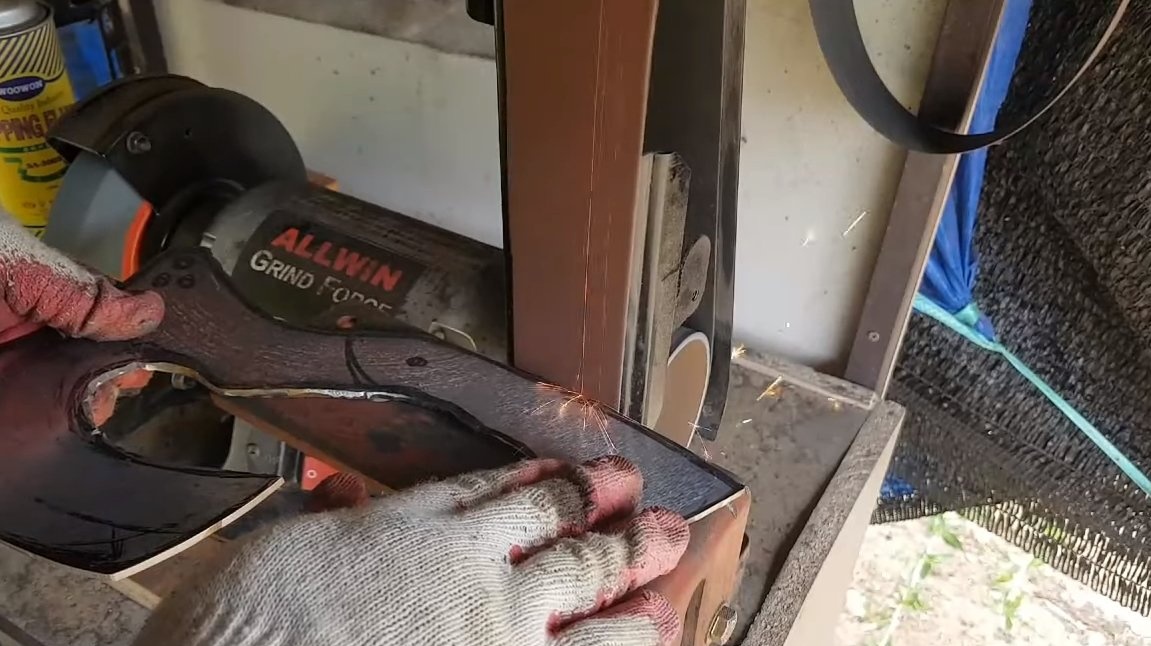
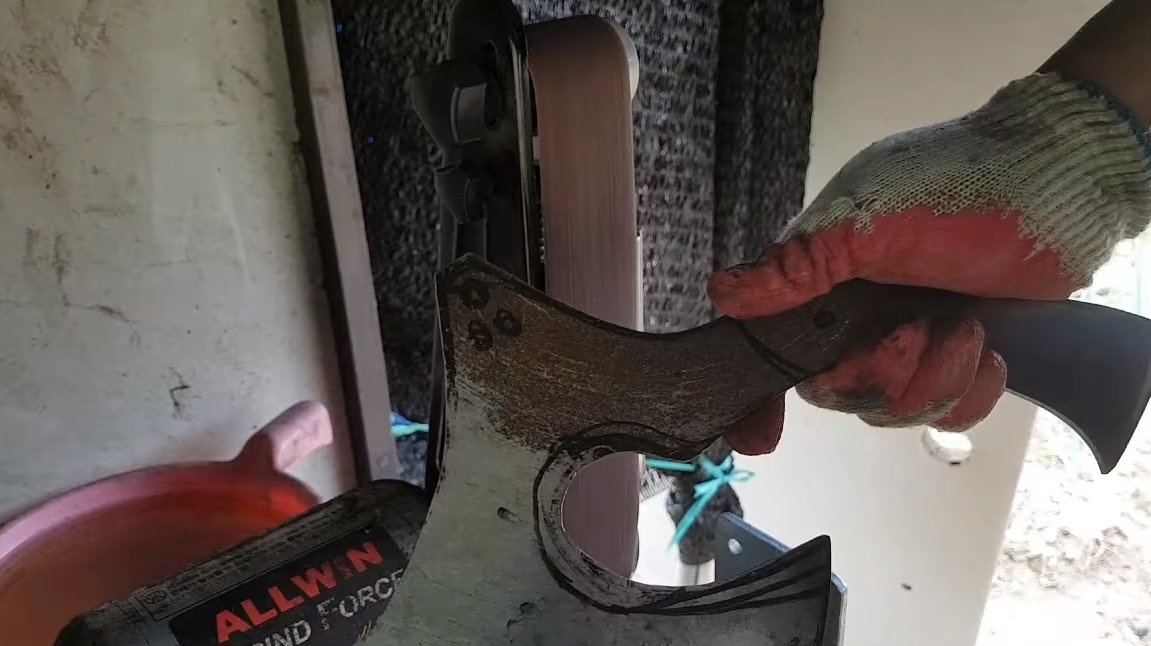
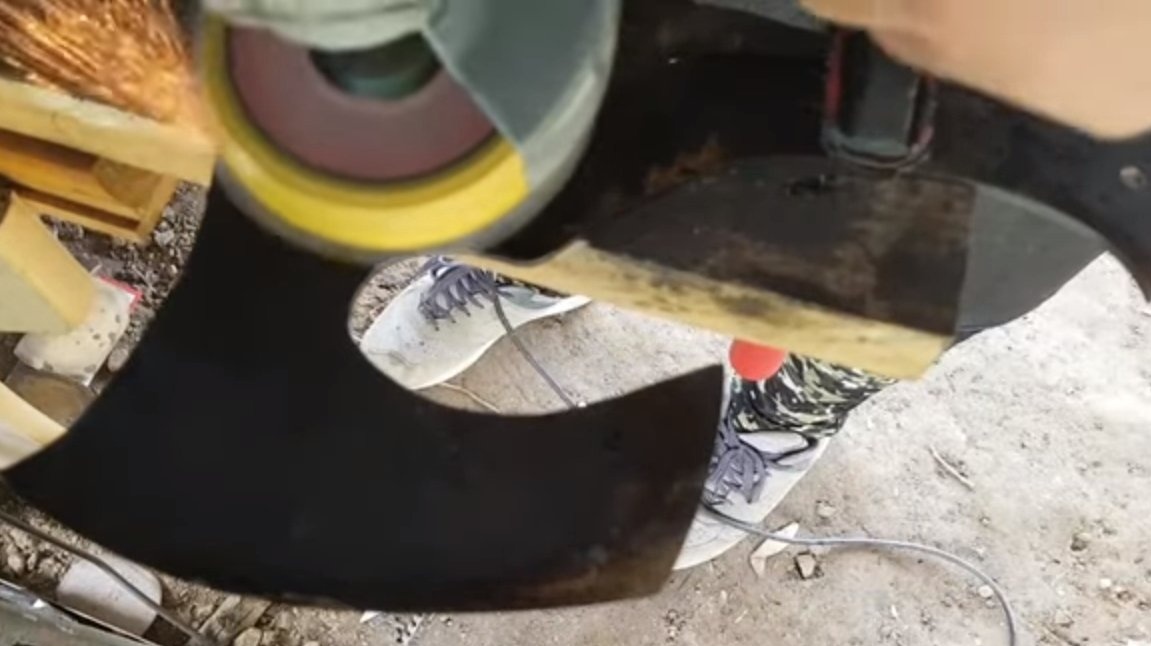
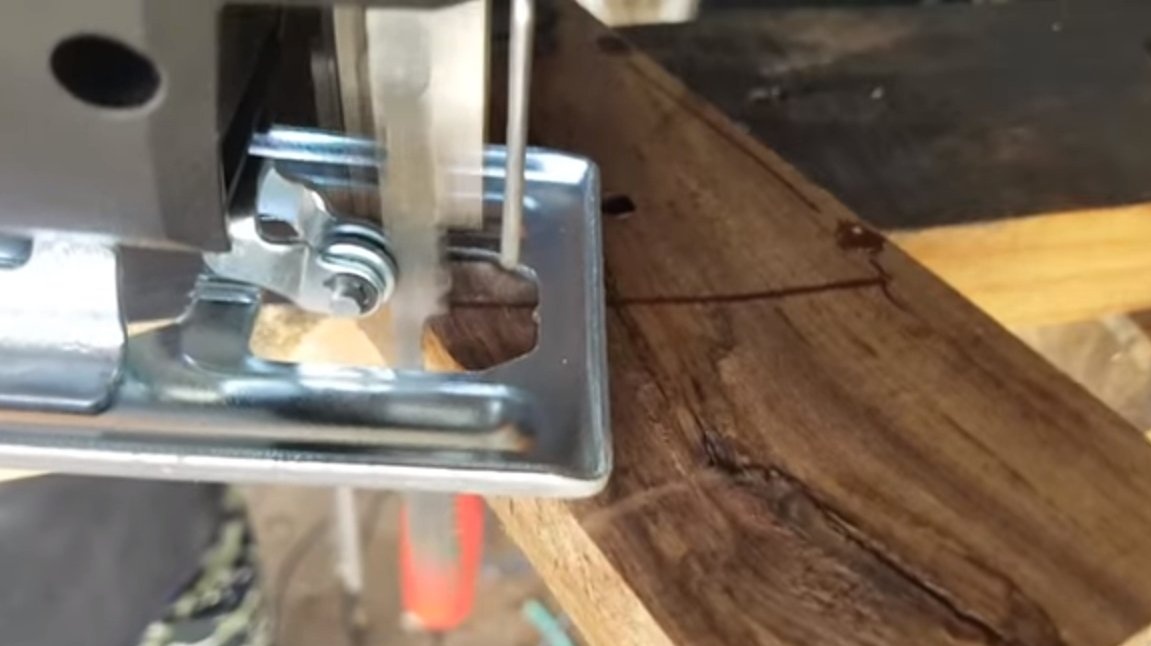
First of all, we need to draw the primary profile of the hatchet on the saw blade. If fantasy is bad, you can find a finished project on Pinterest and print it on a printer. You can start cutting, here we need a grinder, we cut it slowly, step by step, gradually deepening into steel. Since we have a full 4 mm saw blade, it will take a long time to cut, but on the whole the task is quite solvable.
As soon as the main profile of the ax is cut, we remove gross defects with the help of a grinder, installing a thick grinding disk. Be sure to work with the shield, as thick discs are very dangerous in case of a break.

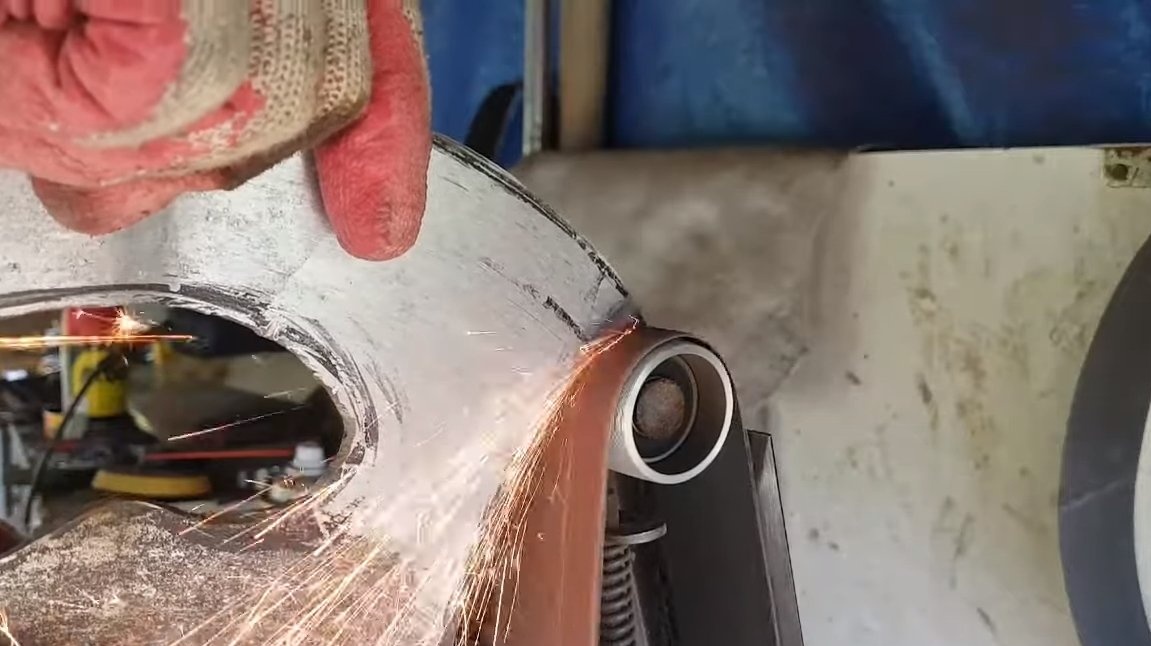
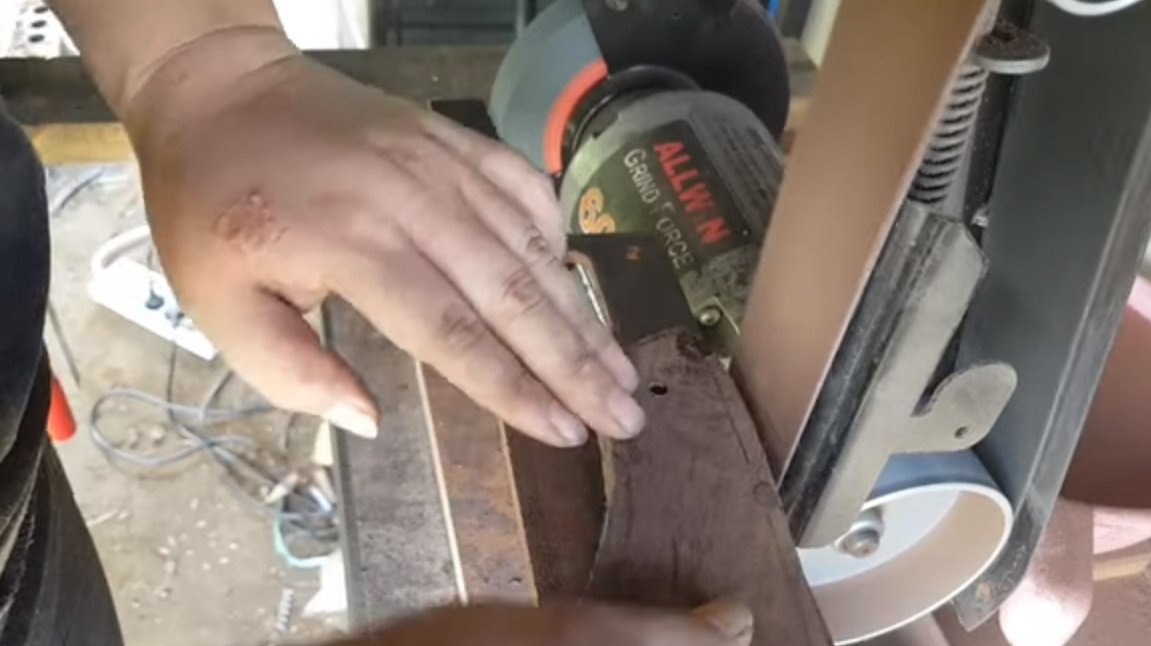
Step Two Grinding work
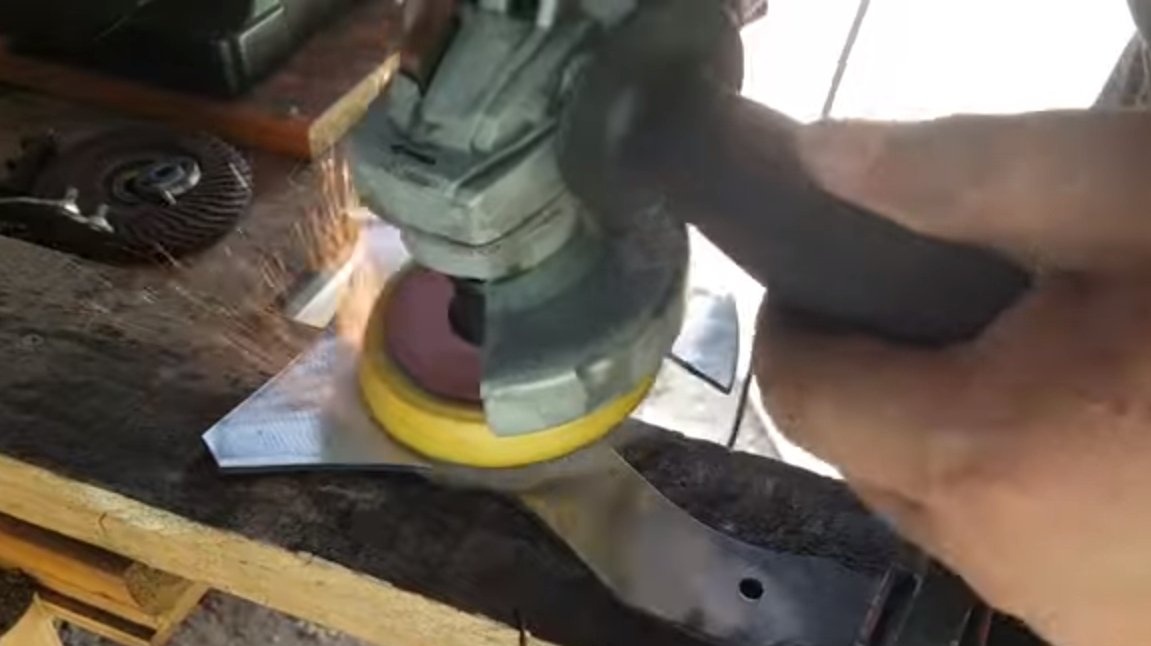
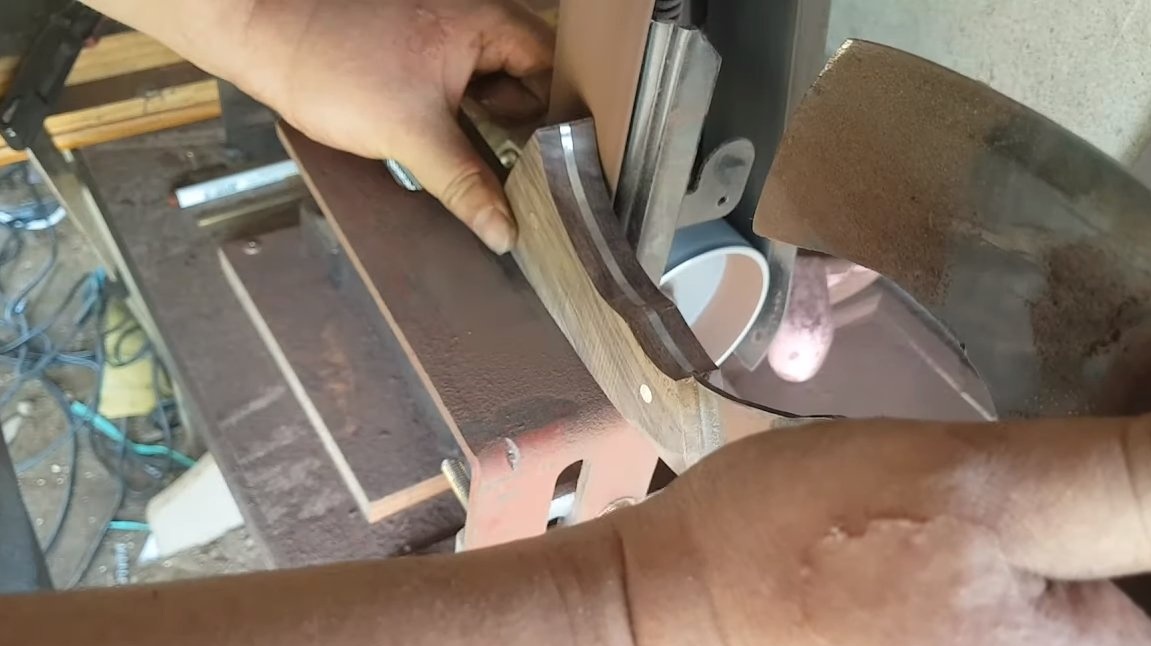
Next, we begin grinding, we need to refine the hatchet along the contour. In principle, carbon steel is grinded quite easily with various abrasives, and the task can be handled even with a hand grinder. The author has a belt sander, so this problem is solved quite easily.
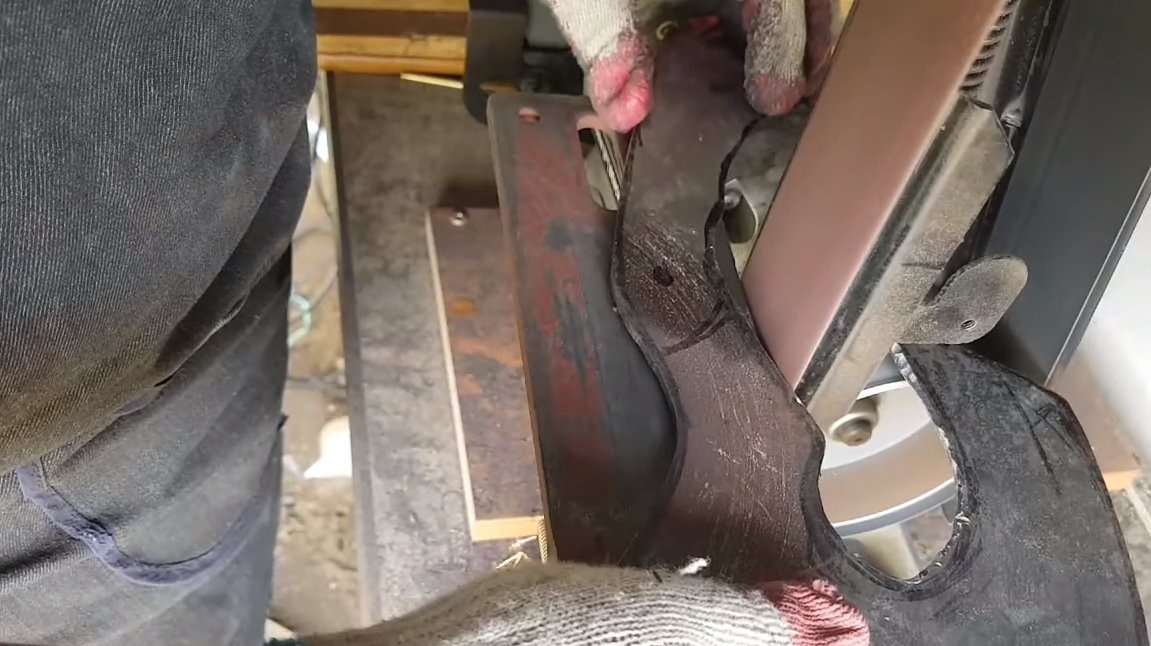
Similarly, by grinding you need to bring down the slopes. The author does everything by eye, then you need a little experience, well, or you can be guided by the template. If you will chop hard objects with an ax, it is better to make descents steeper so that the blade is thicker and vice versa.
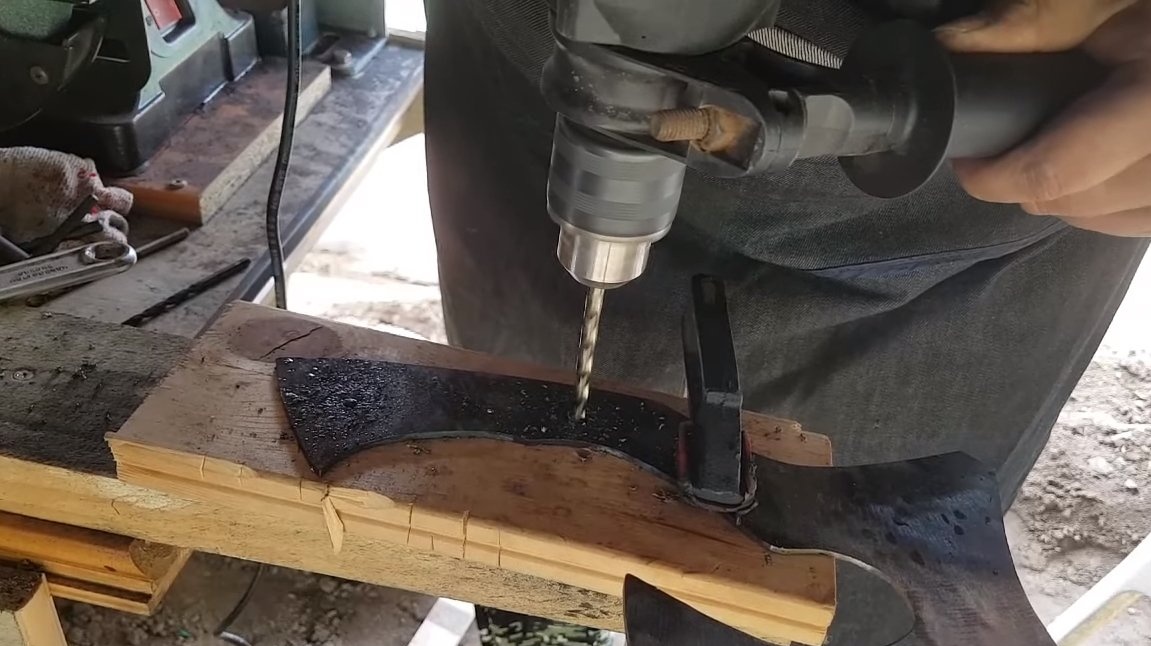
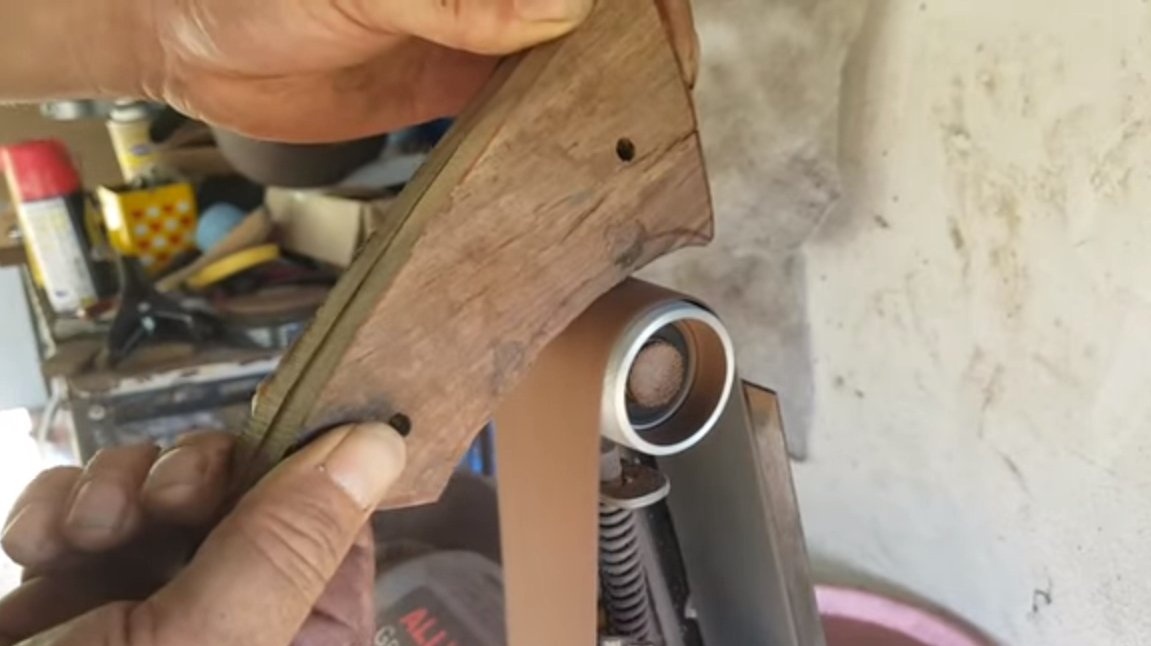
Step Three Holes
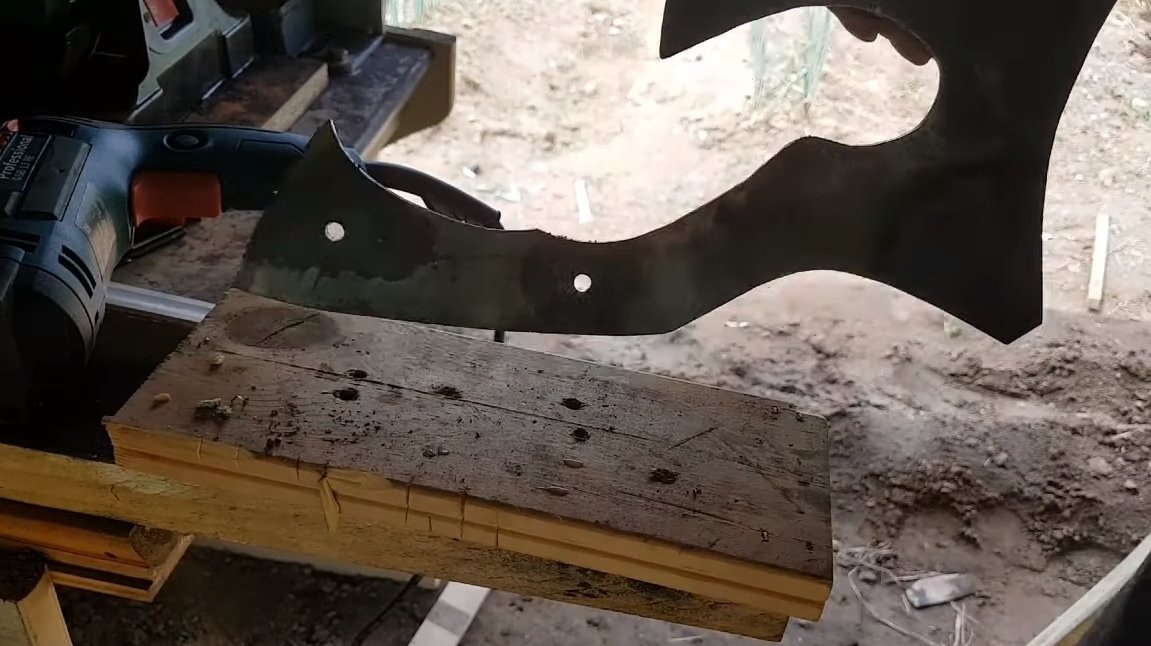
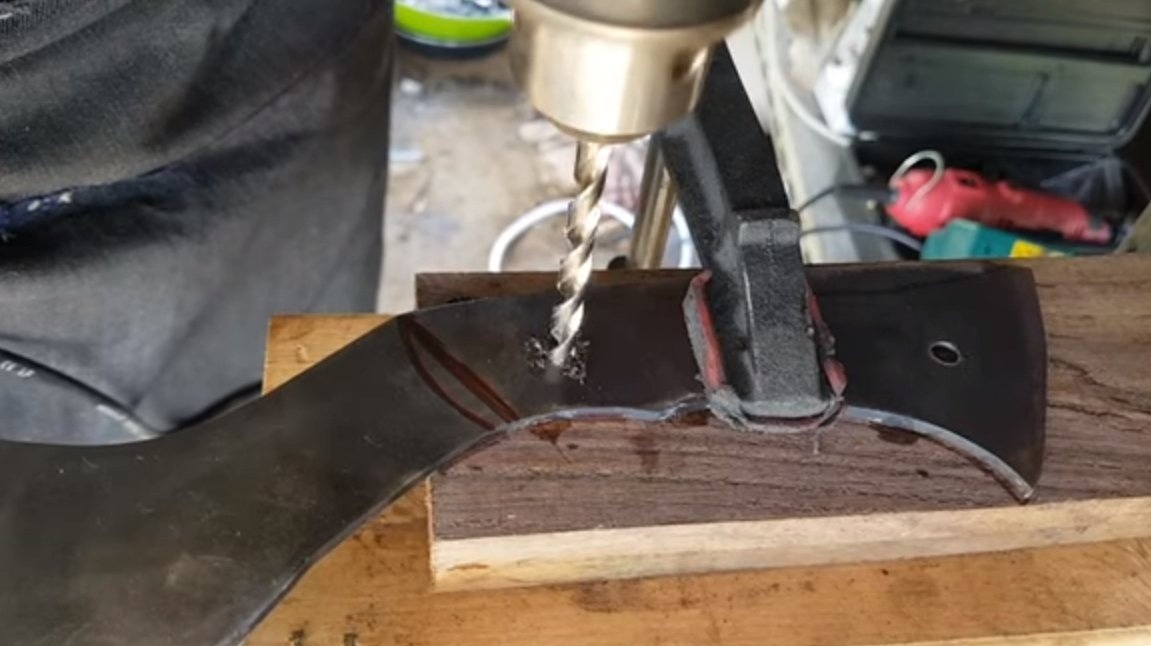
Now in the handle you need to drill two holes for the pins.This task can turn out to be quite difficult, as the selected steel is quite durable. It is better to start drilling with a small diameter drill, and then gradually increase the hole diameter with other drills. To drill the handle was easy, you can make steel tempering in this part. If there is a gas burner, this is all done quickly and simply.
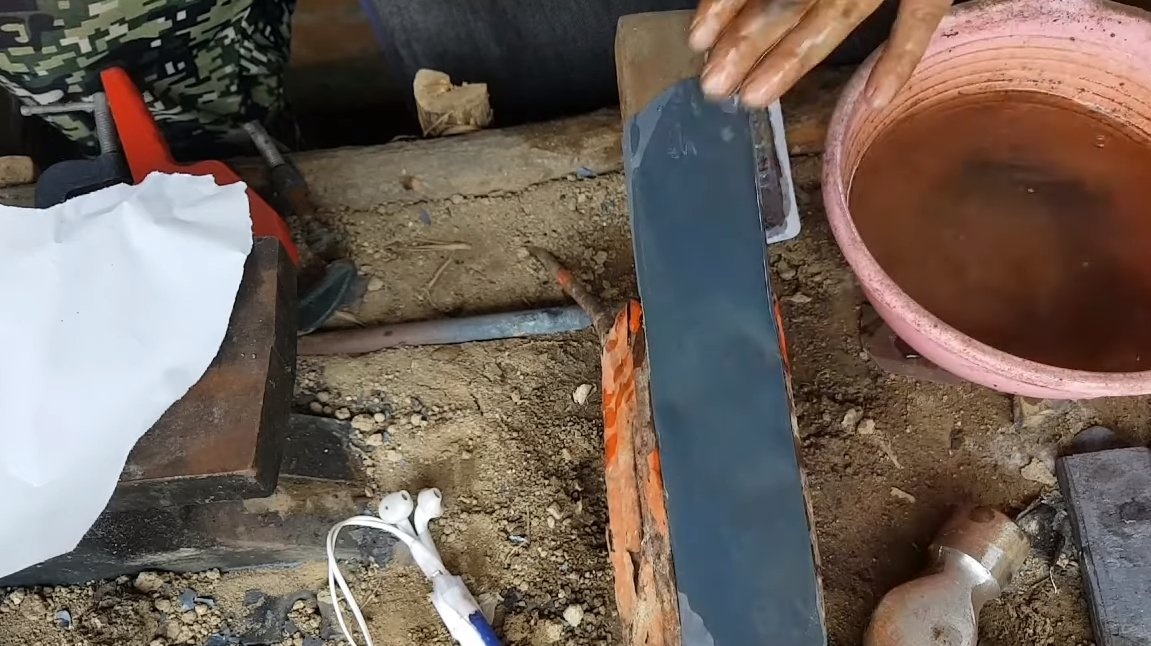
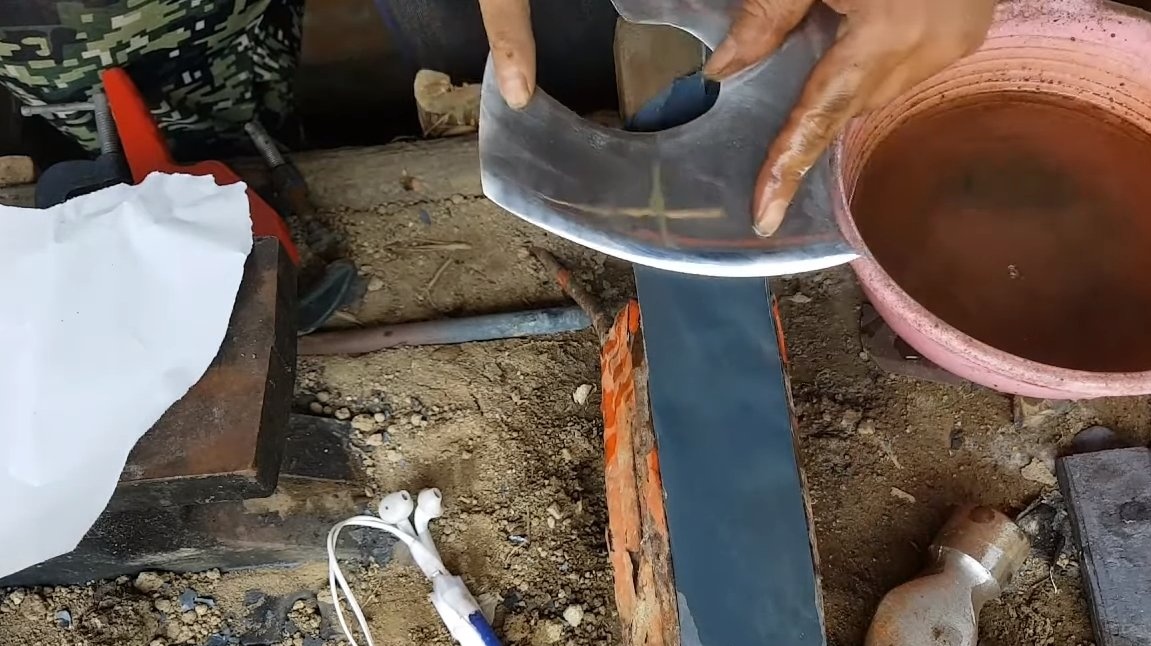
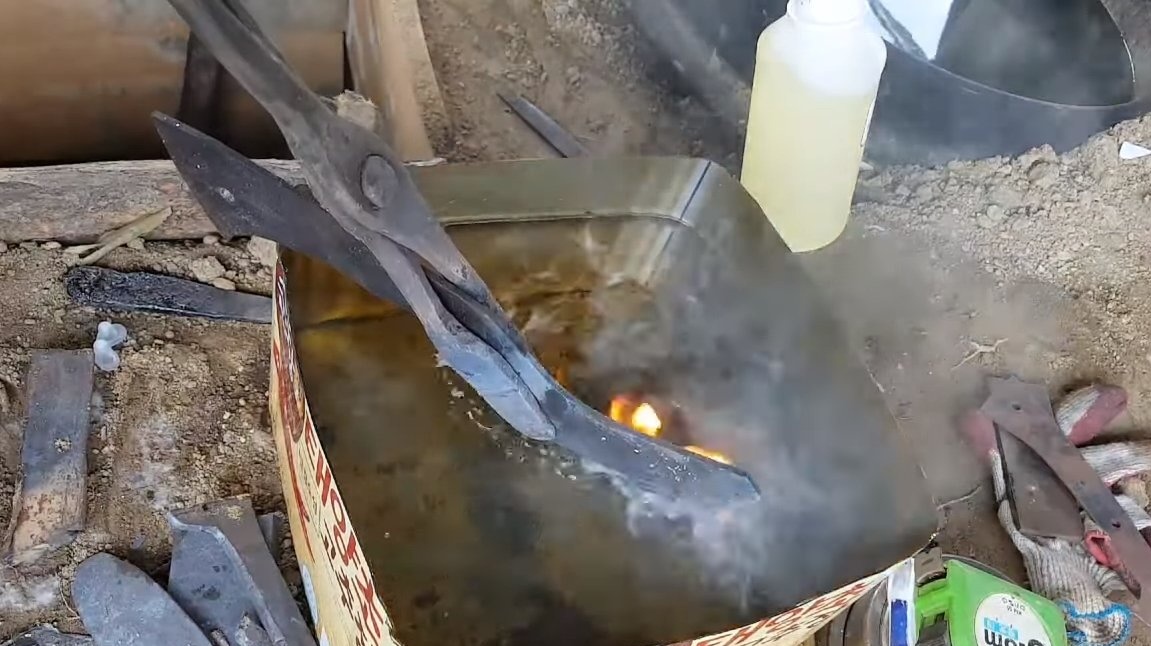
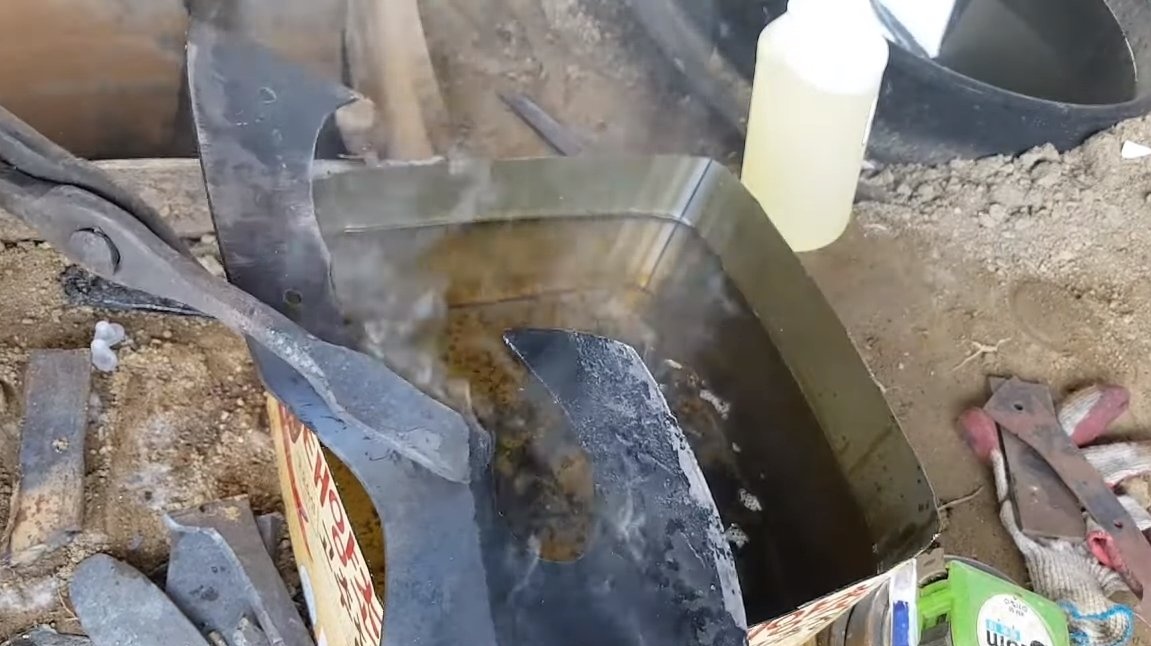
Step Four Quenching
The ax needs to be tempered, or rather its blade needs to be tempered so that the steel holds the sharpening well and nicks are not formed. For hardening, the author built an improvised furnace from refractory bricks, the coals can be inflated with a household hair dryer. We heat the blade and lower it into oil. If steel is hardened, it should not be taken with a file. If scratches remain on the blade, try to heat the steel harder.
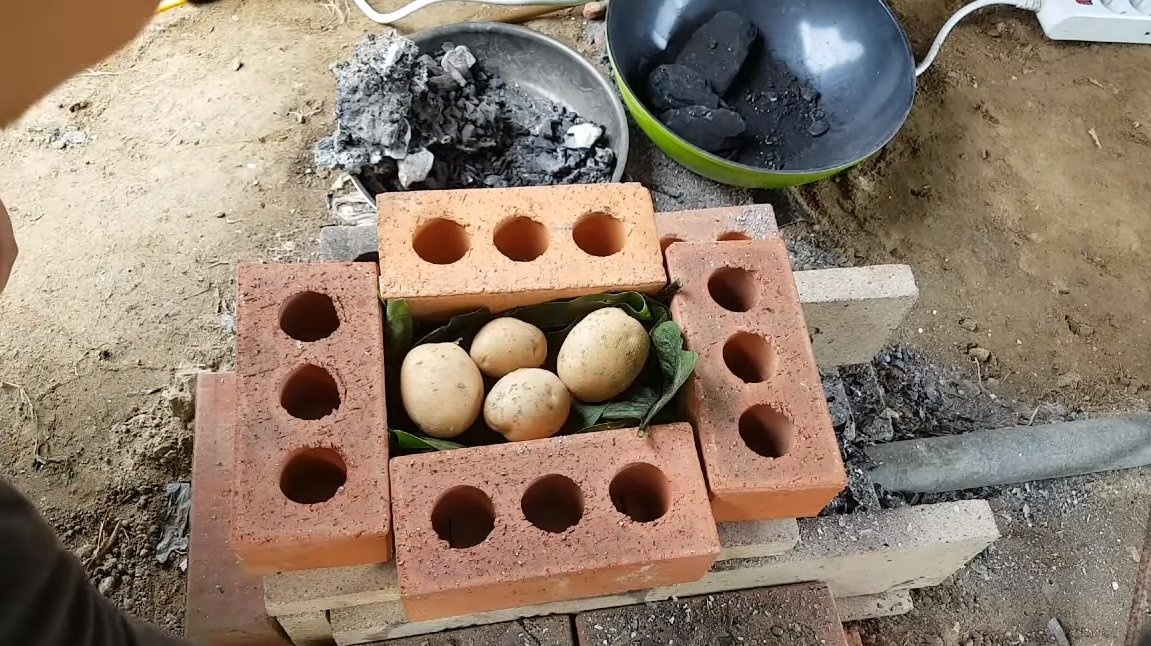
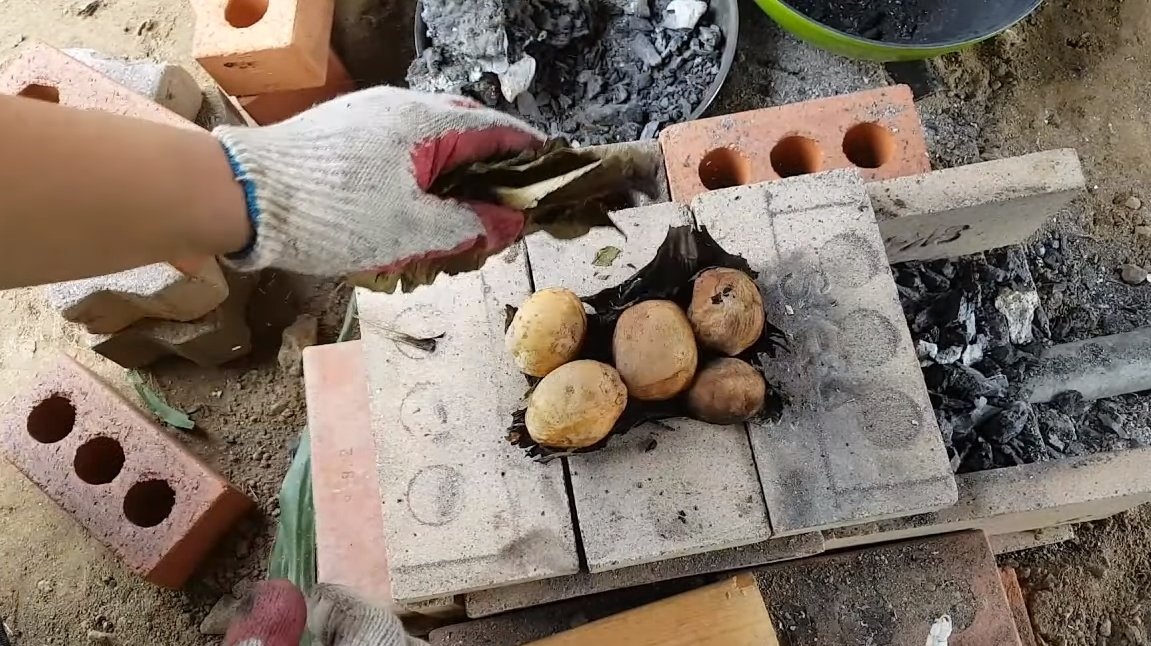
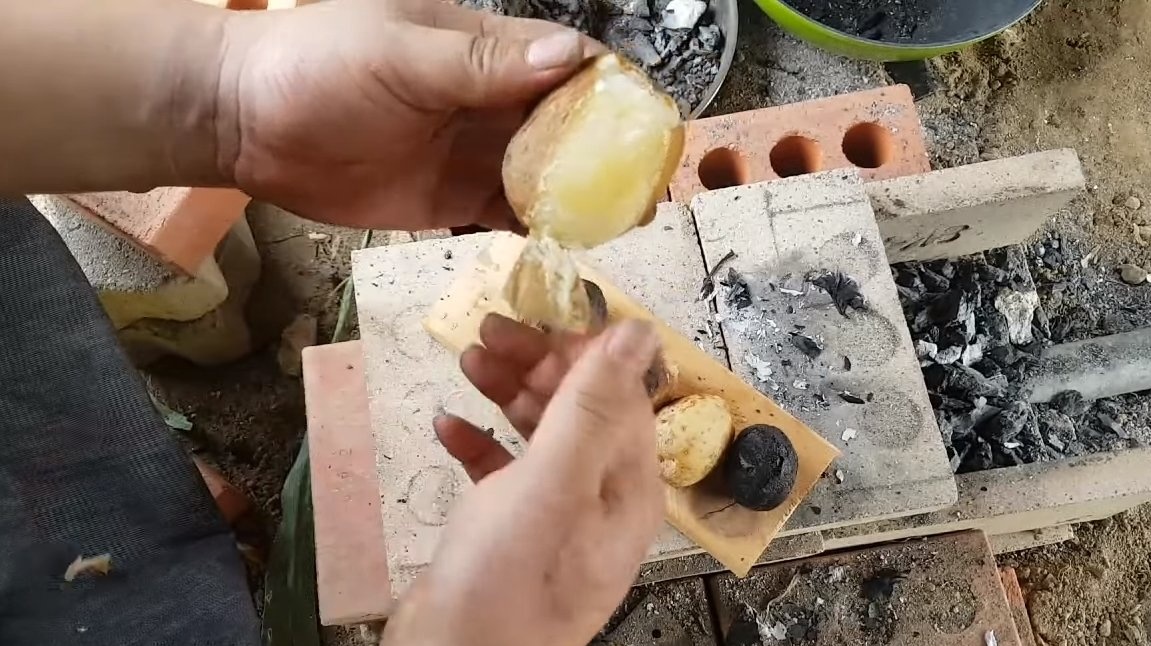
At the same time, after hardening the ax, the author baked on his miracle a potato stove and dined.
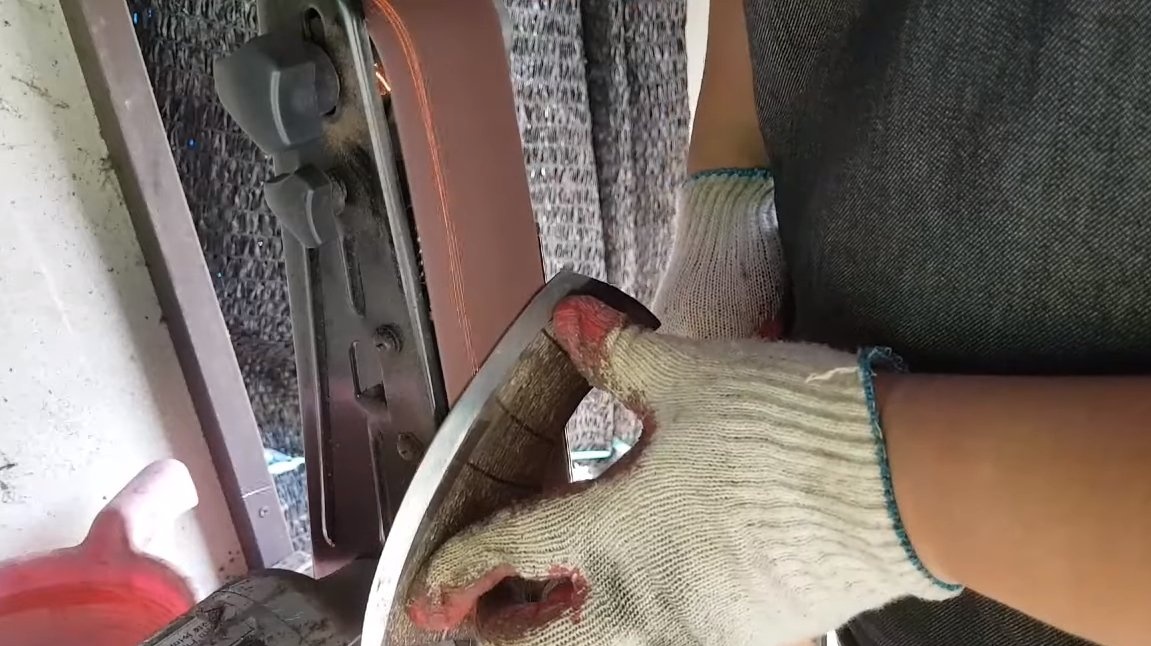
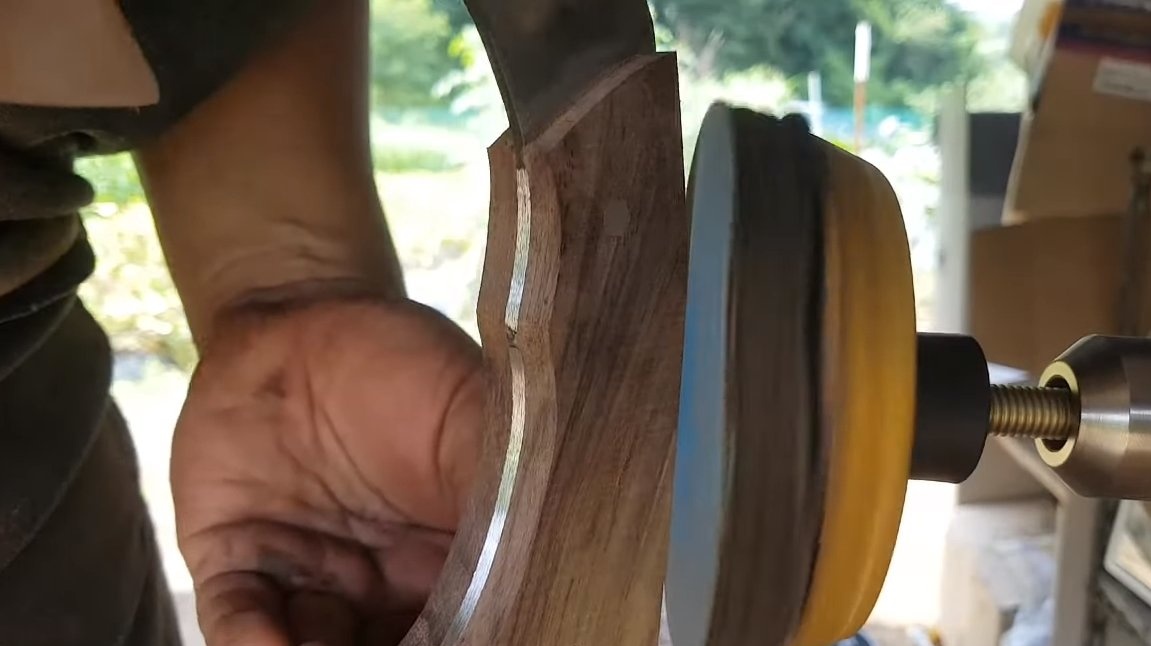
After hardening, we grind the ax with a grinder with a grinding nozzle.
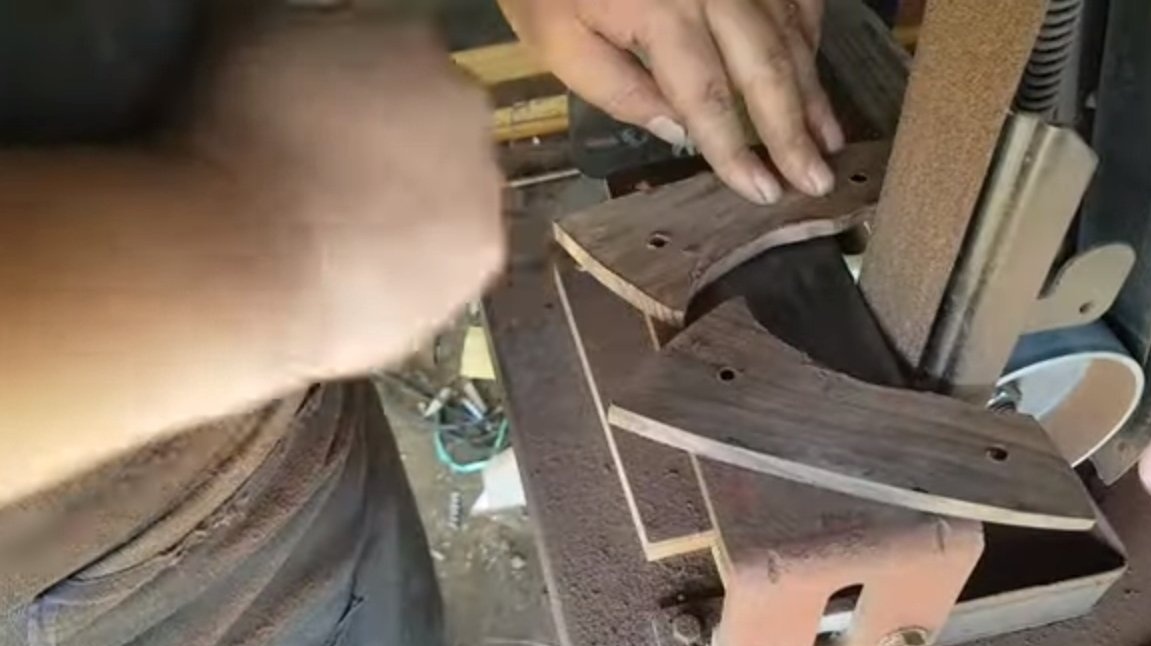
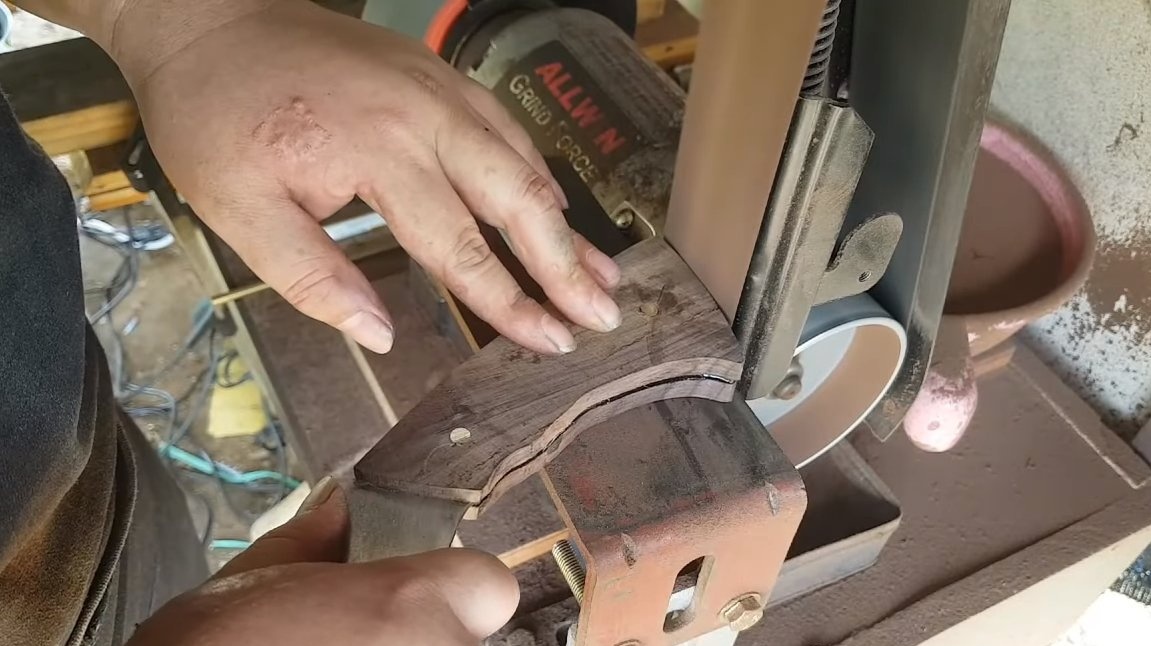
Step Five Lining
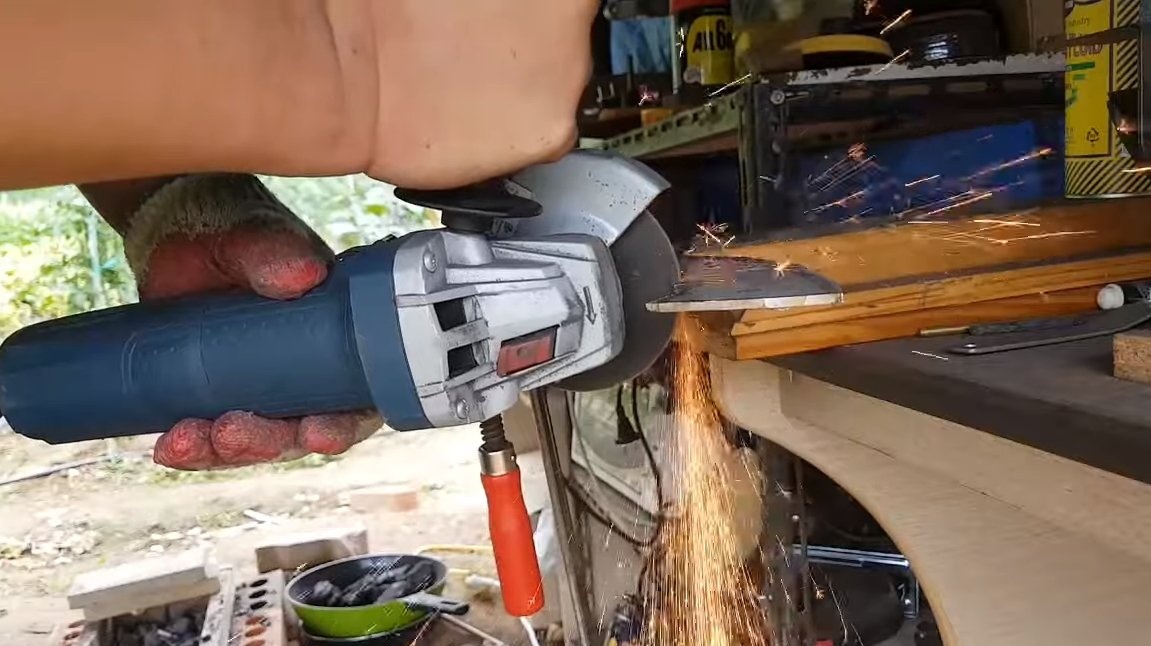
We are looking for a piece of board of suitable thickness and preferably with a beautiful texture for the handle. We attach the handle of the ax to the board and circle the marker. As a result, we will need to cut two blanks, for this the author uses an electric jigsaw. The pads should be the same, so we twist them together with screws or glue them together, and then proceed to grinding.
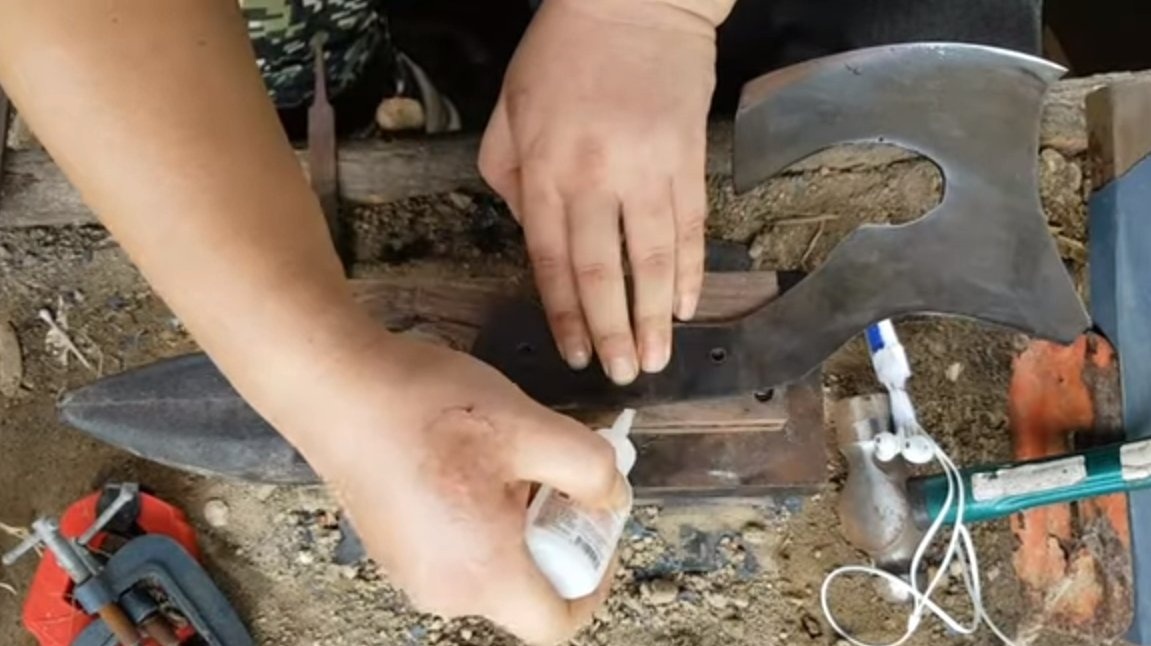
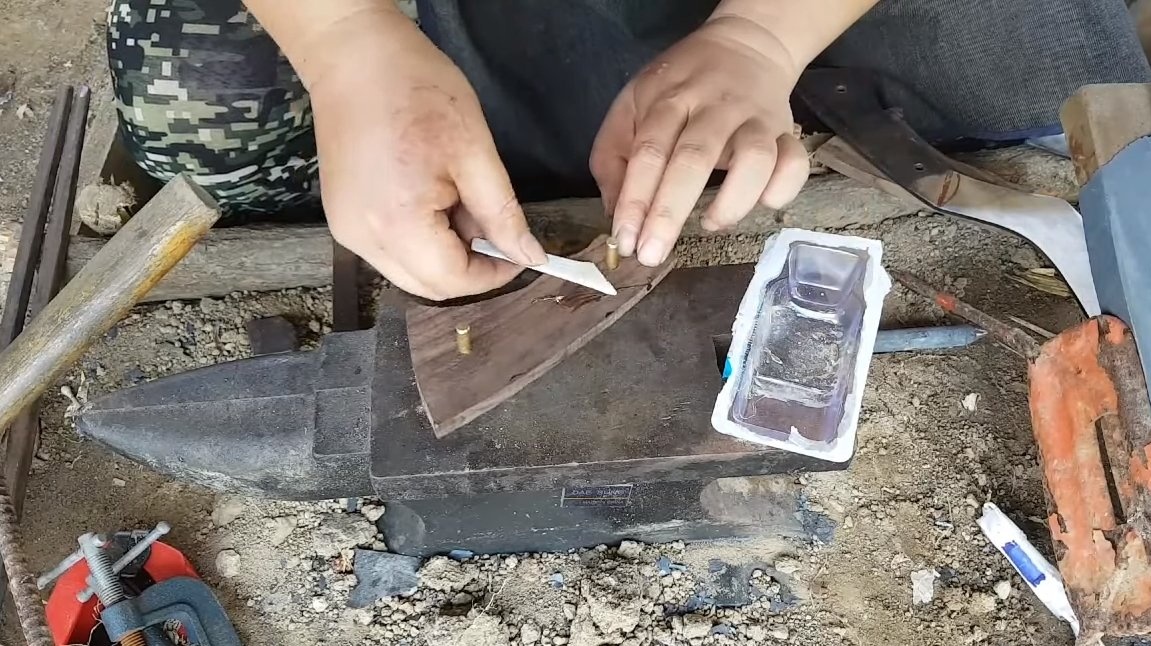
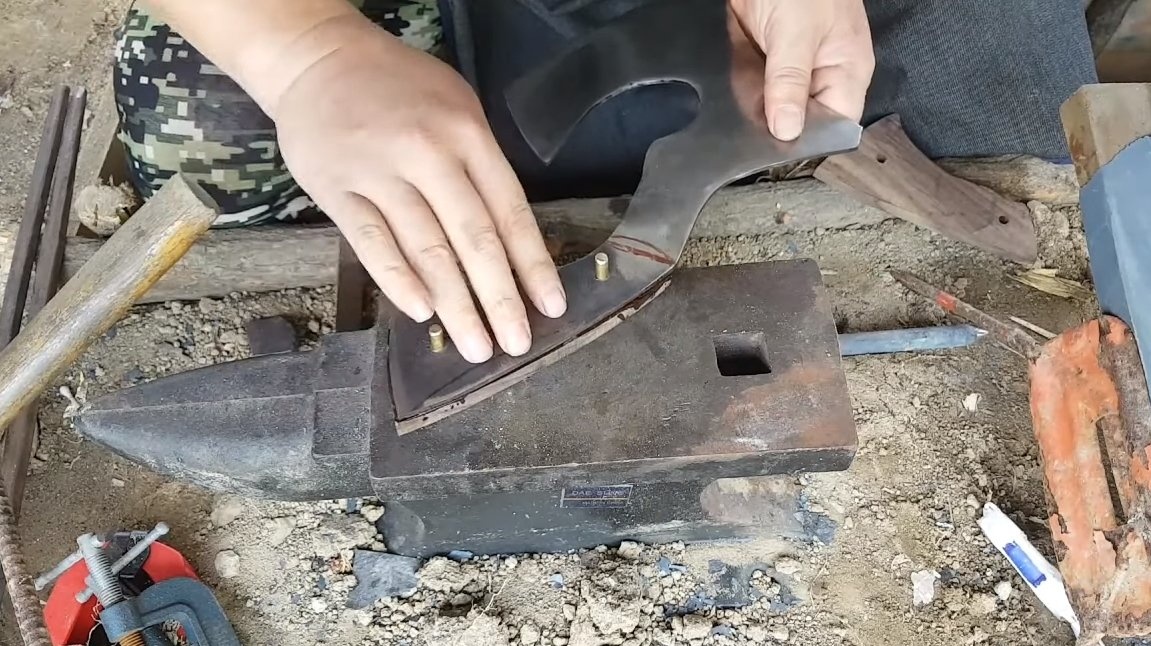
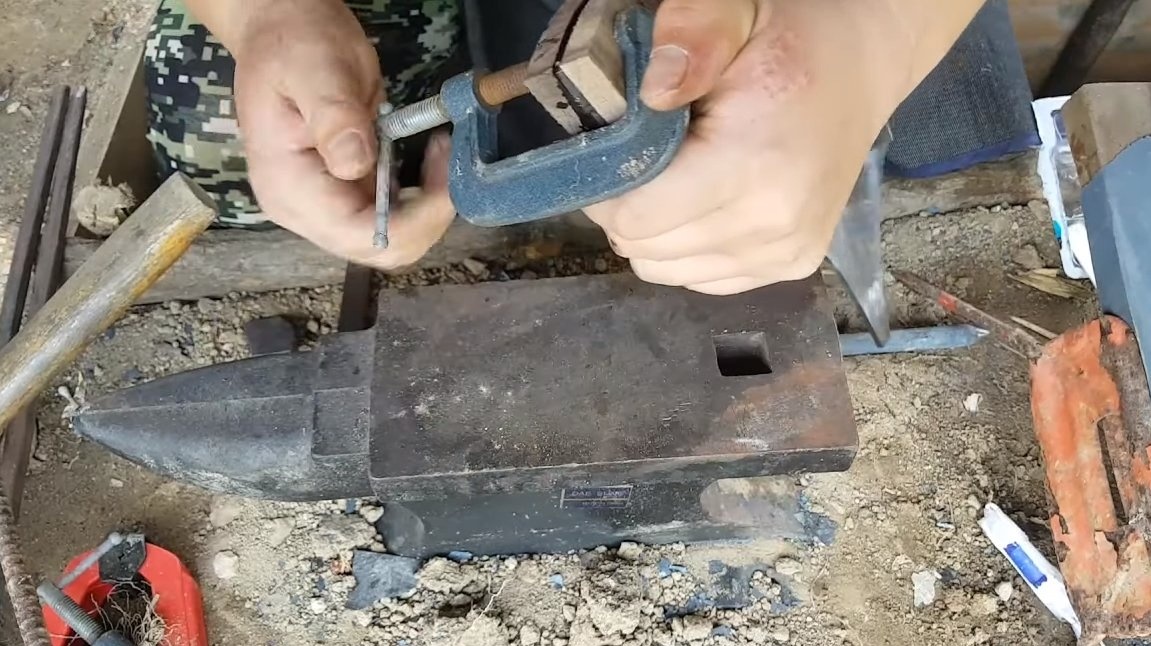
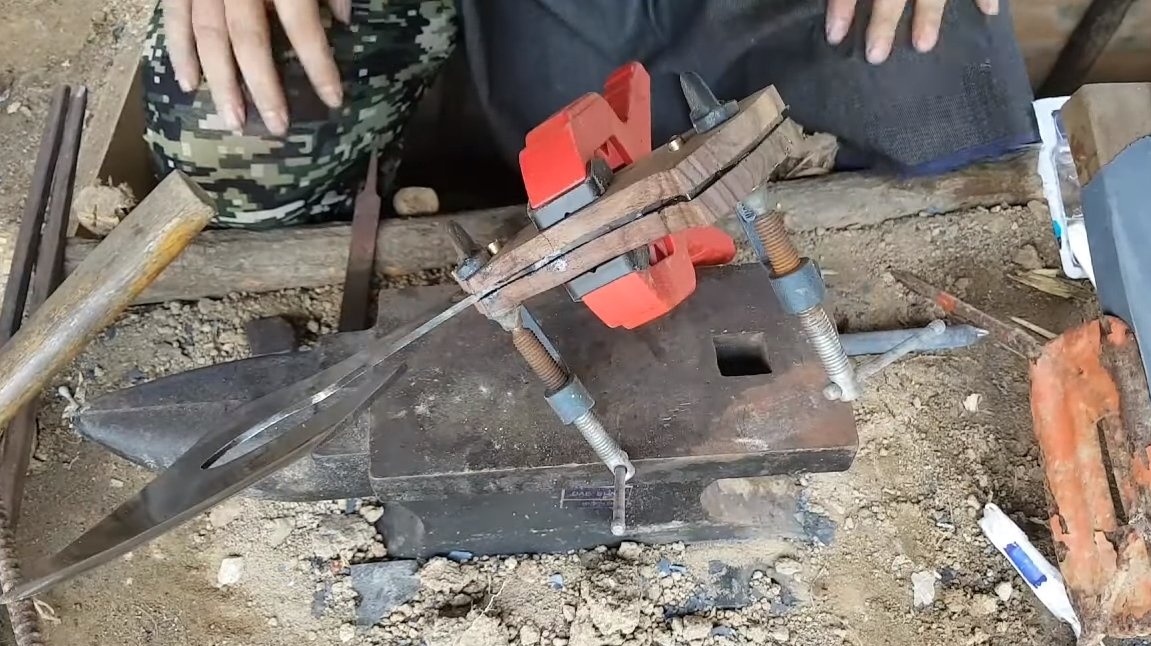
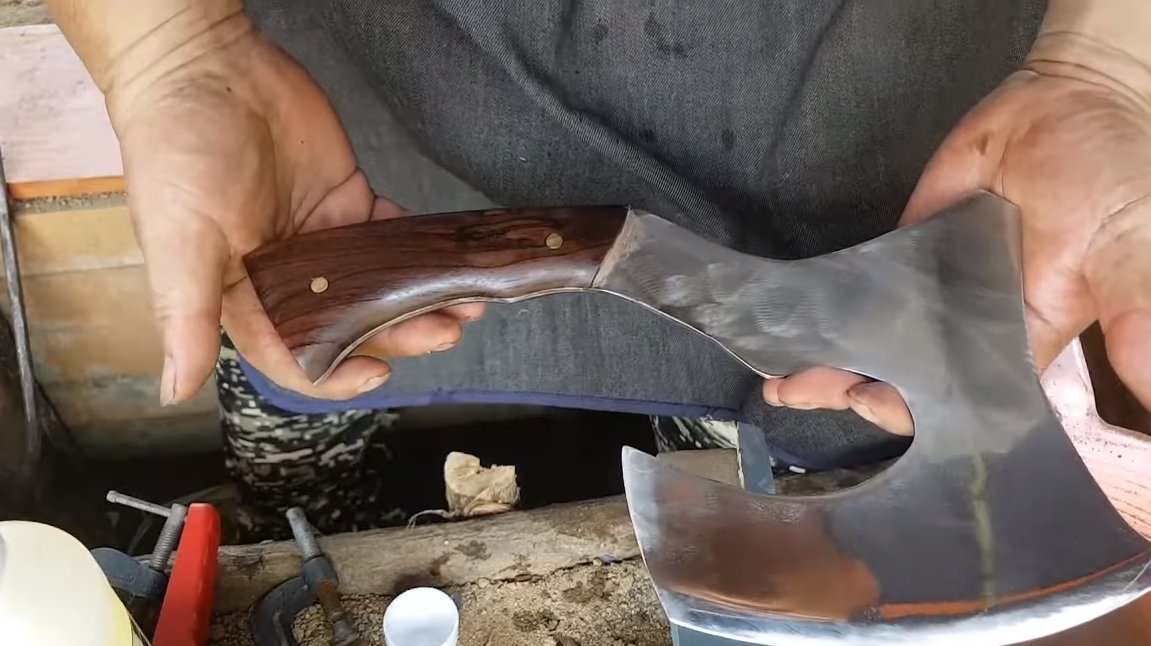
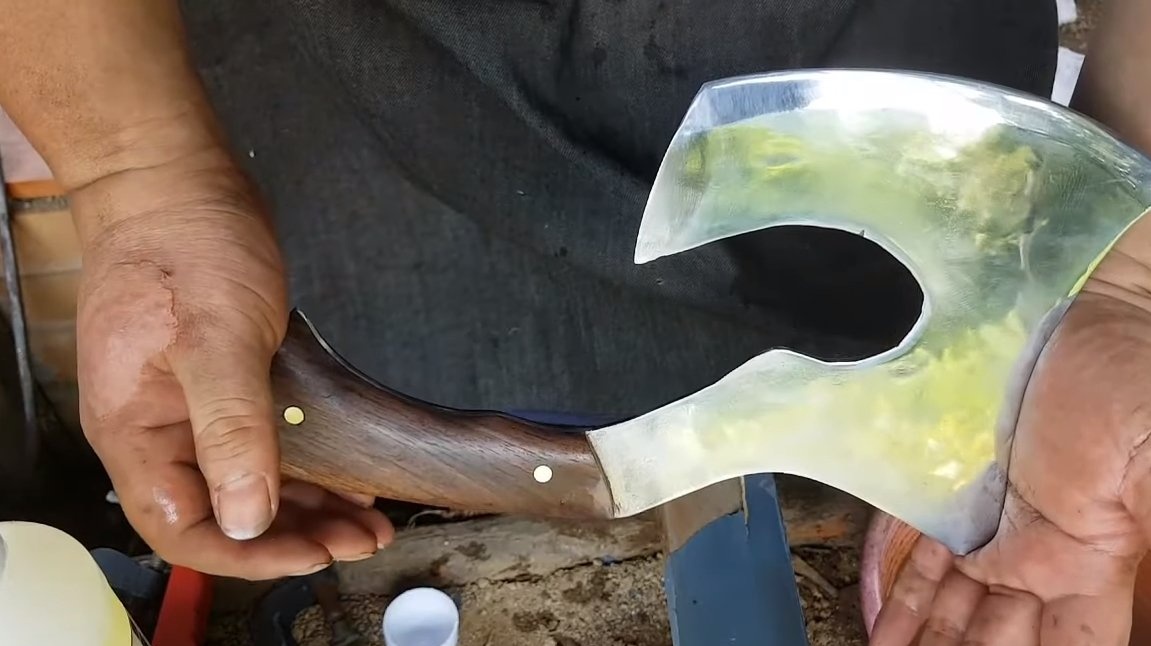
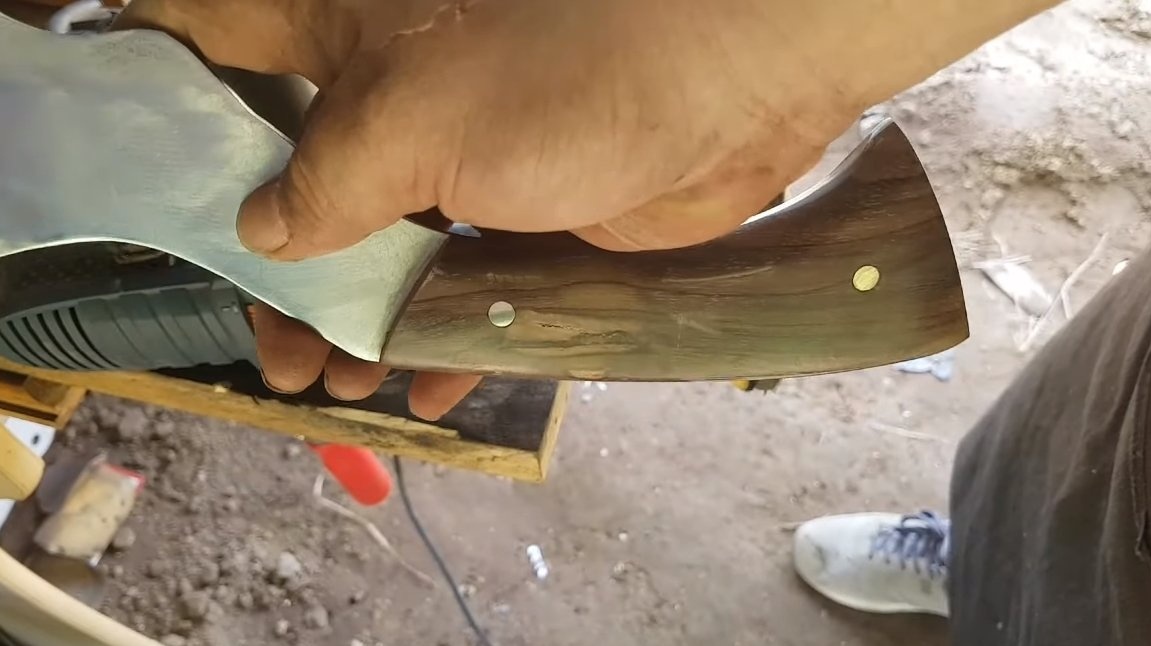
Glue the resulting pads to the handle of the ax, and it was decided to use brass rods as pins. Brass looks gorgeous, and thanks to zinc this metal is well protected from oxidation. We tighten the pads with clamps and allow the glue to dry. Glue is recommended to use epoxy.
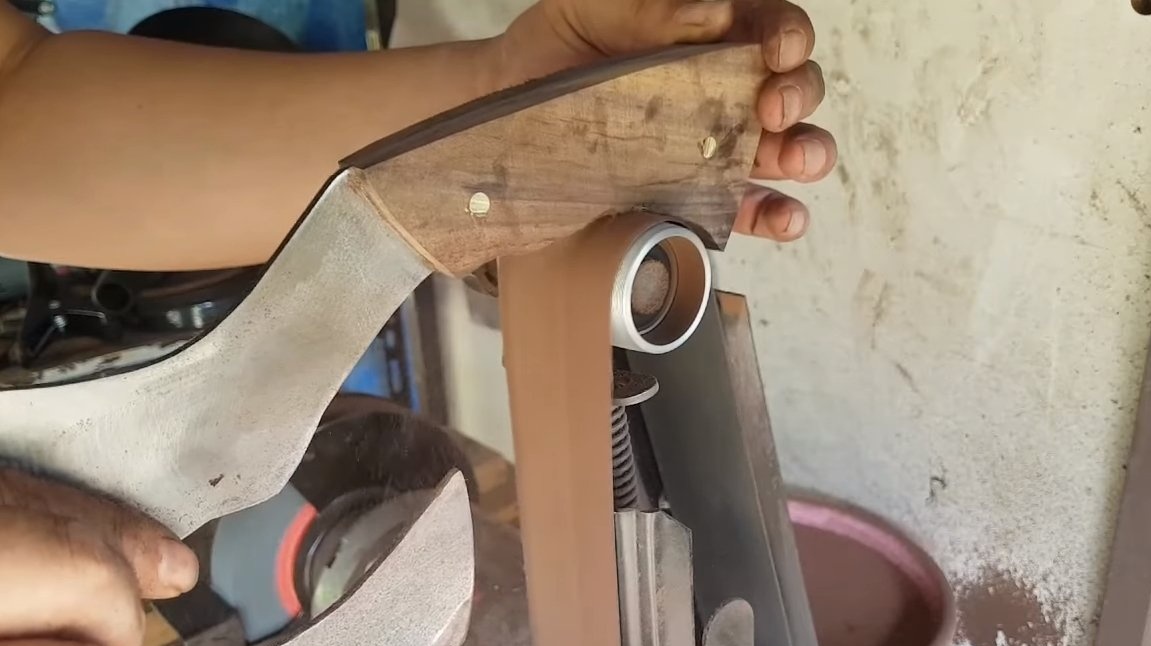
Step Six Handle refinement
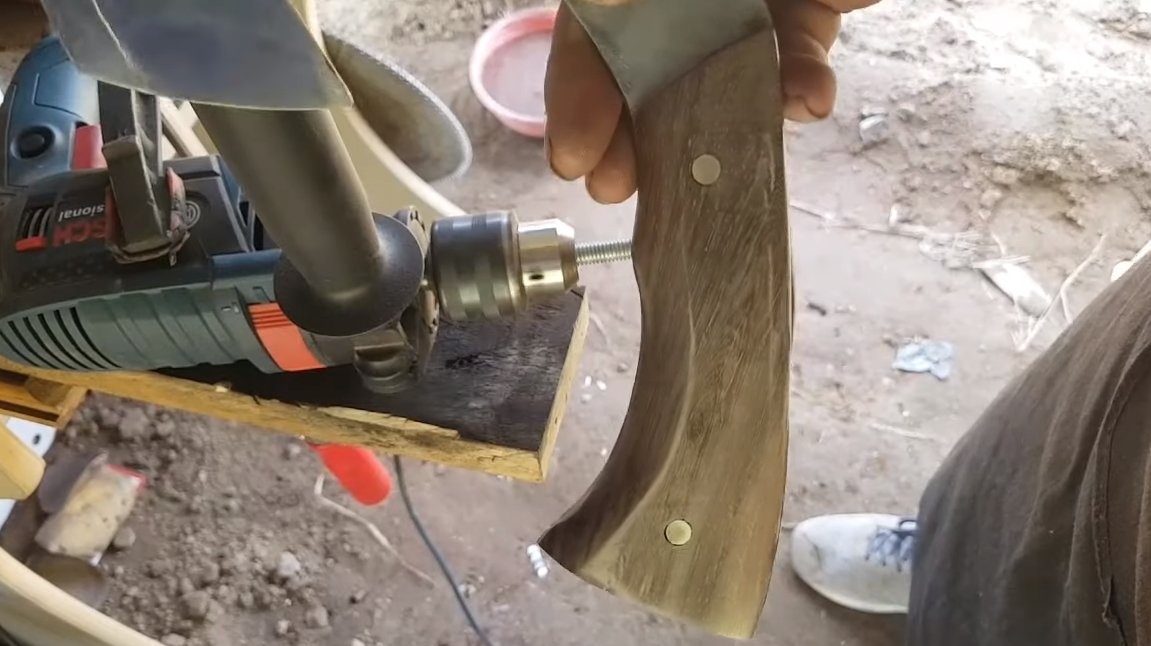
When the glue dries, we grind the handle on a tape machine or set the desired profile manually using files. Next, we move on to finer processing with sandpaper. The handle should be smooth, comfortable and pleasant to the touch. In conclusion, the author polished the pads with a drill and a polishing nozzle.

Seventh step. Final touches
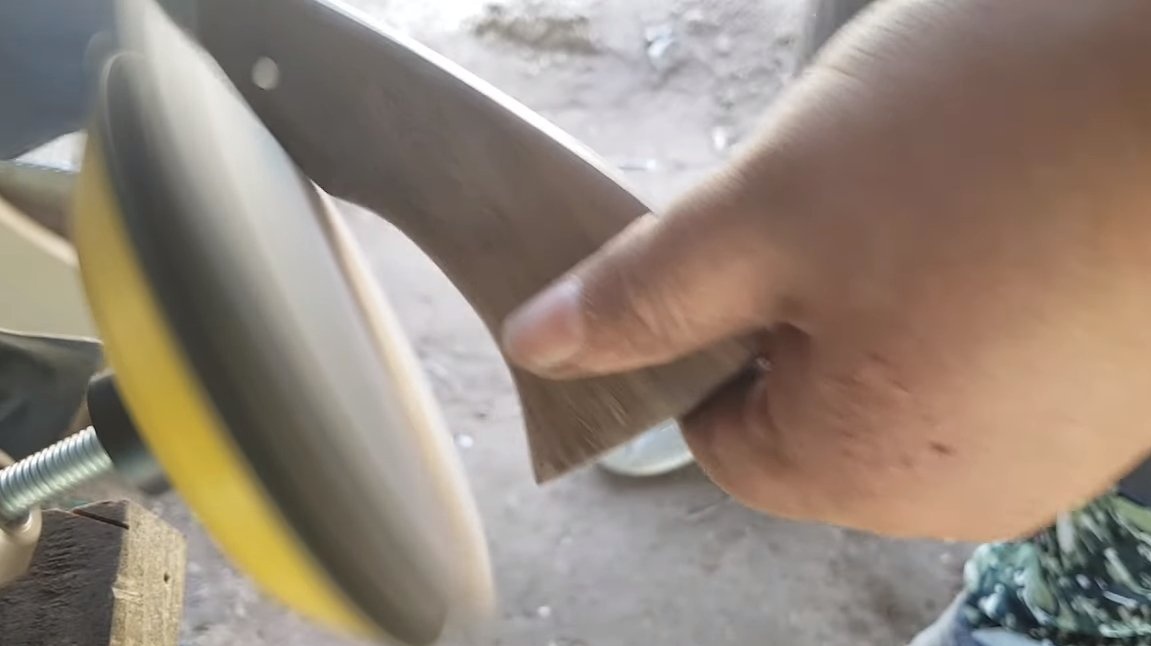
In conclusion, we sharpen the blade, for this the author used fine sandpaper. To sandpaper well polished, wet it with water. The ax turned out to be very sharp, it easily cuts very thin paper.
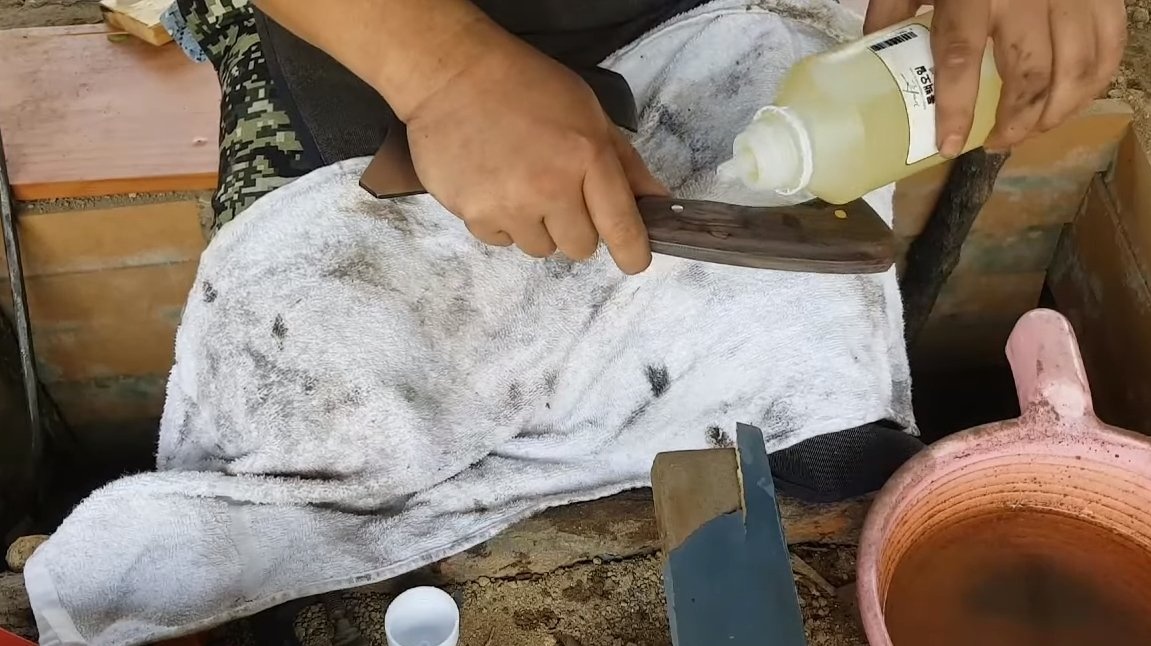
That's all, the ax is ready, soak the hilt with oil, now it is well protected from water and looks great. The ax cuts perfectly and it is also quite convenient and easy for them to chop branches for animal feed. On this project is over, I hope you liked the homemade. Good luck and creative inspiration, if you decide to repeat this. Do not forget to share your ideas and homemade things with us!