
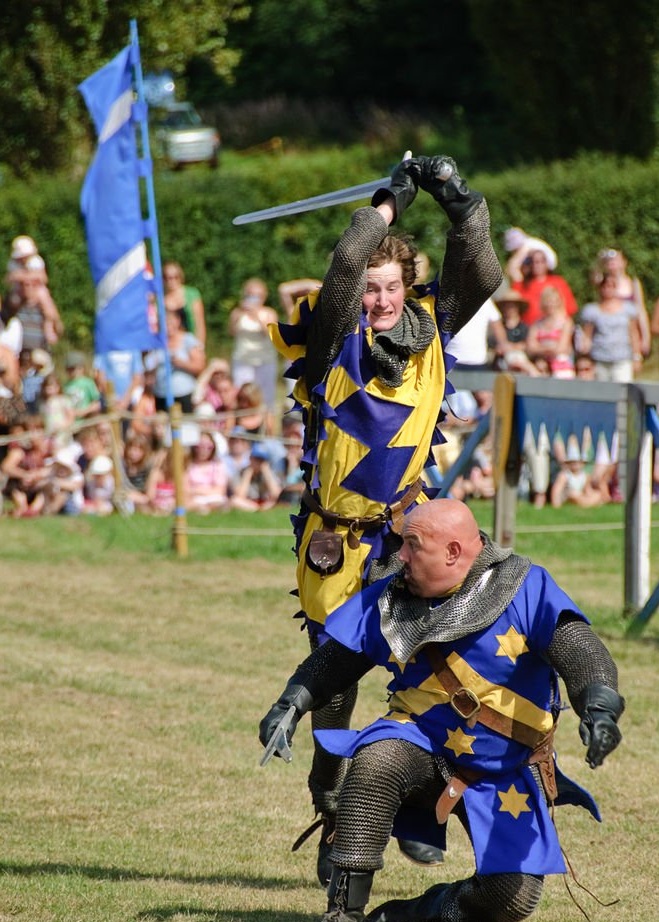
Chain mail refers to armor that is made of metal rings joined together to form a protective mesh. Historically, this type of armor was used to protect soldiers on the battlefield from chopping and piercing attacks.
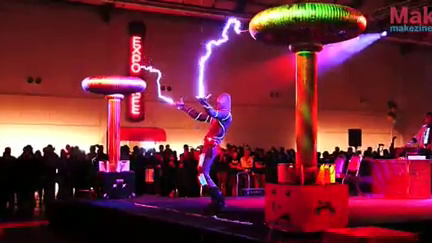
In addition to being able to protect the warrior from sharp objects, chain mail is also useful for protecting against high voltage electricity. Many people who work with high-voltage devices, such as Tesla coils, use chain mail as a portable Faraday cage.
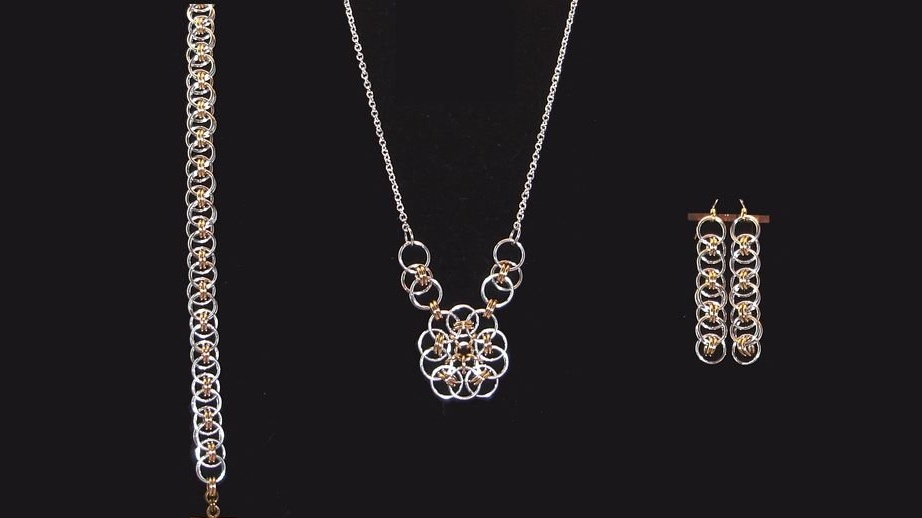
Chain knitting is also widely used as a decorative element. The simple elegance of interwoven rings is ideal for jewelry making.
In this article, the master will give a basic introduction to the art of creating chain mail in its various forms.
Step 1: Materials
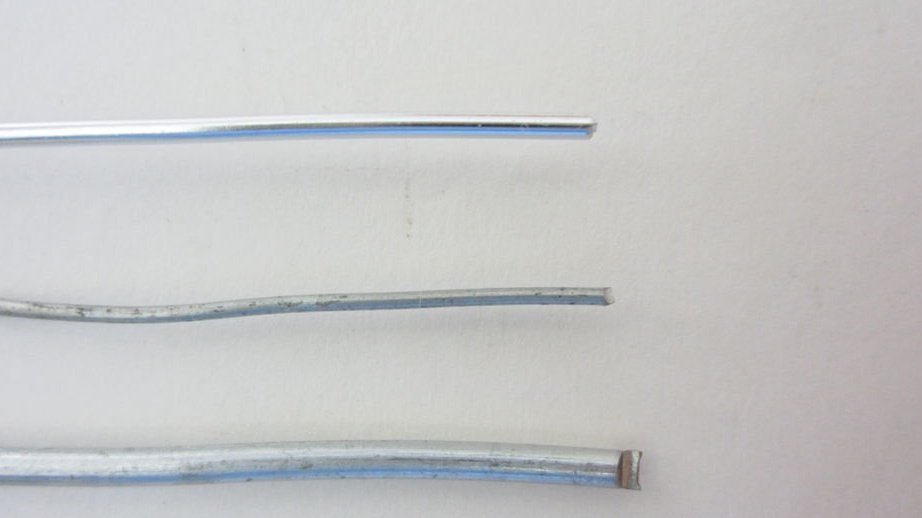
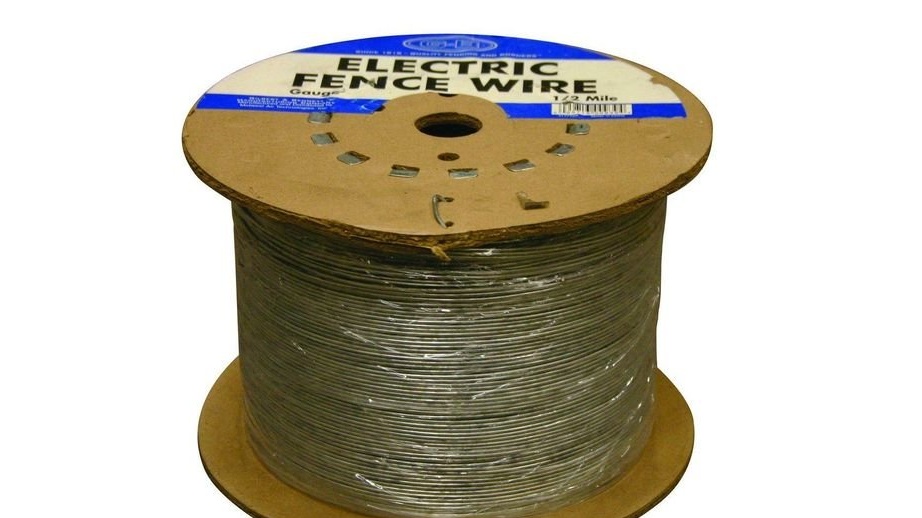
The only material that is needed to make chain mail is metal wire. The type of wire you need depends on the specific application. Chain mail is usually made of steel wire with a thickness of 1.0 to 1.6 mm. A shirt of chain mail will require about 0.8 km of wire. You can buy large spools of wire at any store that sells fencing supplies. If you make jewelry, you will need a thinner wire with a non-reactive coating. In most craft stores, you can find the right wire in different colors.
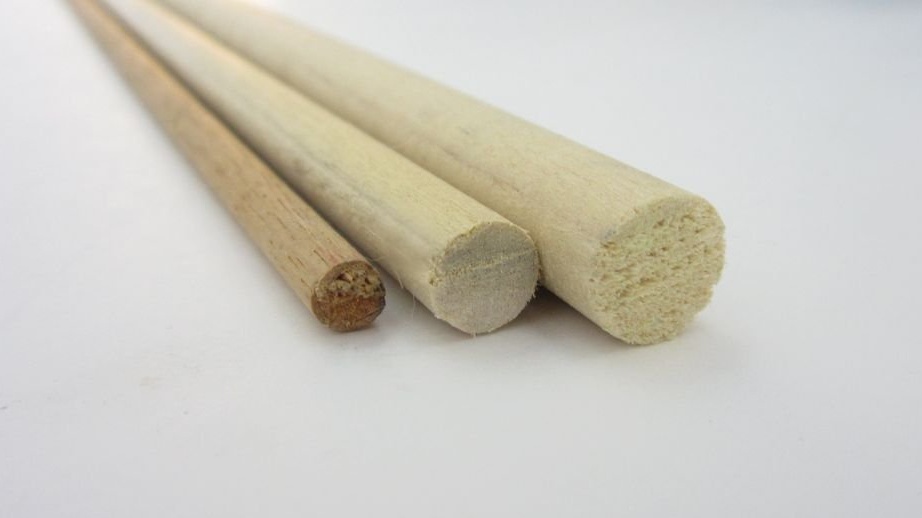
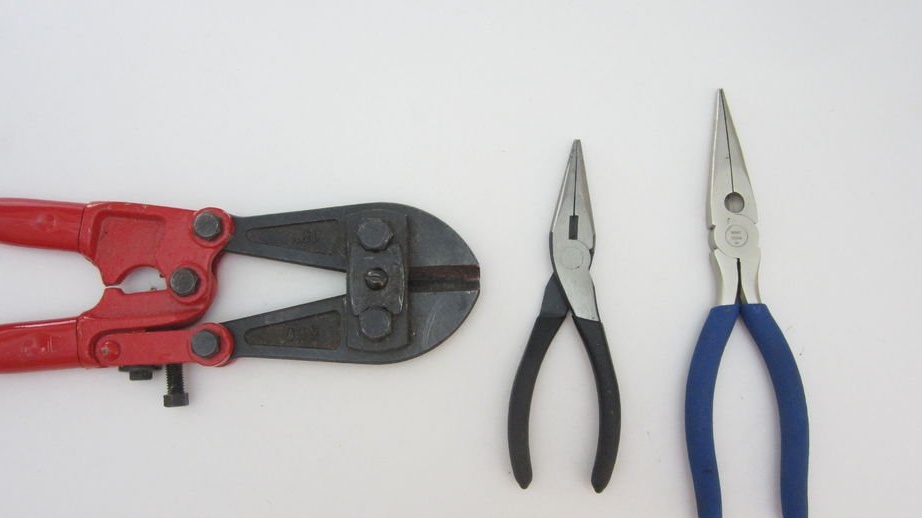
You will also need some tools. It will take a stalk to wind a wire around it. Nippers, side cutters or bolt cutters are also needed to cut individual rings. Then, to bend the wire into its final shape, you need two pairs of pliers.
Step 2: winding rings
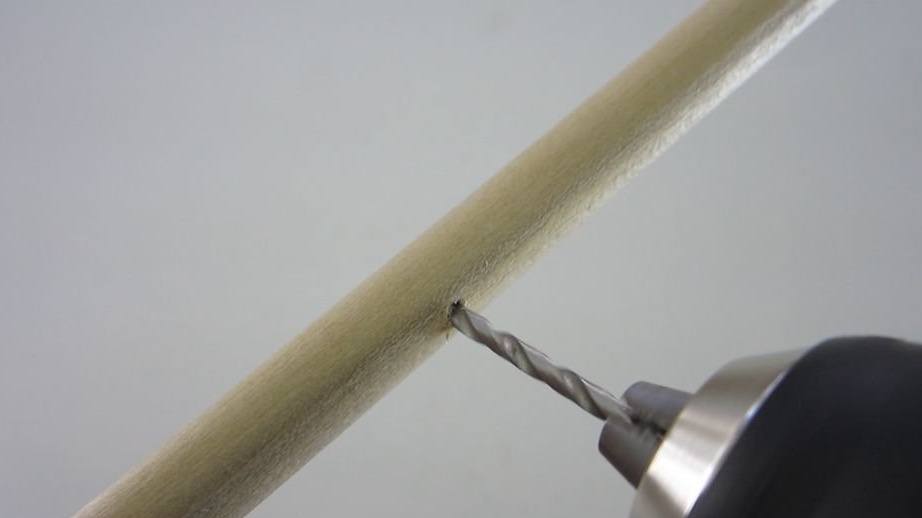
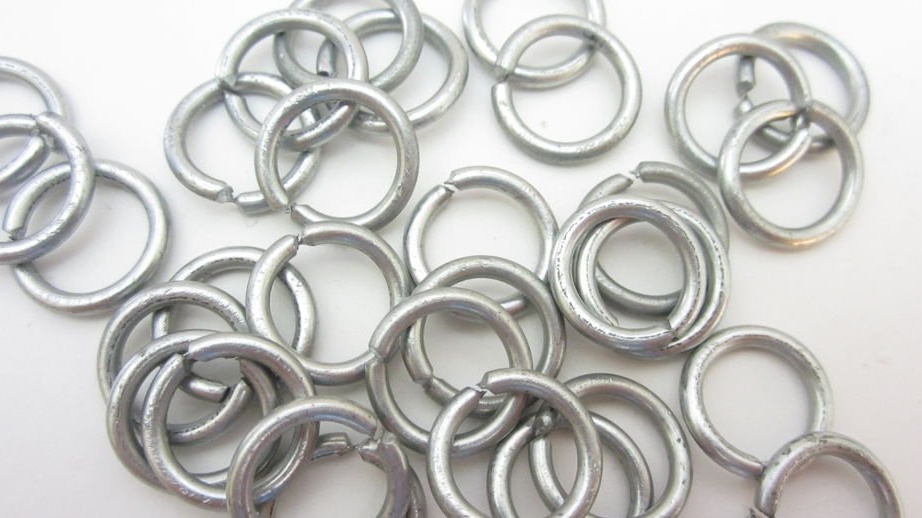
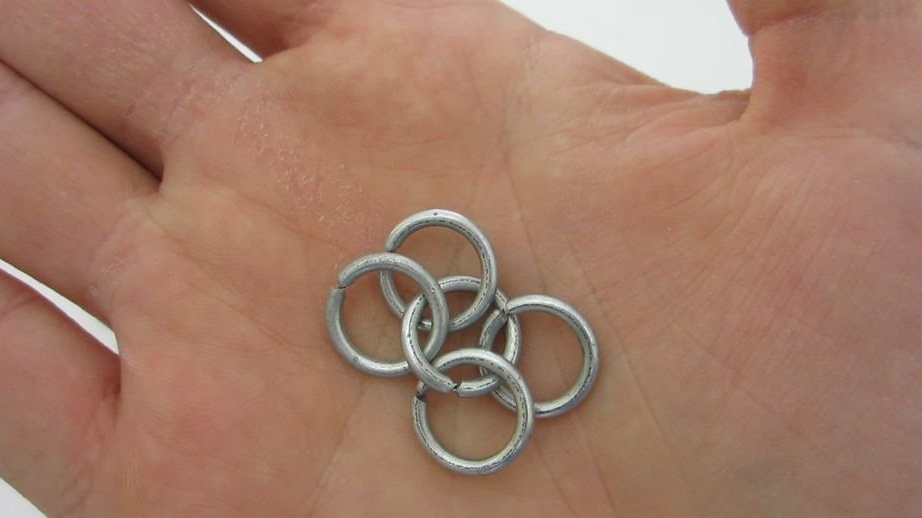
Rings are made by winding wire around the handle. Then the spring is cut into separate rings. Therefore, the first thing to do is to choose a handle for winding wire. The diameter of the handle will depend on the size of the rings. Chain mail is usually made of wire with a diameter of 1.2 mm. with rings about 9 mm in size. Keep in mind that the finished rings will be slightly larger than the stalk.
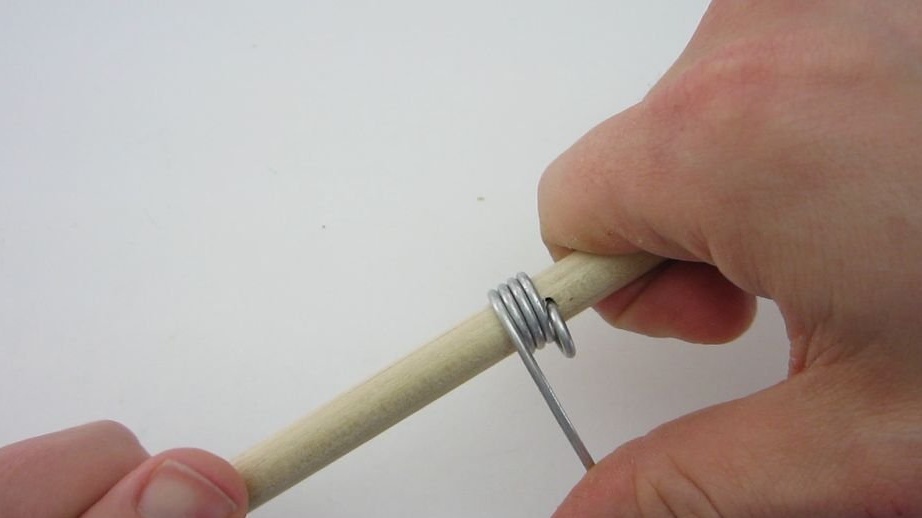
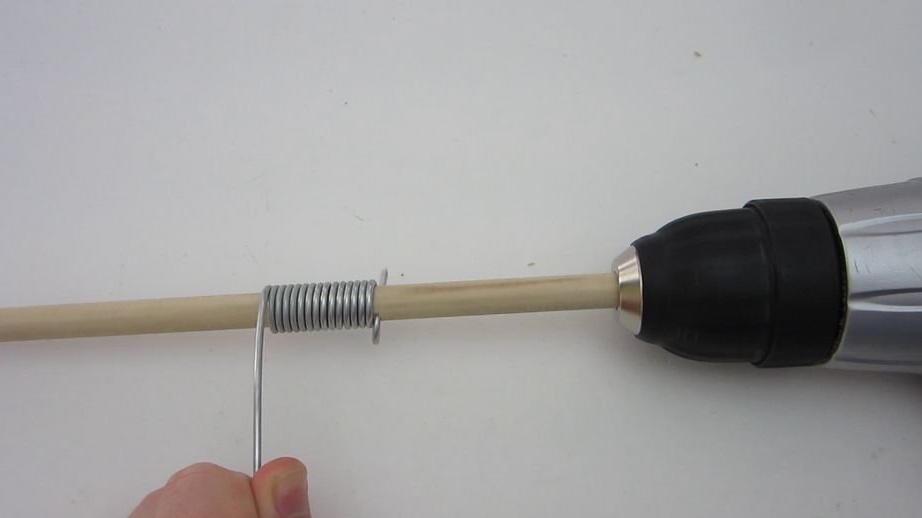
You can drill a hole in the handle of the same diameter as the wire. Then you need to insert one end of the wire through the hole to hold it in place while winding.
To keep the stalk in a stable position, you can make a winding stand, you can also use an electric motor.
If you use a stalk with a diameter of 9 mm or less, then you can insert its end directly into the drill. This makes the process much faster and easier. The only thing that remains to be done is to direct the wire as it is wound into a coil.
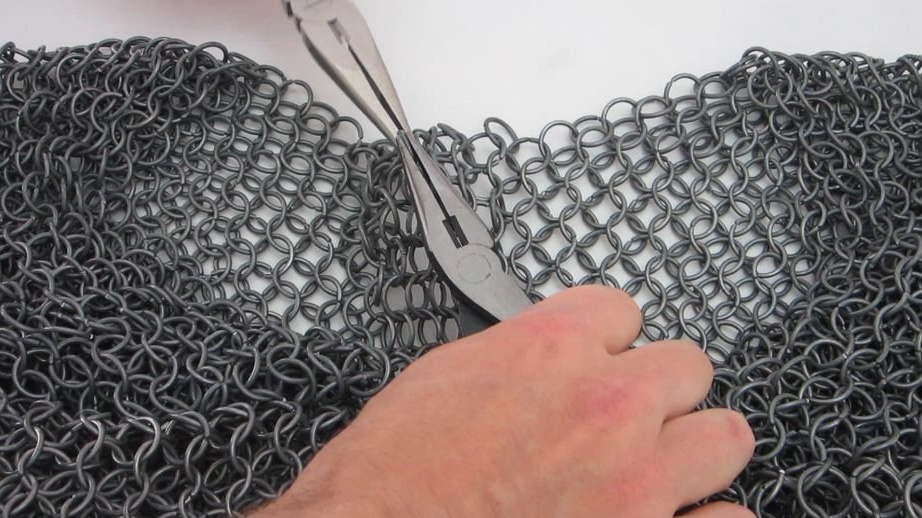
Step 3: cutting the rings
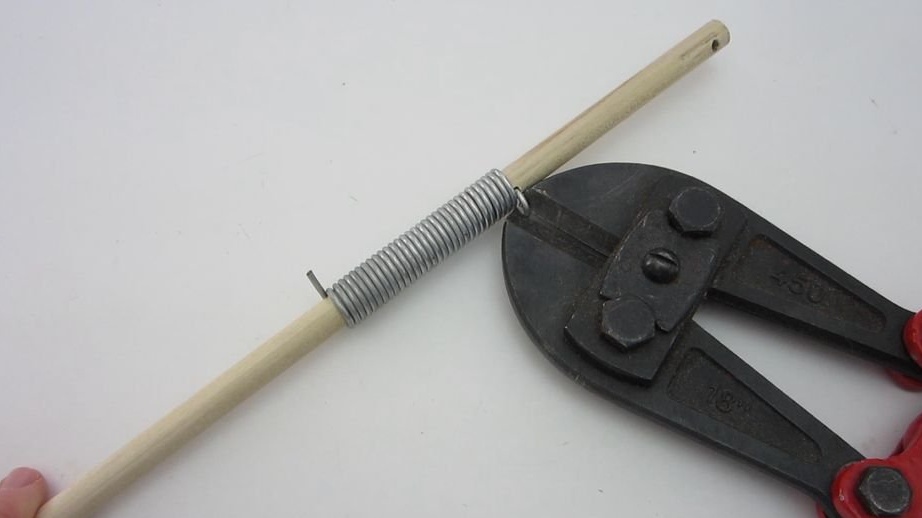
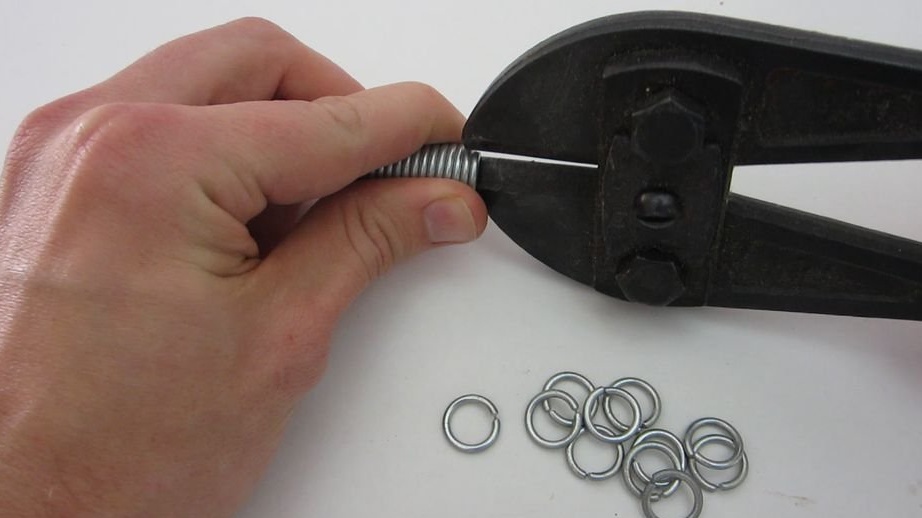
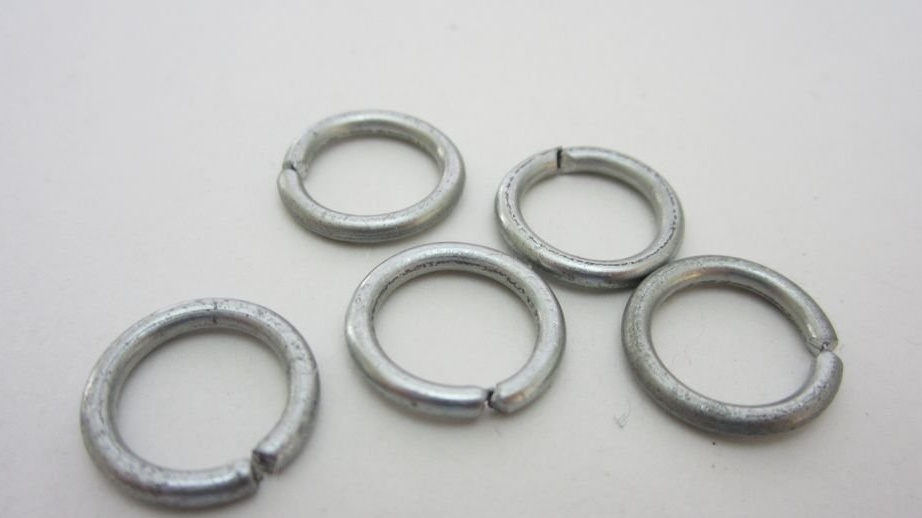
Now that there is wound wire in stock, you need to cut it into separate rings. If you use steel wire, you will most likely have to use a bolt cutter.
For softer wires such as copper, gold or silver, you can use simple hand wire cutters.
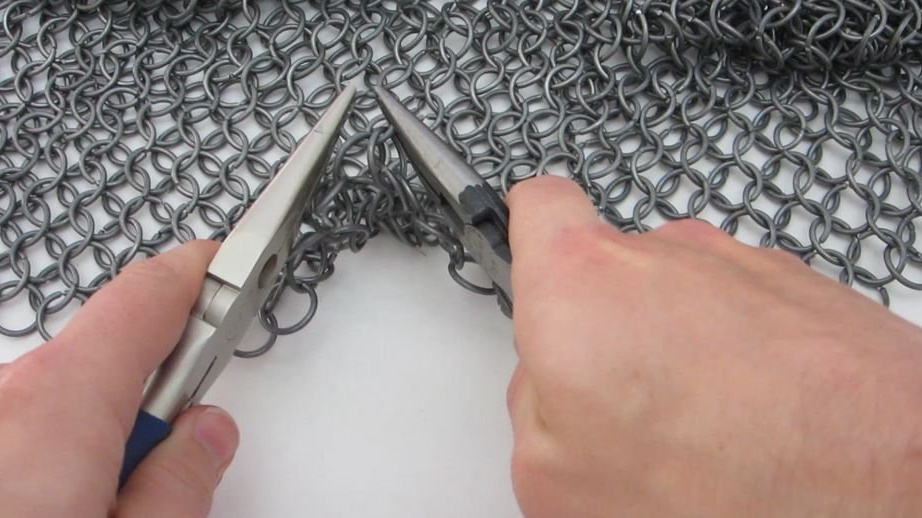
Step 4: Connect the rings
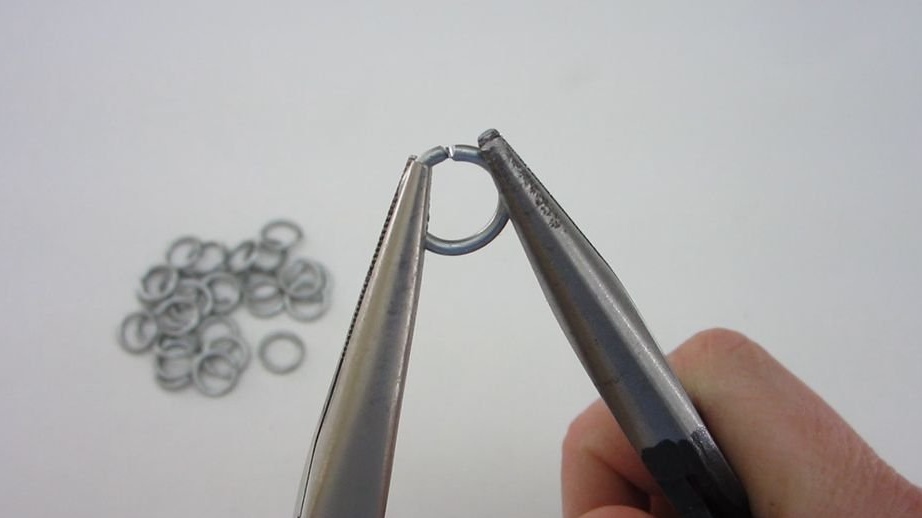
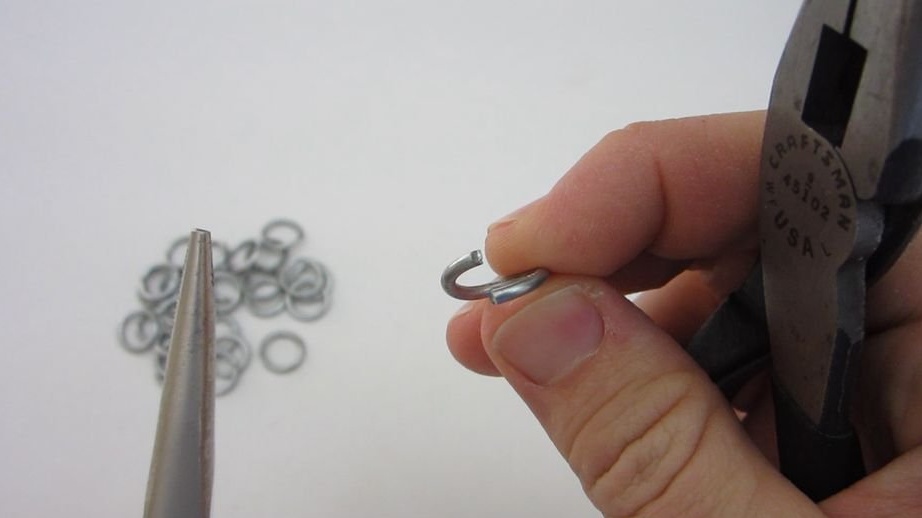
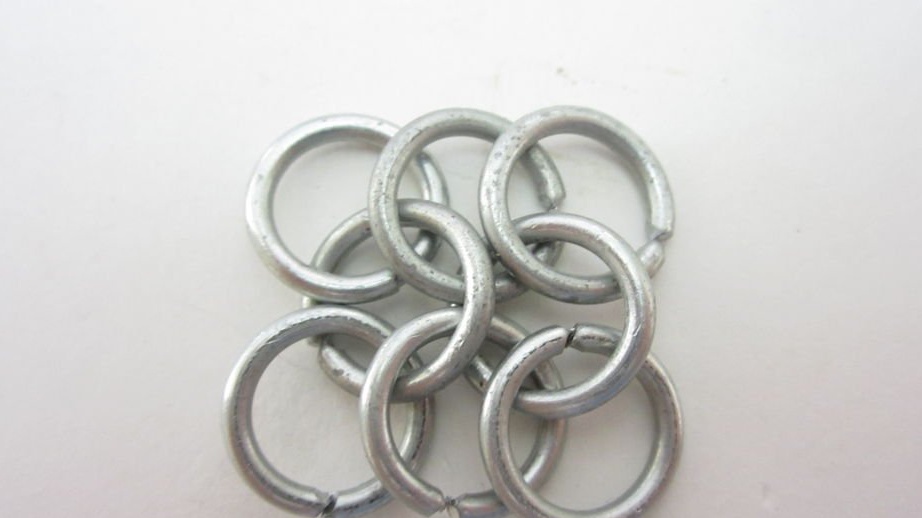
There are three main ways to connect rings. They can be joined, riveted or welded.
The rings can be easily bent with pliers to connect them to each other. This is by far the fastest and easiest method. It is most commonly used.
For the manufacture of rivet rings, the rings are cut so that the two ends overlap. A hole is made in the overlapping section. Then a small piece of wire is inserted into the hole and clogged so that the ends are smoothed and fixed in place. This method gives very strong rings, but it takes a very long time.
Welded rings are cut in exactly the same way. But after connecting the rings, the ends are welded together. This is usually done using a pulsed arc welding machine. This makes the rings very durable. This is much faster than making riveted rings, but requires the purchase of special welding equipment.
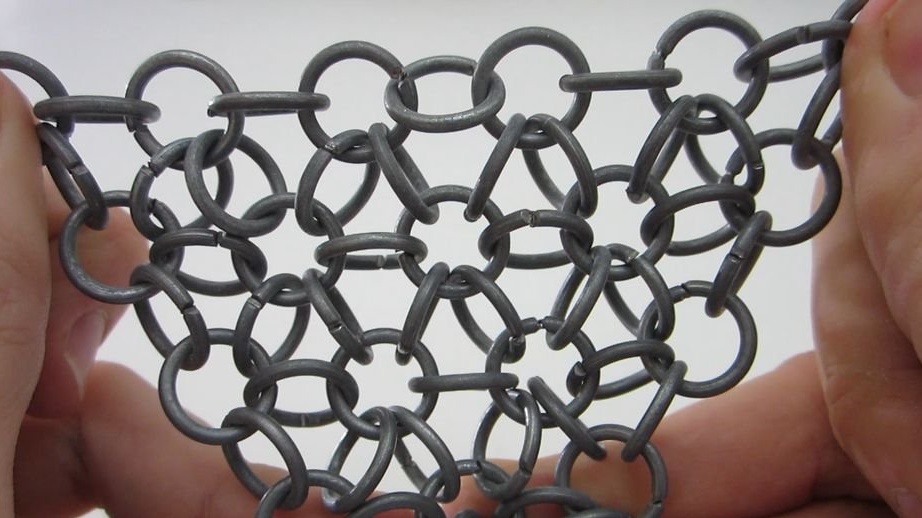
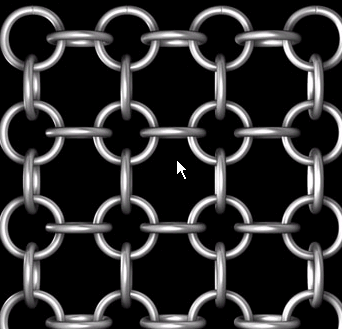
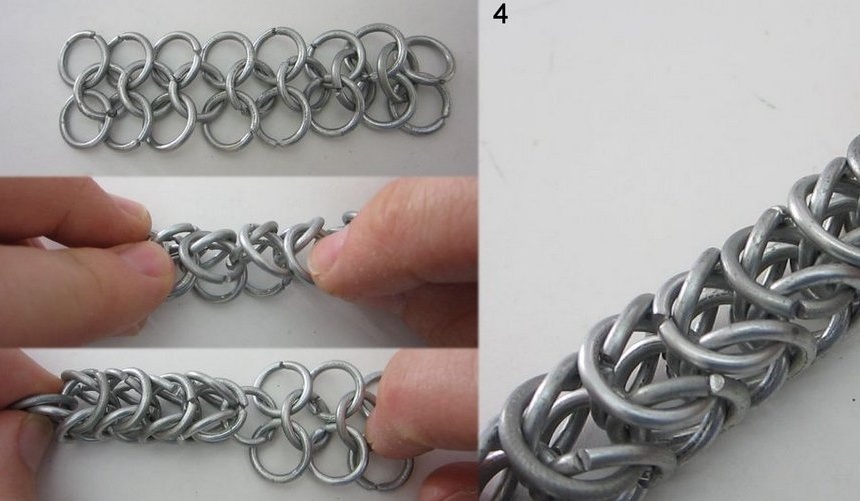
Step 5: Basic European Weaving
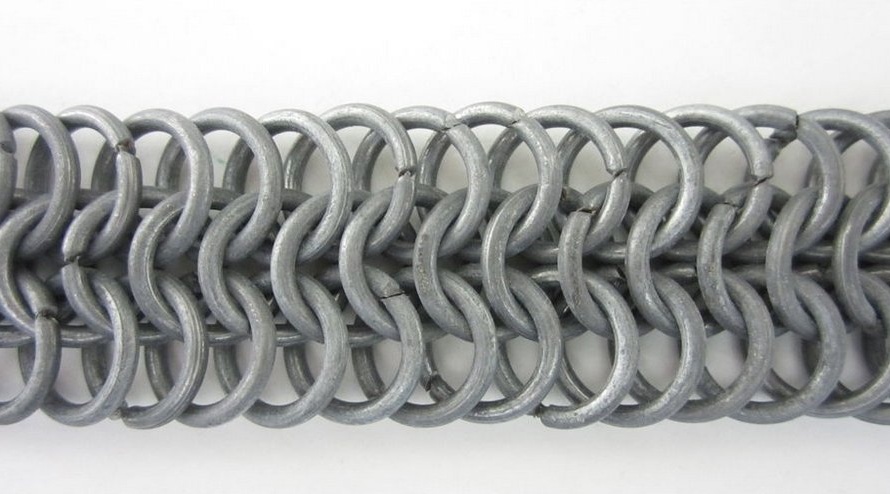
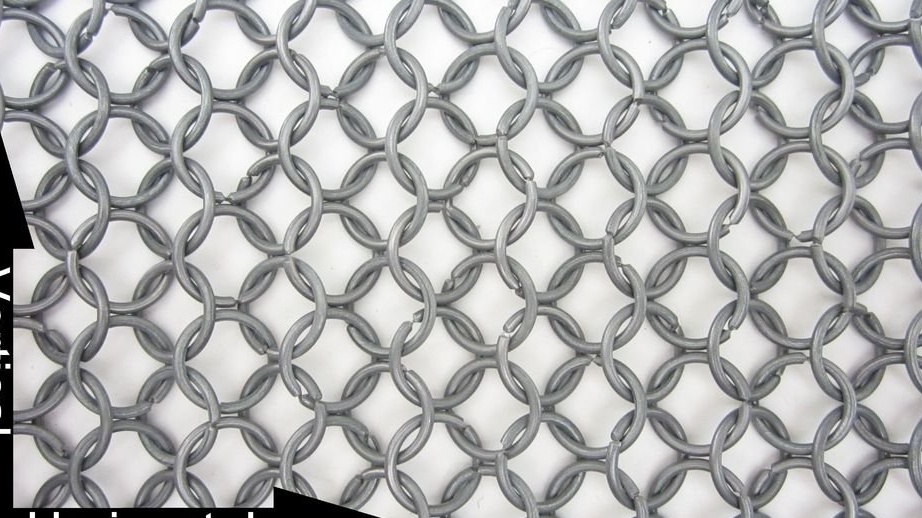
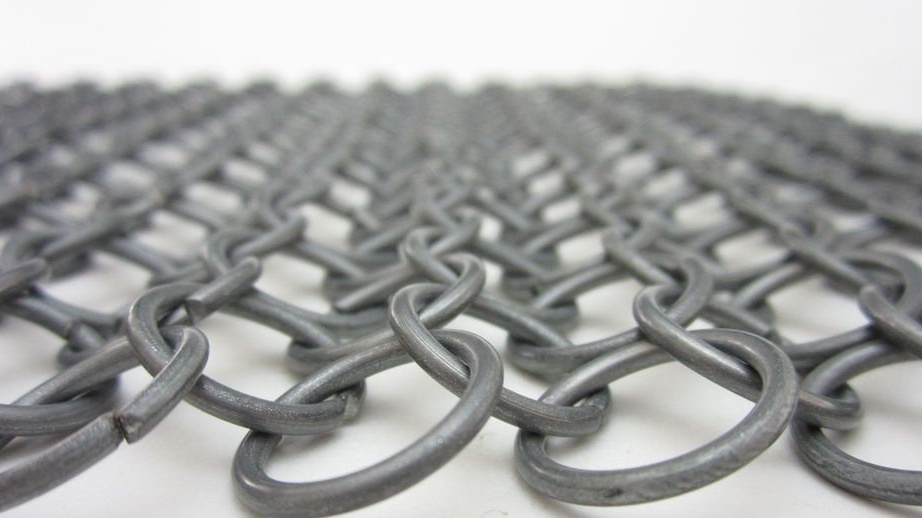
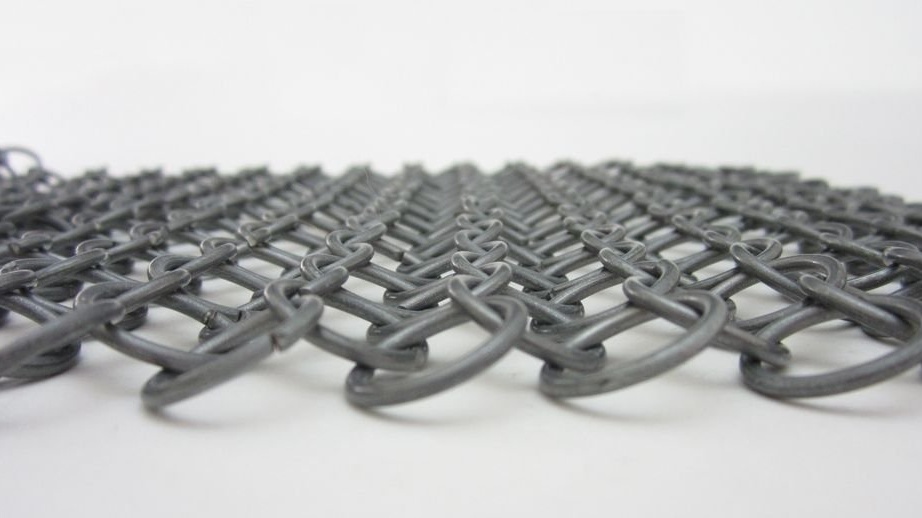
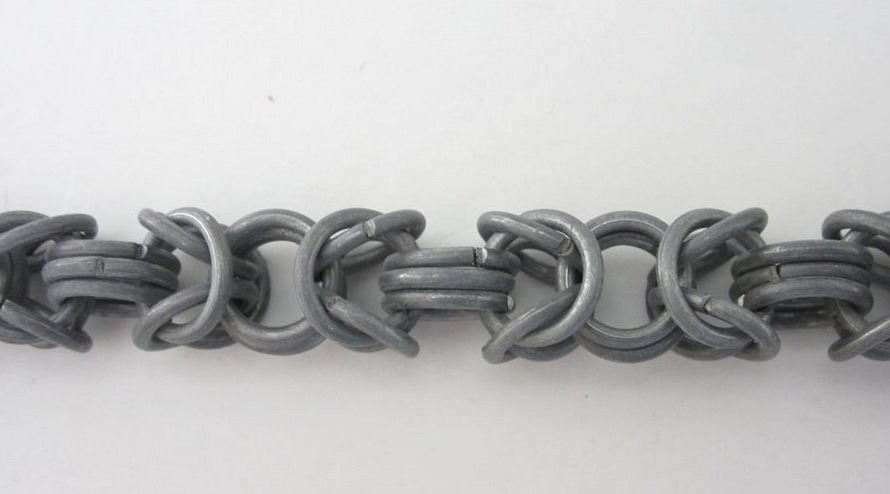
Now that you have the rings, you need to link them together into a template. Most common model chain mail armor is called "European" weaving. In this style, the rings are laid out in two sets of parallel rows that intersect each other at a slight angle. Each ring is angled relative to the other rings to which it is attached. This creates a wavy surface.
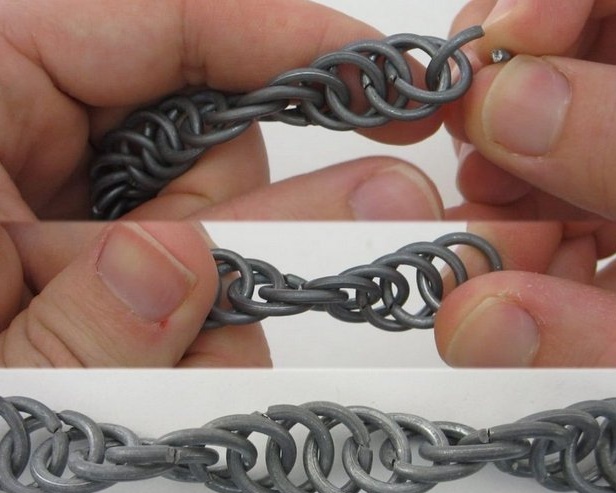
The basic version of this weave is European 4 in 1. Weaving is so called because each ring is connected to four other rings in the opposite orientation. To assemble the rings, take four closed rings and connect them to the fifth ring. Then lay it on the table so that all four rings are in the same orientation (opposite the center ring). Then put two more closed rings next to them in the same orientation as the first four. Then use another ring to tie it to the two end rings as shown. You can continue this pattern in both directions until you get the necessary chain mail cloth. Then it can be turned into anything.
There are several other variations of this weaving. “European 6 in 1” is the same as “4 in 1”, except that each ring is connected to six other rings, not just 4. “The king's ring” is the same as “4 in 1”, except that each ring in the circuit is replaced by two rings.
Step 6: Basic Japanese Weaving
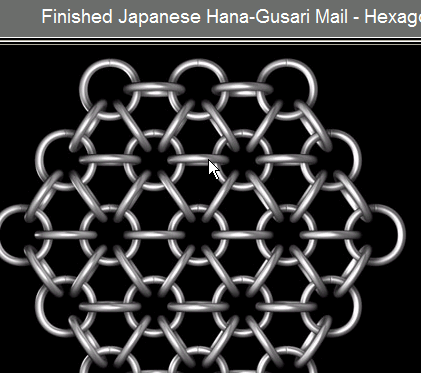
In the “Japanese weave”, one set of rings lies flat, and they are connected by a second set of rings that are perpendicular to the first set. In "Japanese 4 in 1" connecting rings are installed at an angle of 90 degrees to each other. In "Japanese 6 in 1" connecting rings are installed at an angle of 60 degrees. In some cases, the connecting rings are made of a smaller diameter to make the armor more dense.
“Japanese” chain mail is less dense and protected than “European” chain mail. This is because chain mail was rarely the main armor. Chain mail was often used to fasten other armor, such as metal plates.
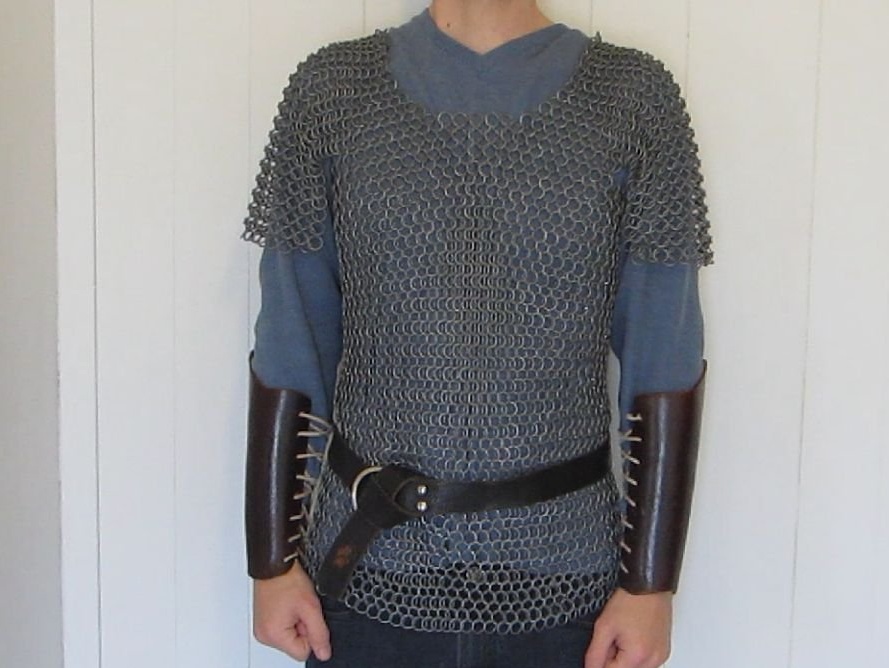
Step 7: Making a Chain Armor Suit


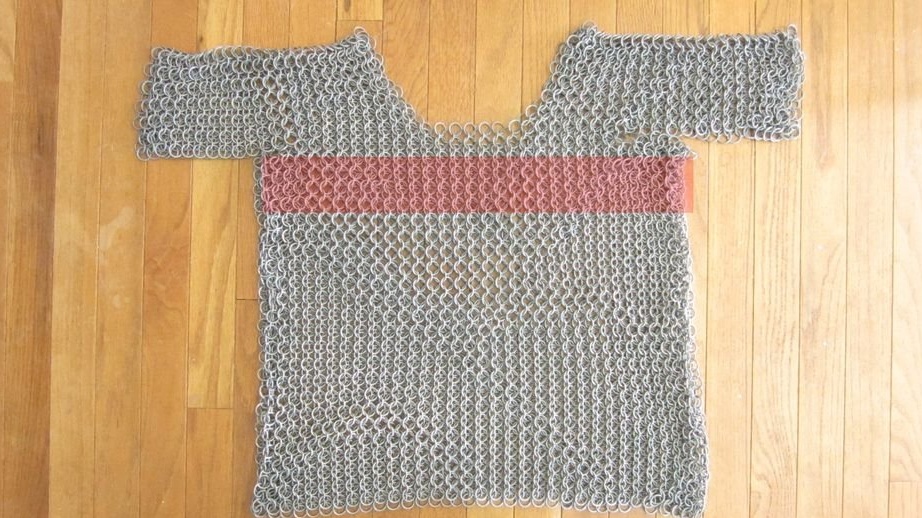
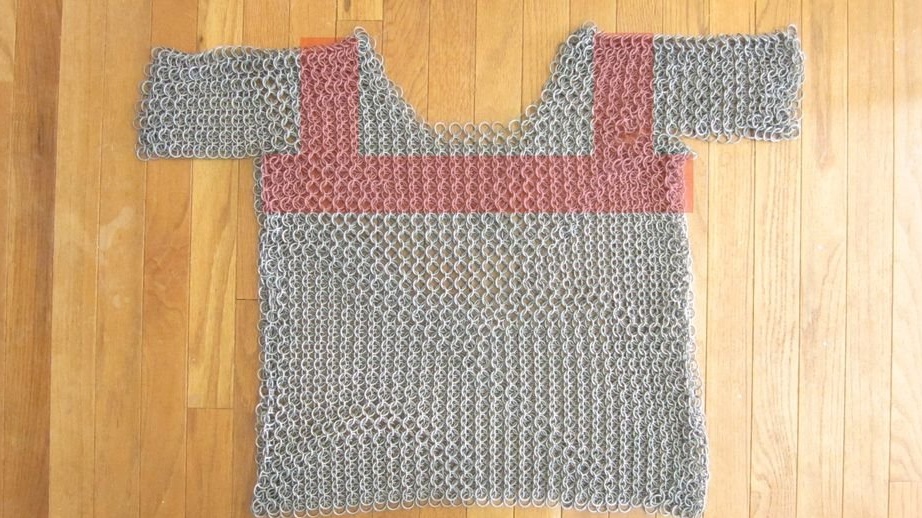
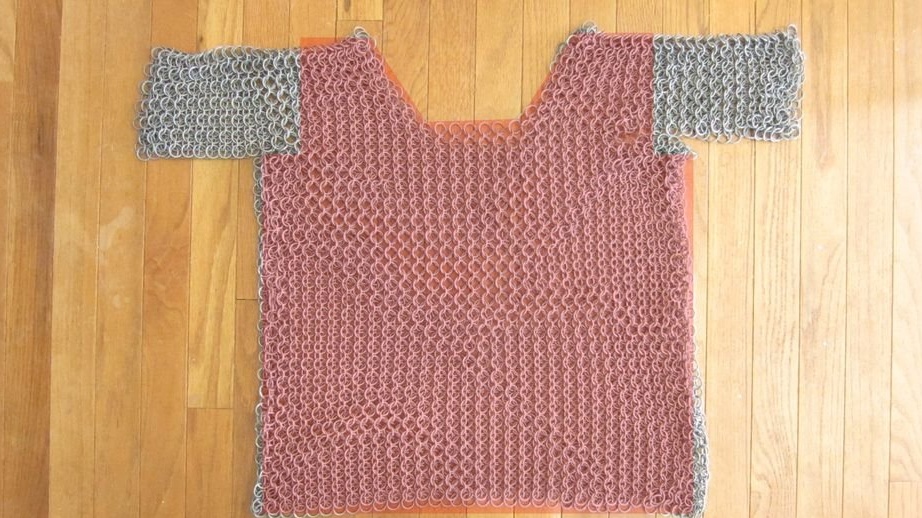
To make a shirt out of chain mail, start by making a strip of chain mail that is several centimeters wide and long enough to encircle your chest at the widest point. The lines that are created by the pattern should be oriented vertically. This makes the shirt more flexible and helps prevent ring deformation under the weight of the shirt.
Then make two other strips that will connect to the first as shoulder straps.Again, chainmail crests should be oriented vertically. Connect these parts in places that correspond to the middle of the shoulder.
Put the rings on the bottom of the first strip and continue drawing down until the bottom is a few centimeters below your waist belt. Add rings on top to get the desired holes for the neck and arms.
Making a sleeve begins with making a pattern on each side. Once the sleeves extend a few centimeters from the edge of the shirt, add rings to connect the lower edges to the pipe. Keep in mind that the sleeves should be quite baggy to make it easier to put on and take off your shirt. Finally, connect the inner edge of the sleeve.
It is recommended that you try on your shirt periodically to make sure that it needs any changes.
To make pants, use the same procedure. Make a strip that fits the widest part of your hips. Then continue weaving to the height of the belt. Then continue the pattern a few centimeters below the place where the pants are divided into the legs. Then make two legs and put them together on top.
Step 8: Weaving for Jewelry
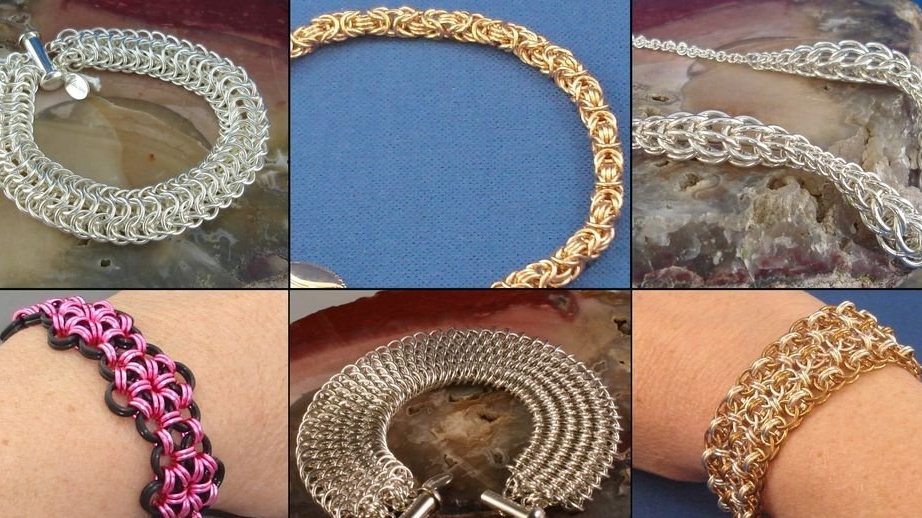
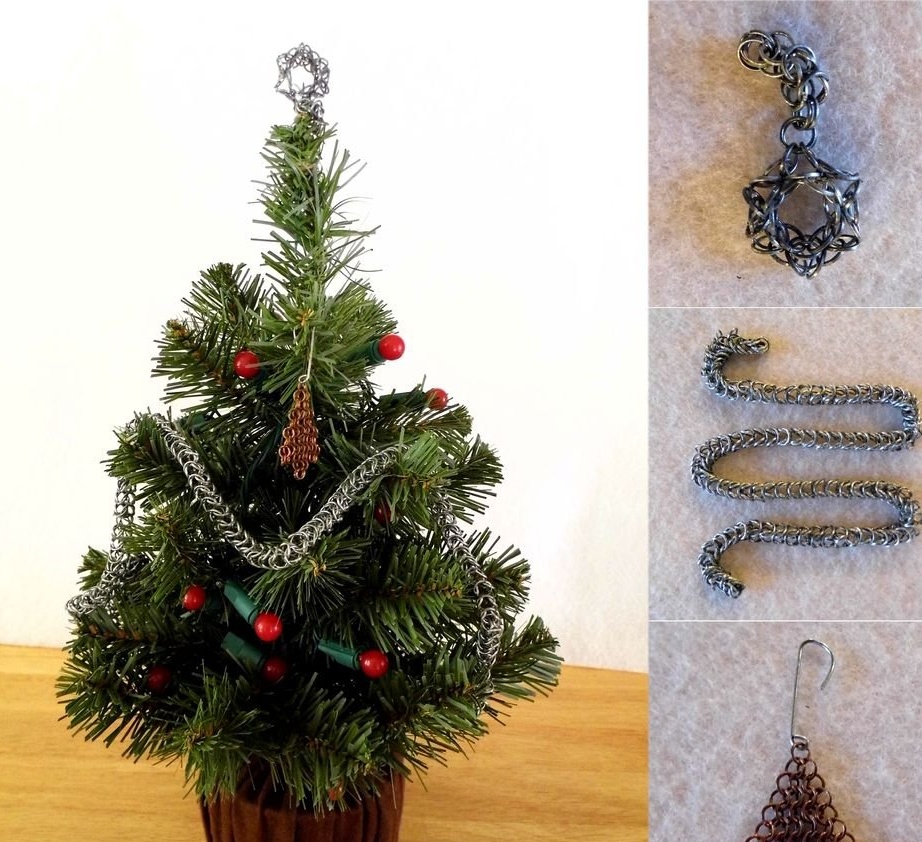
The art of making chain mail is not limited to making armor. It can also be used to make decorative elements such as jewelry. The simplest examples are chain necklaces and bracelets. There are countless ways that rings can be woven together to make beautiful patterns. Here are a few examples that are commonly used for necklaces and bracelets.
Chain Box
This chain is made according to the “European 4 in 1” scheme, folded in half and connected on both sides.
Byzantine chain
In this chain, the links are connected in a pattern similar to a chain of blocks. However, each section is set in the opposite direction to the previous one, and they are connected by direct connections.
Snake chain
The snake chain is a simple spiral. When adding rings, insert them through the center of two of the three rings above it and twist the chain into a spiral.
Queen's scythe chain
This chain is similar to a serpentine chain, except that instead of continuously twisting the chain in one direction, each additional ring rotates in the opposite direction. This makes the pattern alternate back and forth, rather than curling into a spiral.
These are just a few examples. There are many other patterns that can also be used ("Simple European", "Simple Japanese", "Royal Braid" and "Flower Chain"). You can create your own design. For example, add stars, crosses, or ring nodes. Try experimenting with different templates and see what happens.


You can also watch the video: