
I want to introduce another under the tree probes for SMD components.
The manufacturing process on video.
general description homemade.
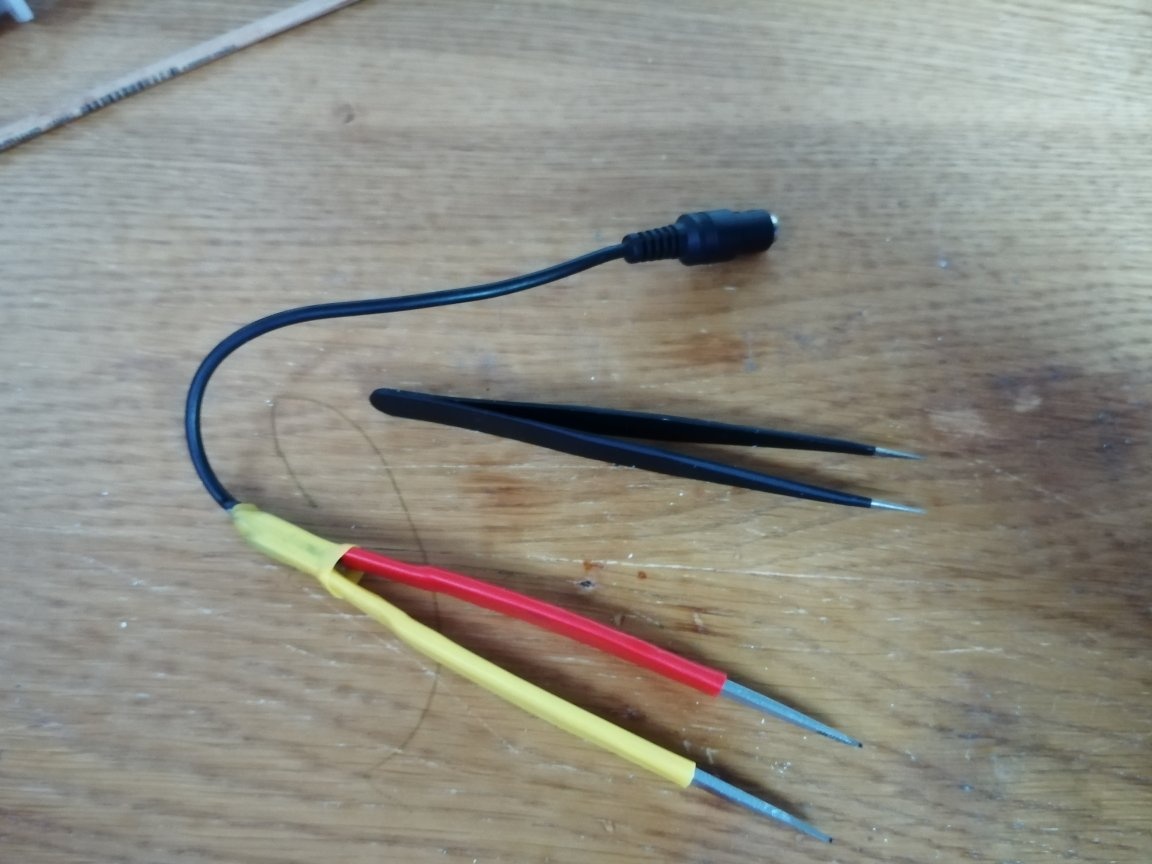
Tweezers were bought, which broke in a work bag with tools.
The author decided to make a probe out of it (for those who do not have broken tweezers. As an option, in order not to break new tweezers, you can make it out of foil textolite).
When you check a lot of the same components, it is not always convenient with simple probes to get to some places on the board. Especially with tight installation. We have to come up with something.
The author often repairs fixtures (lamps) with SMD LEDs and use this probe to check for faulty LEDs. It also checks other components, which allows it to not be marked much like with ordinary probes.
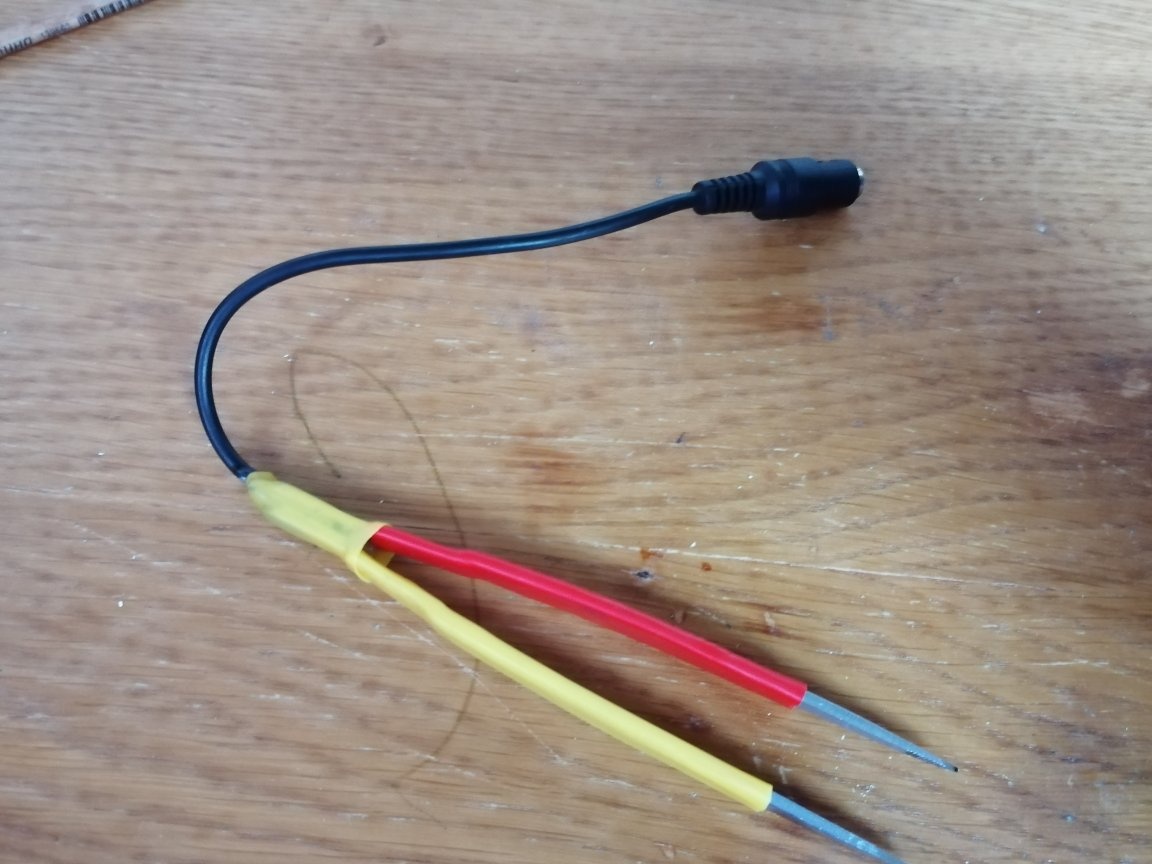
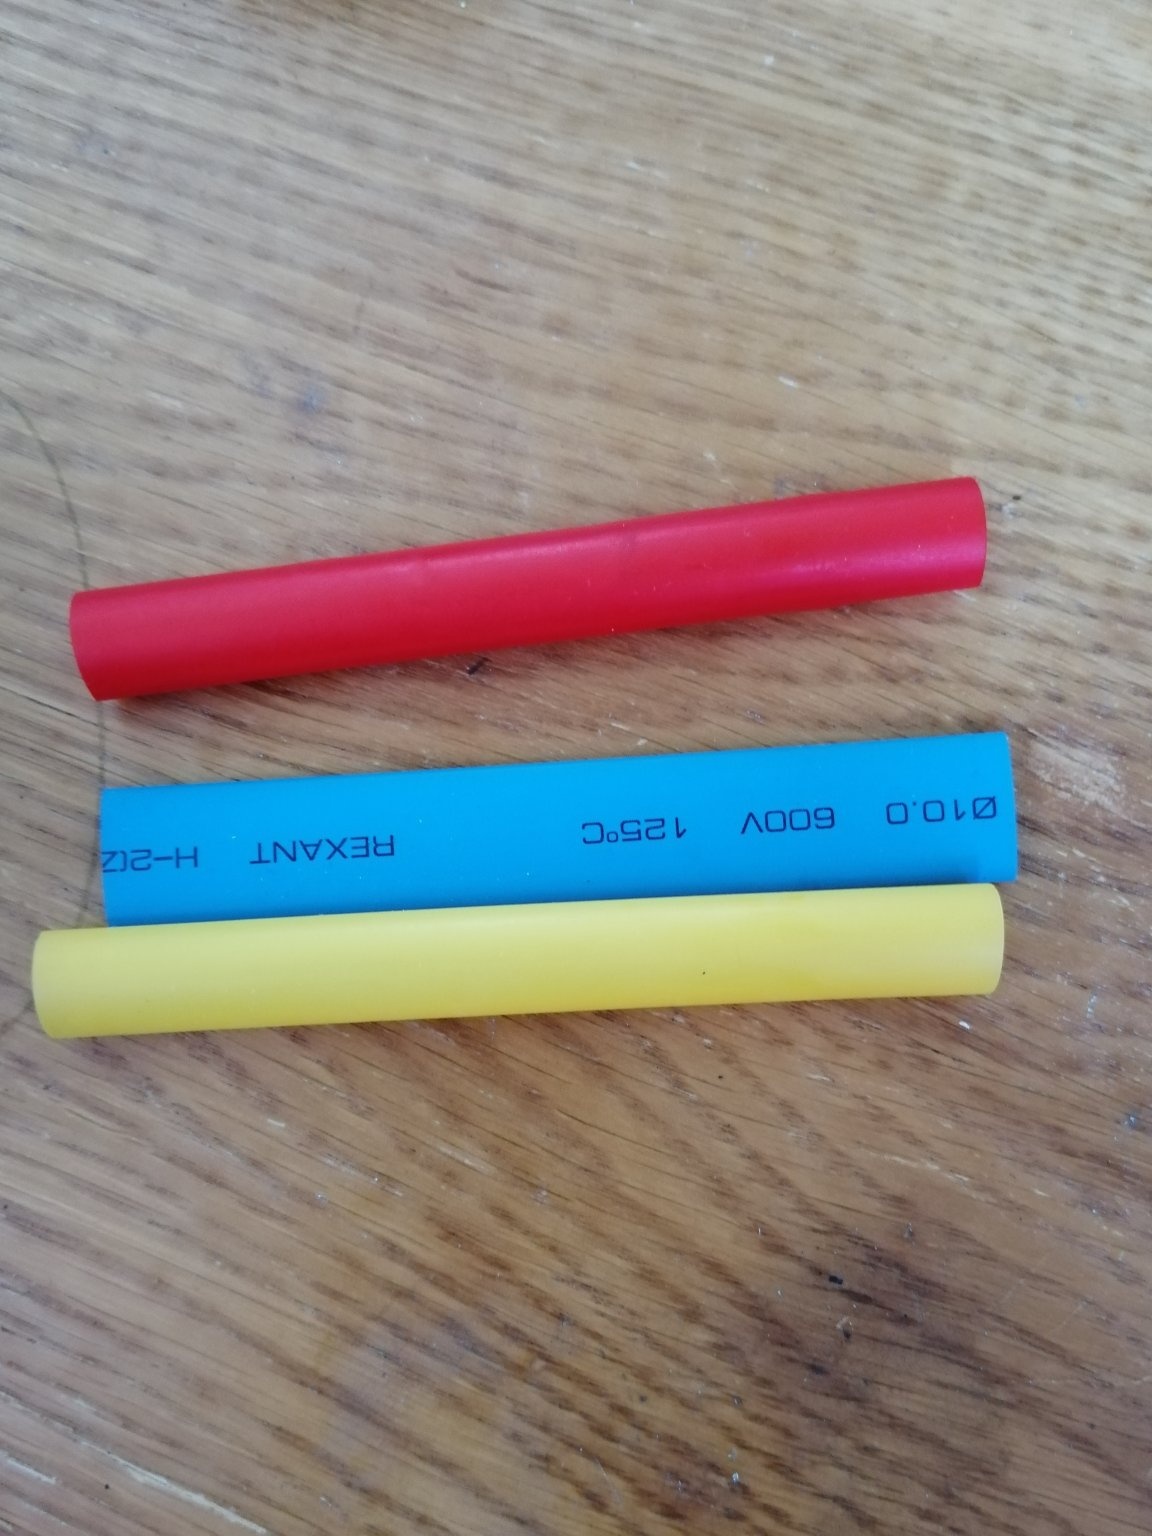
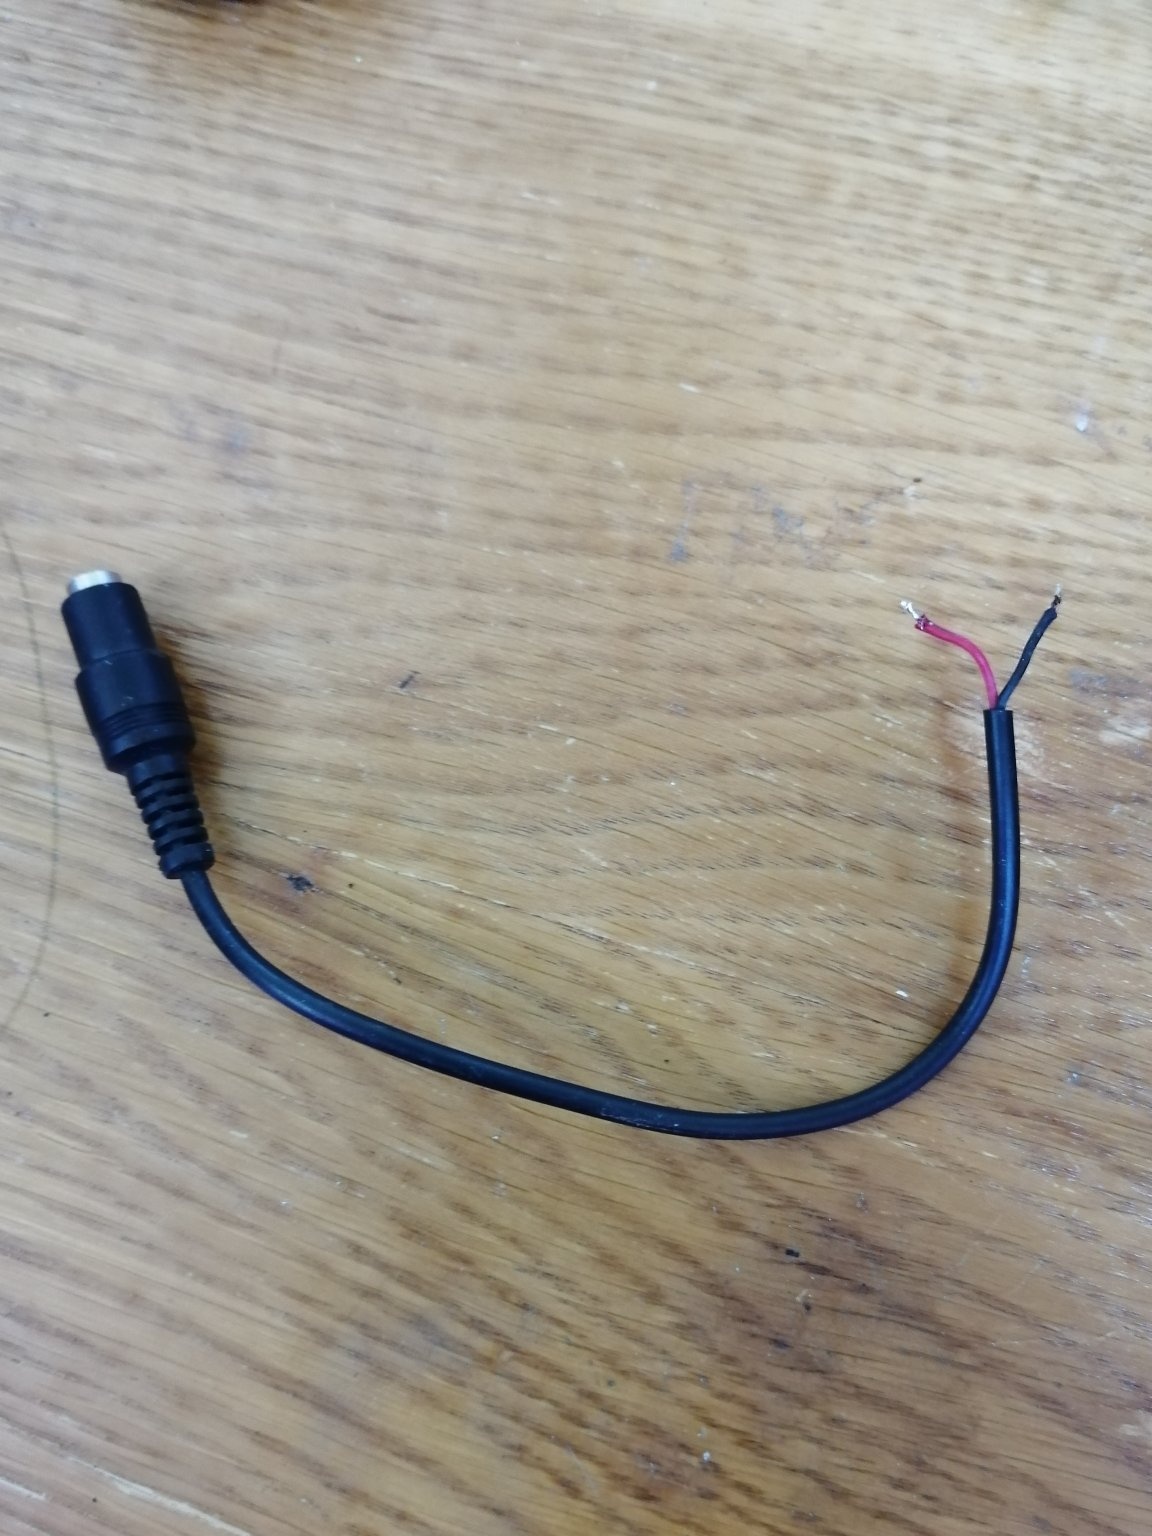
In the case of the author. For the manufacture of a piece of foil-coated double-sided PCB. (Who will make the probe from the PCB can be taken one-sided). The contact part will be inside. You might think about making metal tips on the working ends of the probe. Then the working contact part will become larger, and it will become more convenient to work with it. You will also need a term shrink tube. Or other isolation. To connect the probe to the device or power supply, a standard power connector is used.
In general, I, as always, used what was at home.
Necessary components:
Broken tweezers.
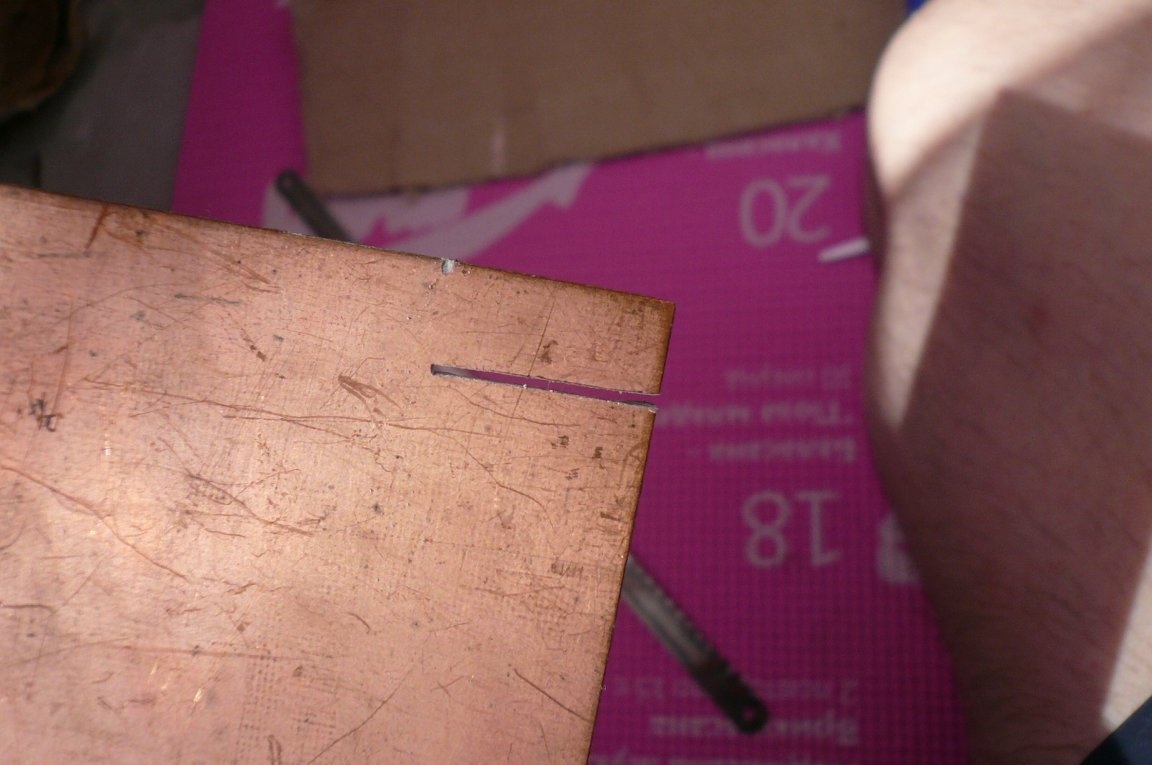
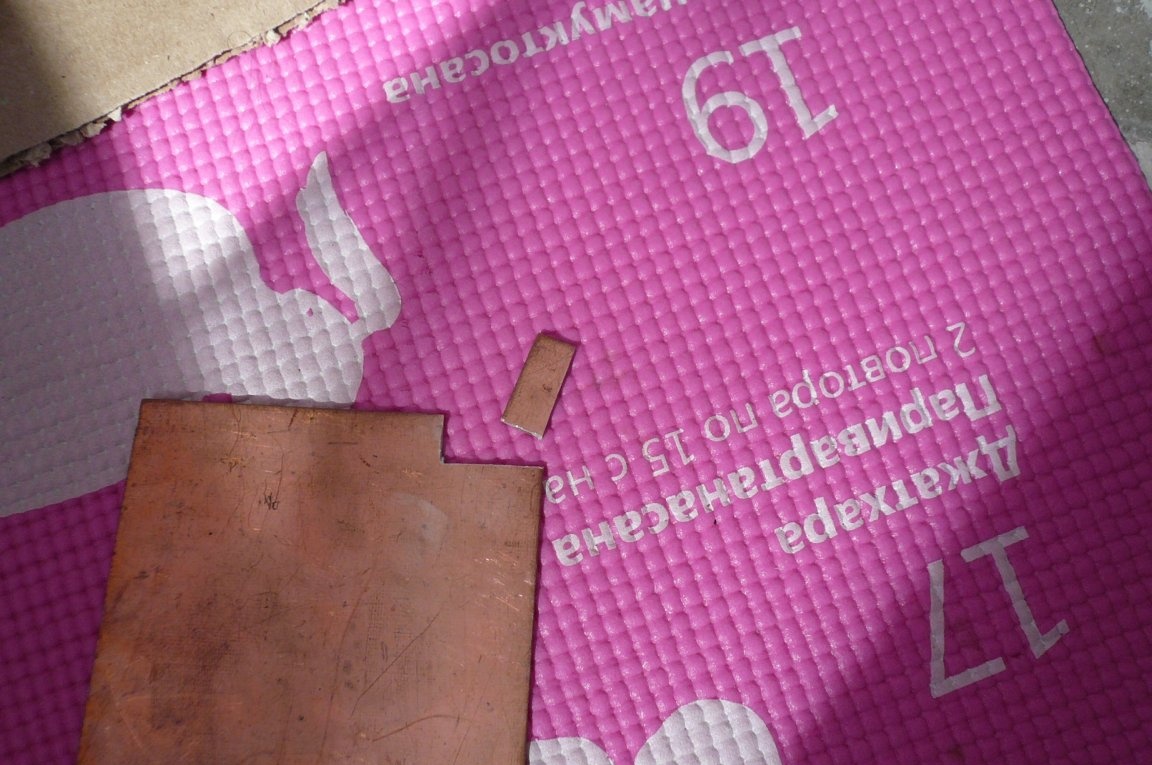
A piece of PCB.
Hacksaw, (I sawed with a hacksaw blade)
File.
Soldering Supplies.
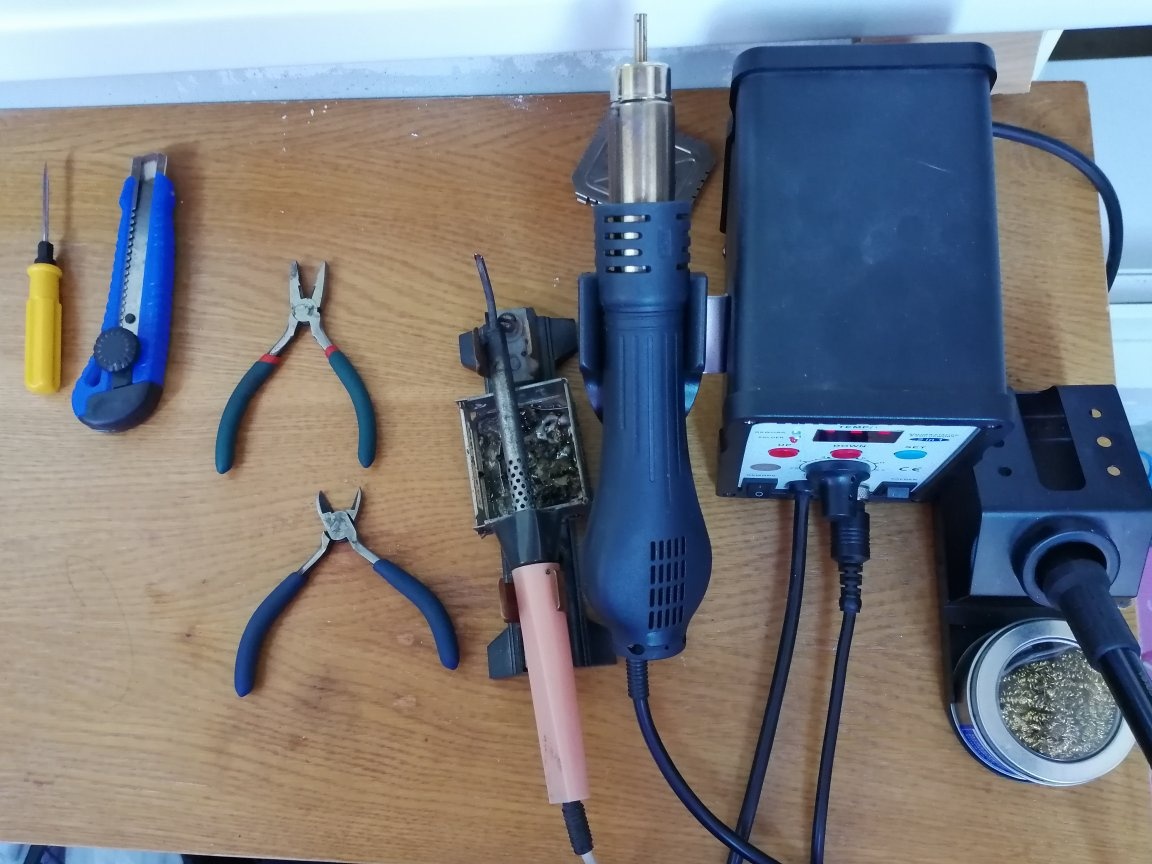
Therm shrink tube.
Connector for connection.
Step-by-step manufacturing descriptions.
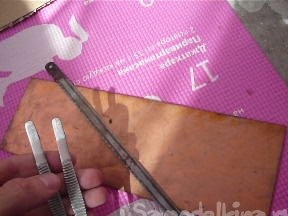
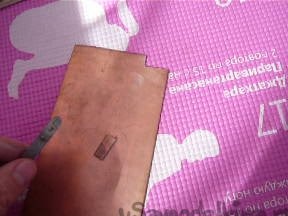
We take a piece of double-sided foil textolite. And with tweezers, measure out the necessary sizes.
Saw off a hacksaw blade.
We measure the required length of the heat shrink tube. And solder the connector.
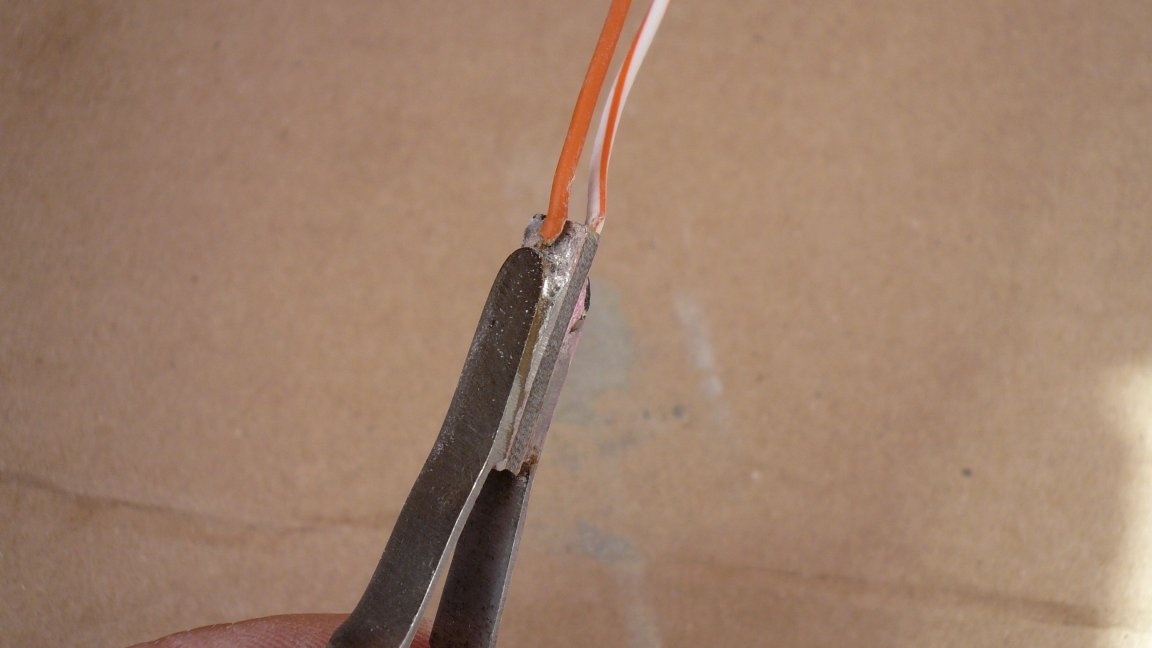
Do not forget to put a piece of heat-shrink tubing on the wire. So then do not solder. The heat shrink tube will not dress like that.
We heat with a blow dryer to avoid overheating the insulation. It is possible with other sources of heat.
To increase the reliability of fixing the wire, add pieces of thermal glue. Surplus squeezed out when crimped by heating. Excess can be removed.
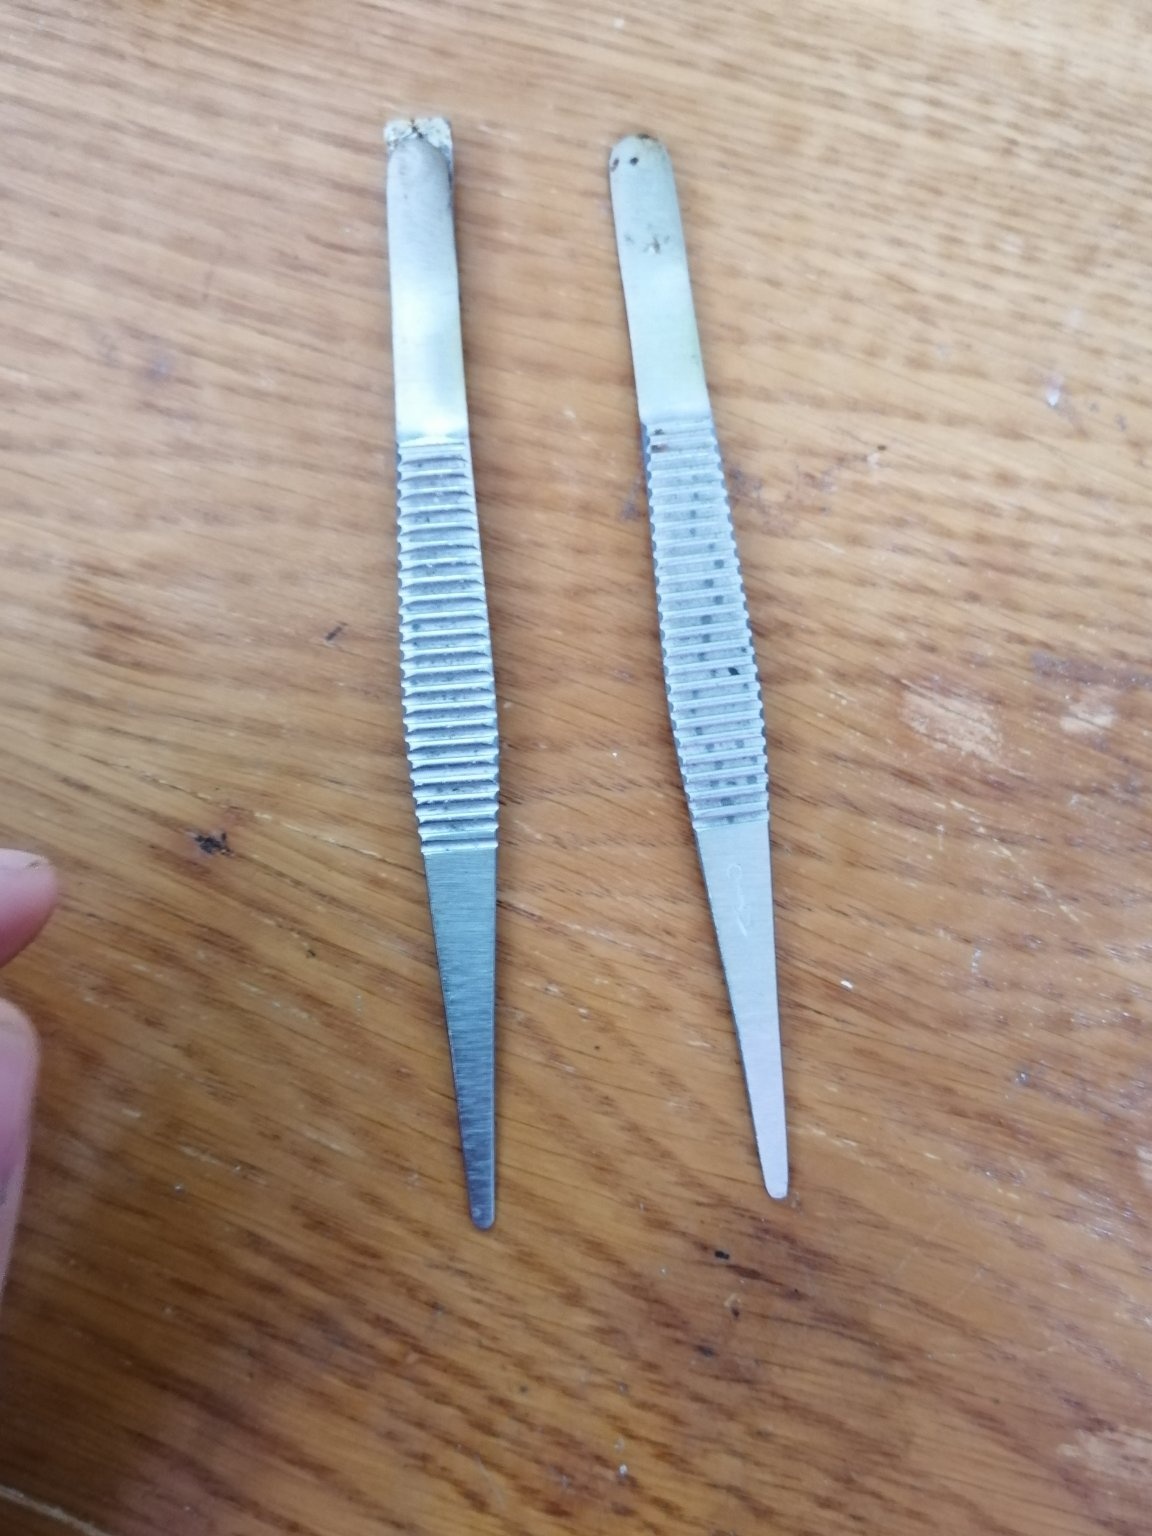
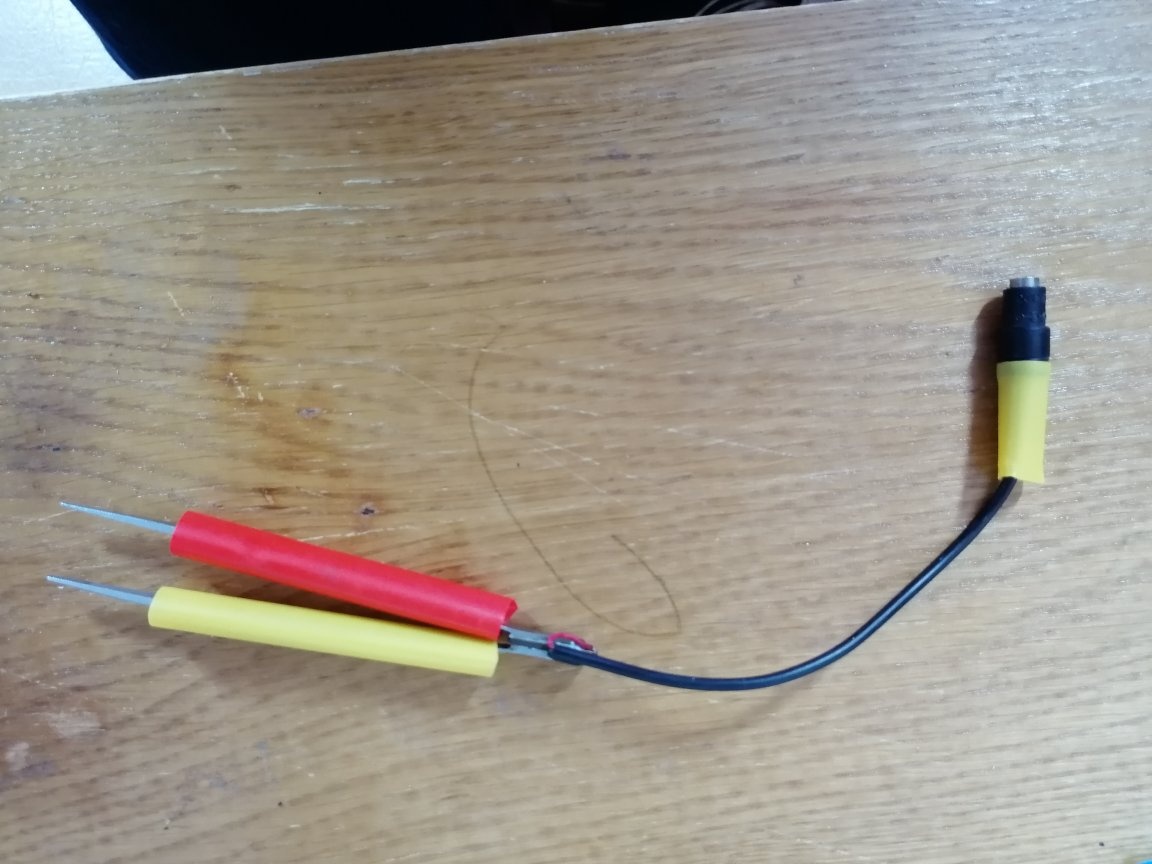
It turned out exactly.
Photo comparison with factory tweezers.
Finally.
I hope someone else comes in handy such an implementation of the probes. And will facilitate the verification of components.
In the video, I showed that you can check without soldering the elements. I know that such measurements are not always correct. Such measurements may introduce errors from the installed components. But even with such measurements, in most cases you can see a faulty element or something will raise doubts.
Who liked the homemade put the finger up.