
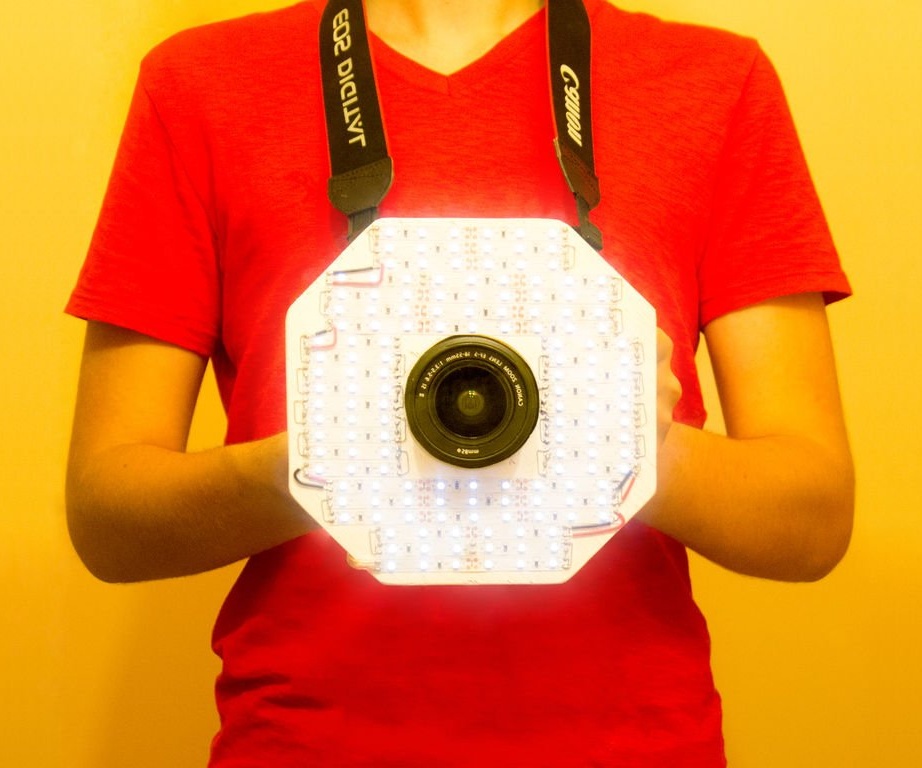
This homemade - This is an octagonal annular lamp for the camera, which consists of LED strips. It is very cheap to manufacture and ideal for beginner photographers who decide to do macro photography and video!
This lamp is great for filling scenes with even light that softens hard shadows and removes grains. It is used in the photo range from close-ups to medium shots, and it also works great as a main lamp in dark conditions (for example, in a room).
This luminaire can be powered by a DC adapter or a battery, which makes it extremely portable. The advantage of using LED strips is that there are many different types to choose from. The wizard used several conventional LEDs, but you can use super-bright LEDs that provide even more light!
Step 1: Materials and Tools Required
Materials:
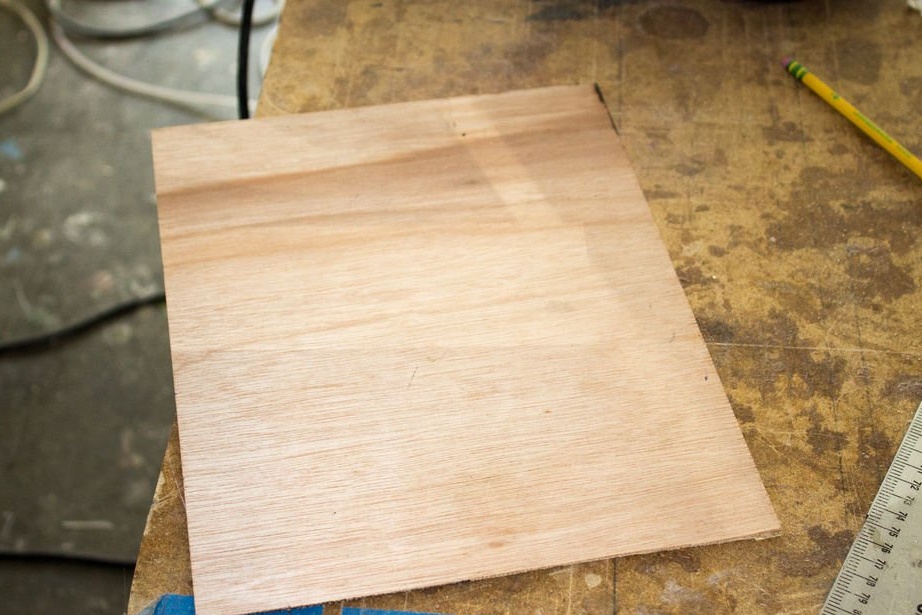
- Plywood 2.5 mm thick;
- Tripod;
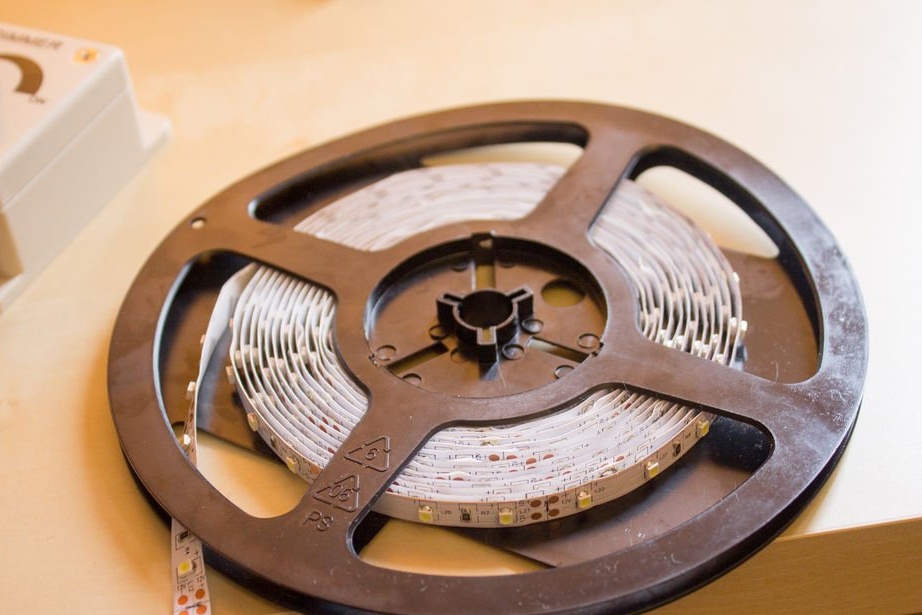
- 12v white LED strip;
- Connecting wire (stranded wire);
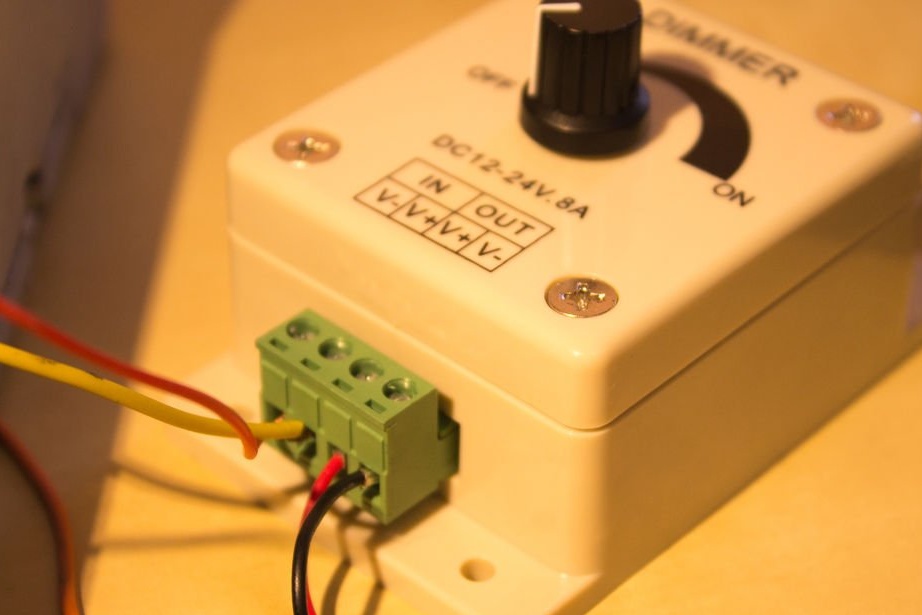
- 12 V dimmer (PWM);
- Velcro
- White spray paint;
And either:
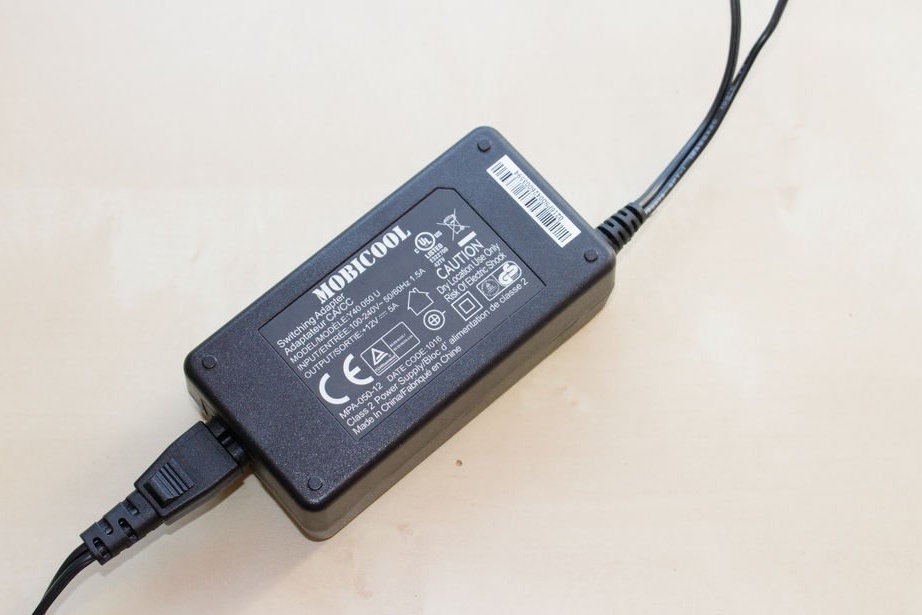
- power supply for 12V DC with power from the network;
Or:
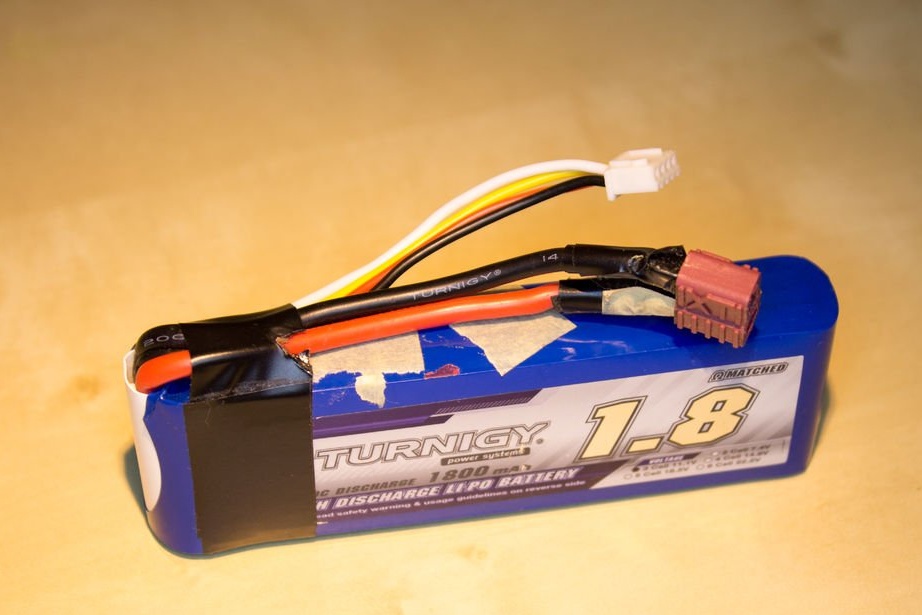
- 11.1 V lithium battery (3 cells);
- Compatible battery connector;
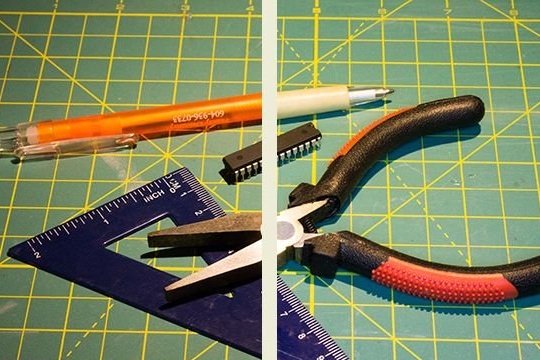
Instruments:
- Soldering iron;
- Gun with hot glue;
- circular saw or hacksaw;
- a pencil;
- ruler;
Step 2: Plywood Sizing

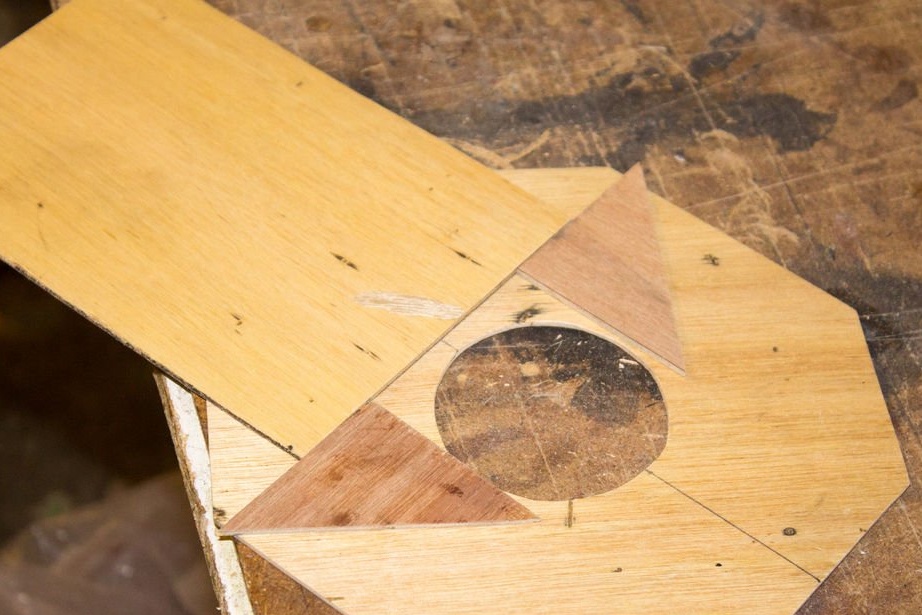
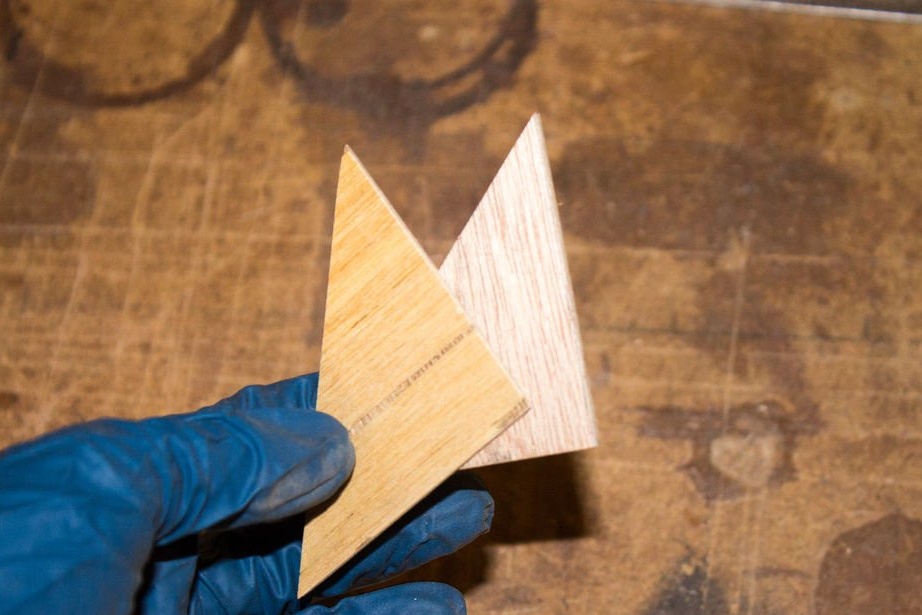
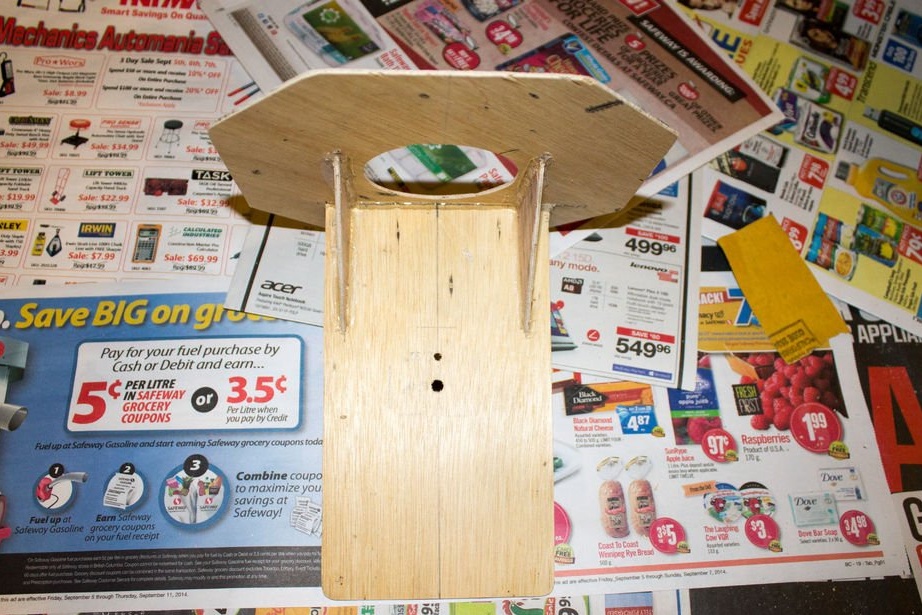
Before cutting plywood, it is necessary to plan the overall design of the lamp on paper. The master wrote down a few draft copies before he finished with these measurements. In total, he focused on 4 details: one octagon, one rectangle and two triangles.
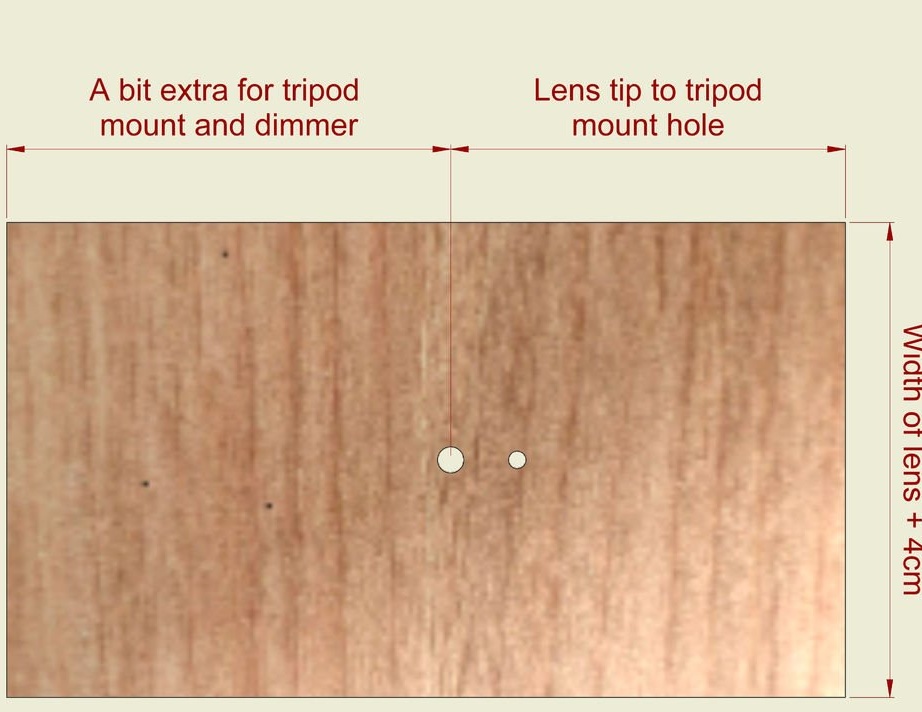
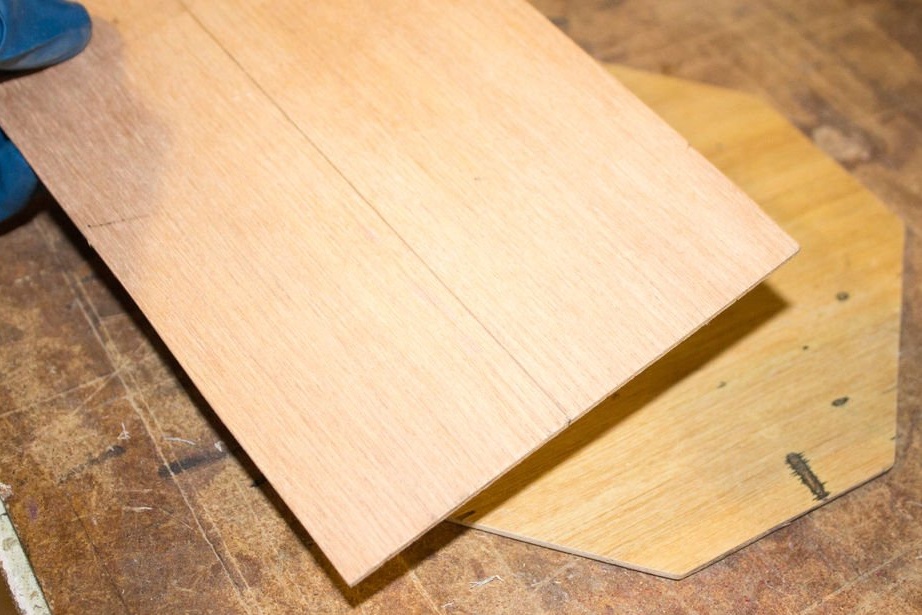
The base is a rectangle the width of a camera plus 2 cm on each side. Length is the distance from the tip of the lens to the tripod hole, plus a little more to mount the tripod and dimmer. In the case of the master, this extra distance was about 10 cm.
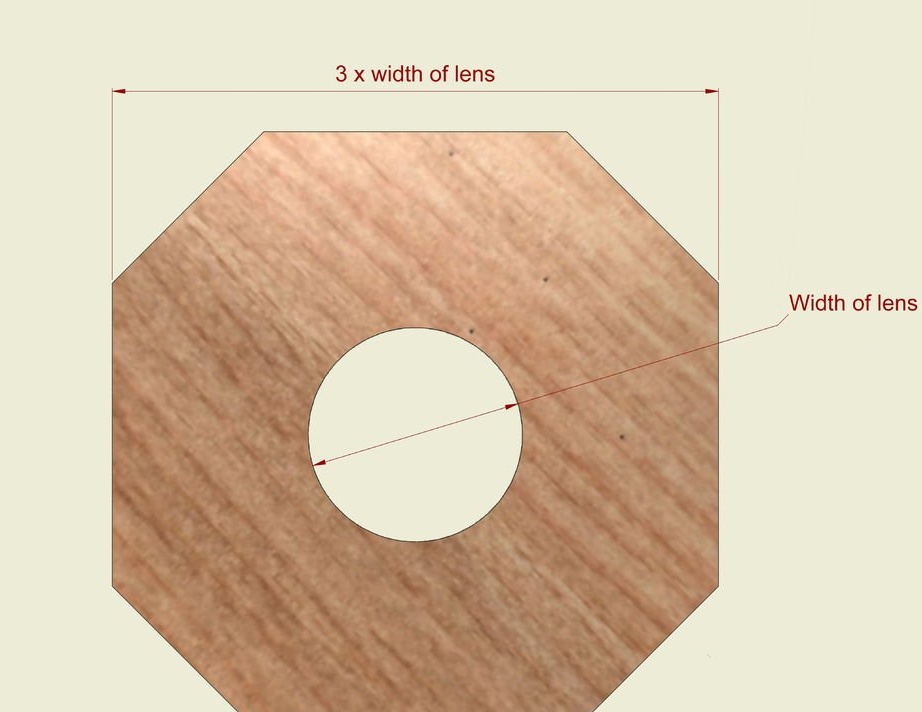
The front has the same width and height as 3 lens diameters. There should also be a lens hole in the center. If you divide each side by 3, then you can trim the ends to form an octagon.
Two cut triangles that were cut off from the square to make an octagon, the master used as supports between the front of the product and the base.
Also, keep in mind that all cameras are different, and you may need to redesign to fit your camera.
Step 3: sawing plywood
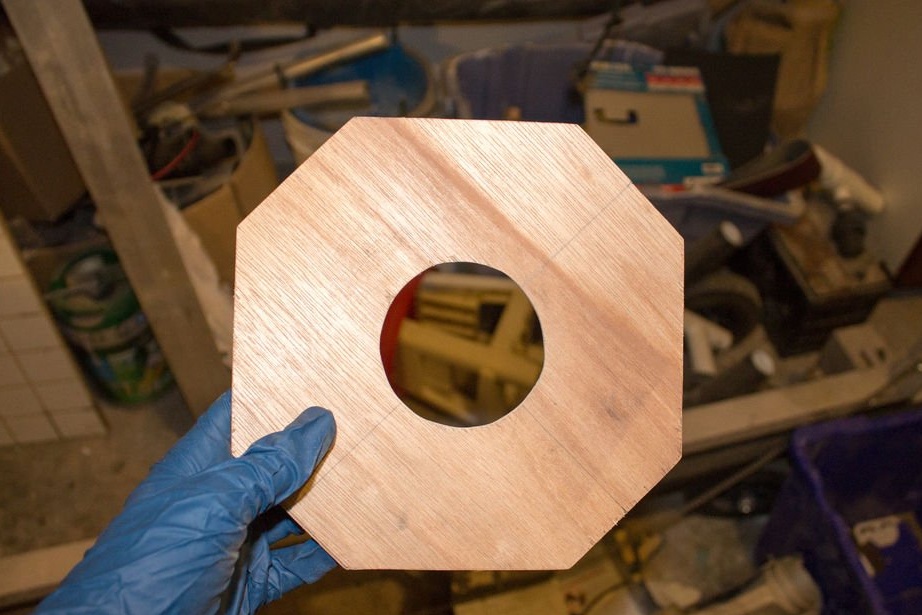
As soon as all sizes were calculated, the master proceeded to saw plywood.
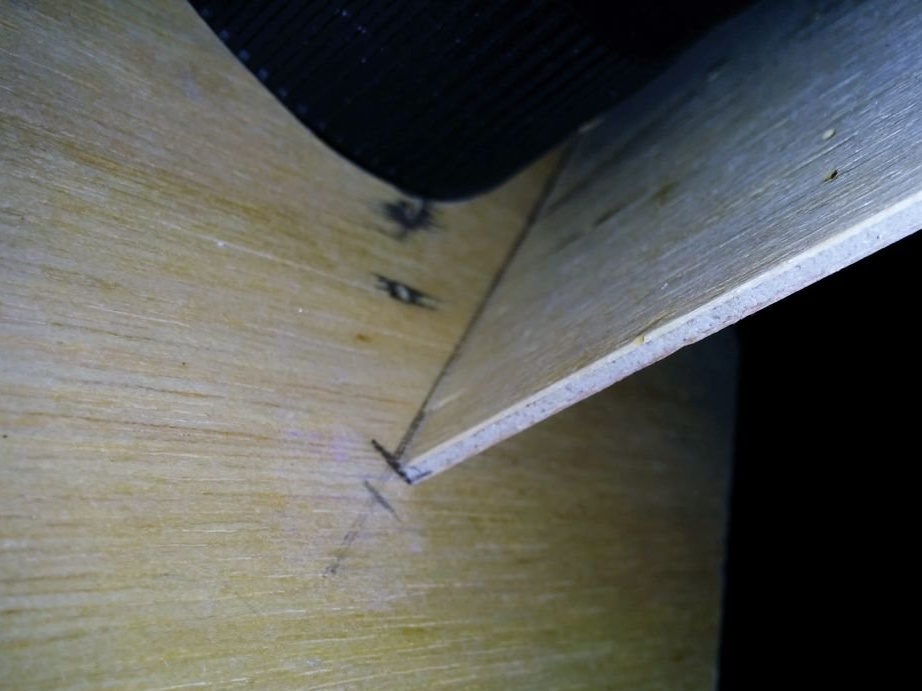
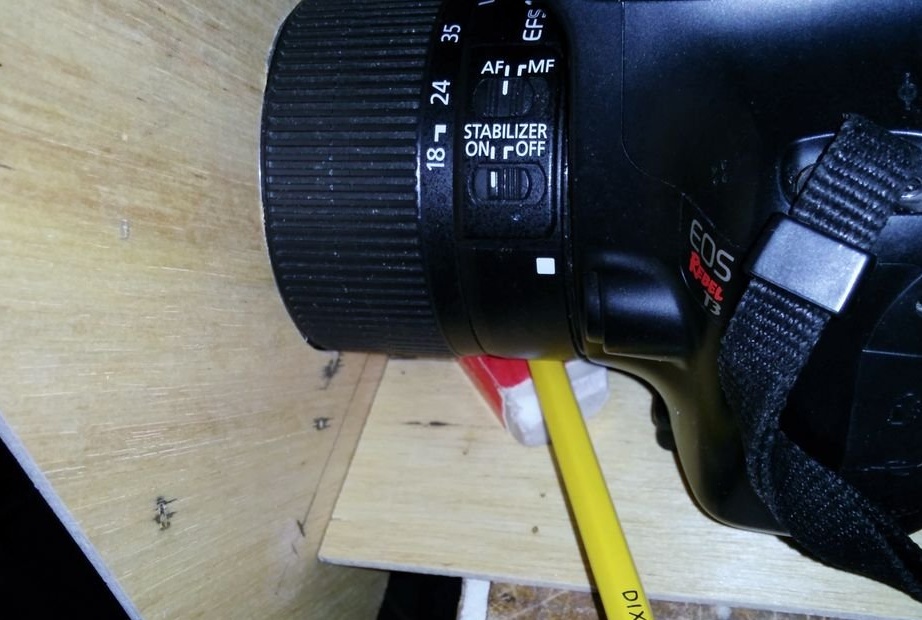
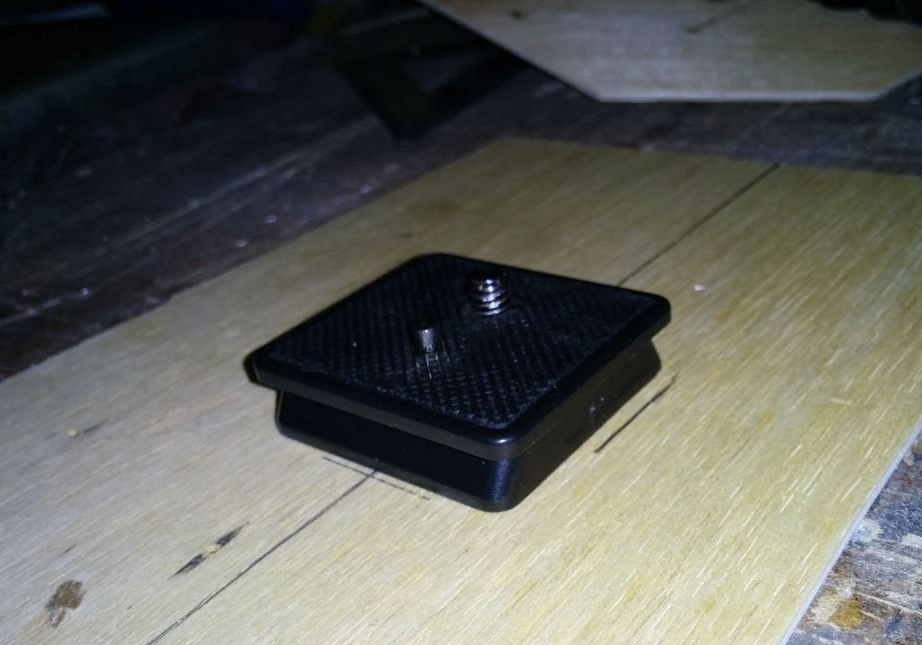
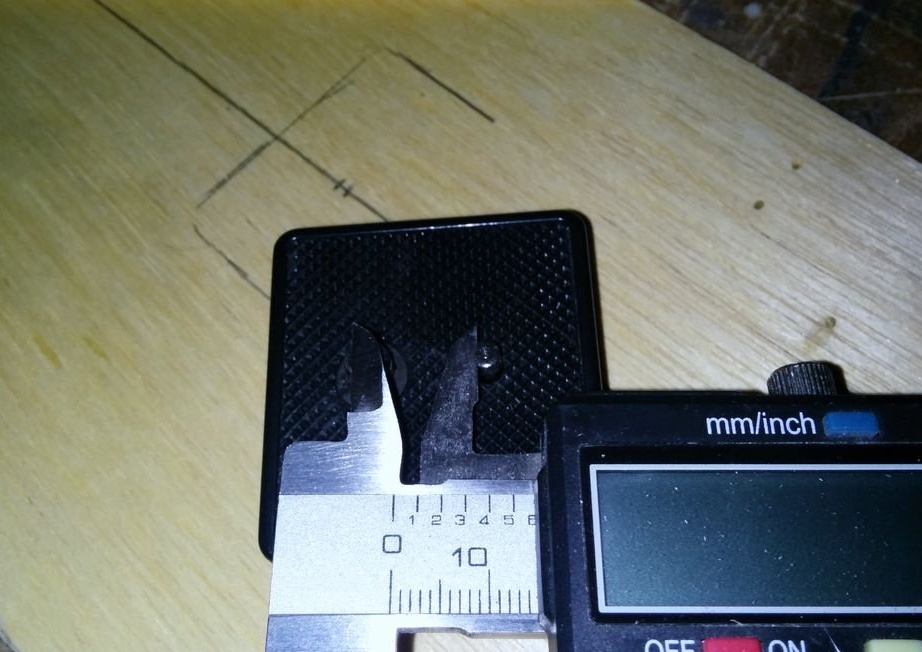
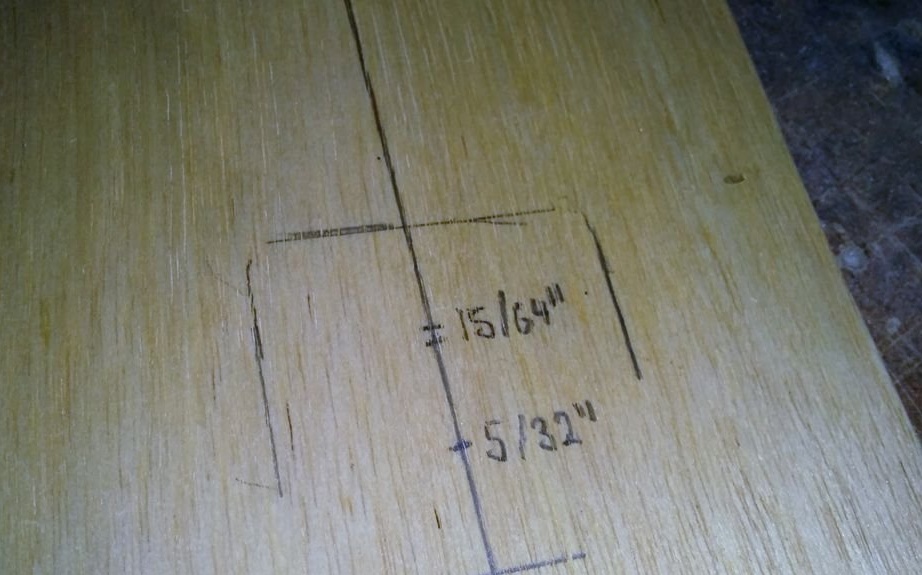
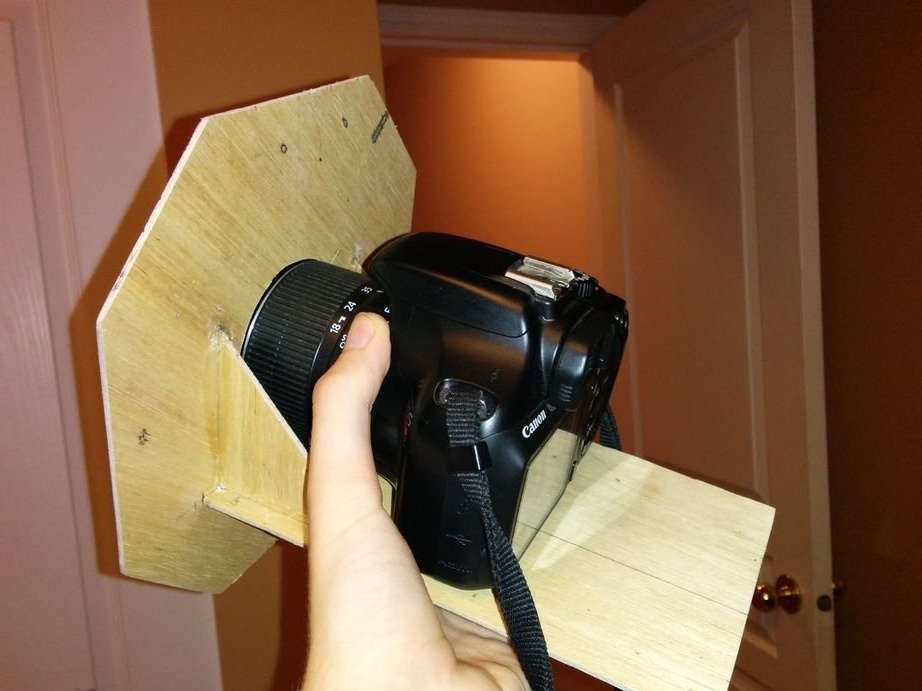
To drill holes for the tripod mount, the master drew a line through the center of the base, then placed the camera with the tripod mount on the center line and circled it (see Figures above).
Then he took off the camera, measured the distance between the two tripod mounting screws and drilled a little larger holes than necessary: 5 mm and 3 mm.
Now, if you screw the tripod mount through the base and into the camera, the base will be attached to the camera, which will allow you to accurately know and mark where the octagon should be glued to the mount.
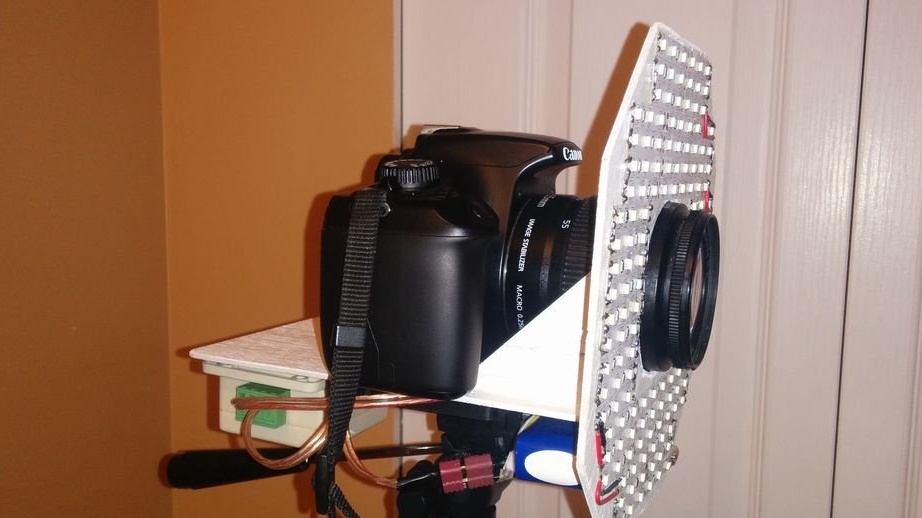
Step 4: gluing the structure
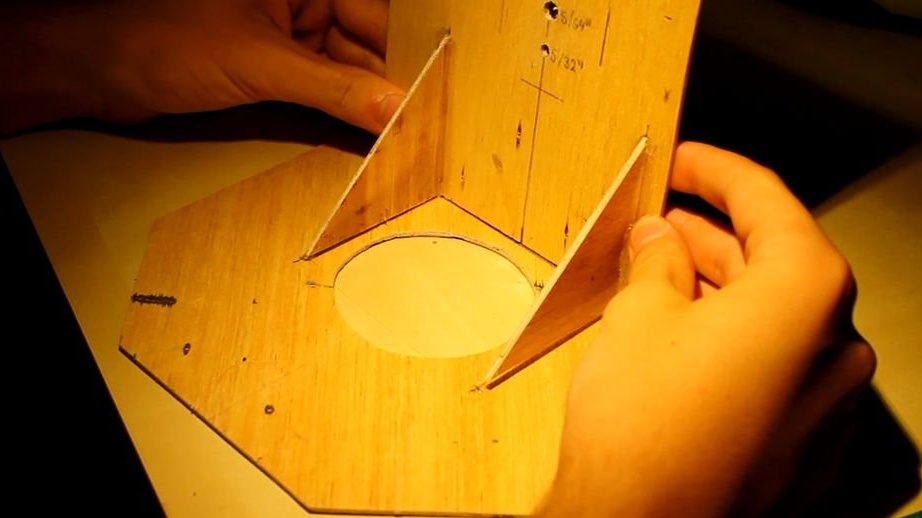
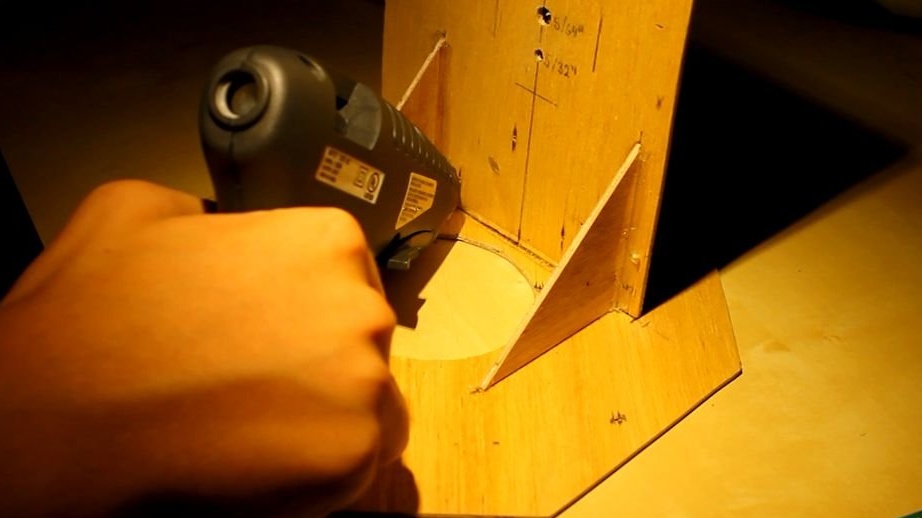
The master began the bonding process by attaching triangles at a distance of 1 cm from the edges of the lens to the base. He then glued an octagon to the base, using these triangles as a support.
Remember to leave a space between the base and the lens! In the case of the master, it was about 7mm.
After the glue dries, he quickly checked the fit by threading the tripod through the base and then twisting the camera. Everything fits very tightly.
Step 5: Painting White
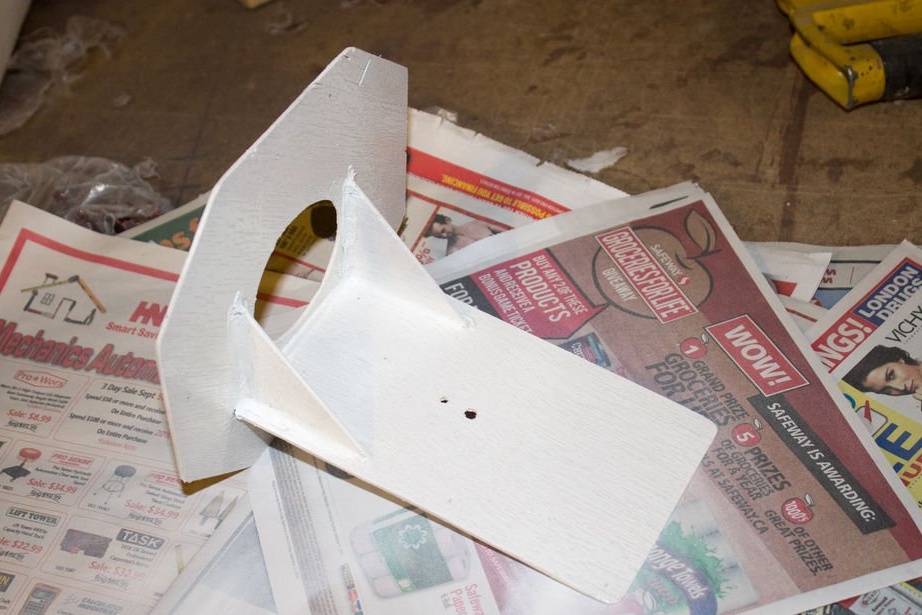
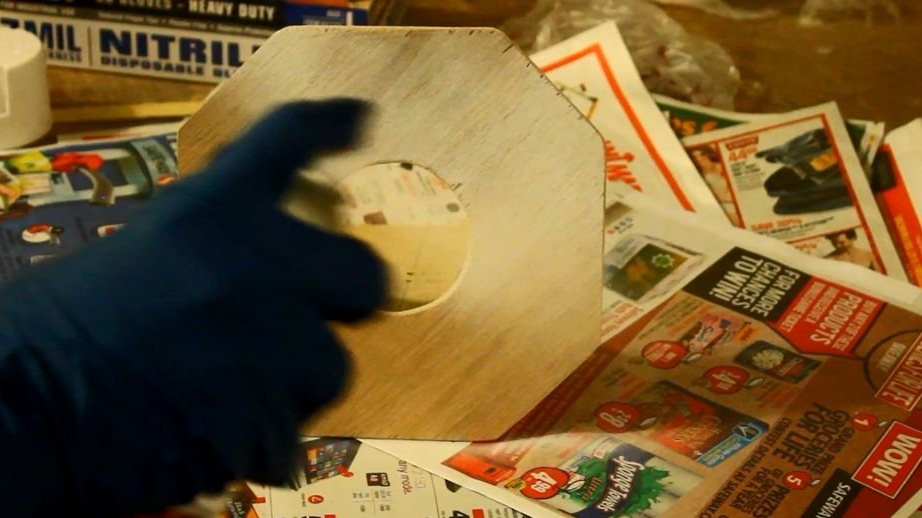
White paint reflects light better than just wood, so the master decided to apply a couple of layers of paint.
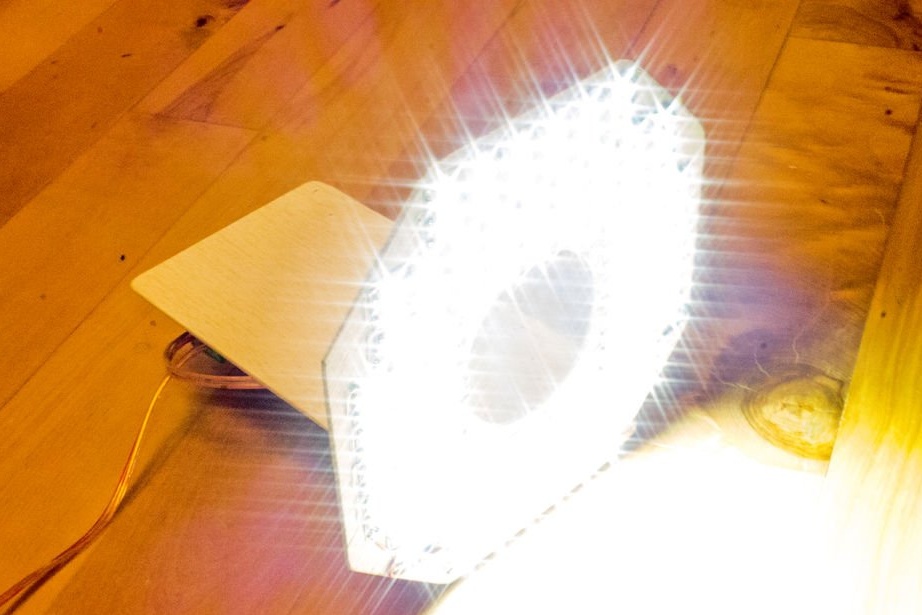
Step 6: Apply LED Strips
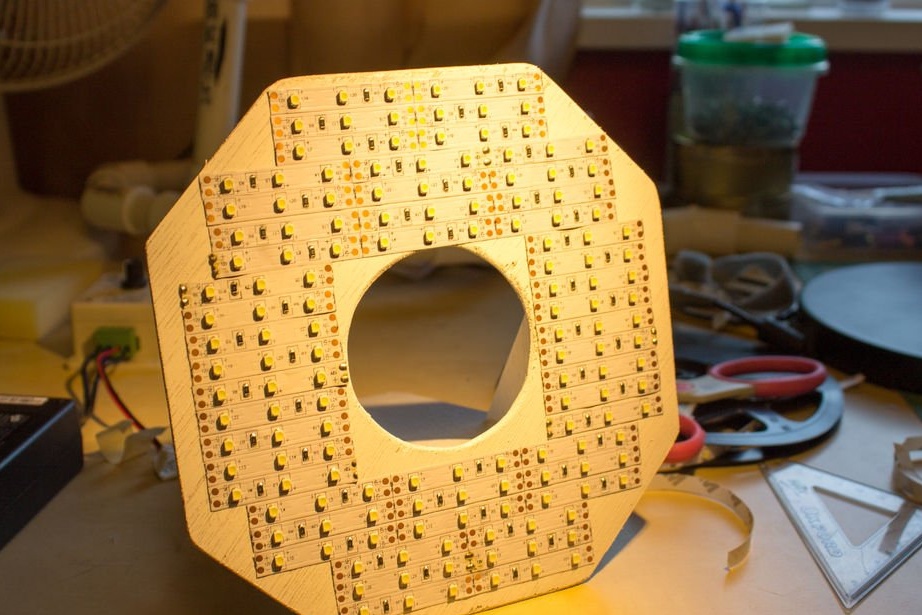

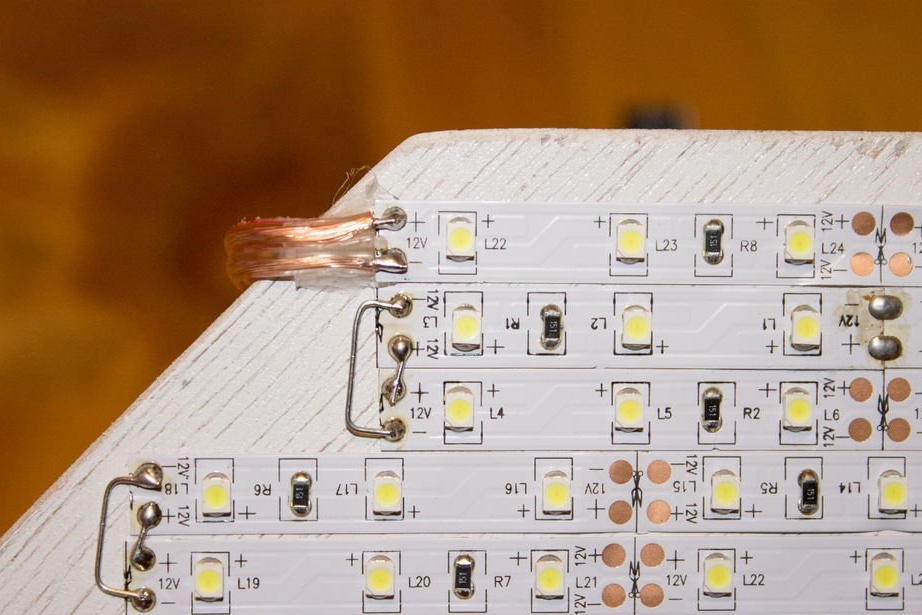
Once the paint has dried, the master pasted as many line strips as possible onto the octagon line using a removable sticker on the back of the LED strips. Make sure that you flip each other strip so that the positive contacts are next to each other, and the same with a minus. Do the same with the stripes on the side of the lens.
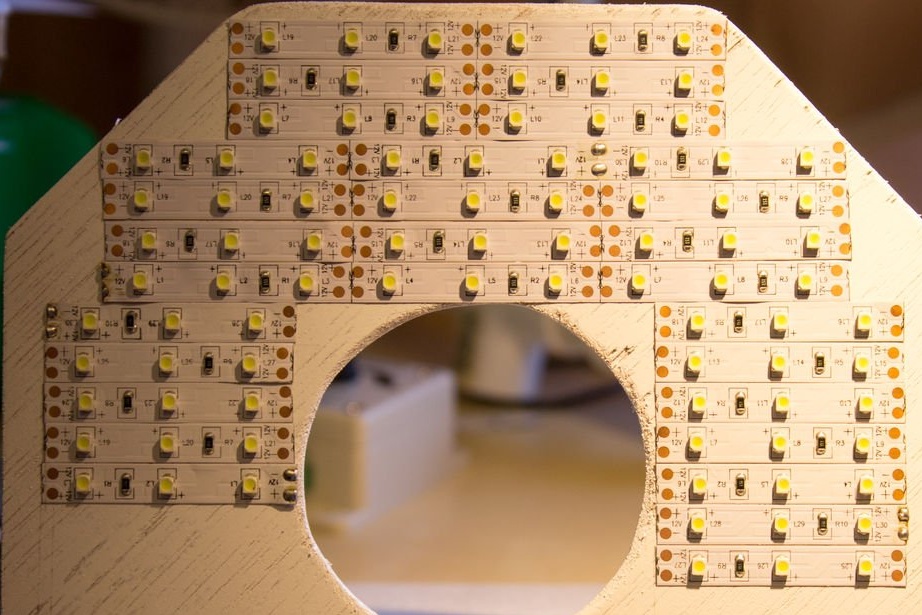
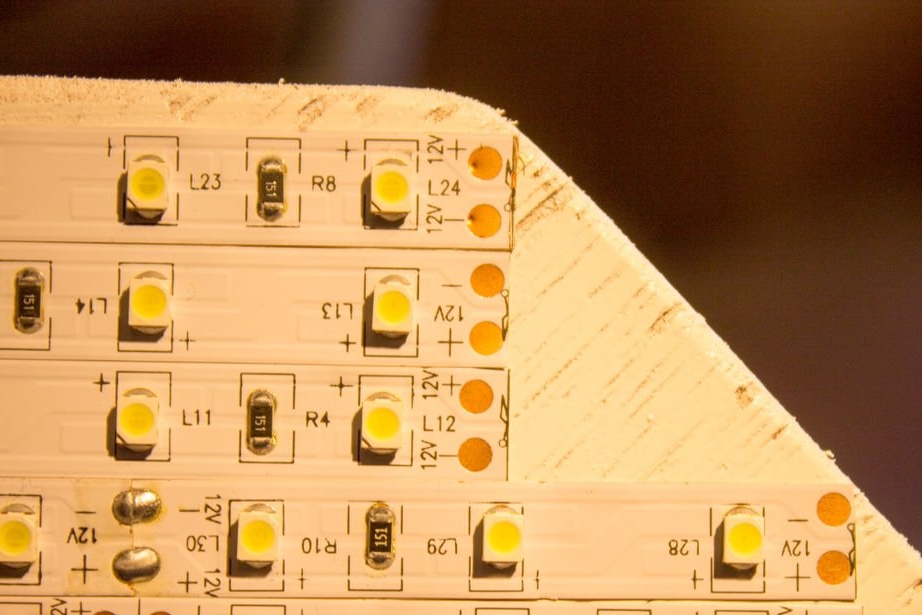
Step 7: Connect the bands together
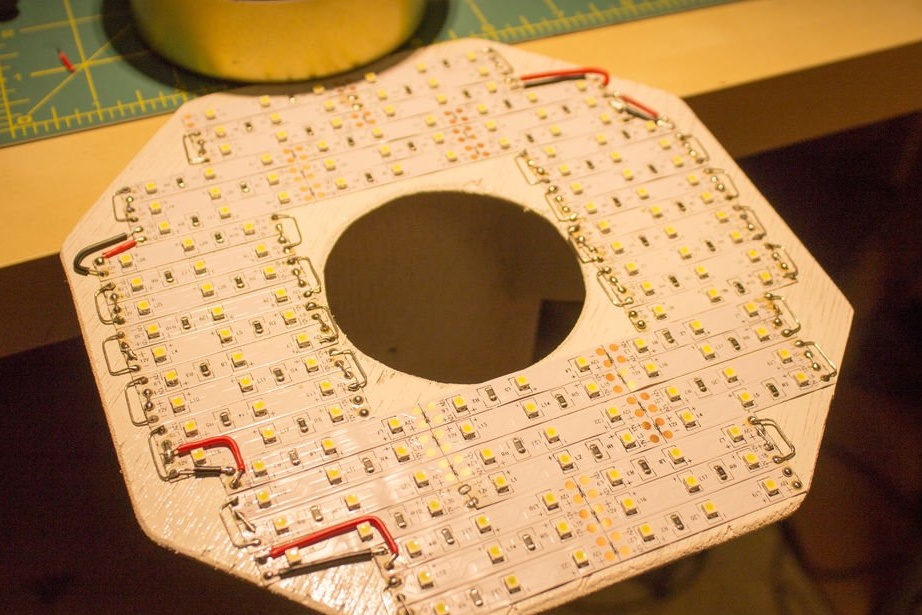
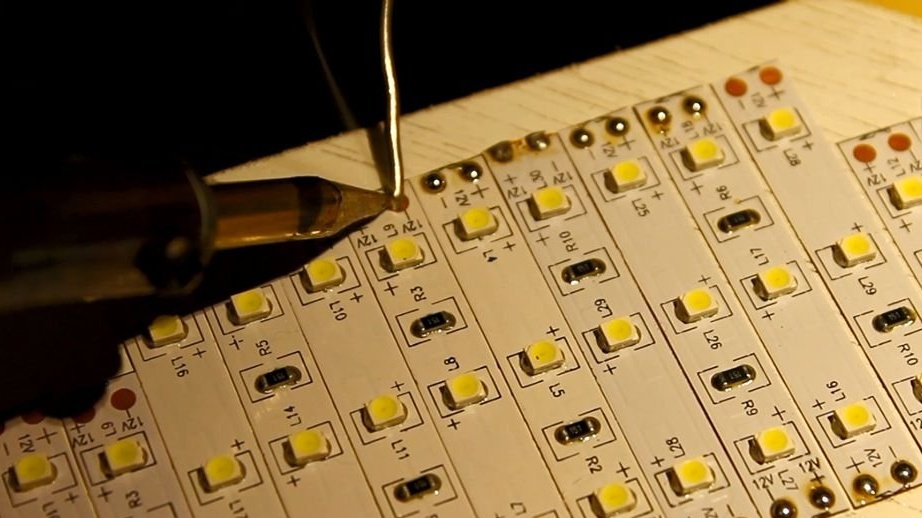
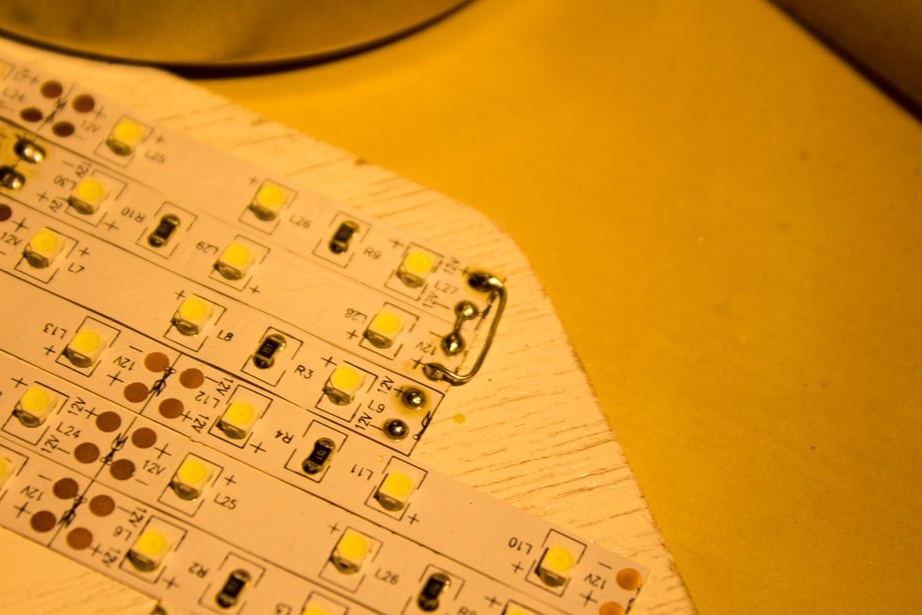
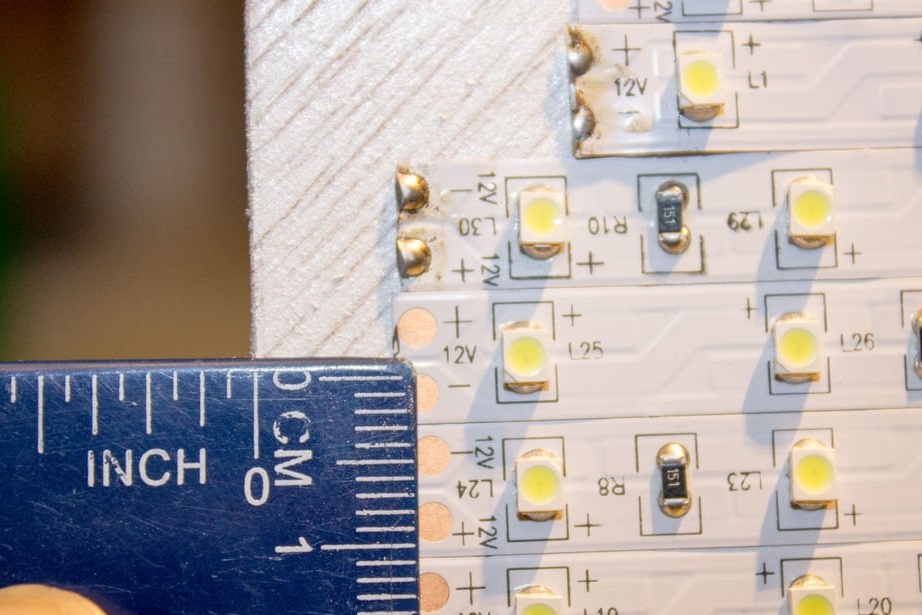
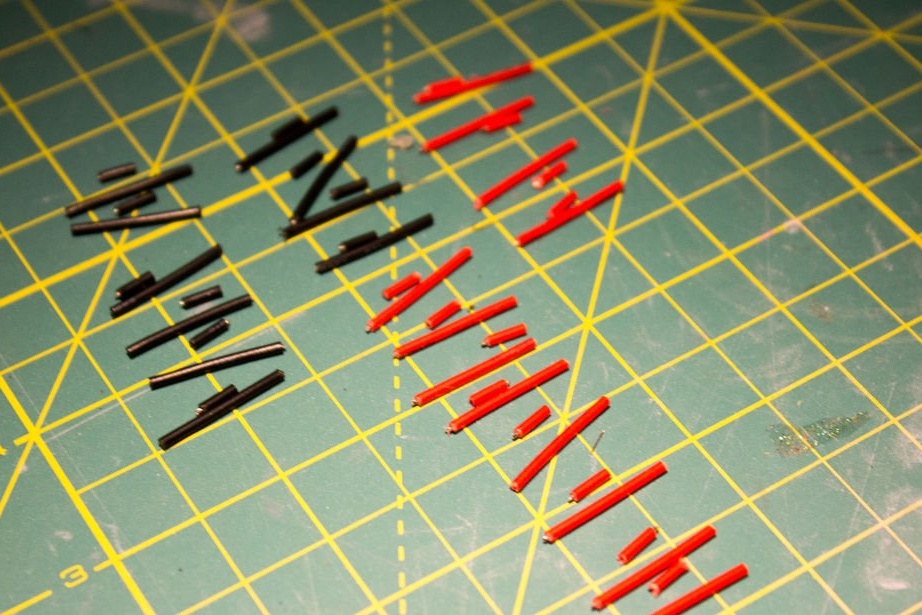
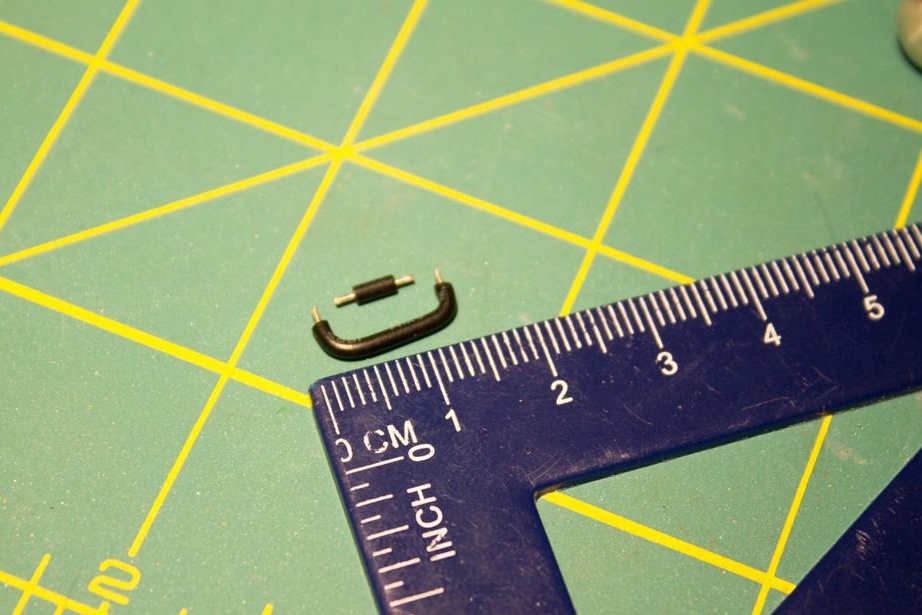

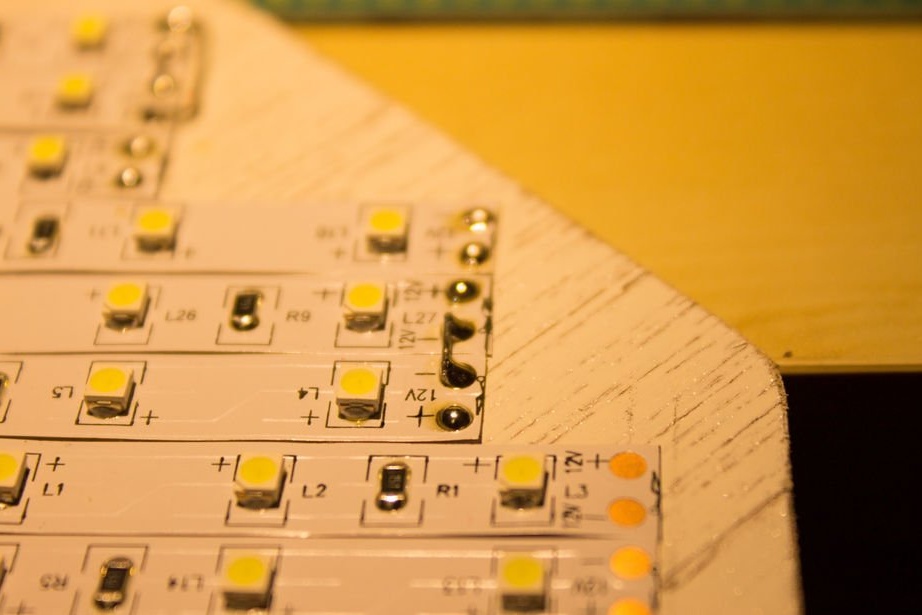
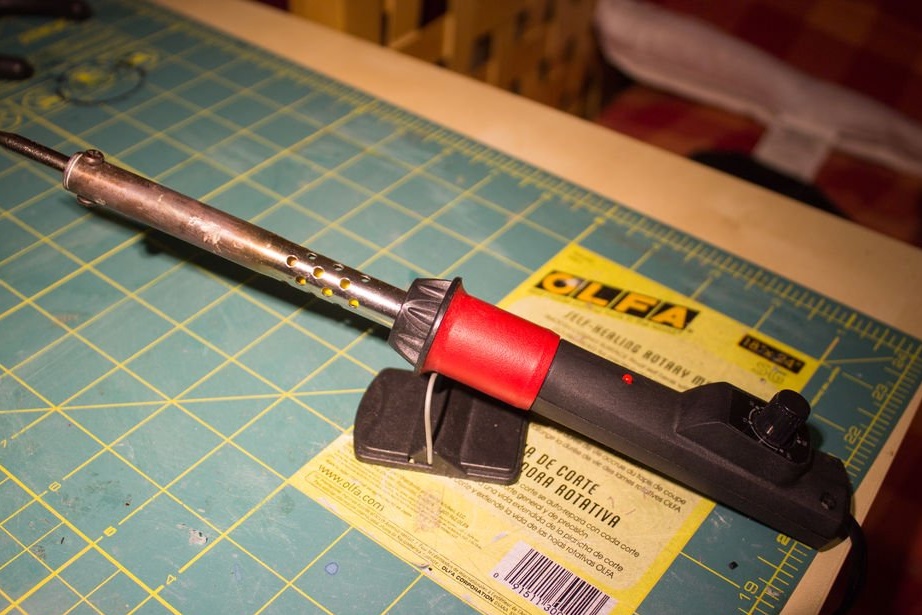
To connect the LED strips together, the master removed and cut the bundle of wires 6 mm and 20 mm and bent them as in the photo above. Then he heated the soldering iron and soldered all the wires to connect each LED in parallel (plus to plus, minus to minus). To do this, be sure to use a thin tip for the soldering iron, this will make soldering much easier.
You will also need to make several longer connections using insulated wires.
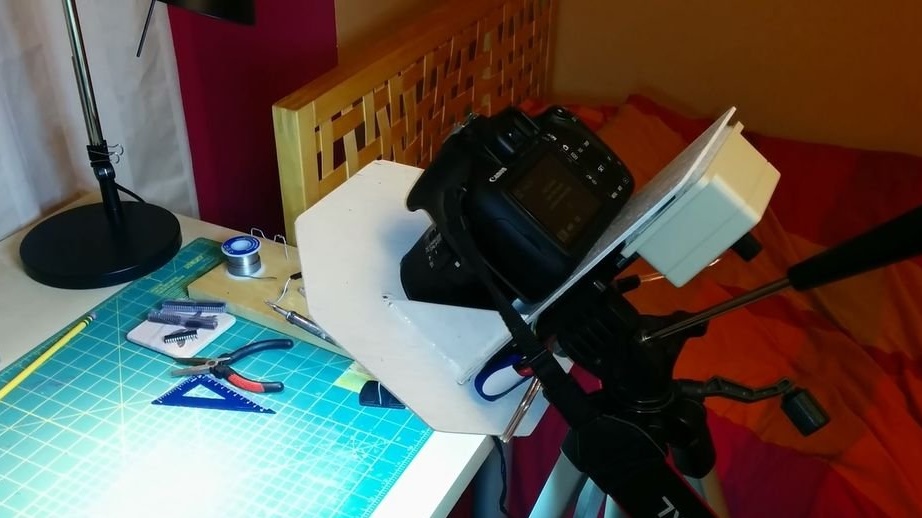
Step 8: Connect Dimmer and Power On
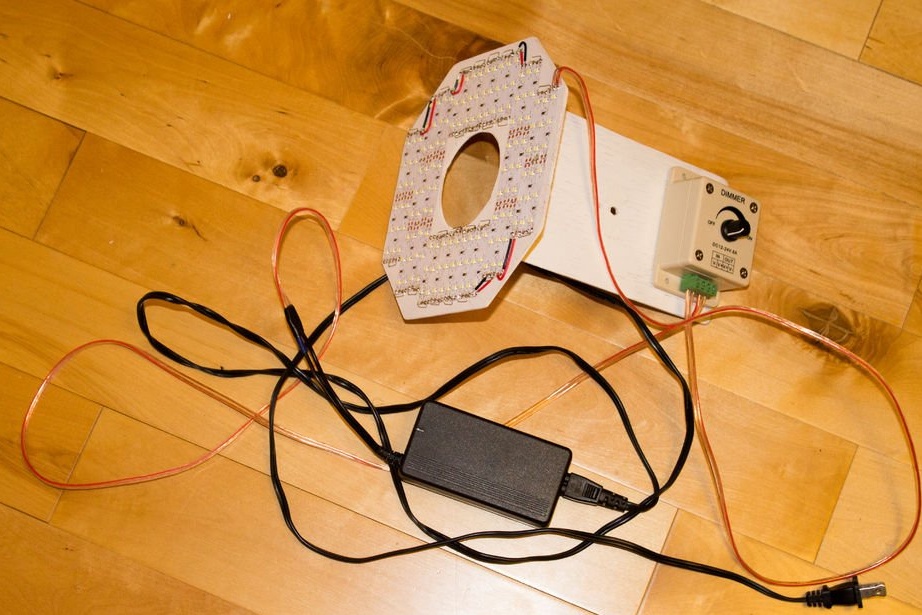
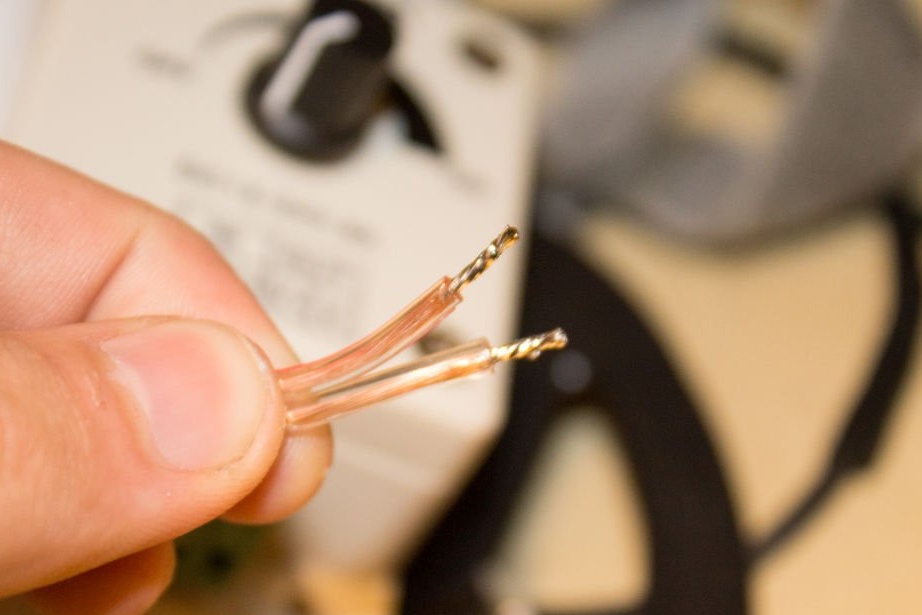
To connect the dimmer to the base, the master used some Velcro and simply attached the dimmer to the edge. Then he soldered several connecting wires to the end of the LED matrix, tinned the ends and connected them to the dimmer, screwing the wires to the terminals. To relieve tension in the parts, a little hot glue was used.
Then the master took a 12 V power supply and increased the wire to it, which then connected to the dimmer.
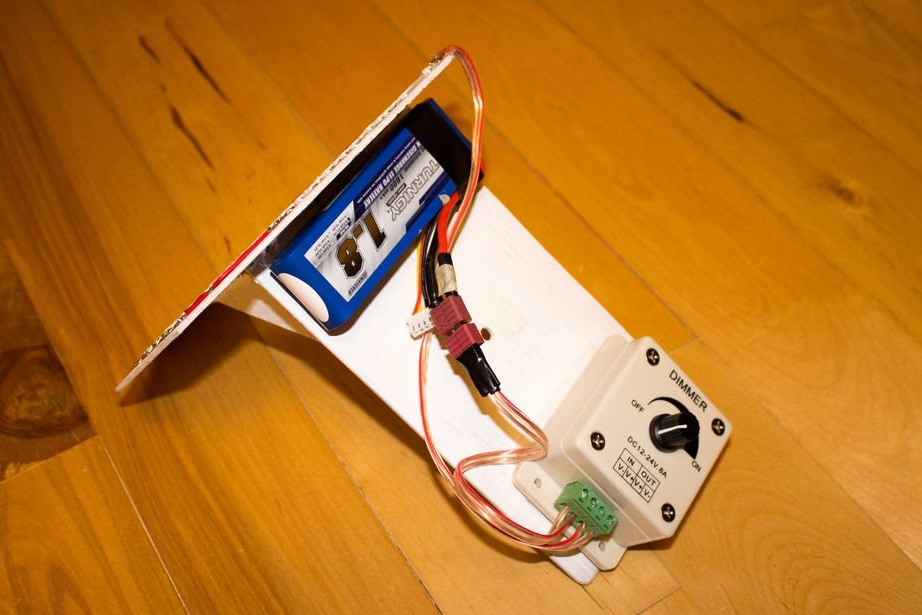
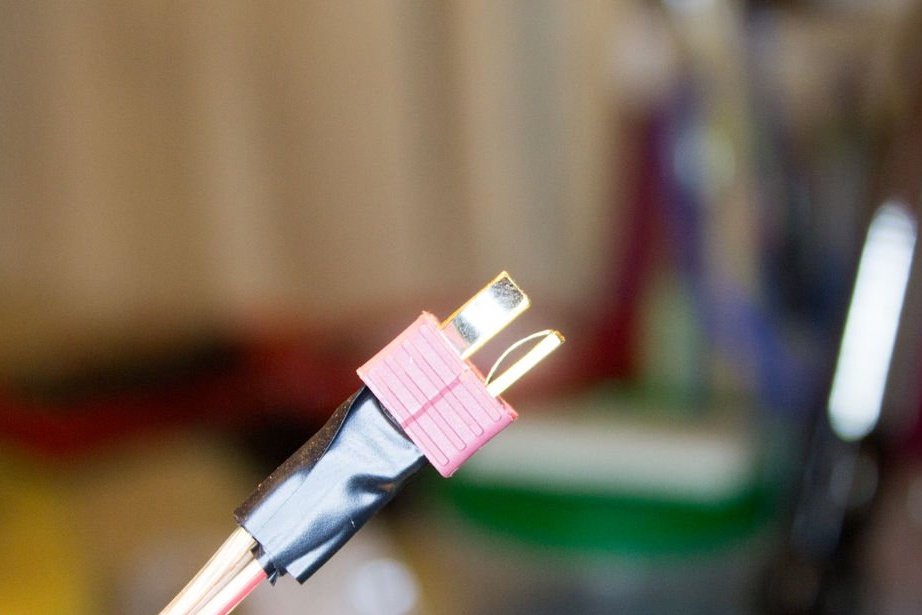
He also had an 11.1 V lithium battery. This fully charged battery has approximately 12.6 V. Therefore, the master decided to use it in his product as well and connected it to the platform using Velcro. Then I soldered about 20 cm of the connecting wire to the compatible connector, wrapped the connector with electrical tape and connected it to the dimmer.
Both power supplies showed good and identical results! However, the wizard prefers to use the battery, since it is still portable.
Step 9: Additions
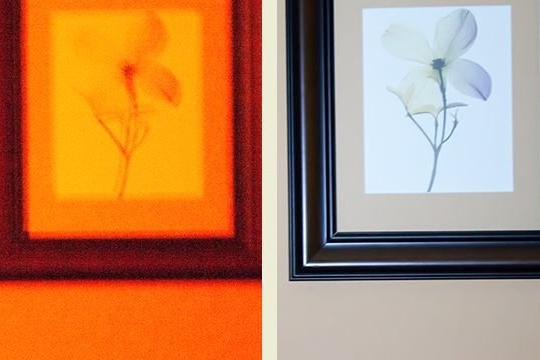
This LED lamp really helped make the shots better. Here are some pictures of some random items before and after. As you can see, this really helps the grain disappear and the shadows are now less noticeable. For photographs in dark conditions, this lamp acts like a giant flash.
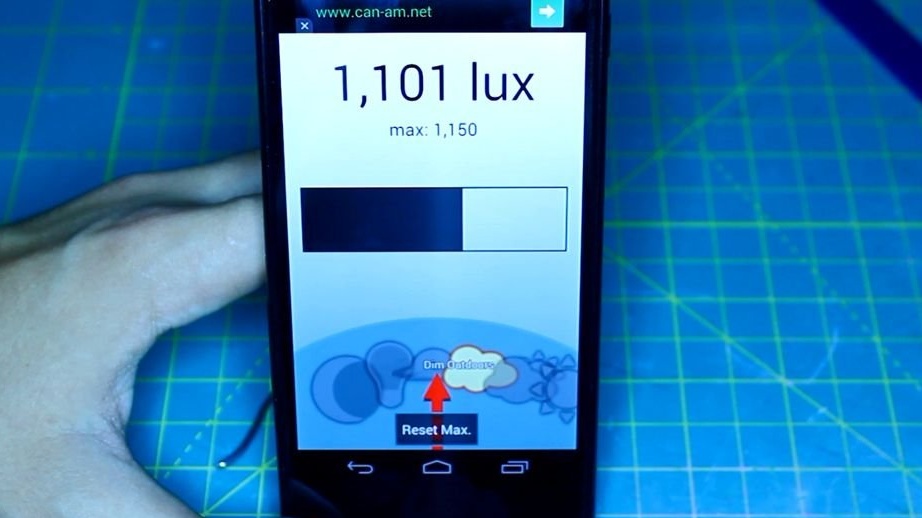
The master also checked the illumination received from the lamp.To do this, he used a light sensor on his phone, and according to the app, ocoto-light, the lamp gives out about 1100 lumens / square meter.
What can be considered a very worthy result for such a simple homemade product.