
In this article, Chris, the author of the Third Coast Craftsman YouTube channel, will tell you about a fairly simple project - a board for playing the Cornhole. This game involves throwing bags of beans or grain from a distance into the hole in the board. The board itself will be decorated with LED backlight. At night it will be a rather fascinating sight.

Materials
- sheet plywood
- masking tape
- Two-component epoxy resin
- Wood screws
- Silicone sealant
- Second glue
- LED Strip Light
- Sandpaper
- Aerosol varnish
- Spray paint.
Instruments, used by the author.
—
—
- Planer, chisels
—
—
—
- Compass, ruler, hammer
Manufacturing process.
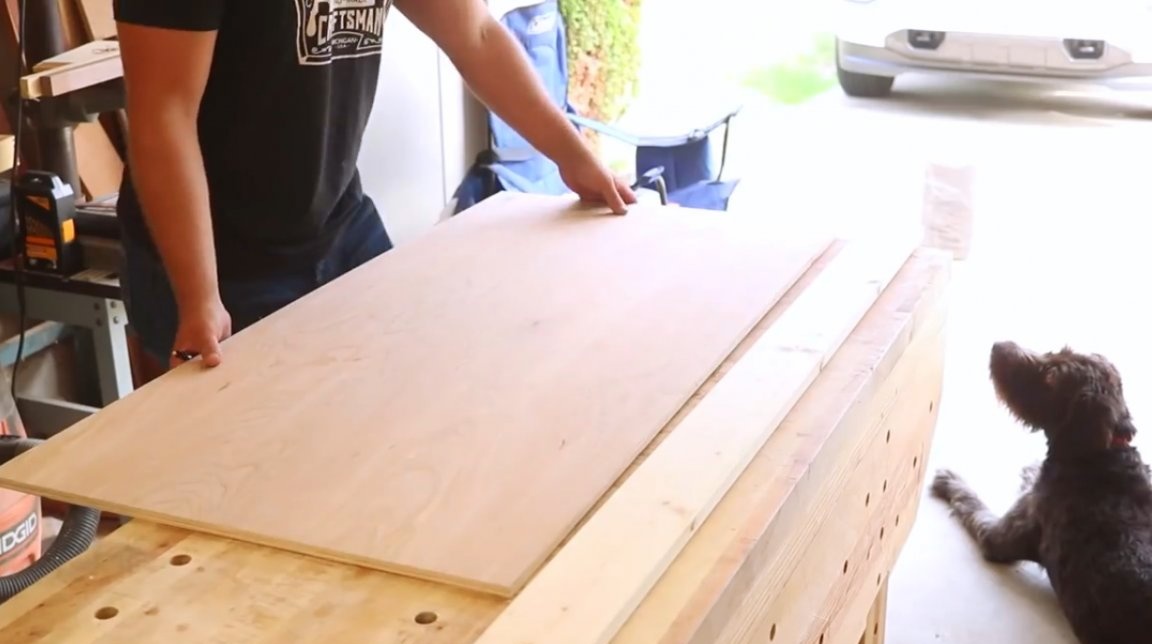
For starters, you will need: 2 sheets of plywood, two boards 25X100 mm and 50X100 mm in size.
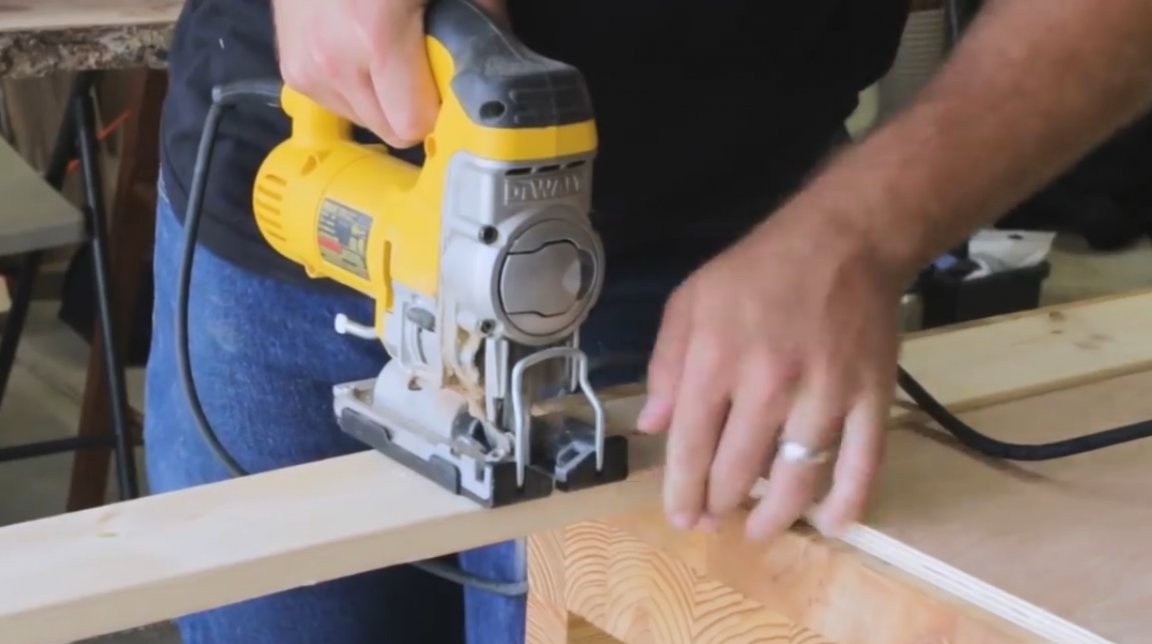
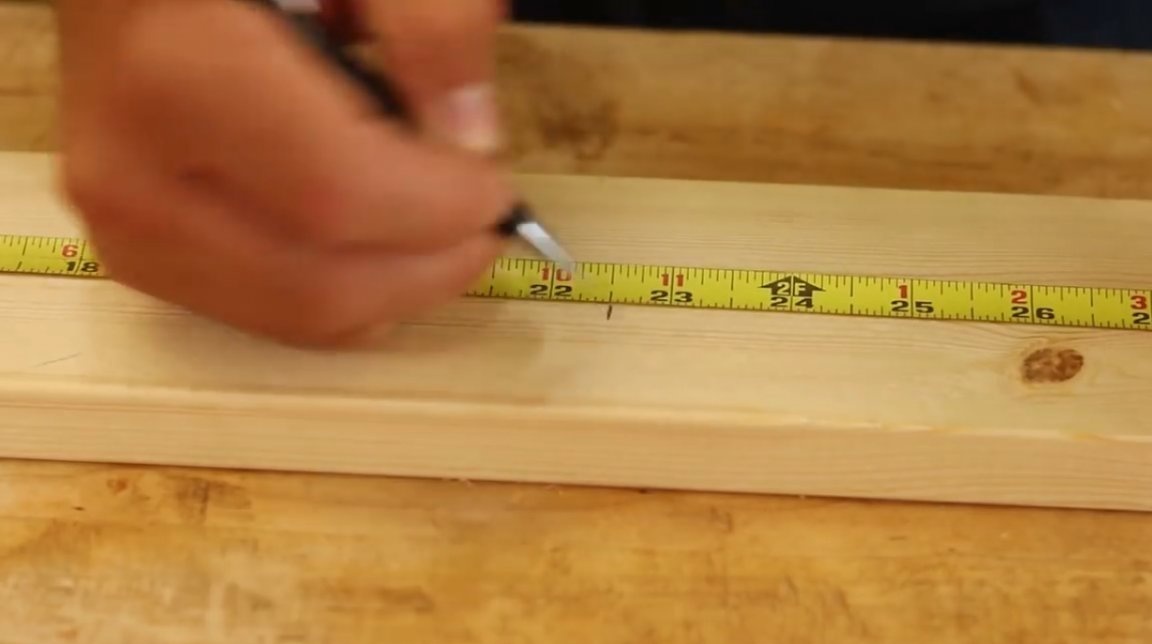
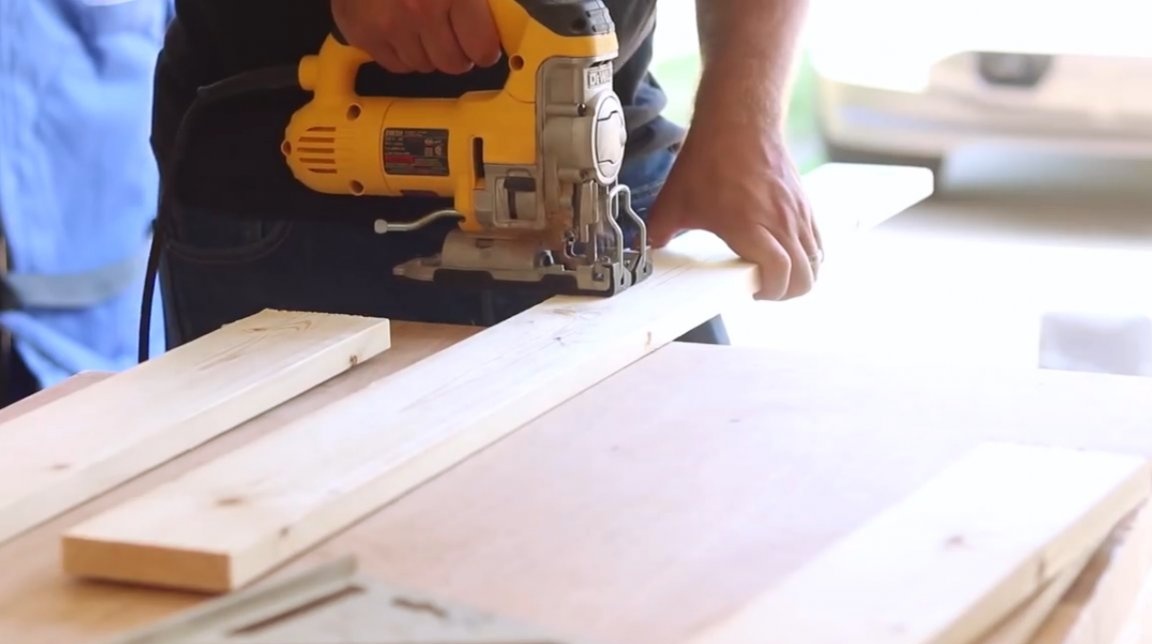
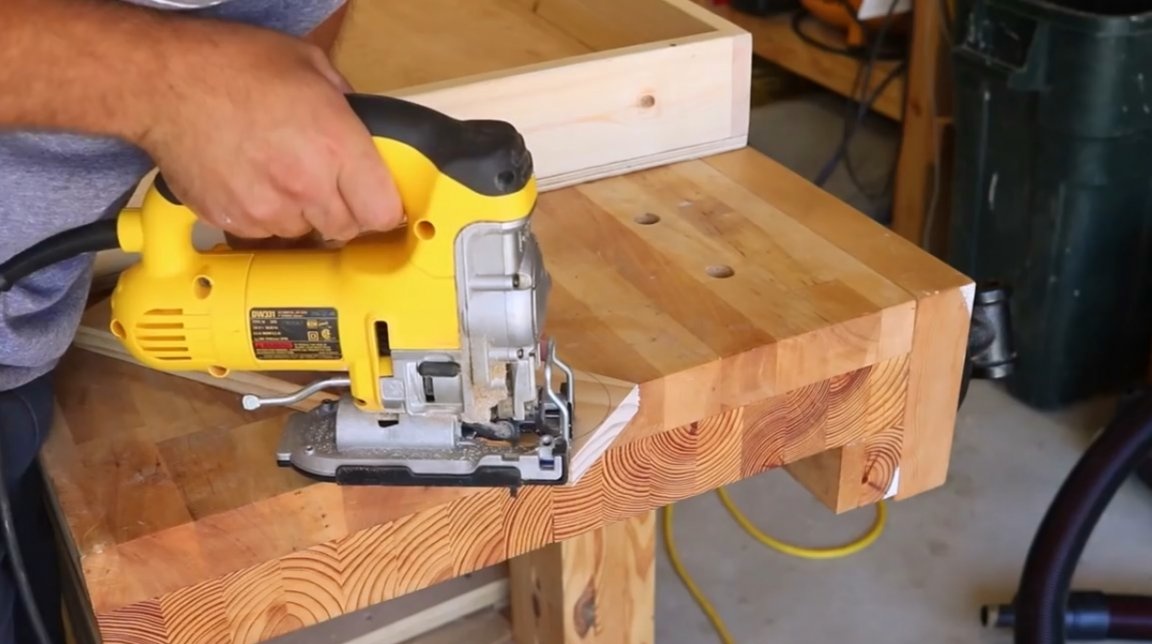
The author notes the length of the first two boards, which are 25X100, and cuts them off with a jigsaw (here all work on cutting elements will be carried out exclusively by one tool - an electric jigsaw)! Then, the other two 50X100 boards are cut to width, which will be located transversely.
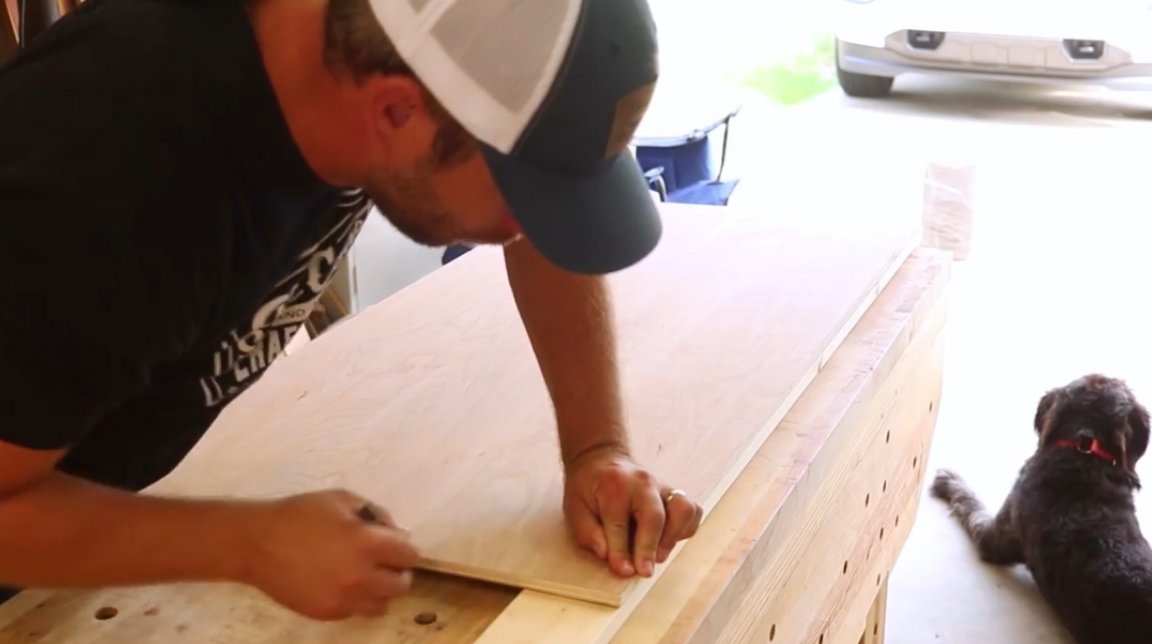
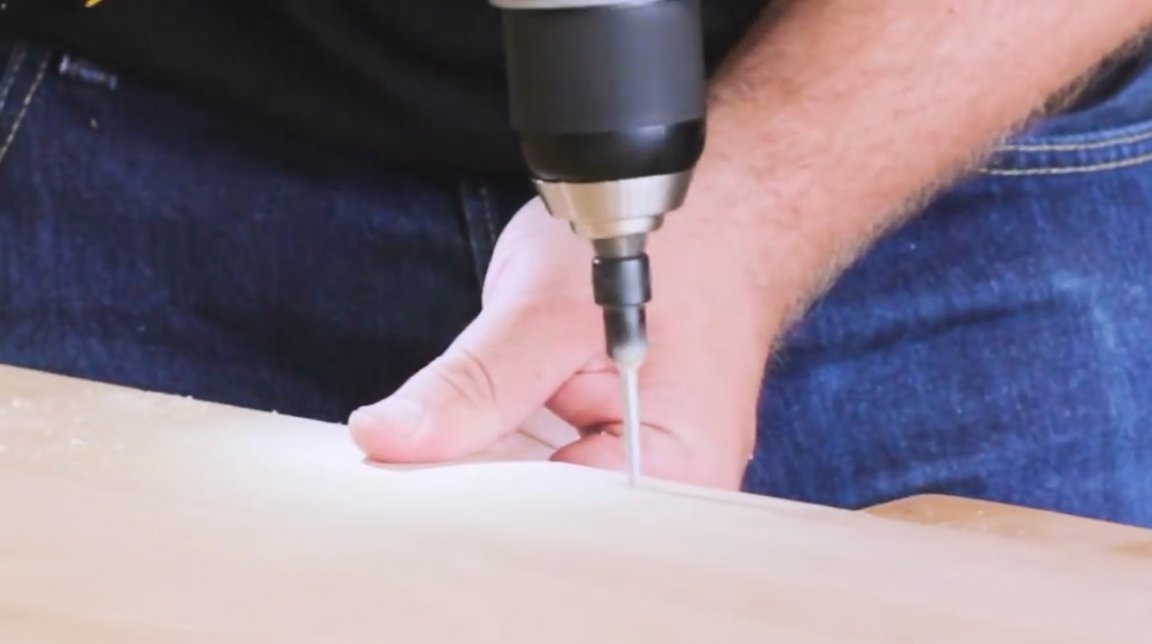
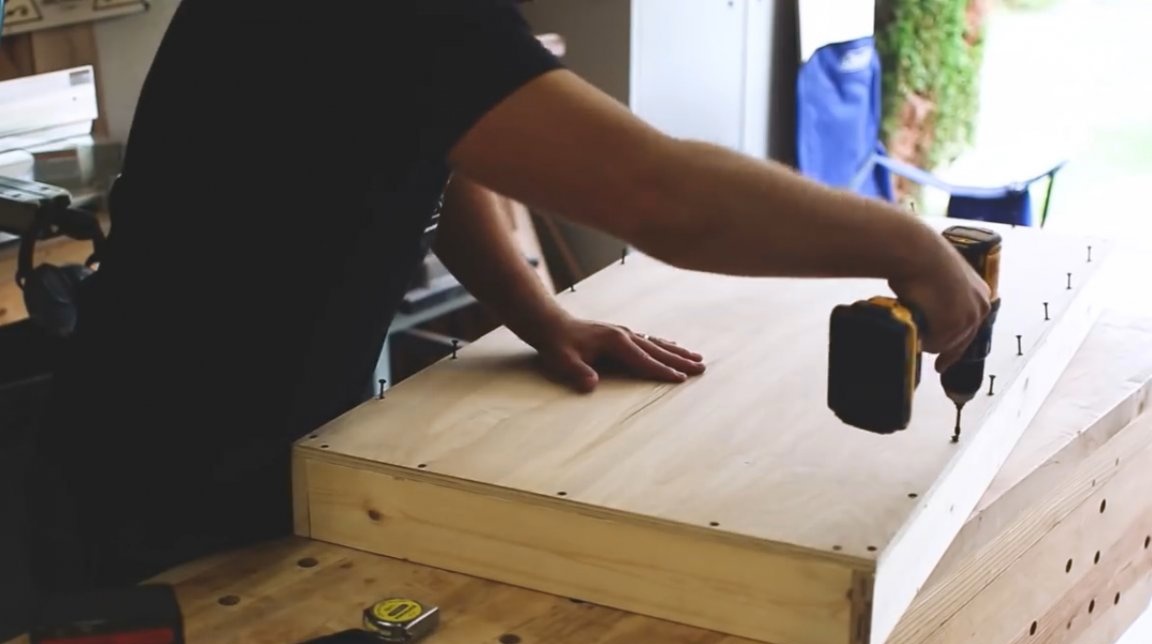
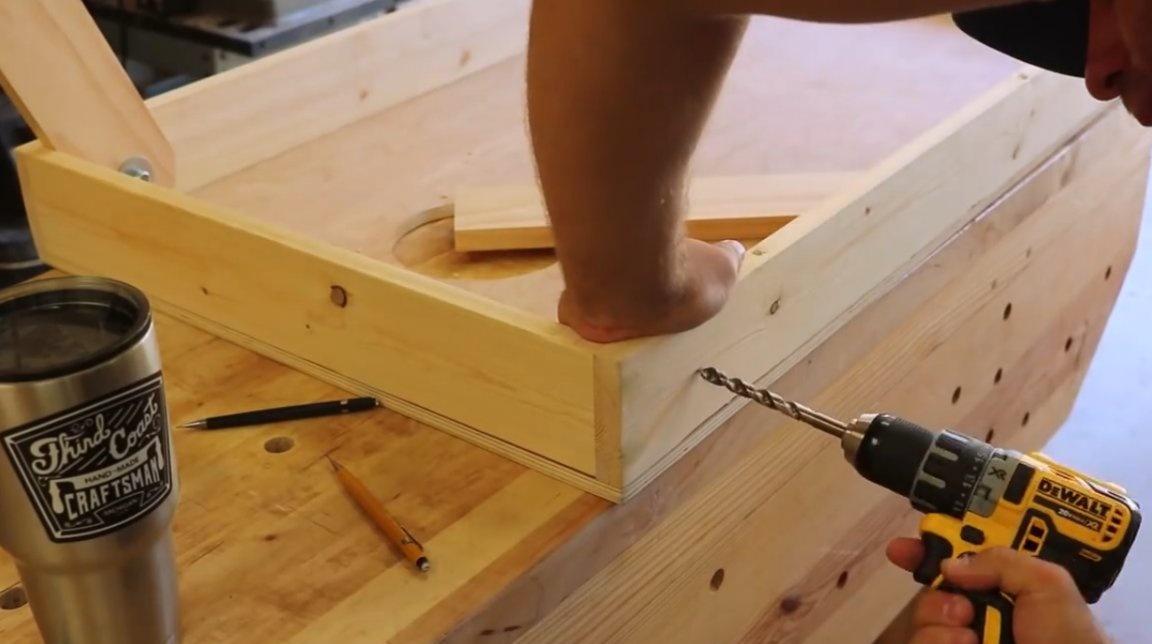
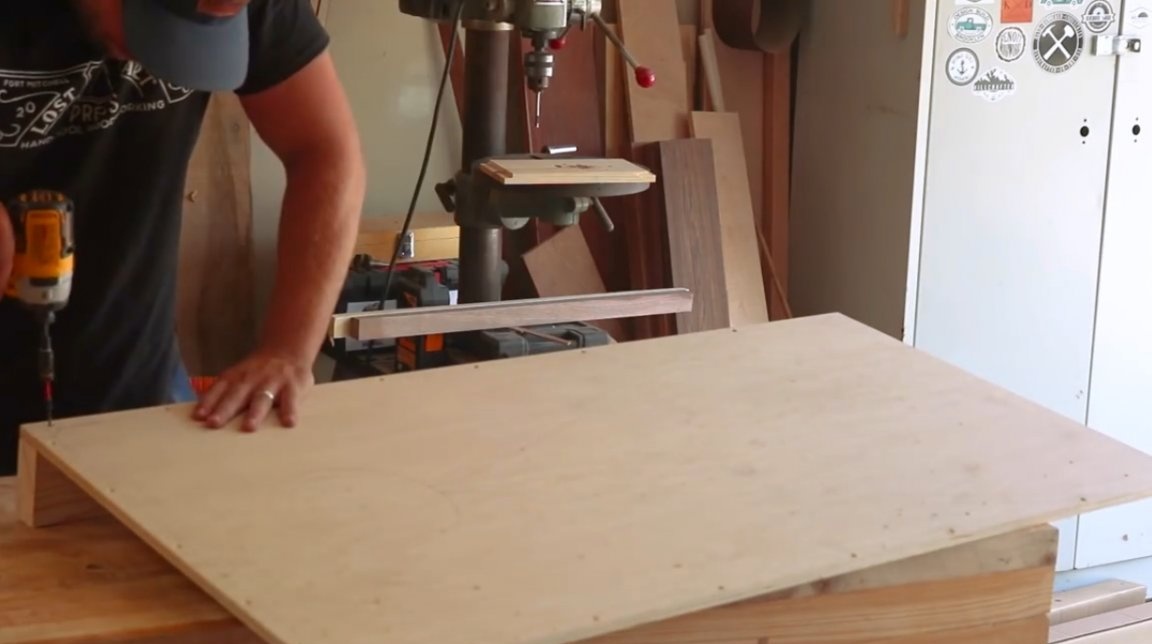
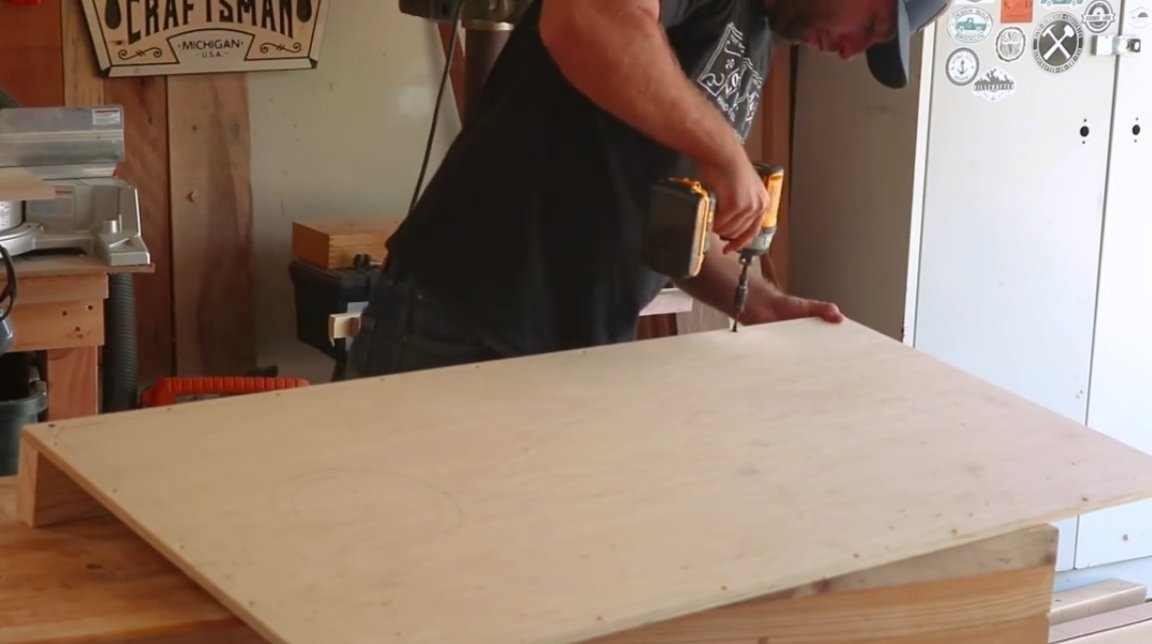
Further, the author marks the holes for the screws. They will stand apart from each other at an equal distance - 150 mm. He makes pilot holes and countersinks them. He then places the top panel on the sides and screwed it on. A couple of screws in the side walls at the corners to give greater strength.
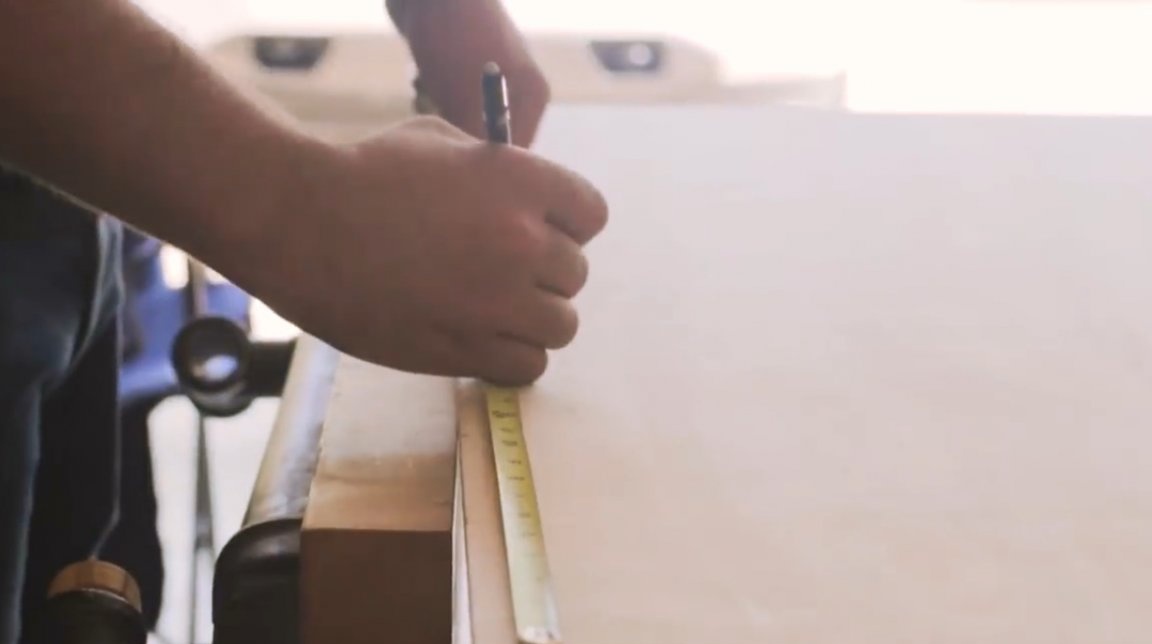

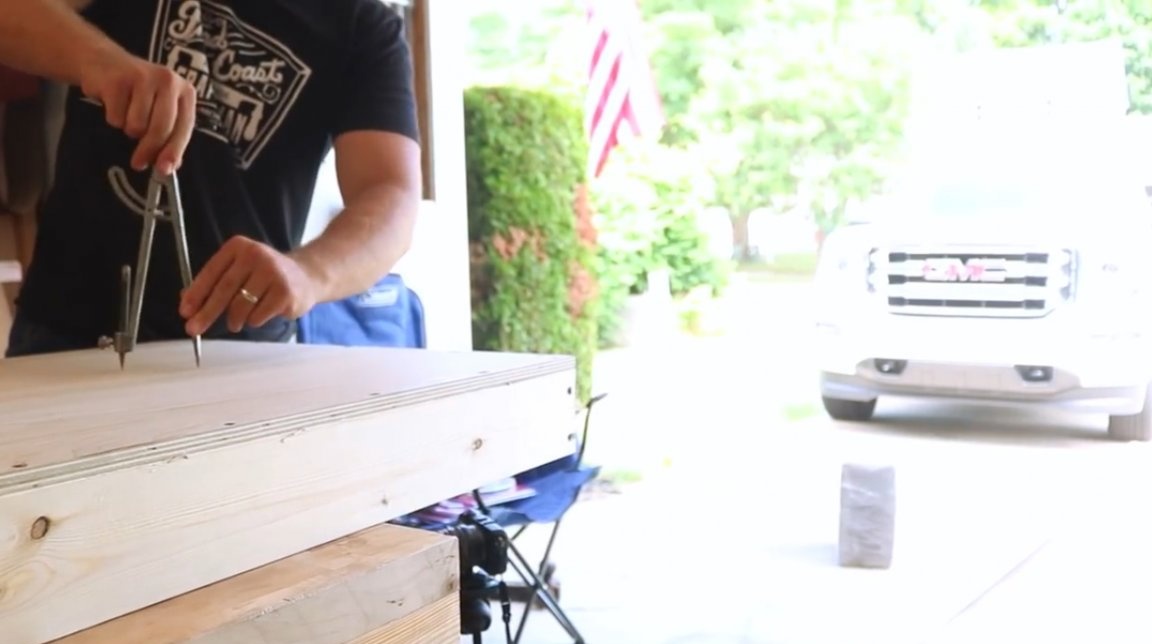
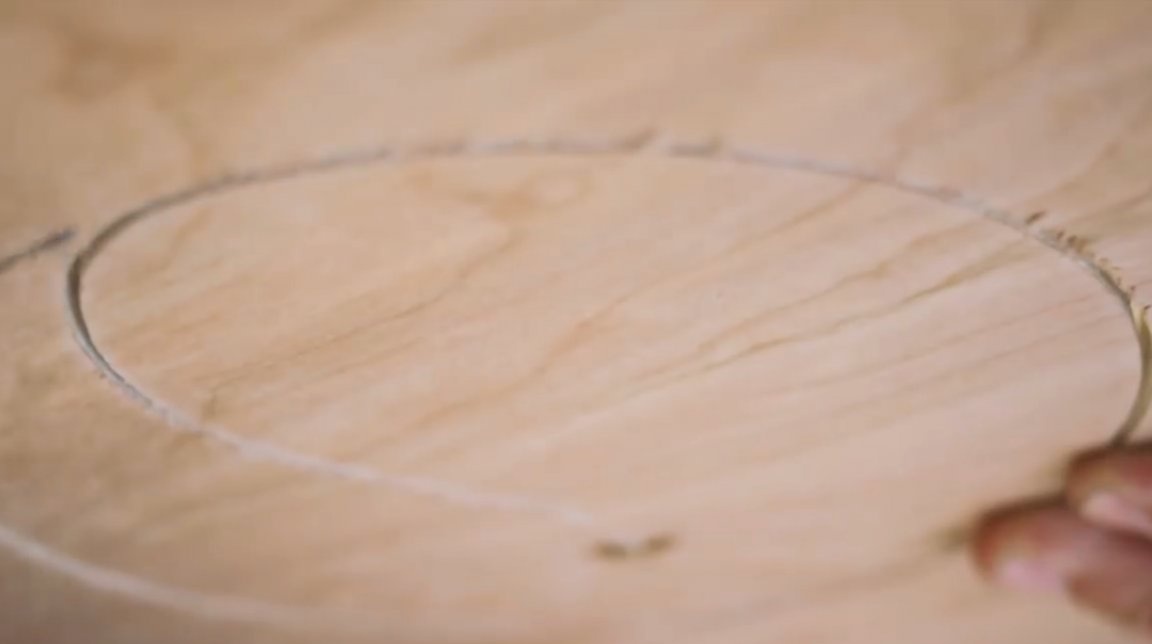
Now the master marks out a circle in the center of the board for a hole of 6 (152 mm) inches in diameter. To do this, on each side he lays 12 inches (304 mm) to the center and 9 (228 mm) from the top.
This will be the point from which the circle will be drawn with a compass. The compass is set to a radius of 76 mm (3 inches).
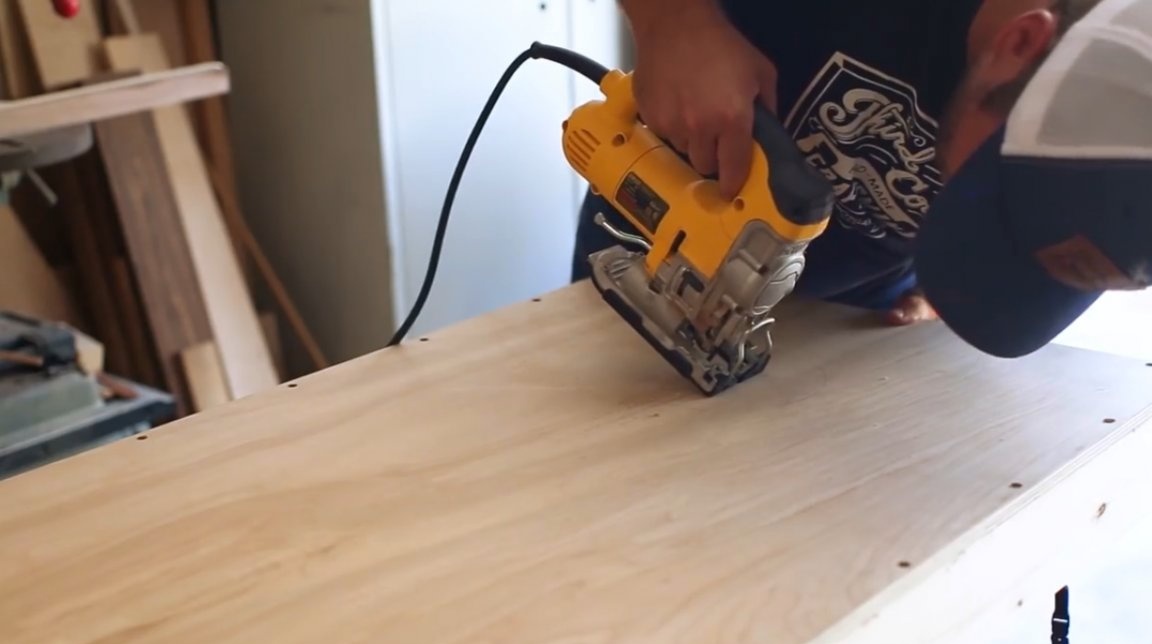
He then uses a narrow-blade jigsaw to describe a steep arc. It is important not to rush, following the circle line.
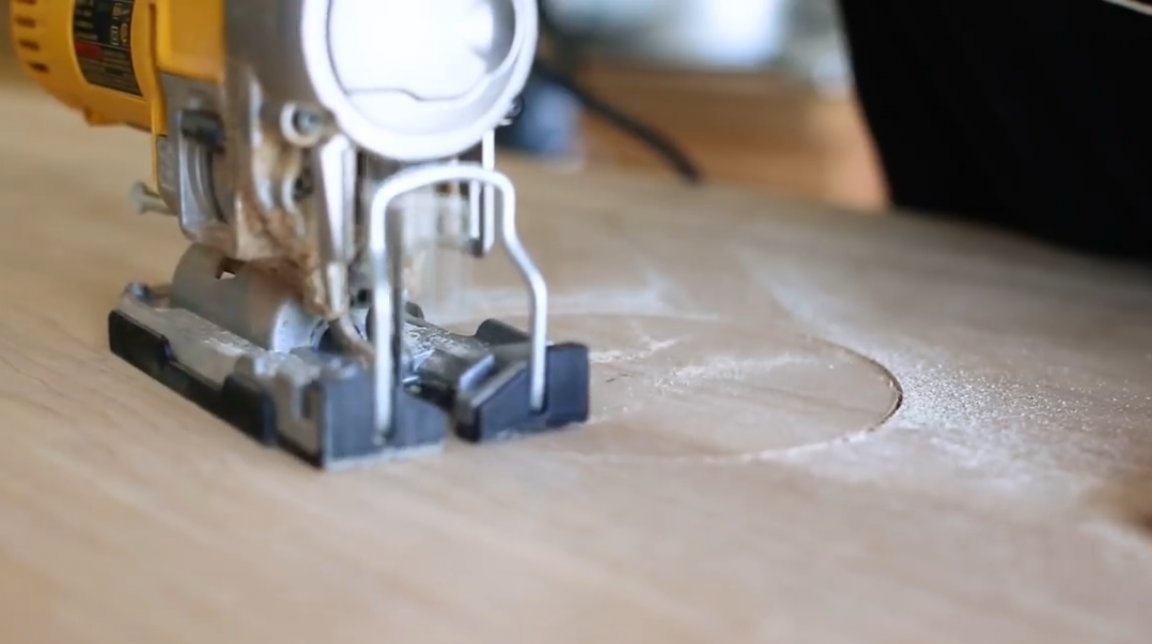
The sharp edges of the slice are overwritten.
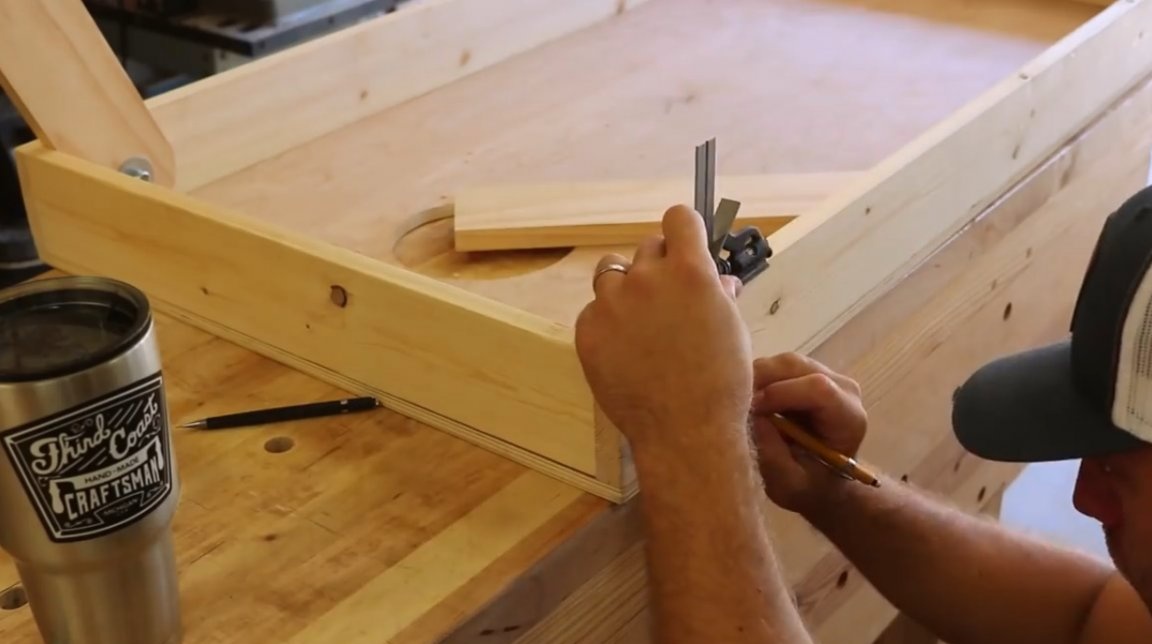
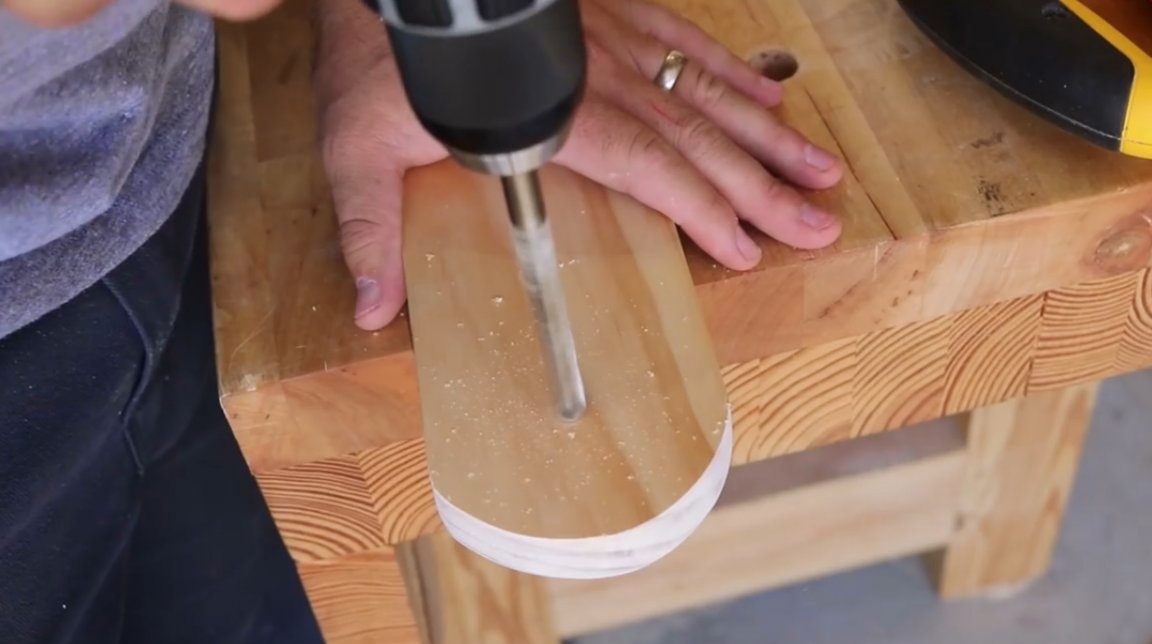
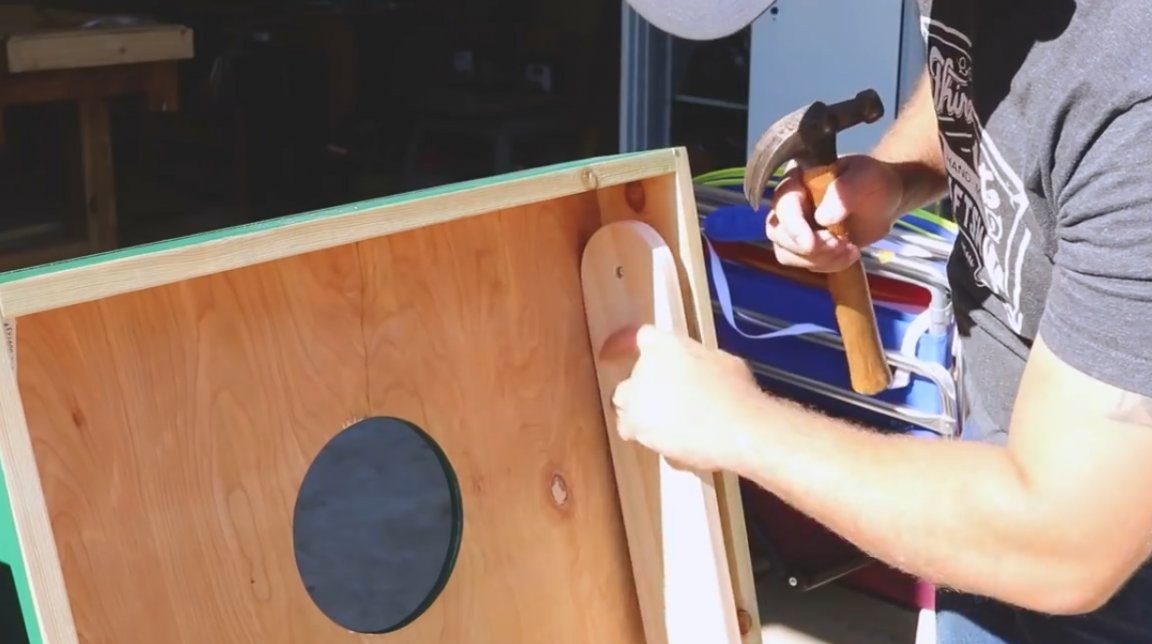
Next, the master marks the contours of the legs. They will be mounted from the back of the panel at a slight angle. On each of the 4 boards, he makes a mark at a distance of 70 mm from the inner corner of the proposed legs and retreats down by 45 mm. A hole will be drilled in this place. A compass is set at this mark and the fillets of the legs are marked. The shape of the legs is cut.The legs will be screwed to the body a little later, after staining.

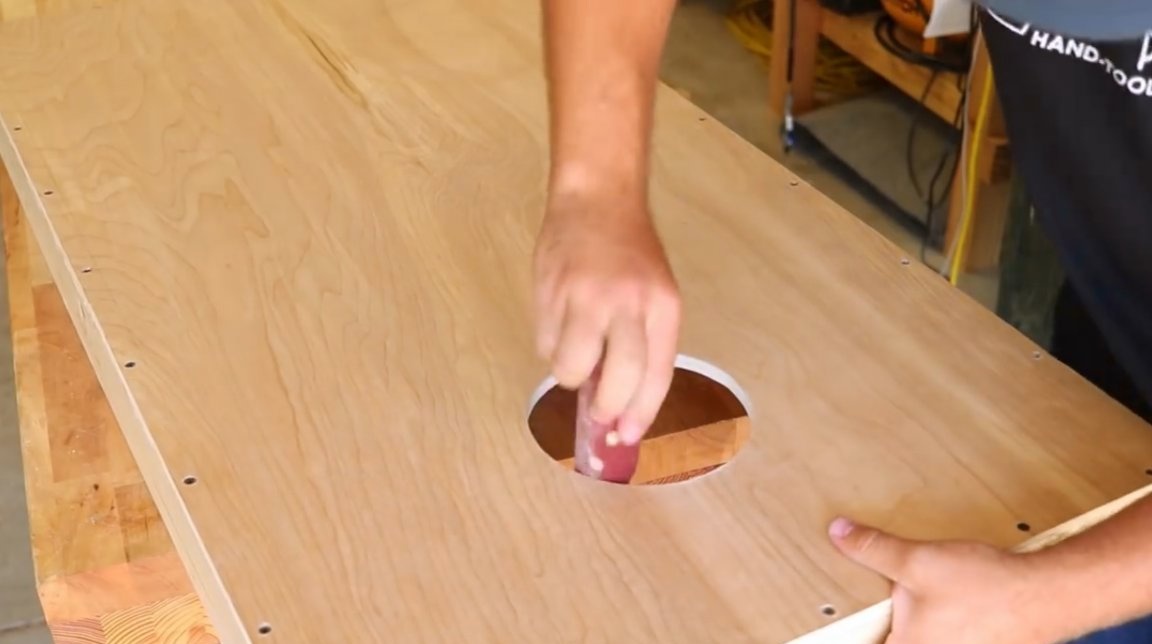
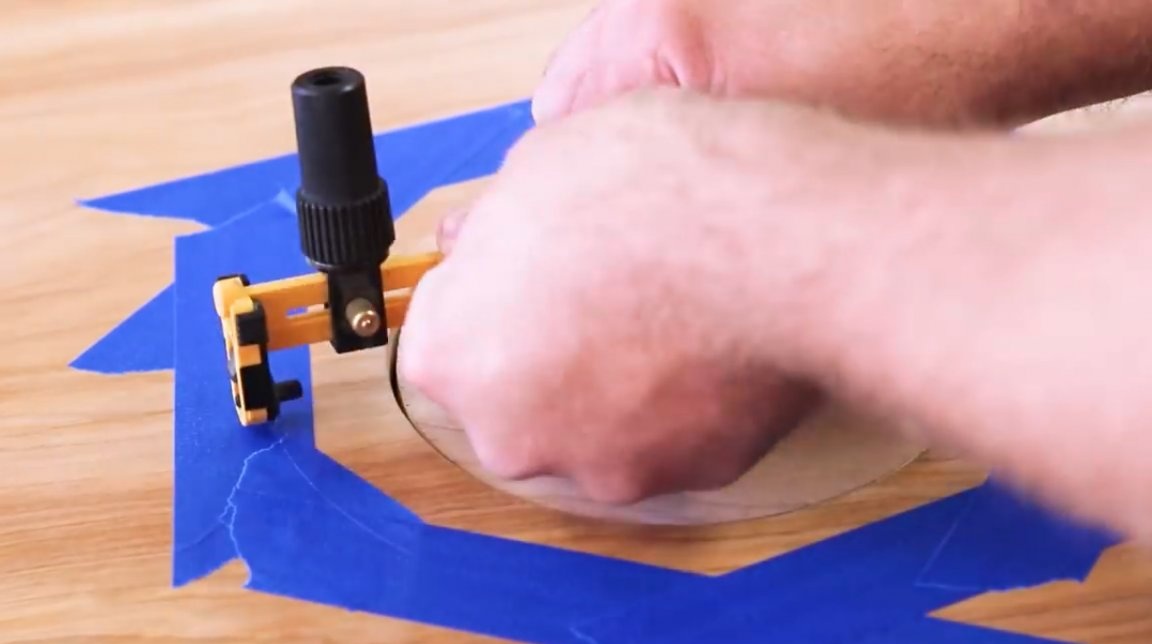
Then the author returns the sawn plywood circle into place, temporarily attaching it from the inside with a piece of board. This stage is necessary so that it is possible to draw a circle of larger diameter with the help of a compass installed in the center of the cutting wheel.
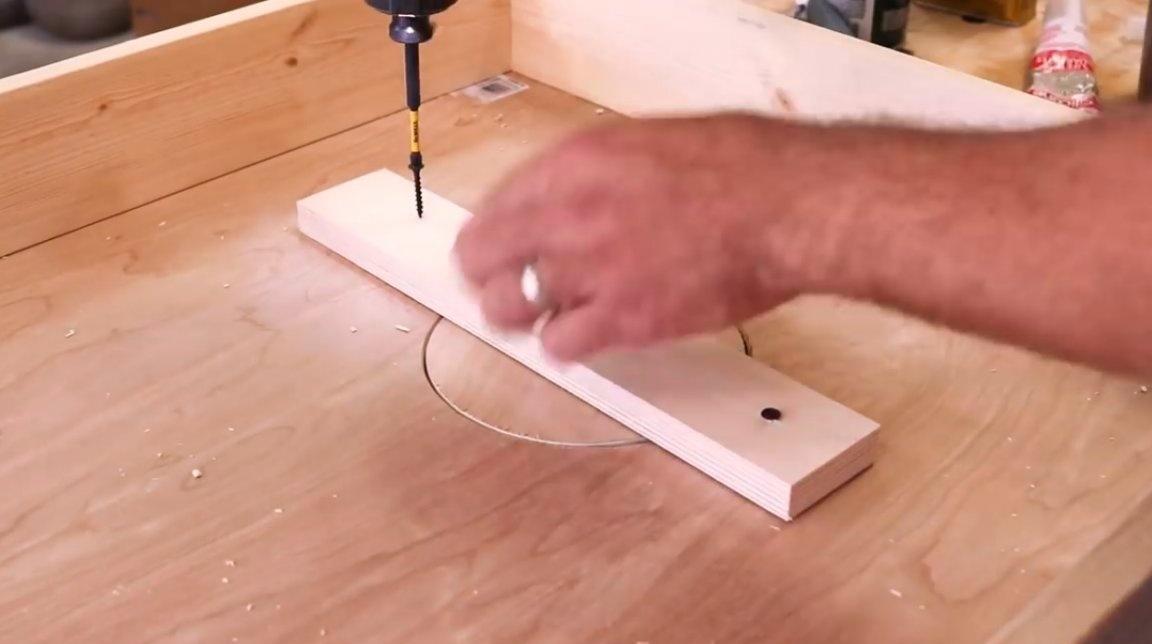
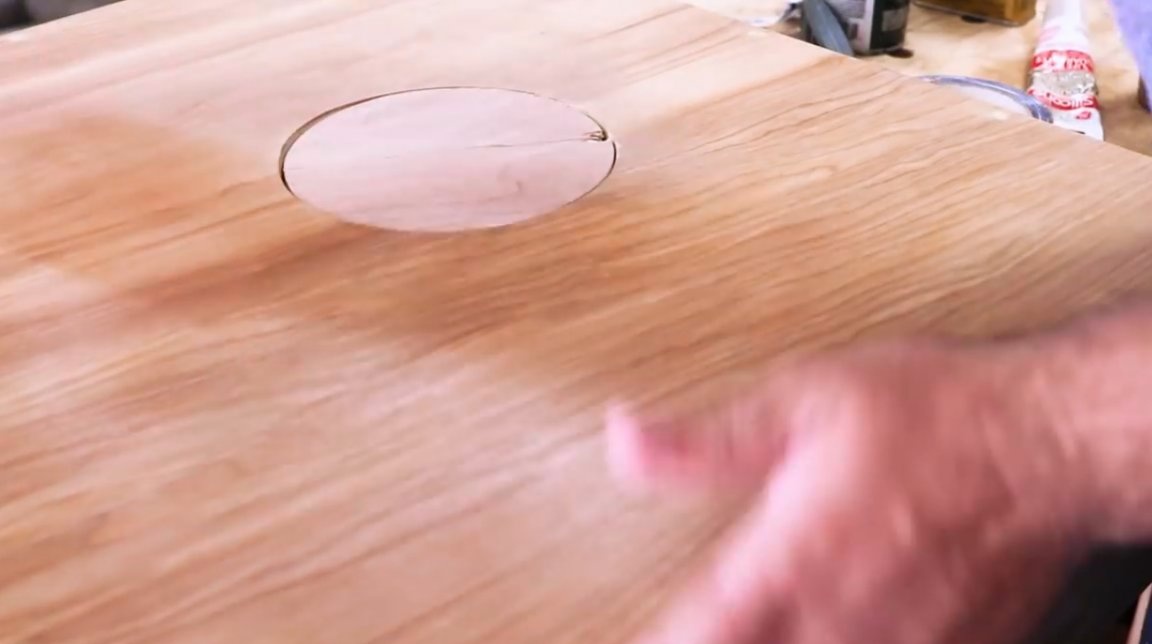
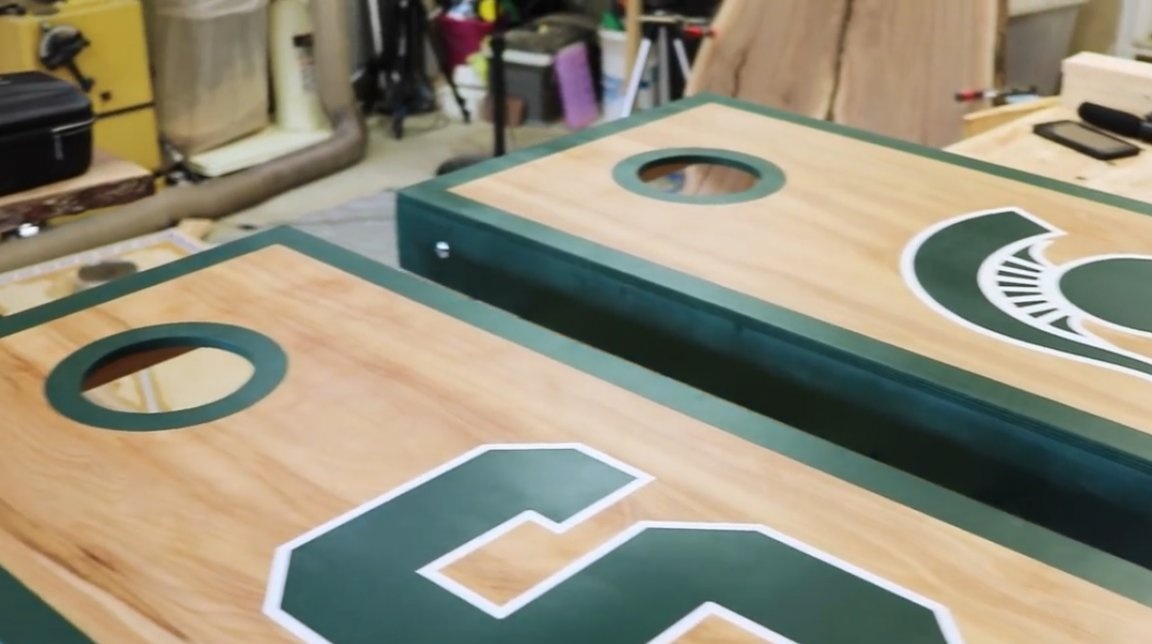
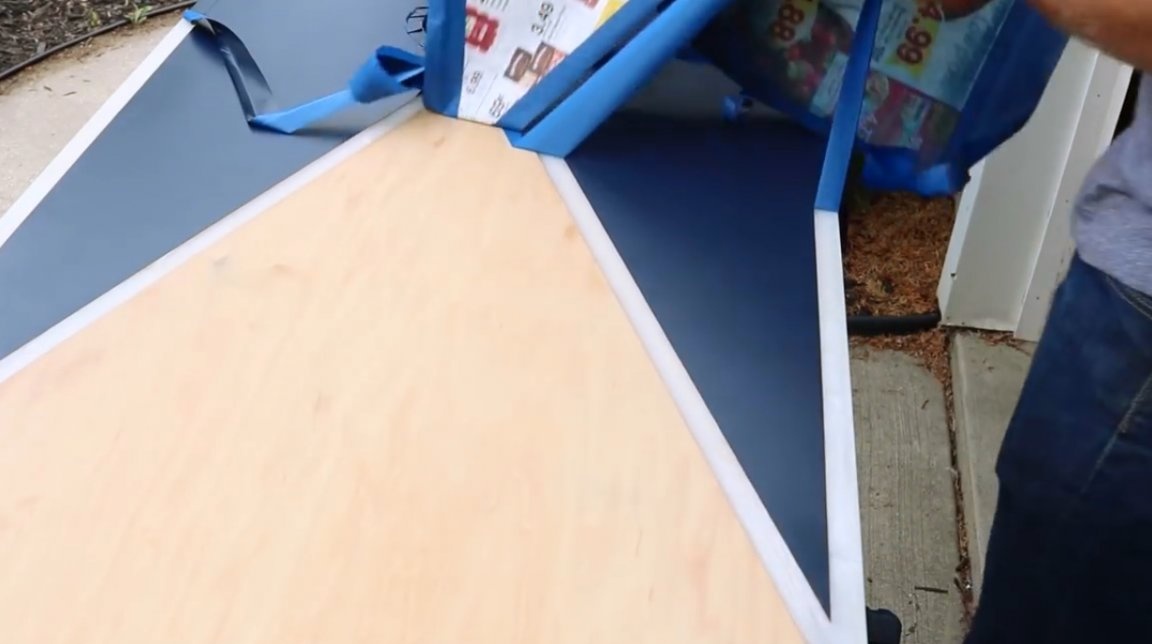
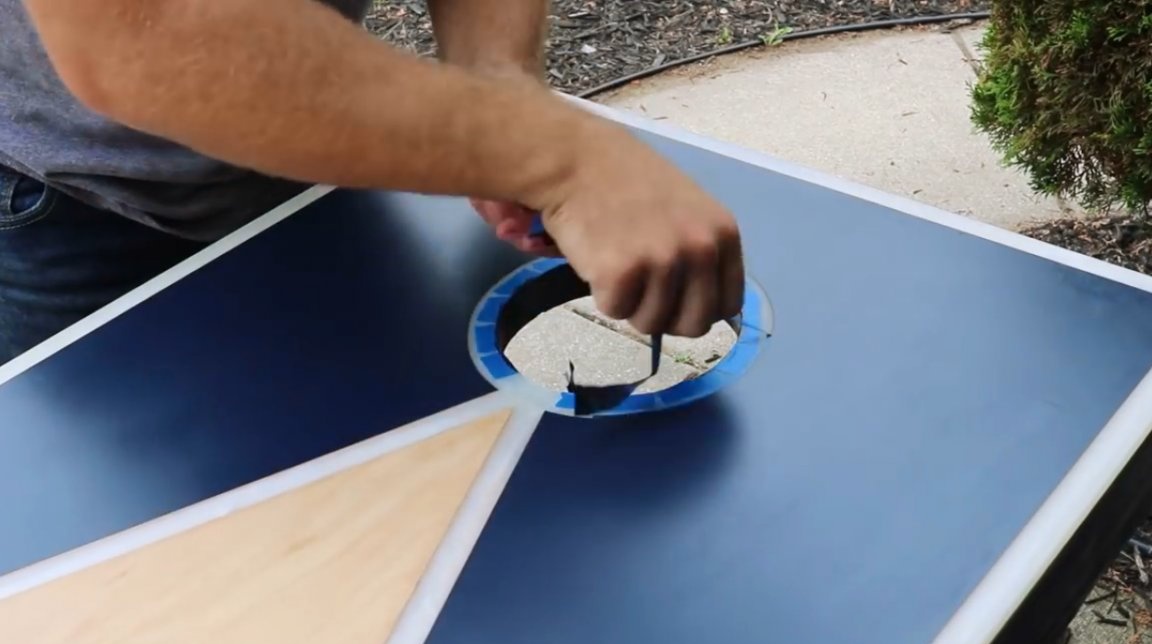
A blue masking tape is applied along the entire line of the circle. Now a perfect circle is drawn from the center of the cutting wheel along the tape itself. For this, a compass with a blade is used.
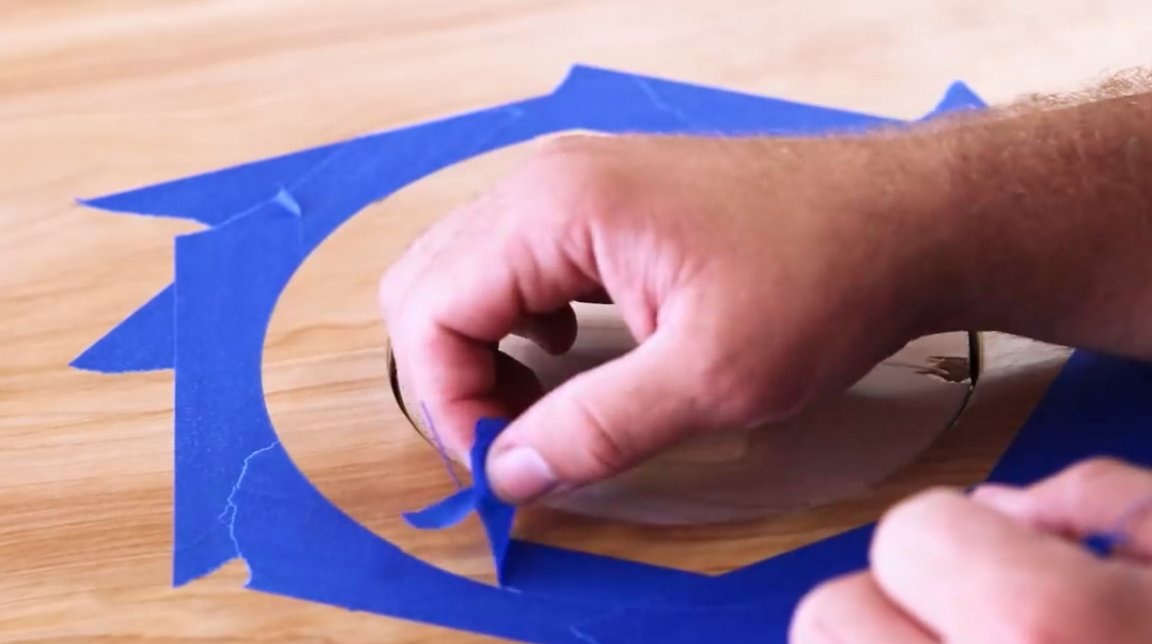
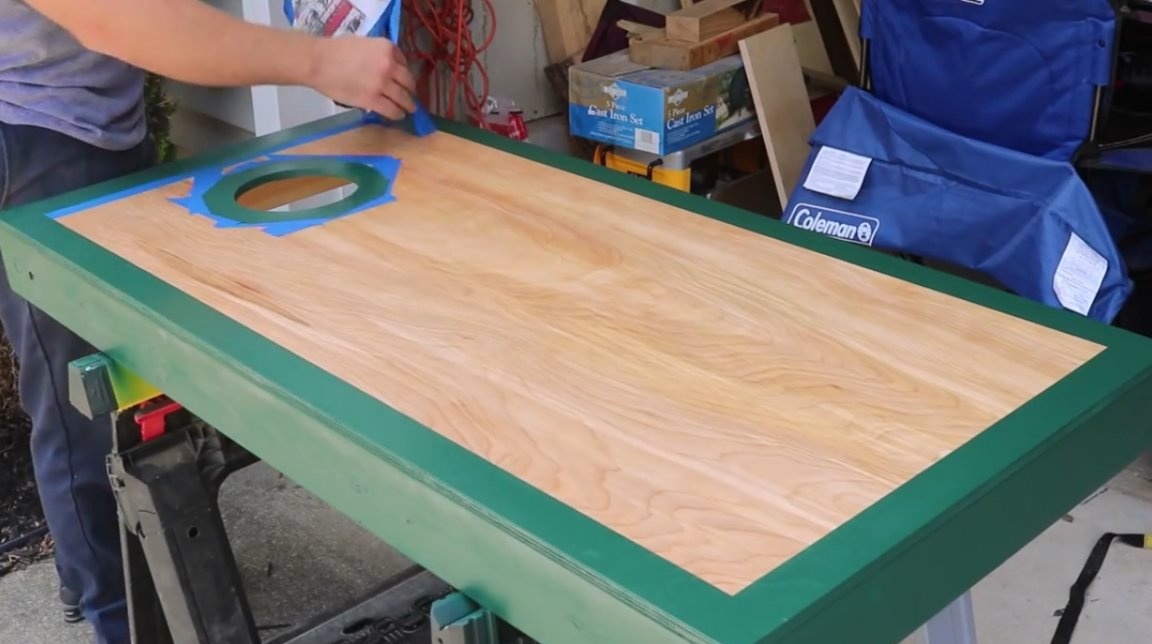
An unnecessary tape is removed, leaving clear contours of the inner decorative circle, which will subsequently be highlighted with contrasting paint.

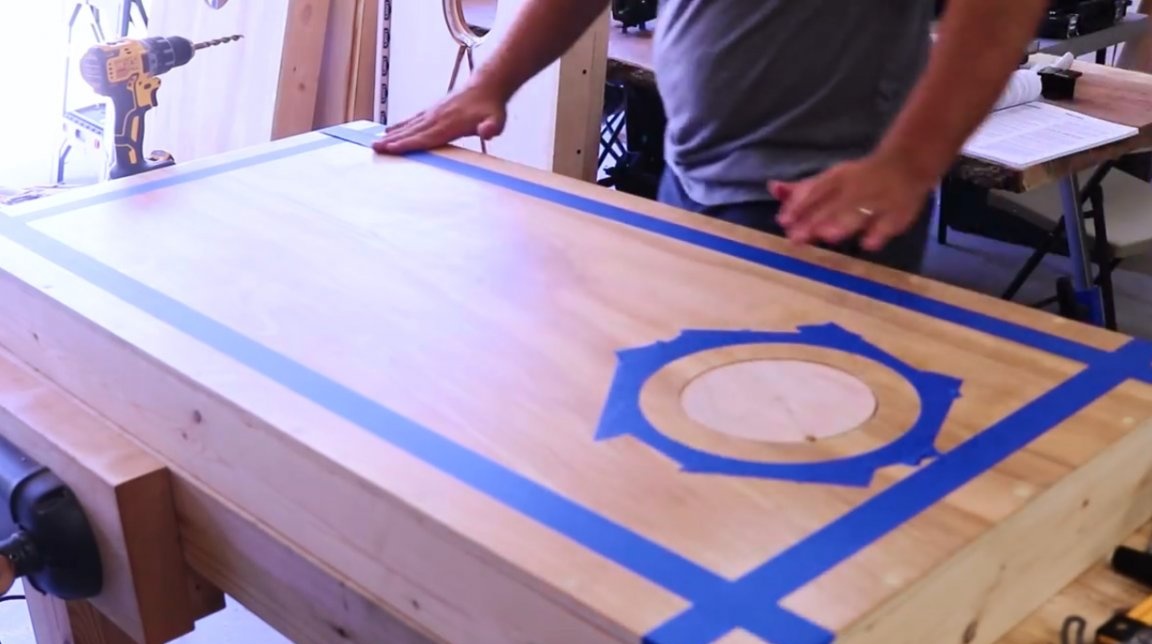
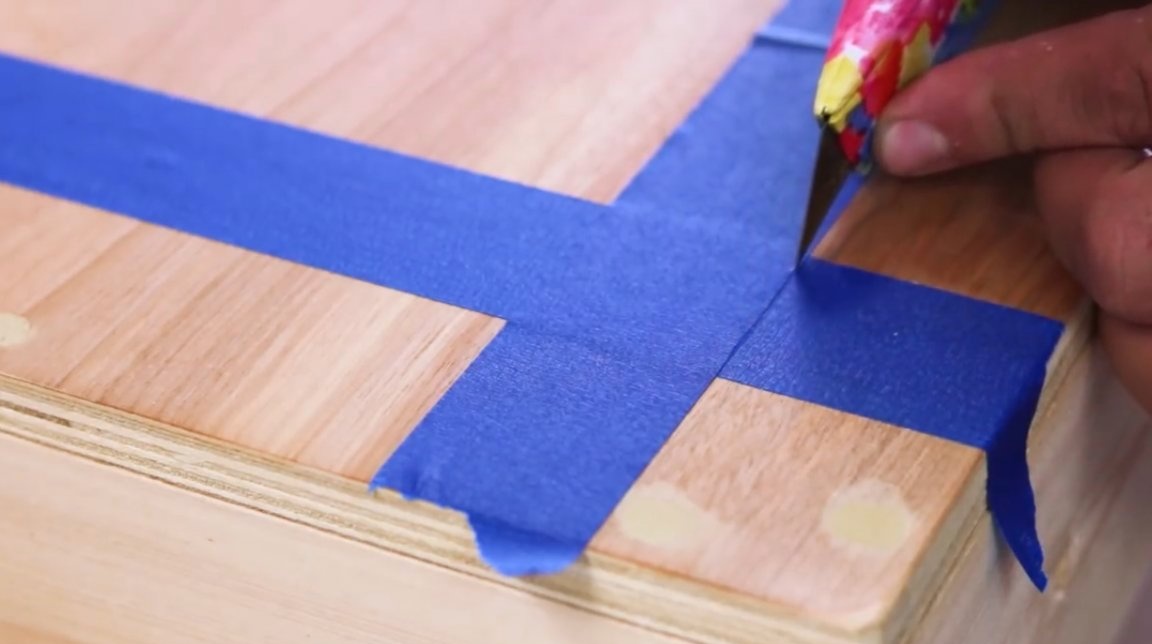
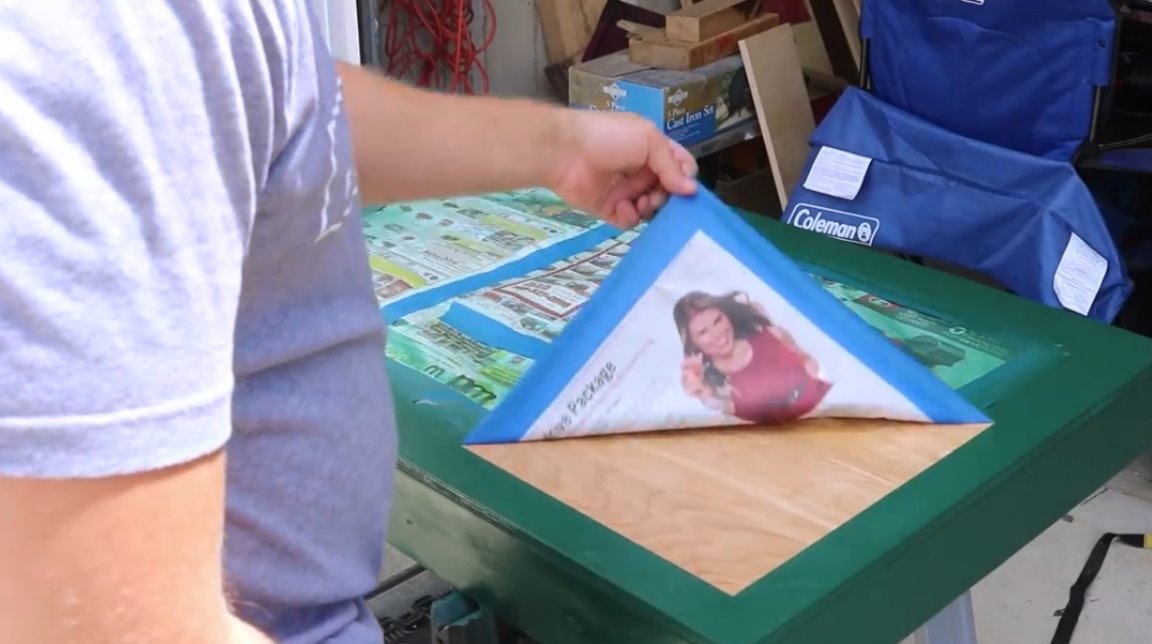
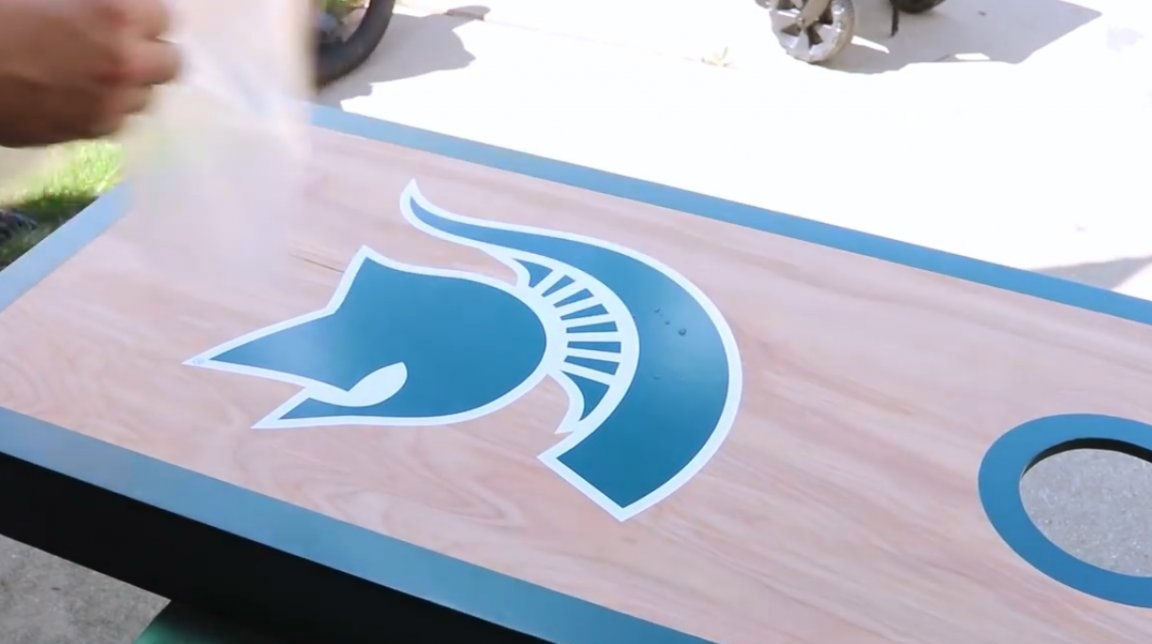
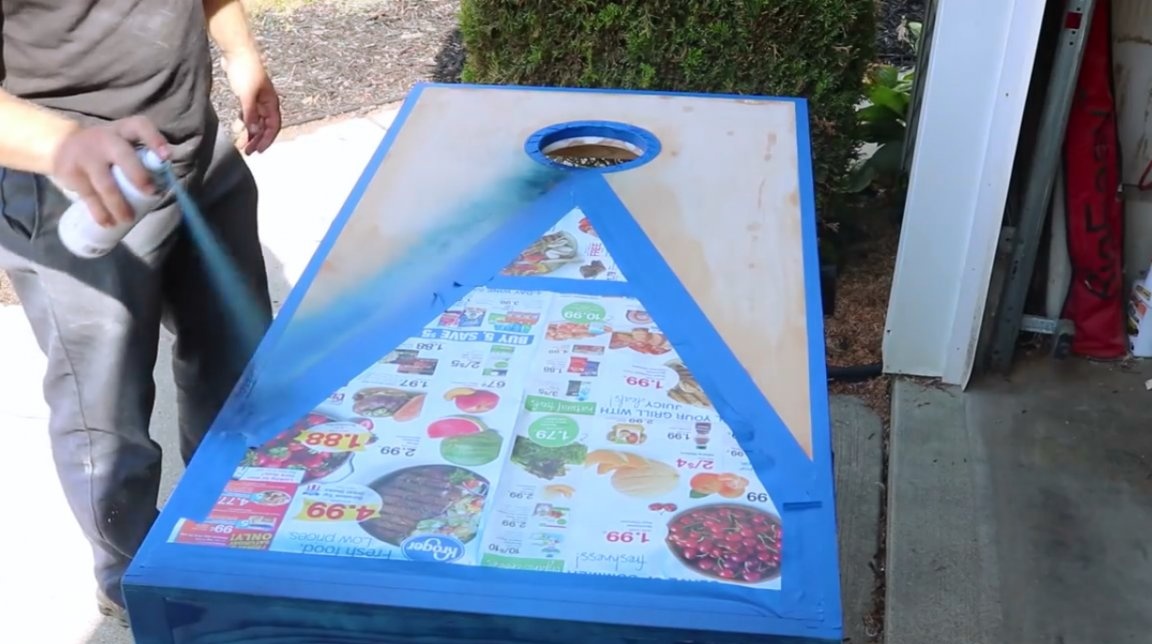
Then he glues the insulating tape around the perimeter of the board, so that later on with the paint to make the edging of the board and fills all the holes in which the screws sit with sawdust with PVA glue, and polishes the surface.
At first, the master wanted to paint the entire surface of the board with paint, but he was struck by the natural beauty of wood fibers and limited himself to painting only the edging.
He rubbed linseed oil into the rest of the surface so that the tree would not wear out so quickly. In addition, this treatment emphasizes the structure of the fibers.
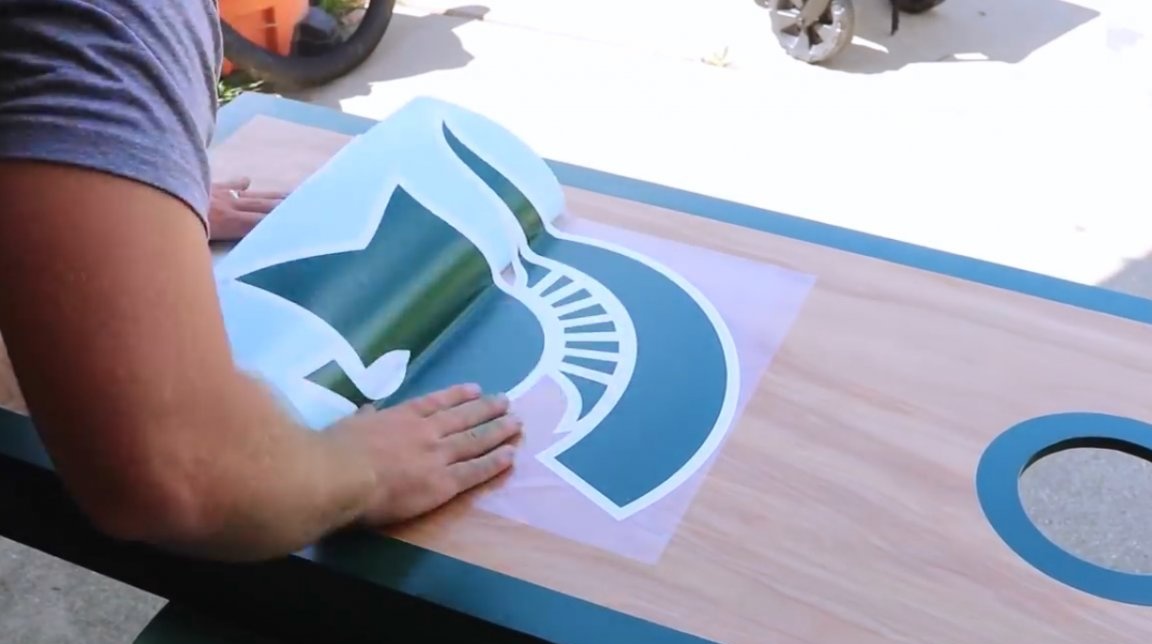
In the center of the panel, he glues a decal. You can find a lot of these on the Internet and print them in an advertising agency.
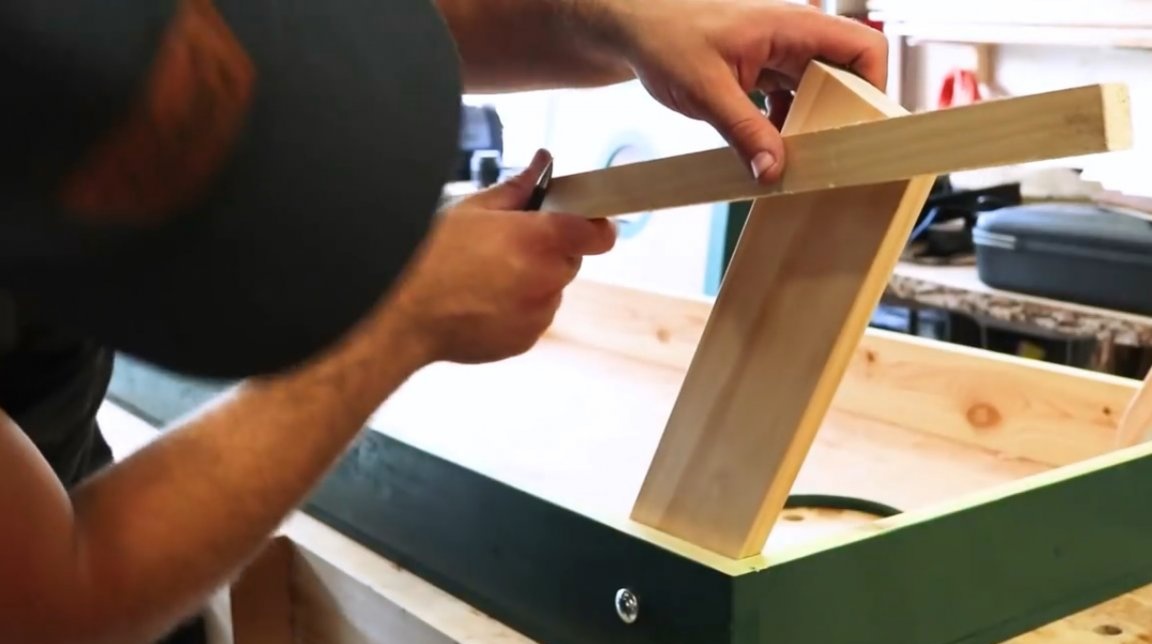
Now the author mounts the legs and cuts them to the desired height of 12 inches (304 mm). The easiest way to do this is to turn the board upside down, set aside the required distance from the horizontal plane of the board, and draw a line at a given distance using another wood trim with a straight edge.
Now the legs will be at the right angle and at a distance of 304 mm from the ground.
The author covers the front and back sides of the board with three layers of polyurethane paint to increase its resistance to adverse weather conditions. It was a pretty simple project.
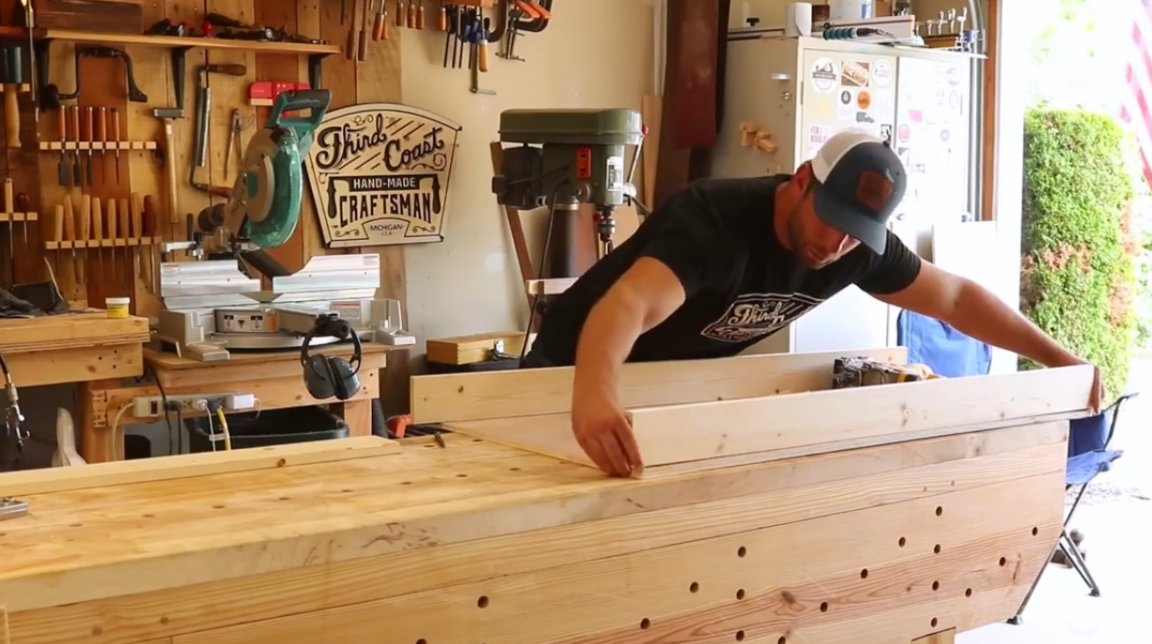
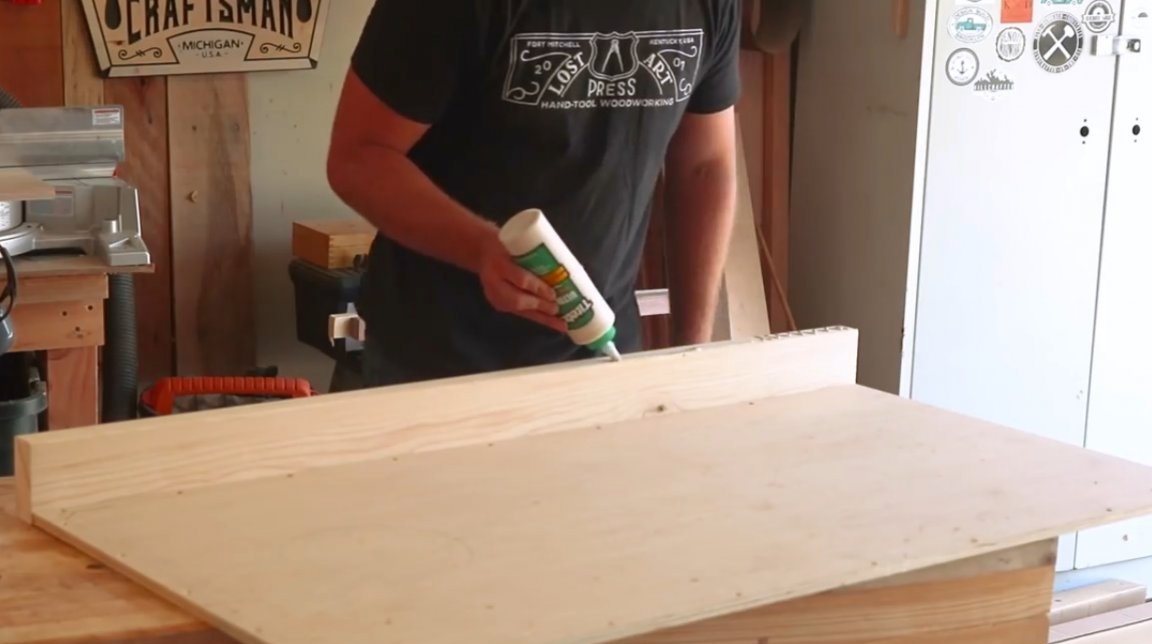
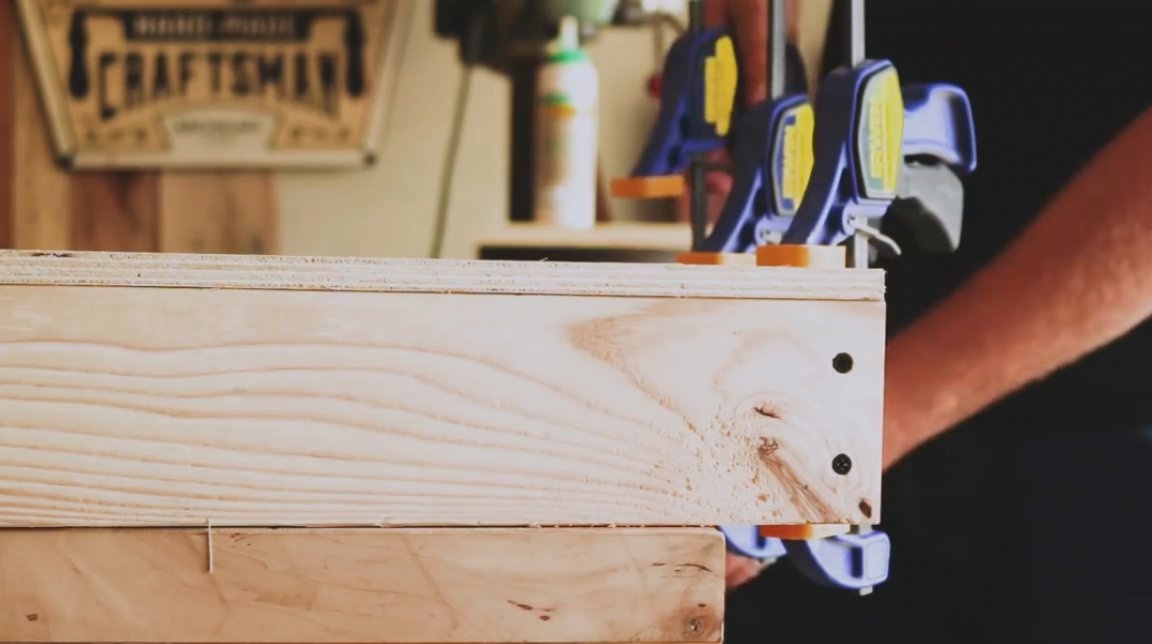
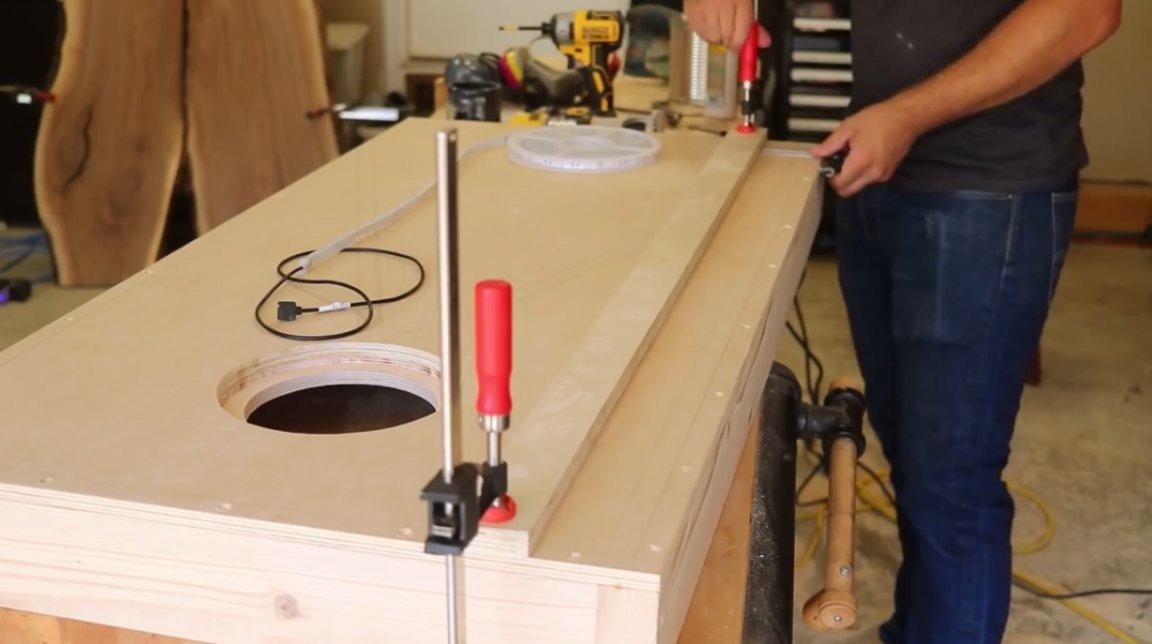
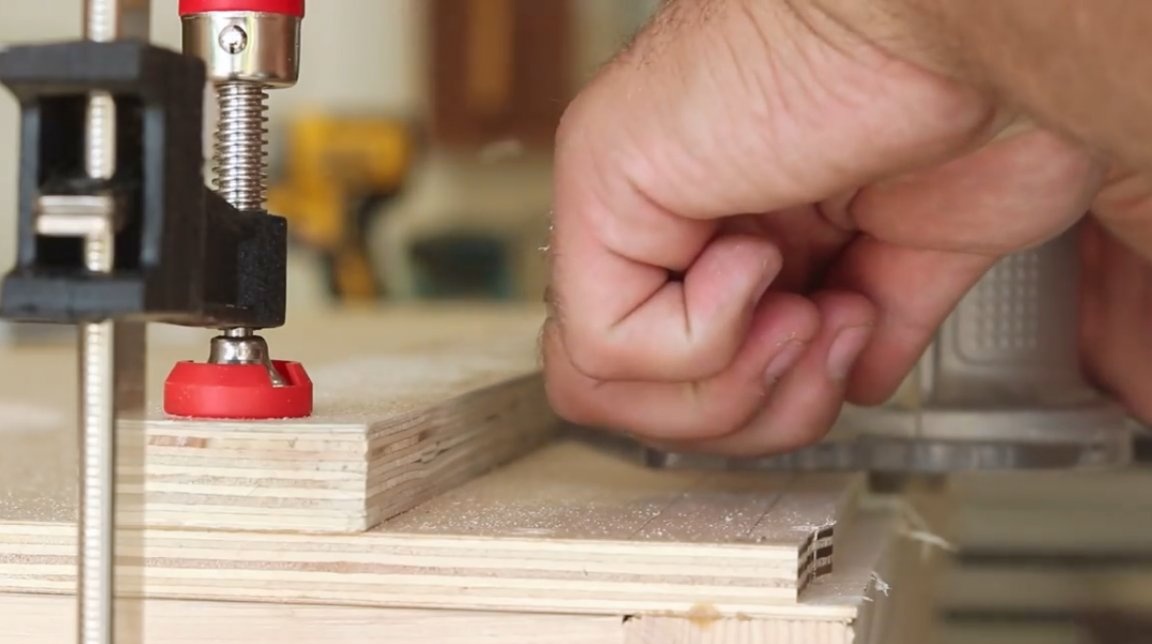
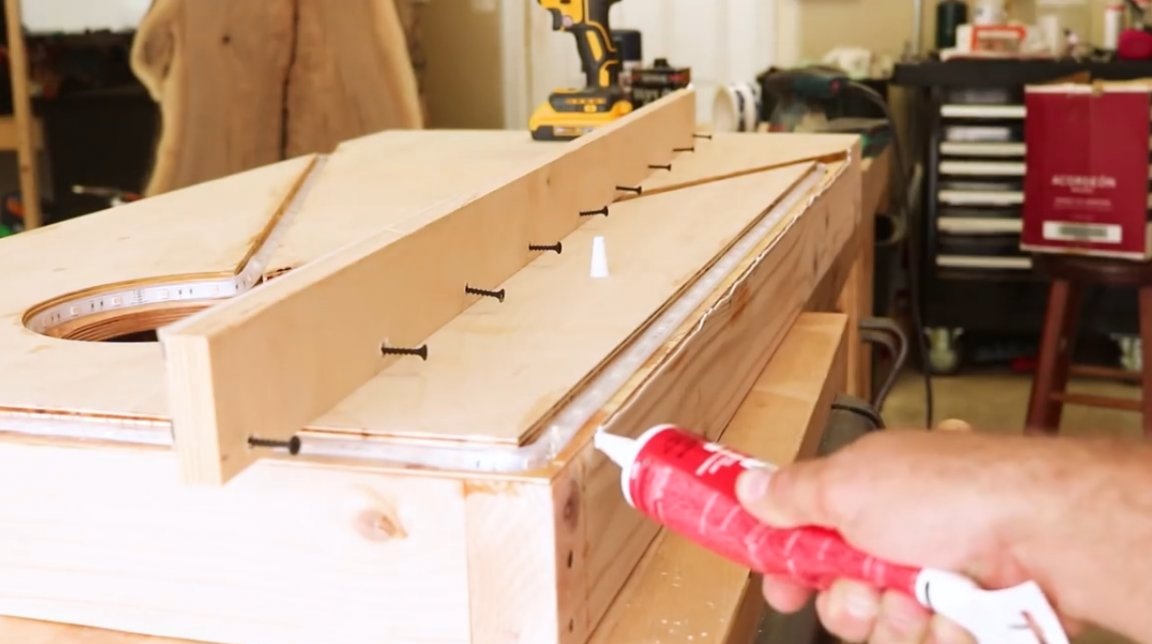
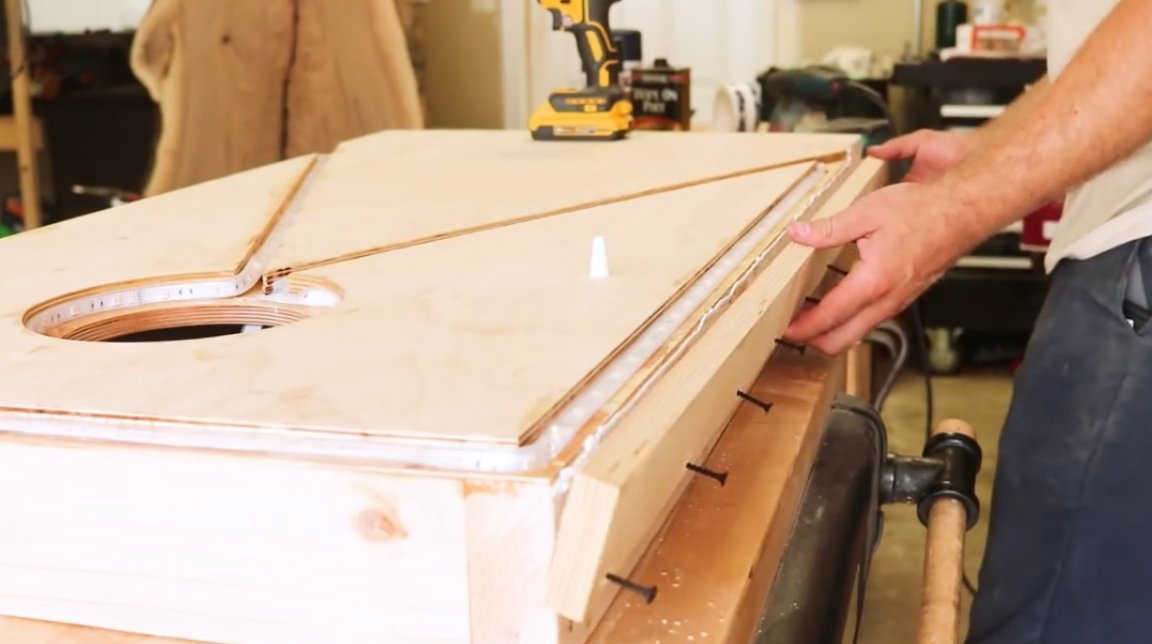
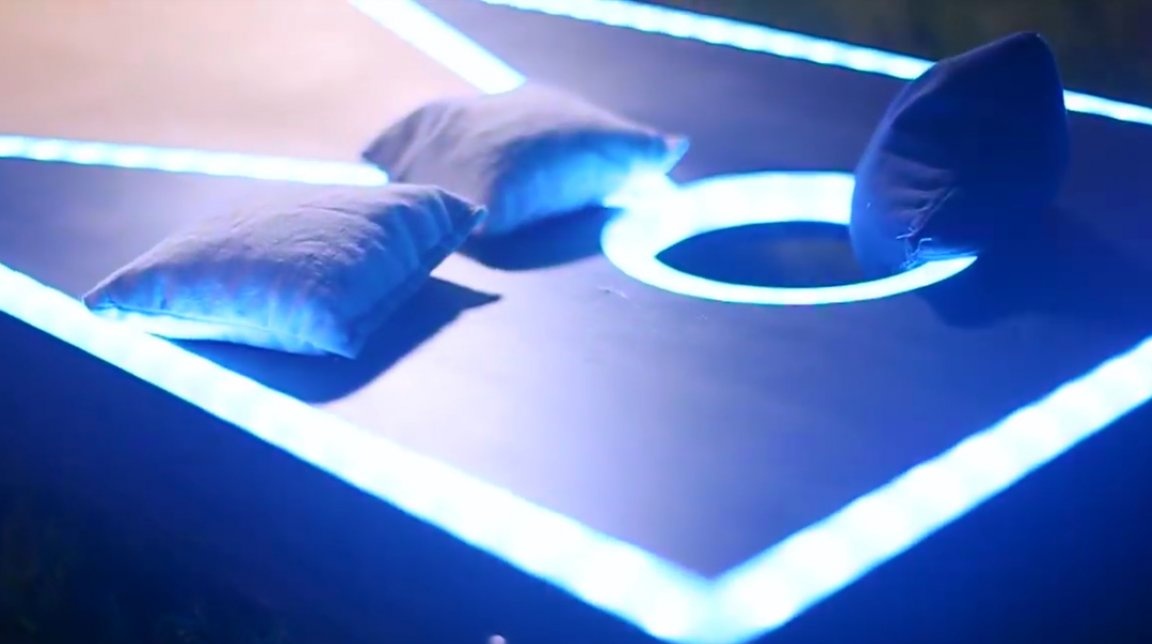
But the author decides to make a second model Boards for playing Cornhol. In the latest model there will be one modification - this is a built-in LED strip, thanks to which the game can not be stopped at dusk. For the second model, the author uses a bar 50X100 mm in size, since he needs additional width for the adhesive surface. While the glue dries, the master applies screws and clamps to fix the surface. Later, the screws will be removed, as a channel for the LED strip will pass along this entire perimeter.
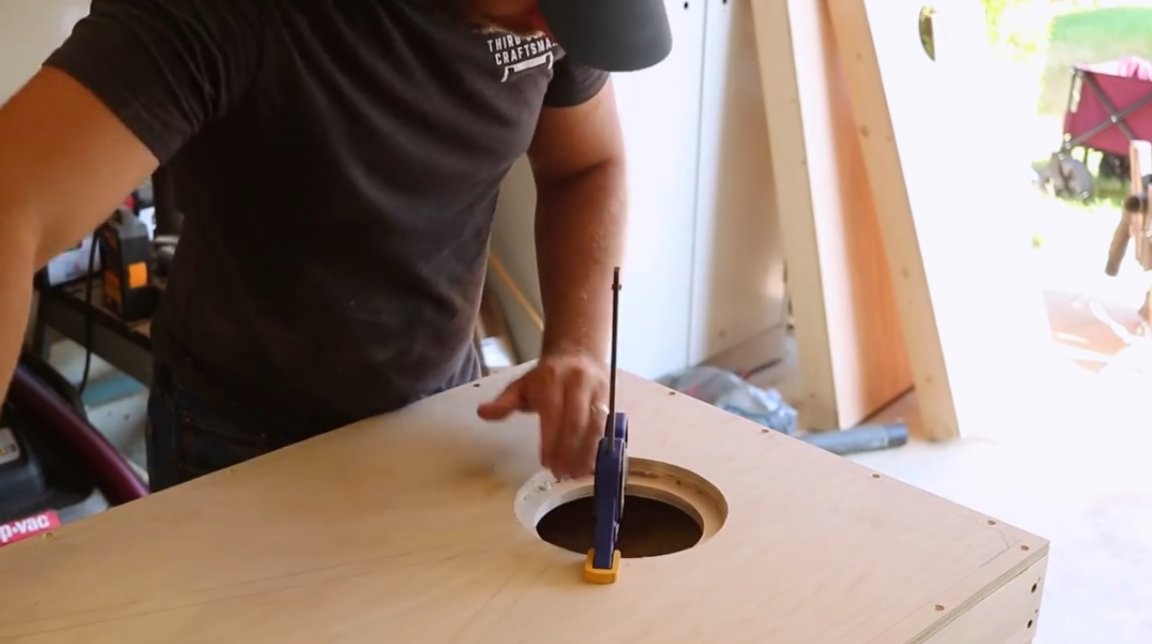
In the next step, the master cuts a hole from plywood cutting, which is 7 mm wider than the hole on the set itself. Then he takes another piece of plywood and cuts a standard 150 mm hole on it. Both elements are glued together.
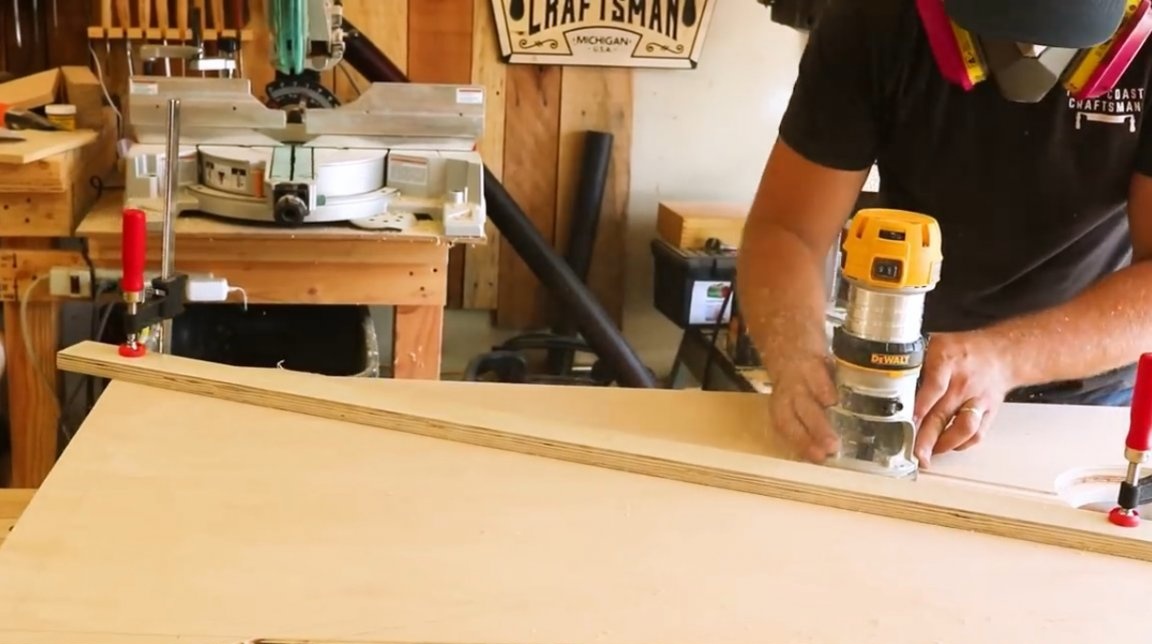
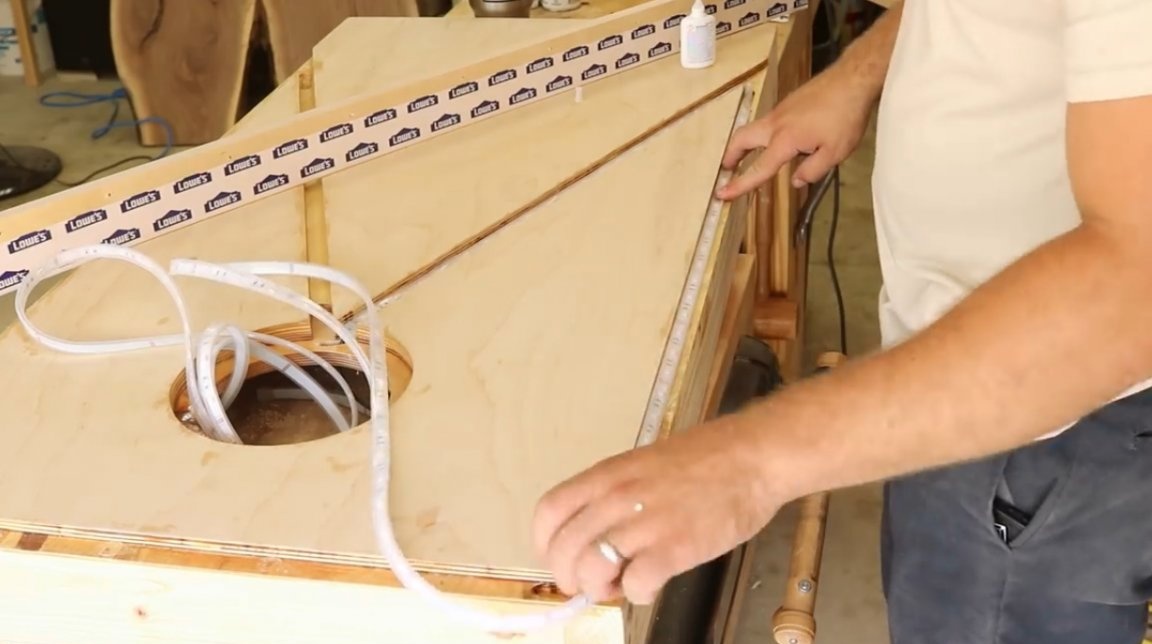
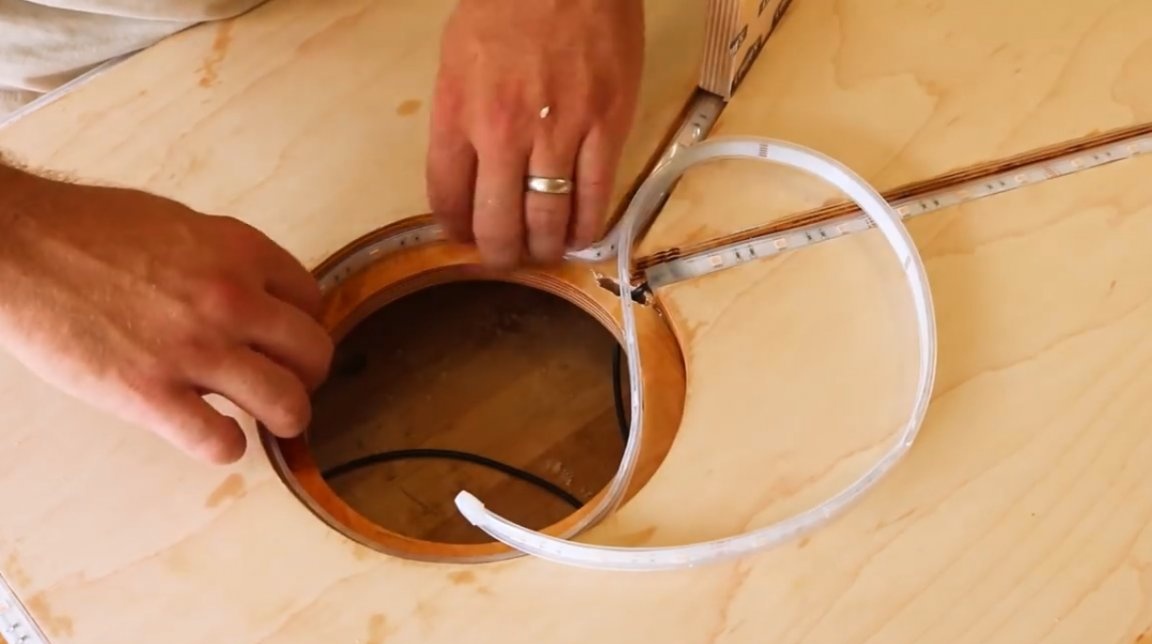
And then glued on the inside of the box. On this trimming of material, he pre-cuts a groove with a milling cutter into which the LED strip would lie. There should be a gap.
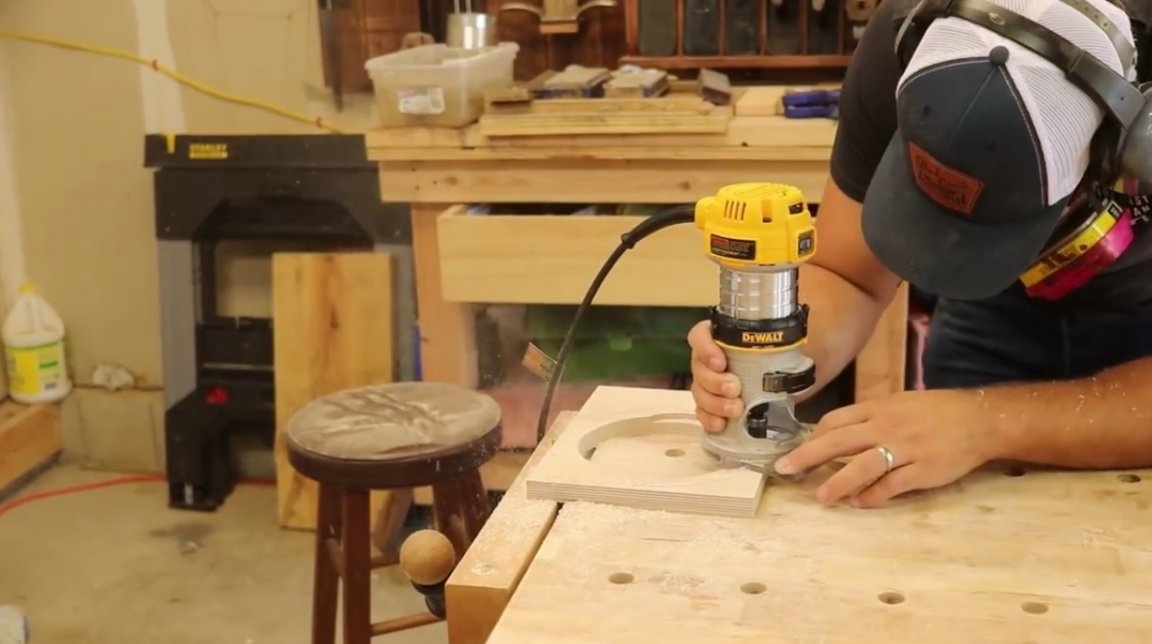

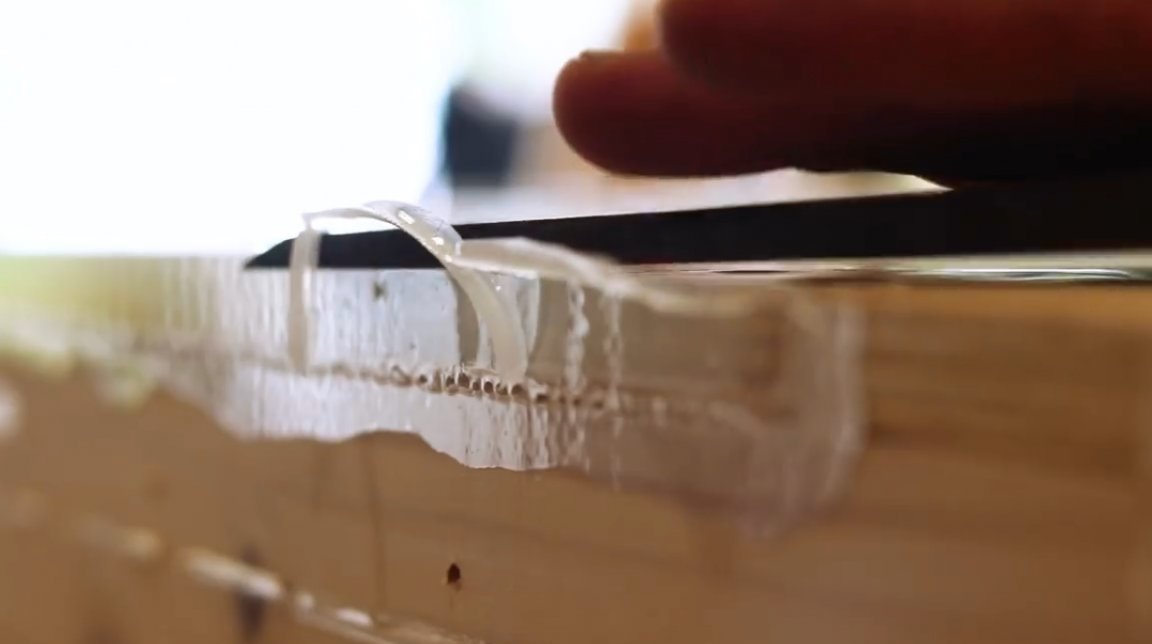
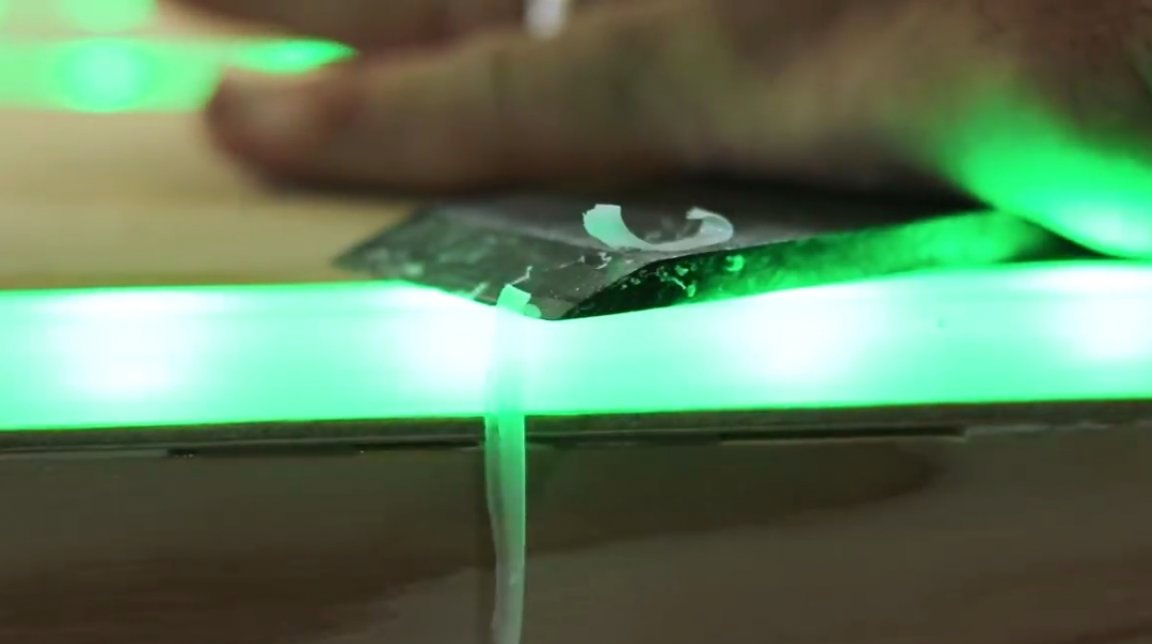
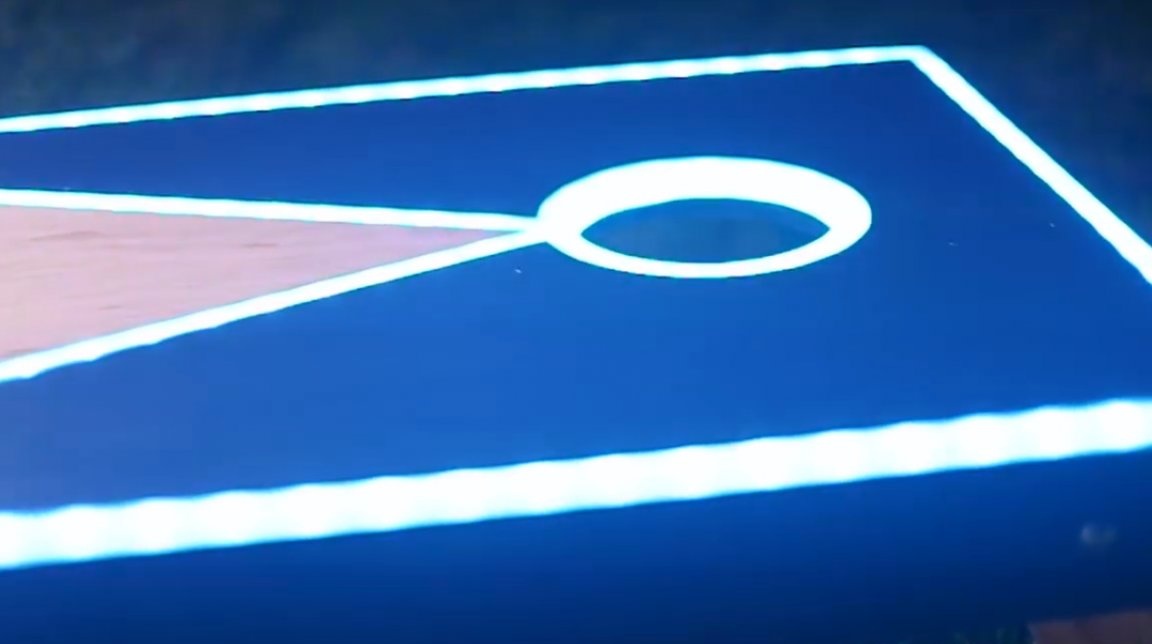
Then, with the same milling cutter, he removes 7 mm around the perimeter of the box, forming a channel under the tape. Later, this groove will be filled with epoxy. So when the lights turn on, they will have a very beautiful glow.
With the same milling cutter, he cuts deep grooves in the center of the box.
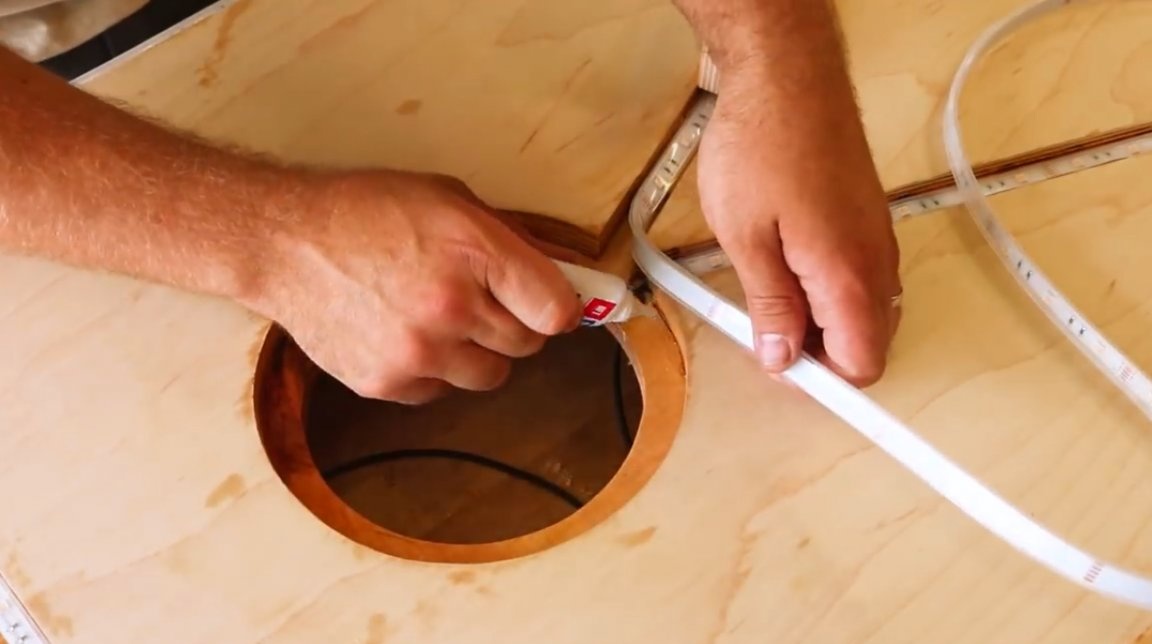
Now it becomes clear why the author needed to make an additional groove on the side wall of the opening. He takes the tape for second glue.
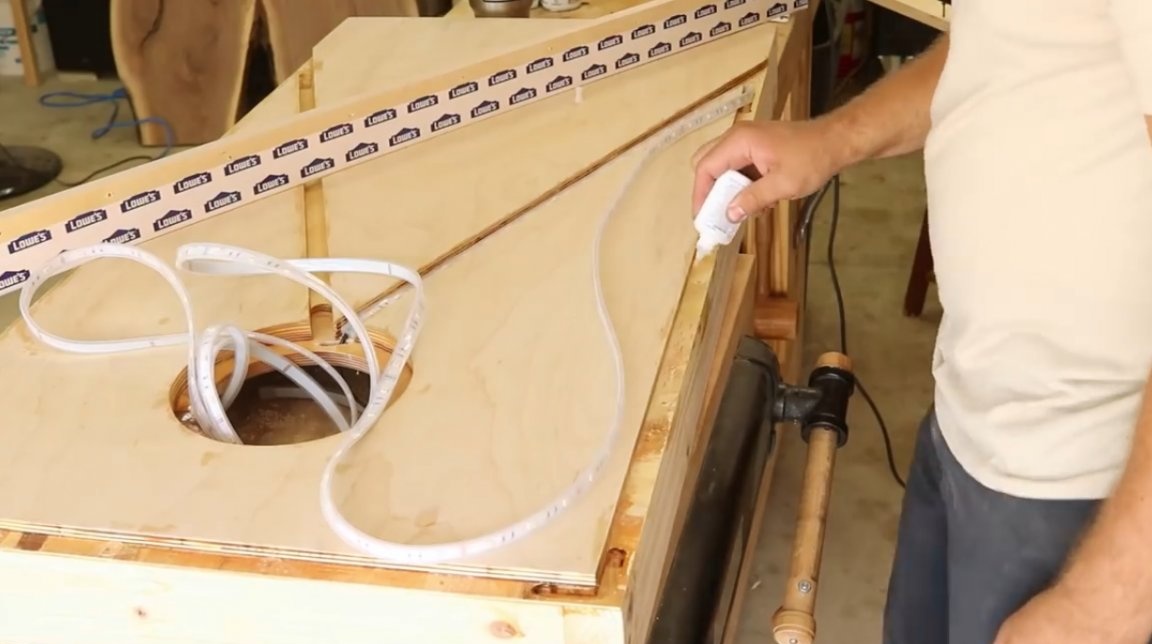
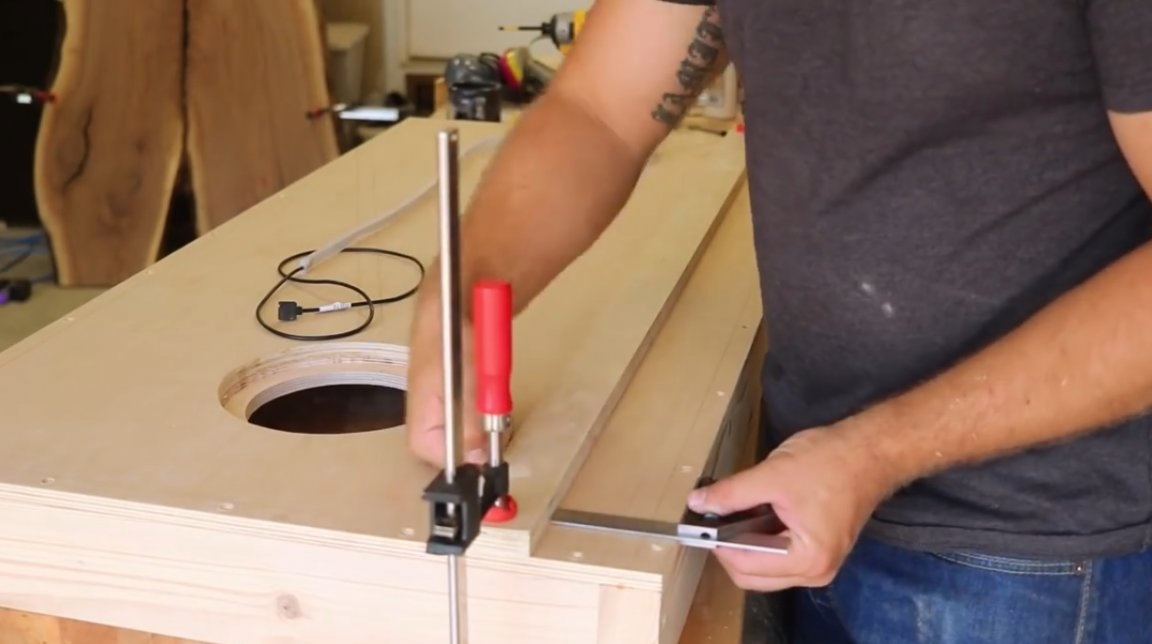
Then, using wooden planks, masking tape and silicone, the author constructs a formwork for epoxy resin.
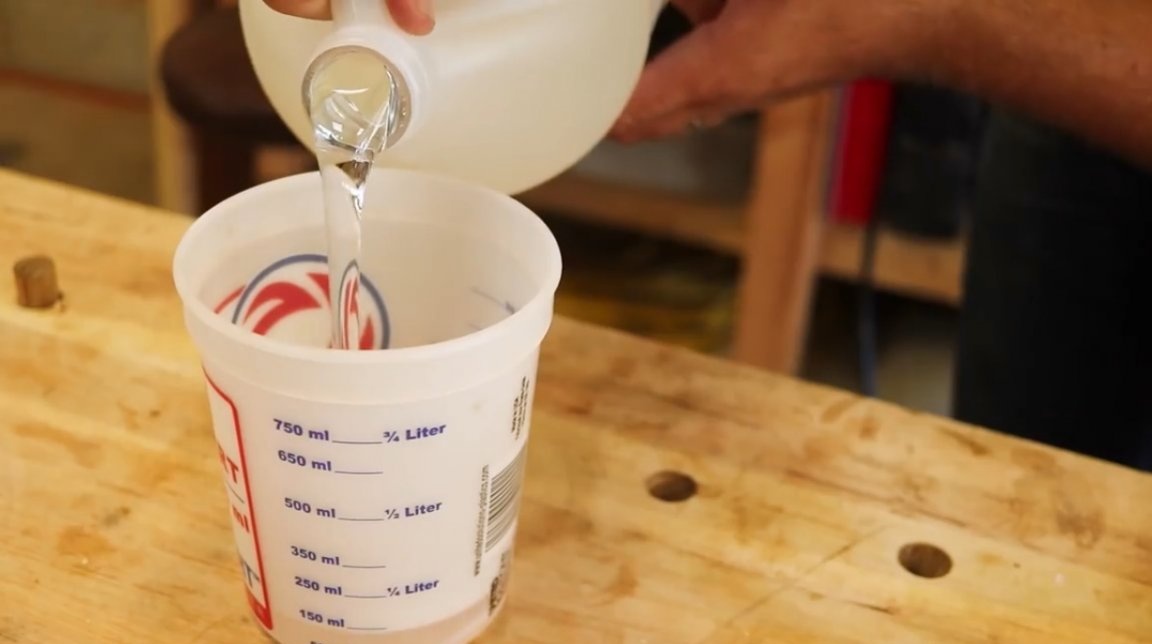
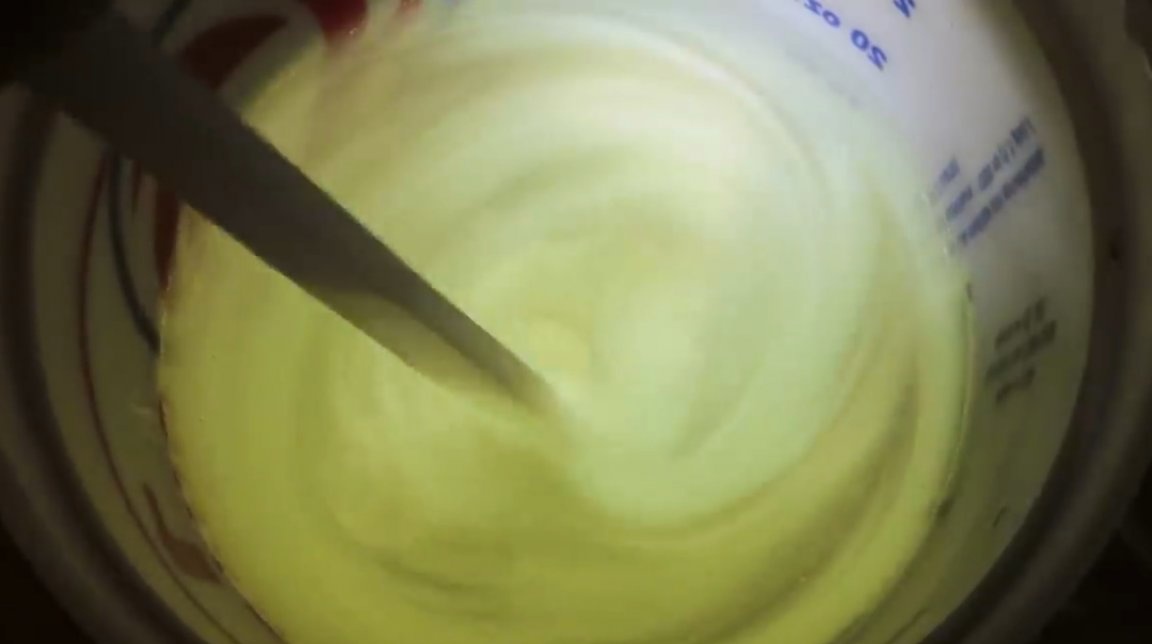
Chris kneads a small amount of casting resin, and mixes it with a white pearl essence. Thus, he gets a matte fill.
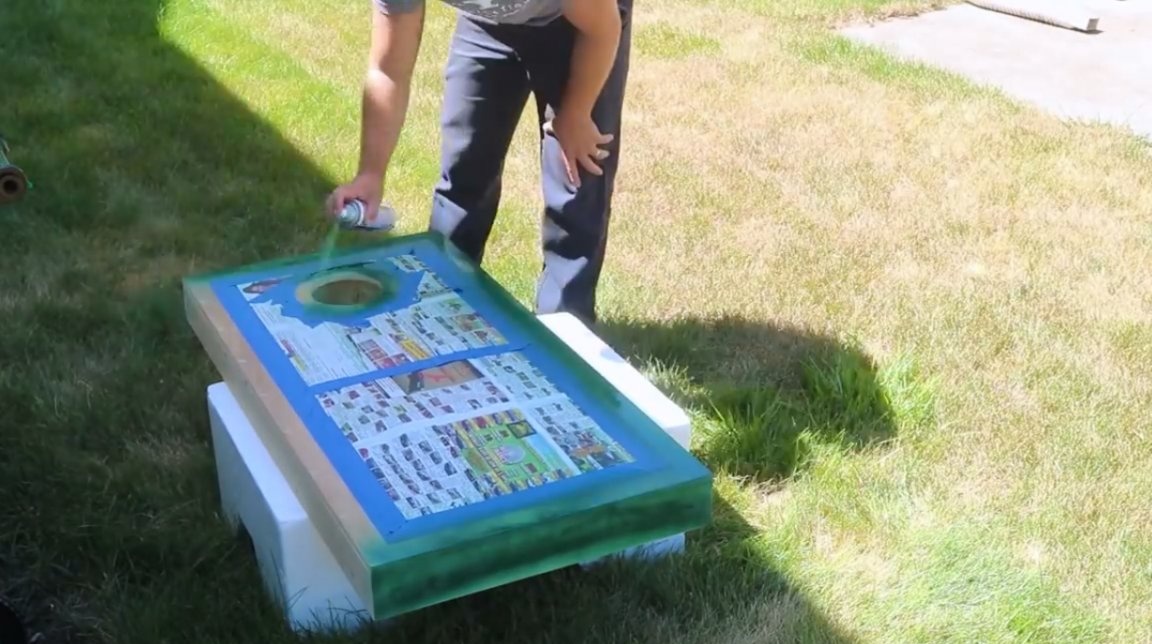
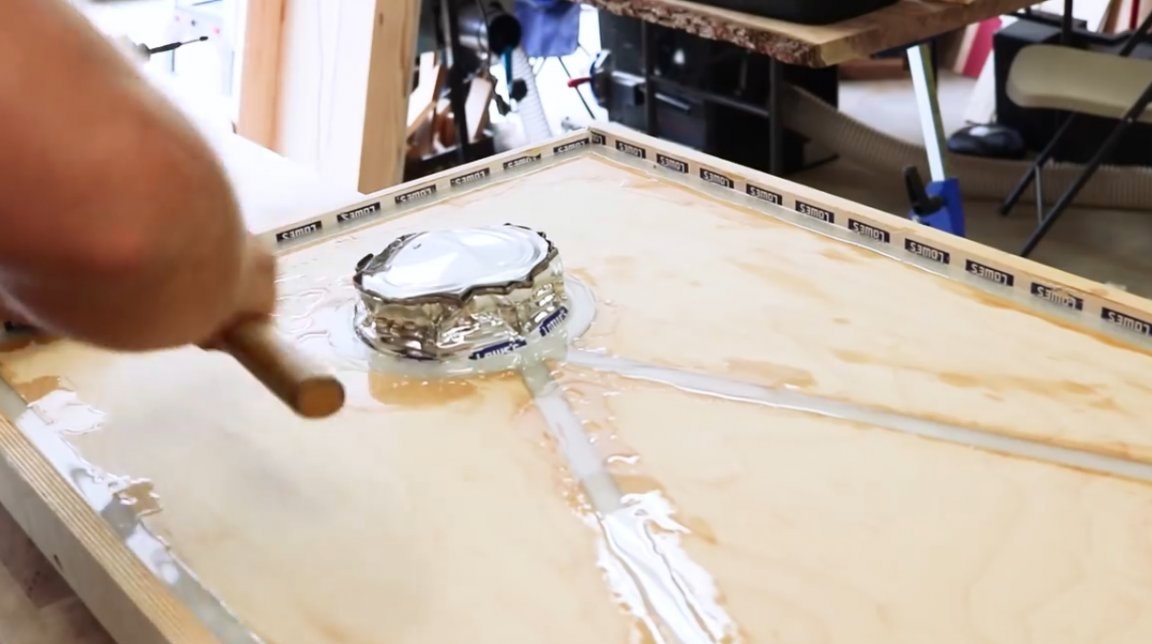
He then turns on the lights and slowly begins to fill the resin.
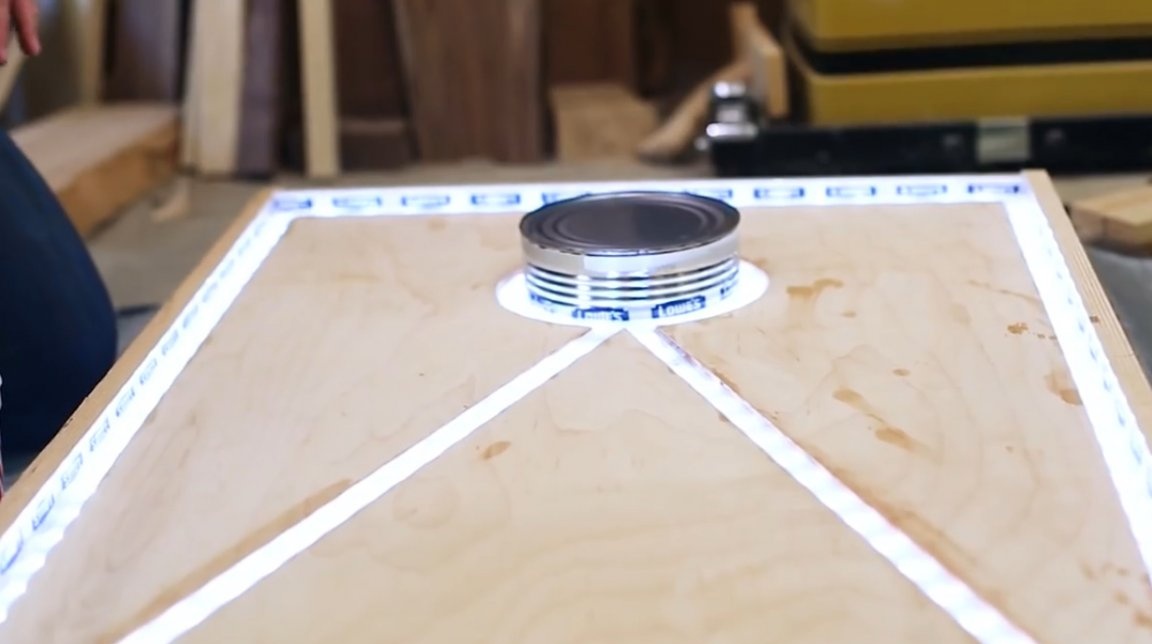
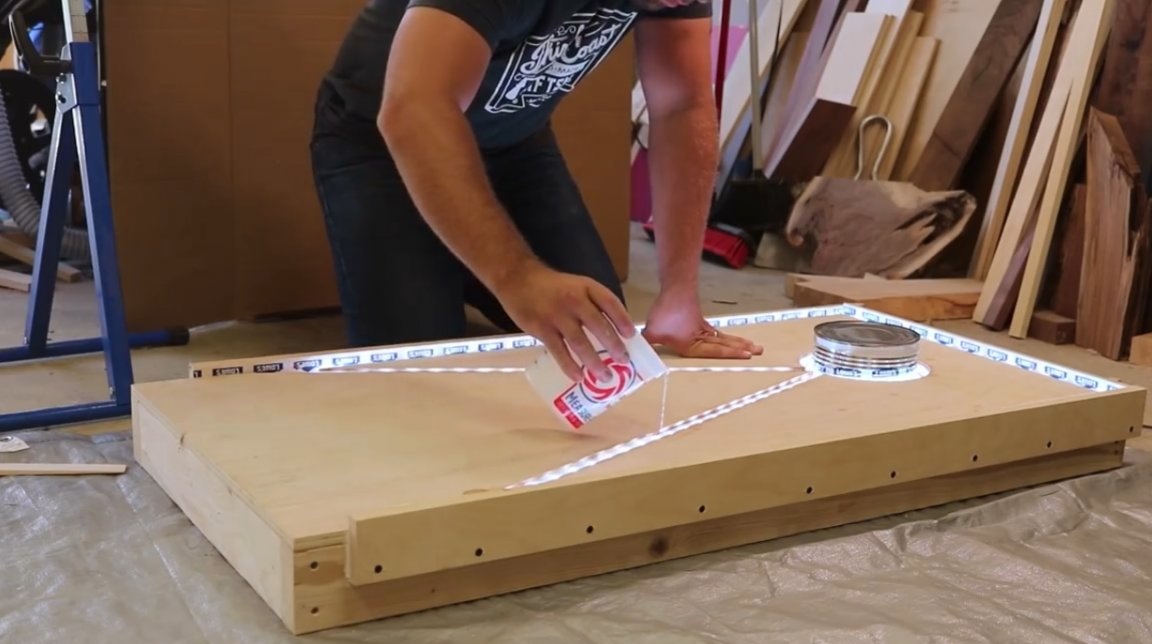
Yeah, the can of coffee was completely stuck. Next time, the author will use a plastic bucket.
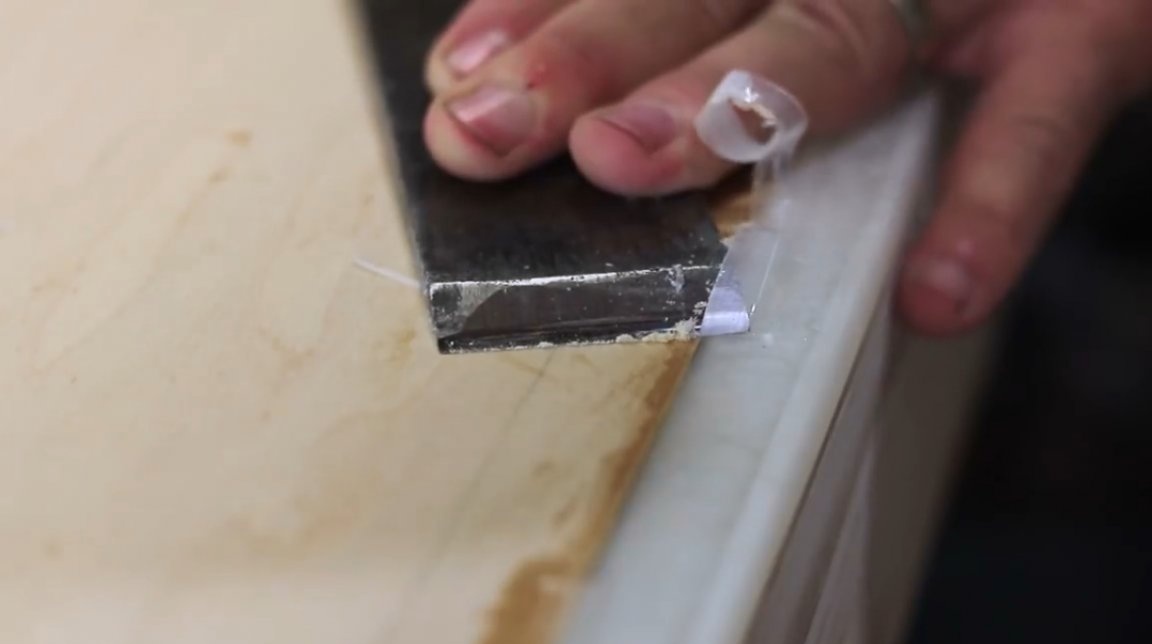
Then the author removes the formwork, and proceeds to level the surface of the resin with a chisel and a manual planer.
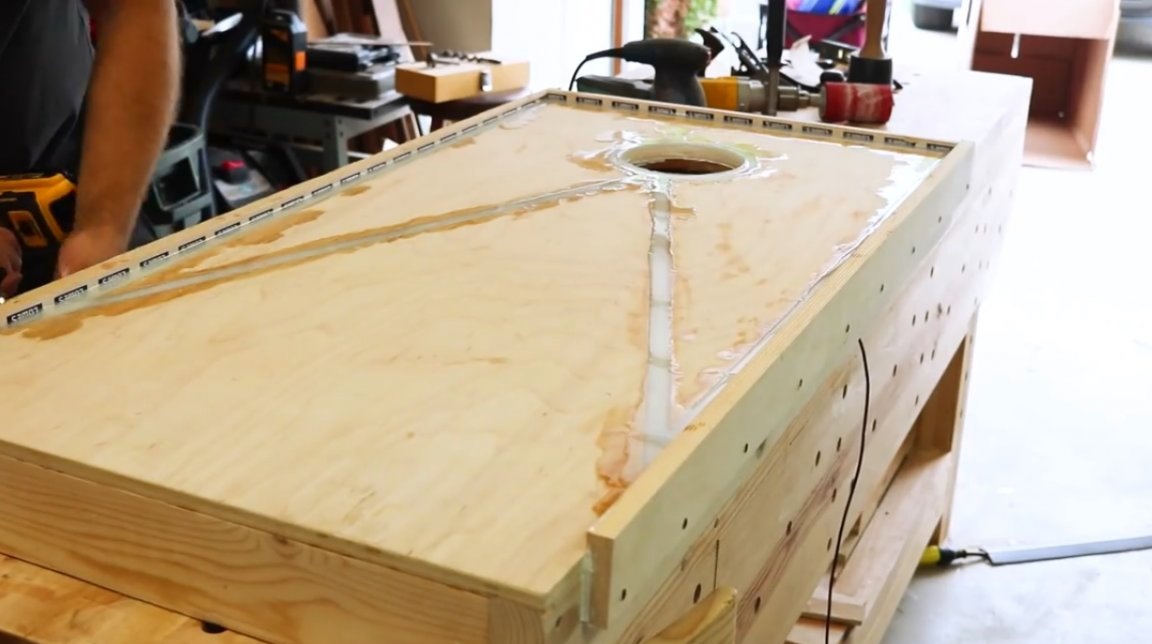

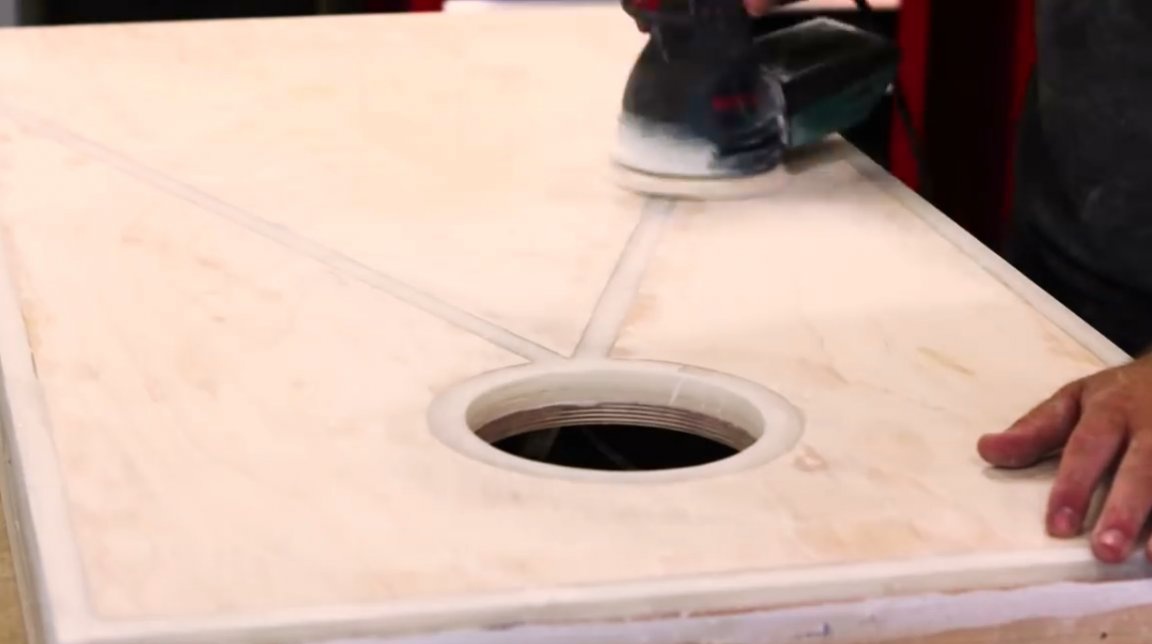
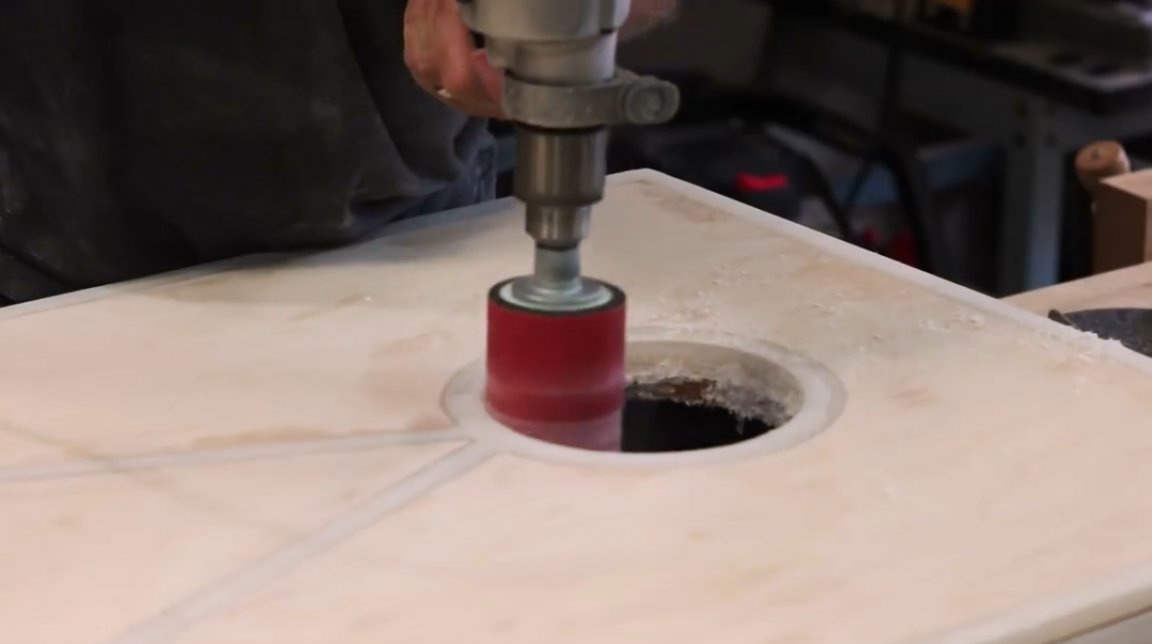
It polishes the surface with an orbital machine.
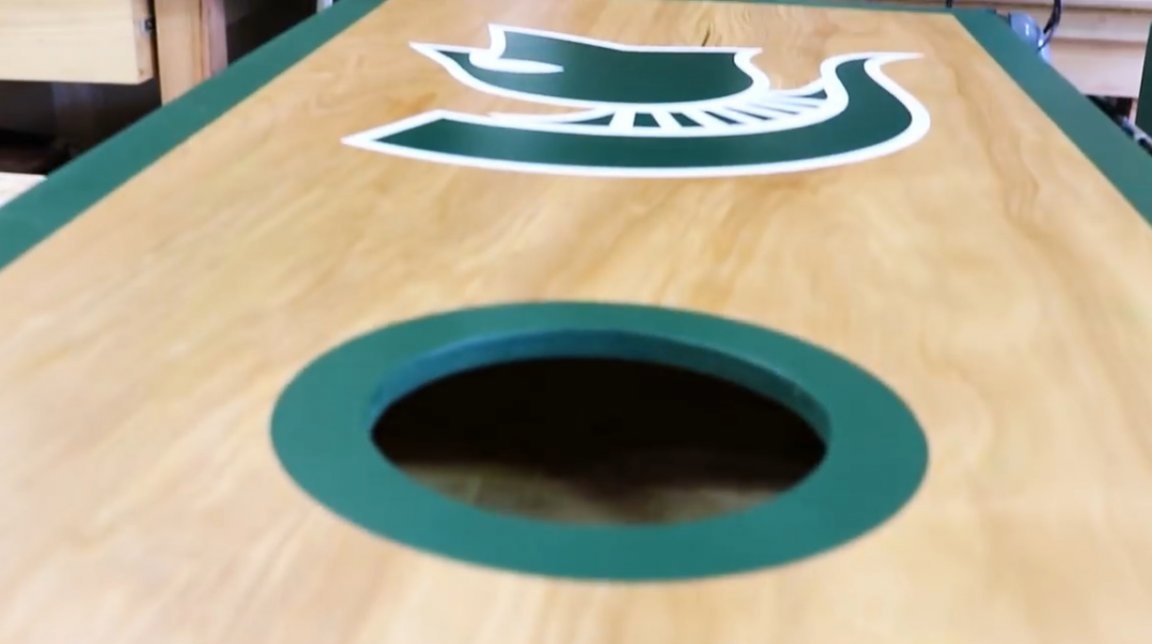
The author himself decides to partially cover the box with blue paint, and partially leave the natural wood.
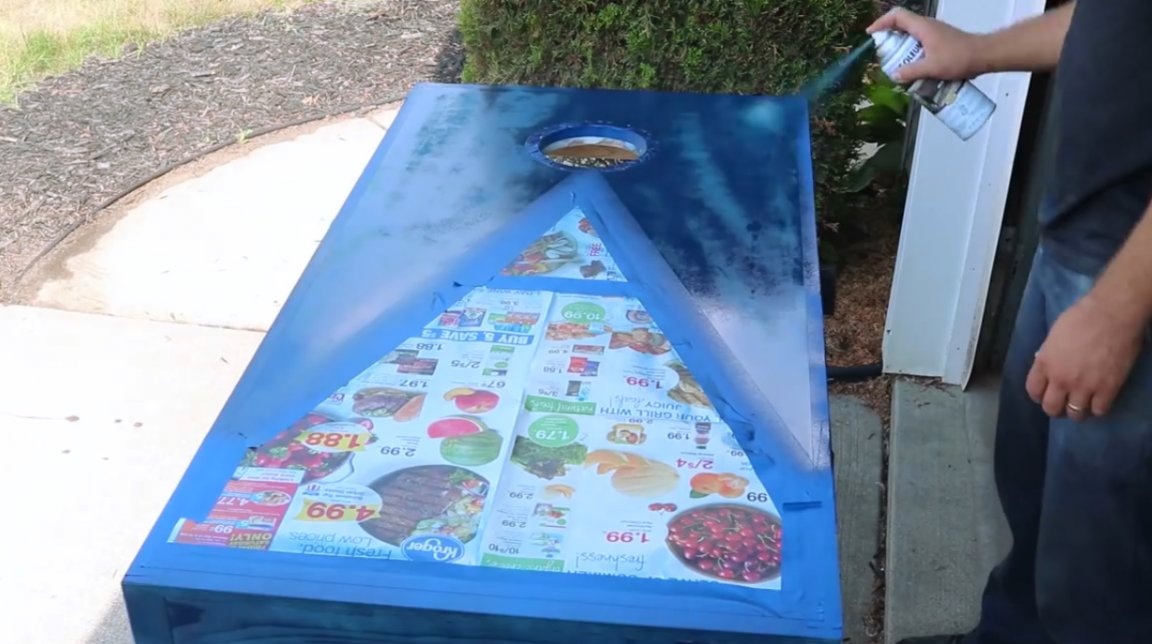
At the end, the master covers the entire structure with several layers of varnish, and attaches the finished legs.

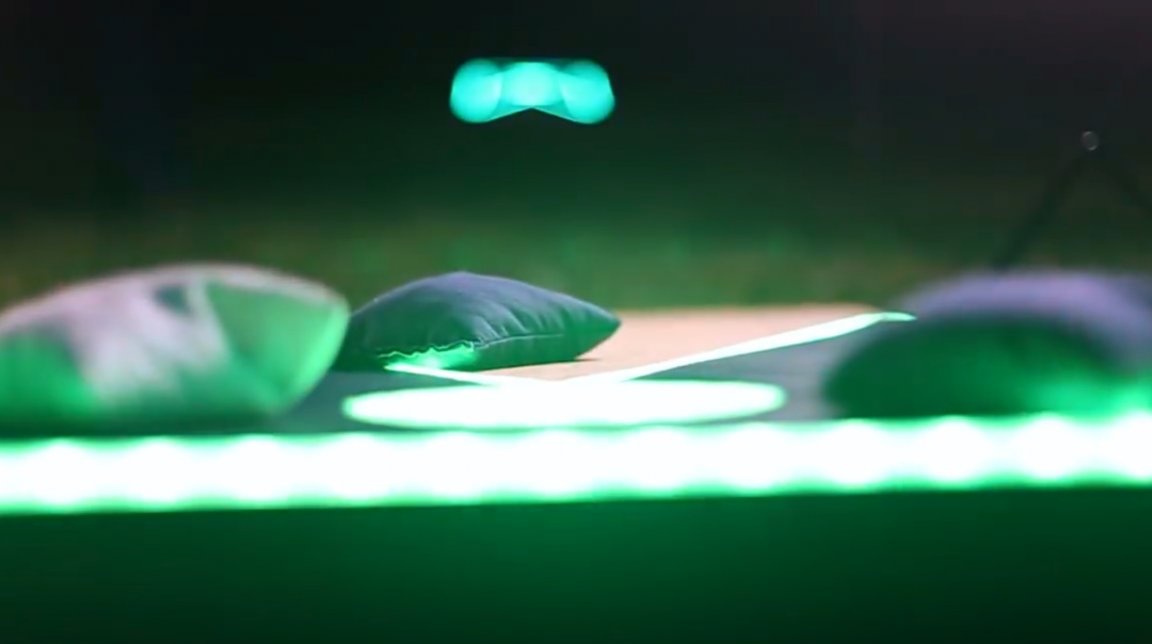
Such beauty has turned out, now you can have fun at night.
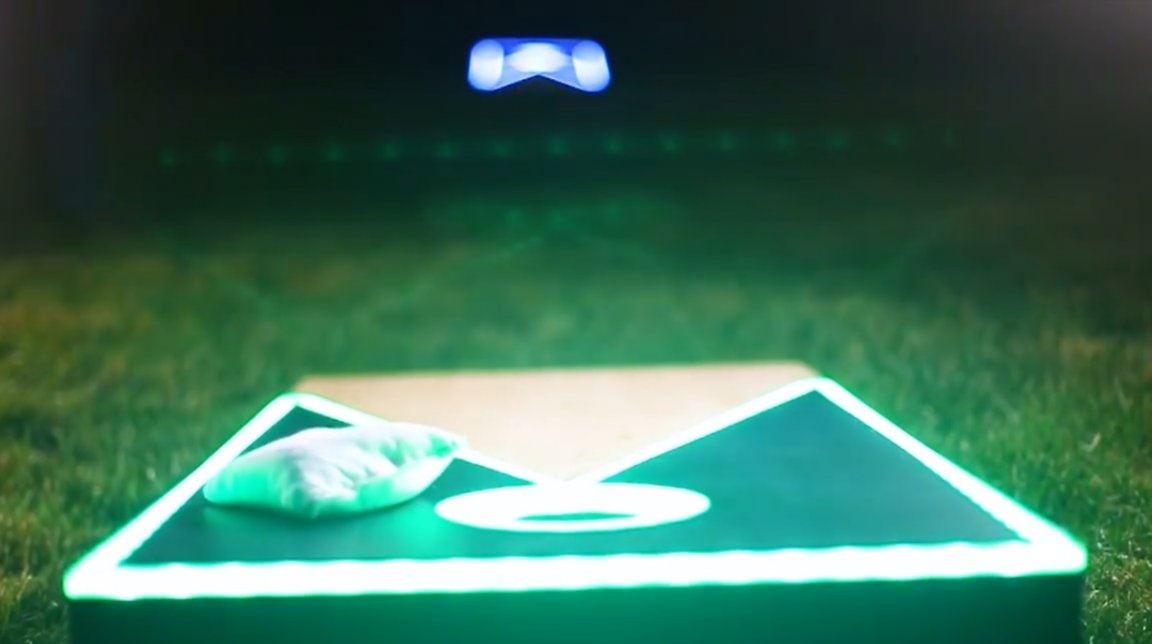
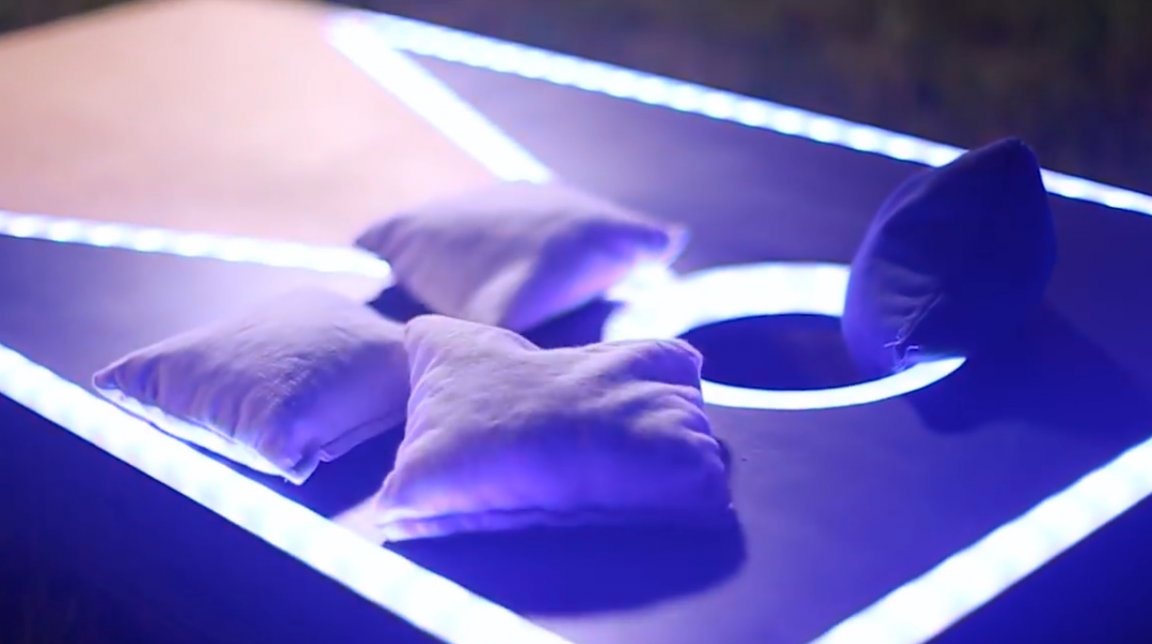

Thanks to the author for an interesting idea for a street game!
All good mood, good luck, and interesting ideas!
Author video can be found here.