

Master of this homemade I have long wanted to make a long board, but he had problems finding cheap veneers. Therefore, he had the idea of using chopsticks for popsicle. Popsicle sticks are made of Baltic birch, which is used to make models of wooden planes, so he decided that they would be suitable for a longboard.
Materials:
- Styrofoam;
- sticks for popsicle;
- glue for wood;
- vinyl film;
- sheet paper;
- razor blade;
- vacuum bags for clothes;
Instruments:
- band-saw;
- rasp;
- sandpaper;
- Sander;
- brush;
- belt sander;
- drilling machine;
Step 1: Creating a Template
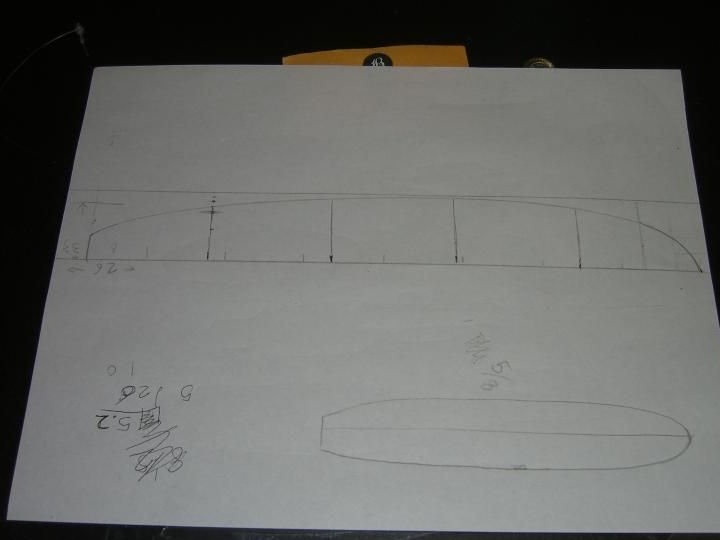
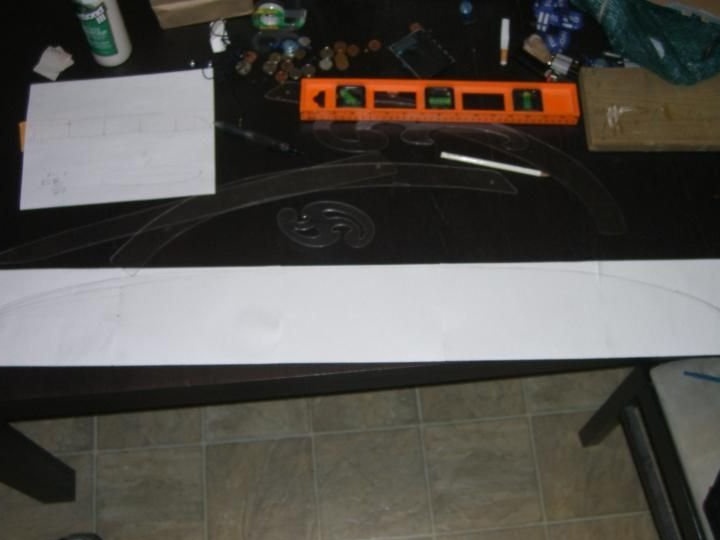
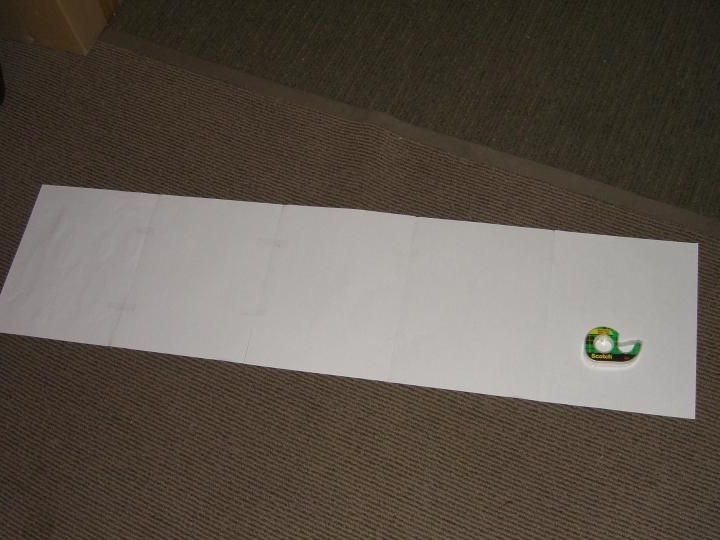
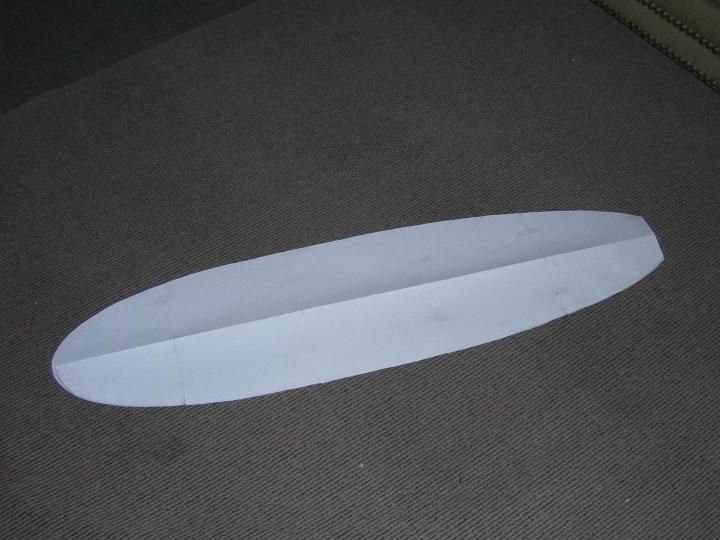

The wizard calculated the desired shape and scaled it so that you could use 5 sheets of paper 21 x 27 cm in size as a template. He simply glued the sheets together, cut out a longboard template and stood next to him to make sure that this is what is needed.
Step 2: Create a Form

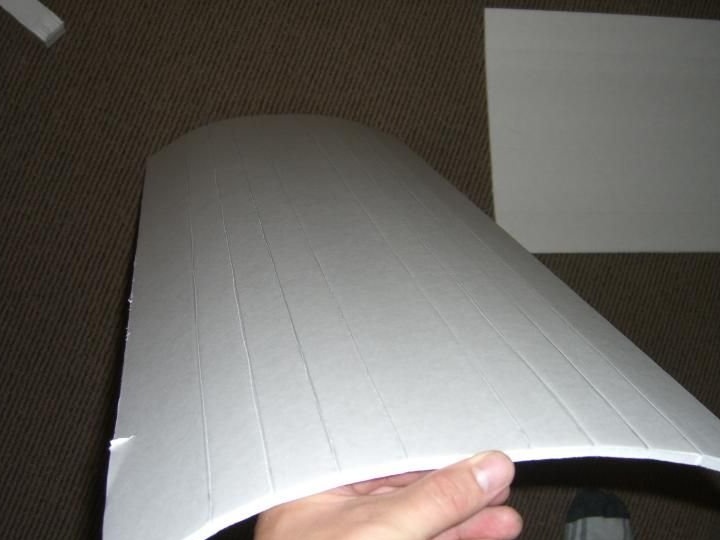
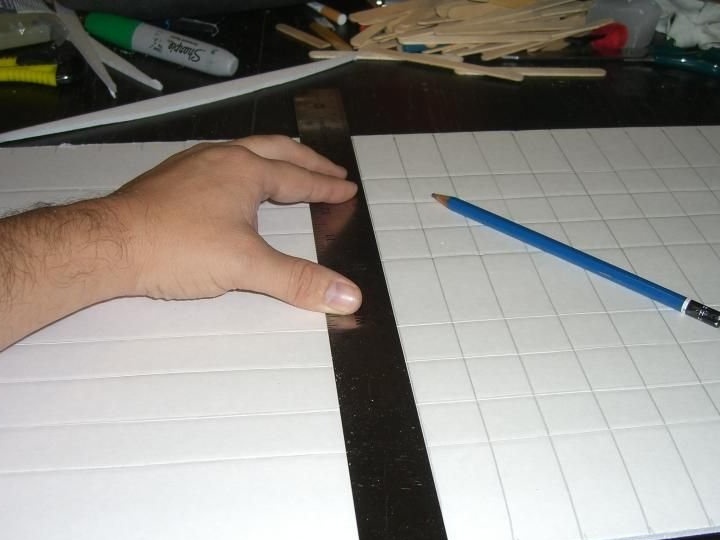
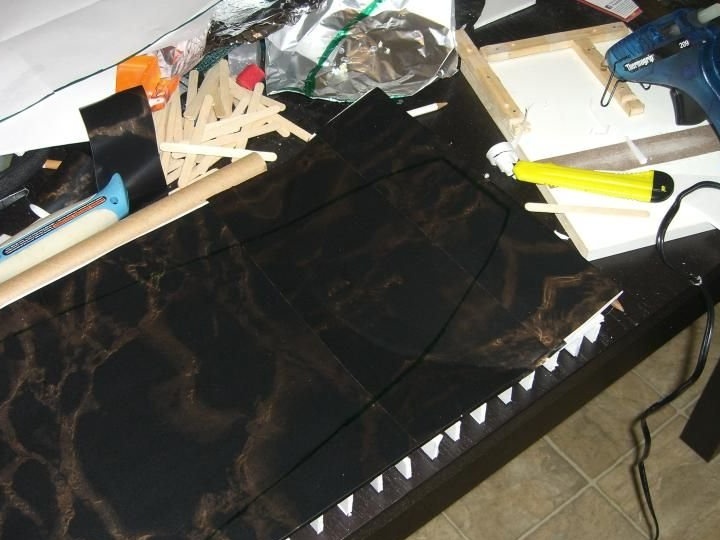
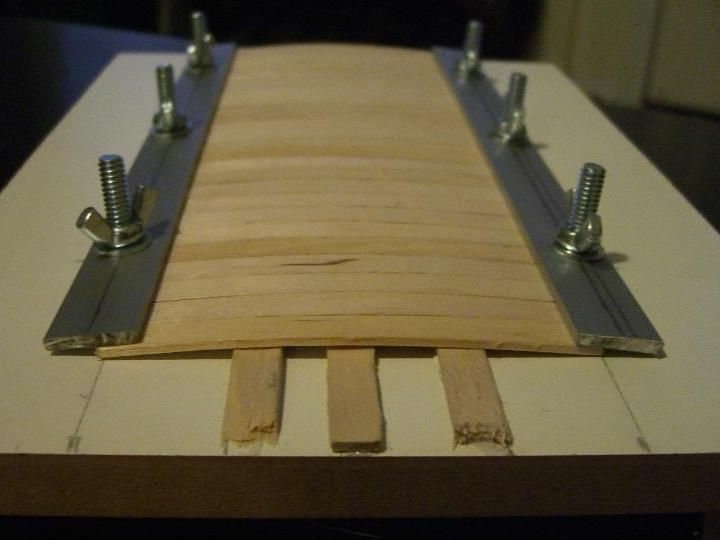
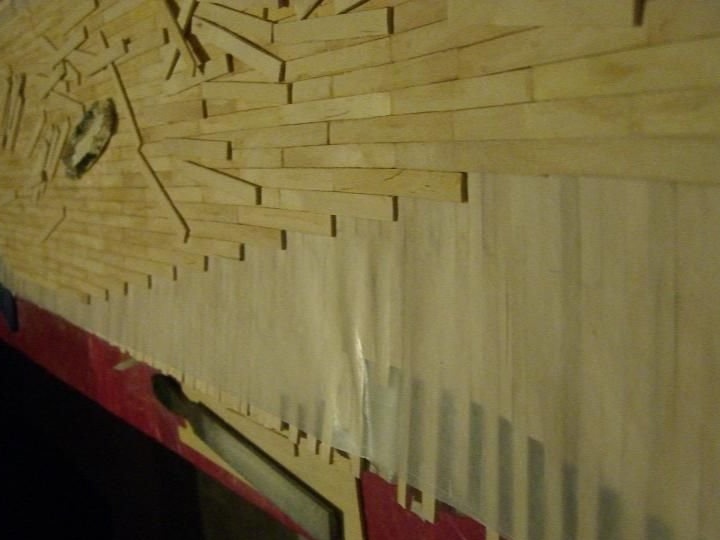
The master built a foam mold. I cut out the required number of ribs with the desired curvature. He cut a foam sheet with a razor blade so that the sheet could bend along with the ribs. Then he selected the ribs with a pencil, and then glued the ribs to the foam sheet.
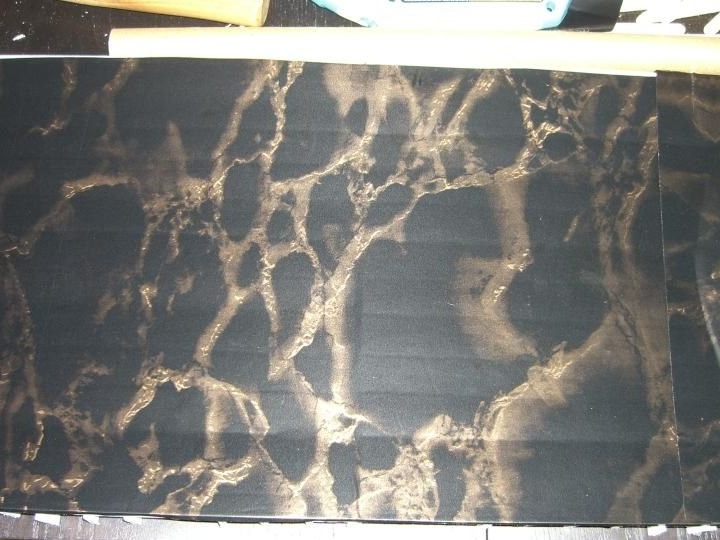
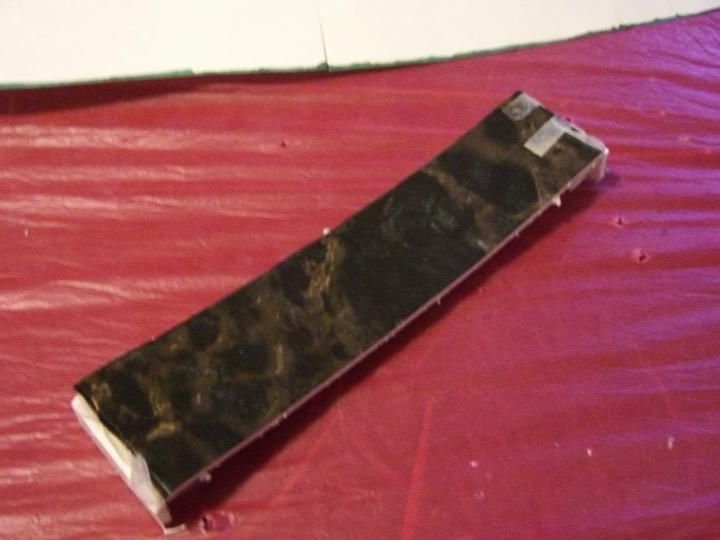
To prevent popsicle sticks from sticking to the foam, he covered the bonding surface with glossy “marble” vinyl.
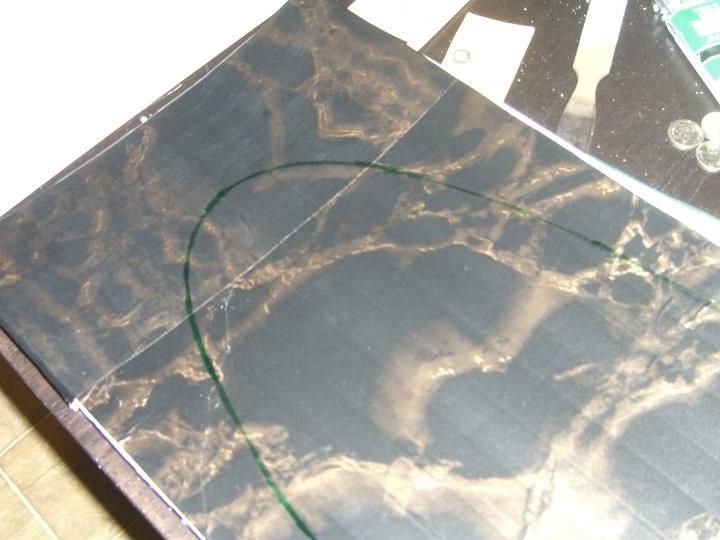
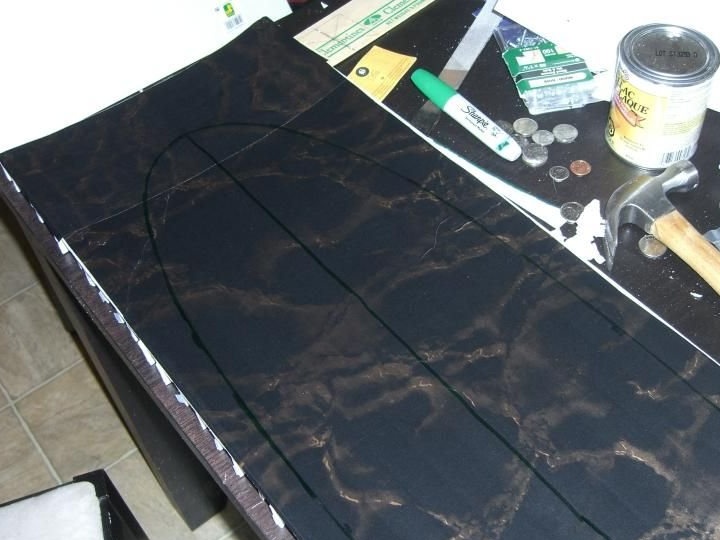
He drew the form of the template on vinyl and added a center line.
The curved tail of the mold was built from more pieces of foam.
The illustration shows the appearance of the mold in the context (template).
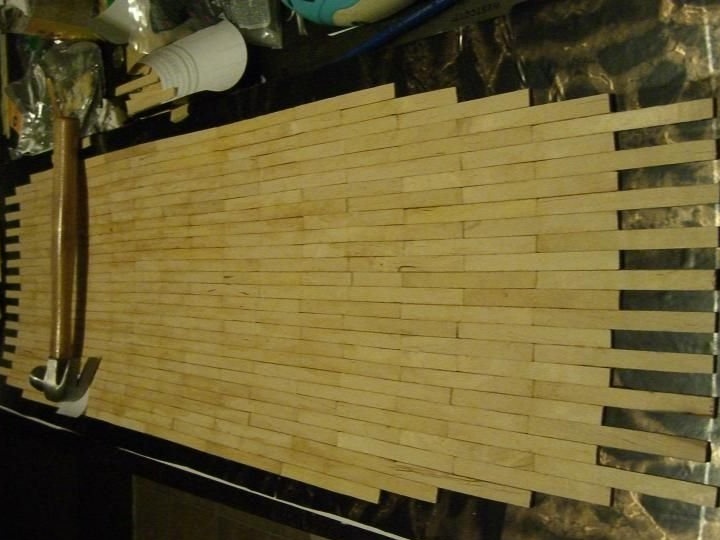
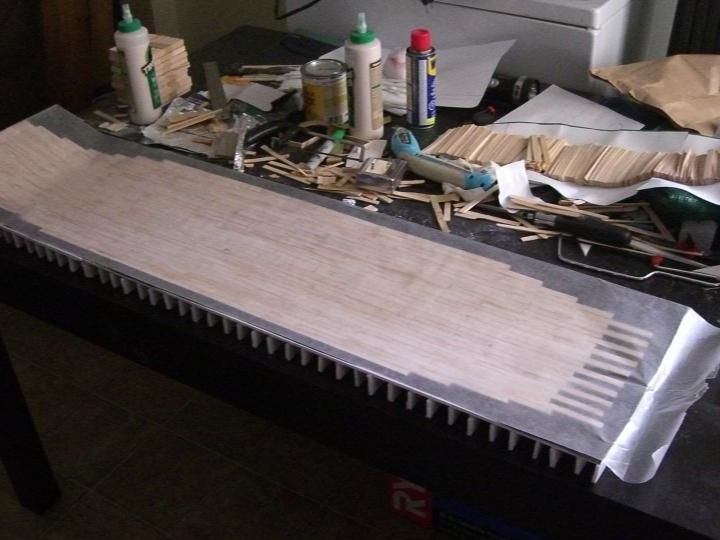
Step 3: Bonding the first layer
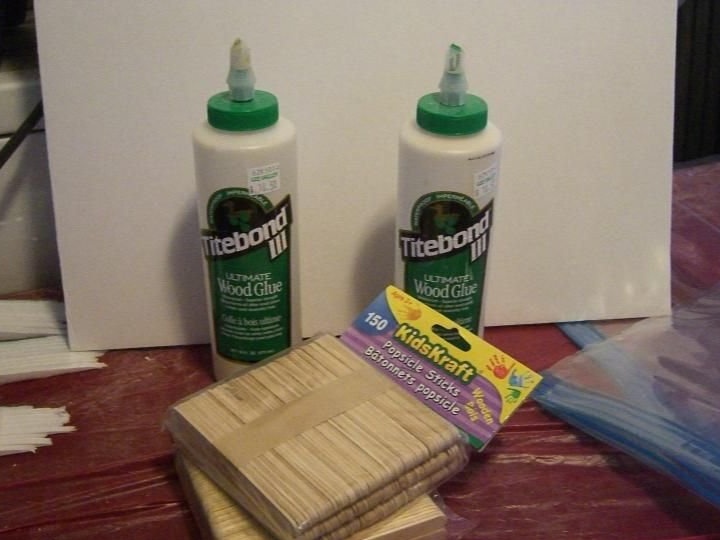
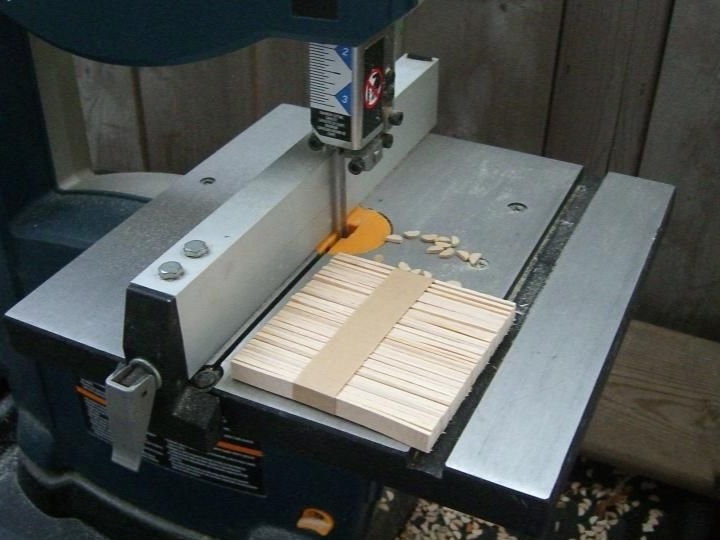
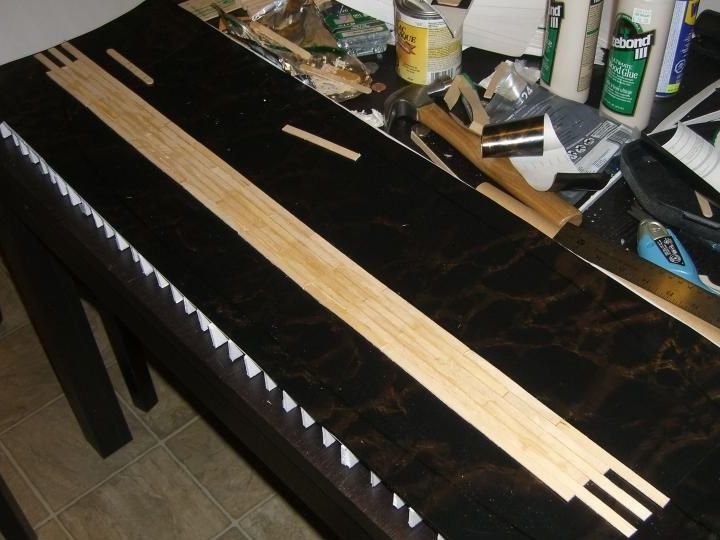
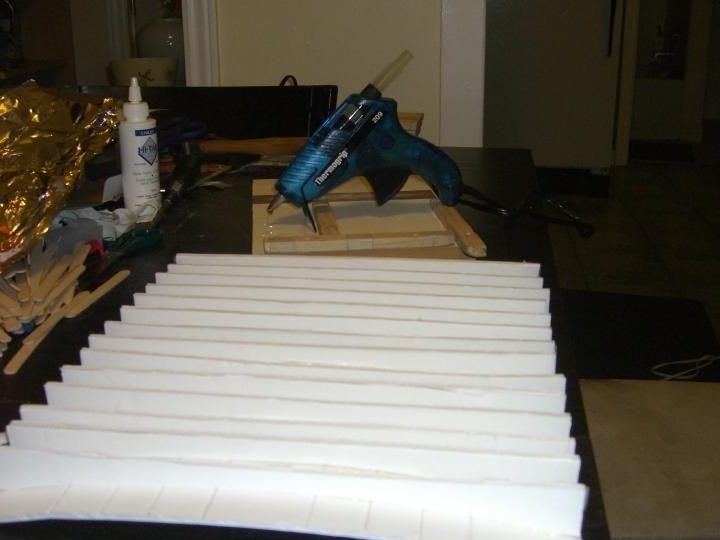
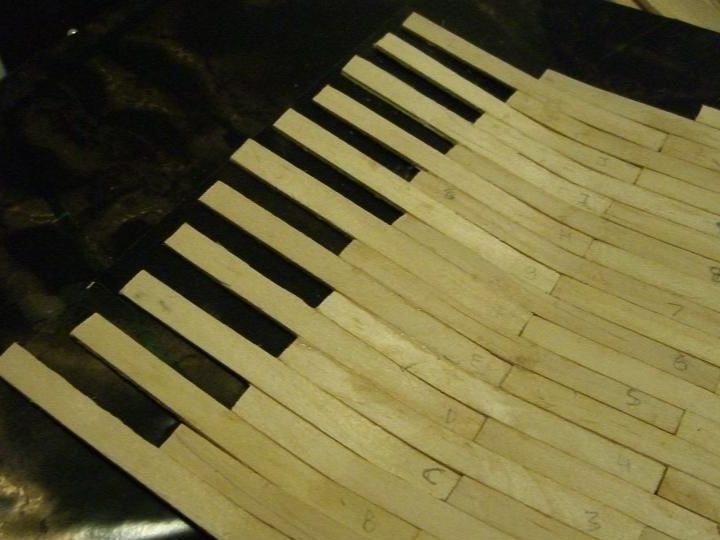
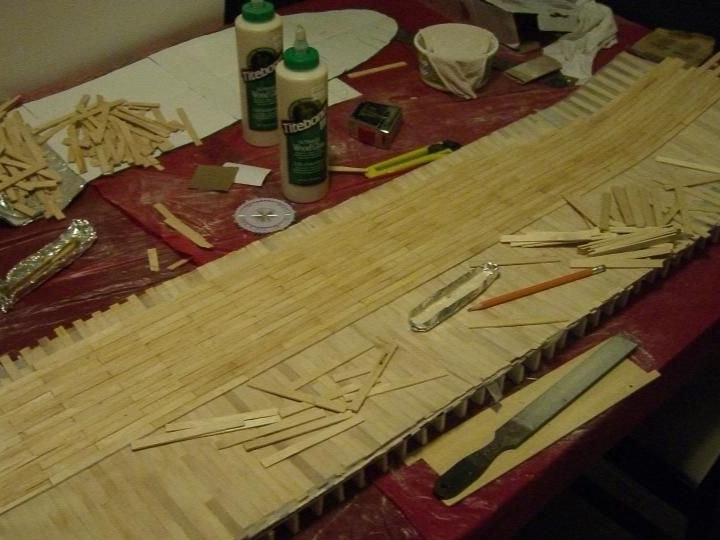
The master bought wood glue and popsicle sticks. For work, he used 2 bottles of Titebond III glue. The popsicle sticks that the master bought were in packs of 150 pieces and were conveniently wrapped in paper in stacks of 50 pieces. He suggested that it would take about 1,500 sticks for the board, but the material purchased had a lot of defects. About a third of the packaging was unusable: the sticks were deformed or cracked.
The master cut off the round ends of the sticks with a band saw.
He began work from the center of the mold, gluing a row at a time. It was slow, he spent about 6-8 hours per layer.
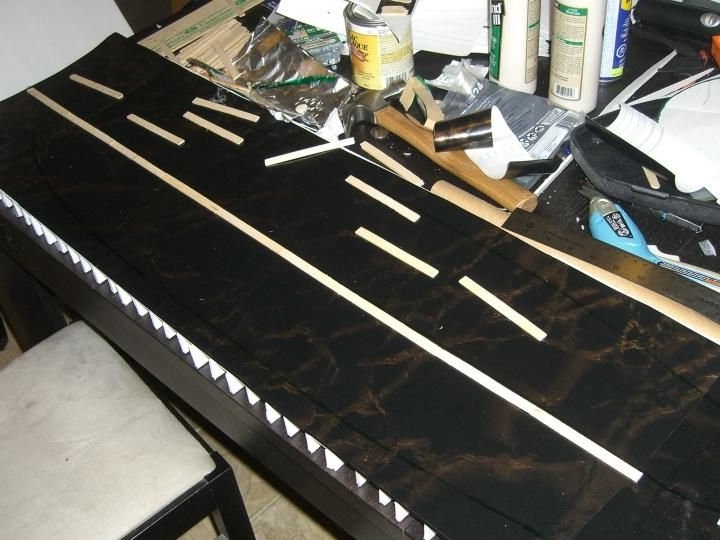
Step 4: tail bend
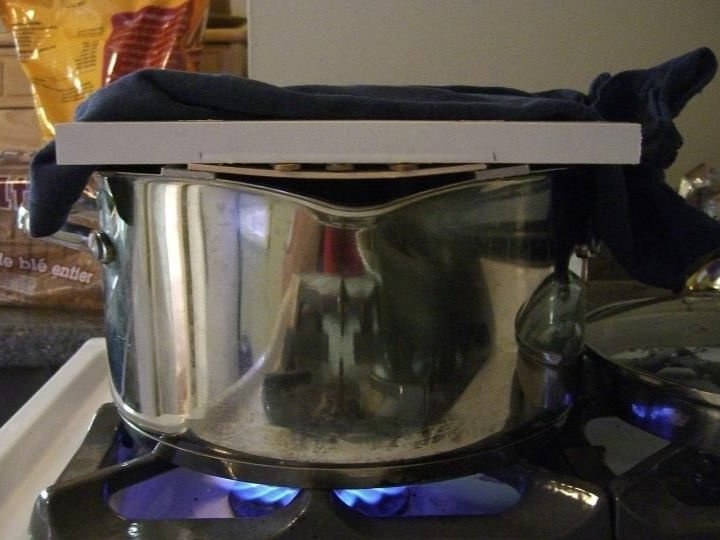
In order for the popsicle sticks to have a smooth bend in the tail of the longboard, the master had to bend them under steam.
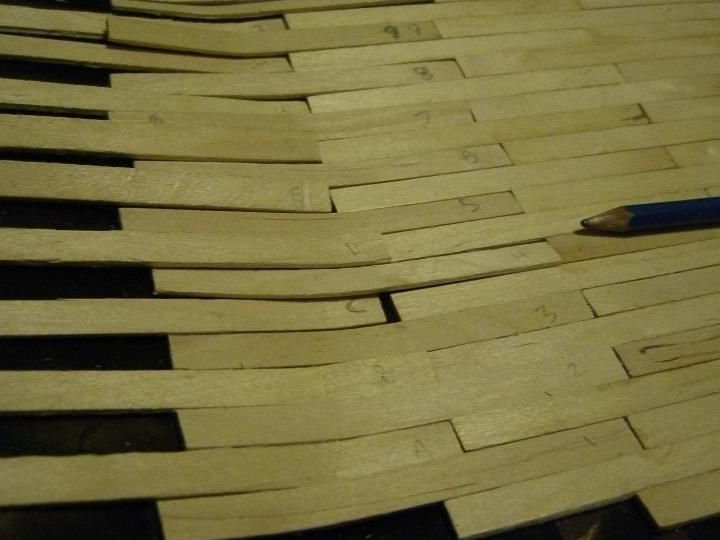
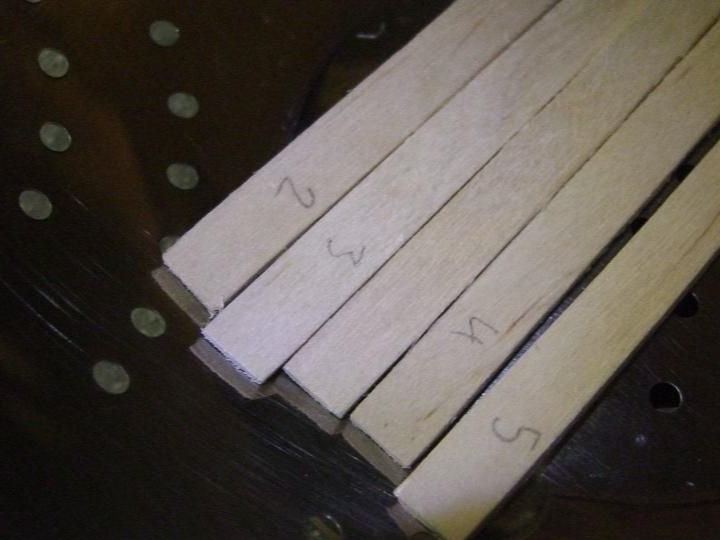
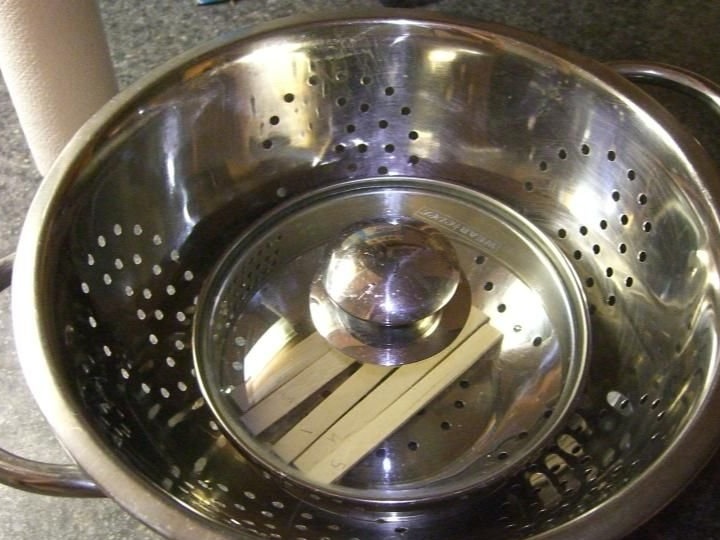
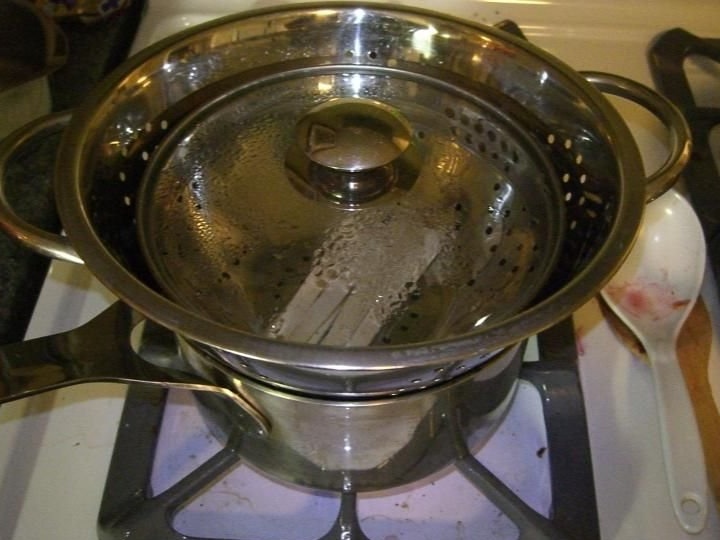
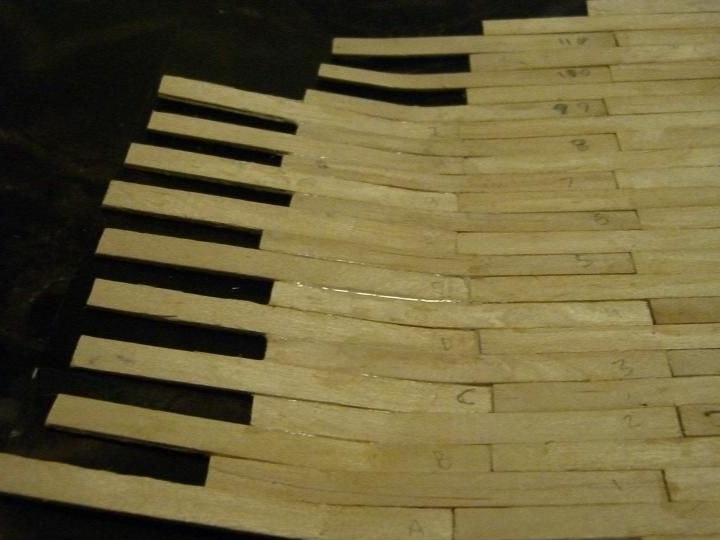
The master dried the fitted pieces of wood and numbered them.He boiled water in a pan and put a colander between the pan and the lid, this would allow the steam to fill the chamber and transfer heat to the popsicle sticks so that they could bend.
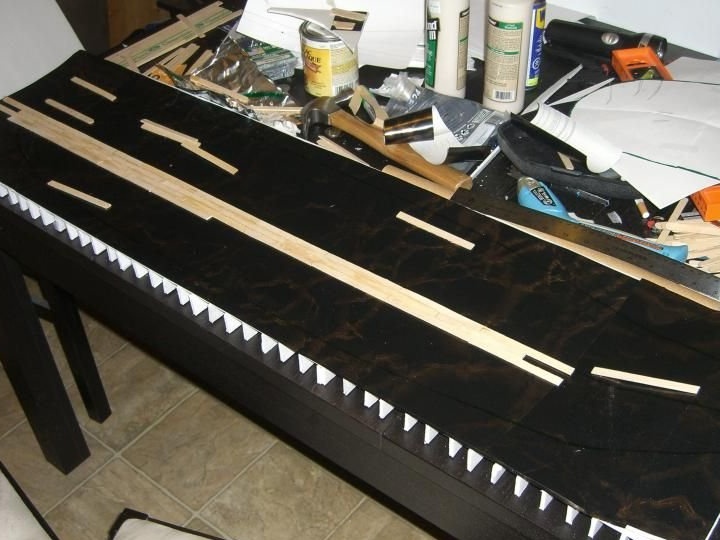
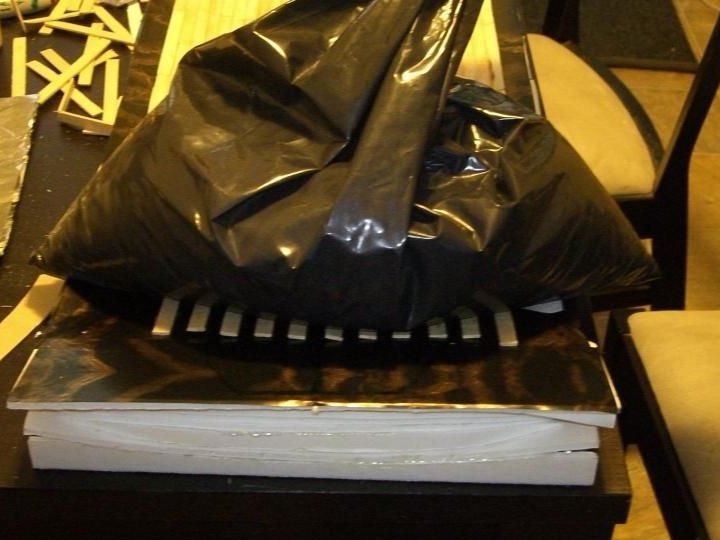
It did not take much time to bend them, about 45 seconds. The wizard broke several sticks, and they had to be replaced. After gluing the bent sticks together, he used a sandbag on top of an extra sheet of vinyl to hold them in place while they dry.
For subsequent layers, the master bent the tail parts, gluing each individual line. So the result was much better.
Step 5: Tail bend for the second layer


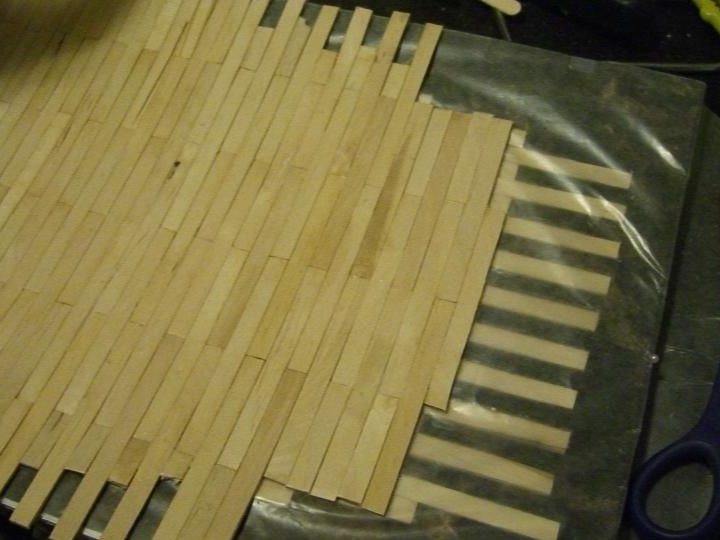
For the second layer, popsicle sticks should be glued perpendicular to the first layer to give strength, like plywood. This is called cross-sticking or rolling. Since the shape bends in this direction, the master needed to bend popsicle sticks for this layer.
The master built a conductor in which he can put a bunch of sticks and work with them at the same time. The master put the conductor upside down over a large pan and covered a possible gap with a rag. When steaming sticks, it is necessary for the steam to move along them. A good steam chamber is a camera with several openings. The sticks need to be exposed to steam from 45 seconds to a minute. As soon as they cooled, the master took them out and added another bunch.
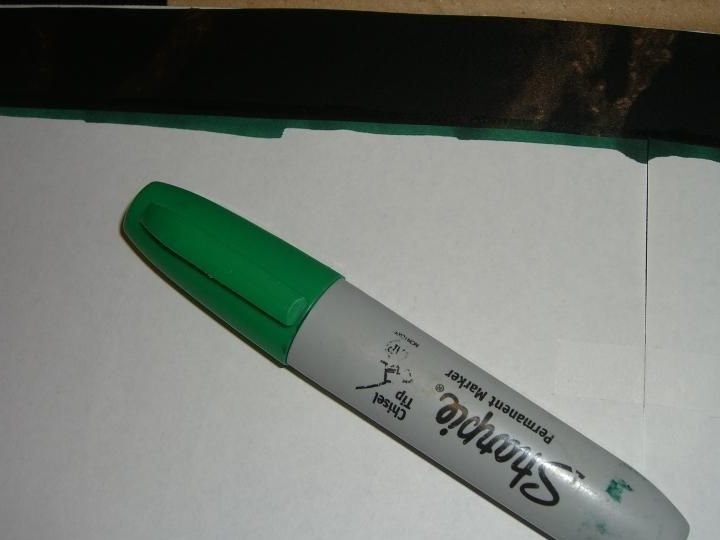
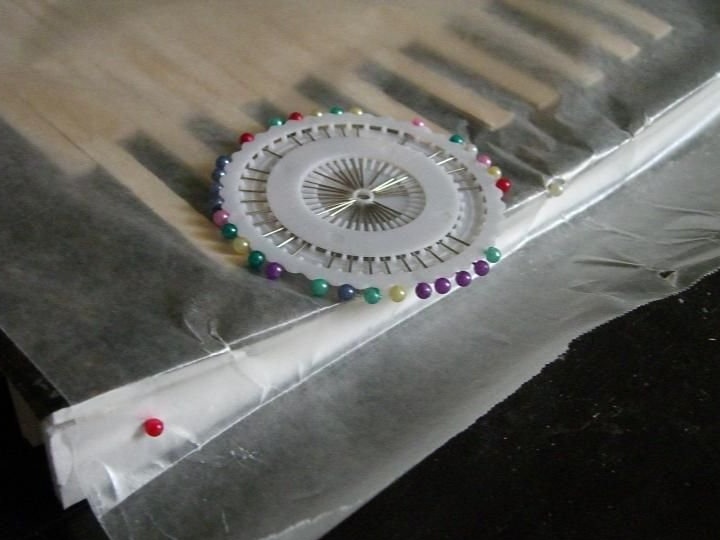
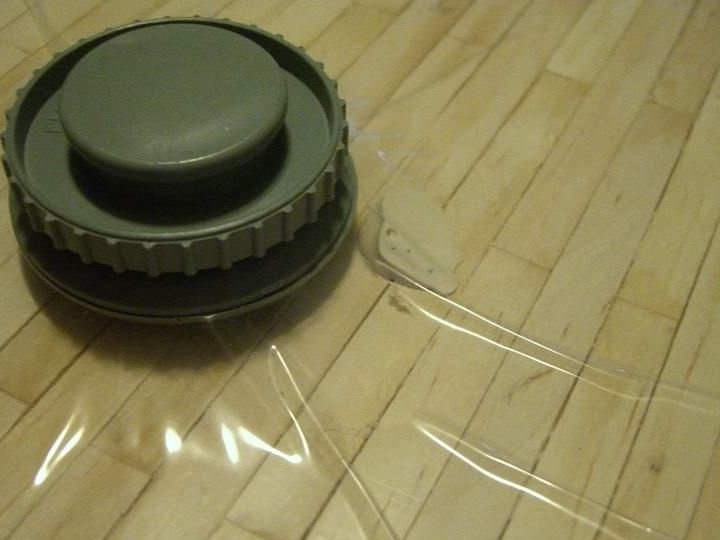
He also covered the first layer with wax paper so that the next layer would not stick to it. He marked the center line with a clerical button and began to glue the second layer.
Step 6: Bend for the tail of the second layer

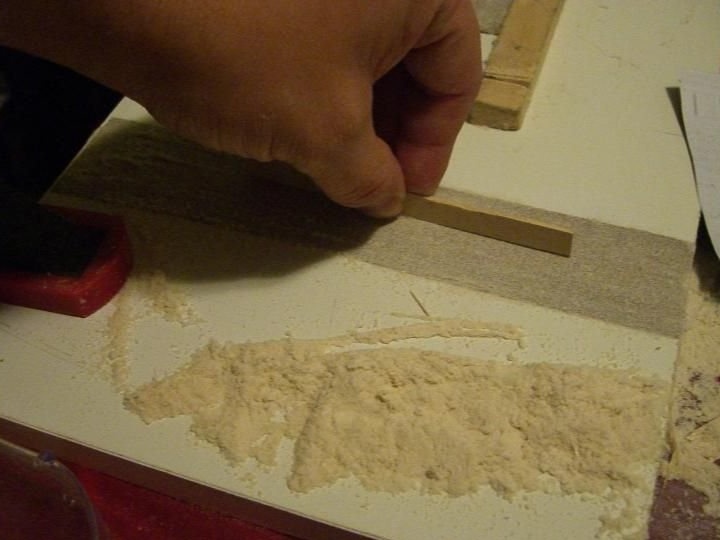
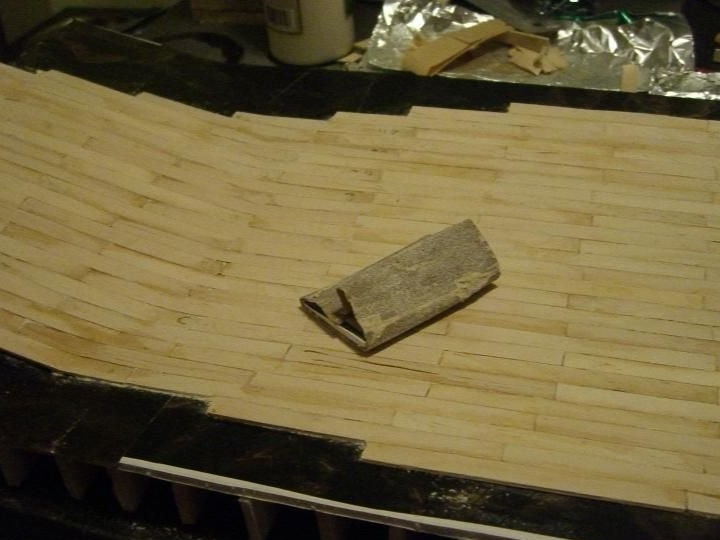
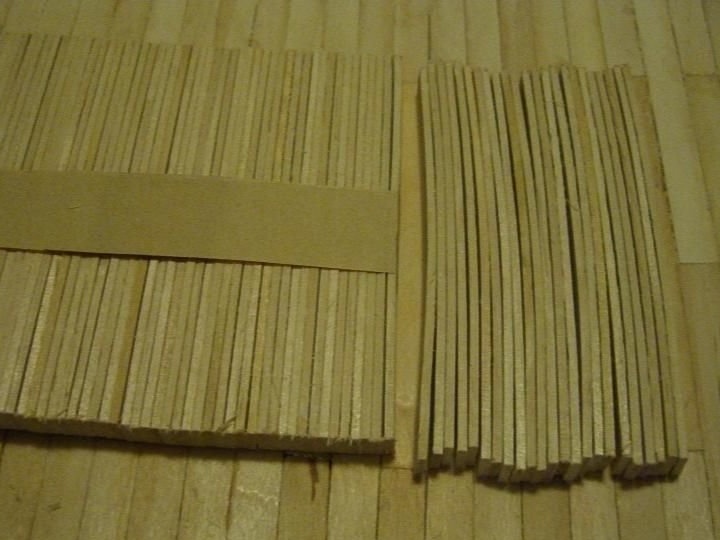
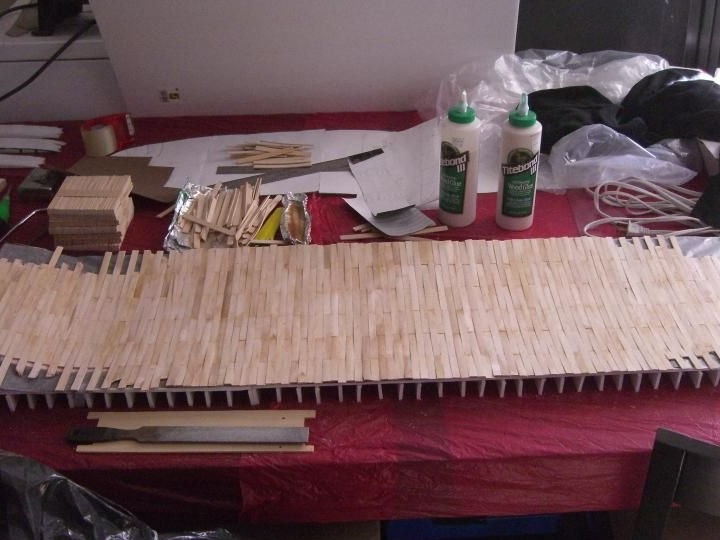
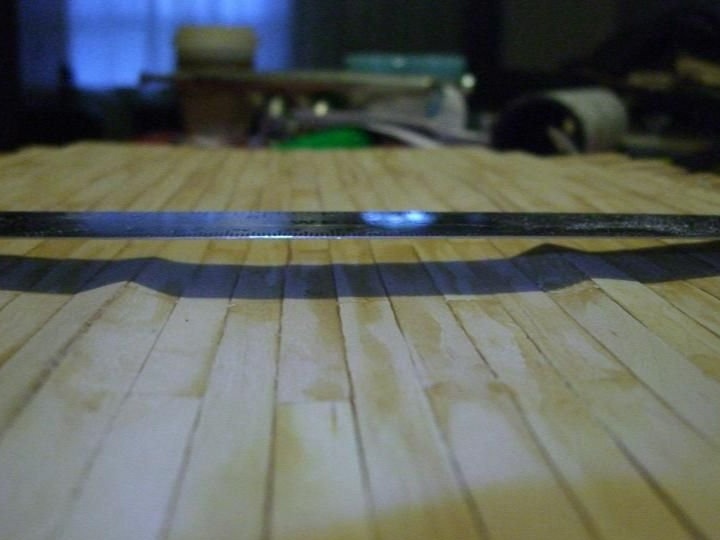
The master glued the next layer, as before, except that he stacked pieces of tail row after row. It was much better, allowing you to work diagonally from the tail. Using a rasp, the master aligned the ends of the popsicle sticks, and also used some sandpaper to straighten the edges and thin the thicker sticks.
After each layer, he polished the high points and sawed off the excess in the tail section.
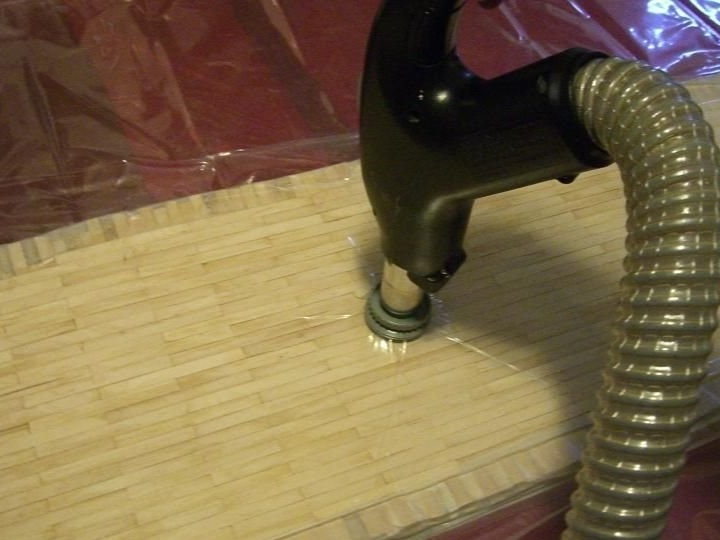
Step 7: Bonding and vacuum pressing
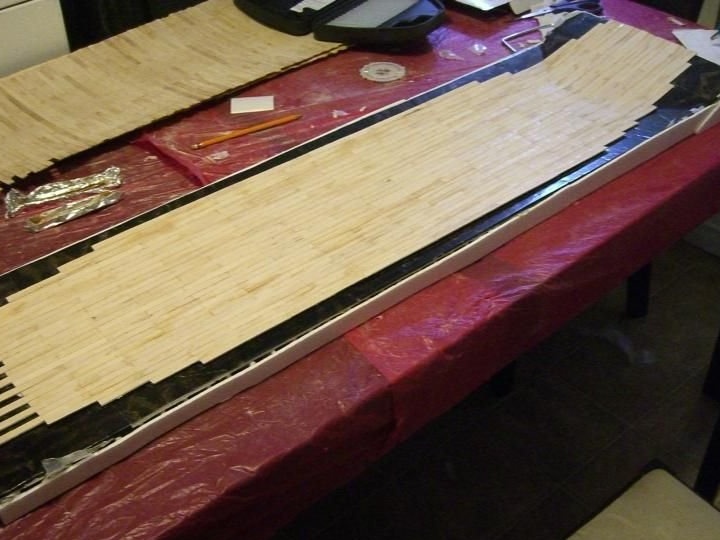
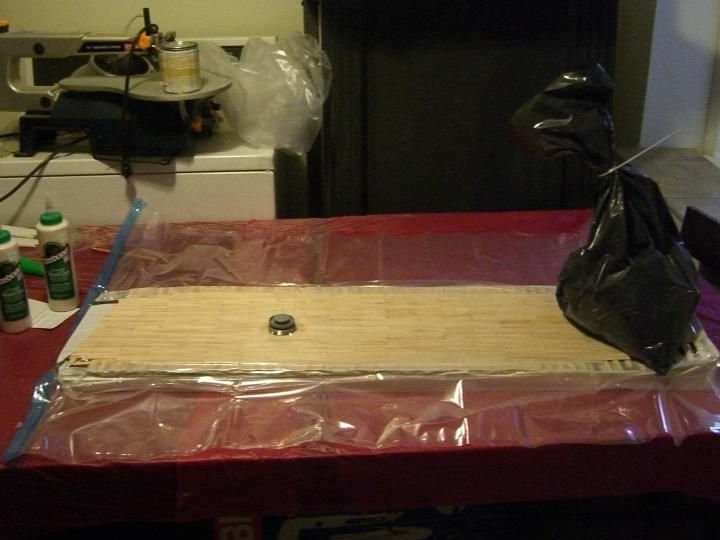
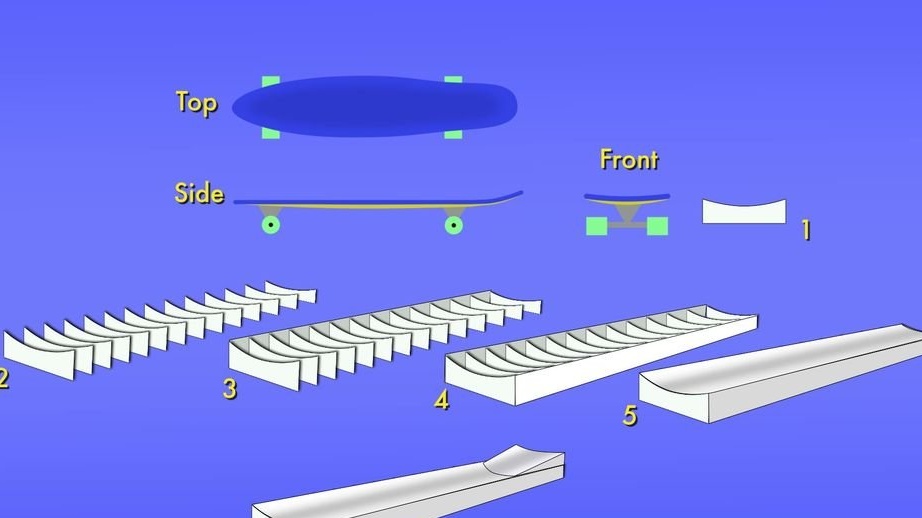
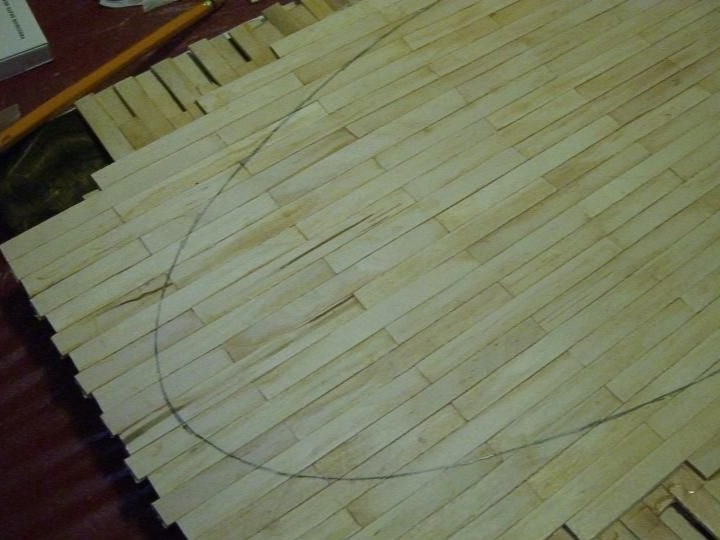
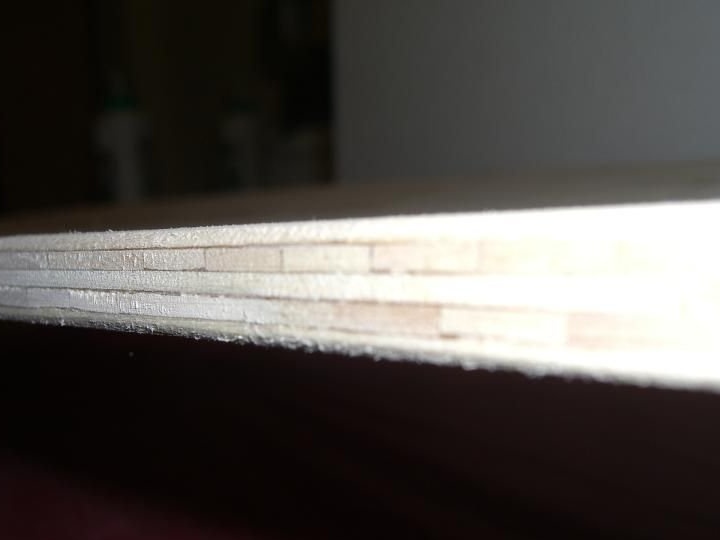
The master made only five layers. Three longitudinal layers and two transverse cross layers. He folded them alternately so that the lower, middle and upper layers went along.
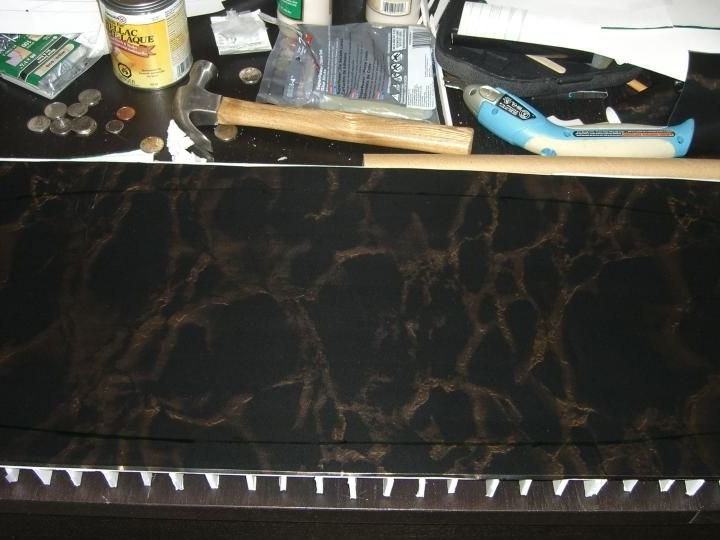
Using a grinding machine, the master align each layer. He also removed wax paper and sanded the underside of each layer.
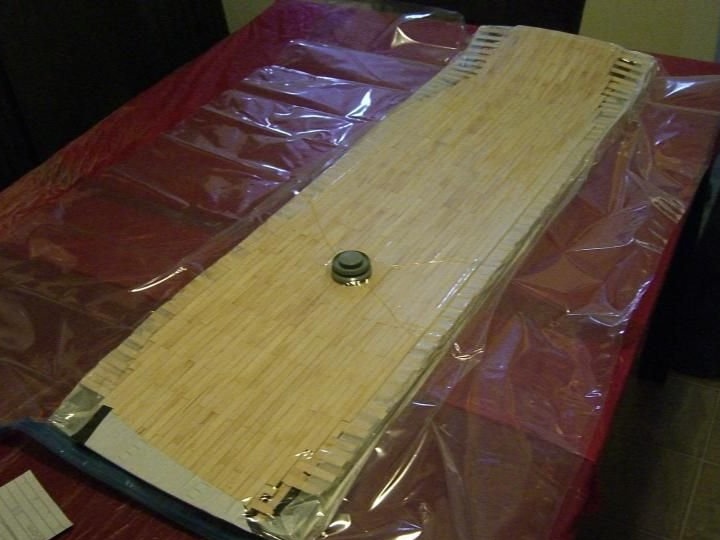
Then he strengthened the form with the side parts. After was a dry fitting. Using the pushpin as the center line, the master marked each layer with a pencil to know where to place them when gluing, and also to see if they fit in a vacuum bag.
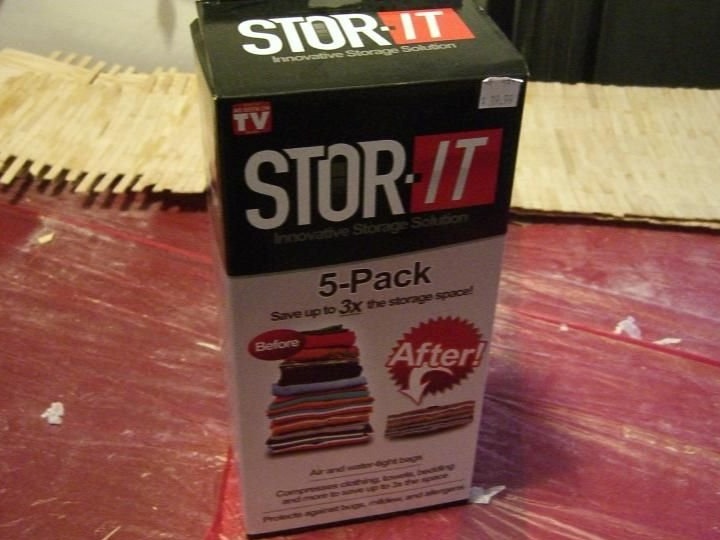
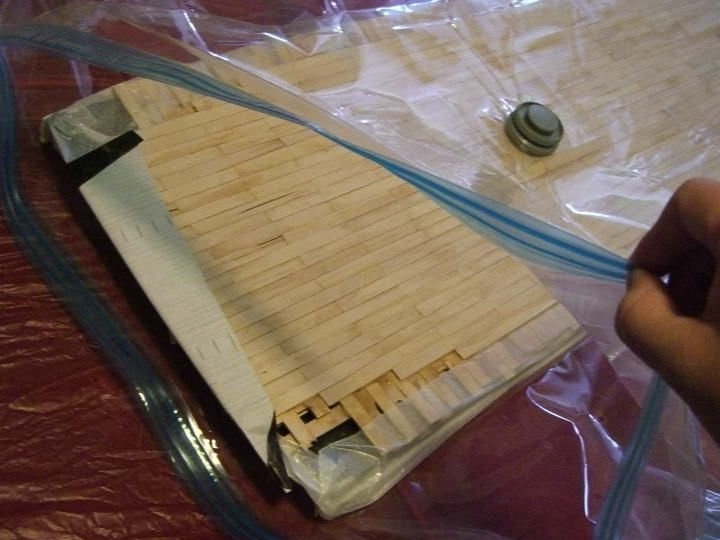
Previously, several vacuum bags for storing clothes were purchased from the master. Each package has small shirt bags and large dress bags. The big bag was too small, so the master had to cut off a 5-centimeter part from the longboard before he glued the last layer.
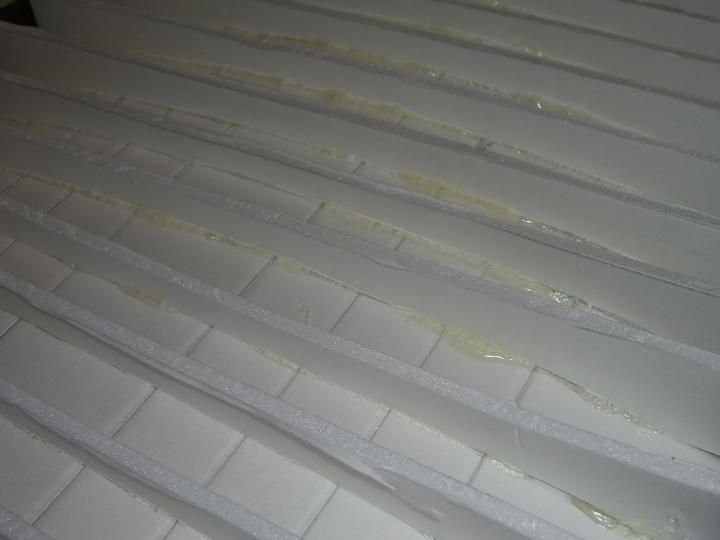
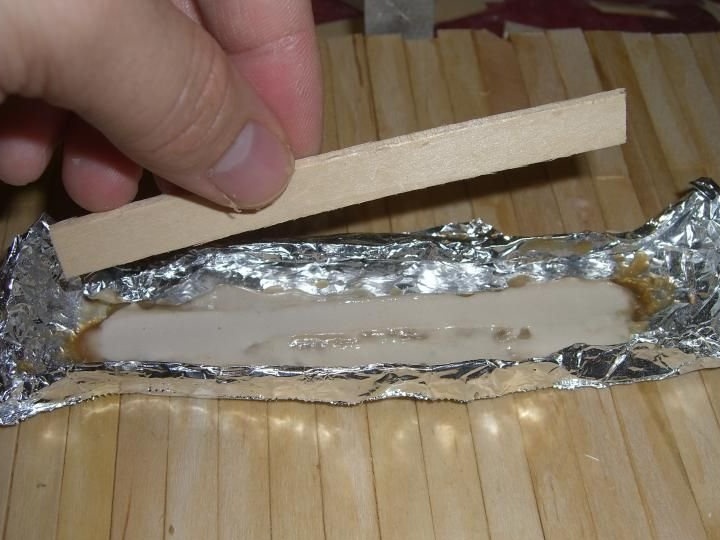
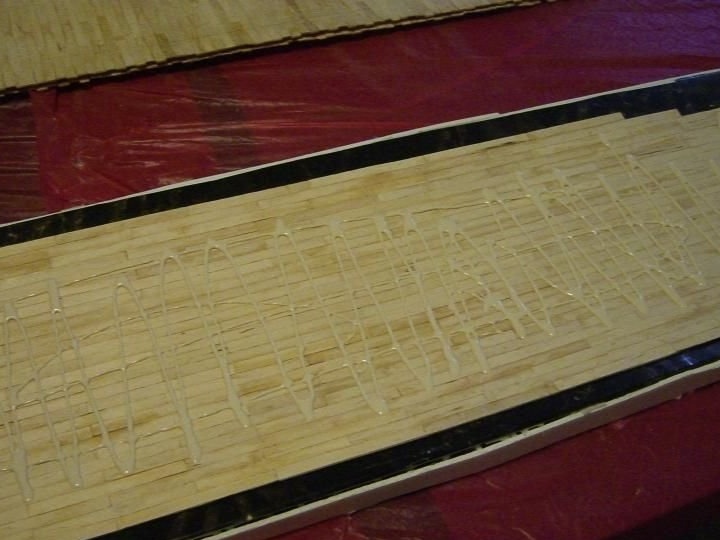
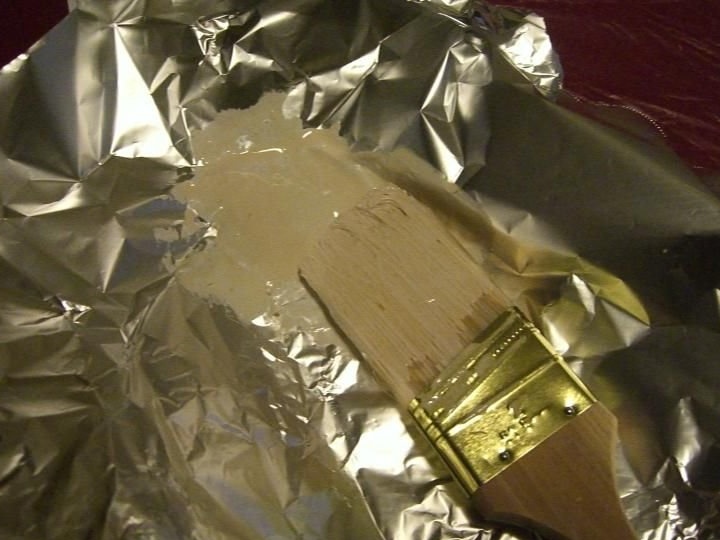
The master used a large amount of glue and used a brush to evenly apply glue to the top of each top layer, as well as to the bottom of the next layer, and folded them in place on the mold.
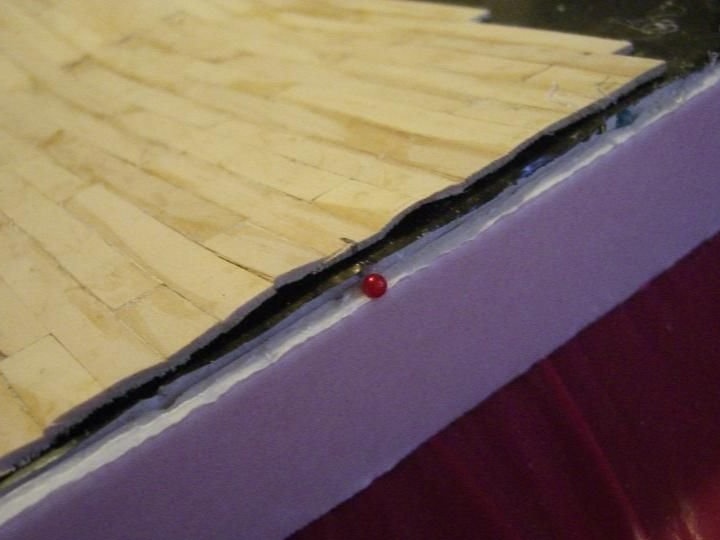
Then the master sealed the bag and pumped out the air. In the photo you can see the protruding glue that seeps through the crack in the upper layer, next to the valve. The master had to use the sandbag again to put extra pressure on the tail.
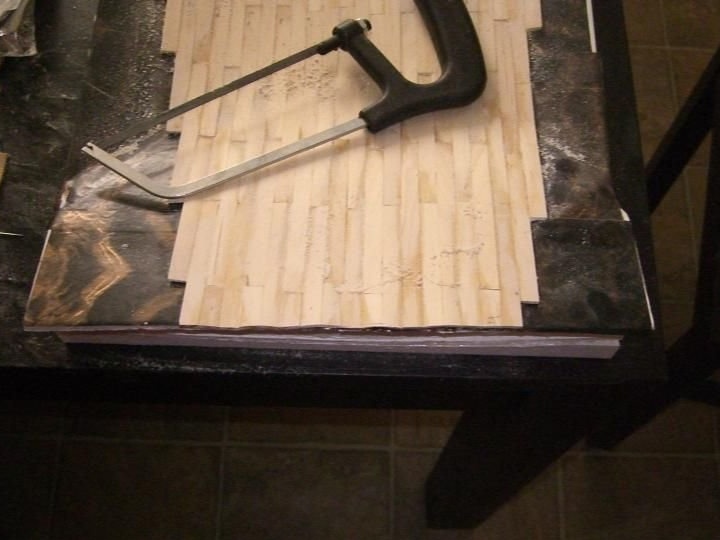
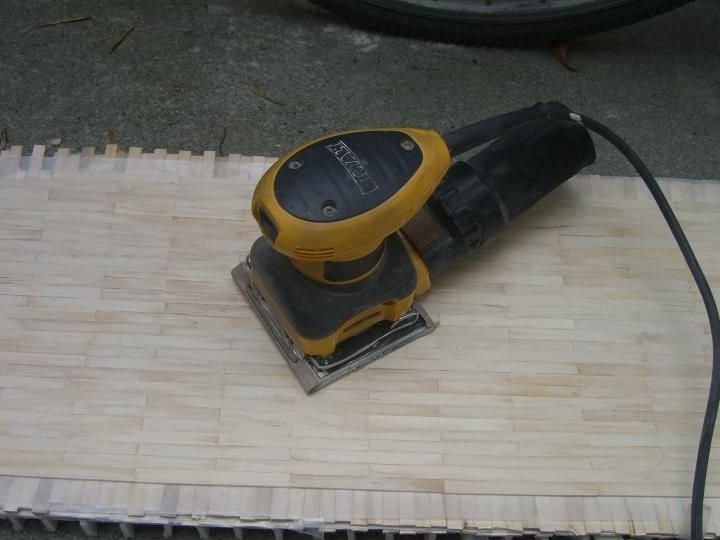
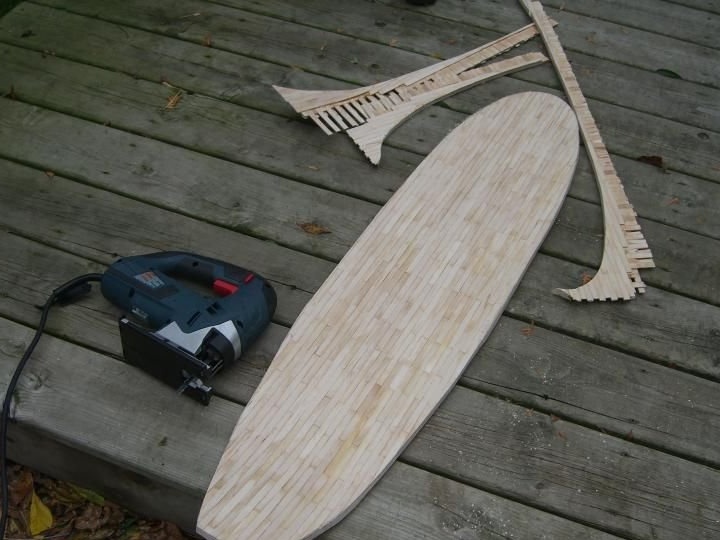
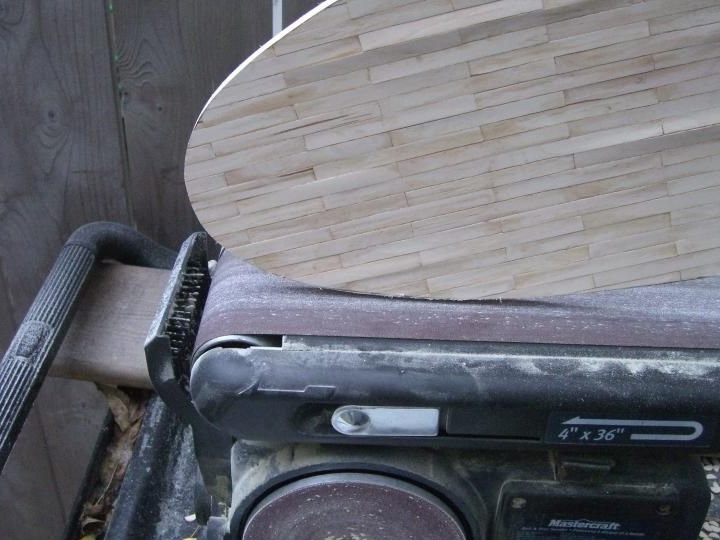
Step 8: Cut Form
The master left the longboard out of the wands in a vacuum overnight.
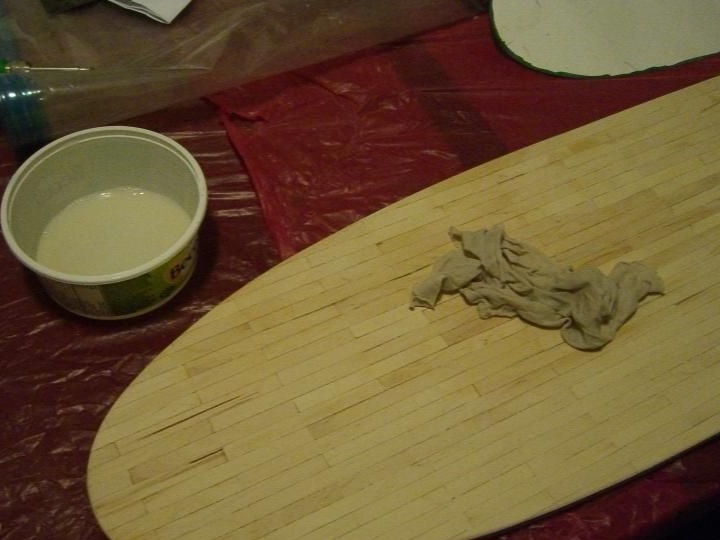
After removing it from the vacuum, a pair of elevated places formed, which had to be filled with glue after cutting the board and grinding.
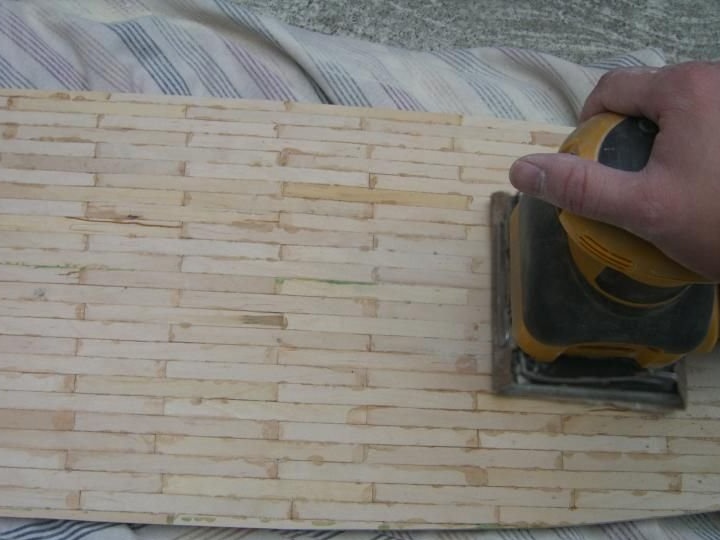
To cut the mold, the master used a jigsaw, as well as a belt sander, to smooth the edges.Then a vibrating sander was used to smooth and remove excess glue from above and below. A damp cloth was then applied to remove the fine dust left on the board.
Step 9: Preparing Attachments
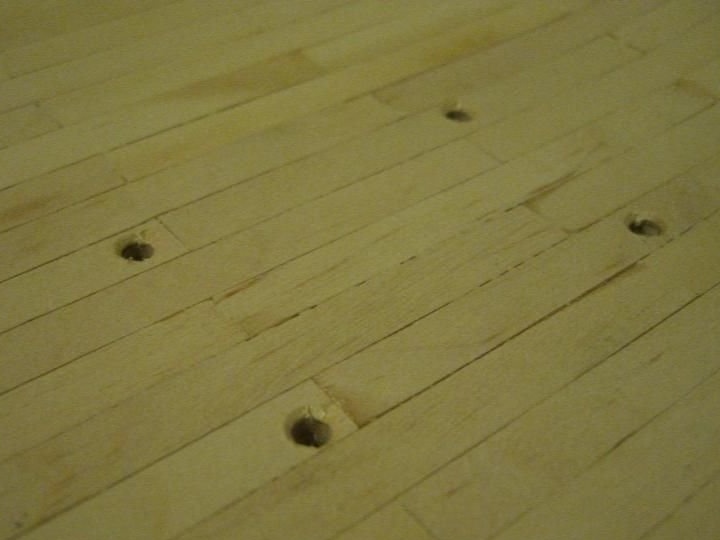
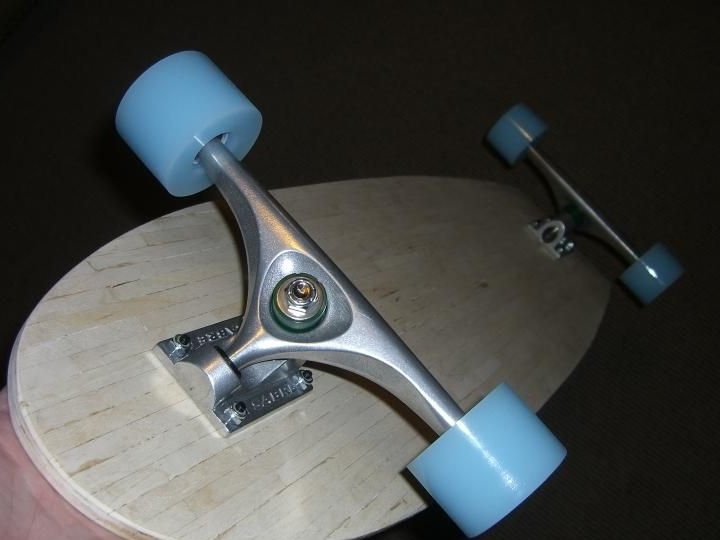
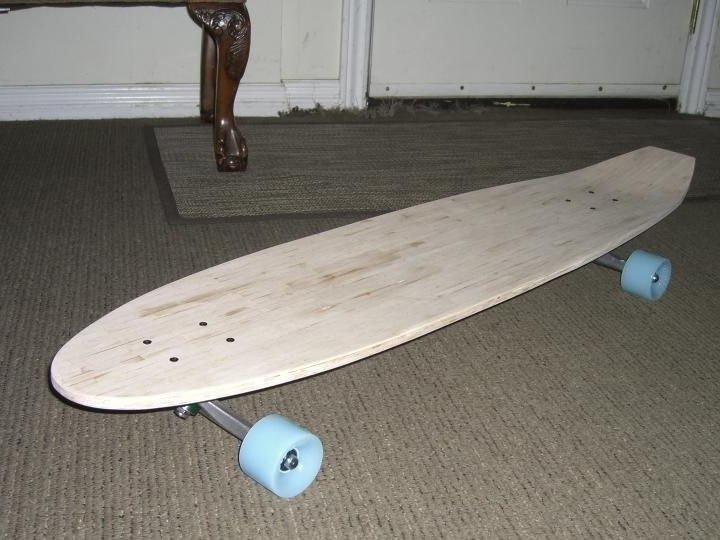
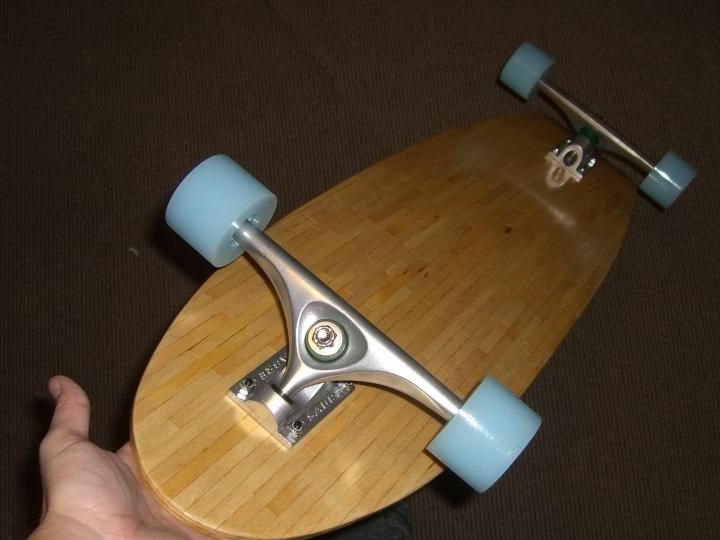
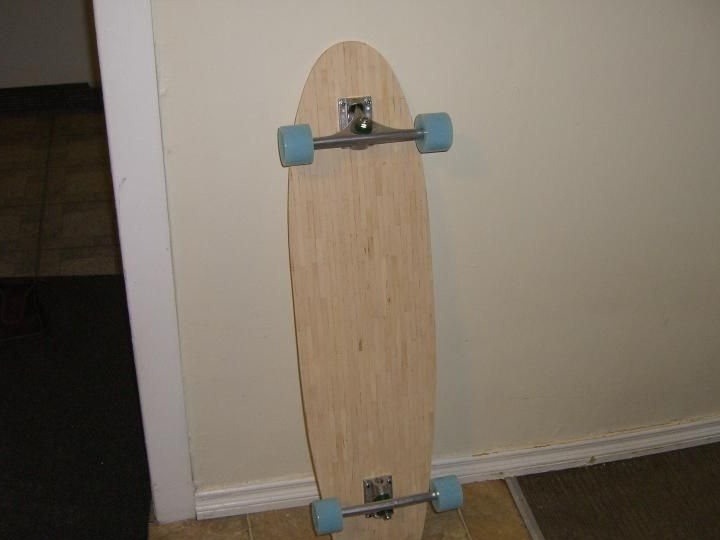
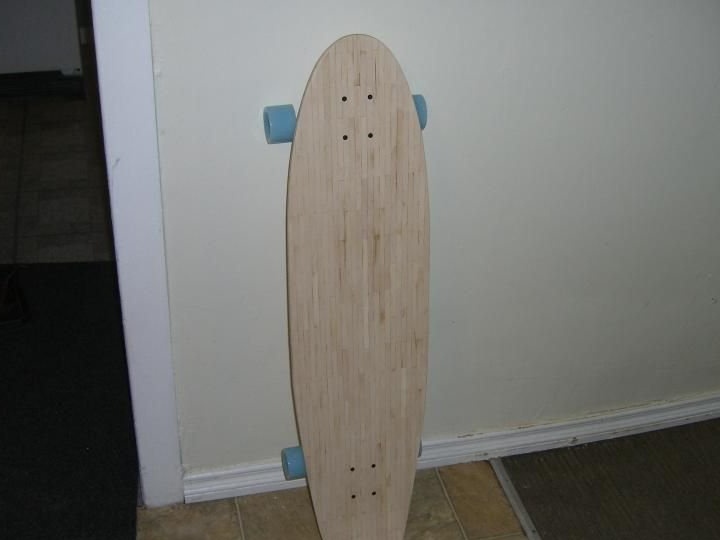
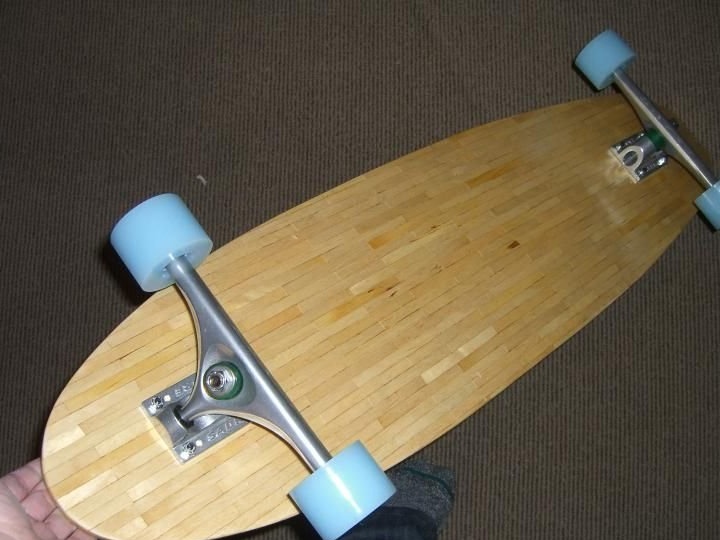
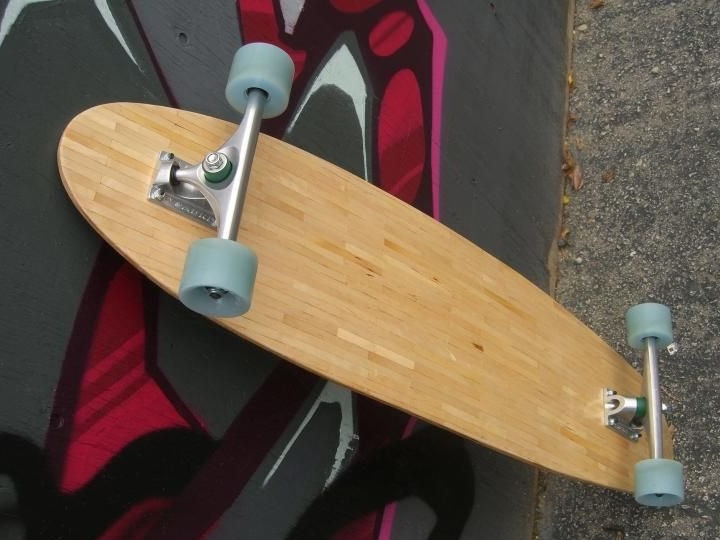
The master drilled holes for a rack with wheels using a drilling machine.
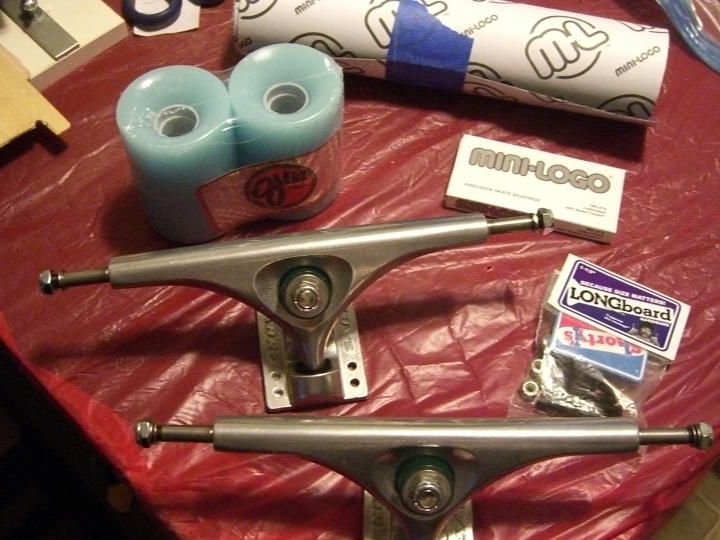
The master bought brackets, wheels, bearings, nuts and bolts at a local store in advance. The choice of color for the wheels fell on cool blue.
Step 10: Completion


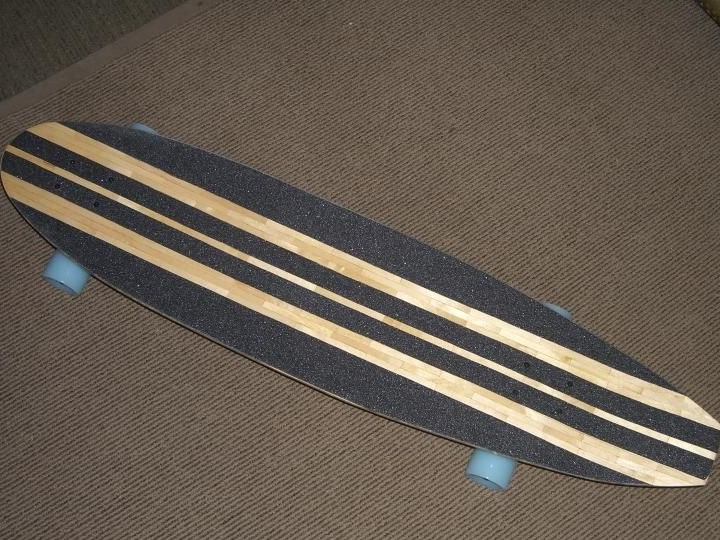

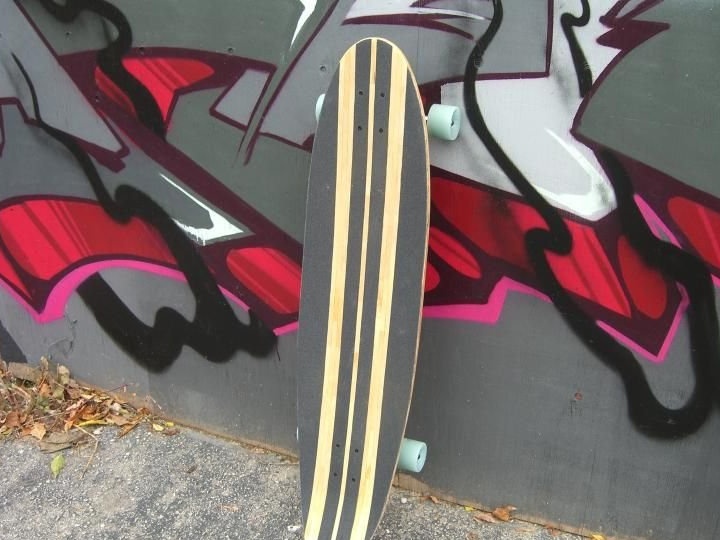
In some places on top it was necessary to grind a little more and add a little glue. After that, the master processed the board with several layers of shellac and applied several strips of surfing tape. The grip tape is self-adhesive and can be bought at almost any skateboarding store.
In general, there are much simpler and faster ways to assemble a block of a long board for skateboarding, but the master set himself the task of trying to use popsicle sticks to see if this is possible.
In the end, everything worked out.
Below you can see the longboard in action: