» Topics » Advice »Fan - hood for soldering

Fan - soldering hood

Hello!

I would like to share one of my simple idea. Homemade useful to those who solder a lot and worry about the condition of their lungs.
It's no secret that breathing various fumes emitted during soldering is not very good for your health. You can argue for a long time on the topic: the more harmful it is to breathe the evaporations of flux or solder, which flux is less harmful: rosin or glycerin. I think many will agree that it is better not to breathe any of the above. I know 2 solutions to this problem: hoods and hoods using various filters (for example, coal). I did not consider the option with filters, as there are questions regarding the quality of the filtering. There is an option with a hood to the street. I did not want to make any massive pipes for the outflow of air to the street, I wanted to have some kind of compact desktop version, which, if necessary, can be quickly put away in a cupboard.

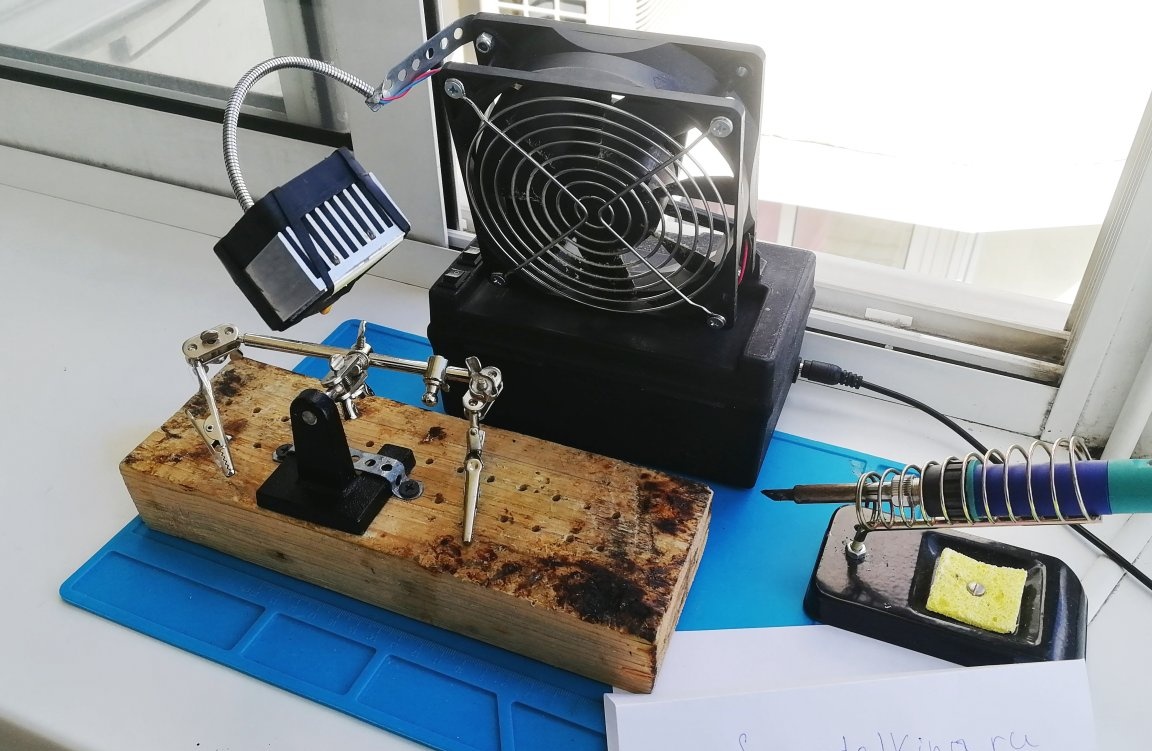
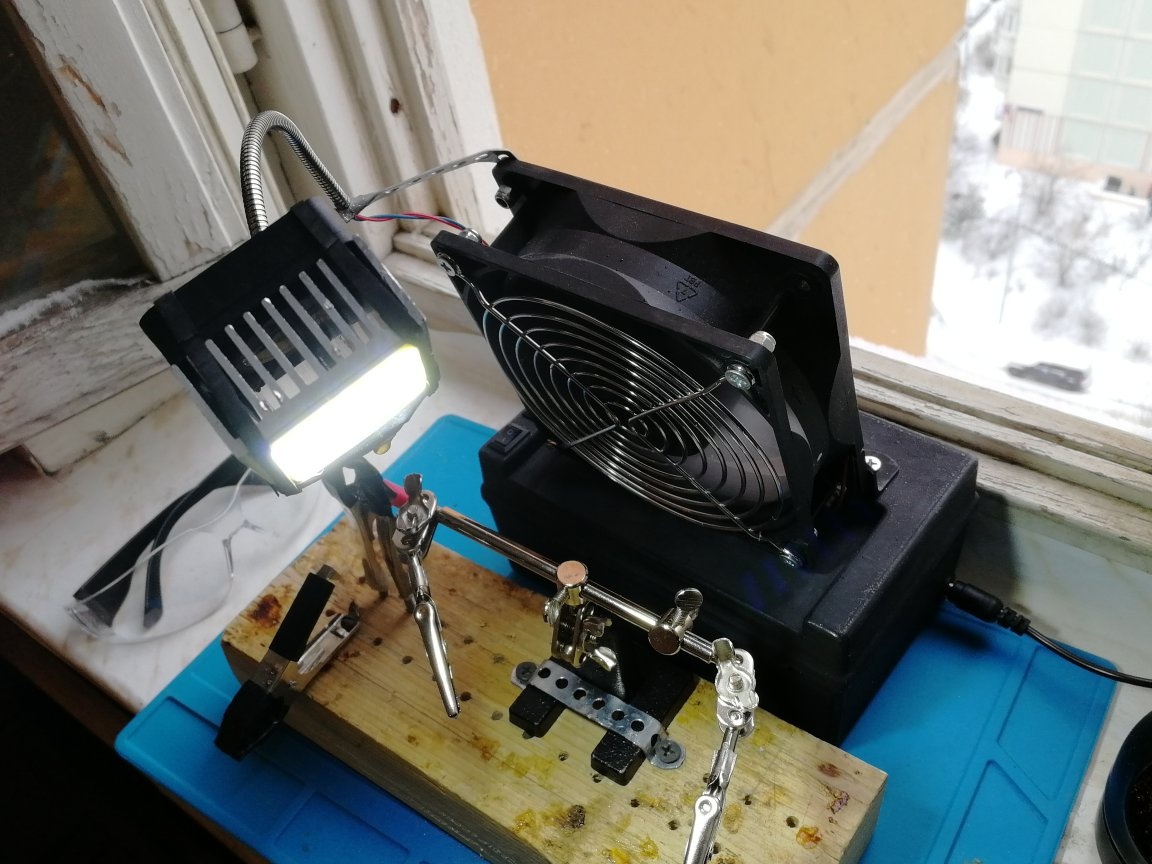
I came up with a simple idea: to solder by the open window on the windowsill / balcony, and use a compact and powerful fan to extract it. For the cold season, the option, of course, is not very suitable (although I still manage to solder, dressing warmer), but for other cases it’s quite working. I could not quickly find ready-made desktop fans that were compact and powerful enough (either too bulky, or the power was small). I also wanted a lamp. Therefore, I decided to make such a fan myself. It looks something like this:
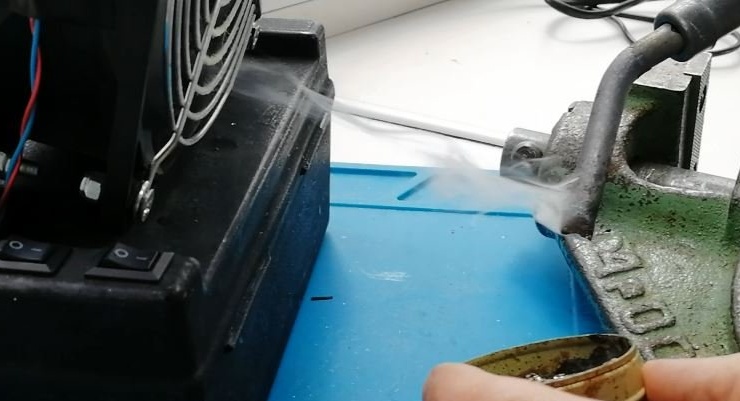
Pulls perfectly:


Process of creation:

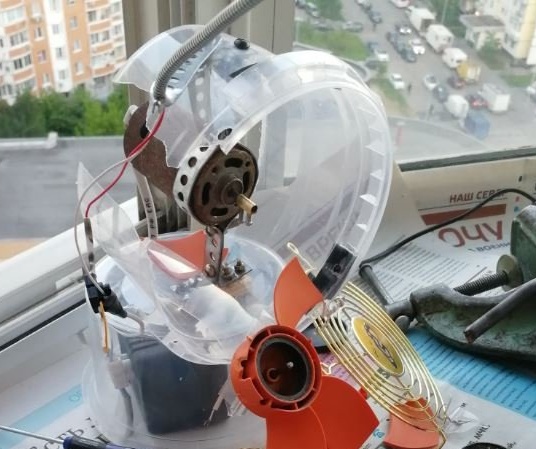
I did not immediately come to the current version. At first I tried the usual 120mm fans for computers. Traction was clearly not enough. I decided to make a home-made fan from the collector motor from a screwdriver, a screw from a computer cooler and cabbage cans:

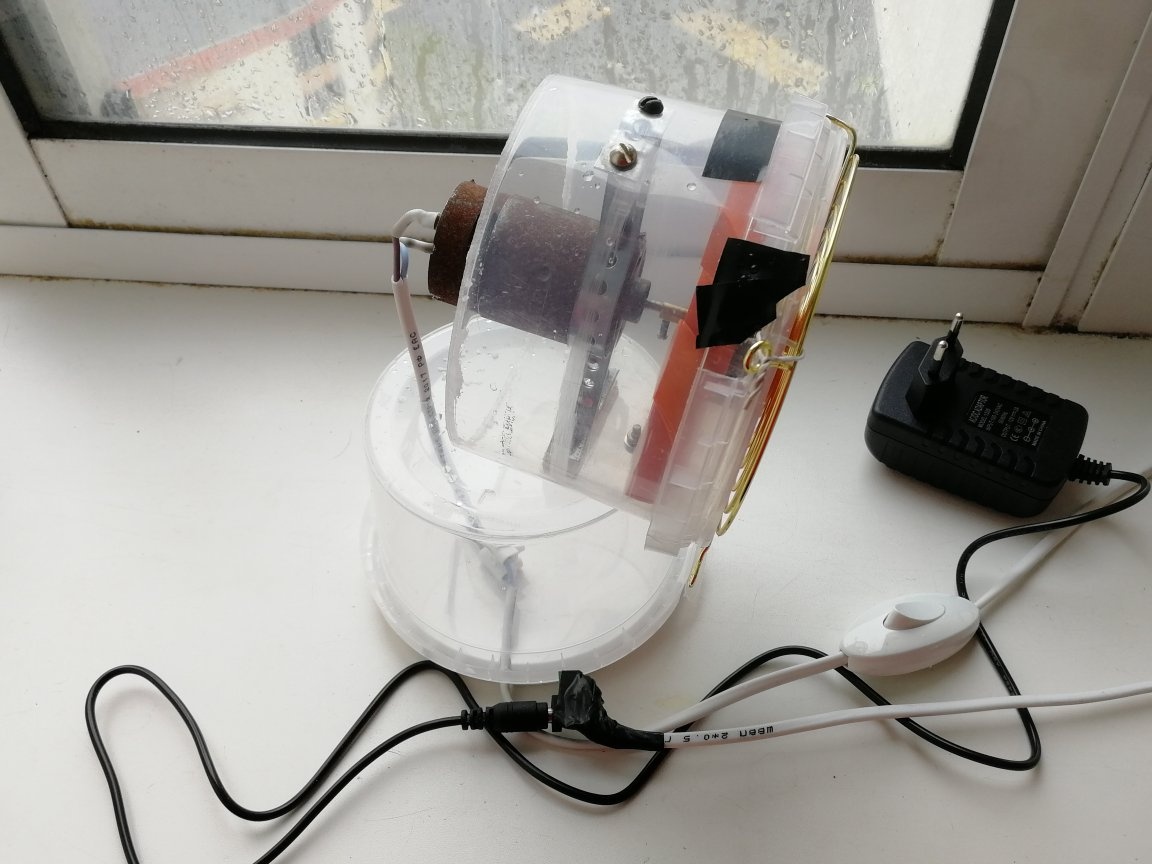
In general, everything worked, the thrust was excellent. The engine was too powerful for this purpose. An adapter for 2 Chinese amperes was clearly not enough, the power supply was very hot. The screw was fastened to the motor shaft using the clips from the mounting clamps for the chandeliers
Fan - soldering hood

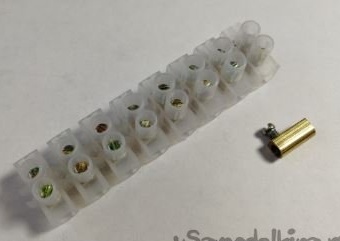
The fastening was extremely unreliable, which led to the screw coming off the shaft and breaking the case. Only then I realized that the right solution is to use a collet chuck.

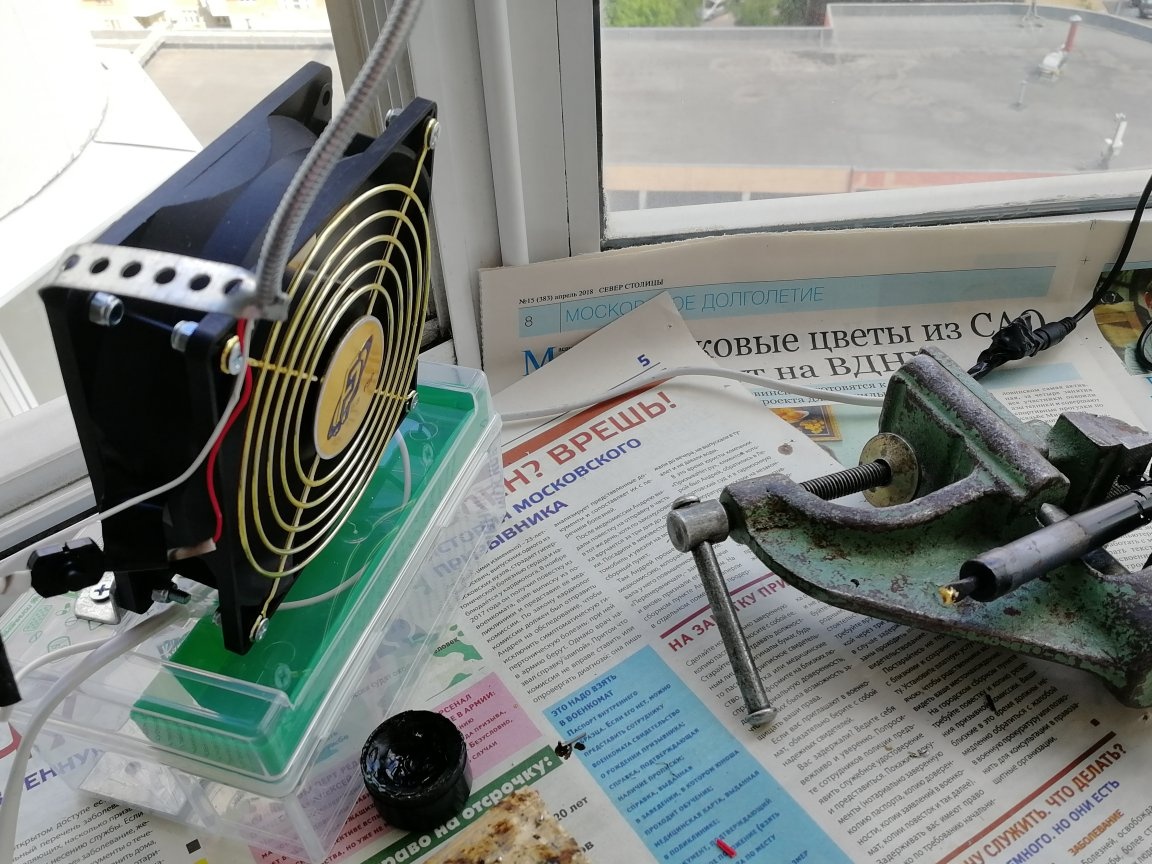
The idea came to my mind: to look for more powerful 120 mm fans for servers. I found one on Ali and ordered it. It pulls, of course, not as much as a home-made one, but also quite worthy + current consumption of only 0.6A.
The stand was also made more accurate, and also added a protective grill to the fan:


After that, he placed switches in the case and painted the base black with matte primer from the spray can.

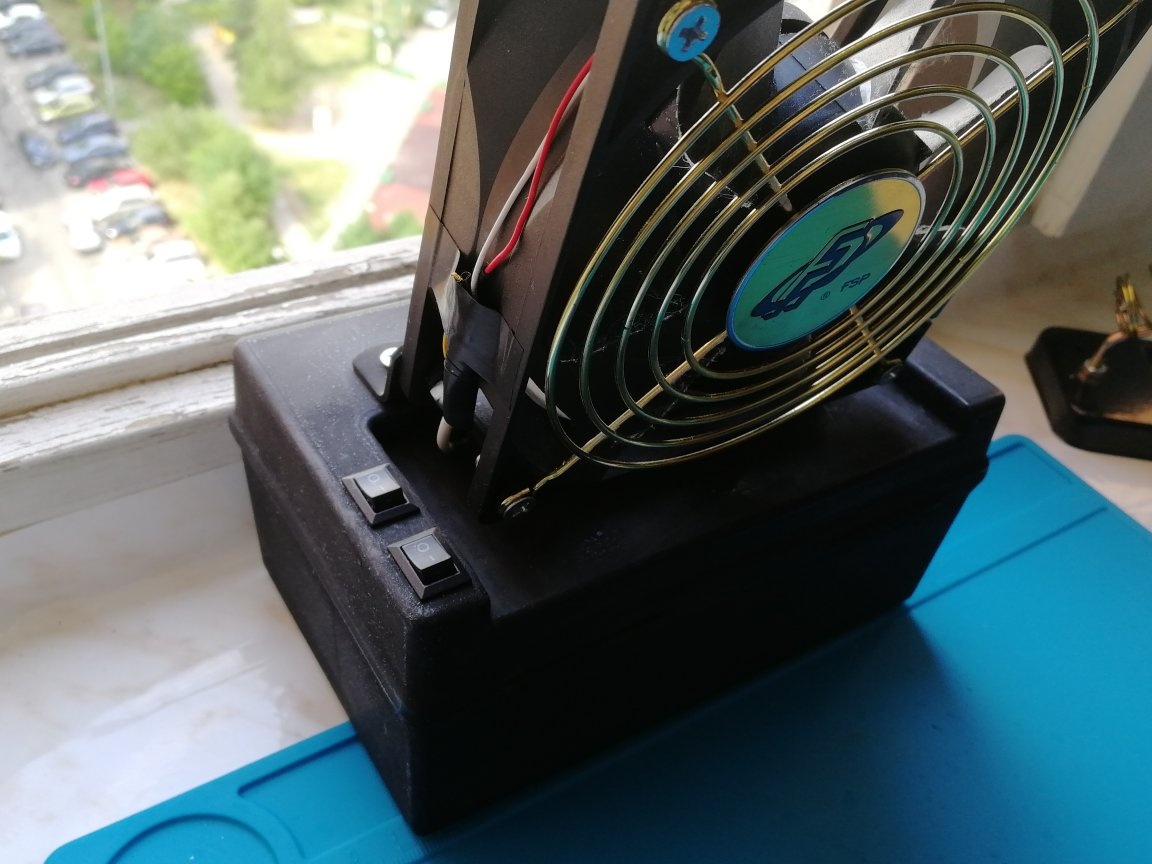
Later he replaced the grill with a more open one.
As a luminaire, I used a 4-watt LED matrix, purchased on Ali. The matrix is ​​very hot, so a radiator is needed. Also added a small fan to the radiator. He fastened everything with iron clamps, screws and rubber rings cut from a bicycle chamber.
The lighting was good, you can solder at any time of the day, everything is clearly visible.


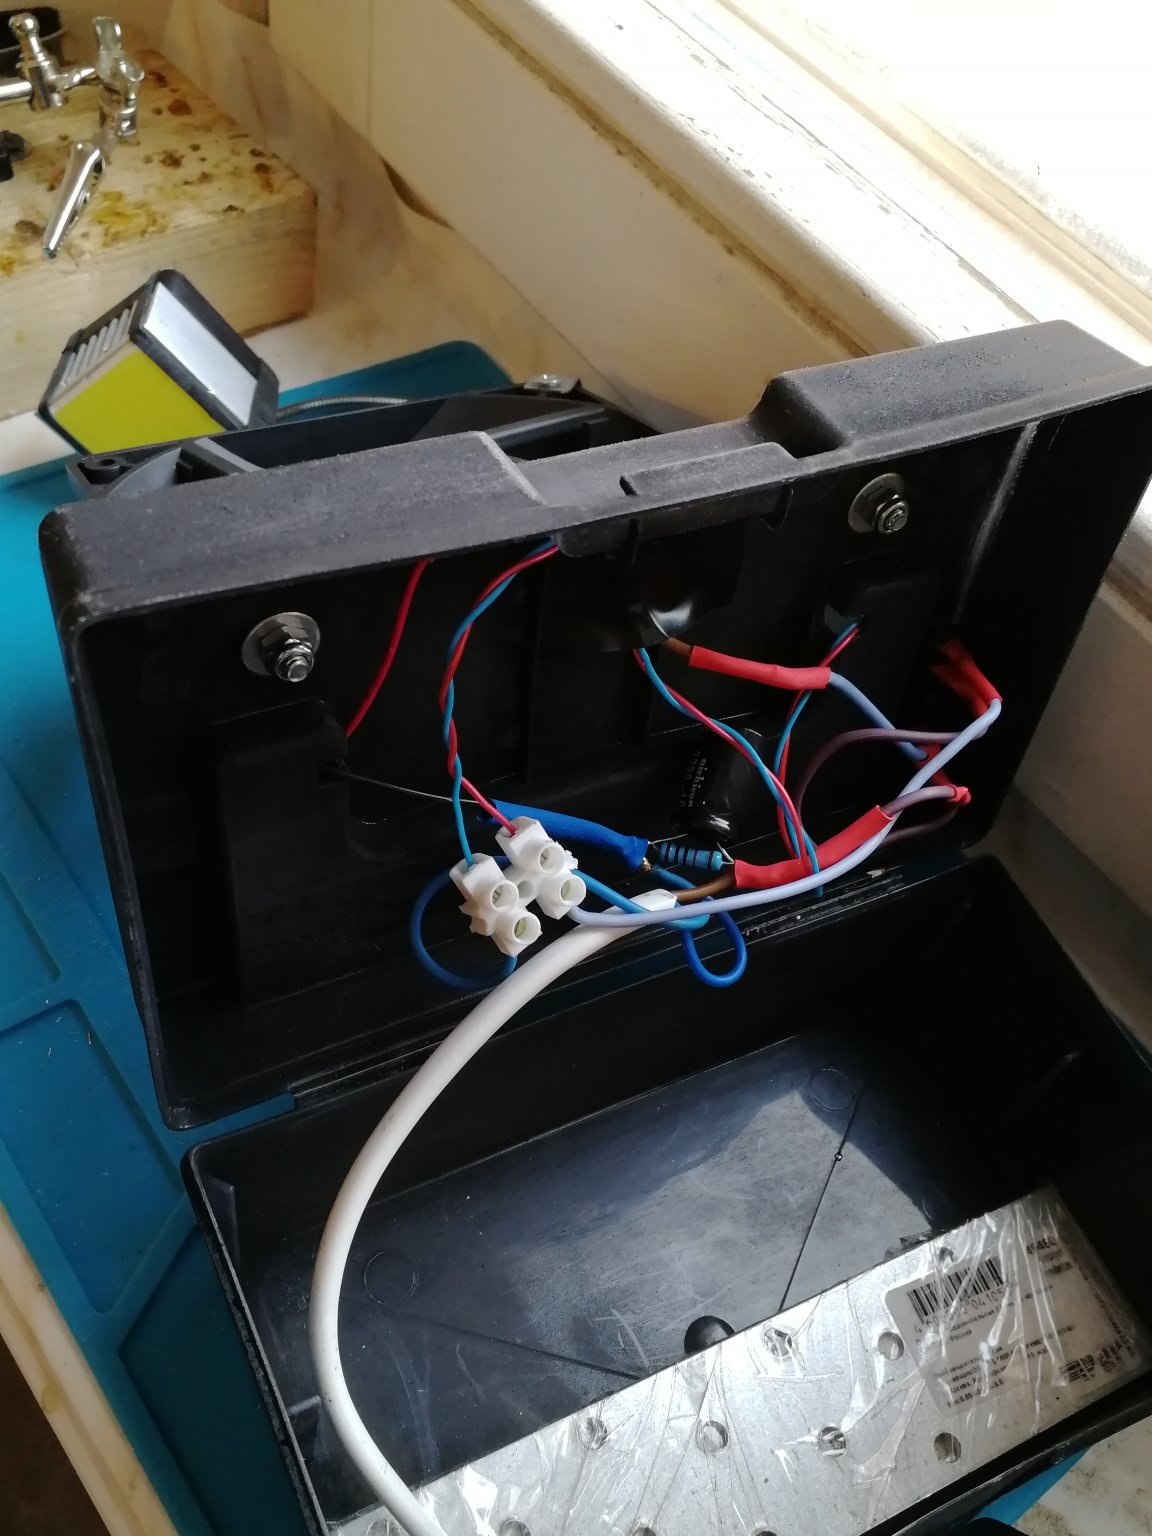
All parts are connected by wires - mounted mounting.
For stability, I placed a counterweight from an iron plate wrapped with tape in the base (for insulation just in case).
Inside there is a lot of free space, there I store a 12 V power cord with a cord when I put the fan in the cabinet.


List of used parts:

• Powerful 120mm x 0.6A fan. Standard 0.1-0.2A are not suitable, because very weak.
• Power supply 12V 2A (Chinese), in fact 1.5A
• The lamp on a flexible leg from FixPrice (used only a leg)
• LED matrix 12V 0.3A
• Small aluminum radiator
• Small 40mm 12V fan
• Plastic first-aid kit from Auchan (case - base)
• 2 switches (for fan and lamp)
• Electrolytic capacitor 16V 2200uF
• 10k resistor
• Ceramic capacitor 10mkF
• Socket for power supply 5.5 x 2.1
• Iron corners and strips for installation
• Fan grille

Device Diagram:


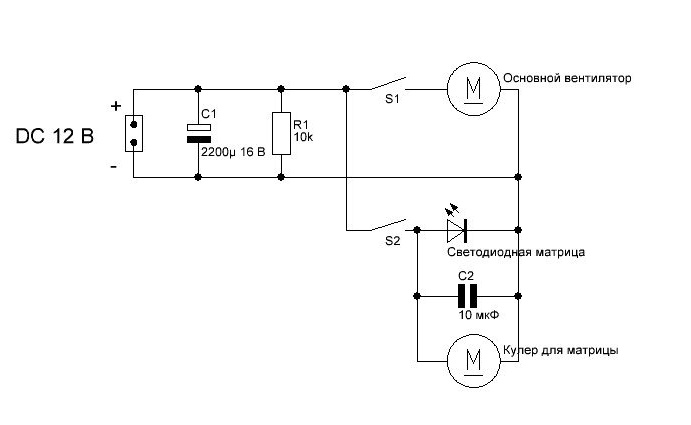
Explanations according to the scheme:
The scheme is quite simple, but there are some subtleties. An electrolytic capacitor is added to the common input. When the main fan starts, the current consumption sharply increases, which leads to unstable lighting operation (up to the point that it goes out for a second). Capacitor solves this problem. So that after turning off the capacitor does not remain charged, a 10k ohm resistor is soldered to it in parallel.
Also, a 10 uF ceramic capacitor is soldered to the input of the LED matrix to stabilize the matrix power and protect against interference that a small fan can create.

In general, I am satisfied with the project. It’s quite simple to quickly deploy everything on the windowsill and is also easy and quick to clean. The experience of creating home-made fans (from collector engines and cabbage cans) was useful to me for creating a model of a radio-controlled boat with a propeller, but this is a completely different story ...

Suitable for topic

Related topics

Add a comment

    • smilesmilesxaxaokdontknowyahoonea
      bossscratchfoolyesyes-yesaggressivesecret
      sorrydancedance2dance3pardonhelpdrinks
      stopfriendsgoodgoodgoodwhistleswoontongue
      smokeclappingcraydeclarederisivedon-t_mentiondownload
      heatirefullaugh1mdameetingmoskingnegative
      not_ipopcornpunishreadscarescaressearch
      tauntthank_youthisto_clueumnikacuteagree
      badbeeeblack_eyeblum3blushboastboredom
      censoredpleasantrysecret2threatenvictoryyusun_bespectacled
      shokrespektlolprevedwelcomekrutoyya_za
      ya_dobryihelperne_huliganne_othodifludbanclose
12 comments
Author
I agree that in winter, soldering at the open window is an option for an amateur.
I usually, if I don’t want to solder on the window, I solder in an RPG-67 respirator.
In general, for the option for winter, my question is open.
Guest Vita
Without a filter, it will be so childish. By the way, another comment coincided with viewing the kitchen hood of the lower level (bottom) with a charcoal filter. And we also have winter.
Author
I experimentally came to the conclusion that everything depends on the power of the fan. I now have 120 mm for 7-8 watts (current about 0.65 A)
At a distance of 15 cm from the fan it pulls perfectly, you can solder a little to the left or right, not necessarily strictly opposite.

For comparison
Fan off:


Fan On:
Led
Out the window is good. I put a high-speed 92 mm computer fan wrapped in a cardboard box on the side. In order for the air stream to go a little above or to the side of the soldering iron, then the soldering iron is not cooled by air and the smoke is sucked into the stream and moves to the side, and does not wrap under the very nose. But this is only a local solution: after a dozen minutes, a child is already in the room. I also need to do something with the window. Or rearrange the table so that the jet goes directly to the window, or even put fans on the window.
Author
I also solder with rosin, the old fashioned way. There is no smell at all on the window with the fan, all the smoke is collected in a thin stream and immediately out the window. In general, to each his own.
Guest Vita
I once asked some experts how their automatic window ventilation works. The answer struck, it was necessary that the doors to the toilet were open. In the case, I made myself in the case of a computer power supply and fans from old computers., With a carbon filter. Today I was too lazy, did not use it, the smell of rosin with open windows and the spirit bursting.
Author
In principle, the idea is sound. But there is one problem in my case: in the rooms where I usually solder there is no hood as such (it is next to the bathroom and kitchen at the other end of the apartment). Therefore, only out the window. At first I tried to make something like a home-made vacuum cleaner with a hose diameter of about 3 cm, but the pipes of a small diameter create too much resistance and normally do not pull. If you make a pipe for drawing, then with a diameter of 12-15 cm more silt. Somehow I did not want to build such a pile in the room, so I came to the current solution.
Author
Good afternoon! I wrote in the article "to solder by the open window on the windowsill / balcony." And where is the bloating around the room?
Regarding carbon filters, are you sure that he 100% got everything? Any filters also tend to clog over and lose their protective properties. Here's how to tell if it's time to change the filter or not In my case, everything is simple: I opened the window, turned on the fan and soldered quietly.
Procopius Smetanin
And if you connect the cooler to the hood and cut into the table top? You can free up work space.
Guest Vita
The task of the hood is to remove the flux vapors from the soldering iron and clean it, rather than inflate it throughout the room. The fan should retract well. the charcoal filter cleans well (stands in the cooker hoods). It is advisable to put in the installation area of ​​the soldering iron.
Author
Thanks! The article was written about the fan. The backlight, its part, is integral. I use it in various combinations in the photo (for example, I do not always use the third hand when, for example, I solder parts from large circuit boards, clamp them in a vice; I also use the fan as an extractor when etching printed circuit boards, etc.). As such, I do not have a workshop / soldering place at home. Therefore, I store all the devices separately, I spread them out only when I do something. Here is such an approach.
Guest Alex
The idea is not bad, but only I would call it differently - equipment of a place for soldering. There is a fan and a backlight and a third hand. All this needs to be thought out in advance and placed on a common mobile platform, which will allow soldering anywhere.

We advise you to read:

Hand it for the smartphone ...