Computer cases are often made with a focus on functionality rather than design. The results at best do not look so beautiful, so the master tries to clean them in places that are not too noticeable, for example, under the table.
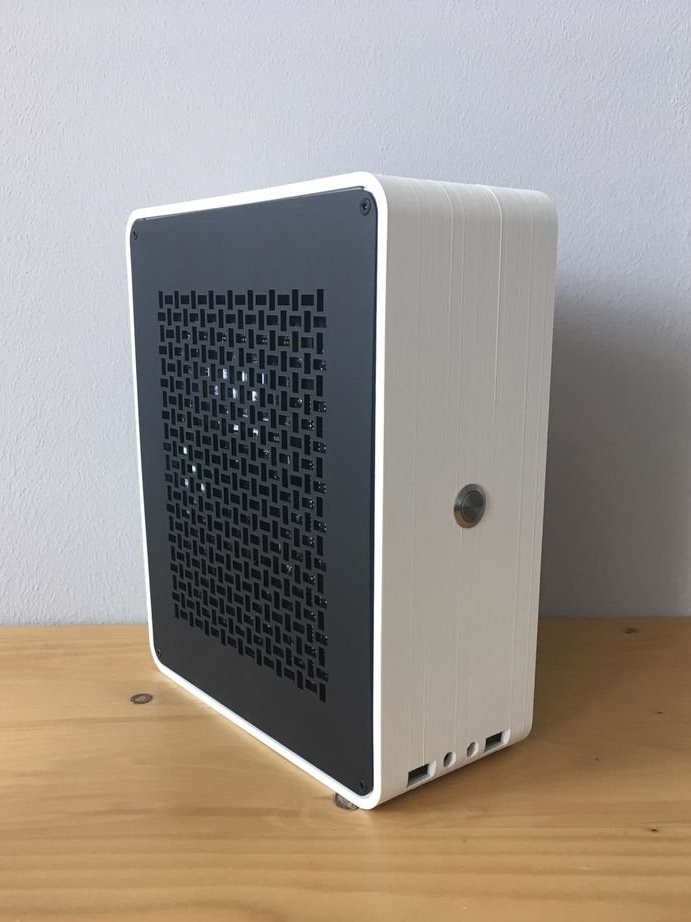
But what if you create a computer case that can really be demonstrated on your desk? Burning this idea, the master made a tiny case for a computer, designed to stand out. In such a case, you can place a full-fledged computer with a video card.
Case dimensions are only 92mm x 200mm x 245mm.
Tools and materials:
-Motherboard ITX;
-PCI card low profile, dual slot up to 190 mm long;
- CPU cooler up to 70 mm in height (Noctua NH-L12S recommended);
- Power supply unit with an external AC-DC adapter (recommended PicoPSU 160-xt or HDPlex 200 W DC-ATX);
-HDD 2.5 ";
-3D printer;
-Laser cutter;
-Soldering iron;
-Drill;
-Screwdriver;
-Glue;
- For side panels, the material to choose from (acrylic, plywood, MDF);
-26 M3 brass threaded inserts, 5 mm long (preferably with a closed end);
- 20 screws M3 x 5 mm for installation of equipment;
- 8 countersunk screws M3 x 5 mm for side panels;
- 4 countersunk screws M3 x 12 mm;
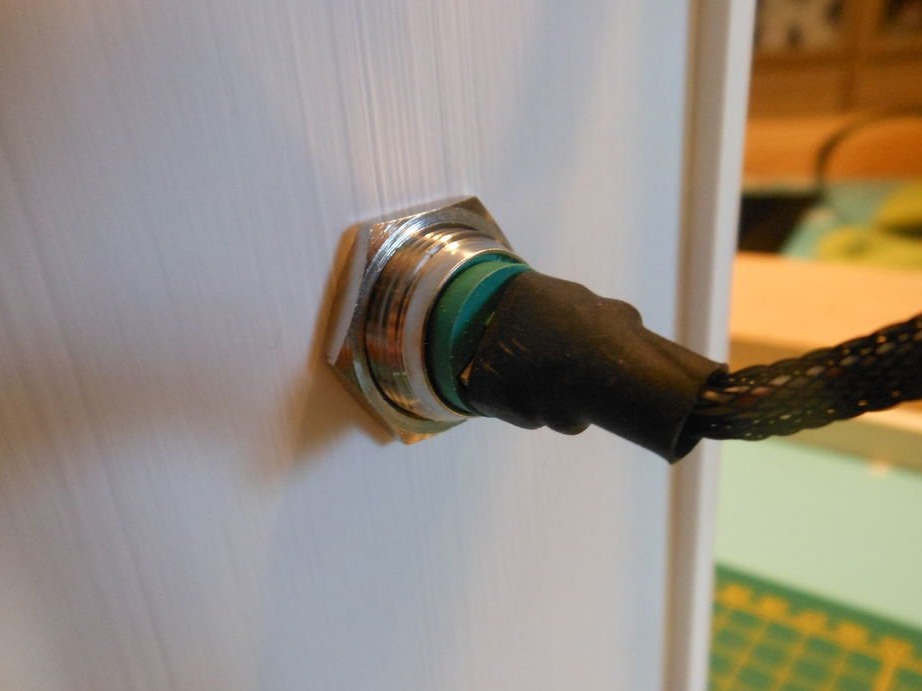
-Power Button;
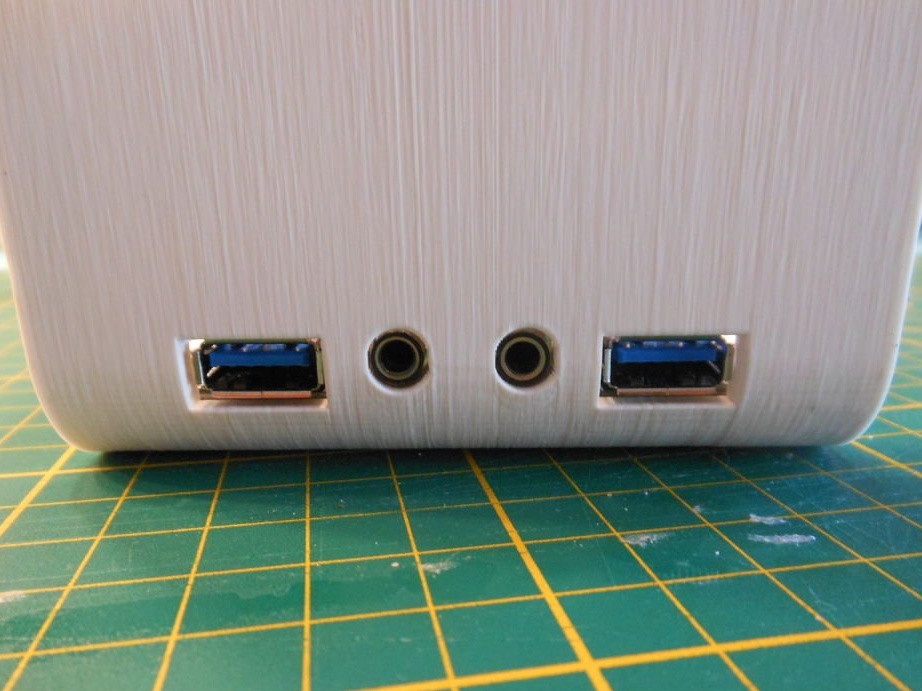
-USB3 and HD Audio;
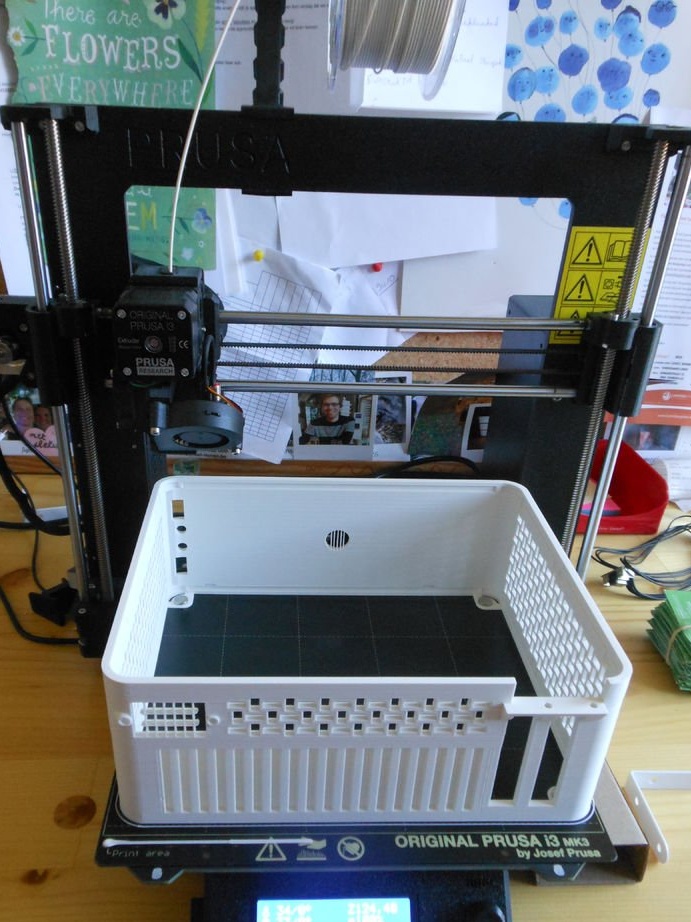
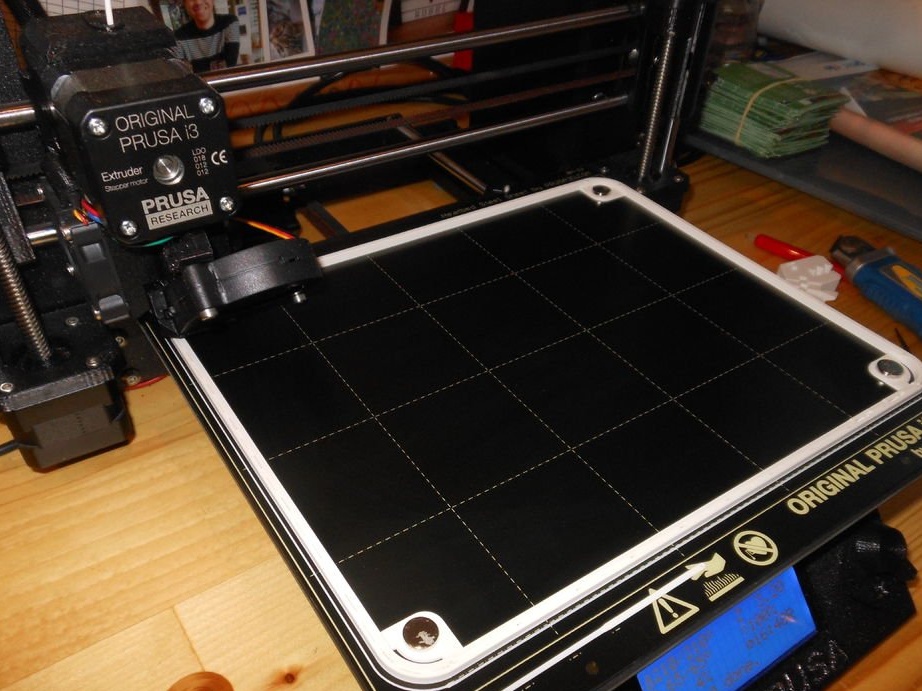
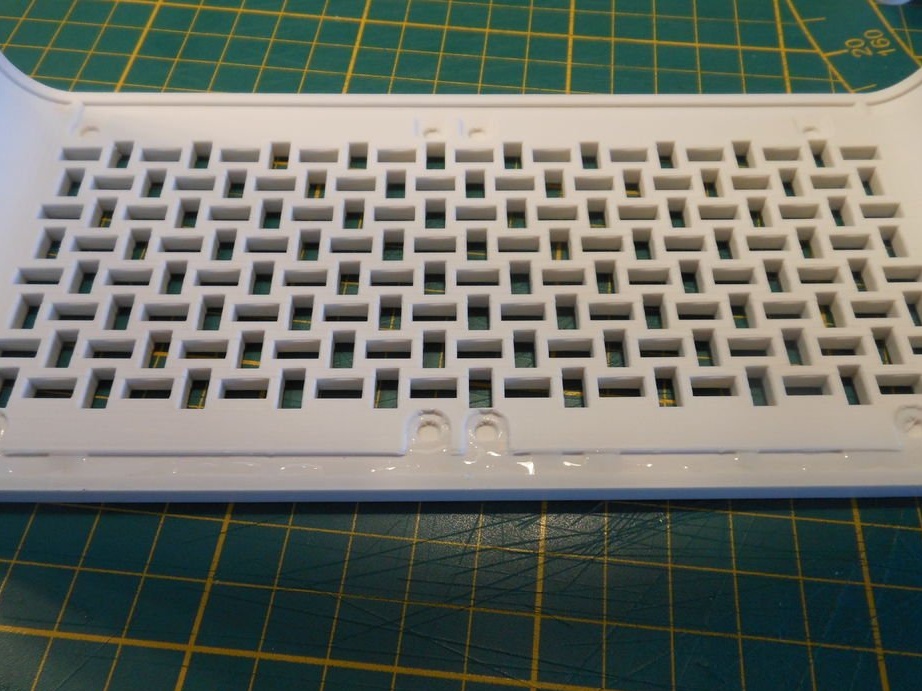
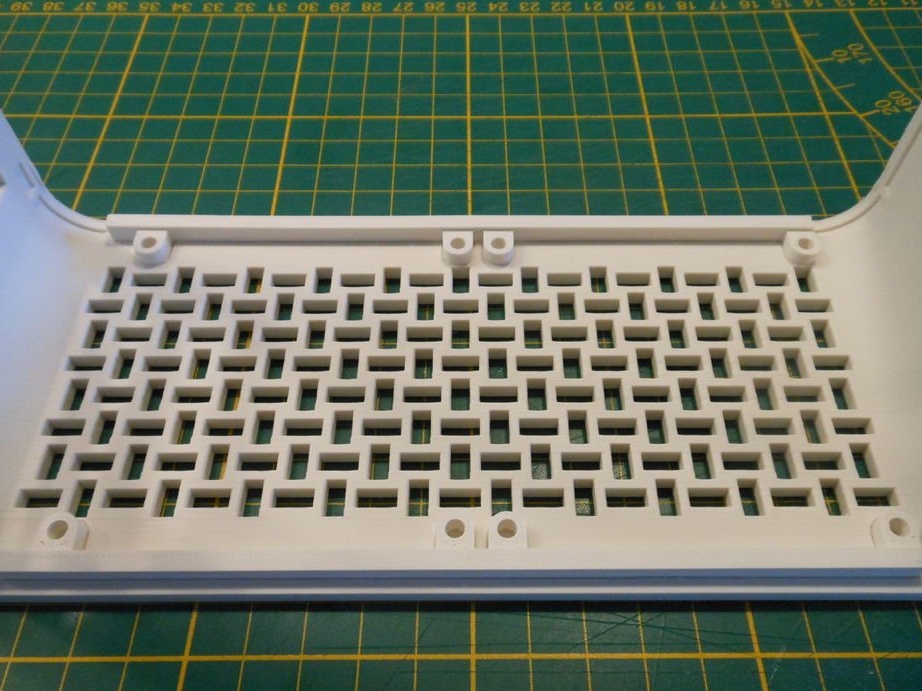
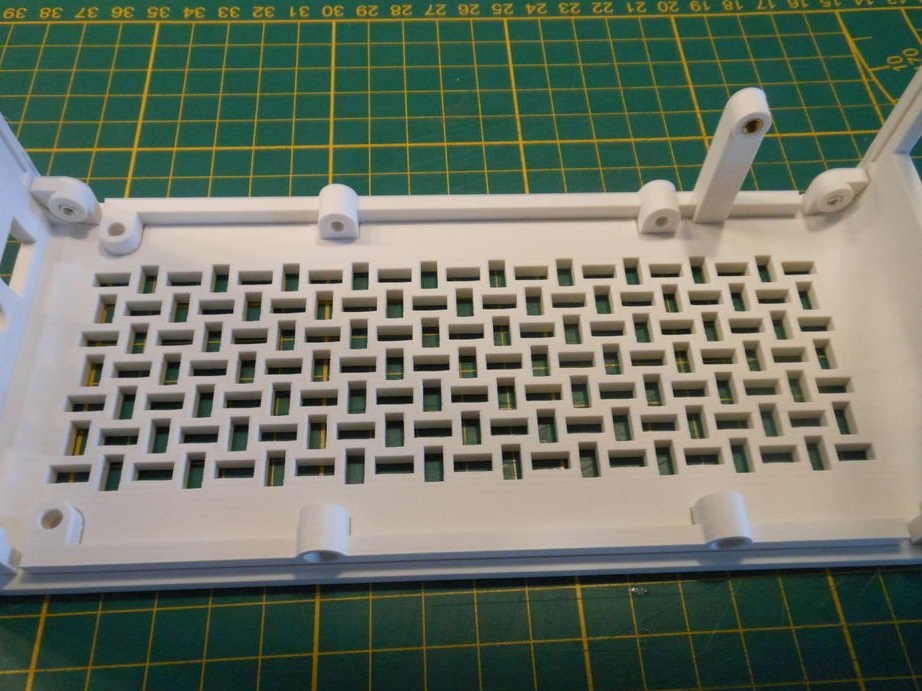
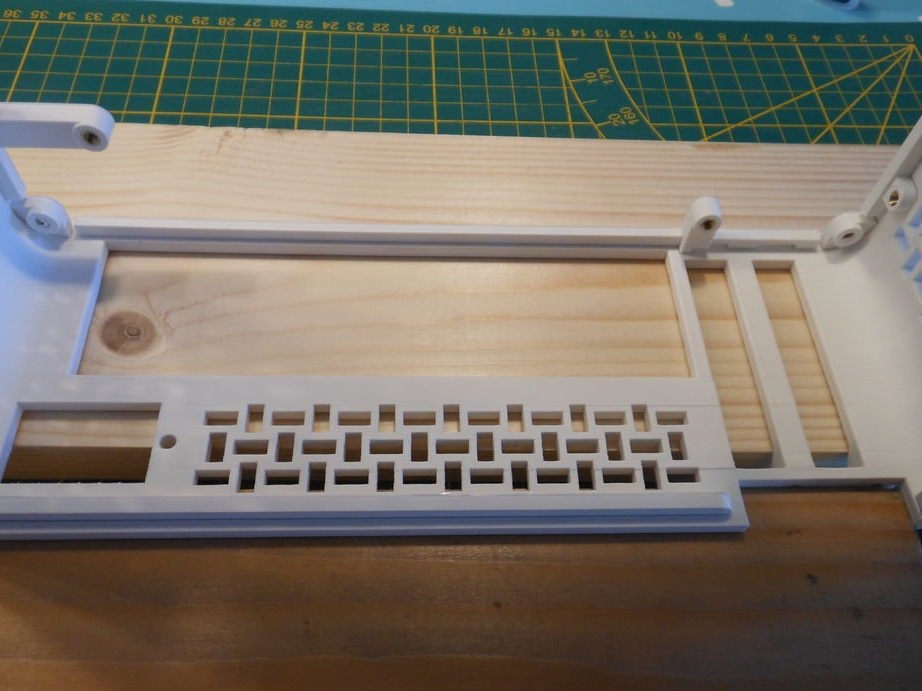
Step One: 3D Printing the Front Panel
The basic idea is for the panel to be printed in one piece so that no wrinkles or seams are visible. This requires a fairly large printing table, at least 210 mm x 250 mm x 100 mm.
The wizard prefers to print it without support, as this preserves the print quality. The layer height should be 0.2 mm.
Depending on the print settings, printing may take up to 24 hours. Below you can download the file for printing.
mikros.stl
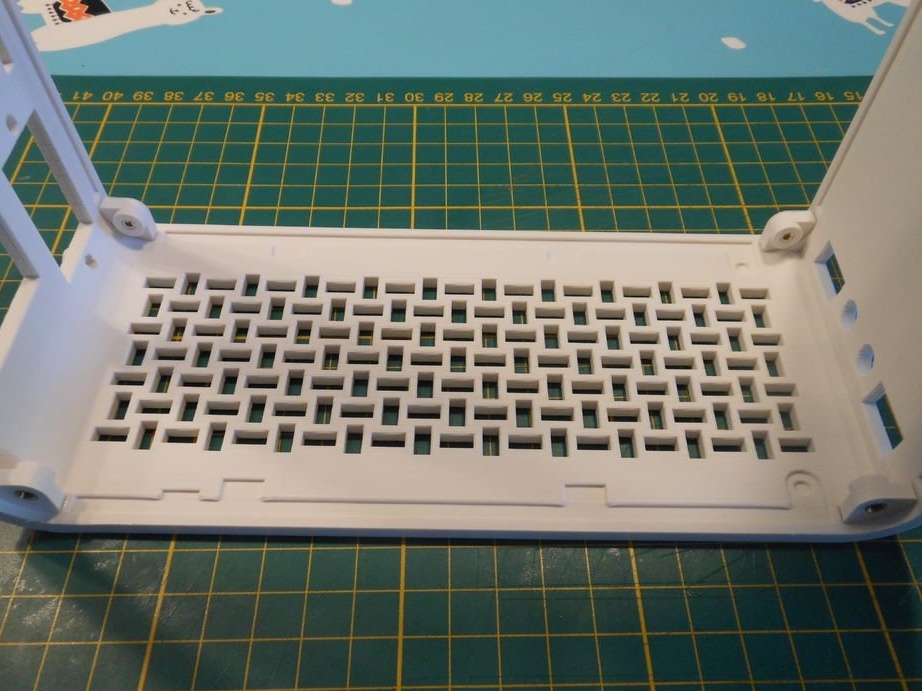
Step Two: Brackets
There are several cutouts on the printed panel for mounting brackets that will hold the computer hardware. The brackets are printed separately, because it turned out to be too difficult to print everything as one piece. Printing in total will take about 2-3 hours.
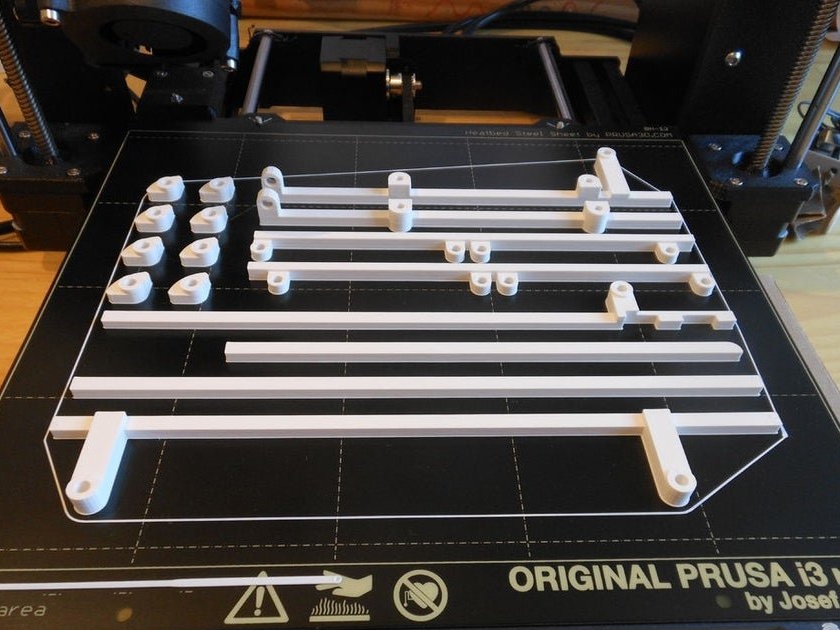
brackets.stl
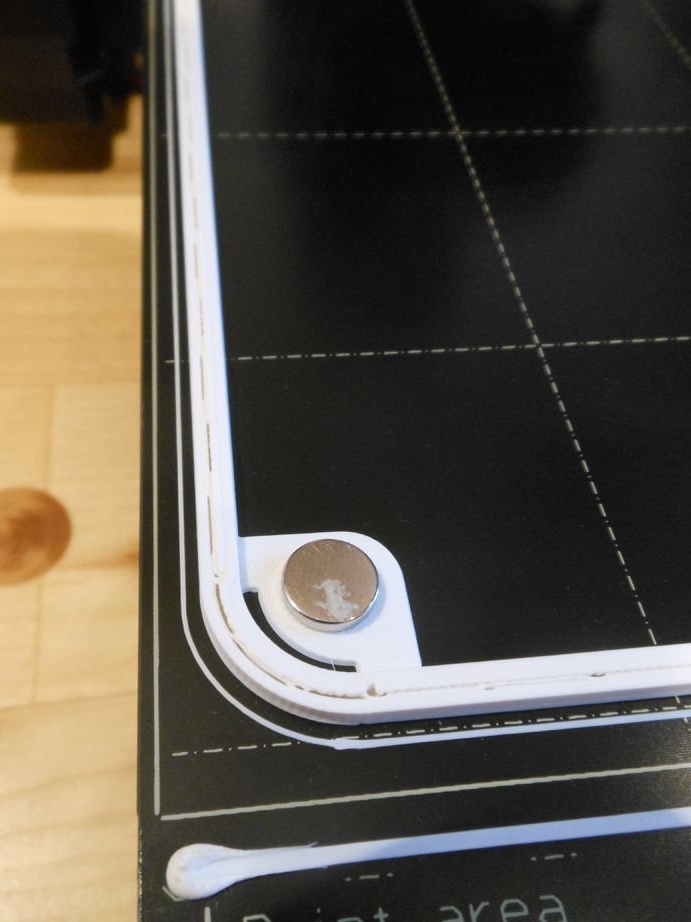
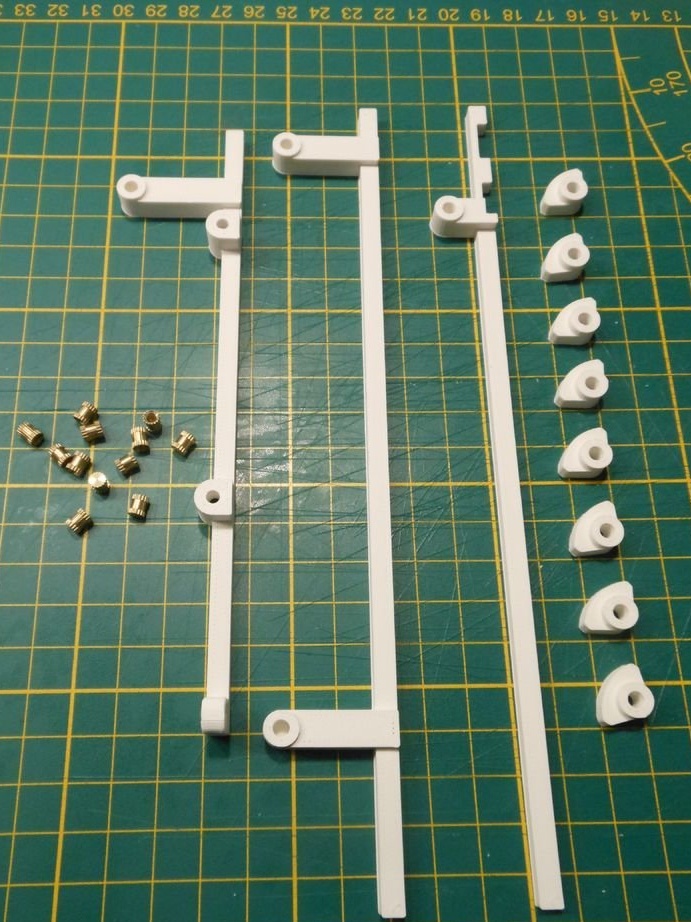
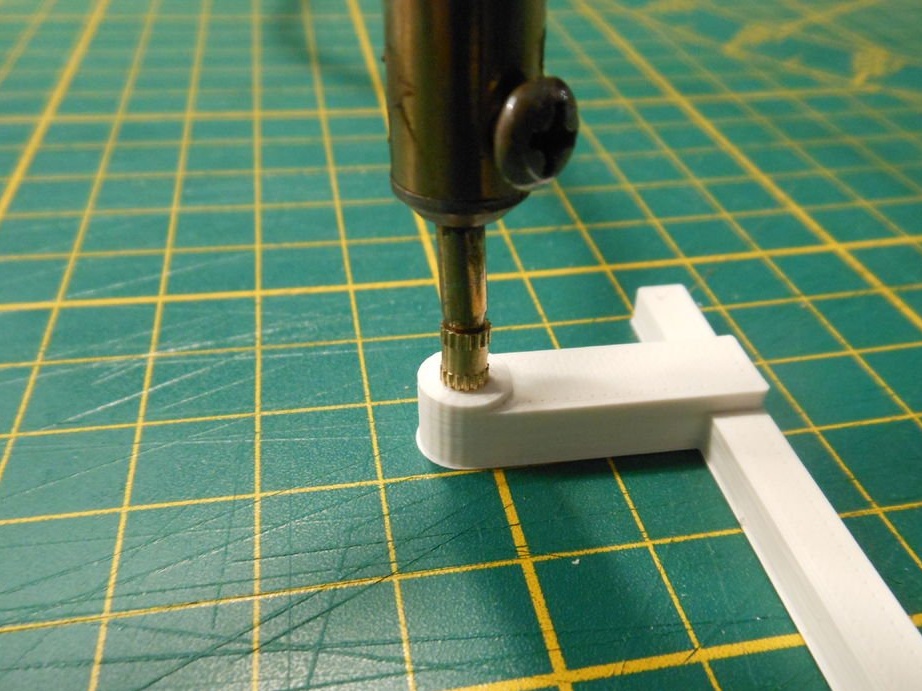
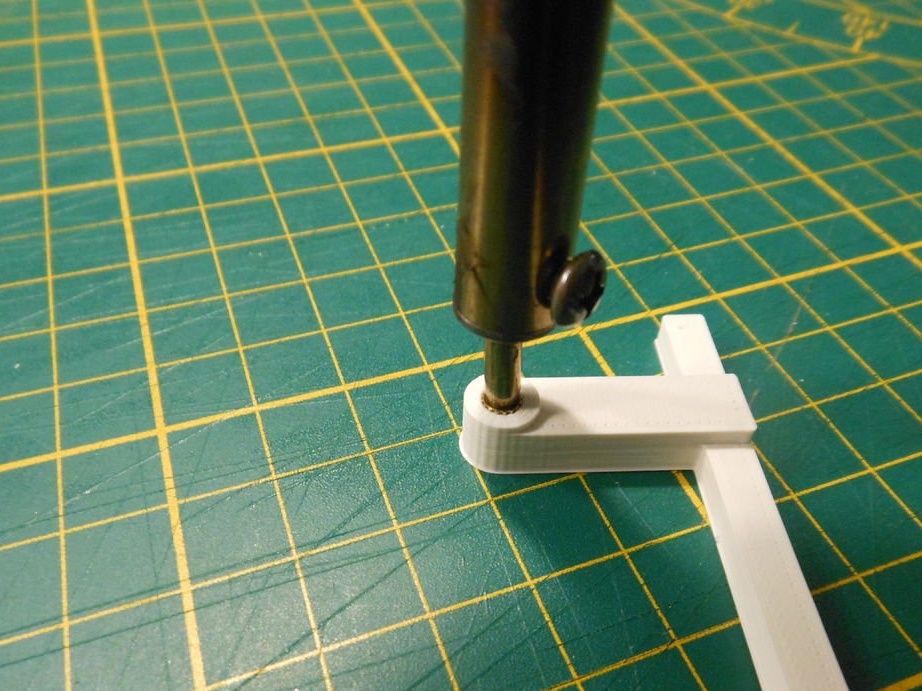
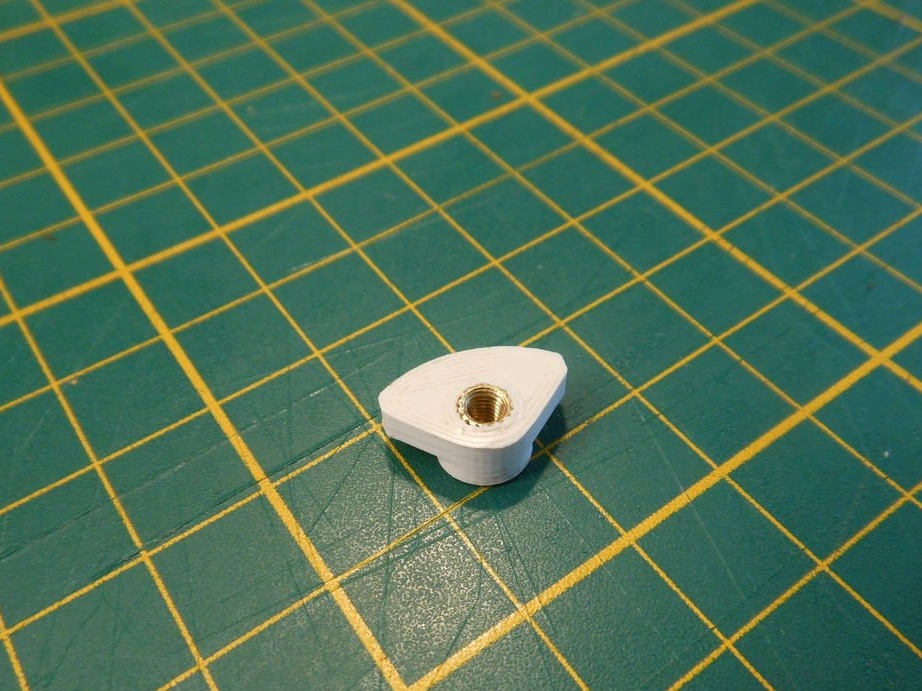
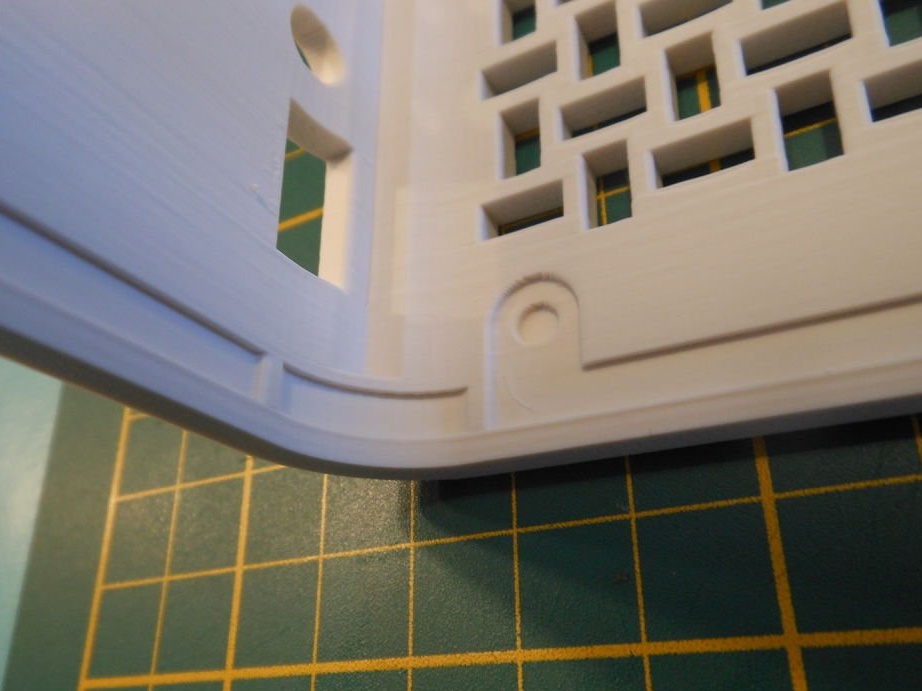
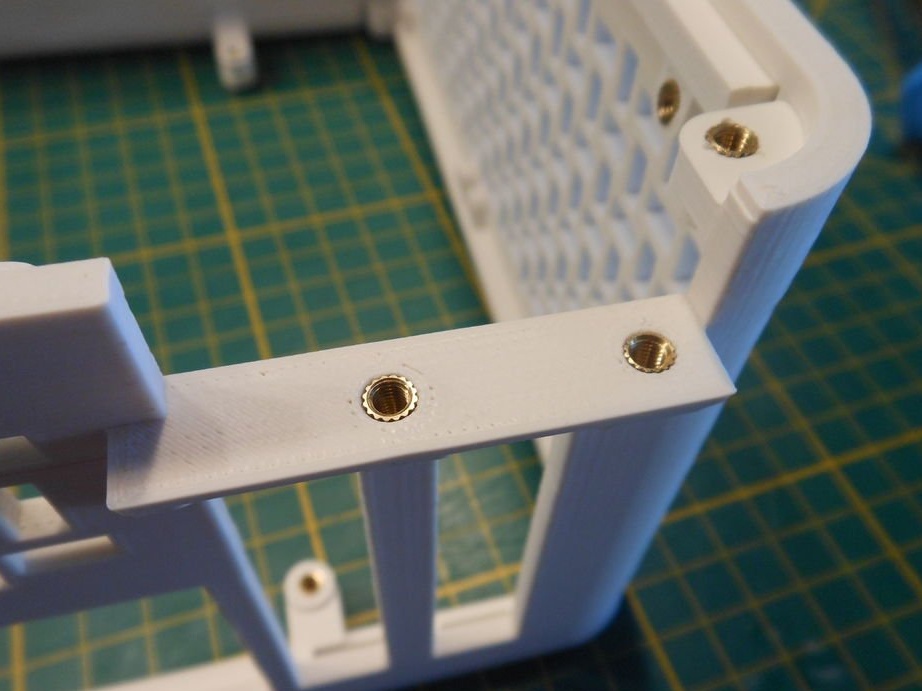
Step Three: Threaded Inserts
To prepare the brackets, threaded inserts must be installed. A soldering iron is used for this.
At this stage, the angular brackets and supports of the motherboard were prepared.
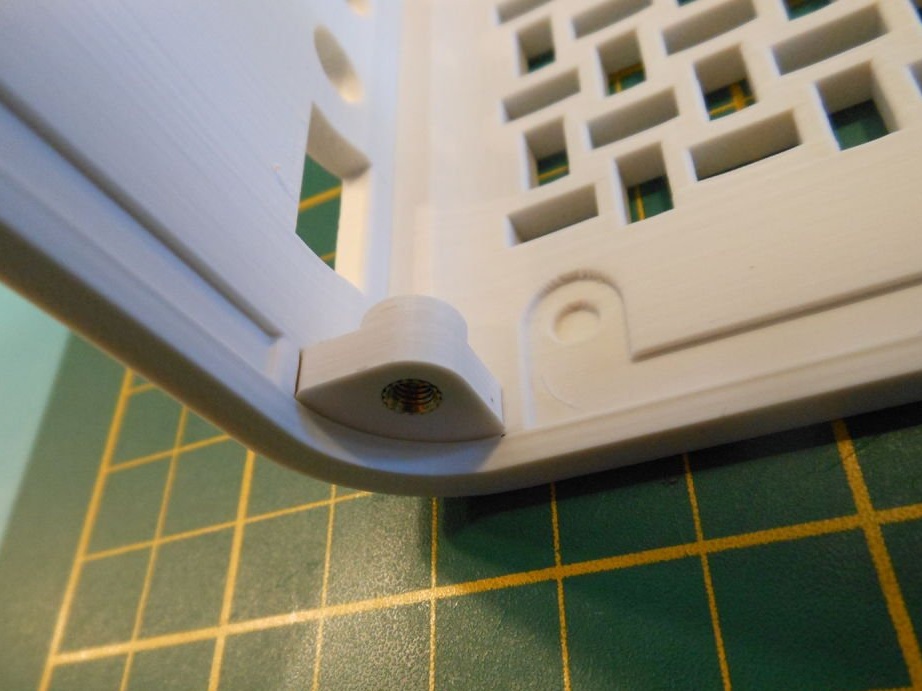
For corner brackets, make sure that you insert them in the correct direction, as the holes provided pass through the bracket.Carefully monitor the attached image before starting work.
TIP: make sure the soldering iron is not too hot. Printed parts may warp when they become too hot.
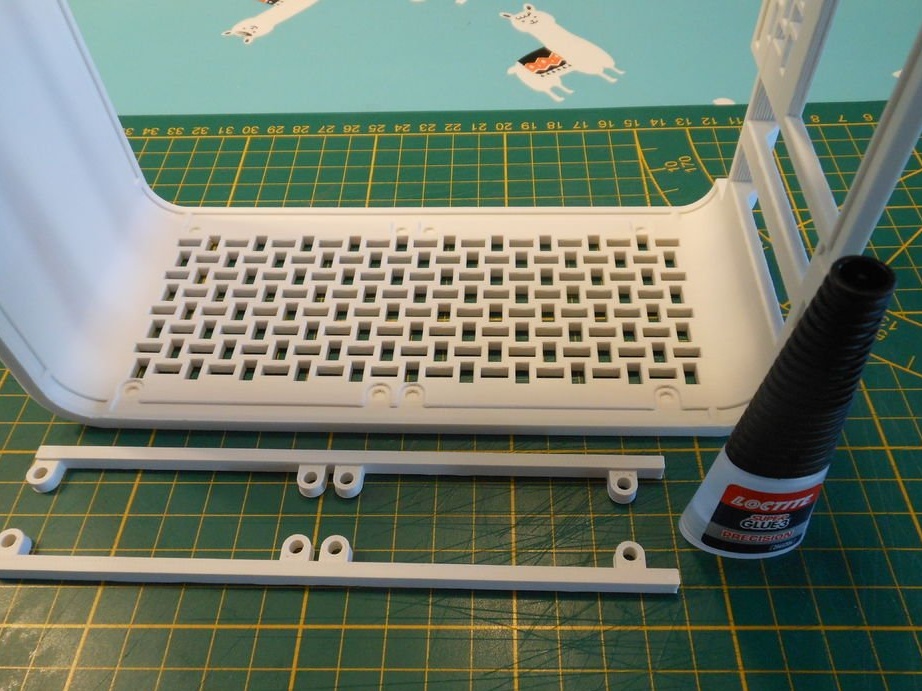
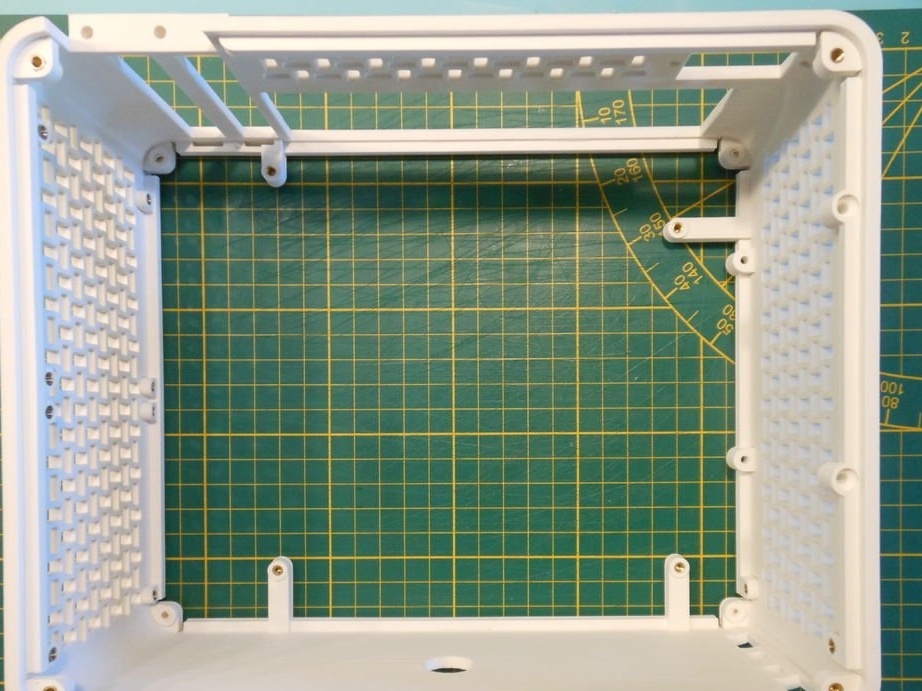
Step Four: Partial Assembly
The first brackets to set are the fan brackets. Before applying glue (for PLA) or acetone (for ABS), check and install the brackets in the front panel. When printing, there may be sagging on the parts, in which case they need to be cut.
Installs threaded inserts.


Glues corners.
Installs hard drive mounting brackets. The hard disk brackets at the bottom also hold the front panel. You need to make sure that the motherboard support, the long bracket coming from the bracket, already has a threaded insert before attaching it to the front panel.
Inserts threaded inserts for the front panel. The reason the wizard does this before attaching the other brackets is because the rest of the motherboard supports would otherwise interfere with the soldering iron.

Installs four motherboard mounts with threaded inserts.
Installs threaded inserts on panel parts. These are the four inserts to which the power adapter will be attached, and the PCI board.

Prints and attaches the power supply bracket.
The power supply bracket depends on the power supply selected. The wizard has attached several files for printing brackets for different inputs.
5 mm barrels St
My webpage
c6.stl
c8.stl
mini dyn
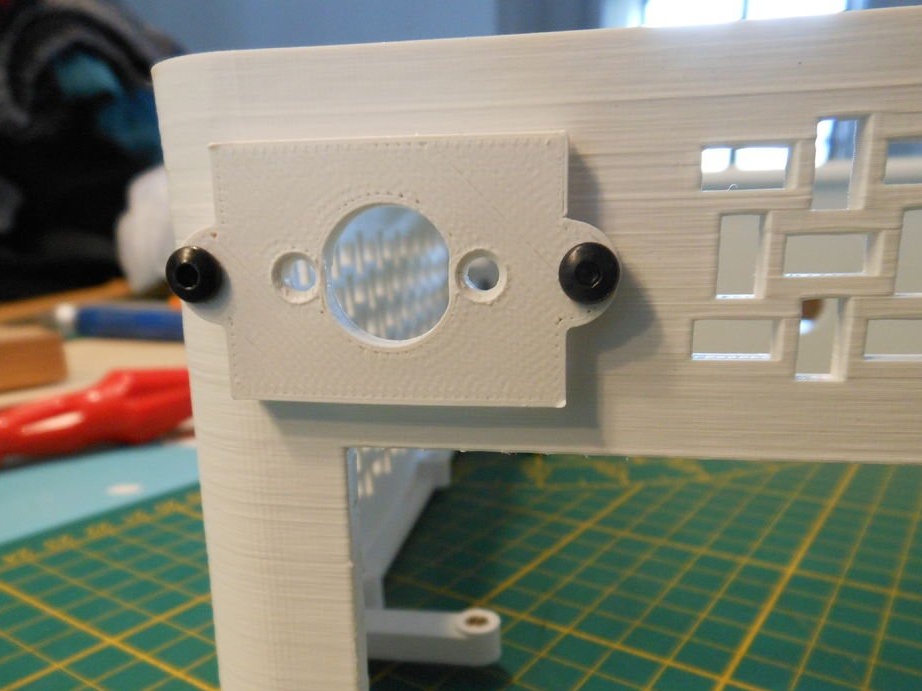
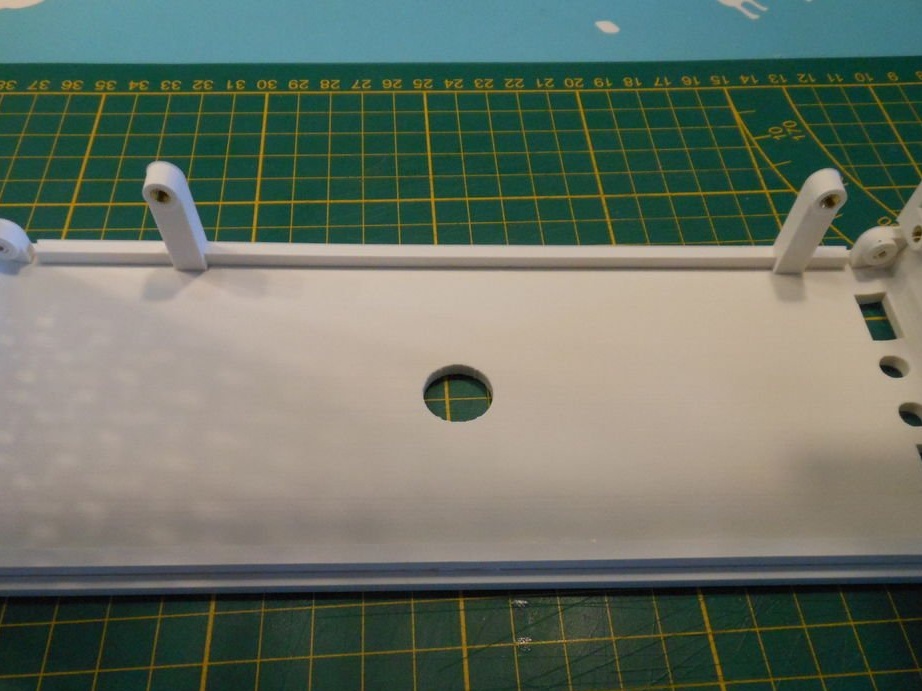
Installs the front panel to the front panel using M3 x 5 mm screws. Do not tighten the screws too much.
The power button has a nut that you must first remove, and then insert the button into the front panel and reattach the nut from the inside.
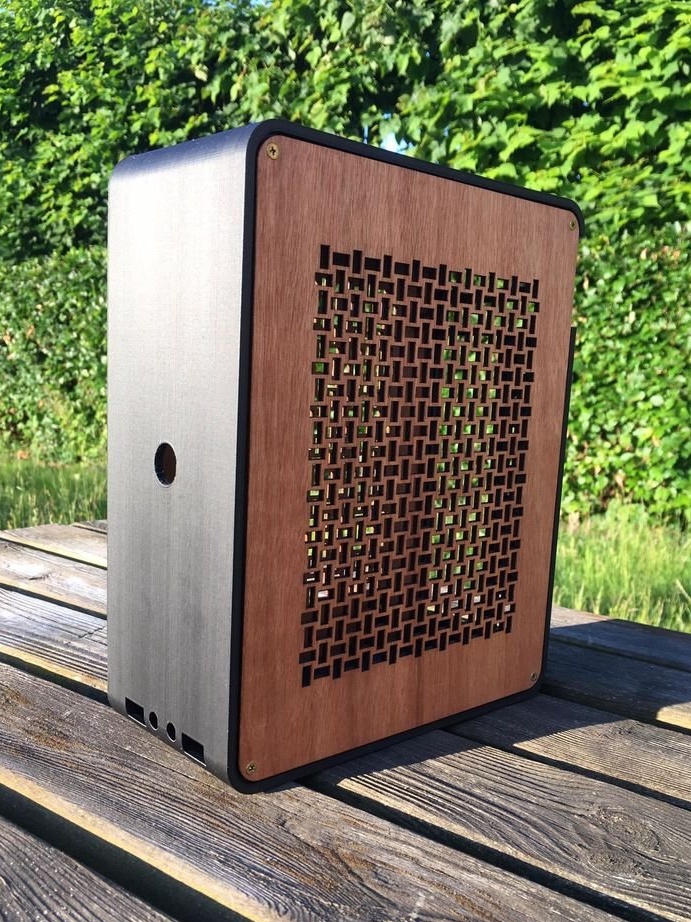
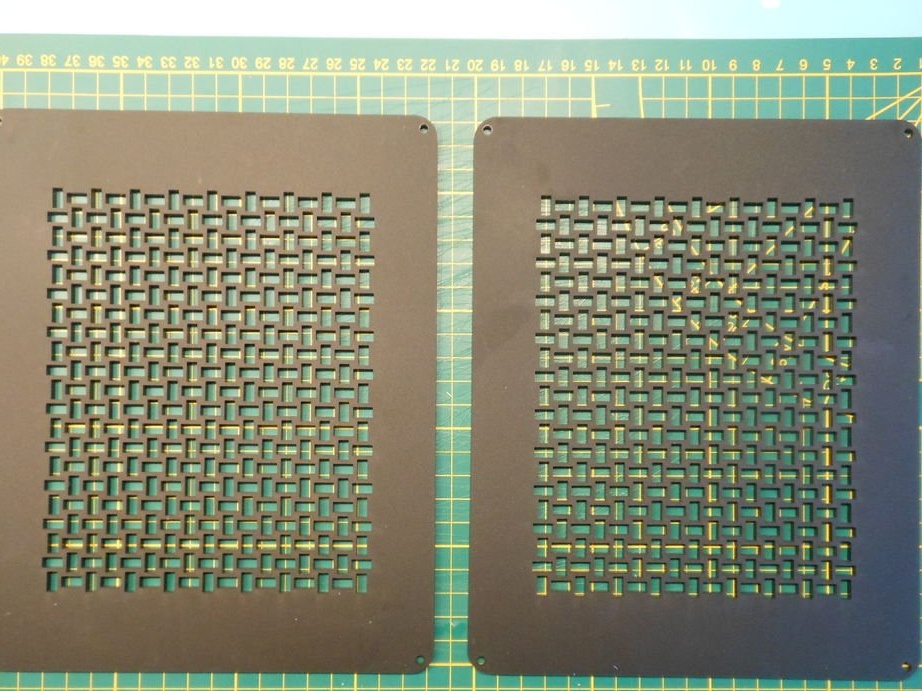
Step Five: Laser cutting (or printing) of the side panels
The hardest job is done. The printed part was by far the biggest work that needed to be done to make the case. Now there are side panels that will be cut with a laser. Laser cutting provides a smoother surface than 3D printing, as the top and bottom surfaces on 3D prints tend to be slightly rough.
The wizard attaches a file for the laser cutter. If there is no access to the cutter, then you can download the file for printing the side walls. The side walls are identical and the files can be used to make both.
panel.pdf
panel.stl
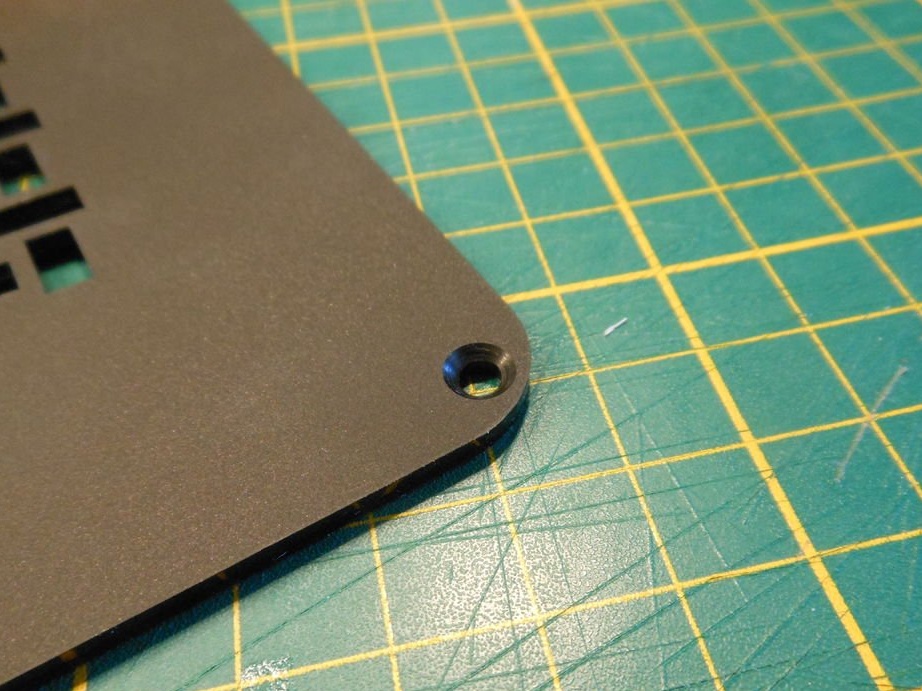
After manufacturing the panels, the master countersinks the mounting holes.
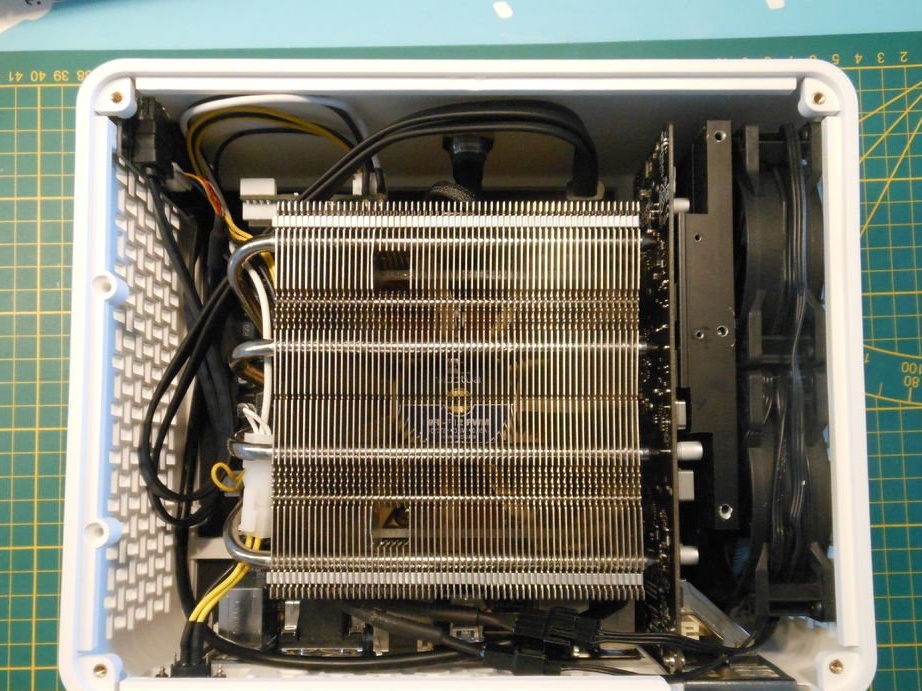
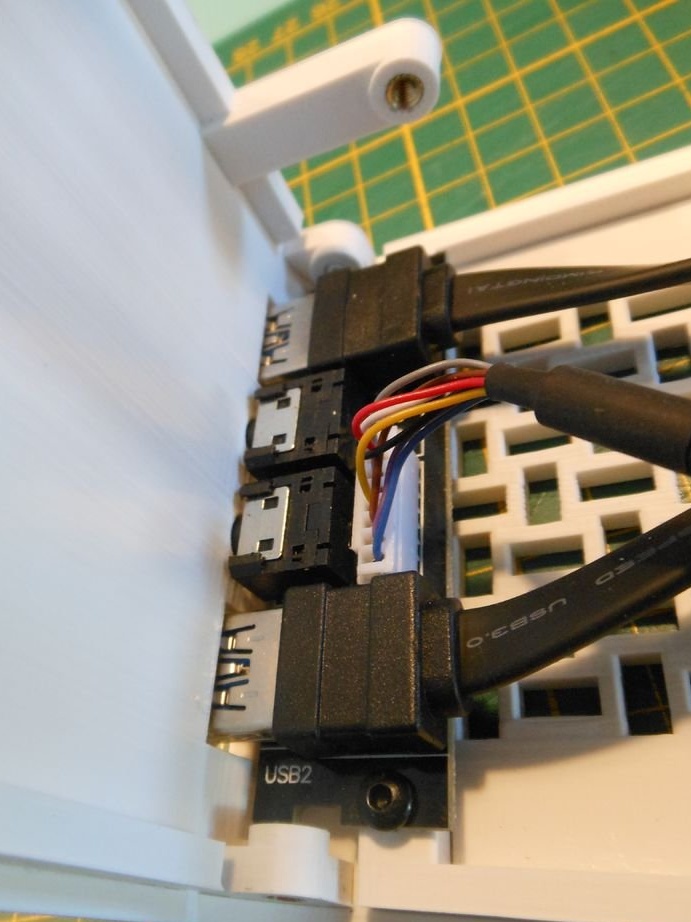
Step Six: Hardware Installation
This step is difficult to fully describe, since it depends on the hardware chosen. The wizard gives only a few advisory tips:
If you are going to use coolers, first install them.
Most case fans can be installed with 5 mm M3 screws. Some may need screws with a length of + 2-3mm.
Add the processor cooler, M.2 SSD and power supply to the motherboard before installing it in the chassis.
You may need to temporarily remove the power button to install the motherboard.