Many of you love to admire the open live fire, but it is not always possible to make a fire, and an ordinary candle does not give such a lively effect.
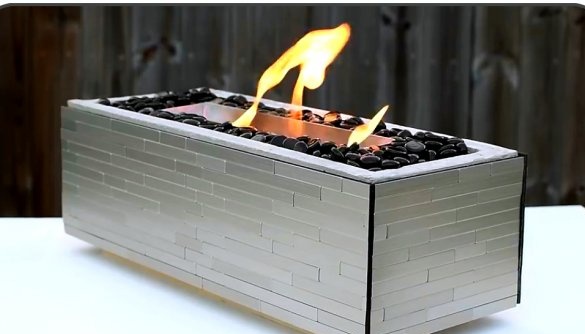
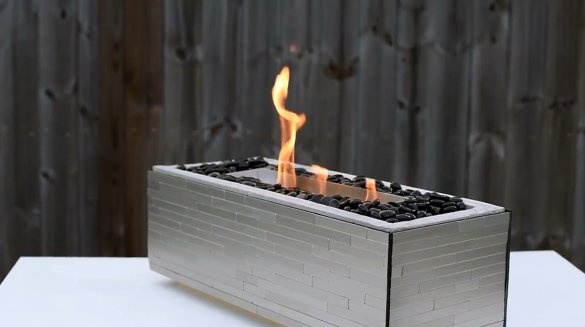
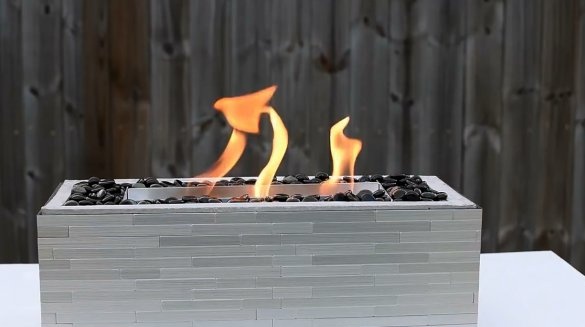
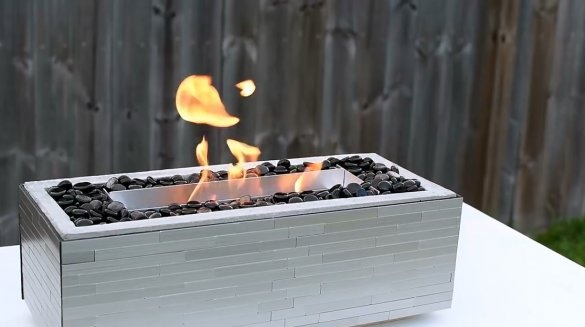
In this article, the author of the DIY Creators YouTube channel will tell you how to construct an artificial portable bonfire, yes, no matter how strange it sounds!
Materials
- MDF panel
- Cement, sand
- Aluminum corners
- Bolts, washers, nuts M8
- Steel mesh
- Liquid fuel
- Two-component epoxy resin
- Marble stones
- Silicone sealant
- Wood screws
- Boards, aluminum self-adhesive tiles.
Instruments, used by the author.
- A circular saw
— Glue gun
— Screwdriver
— Clamps
- Trowel, putty knife, rule, sponge, pencil, mallet
— Gas-burner
- Tape clamp
- Miter saw.
Manufacturing process.
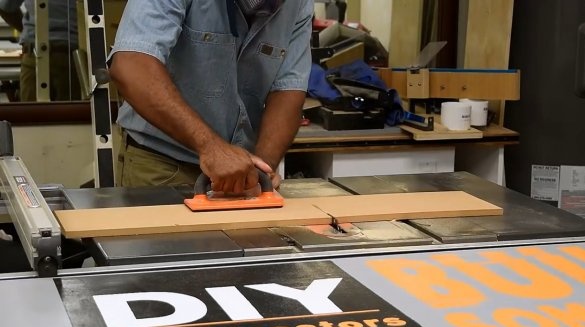
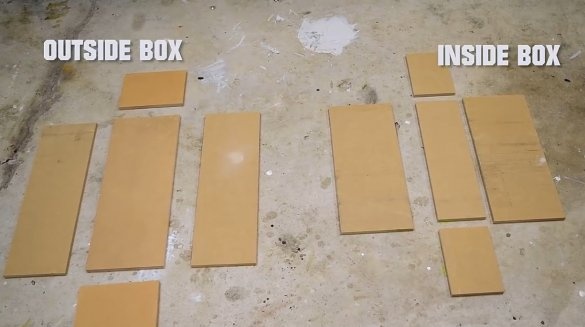
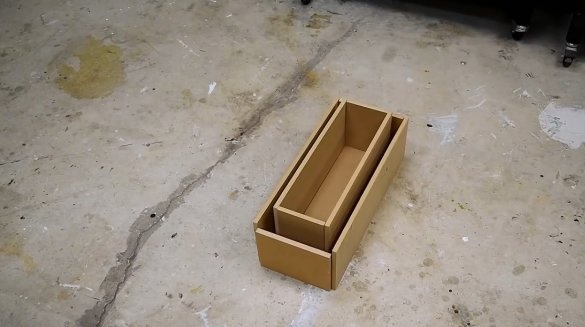
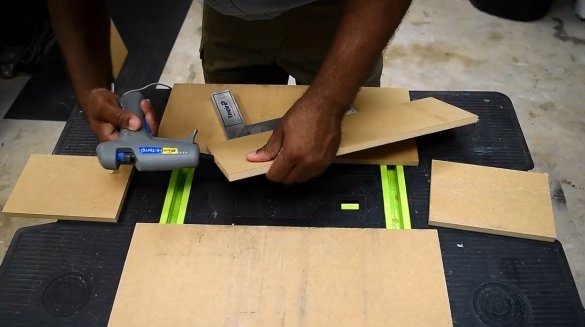
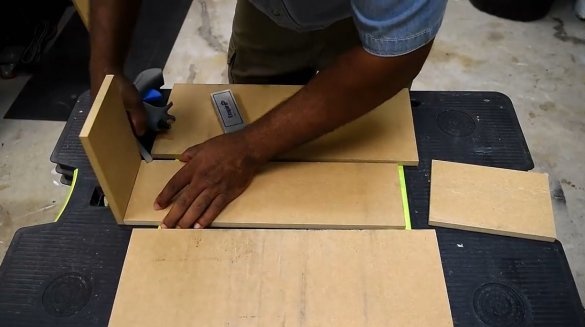
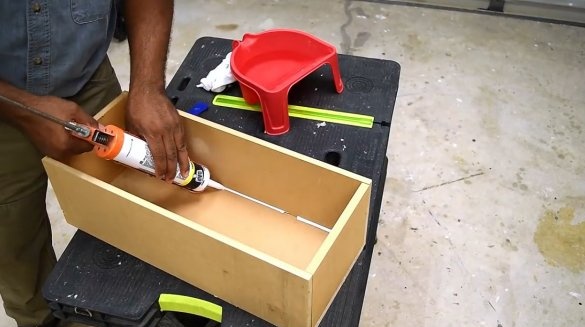
The first stage is the creation of a mold for a cement base. To this end, the author uses MDF panels, which are cut in height of the future shape - 6 inches. The length of the product is chosen arbitrarily, as desired. All elements are cut in double quantity, for the outer and inner boxes. Accordingly, the outer box will be slightly wider and longer. For the inner circuit, the author recommends the use of silicone sealant. It is much easier to remove than hot glue when removing the formwork.
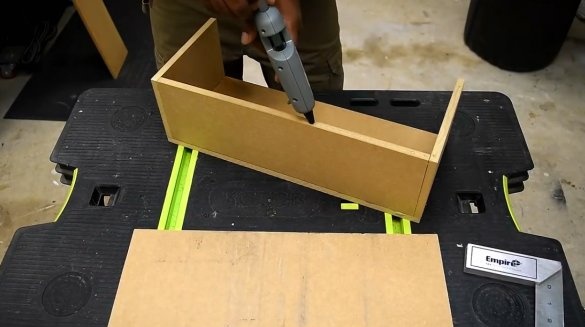
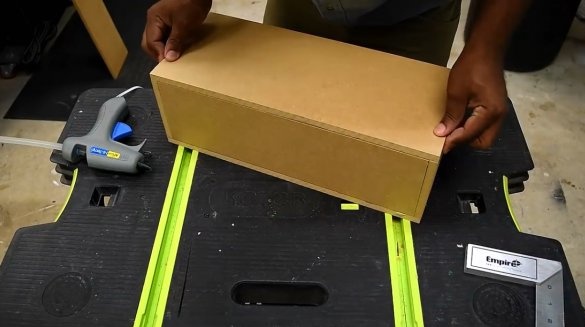
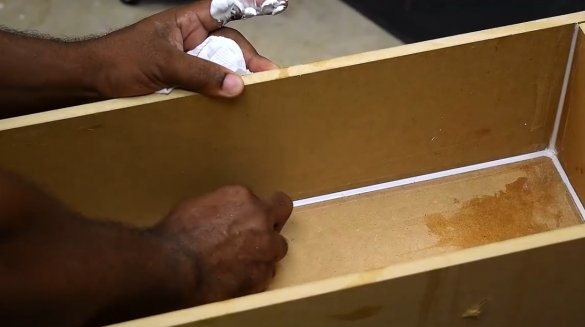
The first box is ready. Now the author glues the second. He passes all the seams of the second box with silicone sealant
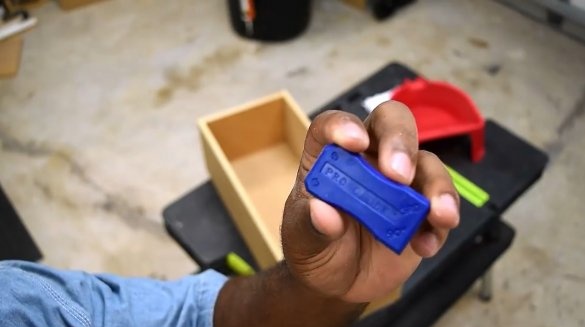
It’s good to get such a wonderful tool - a spreader (silicone spatula) - for leveling and distributing the binding substance: foam, silicone, etc.
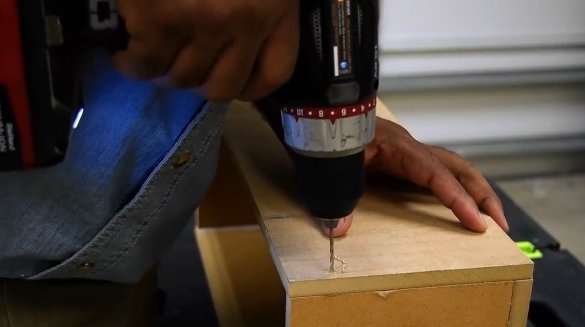
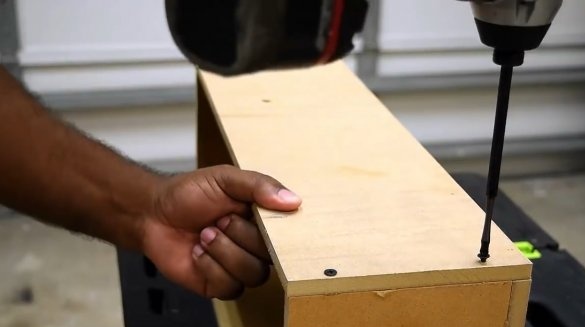
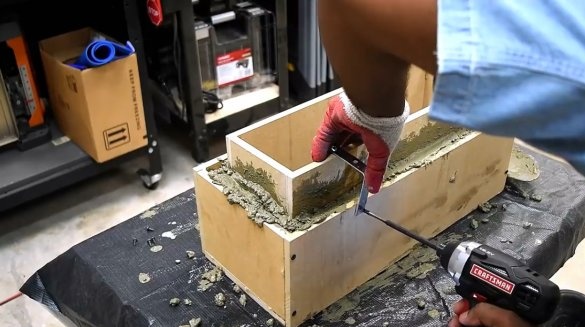
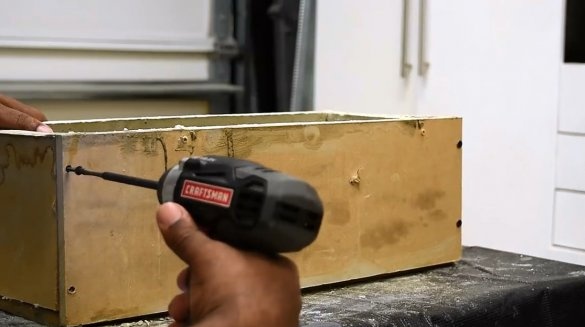
The master baits several screws into the external form to strengthen the structure so that the cement does not break the joints when dried.
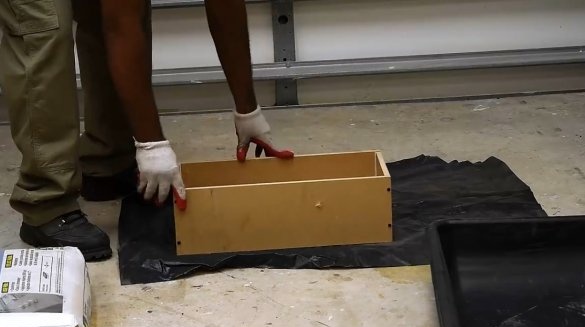
For mixing cement, he uses a special mixing tank. Under the formwork, he puts a waterproofing lining for the pools to isolate the floor from the cement mass.
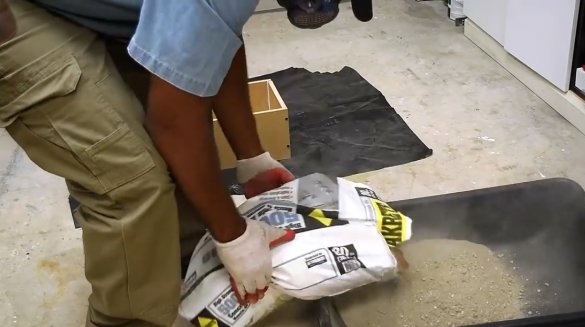
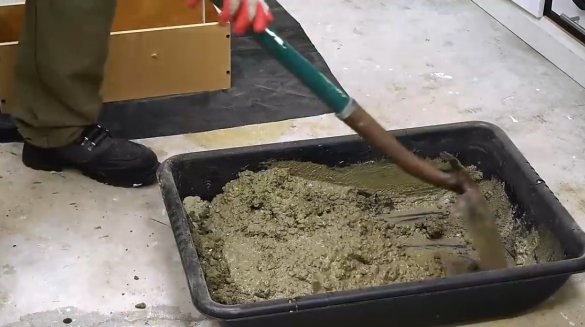
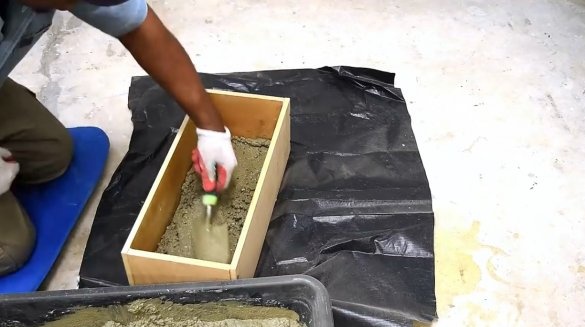
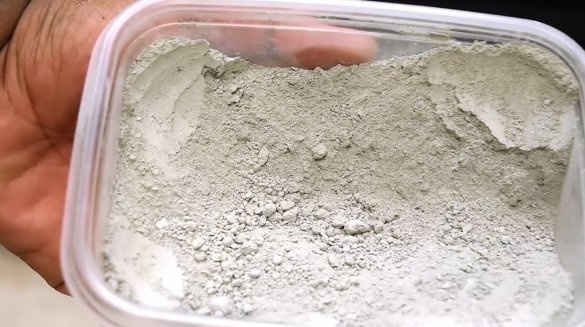
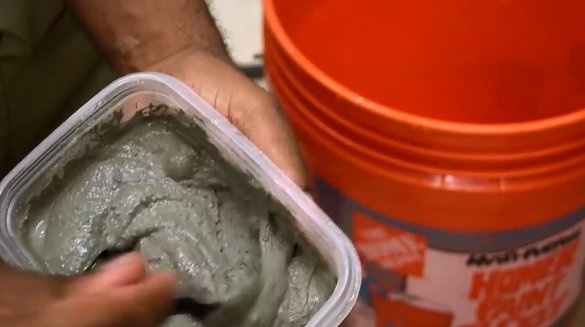
The secrete cement mix is used for this project. Of course, the usual cement mixture is also suitable. The mold has a thickness of about one inch. It is desirable to fill it evenly around the entire perimeter. Therefore, the author recommends immediately kneading the required volume of cement, without dividing the process into two batches.Approximately half of this package went to this project. During the mixing of the solution, the author pours water in small portions so as not to transfer liquids. It’s easier to control the batch density.
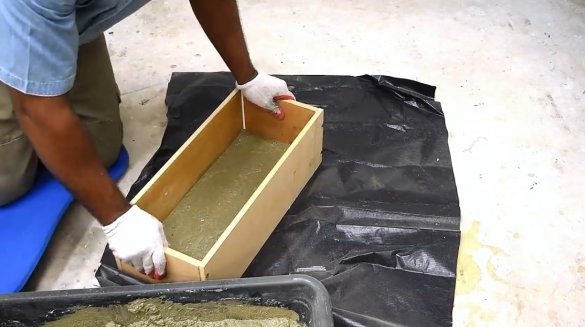
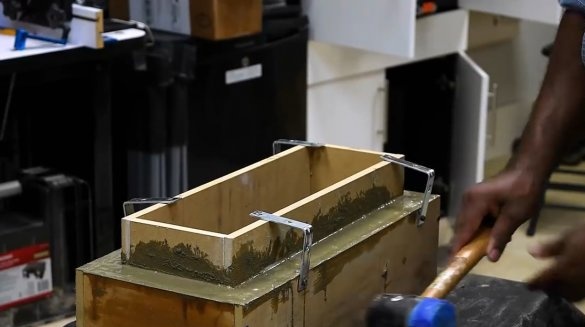
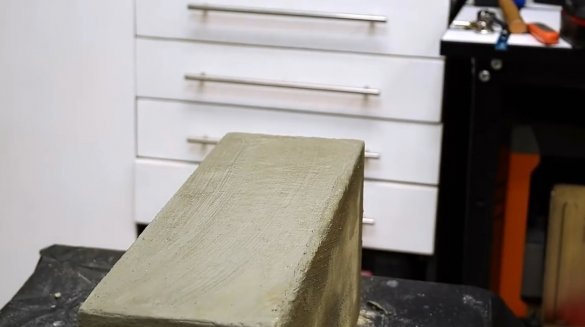
The finished solution is applied to the mold at a height of approximately 20 mm. Then the container is shaken so that the cement evenly disperses over the entire area of the base.
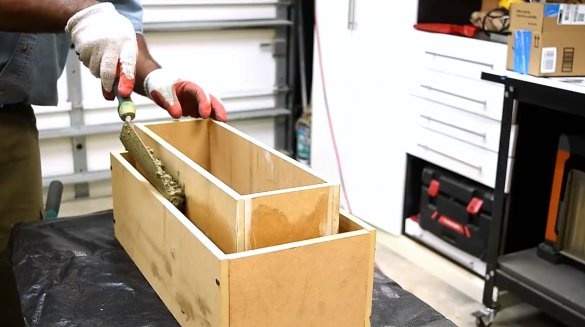
After that, the inner form is inserted. It is important to check the distance between the walls of both tanks. It should be the same everywhere, about 25 mm on each side around the perimeter. During the shaking of the mold, the inner container may begin to shift. To avoid this, the author imposes angular brackets. After this, the form should stand for at least a week.
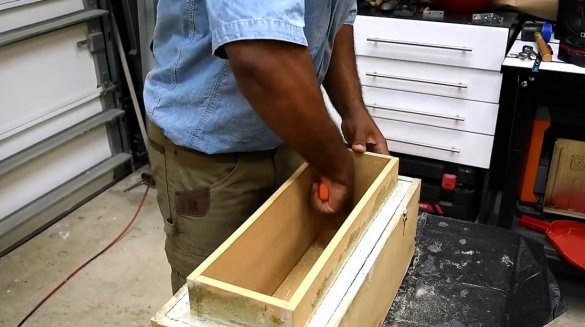
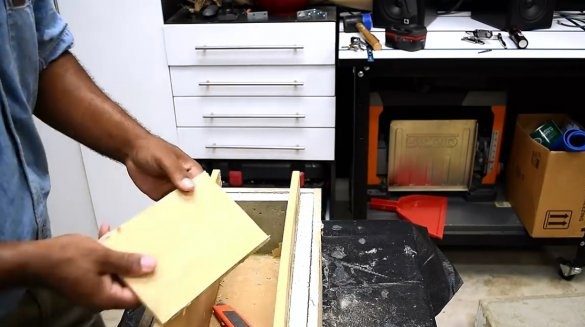
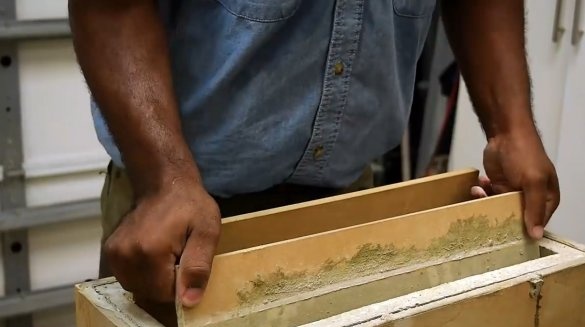
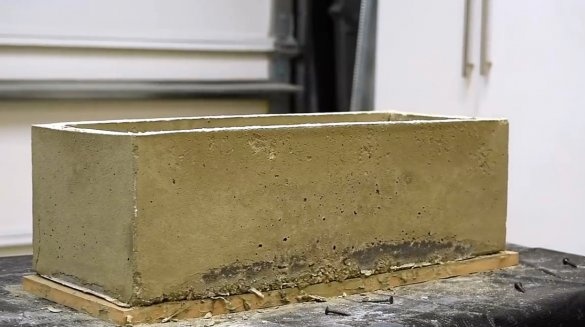
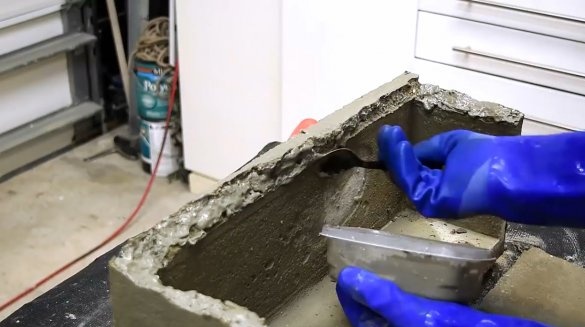
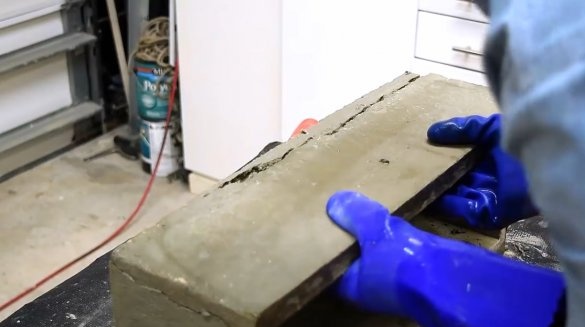
It's time to take off the uniform. First, it is easier to remove the transverse meek sides, then the long ones.
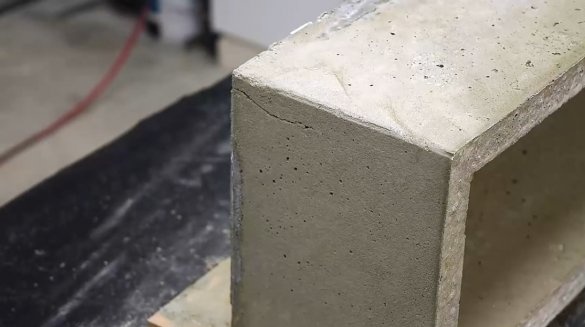
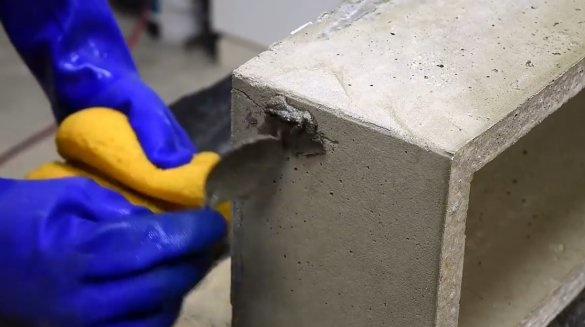
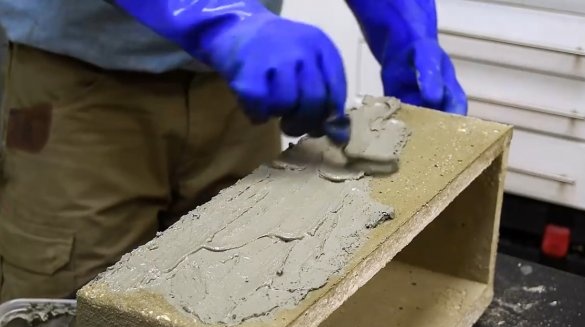
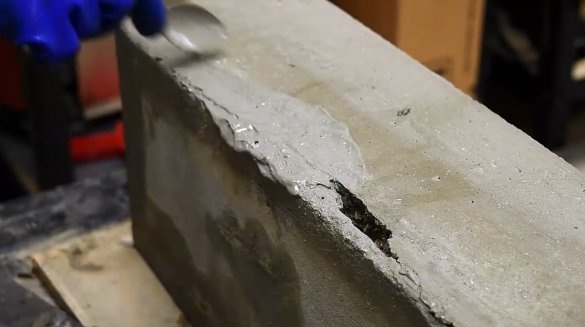
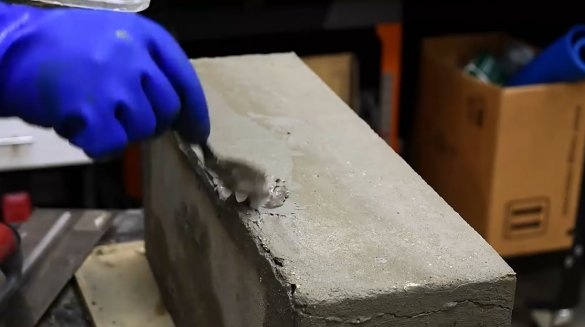
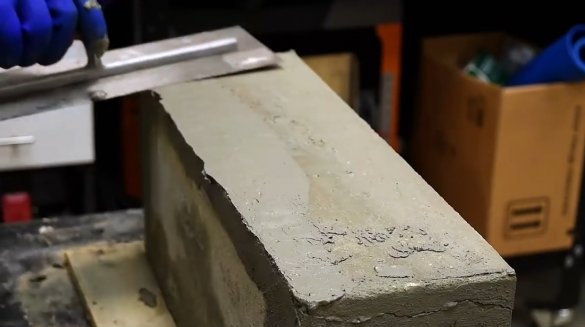
After removing the formwork, some voids and microcracks were found on the cement block. The master covers them with a solution, trying to impose a thin even layer, achieving a smooth surface.
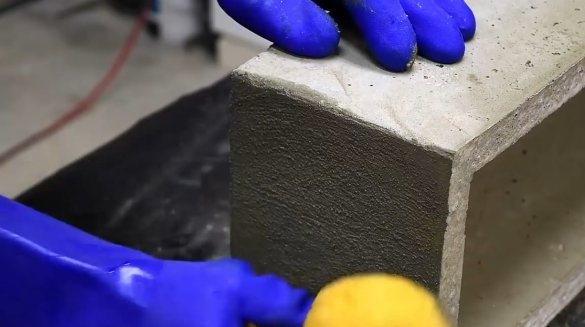
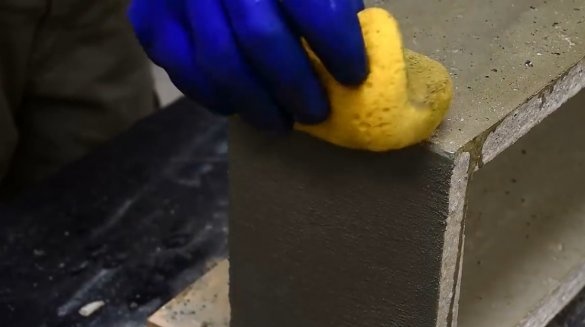
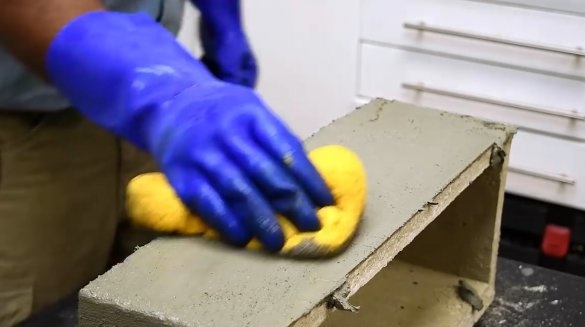
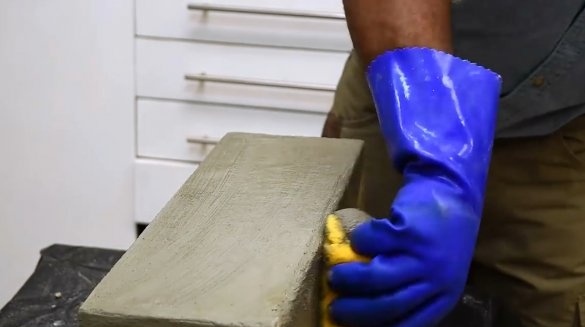
In order for the cement to set better, the author intentionally moistens the solution more strongly and evens out the more liquid substance with a sponge and spatula.
In the event that one of the walls broke off during disassembly of the mold, this can also be eliminated.
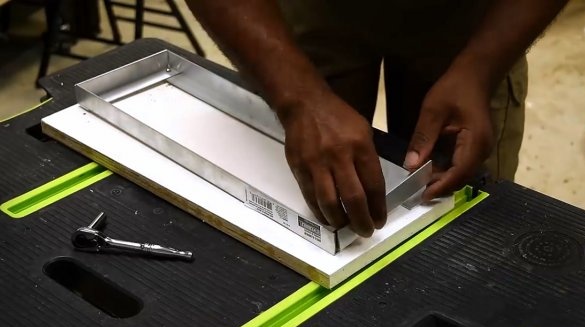
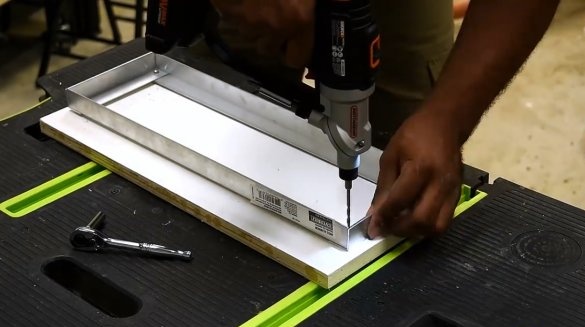
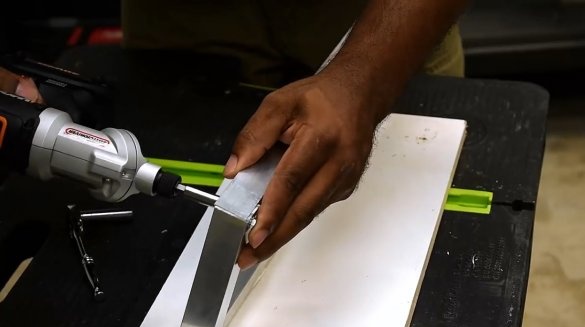
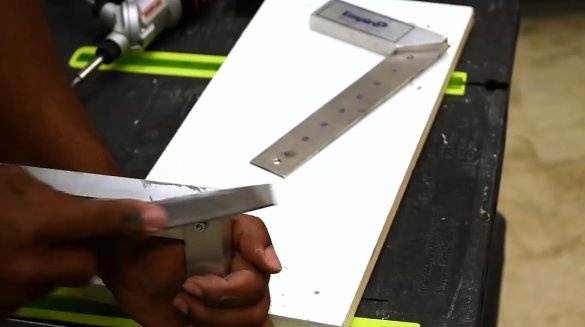
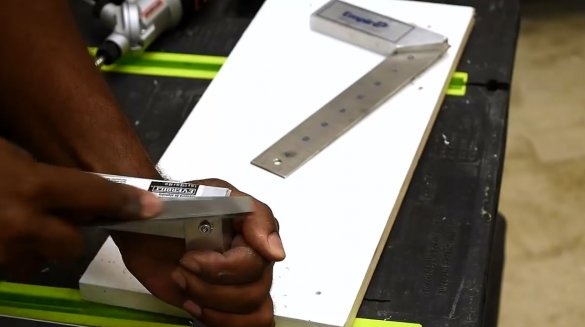
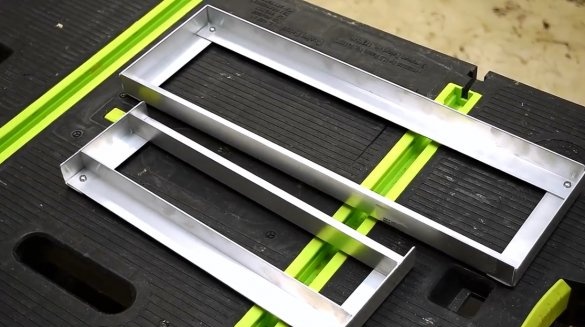
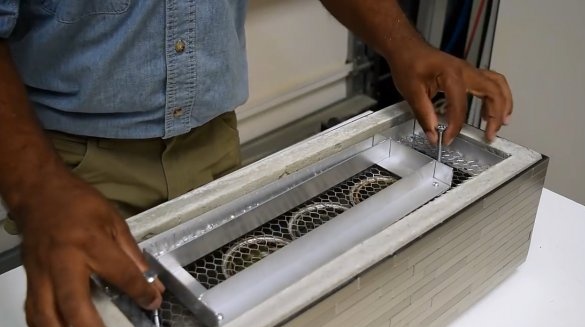
Now the author makes the frame. To do this, he uses aluminum corners 25X50. It cuts 2 long and 2 short parts to the size of the cement base, but only a little shorter so that they can easily fit inside the mold.
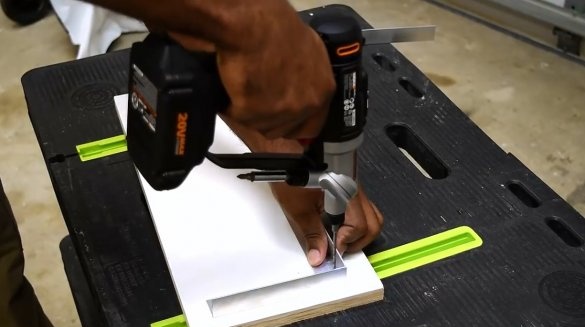
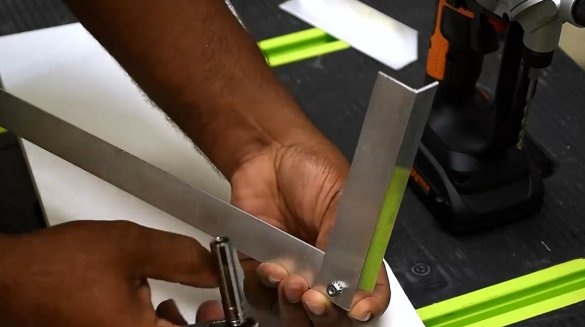
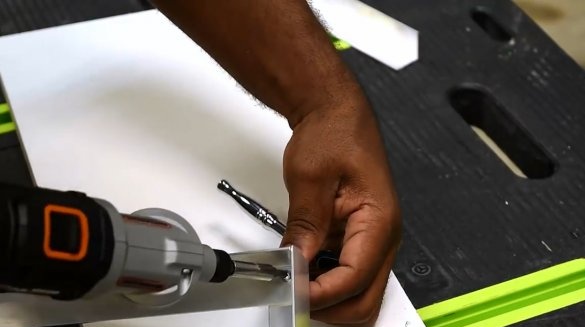
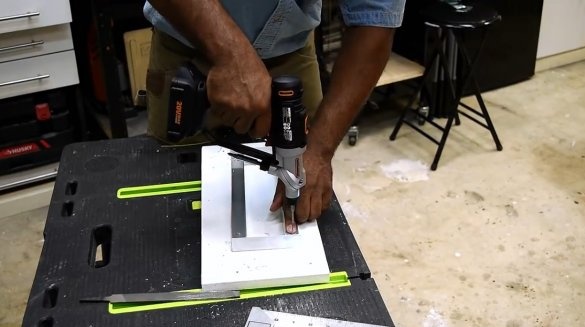
With bolts, he pairs the short corners with the long ones in pairs, forming a frame. Then, using a file, the master smooths the sharp corners of the frame.
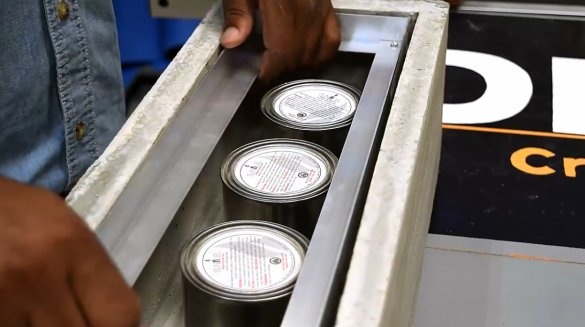
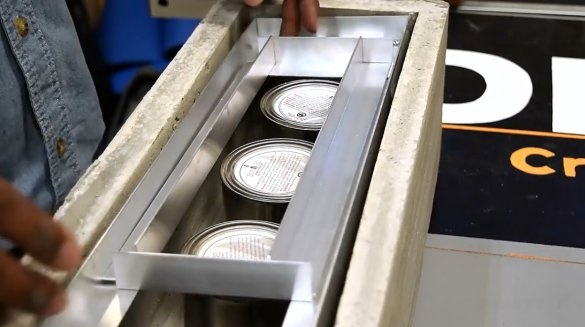
A large frame will be located above the fuel cans, and a small one inside, separating the stone filling from the center.
Then, by the same principle, he makes a smaller frame that fits neatly into the central part of the larger frame. The only difference is that the long corners of the frame should be turned outward. Through this hole a flame will explode.
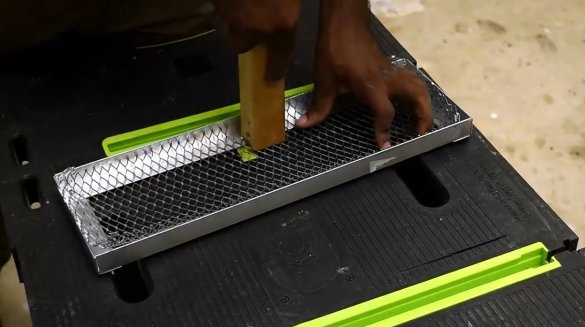
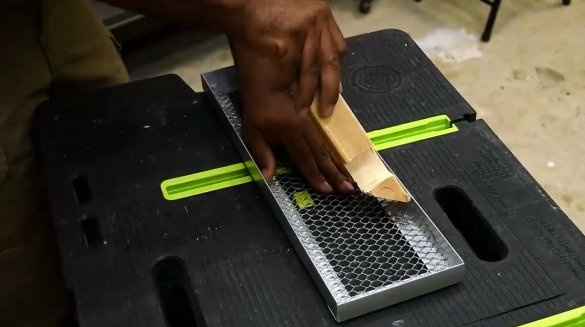
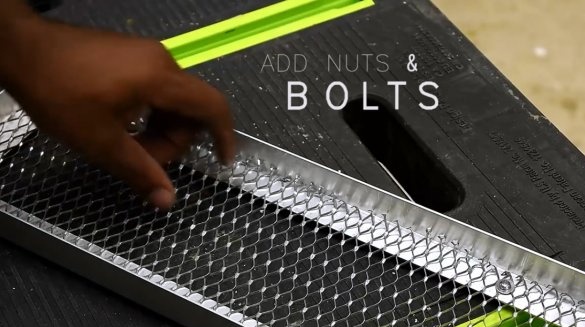
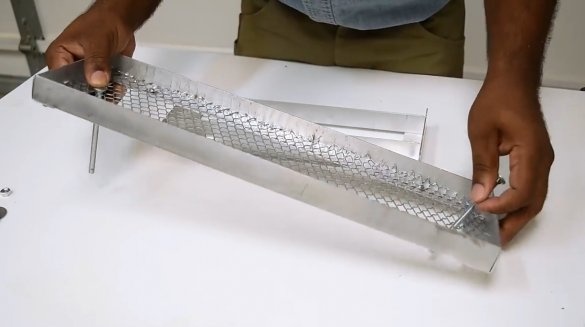
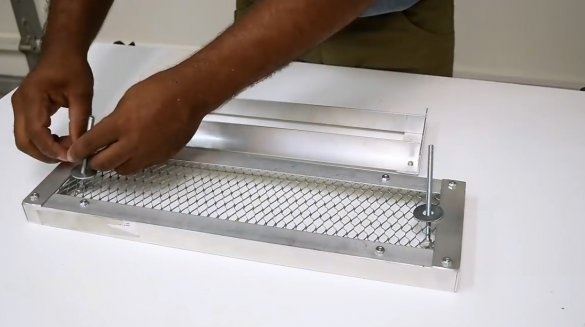
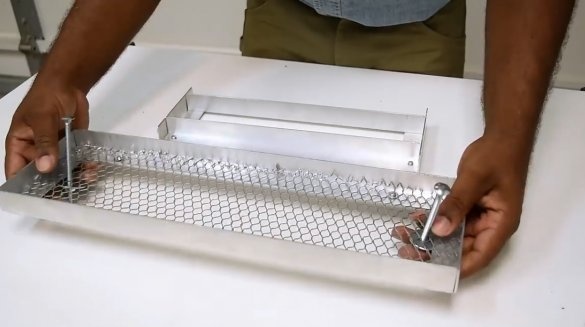
The author uses a metal mesh to close the bottom of a large pallet. This is not difficult to find in a hardware store. He bolts the net.
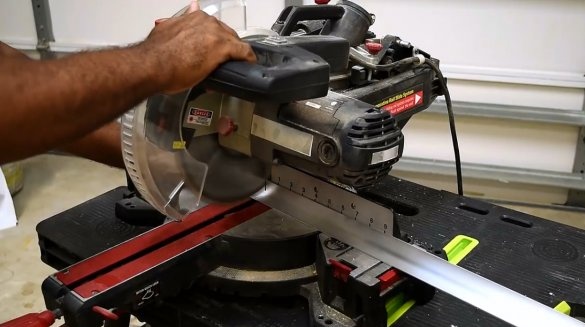
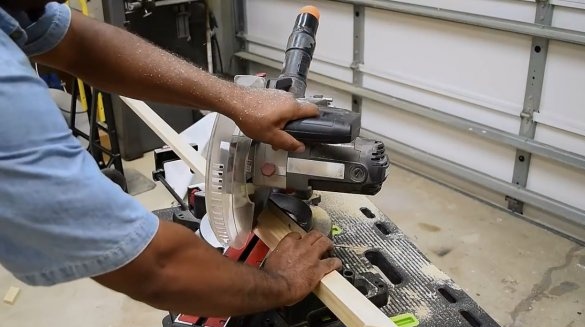
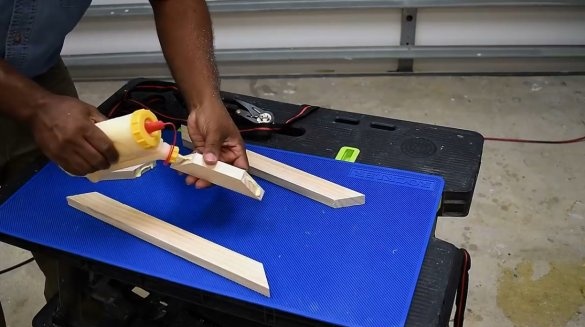
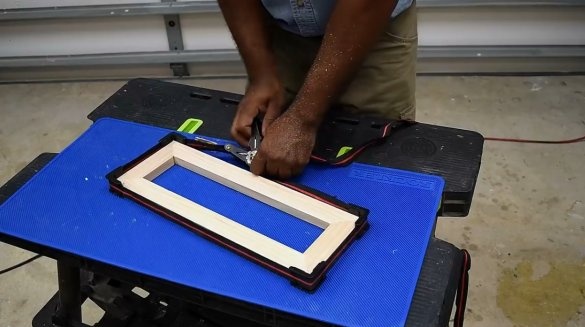
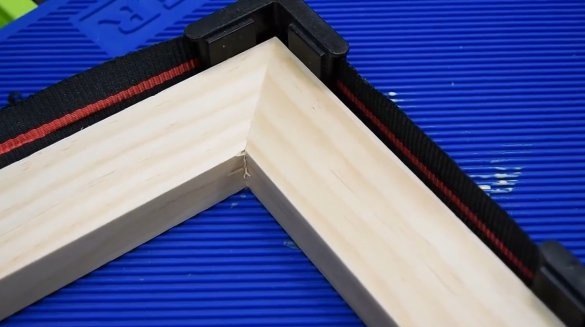
Then, on the miter saw, the master cuts out several 25X50 bars, leaving beveled corners at 45 degrees. Of these, he constructs a frame, greases the joints with glue, and tightens it with a tape clamp.
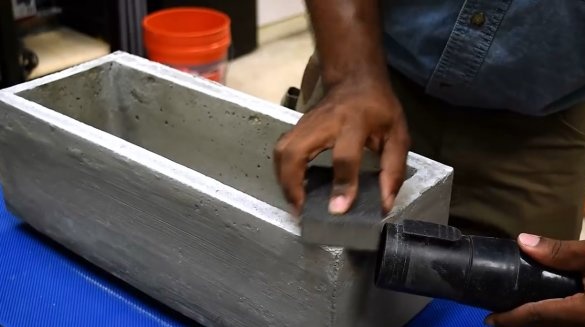
The cement base is thoroughly rubbed with sanding paper and cleaned of dust with a damp cloth or cloth.
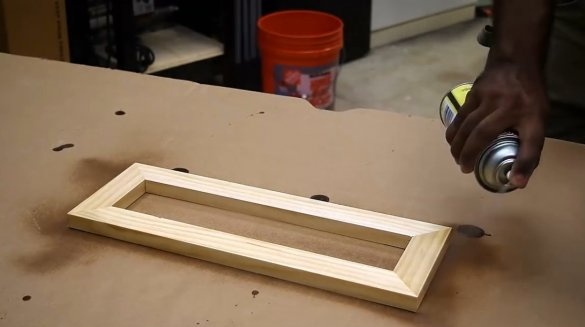
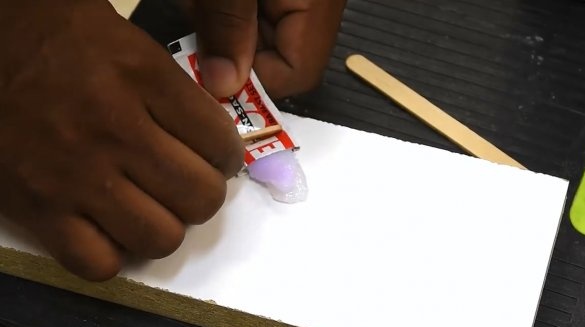
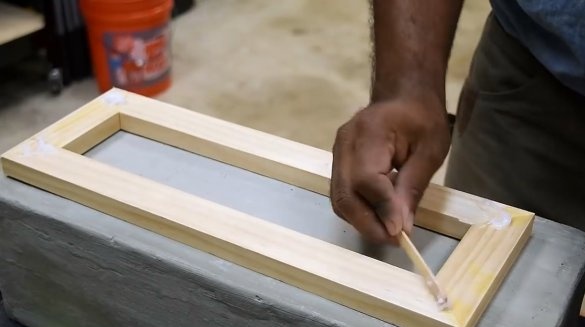
The finished frame is covered with a protective layer of colorless paint and is attached to a massive cement structure using a two-component epoxy. The resin is kneaded according to the instructions on the packaging.
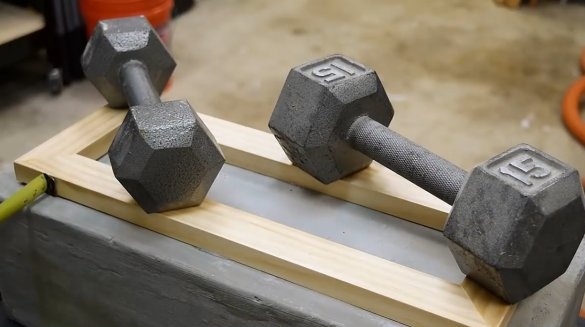
In the process of gluing, it turned out that the cement base is not perfectly smooth, so that the frame did not fit snugly. Then the master put two heavy weights on the sides of the structure and in the center, and it worked.
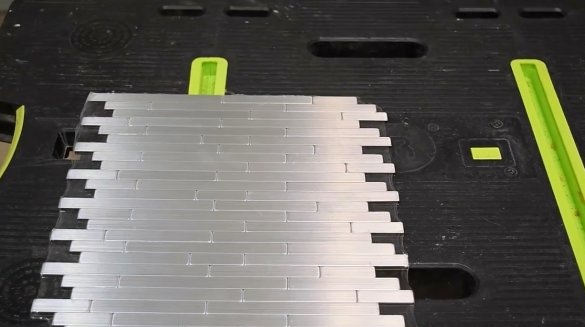
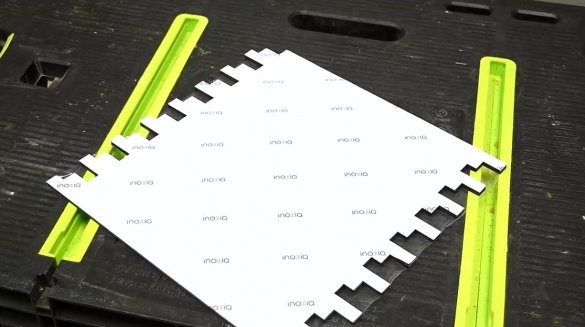
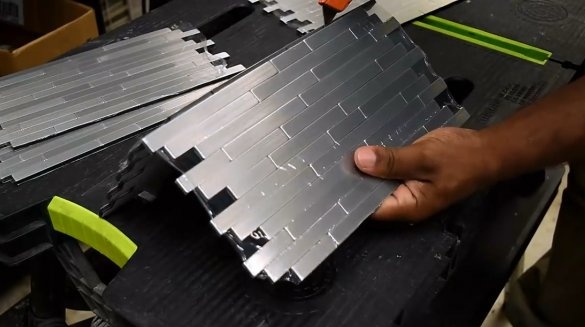
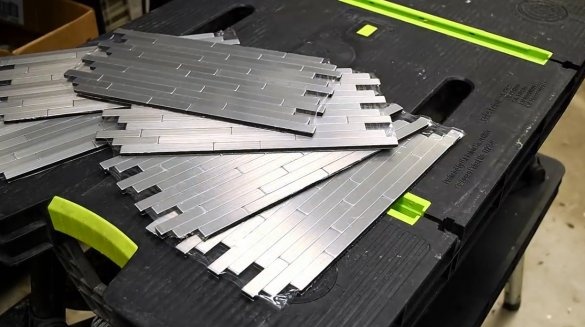
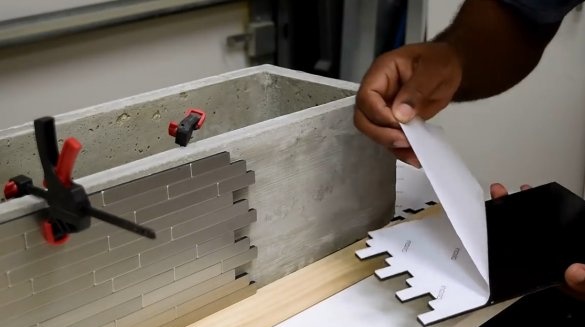
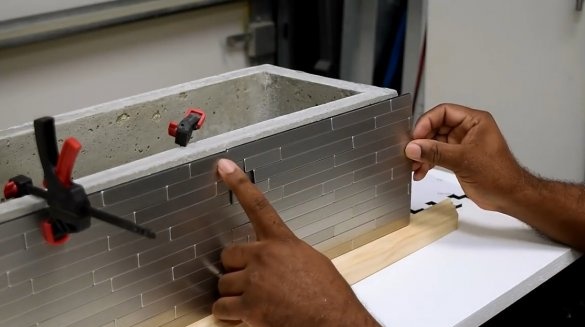
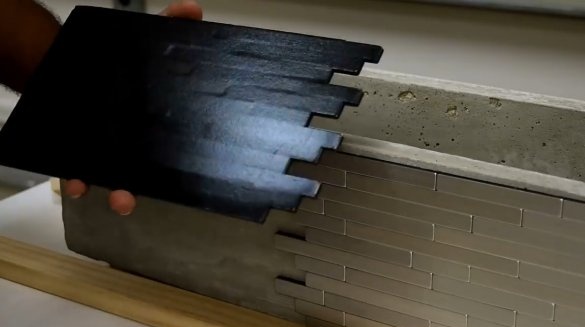
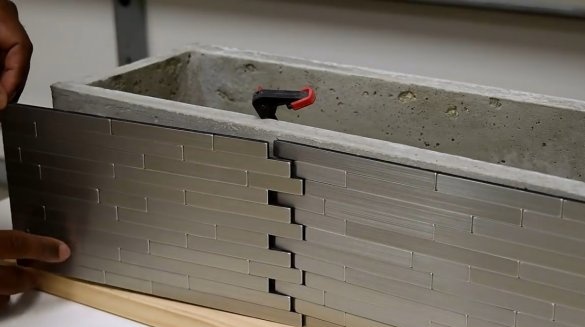
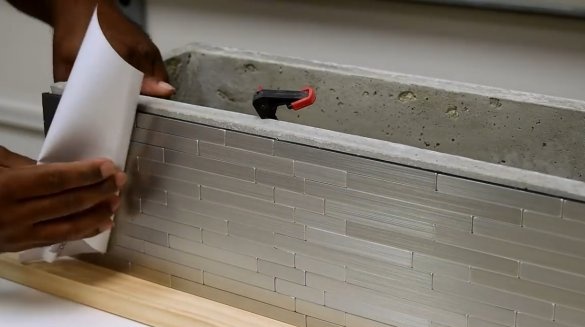
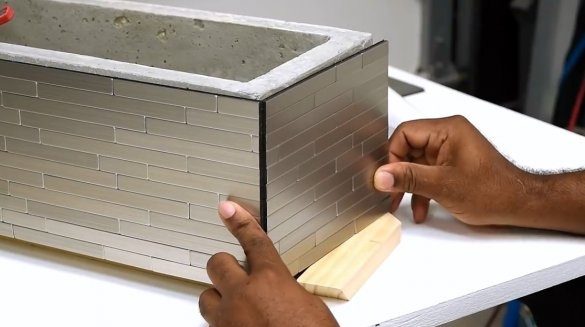
The author uses aluminum adhesive tiles specifically designed for fireplaces that can withstand heat. Three such large plates went on this project.
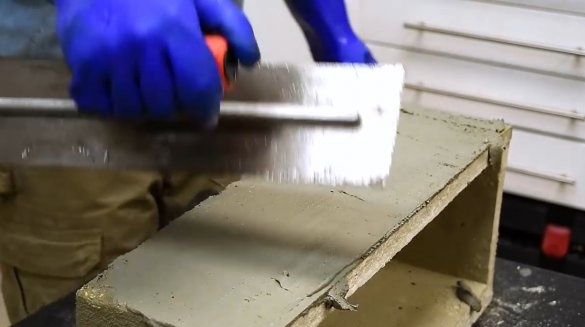
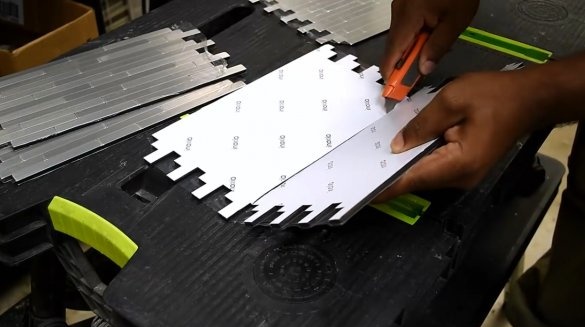
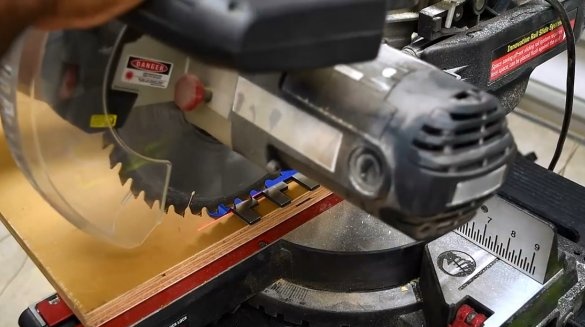
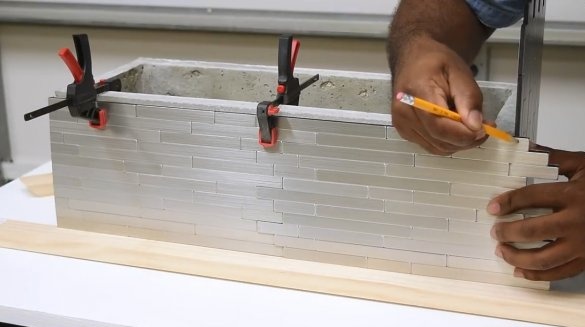
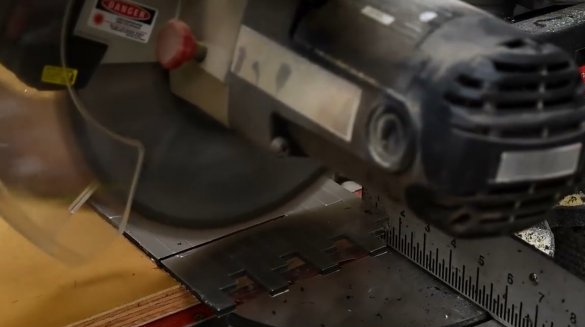
Excess material is cut with a miter or circular saw.
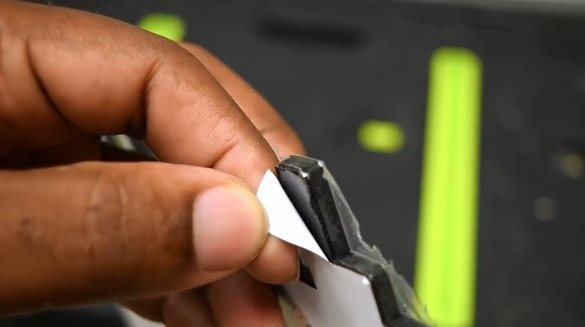
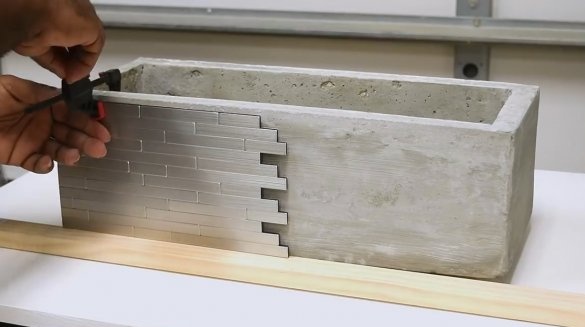
After preliminary fitting, the protective film is removed, and the plates are glued to the walls of the fireplace.
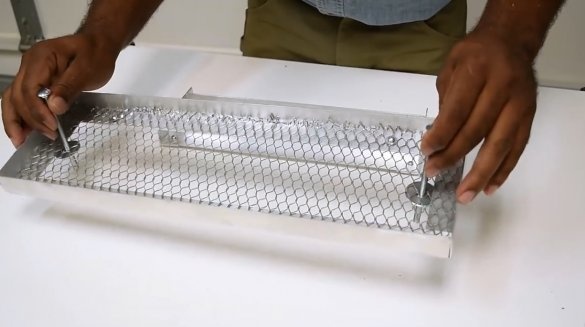
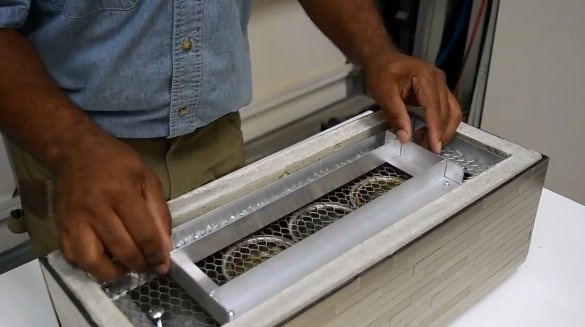
As for the inner pallet, it is conceived as removable. To make it easy to remove, the author comes up with two long bolts as handles. Bolts are fixed on the back with nuts and washers at some distance from the head.
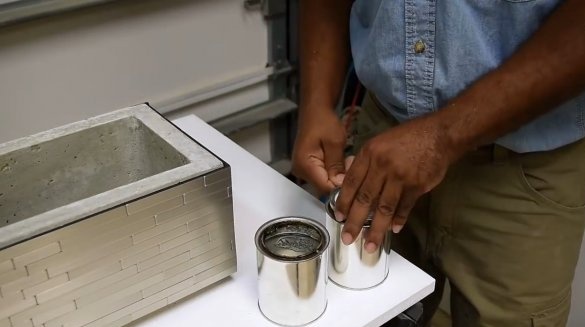
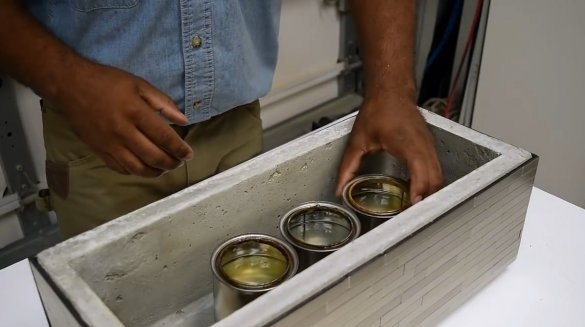
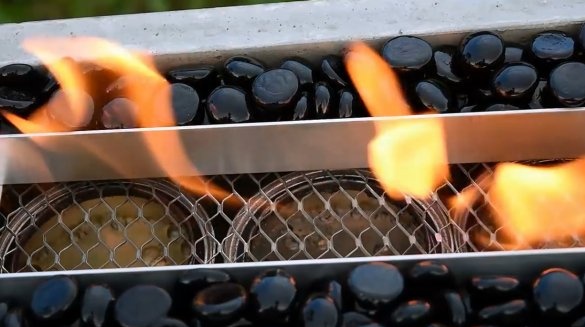
A jelly-like fuel capable of supporting combustion for 6 hours is used to maintain fire. There are two ways to extinguish a flame: simply by covering the jar with a lid or blowing out the flame.
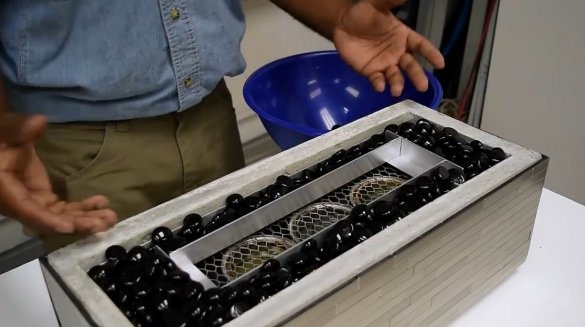
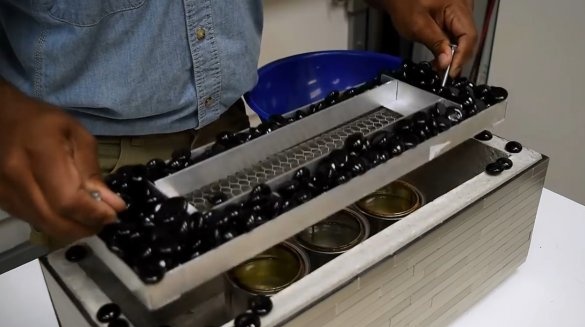
When the fuel tanks are inserted into the cement “bag” and everything is covered with a pallet, pebbles can be laid out around the perimeter of the mold, leaving the center open.
If you need to pull out the pallet again, simply grope the bolts and pull them.
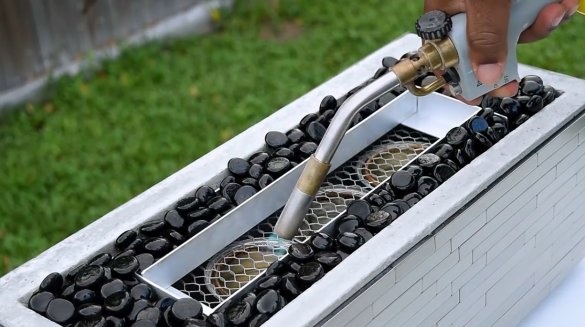
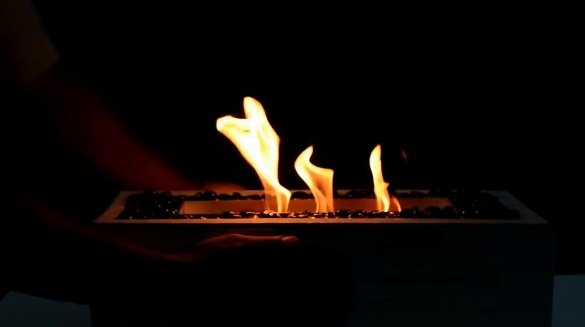
During combustion, the jelly-like fuel crackles slightly, creating the effect of a natural fire. This sound in itself creates comfort. It remains to ignite the fuel with a gas burner. This fuel can be replaced with ordinary ethanol or galosh gasoline.
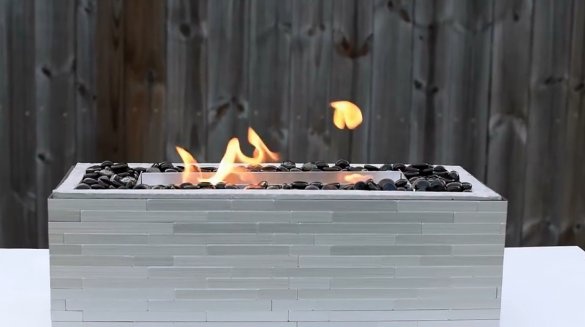
By the way, the external part of the device remains cold even with prolonged burning of fuel.
This bonfire will look so spectacular in miniature on your table, and in the evening it even gives a little warmth. In addition, jars of essential oil can be installed on the stones, and it will drive away annoying mosquitoes.
Observe safety precautions when using flammable liquids!
Thanks to the author for the very interesting design of the portable campfire!
All good mood, good luck, and interesting ideas!
Author video can be found here.

