
I welcome all fans to craft, today we will consider how to turn an old gas cylinder into such a useful one homemade like a sandblast. Using this device you can quickly and efficiently clean materials from rust, old paint and other contaminants. After sand treatment, the surface gets a beautiful matte metallic luster when treated with iron. The author uses sand ordinary, building, drying it on a fire. Homemade has the simplest principle of operation and is easy to assemble. Sandblasting is needed for operation. If you are interested in the project, I propose to study it in more detail!
Materials and tools used by the author:
Material List:
- gas bottle;
- gun for sandblasting;
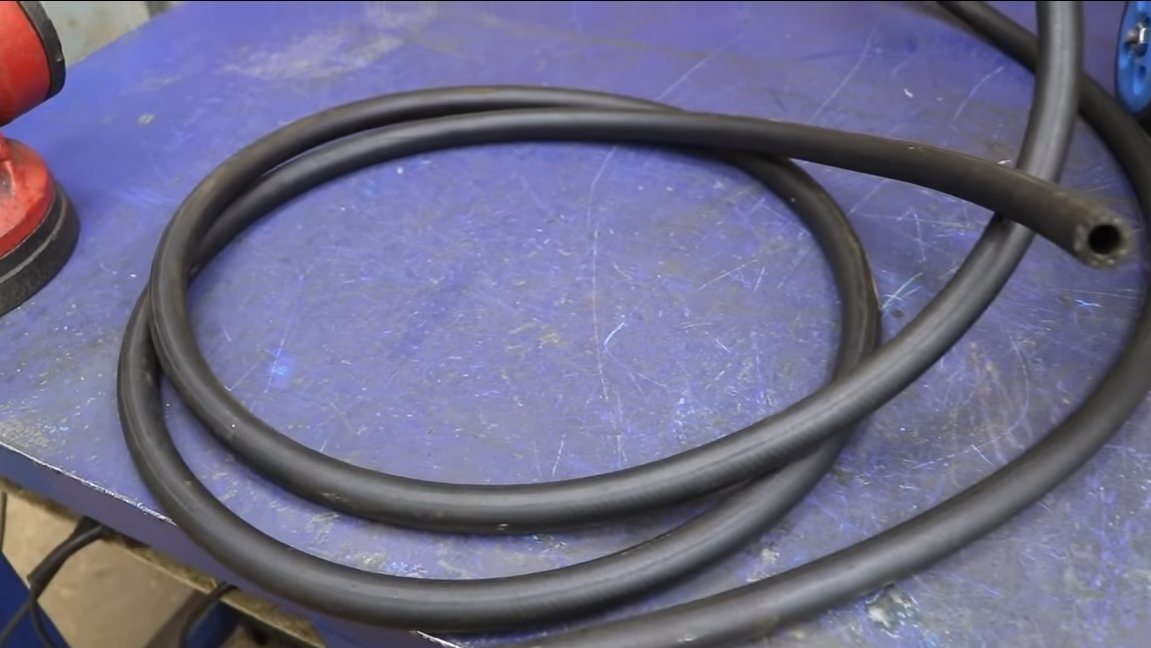
- hoses;
- tees, fittings, etc .;
- pressure gauge;
- oil / water separator;
- water ball valves;
- profile and round pipes;
- two wheels;
-
- paint for metal.
Tool List:
- grinder;
- welding machine;
- adjustable wrench;
- drill;
- roulette;
- a vise.
The process of manufacturing a sandblasting apparatus:
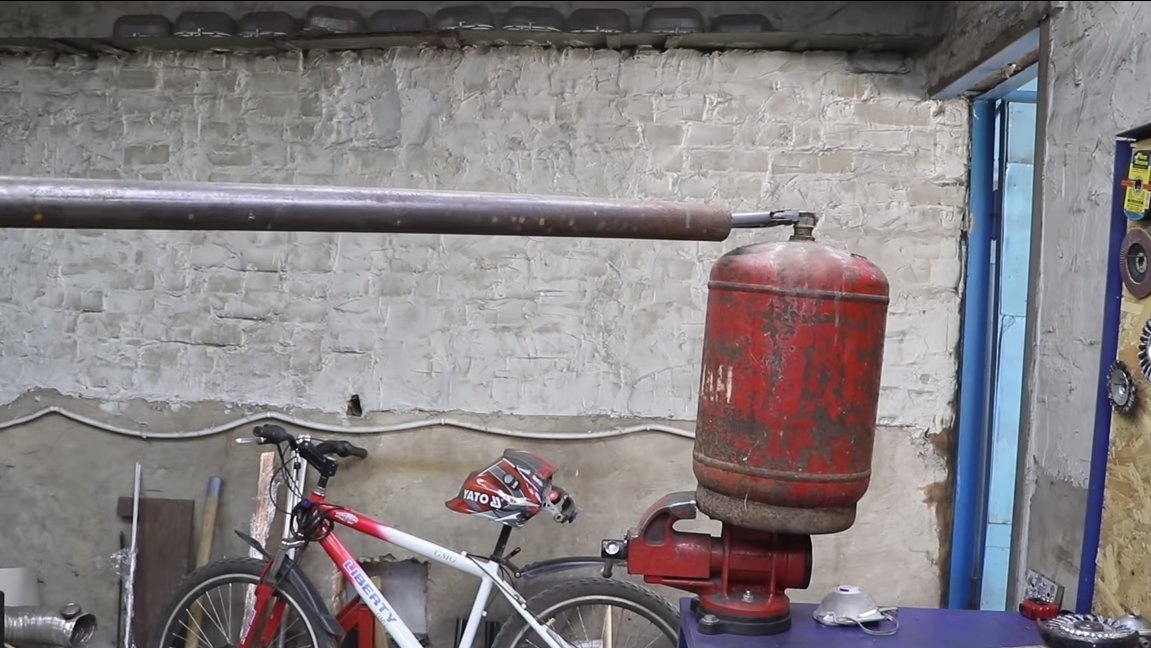
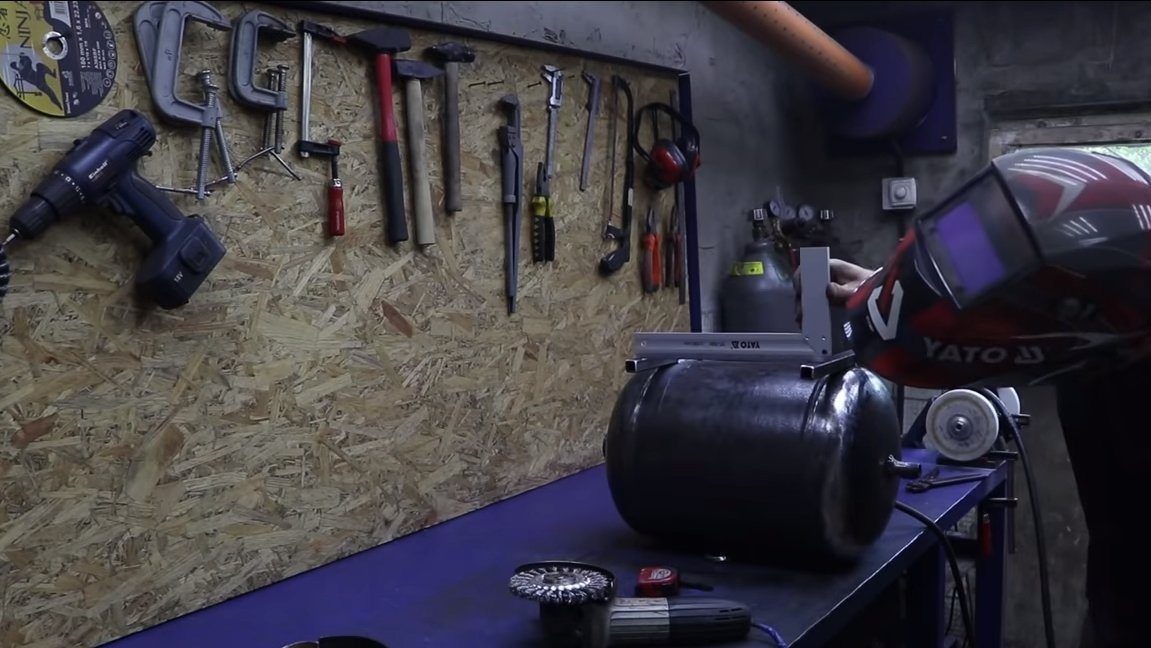
Step one. Gas bottle preparation
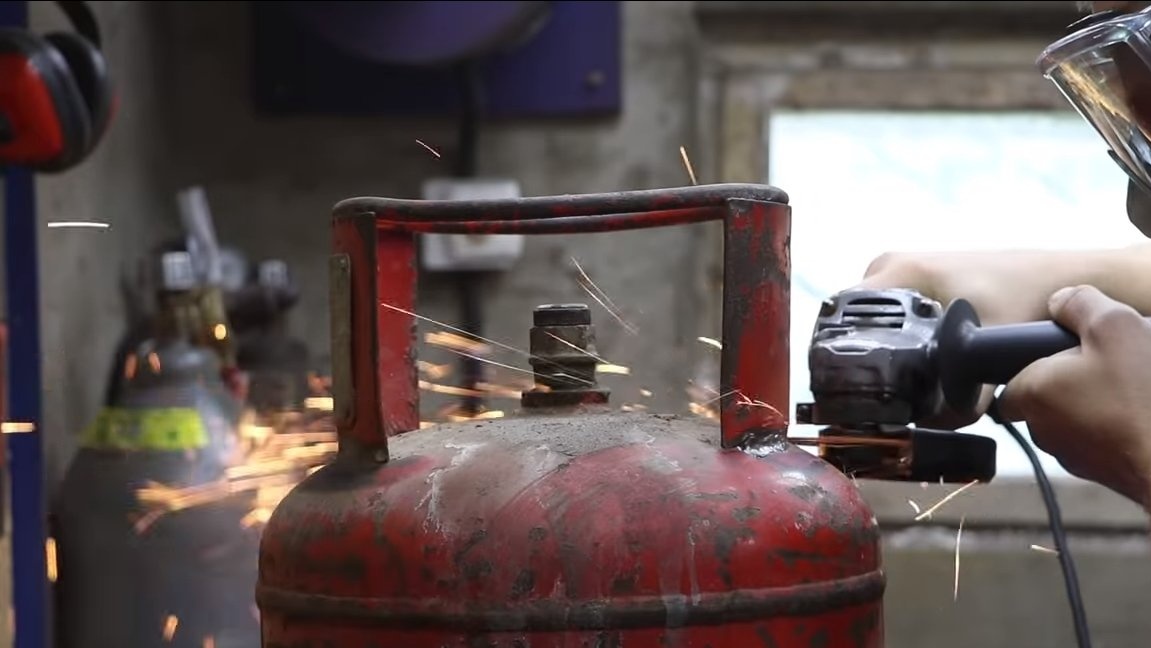
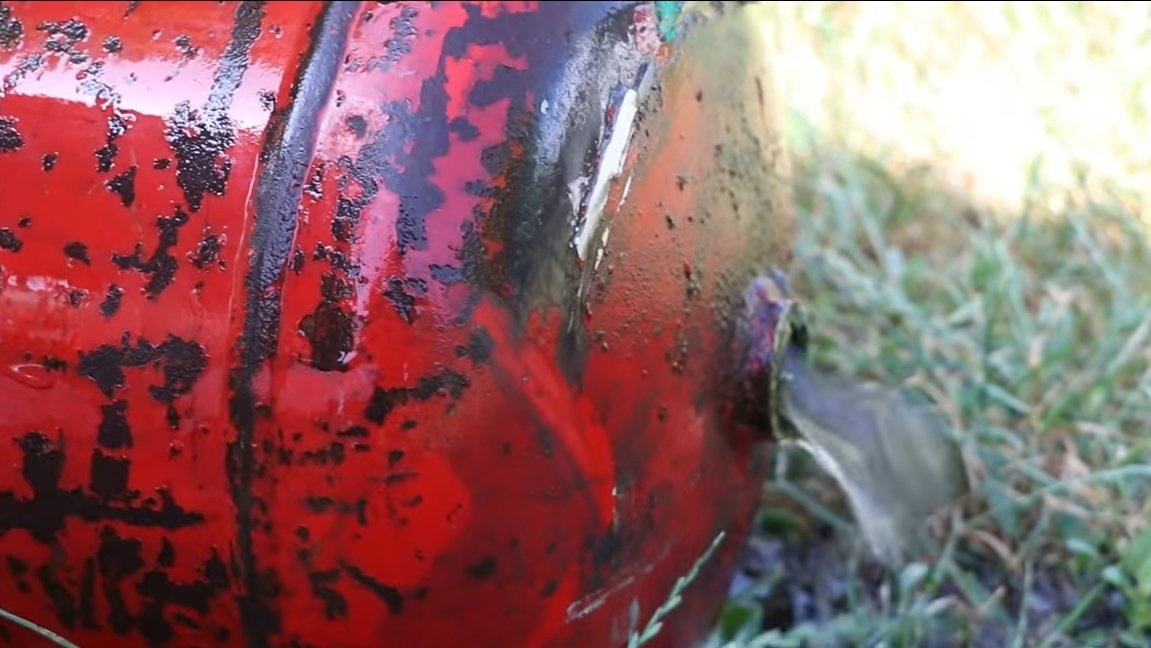
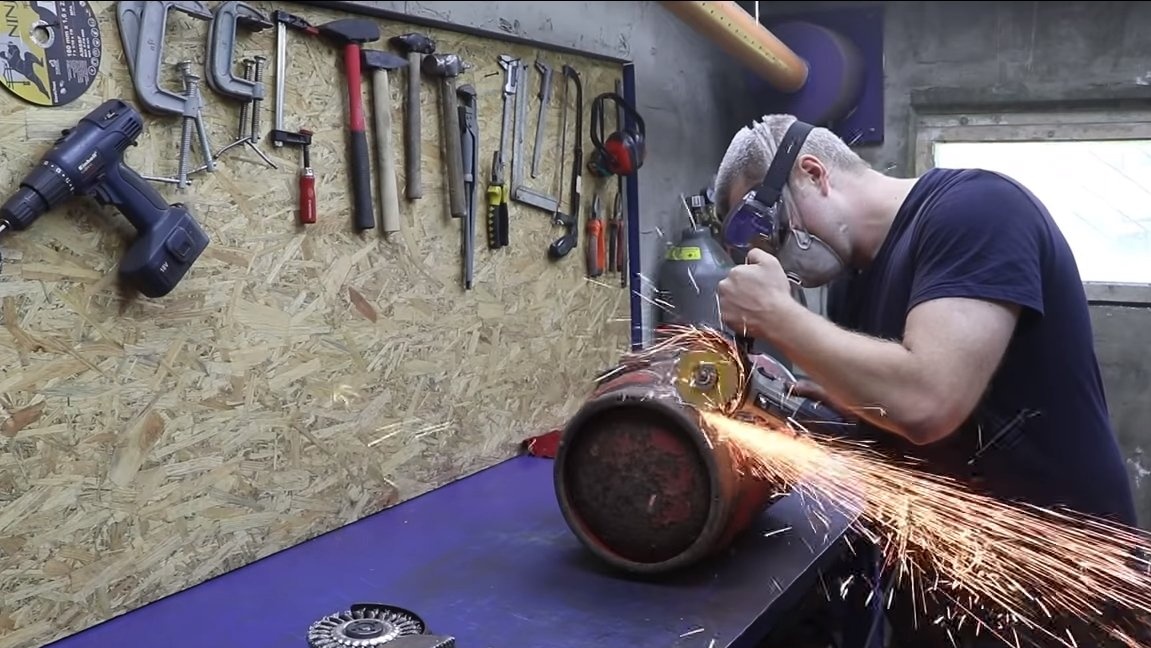
First of all, we will prepare a gas cylinder. This moment should be taken very responsibly, since gas cylinders tend to explode with all the dangerous consequences.
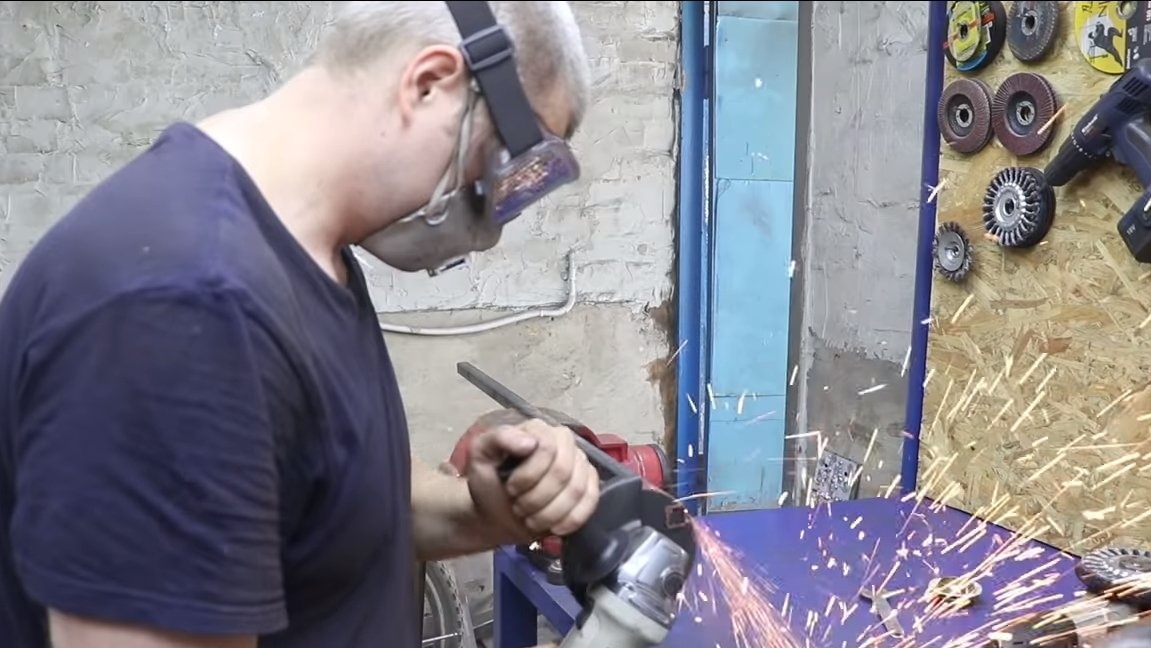
To begin with, the author carefully cuts the handle from the cylinder with a grinder. The valve of the cylinder should be closed, and it is better to cut the handle higher so that, God forbid, do not cut the cylinder.
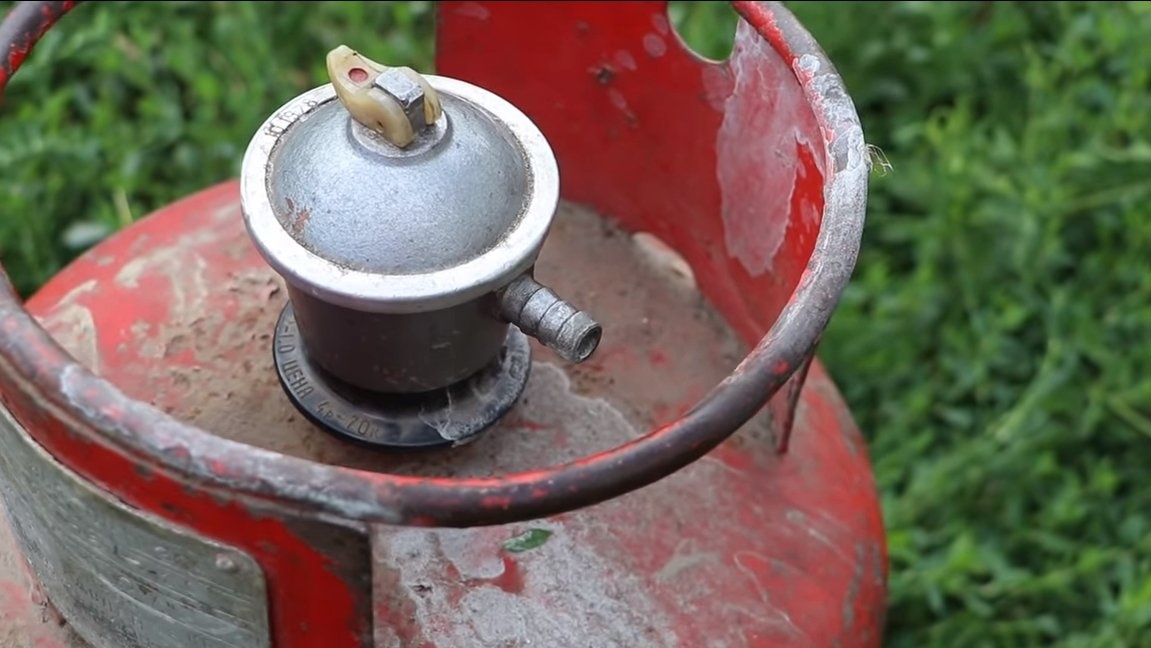
Next, we will need to unscrew the tap, and for old cylinders the taps are soured and sit pretty tight. We hold the cylinder in a vice and arm ourselves with an adjustable wrench. If there are not enough forces, we look for a pipe more authentically and work with a lever.
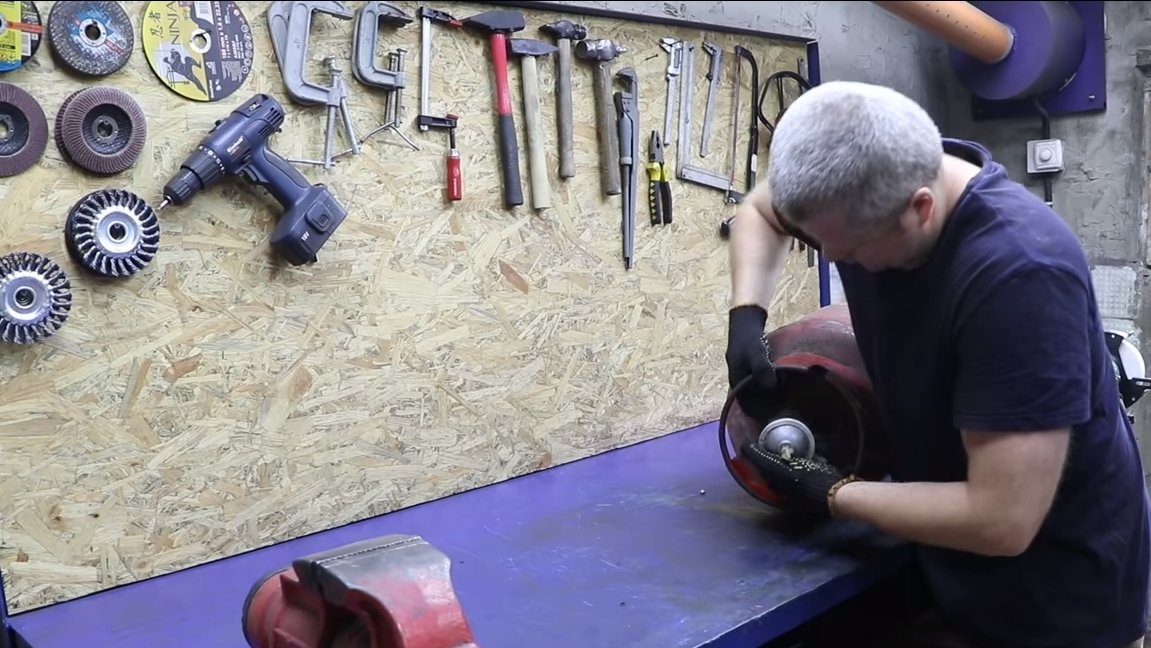

Next, drain the contents of the container away from sources of open fire. Pour water under the neck of the bottle, immediately this can be cut with the water inside. For reliability, the author washed the cylinder several times and only then completely filled it with water. As long as there is water in the cylinder, there will be nothing to explode, but be aware that condensation may be on the surface of the cylinder and it may catch fire.
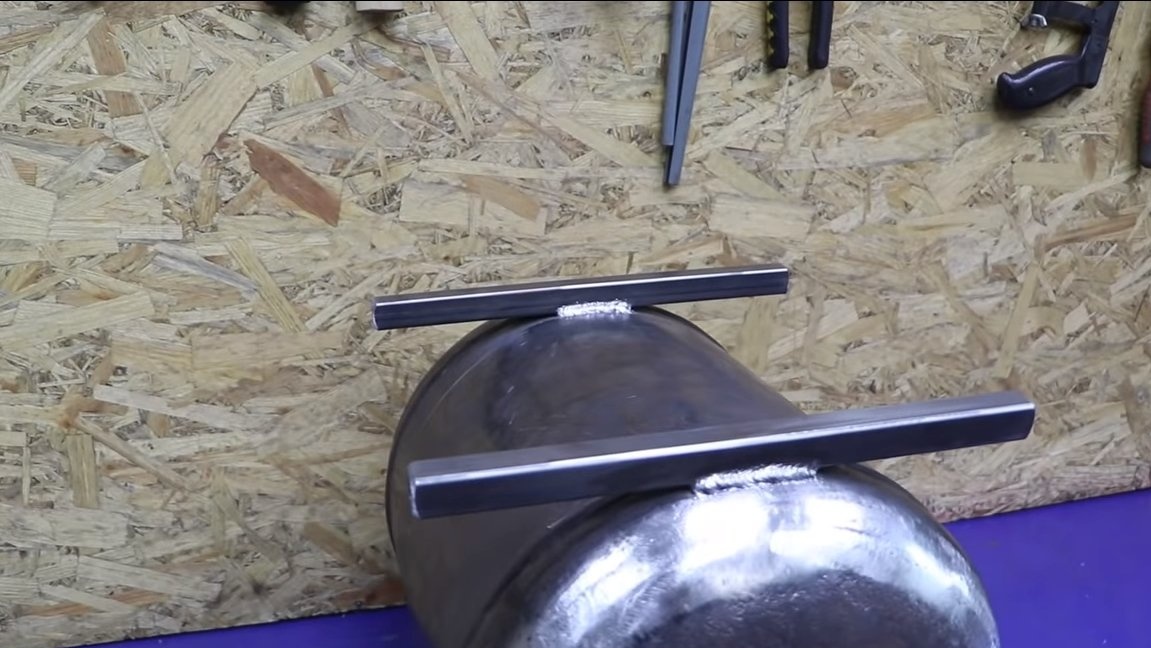
Step Two Driving
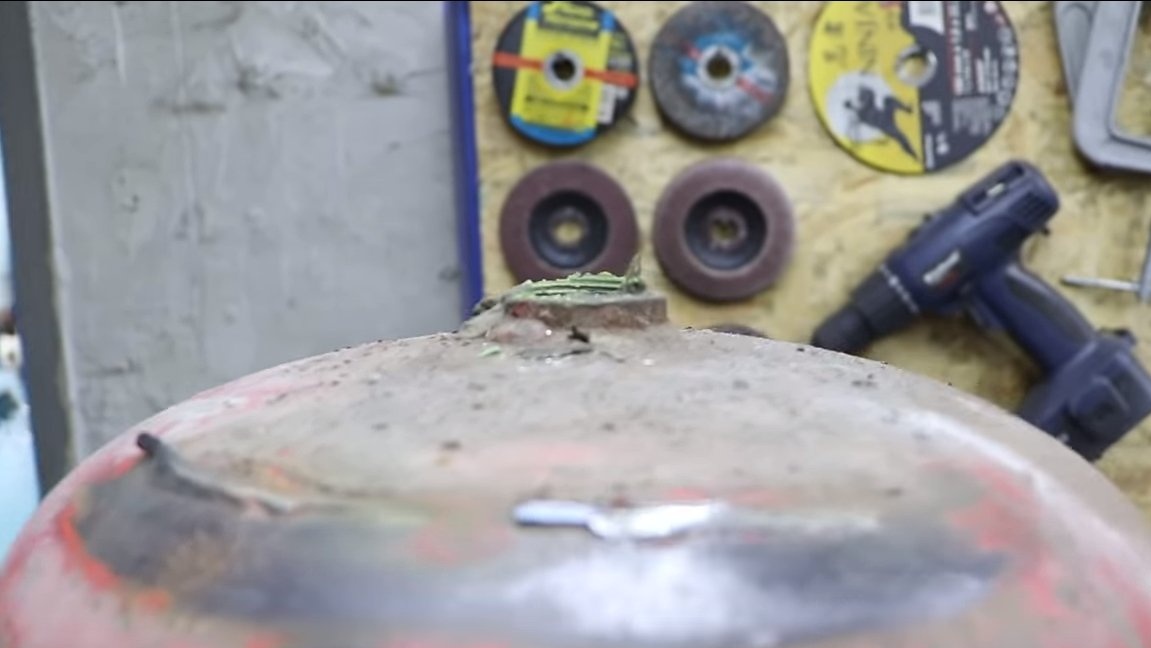
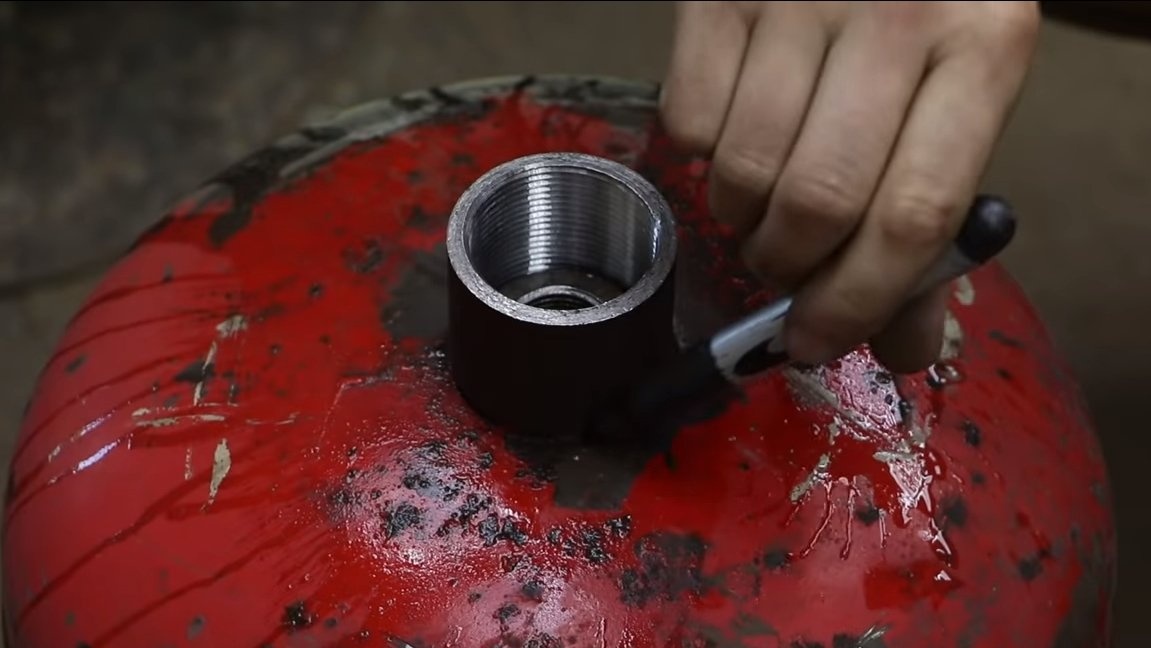
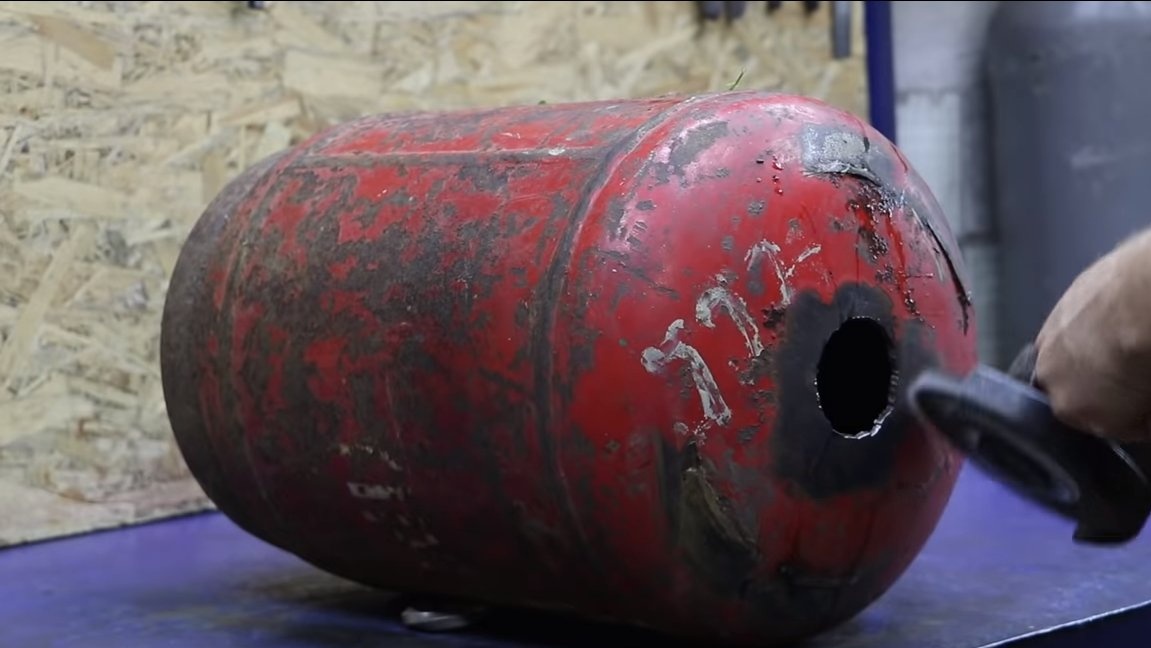
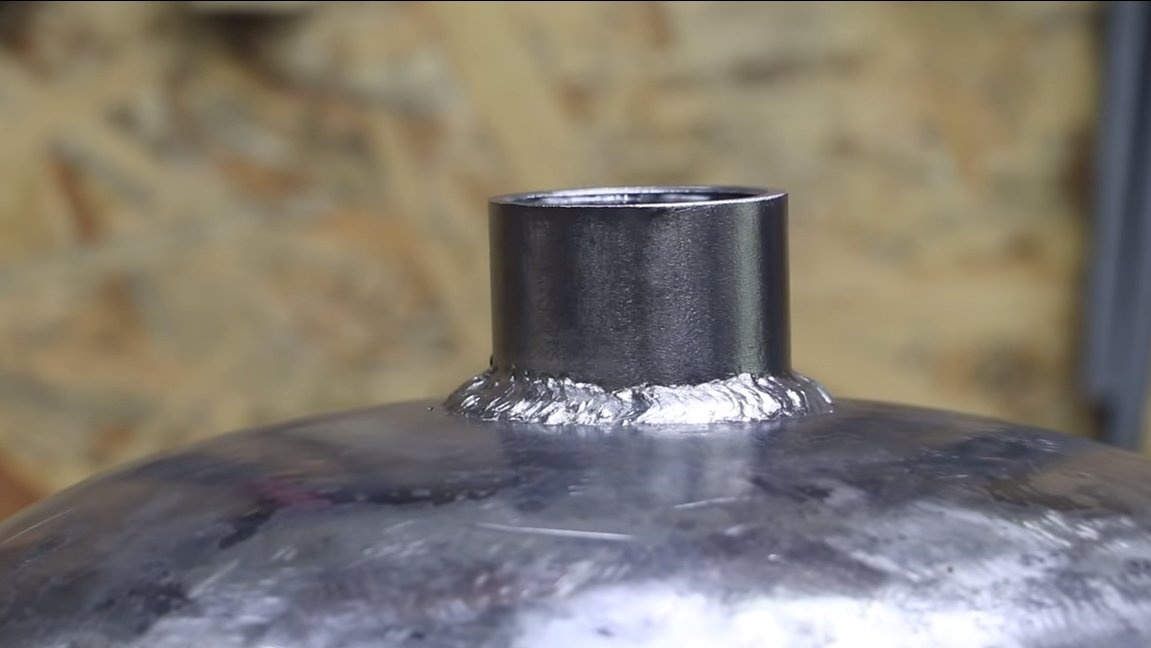
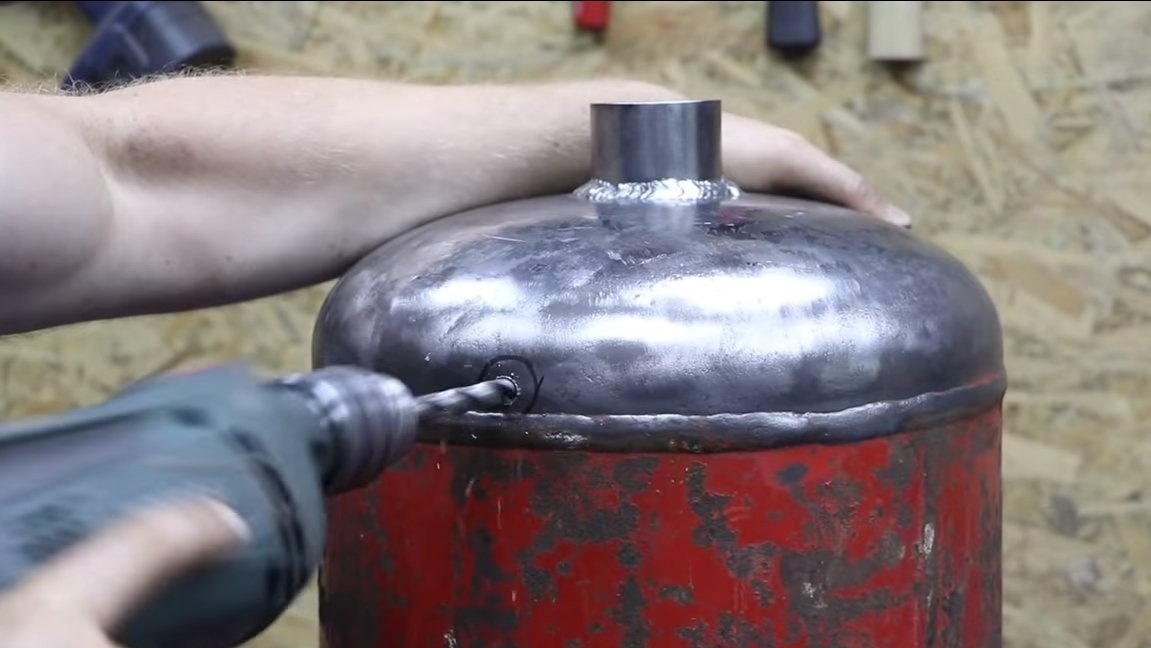
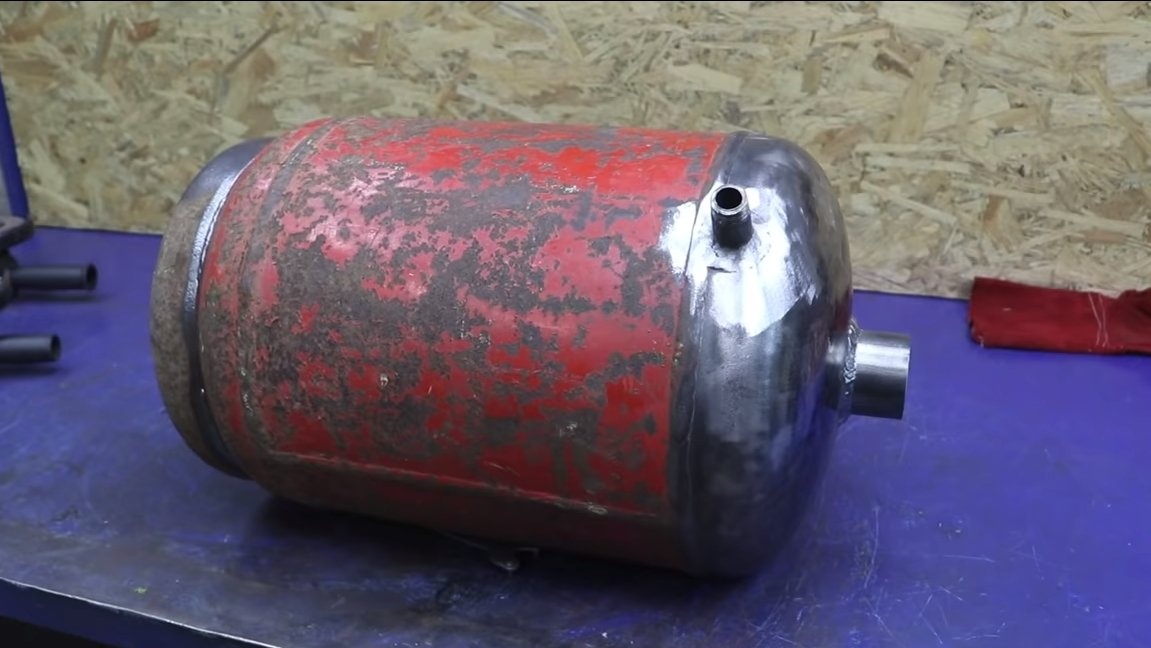
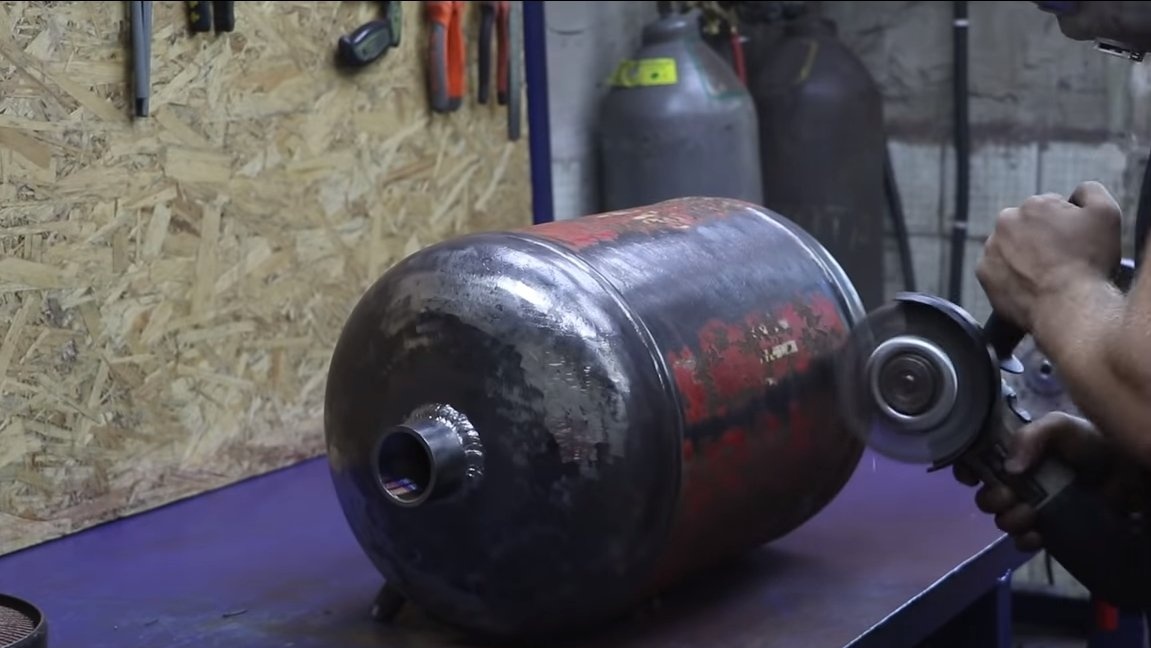
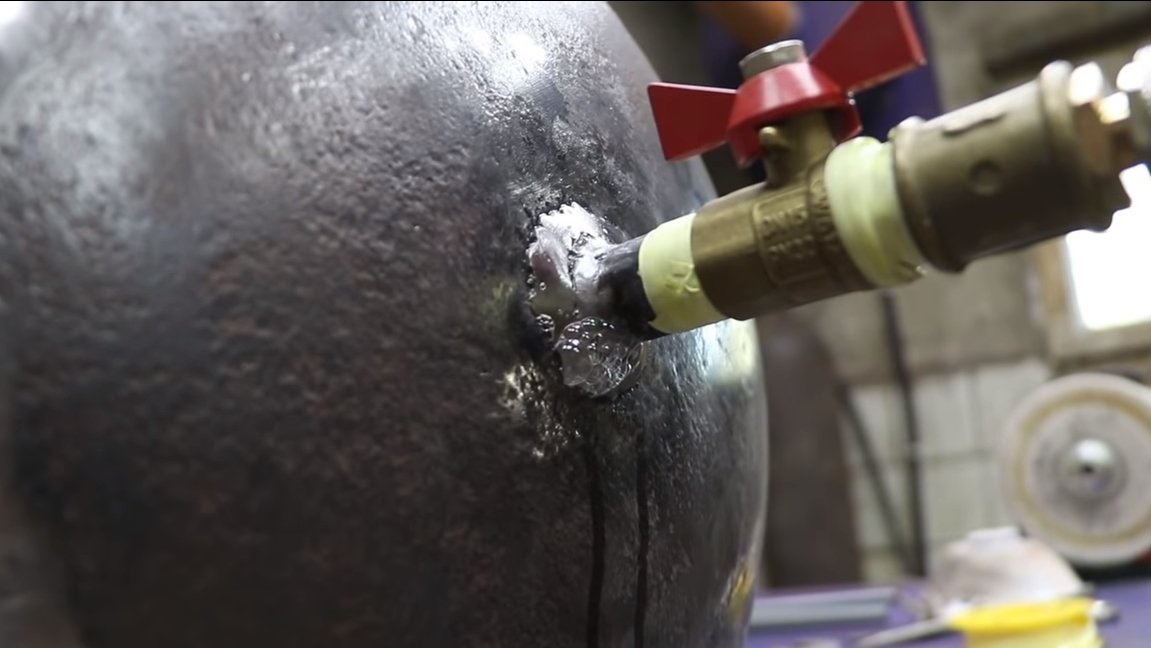
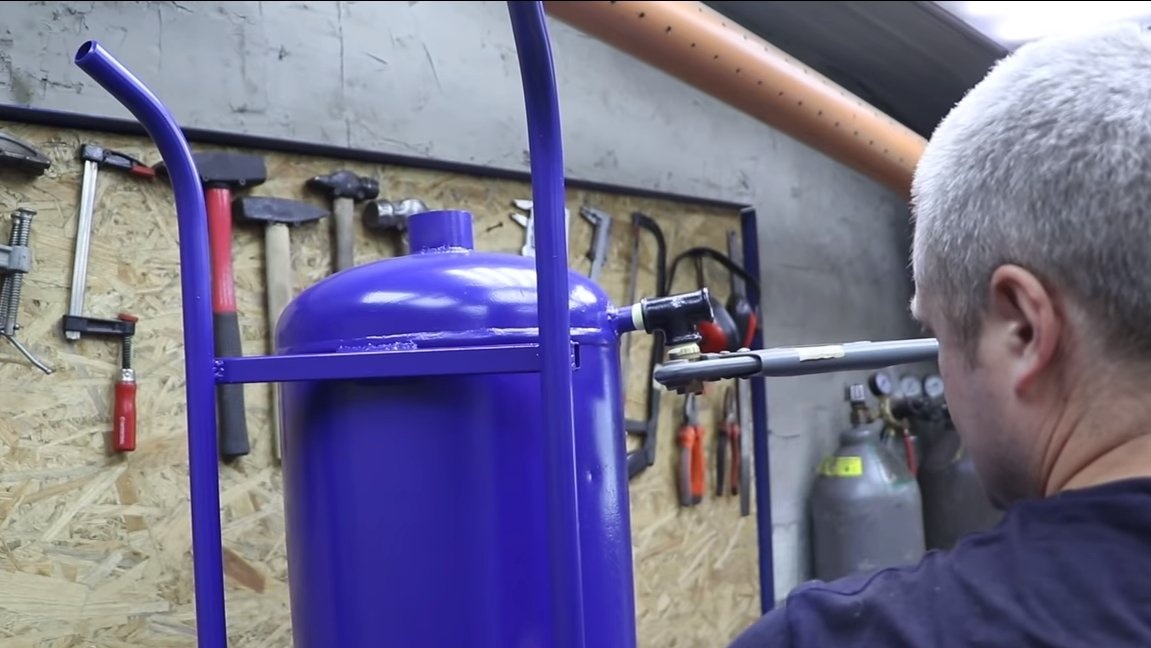
In the upper part of the cylinder we need to cut a hole and weld a piece of pipe with internal or external thread. This will be the neck through which we will pour sand into the container. Of course, for this tube you will need to find a cap on the thread. The author cut a hole using a plasma cutter.
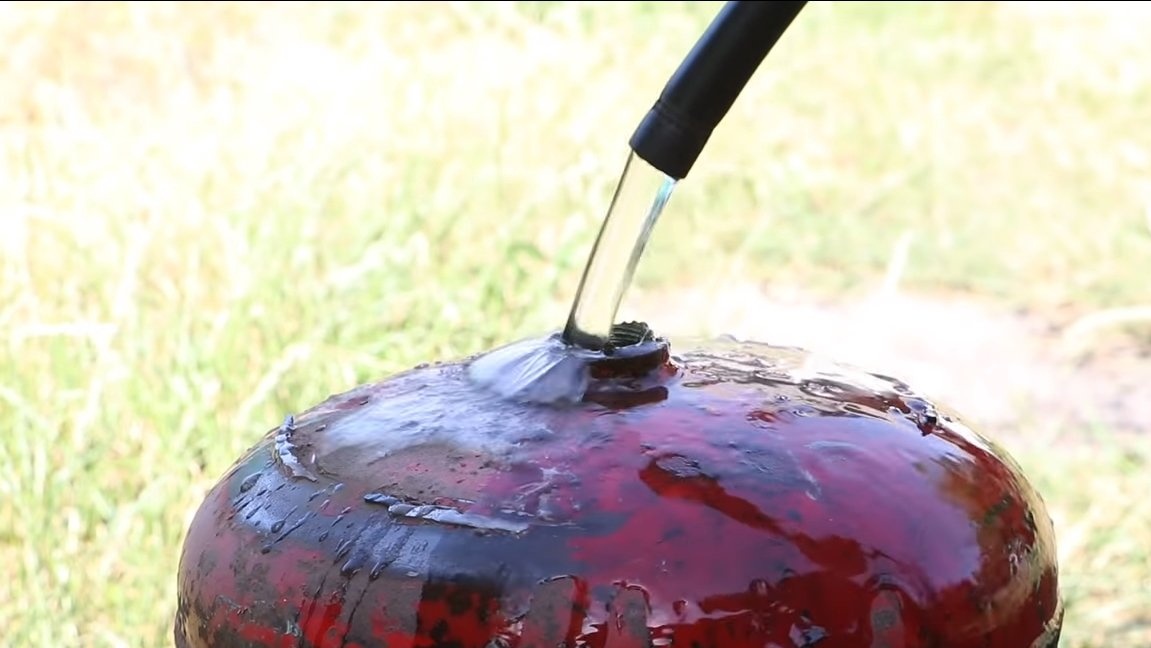
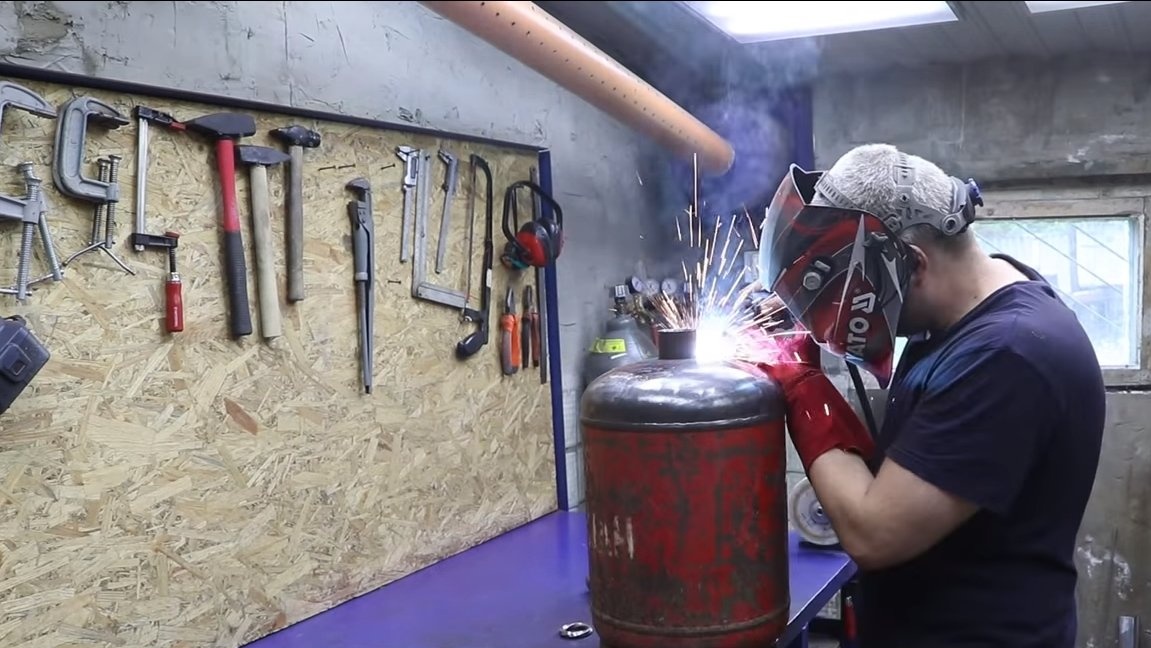
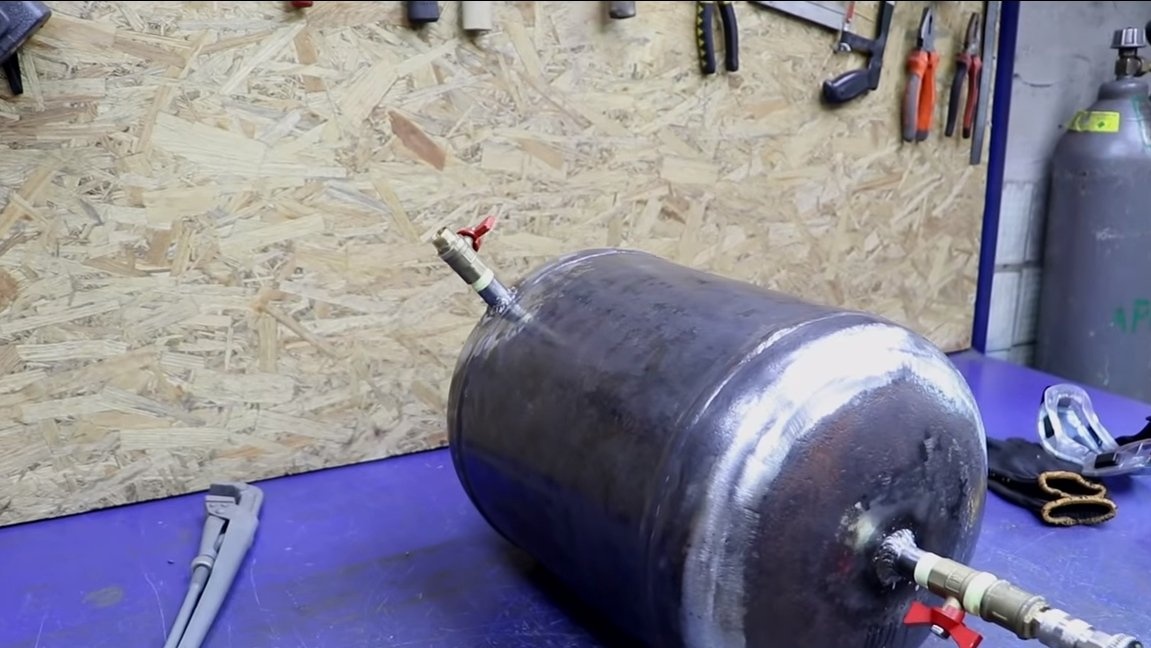
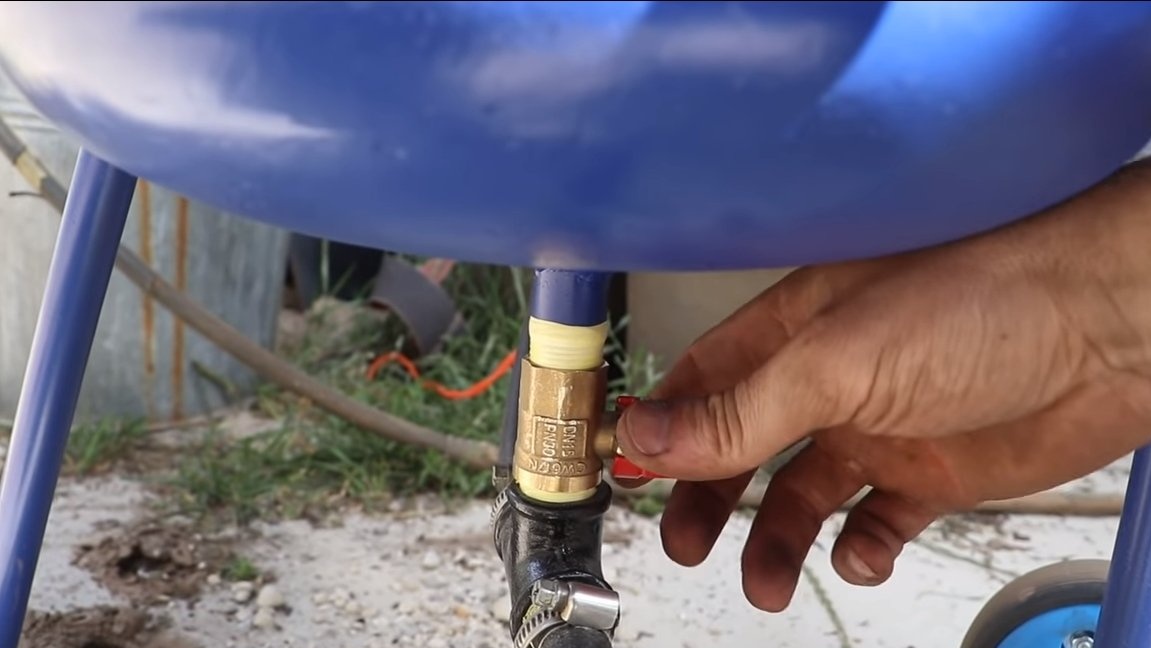
In addition, we will need to weld two runs, one on the side of the upper part and the other on the lower part of the cylinder. All welds should be airtight, screw cranes on the overhangs and check the tightness of the structure by pumping an air compressor into it. If there are gaps, the soapy solution will begin to bubble. At the end of the step, we clean the surface of the cylinder with a grinder with a brush nozzle.

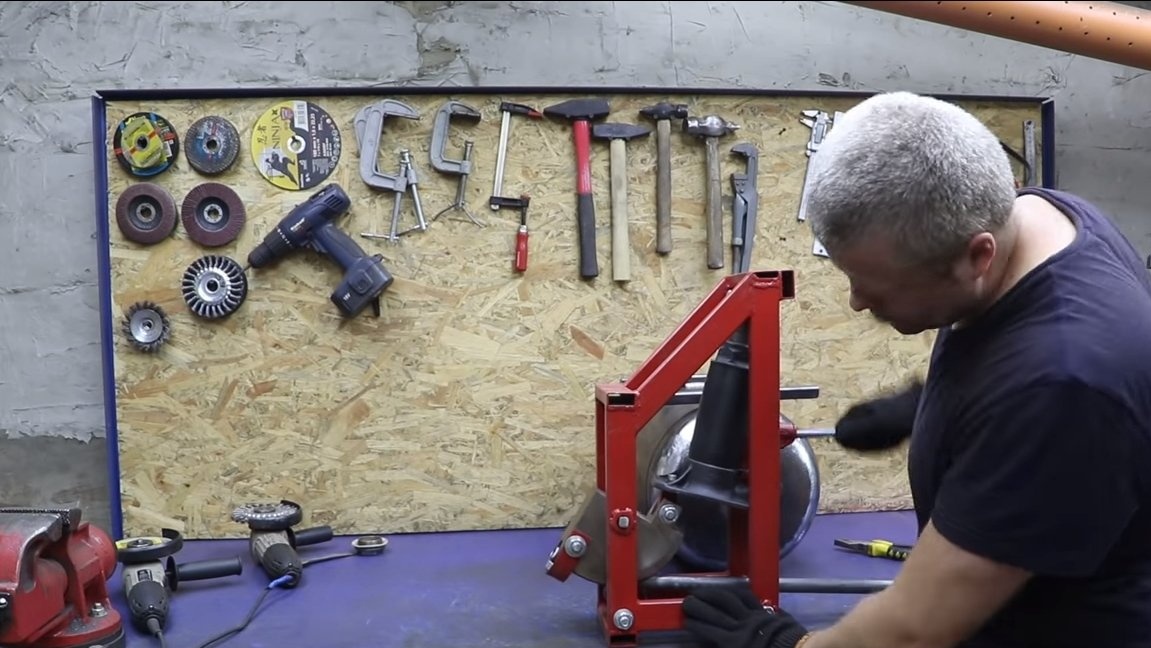
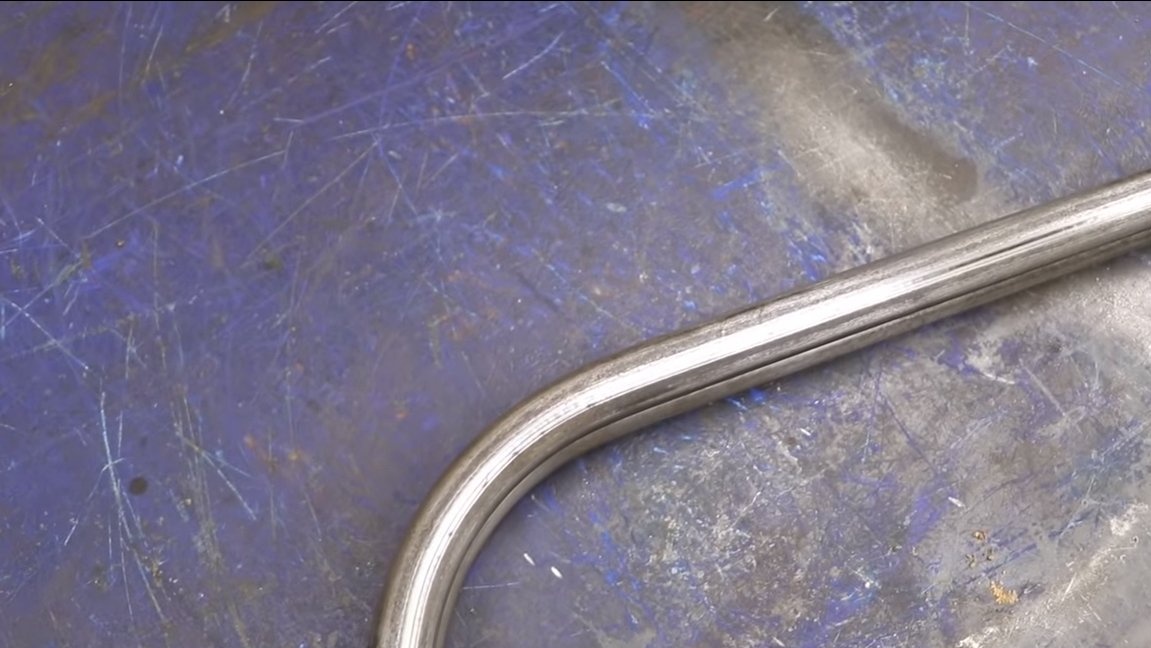
Step Three Legs
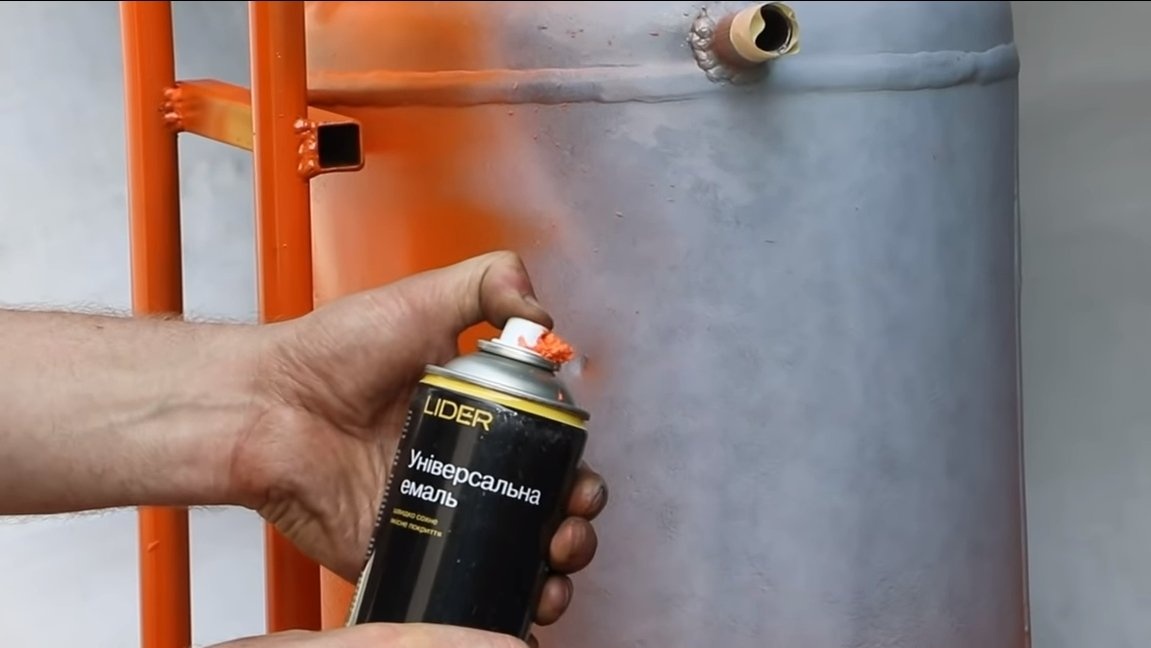
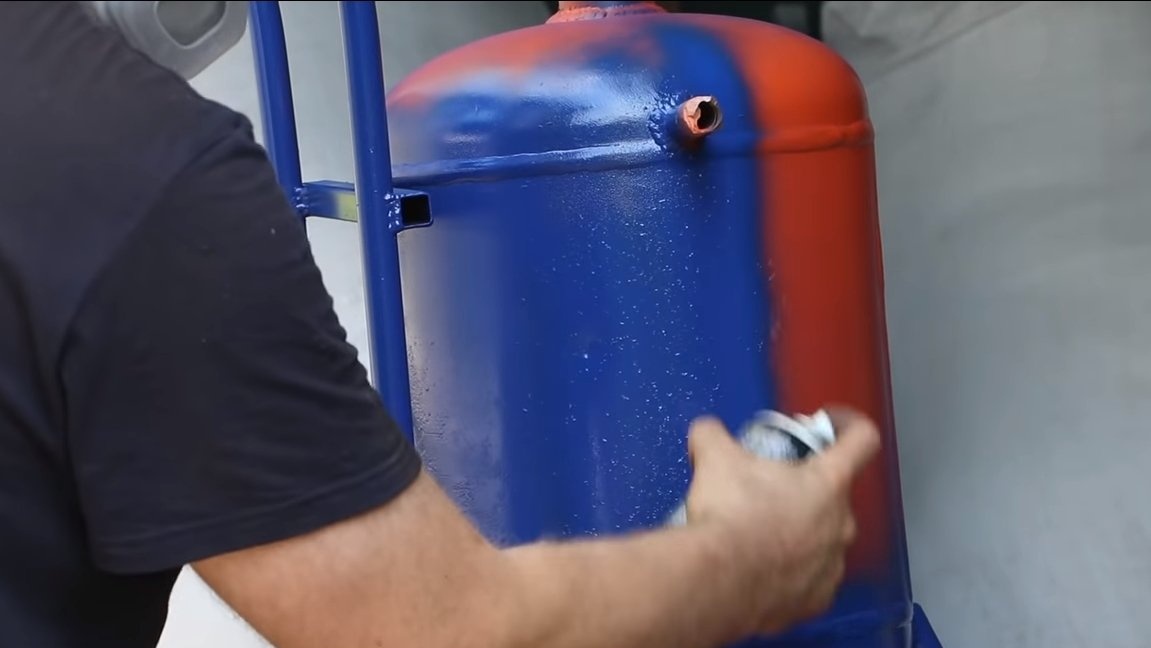
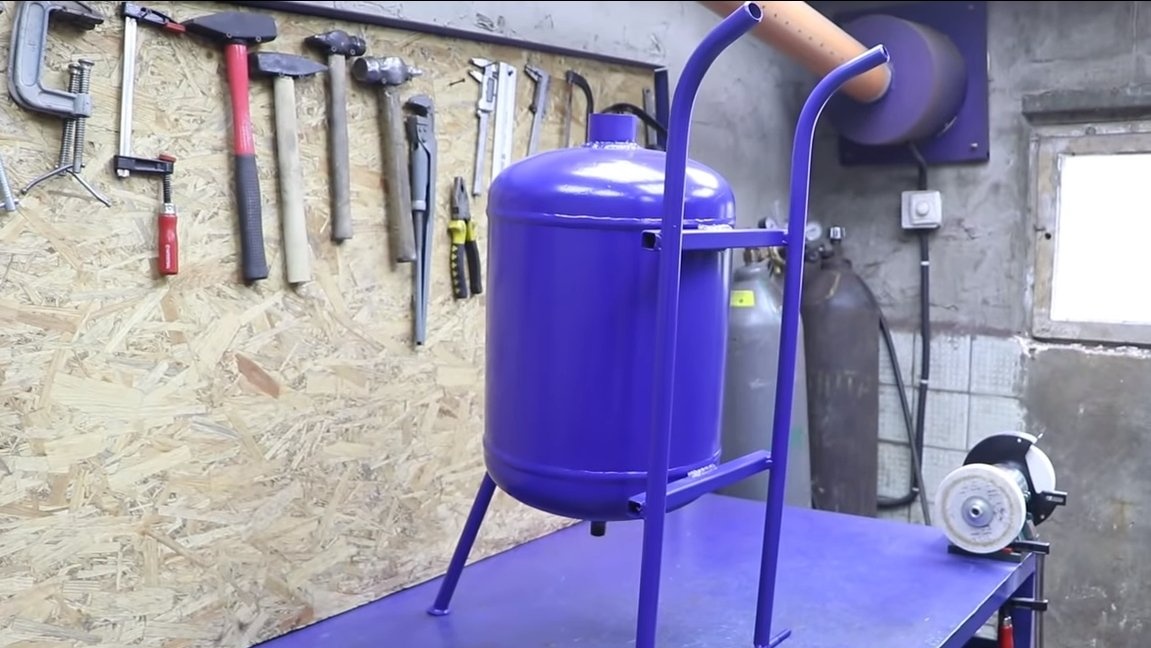
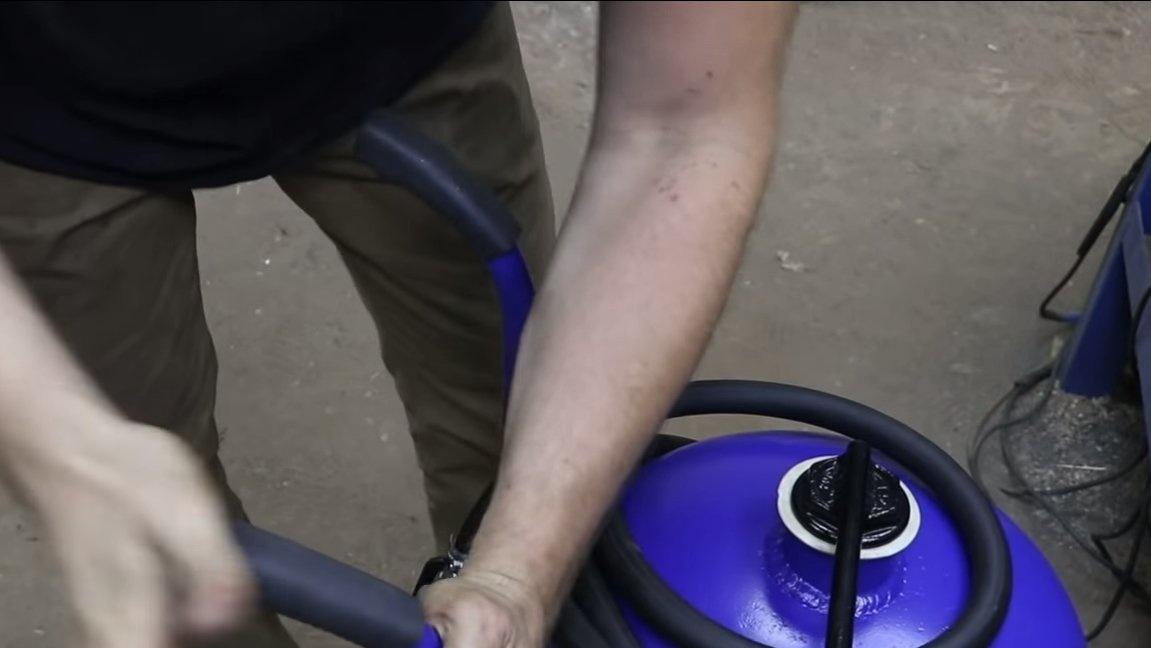
For homemade work, the author has welded a simple frame from profile and round pipes. It was also decided to install two wheels on the homemade product, so that the cylinder was easy to move around the garage. At the end, homemade work can be painted so that nothing rusts. From the first time, the author didn’t succeed in painting, since the spray cans were defective, and as a result the homemade product found a pretty blue look.


Step Four Assembly
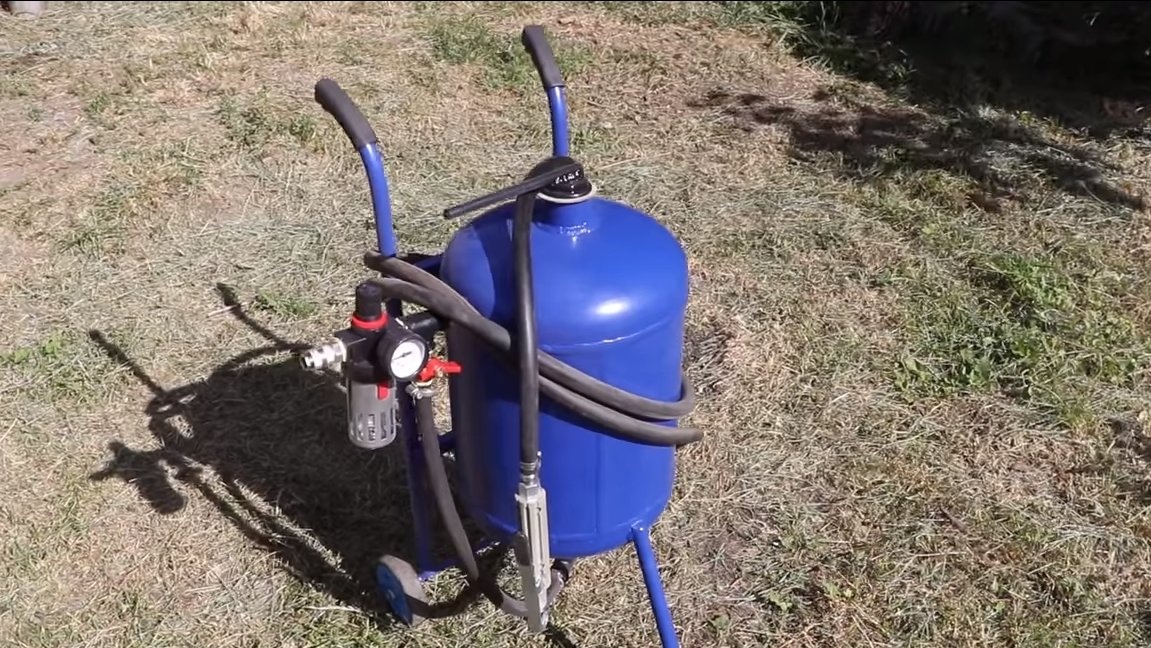
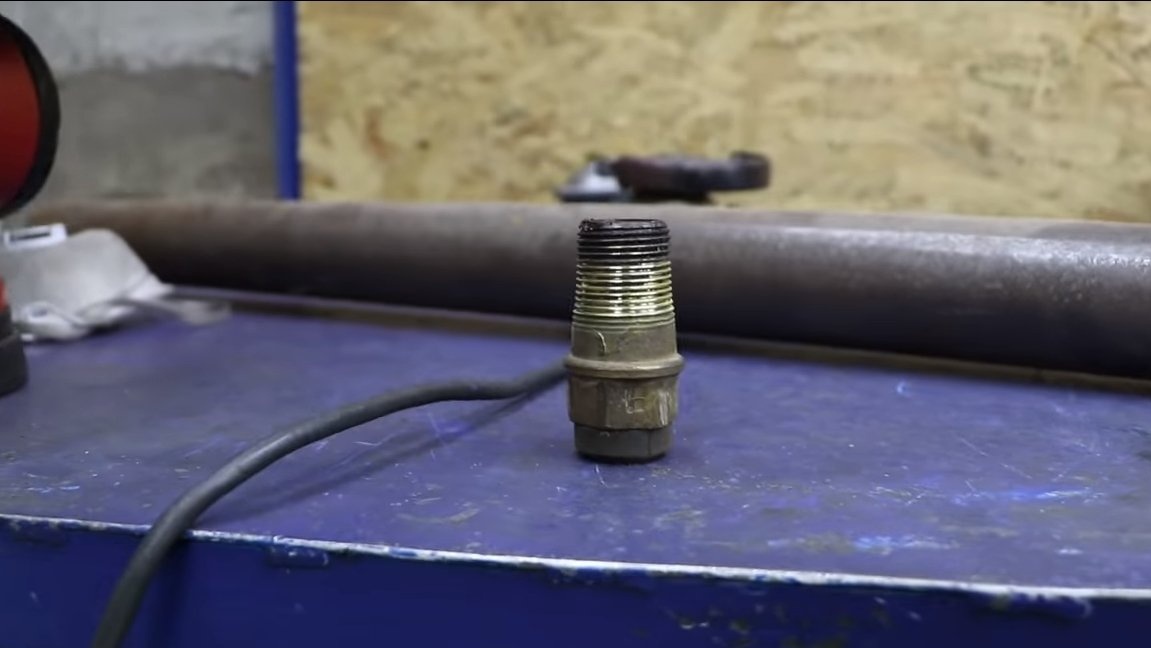
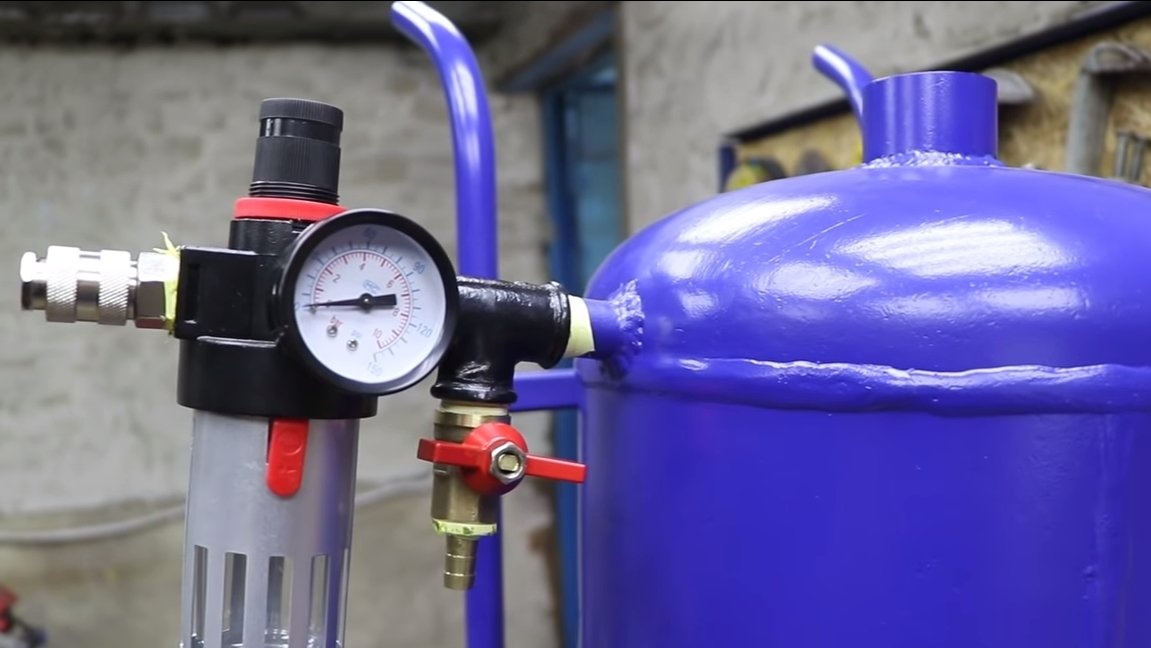
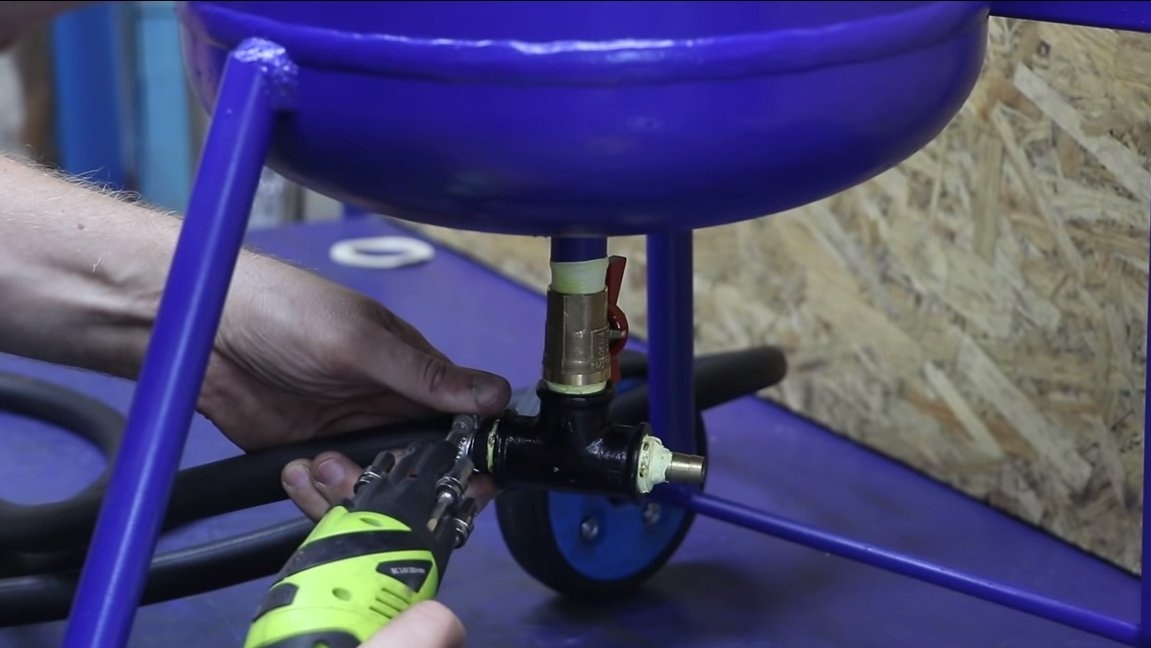
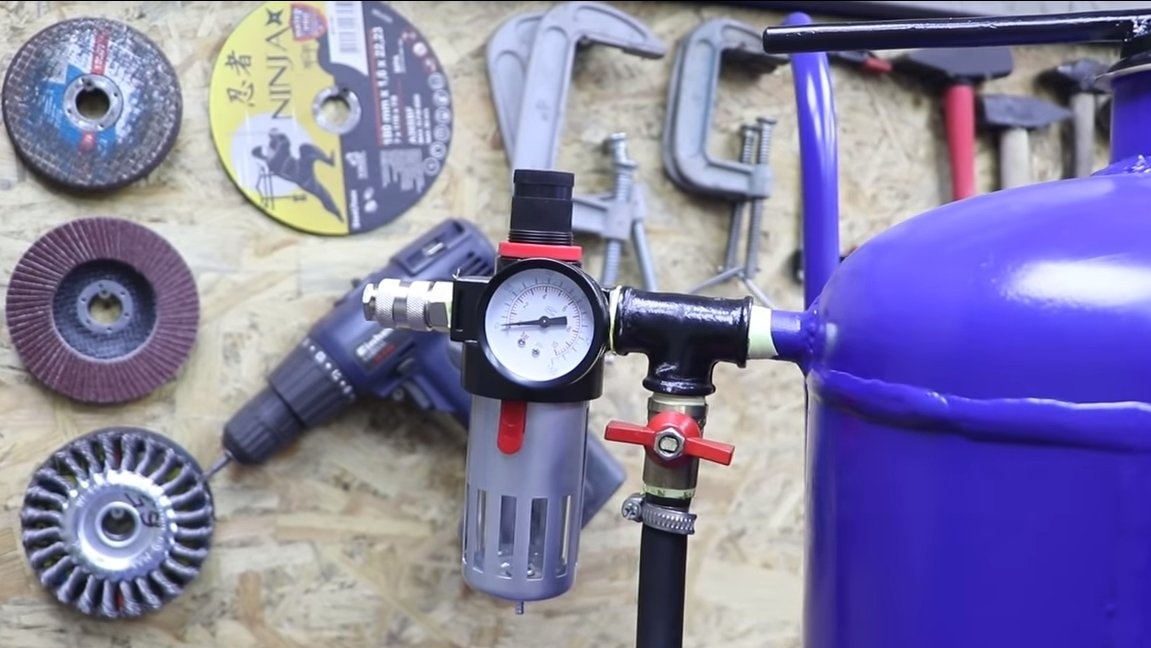
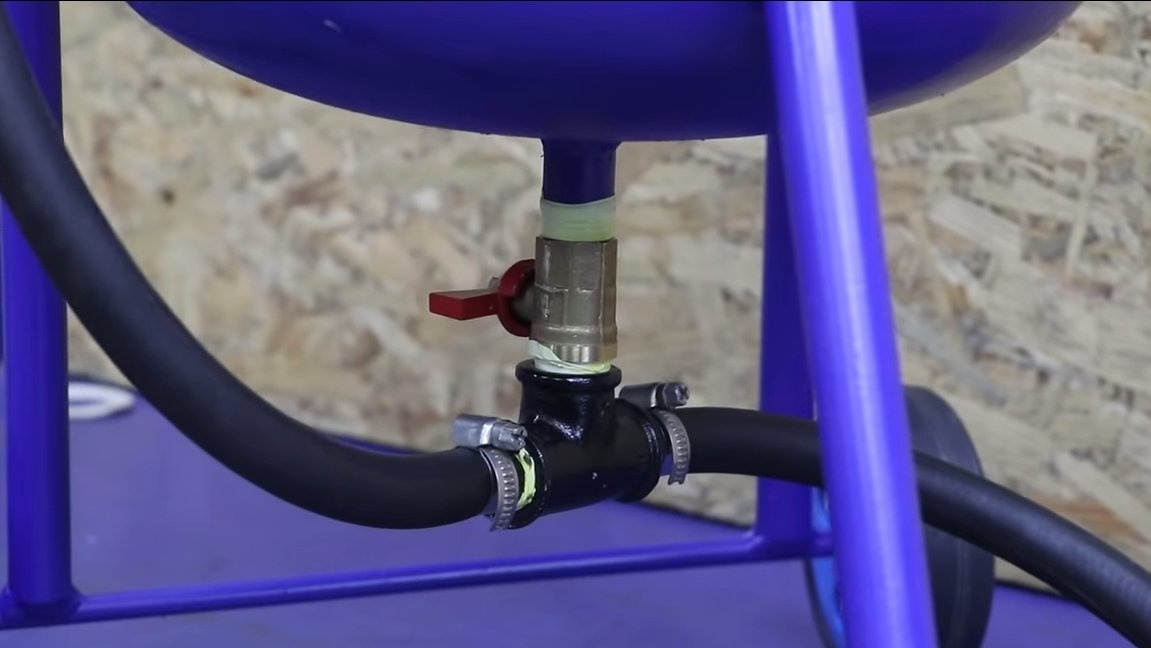
We assemble the homemade product; we fasten the tees to the upper and lower flanges. A water separator, a pressure gauge, and a tap with a fitting for connecting the hose are installed on the upper tee.
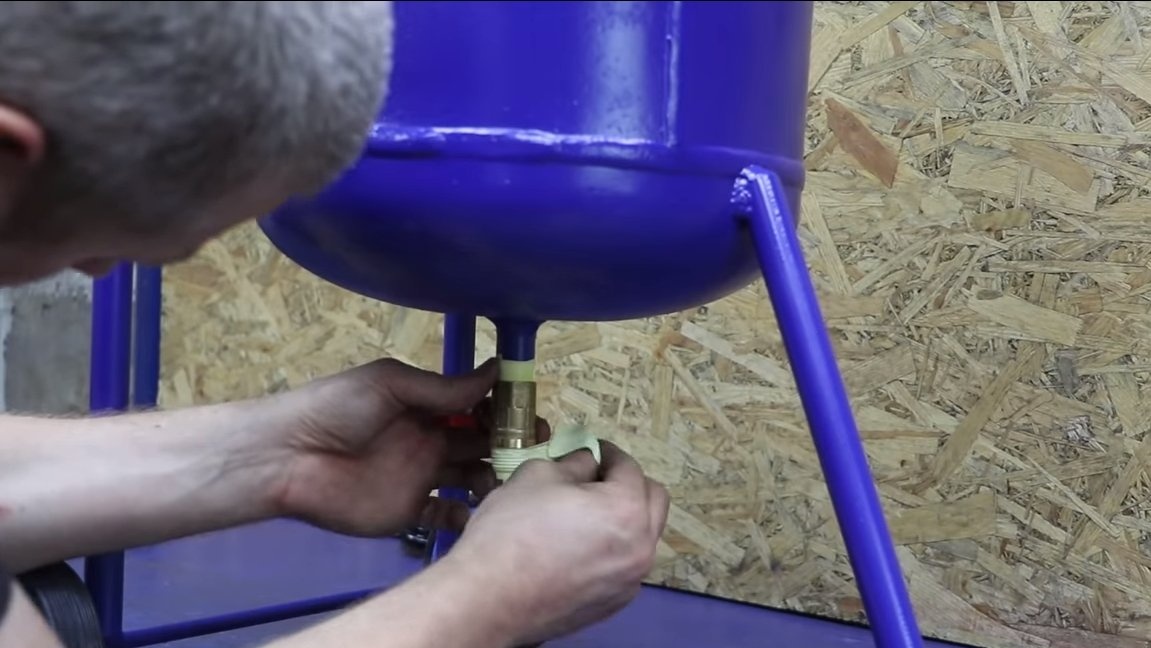
A tee is installed in the lower bend after the tap, into which two hose fittings are wrapped. At the end, it remains to connect the hoses securely.
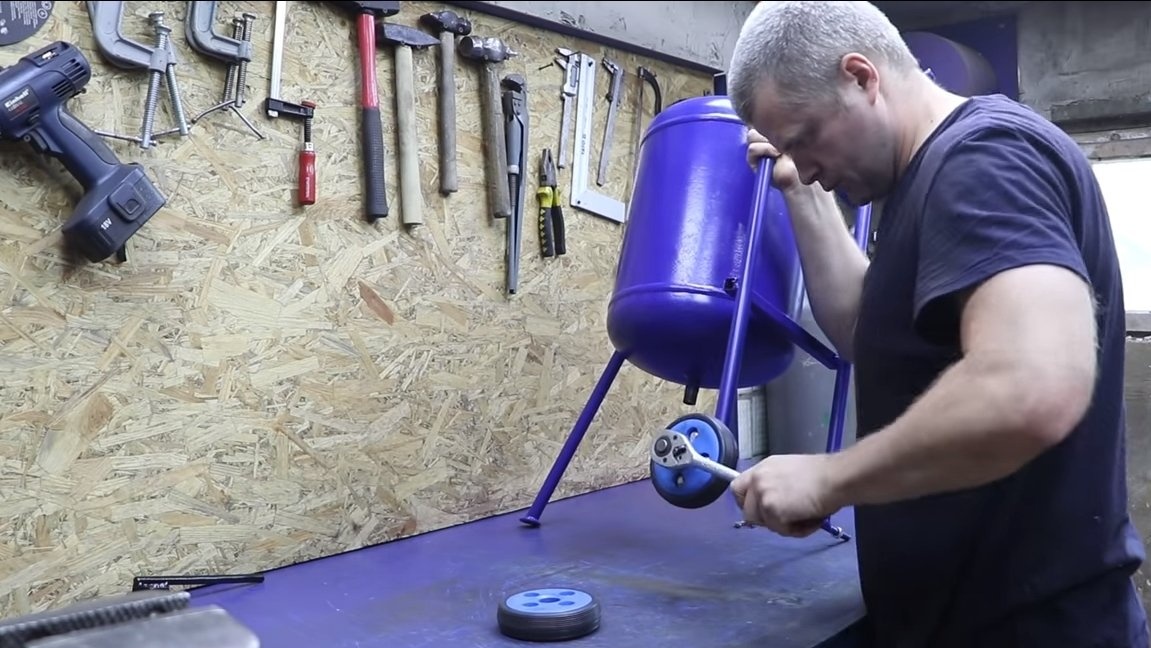
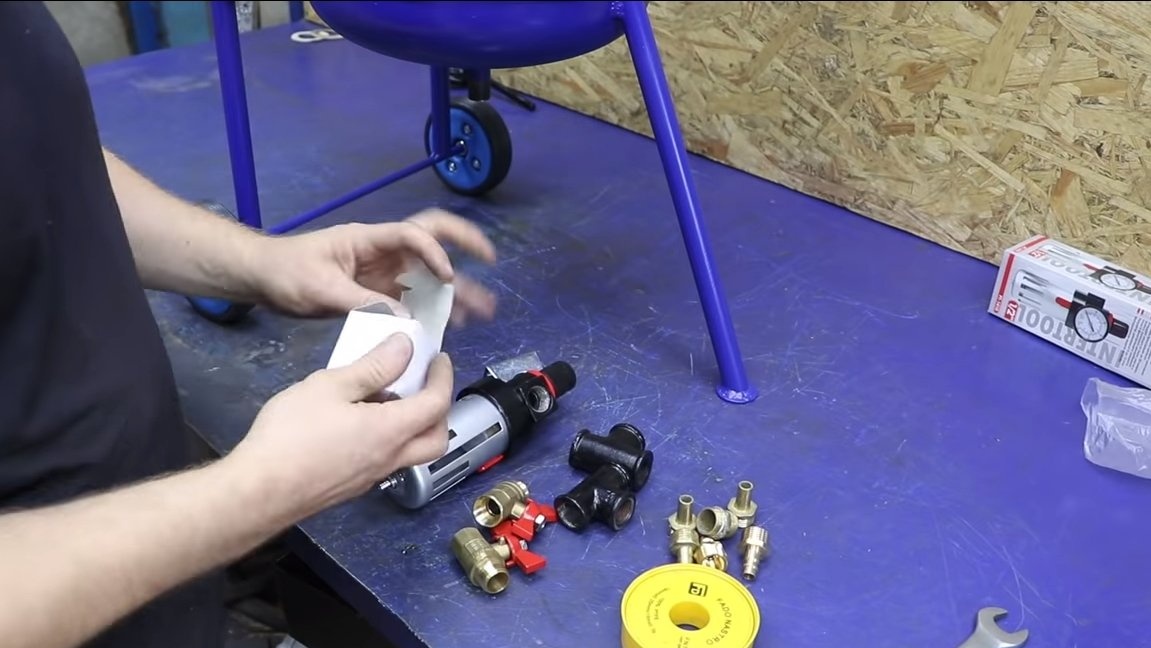
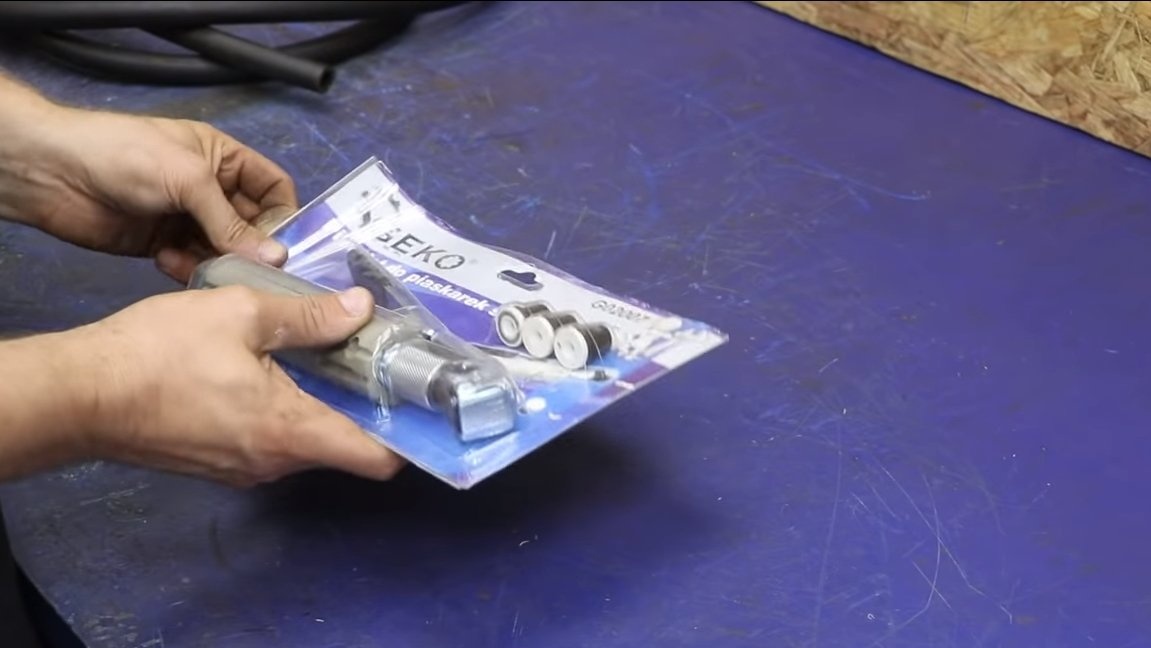
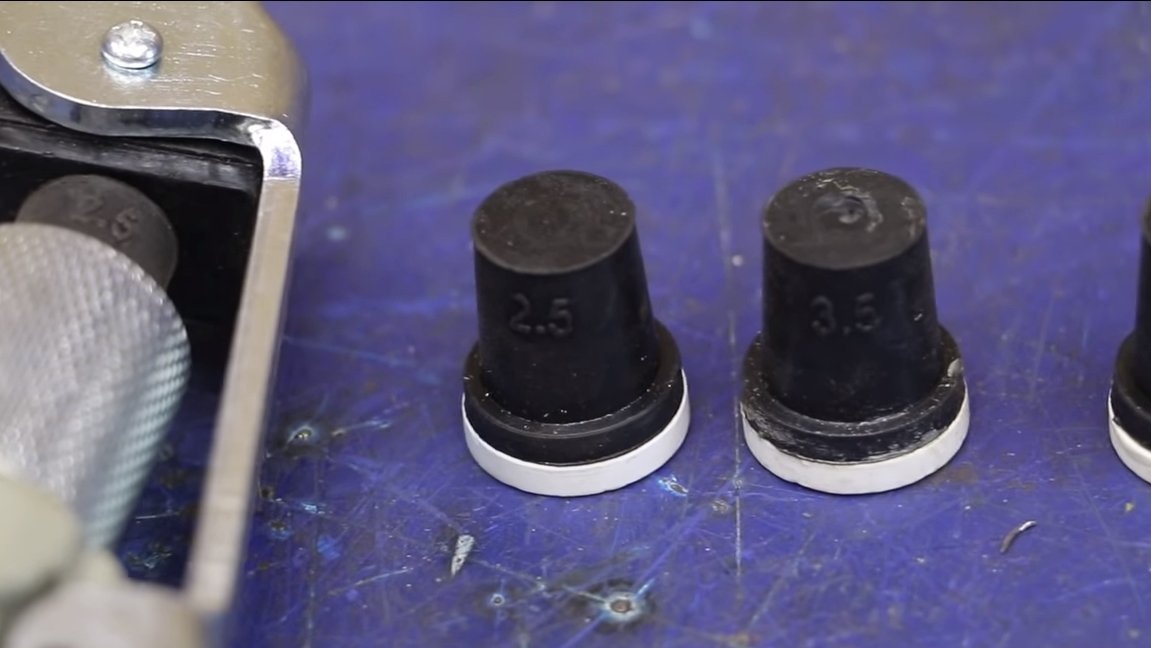
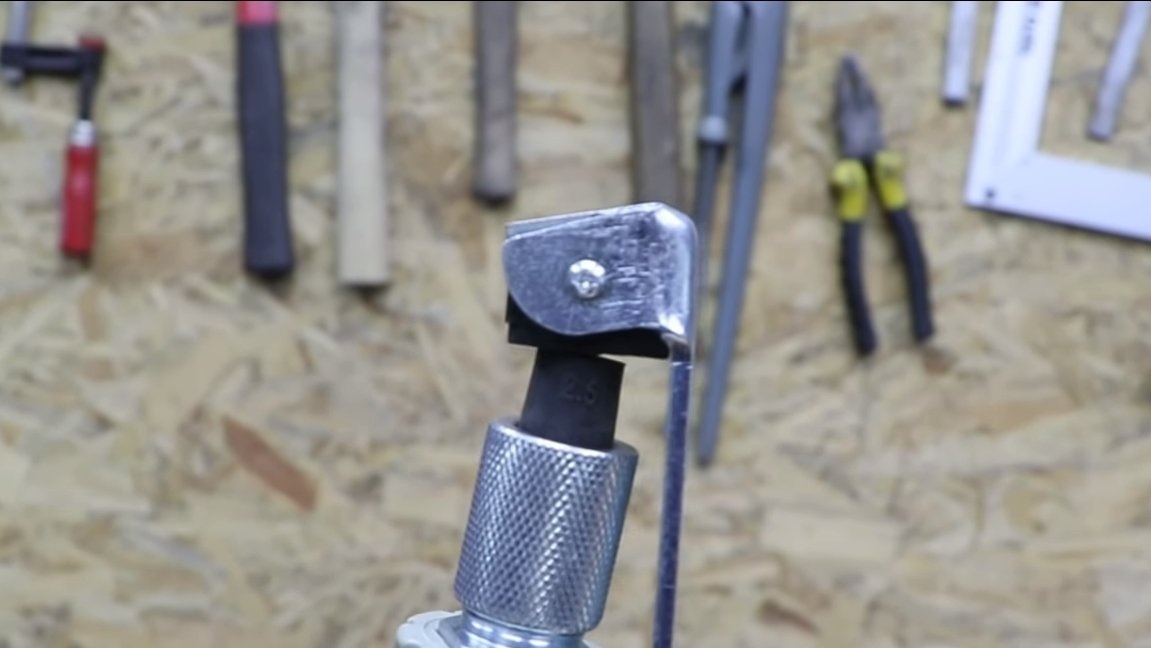
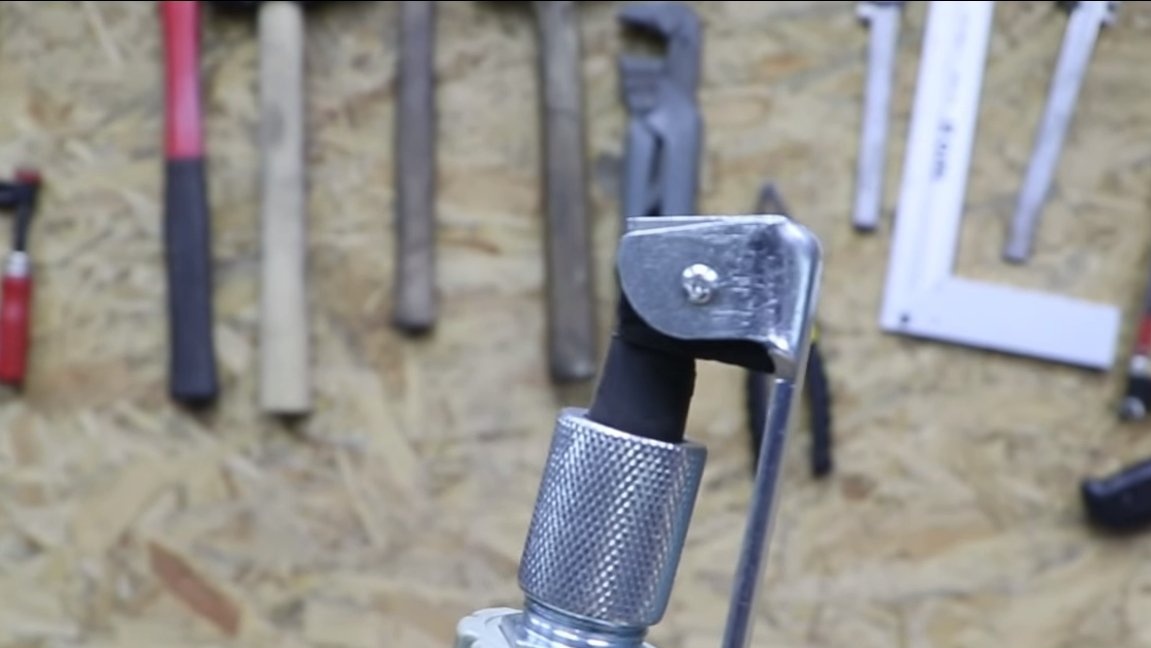
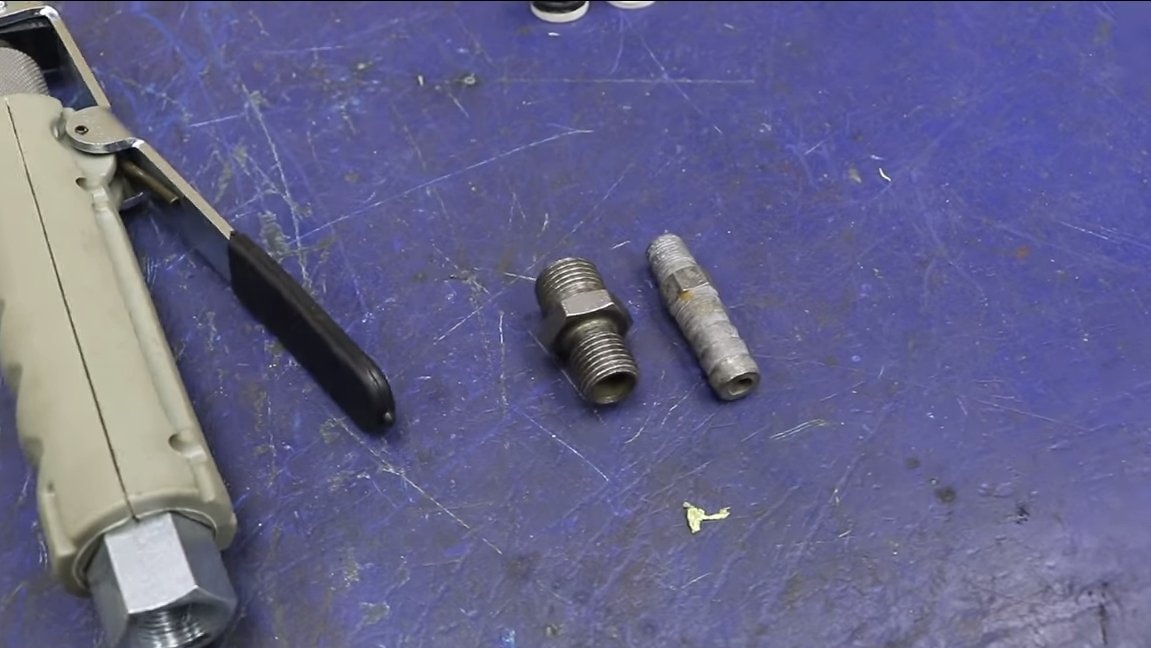
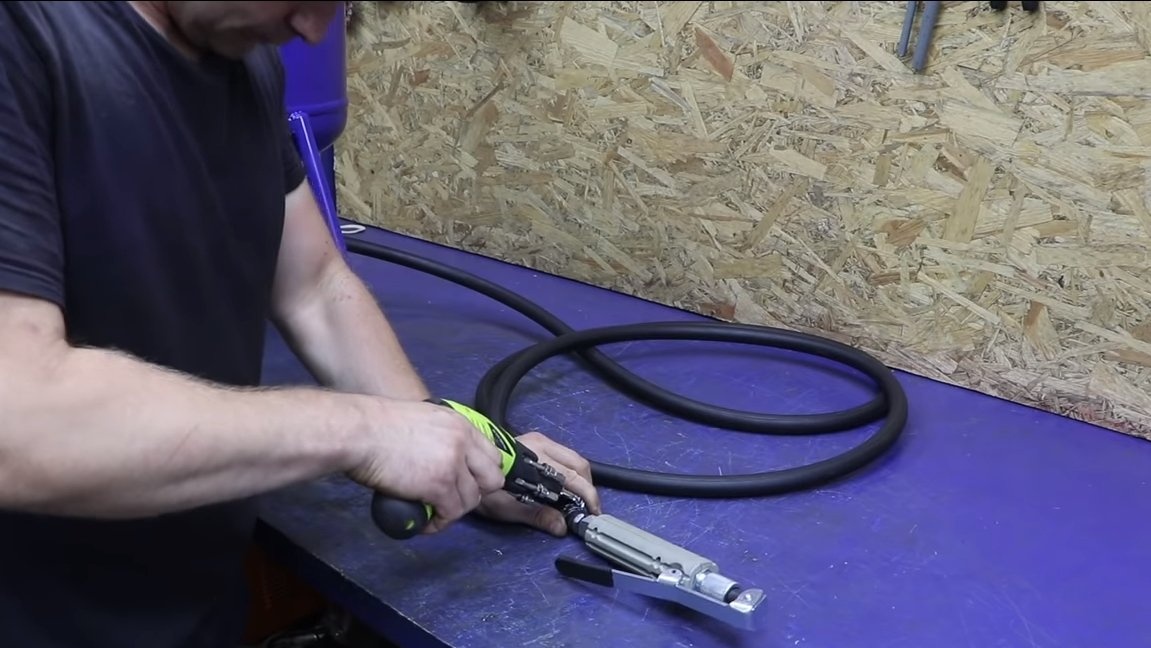

You will also need to connect a gun for a sandblasting machine, the author used an inexpensive purchase. As a result, the gun had to be redone a little, because his nozzle did not overlap. Do not forget to install the rubber handles on a homemade product, if there are none, we use pieces of a rubber hose.
Step Five Test
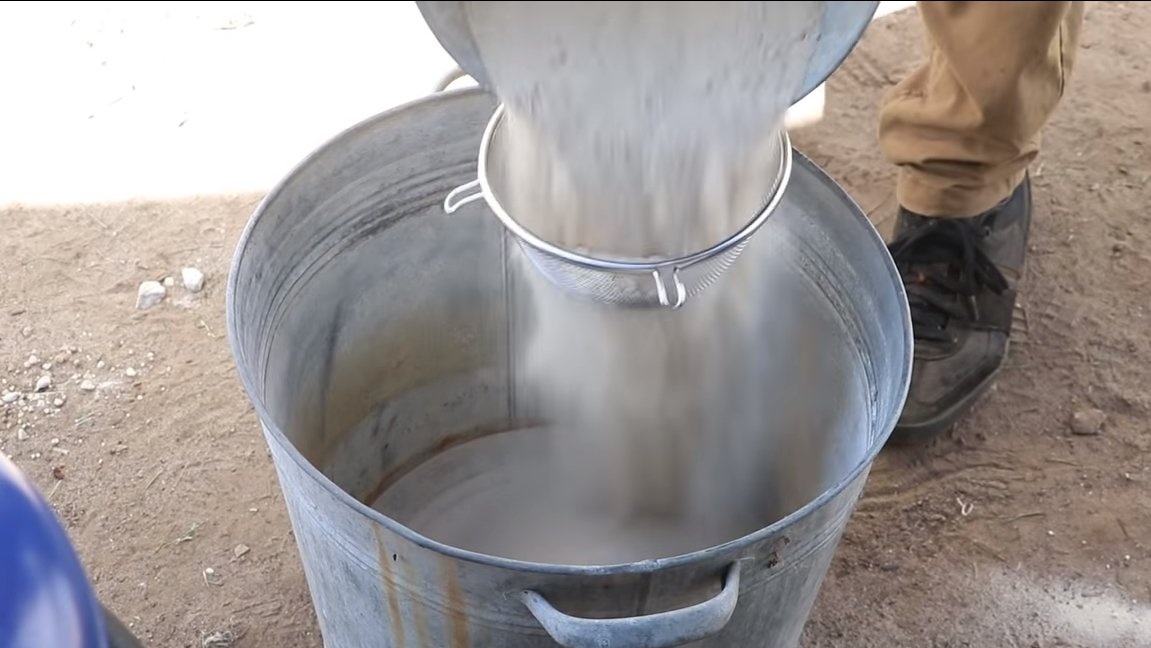
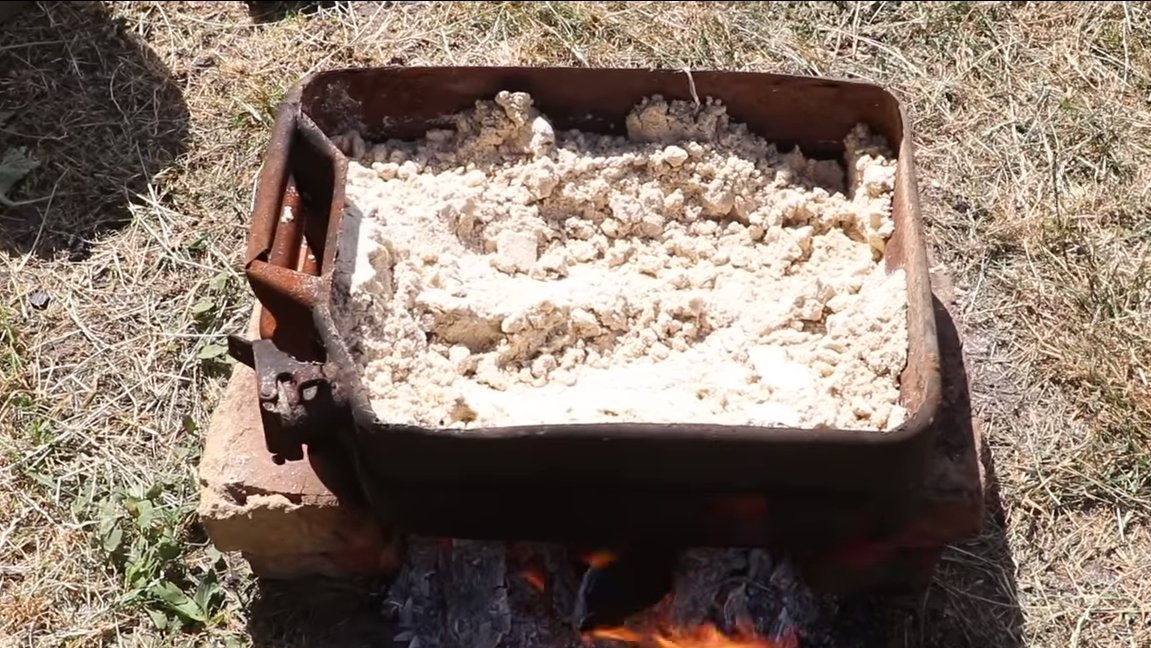
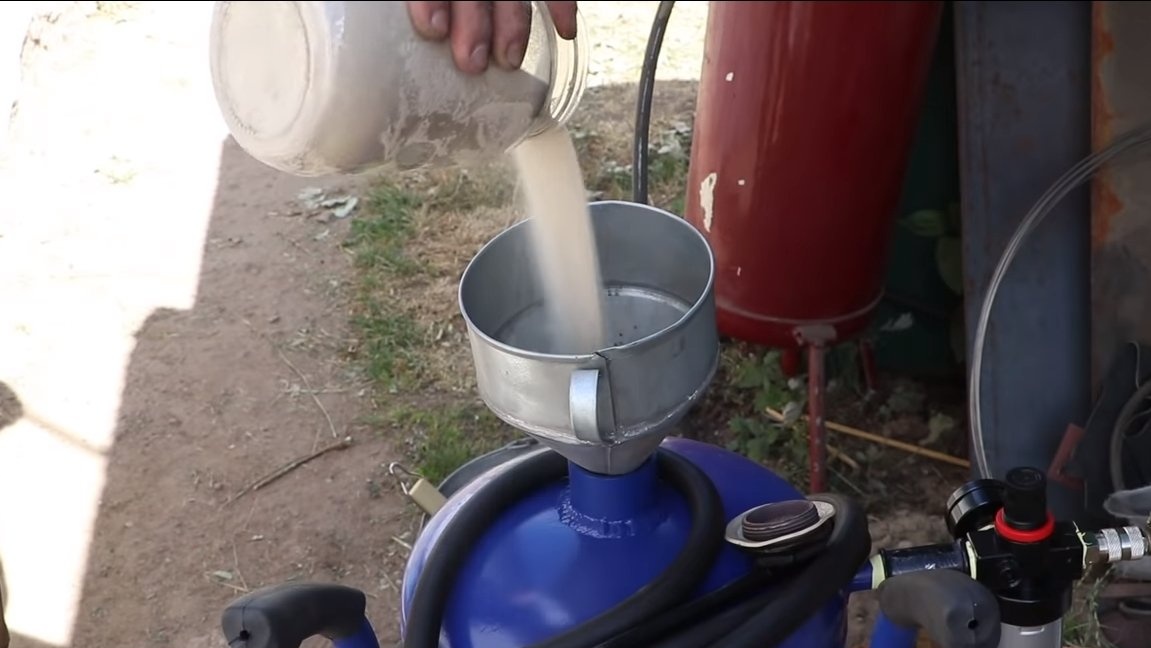
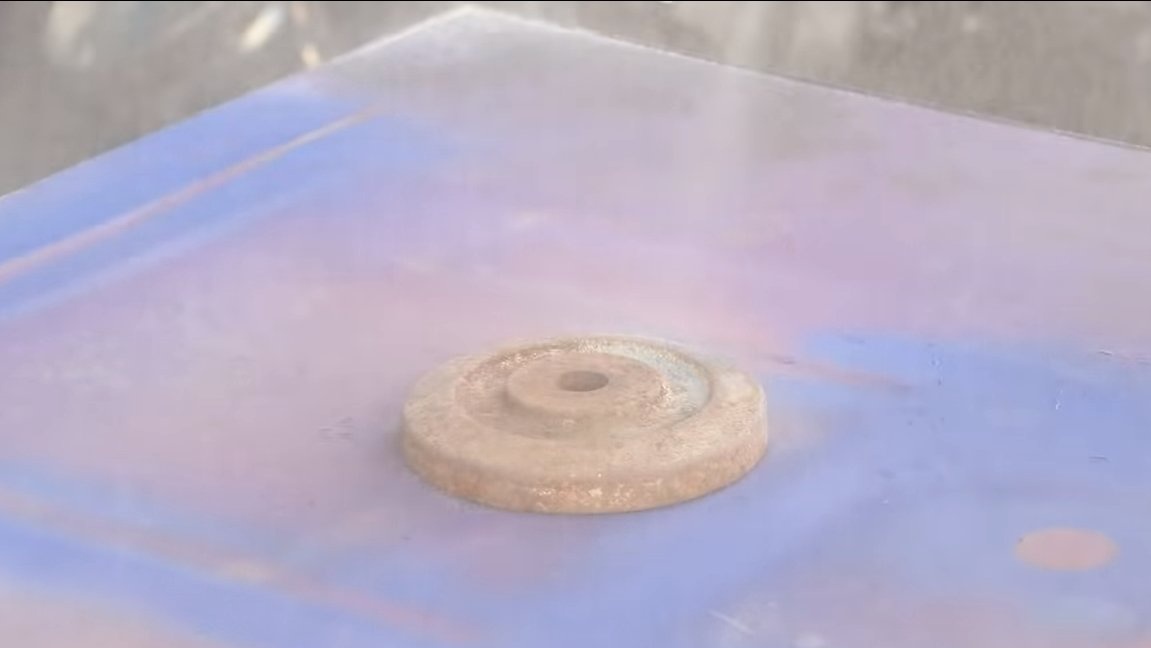
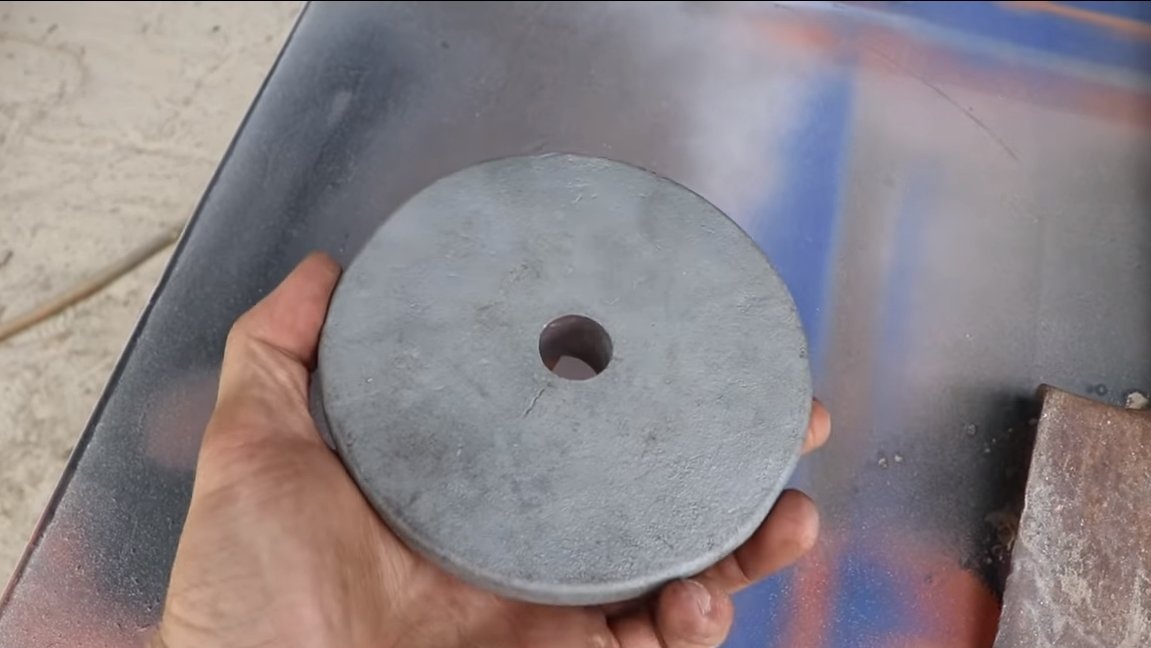
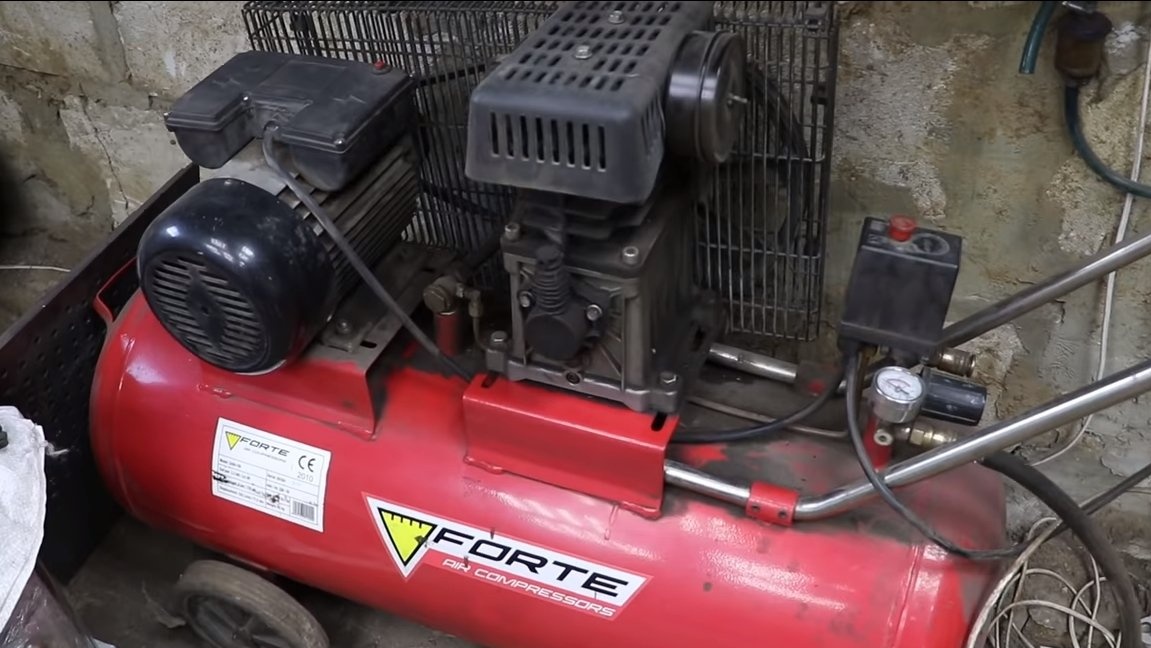
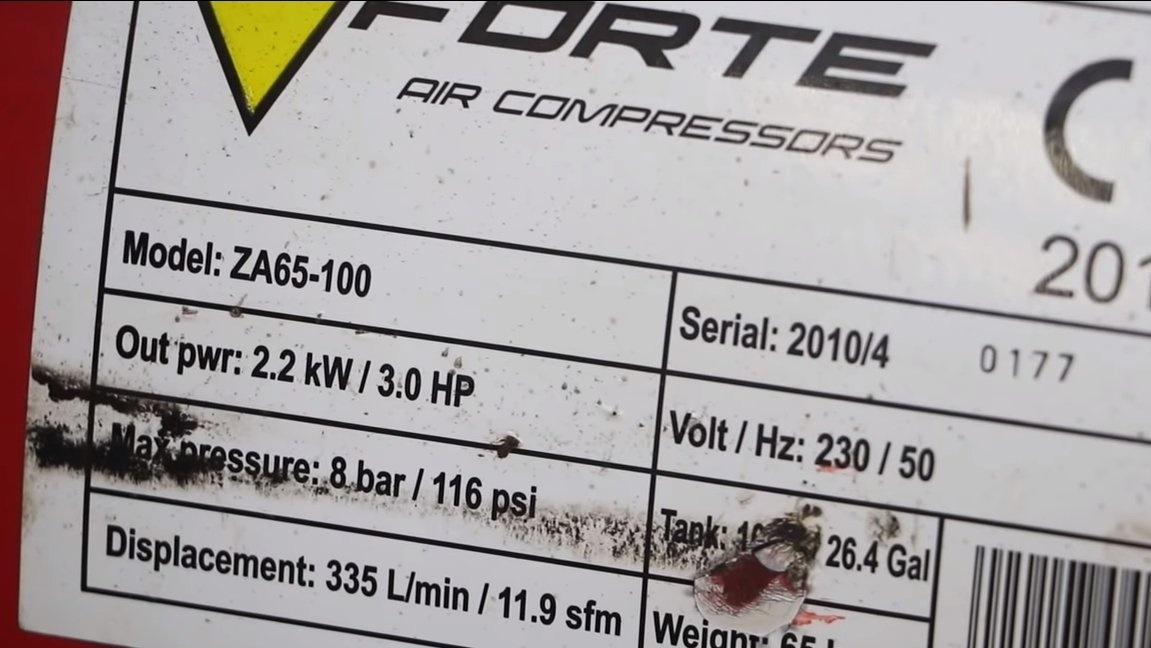
You can proceed to the tests, first we will prepare the sand. The author uses sand from a hardware store, needs to be dried well, the author puts sand in a canister and dries it on a fire. Next, sift the sand through a kitchen colander and pour it into a container through a watering can. Homemade can be started, the pressure will need at least 6 atmospheres, under this pressure the sandblast works well. Also, the compressor should produce a sufficient amount of air, its minimum performance can be from 300 liters per minute, and it is better to take a larger receiver.
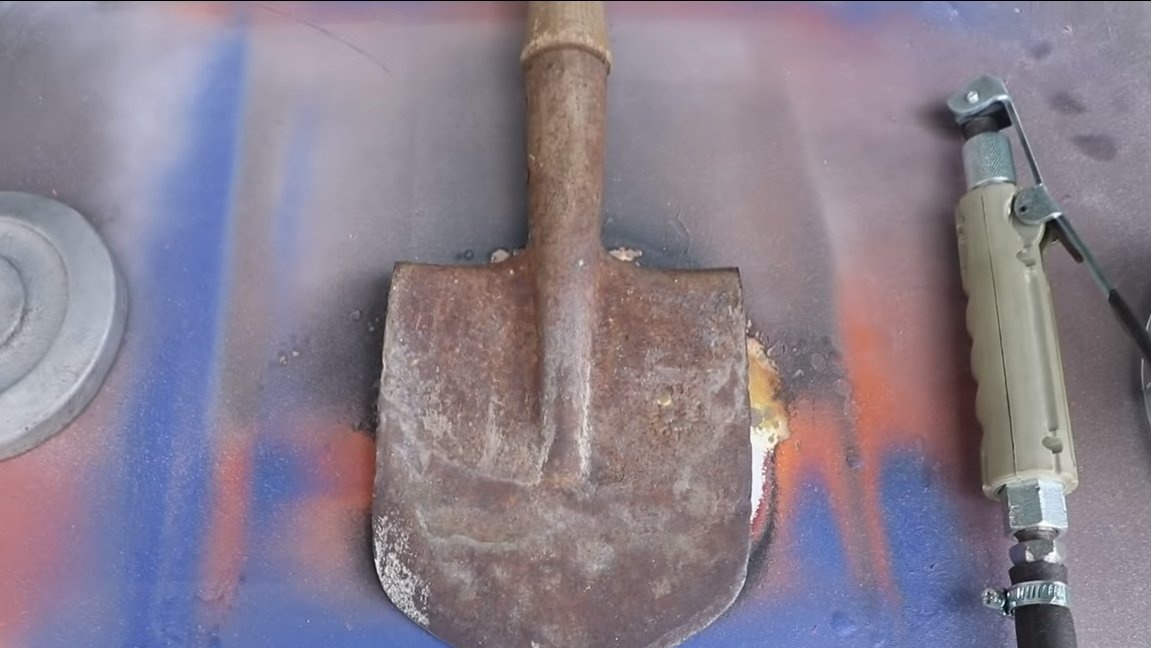
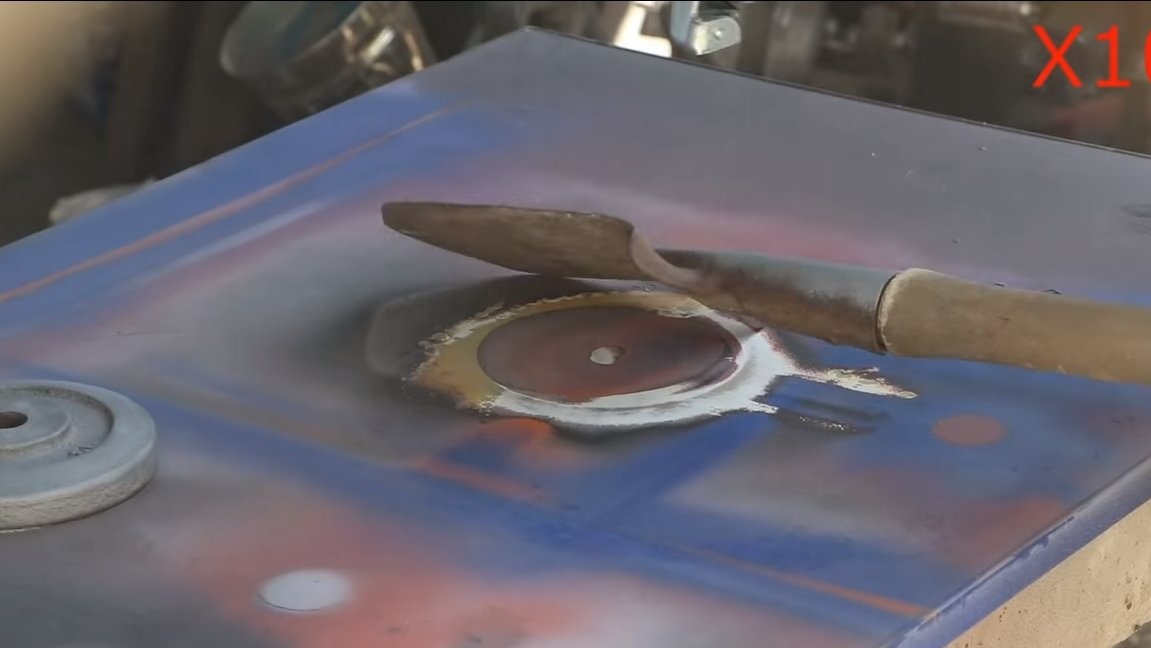

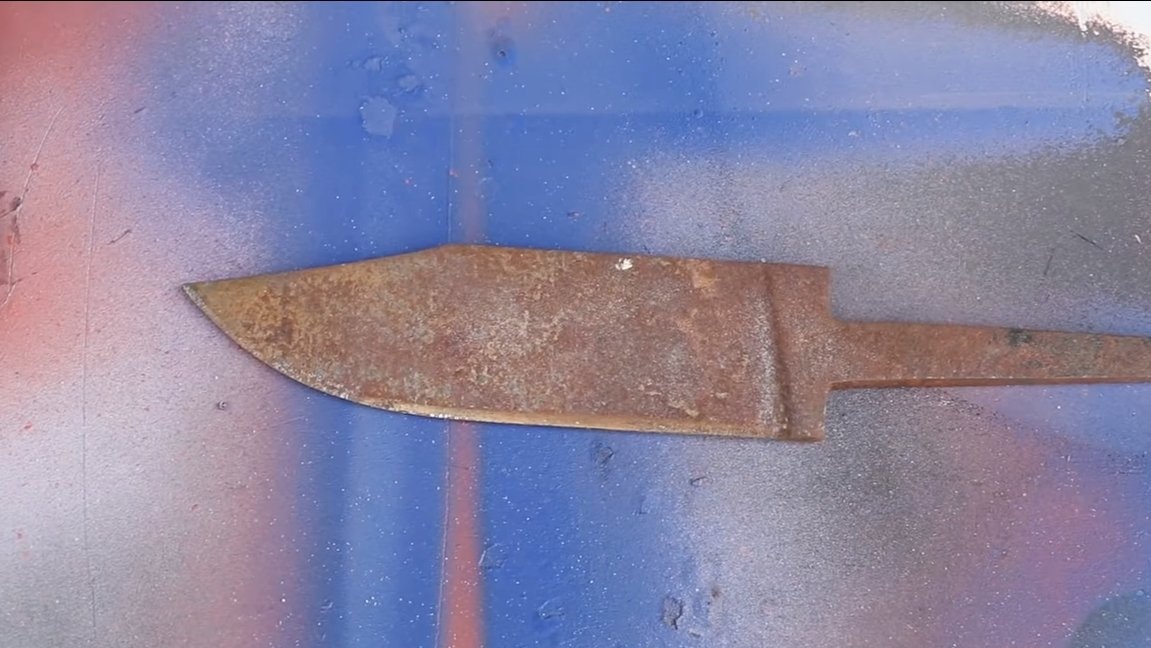
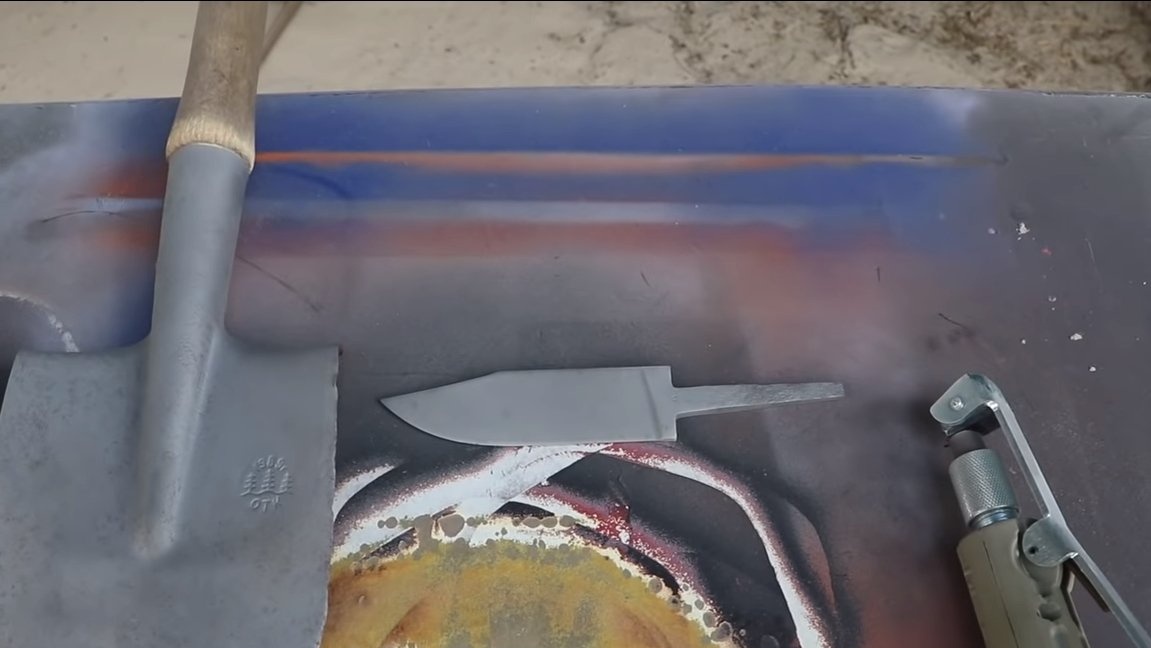
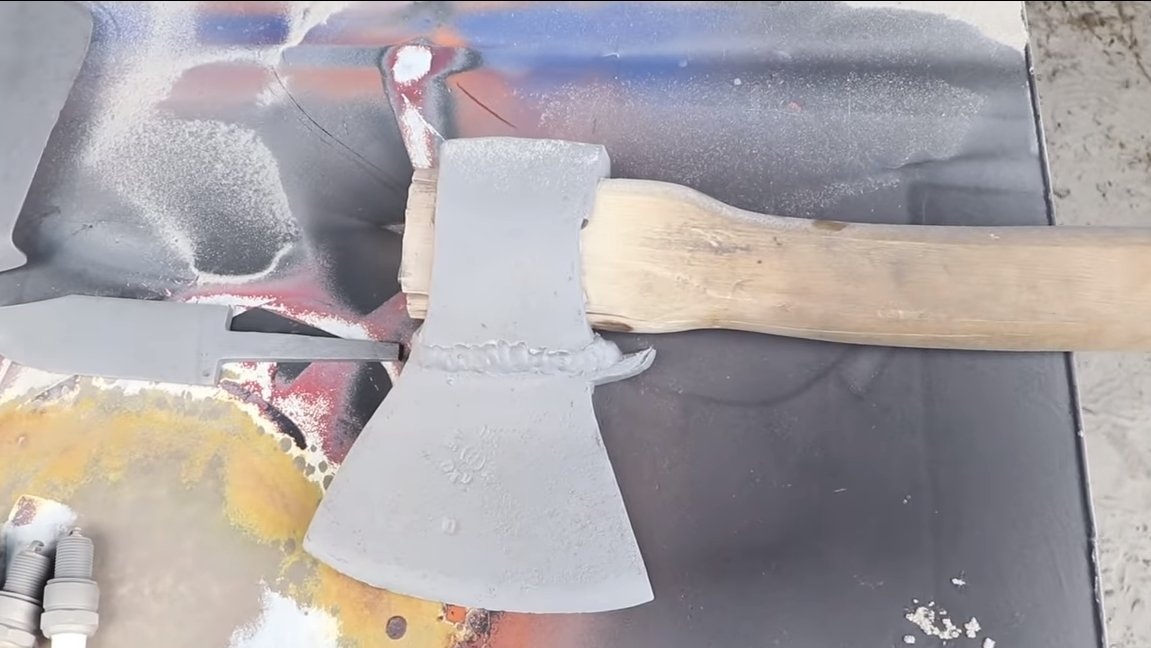

With the help of cranes, we adjust the desired sand supply and proceed to processing. As an experiment, the author cleaned the old pancake from the dumbbell from rust, everything turned out fine. Also, the machine perfectly cleaned the old ax, blade and sapper shovel from rust. The car turned out to be useful, simple and convenient. I hope you enjoyed the project and found useful thoughts for yourself. Good luck and creative inspiration, if you decide to repeat this. Do not forget to share your ideas and homemade things with us!