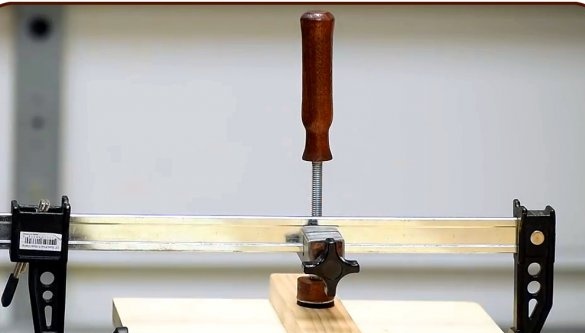
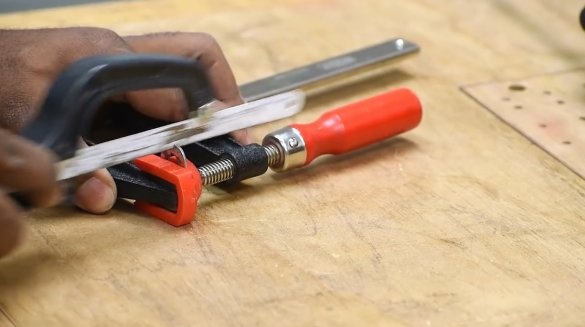
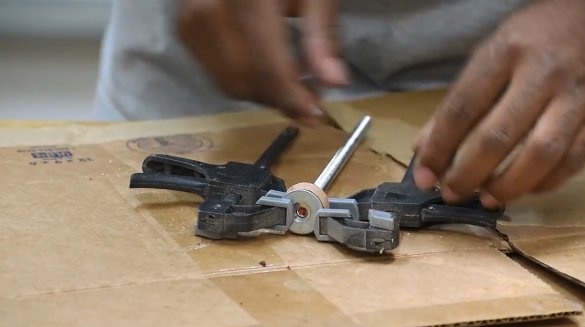
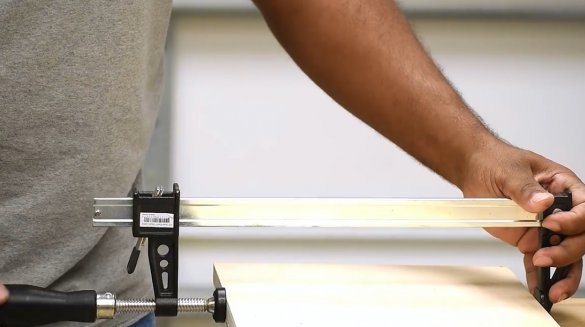
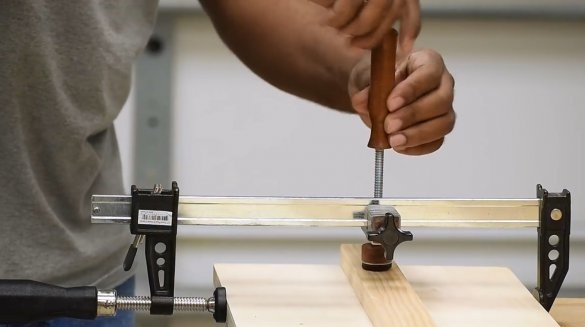
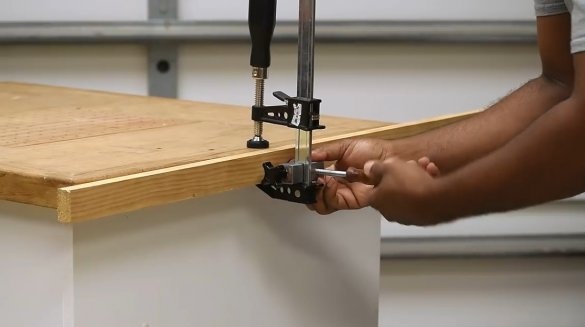
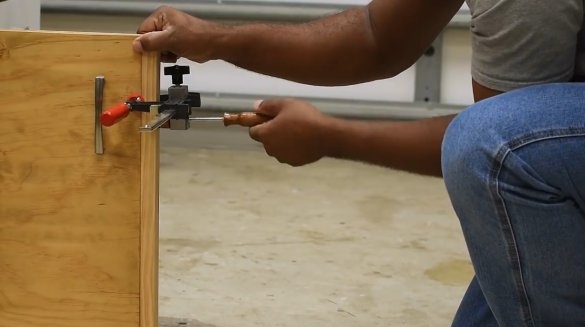
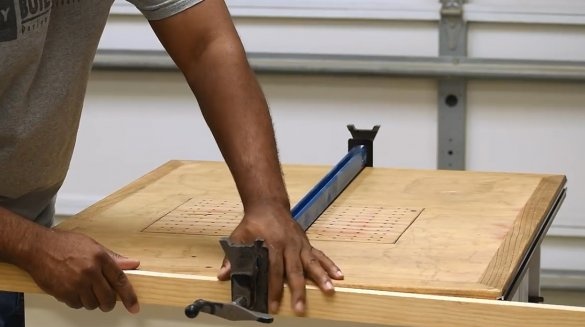
Often, craftsmen need to fix the parts with clamps from the end of the main element.
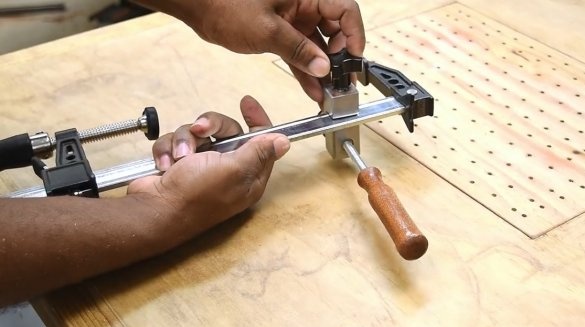
In this article, the author of the DIY Creators YouTube channel will tell you how to make a simple nozzle to turn a regular clamp into an end clamp.
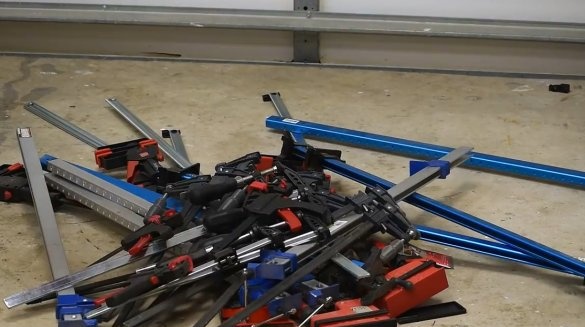
In another case, you have to use a bunch of clamps.
Materials
- Wooden block
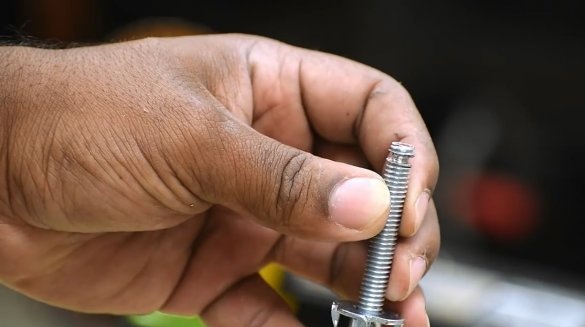
- Steel stud
- wing nuts
- Profile pipe
- Mortise nuts, washers
- universal glue
- Aerosol varnish.
Instruments, used by the author.
- Kern, ruler, marker, square, nippers, pliers
—
—
- Hacksaw
—
- Vise
- Wrench, mallet
- Lathe, chisels
—
—
—
— .
Manufacturing process.
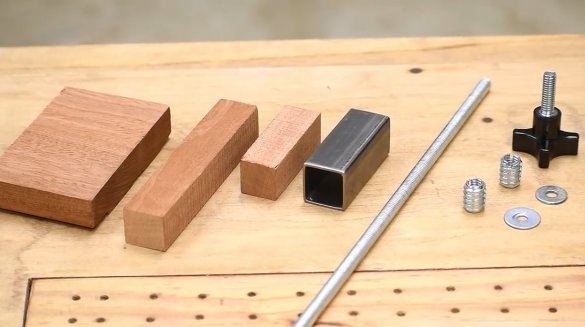
Here is the whole set of materials required to complete this project.
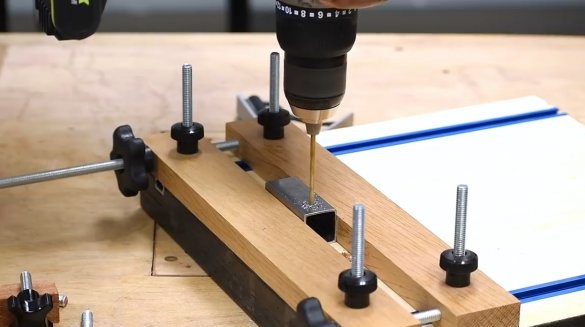
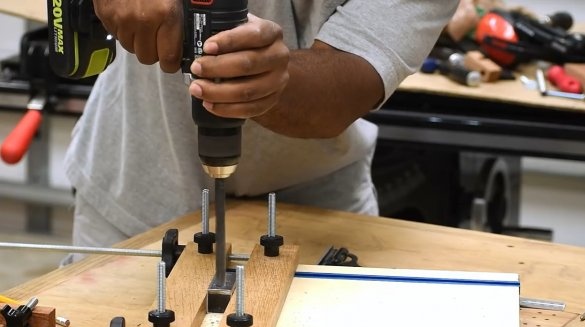
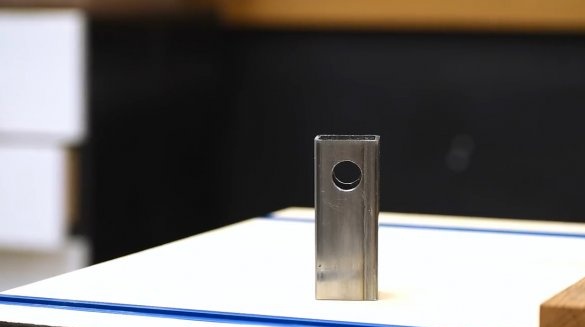
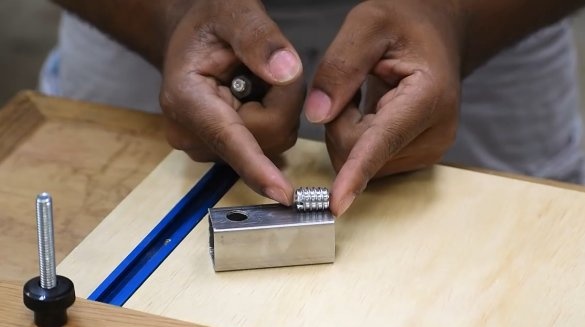
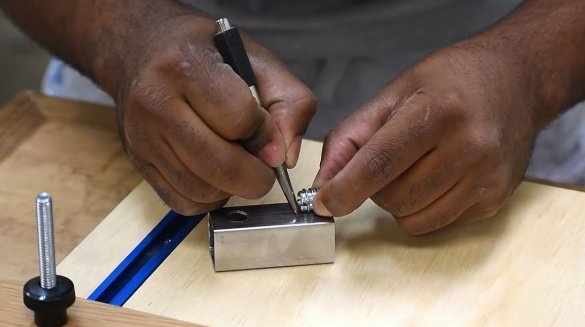
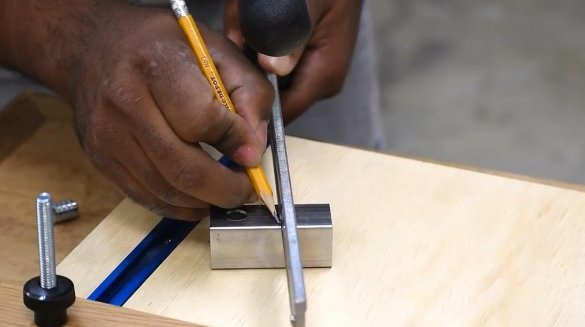
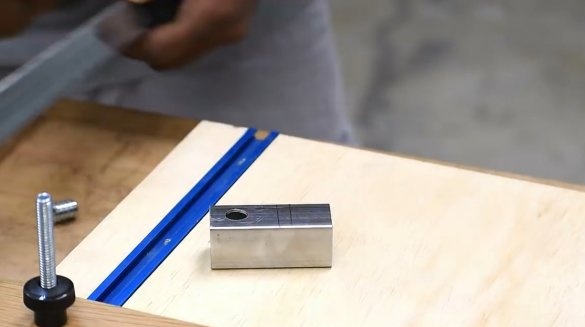
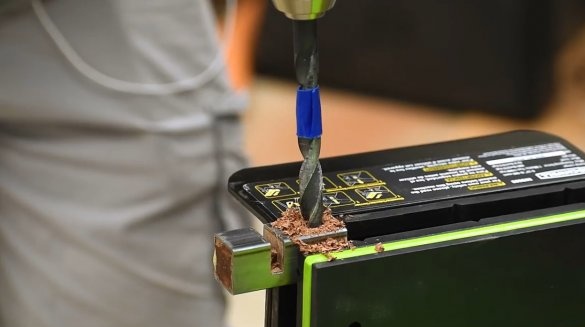
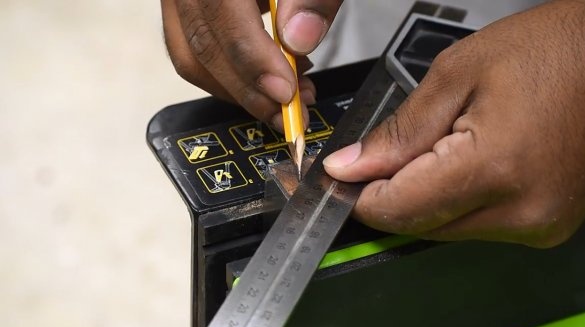
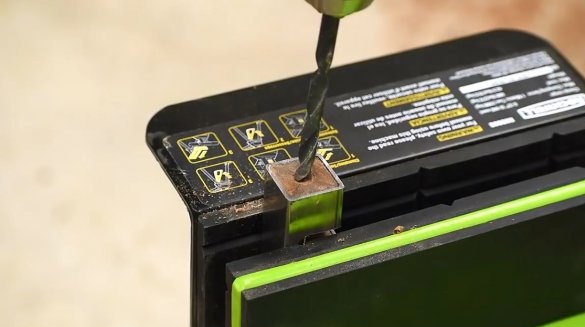
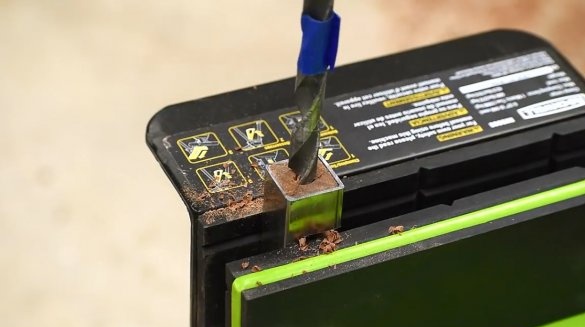
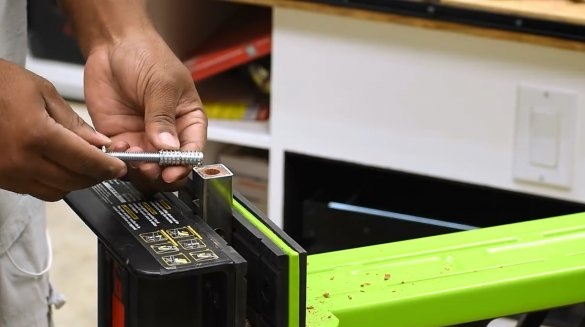
On a metal profile / pipe, the author makes a mark at a distance of about 12 mm from the edge and drills a hole for the pressure handle in this place. There should be a threaded insert. The author first makes the pilot hole a thin drill, and then the drill is thicker, passing through the entire profile through.
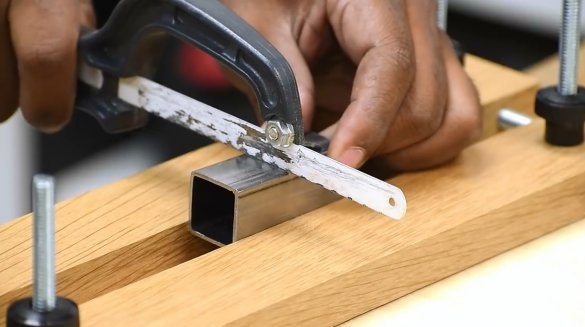
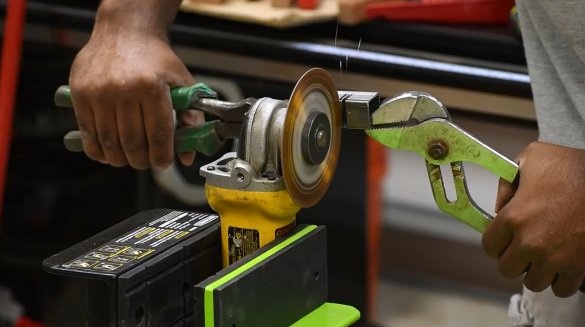
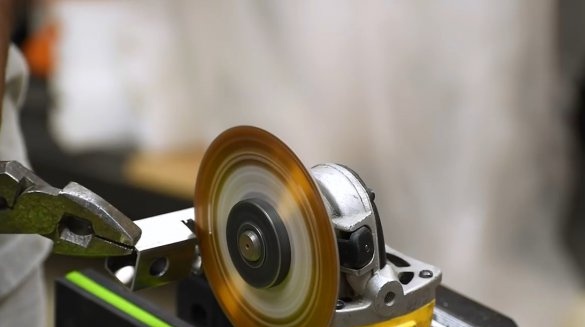
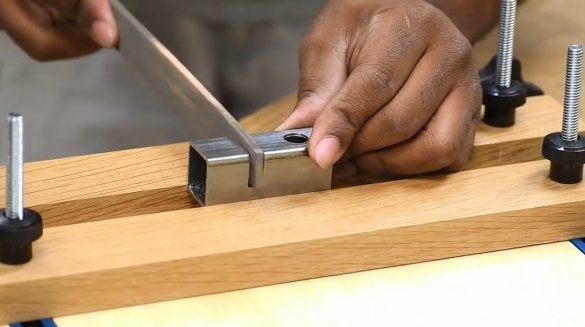
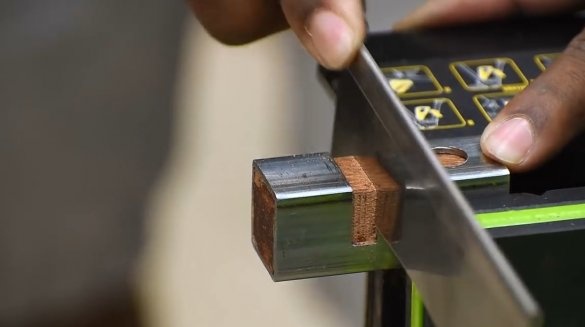
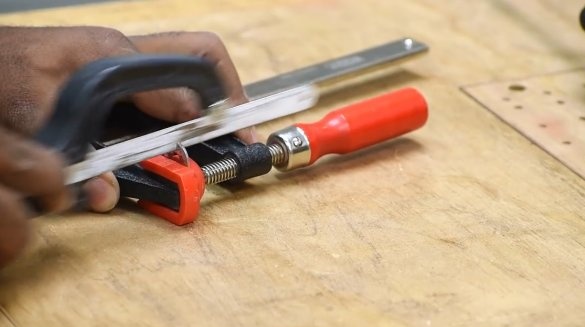
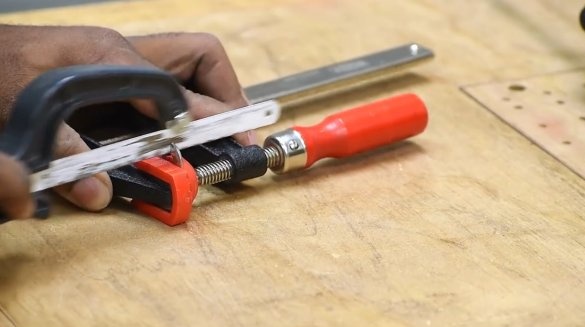
He further notes the approximate depth at which the threaded rod should enter. In this place, he makes a preliminary cut with an ordinary hacksaw for metal, and then he does the rest of the work on the angle grinder fixed in the vice.
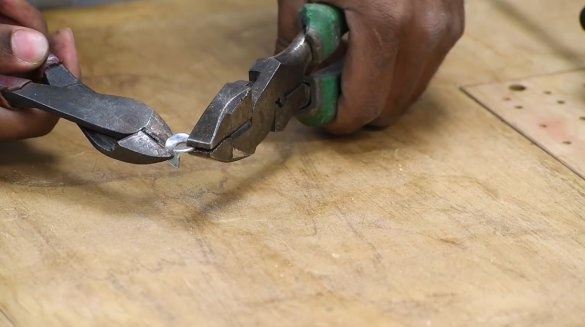
At the same time, he tries to hold the part itself with pliers for security purposes. This slot should not be ideal, but wide enough so that the thickest clamp passes into it. The slot is carefully sanded with a file.
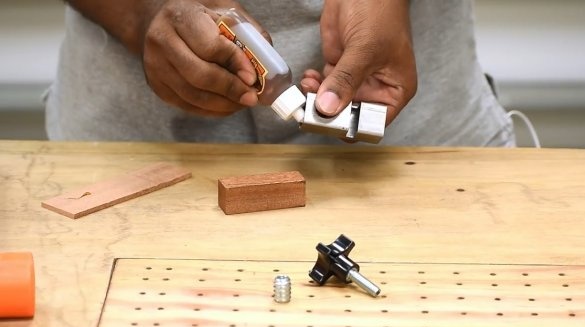
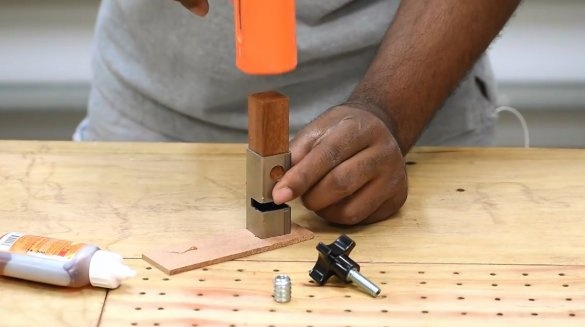
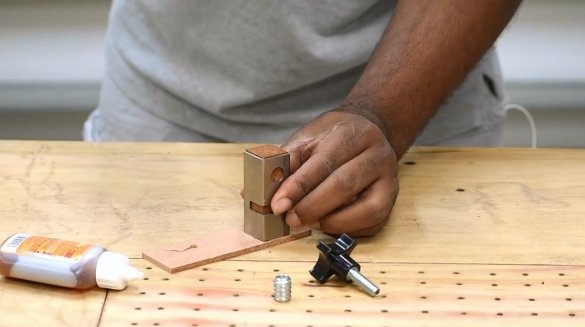
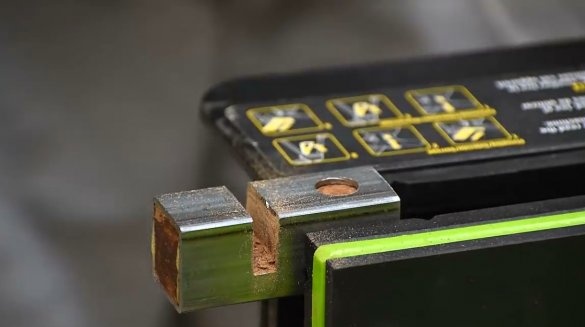
Then the master pushes the wooden block into the blank exactly. To fix the bar in this place, the author uses universal glue. It swells a little inside and thereby creates a tight fit.
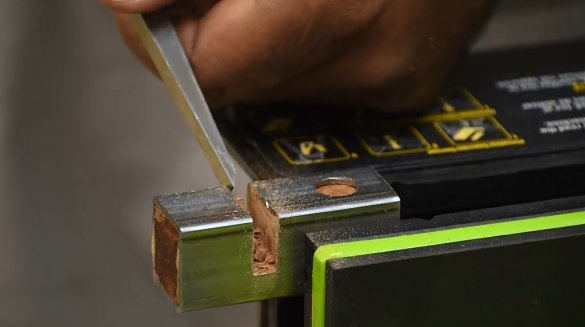
And wood is removed from this section. This shape should provide a connection to the clamp guide.
In the same way, he drills wood from the hole that he had made before.
Next, you need to find the center at the end of the workpiece, and drill a hole for the pressure bolt and mortise nut.
The author did not find a suitable tool to screw the mortise nuts into the wooden block. At first he had to do it manually, and then twist them with a key. It is important that from the very beginning the nut goes into the block at a right angle and there is no bevel.
In fact, there is no need to add glue to this compound, because the thread adheres perfectly by itself, and at the same time the glue does not hurt.
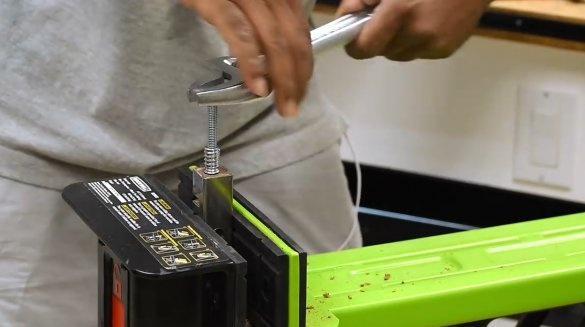
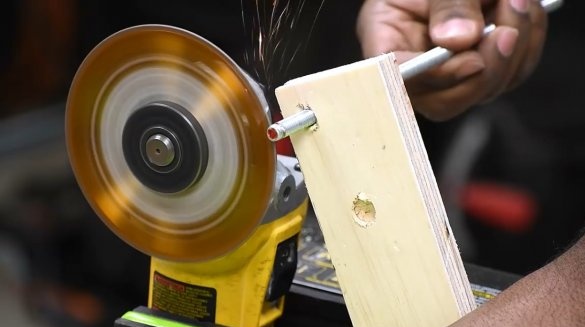
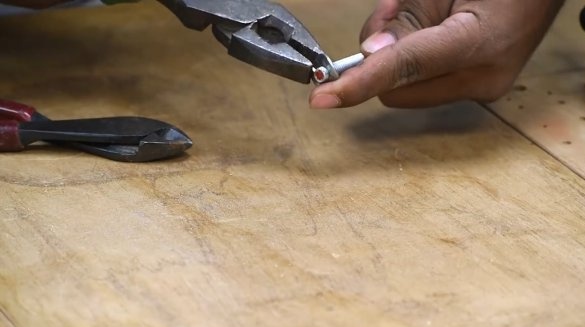
The author cuts a shallow groove for a clamping nut on a steel stud.
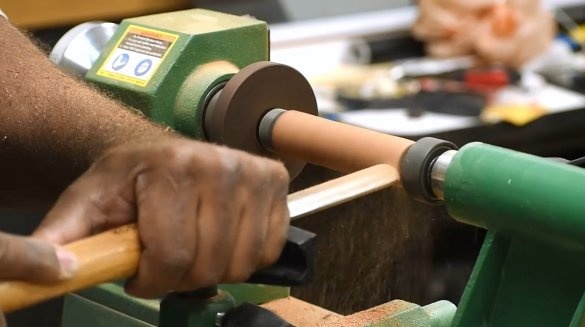
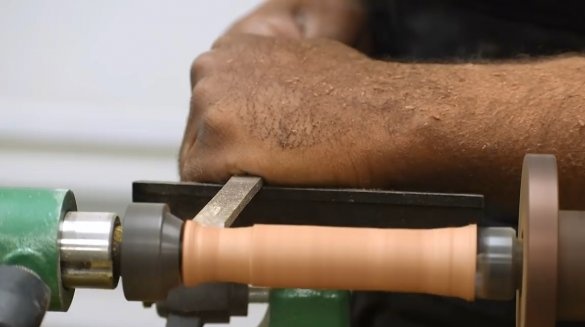
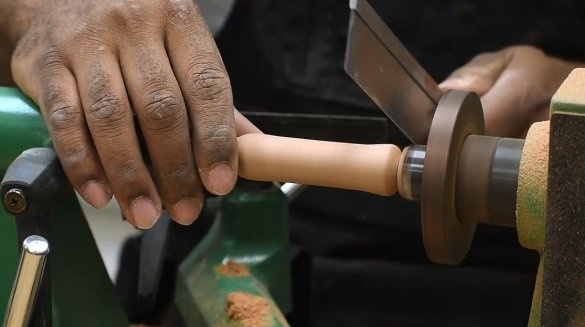
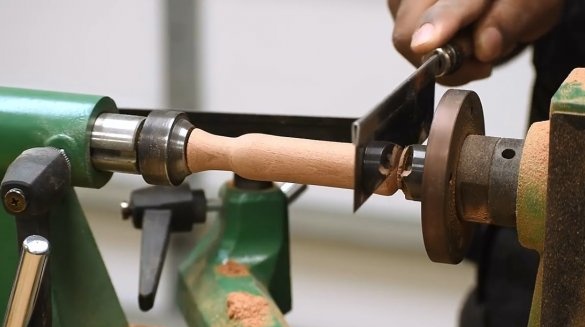
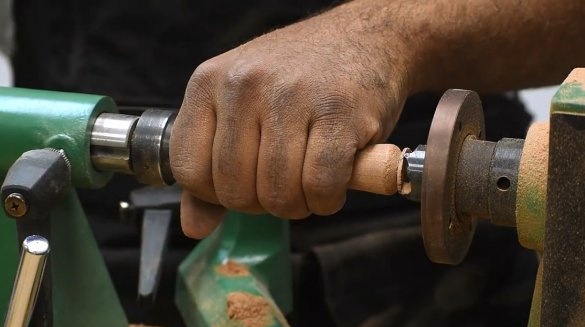
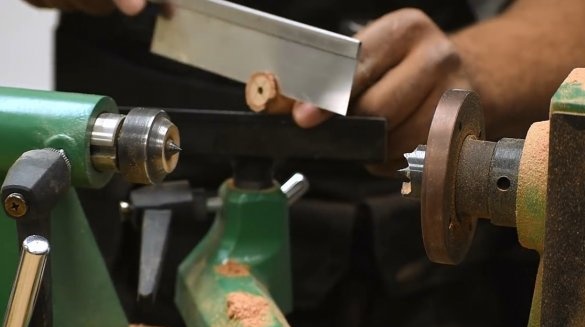
This is followed by processing the blanks on a lathe, turning the handle toadaptation.
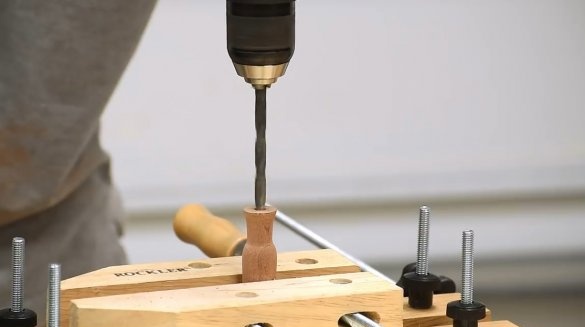
The next step, he drills a hole for the stud in the handle, trying to drill exactly at an angle of 90 degrees.
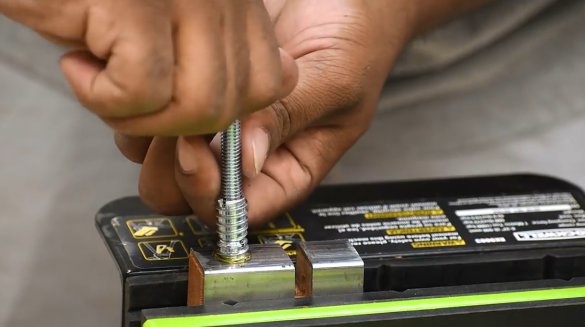
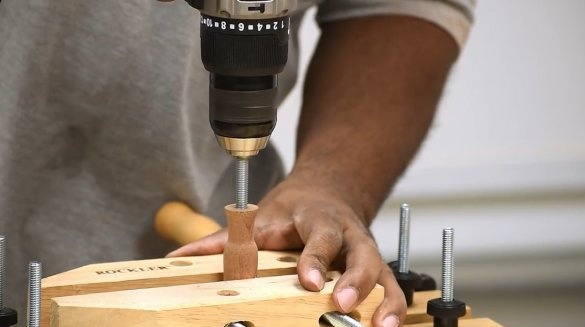
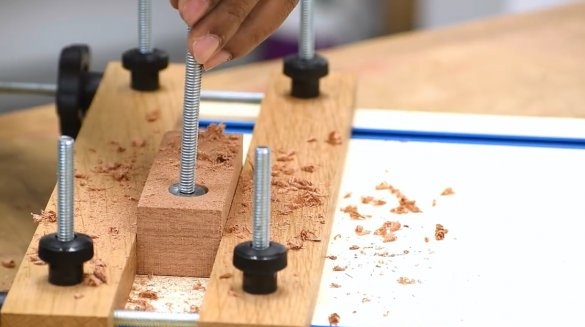
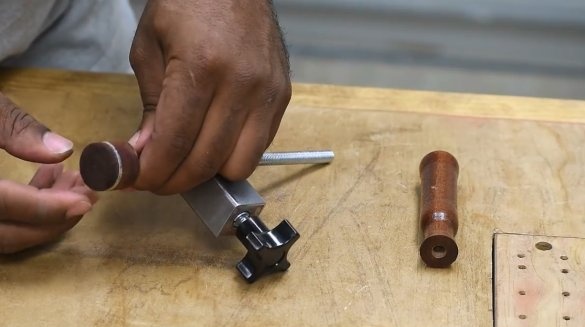
Then he screwed a stud into the hole to cut the thread inside the hole.
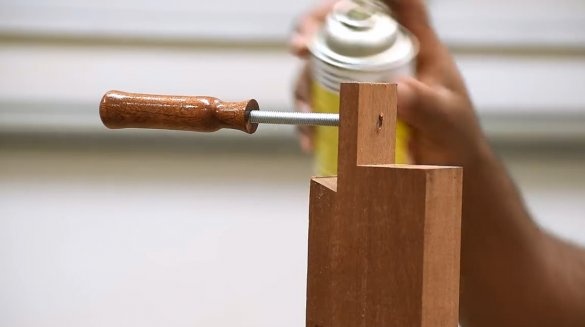
The product is coated with three layers of varnish.
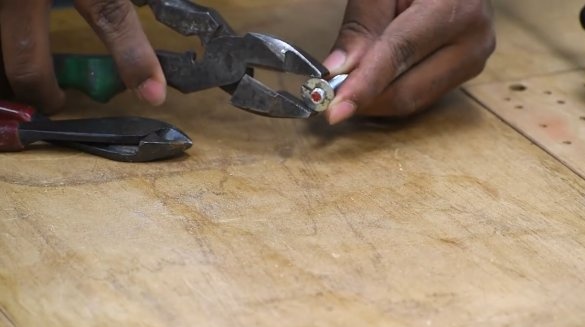
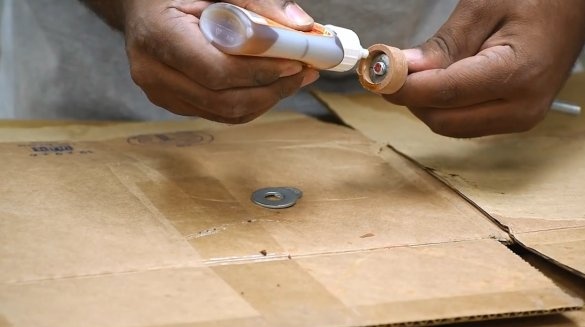
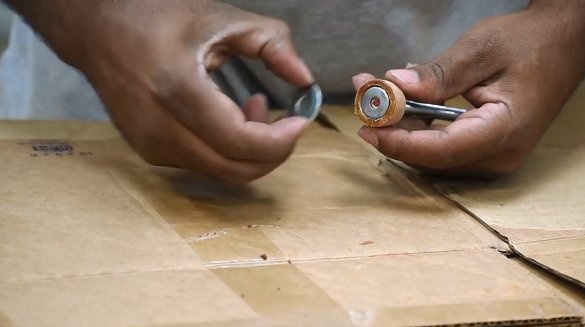
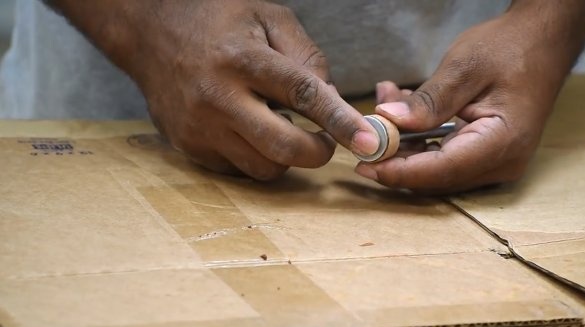
The author cuts the washer on one side and opens it, deforming somewhat, until it is put on a hairpin. Then he gives her the previous form.
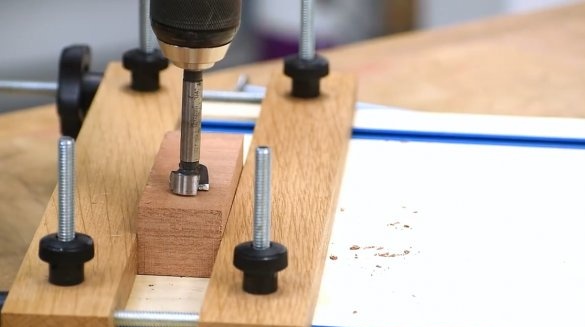
Then he drills a hole with a Forstner drill in a wooden block exactly to such a depth that the washer lies just below the surface of the block.
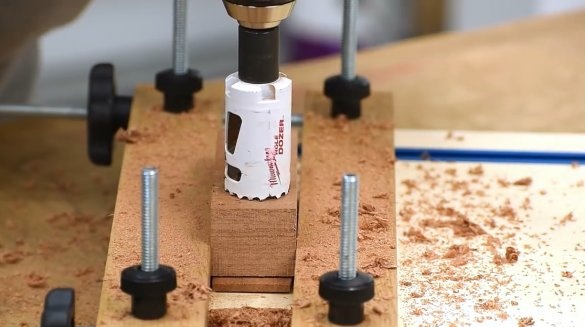
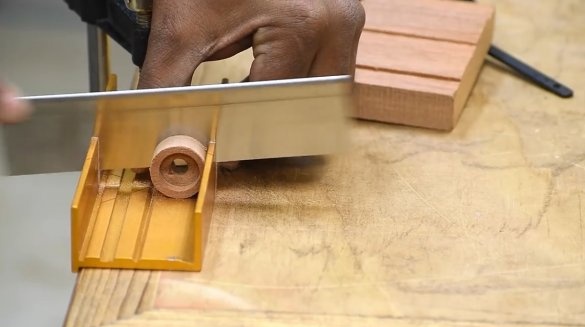
After that, he cuts a wide hole with a crown and cuts a small part from the workpiece, a centimeter thick.
He attaches another washer to the base to strengthen the structure. The larger washer fits to the base.
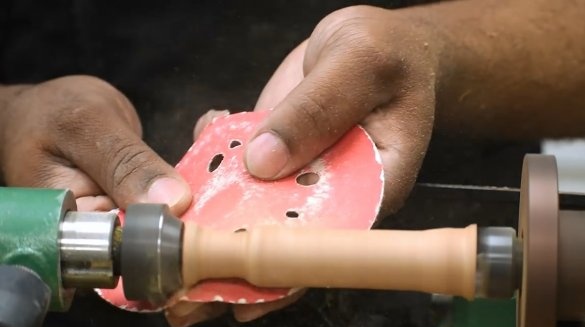
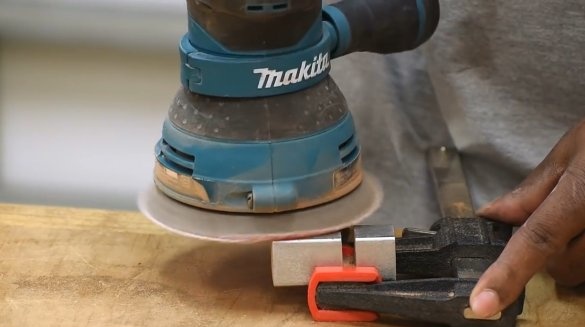
Sharp corners and surfaces of the device are ground.
The author glues a felt pad on the base to protect the surface.
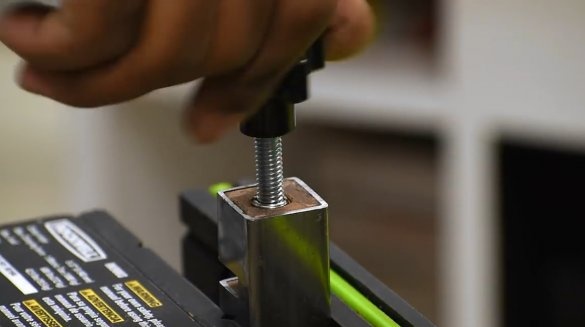
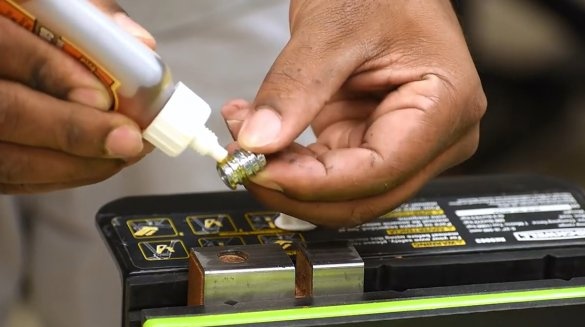
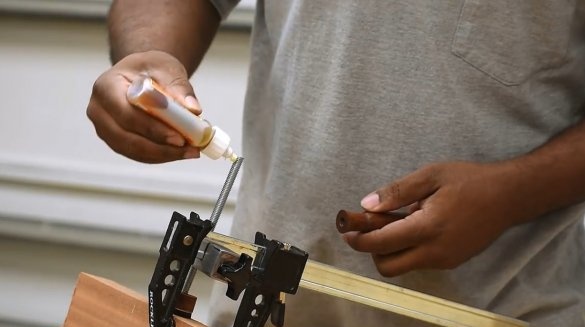
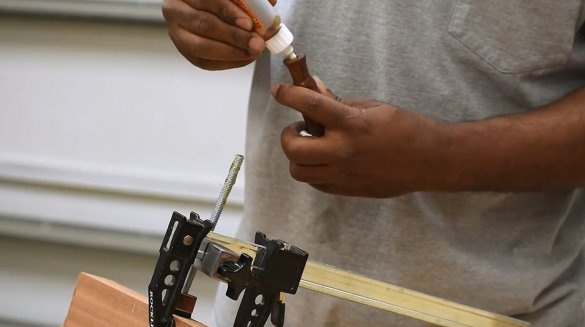
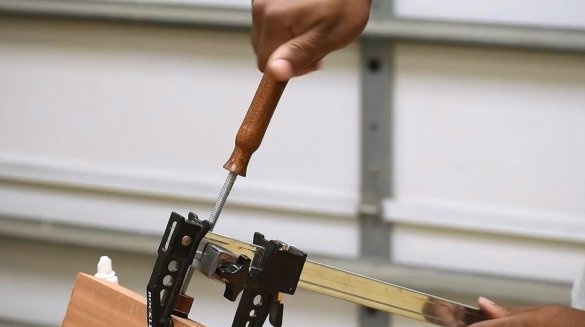
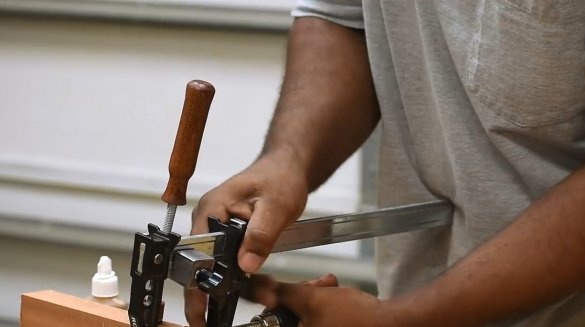
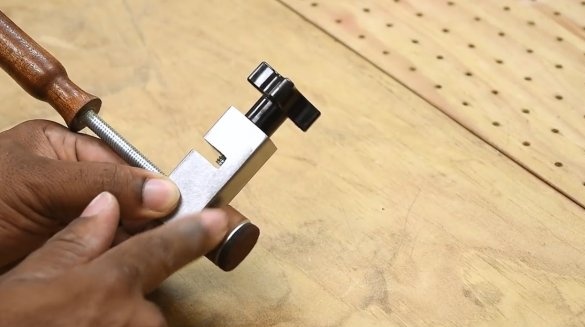
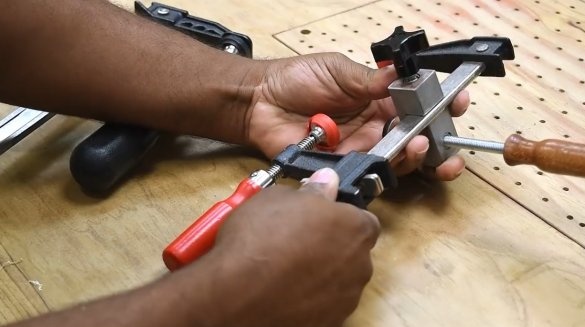
Grasping the nozzle with a clamp, the author puts a layer of glue on the rod, and screwed the handle.
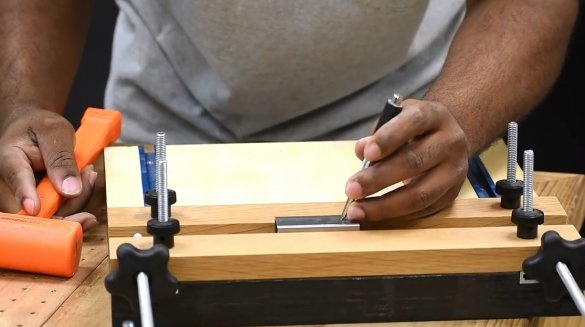
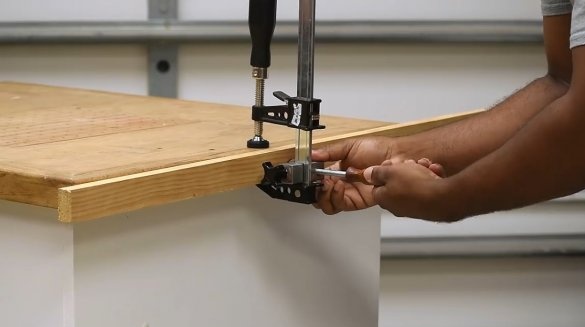
We try the nozzle in action, this is how you can easily press a wooden block to the product in the middle.
And the rest of the tests on the clip to the end.
Thanks to the author for a simple but useful idea to expand the capabilities of clamps!
All good mood, good luck, and interesting ideas!
Author video can be found here.

