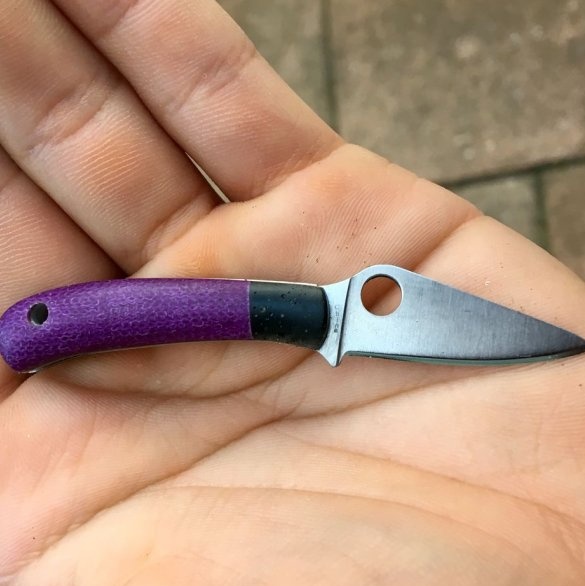
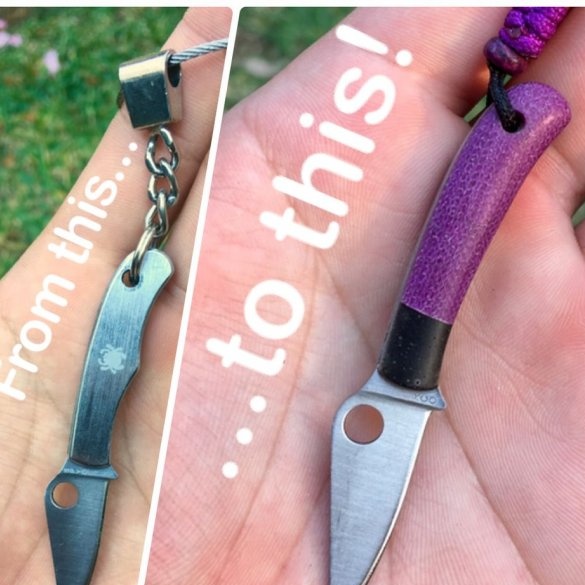
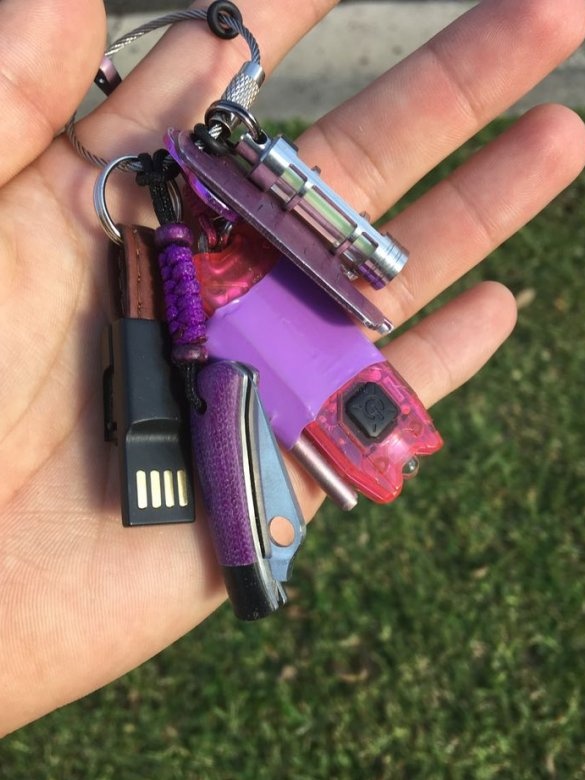
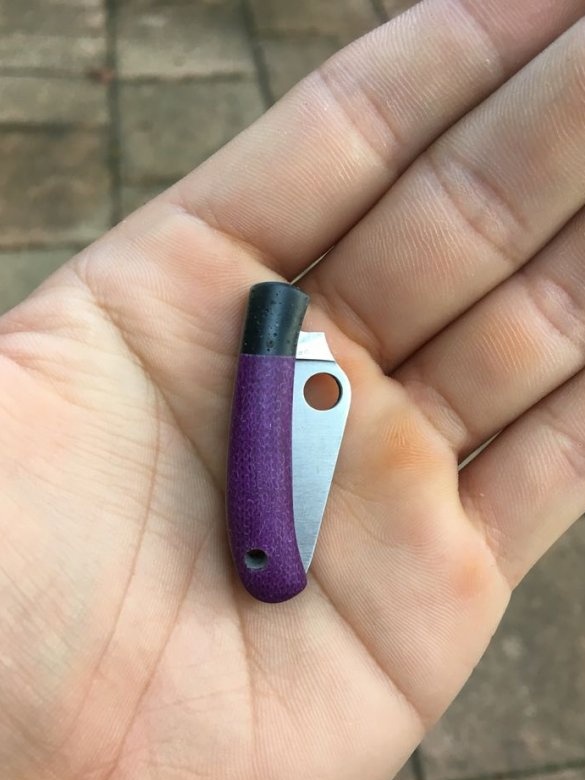
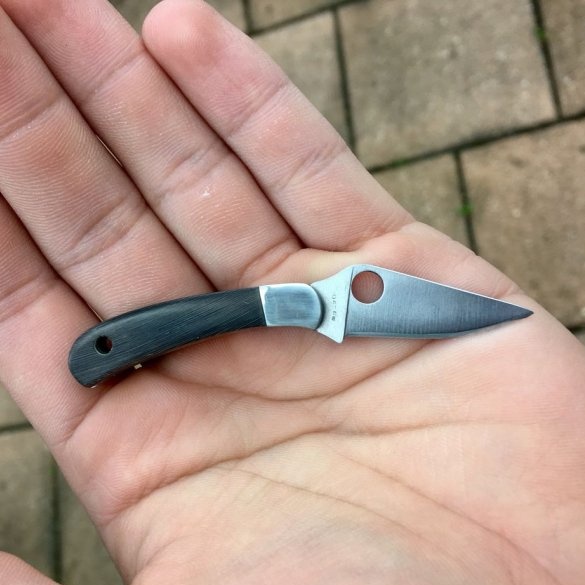
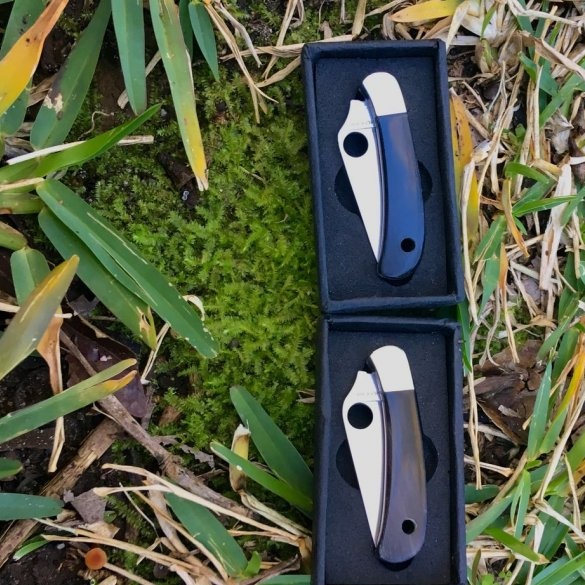
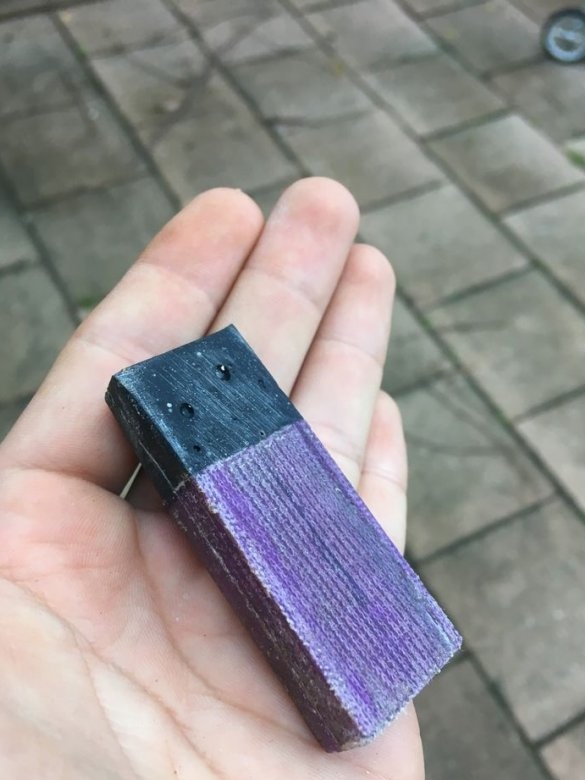
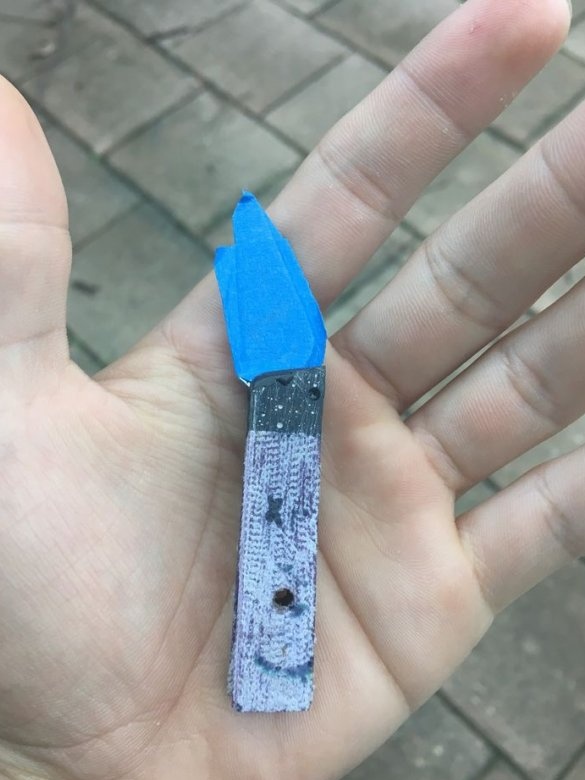
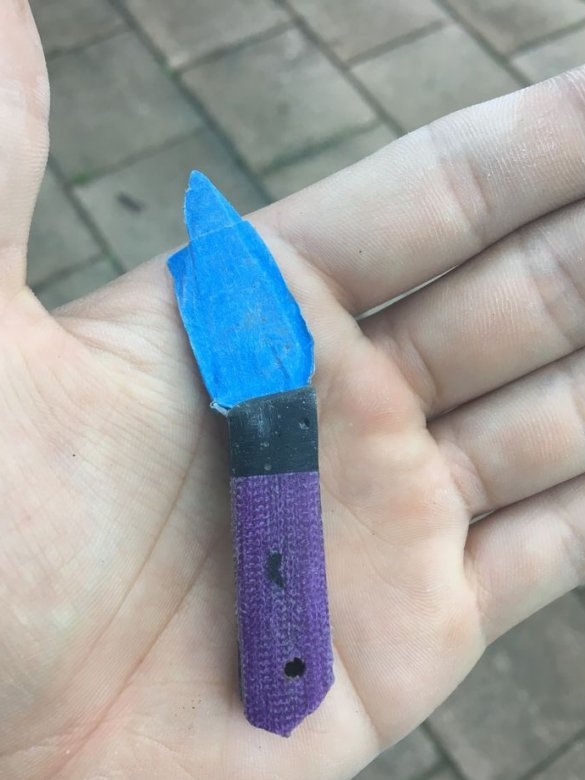
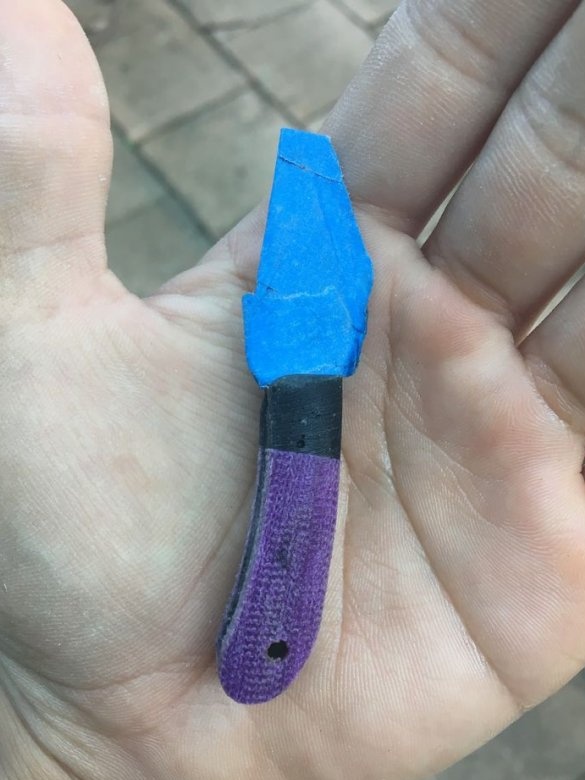
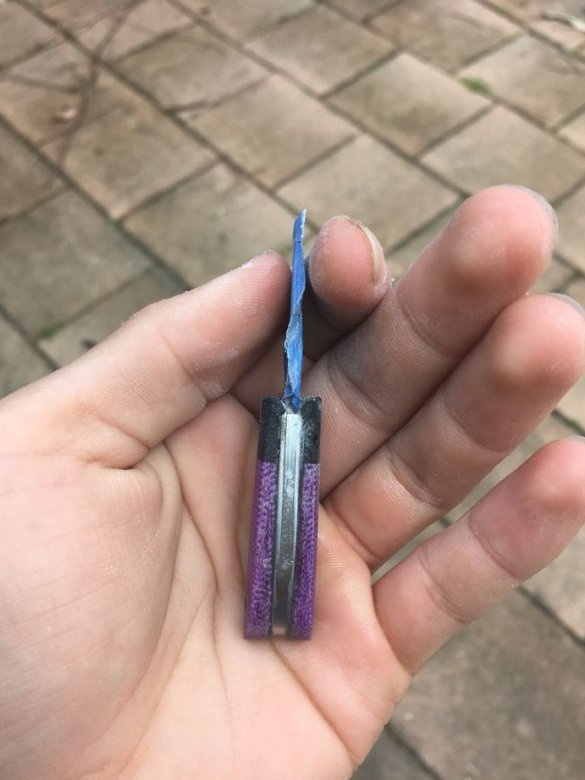
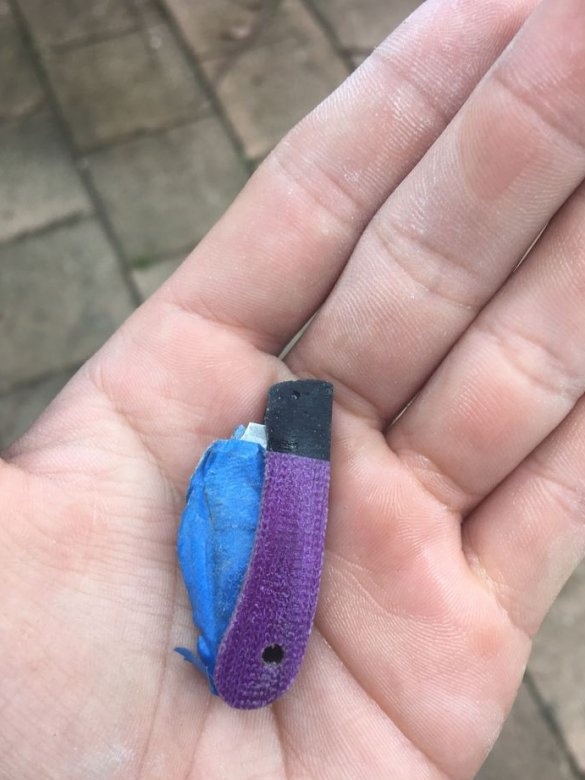
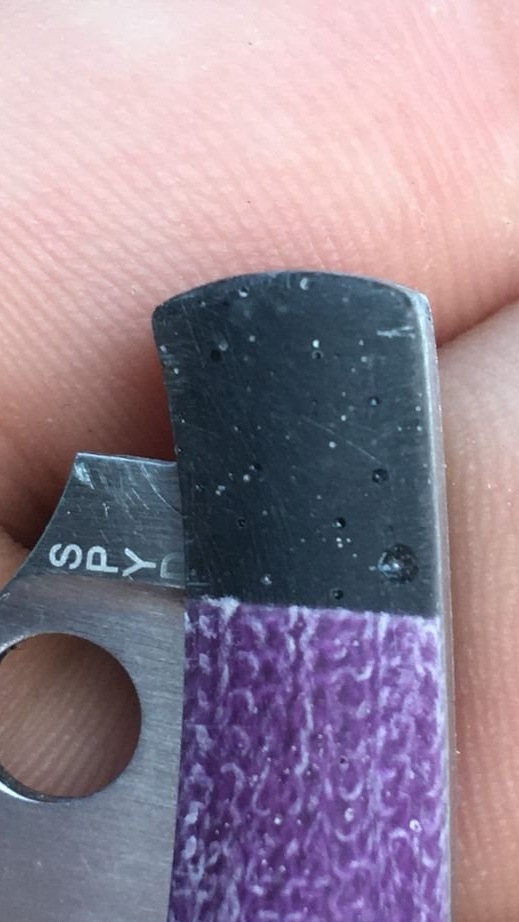
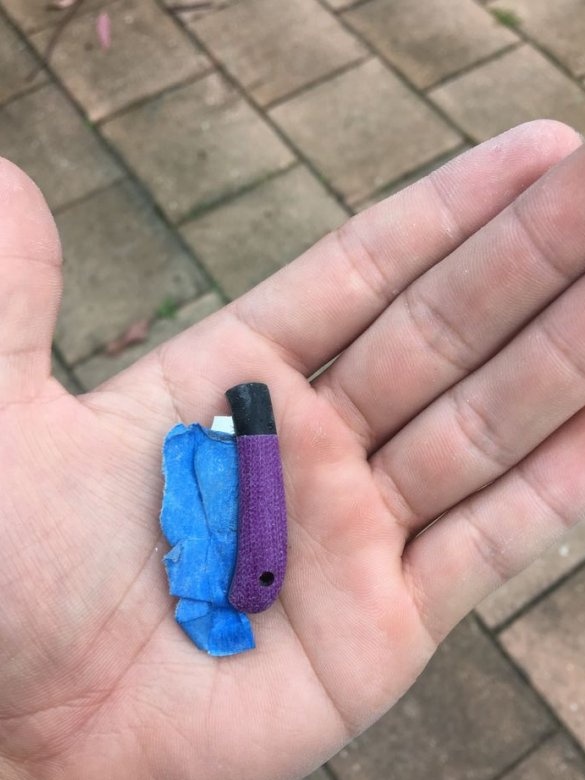
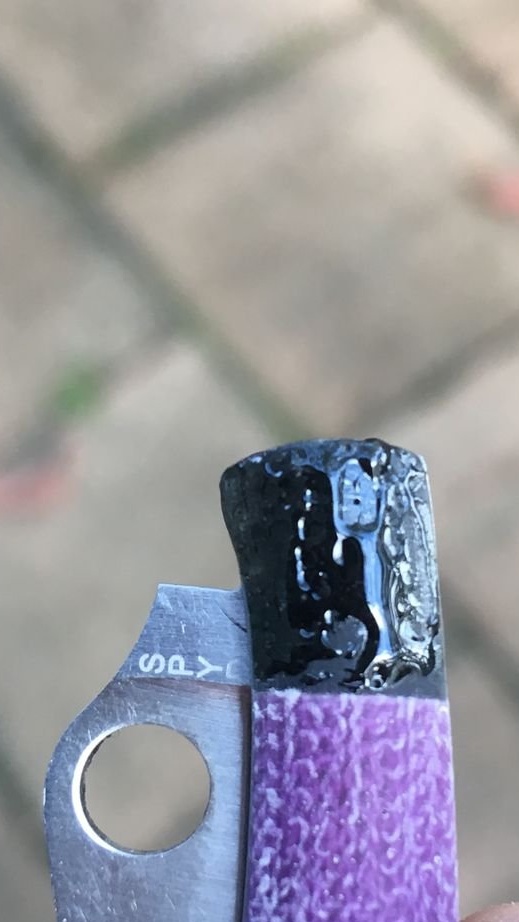
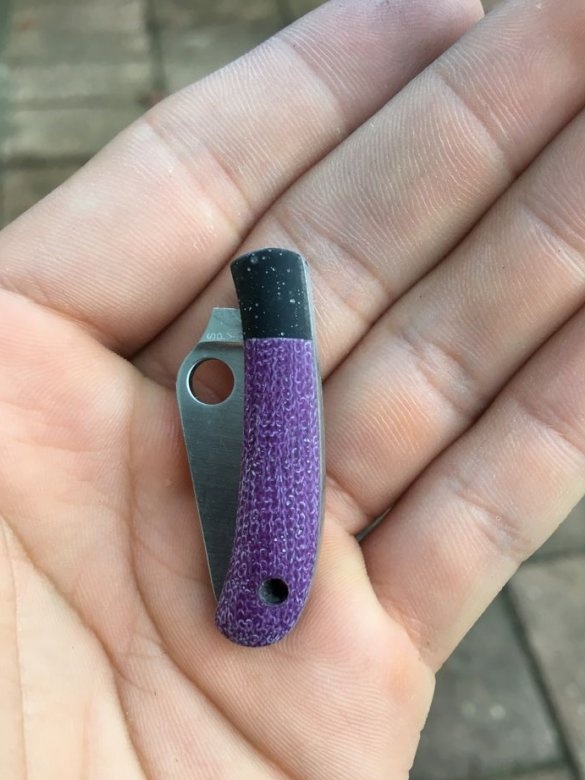
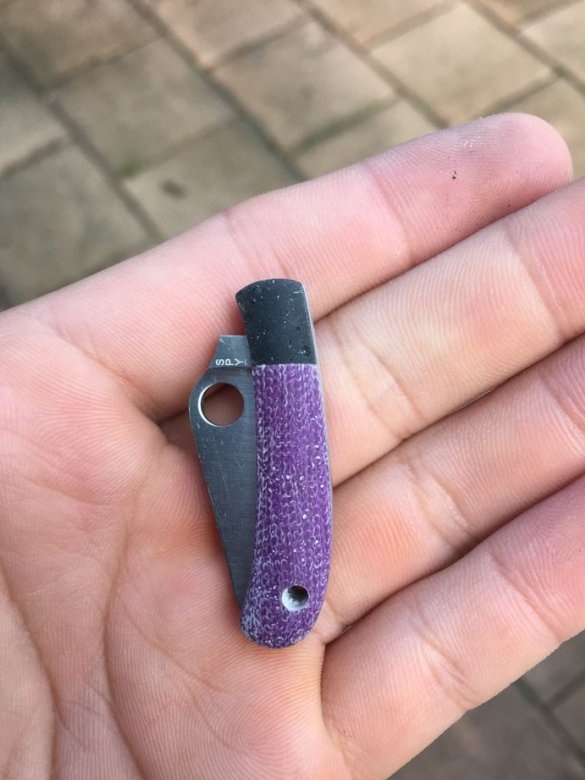
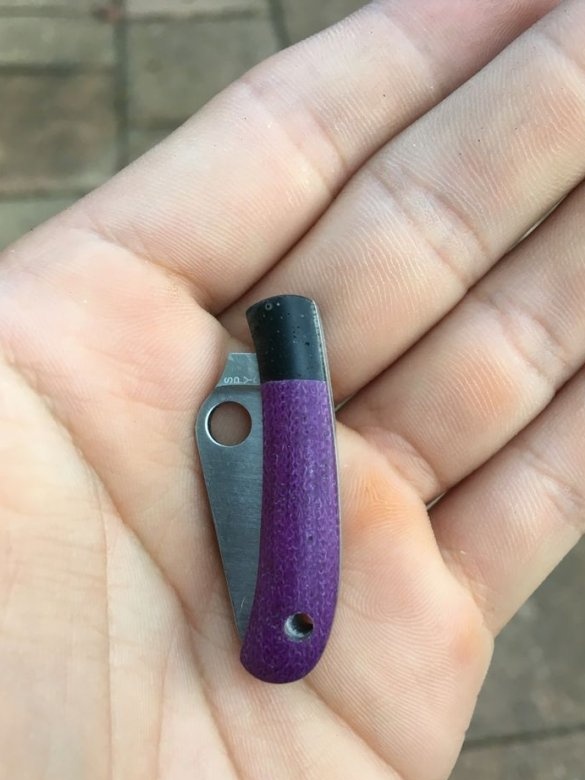
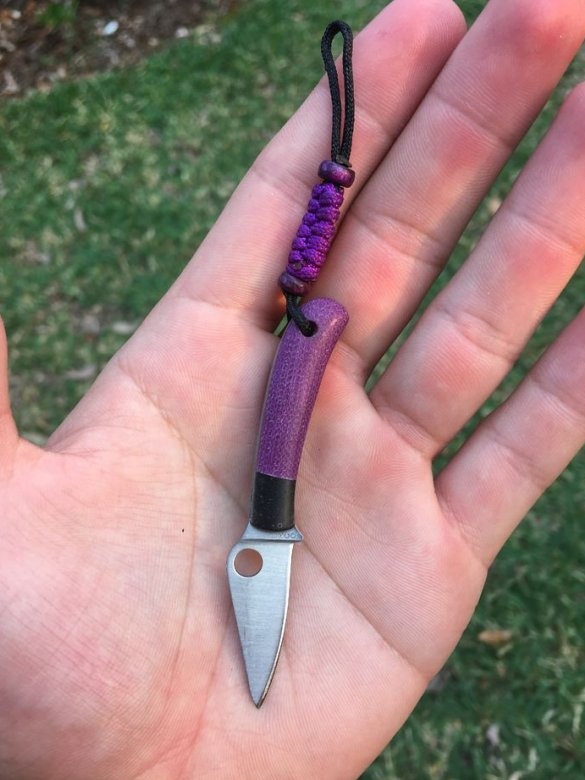
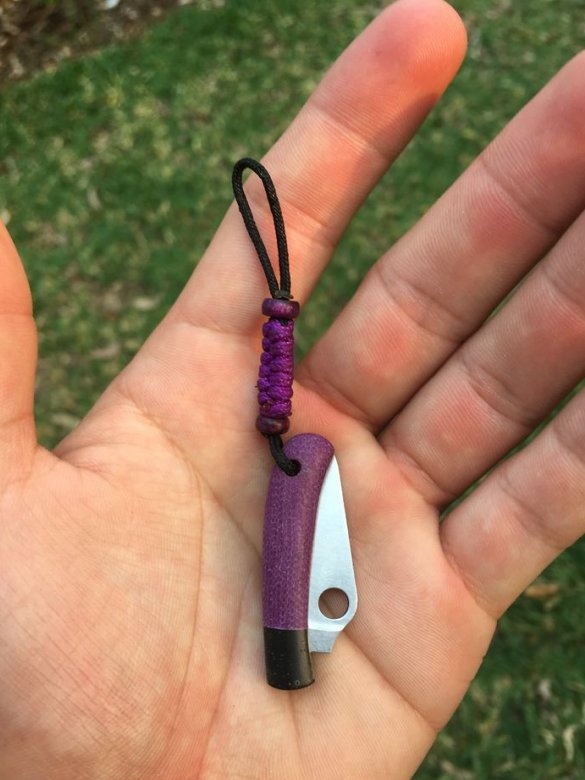
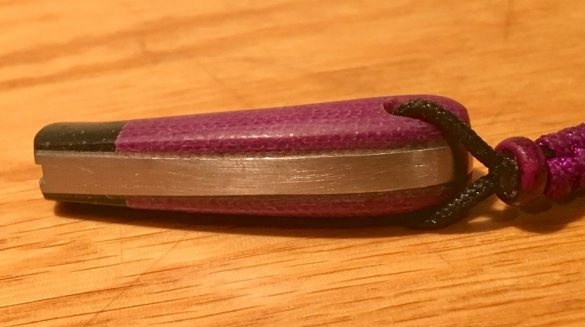
Of course, this is not a full-fledged knife, for example, a keychain on keys, but using this technology you can make a handle for any knife. And not only a knife, but for other tools.
The master had such a knife.
Let's see what he did in the end.
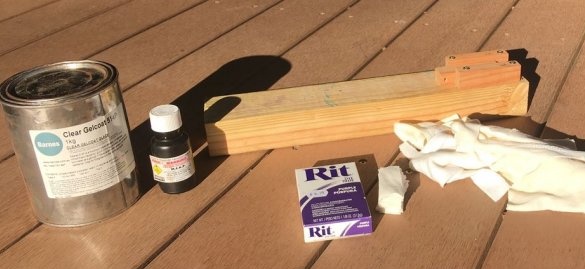
Tools and materials:
Epoxy resin;
-Wood;
-Sandpaper;
-Capacity for mixing;
-Dye;
-The cloth;
-Fasteners;
-Screwdriver;
-File;
-Vise;
-Glue;
Step One: Mold
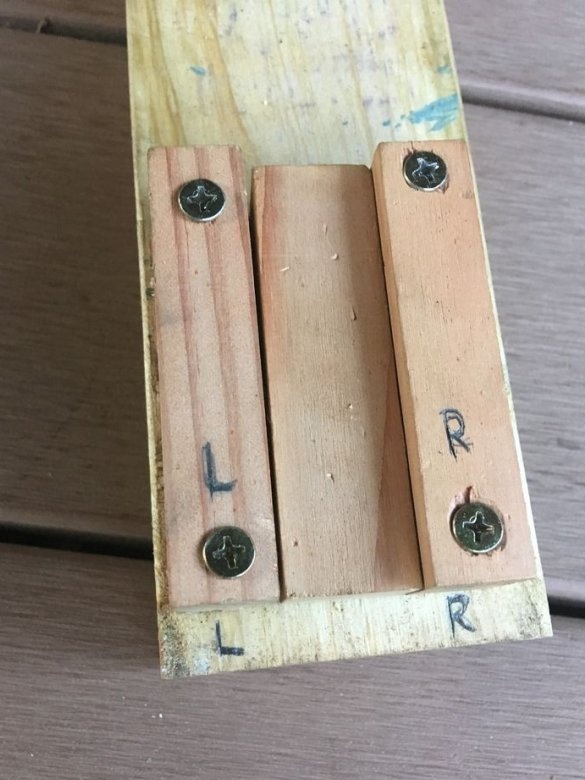
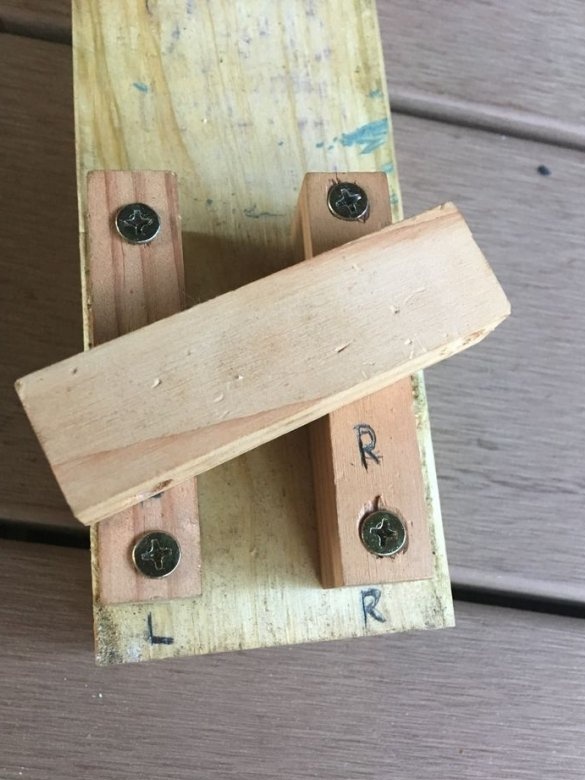
First, the master, in size, made a mold.
Step Two: Fabric Preparation
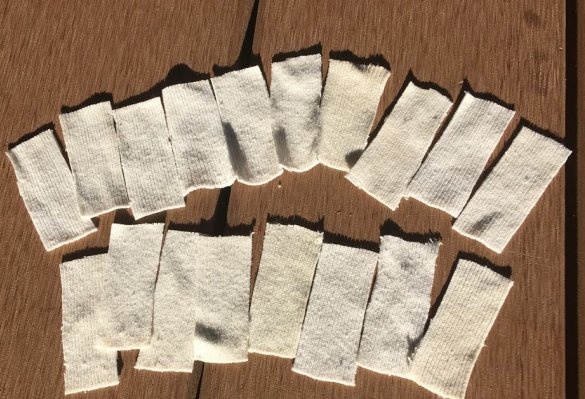
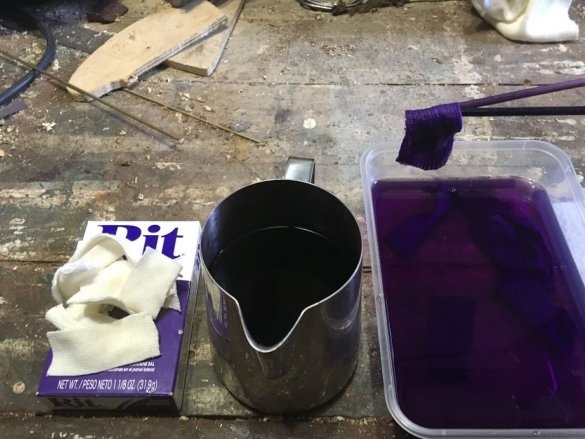
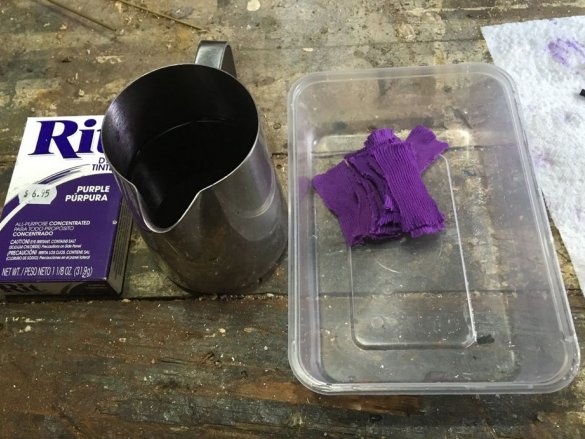
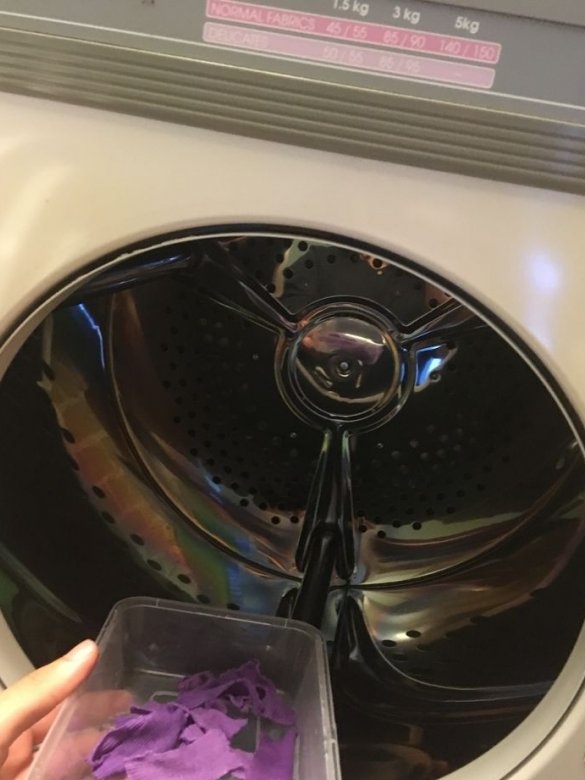
Next, the master prepares the fabric. Cut into 18 pieces, stains, dries.
Step Three: Harvesting
Now that the fabric is ready, you can make a blank.
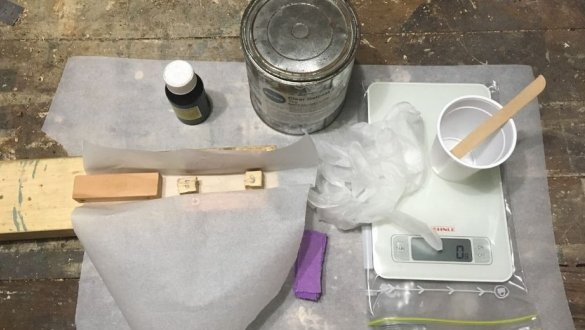
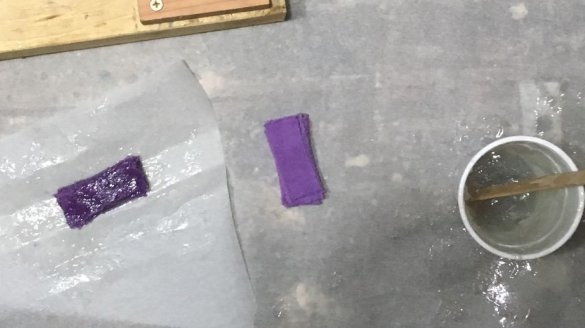
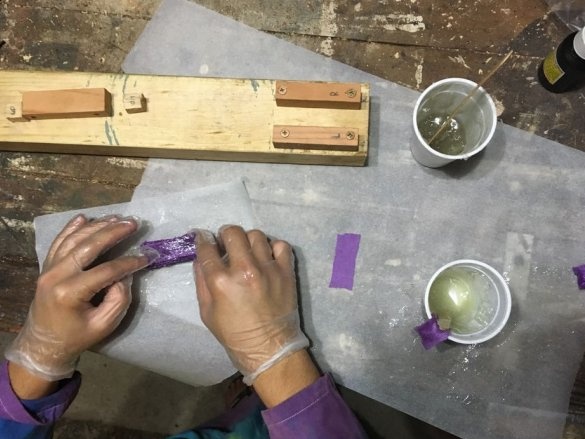
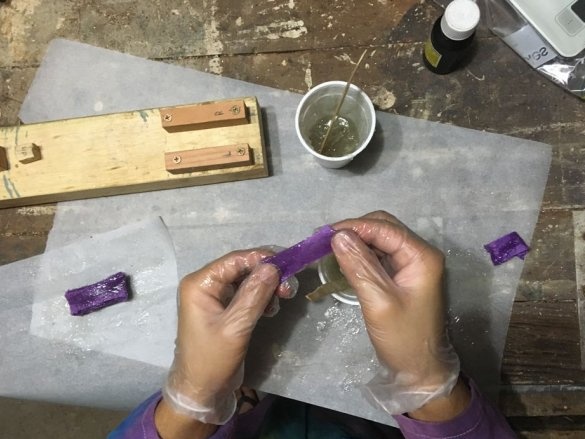
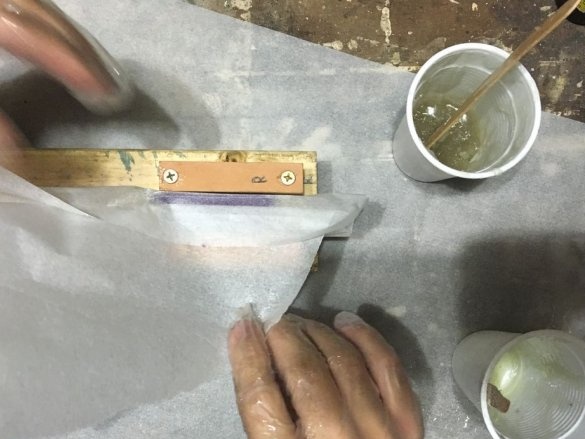
First you need to weigh and mix the resin and hardener thoroughly. Then apply resin to the fabric.
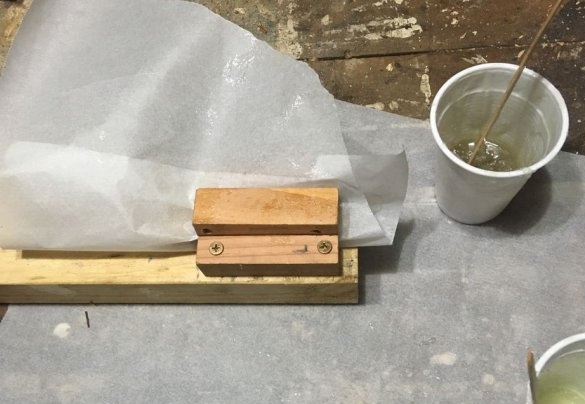
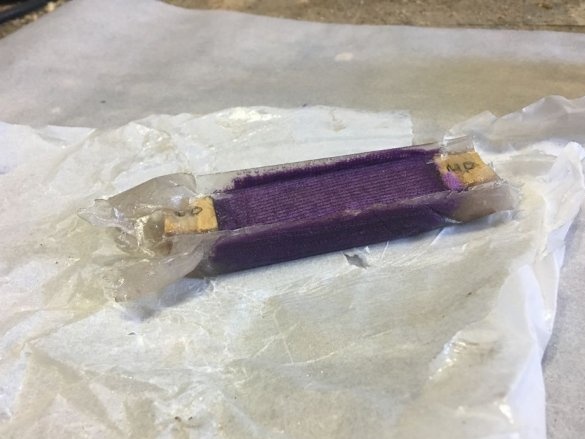
Each strip should be individually “wetted” with resin and stacked on wax paper.
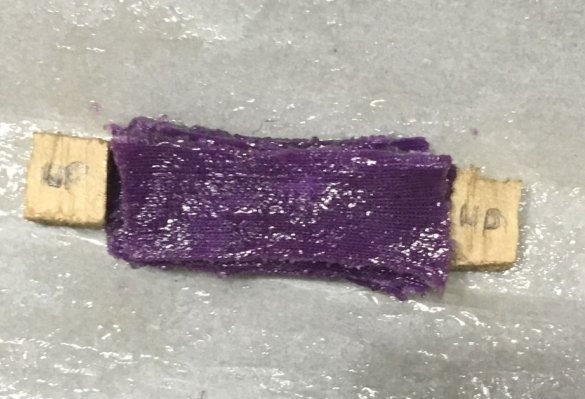
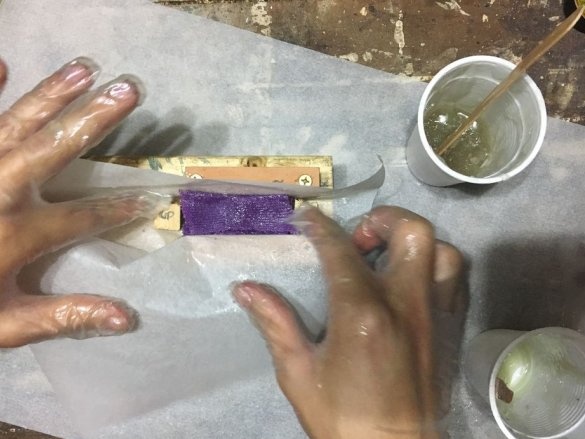
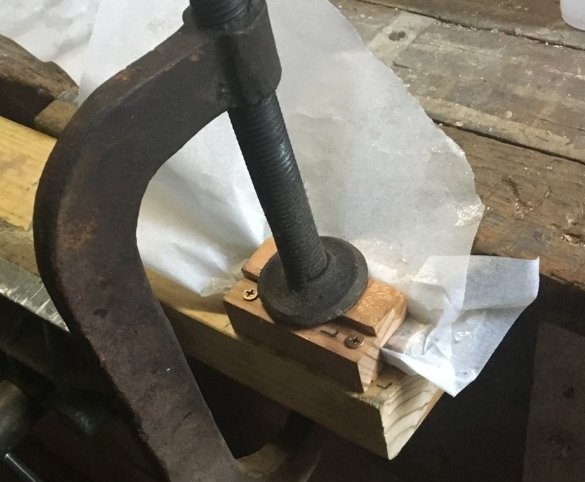
Then the master wraps the stack in paper and puts it into the mold. Lays the bar on top and clamps with a clamp.
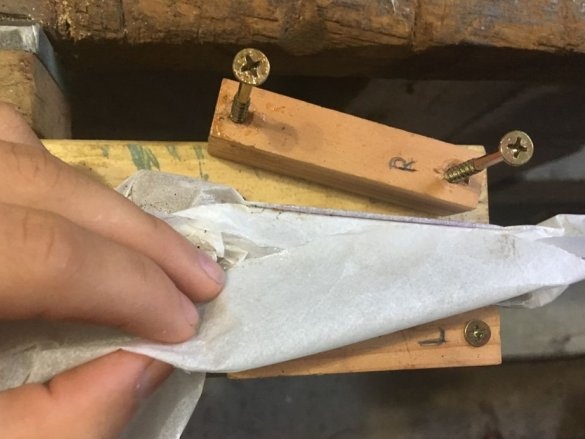
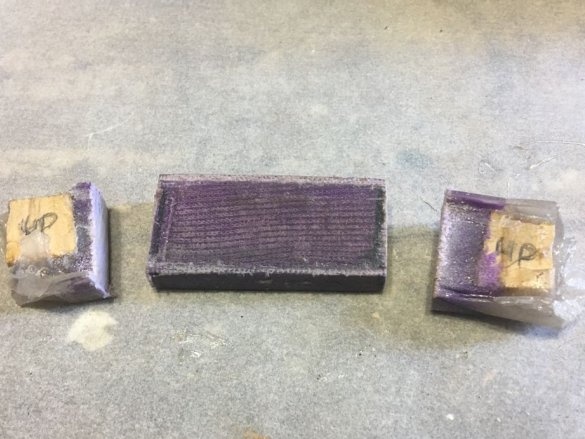
After the resin has hardened, the master removes the press.
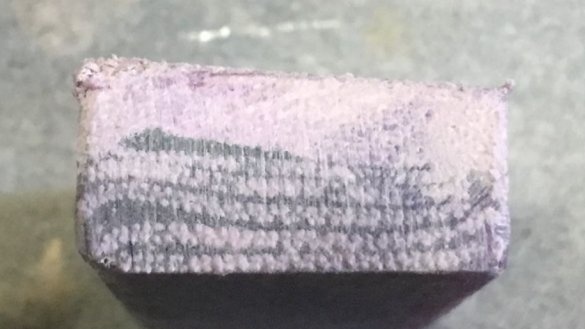
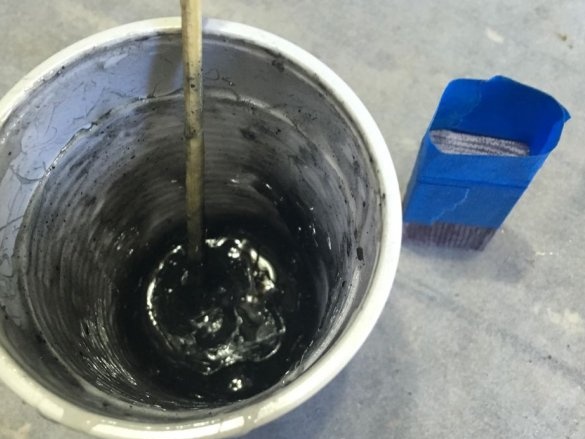
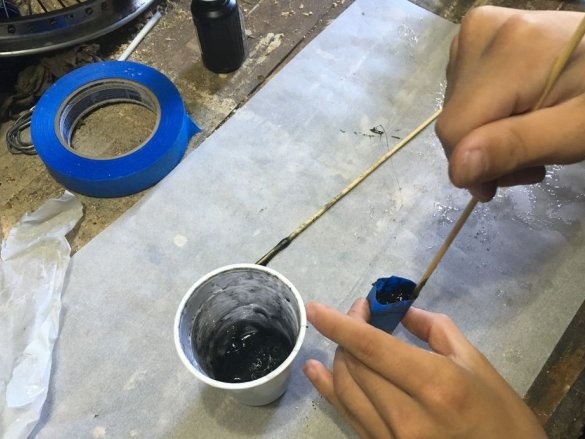
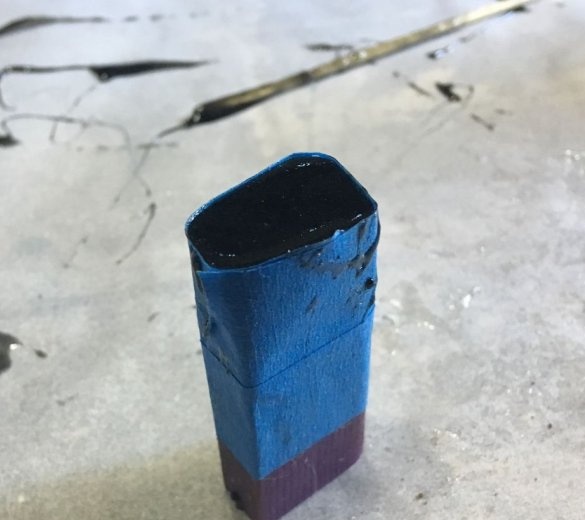
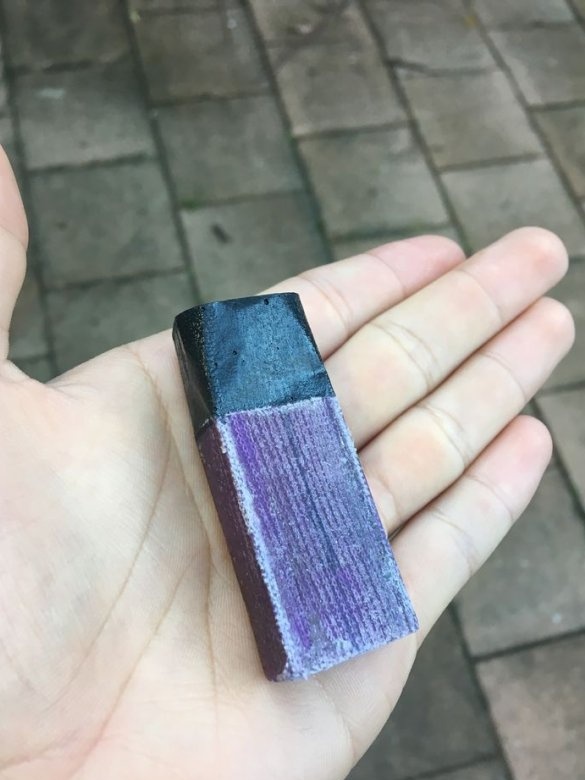
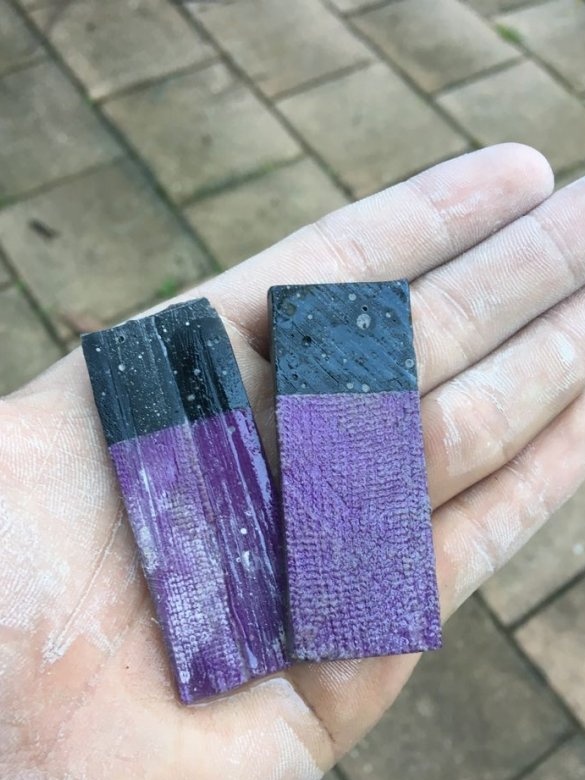
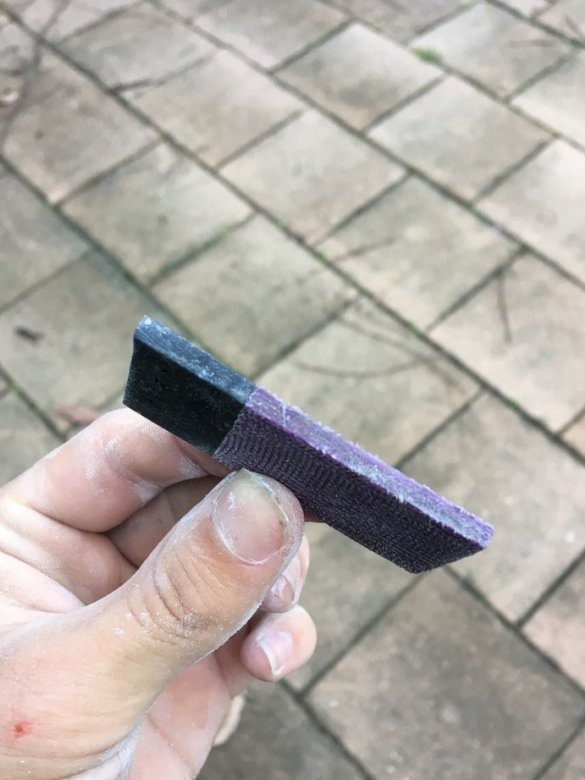
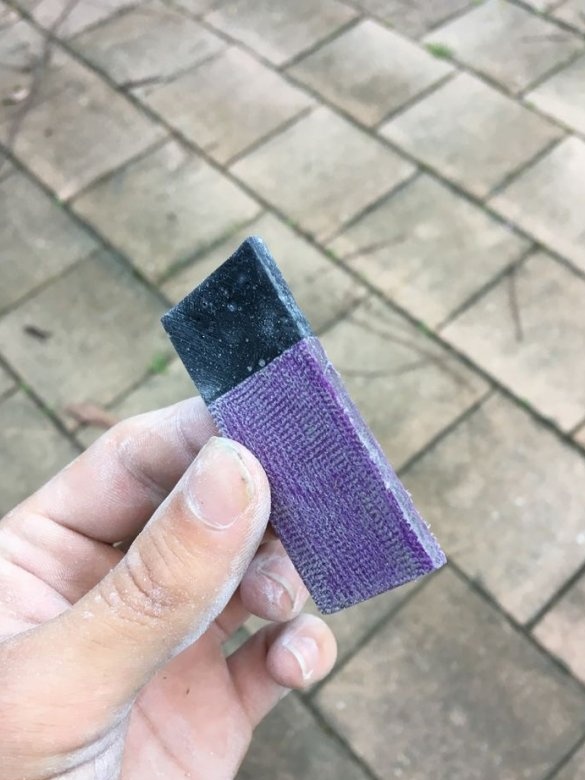
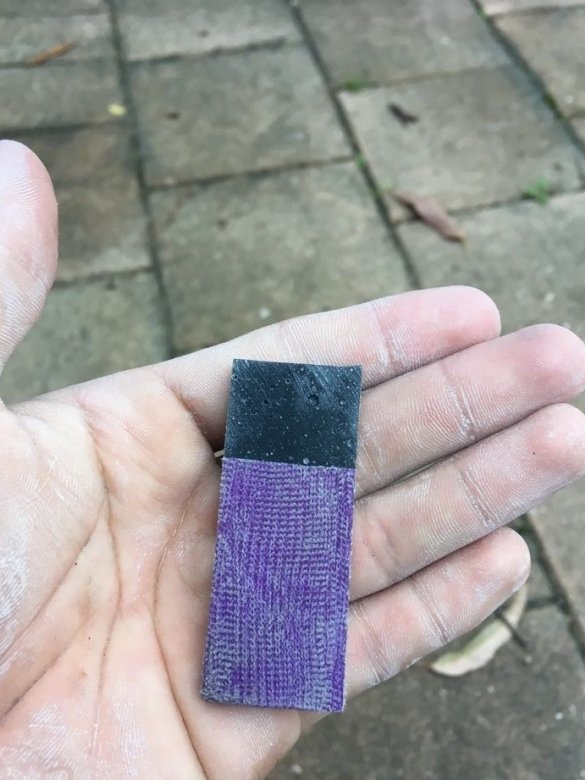
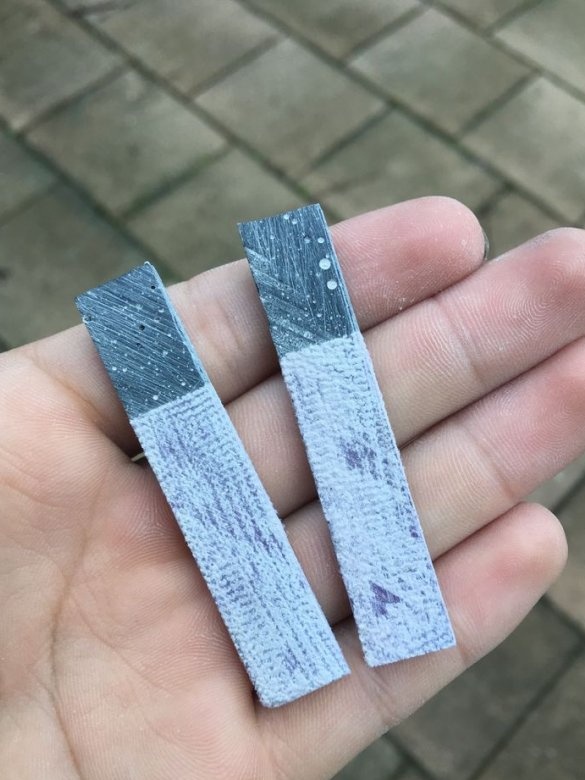
Now you need to make a black edge. The master kneads the epoxy again and adds a black color. Then the ends of the workpieces are pasted over with electrical tape. Pours the resin inward. After curing the resin, the master removes the electrical tape and cuts the workpiece into two parts.
Fourth step: knife preparation
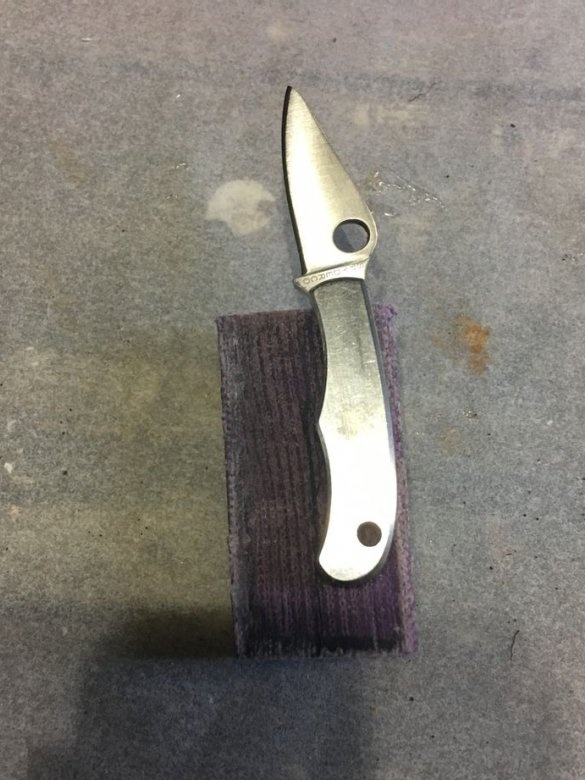
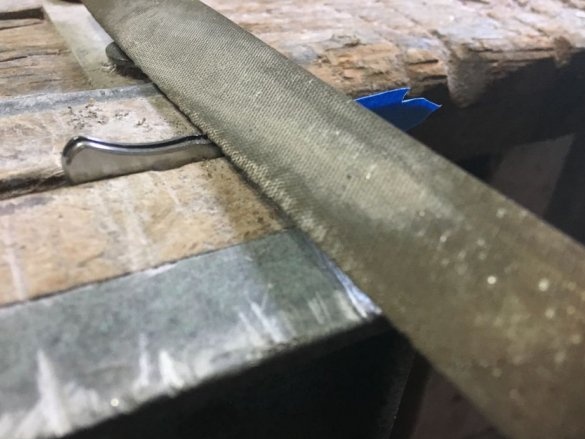
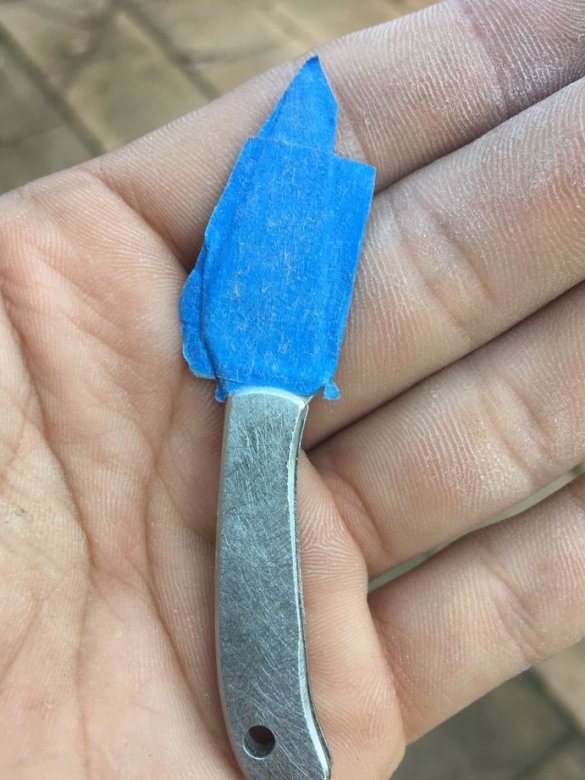
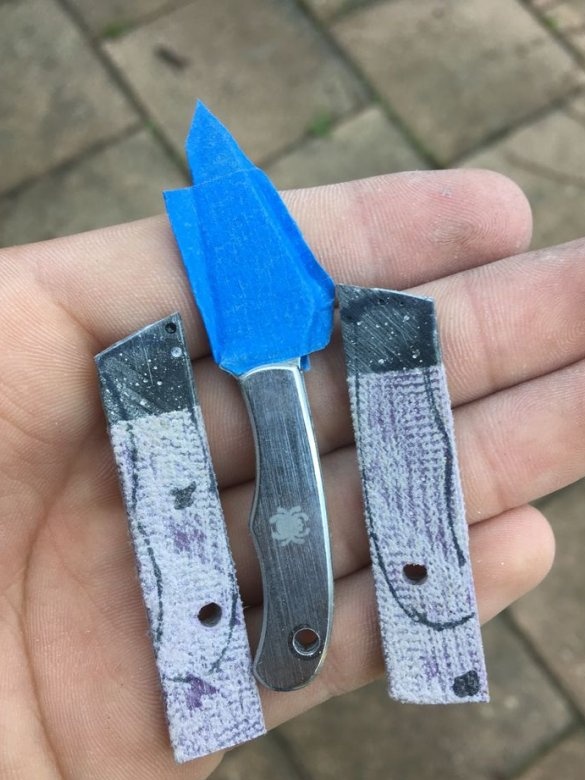
The master seals the blade with masking tape. There is a ledge on the knife handle, the master grinds it with a file. This is not a required operation.
Step Five: sticking the handle
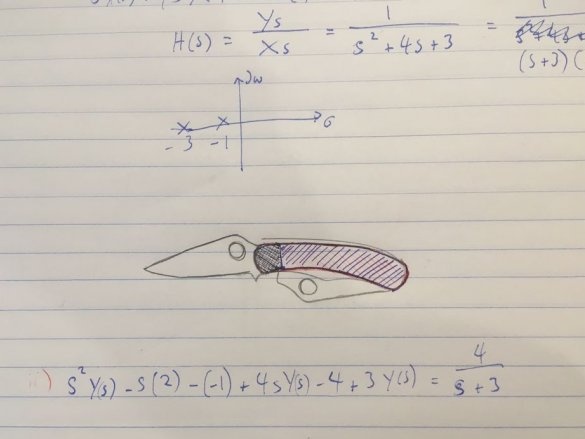
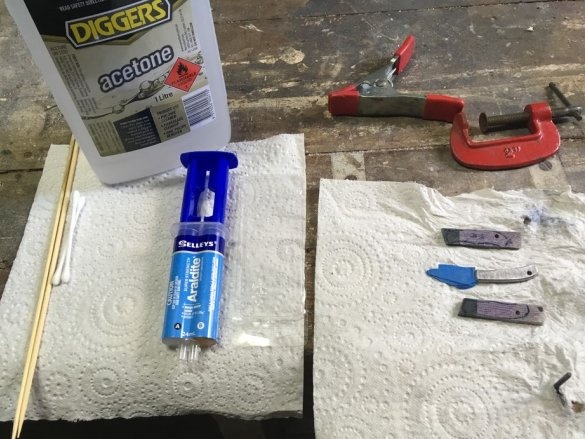
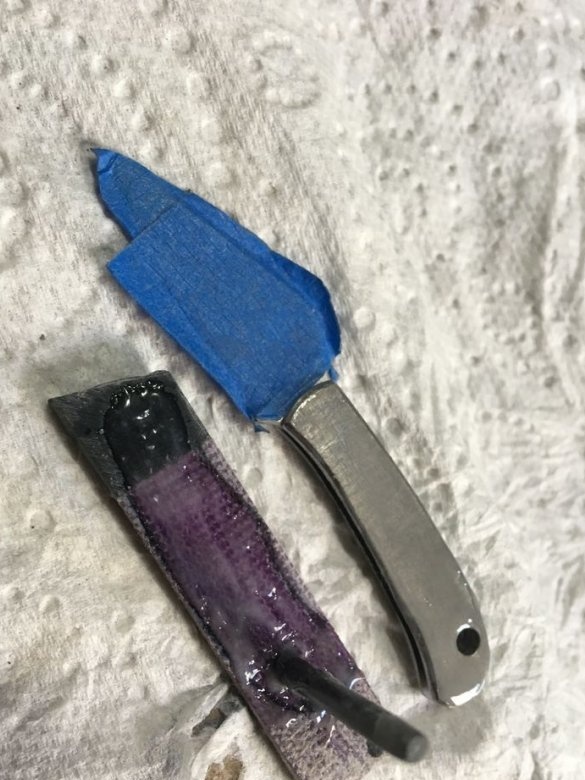
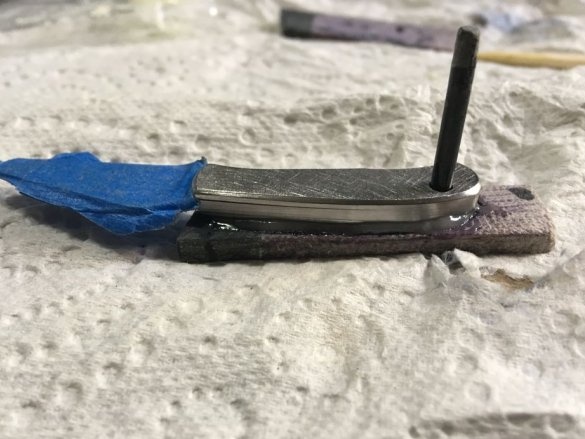
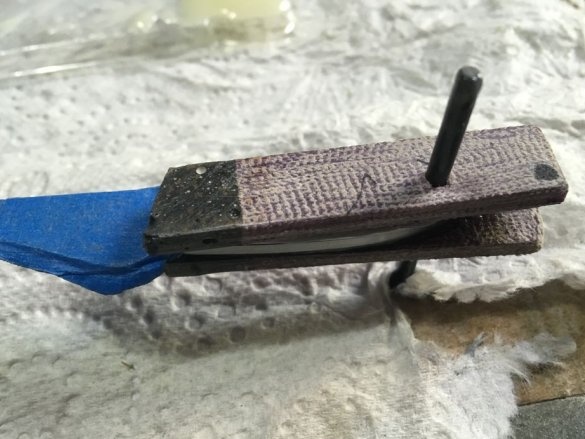
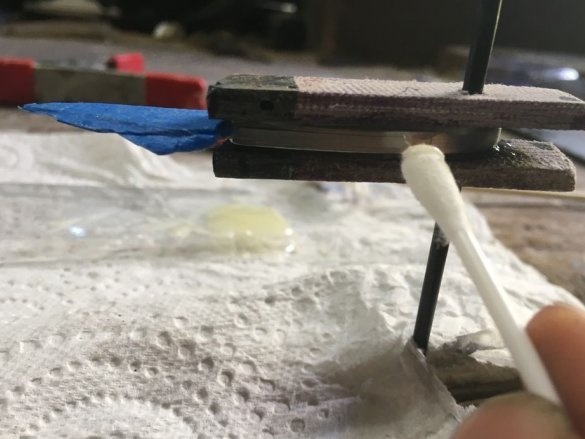
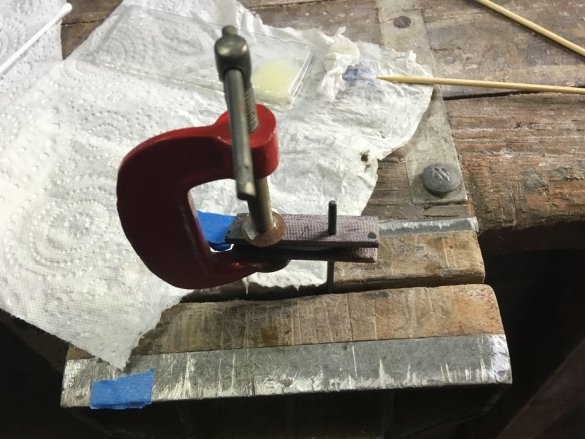
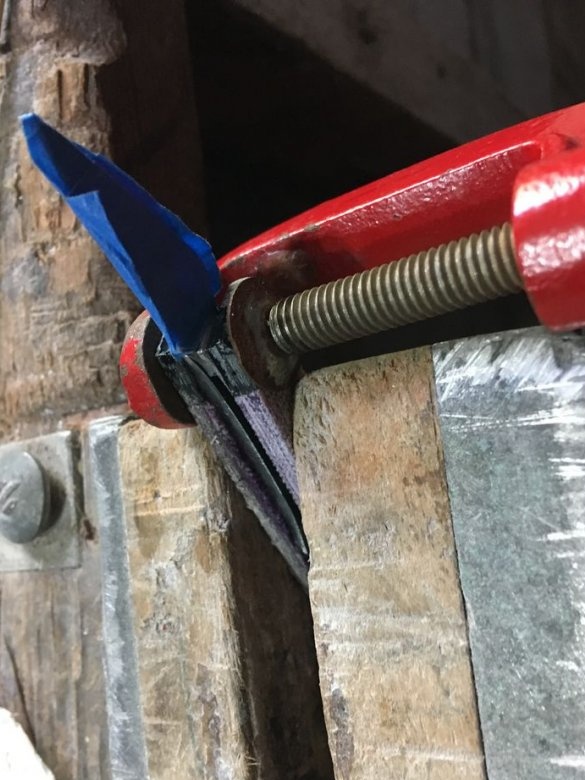
Before gluing the blanks, the master places them on the knife handle and drills a hole (there was already a hole on the knife). Then the master applies glue to the workpieces and glues them to the knife handle. It inserts a metal rod into the hole and clamps the knife with a clamp.
Step Six: Processing, Grinding
Now you need to grind the handle, give it the desired shape. Then grind.
All is ready. It remains to polish the handle and tie the lace.

