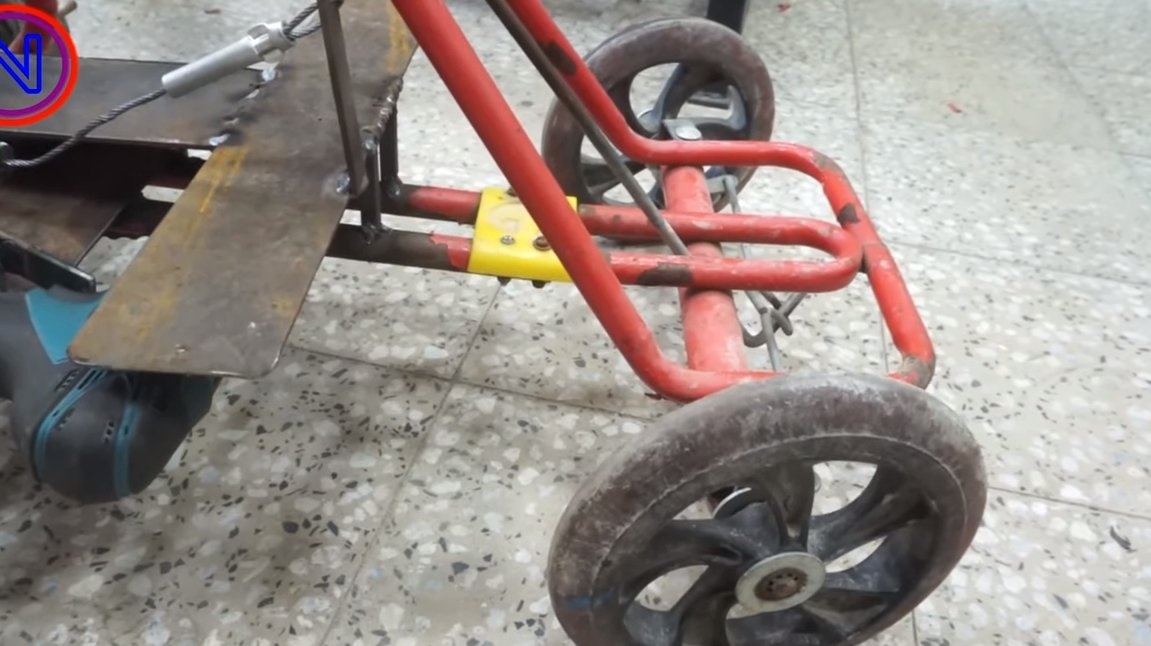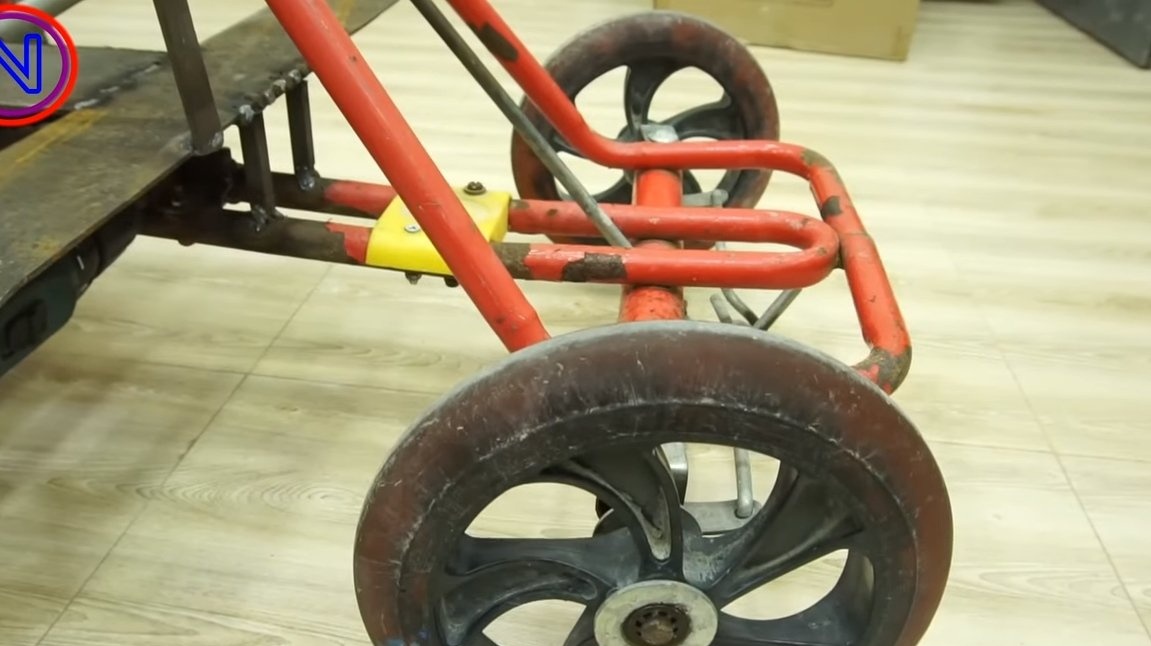
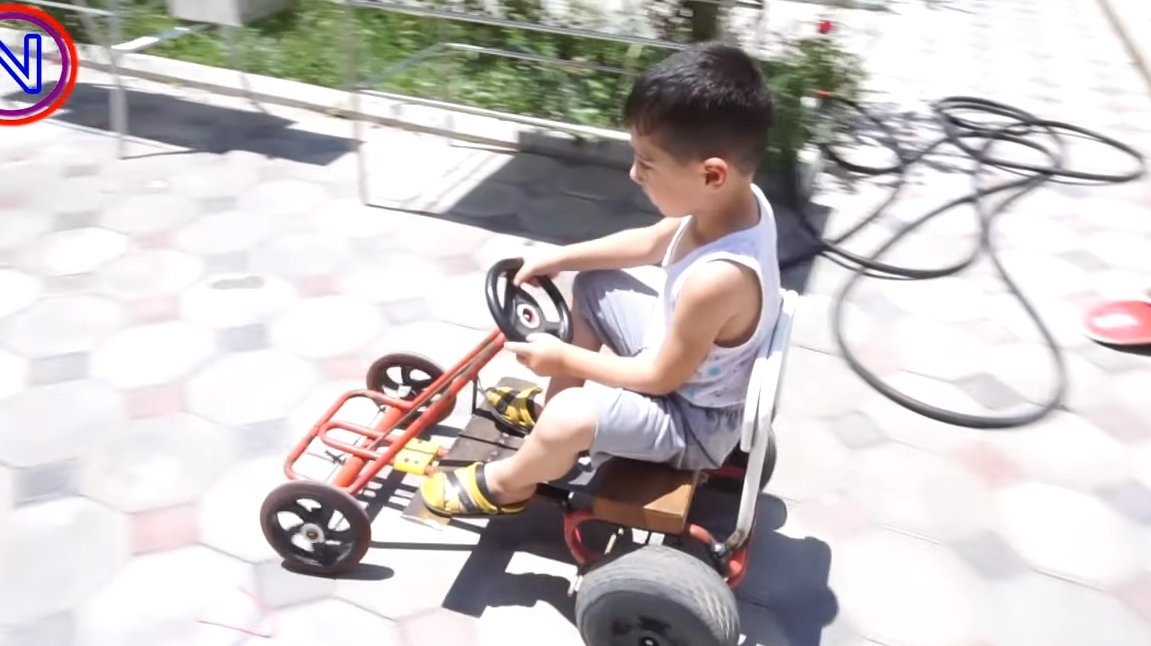
Stand alone machine or bike for a child - this is a great joy, and even better if the engine is installed on the machine. In this instruction, we will look at how to equip the cards with an electric motor, in which the author adapted a screwdriver. Using a screwdriver is good in that it is a ready-made engine with a gearbox, as well as a battery that is easy to charge. Of course, if you wish, you can install a larger battery on the cards and power it with a screwdriver. Such cards can be collected from scratch, but the author used a ready-made car on the pedals. If you are interested in the project, I propose to study it in more detail!
Materials and tools used by the author:
Material List:
- old pedal card;
- ;
- round timber;
- sheet metal;
- iron plates;
- bolts and nuts;
- an iron cable;
- a piece of a wooden board for sitting.
Tool List:
- grinder;
- welding machine;
- drill;
- lathe;
- marker;
- roulette.
Card manufacturing process:
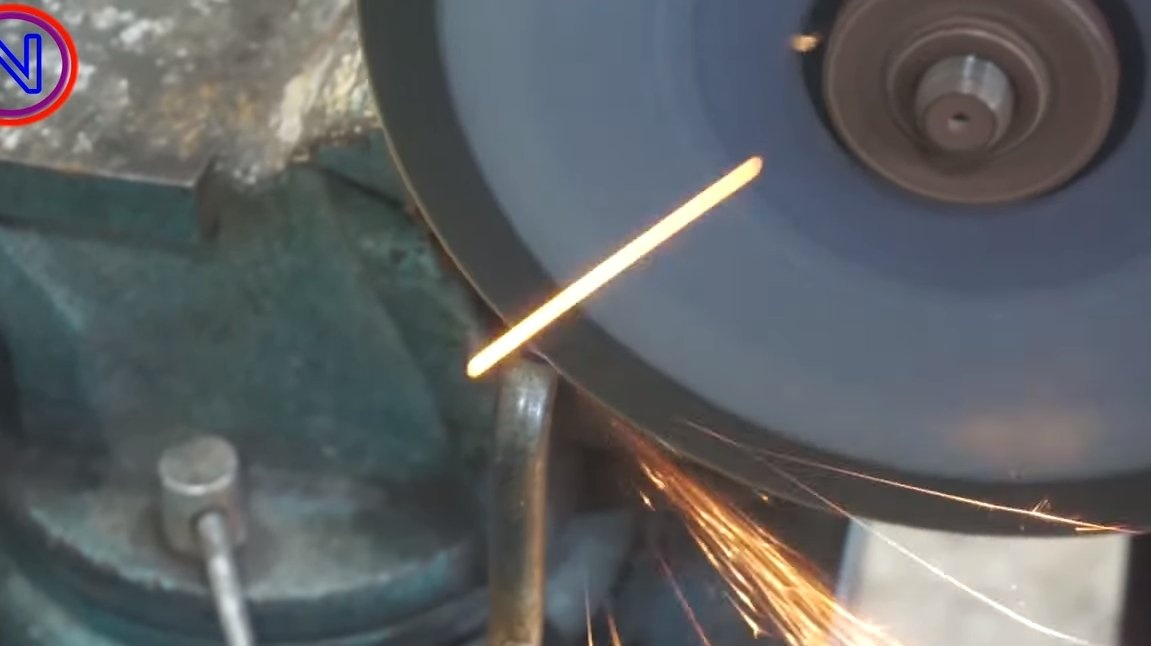
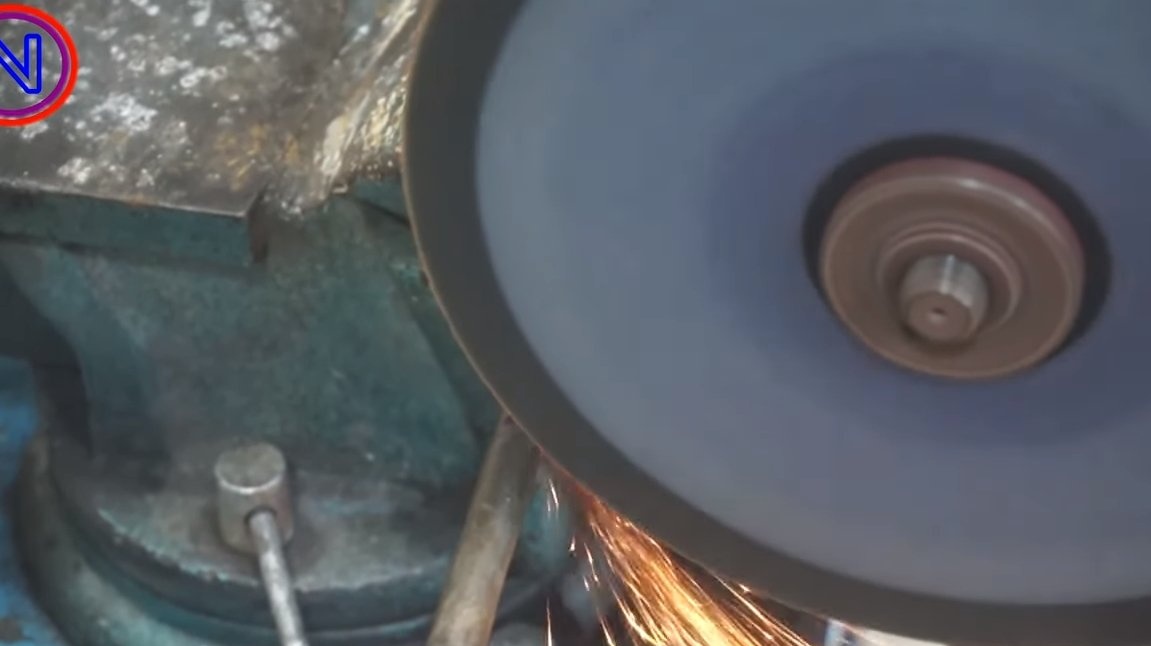
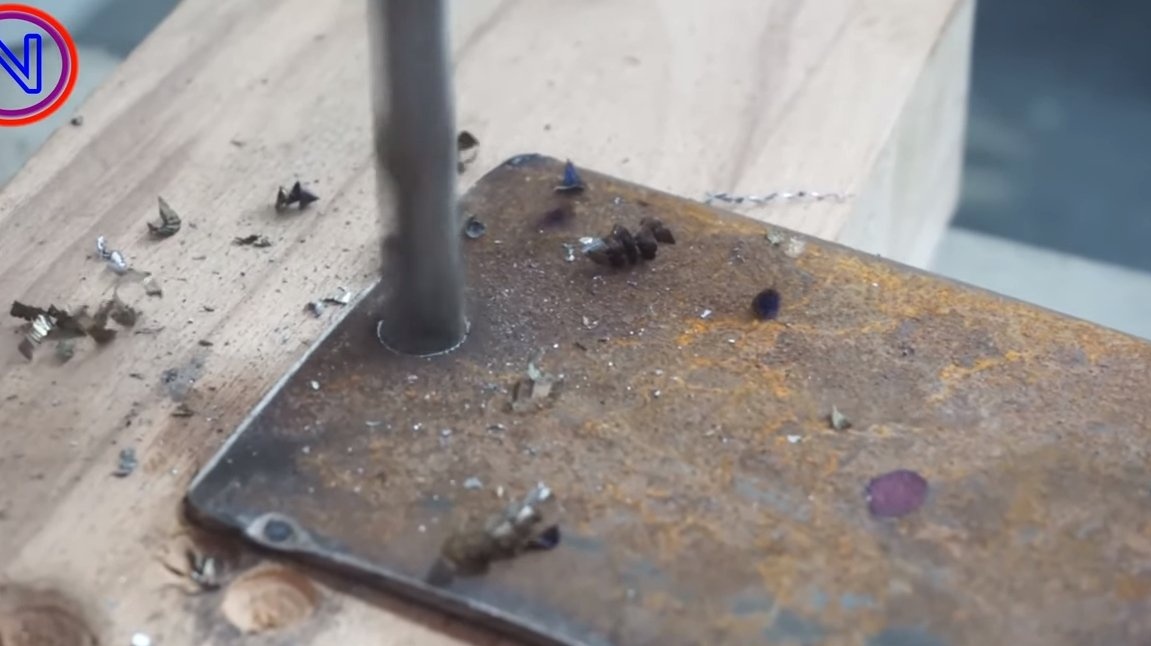
Step one. Lead sprocket
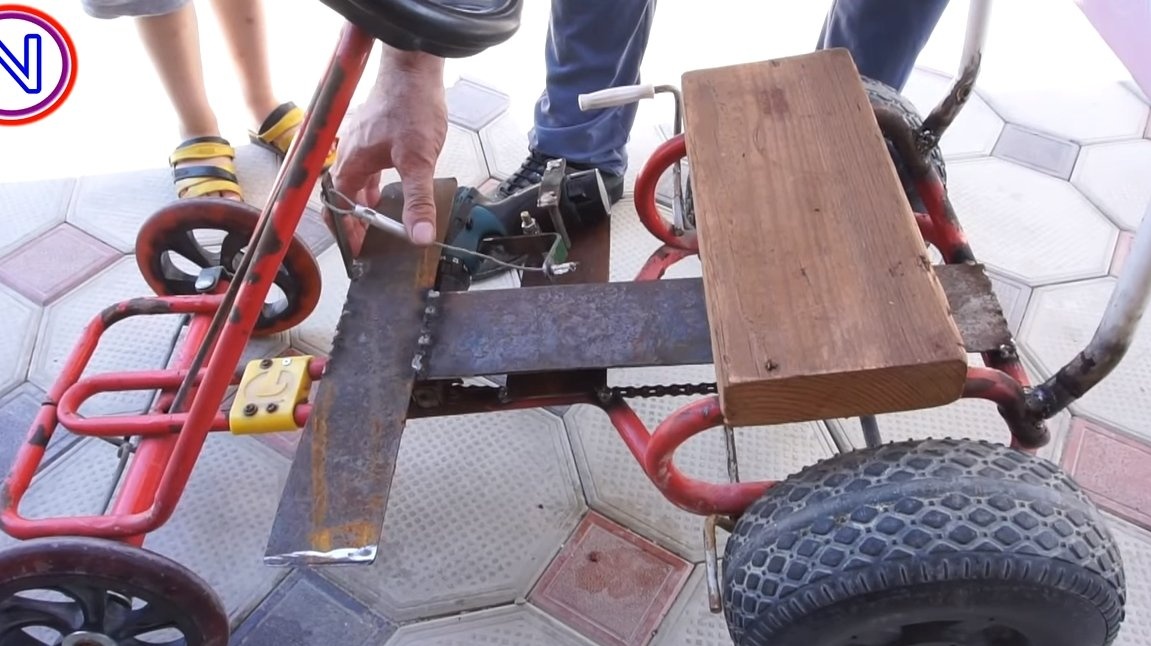
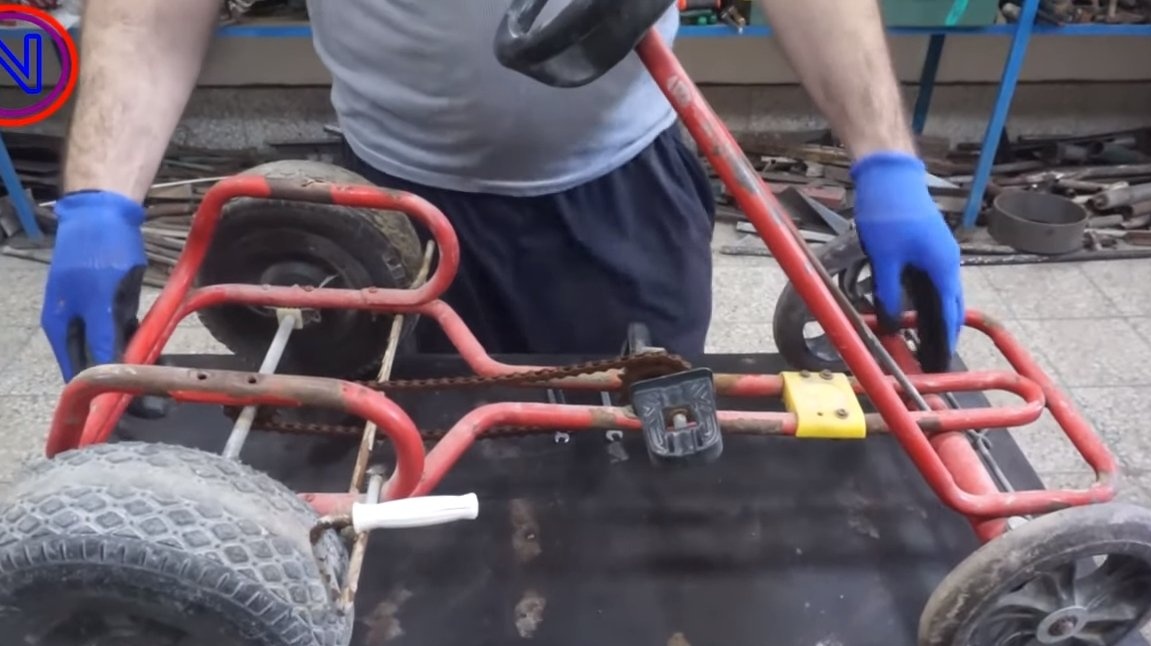
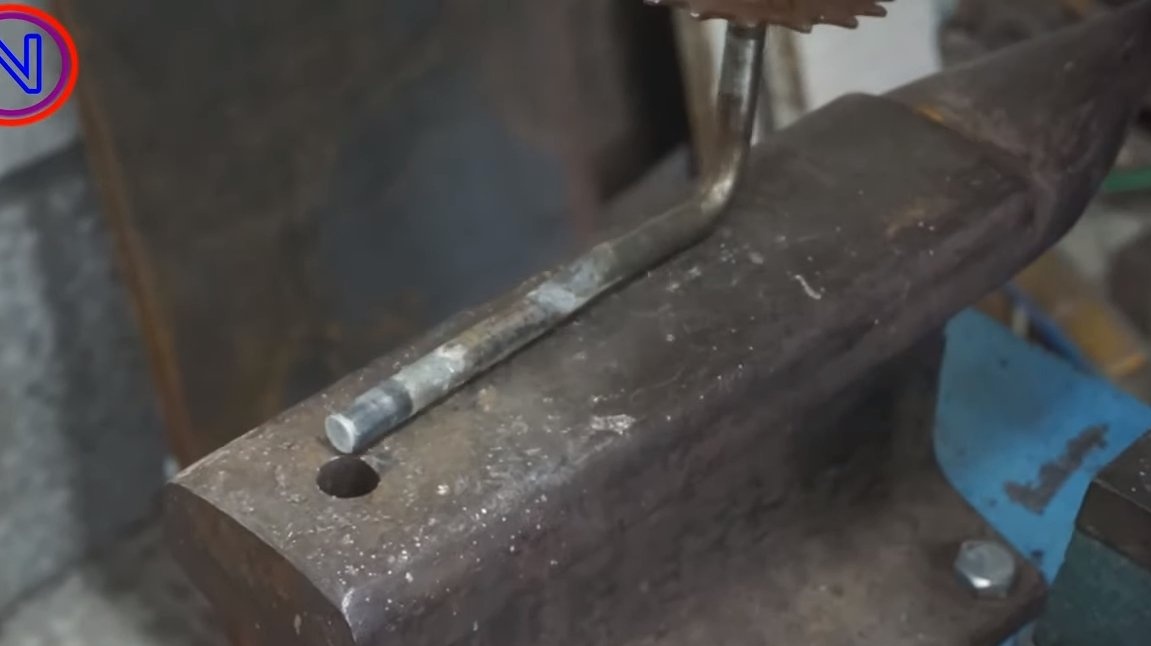
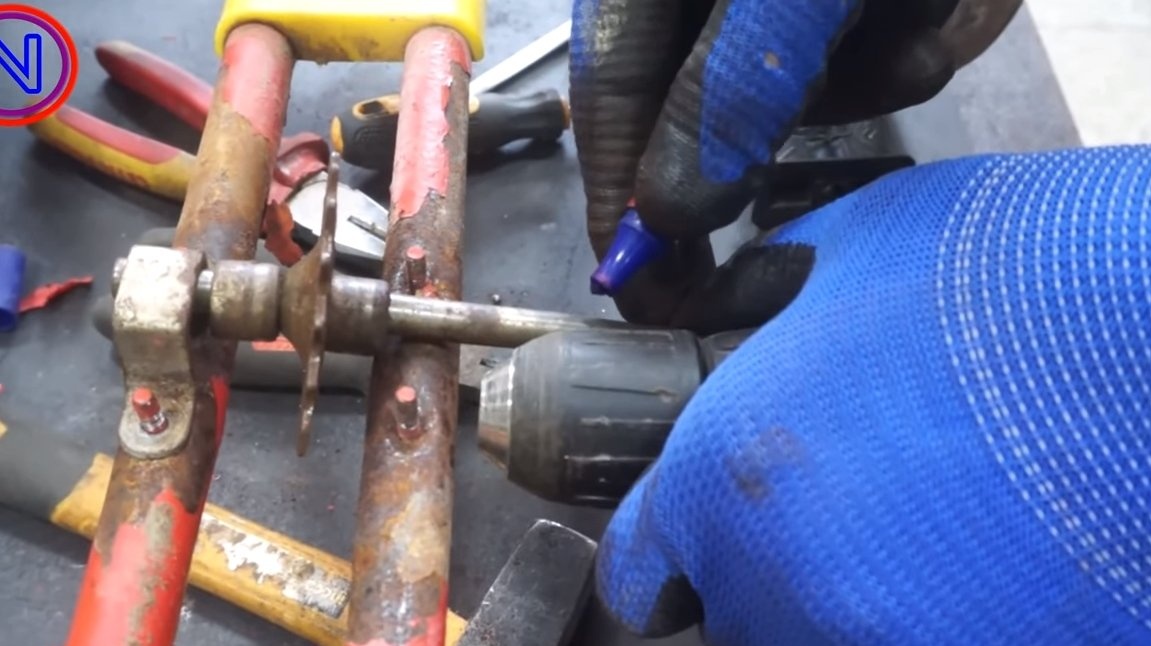
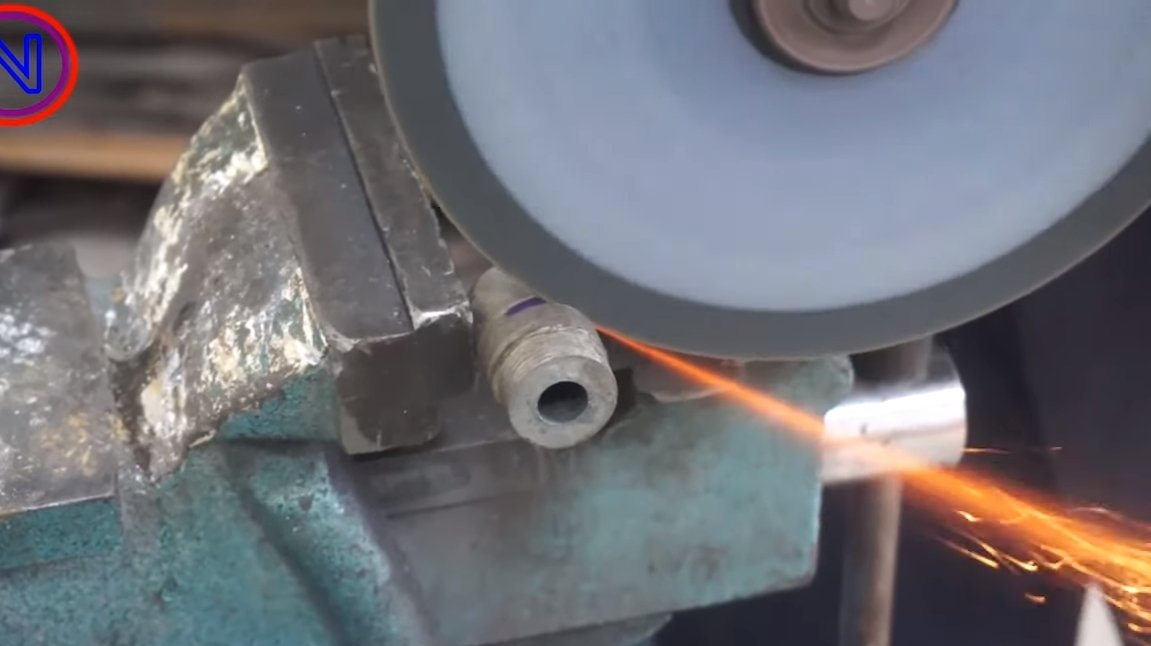
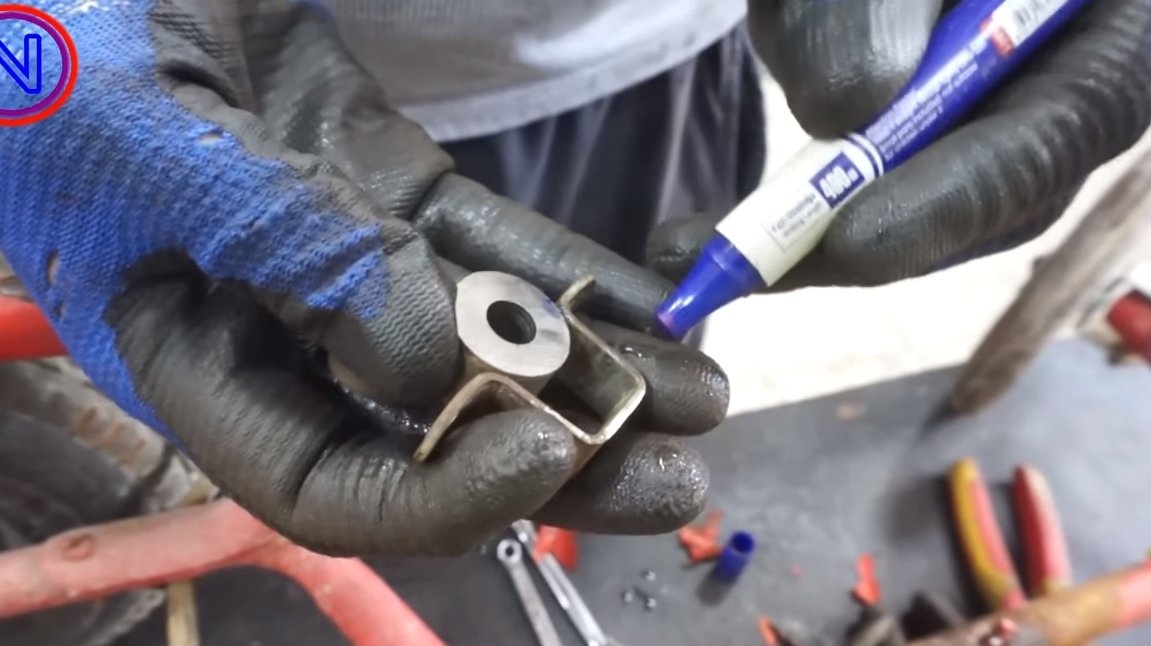
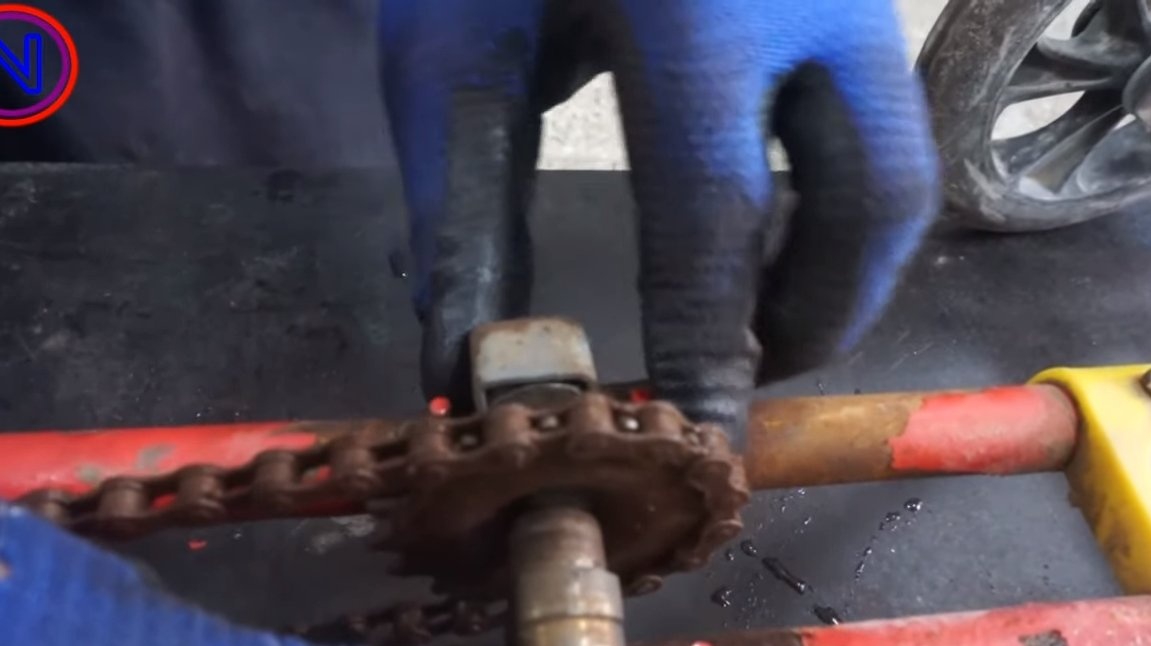
First, remove the leading asterisk with pedals from the card. We need to align the axis and cut off the excess if necessary. Further, the author has carved two bushings (plain bearings) for the axis on a lathe. Of course, it is better to use ball bearings, so friction and reliability will be higher, but the author decided to make everything as simple as possible. Do not forget to grease the bushings with grease and now everything can be installed on the cards. We connect a screwdriver to the axis of the drive sprocket and try to spin the wheels.


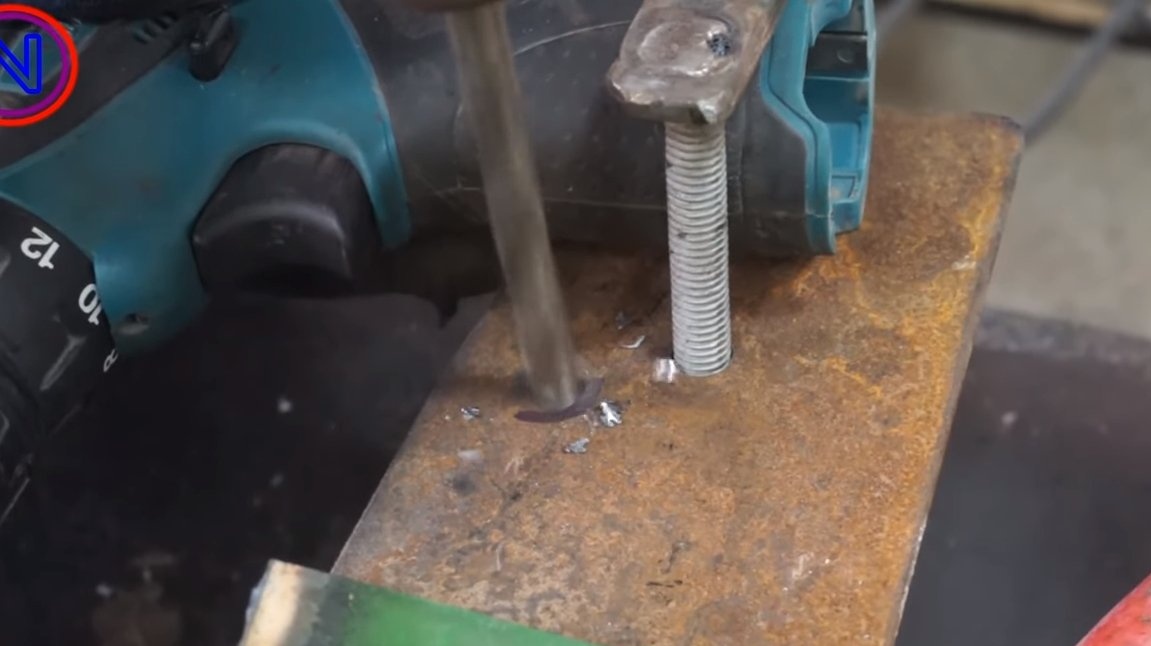
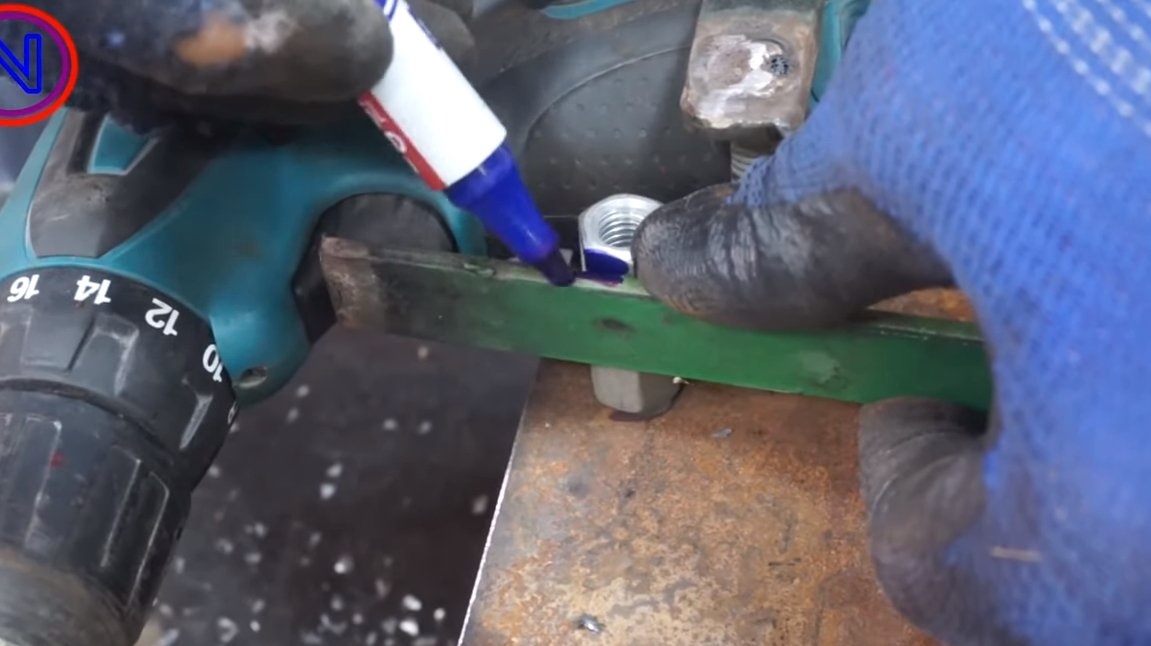
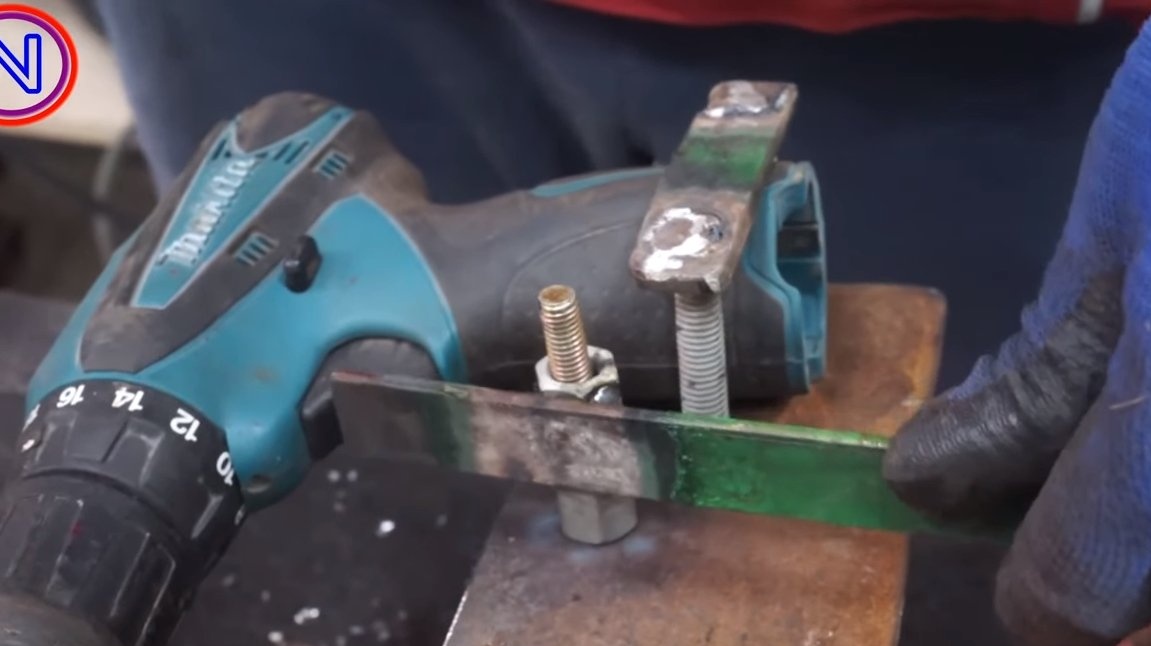
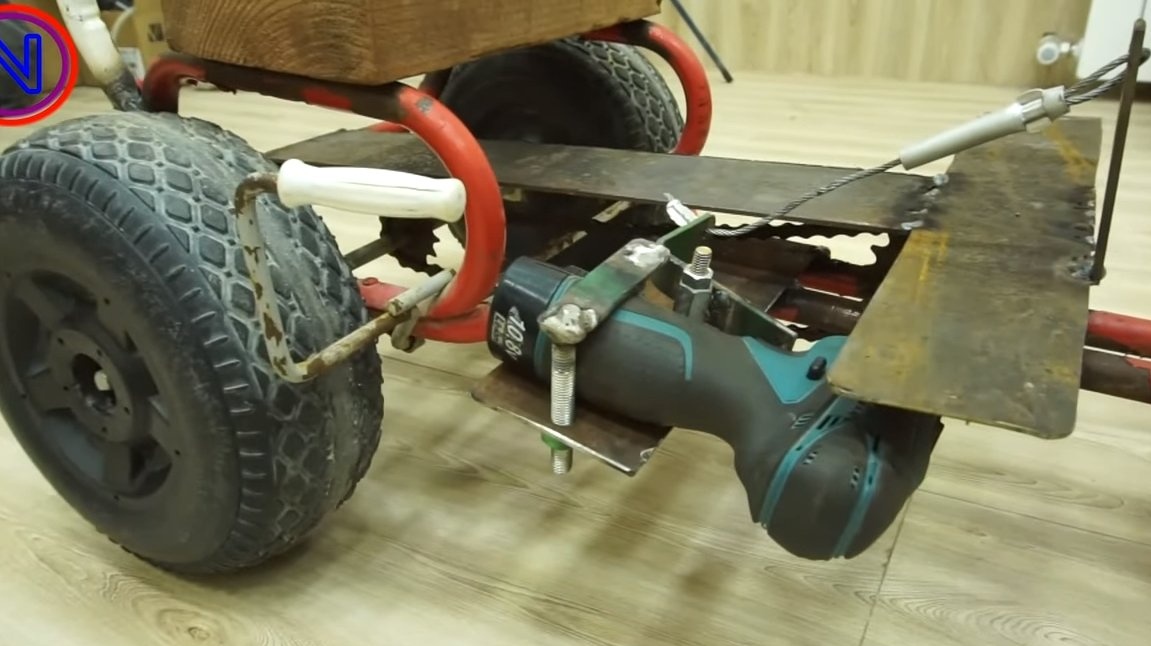
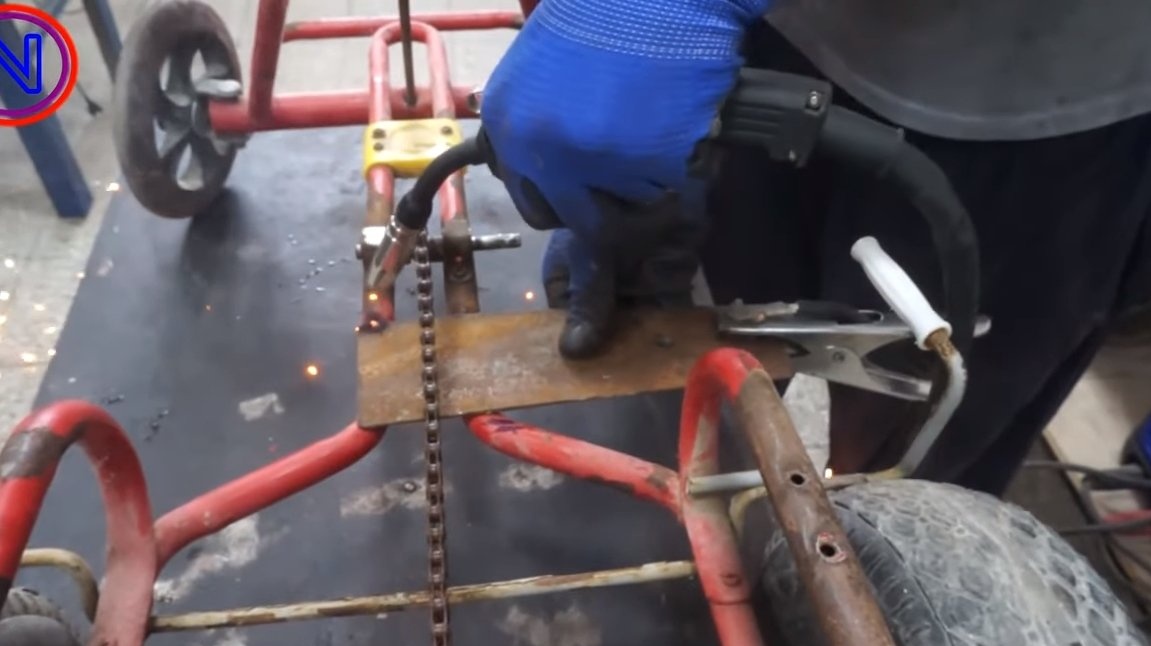
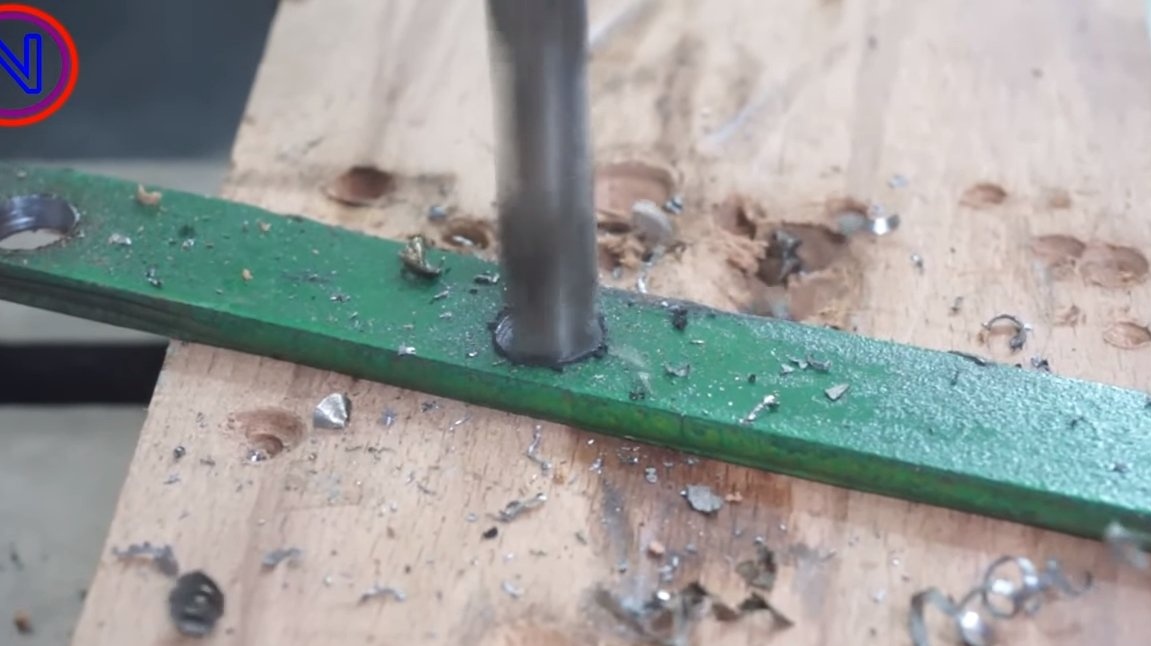
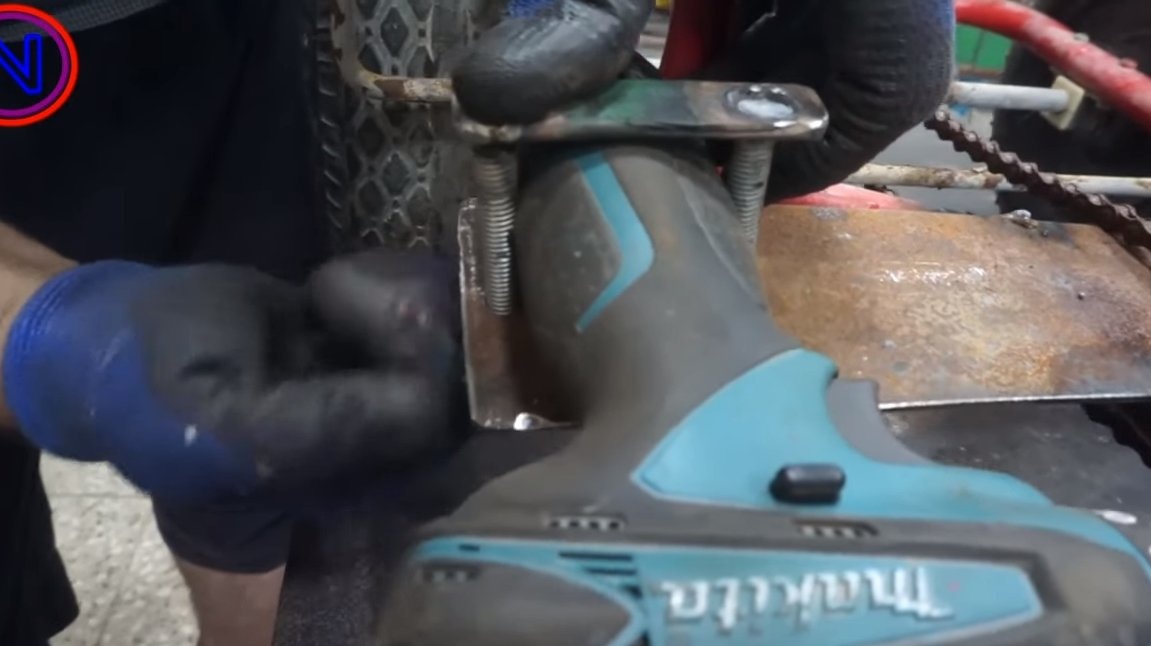
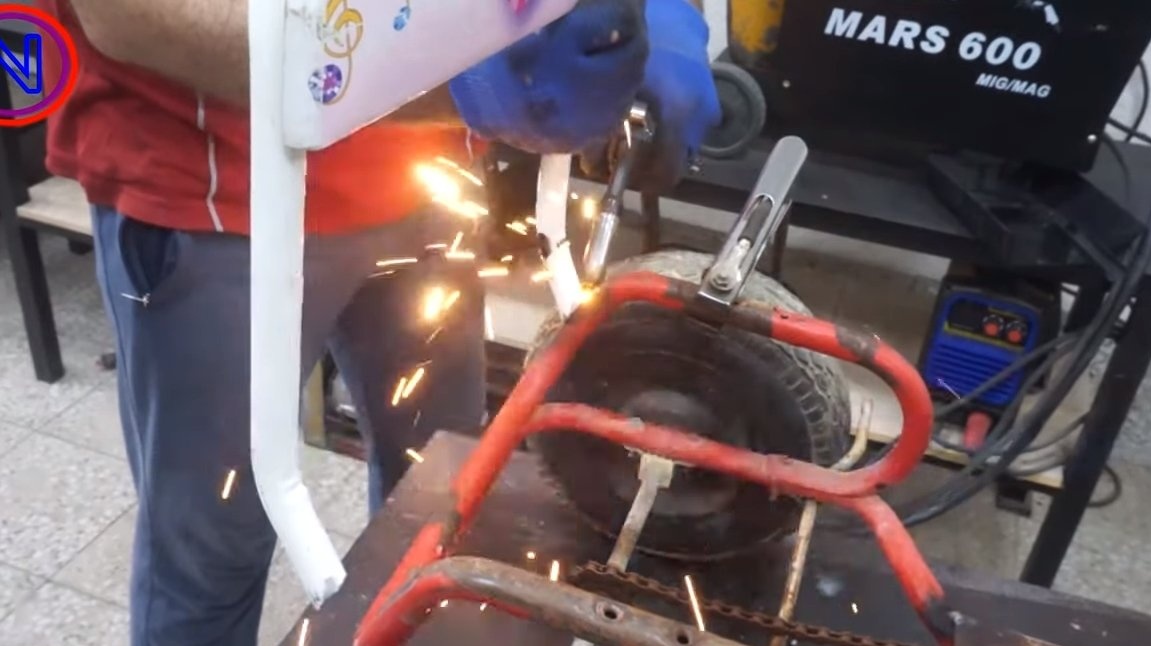
Step Two Screwdriver mount
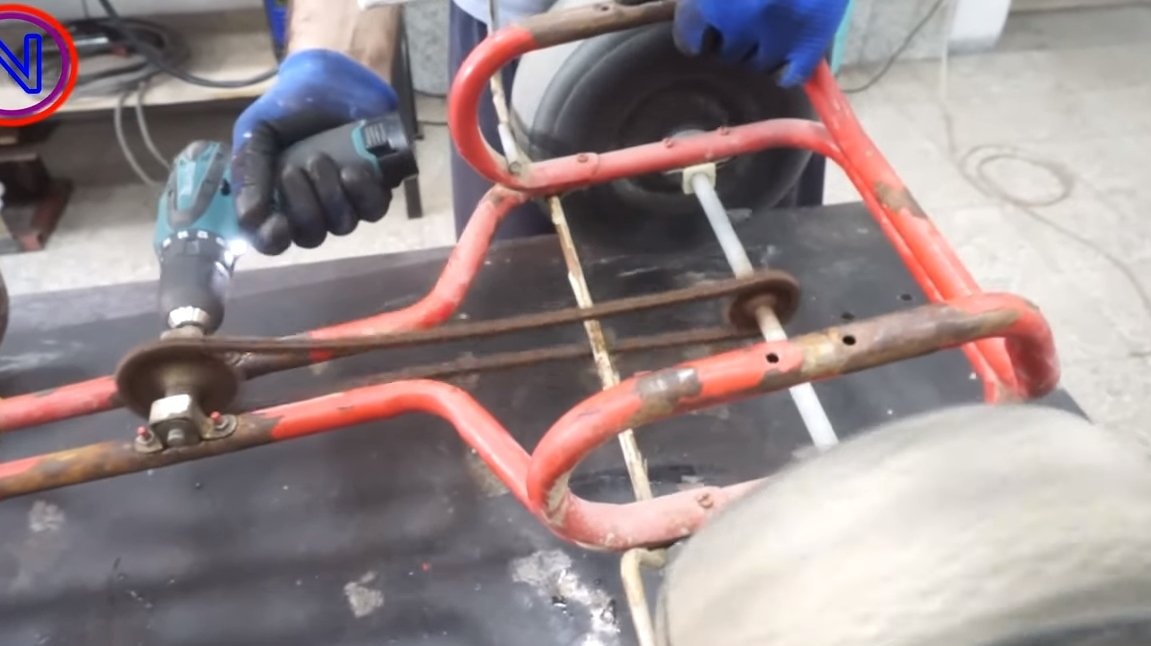
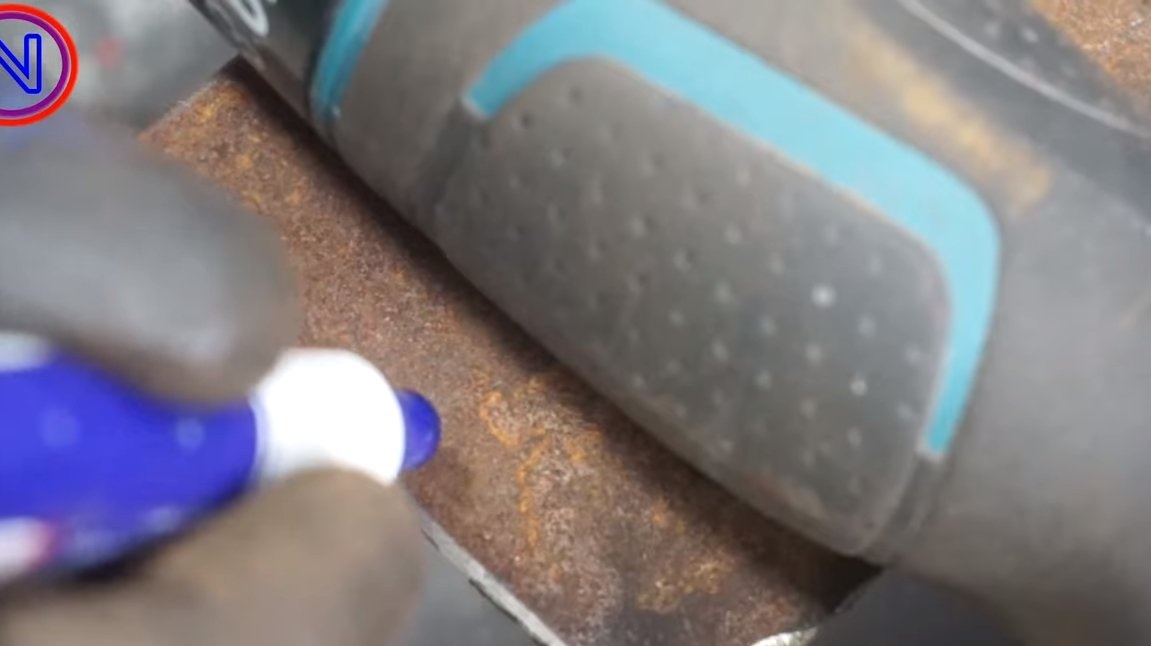
The screwdriver will need to be securely fastened, for this we need a sheet of iron, we weld it to the frame. To fasten a screwdriver, you need to make a clamp from an iron plate and bolts with nuts. We screw the screwdriver into place, now you can easily remove both the screwdriver and the battery separately for recharging.
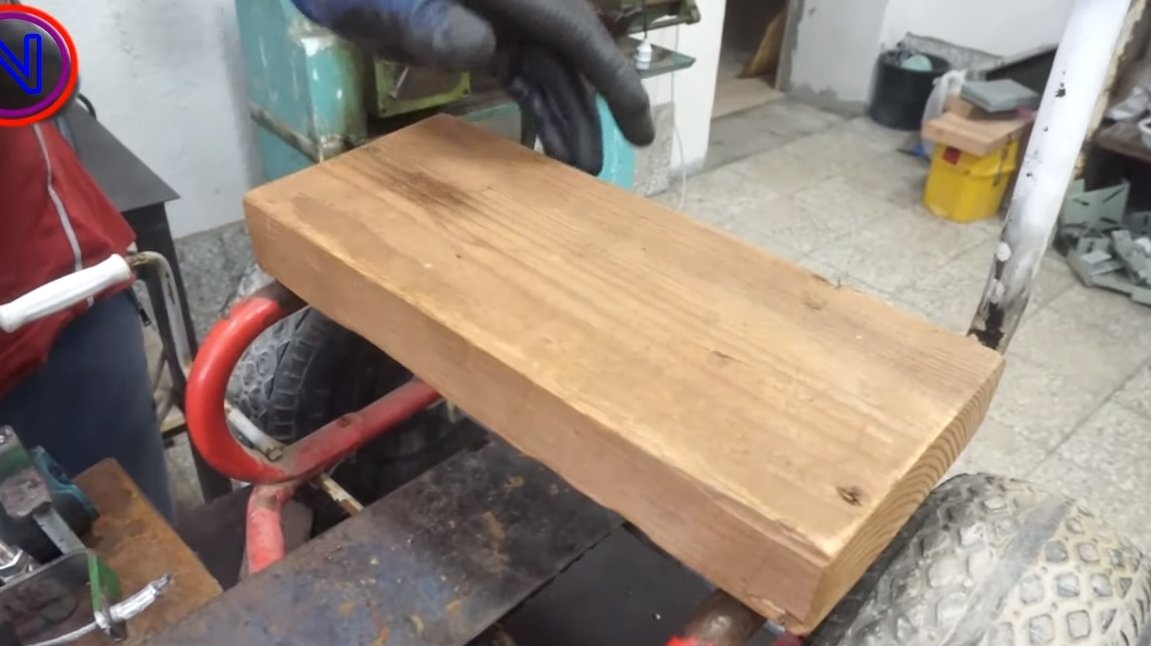
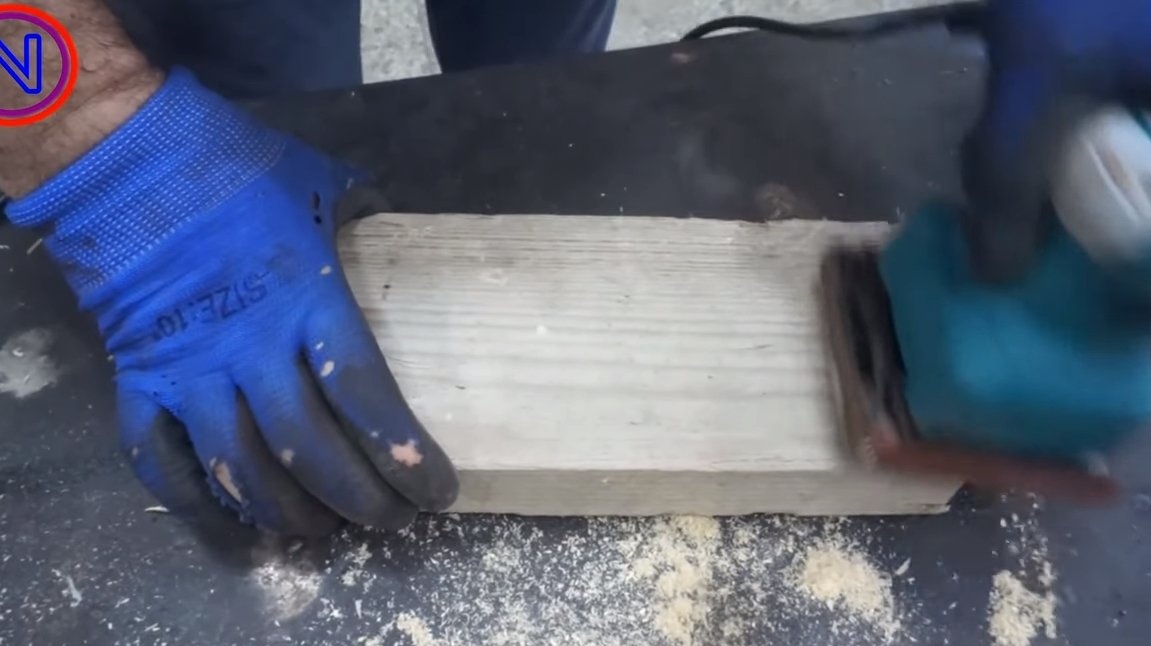
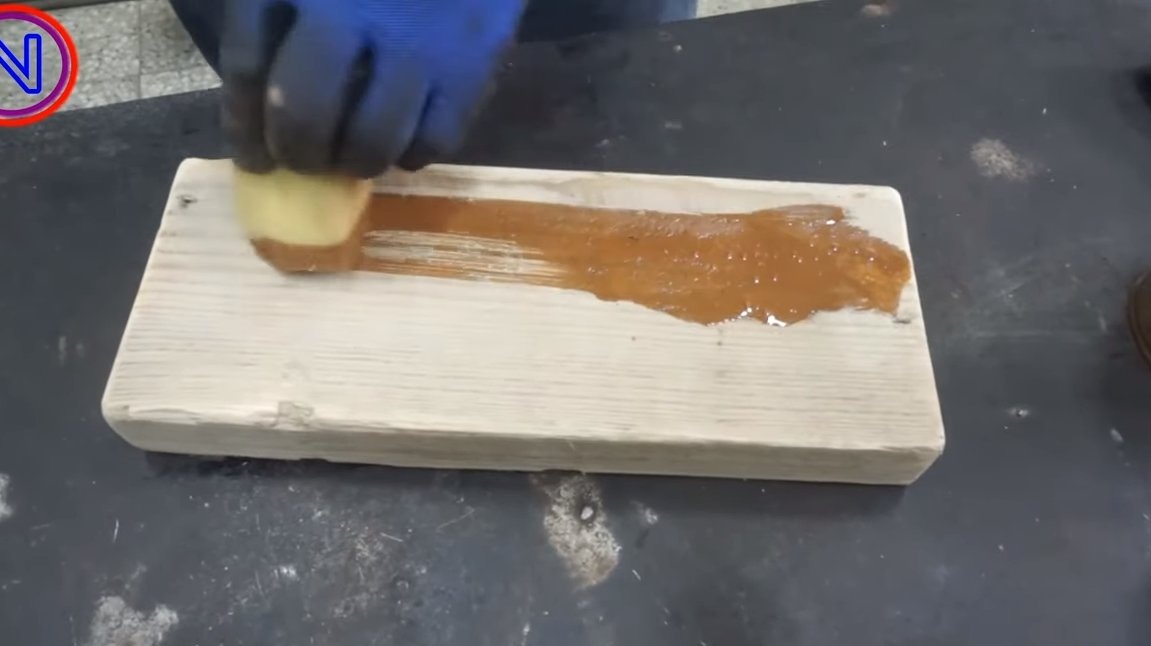
Step Three Seat
We are making a new seat for the map, here the author did not bother and used a piece of a thick board as a seat. As for the backrest, it can be cut off from the old highchair and a card can be welded to the frame.

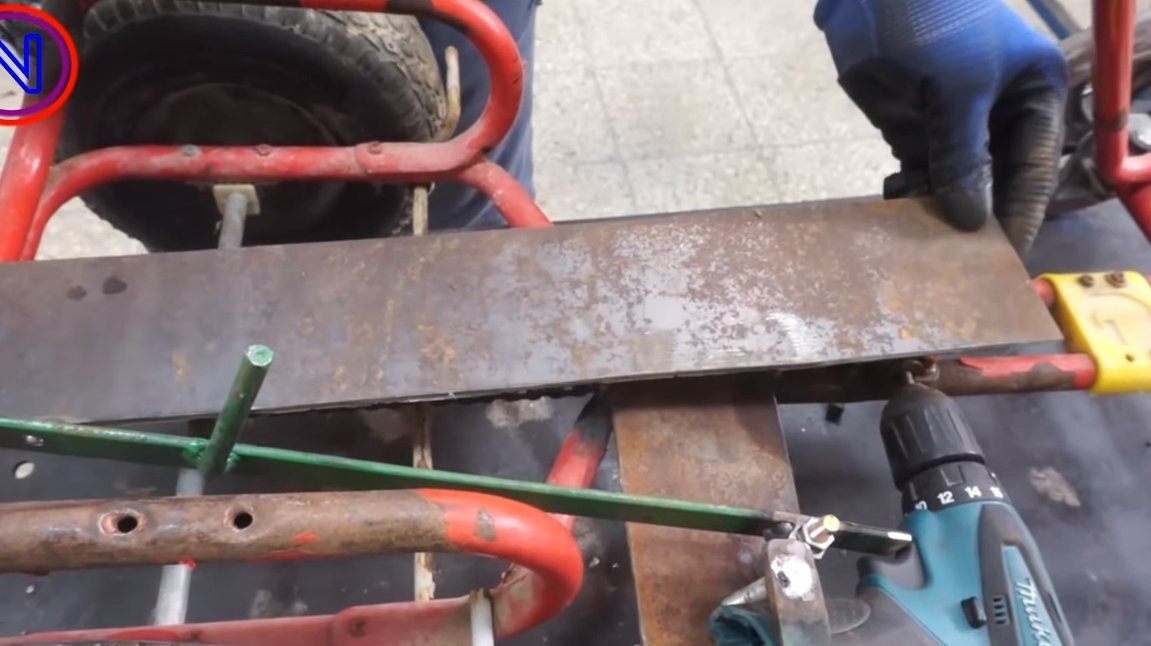
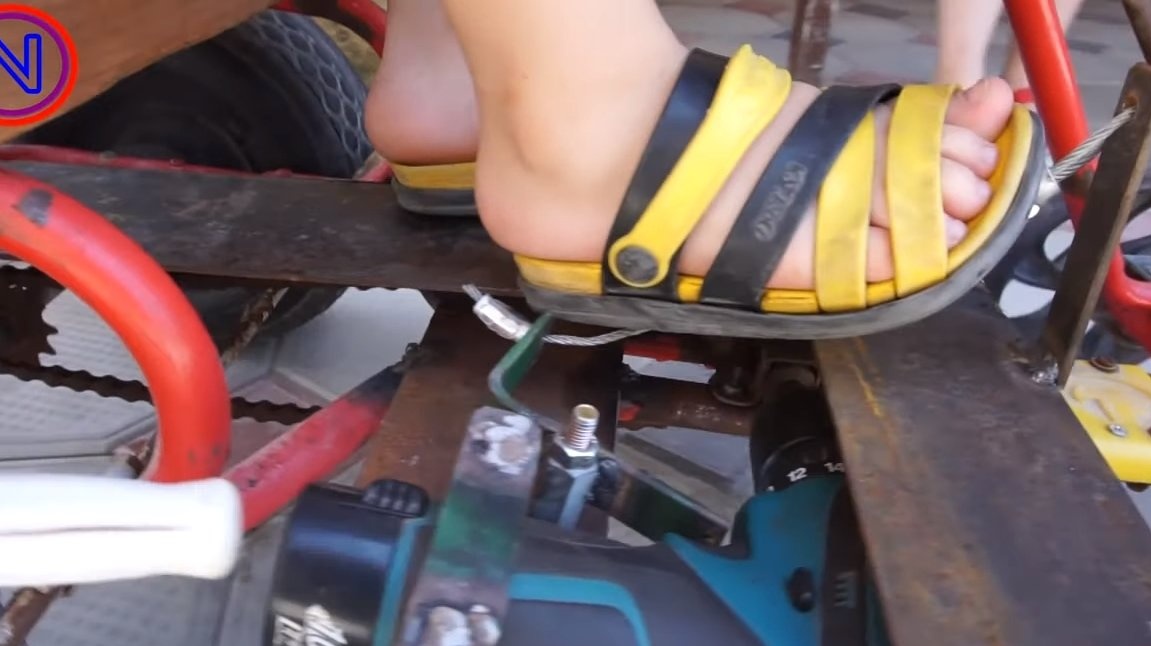
Step Five Pedal and footboard
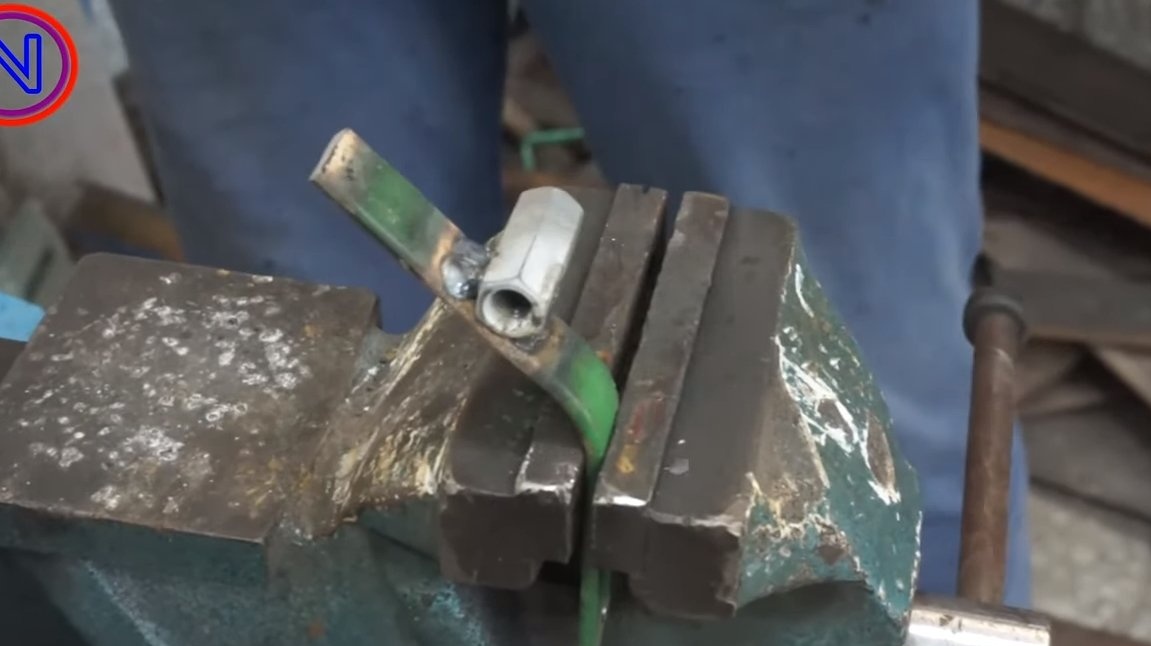
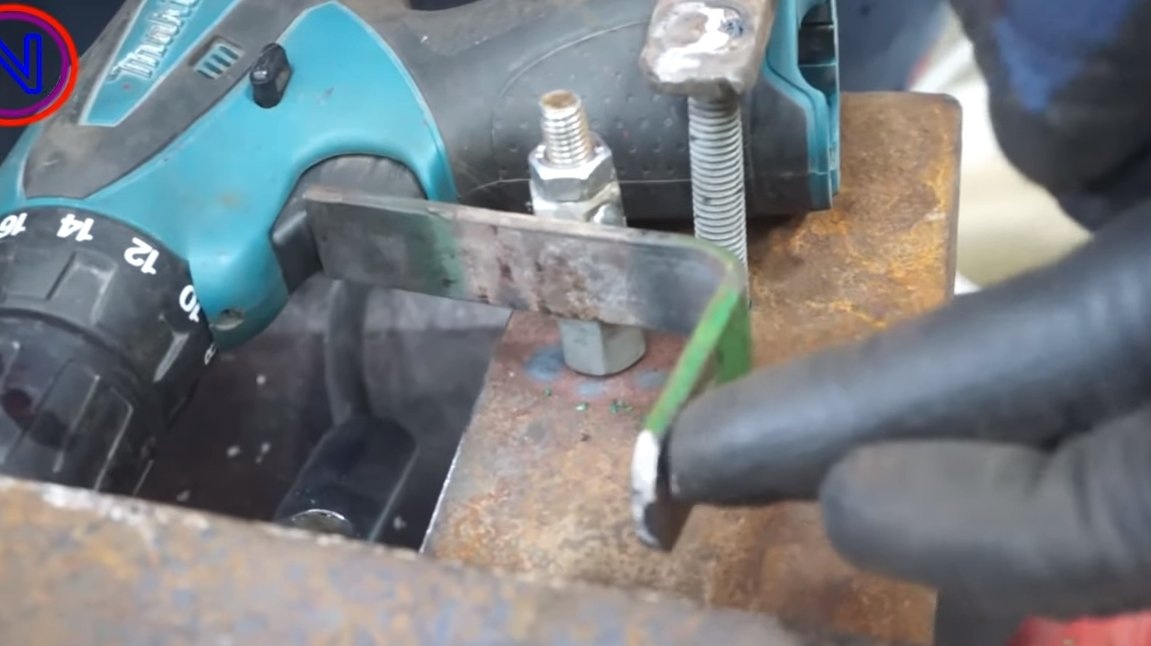
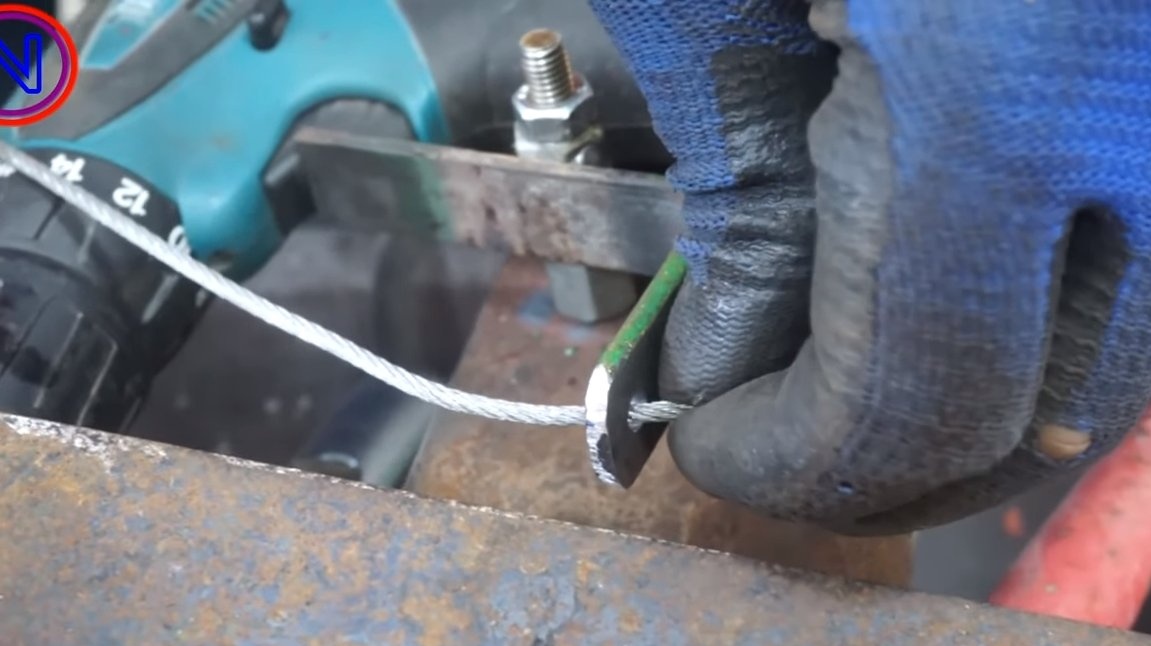
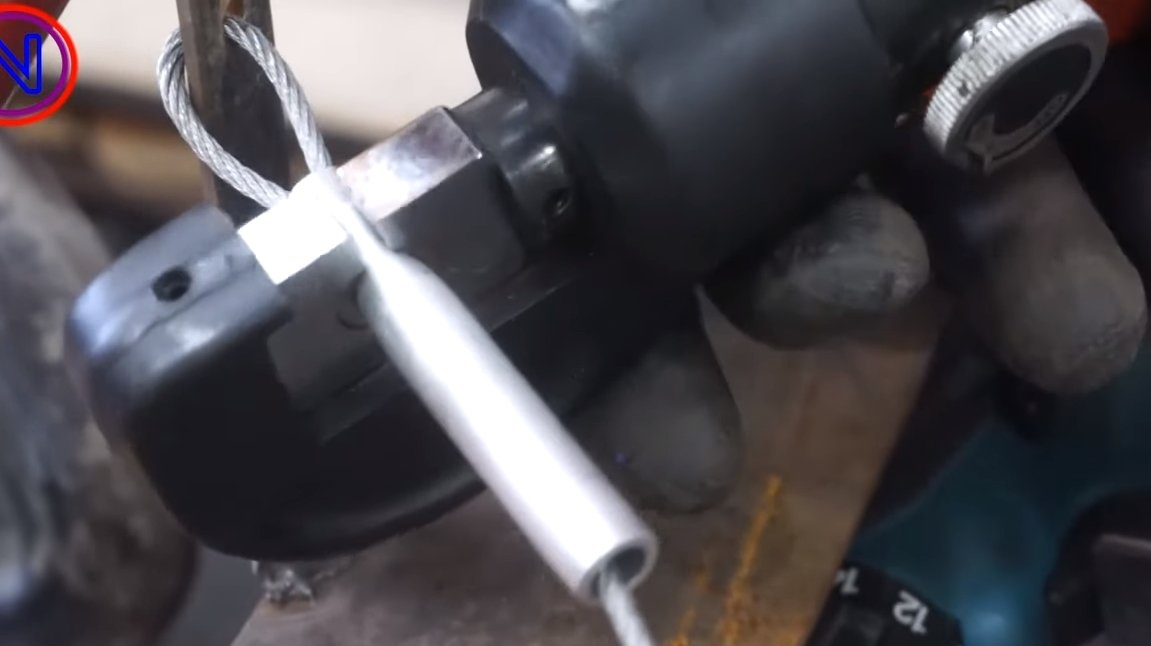
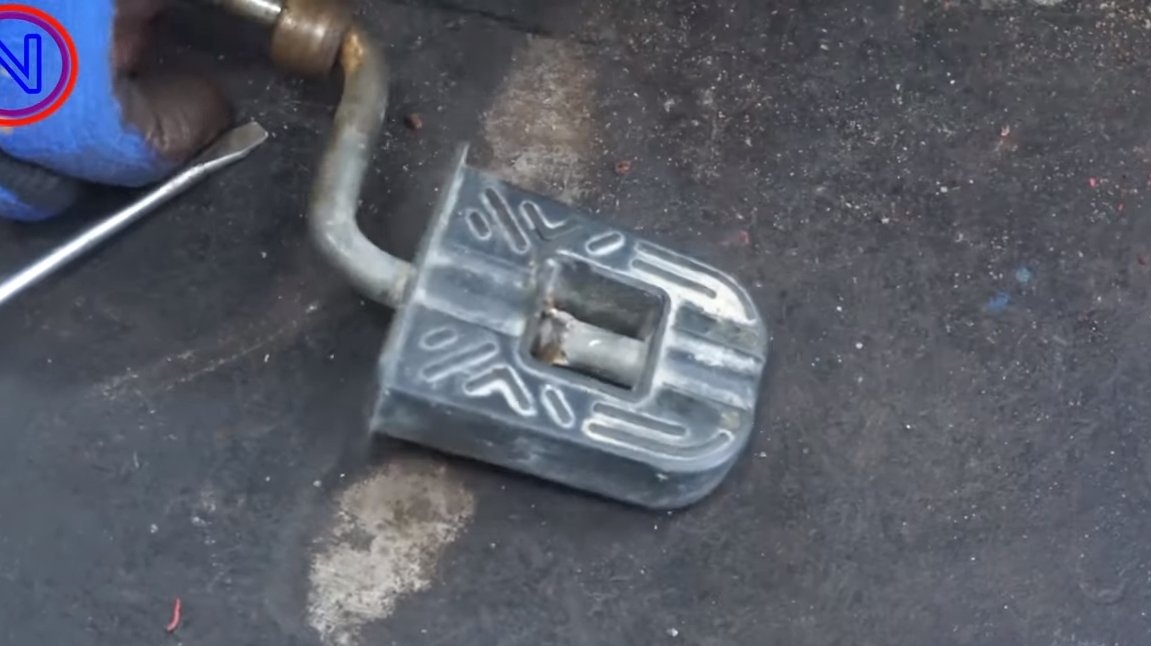
To press the screwdriver’s button, you need to make a “pedal” from an iron plate, and as a hinge, the author attached a bolt with a nut. The pedal is pressed through the cable. Well, the brake is already on the map.
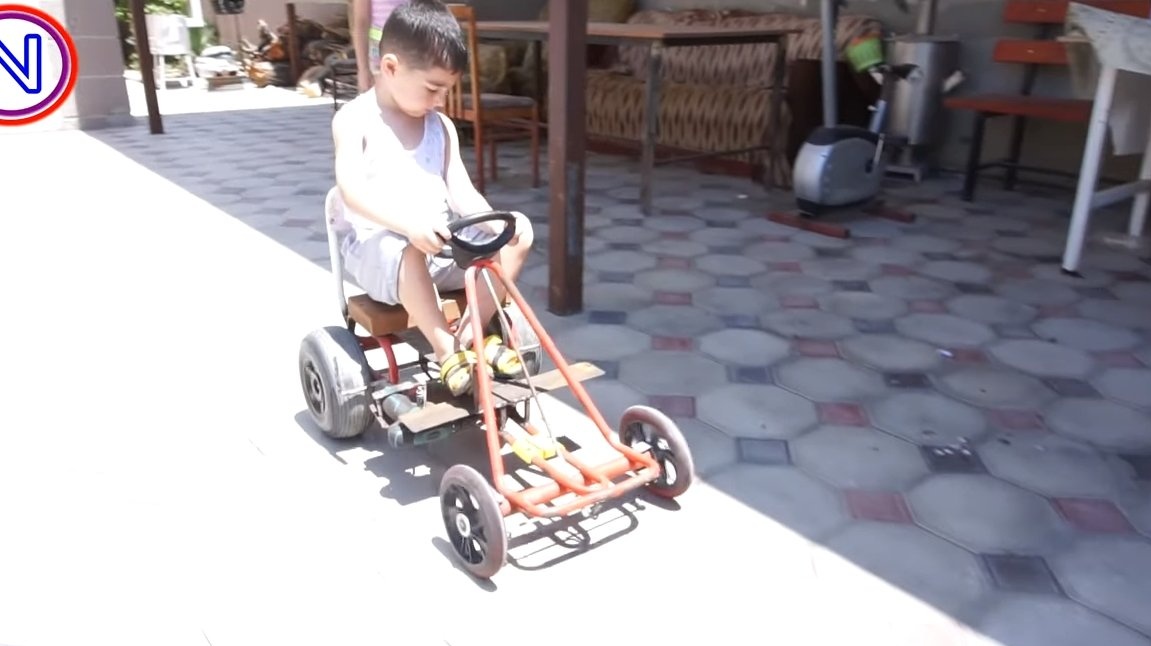
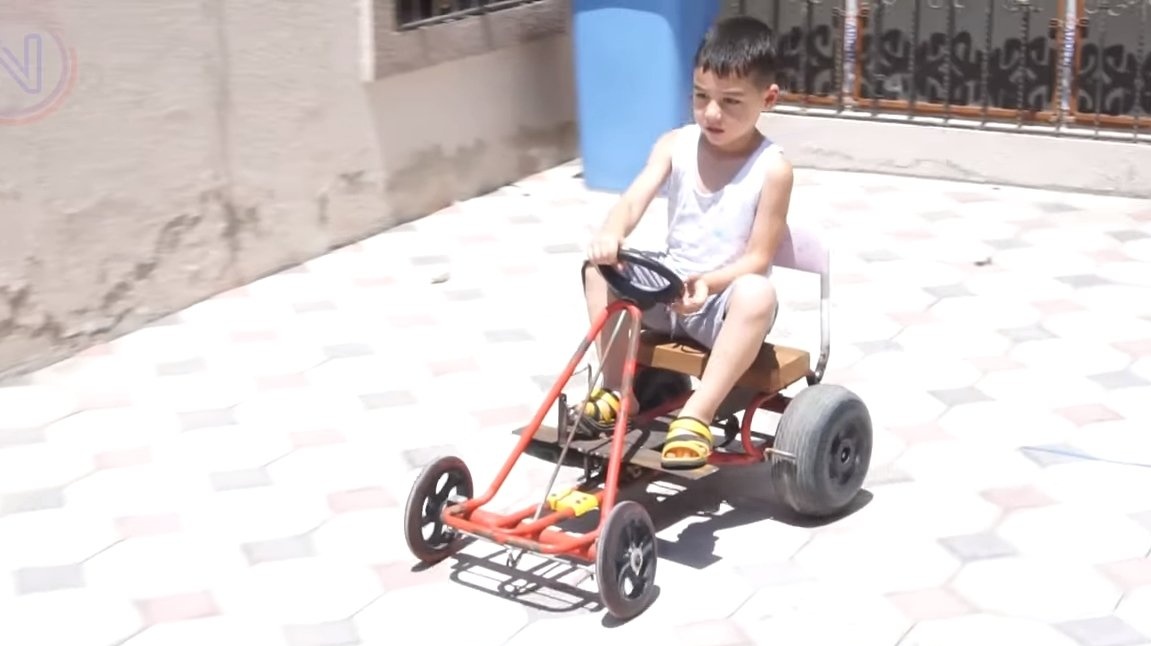
At the end, it remains to weld the steps, their author made of sheet iron. That's all, homemade ready. The child easily moves away, the power of a screwdriver is enough. Of course, the battery needs to be used with a large capacity, then you can travel for a long time. As for the screwdriver, you can choose not at 12V, but, say, at 48V, then the cards will be pretty nimble.
On this project is over, I hope you liked the homemade. Good luck and creative inspiration, if you decide to repeat this. Do not forget to share your ideas and homemade things with us!