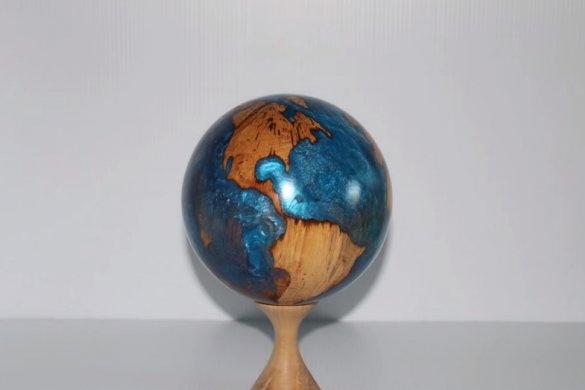
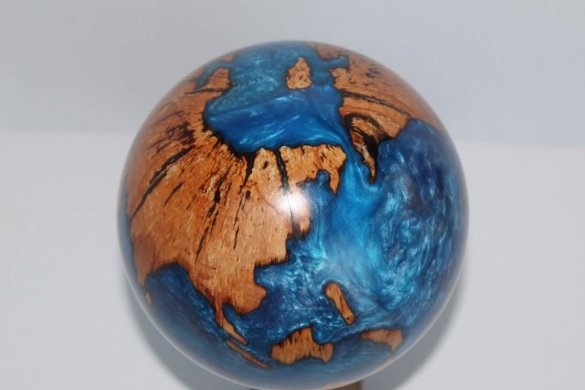
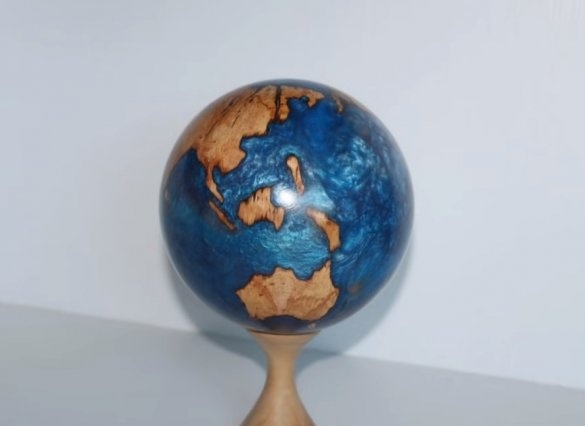
I welcome all fans to craft, today we will consider how to make model blue planet. Homemade was made from a piece of a tree trunk, there are many turning works. The author imitated water with the help of dyes. Everything looks pretty interesting, if desired, the planet can be highlighted, you get an excellent nightlight. If the project interests you, I propose to study it in more detail!
Materials and tools used by the author:
Material List:
- a piece of a tree trunk;
- ;
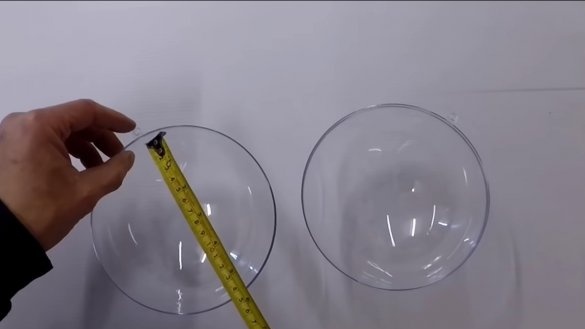
- sphere made of plastic (for formwork);
- dyes for epoxy resin.
Tool List:
- lathe and tool for turning;
- oven;
- electronic Libra;
- sandpaper;
- manual frezer;
- roulette;
- marker;
- drill with crowns;
- silicone sealant;
- scotch tape.
Homemade manufacturing process:
Step one. Basic turning
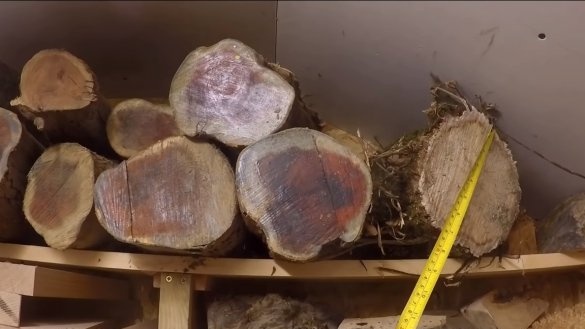
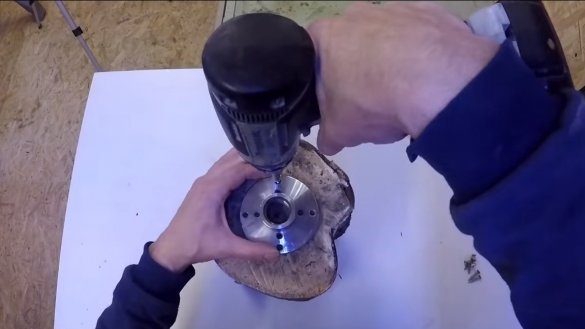
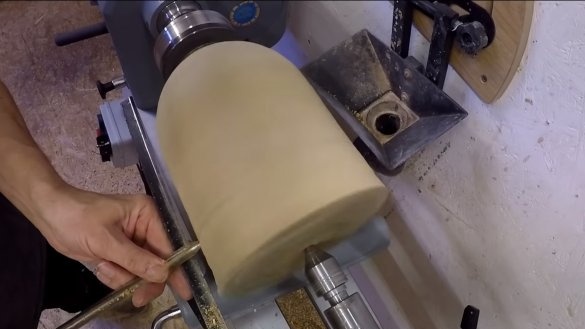
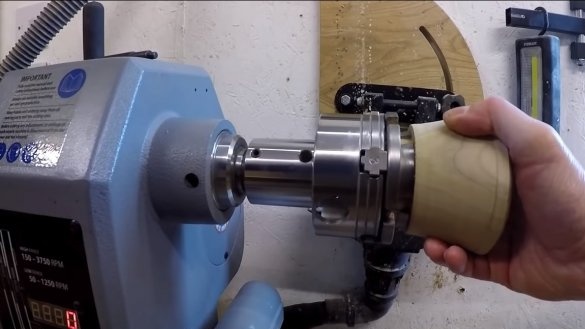
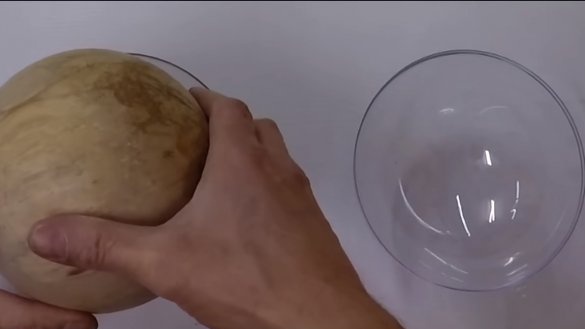
First we need to find a tree trunk with a beautiful pattern. The wood must be chosen “dead” and as dry as possible, such material is easier to dry and it will not crack. We cut off a piece of the log and fasten the hub from the car or another part to it so that the workpiece can be clamped in the lathe chuck.
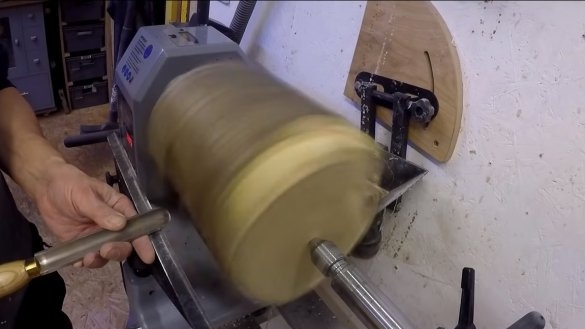
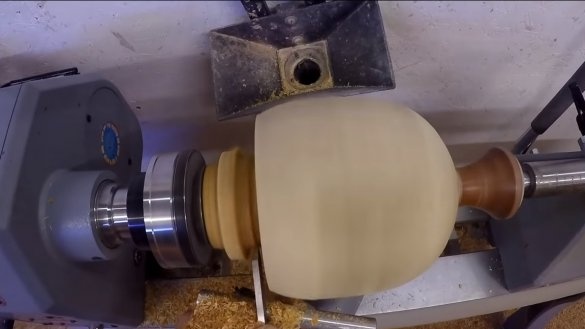
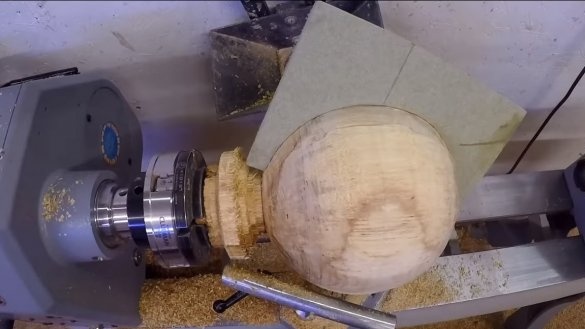
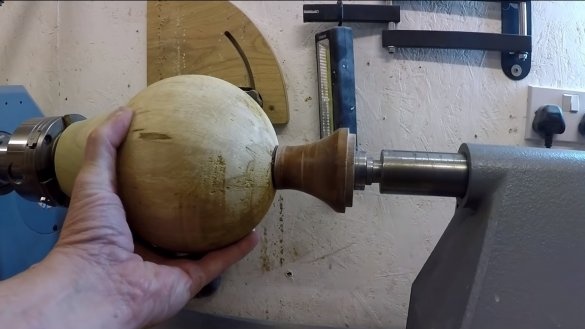
Well, then we get to work, gradually we grind the part at low speeds, giving it the shape of a ball as a result. The diameter of the ball must be such that it fits in the plastic formwork that you have.
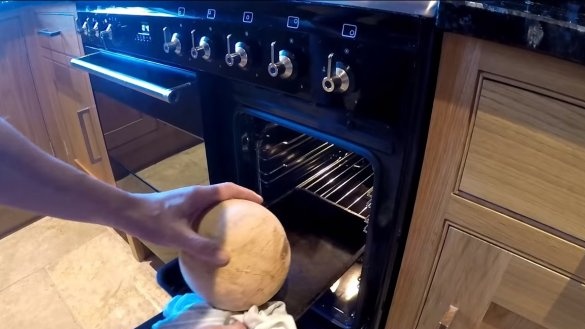
Next, we send the billet to the oven and dry well, moisture can create additional problems when pouring epoxy. In addition, moisture can easily lead to the fact that the finished product will subsequently crack.
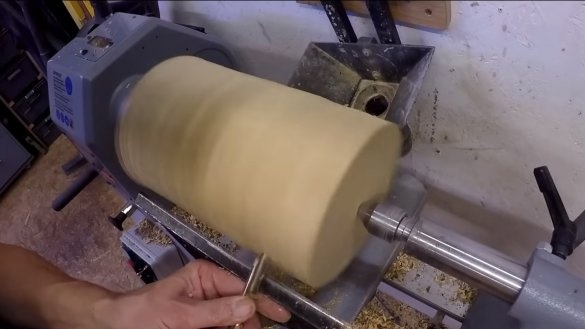
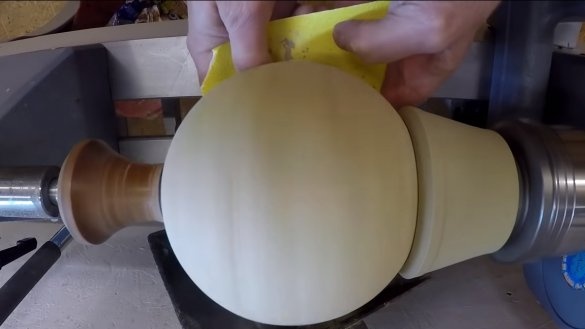
The dried workpiece must be properly sanded; dry wood is sanded much better than wet. Grinding the author produces on a lathe using fine sandpaper.
Step Two Relief
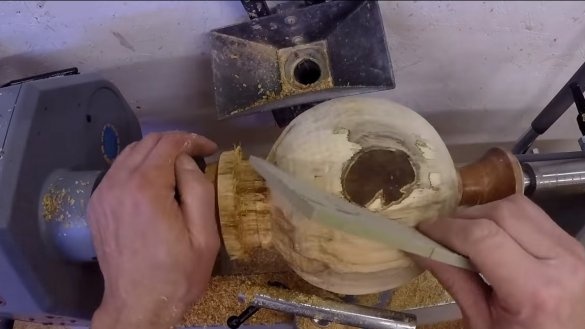
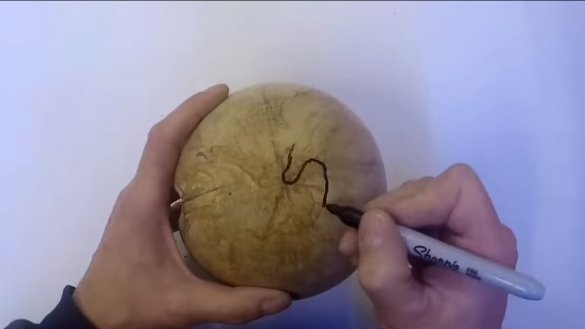
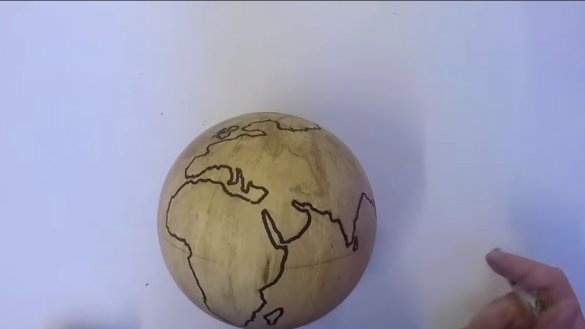
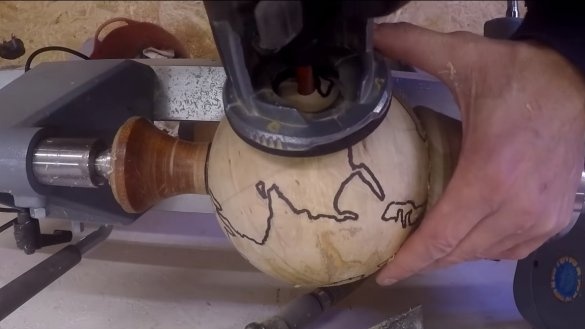
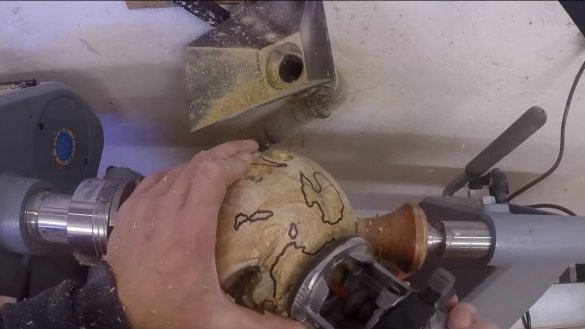
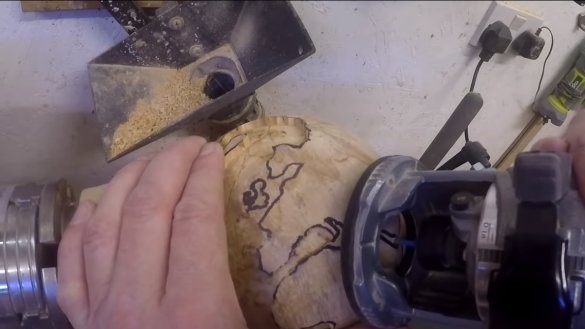
Next, we need to cut out the relief on our planet. We arm ourselves with a marker and draw abstract patterns, which we then cut out. The author outlined the natural patterns on wood with a marker.Well, then a milling cutter will be needed for work, we cut the grooves in the tree according to the marking. Subsequently, these depressions will be flooded with “water”.
Step Three Pouring
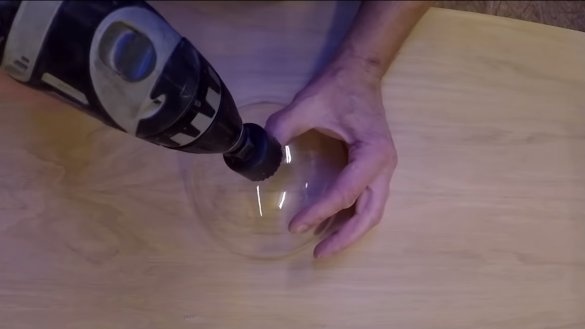
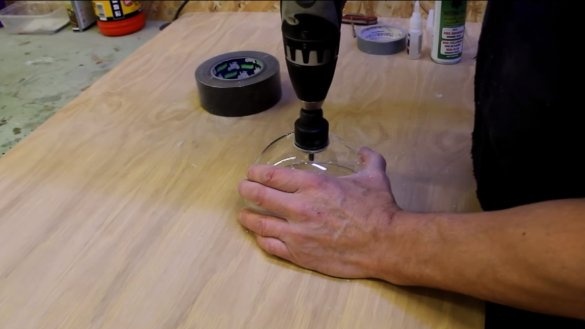
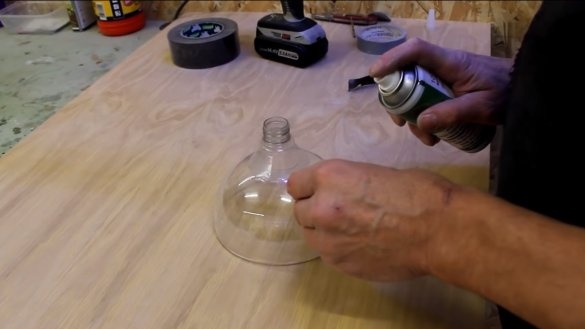
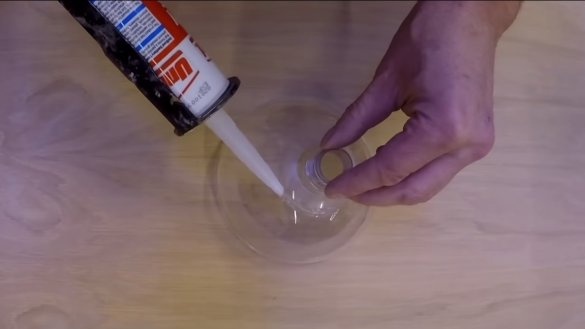
We prepare the formwork for pouring, in our case it is a sphere consisting of two halves. In the sphere we need to make a filler neck, for this we arm ourselves with a drill with a crown and drill a hole. Over the hole, the author glues the neck of a plastic bottle, which will be the neck.
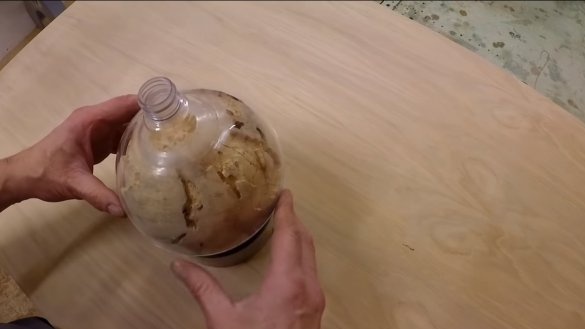
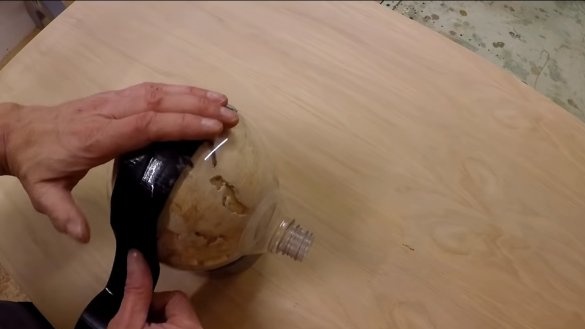
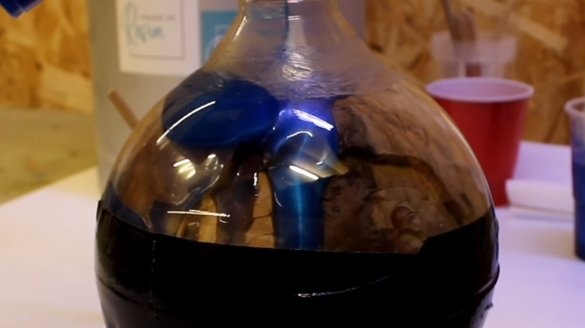
Inside the sphere we lay our wooden ball and collect the formwork, the joints will need to be carefully insulated. For insulation we use adhesive tape, it is better to reel and several layers securely, since the epoxy is very fluid.
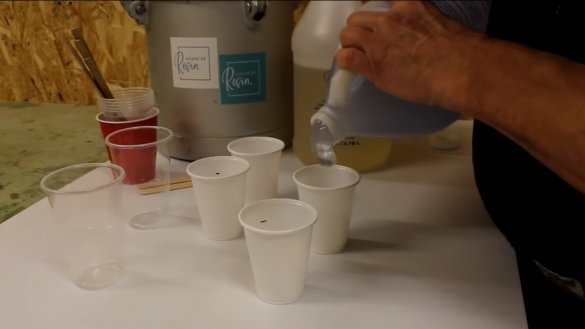
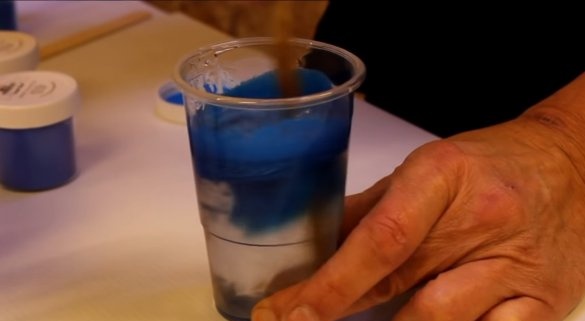
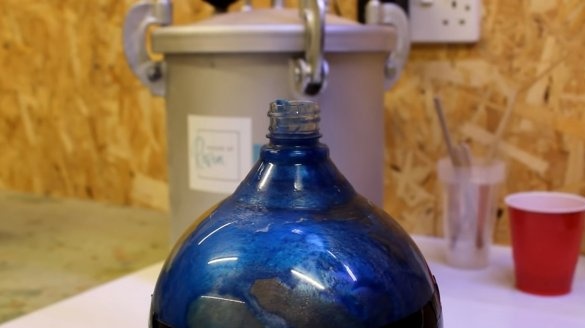
That's all, now we dilute the epoxy resin with a hardener and add a blue dye to simulate water. It would be nice to add a silver dye to the resin to get the effect of transfusion and shine of water.
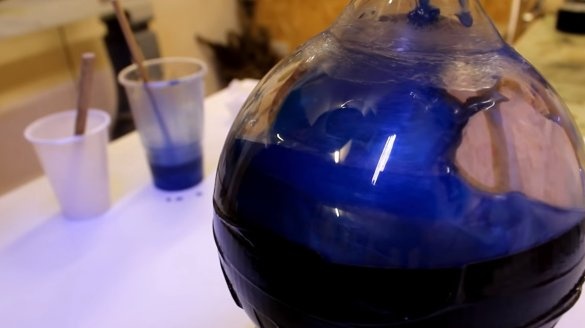
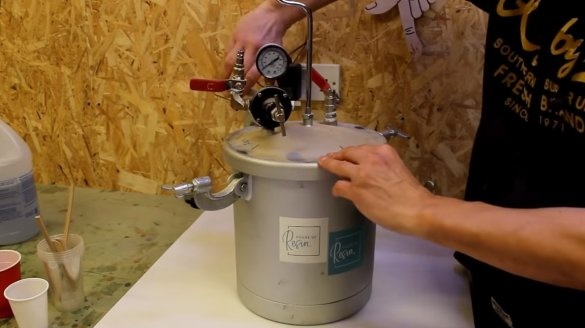
We heat the prepared resin and pour it into the formwork to the neck. Next, the author placed the workpiece in a pressure chamber (or maybe a vacuum chamber) to minimize bubbles. Now it remains only to wait until the resin hardens.
Step Four Final turning work
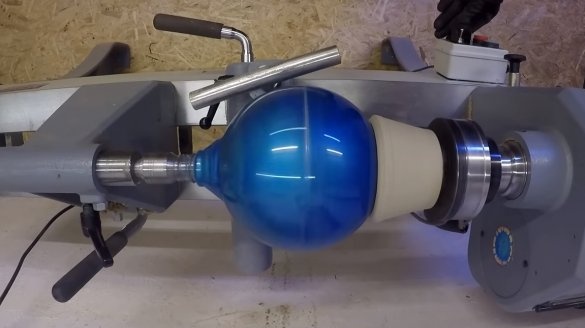
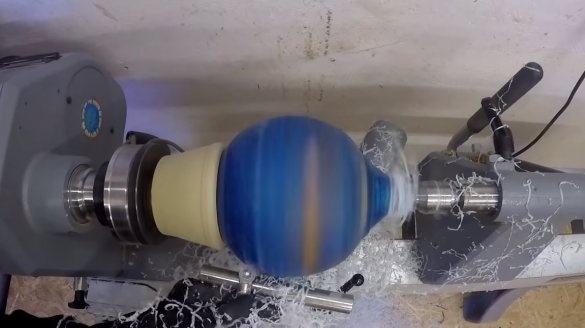
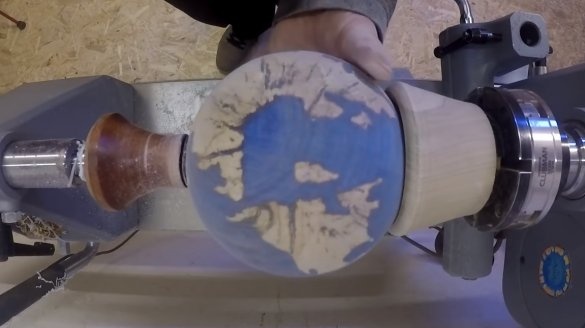
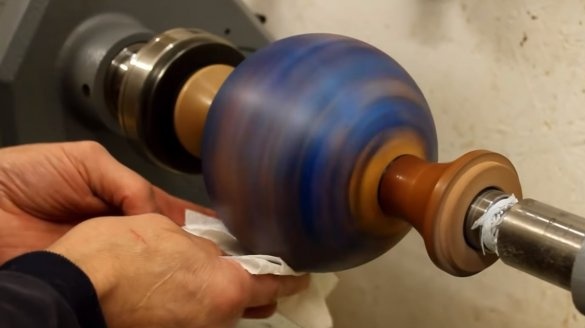
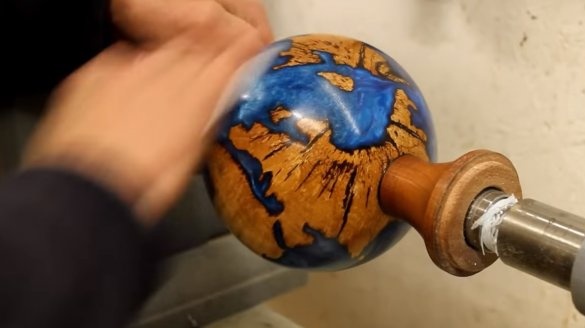
We put our workpiece in a lathe and cut off the plastic formwork, we also need to remove the excess resin and get to the tree. When we get the shape of the ball again, we can start sanding with sandpaper. At the end, the ball needs to be thoroughly polished and it is desirable to cover it with a special varnish that will protect the resin from ultraviolet radiation.
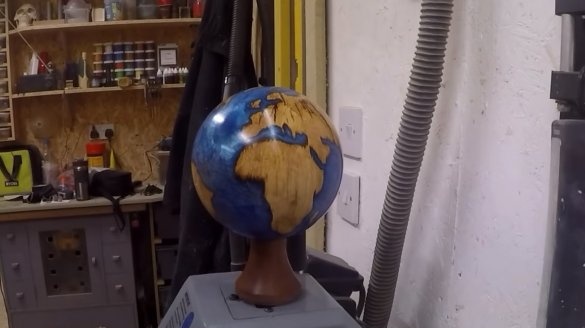
That's all, the homemade product is ready, the author has carved a stand for the planet in advance. Everything looks beautiful, the ball can be picked up and held, viewed closer. If you wish, you can integrate LEDs into the stand and choose the beautiful position of the planet, you will get an excellent nightlight.
The project is completed on this, I hope you liked the homemade work. Good luck and creative inspiration, if you decide to repeat this. Do not forget to share your ideas and homemade things with us!

